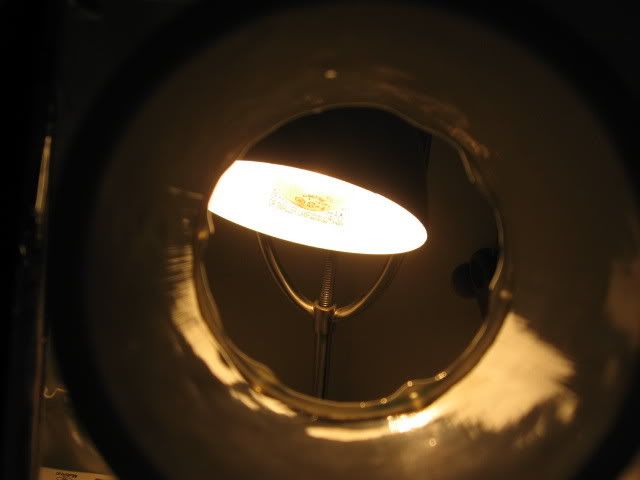
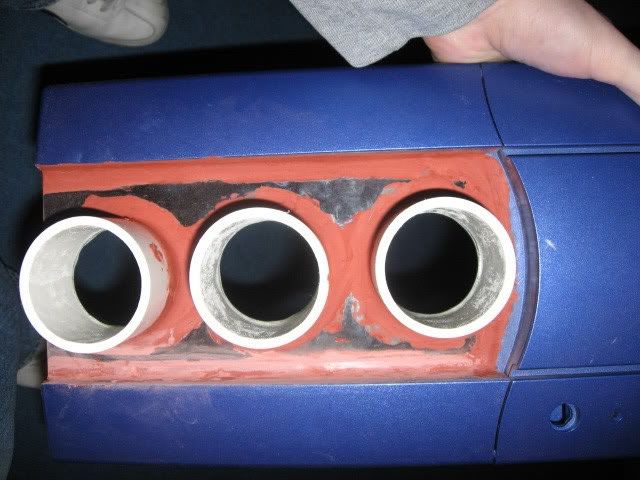
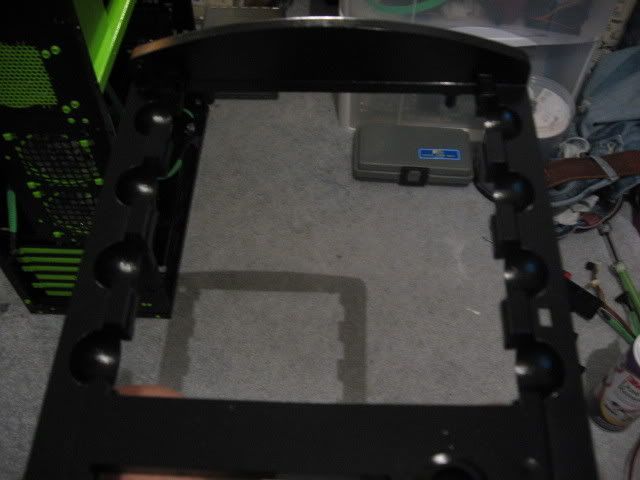
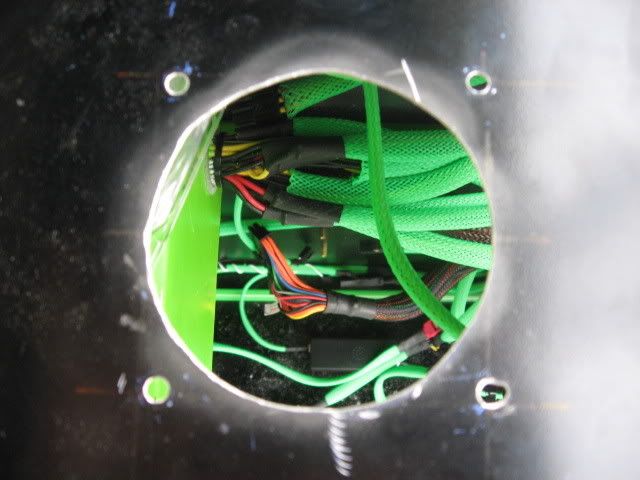
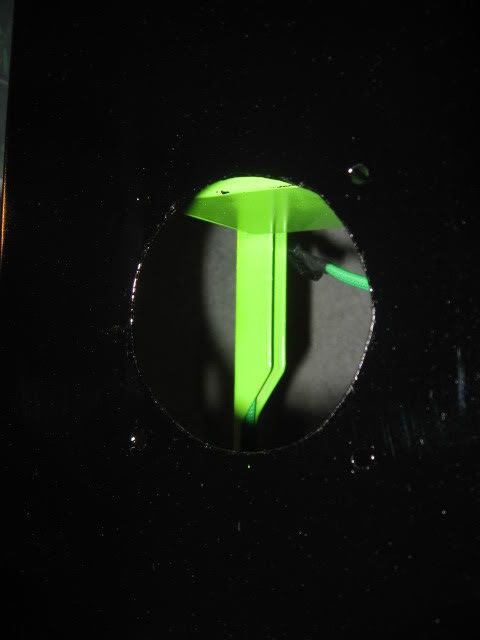
on that fan hole...take a file around the inside....to get it all even

Printable View
on that fan hole...take a file around the inside....to get it all even
Nice pics. but yea, the blowhole is a little uneven. never done a blowhole myself so I can't say much haha
Wow thats looks amazing can't wait to see the finished product! + Rep
Well the front isn't turning out quite as good as I hoped. Mainly due to my noobish with bondo and my poor painting skills... I'll have a HUGE update tomorrow some time. Ill be filing, fitting, testing, planning, painting and alot more this weekend. Gotta love when you have most of the weekend to yourself :D.... except I have to cut the grass Sat morning...
Till then,
-Fuga
UPDATE - FINAL PANTING
Sorry I haven't updated in a few days. I was waiting for things to come in and I was lazy and didn't feel like uploading the pictures to Photobucket :P
First things first.... new stuff!!
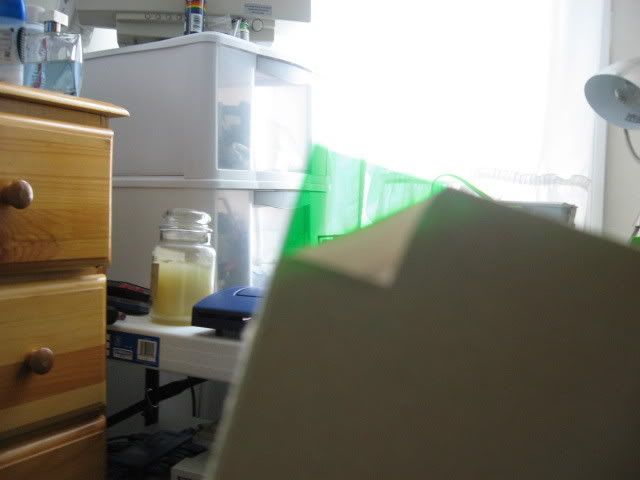
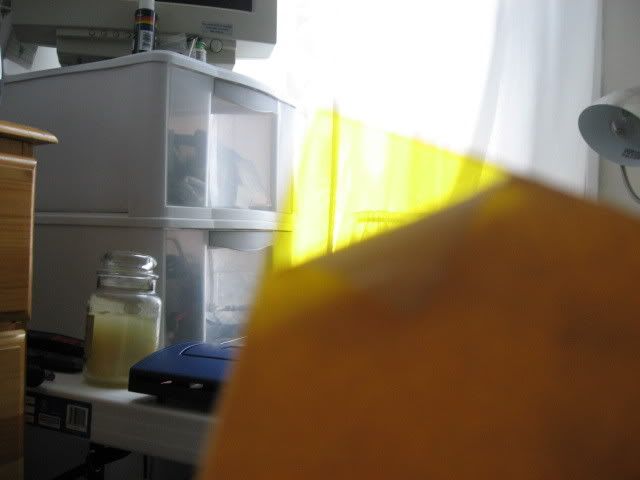
My plexi FINALLY came in.
Green
Yellow
Red
2 12" UV Cold Cathodes. They are Logisys, same as my green ones. (I recommend this brand to everyone.)
Fan grill for the top of the case.
More paint.
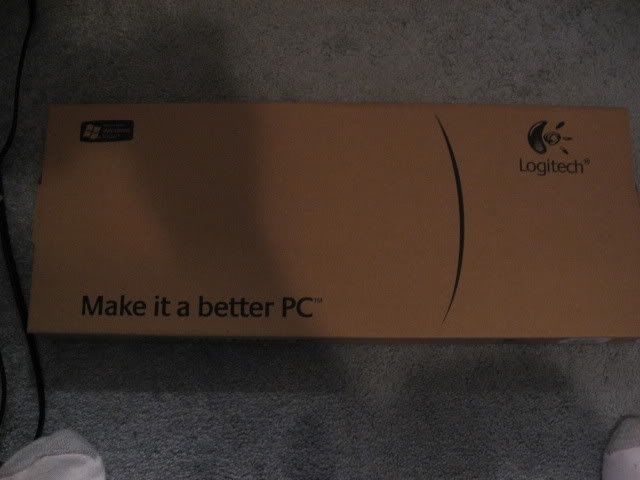
Keyboard???:eek:
(You'll see more of this in the next update.)
Ok now for the work stuff.
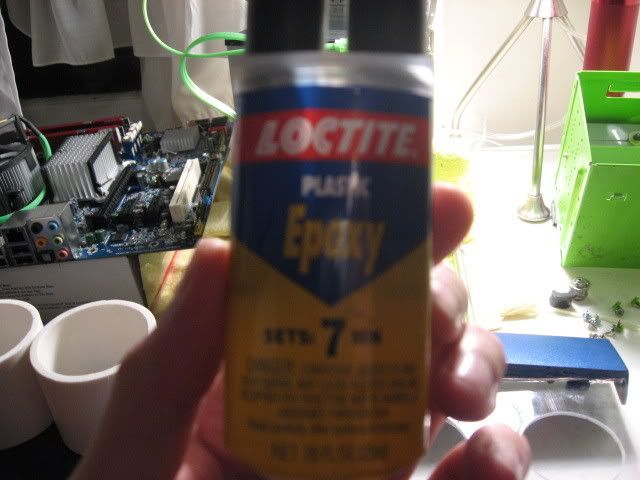
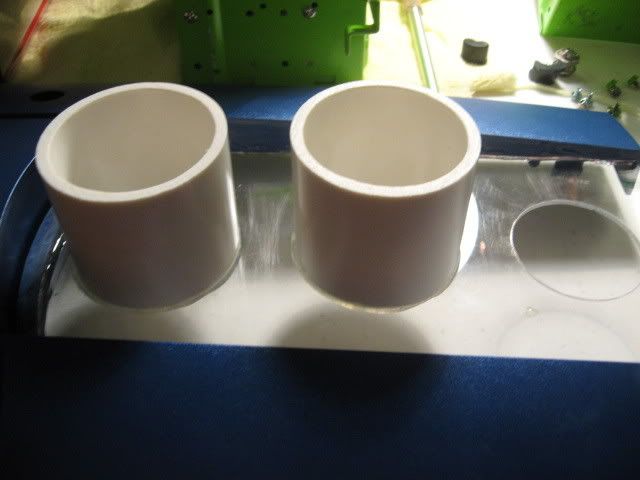
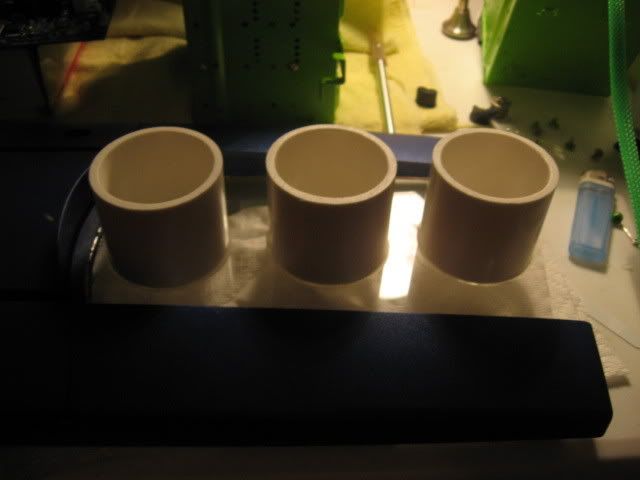
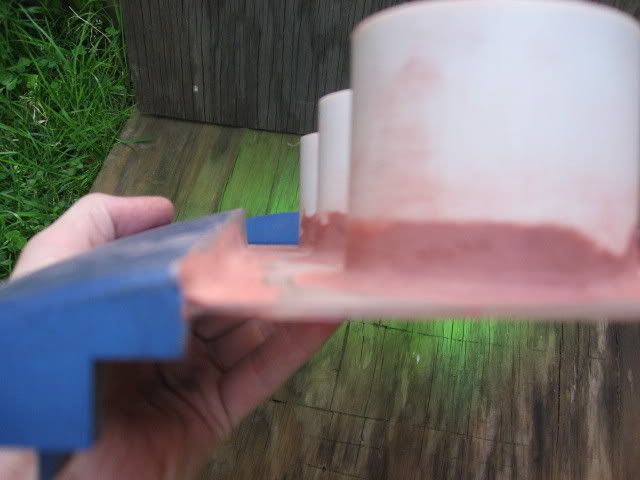
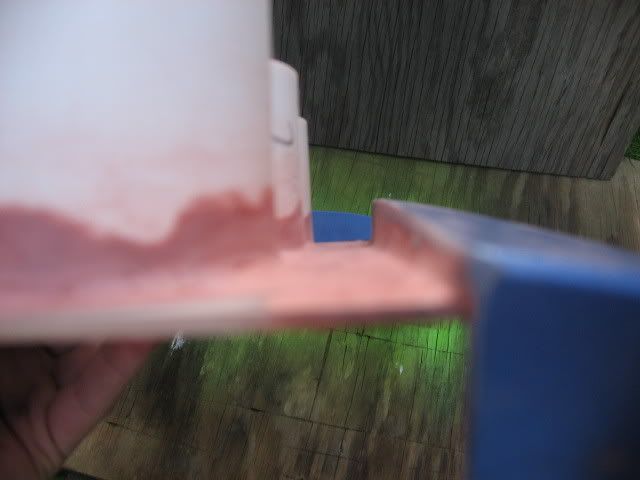
I had to epoxy on the tubes. Wasn't too tough of a task.
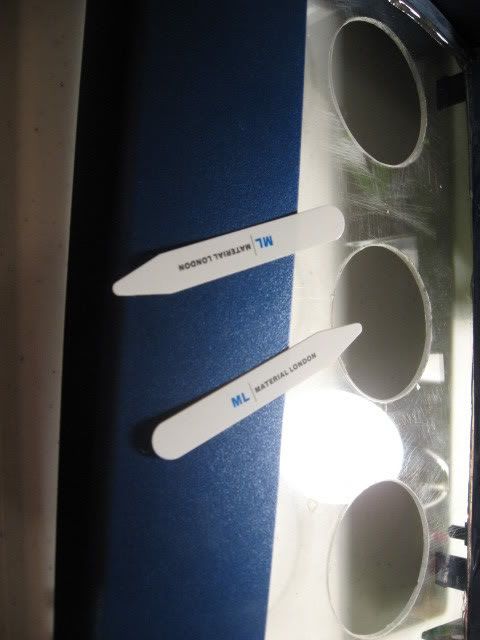
Here are my spreaders. I use collar stays lol
Here you can see the excess.... I'll have to shave and sand that off.
Then I started the bondo on the front. :Note to self, never use this stuff again: This was by far the "hardest" part of my mod. Trying to put the bondo around the tubes was murder. And even harder to try and sand it smooth. Came out... ok...
I sanded more after this but forgot to take pics... sorry.
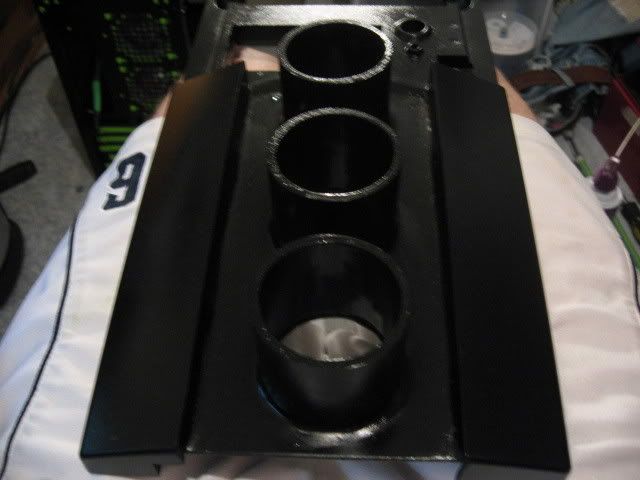
After that was sanded nice and smooth I started painting.
I did very lite coats so I could try and avoid runs.
All done :D
For the door I had to tape off the middle cuz thats gonna get painted green tomorrow. Ya and the taping took a rediculious 30 mins...
Same here. Lite coats. I'll finish it up tomorrow.
I also found some files in my basement and my dad brought me back some from our house up north. (I have to show you guys this place some day) Here it is, nice and smooth now.
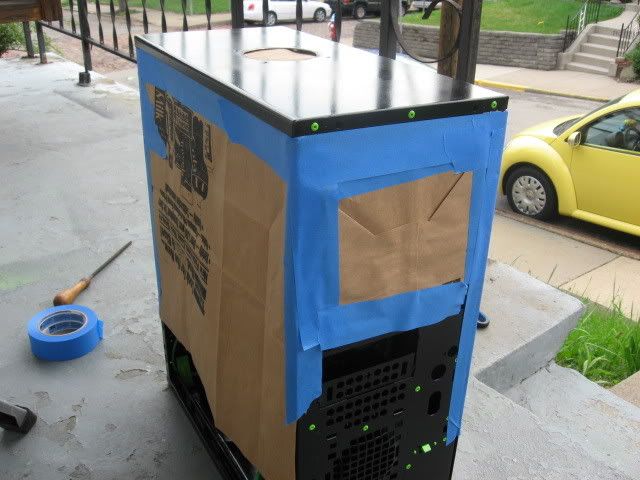
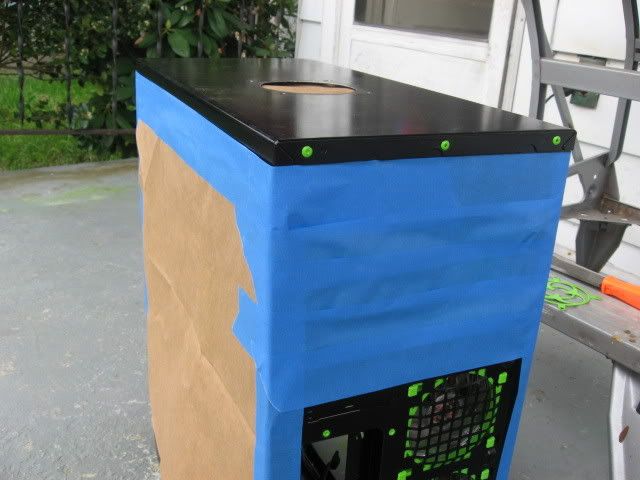
Next I taped up the case for it to be painted.
All done :D
I just have to hand paint the inside. Pics in the next post.
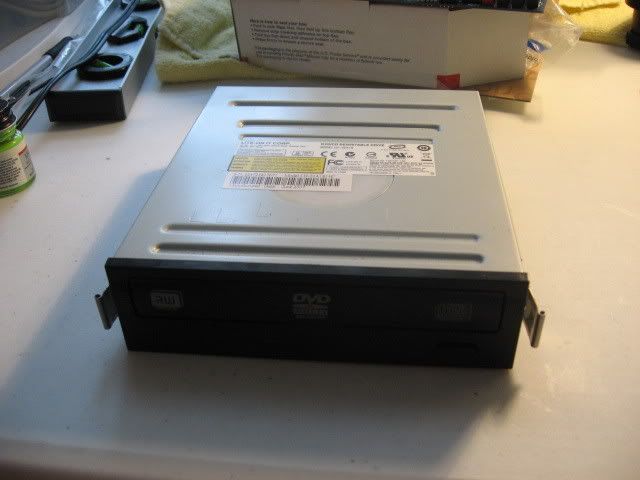
Then I was thinking. What could make this even cooler? How about a DVD Drive paint job? Ok lets do it!
Here it is before it gets blown apart. (Not literally lol.)
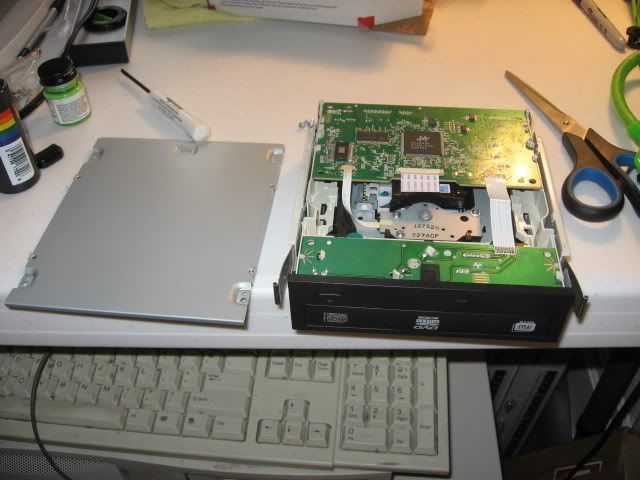
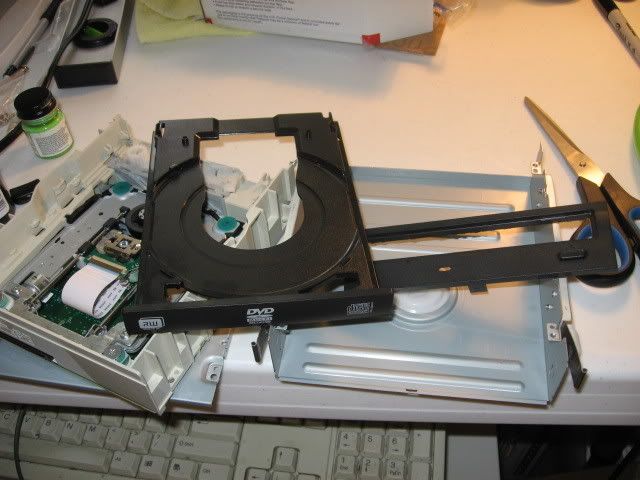
I decided to only paint the face plate of it. Not the drive tray. I think it would look cooler by keeping the try black with a green face plate. I still need to put another coat on it so it will be in tomorrows update.
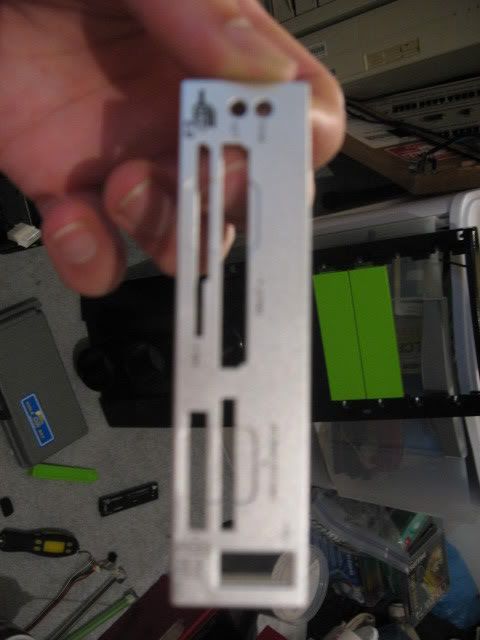
I also got an extra face plate with my media card reader so I got that out and will be painting it green tomorrow. Not worried about the writing on it. If it don't fit try another slot lol.
Now for something a bit better looking... the lights :D I tried a few combos with the UV and the Green lights and found the best combo is with the green ones in the back, and the UV in the front.
Looks good don't you think?
And here is the top fan.
Well I know its a lot to take in so thanks a lot for looking. Comments and suggestions are great! I'll have another update tomorrow sometime.
Till then,
-Fuga
That's some nice work. I like the look of the front.
UPDATE - MORE PAINTING
Got some more painting done yesterday. Didn't have much mod time due to the rain Saturday so I had to cut the grass Sunday and I had a hiring event with the Apple Store.
I had an extra faceplate to my Media Card Reader so I painted that green.
Ya... its drying now lol.
Here are some of the things I painted green. Faceplates, fan grill, fan screws, power and the reset buttons.
I have lots more to post when I get home and take the pictures.
Till then,
-Fuga
UPDATE - KEYBOARD MOD
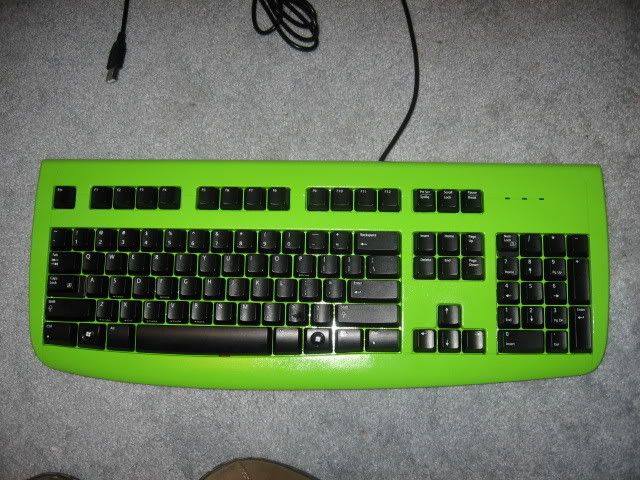
I think this will make my mod shine just a bit more. You remember that keyboard I bought? Well after a nice paint job it looks pretty sweet. Here are my steps.
Get a plain black keyboard. (Cheapo Logitech)
Open it up.
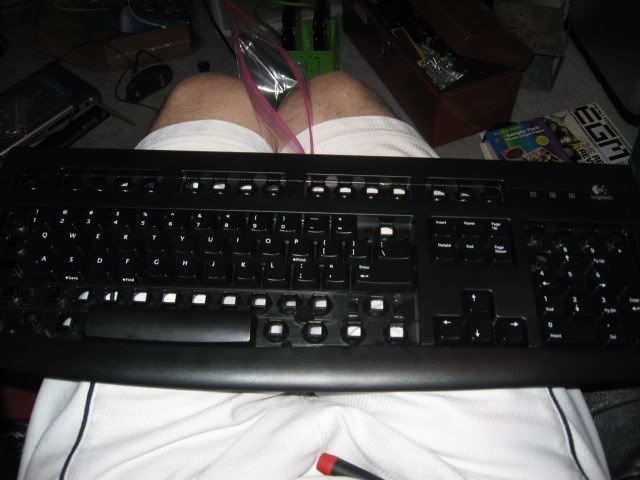
Start taking the keys off.
All off!
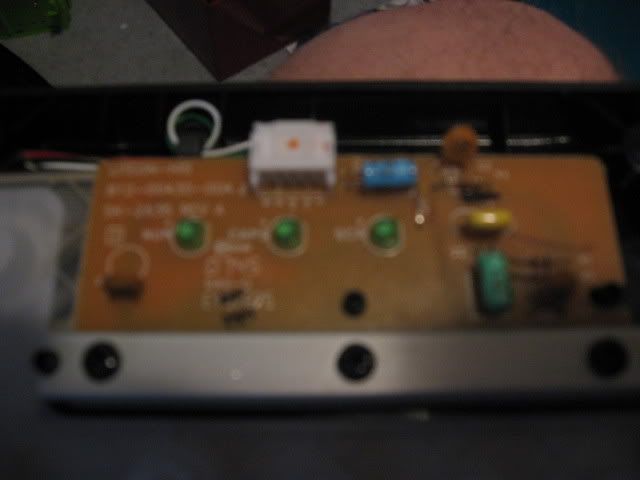
Random shot of the little circuit board inside.
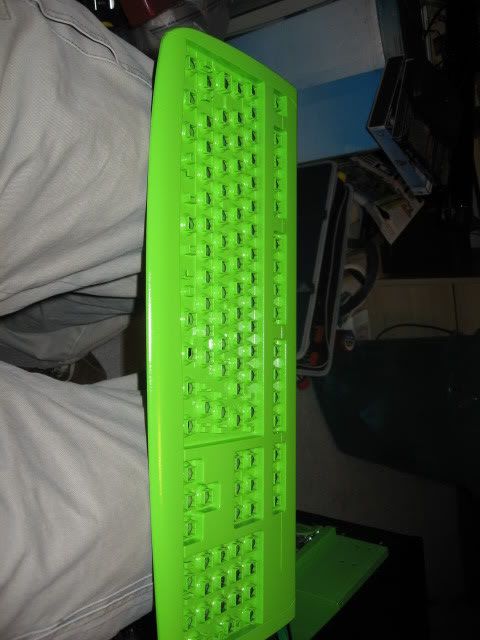
Now you gotta paint it.
And now the hard part.... putting all the keys back on.
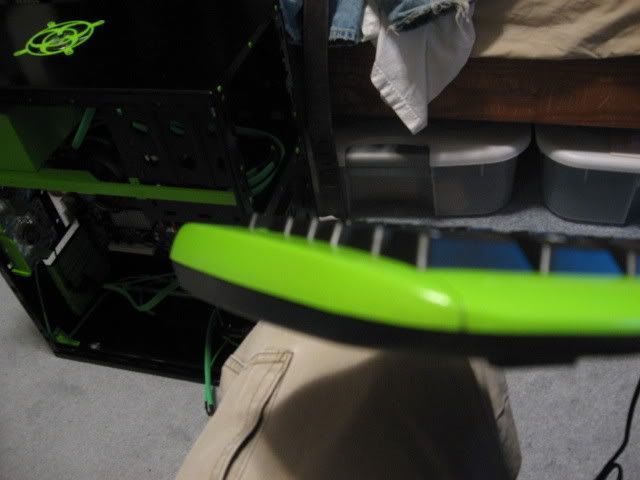
And the final shots :D
I kept the bottom black for 2 reasons.
1. It was cheaper not to paint it.
2. It looks better half and half.
Hope you like it :D Next mini mod to do... a mouse :D
Till then,
-Fuga
ok +rep for all the work man. also I have to say I love that green paint man.That is absolutely beautiful.where did you get it?
Thanks! A B Charles. Its a local hobby store. You can also find it at Hobby Town USA.Quote:
Originally Posted by BerticusPryme
The Black is Black made by Tamiya Color for Plastics.
The Green is Sublime Green by Model Master.
Thanks for looking!
-Fuga
Nice work.
Looking good bro :) haven't visited in a while but glad to see it coming along fine.
CB
UPDATE - LEDs
I finally got my LEDs from ledshoppe.com.... didn't know they were coming from friggin HONG KONG!! Here is the diagram that I figured to use.
The LEDs have to be in parallel because the voltage coming off the board is only 5V. Not thrilled about that but it is what it is. (I'll have a better drawing posted tomorrow. I'm lazy right now lol)
+ -|>|- -/\/\/\- + R = 56 ohms
5V + -|>|- -/\/\/\- + R = 56 ohms
+ -|>|- -/\/\/\- + R = 56 ohms
+ -|>|- -/\/\/\- + R = 56 ohms
My dad is getting me the resisters from work tomorrow and hopefully Tuesday or Thursday I'll be able to mess with them and see what works. So more later this week.
Till then,
-Fuga
Ya that diagram came out bad. Here is a better one:
I should really try working with LEDs one day.
Dude, what is the brand and name of that green paint? I love it! :D
________
COLORADO DISPENSARIES
This is coming along nice keep it up m8.
Quote:
Originally Posted by blueonblack
:)Quote:
Originally Posted by Fuganater
wow i really like this case so far! Great job. cant wait to see it finished
Thanks, Zephik. I really did read through the worklog before I asked but somehow I managed to miss it. :redface:Quote:
Originally Posted by Zephik
________
Ford Dld Engine
Sorry about no updates guys. I've been really busy with school and working on my girlfriends computer. Mine is at school in a student show. I'll get pics and post them asap.
Keep tuned :up:
Till then,
-Fuga
If I read your circuit diagram for the LEDs right, you'll have to change the position of the resistors as the current will have passed through the LED's before reaching the resistors. While your at it, you could also eliminate 3 of the resistors by placing one on the 5 volt line, like this:
This is how I set up the LED's in my Xbox mod, which is the same thing as your doing.
Glad to see you are still thinking about this mod lol.
Interesting... Everywhere says to put it on the Negative side. You put it on the Positive side. What is the difference. I have it on the Negative side and they work fine.
UPDATE - COMPETITION
I entered my computer in a Student Show here at school. I didn't think I had a chance against all of the artwork and pictures. But, hey, Geeks FTW!! I won :banana::banana::banana::banana::banana:
Here is a slide show that my buddy took. Its got alot of pics. I didn't feel like sorting them.
Click to see the show :D
It was deff worth the $100 prize! Needed that gas money. W
When I get it back I'll probably do a bit more touch up. Besides that... its almost done :D
Till then,
-Fuga
Congratz on the win mate, great work.
Just got around to checking on this log, dude I LOVE the slideshow! Outstanding work! +rep
________
Honda P50 specifications