Yeah !!!
Updates would be a nice thing, and LOTS of pics.
Really love the color you are using for this mod, and the hardware "drool" !!!

Printable View
Yeah !!!
Updates would be a nice thing, and LOTS of pics.
Really love the color you are using for this mod, and the hardware "drool" !!!
We have started....:banana:
We are currently spending money like a couple of drunken sailors on shore leave. (I know all about this because I used to be one!):rolleyes:
We may not get the MSI motherboard we orginally spec'd. They are starting to become outmoded not to mention hard to get. (They sure are pretty though.)
According the reviews I have read, the most important item for overclocking will be CPU FSB on the new Penryn quads. (Multiplier is locked at 9!) Theefore the best MB would be the new Fozconn X38 which has pulled 555 in a review I read.
If we can get a good enough deal I am startig to seriously think about dual 500 GB or bigger drives. Raid-0 of course! :up:
Anyway....gotta go... soon there will be real updates with pic's.:eek:
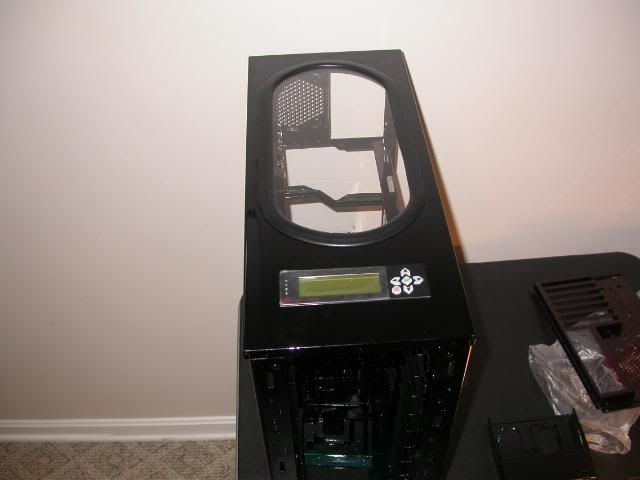
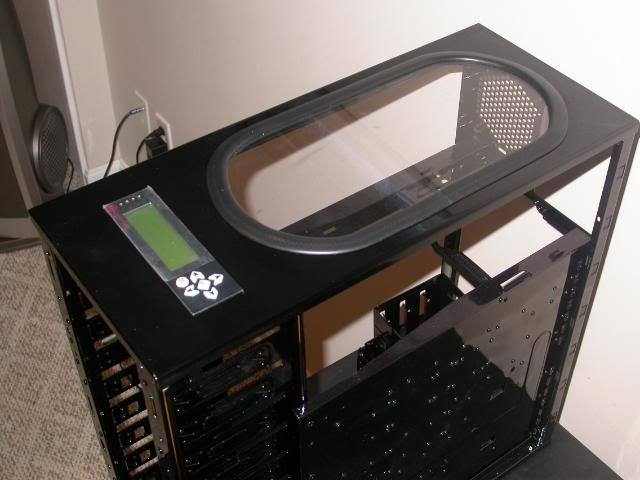
Do you guys have any idea how hard it is to escape from the locked trunk of an impounded car? I didn't think so. At any rate, i'm back now, and I even got some work done on the case! :) We had two simple items on the agenda for yesterday, the Temperature sensors, and getting that darn window on!
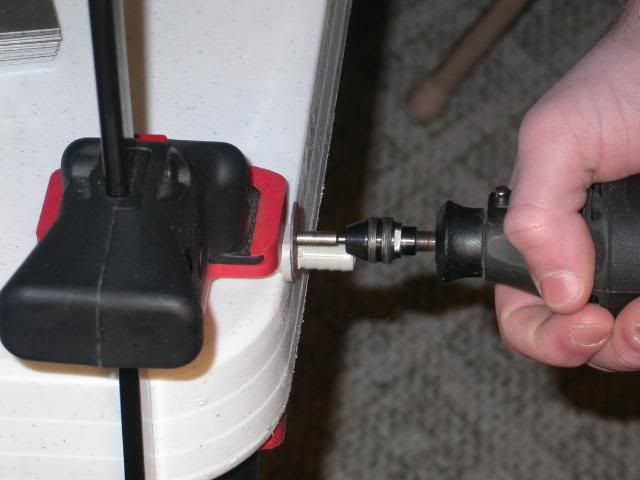
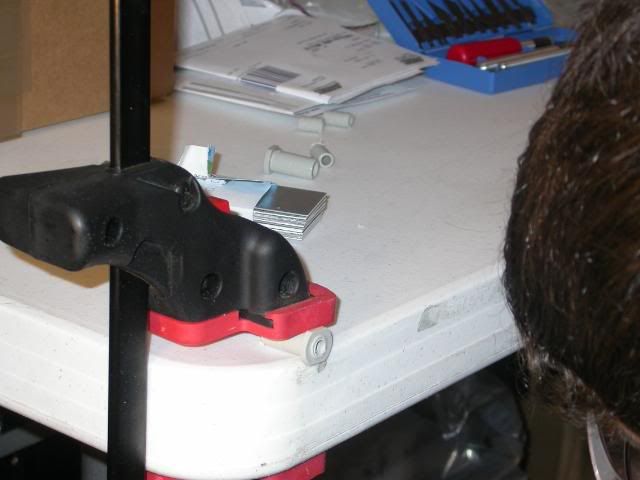
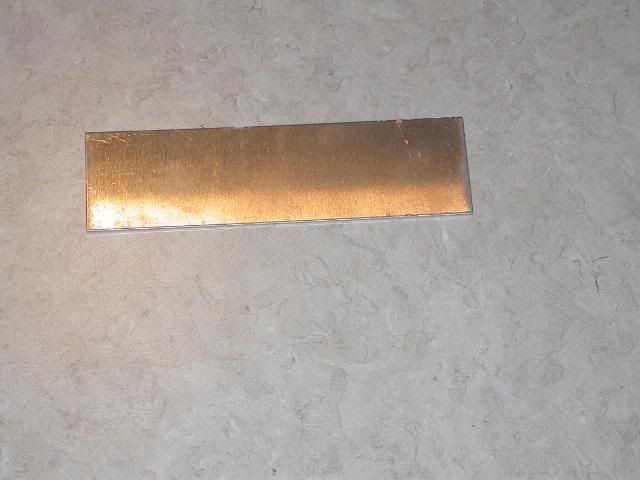
We started with the simple stuff; we took 3 plugs from T-splitters for the hoses, and cut off the excesswith a dremel tool.
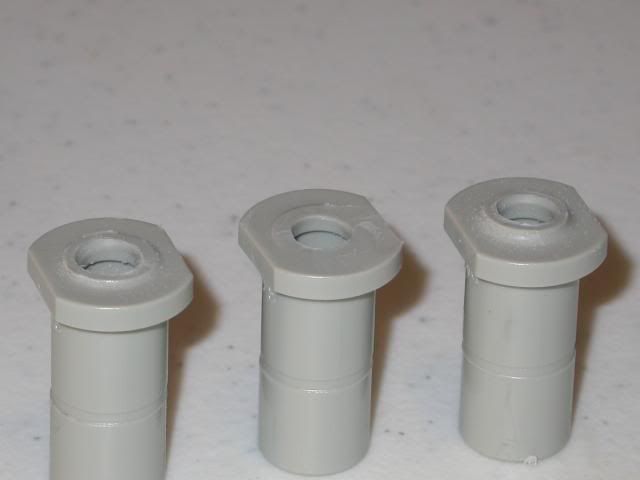
The finished cut.
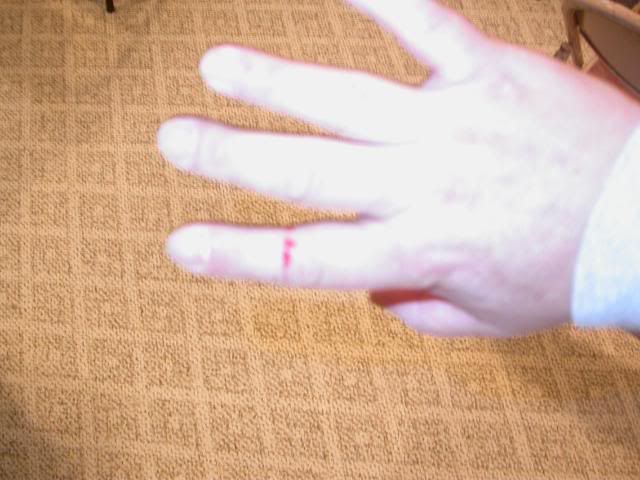
Next, we cleaned the cut with a sanding attatchment, and scraped out the excess with a razor knife. Using my awesome knife-wielding abilities to my fullest, I deftly stabbed my father in the finger, slightly missing serious injury. It was a warning attack. :)
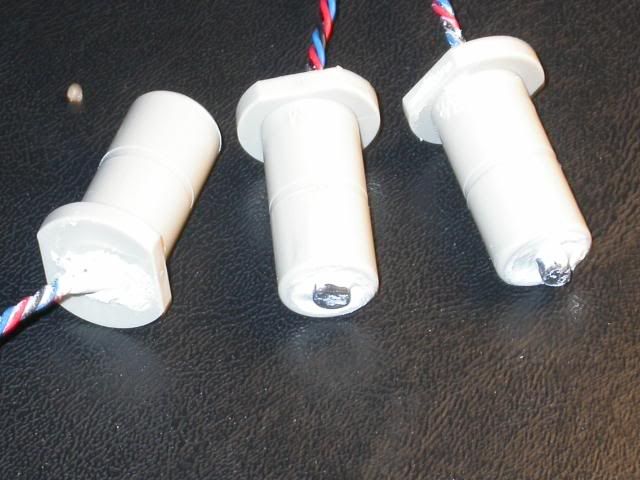
Next, we swabbed everything down with alcohol, and mixed our epoxy. We got a relatively thick epoxy, roughly the viscosity of frosting. For our first sensor, my father simply tried to mash the epoxy in with a stick. Trust me, this is NOT the best way to do it. :P Realizing this, I ran upstairs and grabbed a ziplock bag. After scraping the epoxy into the bag, my father had some initial doubts as to whether he would be able to squeeze it out of a hole in the corner as planned. As I expected, it worked perfectly... the rest were easy! :)
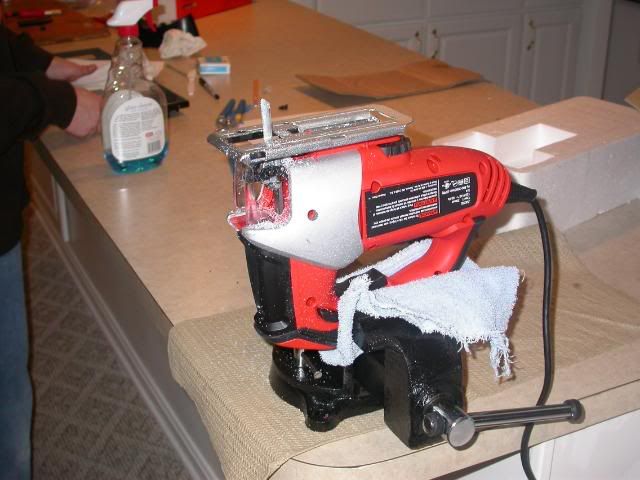
Next up, the window! Since we already cut a hole in the case, we used that and the handy included washer to mark off the size of the window on the acryllic panel we ordered. Once marked, we built ourselves a hobo scroll saw (using our new vice and a jigsaw).
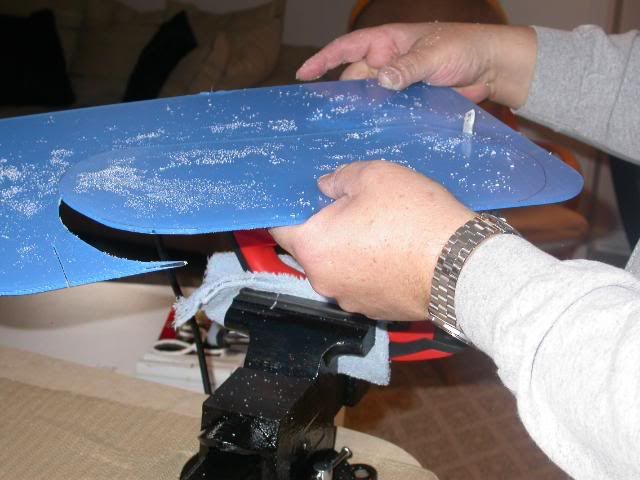
Then, we began the cut.
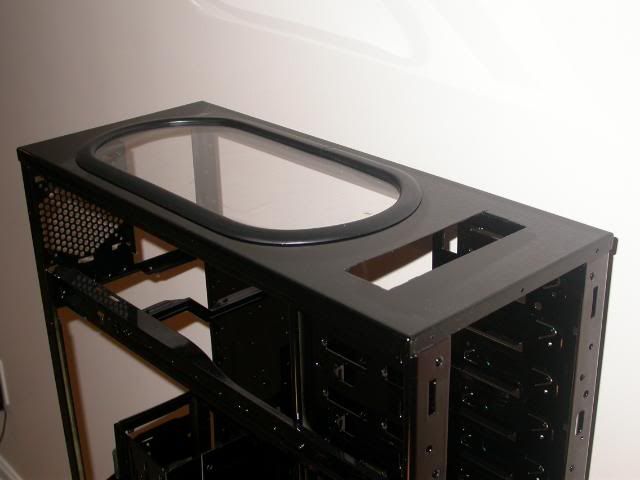
Once we had the panel out, I began applying the molding around the window. The secret-- silicone spray, silicone spray, silicone spray. Got that? :)
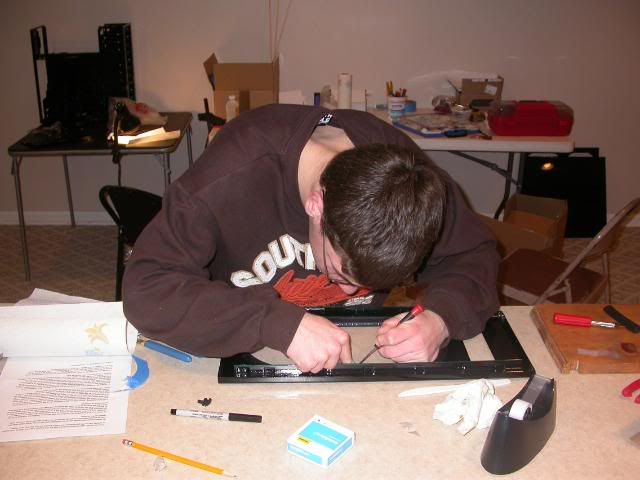
Finally, we cleaned it up with Windex, and we were done. :)
And of course, a teaser of what is to come:
Stay tuned guys! :)
Nice window mount, good progress. Can't wait to see more.
Ditto on that! Updates can never come soon enough... ah well, the anticipation just makes it all the more sweet. :)Quote:
Originally Posted by The boy 4rm oz
wow every time i look at these case mods they make me fell bad cuz i dont think i could ever do that but u guys r good at what u do lol so i cant wait to see more
Somebody stop me before I spend again!:eek:
I just spent $800 plus on stuff for this mod.....
Momma is gonna kill me and then maim the boy! :dead:
On the plus side we are going to have 1Terrabyte of Raid 0 storage!
Lets all say that again 1 Terrabyte...mmmmm :redface:
The only major items left to purchase is the mother board and the CPU...
Buying computer parts is like crack cocaine for the terminally geeky!:think:
Nice...1TB.
We are getting closer.....
Last night I ordered an Asus Maximus Formula X38 motherboard.
Boxes are arriving at the house almost every day.
It's just like Christmas! :santa:
Yet so far away :( lol. I love new tech.
SOS! The IRS Agents just dragged my dad away. Now whos going to pay the rent on our cardboard box!? Ah well, at least I have my computer!:) We got all sorts of goodies since our last update, and we've been dying to show you it! well, my dad actually DID die, but we already ordered most of the important stuff, so the internals are on there way! At any rate, our new trinkets:
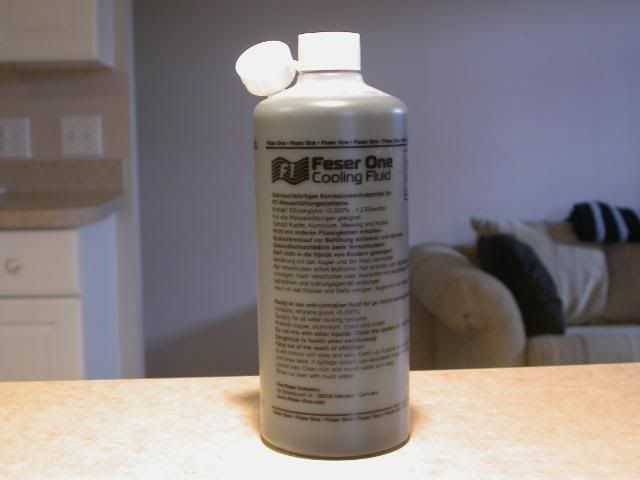
Fessor 1 UV Black Coolant
Pretty eh? Black in the visible spectrum and transparent blue in UV. :) The picture is obviously from the site itself, and split in half
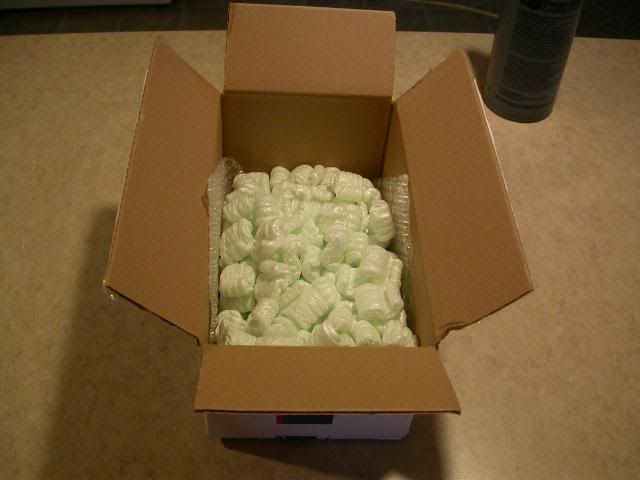
Can you guess what this next item is? Don't ruin the surprise, make a guess before you read the answer!
Its.....
A box of packing peanuts! Woo Hooo! Not just any peanuts, these beautiful limited edition package guardians come in in a neon green-tinged hue! :P
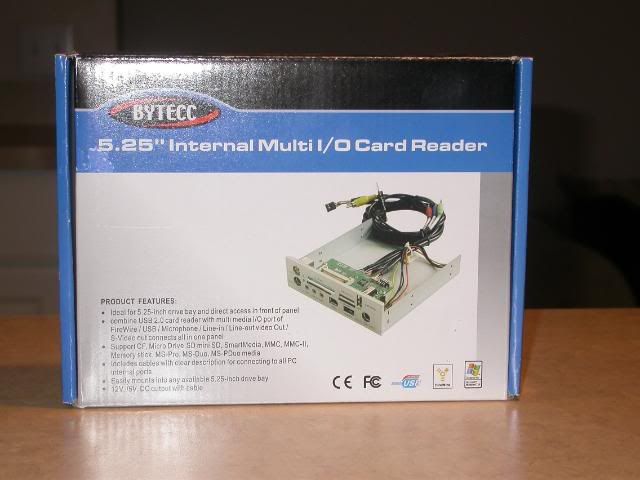
Next up, a too-many in one card reader! :)
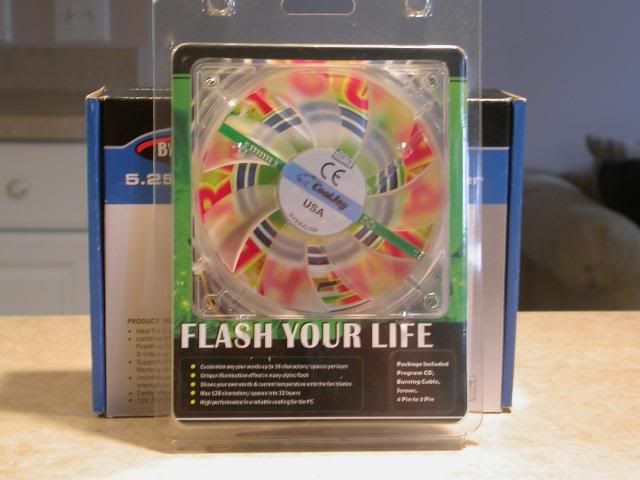
Of course, this mod wouldn't be my own without at least two ways to insult my dad without his noticing in writing, so we picked up this LCD fan! I sold him on the idea tht I would put messages such as "dad rocks" on it. More likely it'll just give a constant weight reading from a pressure sensor in the chair whenever he isn't looking! :P
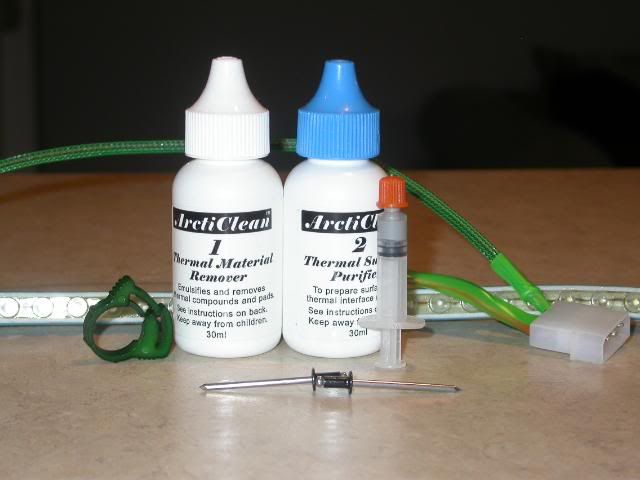
Finally, the money shot. Prepare yourselves ladies and gentlemen, you are about to witness the single lagest group of items in a single photo in this ENTIRE update! XD in the photo, from front to back: assorted black rivets which we may or may not use to hold our case together (i naddition to the bubble gum we're using presently of course), green hose clamps, thermal stuff, ArctiClean thermal prep stuff, and a 30 LED string, sleeved for FREE courtesy Performance PCs.com. "Sleeve it and they will come." Amen.
Note that the rivets and hose clamps are jsut representatives of a larger number of each. :P
Until next time, CK out.
Oooooh nice. I was going to get some articlean but after seeing how well zippo fluid works I couldn't see the point lol.
ooooo new stuff i have no idea what it dose but it is newwwww oooooooo aaaaaaaahhhhhhhh
Is it just me or is the boy starting to get a mite lippy? :mad:
This is what happens when he doesn't get beat on regular basis...:eek:
Maybe I should just trade him in... Yeah... maybe a contest...
:banana:Thats it a contest! :banana:
In 50 words or less you need to explain how if you replaced the boy you would make my life better by not needing to be beaten so often. The winner might get all the boy's computer stuff, MP3 players, Wii's...ect.:D (or he might not...):(
Void where prohibited, not available in some locations. Please drink responsibly. This add does not constitute a recommendation for replacing or beating evil children.
Haha very nice. I love the disclaimer, and the mod! Looking great. keep it up!
[...Uplink Achieved.]
[Signing On...]
[Begin Transmission]
Hey guys, this is my fir-*hiss* update since I barricaded off-*pop*-room from the rest of the house. I put *crackle* a sign declaring that I wasn't hiding in my room on the door. It seems to have fooled my dad so far. I also-
[Connection Lost]
[Connection Established]
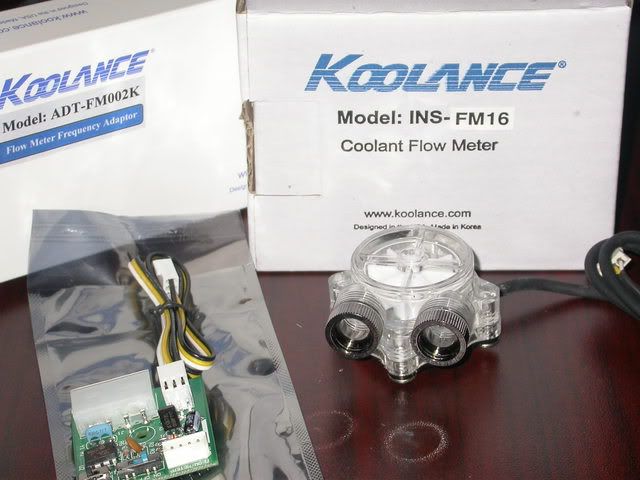
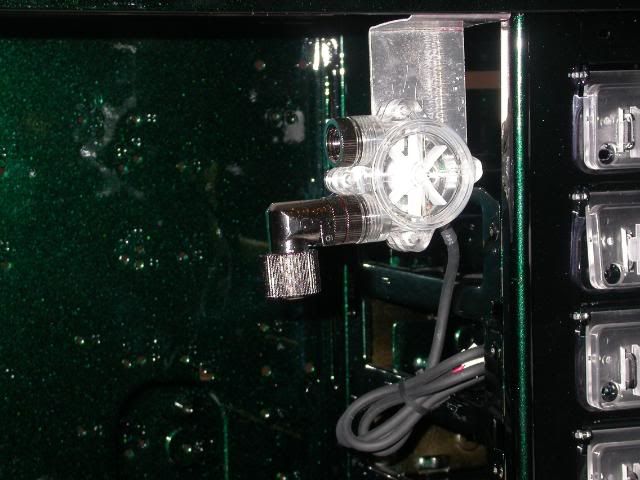
Anyways, back to the update. First off, *snap* our new flow meter has arrived, and yes, its the right *static* size.
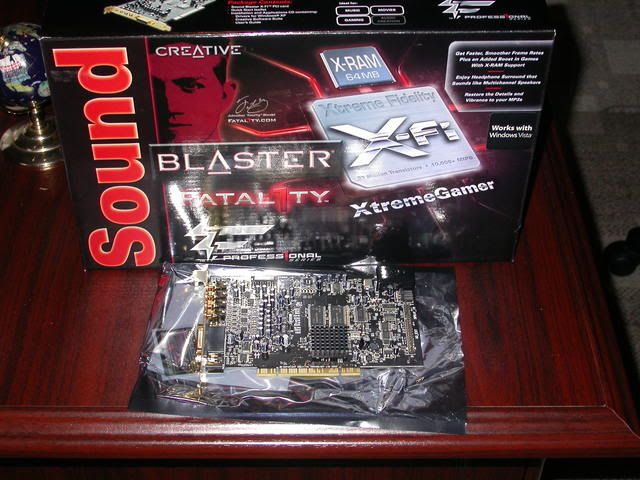
Next up, our beautiful SoundBlaster Fatal1ty Xtreme Gamer audio card!!! how can you not love it on sight? :)
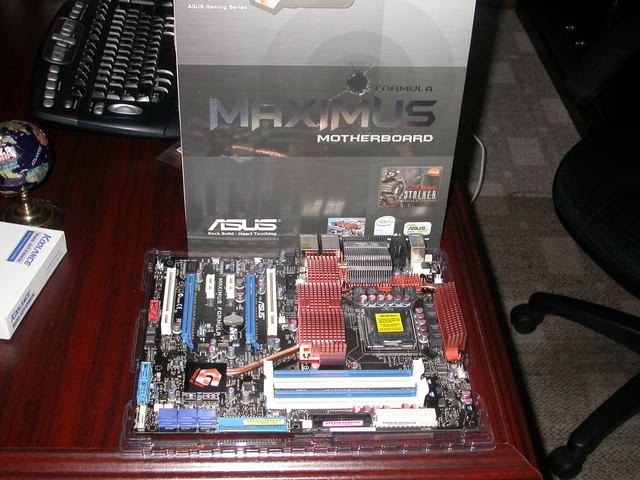
Finally, a device who's sheer beauty has made me fall in love with it, our new ASUS Maximus Formula Mother Board!
I could go on for pages and pages about how great it is, but since i'm not here to advertise for them, I trust you can find the relevant info. :) Suffice to say its super ultra high end!
Most of the rest of our system also came two days ago, but we dont have pictures yet, so i'll keep you in suspense! :)
Nice mobo. Personally I like DFI boards better but ASUS are good quality, expensive though.
[Uplink Achieved]
[Signing On...]
[Begin Transmission]
Josh's Log: Day 2
*CRSSSH* Hey guys, *crackle* I snuck out far after dark to snag some
*static*-ictures of the new parts. Beyold the power and *pop* -ajesty of
our amazing new computer parts!
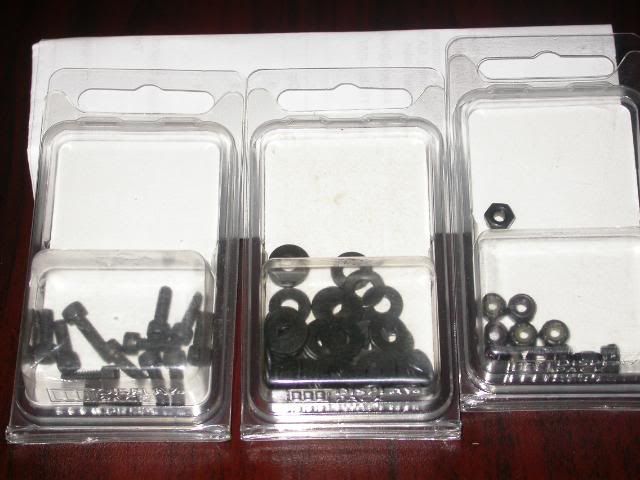
We can start simpl-*hiss* with the nuts and bolts:
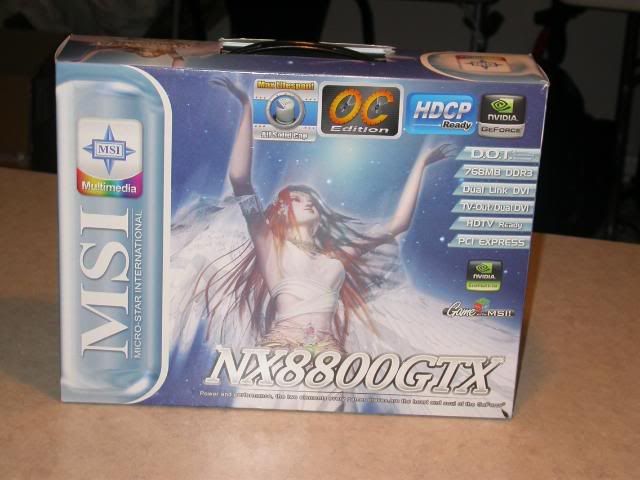
Next, the pretty box says it all, Nvidia GeForce 8800 GTX! Ooooh.
Ahhhh. 'Nuf said.
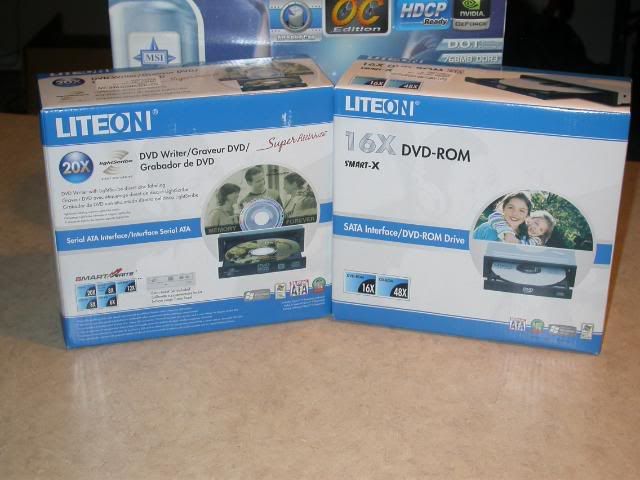
Next up, our read and write DVD drives! (one is just read, the other
r/w)
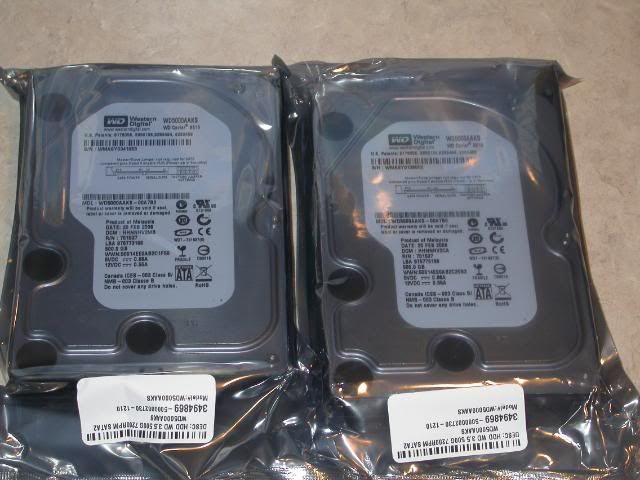
Next, a full TB of memory!
And finally, a computer just isn't a computer without working, so we
bought ourselves Vista 64x OEM!
Finally, a close call with Father. I snuck downstairs for some much
needed meditation for the upcoming week and a half of dedicated building,
and he caught me in a state of trance!
For whatever reason, he didn't kill me when he caught me at it...
Nevertheless, I shall continue hiding out 'til fu-*pop*-ther notice.
Stay *bzzzz*-ght here, we'll be working nonstop all through next week!
Expect a *crack*-date every day.
Josh, signing off.
[End Transmission]
I take it your spring break is coming up?
8800GTX? I want it!
Sometimes I just can't believe how lazy the boy is....
We workrd on the mod all day yesterday. Took pictures even. I, with my very own 2 little hands down loaded said pics to our pc. All the boy had to do was update this thread.
I don't see an update, do you see an update? 1 little thing I ask the boy to do and does it get done? :(
If laziness was a disease the boy would be terminally ill! :hurt:
On the other hand I can't believe that no one has entered the contest to replace the boy. A room of his own, his own TV, $1000 worth of Mind Storms stuff, an 18 speed bike...ect ad infinitum. All that and me as a father. How could life be any better? I couldn't, that's how. The boy is living the dream and doesn't even know it. 3 square meals a day and beatings whenever he needs them. :eek: I tell you it just doesn't get any better than that! Ungrateful whelp!
Lol *rant*.
I'm at the library. the old man got smart and took the door down... I really thought that "Tresspassers shall be hanged" sign would work longer. At any rate, we booked a solid 8 hours work yesterday, so this update may run a bit long. :)
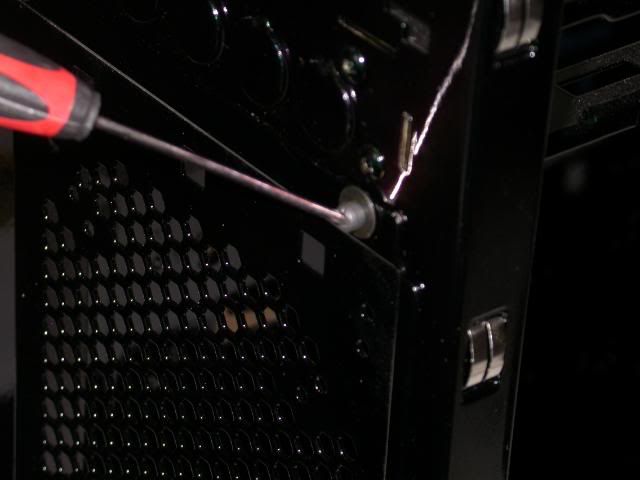
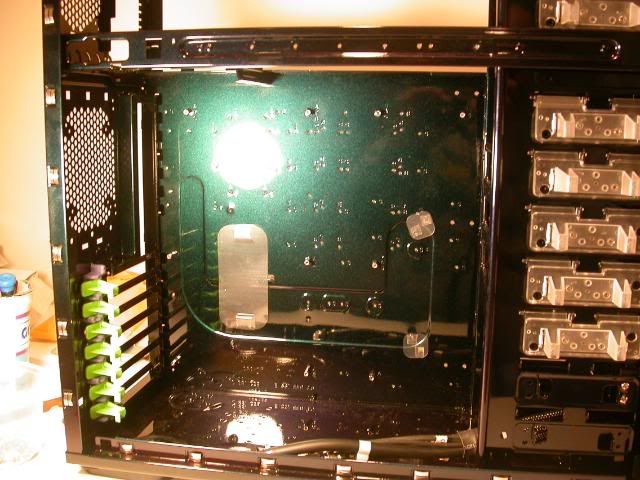
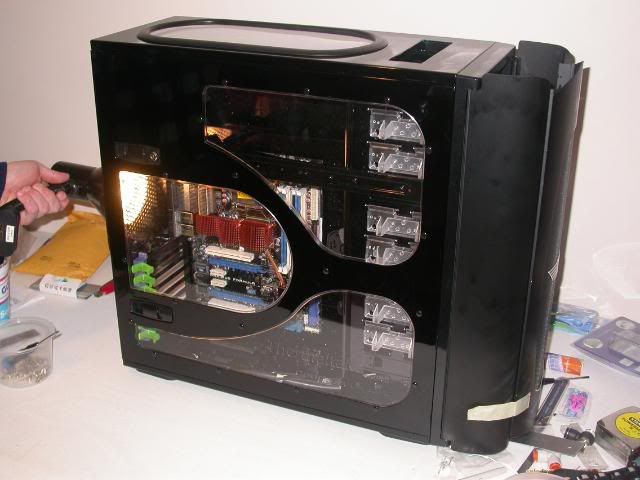
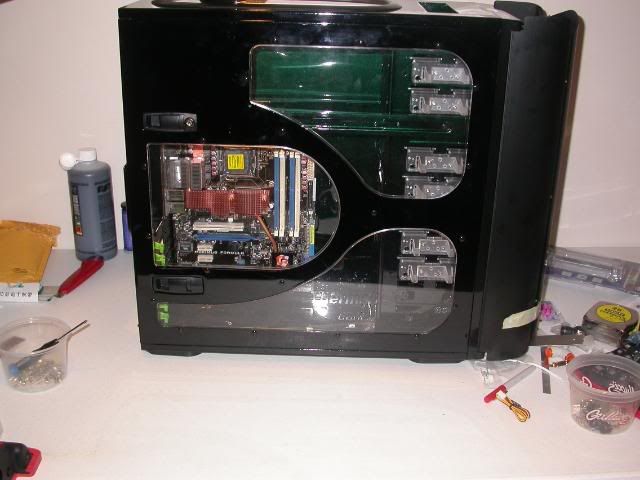
We settled into buiness w/ the easy stuff, I popped all of the door springs back into place on the case (which dampen noise). Once I did that, I reriveted the window onto the side panel.
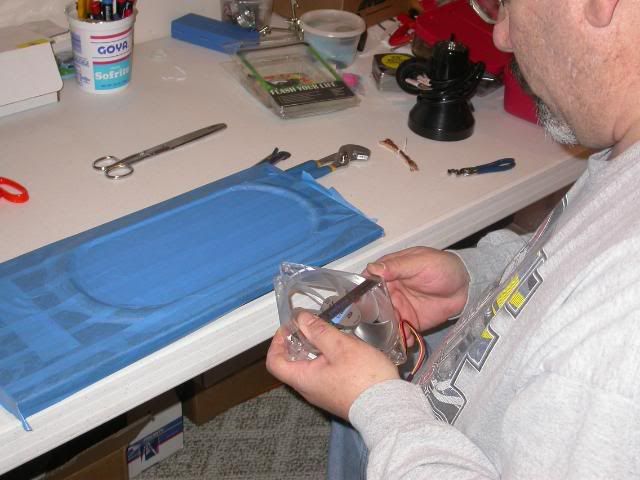
At first, we were going to mount our LED fan on top of the case, but we decided we didnt have enough window area to spare, so we mounted it as an exhaust fan at the back facing inward.
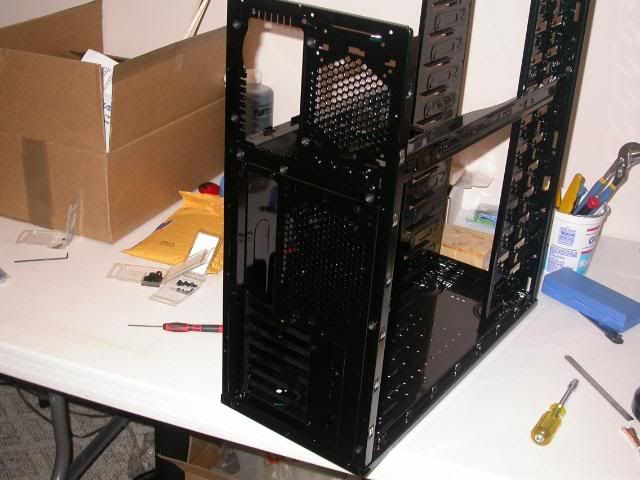
Next, we bolted together most of the case. I was pretty happy with the end result!
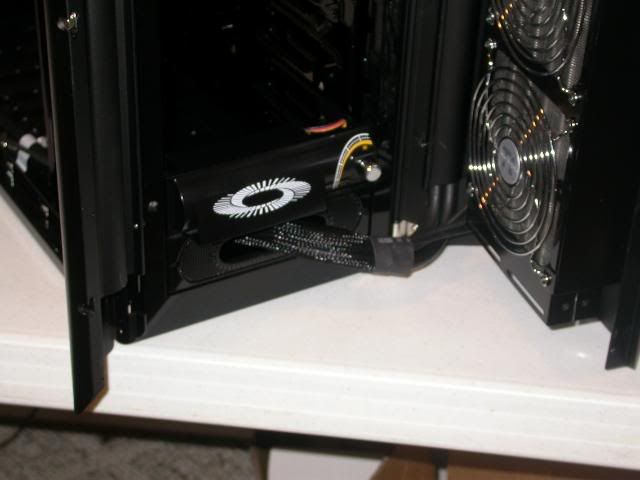
As I slaved away over sleeving, dad mounted our wierd and very cool drive bay fan.
After which, my father went mad and turned this:
Into this:
Did I mention he cut himself to pieces in the process?
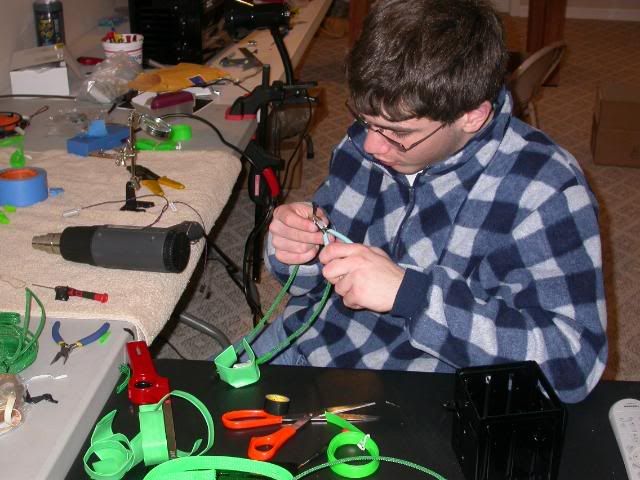
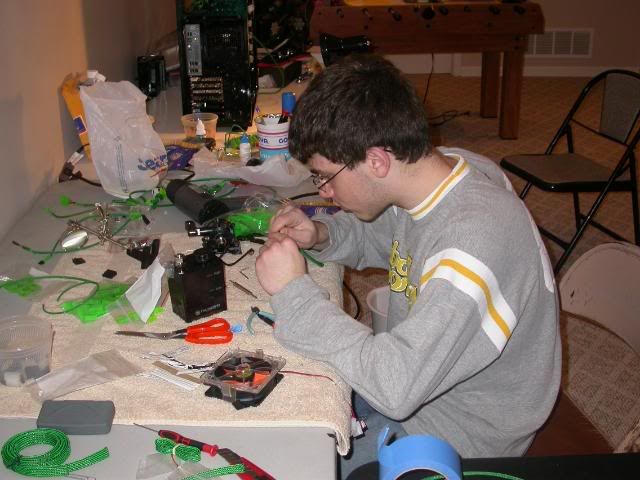
While he was going ape with the power tools, I was busy melting fingers and cutting wires attempting to sleeve too many wires to fast. :P
Now, the fun part. If you look closely at the picture below, you'll notice ugly pieces of plast ic that look like screen protectors. Well, those are VITALLY necessary to install an ATX board (which ours is) to prevent it from shorting out. The fun part is, they are mostly transparent, small, and lost in one of over 15 large boxes full of unsorted junk!
After half and hour and a mild panic attack on my dads part, we found them, thank god. :)
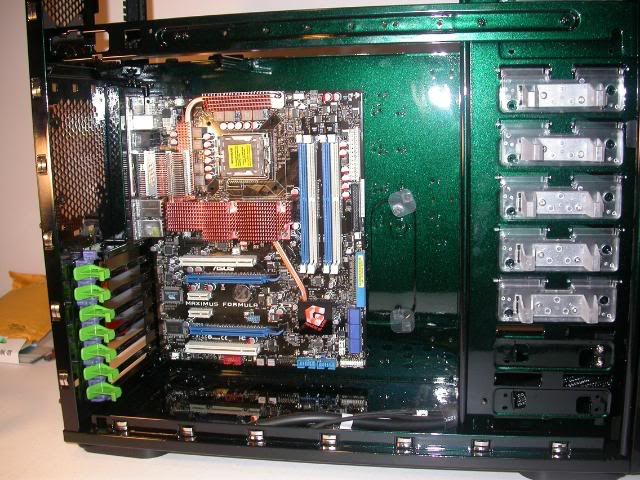
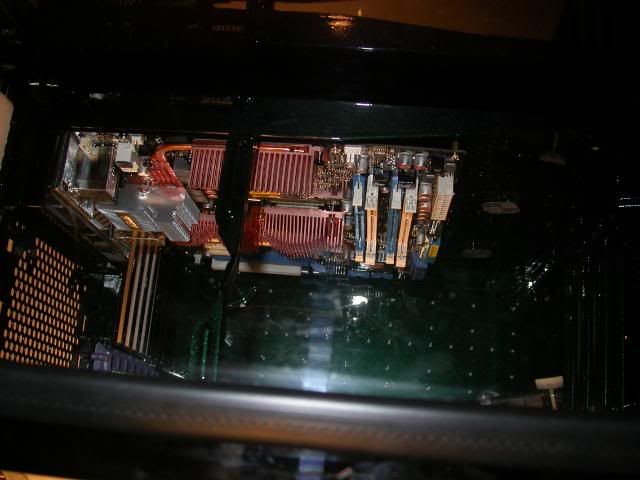
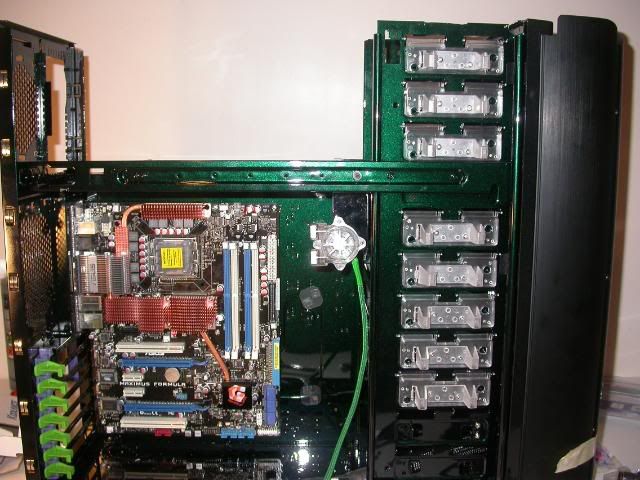
Of course, with that done, nothing was stopping us from mounting our precious mobo!
bask in the glory: :)
Anyways, thats it for last night, stay tuned for our work today! :)
Quit being so hard on the boy Darth, it's Easter weekend for crying out loud.Quote:
Originally Posted by Darth Dad
You guys have done an excellent job on this case. It's good to see a father and son work on a project together.
It's really coming together now.
[quote=Xpirate;179414]Quit being so hard on the boy Darth, it's Easter weekend for crying out loud.
If I wasn't hard on the boy he sleep in until 1:00pm every day. We would get no work done at all. For example we are taking today off (lazy bum) it is currently 11:30am and the boy is still asleep!:bowdown: Besides he appreciates the structure the beatings add to his life. They let him know that I love him and am thinking about him.:shoed:
Happy Easter (or the holiday greeting of your choice) to all of those reading this thread...:cray:
<Insert Politically Correct Holiday Greeting here> </Politically Correct>!
Hiya guys, just got on the computer. My dad slipped some sleeping pills into my water last night, so I didn't wake up 'til about 11:30!
Anyways, boy do I have the motherload for you! This update is rated R for partial nudity. You guessed it in one, we stripped our GTX today! :) We also did more sleeving....
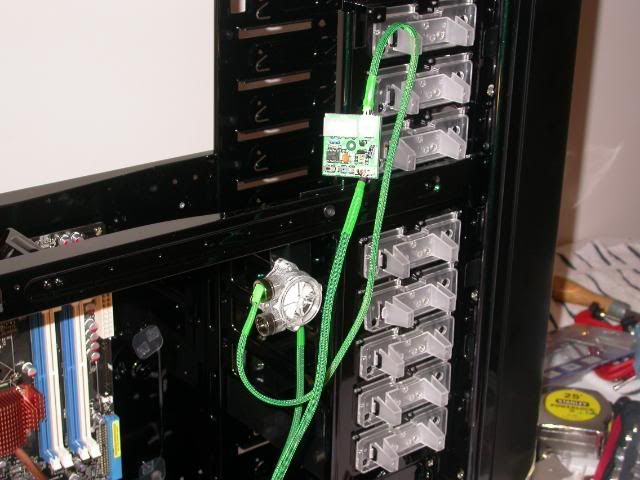
First off, my dad went outside to grab the flow meter mount I coaxed him into spray painting. I'd say it looks pretty neat mounted, eh?
I do wish we had some Harlequin to slap to it rather then black though... it seems slightly out of place.
If you havn't guessed, the floating circuit board top right is the flow meter's circuitry. We're probably going to mount it out of sight though, instead of somehow flying. ;)
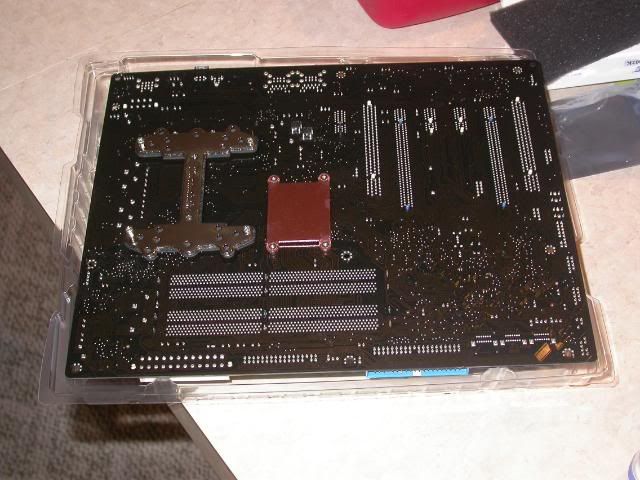
Next up, we took our MoBo out and armored it. the CPU cooler requires a rather large support block apparently... FUN! :)
Note to others doing this: we lined up the support piece by sticking long screws through the 4 holes it screws in at. That way, it took minimal jockying to get it lined up propely with the holes on the MoBo insulator (it was attatched using a one-time adhesive backing).
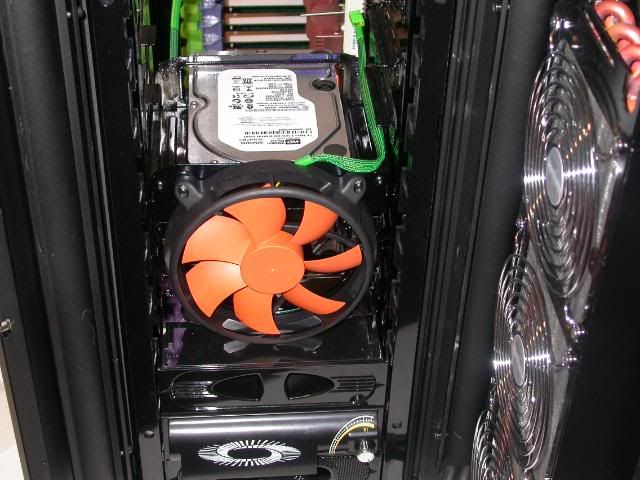
After that, we mounted our 500GB HDDs in their removable box, and mounted a giant fan on the whole assembly.
Remember now, this will be a full TB if memory in RAID0! :)
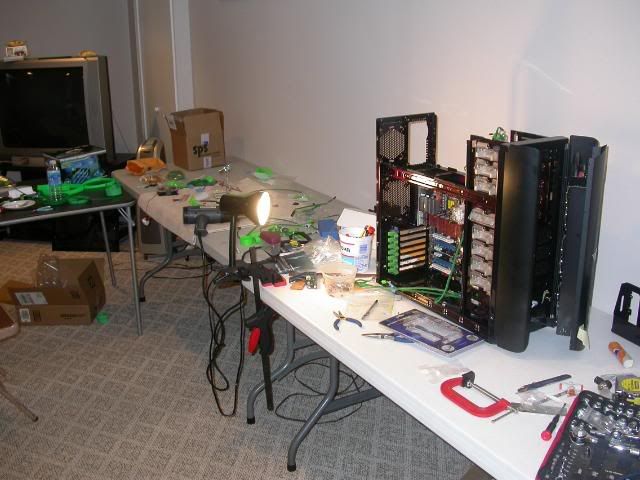
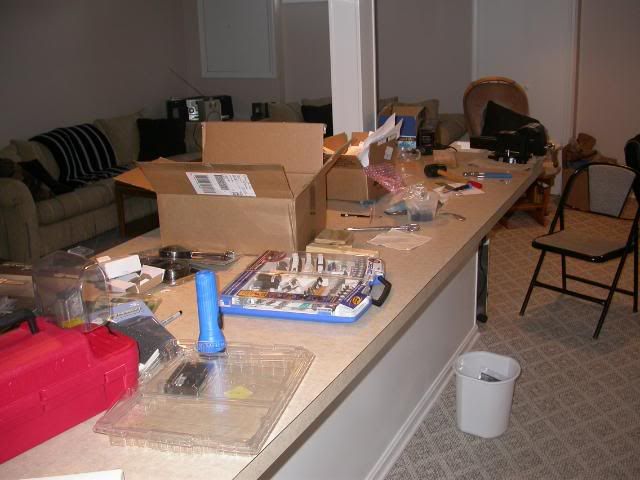
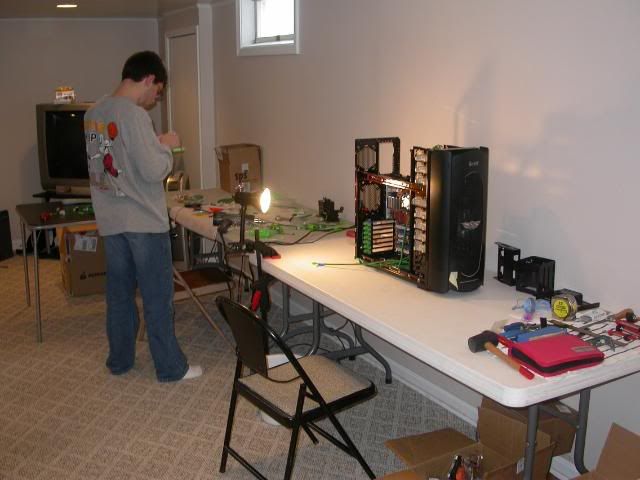
Suddenly, by the pricking of his thumbs, father knew evil was afoot! He quickly scanned the basement, searching for the culprit. His eyes locked on our work tables, and then the counter. "Thats it!" he thought. "Clean, boy, clean!" He yelled maniacally. In other words, Dad was afraid of losing stuff in the mess that was now our basement, and had us clean it up before we got back to work. :)
BEFORE
AFTER
(Yes, we blew up the counter so we didn't have to clen it. thats why we don't have a photo of it.)
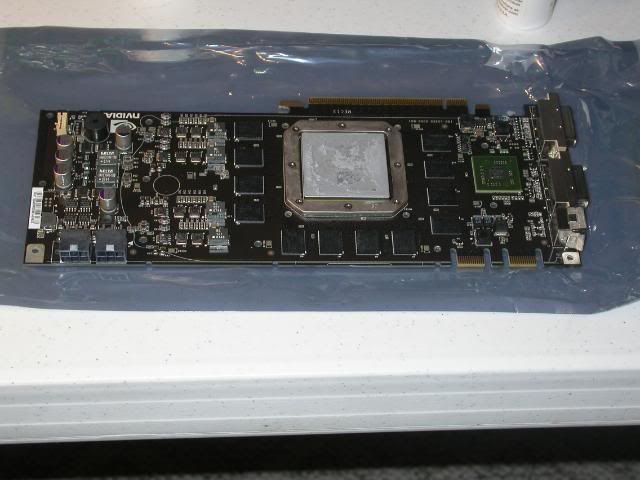
Once that was done, my father and I got to do something actually interesting. If you are under 18, you must have parental permission to continue reading! We stripped our GTX to bear circuit board. :)
...
...
...Do not look further if you are an unnacompanied minor!
...
...
Oooh.
Ahhh.
What a body, eh? ;)
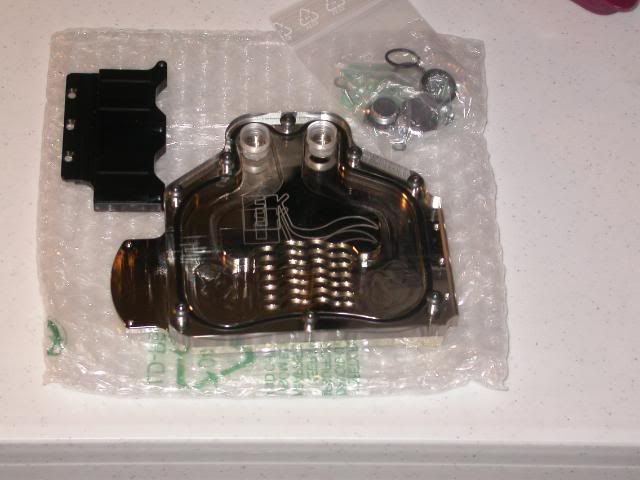
However, we did have a reason to strip the card, it wasn't just impulse. :P We needed to mount our awesome plexi water block!
You are permitted to drool.
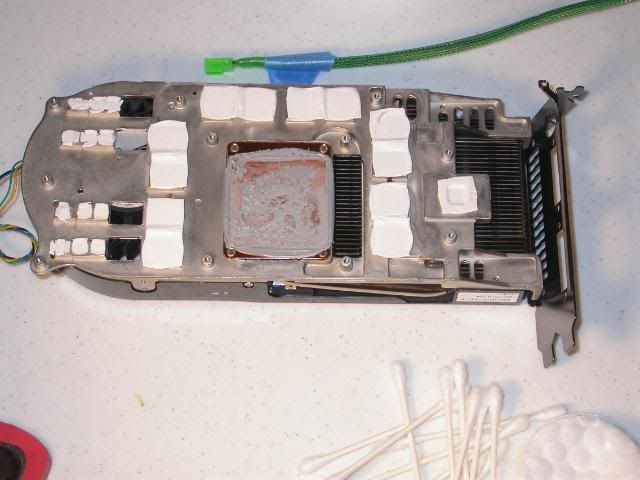
Now, enough of the peep shots, lets get to business! First off, we had to remove the giant fan cooler off of the GTX. This was particularly nerve-wracking because the thermal material used between the cooler and the card was uncooperative (my father was scared... *poop*less as he bent the card this way and that to break the seal.) Not only was that great fun, but he also had to search for missed screws twice before he got them all! Now, for a limited time only, *offer expires when TBCS closes,* you get to see the underside of the cooler!
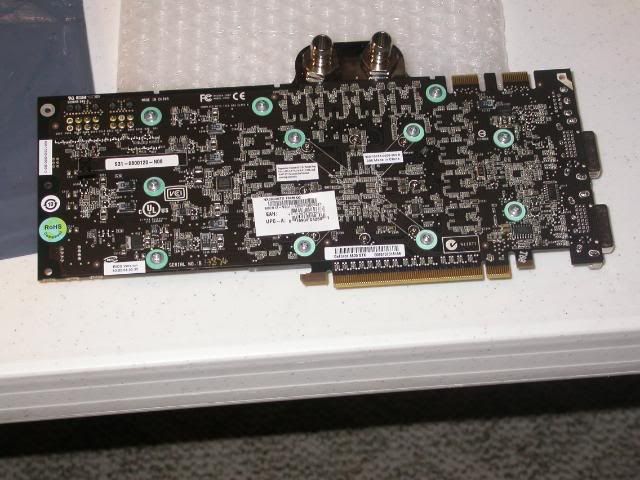
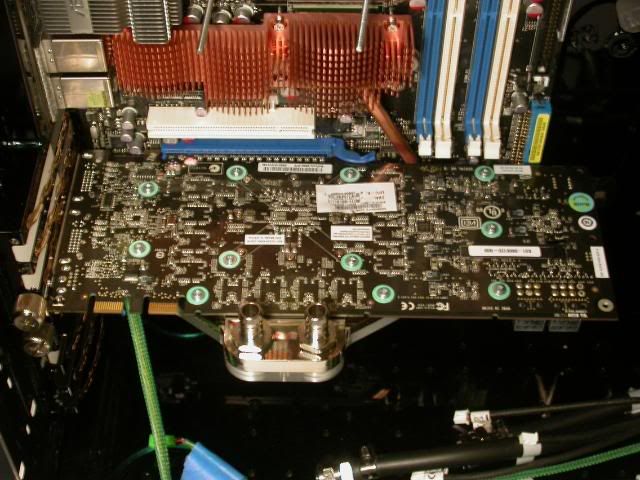
Not much to look at, huh? Anyways, we cleaned the old thermal compound off the gfx card, purified its surface, and used Arctic Ceramique to bond it to our new water block, all of which went smoothly. What was less smooth was the ridiculously large number of screws that all had to be tightened equally to stop the card from warping!
Well, my father and I were very happy with the way it looked... until we mounted it...
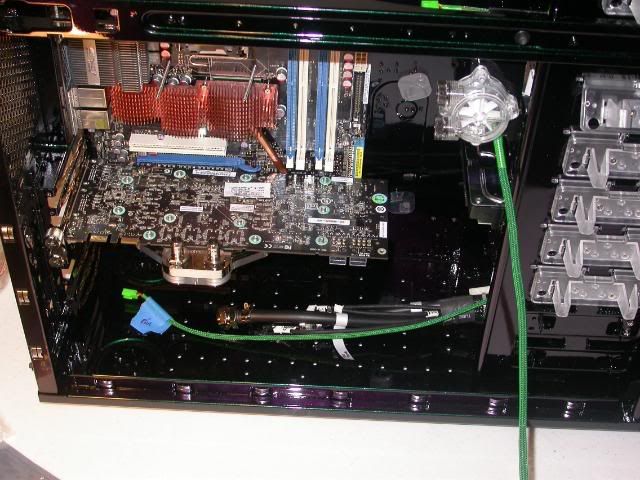
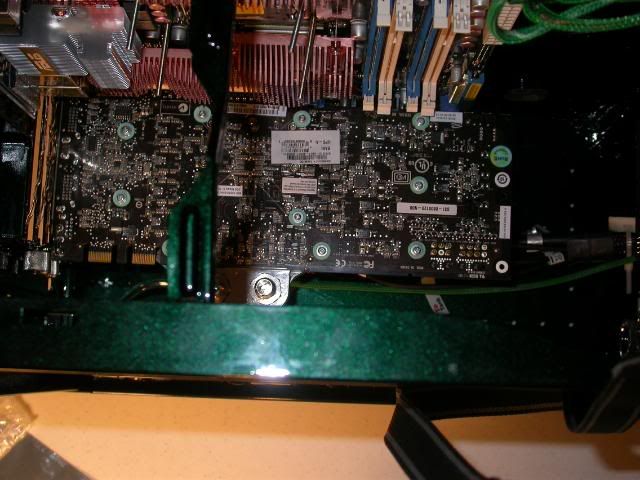
The slot is wrong way up! No one will ever know of the work we went through to beautify it! :( Oh well... theres plenty lore pretty stuff we'll be putting in!
Mounting the card at all was no fun either. After 15 minutes of playing with it, we realized the screwless card holder wouldnt QUITE fit the GTX. :( We popped it off and used the huge thumbscrews that had originally held the doors to hold the cards (on the theory we could buy more, and because dad liked the way they looked.)
And finally, more sleeving. :\
When will this torture end!?
Whats that? You want a sneak preview of what is to come? You're dieing to see what the case looks like with a few random lights thrown in? It's your terminally ill grandmother's last wish to see it, and she won't live until next update? Well, we got to ogle it! We plugged a few random lights in, shut off the lights in the basement, and thoroughly enjoyed the beauty of the case. Even with only about 4 lights tossed in (out of about 30 XD) it looked awesome. You really wanna see? realllllly? Well, you better stick around 'til next update! i'm not posting it until then! :)
So that's what My GTX looks like without the cooler. Oh well I will see it up close eventually when I install my Swiftech MCW-60 on it.
The IRS has caught up with us! Thy just reposessed our house. :'( Luckily, my Aunt and Uncle had a pad they said we could live in until we got out of this money scrape. Check out the new lair, nice huh?
Just something I would like to point out. The voltage regulators on the 8800GTX get extremely hot, these aren't covered by the stock heatsink or by the water block you are using. The regulators are in the center of the card just right of where the stock cooler ends, they are two black squares about 1cm squared. They are just left of the 3 capacitors in a row. I strongly recommend putting a heatsink on them if you have them, I did and it has made a huge temp difference on the chips (to touch).
Boy from Oz - Thanks for the info... I did not know that :? We will have to get a heat sink for the GTX card...
Here is a pic of what I did, it's just make sift until I remove the stock cooler to install the water block. I will be mounting 2 heatsinks instead of one. I am using a couple of Zalman heatsinks that came with an old GPU cooler to cool the RAM. If you have an old CPU or Northbridge heatsink you could mod that to fit easily.
Here is the pic:
And another:
Ordered some small copper heat sinks from Performance PCs yesterday. Boy are they fast... I placed an order on Sunday, they shipped on Monday. I placed another order on Monday which they also shipped on Monday! :up:
When we started this mod I thought that case was huge... Now I am starting to wonder were we are going to fit everything...:cgonfused:
Just waitng for the boy to decide to get up...
While I really should be working.... Ive been flicking through the works in progress. There is some great work here. I am new to modding myself and I really like the sharp, clean look you are going for!
Well, I got held up for the last update, so i'll combine it with this one, for a [loud ultra deep announcer's voice] SUUUUUPER UPDATE [/loud ultra deep announcer's voice]
First, my dad decided to show off his newfound metalworking skills by building a UV Puck mount to light our flow meter.
...unfortunately, he grossly miscalculated, it didnt work. XD
So anyways, we installed the card reader while I waited for dad to finish playing with his mount. :)
Next, we popped one of the exhaust fans into the case. It definately moves some air! :)
During the horrible neverending sleeving, there was an accident....
:O :'( One of our temperature probes! Nooooooooooooooooooo!
Good thing we bought a bunch of extras!
Once that was done, we moved on to painting the T joints for the probes. Like how they look?
Then, wonder of all wonders, are CPU finally got here!
After that, I installed our lightbus! We tested it out for quite a while, it works pretty well! One thing we wish though, was that it would use the different channels to cover the highs and lows, instead of each channel operting on one sensitivity. Oh well. :P
Welcome to the first national cable forest, located in scenic Josh's basement!
Were on to the second half of this update! You are about to see, ladies and gentlemen, the long loooong process of lapping, and several other miscellaneous tasks! :)
Note: If you can count the number of pictures of lapping in this update you will win: one lungful of air! :)
BEFORE
This is my lapping work area, complete with a laptop with several TiVoed episodes of Futurama and Family Guy. :)
While i worked at grinding away our CPU cooler, dad finally got his UV LED mount right (on the third try) :P Looks pretty slick though, eh?
I've gotta give the old man props for that, you kn ow he deserves some rep for it (he's never metalworked a day in his life as far as I know. :) )
Back to me! I finished the first grit of sandpaper, and already its starting to shine! Wow! :)
And, the next grit too!
Around this point we found that circular motion works best, one set clockwise, one set counterclockwise (or as our lightbus manual form New Zealand says, "withershins"). :)
And finally, last grit, you know its amazing, here it is!
Oooh! Ahhh!
Well, thats it for now, time to get back to work! :)
You have a lot of cables there lol. Bracket looks great. Nice job on the lapping.
Lookin' very sweet guys. But I'm curious.... why watercooling and air cooling? Extreme overclocking?
Even though you water cool you still need airflow to remove all the heat from your HDDs motherboard and other bits of tech. Your RAM would bake without any air flow around them to keep them cool.
Hey guys, another day of hard work to show for with this update! :)
First, we took our handy little heat sinks we bout off of PerformancePCs.com, our favorite parts store. :) hey were smaller then we originally anticipated, but they made up for it in number (10 per kit)! So, we cleaned up the power controller chips on the graphics card with our ArctiCleaner kit, and went online to get some instructions for our Arctic Silver Transfer material.
My dad is a butt. (he told me not to type that while I was writing this)
Anyways, the instructions for the Arctic Silver were laughable... we'd come to expect better from them. In short, the instructions told us all about the materials pot life, and workable time, and protogelwhatsit... or rather, it told us the DEFINITIONS of all those terms, it never gave us any actual numbers! What the heck? :o Ignoring that, we mixed the material and got to work.
A pea-sized amount wa more then adaquate. Then we spread it onto the two chips in question. (Seen here just to the right of the black cooling attatchment.)
...and here, with the material spread on.
Here it is with 4 of the heat sinks per chip.
While we waited for the thermal epoxy to dry, we went right to work on the lighting, WOOt!!!!! ;) We took all of our LED strips and stared at them for a while. Unfortunately, they were covered with a nasty gooey foam adhesive strip... certianly not preferable when we're using velcro to hold all the lights! Even better then that though, the adhesive had leaked out of the foam, covering most of the light strips. :/ Anyways, a lot of rubbing alcohol thermal material remover, and surface purifier later, the LED strips were merely sticky. We mounted our only white light strip on the crossbar that supports the PSU, and then mounted a UV strip on the top of the case. We also mounted two more UV strips along the bottom of the case.
We had already mounted our blue lights, so all we needed was our greens. Unfortunately, the green laser LEDs had only one molex connection per light, so they couldn't be daisy-chained without a ton of Y-splitters. Being the stickler that he is decided we would be building the Y-splitters ourselves, so we had to put that off.
Since we couldnt finish up the lights, we moved on to hosing!
Fther got this hideous pink anti-kink wrap, which i had to put on for him, but hell, this computer is gonna be worth it. :P
This is a piece of our coolant circuit, sans the CPU cooler.
Speak of the devil, it was time to load up our G0 stepping quad core!
Then apply thermal goo,
and finally, finish the circuit!
Now, I want you to look at the circuit, theres a silly error in it, which has to do with the placement of our temp probes (the silver T joints). If you can guess what it is, you will win 50 Attaboy credits to be used at any participating CKDD Retail store.
certain restrictions apply, must be 0 years of age or older to participate. Contest requires submittance of 1000 word essay or larger of the error in the coolant flow in triplicate, or entry is void. Must pay a fee of 5 dollars to participate, and must live in North Korea or Lorain, Ohio to recieve prize.
And now, the moment you've all been waiting for, the lights! so, without further ado.
LIGHTS *flash*
CAMERA *beep* *whirrr*
ACTION *snap*
NOTE: the wiring is ONLY TEMPORARY, dont give us any gaff about it! XD
NOTE2: green light scheme hasnt been implemented
NOTE3: many light schemes will involve one or more color of lights, which you can't see jsut yet.
NOTE4: our LightBus enables us to change the lights brightness, as well as run them all according to patterns involving sound, HDD usage, CPU usage, and several other things, which looks friggin' sweet, if I do say so myself. Expect us to get some type of video recording device before this monster is done to show you. :P
Well, were off to the store to buy a funnel to put our awesome Feser One liquid into the system, which is solid black in visible light, transparent blue in UV! Until then, this has been CK, signing out. :)
Try to get blue or green anti kink wrap. The red/pink looks highly out of place.
Well it's 12:25 pm and the boy is still asleep. I tried to wake him at 11:00 am, but he just went back to sleep.:down: Oh well I didn't want to finish this mod anytime soon:(
As you will find if the boy ever enters yesterday's work. we are currently leak testing the loop. What fun...
First we had a leak at one of the plugs on the GPU cooler.:mad: It wouldn't tighten soo we had to empty the loop and put a second oring on the plug. (yes I know that's not the right way, but it worked.) We refilled the loop and restarted leak testing.
A few hours later we found the video card was wet.:dead: After a little soul searching we once again emptied the loop and then pulled the video card and removed the cooler. Was the liquid left over from the first leak? Who knows? Anyhow we cleaned and dried the cooler and card. We pulled apart the cooler to check the gig oring. (it was ok) We checked everything tight. Refilled the loop without installing the the cooler on the video card and restarted the pump.
No leaks when I checked this morning! :banana: I was really starting to worry.