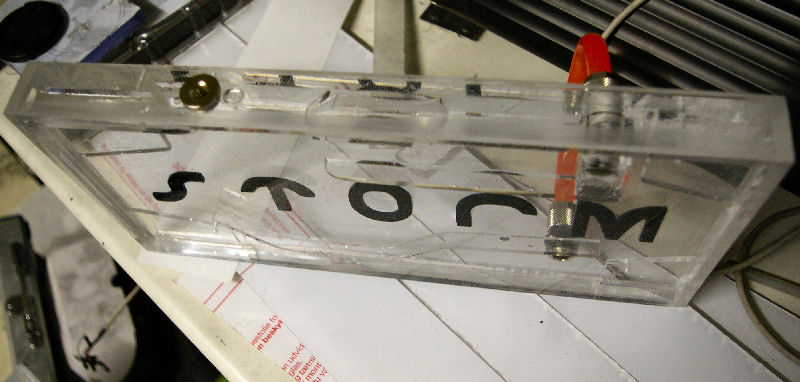
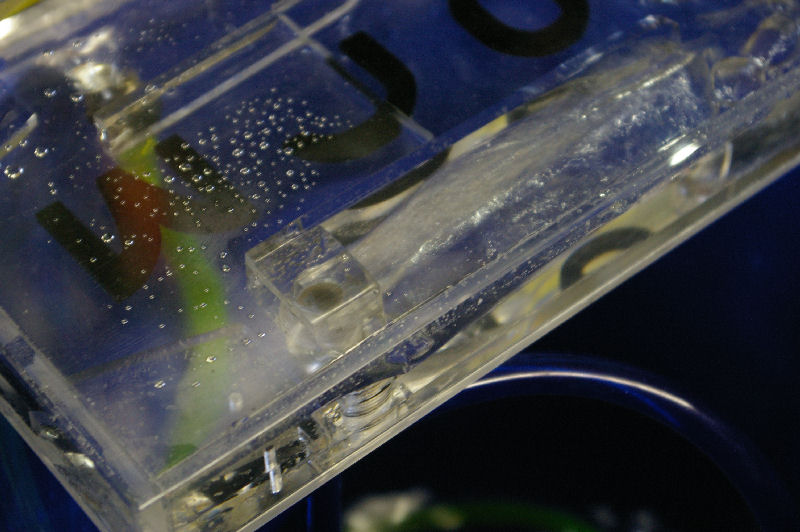
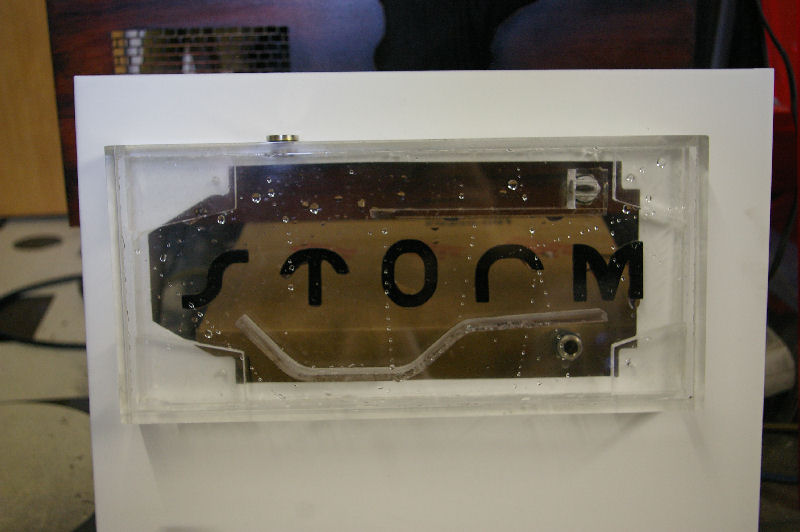
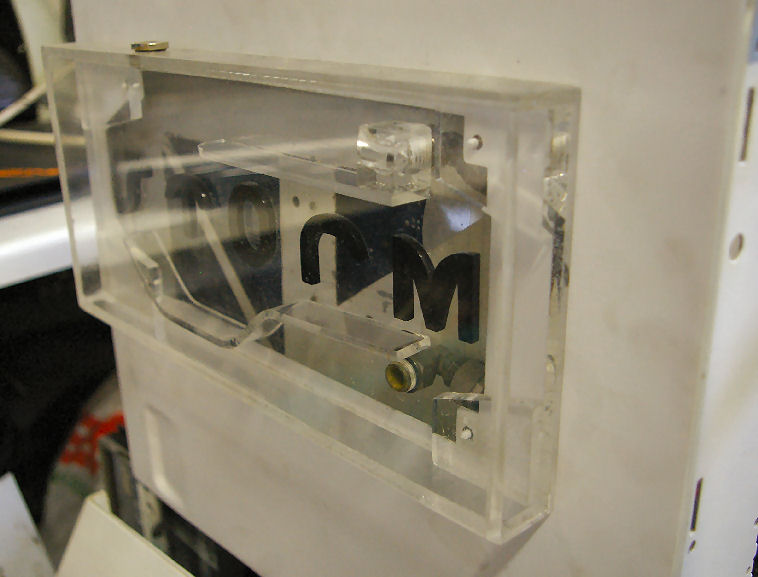
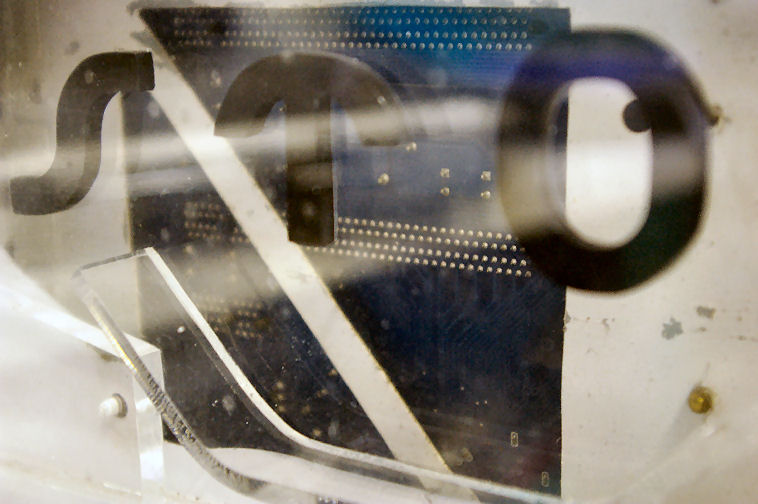
If they are on the bottom you can still see them through the liquid. Unless you actually max out the res to full capacity you get condensation and drops on the roof.

Printable View
If they are on the bottom you can still see them through the liquid. Unless you actually max out the res to full capacity you get condensation and drops on the roof.
thx m8´s!!!
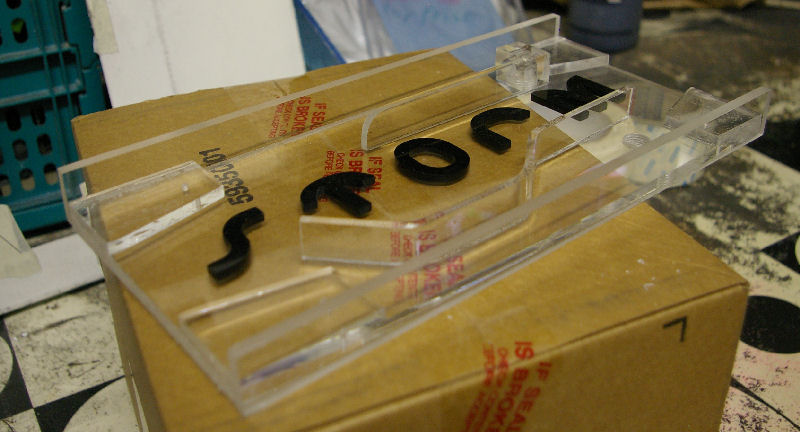
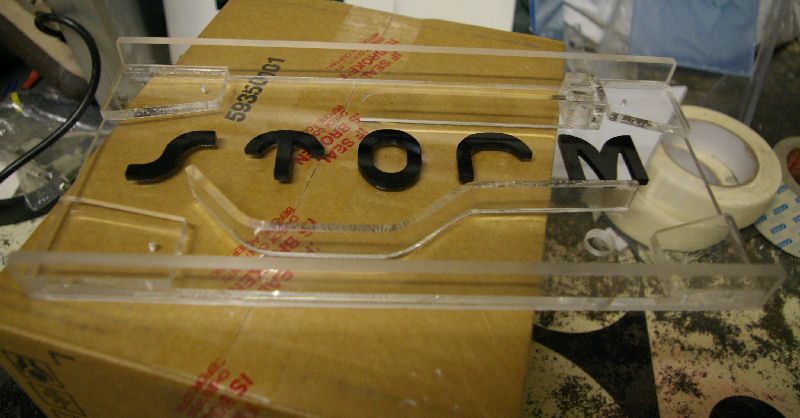
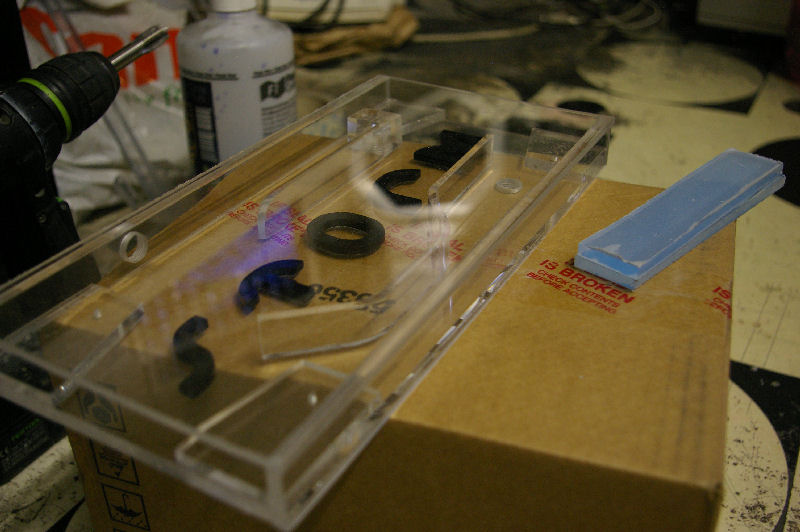
we will mount the letters on the backplate of the rez (the bottom) because we want the water flowing over it.....for the condensation we will keep the part with the letters always filled up so that there will be no /or just min. condensation on the top of the rez....
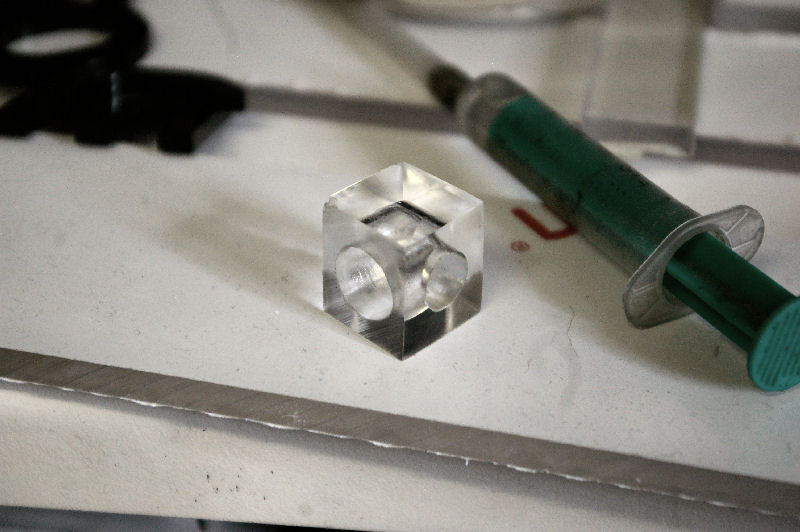
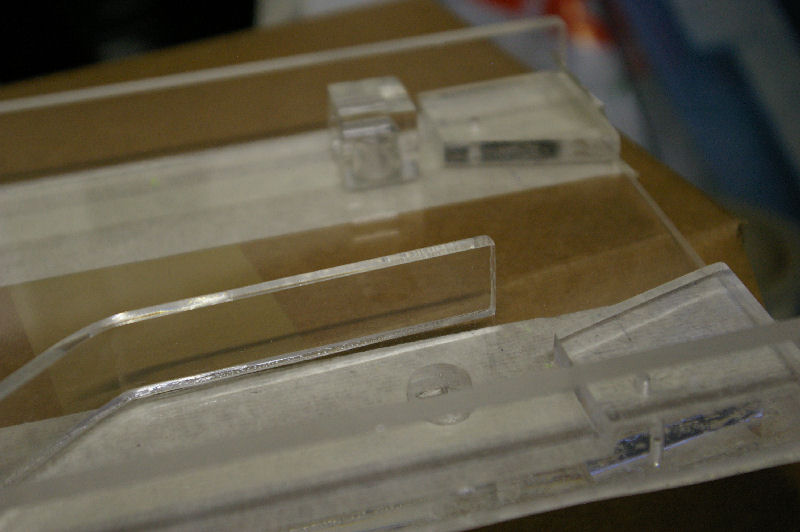
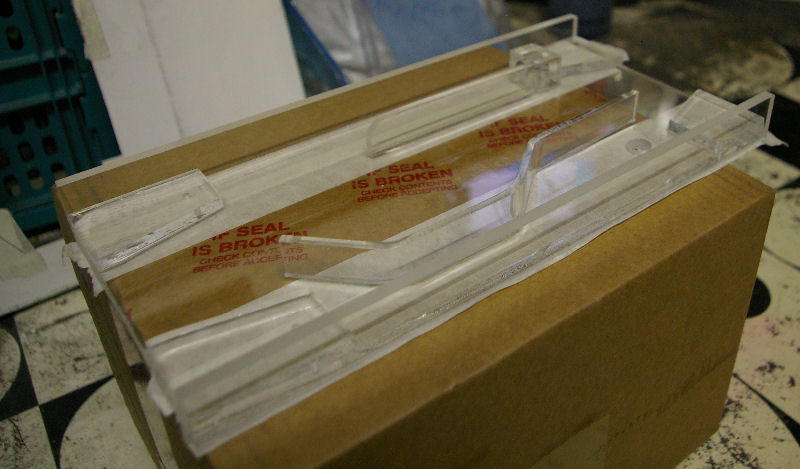
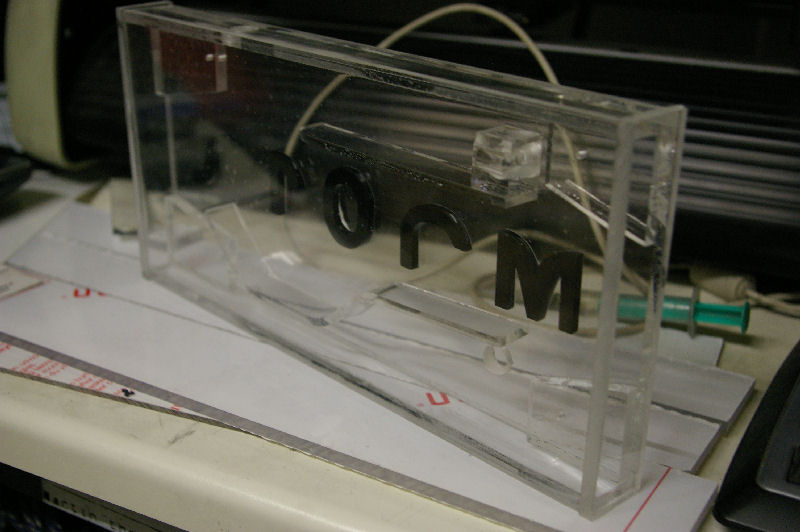
today we made some parts which will route the waterflow inside the rez from one port to the other....
ah... ok wasnt surre if you would be able to see through..
looks good guys keep it up
Internals of the res are looking quite good. I have never seen dividers done quite like that before.
thx m8´s
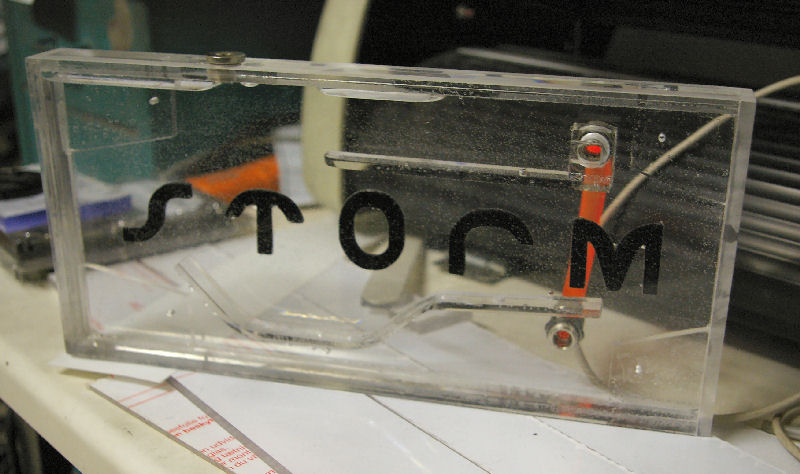
today we finished the rez (only a bit of polishing....).....so i think tomorrow we can mount it on the sidepanel and shot a small video....
leak test...
does it leak:D? remember to put some preasure at it while testing it.
looks neat :up:
SWEET!!!:banana: That is one nice looking res. +rep Really like how this is looking. Can hardly wait to see this baby finished.
that looks really cool.. nice work guys
Res looks really sweet, hope there are no leaks. +rep
thanks a lot m8´s!
no leaks so far :banana::D
today i finally managed to upload the video of the testrun to youtube....
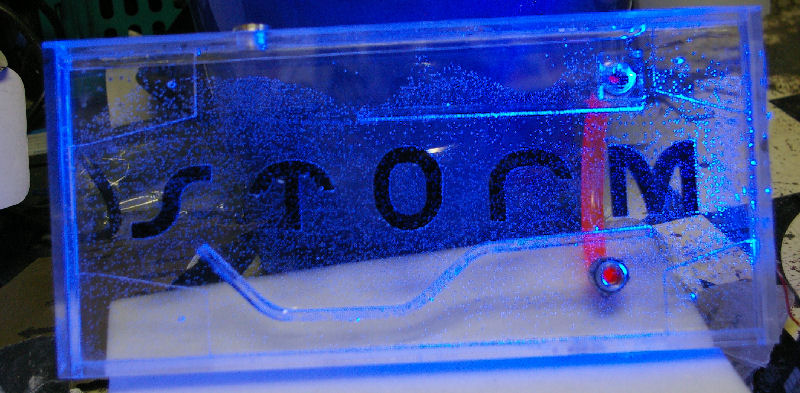
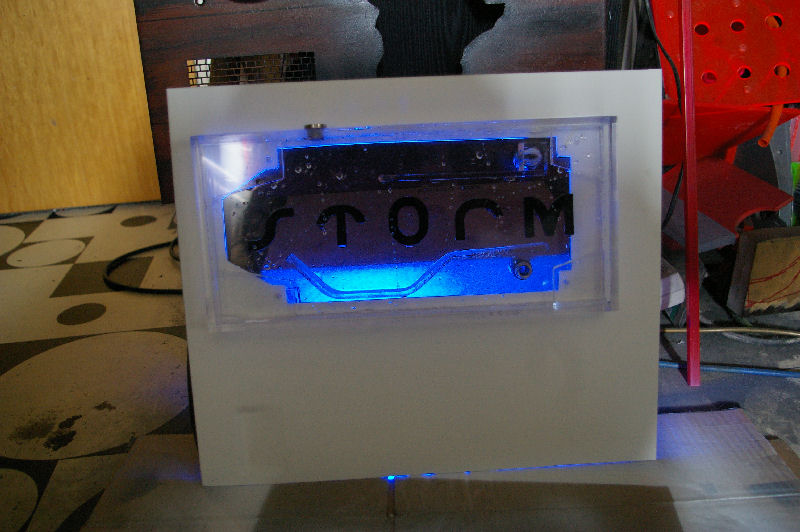
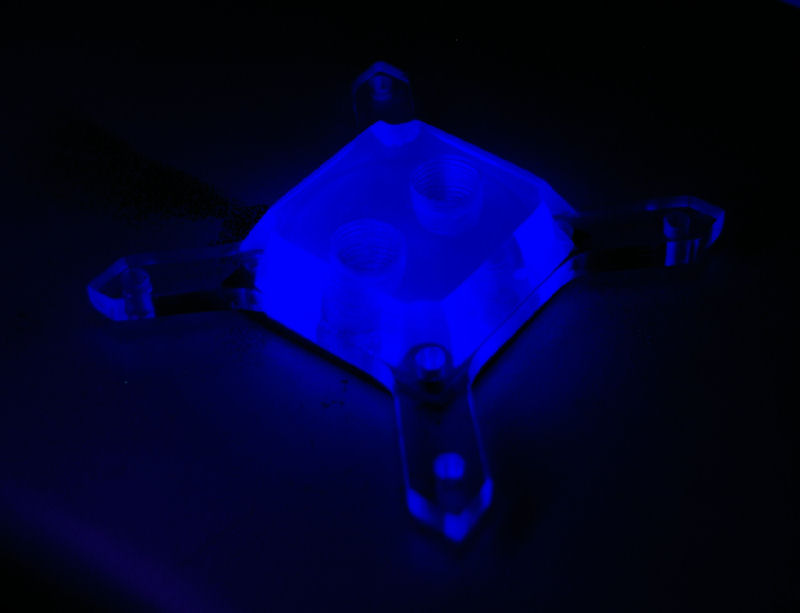
beside that here are some new shots from the first LED Test´s (they lay loose behind or next to the rez).....the polishing is not finished but we test mount it on to the side panel......
filling process....
LED Test´s
test mount
That looks good mounted, nice work.
looks good man nice work
thx
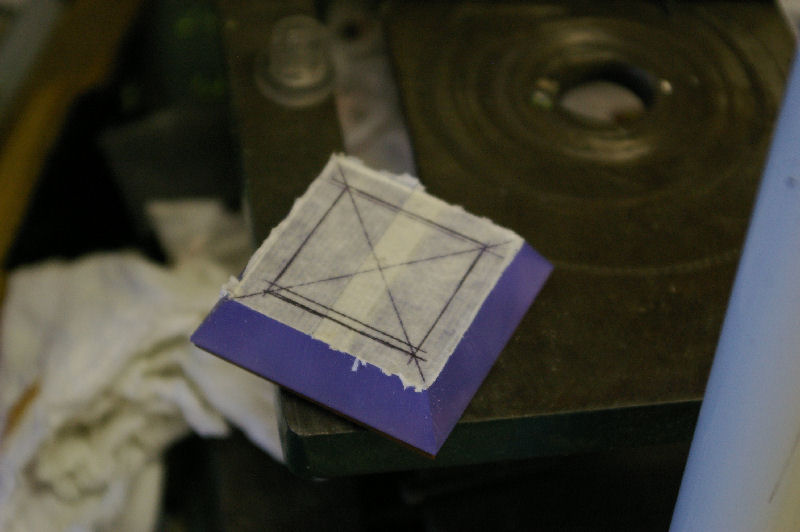
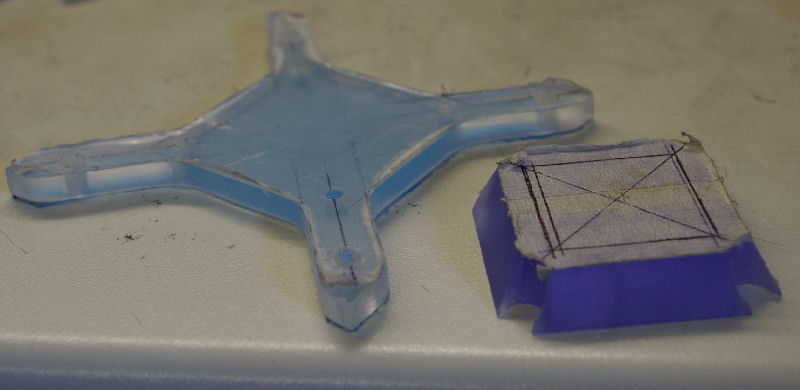
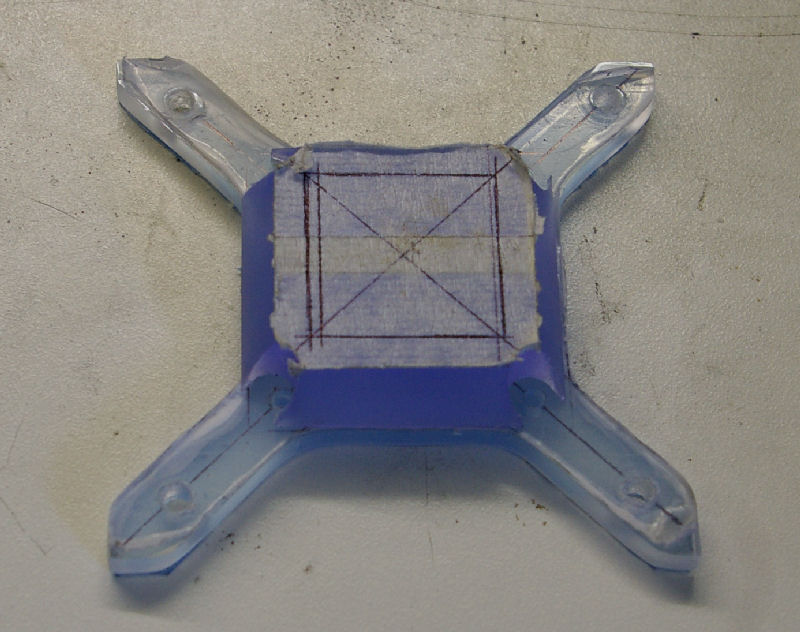
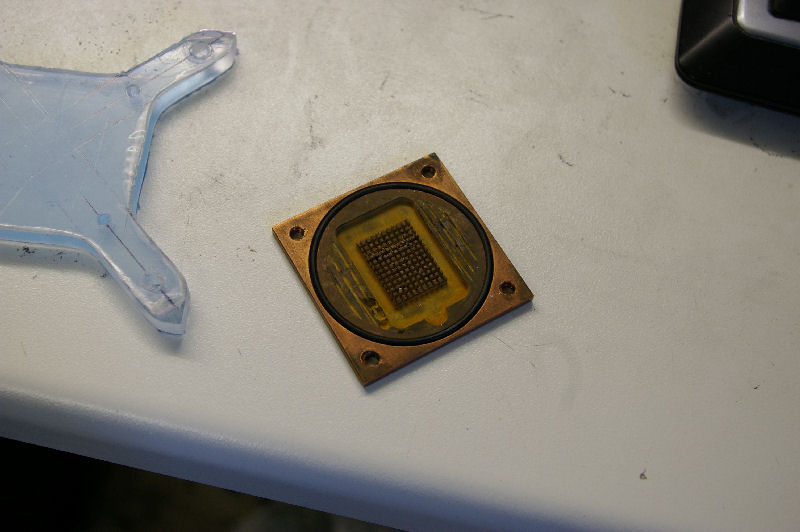
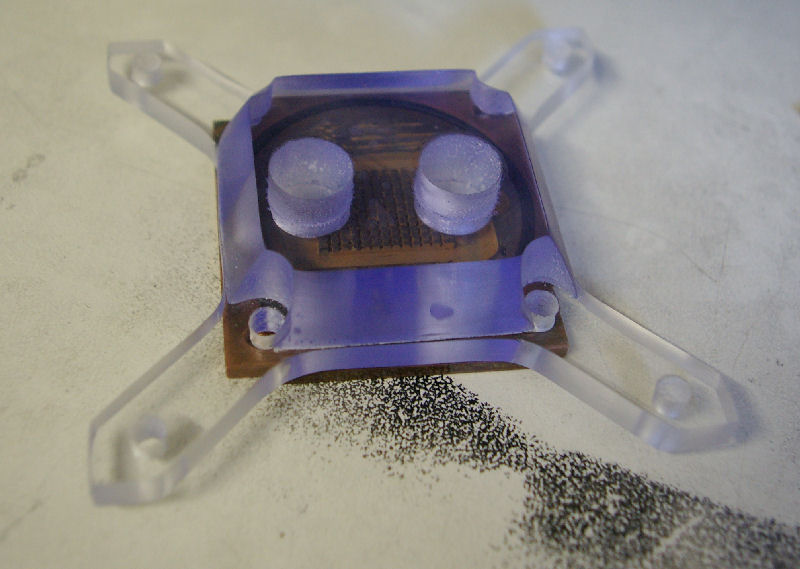
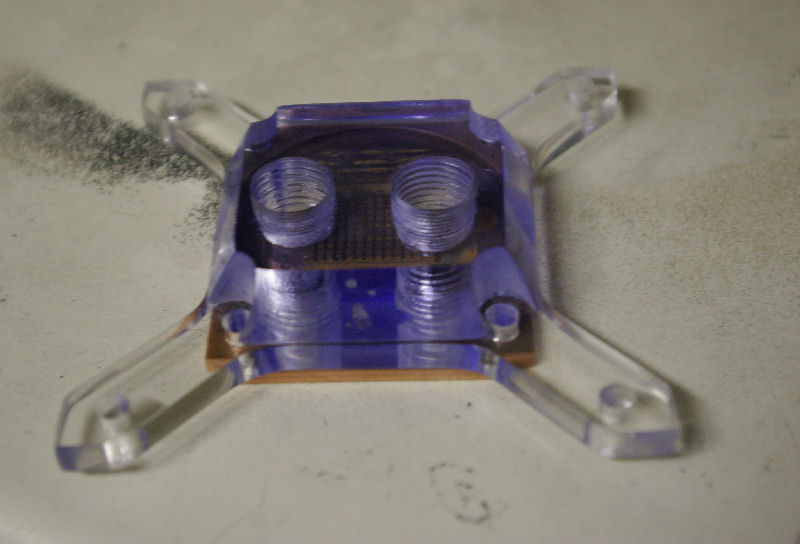
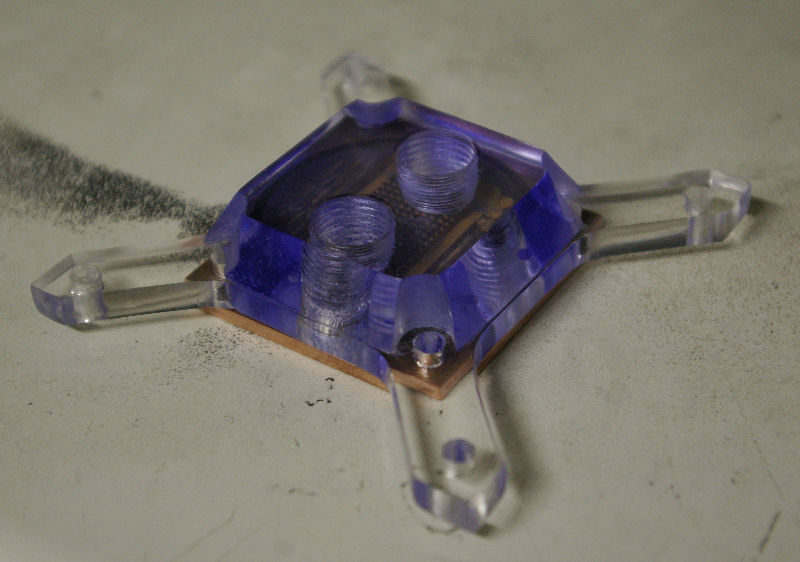
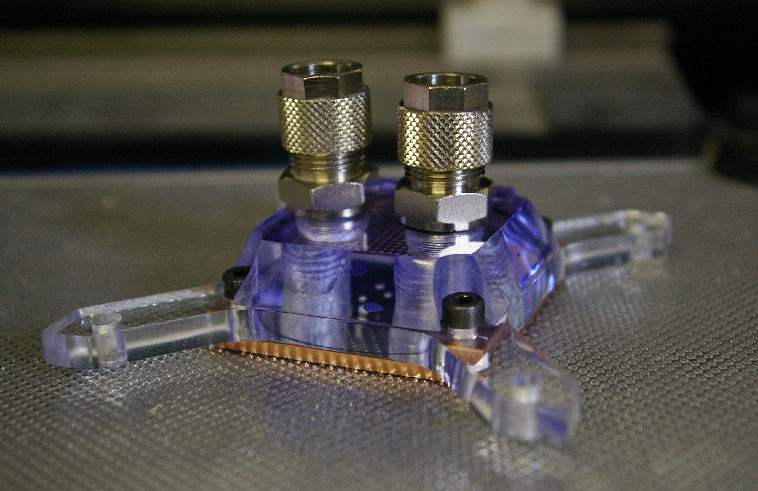
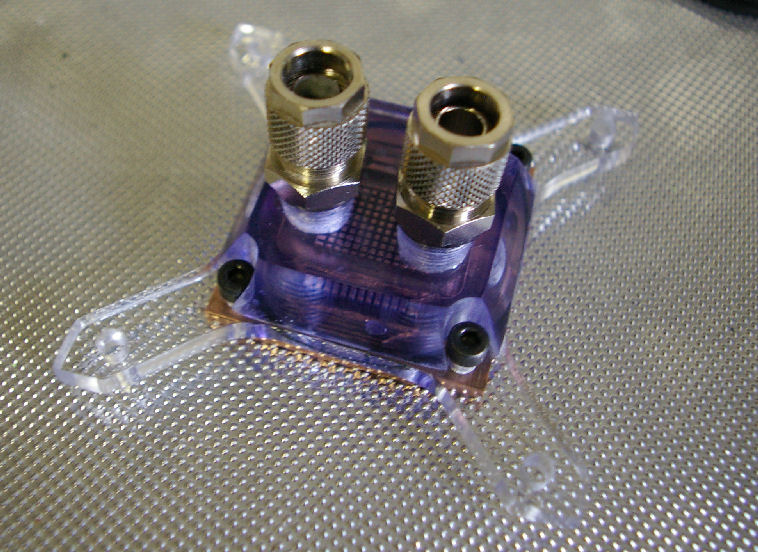
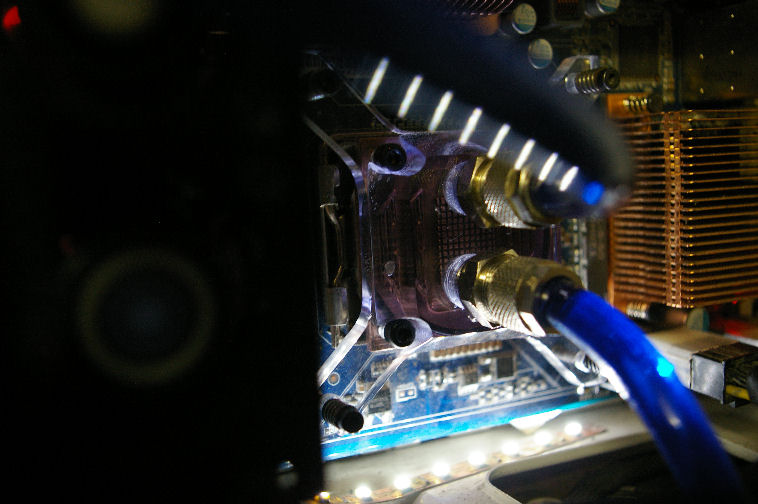
After finishing the Rez we overworked our plans with this case and come to the point that we will make a "complete" new casemod out of it. So the next part will be a new custom cpu cooler which we already started today....here are the first pics....
You and your brother are doing some fantastic work here. Love the custom res and water blocks. +REP
thx m8
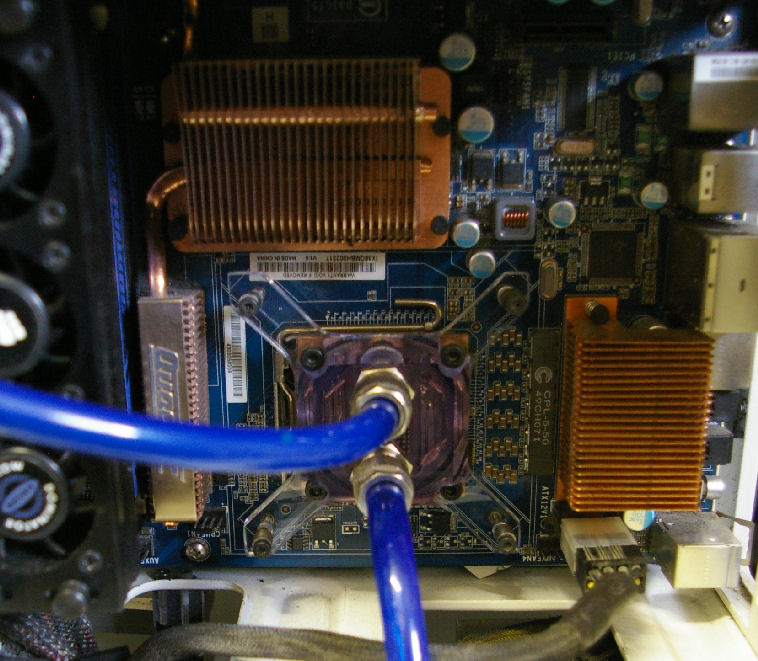
today we disassemble the old watercooling loop and took the old rez and cpu cooler away....then we added the new ones so that we could test how they would perform with the rest of the loop....everything is still leak free and the cpu temp is @ 22° in idle aftert 1 h TF2...
but here some new pics
Theat res looks fantastic and seeing the back of the mobo is an excellent. CPU waterblock is phenominal too. What kind of glue are you using on your res? I'm in the process of building my own, and although it's not leaking, I'm not very comfortable with the seems.
Its quality and capacity to modify and too creativity are fantastic
:dead: wow nice one guys!
i was thinging of doing that for my project if i ever put w/c in it
Very nice water block, looks fantastic, very nice. Does a nice job cooling also.
thx!!!
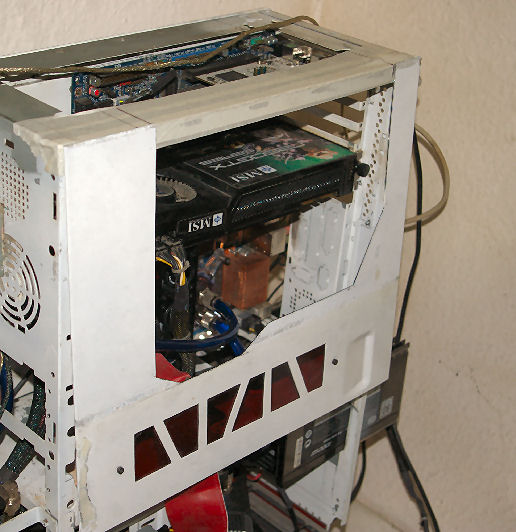
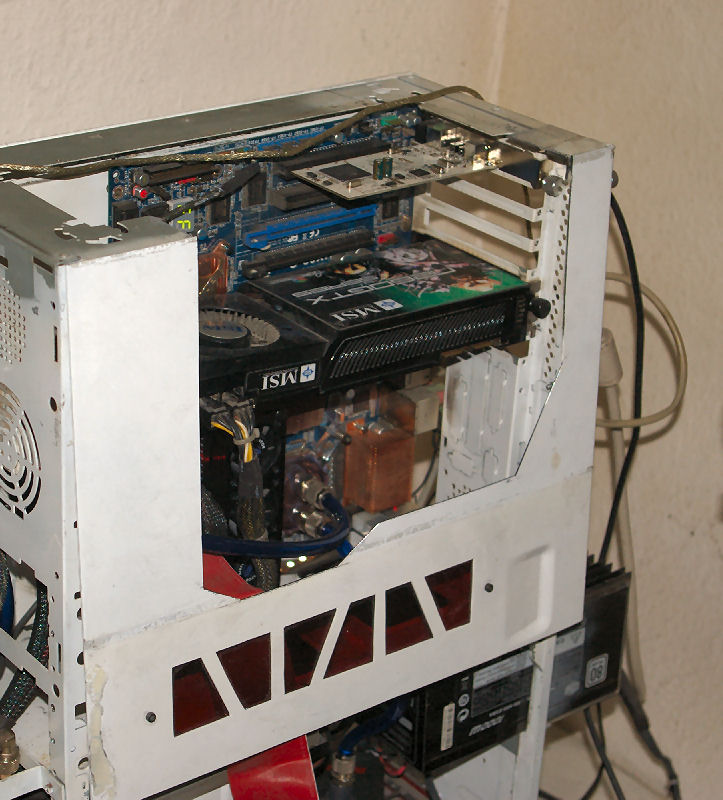
today we made some progress on the right sidepanel and the top of the case. We want to change that part as well, so we started with a big window.....
The window should look good. I like how it bends from the side over the roof.
thanks a lot m8!!
today i got the message that the storm project gots a nomination for bit-tech.net Mod of the Month !! :banana::D
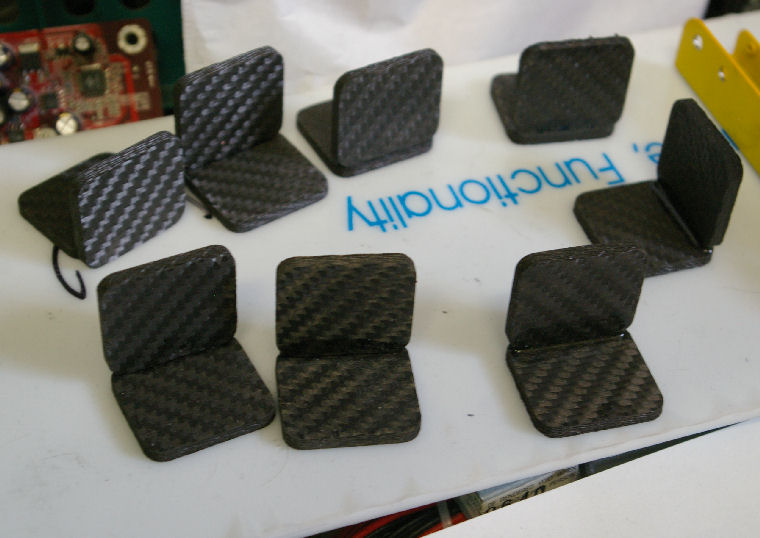
beside that its time for a small update...in the last days we made some carbon fibre angles which we will use to mount 2 of the used radiators inside the case....they will later be placed inside of the lower case part...but that will come in the next days....
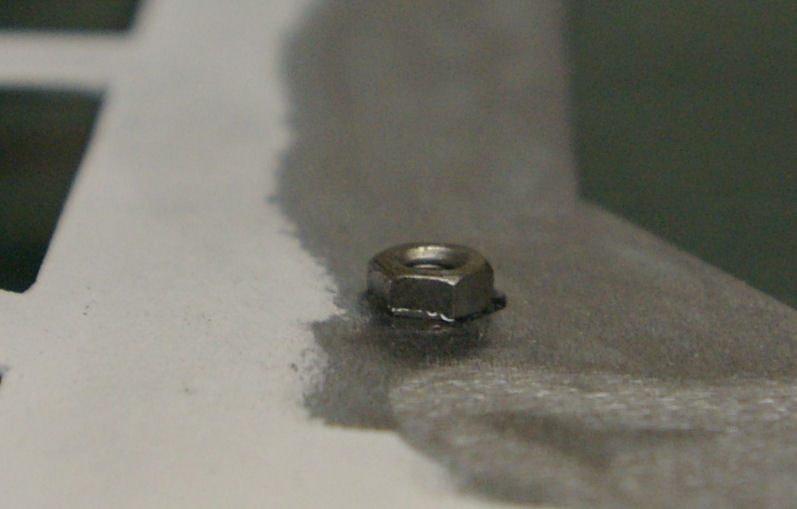
we also started to build some custom mounting points for the case window, therefore we sanded the inside of the sidepanel and then glued (with j.b.weld) a few locknuts to the sidepanel so that we could later screw through the plexiglas from the inside so that there will be no visible screwheads on the outside....
glad to see an update..
love the carbon
Yep I saw your nomination over at Bit-Tech, congratz mate.
Nice update, haven't seen one in a while ;).
thx guys!!! ;)
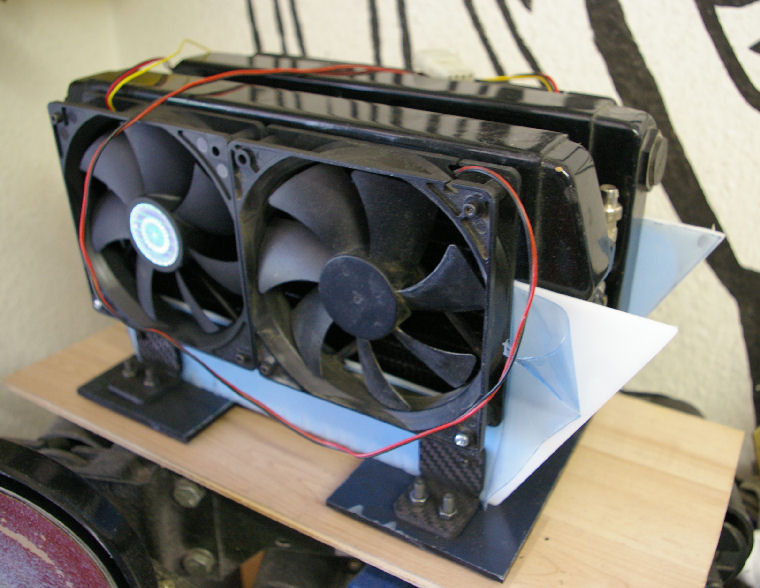
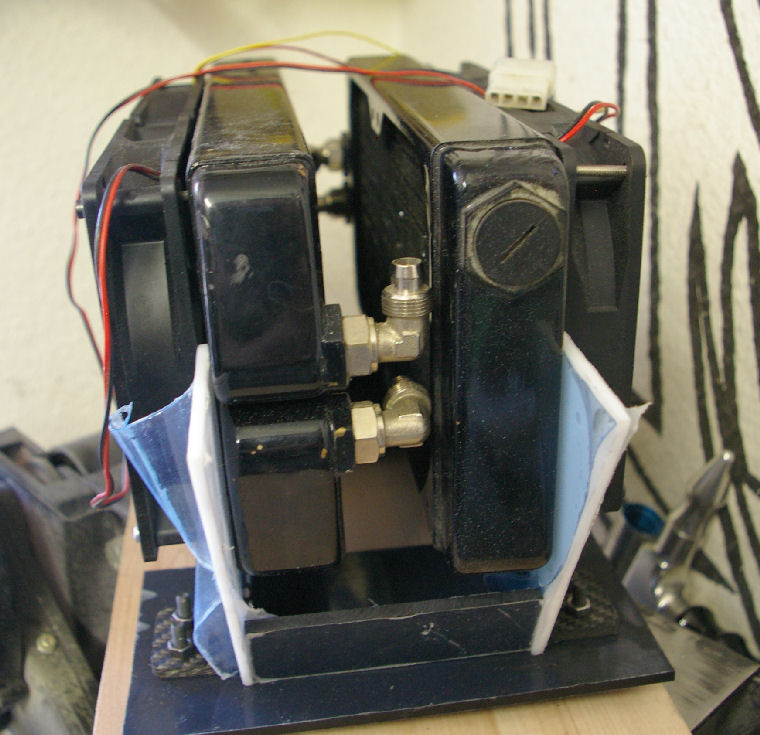
yesterday and today we made some progress on the "Mounting Thing" for the radiators :D....
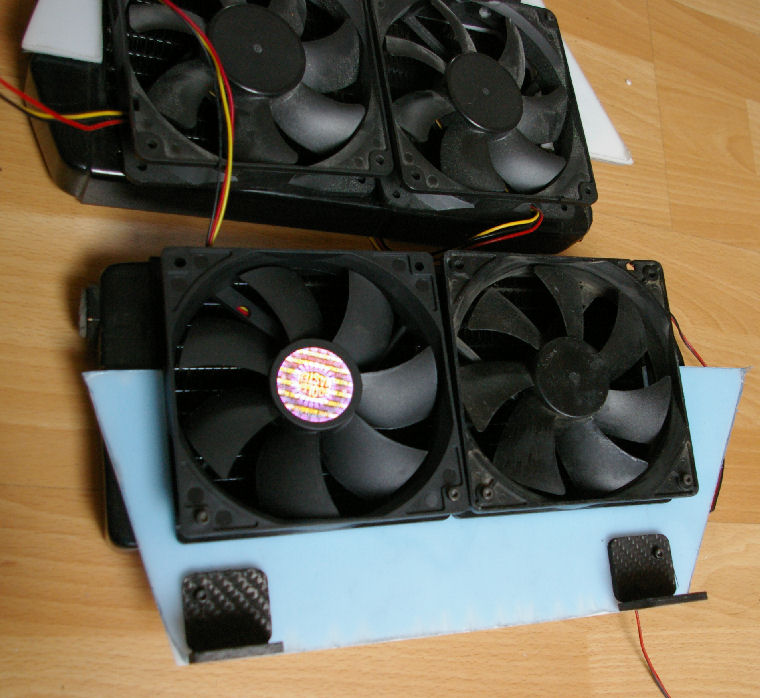
we attached the carbon corners to the plexiglas parts and also mounted them on 2 sheets of black plexiglas on which everything will stand. The Black parts will also be used to mount everything on the bottom of the case.....
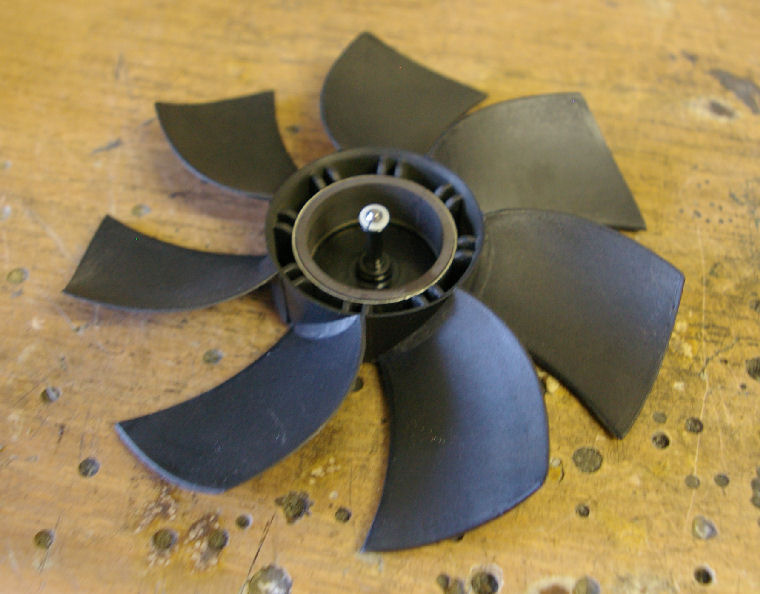
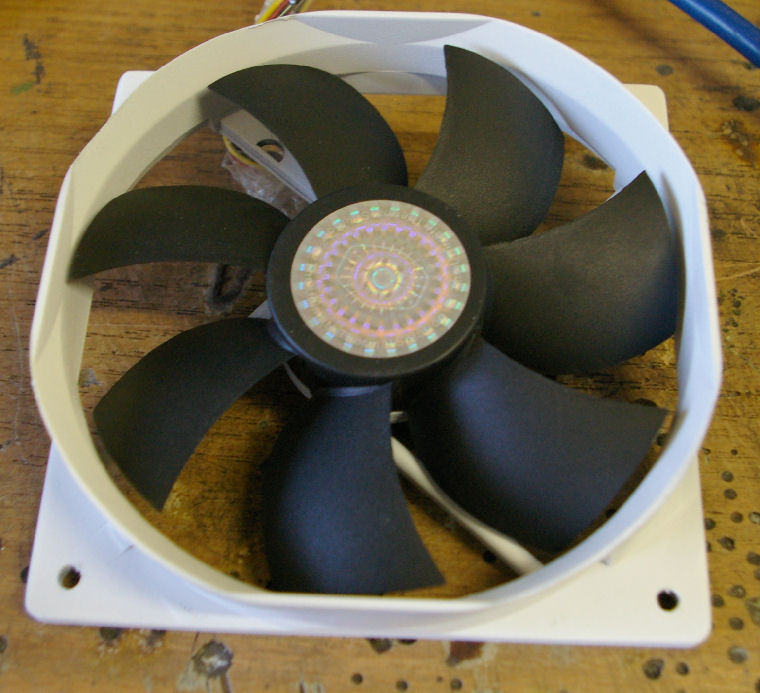
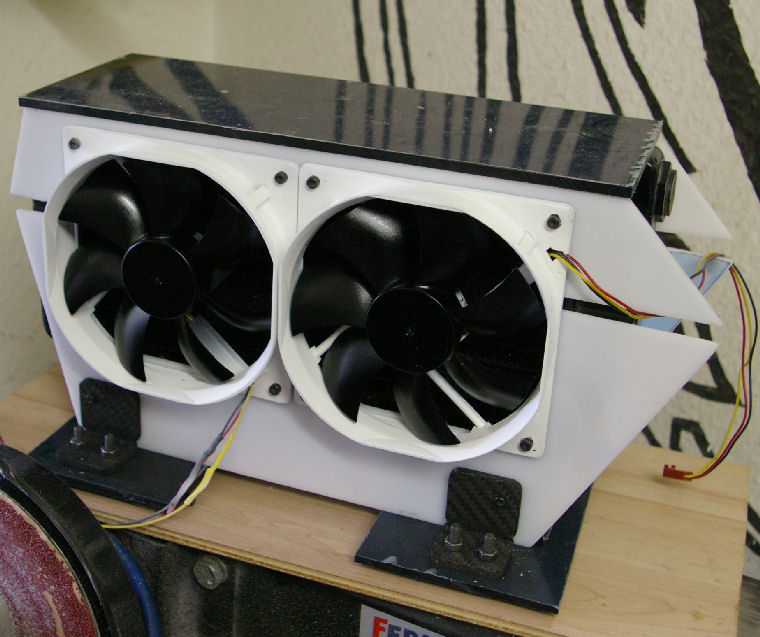
Beside that we prepared the first fan for the radiators, to see if it will look like we thought...before we start to build another 3 of them.....
Nice fan modding, they look sweet.
thx!!
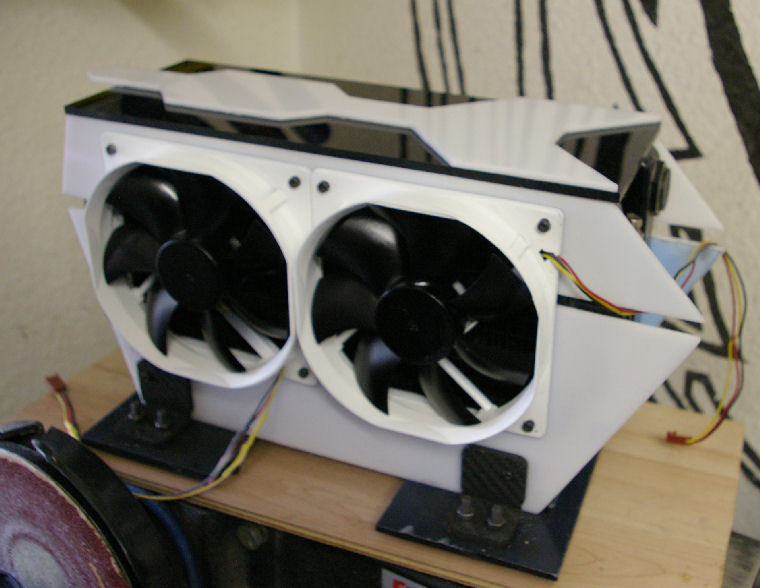
today we made the next fans and mounted the first 2 on a radiator ....
i love the black and white paint scheme guys.. keep it up
I really do love those fans.
thx!!
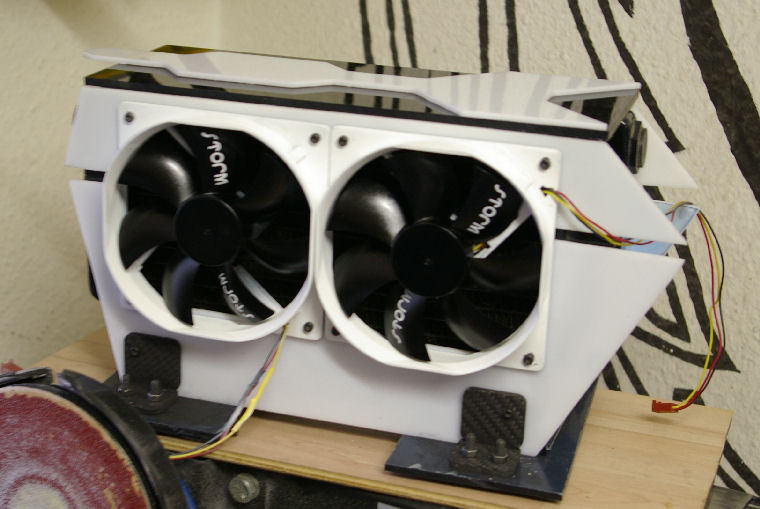
today we finished the work on the fans and added another layer ontop of the radiators....
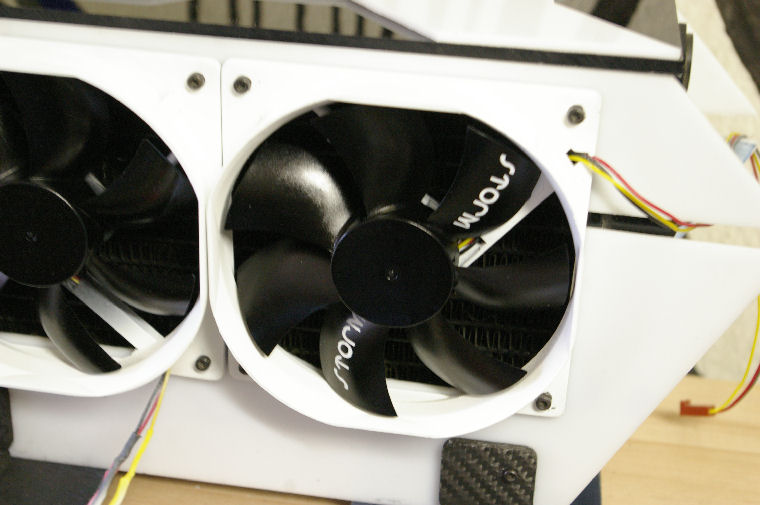
Looks phenominal!! Are those decals on your fans?
i like the top pannel..
nice fan work
thx m8´s!!!
But we used no decals, the small storm logos were airbrushed ....forget to mention that before...:D
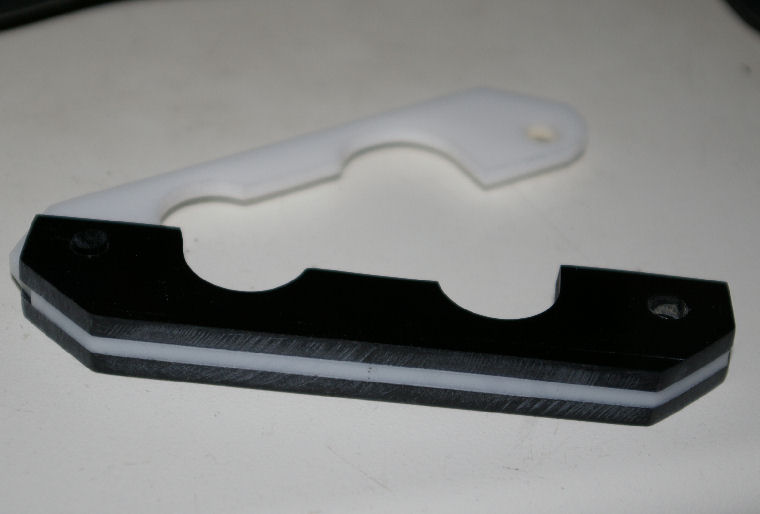
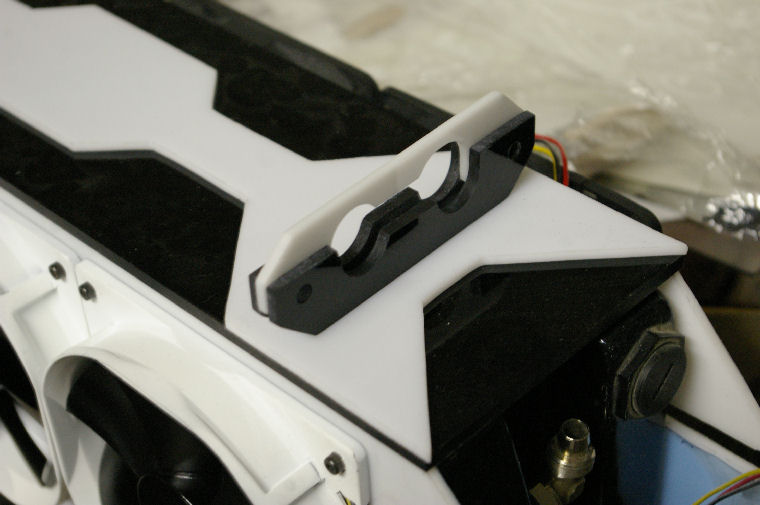
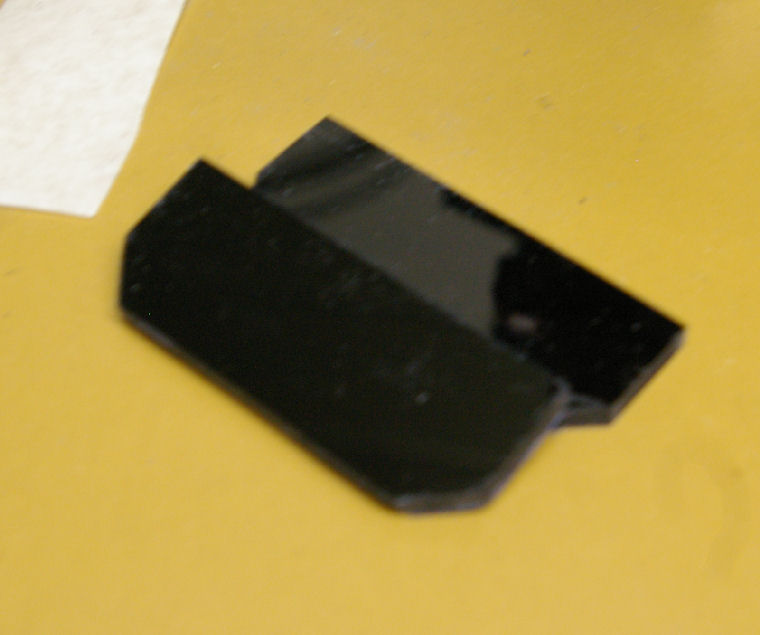
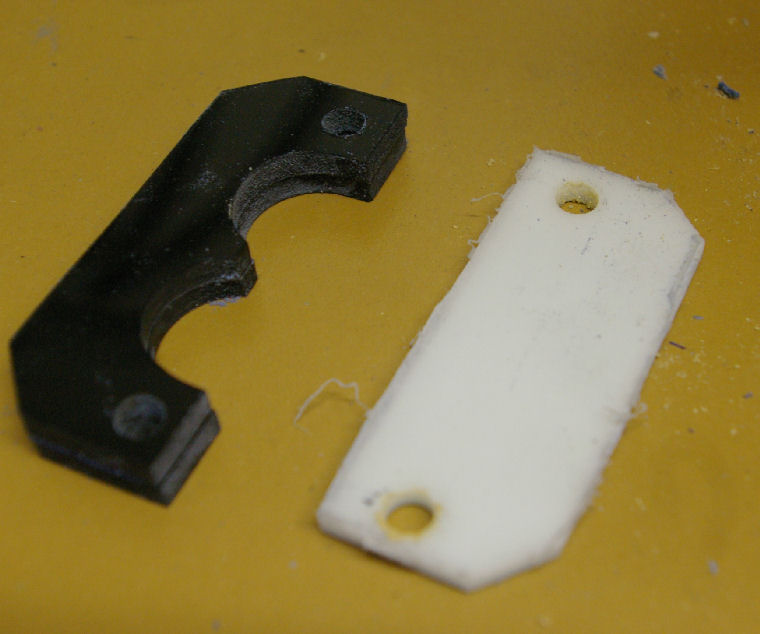
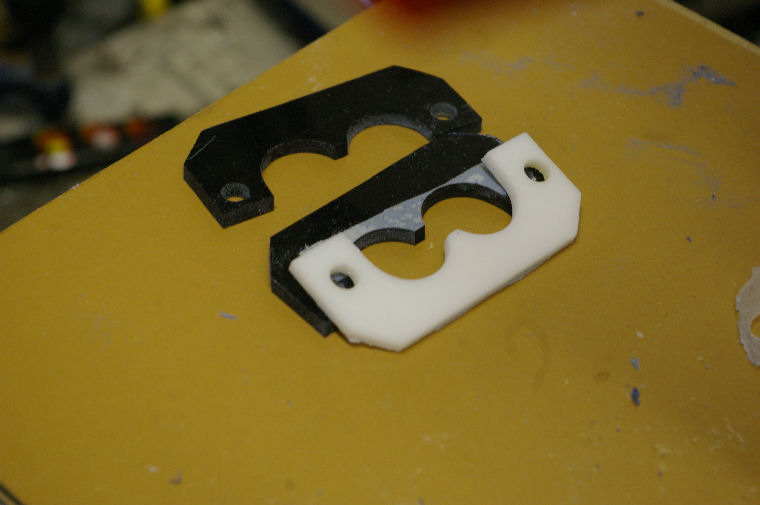
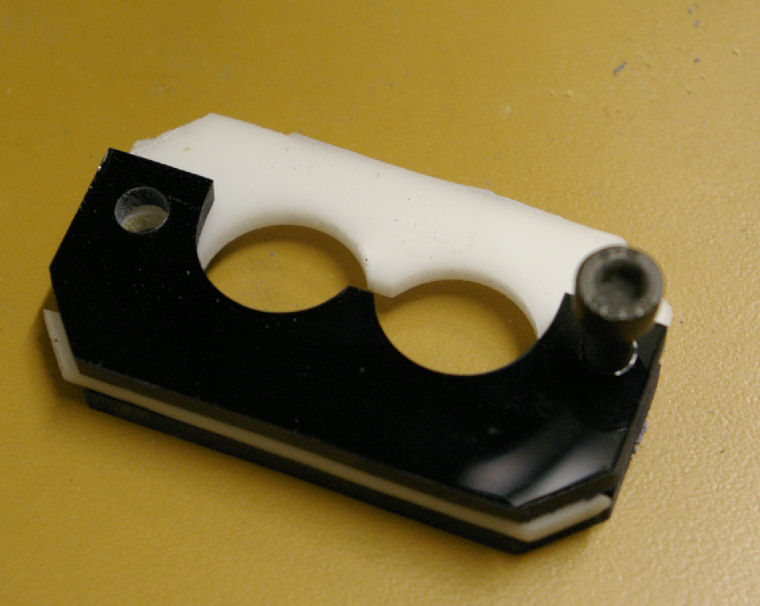
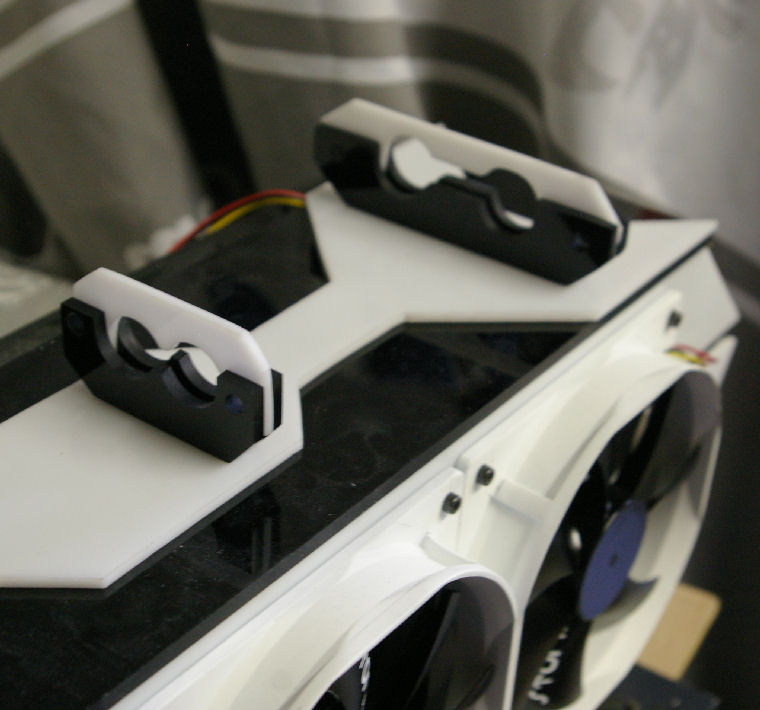
today we made the first parts to route the cables from the psu to the periphals....the first 2 will be placed upon the radiator stand....
Man the cable clamps area pure win. I never thought of making them like that before. +rep
yeah they are kick ass. nice work guys
I would defiantly agree with that. Badass! +RepQuote:
Originally Posted by Remy
Excellent use of all available materials.
thx a lot m8´s!!! :D
just to share this...here is a pictures of the radiator housing with both cable routing brackets :D
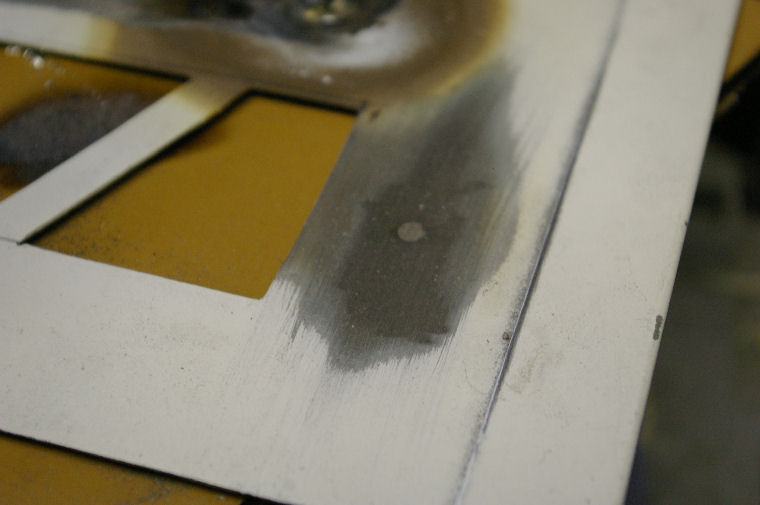
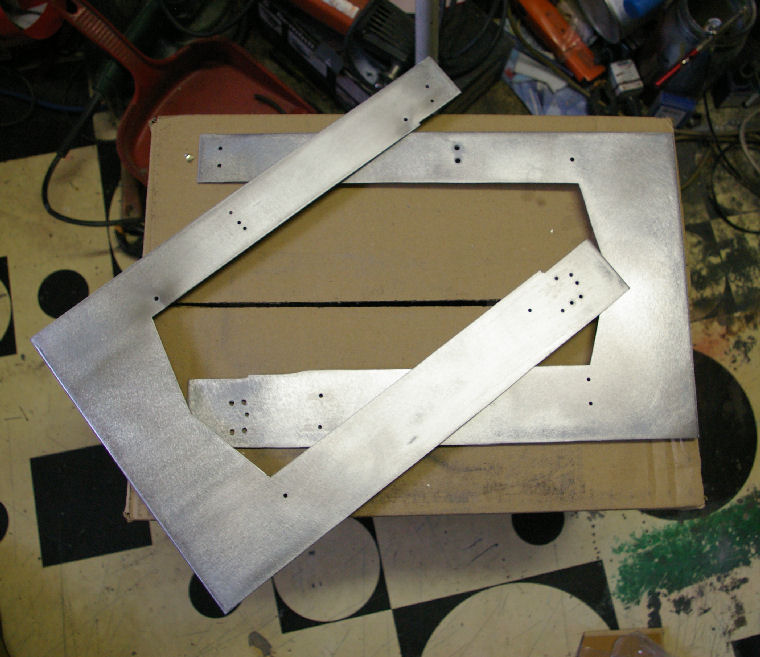
beside that we closed some holes in the upper side panels which we not need anymore....as we were closing the holes we thought that it might be a good decision to replace the glue under the locknuts with something more solid ....like metal...so we welded the locknuts on....
then we stripped down the lower side panels to their raw metall and removed all plastic parts from the first build....
looking good guys keep up the good work
You guys never cease to amaze me, very nice work.