Congratz mate.

Printable View
Congratz mate.
Congrats! Keep up the good work.
Thanks guys!
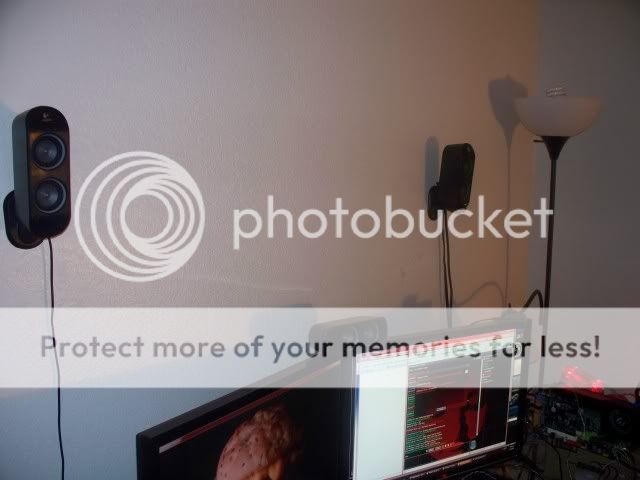
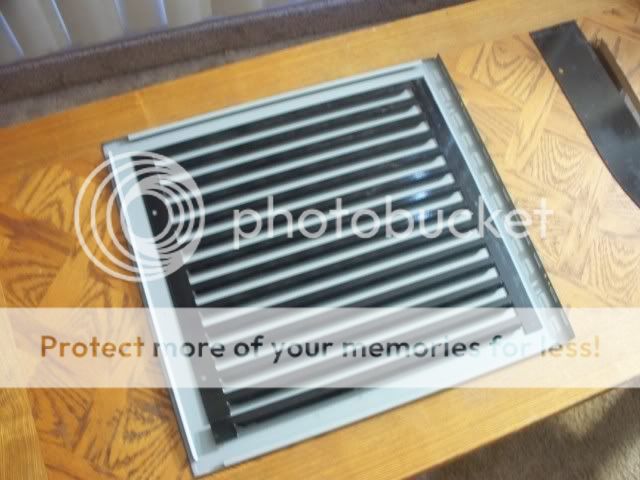
Another not -so-great update. I didn't get to do much to my case, cause I did this-
sure, that part was easy. The part that was time consuming was soldering in extension speaker wirefor some of the speakers, cause the wires weren't long enough. Specifically the rears. Ironic, since my room is tiny.
Also, I had to work on my car. Trying to fix a door lock that isn't working right. Boy I'd like to shake the hand of the engineer who designed...... And next week I get to replace a blower motor. Oh what did I do to deserve this?
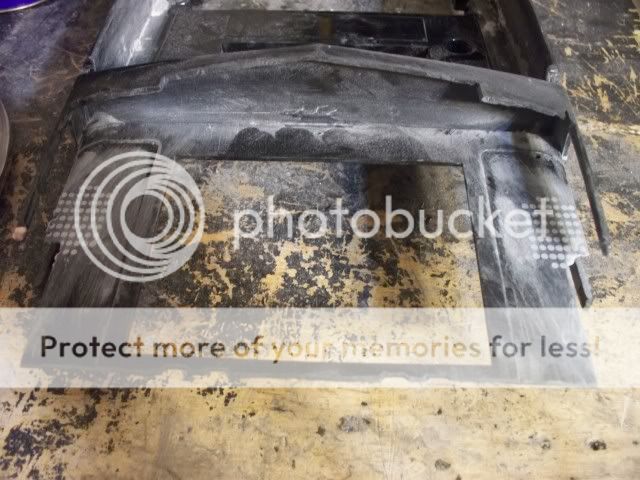
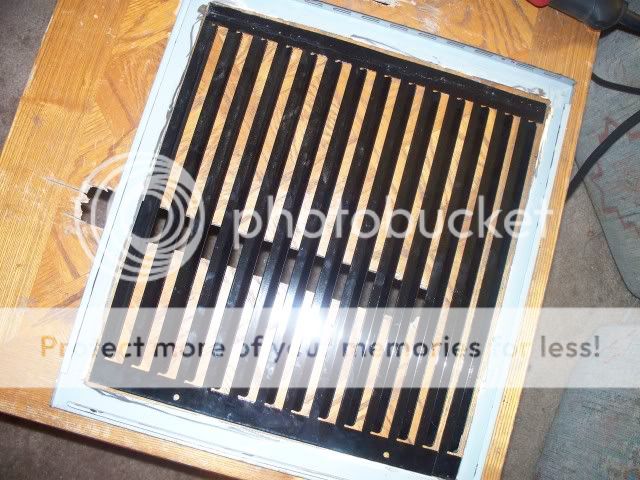
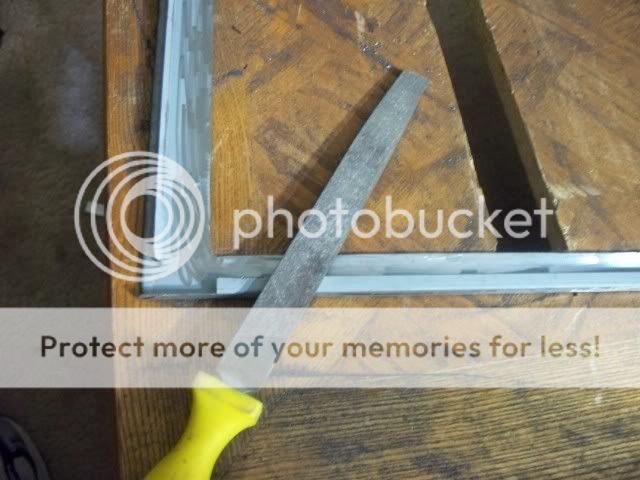
Anyway all I really did was sand and file. Woohoo who doesn't like doing that?
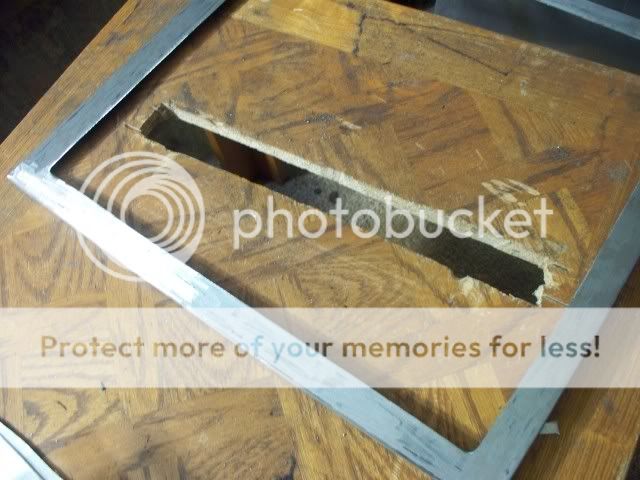
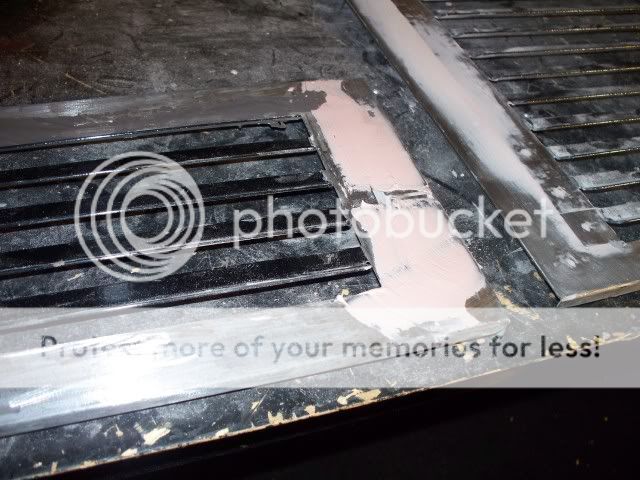
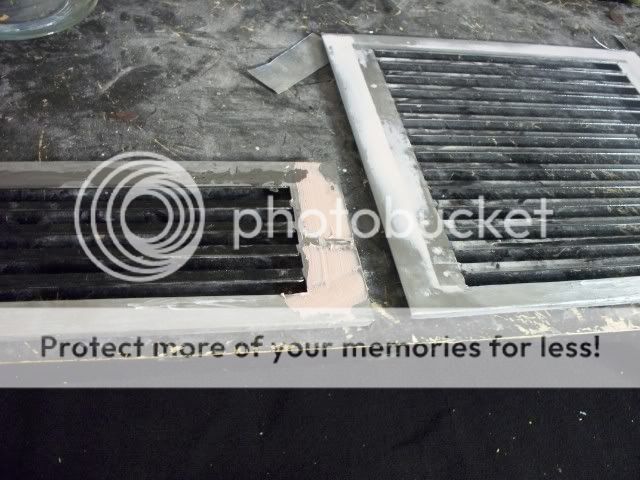
Nice and smooooth. I was going to cut out wire mesh for the sides, but I decided to wait until I get the bottom re-attatched so I know it will blend well.
:up:looking good
Coming along nicely, I will be following this one.
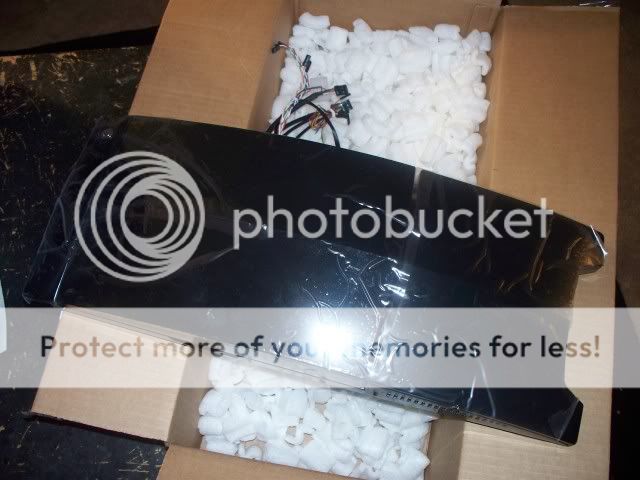
Well, unfortunately I don't have any actual progress right now, but I do have some exciting news;
parts!
Courtesy of NZXT,
A brand spankin new whole front fascia. The took a look at my work and sent me the part I asked for
free of charge.
Thanks NZXT, you guys rock!
:) Excellent, that is very nice of them :up:.
awesomeness!
That was nice of them. I had to do that with Coolermaster awhile when I broke the front fascia of my old centurion. They charged me shipping. Looking good.
Yep NZXT is great, they sent me a whole new fascia when my hinge broke, great bunch of people. I am hoping they would like to show some interest in my next LEXA project ;).
Well, I finally got some appreciable progress done today.
First, I cut a hole in the mobo tray for access to the cpu cooler. Not exactly foward thinking, but it's a nice addition.
I flared out the sides around the screw mounts, just in case. Ok just for the heck of it.
Speaking of the cpu cooler, I decided to add a layer of plexi to make it a little thicker, and
hold more pressure against the cpu.
I also cleaned up the edges of the various cuts. I had planned on filing them straight, but I
decided that sucks so I just used my dremel.
Not too bad, actually. Not perfect, but close enough for government work. The edges are
not sharp at all, but I probably will give em a little sanding, just for fun. (huh?)
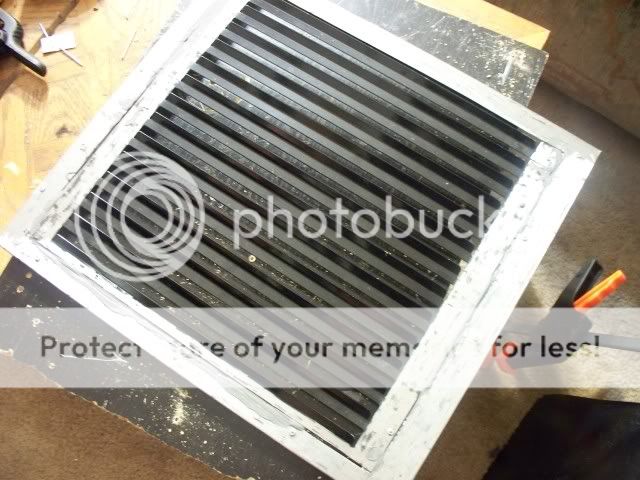
Gots to do me some measurin. I'm taking measurements for the 'wire channel.' I had
some pieces actually cut for this already, here's an older picture of it;
but I decided to incorporate the ram cooler into it. So, I measured, and I cut and I drilled
and her we go,
a ram cooler. Or, as the say in France, ze ram coola
I will file the holes square, (sound familiar?) and I will put spacers between the fan and
the panel, so it wont restrict airflow. I may put some mesh in there, to better hide the fans.
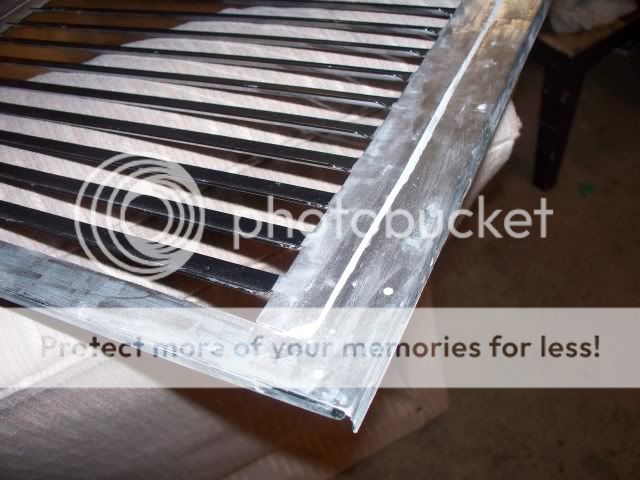
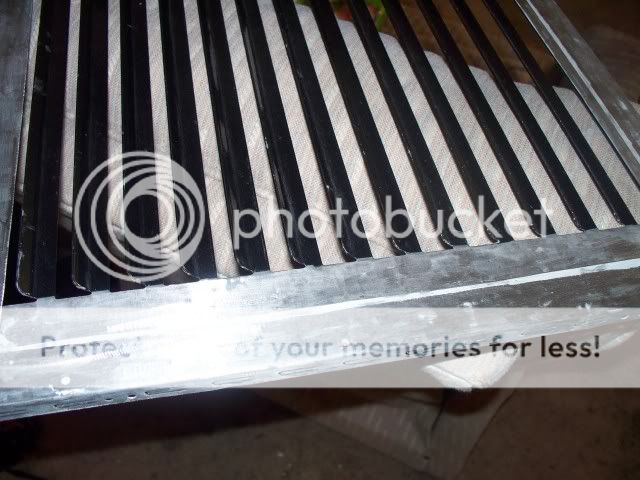
Speaking of mesh, (like the seque's here?) I am kinda thinking of using this panelling for
the right side. Too many times the right side goes neglected, ignored. I am thinking I'll use
this, with some mesh behind it so you can't see through it.
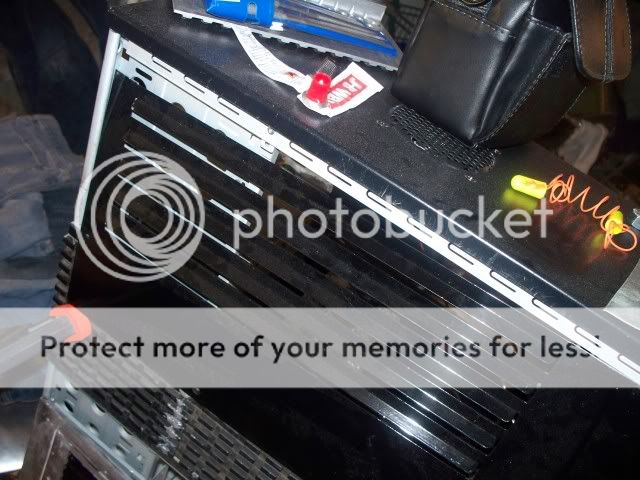
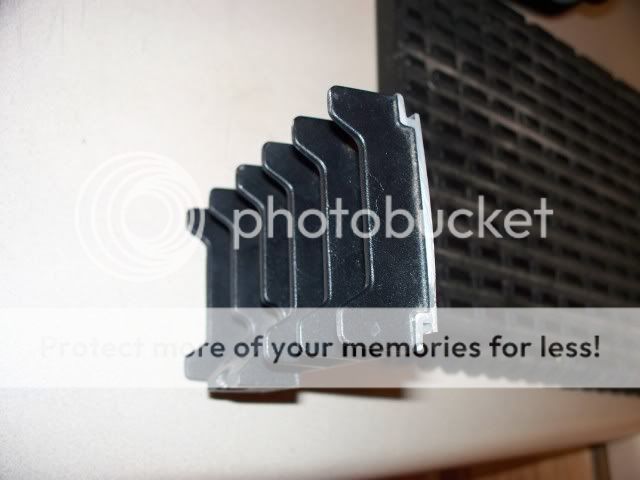
I had also took the heatsinks off the mobo, to replace the TIM. I had heard it helps.
Here is my 790i digital nekked;
now now boys, it's not polite to stare.
nice work!
love where this is going.
Will
a quick add on- my ram cooler-
I am really liking that ram cooler it looks awesome. :up:
You have made some real progress, I love the RAM cooler :D.
yeah i agree with jase! looking great!
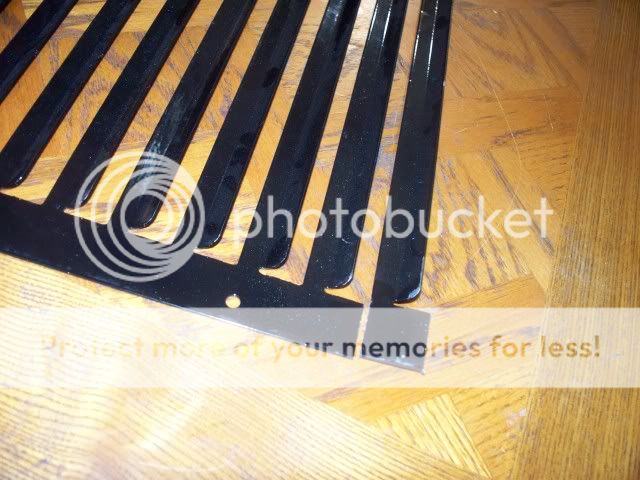
Woot woot! Free stuffs! Got a box o goodies today from the Fedex man, courtesy of NZXT.
New side panels, (I only asked for the right side but hey)
NZXT shirt. In case you haven't noticed, white isnt really my color, but I am happy to have the schwag and will for sure wear it!
case screws and of course,
the piece de resistance,
a NZXT Sentry LX fan controller!
Here is a not-so-good picture of it next to my iMon,
and one with flash
sorry, I had a hard time getting a decent pic, but it's a great match!
I am editing my first post to say "sponsored in part by NZXT"
WICKED... I totally want both of those now!
:O congrats on the free stuff
Congratz on the free goodies mate, I really like the new Sentry, an awesome bit of kit.
Yeah, I really like that fan controller too - been thinking about getting one for Lobo but it's just out of my price range by roughly 99% of the price of the controller lol - I'm already WAY over budget on what was supposed to be a spares and parts super cheap mod :p
I was planning on getting the sentry LX, just hadn't gotten around to it yet. The free part puts it right in my price range :P I am really liking it already, and no, I am not just saying that. I can't wait to see it in the case!
update for today; I spent today working on the right side panel.
Started with this, and cut it down to the right size.
(that pic came out crummy)
Dammit all.
Size down,
existing panel cut,
fits nice.
Started filing down the edges,
decided that sucks big. Time to call in the backup
oh yeah.
sanded down most of it,
will sand down the rest later.
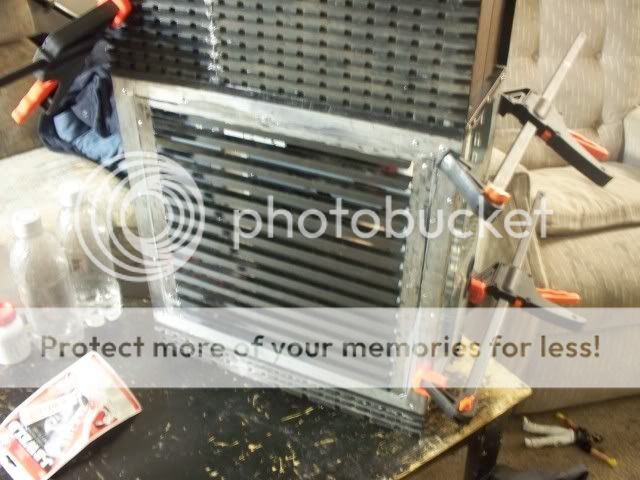
Here's the plan, brace it with strips from behind. Hold everything together with rivets while the JB Weld dries. After JB dries, drill out rivets, fill the holes and the gaps. Result; a seamless panel on the outside. Hopefully.
A pic of it on the case so you know what it looks like;
Also I am gonna put mesh in the slats so you can't see through it.
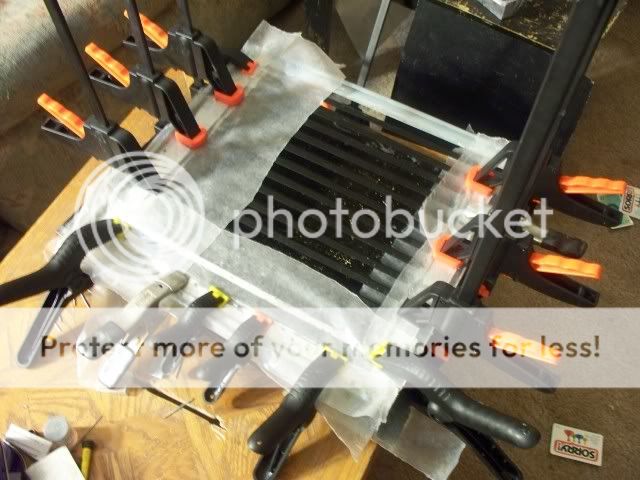
Here's how it sits right now.
cheers
That looks great!
Will
Nice side panel, looks cool. I like the industrial look.
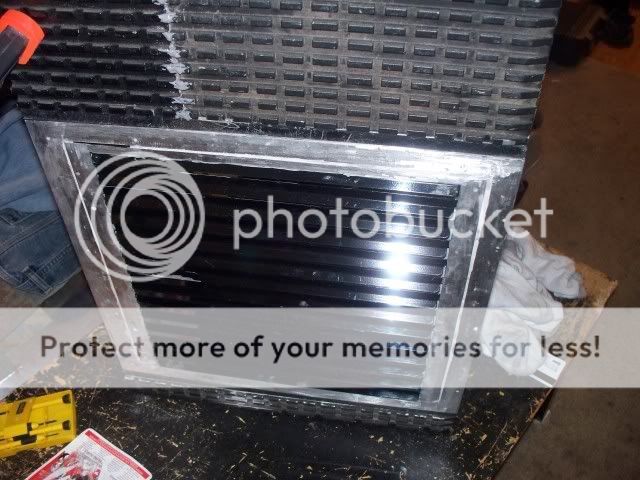
Little update today, just wanted to show how the side panel is turning out.
Not too bad! I am happy with it. I ground the rivets flat, and sanded down all the JB Weld.
Next just need to give it a little bondo lovin.
Miniana, I start working on the side panel for the minicase
looking great...
this is coming along. i like the looks so far :)
Them gon be chrome, Mark?
Looking good Mark :up:.
thanks guys! And Acey, I'm not sure what part you mean, but nah, there's not gonna be any chrome :)
I think he was talking about the vents. By the way nice progress. :up: Definitely following this.Quote:
Originally Posted by Mark_Hardware
Yep the vents. Kinda forgotten the word LOL. Ah, thought it would be chromed and that would be ohsum. :banana:
Well, here's my update for this week. Been working on the side panel for the minicase. Meh the steps were identical, with one exception. See, I took one regular side panel, cut out the middle section, then sandwiched the two together. Why? The result;
A nice folded edge on both sides. This will ensure the side is nice and flush, top and bottom. I could not have done that by hand.
Here is the smaller side panel, with the last side all clamped up.
Slapped a coat of bondo on it,
Here's another side by side so you can see how the line up;
That's it for today. Hmm seems like it would have been more... Sure as hell felt like more....
LOL - well better than my last update - 10am-midnight and I managed to bend and straighten the same piece of perspex 4 times - and ended up nowhere further at midnight than I was at about 10:15 when I finished cutting....
I saw that lol made me chuckle. Hey you got a nice texture effect on there :P
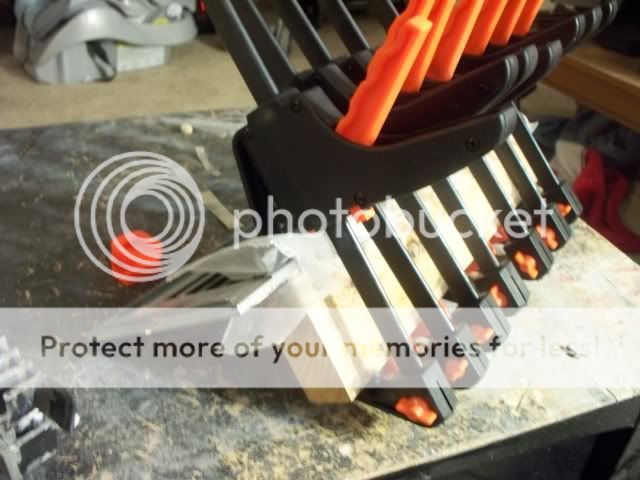
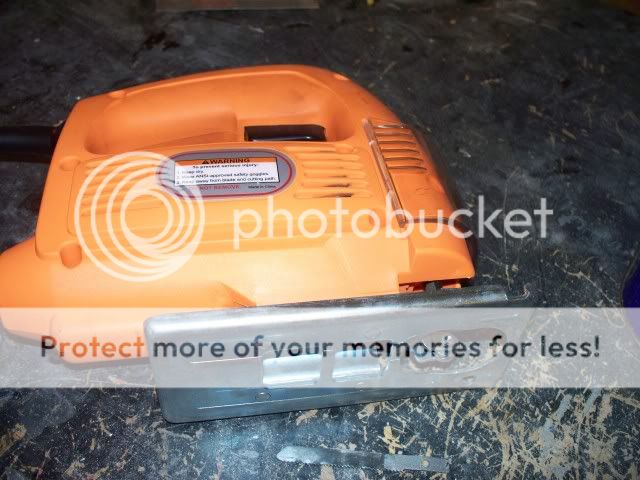
And now, ladies and gentleman, for my next trick, I need a volunteer. Anyone will do, yes
you sir, up front,
come on down!
Now watch, as I turn one ordinary needle file and one ordinary jigsaw,
Into the Mark Hardware Filing Machine 2000!
In action;
mwahahaha!
you all remember the last time I filed a bunch of holes like that. To heck with that!
*note to self, do not have wife hold camera anymore
EDIT; Sooo yeah... that video was supposed to be there the whole time, and the joke about the wife holding the camera tied into that, sooo...... yeah..... :whistle:
Looking very good man +rep
That is a very very cool invention mate. I did something similar by putting a round file into an electric drill lol, worked like a Dremel sanding drum :D.
Heeeya! *cough cough* *blows away the dust* Is anyone alive in here?
Helloo?
OMG, its alive!!
That's right suckas, I'm back in action! Took me a little hiatus there. Between work and school and a string of disenheartening FAILures I just had to take a break for a while. But with tax season here, That means new parts are just around the corner! As soon as my employer quits draggin ass and gives me my W-2 that is :p
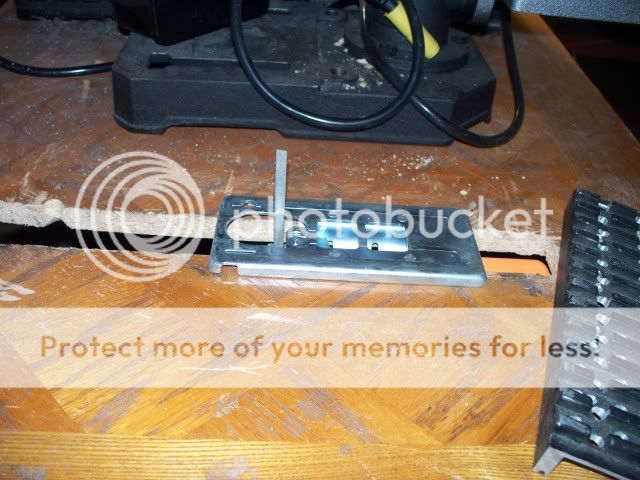
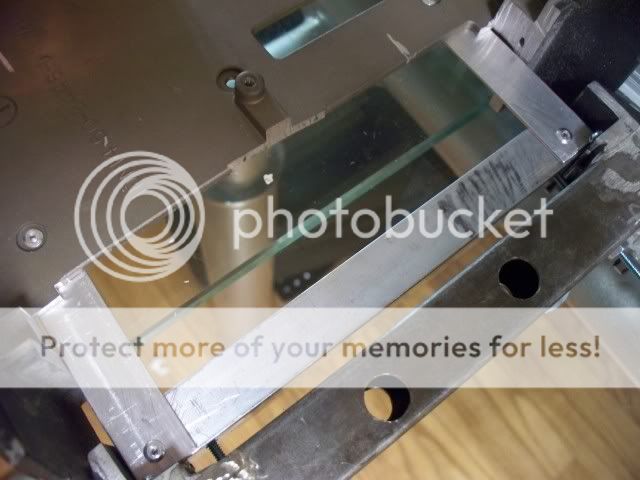
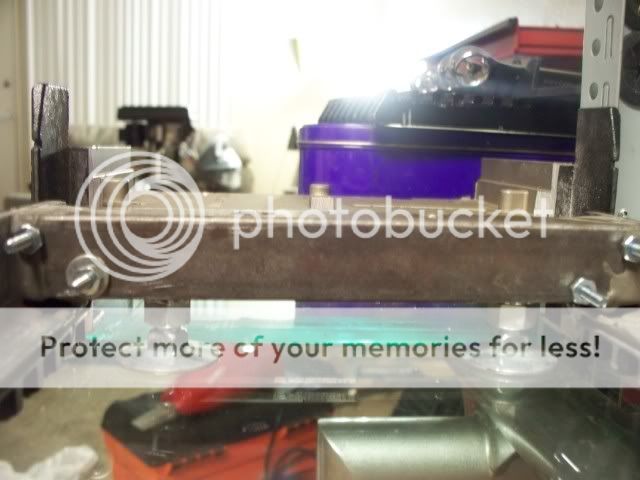
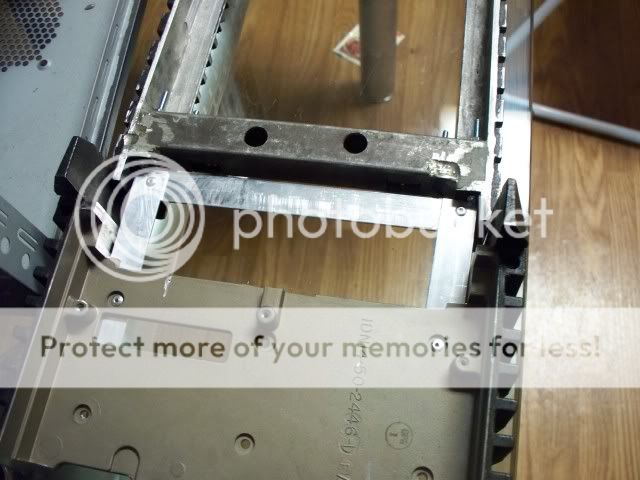
Started out by working on something kinda simple. I call it the wire box, for lack of a better term. See, one goal of this project is to see no wires what-so-ever. The back of the case (where there is usually the most wires) is no exception. This box will serve to hide these cables. I am thinking I may add a hub here, to make everything accessible at this point instead of having to get to the I/O panel.
So this wasn't too complicated, just add some alum channel,
make a frame,
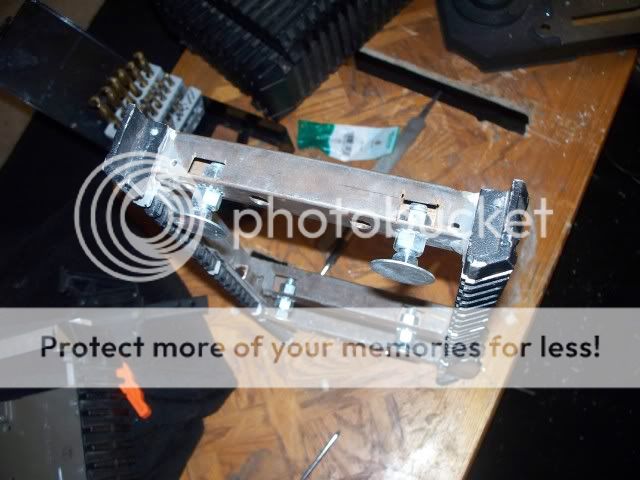
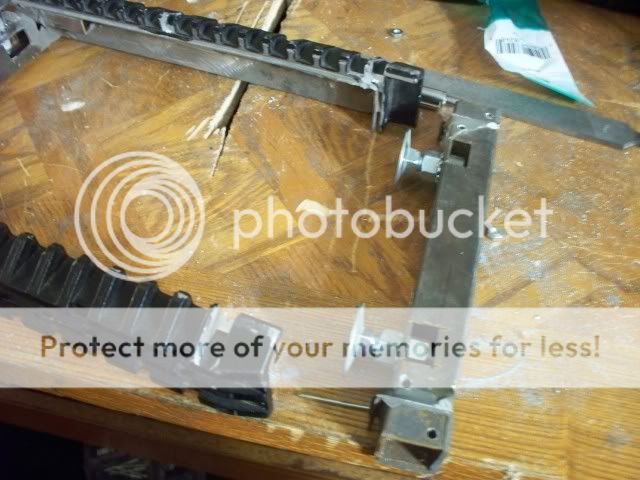
curse, swear,
My first day back to real modding and it's like I never left. This stoopid piece broke during drilling.
That's ok, I will fix it, make it stronger, make it better.
Anyway, here is that, attached and happy.
I also started working on the upper front pieces. I cut and sanded the plastic and replaced it with wire mesh. Both sides will be identical. I also started blending this piece of heatsink into the front plastic. It will have a similiar appearence to the bottom.
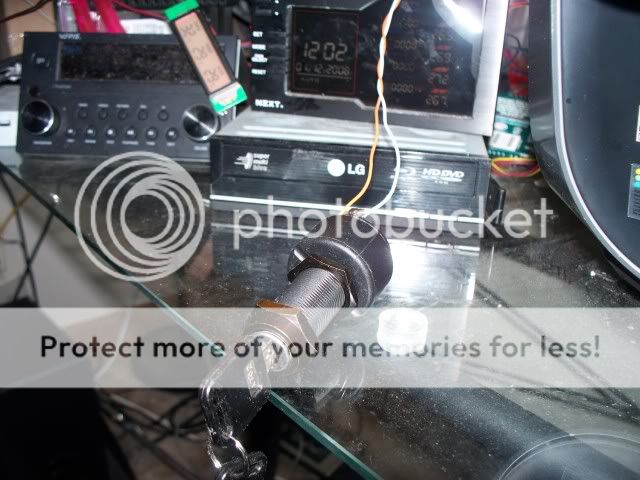
Just for funs, I hooked up this key switch. Originally I wasn't going to use it because it's too big, but I have changed my mind, deciding that it's actually perfect because it's big. So say hello to my new "on" button.
One more note, I have also come to the difficult decision to not use the front fascia, do to the exorbitant amount of problems and ongoing design changes. What I have decided to do instead is use this piece for experimenting on, and once I get everything figured out, I will make a final model. From now on I consider this a prototype. I already have the parts lined up, but I am not making a single cut on them until the prototype is done and I have everything figured out.