Quote:
Originally Posted by xr4man

Printable View
Quote:
Originally Posted by xr4man
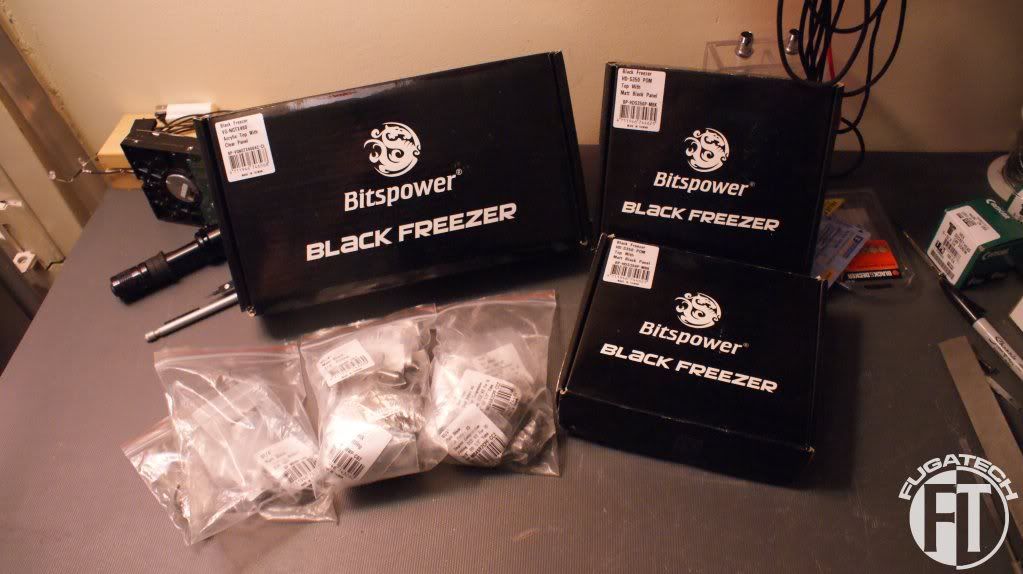
After months of talking with Bitspower, a box randomly showed up at my house :D So thanks Bitspower for sponsoring my build with lots of fittings (40+), a GTX 460 WB and 2 HDD WB.
Thanks guys!
So its been awhile since my last update. Work has been getting done just not enough at one time to make a post about it. I was super busy with life. My sister came to visit for about 2 weeks and I got a new boss so that is where most of my time has been spent. Also my wife and daughter are back so I spend a lot of my time with them. Here is what I have done over the past month up to this morning. (Not in any particular order)
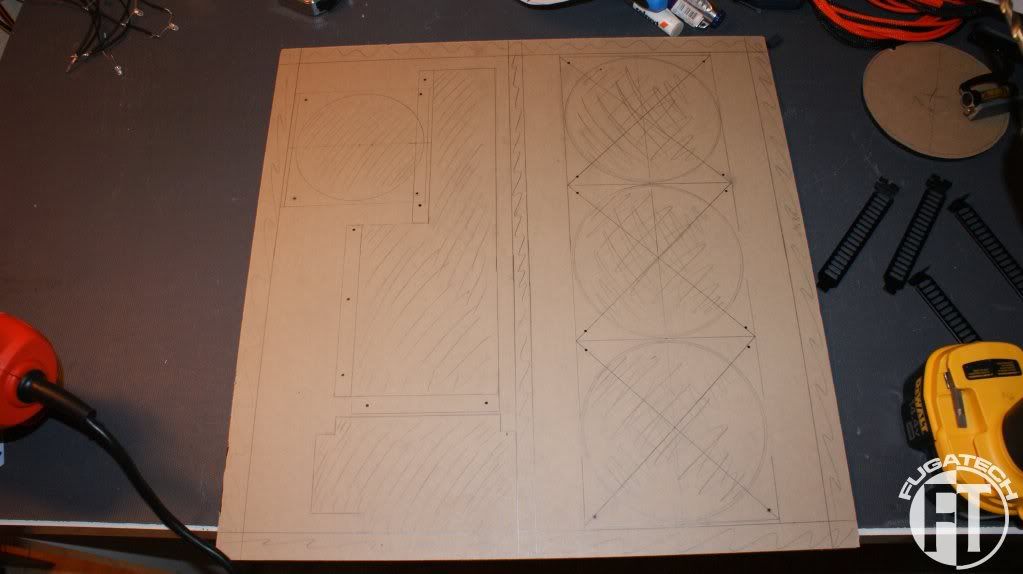
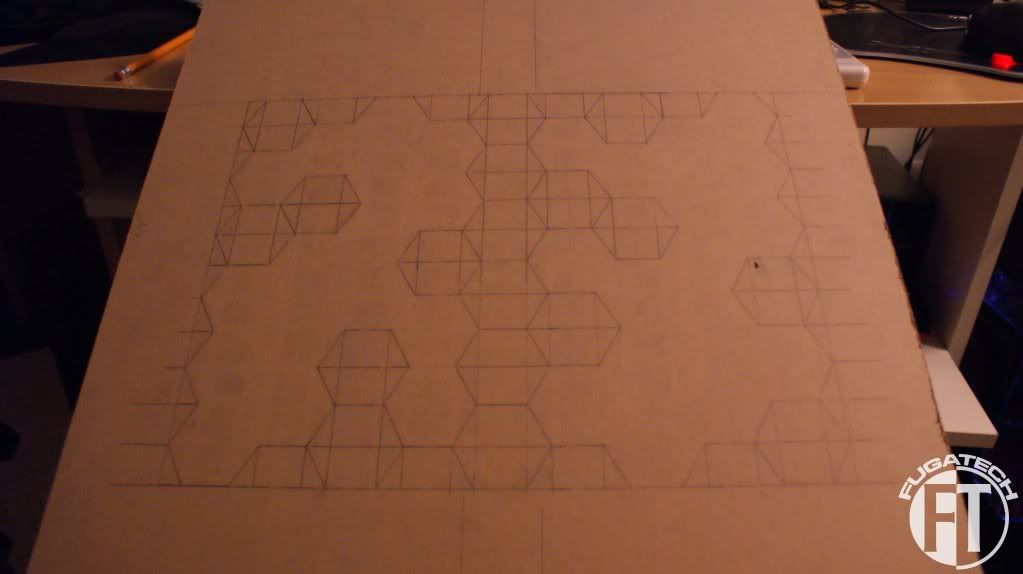
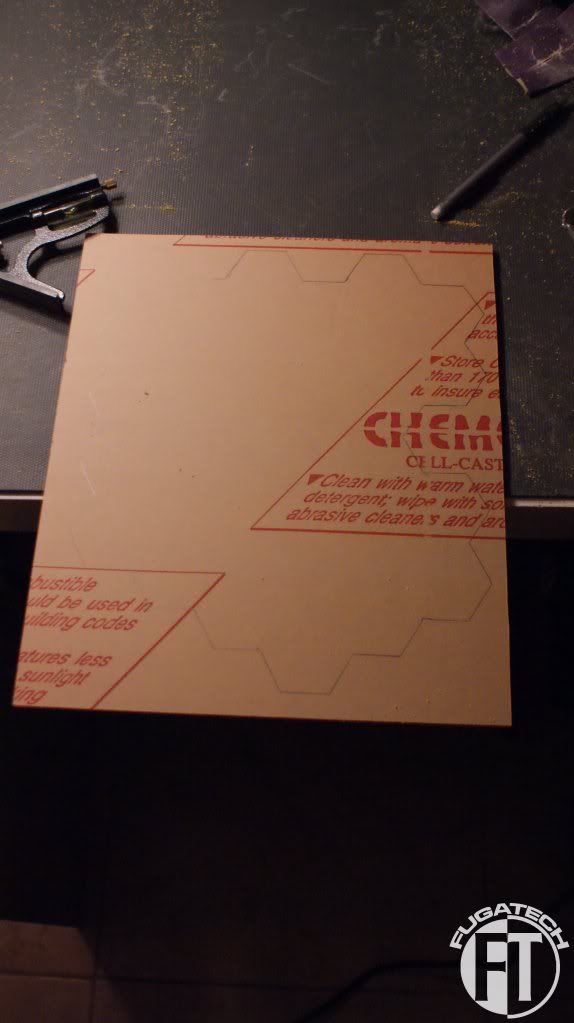
I finally received the replacement back panel so I drew everything out.
Due to time constraints I forgot to take a picture of it all cut out.
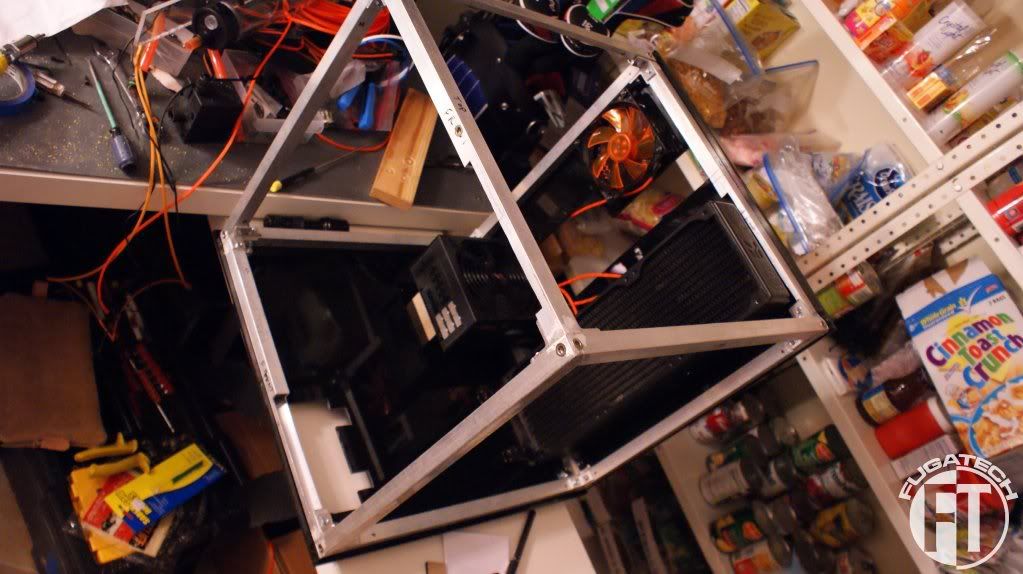
Since I got that done I could finally install the 2nd rad.
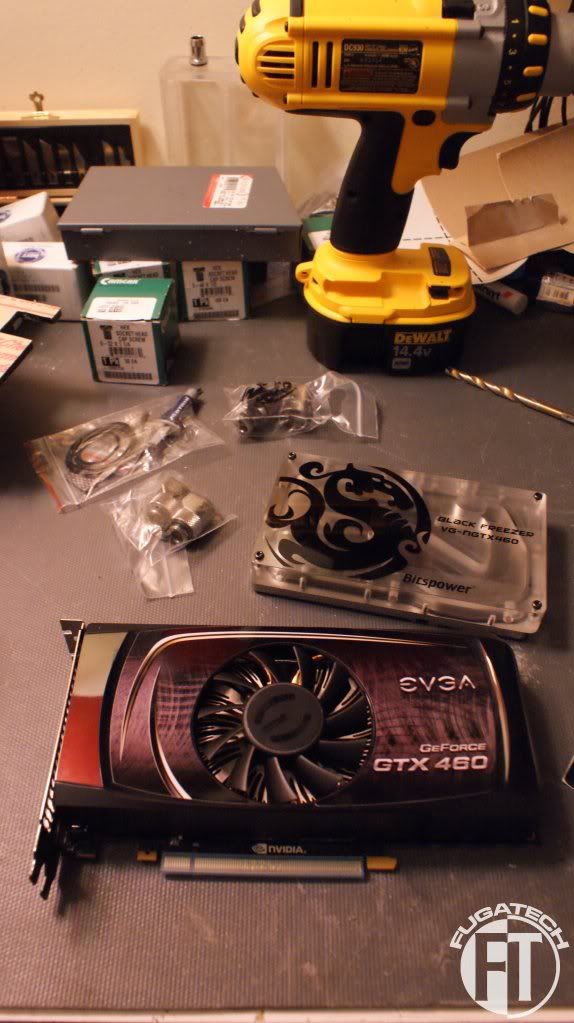
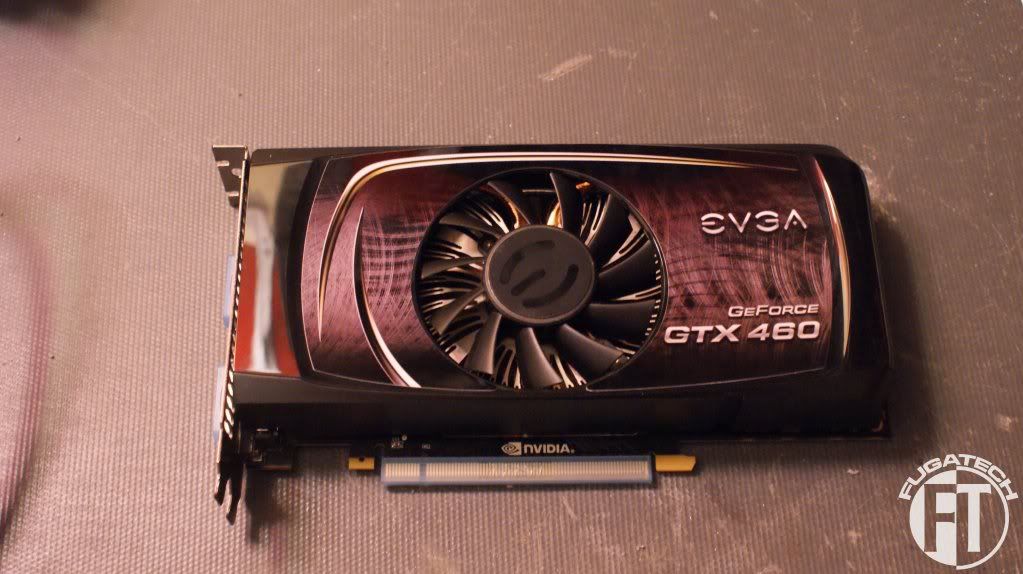
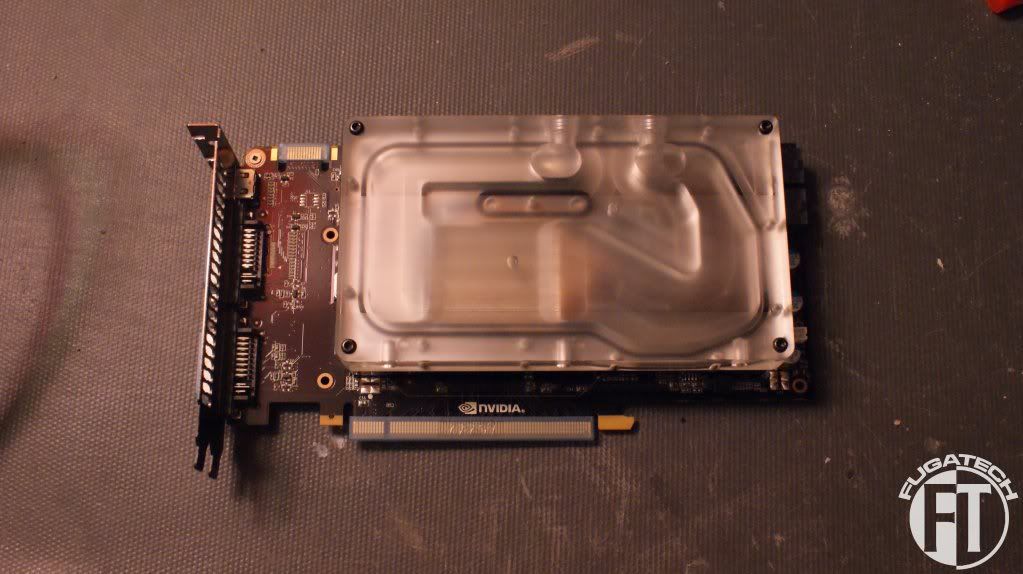
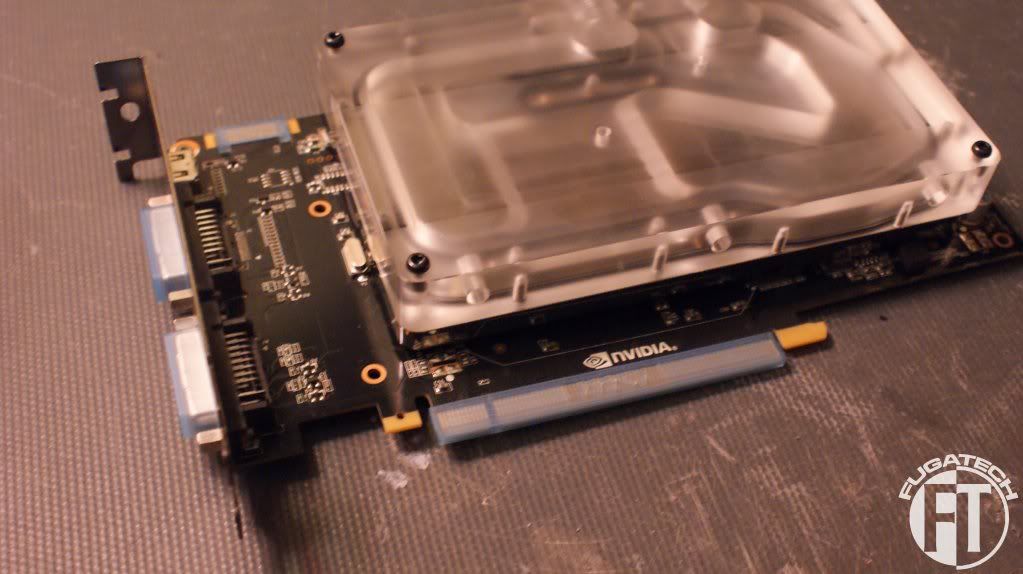
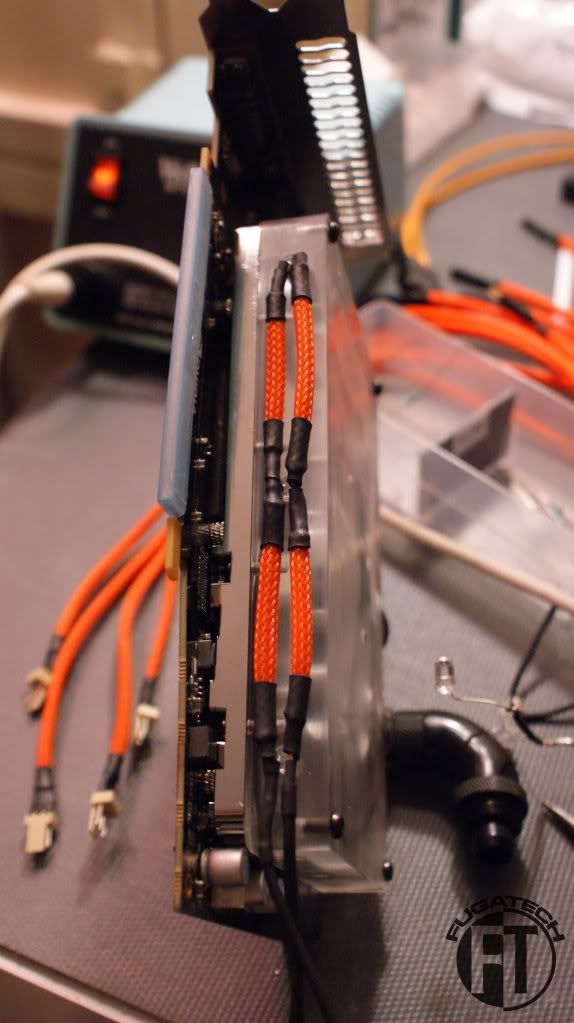
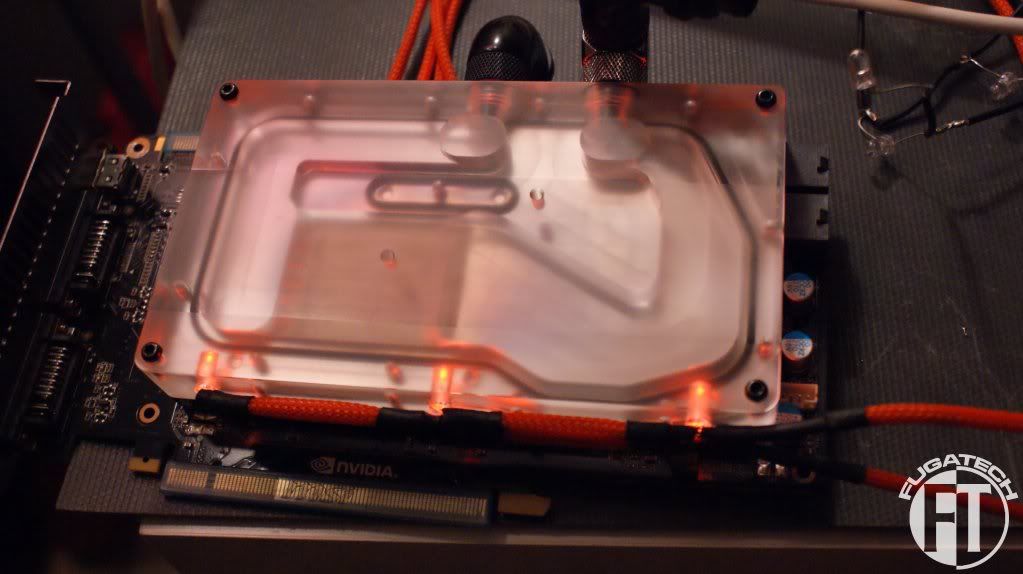
I put the waterblock I got from Bitspower on the EVGA GTX 460.
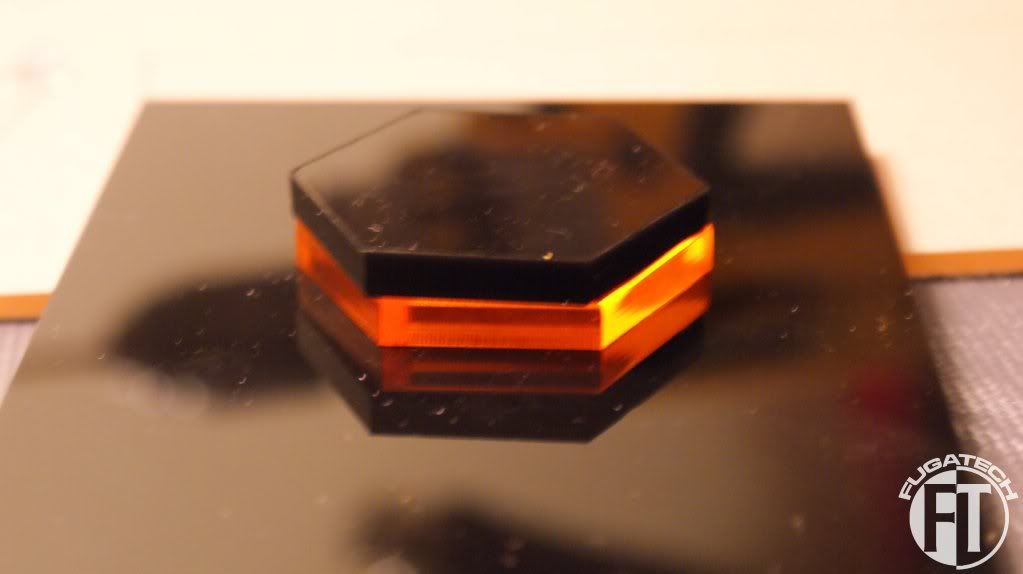
Here I was messing with a single white LED under this plexi to see how well it glowed... It didn't workout as well as I hoped so I need to work on it more.
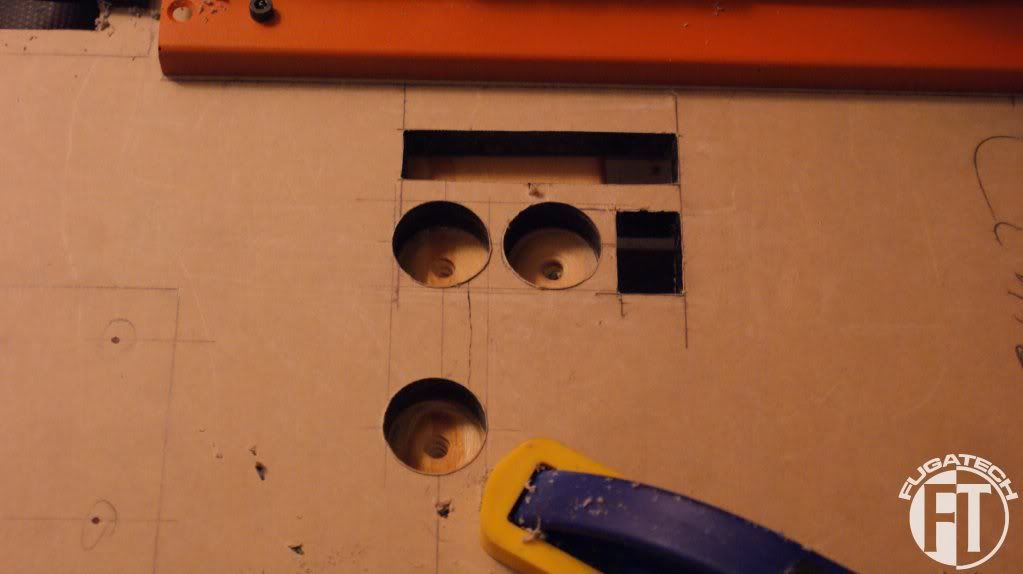
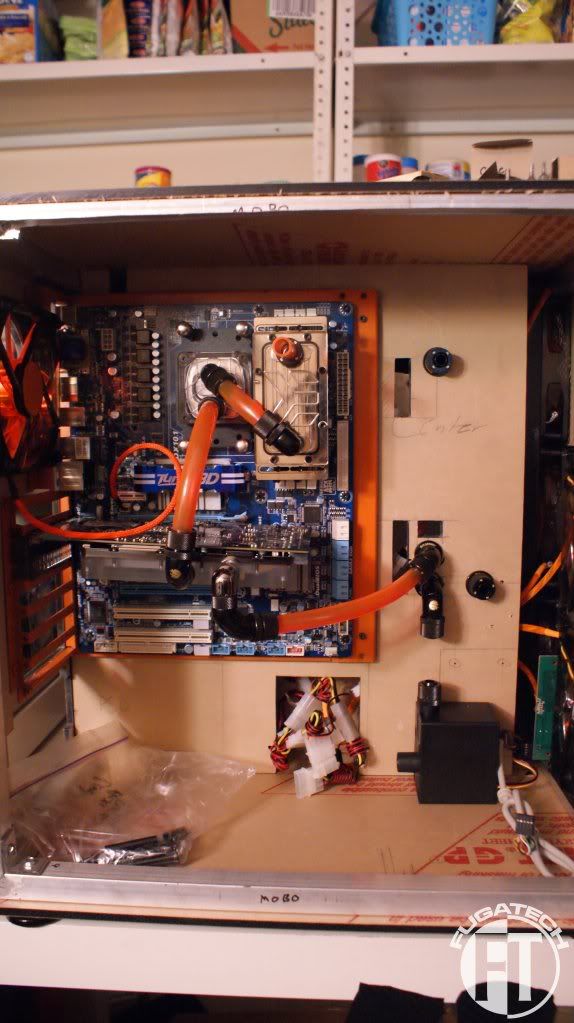
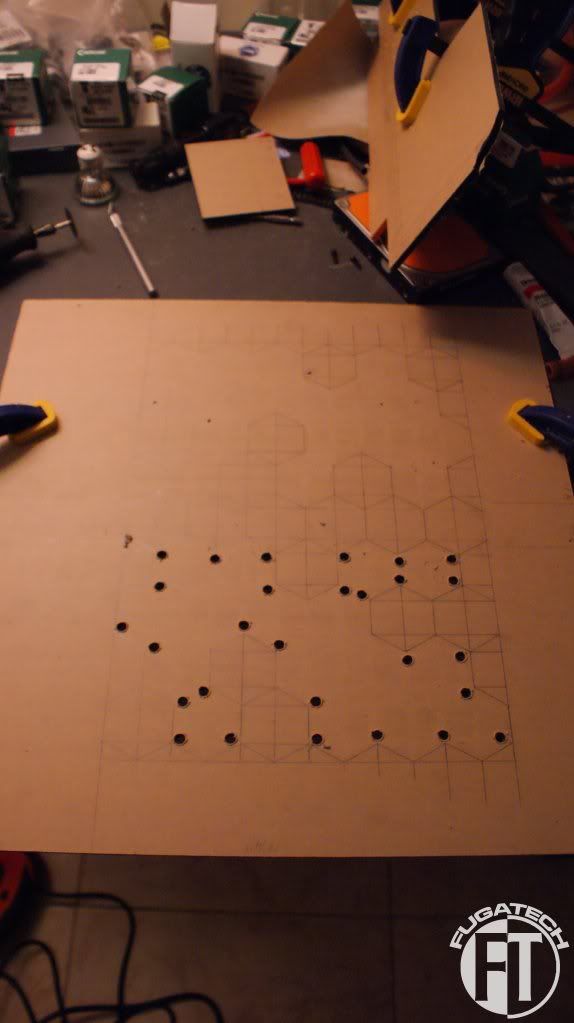
I needed to drill holes in the center divider for the Bitspower pass through fittings.
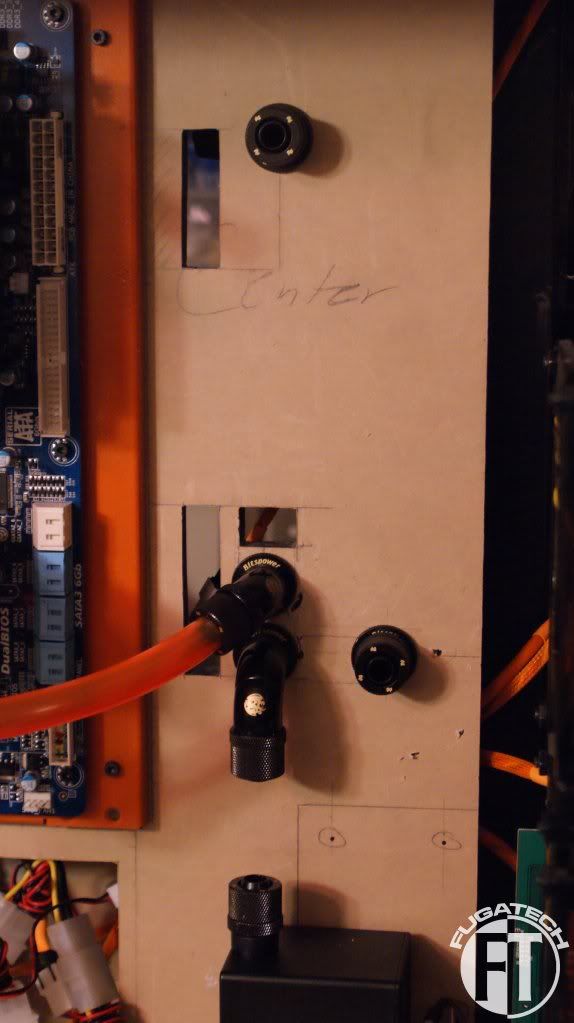
Starting to install them.
All done.
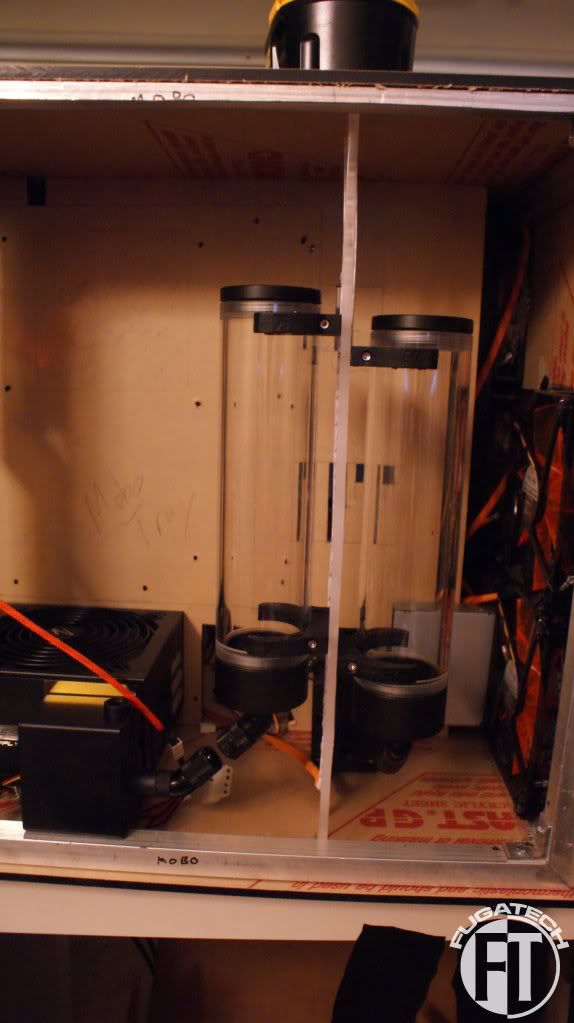
Here I was trying to figure out where to put the pumps.
This was my next solution.
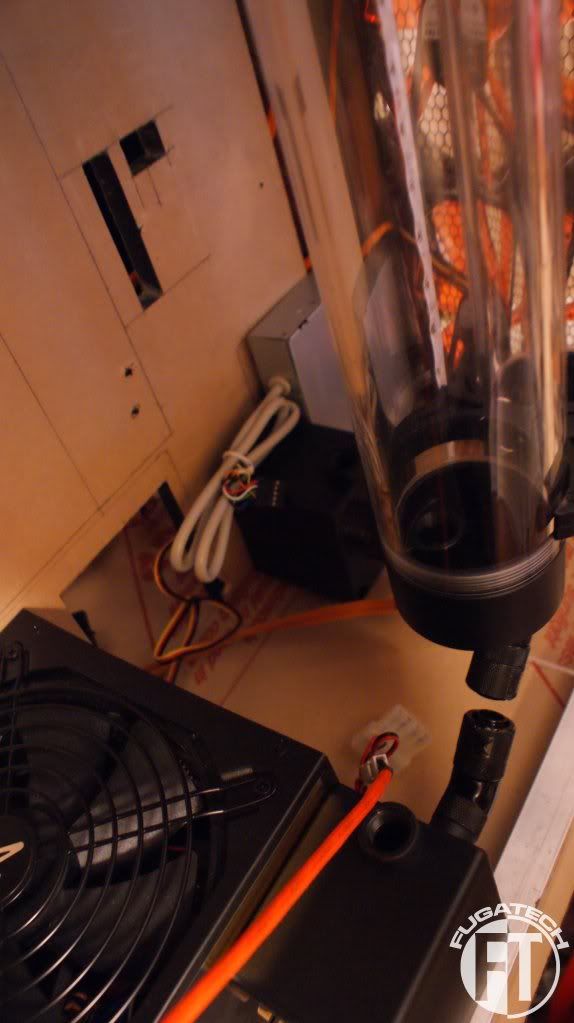
And my final solution.
I also started working on my water tubing routing.
Its still a work in progress.
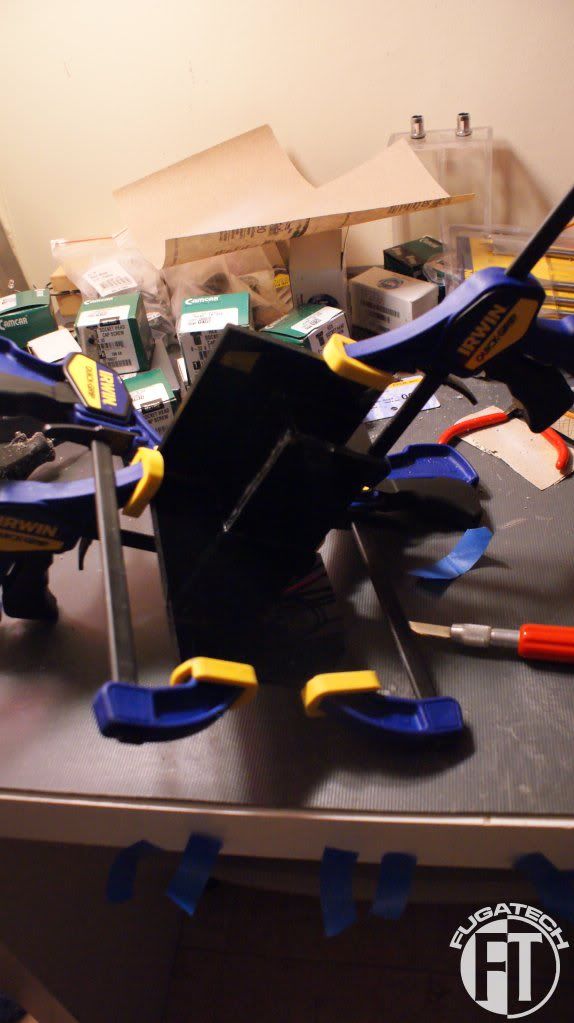
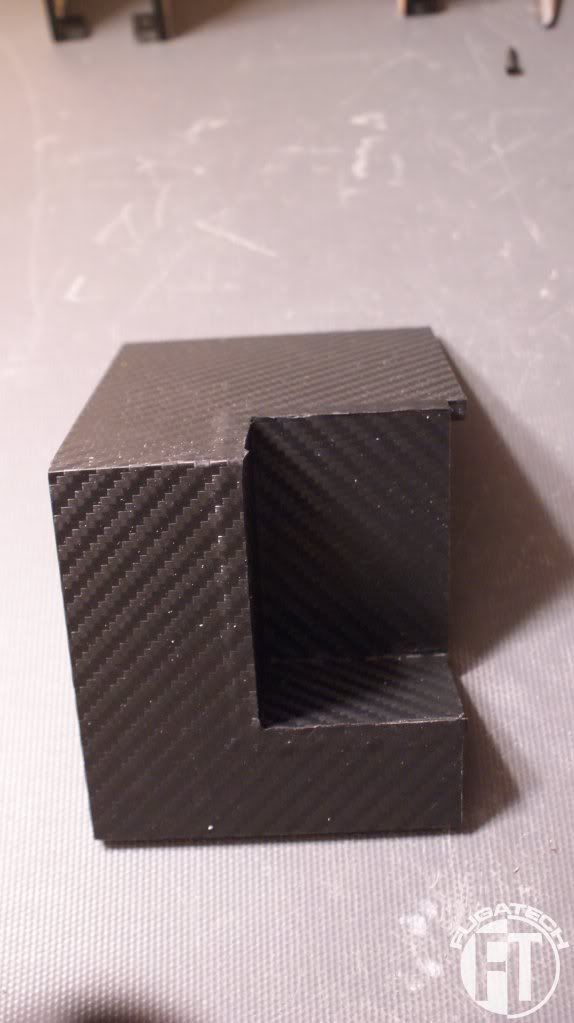
I built a cover to hide the PSU cables.
And then I glued it all together.
And finally I covered it with Carbon Fiber because it looked like crap. Once I get some good acrylic glue I will remake it properly but this will have to do for now.
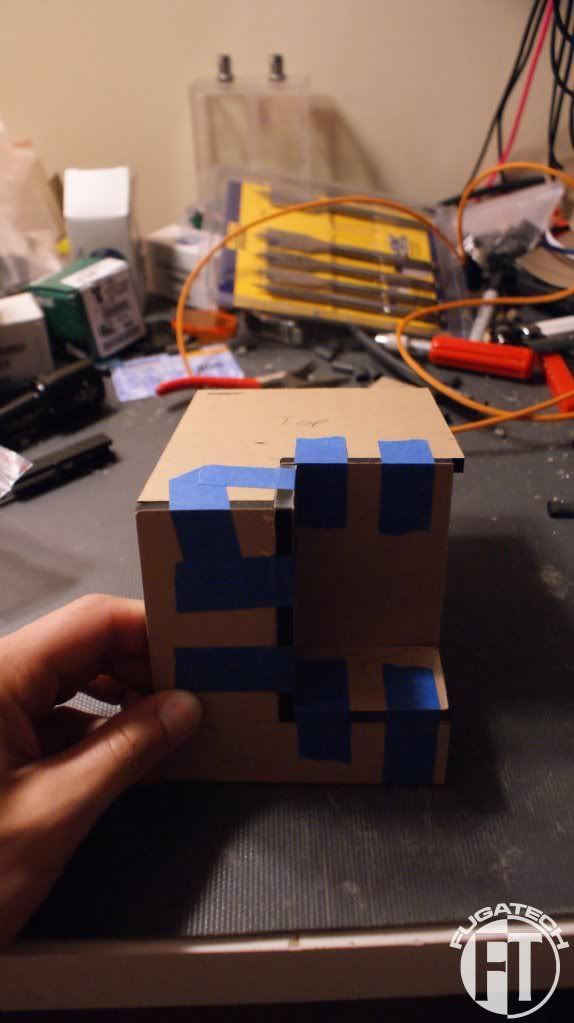
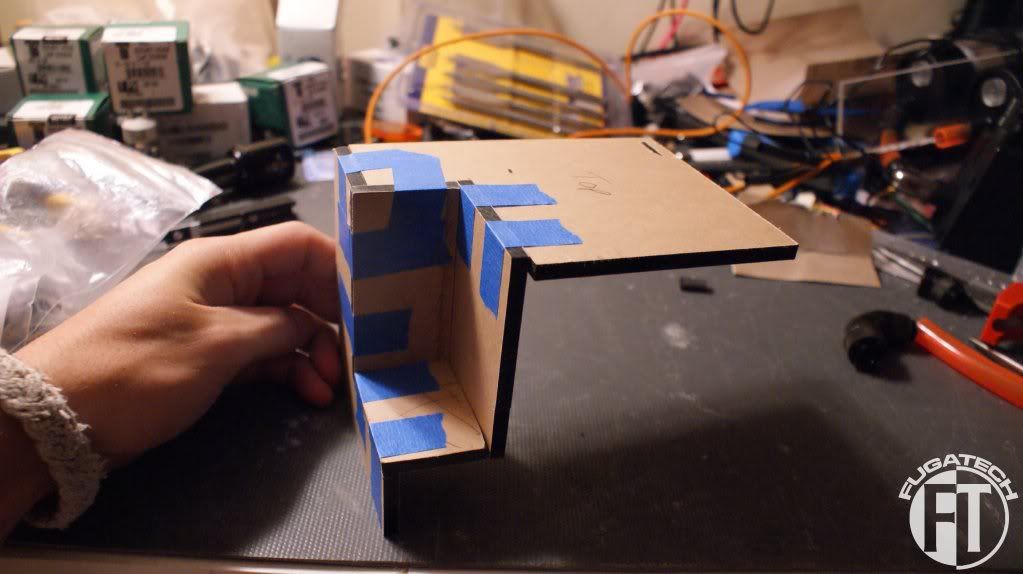
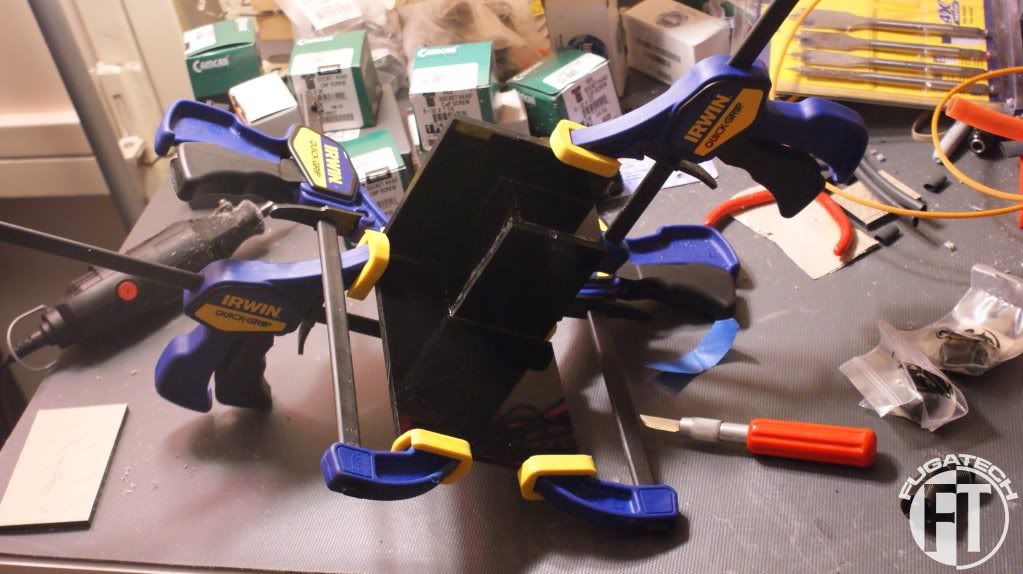
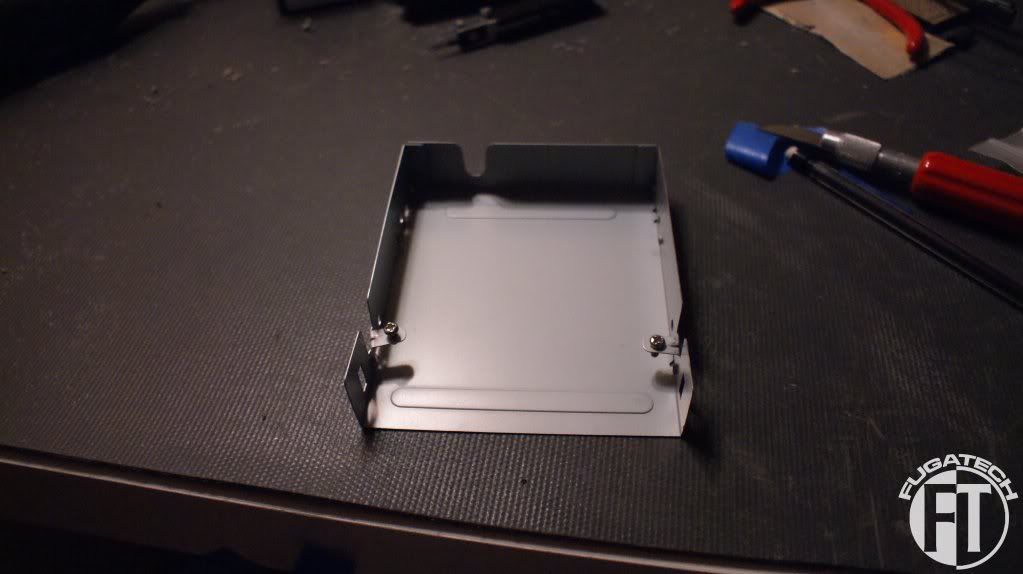
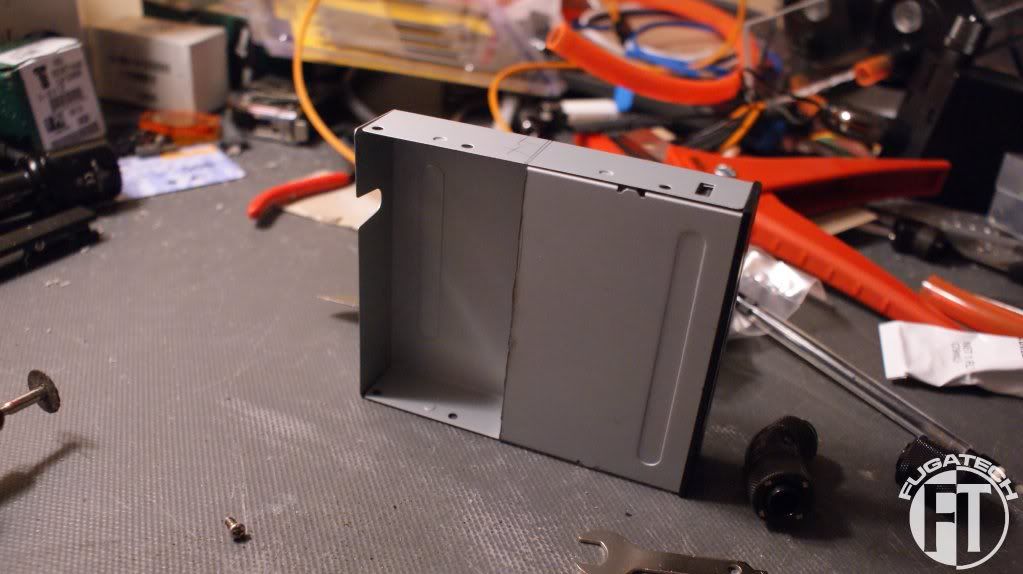
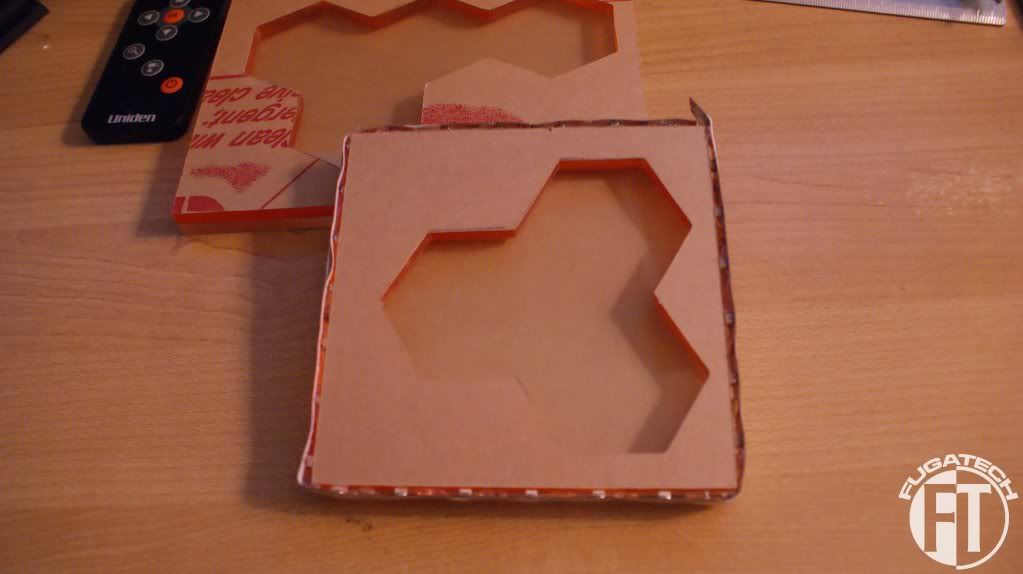
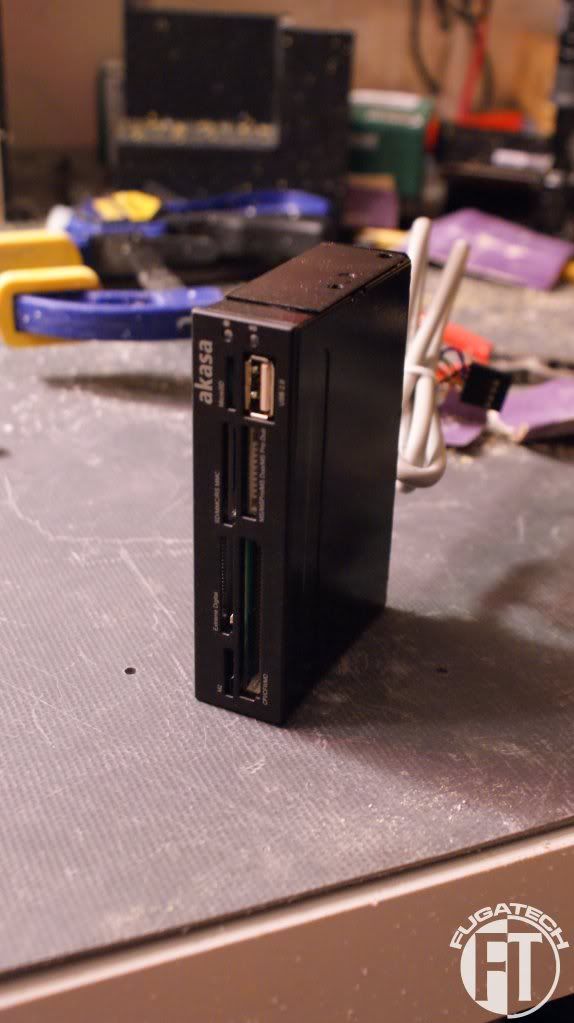
I decided to cut down the Media Card Reader enclosure to make it smaller. There is no need to keep it full size.
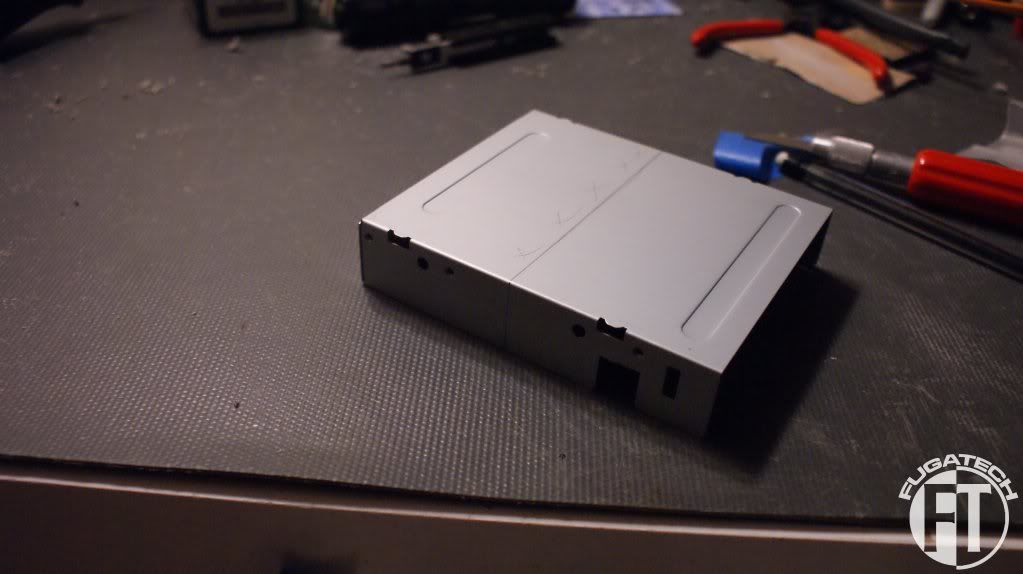
Here I measured the half I cut to the other half.
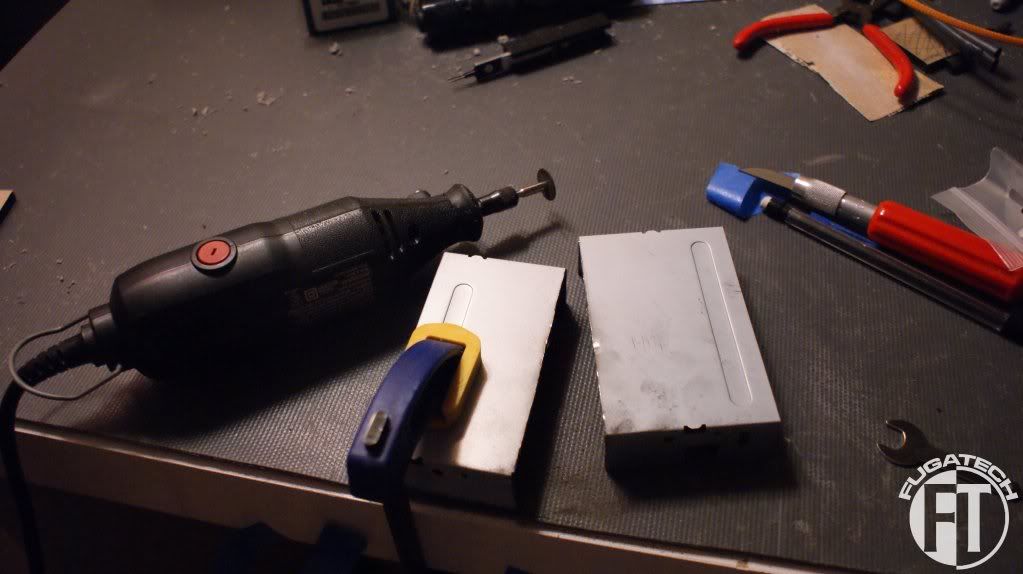
Marked and ready to cut.
More pictures of the final product in my next update.
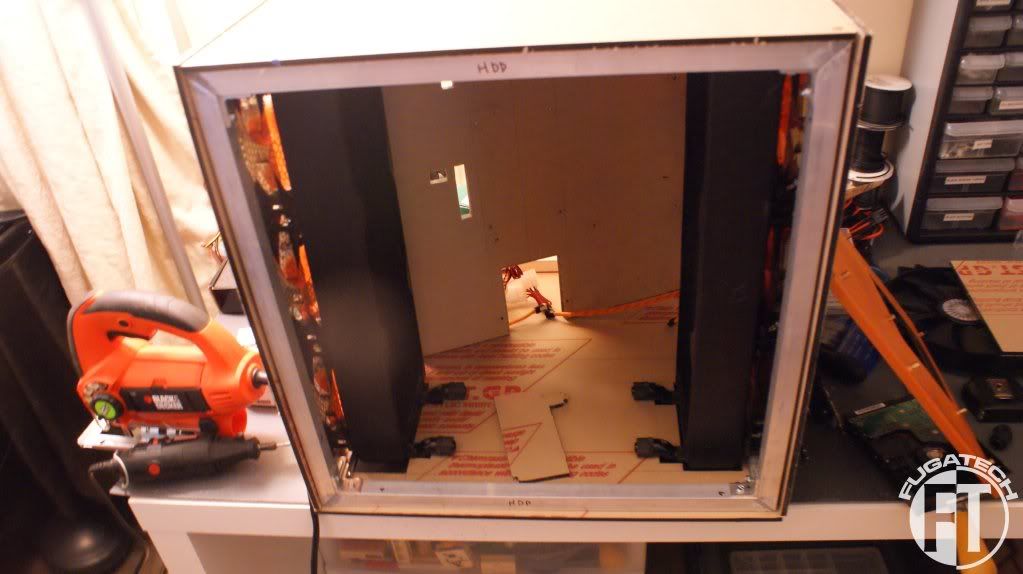
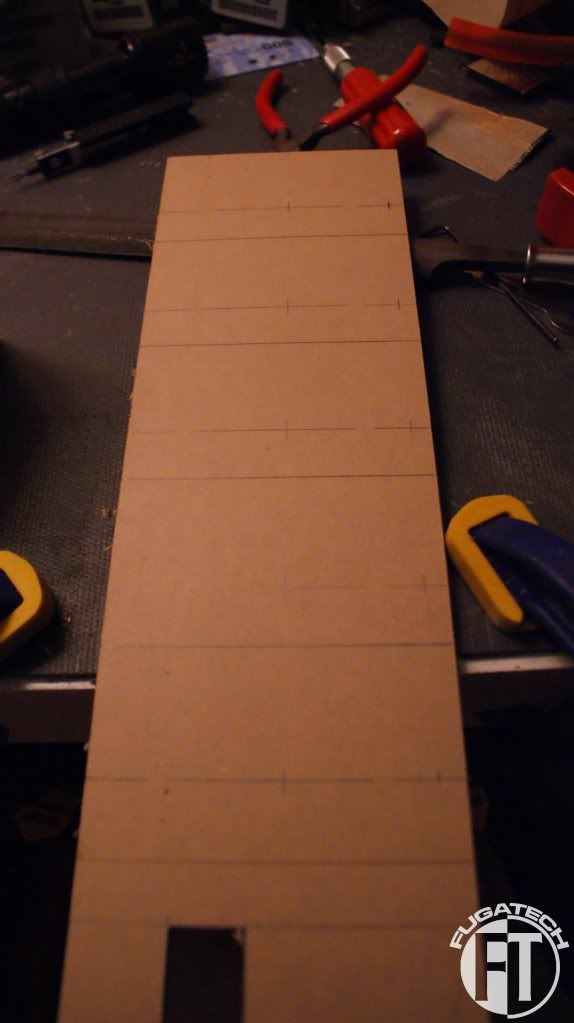
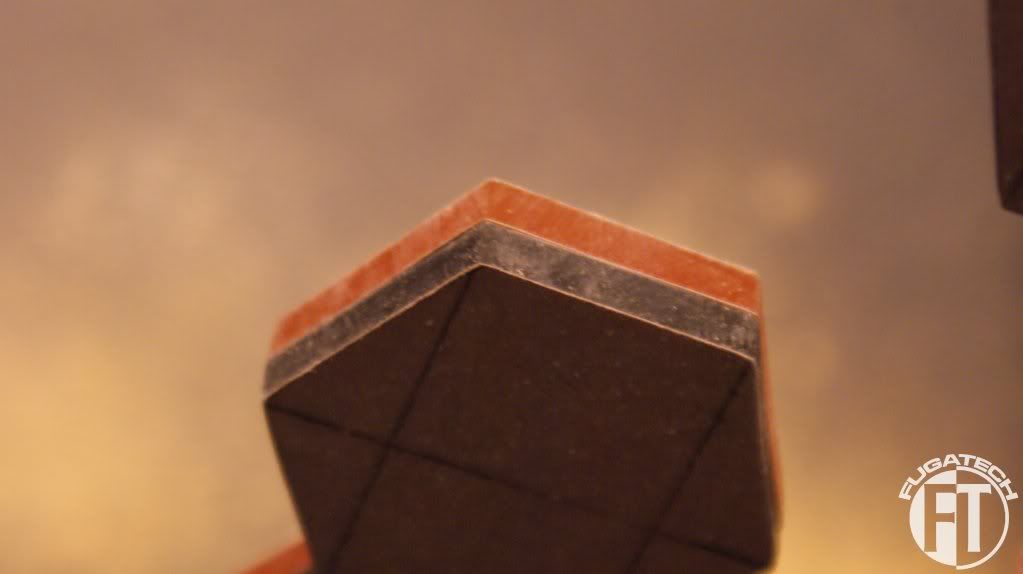
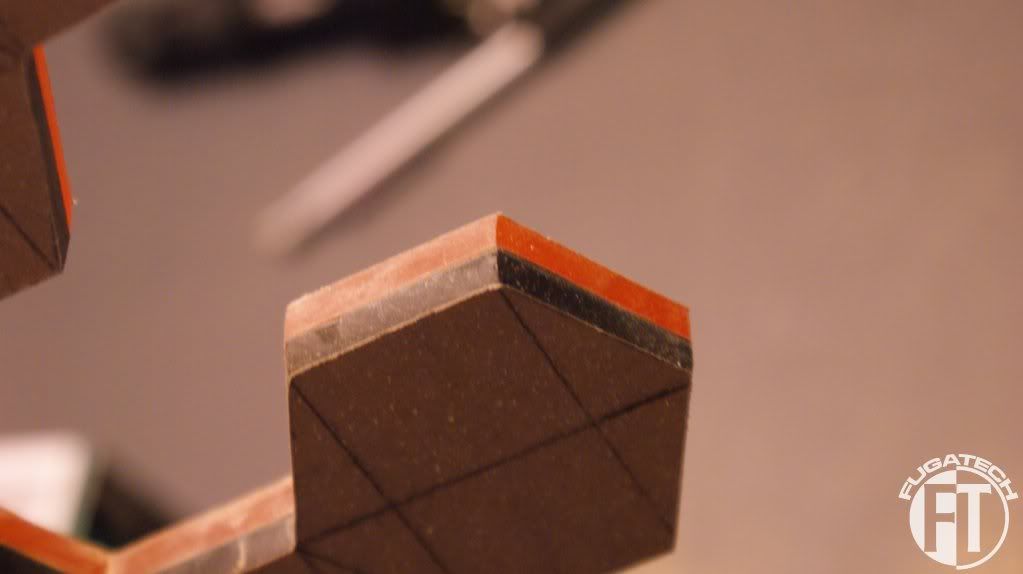
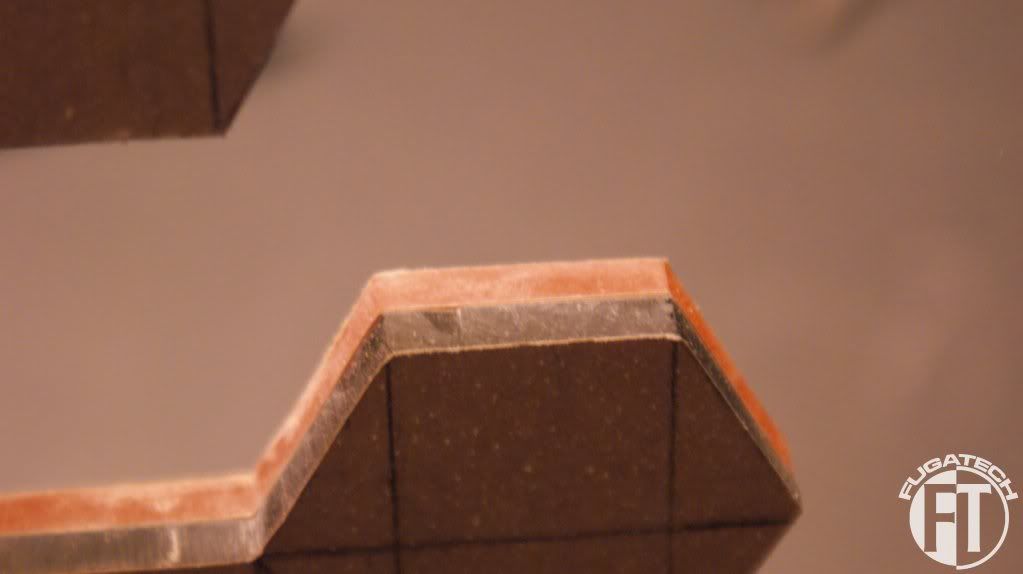
Here is one of the sides of the HDD racks I made from scratch.
They came out rather nice.
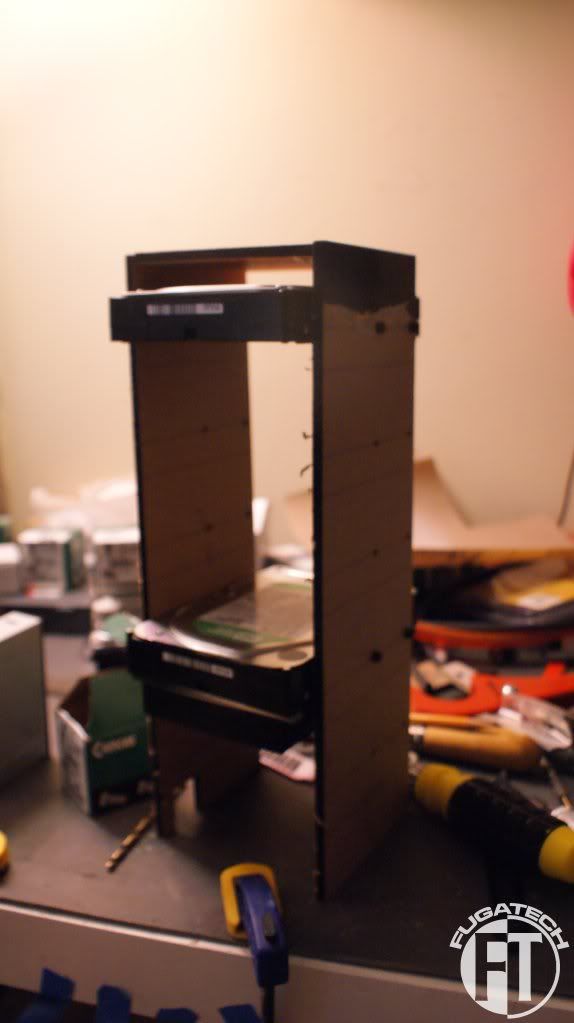
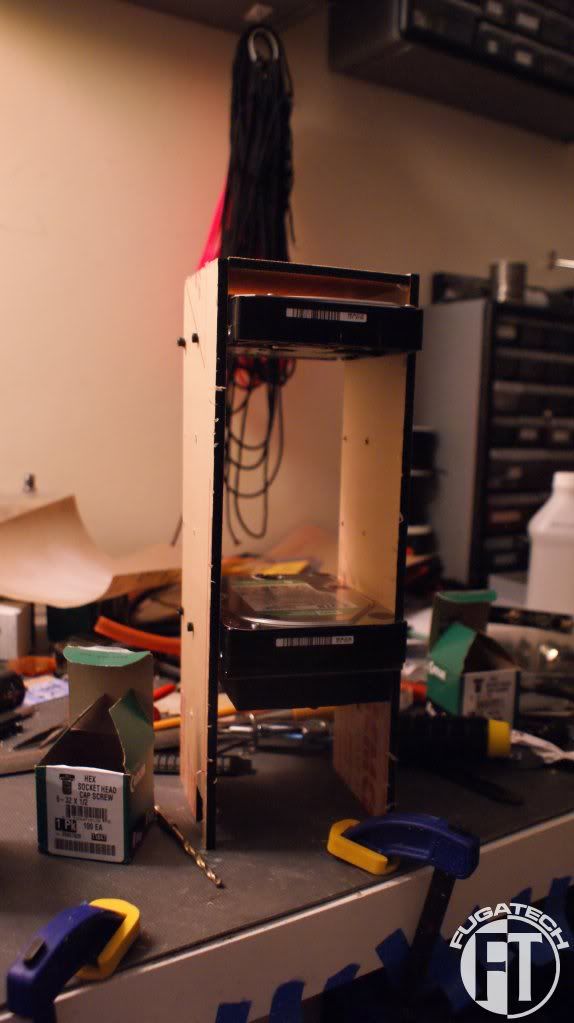
Now I'm working on a mounting system so I can take the HDD cages in and out with ease to add more HDDs.
And finally today I started working on the HDD side window.
Drilled and ready to cut.
I have more on the side panel coming in the next update since it took all day to upload these pictures.
Hope your happy to see more work!
Cheers till next time!
The BA factor on this build is off the chart! Love the attention to detail that is going into this project!
Thanks man!Quote:
Originally Posted by TheMainMan
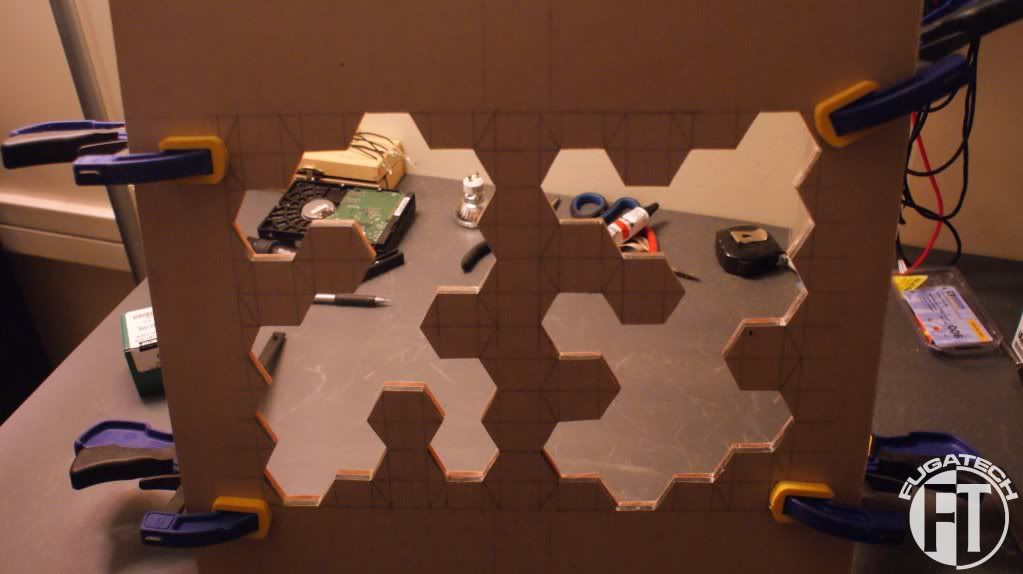
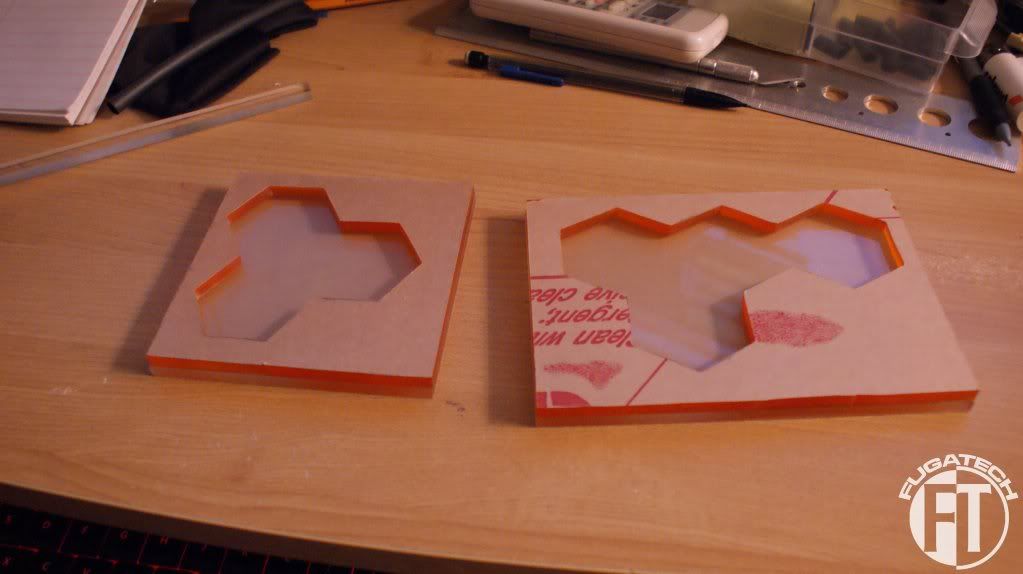
I got more work done on the side panel last night.
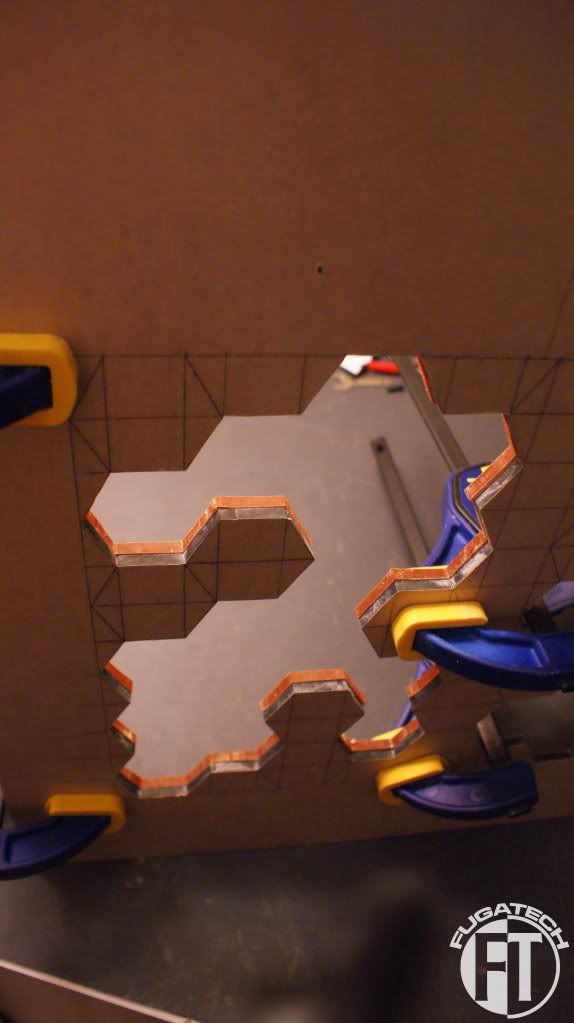
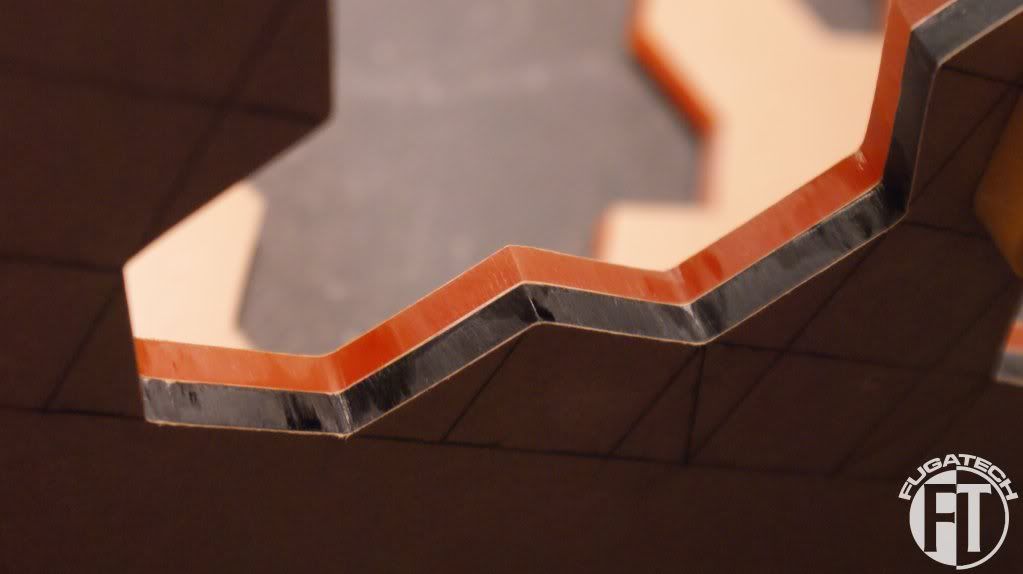
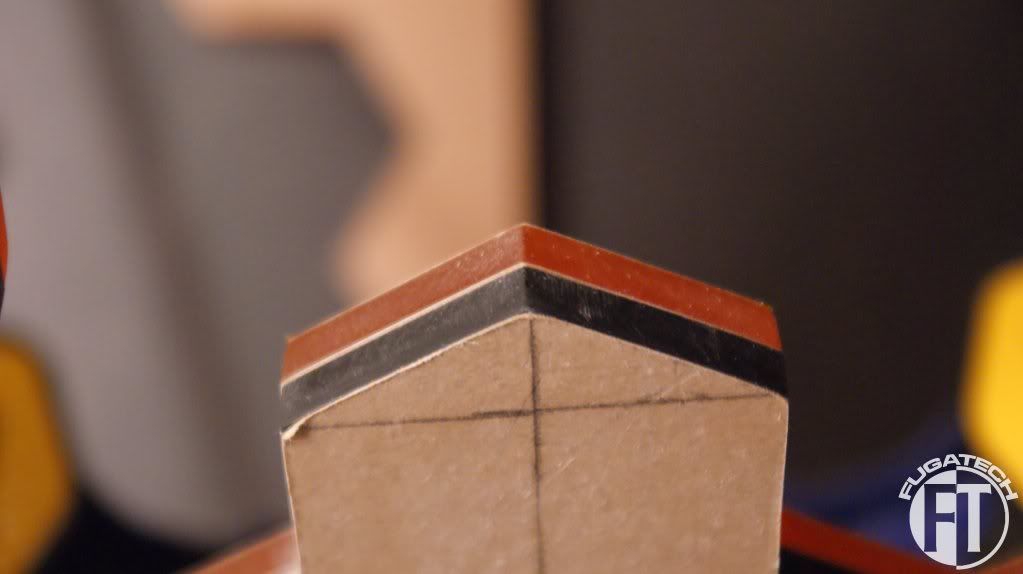
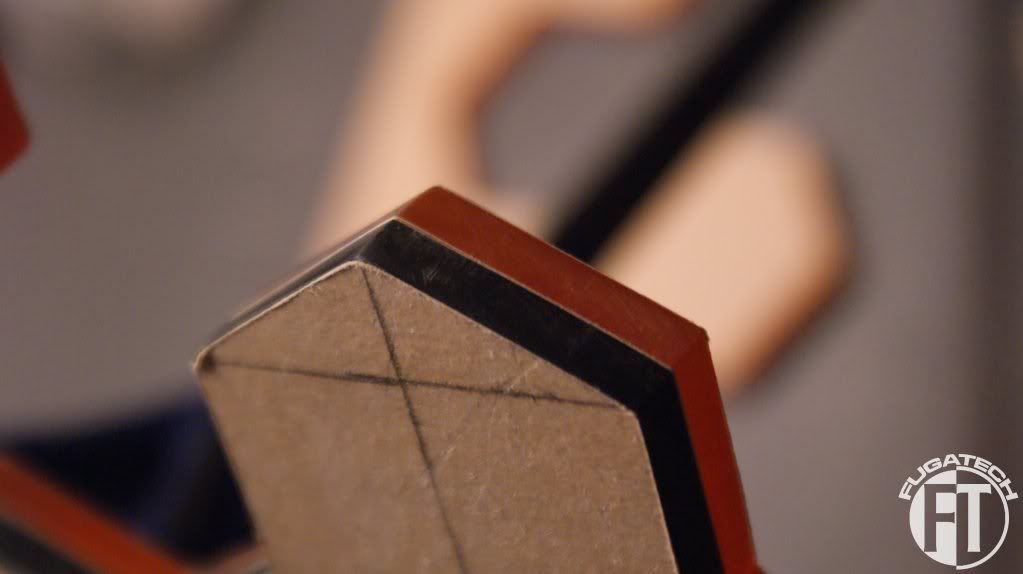
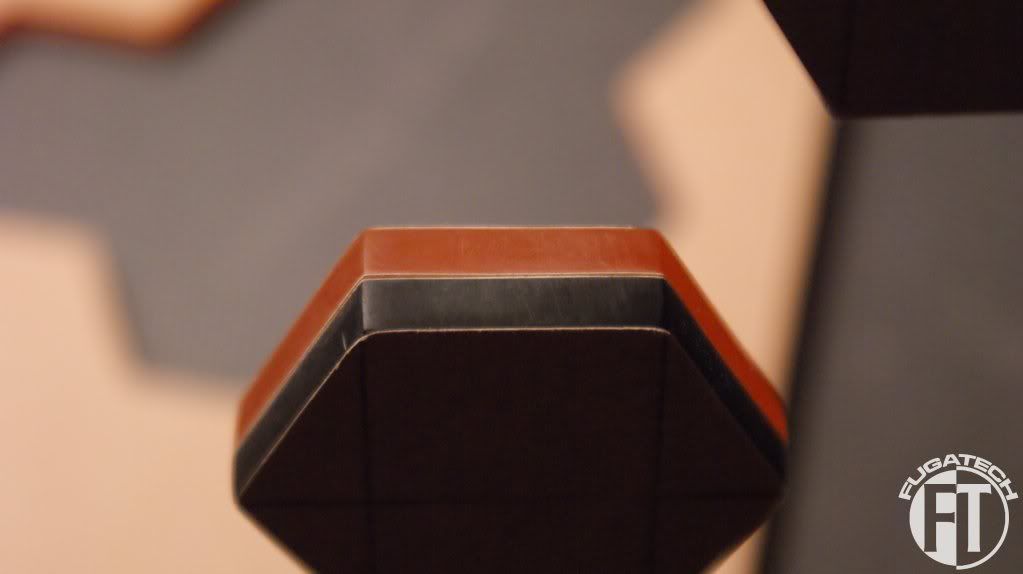
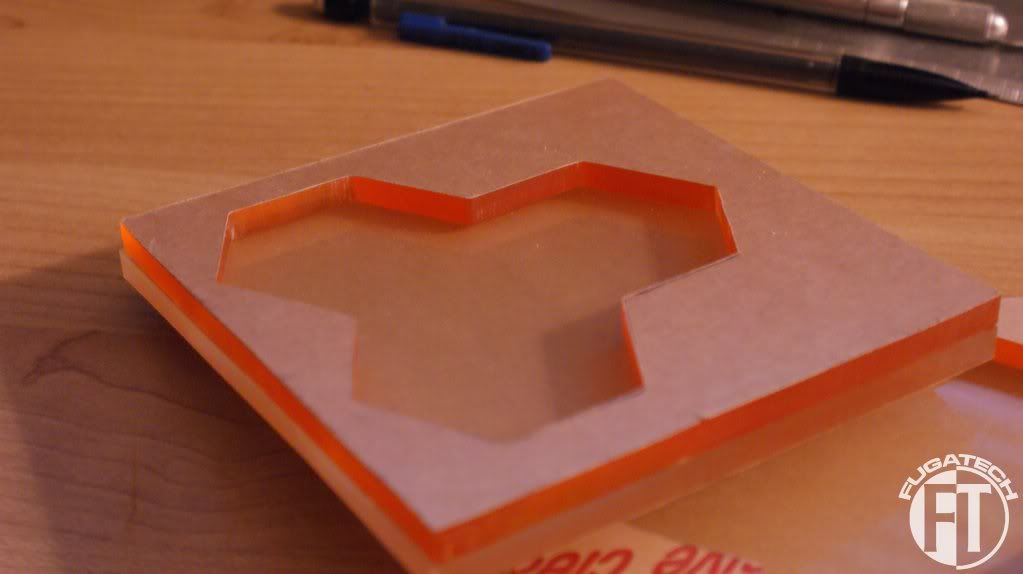
What I did was clamp the orange pieces to the main panel and lined them up as best I could. Then I filed down all the edges so that they were perfect. Then I sanded each edge with 200 grit to get most of the big scratches from the files out. I still have to sand a bit more but its pretty much done.
Once I finish the edges I will glue them to the main piece and then glue on the clear piece. I don't think I will get the lighting done before the 20th for the competition but I can try. More work to come very soon.
Cheers till then.
looking good! I'm also scrambling to get mine done for the 20th. just a few things left to button up!
very nice!!
what happens on the 20th?Quote:
Originally Posted by SXRguyinMA
Its when the Case Mod Showdown competition is due.
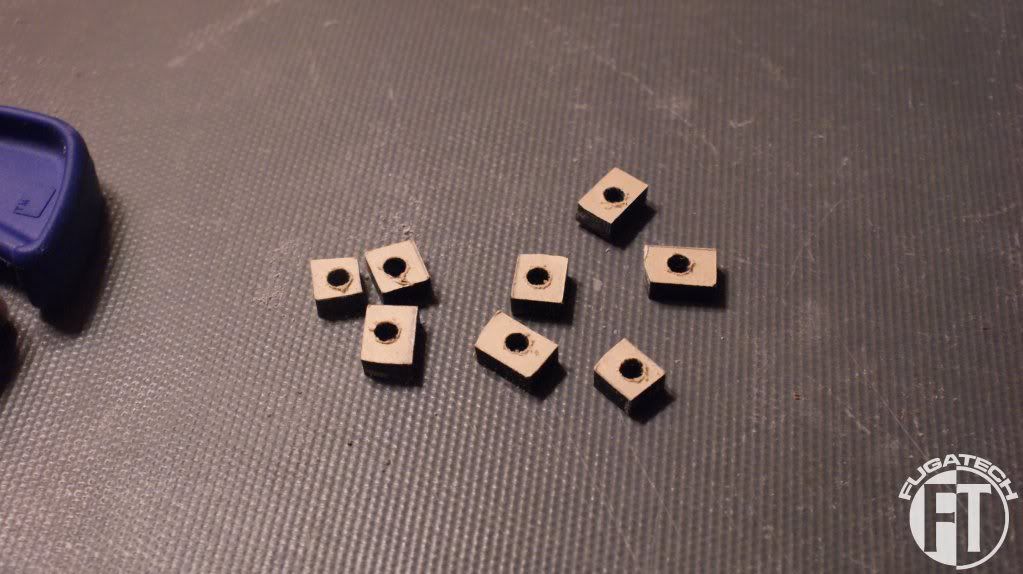
I made some feet for the HDD cages. I glued them on. I hope they hold if not I will have to use a different acrylic glue.
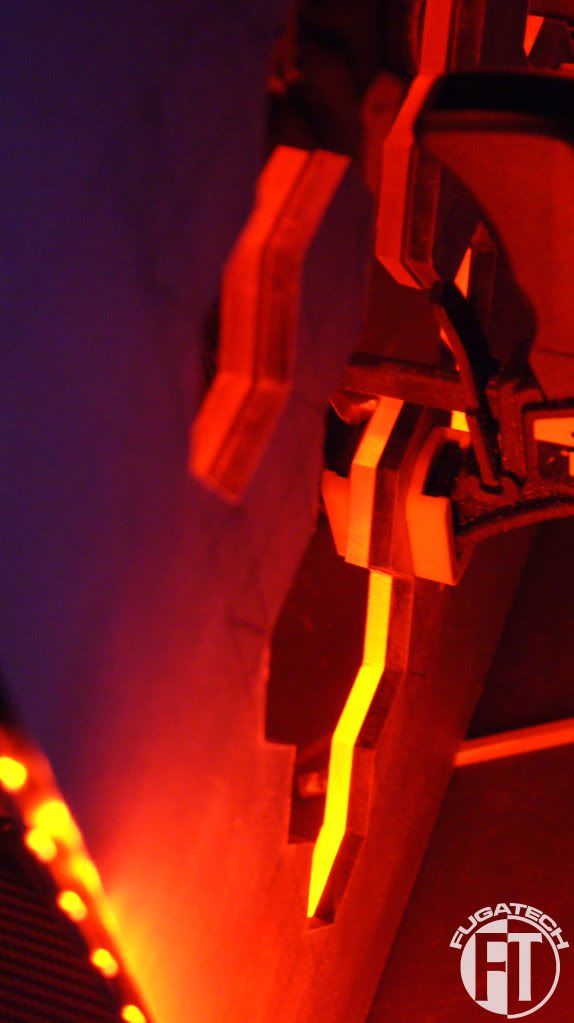
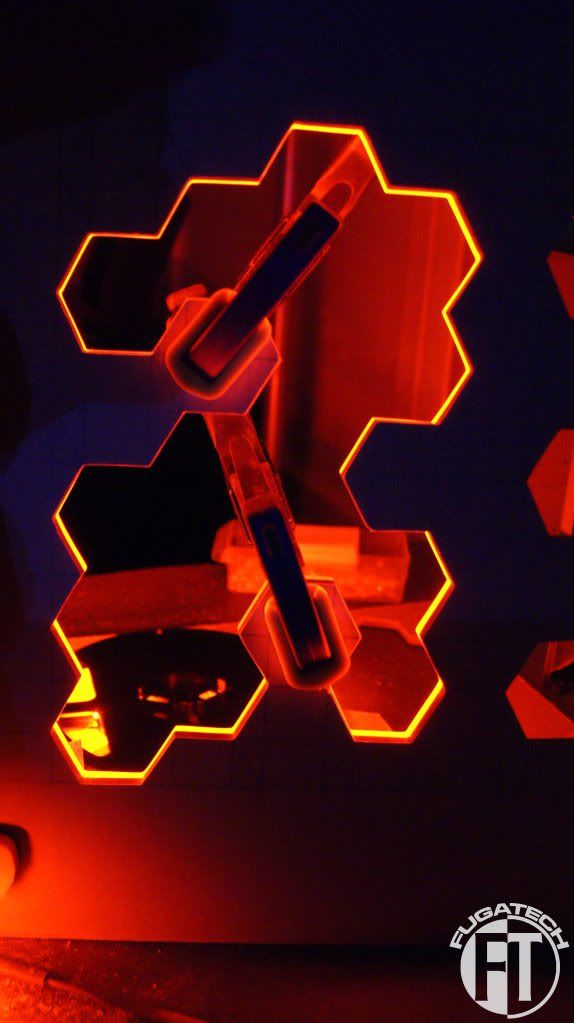
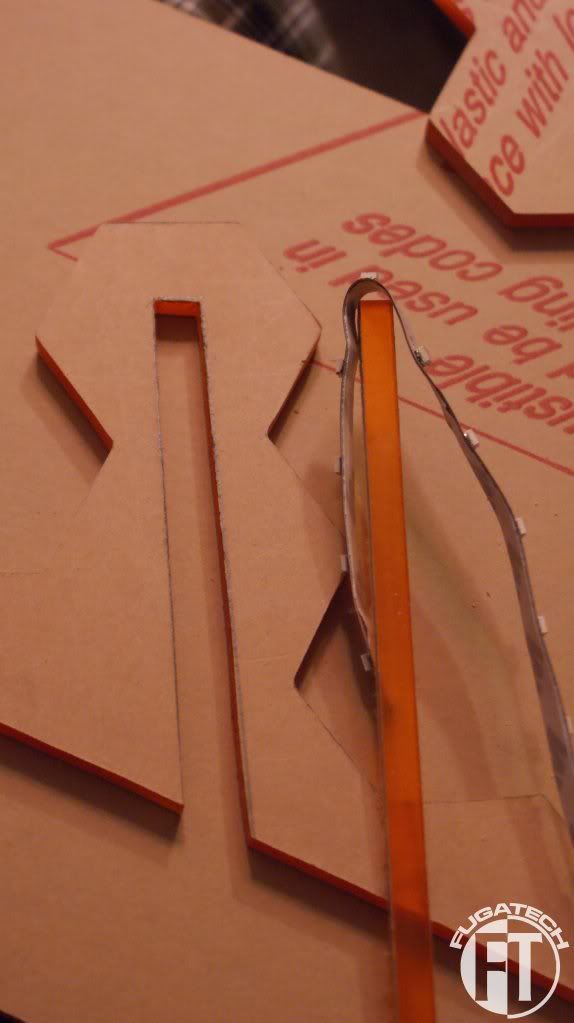
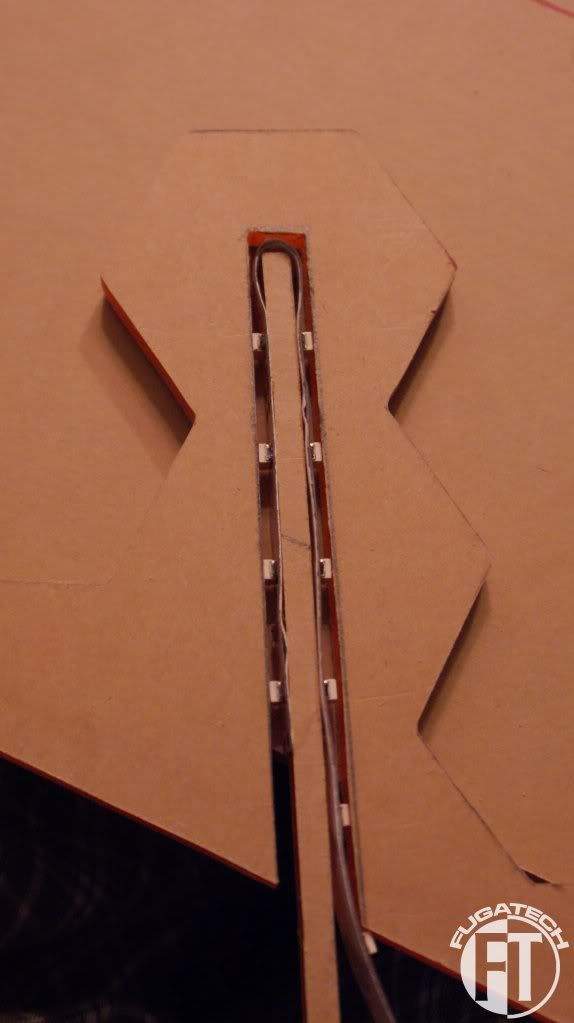
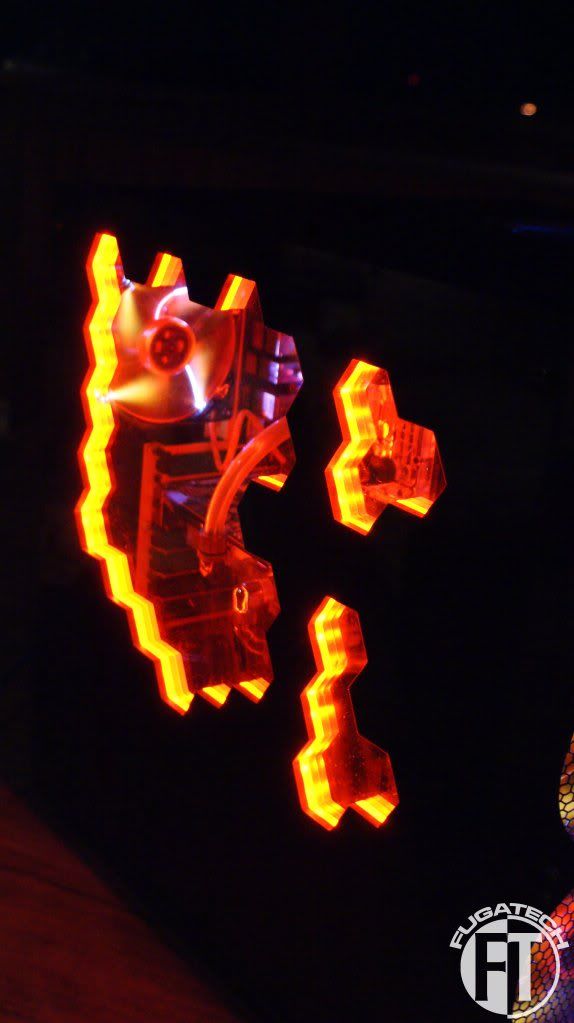
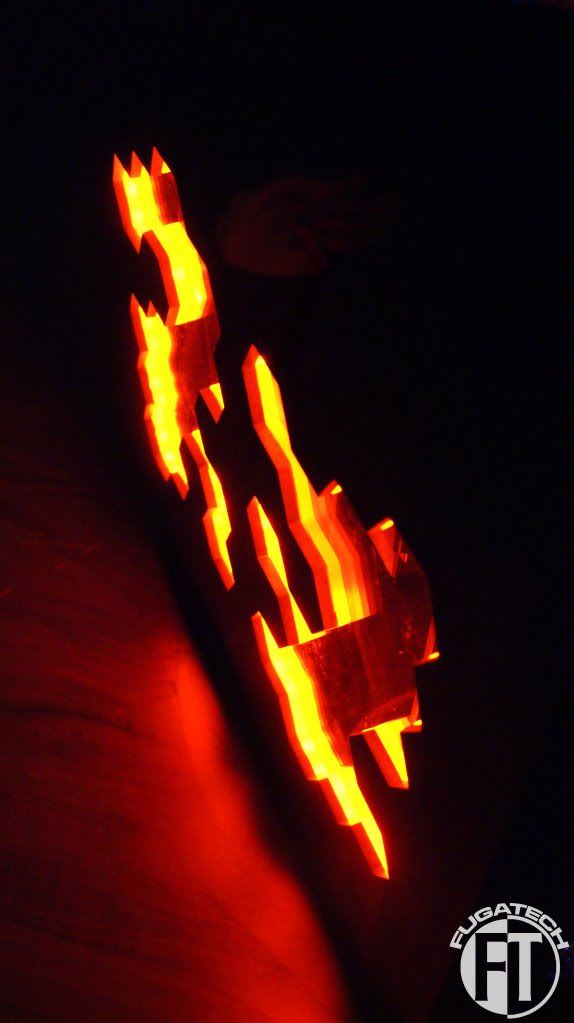
Now lighting.... Firstly, here is what it looks like.
I wrapped the Orange SMD LED strip around the orange piece of plexi.
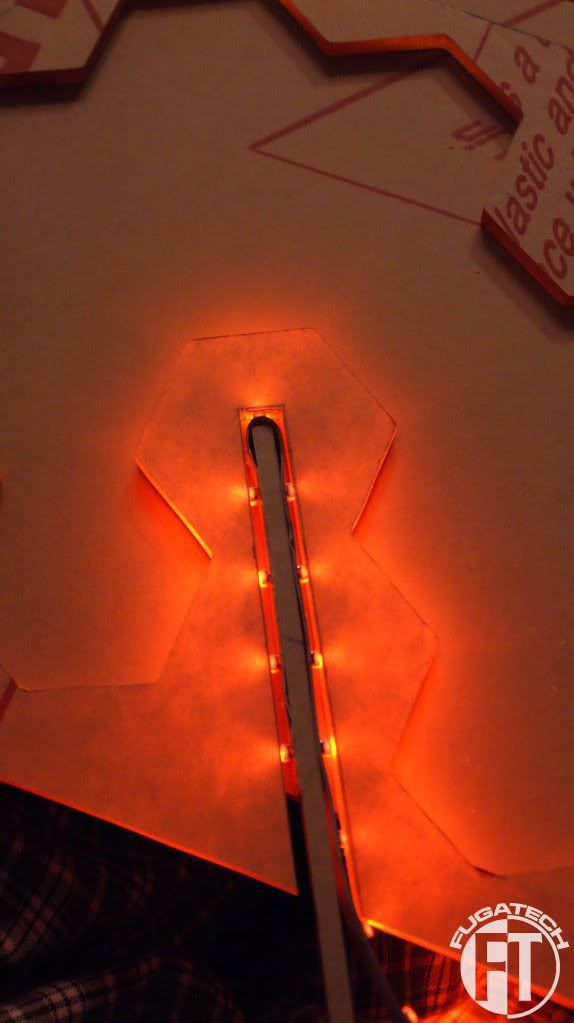
And here is the effect
You can see how the pieces that stick out don't have any light going through them... How can I fix this? Also the inner side of both windows have no light. I might have to shave off enough of each window piece that I can wedge the LED strips between them so I can get the lighting. But I still have the same problem, no light on the 3 pieces that jut out.
Thoughts??
As far as I can figure, you would need to insert the led through a hole in the back of the panel. Looks good though! Good luck getting it done in time!
maybe cut a channel around the inner perimeter of the window to lay the LED strip into. That way it'd have a shorter distance to the parts that stick out.
I think you mean what I said but you said it in a different way ^^Quote:
Originally Posted by SXRguyinMA
Someone on bit-tech suggested I cut a strip wide enough to fit the led strip into the extended pieces. I may do that tonight.
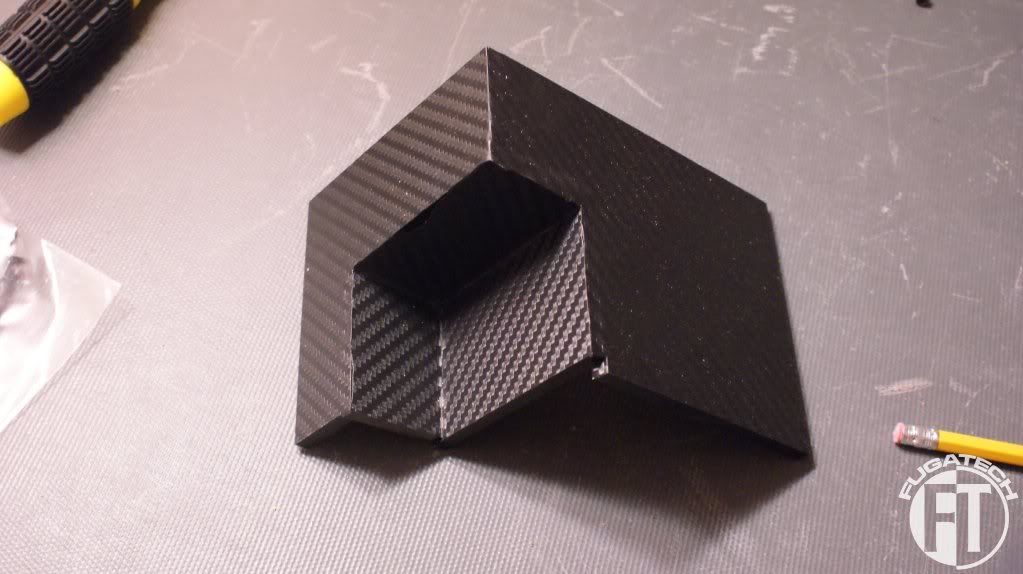
Here are the pictures of the PSU shroud I promised.
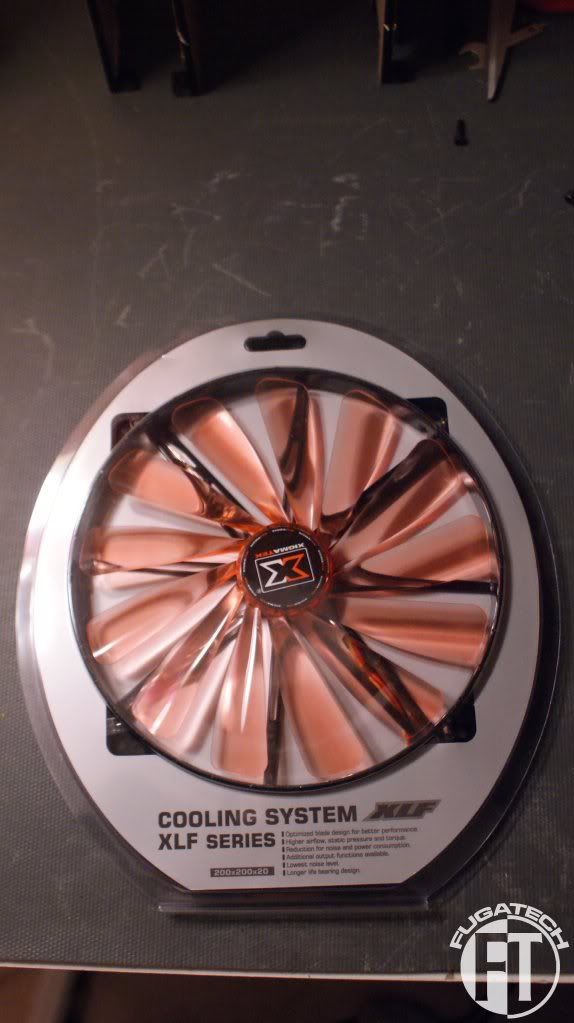
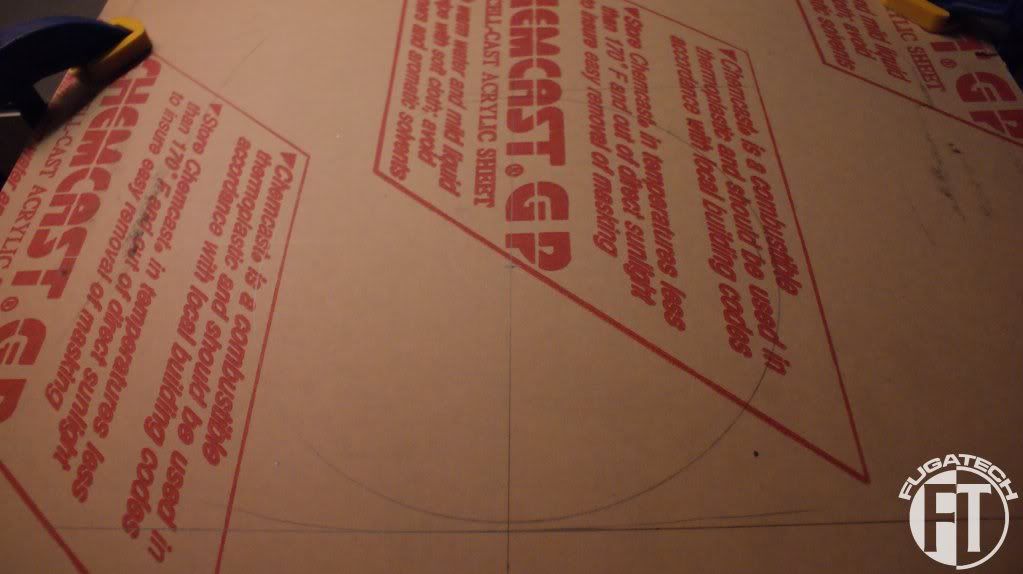
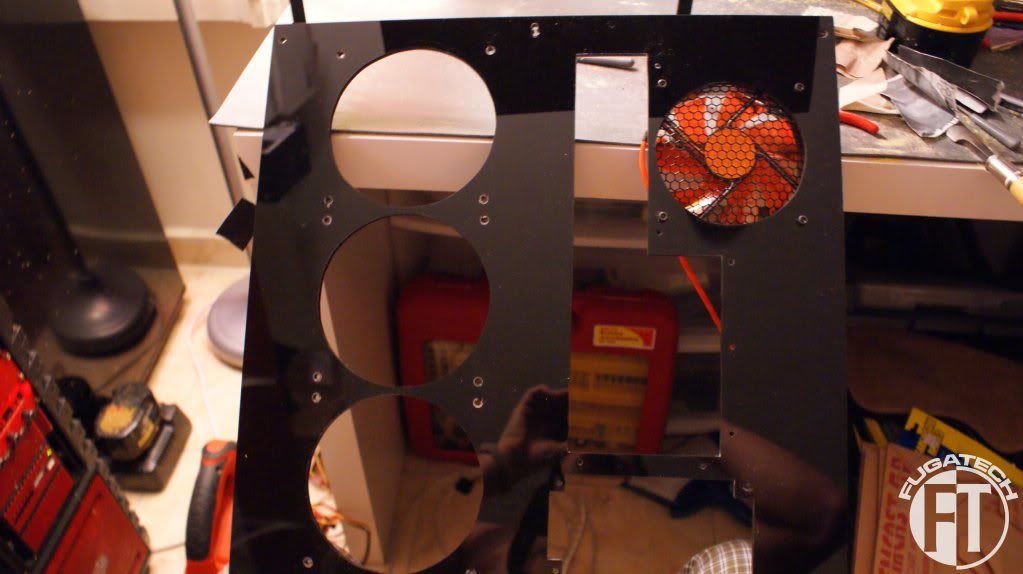
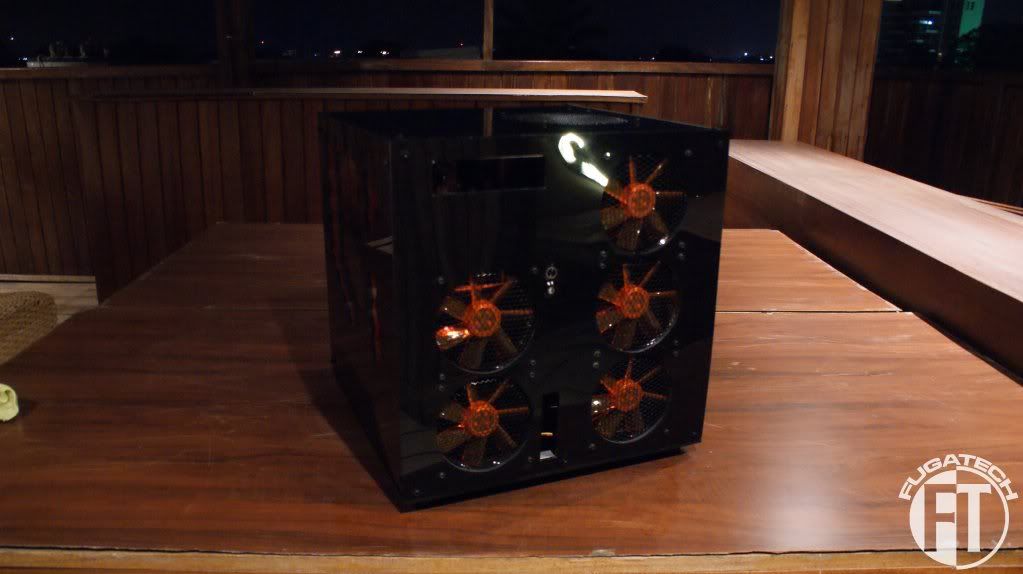
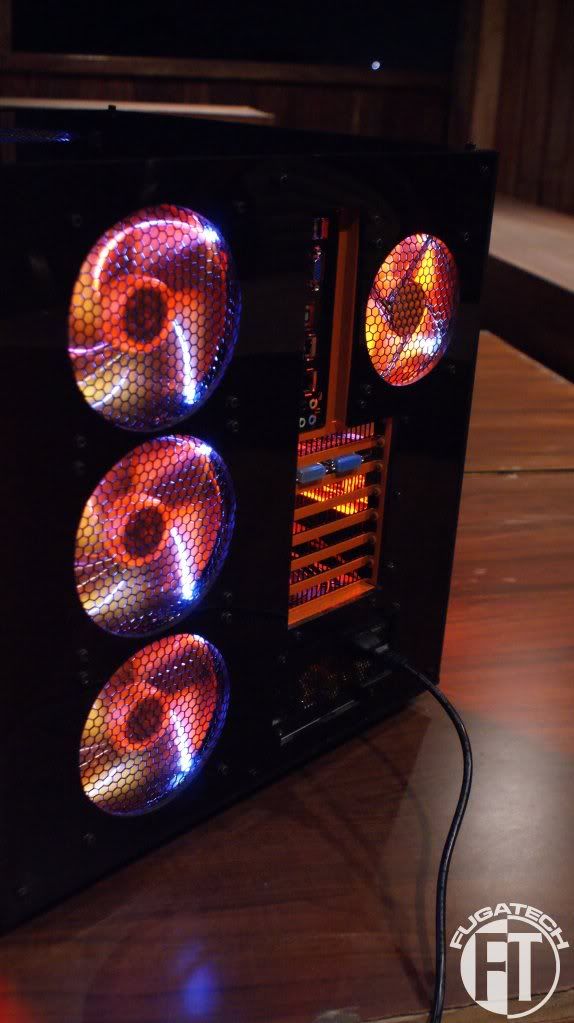
I got a 200mm fan to exhaust the HDD side of the case.
Hole drawn for cutting
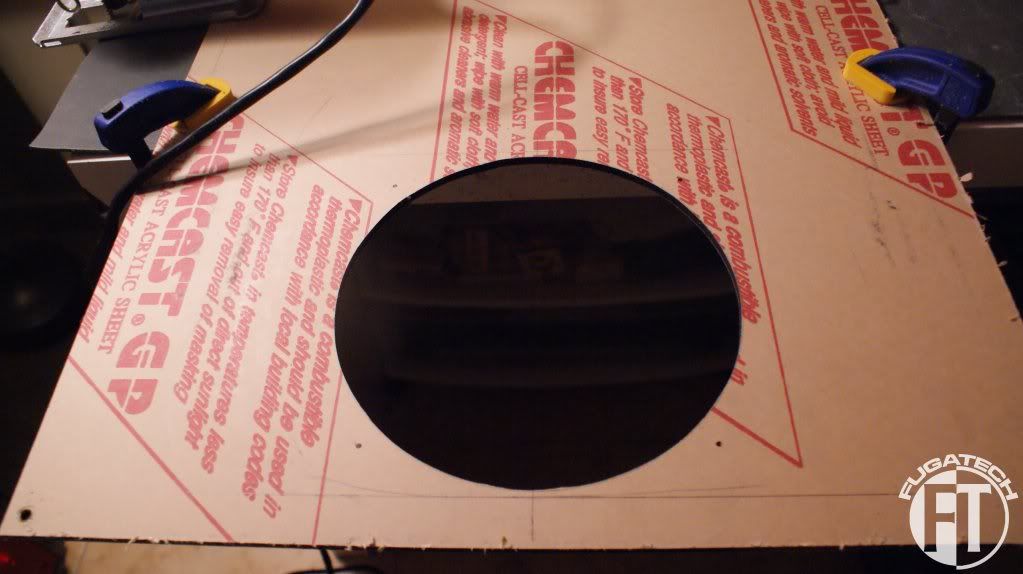
Cut and sanded
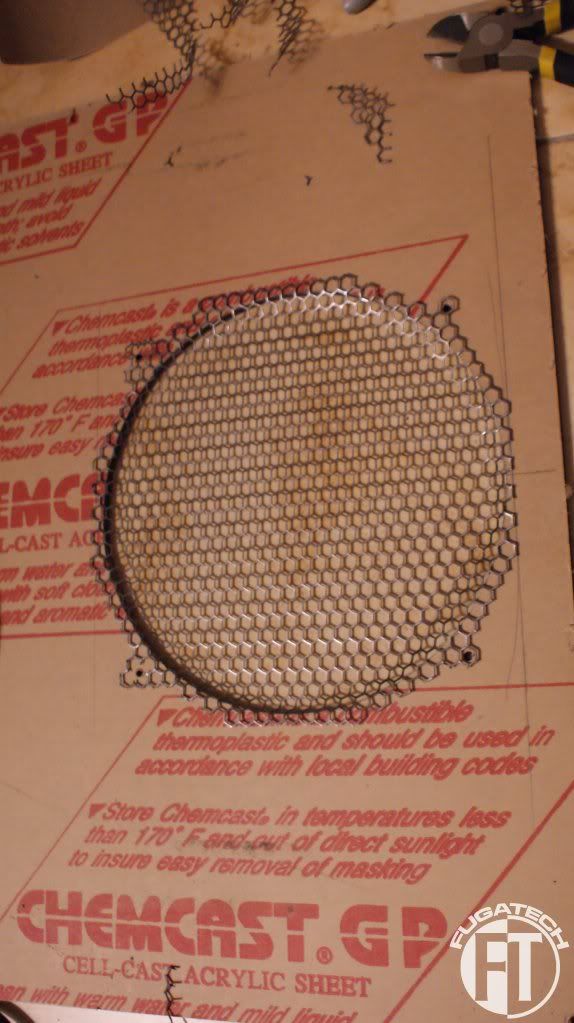
Add a Modders Mesh fan grill
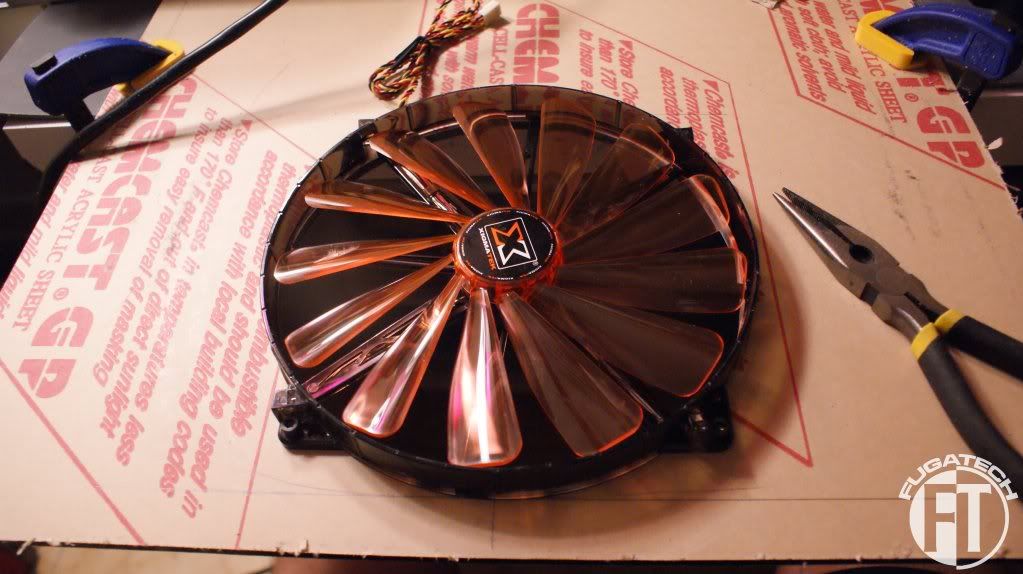
And the fan
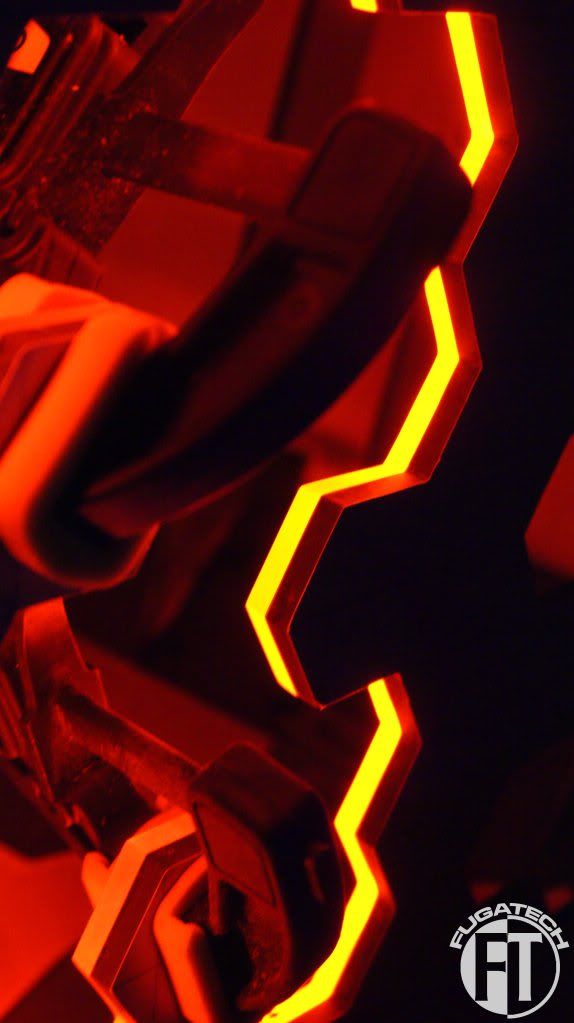
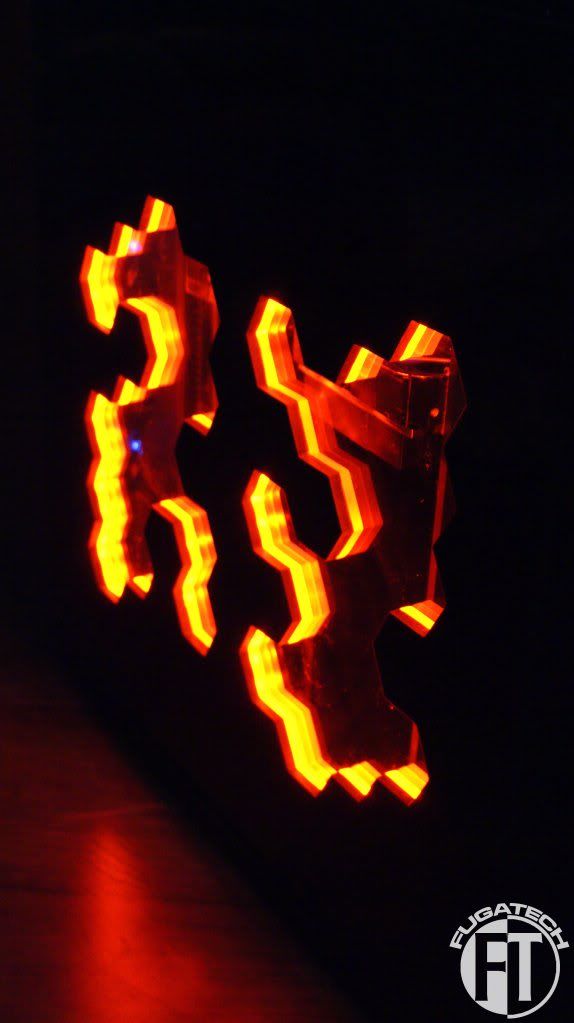
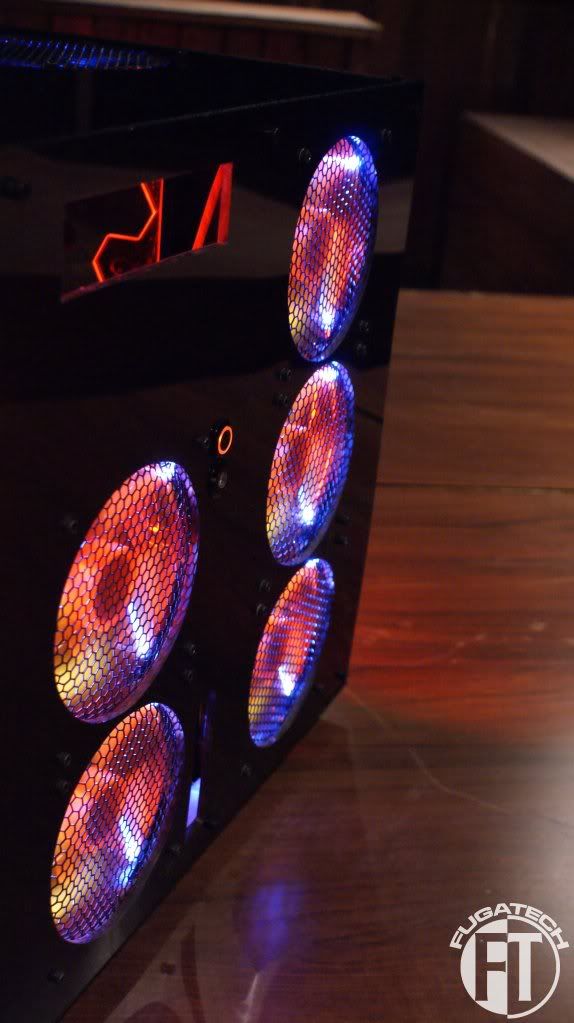
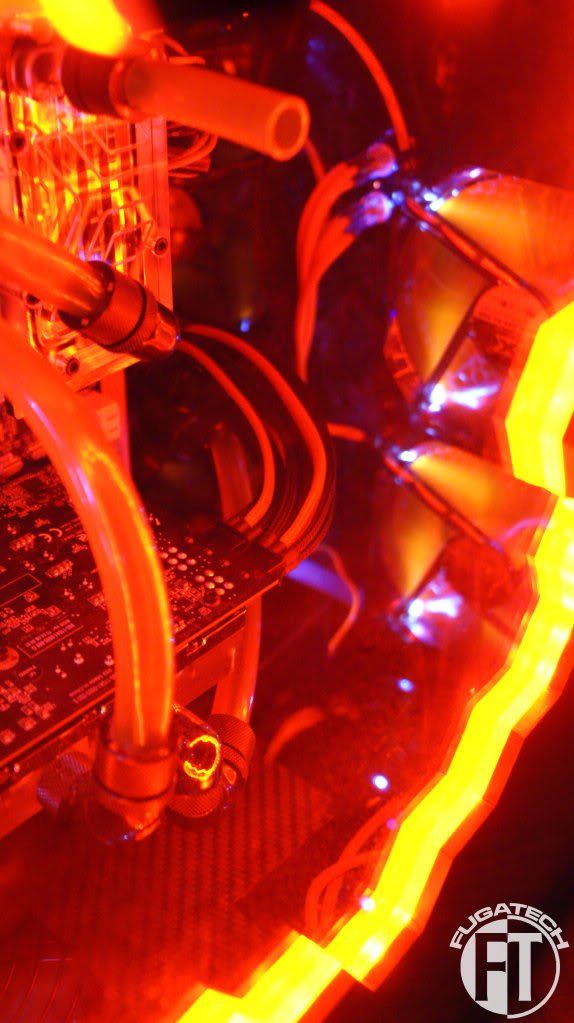
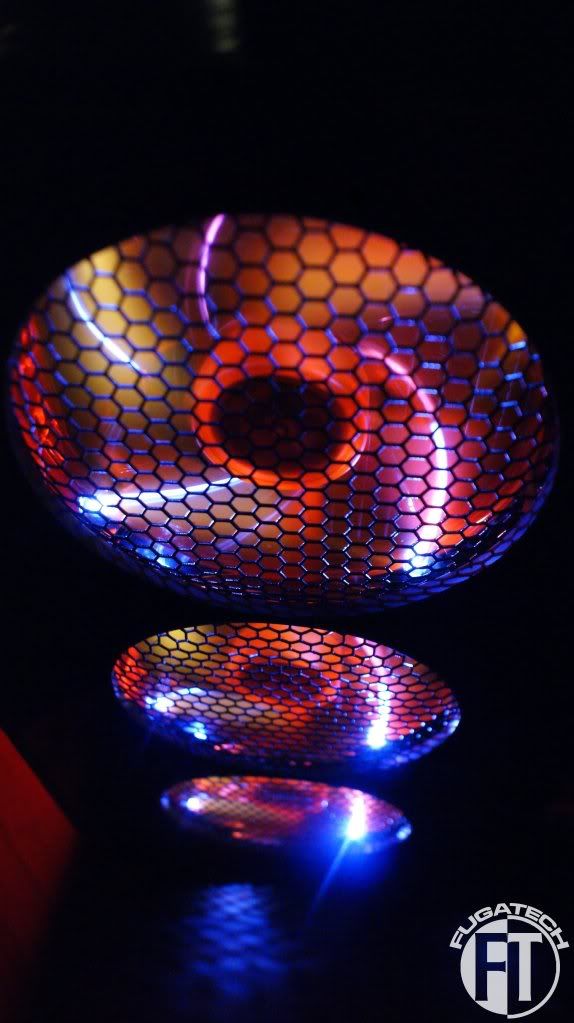
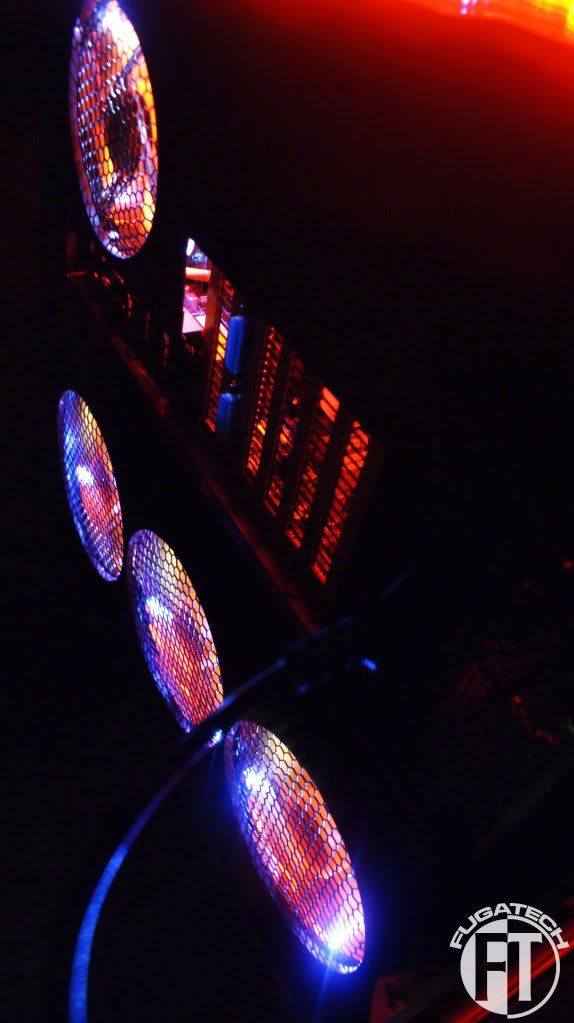
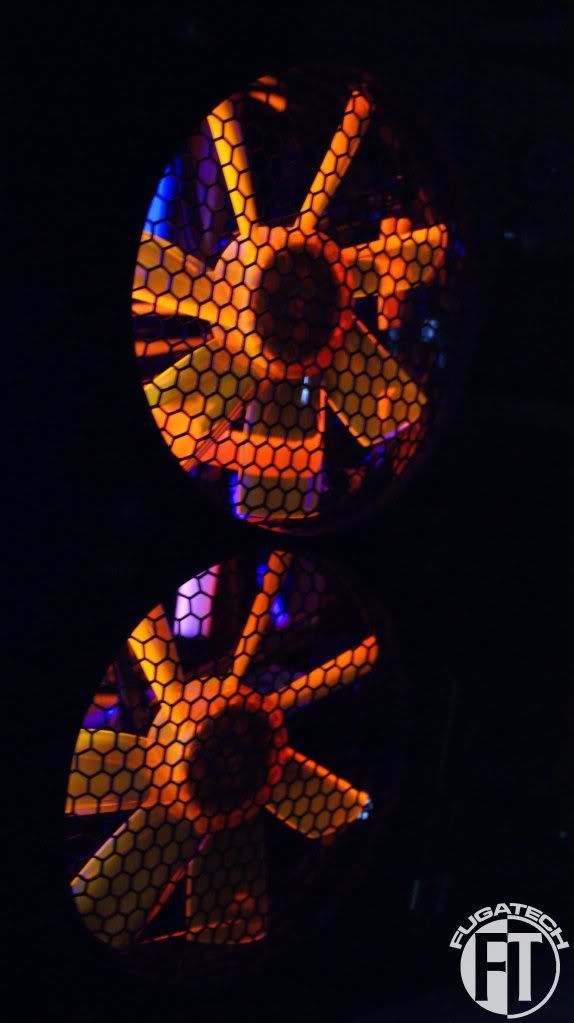
Here are a few more pics of the lighting.
I've been sanding for probably 20 hours to get everything nice and smooth.
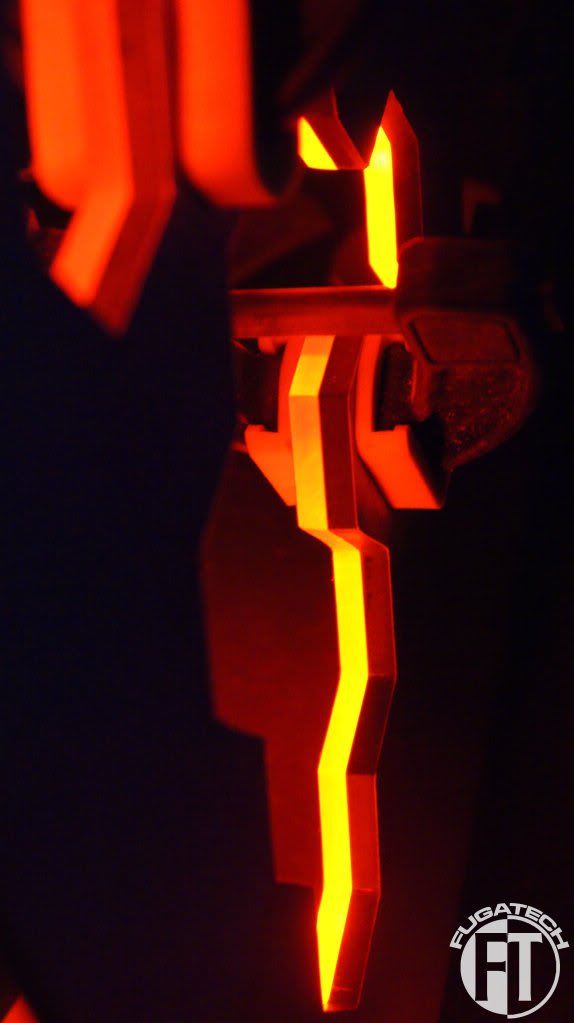
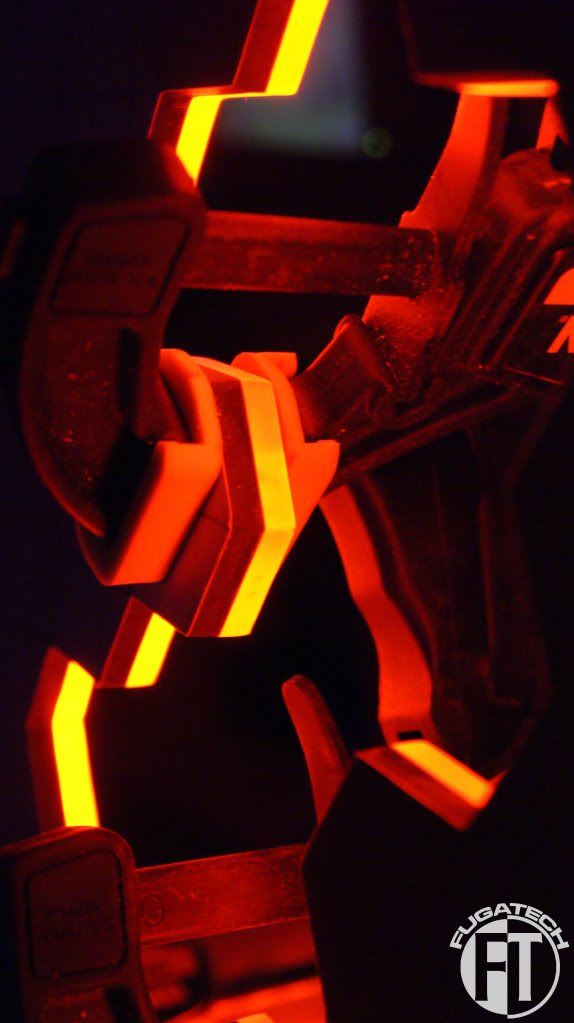
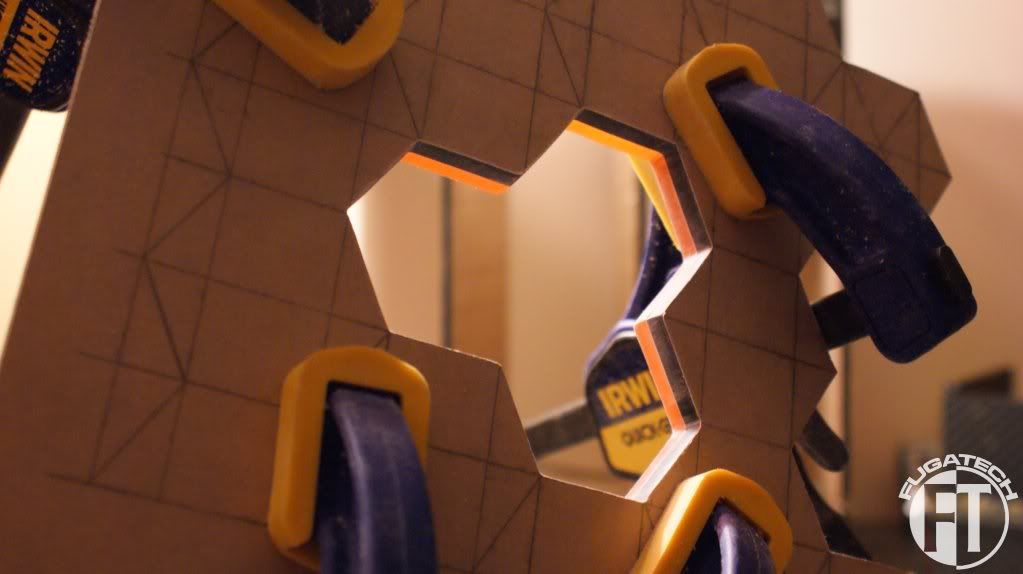
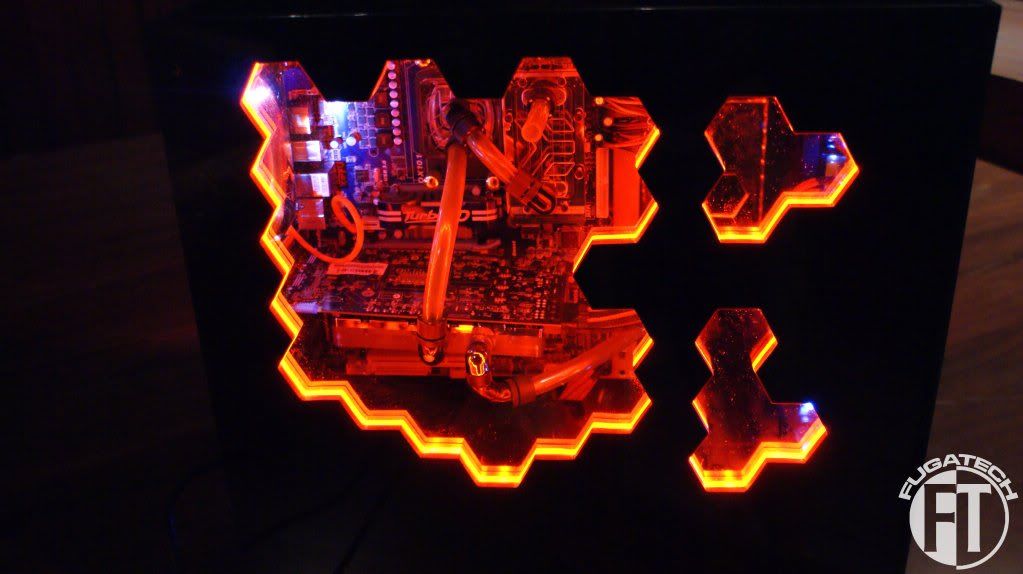
Now to get light to pass through the hexagons that are extended I had to cut a strip in the back so I could put the LEDs in there.
I took the LED strip and a piece of scrap plexi.
Wedged them in to the slot I cut
And voila! Works perfectly.
I'm working on the mobo side panel now
Here is the orange layer for the main mobo side window
And finally I'm starting to attach things to the back plate.
I'm trying really really hard to finish before tonight.
Cheers till next time.
looking good!
So here is the final working update for the New Mod City Showdown Competition. The case is done but I still have work to do on the inside so stay tuned for that. I'm sorry that its small but due to the deadline I didn't take many pictures today.
Here are the small windows. I glued the clear piece of acrylic to the orange.
Then attached the Orange SMD LED strips
And attached those pieces to the case and wired them up.
Here is the Media Card Reader all painted and cut up. Its about 1/3 its original length.
And just one last picture of the case all stripped while I was working on the panels
I'll post the pictures of the case in the next update.
man stellar work!
hilariously effective solution on the lighting i like it.
looking good!
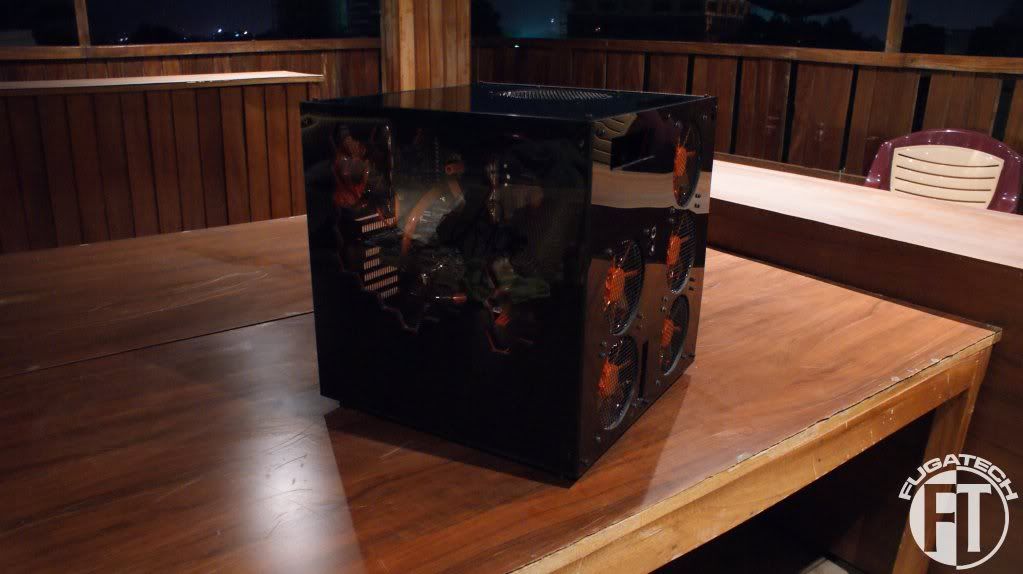
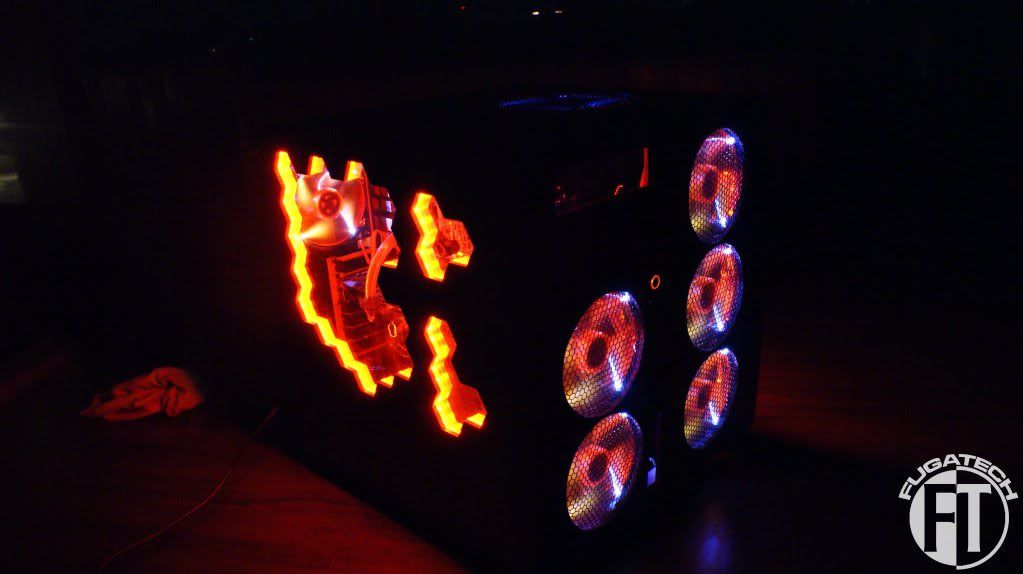
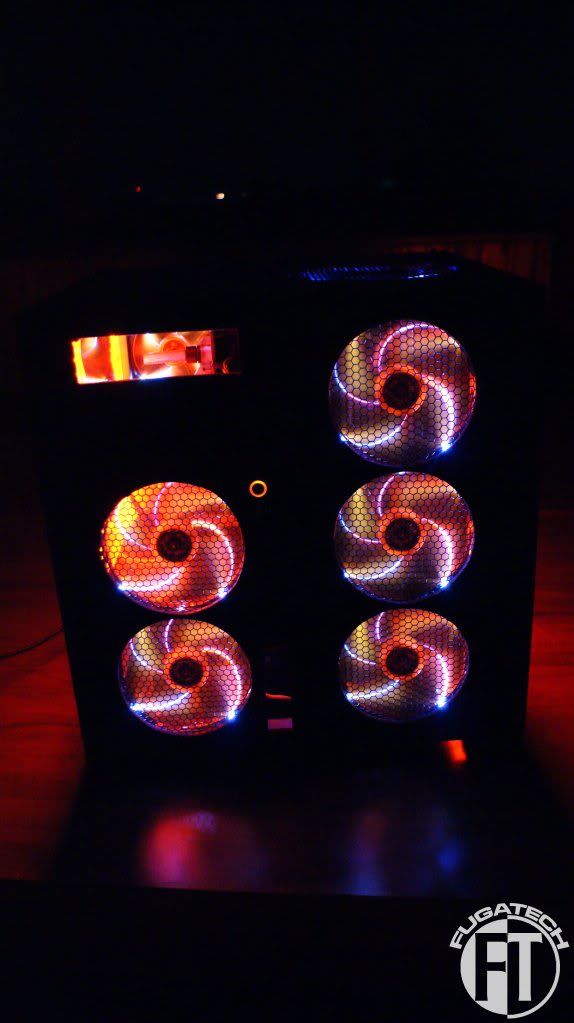
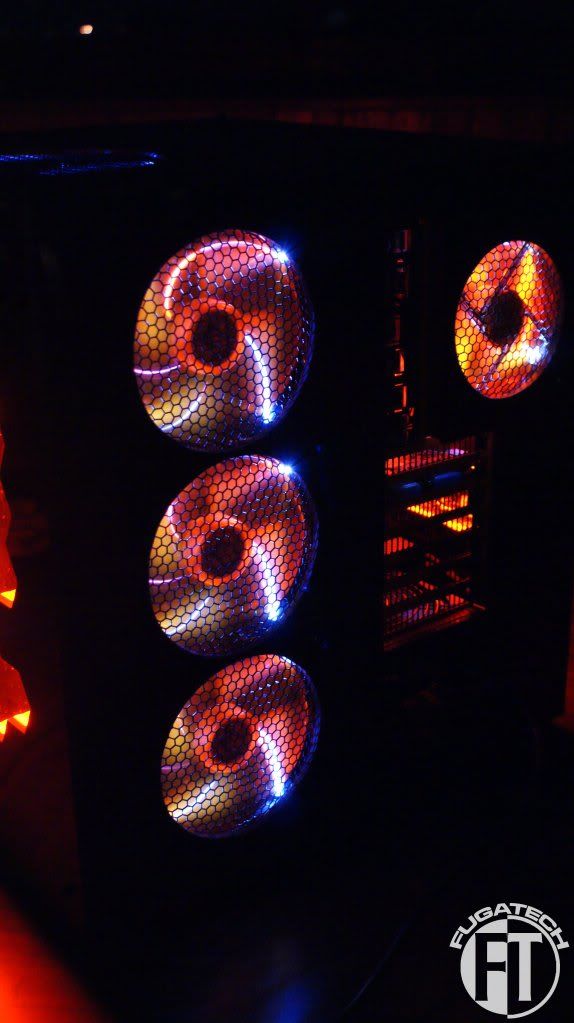
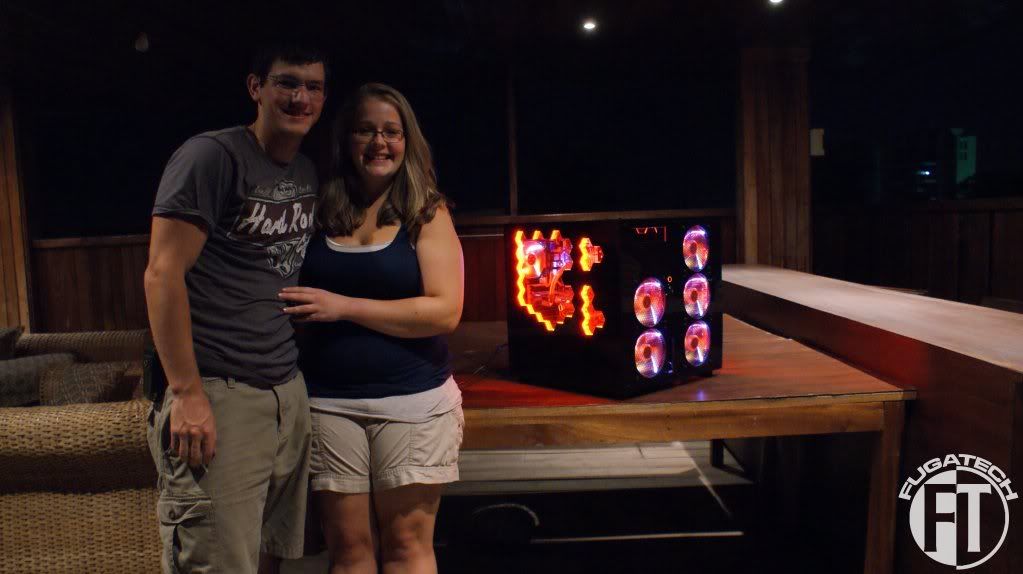
These are crappy looking because the case is soo shiny.
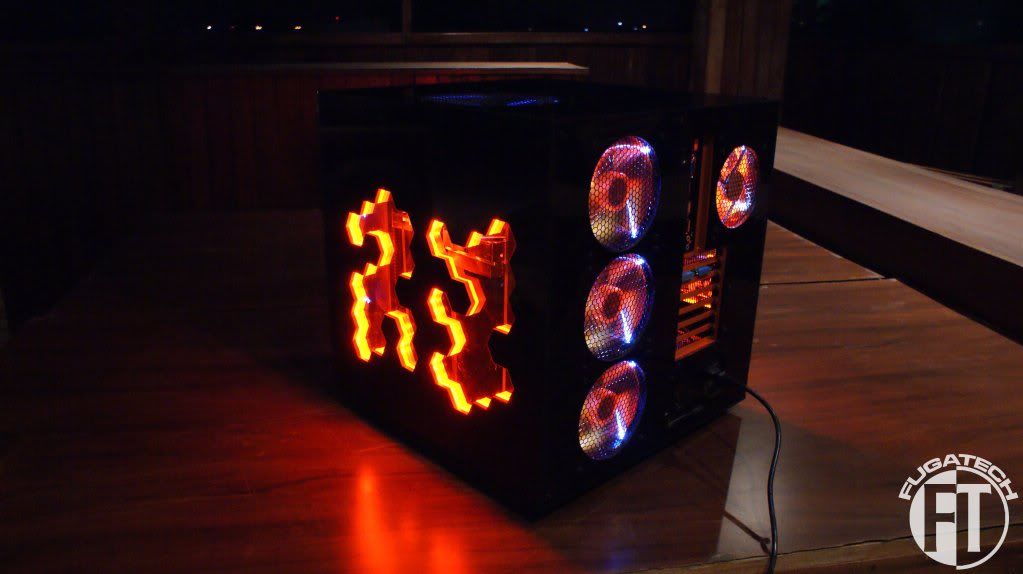
Lights on!!
And finally, me and the wife!
More work to come soon!
That's one good looking comptuer. Cool wife too for letting you spend all the money that must have cost.
It didn't really cost much. Total sponsorship is about $1K and my money was only $300-400.
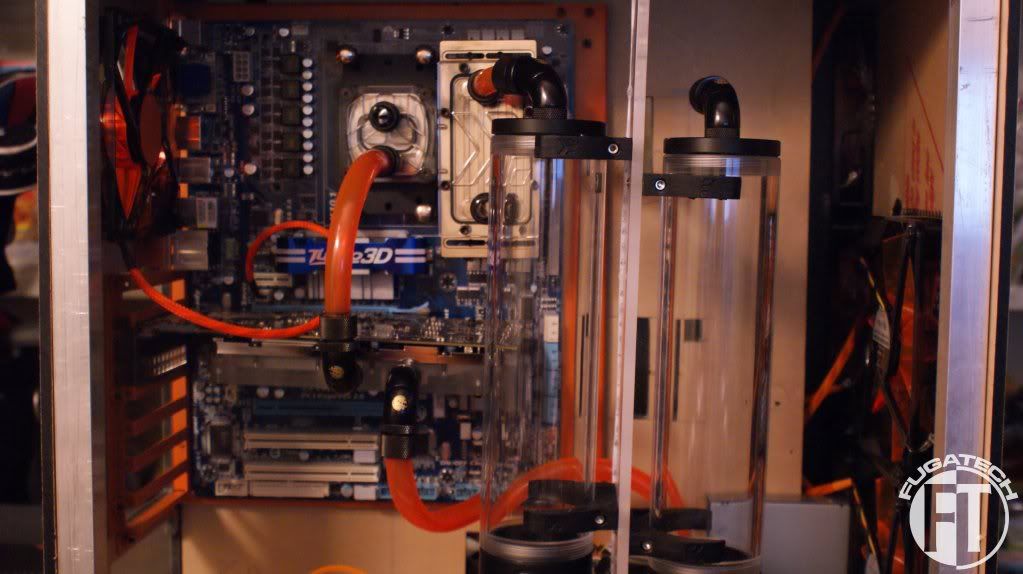
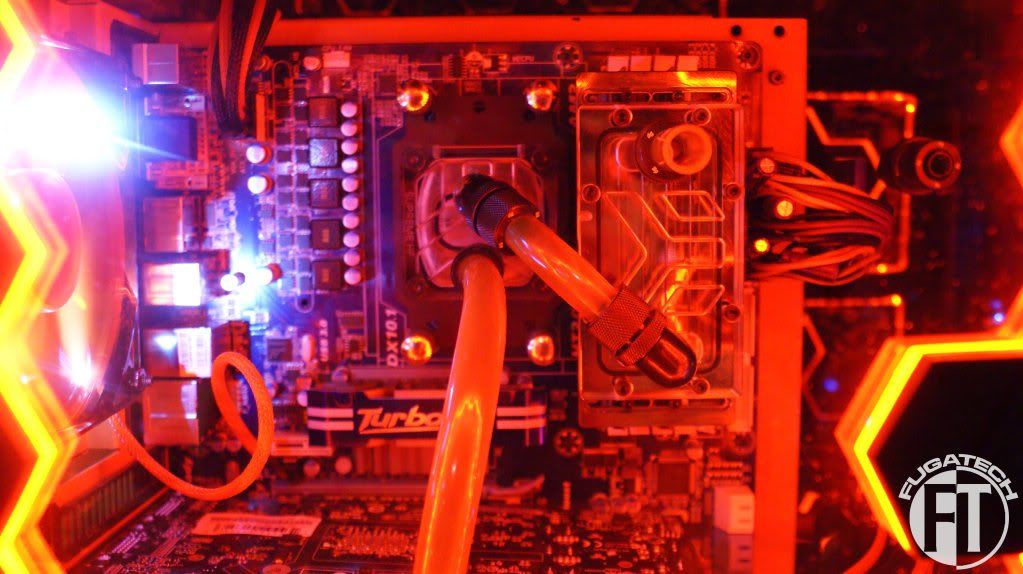
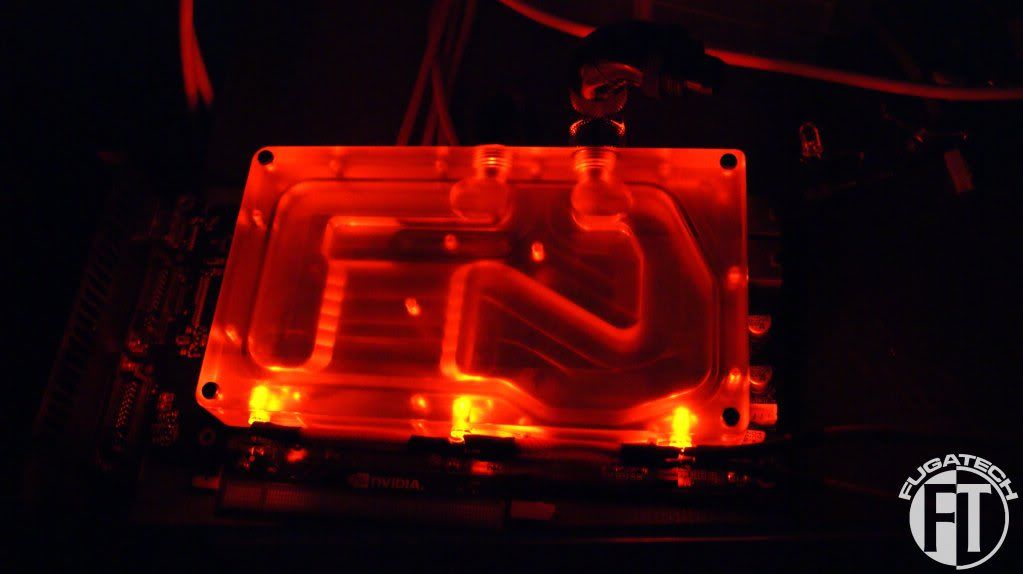
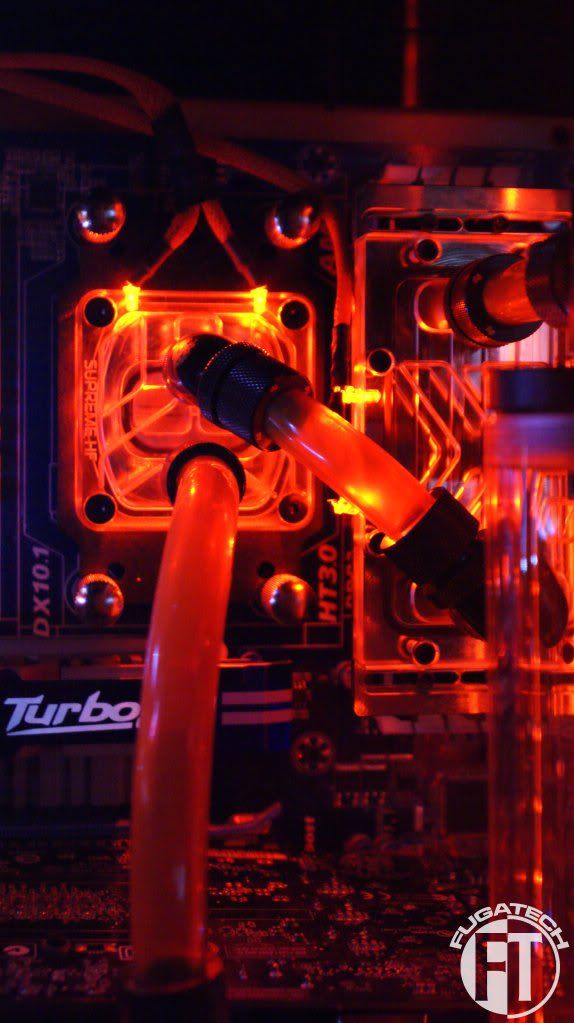
I started wiring up the waterblocks with LEDs.
GPU Block
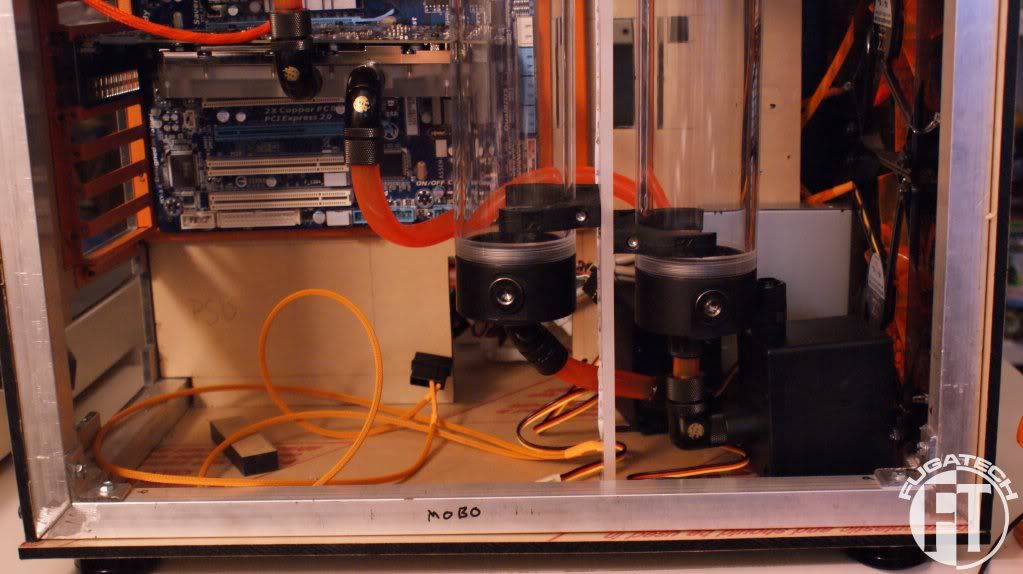
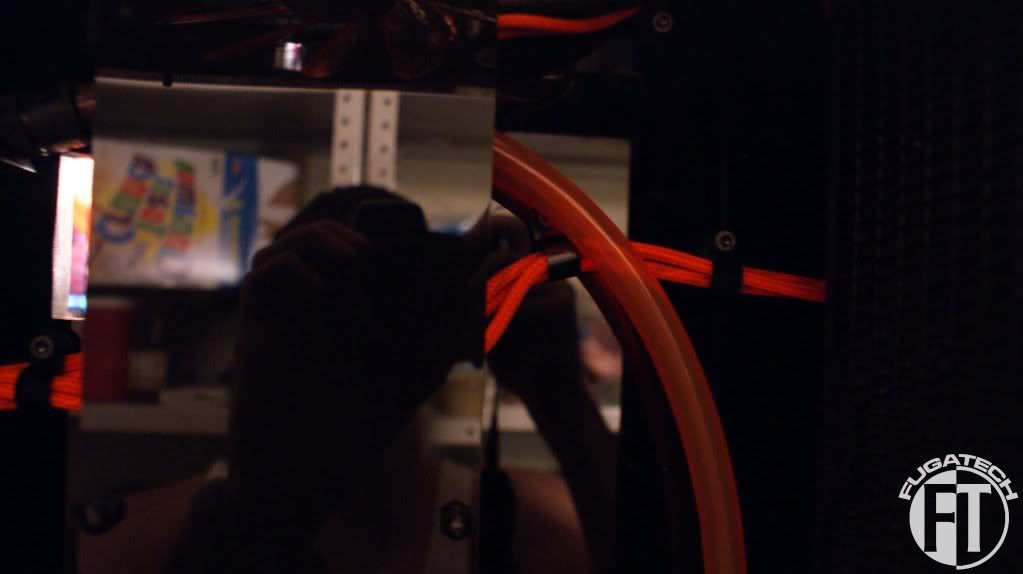
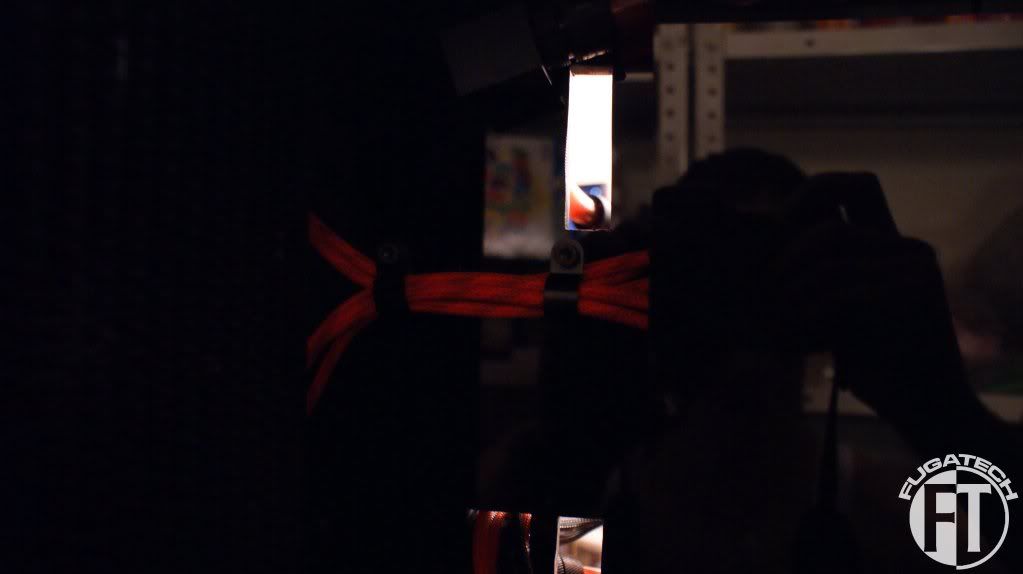
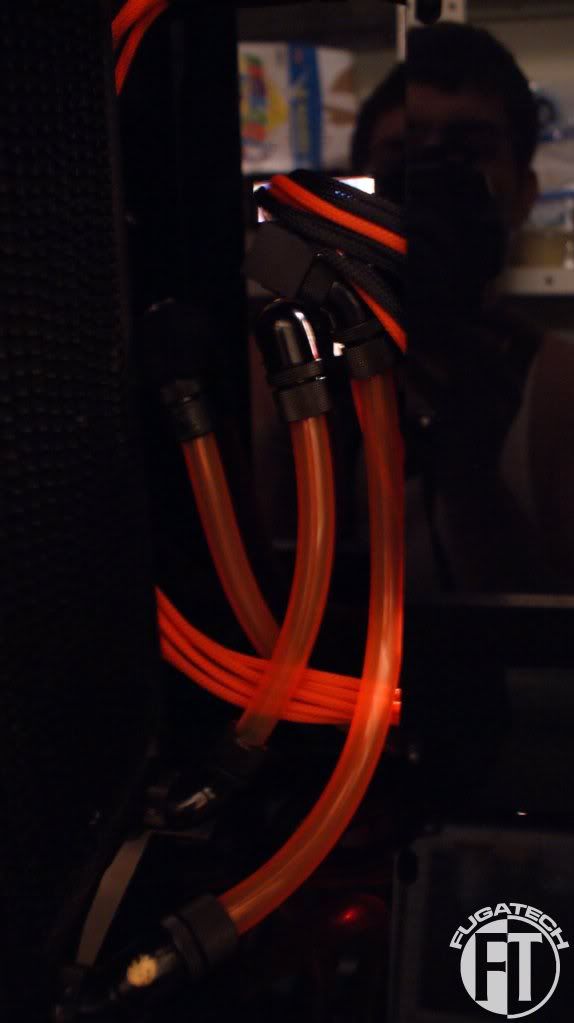
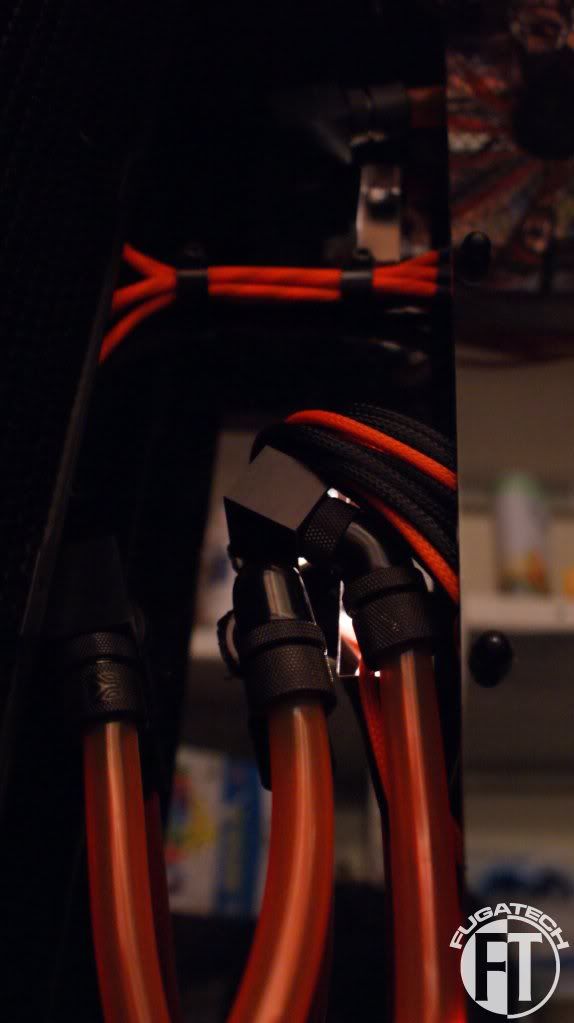
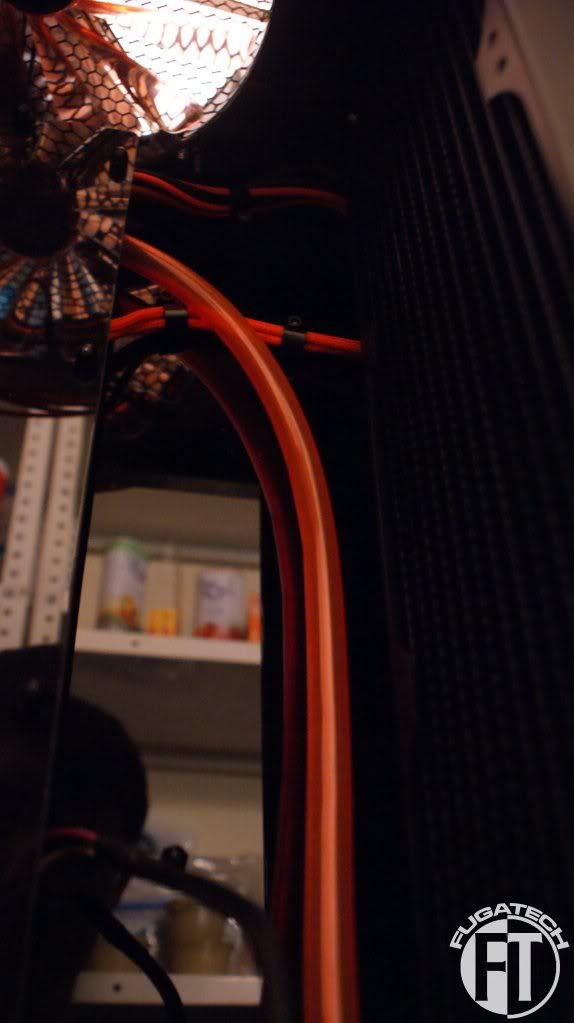
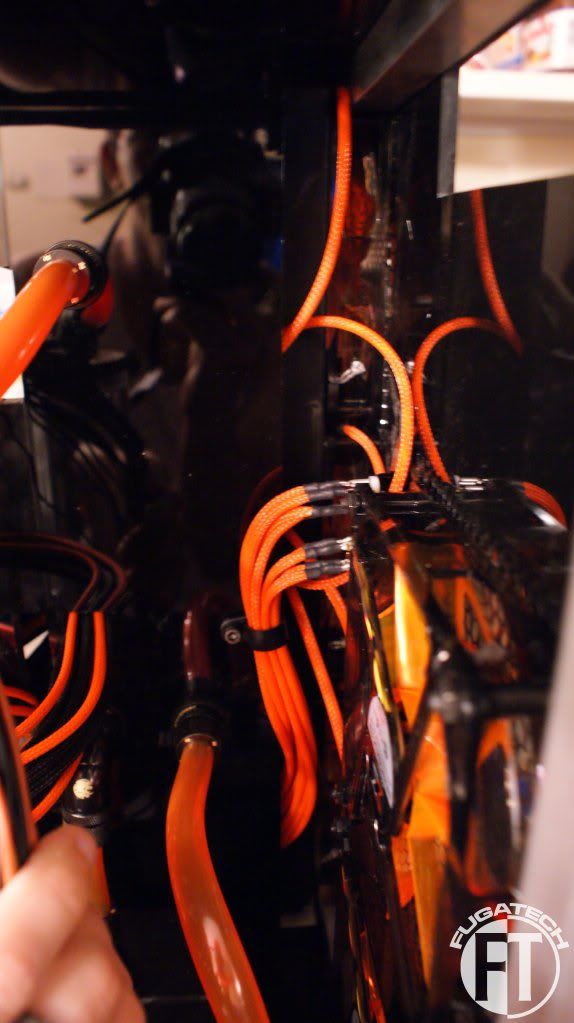
Cable management time! I'm using P clips from MDPC-X which are working rather well. I also finished up the pluming.
Back fan cables
Front fan cables
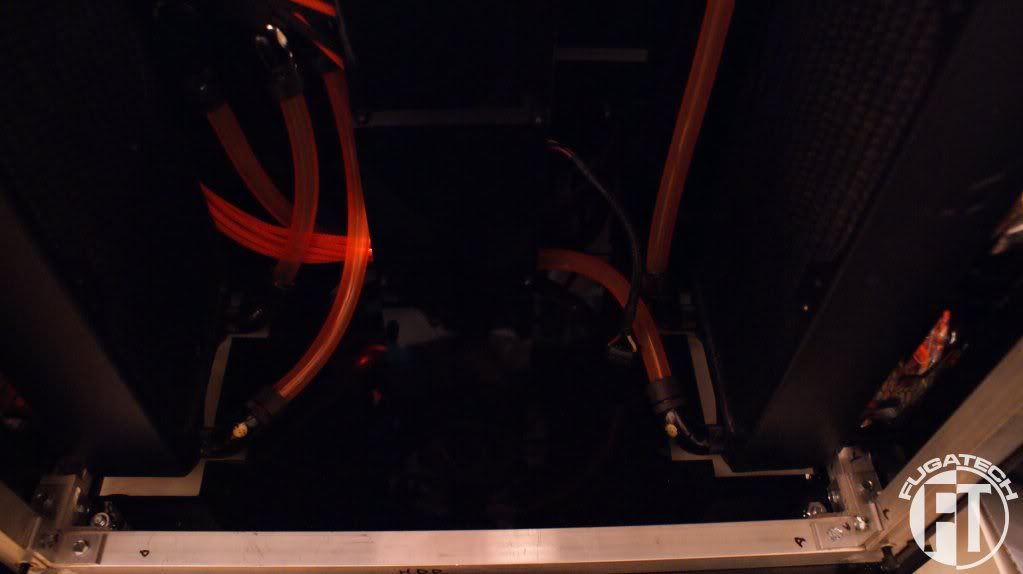
Left side of HDD cavity where most of the pluming comes through the center of the case
Another shot of the right side of the HDD cavity
Bottom of the case
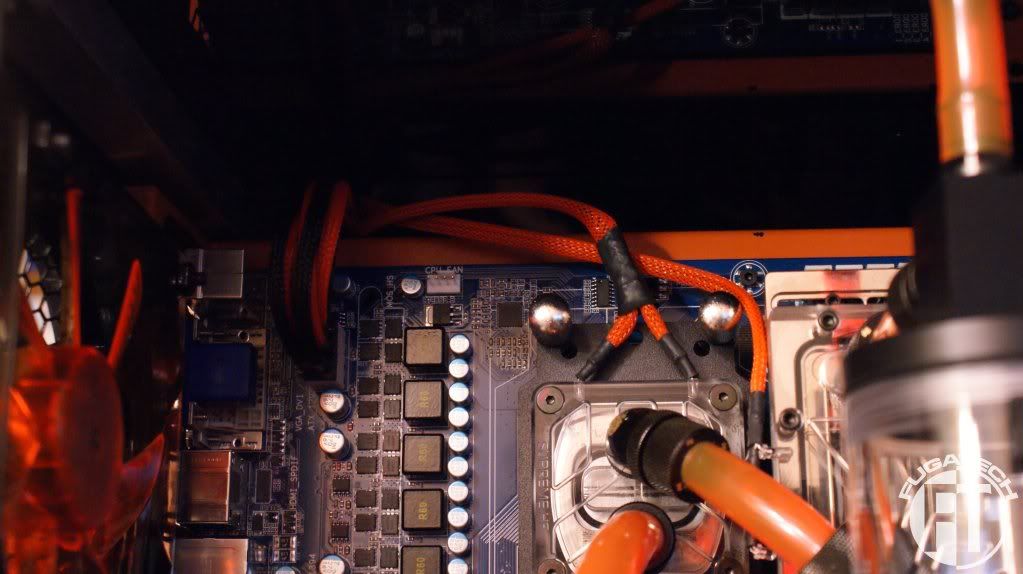
Some cable management on the mobo side
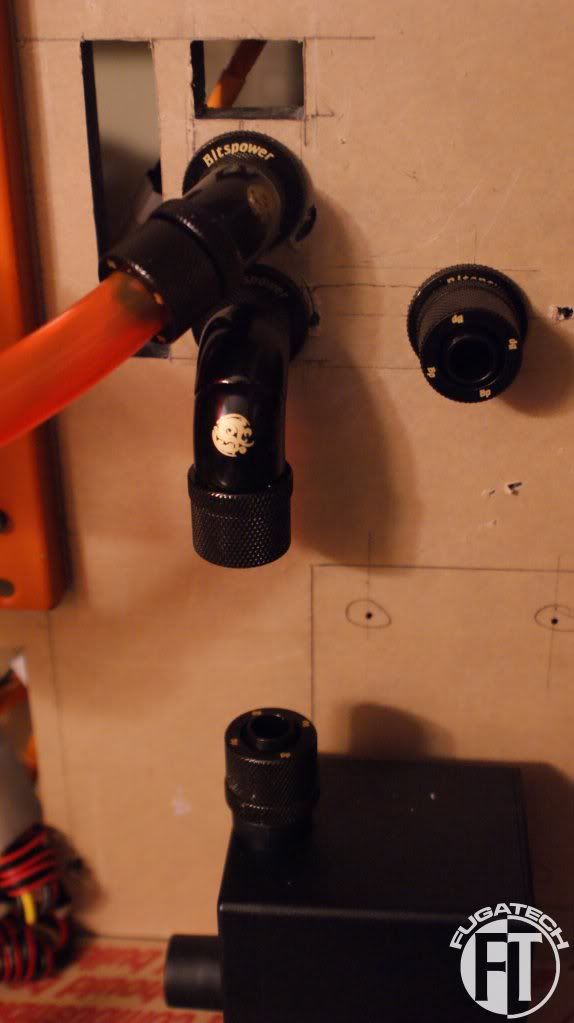
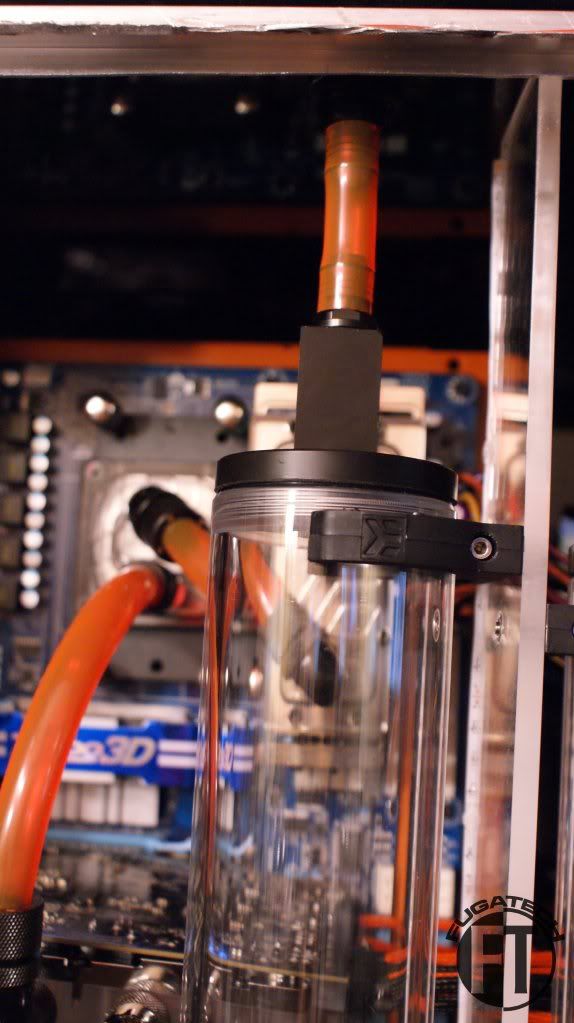
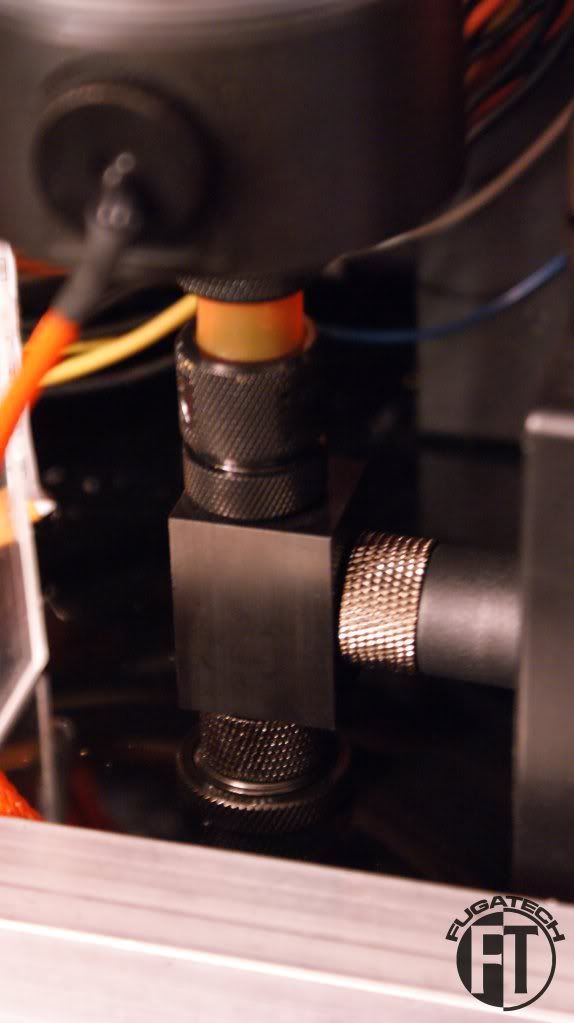
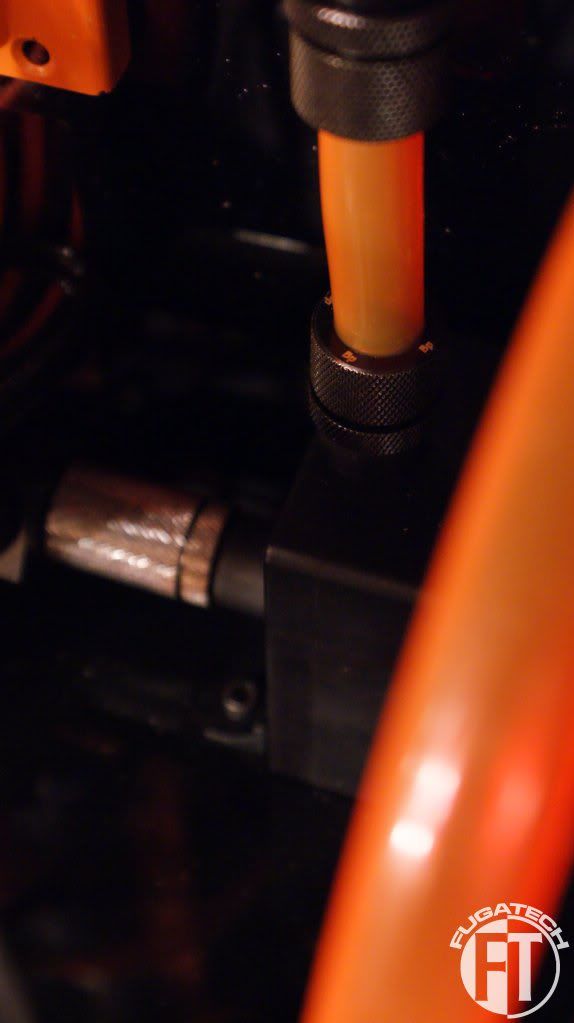
T-fitting on top of the mobo loop res. This attaches to the fill port on top of the case
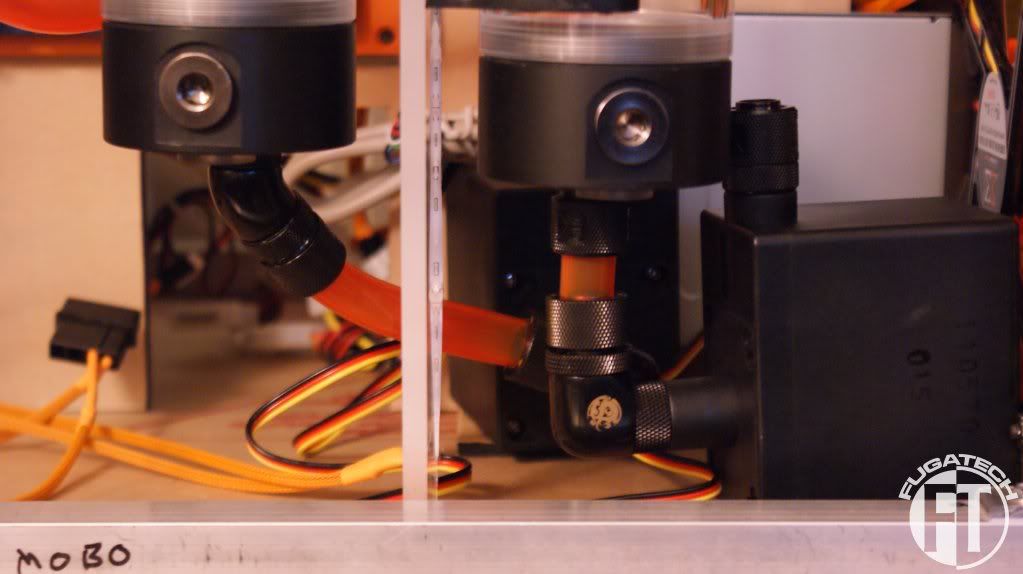
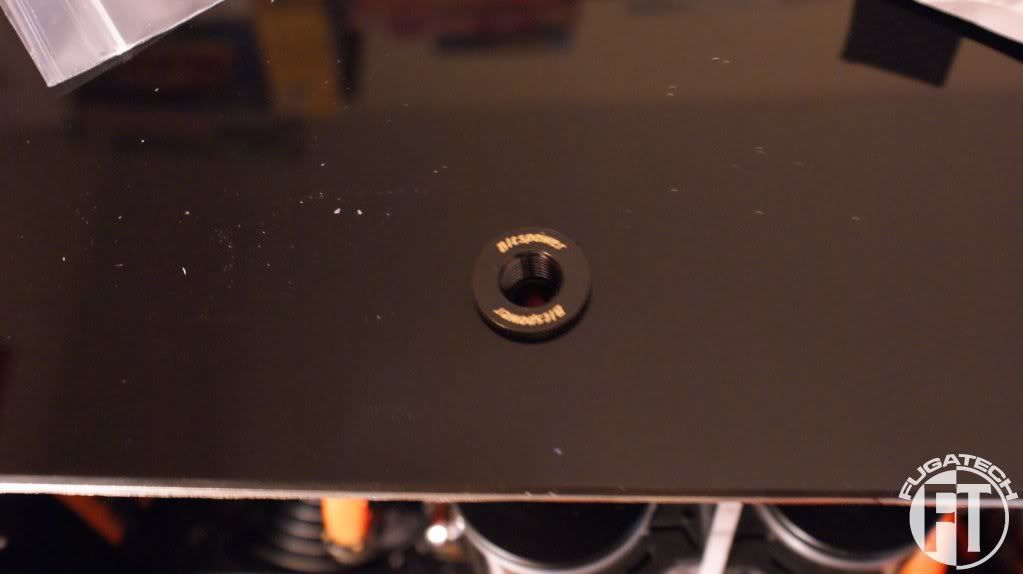
And here is the drain port for the HDD loop res. Luckily I was able to use fittings and no tubing which made the installation super easy.
I'm doing lots more work this week.
Cheers till later!
Wow, the overall result is so much more spectacular than the sum of the parts! And the parts looked amazing by themselves. Great work!
AMAZING WORK! fud, this is awesome! i like the gloss black when off, just gotta worry about scratches... :rolleyes:
Quote:
Originally Posted by TheMainMan
Thanks guys!Quote:
Originally Posted by Cale_Hagan
I finished the LEDs for the CPU and RAM blocks.
I'll clean up the cables a bit later.
And so far it all looks pretty good.
All that is left for LEDs is the ones that go in the bottom of the reservoirs.
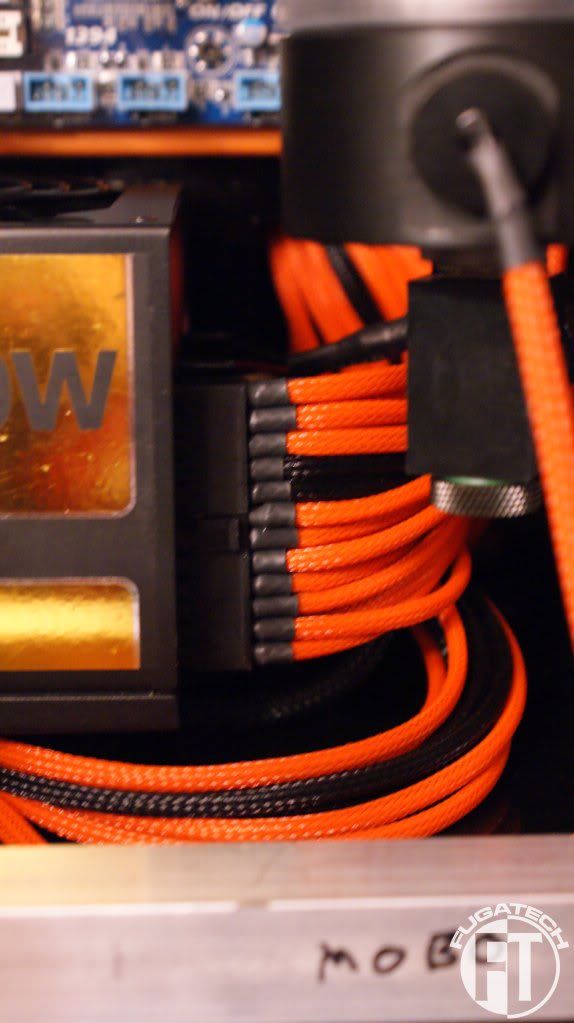
I finally finished and installed my custom ATX power cable. It still needs some work because it is bunched up. But that will come later.
And here is what it looks like connected to the PSU
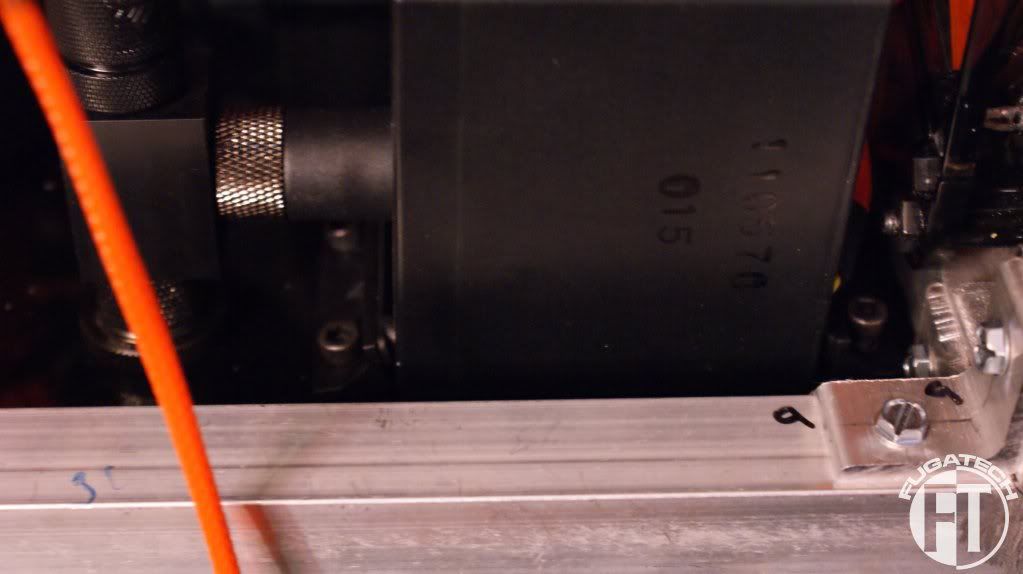
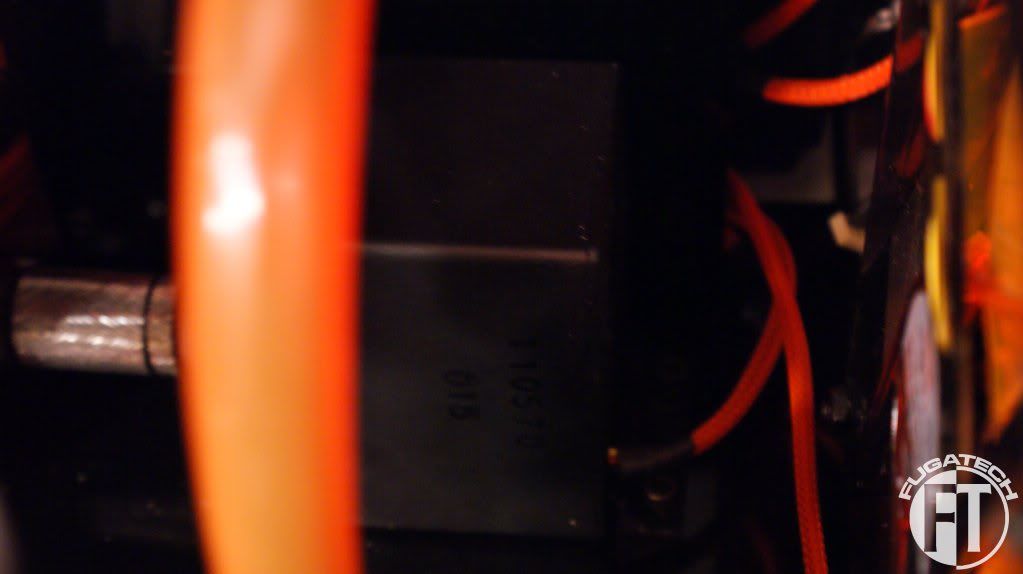
A very tricky task was to mount the pumps. Since I have no hand room inside the case at the bottom, I had to remove the entire bottom panel, mount the pumps, then put it back on. Here is the final result. (A bit hard to see...)
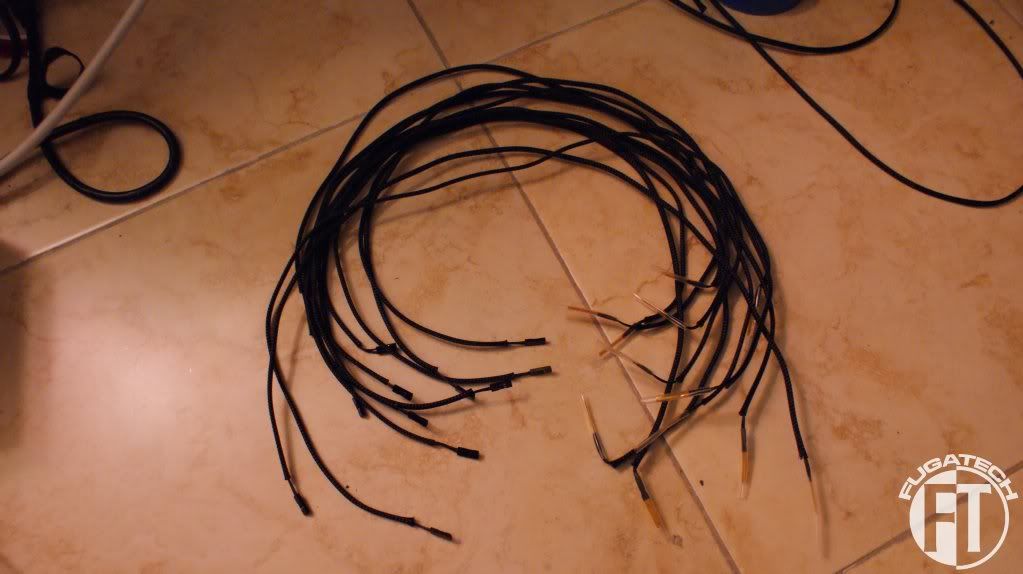
I started sleeving the temp sensors. There are a lot of them!
And finally, I had Will make a fan buss for me. The only problem with it is that I had to extend the power connector because where it is at is an extremely tight space and I can't get my fingers back there to connect it.
Cheers till next time.
looking good!!
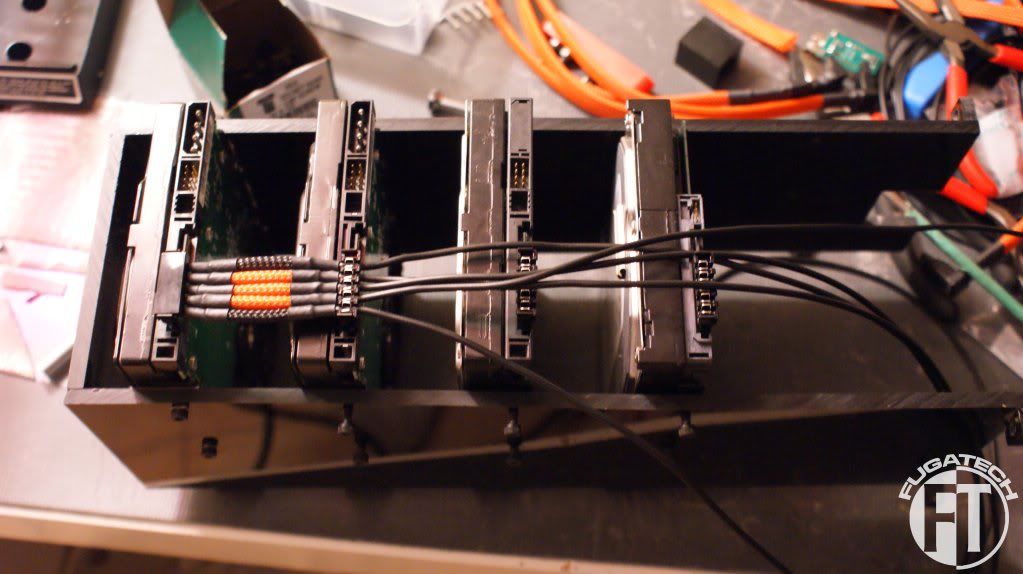
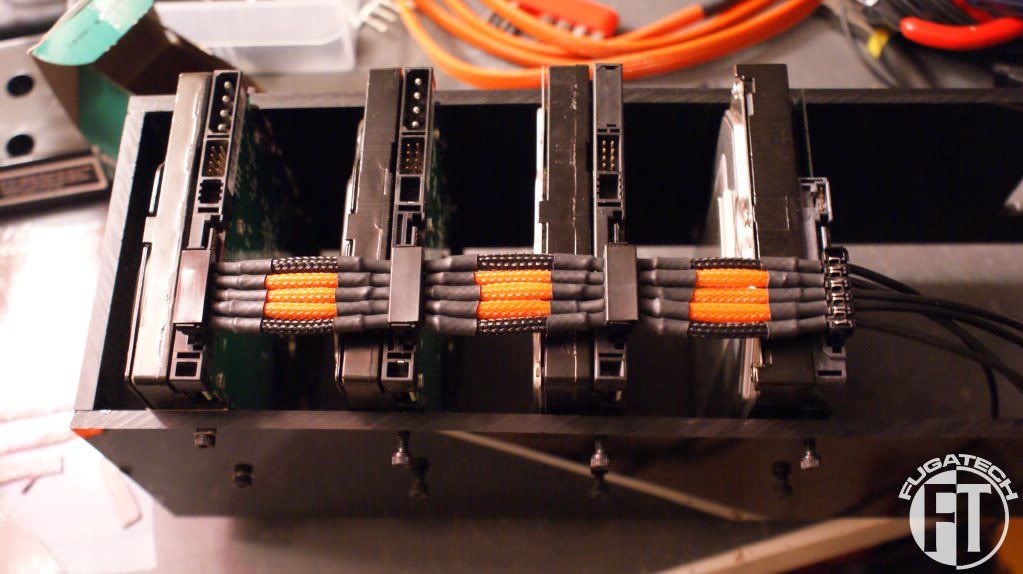
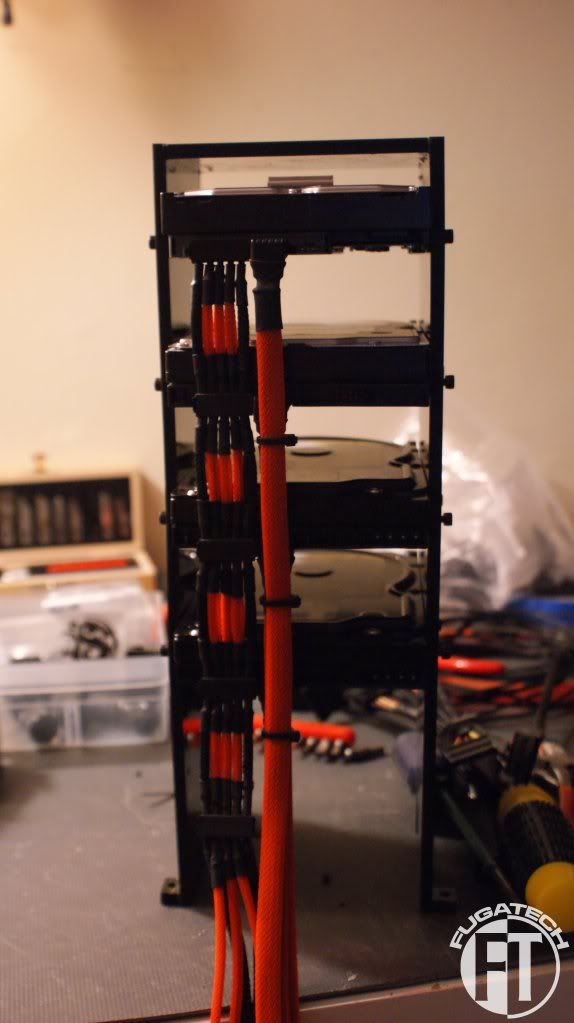
I started making my SATA power cables.
First, I installed all the drives. Put the SATA connectors on them. And started running the cables.
First section done.
More done.
I had to move a drive down so I could measure the last section correctly.
And the final product with the sleeved SATA Data cables installed and zipped.
I'm happy with how they came out. I did the same thing for the other HDD cage but I ran out of heat shrink :( so I put another order in for it at MDPC-X. My ATX pin remover is also starting to go... I think I need to spend the money and get the good one.
Cheers till next time!
that looks great :) i think i might give something like that a crack in my new mod.. maybe.. ahaha looks brilliant but my patience wears thin very quickly,
I'm sure any gal would rather see her husband out in the garage instead of out at the bars.Quote:
Originally Posted by d_stilgar
: P
^True dat.
There are bonus points available now! Please go to this Facebook album and like mine and your favorite mods!
http://www.facebook.com/media/set/?s...3133521&type=1
done and done :D
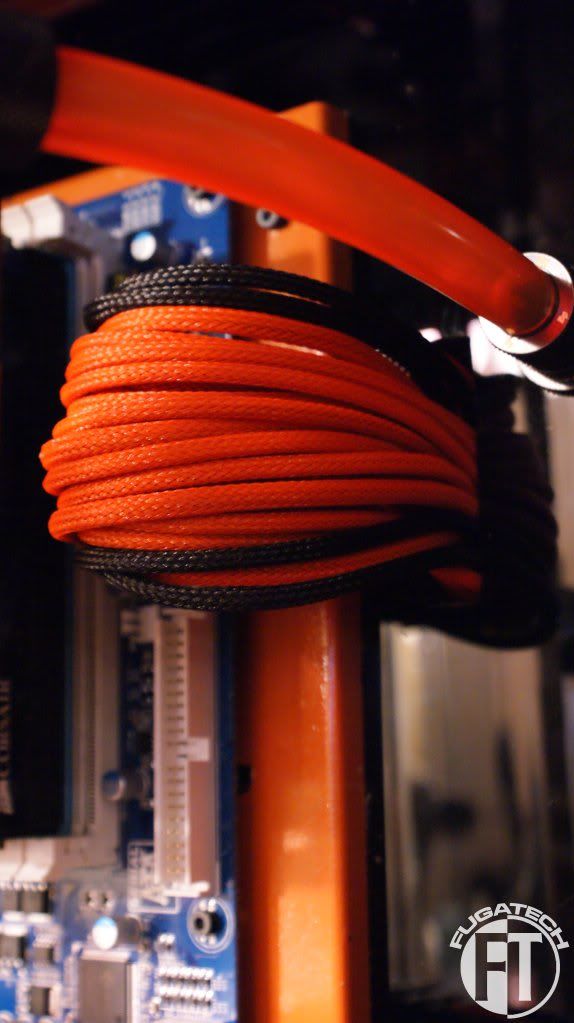
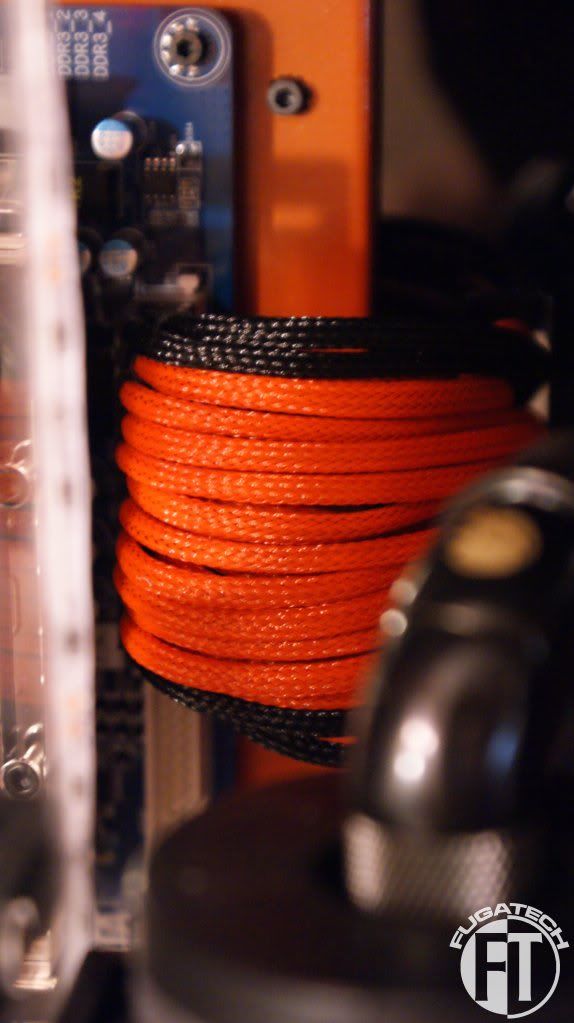
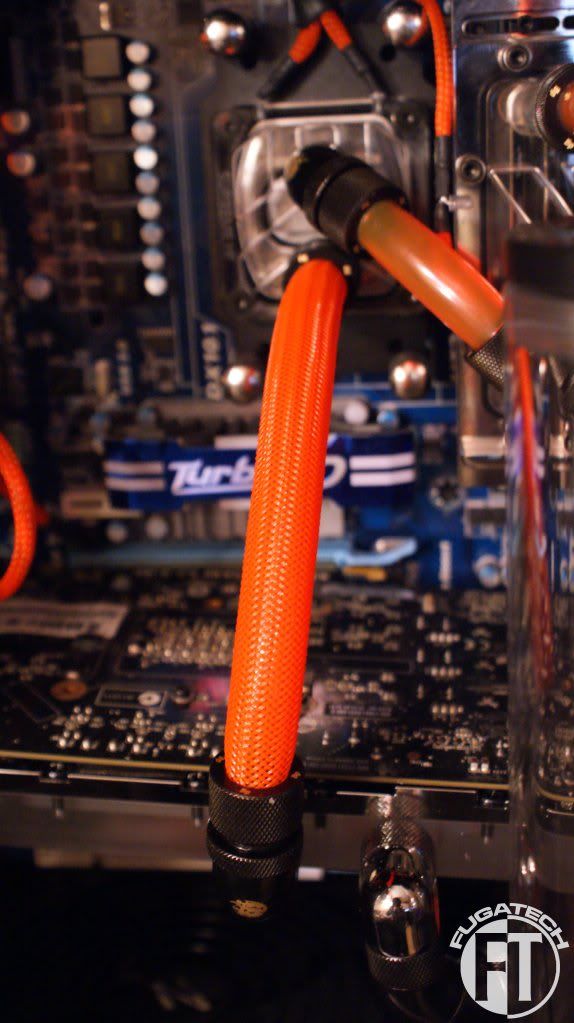
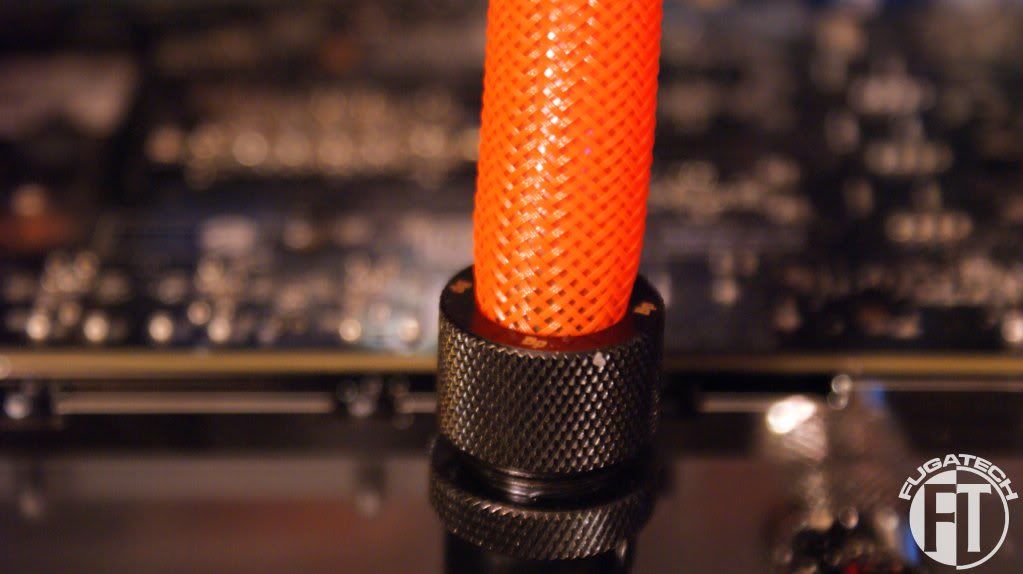
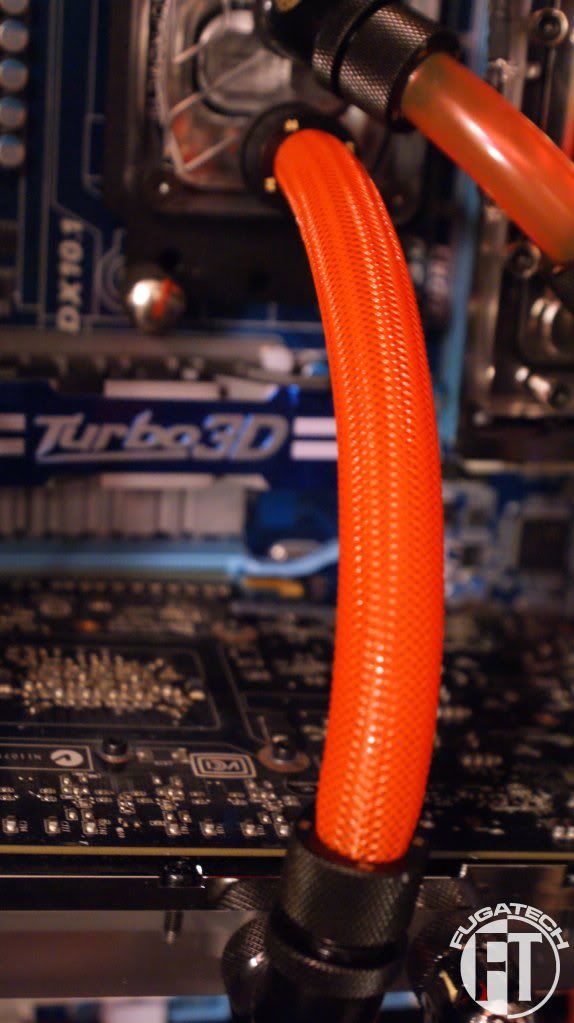
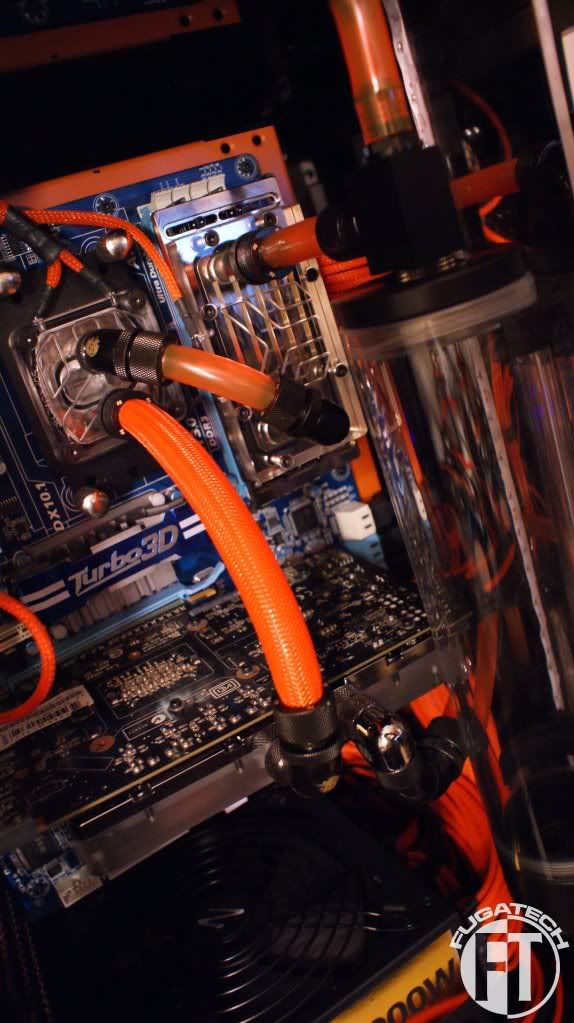
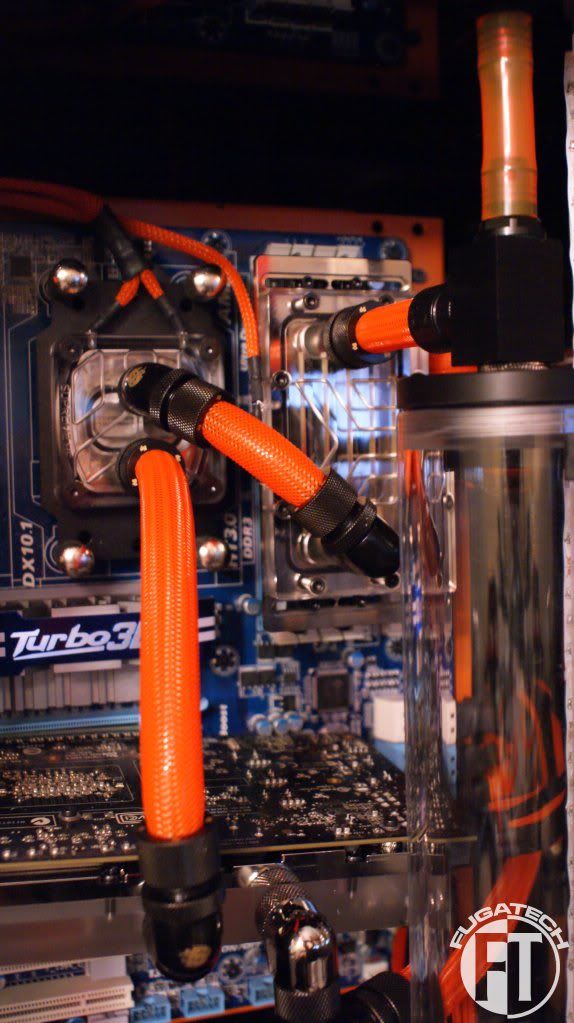
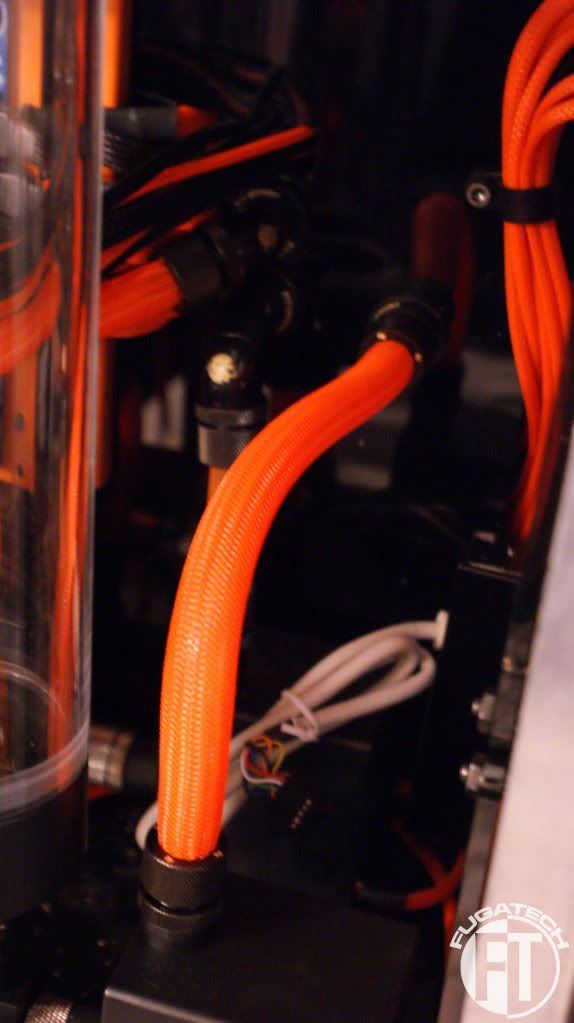
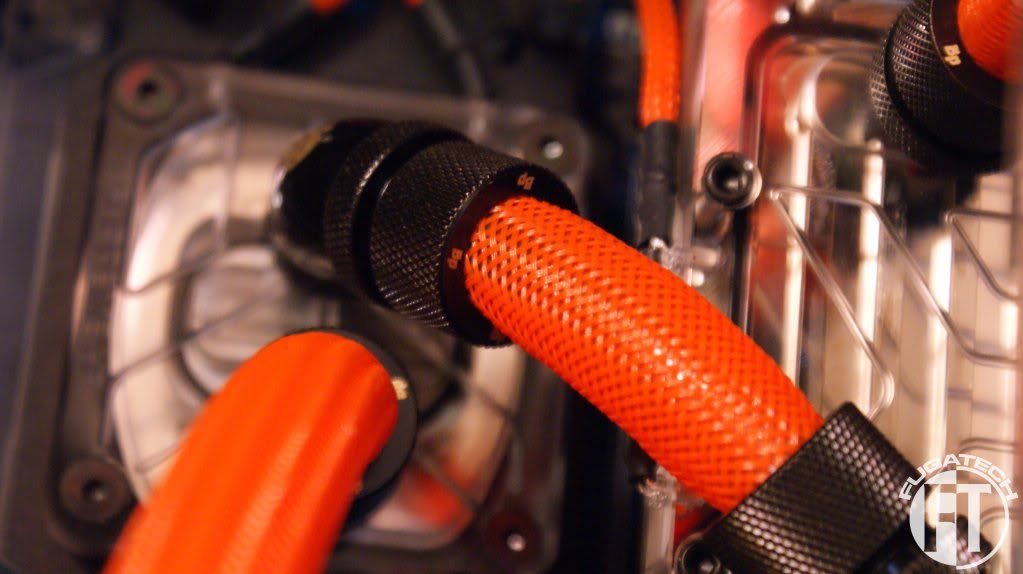
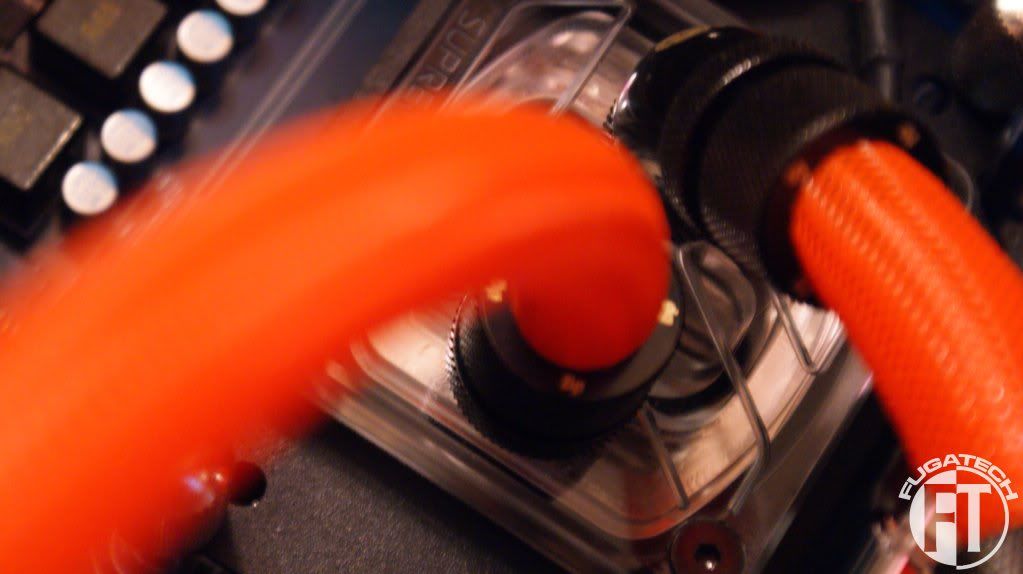
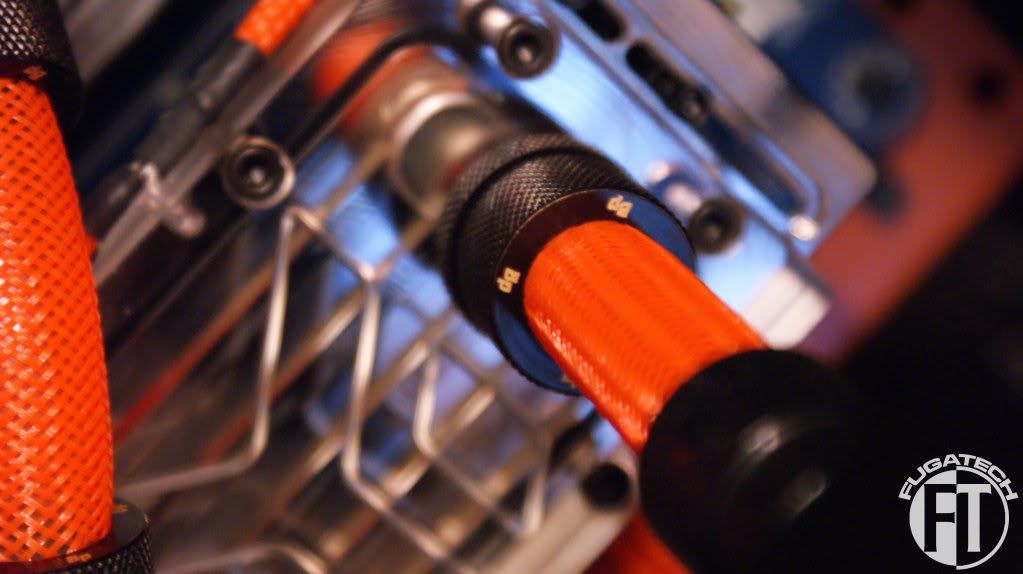
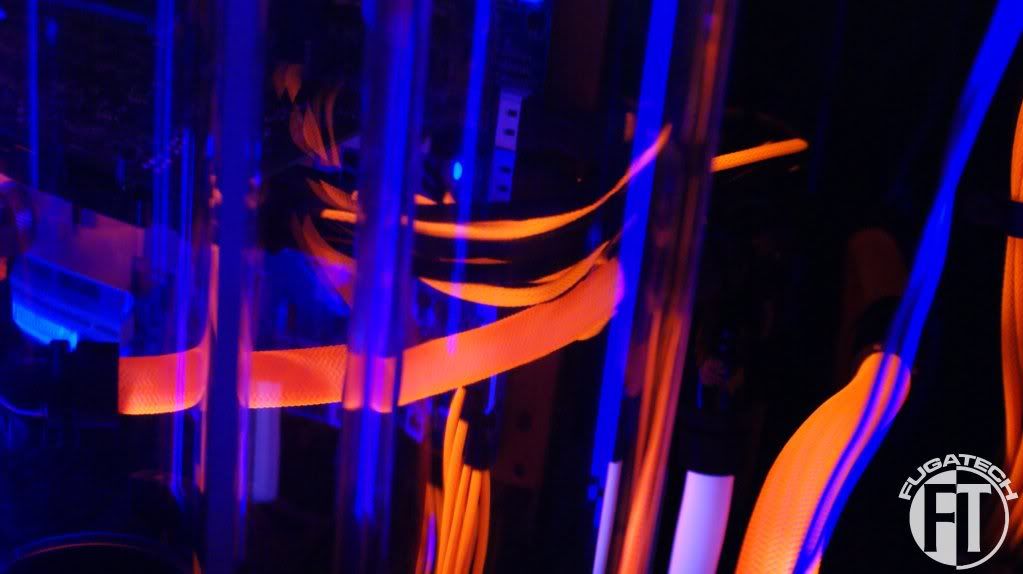
I thought it would be fun to sleeve all of my tubing. Here are some of the early results.
This is my favorite pic for some reason.
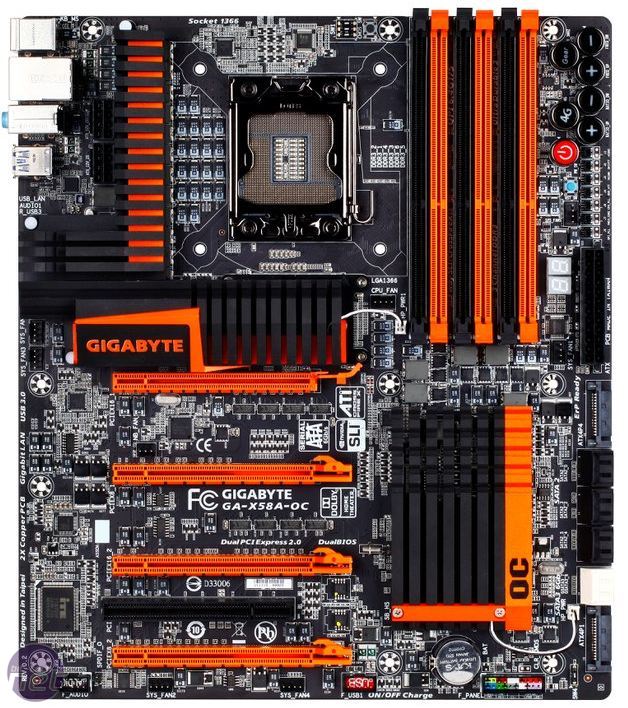
I'm happy to announce that I finally scored the Gigabyte X58 OC mobo. The only downside is that I have to buy new RAM and CPU but its so worth it to have a matching mobo.
I'm looking at an i7 920 and 6GB of Corsair Dominator RAM. Hopefully this weekend I can cut and mount the font LCD display.
Cheers till next time!
Quad graphics much?
Nah. I only got it because it matches the mod.Quote:
Originally Posted by AmEv
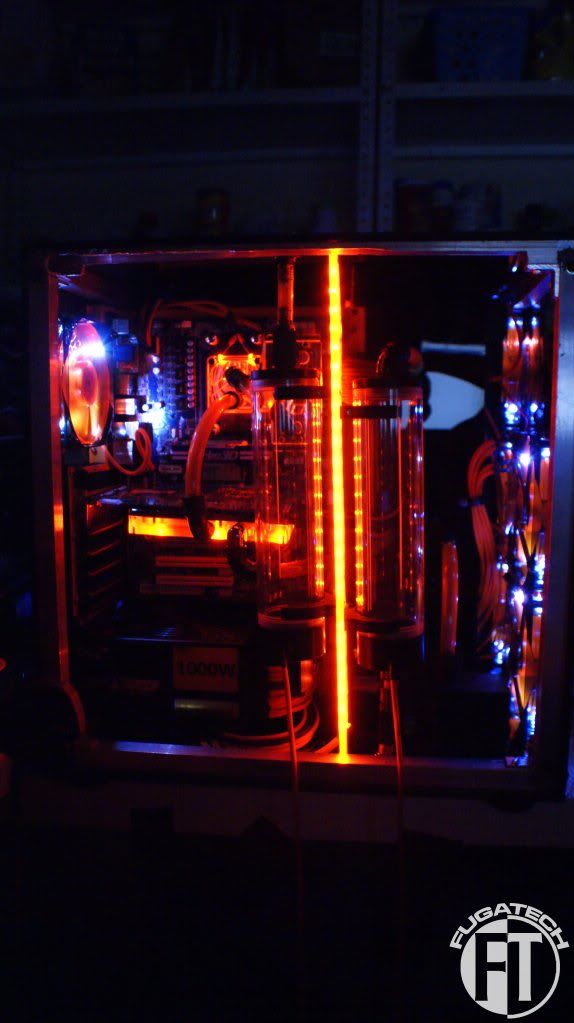
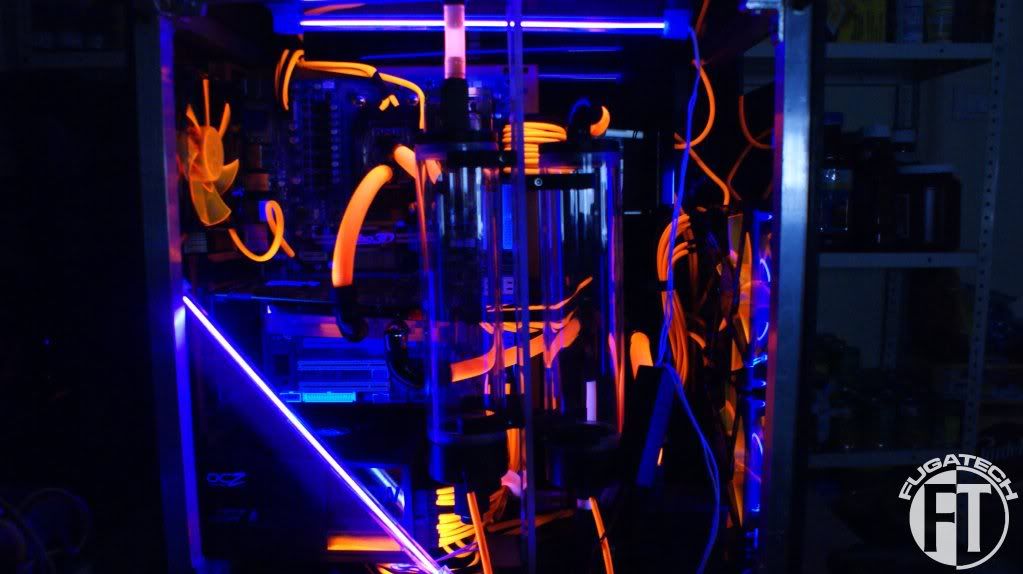
Since Lamptron was so nice to give me some UV Cold Cathodes I figured I would see how everything looks.
I think it looks pretty good. I'm going to see how it looks with the blocks lit up and the fans on.
Cheers till then.
Pretty good??? It looks friggin AWESOME!!!! :up:
Thanks. I just need to figure out some switches now.Quote:
Originally Posted by msmrx57