More toys...well one toy bought today:
I'll be starting on the front and top fan guards this weekend as well.

Printable View
More toys...well one toy bought today:
I'll be starting on the front and top fan guards this weekend as well.
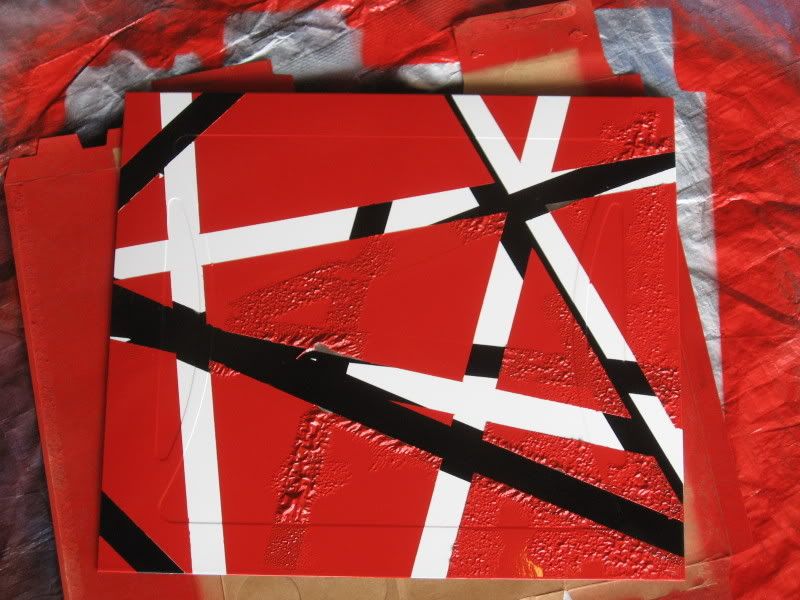
I've got some trouble...
I've narrowed it down to three possible things: Panel was too cold, dirt, or some weird reaction between the glossy black and the glossy red. As you can see, it destroyed all the layers where it blistered.
In light of this, I am scrapping the historical approach to painting this case in favor of doing it the easier (and probably proper) way.
I'm hoping my update tomorrow won't be as disastrous as this was.
Ive seen this type of thing happen before, it is unfortunate.
If i remember correctly it is the mixing of paints that causes this.
I would soak it in mineral spirits re-prep the surface and start over.
Thanks for the info Eck. I'm going to put painting off for a little bit--just about to go do some work on the custom fan guard for the front. Expect another update soon.
It kind of looks like the tape played a role there by the distribution. I have no idea why it would though.
That what I thought at first too--upon closer inspection though, it only happened where there were black stripes, and only in certain areas as you can see. Like I said, I'm going to get other things done first before I repaint everything again.Quote:
Originally Posted by jdbnsn
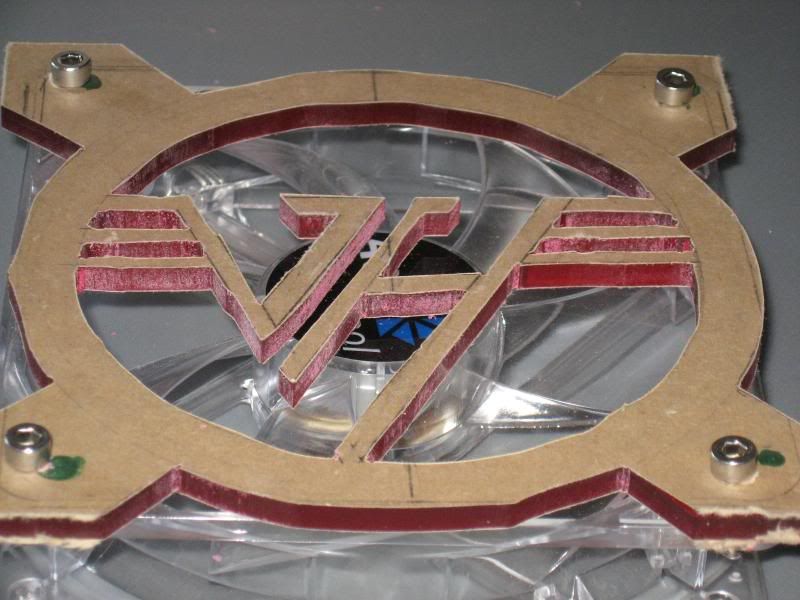
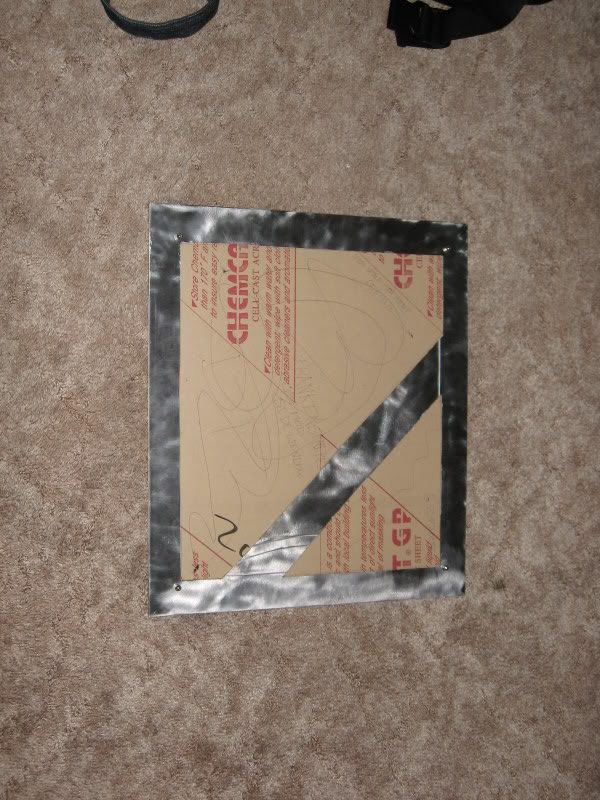
One thing I can almost scratch off that list is the front blowhole cover:
I know I said I was going to use the flame VH logo but I could not get it sized properly. Don't worry though, I am still planning on using it. And as you can tell, I've got a bit of sanding to do on this.
Great fan cover!!!!!!!
Just wait till you see the top fan cover. That's gonna be badassed.
Two words: Hammer Guy.
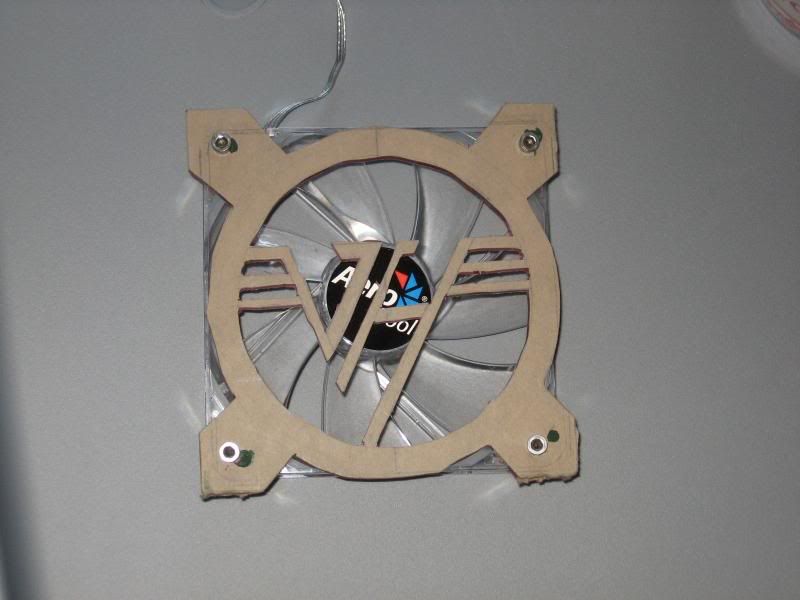
Took a small break from rearranging the apartment and lined up mounting holes on the front fan guard:
I'll be cleaning this up tonight after I get my homework done, and will hopefully be finishing up the bondo work on the front panel as well.
Then it will be onto the top fanguard.
Looking sweet. Are you going to put mesh/plexi behind it to keep fingers out? (Clear plexi behind it with some inner light provided by LED's maybe)
Though you'd have to find a way to push the fan 1/8" off or so, however thick the new plexi is.
What did you use to cut the plexi for the fancover?
I'm planning on using good ol gutter guard as a medium between the fan and the acrylic guard that I've made.Quote:
Originally Posted by Lord Ned
I bought a scroll saw with part of my stimulus check, and gave it a test run on this. As you can see, the results are great.Quote:
Originally Posted by Lord Ned
Having said that, I doubt there's gonna be another update any time soon--this is another hell week for me due to a birthday party on Friday and a wedding on Saturday, both out in the closest town to the ranch where my parents live. So I'm gonna be taking a three day weekend from work and school. Which means I've gotta get four assignments done before Thursday.
What fun.
Looking awsome dude, love the custom fan grills. Gotta get me one of those scroll saws soon, theres only so much the almighty dremel can do. Was a shame about the reaction between the two paints, you can see how good it would of looked had they not reacted like they did, where they the same brand? if not maybe next time using the same brand of paints will help.
Keep up the good work m8. +rep
Same brand, bought from the same retailer, at the same time. Like I've said, I've decided to jettison the historical approach and will be redoing this paint job in the very near future.Quote:
Originally Posted by JohnyFive
Thanks for looking!
See that package? 200 LEDs, straight from Hong Kong.
Oh, and that box underneath? That's 50 ft of wire sleeving.
I've got a three day weekend. Expect a huge update. Both this and ROIO.
cant wait.... wow 50ft
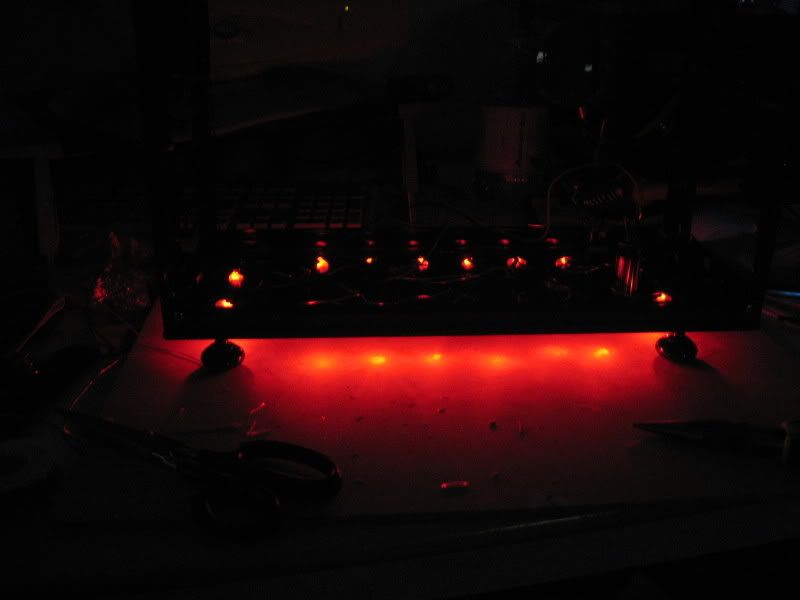
More of a reference for me than anything else. This is for the bottom of the case, gonna have some bad assed red glow going on.
Update #1 for this weekend:
I found some decent drawer knobs that became case feet. The dice shall be used somewhere else...
Front shot of the feet. Ignore the dust.
Holes! 13/16ths of an inch holes, which is just a touch (thousandths of an inch) bigger than 5 mm (which is the size of the LEDs).
I also picked up some 1/4 W, 220 ohm resistors.
And I've begun building my arrays:
7 more to go.
lol nice good luck looking good
Bottom lights: DONE. Might be sanding them, will run a night test once the sun goes down.
I've got a smallish issue with the positive lead--kinda loose. I know where at too, so if the problem persists, I'll be fixing it.
Thanks for looking, I'm off to finish the front panel!
Looking awsome man, keep it up! +rep and sub.
_'j5
As promised, the night shots (if you own the 1984 album, listen to the lead off track while viewing):
Before sanding
After sanding with 220 grit. Looks better, but there's still room for a small bit of improvement.
I'm going to measure the bottom and cut some MDF or possibly order some chromed plexi for a false bottom.
And I didn't get to the front panel as planned, due to a bit of a surprise birthday dinner at the in-laws.
Oh well, there's always tomorrow.
Edit: Just made a banner, it's all the way back on page one.
Plexi time!
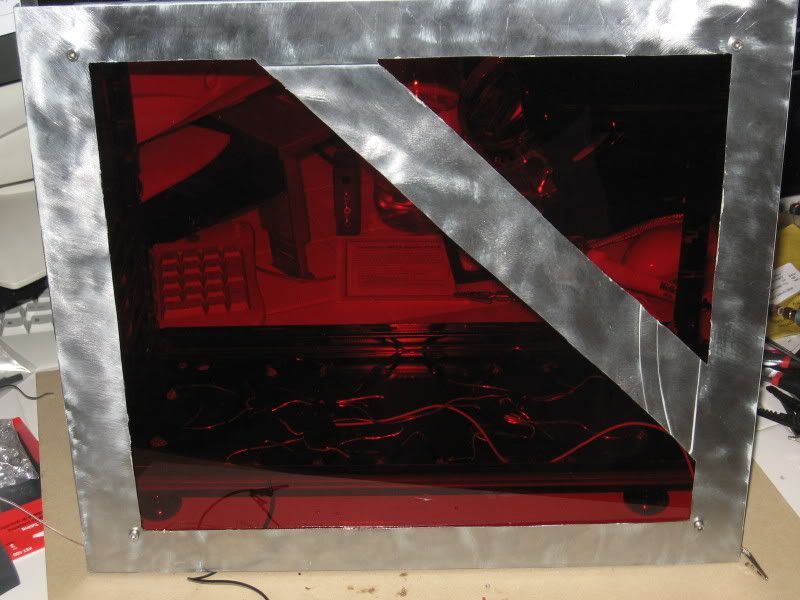
Finally got around to knocking out installing the new window. Also ran into a small problem, but nothing the dremel can't take care of!
Haven't decided yet if I want black anodized bolts or not. As pricey as they are, I might just stick with the stainless, as pictured here.
I had no idea that this red was going to be this damn hot! This is gonna look great with the window etchings I've got planned.
I've still to get to work on the front panel, but hey, I'm still having fun with it! Besides, I cannot get this side panel to mount correctly, as I had to have the plex sit flush with the bottom (cheaply done) latches, so I've got to chop on the case a bit more.
:O looks killer keep it up
Did you get the paint problem figured out?
Whenever I'm doing stuff on metal, I'll prime with auto primer (I know lowes has it) that stuff seems to stick to anything. Next I'll do the colors in flat - the flat paints seem to stick to each other better. Then I'll do the clear coat last. Do a clear gloss, and it will make it all gloss. (I've had other things I want to leave flat, so I use an artist's flat clear coat - because regular "flat" gloss seems to come out sort of satin semi-gloss.)
For diffusing those LEDs, you could use a clear piece of plexi, and sand it on one side. Then just four screws or some epoxy should hold it.
This is one crazy banana ->:banana:
Honestly, I haven't even bothered with trying to replicate the painting issue. I'll be dealing with it soon enough, however, as all that is pretty much left to do is to paint the proper side of the motherboard tray and fix the mess that represents the front panel.Quote:
Originally Posted by Aud1073cH
Also, I ran into a bit of a problem with the fan controller--the damn LEDs are BLUE! So now I'll be tearing that apart as well and swapping colors out.
Or I could scratch the fan controller and use it in a different mod, as I've got something in mind that could use blue lighting--we'll just have to wait and see on that.
Thanks for looking, have some rep for the comments and suggestions!
Ground effect lighting, Looks really cool.
Have you considered cutting out multiple circles of red plexi . .and making some lit case feet?
I thought about going this route, but to be honest, I'm not sure if that's what I am looking for. Hell, I'm not even sure that the drawer knob approach is what I'm looking for. But for now it will work. I was going to use dice (see pics a couple pages back) but I destroyed the first one that I tried to drill out--cheaply made. Plus, they were too small for what I needed anyways.Quote:
Originally Posted by Eclecticos
I'll continue to look around and see if I can find something that'll work--I kinda like the idea of casters (think bottom of a half-stack amplifier), but that might call for a bit more work than what I'm willing to do, especially now that I've got the LEDs installed.
if ya mount it low enough you wont see those rings if it helps...
LOOKIN SWEET! Awesome mod! Can't wait to see it finished!
+rep
Minor update, no pics, as the subject matter would be very boring. I've applied another layer of bondo to the front panel, this time covering the whole thing in a very thin layer. I'm going to let it cure overnight and do some sanding in the morning before the temps get too high--it got damn hot here today (over 100F), although its supposed to be in the mid 80s tomorrow. Hell, right now it is 77 outside, and it's 12:30 am FFS.
Update #1
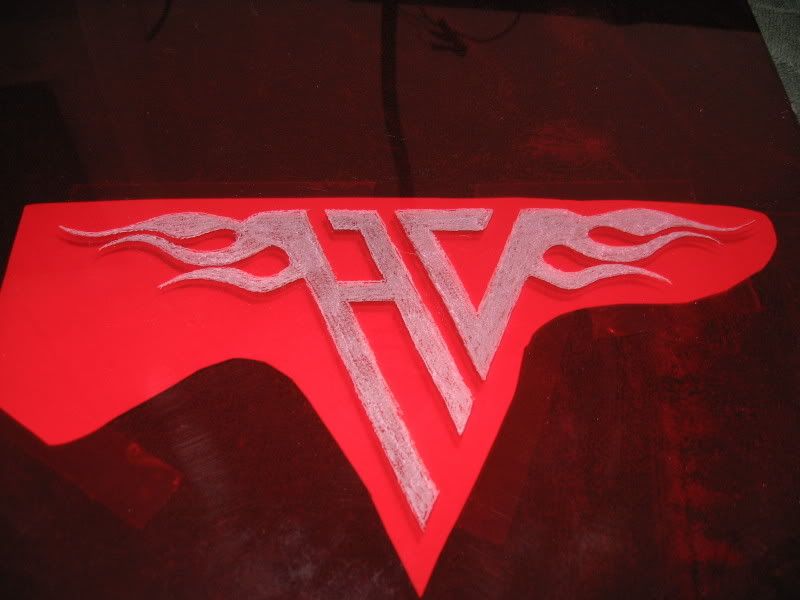
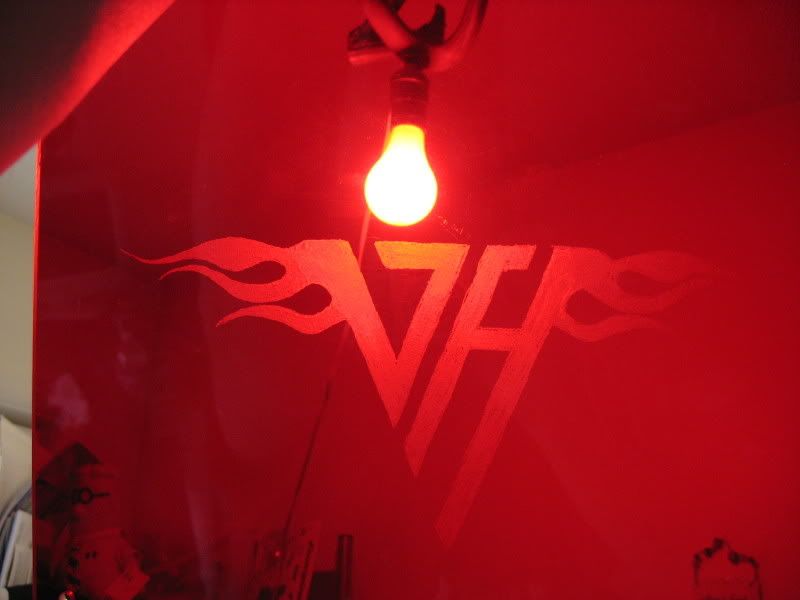
I think you guys are gonna like this, especially after the positive feedback I got on my tribal sun etching.
If you don't mind me tooting my own horn...that came out awesome!
Now, I'm off to finish the front panel.
Duuude, thats the **** right there! awsome work man, might have to ask for some tips later on ;)
+rep
Get some scrap plexi, keep your dremel on a low setting, and take your time.
I've also found that tracing paper helps a bit too--allows you to practice the curves a lot. I went through a whole tablet of tracing paper drawing and redrawing this logo backwards, so it seemed like second nature when I decided to bust out the dremel.
Nice job Joe! I love the logo, edges came out slick!
Damn, man, that's awesome work!
+rep for the etched logo... and for making me dig out 1984 on cassette.
DrumThumper cooks, DrumThumper swings. He's got the look - DrumThumper, he's the king!
Errr. Ahem.
Ladies and Gentlemen...THE MAIN EVENT!
I am finally done with this &%*^(#@(&^! bondo stuff. This is as good as its getting for me. Yes, I know there's some pits and whatnot. I have a plan for them. And this time, it will work.
I have also realize that I still need to figure out just where exactly to place some front side USB and audio ports. I've got a few ideas, but I'm going to have to dig around and see what I have available for ports before I get too carried away.
Anyways...
100 grit
Wet sanded with 220. Notice the beveled edges. I got tired of trying to get the bondo built up enough to make a square edge, and said **** it, I'll make it work this way.
Smoother than a baby's bottom. Gotta love the 220 grit.
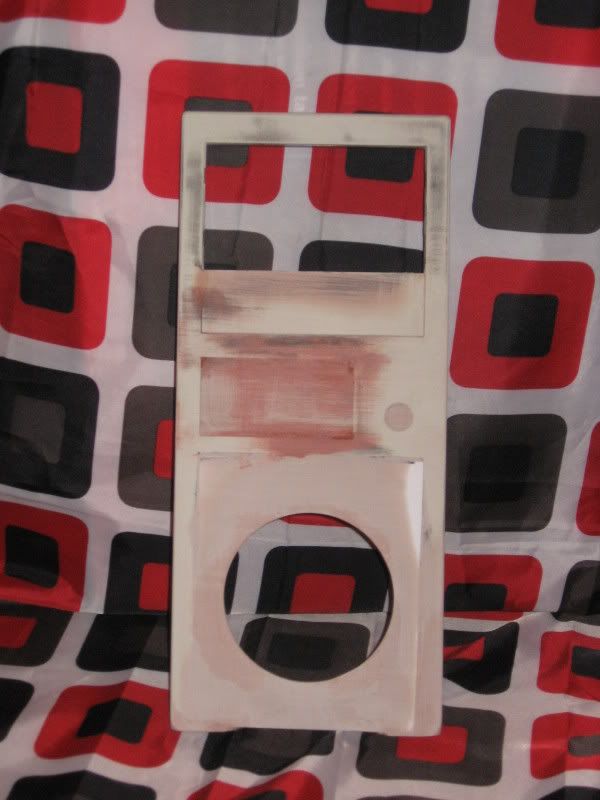
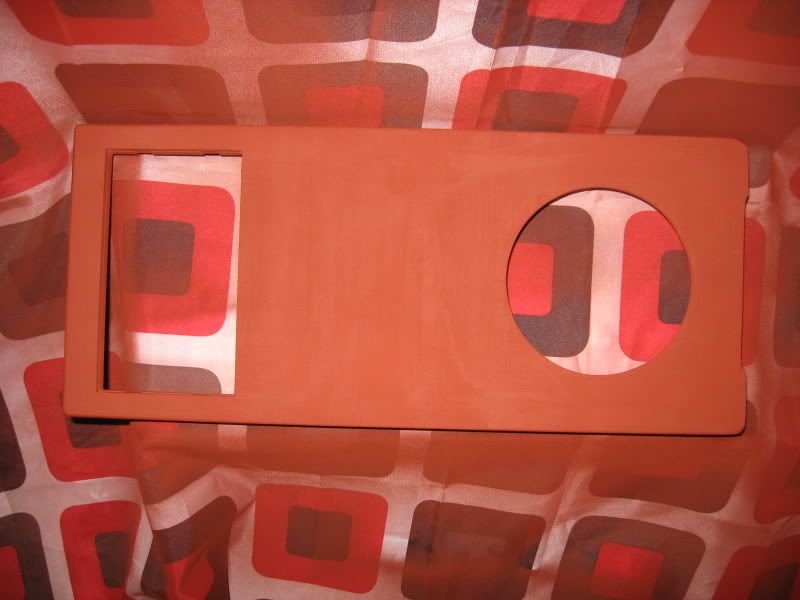
First layer of ruddy brown sandable primer.
4 coats. I'm going to let this dry for a week, wetsand with 220 again and lay another layer of primer down.
The beveled edge again.
If you look closely, you can barely make out the filled in 3.5" drive bay. This is where I'm considering putting the USB/Audio ports.
Tomorrow, I do the three metal panels.
nice i saw the hv and i was like no F*CKn way omg lol sweet i should etch something to my mod
lookin good!
damn... i hate to wait a week for the next update, but i guess all good things in their own time, right?
nice work on the etch. brilliant to do it on the back side in reverse.
There will hopefully be a smallish update today--there's a few other things I'd like to get done that I haven't mentioned.Quote:
Originally Posted by Dane Bramage