siiiiiiiiiiiiiiiiiiiiiiiiiiiiiiiiiiiiick :D i think ill come over and take a personal look at this when u are done 8)

Printable View
siiiiiiiiiiiiiiiiiiiiiiiiiiiiiiiiiiiiick :D i think ill come over and take a personal look at this when u are done 8)
Thanx for your comments :)
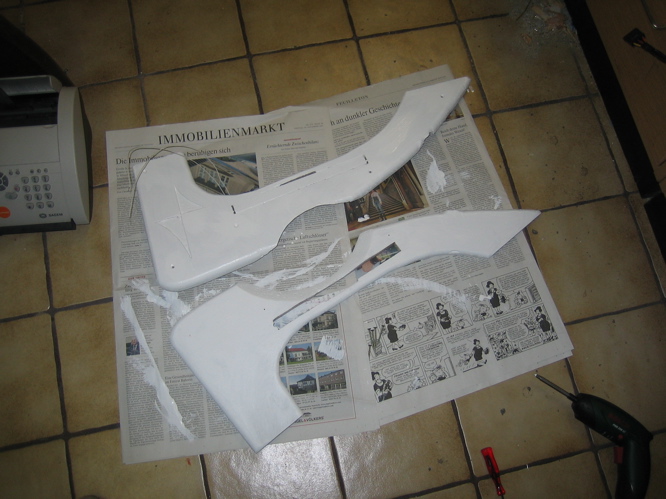
Today I only have a small update for you:
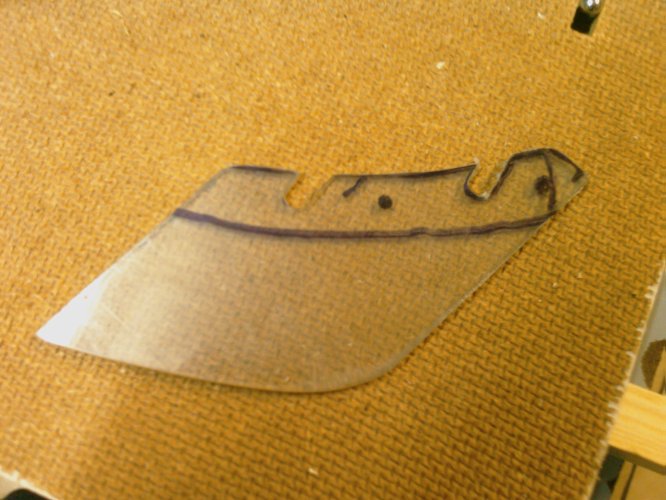
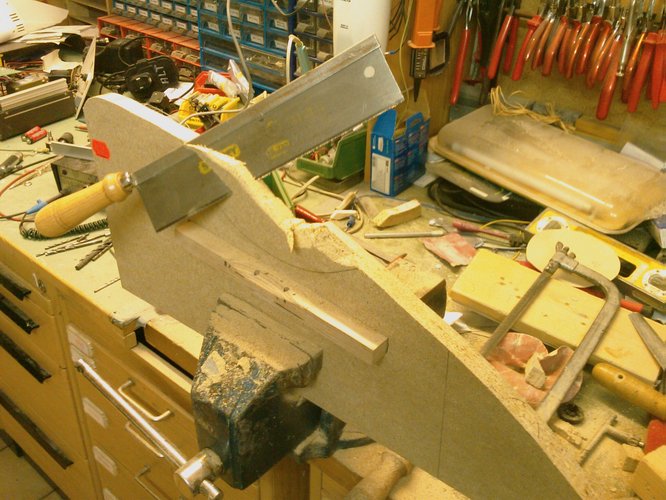
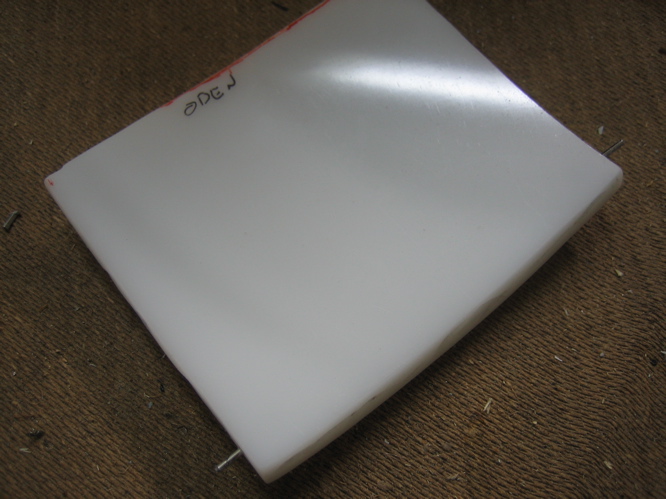
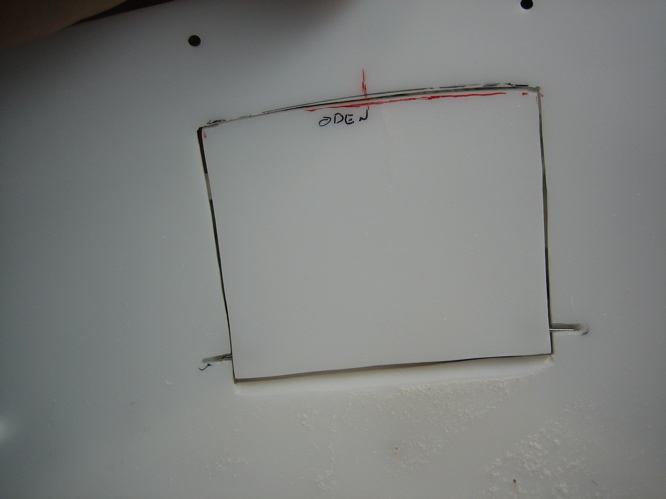
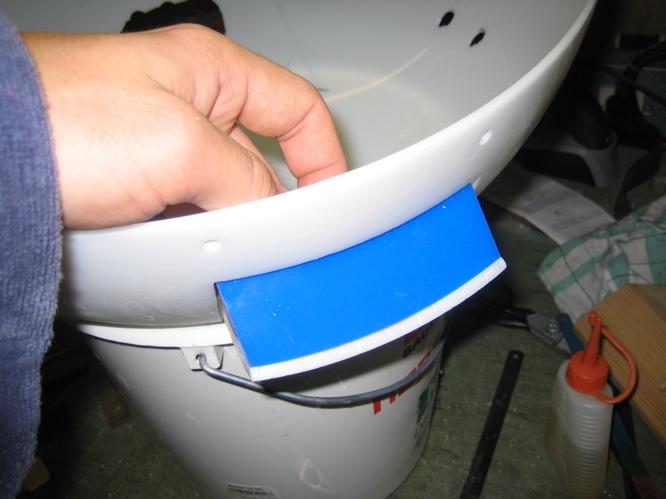
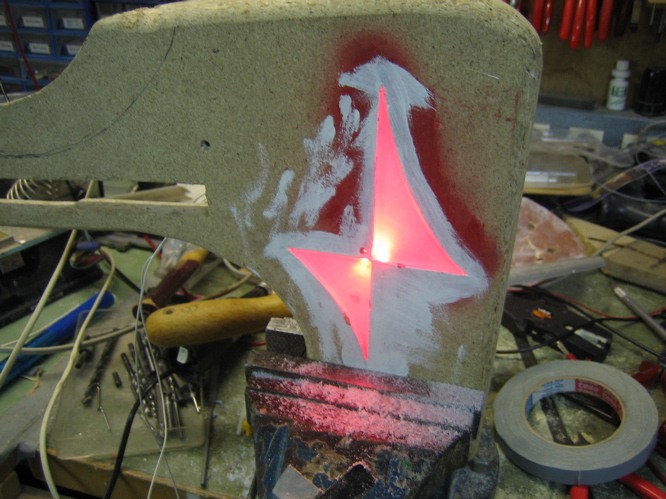
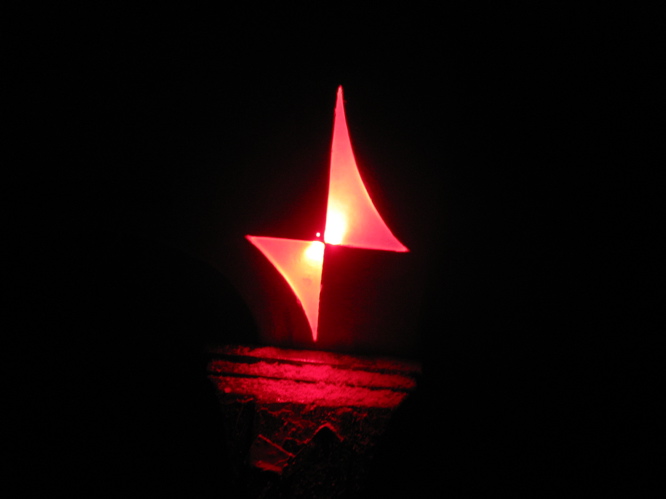
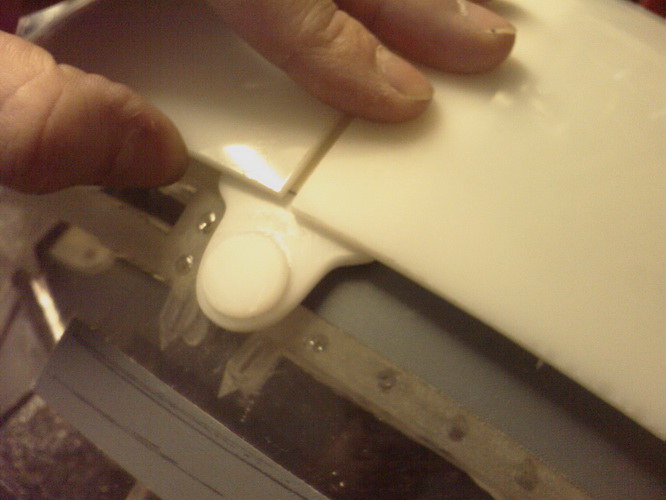
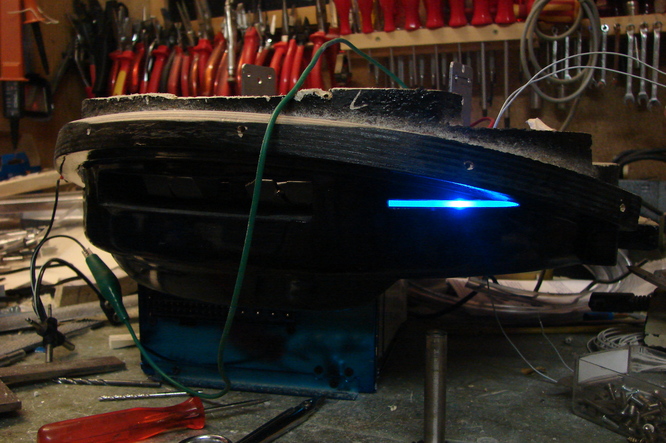
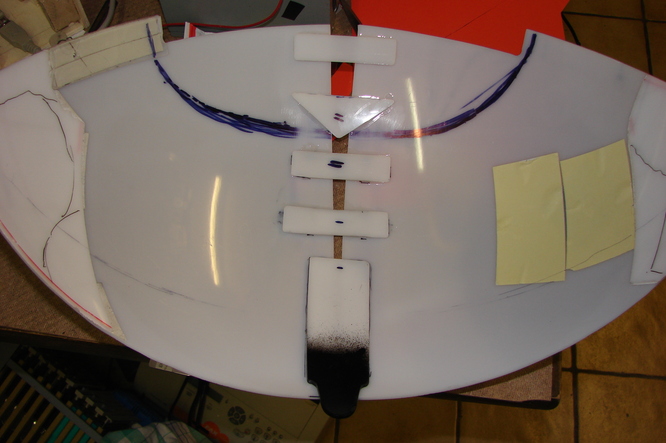
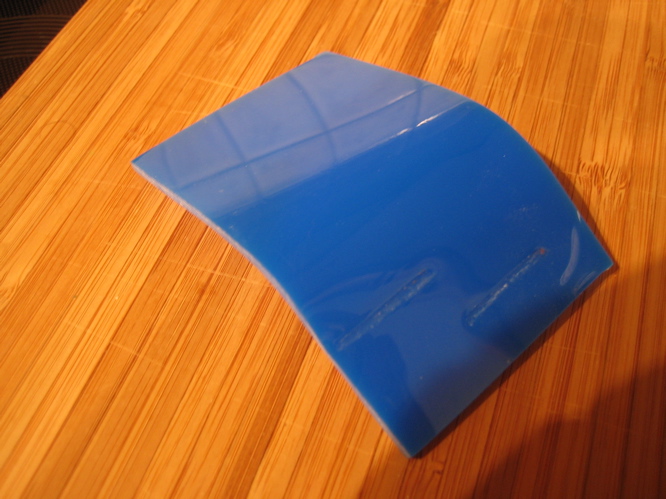
I cut out the first of the two status lights:
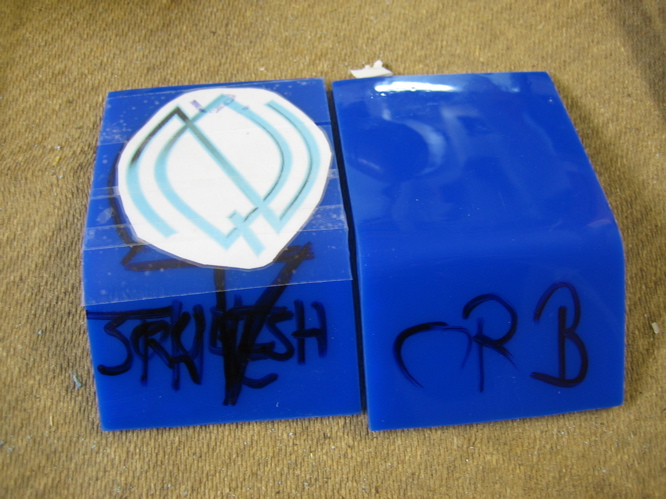
They are placed in the slots left and right from the DVD drive:
Two two-color-LEDs will light them up and show HDD-Activity.
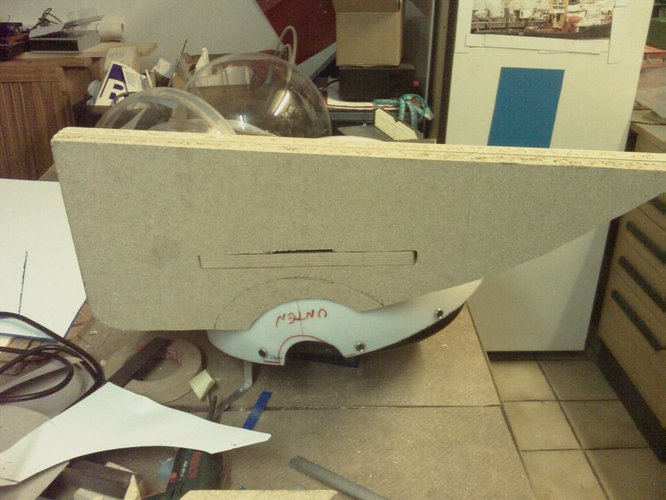
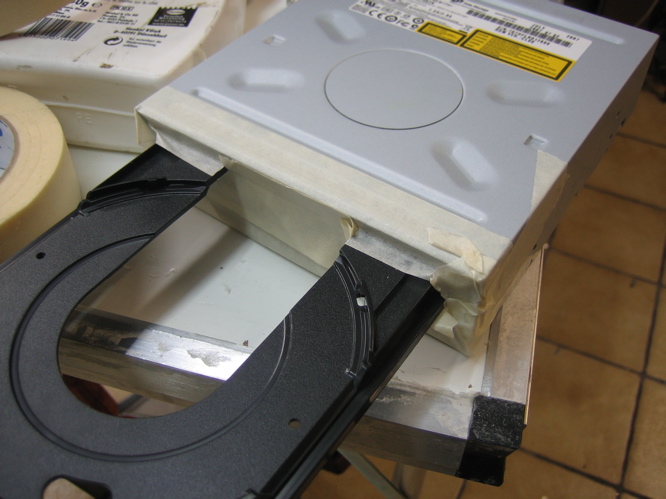
The cover for the DVD will be about one millimeter smaller than the hole and be backlit with changing colors to show DVD activity.
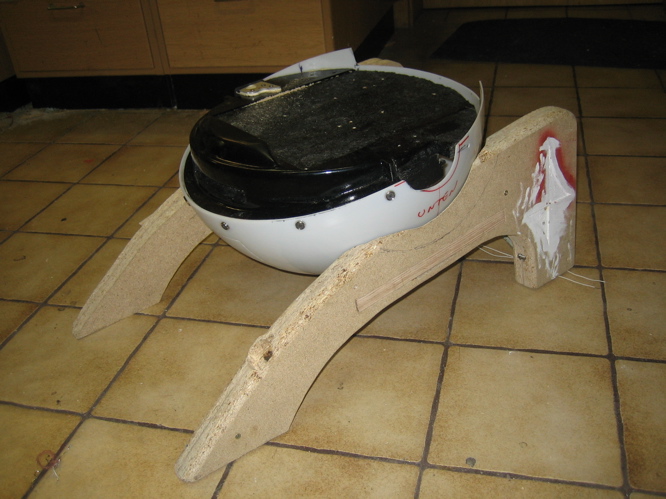
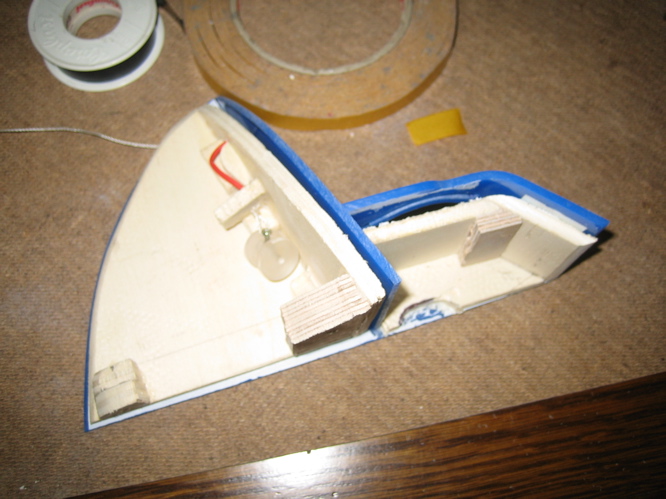
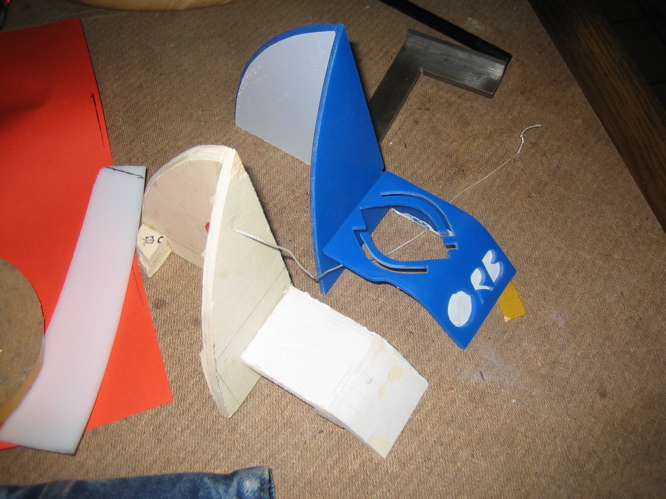
I also started with a new interior to replace the wooden stuff by some plastic. This will be made of less single pieces and therefor look smother and will be easier to mount without visible screws. Pics will follow soon.
Hey guys,
time for a bigger update! I've done some work on the Orbs feet :)
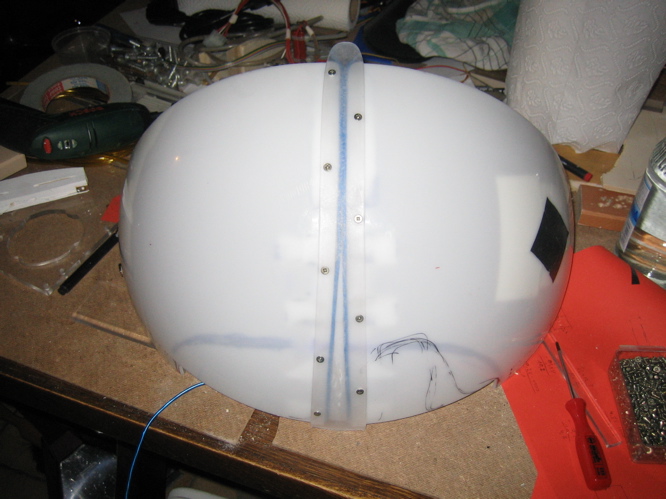
But first some pix of the fix of the lower hemisphere on the baseplate:
I used chrome spacers and black screws.
I think this looks quite ok.
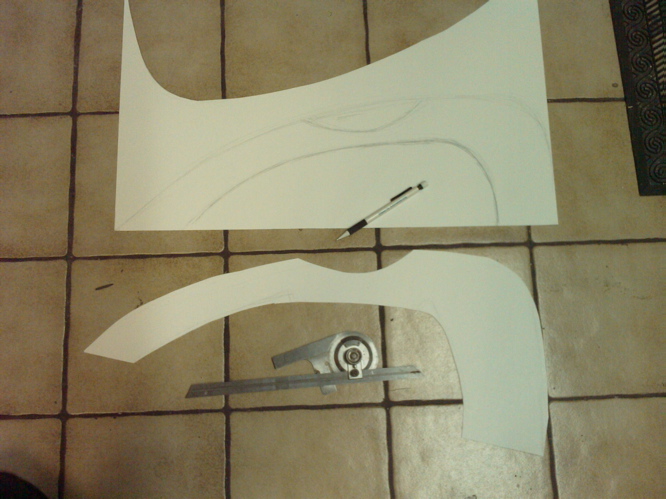
Now to the feet:
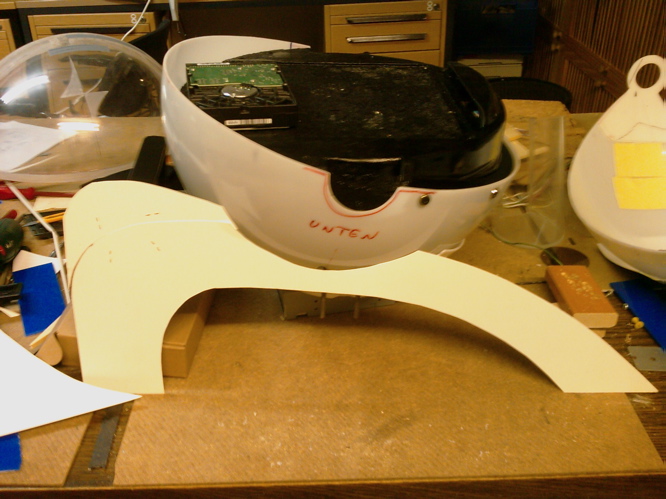
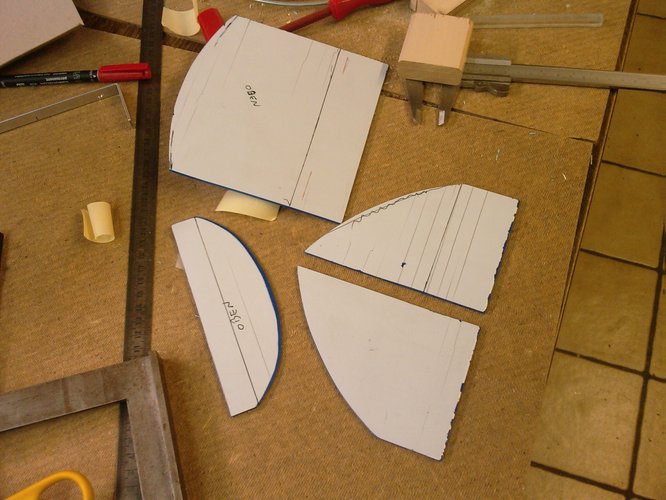
For a first idea I cut out some paper to fit the form:
i neede some tries.
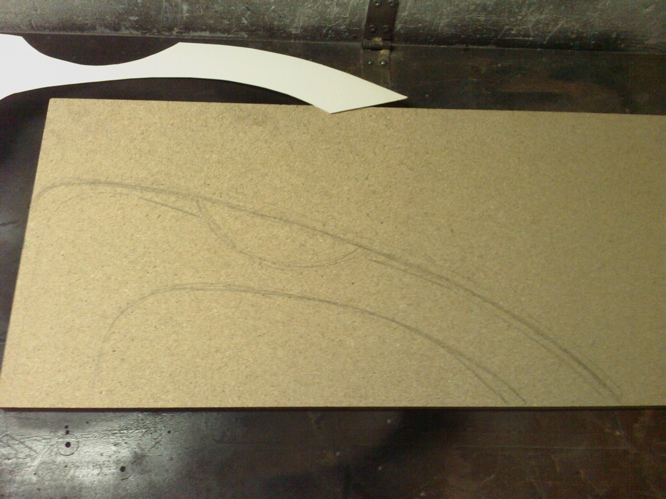
Then I copied the outline onto some pressboard...
...then filed the roundings to fit the sphere.
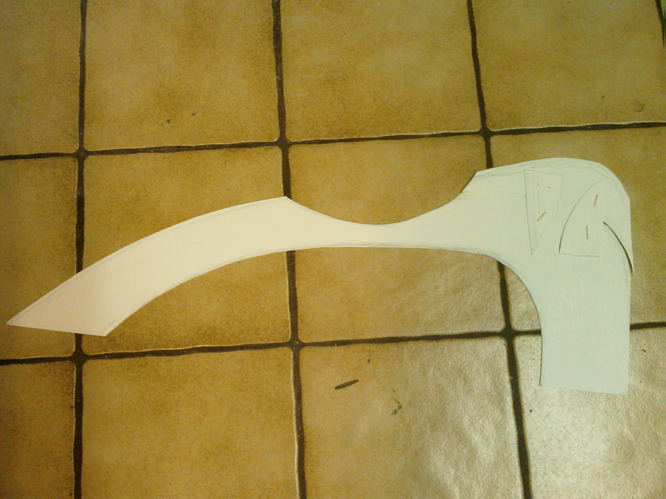
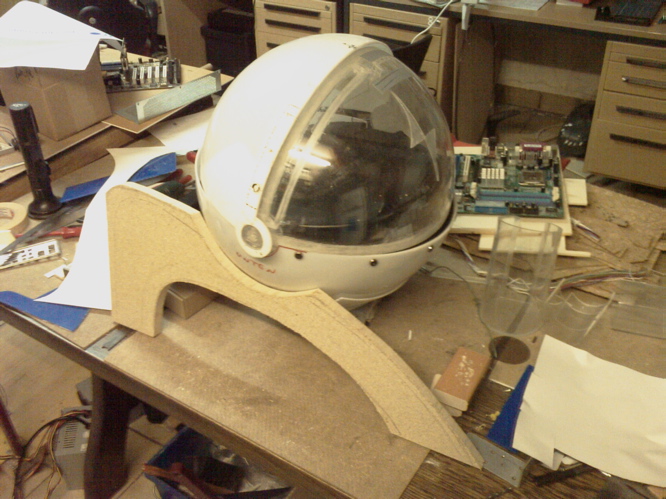
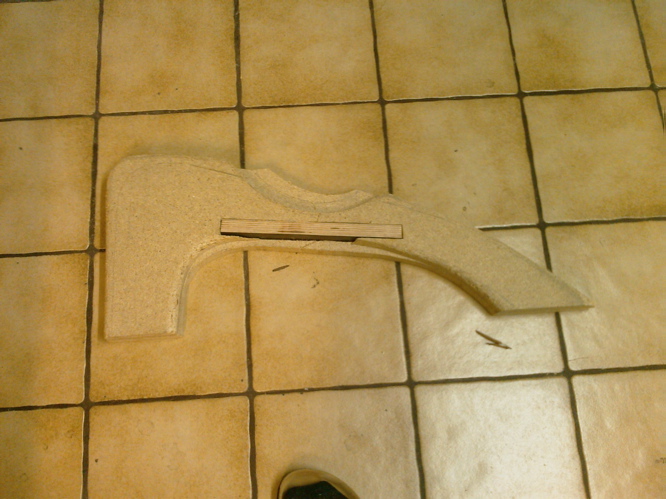
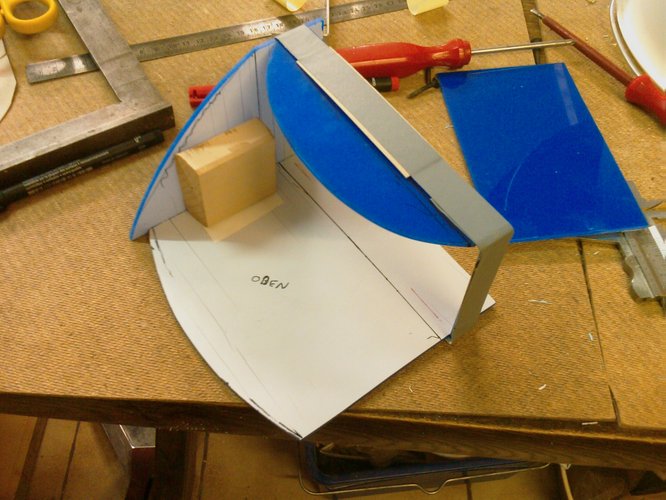
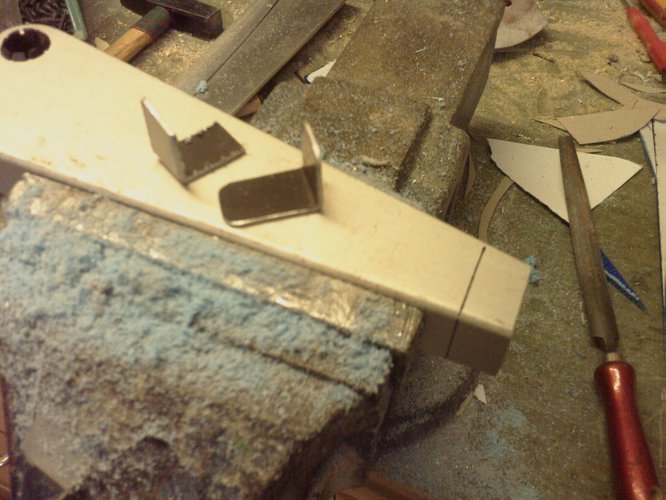
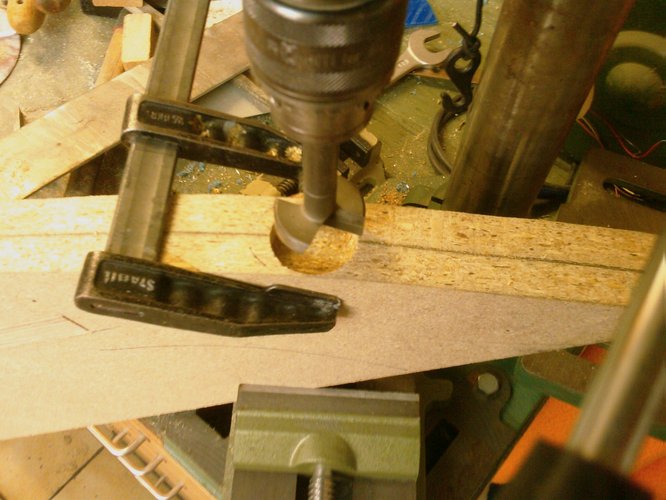
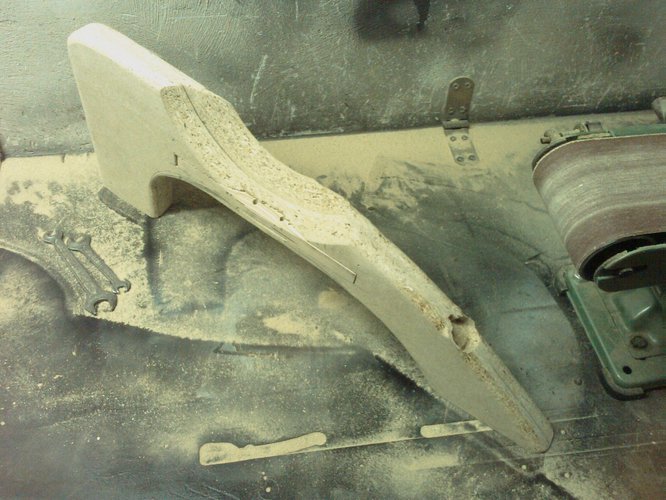
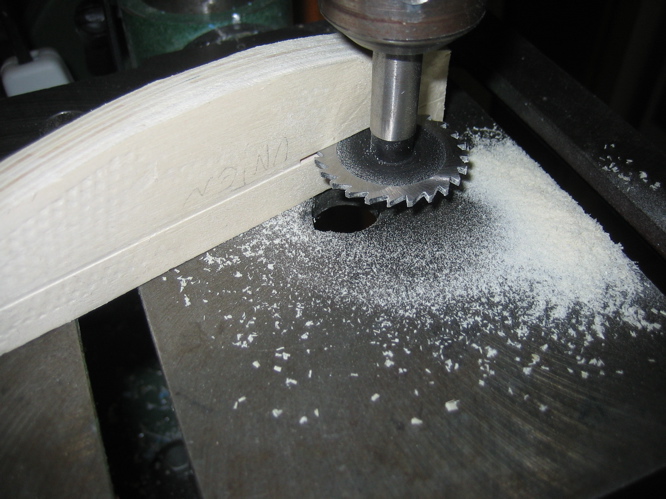
The feet are made of two sheets of pressboard. But even with 3,6mm of wood it would not be stable enough to carry the whole comuter. So I had to add a core of hard wood in the critical section in the center of the feet:
After calculating the right angle I drilled the holes in the hard wood that will take the metals bars coming out of the sphere.
Again a lot of filing and the result:
The third layer you see here is only temporary used as long as the parts are not glued together.
I hope you like the design. :smoker:
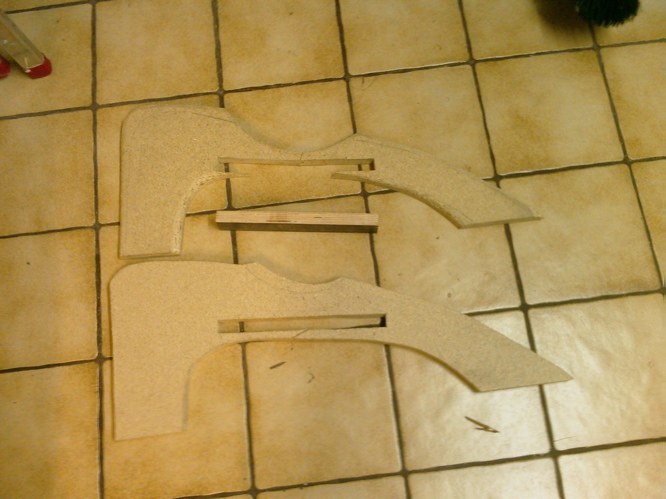
Finally the gap between the feet and the sphere got to big. So I think I will throw away this prototype and cut out a new "perfect" one. The pressboard is quite cheap and the cutting with the scrollsaw is fast.
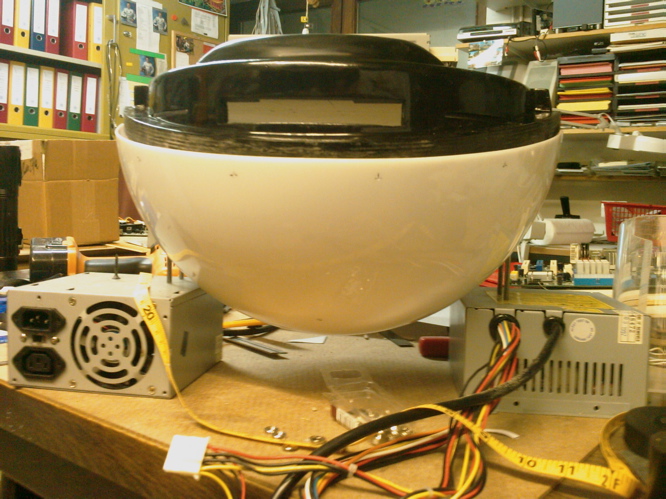
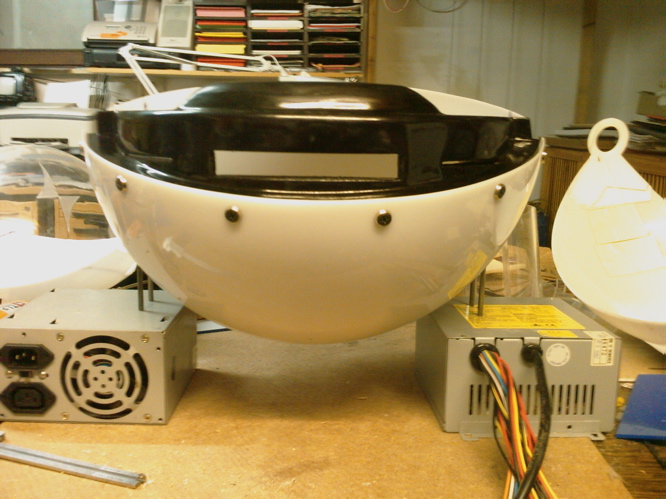
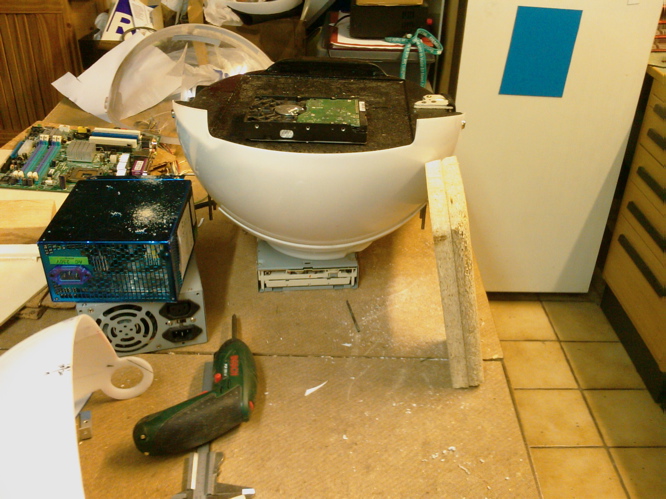
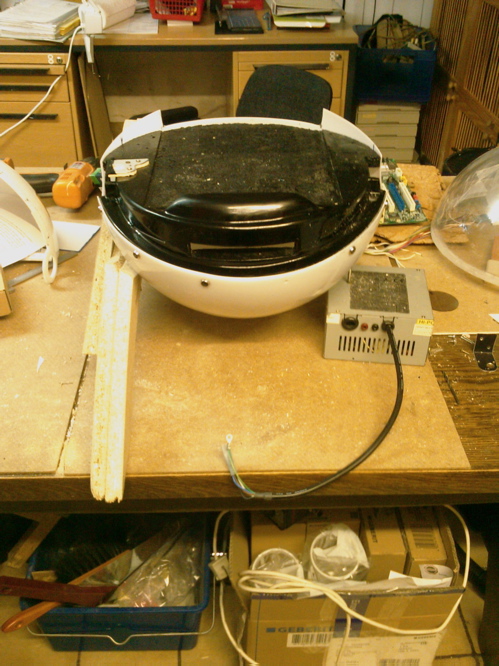
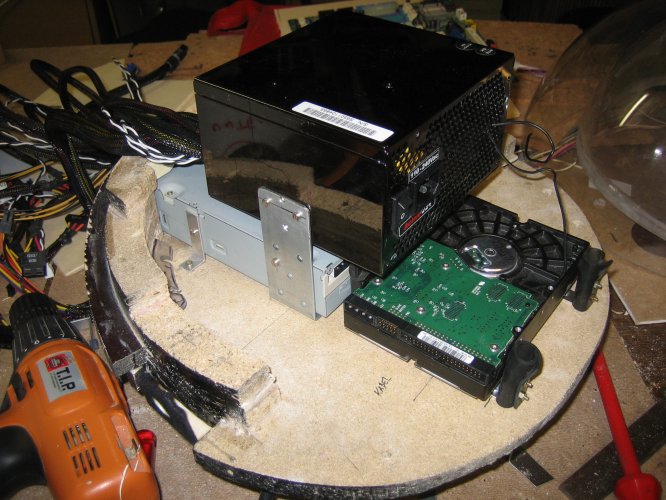
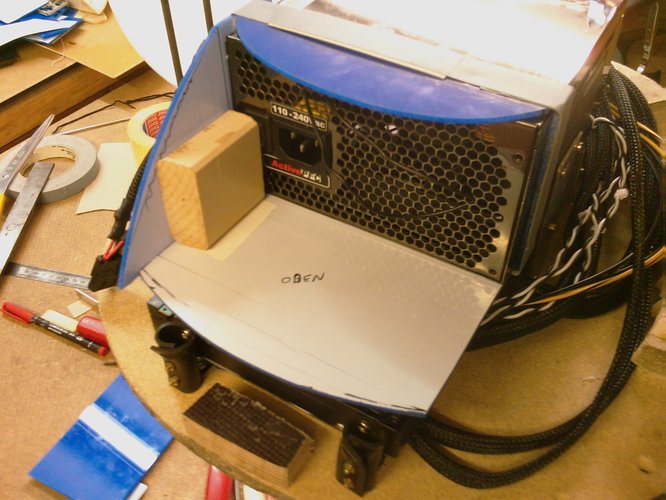
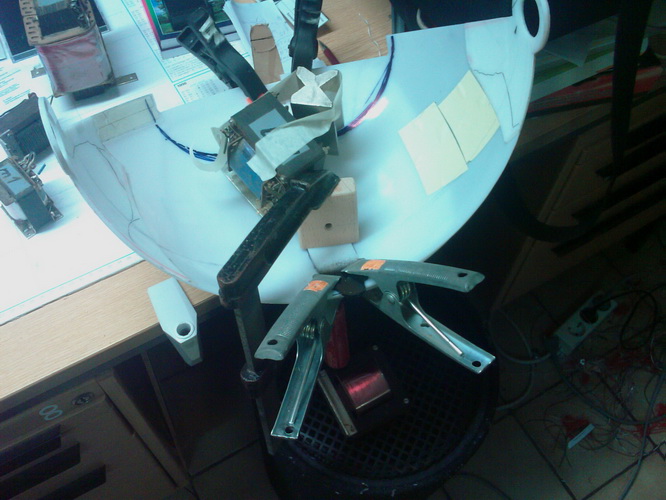
Finally some pics of the hardware:
This shows my biggest problem:
All the cables from my BeQuiet powersupply will be really hard to fit into the sphere... :? Perhaps I have to shorten them...
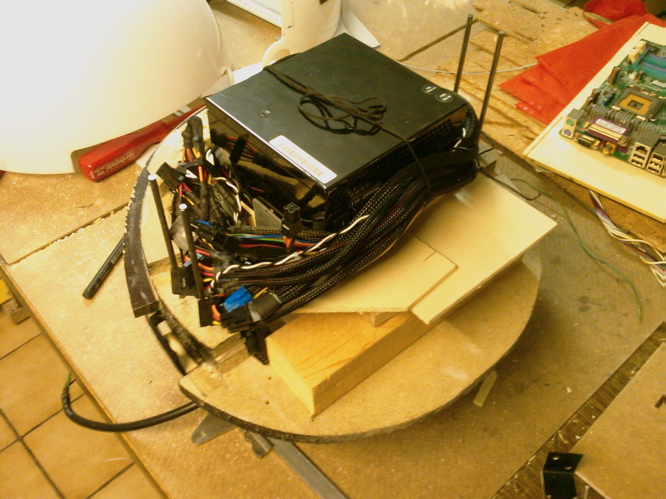
Pics of a test fit to find the best position in the sphere:
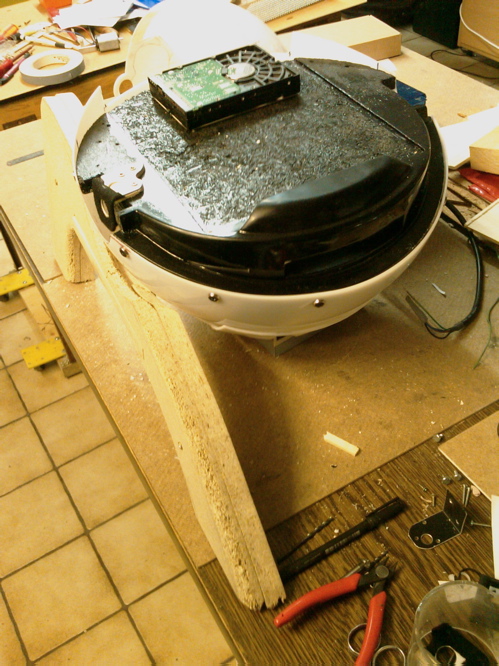
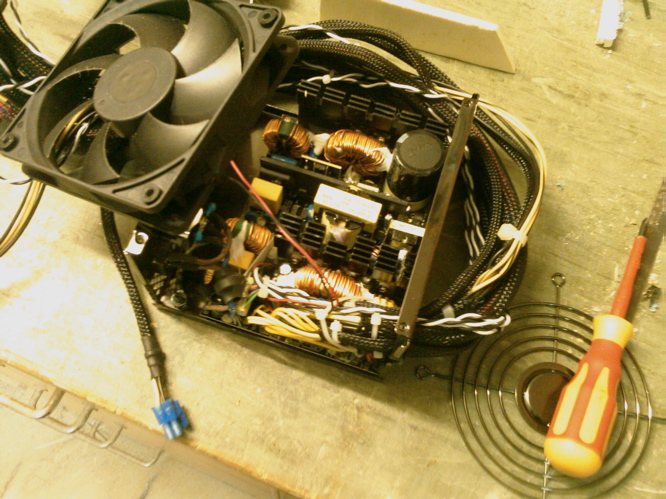
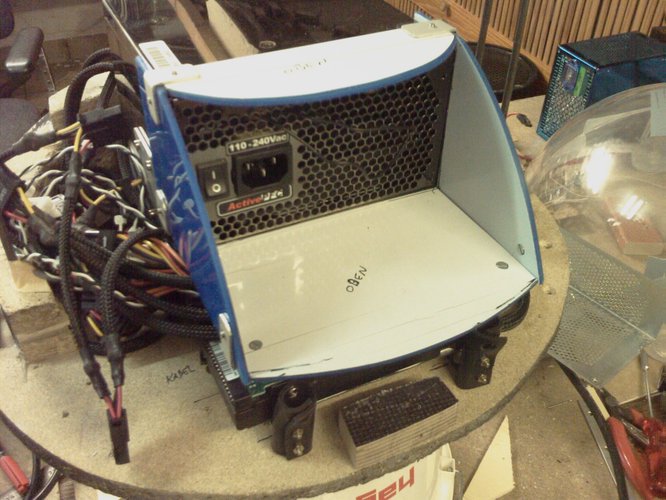
The inside of the power supply. I had to remove the cage to drill some new holes for mounting:
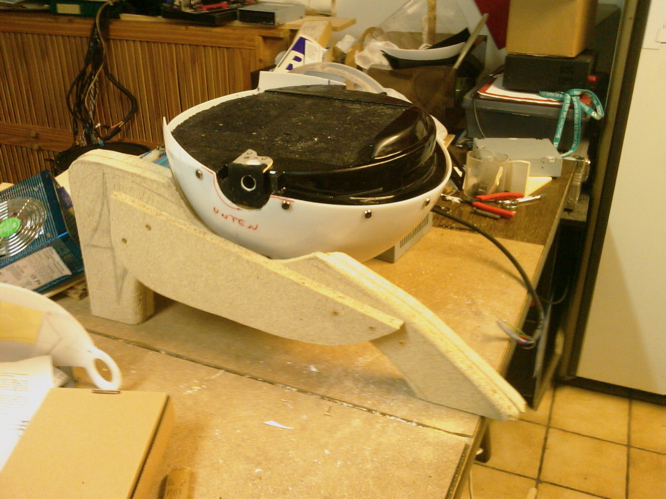
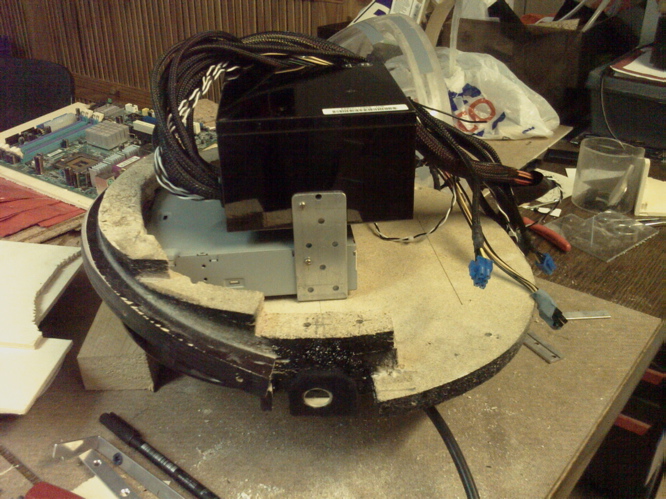
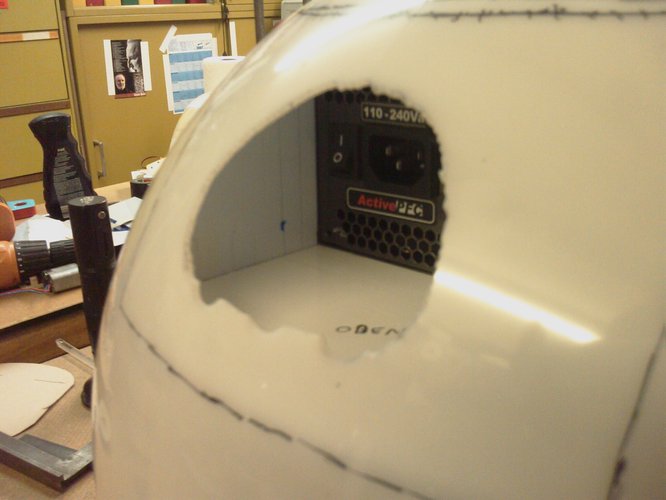
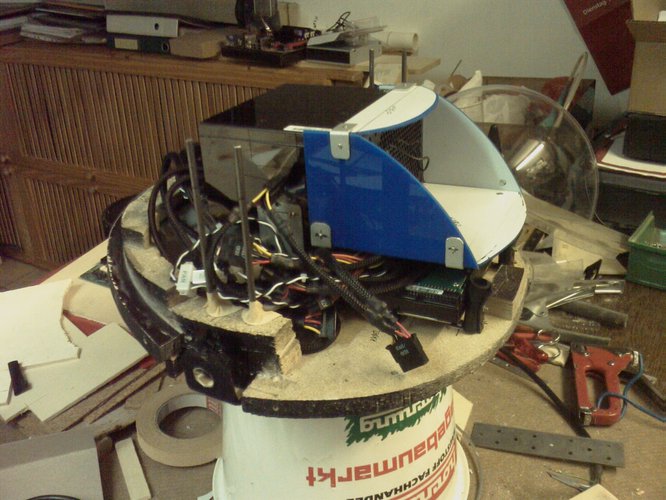
And mounted (I will add another support on the back later, when the HDD is in place.
So, I would be happy for some comments :D
See you,
Squelsh
That really looks great. You should try and use some HDF, High density Fiber Board. It has superior structural integrity compared to the fiber board your using. My local Lowes or Home Depot sells it. Its more money but worth it if you are making small items where they break easy. plus you can route the edges and still maintain its shape. -Just a thought.
Thanx for your tip, Dan. I will look for this HDF here in Germany. The only material I know, is MDF. It's heavy, a lot harder than wood and people use it to build speakers...
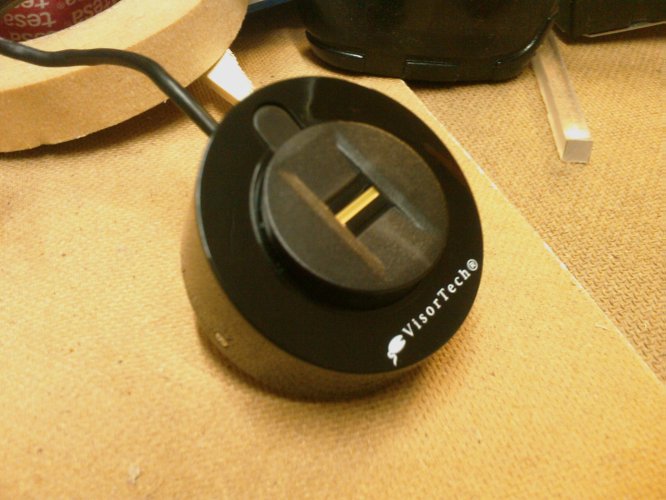
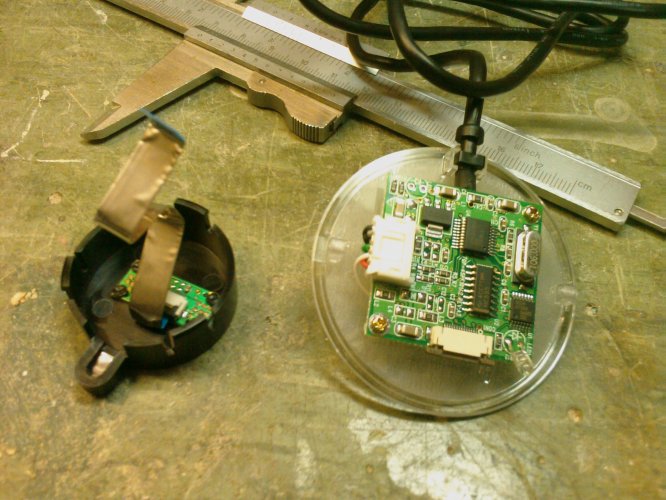
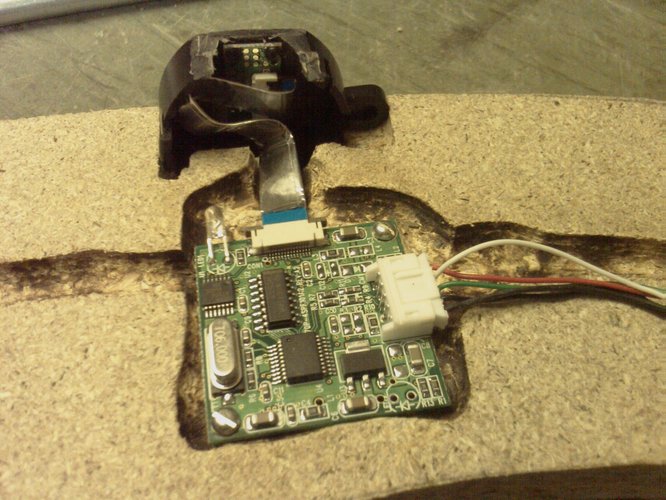
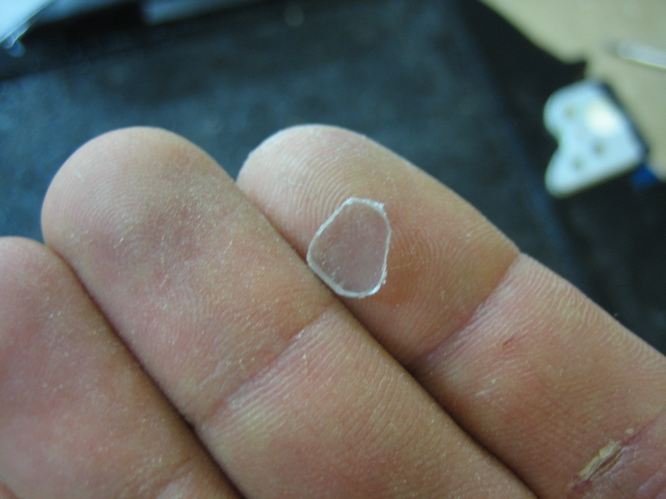
Well, I have a found a little add-on for my Orb:
Its a fingerprint sensor.
Fortunately its made of two parts, so I can rotate the bigger circuit board and fit the sensor into one of the legs.
I have more plans for the legs. They will get illuminated feet (as in the renderings on first page) and I will build in some USB- and one headphone-port. Perhaps also the button to open the Visor / DVD-drive.
Well, I have made some nice progress on the case. But my head aches as hell right now. So I will give you a bigger update tomorrow.
Bye,
Squelsh
All right. here comes the update:
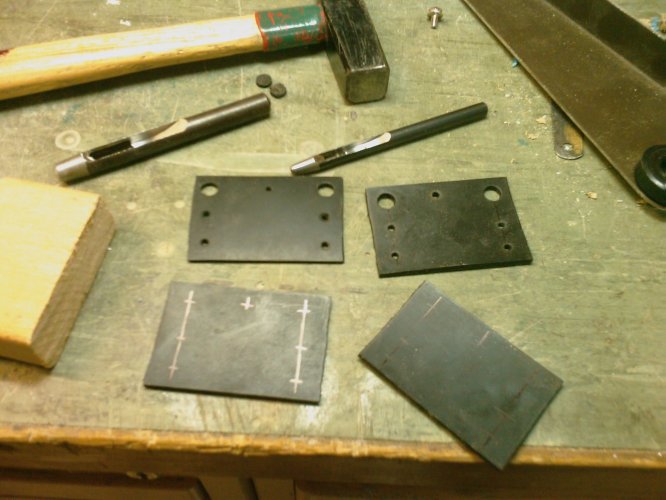
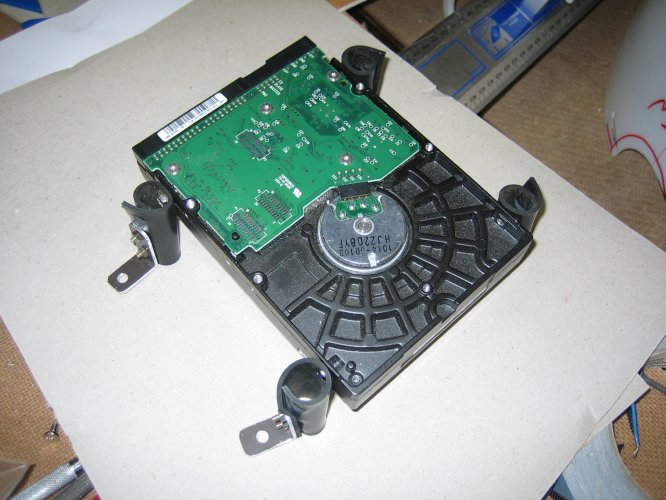
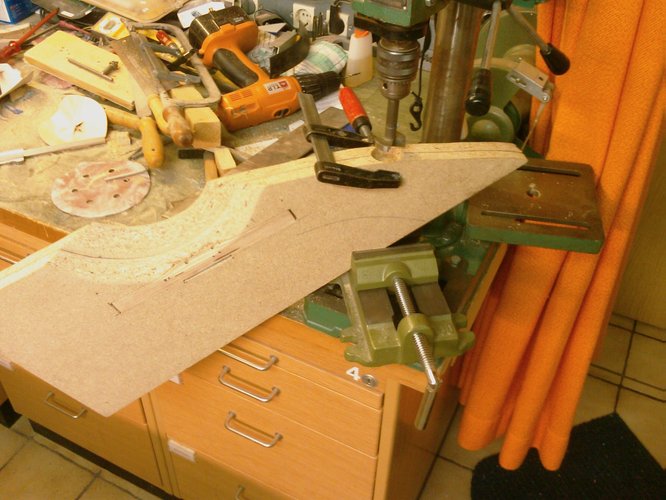
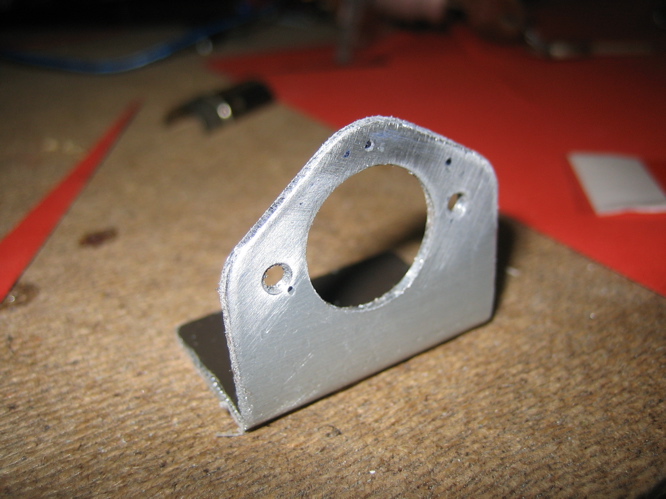
Lets start with my new HDD-mounting. I made it from thick rubber. First I cut out some rectangles and punched in some holes for screws.
Then I rolled the rubber and fixed the lower end to an aluminium angle. The disk is then fixed on the upper end. I can access the screw through the bigger hole.
The geometry is not verry nice but this construction is really stable and surely reduces the vibration of the disk.
The space between the disk gives enough room for ventilation.
Here you see it behind the DVD. I think I will add a air duct later so that the power supply fan sucks the air over the HDD and not the DVD.
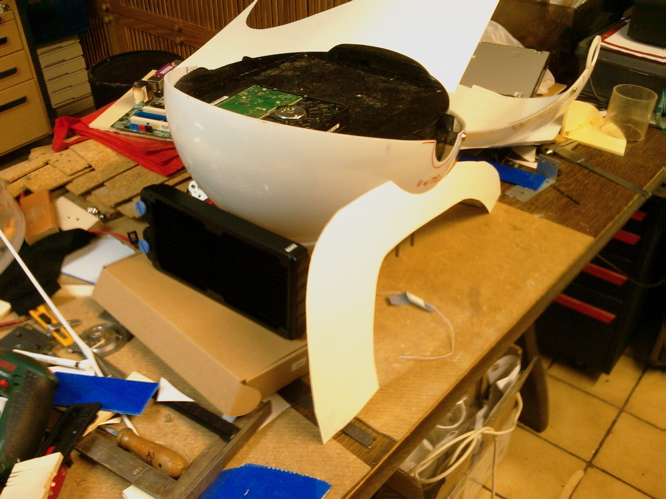
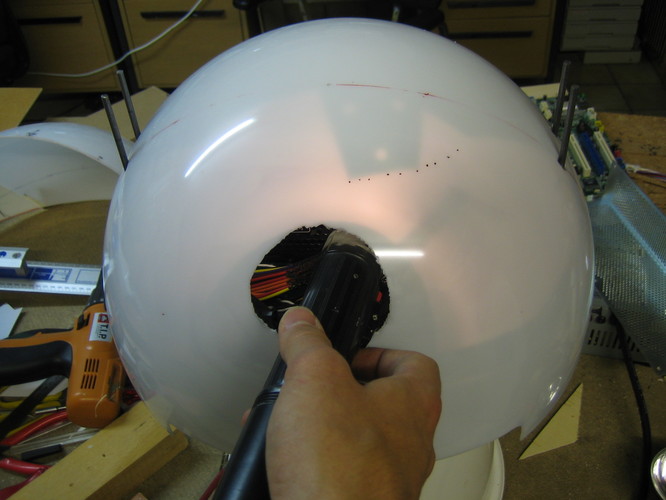
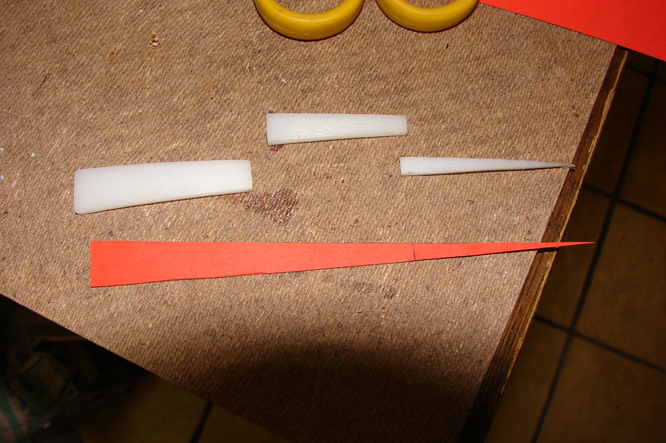
Now to a really annoying part: The air duct for the power supply:
That piece guides the hot air to the outside. The problem is of course the round form of the lower hemisphere. I needed to find the right radius and place in the sphere. So I drilled a first hole into the sphere and placed a piece of metal on top of the power supply. With the help of an flashlight and the shadows the metal piece dropped I could mark the outline of the power supply.
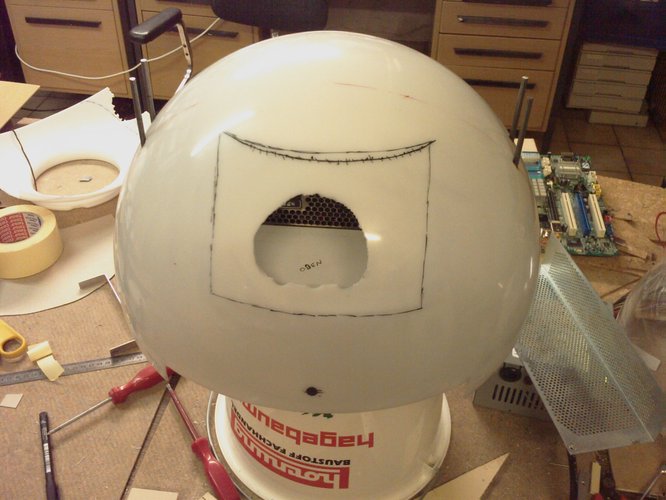
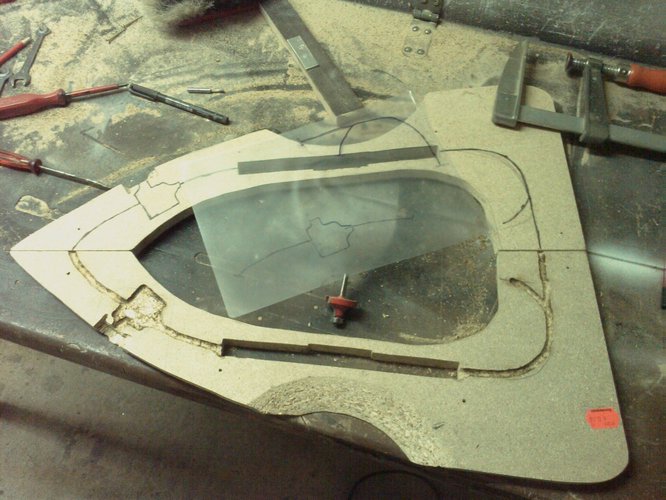
From that I cut out several cardboard dummys and matched the perfect form that I could copy on some plasic board.
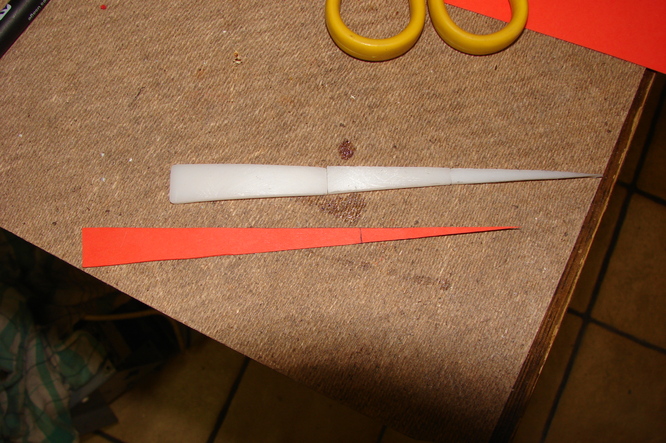
The pieces cut out and testfitted:
Horror: A bit of filing, then putting it on the powersupply closing the sphere, marking the pieces then filing again. I think I needed 10 cycles :dead:
But the result is quite cool: Nearly no gap between airduct and sphere.
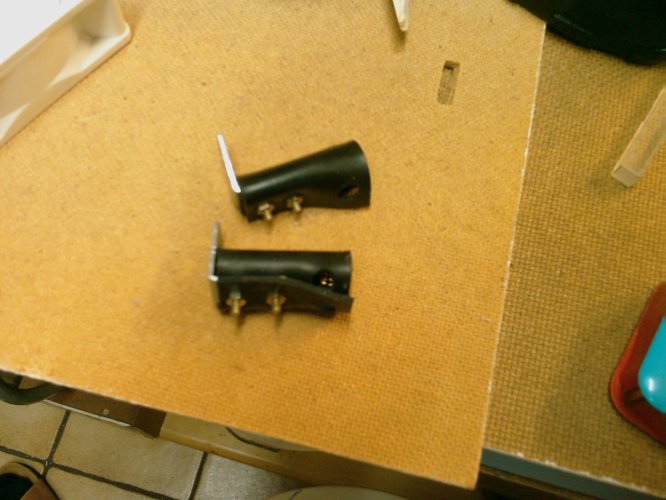
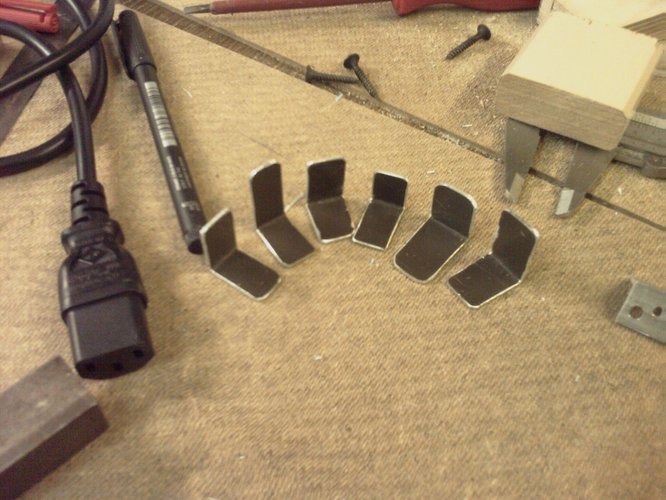
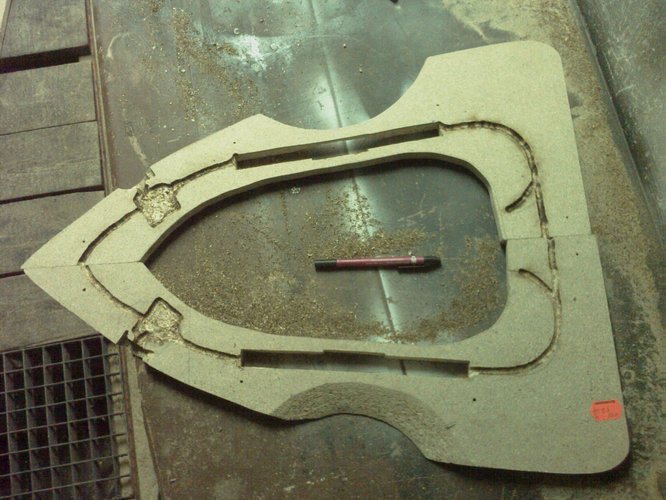
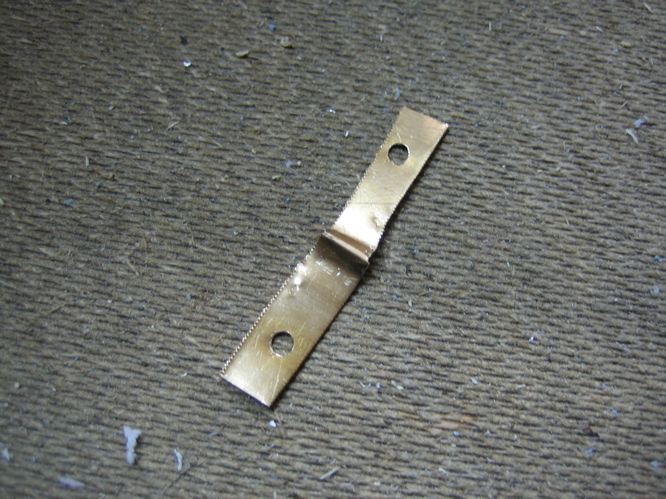
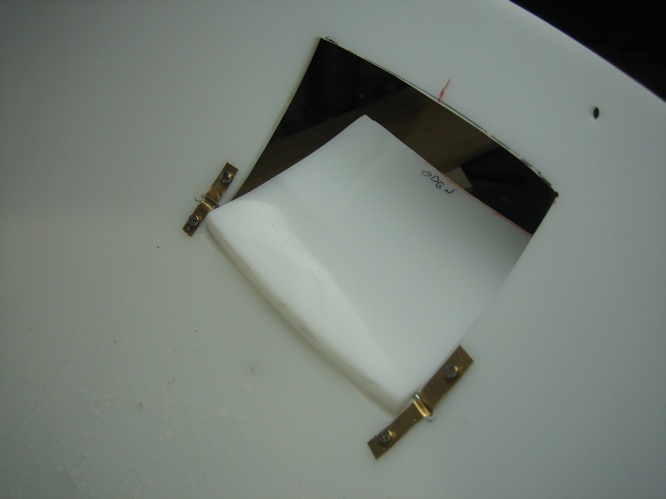
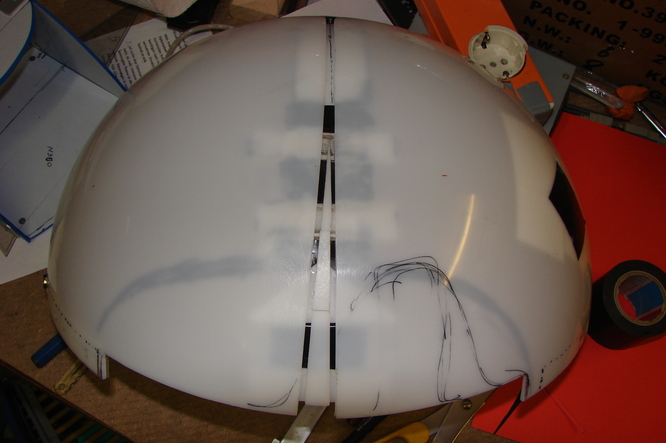
Next I needed some angles to bolt the whole thing together:
Tadaa! Final product of one afternoon:
I have to think about the hole in the sphere and how I could design it... I plan to make an removable outer grill, so I can put the power cable inside the duct for transport.
Ideas for design of that grill are verry welcome!
See you soon,
Squelsh
Wow! Heavy action going on in the forum... Time for an update to get me back to the first page :)
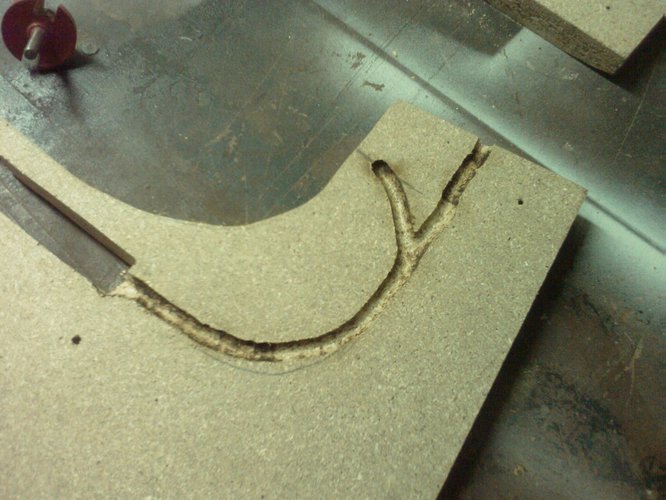
I spent a lot of time with the final version of the left foot. Using the prototype as a template I improved the fitting to the sphere.
First cuts:
And after about 10 iterations of matching and filing the gap is now about 1mm:
Same on the outside:
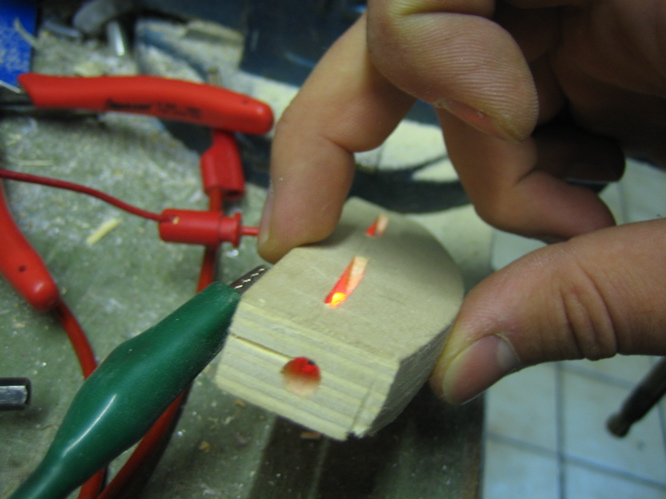
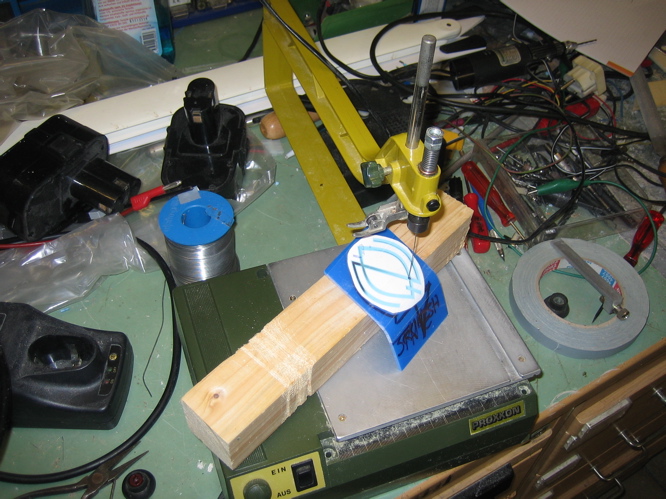
Next step was to drill the hole for the fingerprint sensor I mentioned above:
Then I moved out into the garage (-5 degrees celsius) for sanding, scrollsaw cutting and milling:
This is the lead for the cables:
I first did one piece, then copied it to the other layer with some foil. You can see the space for the fingerprint electronics.
And this is the result. The two layers together form one foot. I have to do all this one more time for the right foot.
This is the electronics board in place. Perhaps I will drill a hole for the LED in the upper left corner.
Thats it for today. Next update comes tomorrow featuring the illuminated feet and a sensor switch for detecting the visor position.
whoa this thing is sooooooooo cool :banana:
+rep ;)
wow dude, when you first started this i thought it was going to be one of those projects that never get finished but man your pulling this thing together and it looks awesome. keep up the good job.
+rep
Thanx guys you for the rep and your comments!
@TaT3rs: Hehe, sometimes I had the same thoughts :) But now, I am definitely beyond the point of no return...
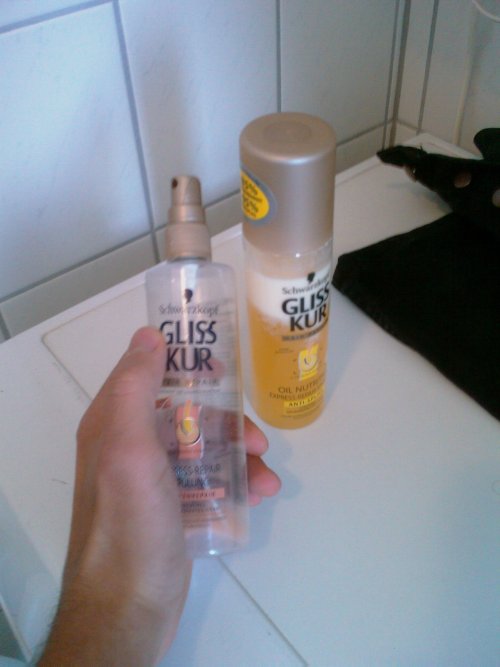
This morning my girlfriend bought the perfect bottles for the tanks on the backside of the Orb:
Those tanks won't be used as reservoires but only for effects. I will illuminate them and pump air through them with a really small aquarium pump for nice bubbles. All the writing on the bottles is printed on foil that can easily be removed.
Come back in about 8 hours. I hope I have some more pics till then.
Some more pics, but nothing spectacular:
Here I am using the drilling machine as a mill to get an 45deg angle at the foot's edges:
The edges are only sanded roughly for a milky texture and the top and bottom are covered with sticky aluminium foil as a mirror.
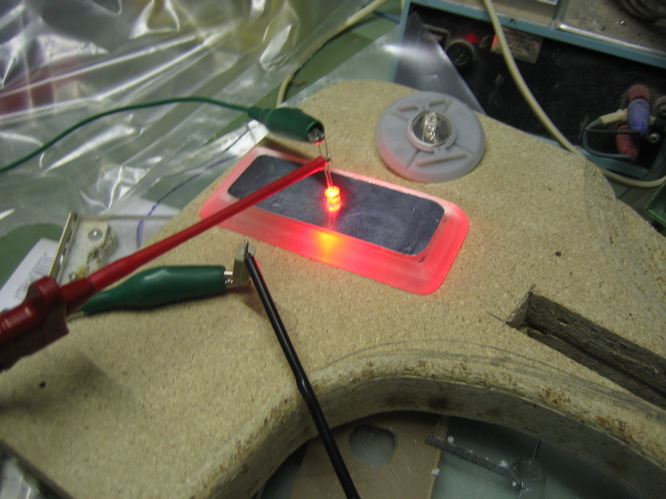
Then one LED with a flattened head is placed in a hole in the center:
The result is better than I expected :)
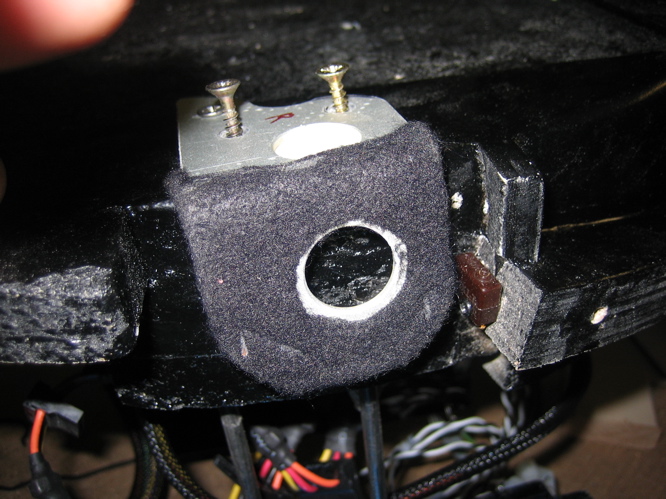
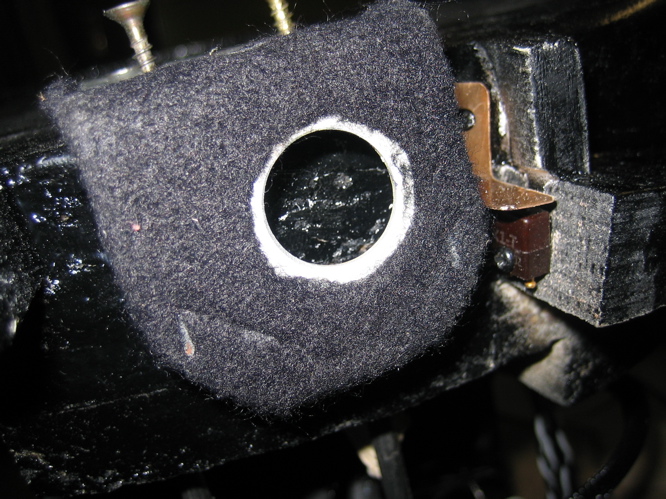
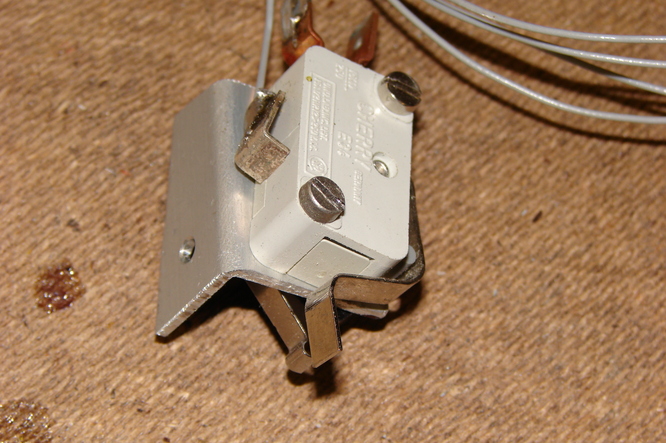
The other thing I could build today is a switch that checks if the visor is closed. This switch is going to be used to control the motor.
The brown thing is the micro switch (only some mm in lenght). I placed it next to the hinge:
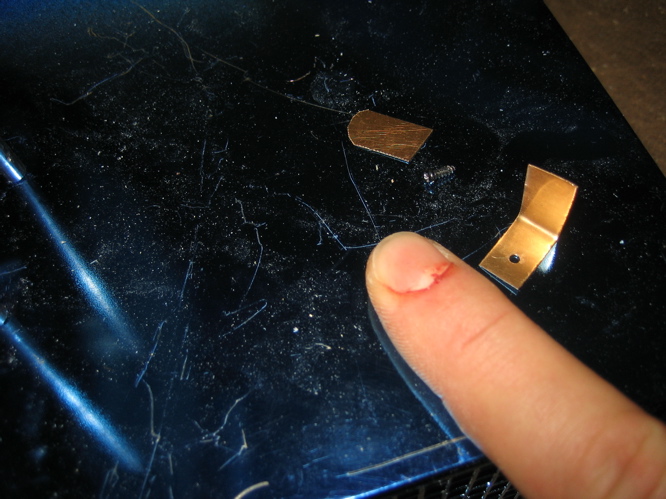
Then I bended a verry thin copper stripe (and ramed it into my finger) that is used as a spring to press the switch.
Here it is mounted over the switch:
Only one thing to add:
This little piece is glued onto the visor-hinge and presses the spring, when the visor is completely closed.
I tried to make a picture of the whole mechanism but it's not visible from the outside, so you have to believe me, that it works ;)
Thats all for today.
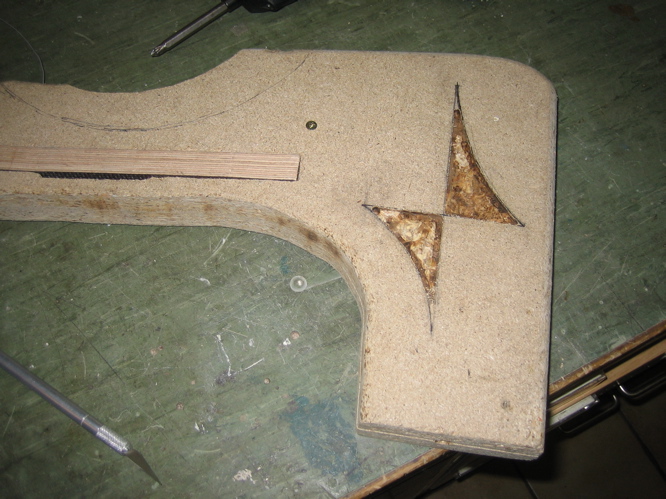
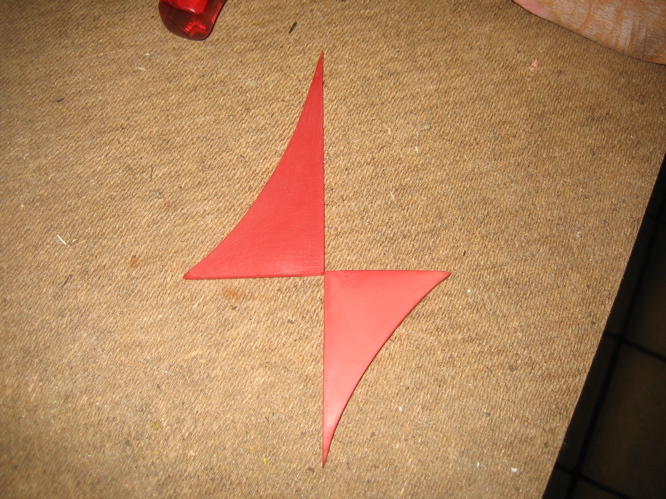
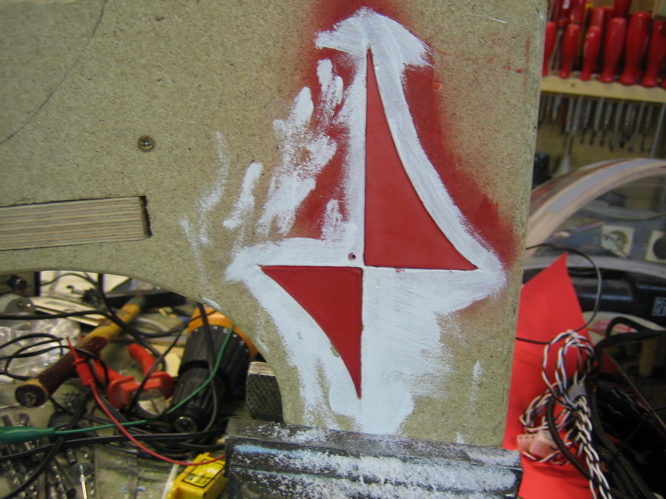
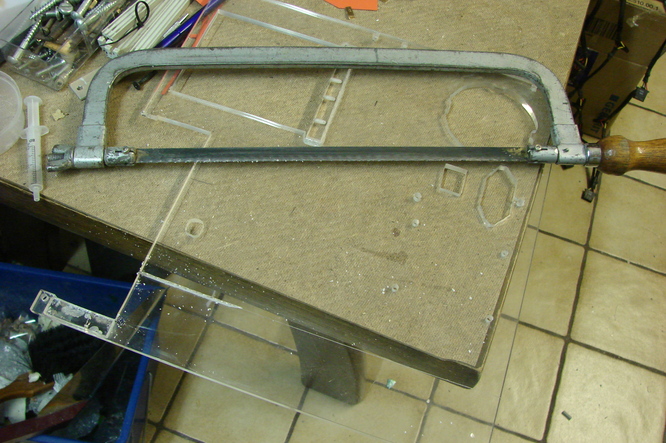
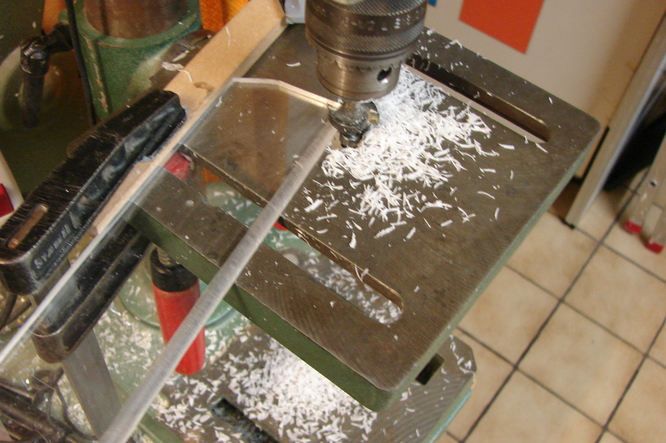
Today I continued work on the foot. With the mill I carved my logo into the side, about 3mm deep. This space will be painted red (rest of the foot will be black) and an illuminated piece of plexi will be fitted into.
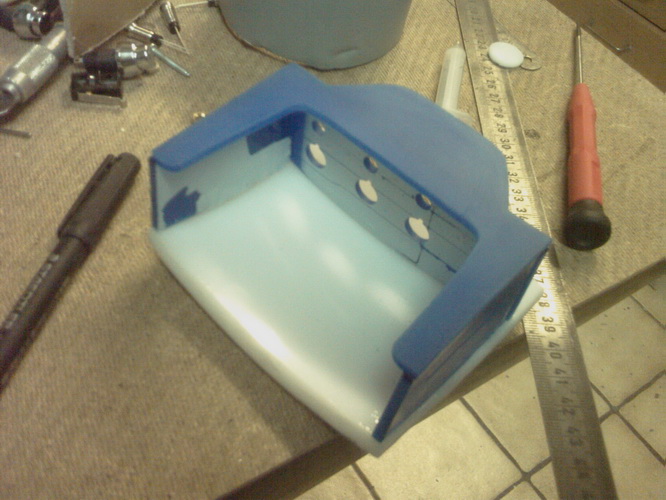
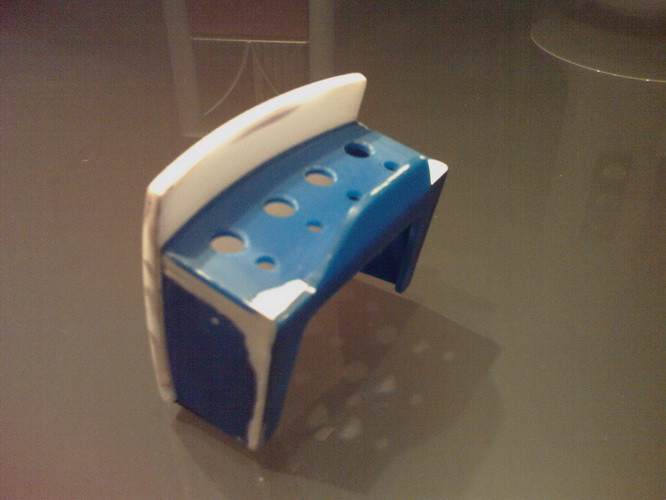
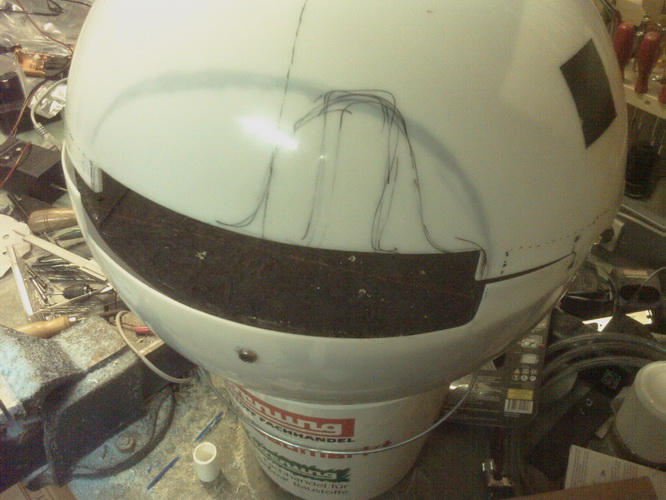
Besides that, I cut another hole into the lower hemisphere. It will host a small control panel with some buttons:
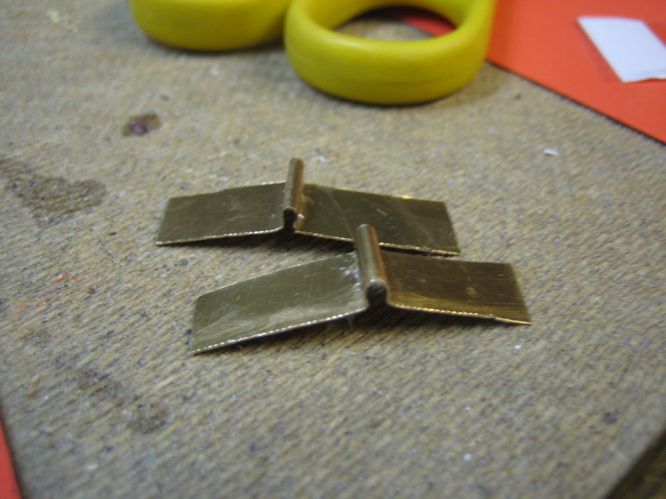
I first tried with a dremel but the material melted too fast. So I only did the first cm and then continued with a handsaw. This is the piece I cut out. On the lower corners I drilled holes and sicked 2 axles into them:
This axles can rotate in two slits and are held in place by two copper pieces:
The bended piece:
Here is the flap opened:
And this is how it's gonna look:
I have to find the right buttons and make two more plasic pieces for the sides and of course some kind of motorization to open and close the control panel.
If I can, I want to use an optical sensor inside the flap to sense when a hand is getting nearby (like in the hand dryers that switch on, when you put your hand beneath).
Anyone ever played with those kind of sensors? I'd love to get some hints on how to use them...
Dude this is going awesome. Good job man, I knew this would come out great. This is seriously one of the coolest case designs i have seen in a long while. Keep it up, I'm looking forward to more progress.
Here comes a quick update on the front panel and the foot.
This is the panel, quickly taped together:
Yesterday I found a good way to move the flap with a verry old servo-motor:
Two vids of the opening and closing. The stops in the motion are my fault because I switched the motor only in small intervalls.
From outside:
From the inside:
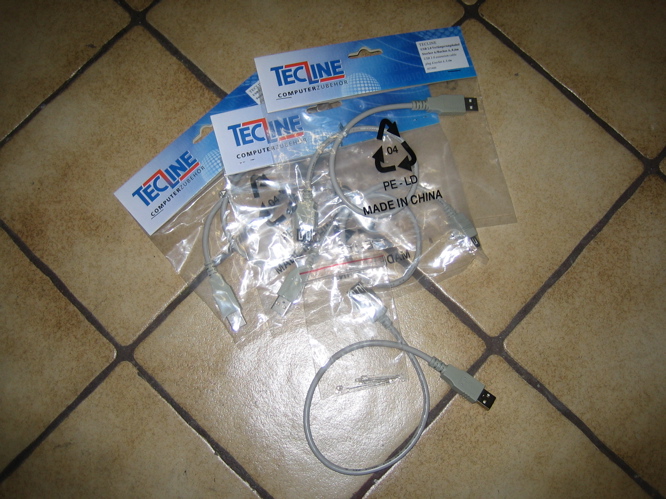
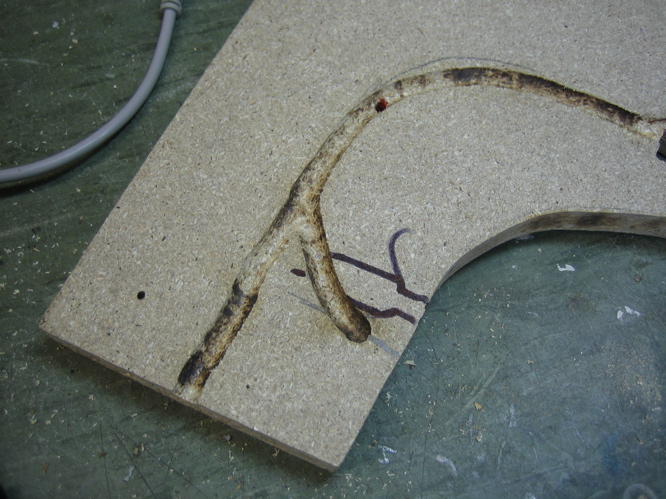
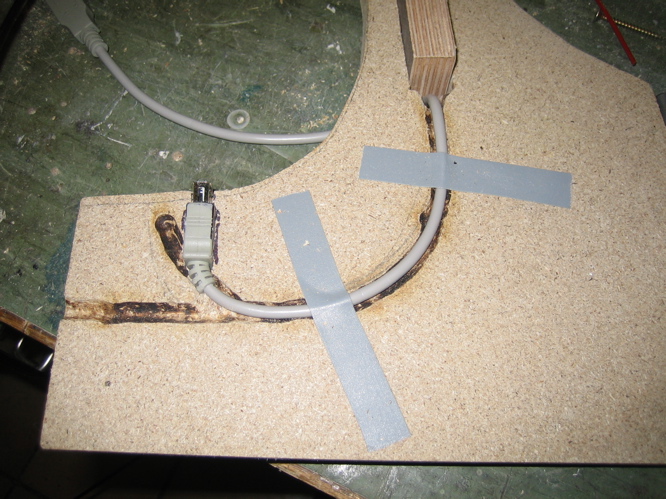
My USB-Cabeling arrived yesterday and I bought some 3mm red LEDs for the feet.
Here is the stuff built in:
Outline of the USB-Connector on one of the foot parts:
I carved out this outline so that half of the connector fits in, then repeated the process on the other wooden part.
Now I can put the parts together again and the USB-Connector is inbetween.
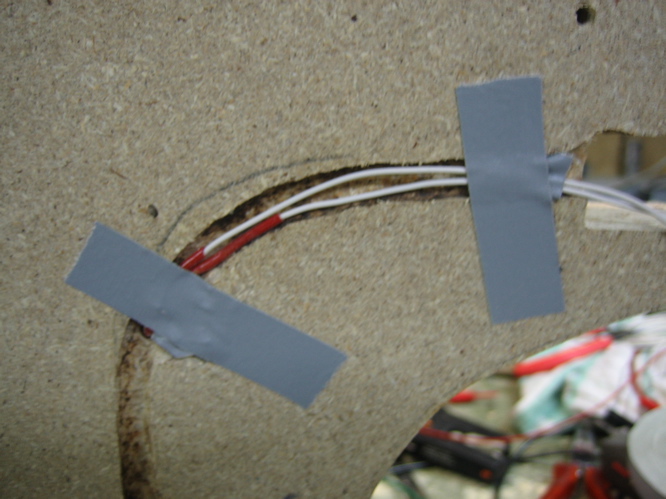
I also continued with my illuminated logo on the outside of the foot:
Here is the cabeling of two LEDs inside
And the effect with plexiglas on the outside:
And, to give you an impression of the whole thing:
This is the lower body. One final foot and the prototype foot together with the lower hemisphere :banana:
Today I try to add some sensor-switches to the front panel and perhaps continue with the inside of the upper sphere. See you soon!
Gr8!
Thank you Psychowit!
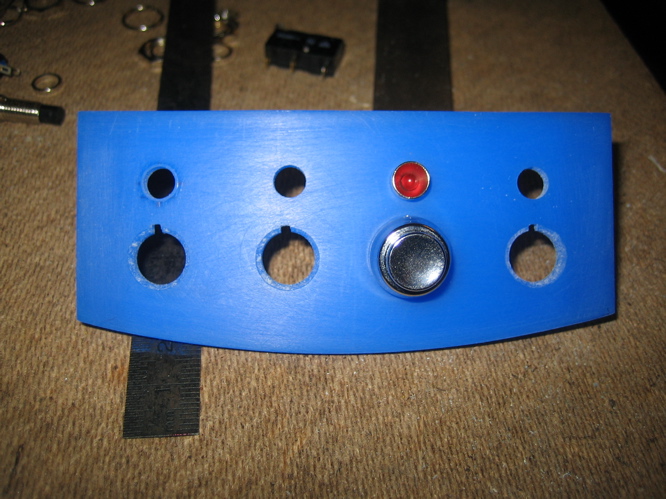
Sorry for the long time without updates. I had lots of businesswork to do and I spent far too much time searching illuminated switches for the front panel... I still can't believe that such lousy switches cost 8 Euros (and I dont speak of those stainless steel wonders) :eek: So finally I bought four normal push-button-like switches and LED reflectors (which were still much to expensive :down: ) at a local store:
On the right you can see a micro-switch that will be used for the motorization of the panel.
But now to the work I managed to:
- Foot:
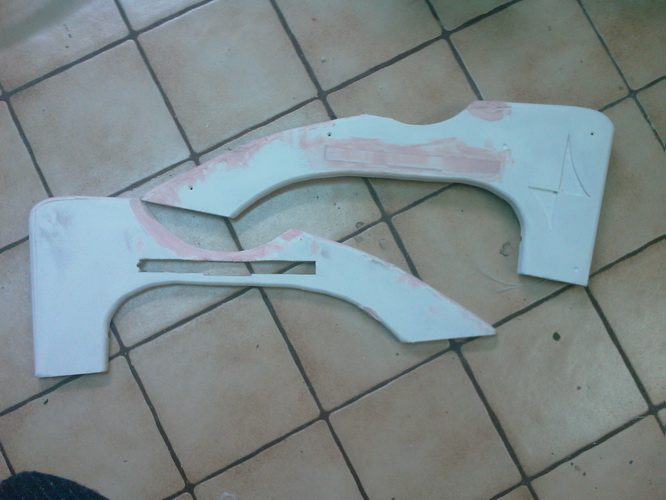
I could not watch the ugly pressboard anymore so I painted the foot with primer.
- Logo:
Also the logo wasnt satifying. It's made of plexiglas and is illuminated by red LED. But when the light is off, the milky white plexi doesn't fit into Orbs red and black colour scheme. So I spray-painted one side of the logo in red.
Unfortunatly I mixed up the sides and painted the front of one of the pieces... But that doesn't matter because I can use the piece on the mirrored left foot ;)
Now the logo is red, with and without light:
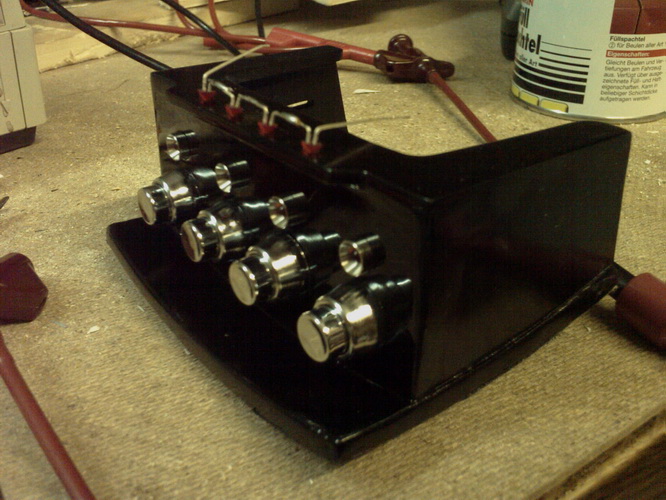
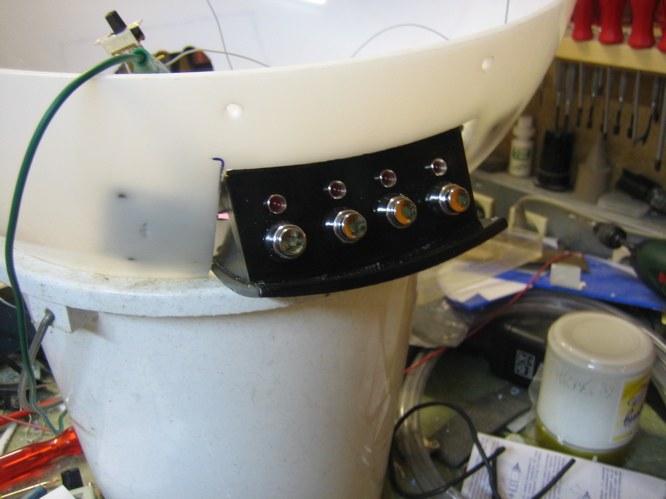
- Switchpanel:
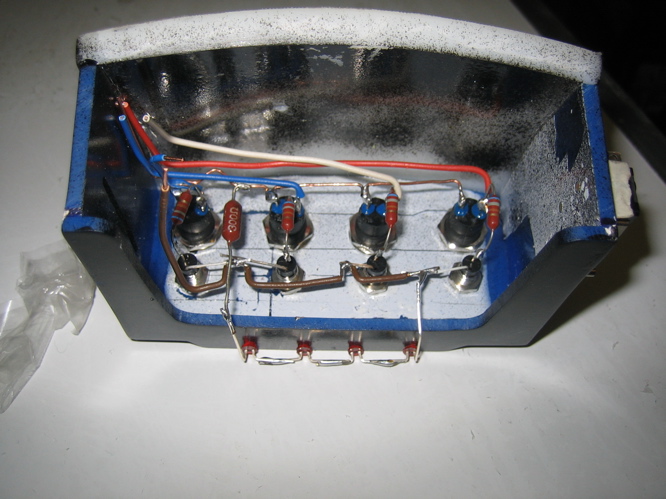
So, here is my panel. Nothing special. Four switches with four LEDs.
I still need the approximation switch that will trigger the opening and closing... Any ideas what to buy?
- Backpanel + inner casing:
I don't have photos yet but I started work on the backside and the inner parts of the upper hemisphere.
- Preview:
And finally two more pics of the whole thing. I added one hose to the visor and I think I will have to add some enforcement to make it more eye-catching. Perhaps I also add some kind of mounting so the hinge doesn't has to carry all the weight.
Well, thats all. I hope I can work some more on the weekend.
That looks awesome dude. This mod is coming along very nicely. Keep up the good work.
Hey TBCS,
it's time for an update :)
I made a lot of progress on many parts in the past two days. So here are some pics (unfortunately only mobilephone-pics).
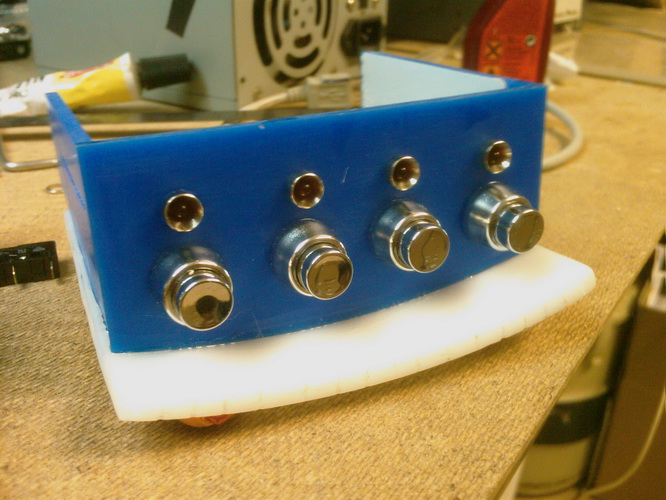
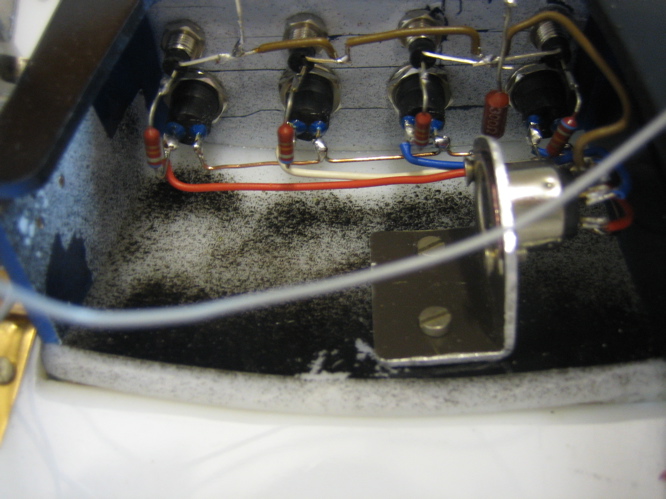
- Switchpanel:
First a pic of the switches and LEDs in place
And the panel mounted in the sphere:
Then with a top layer to add some stiffness:
Filed bondo:
Final result with four more LEDs in the shortened top-layer to illuminate the buttons:
I think the result is quite ok :) I will shoot better pics with a cam the next days.
- Feet:
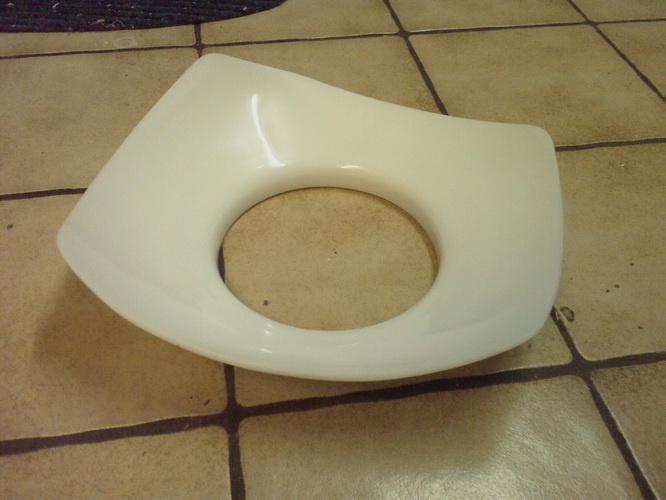
I needed some pieces of a sphere so I cut Orbs "desktop" foot in form. Thats what came out:
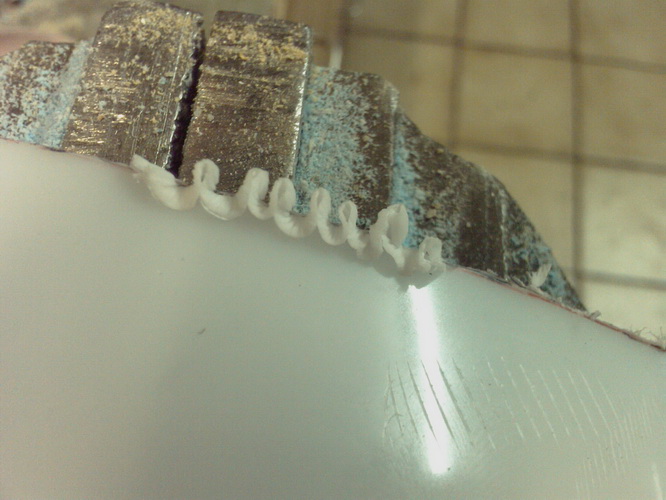
While dremeling the shape I got this funny stuff:
I also started with filler on the regular foot:
The pics of the upper shpere will come in some minutes in another post...
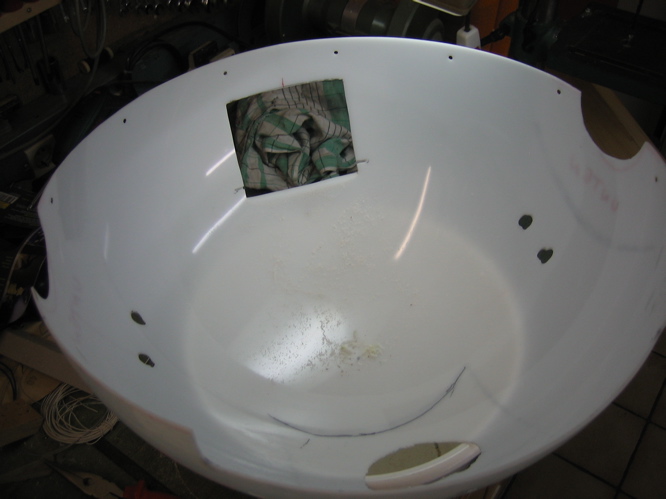
Now to the upper hemisphere:
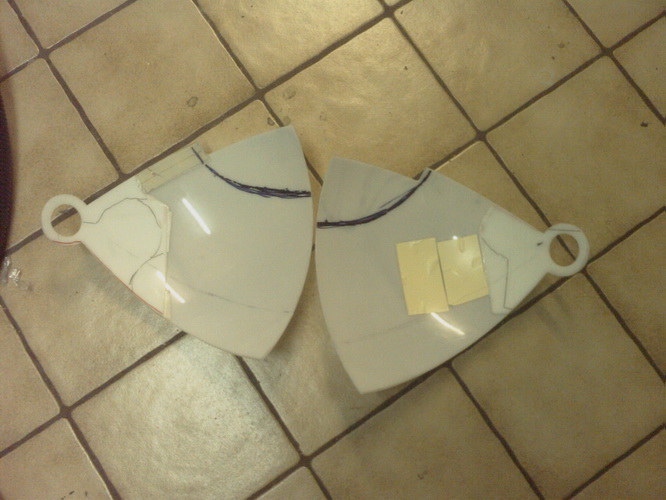
I had the problem that the visor lost its circular form while glueing the layers. Because of the oval visor the upper hemisphere did not fit to the perfect round lower hemisphere.
In this pic you see the ugly gap between the two hemispheres:
I thought about that problem a long time and the only solution that came to my mind was this:
With the hemisphere cut in half I could now fit it to a better form by adding a new gap on the top :rolleyes: :
But this new gap can be closed in a more elegant way with a piece of th plexiglas sphere that will be illuminated later:
Here are some detail pics of the pices that close the gap. I will explain my plans for that later.
And my verry special way to glue the pieces toghether:
Believe me, it's not easy to glue round pieces :dead:
I hope this connection is stable enough. :? I will find that out tomorrow when the glue is hard.
See you soon!
haha :D.. got myself a got laugh beacuse of that glue thing:D +rep for it and hope it holds! xD
nice work on everything else^^ cant wait to se the thing with fluid in it !
Hey p0Pe, I totally agree. I really have to get me some green color to flood the visor.
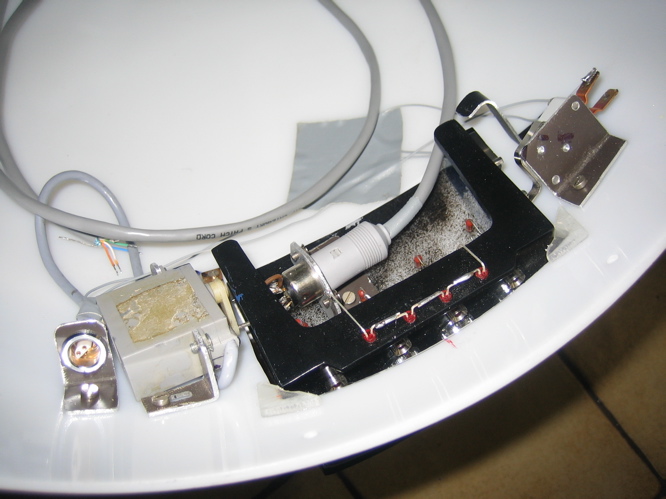
Here is a little X-Mas Update:
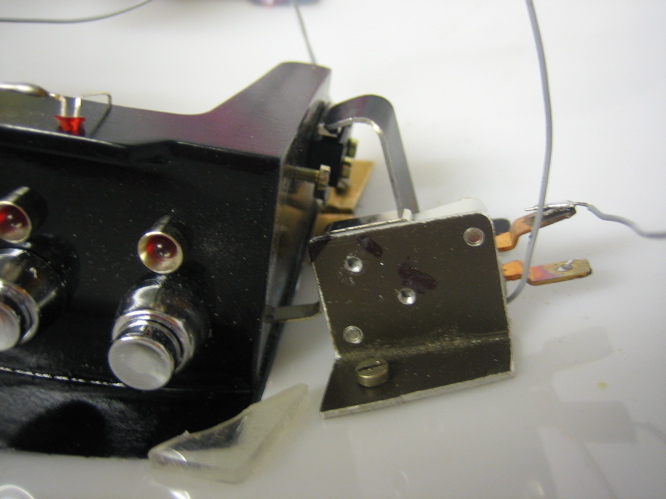
I made new clamps for the switchpanel.
This is the cabeling of the switchpanel. Little fiddly to solder...
This is a mounting bracket for a 6pin connector. You can see it in place in the next pic.
Thats the cabeling with connector:
And the micro-switches that sense if the switchpanel reached its endpositions:
And finally the finished panel, ready to connect to the electronics:
I soldered a circuit that stops the panel in the endposition until you invert the motor voltage.
Thats it for today. I hope I can work more on the Orb during the next days.
Thanks for reading. Comments are allways welcome :)
I wish all the modders here at TBCS a Merry Christmas! :santa:
Squelsh
sweet 8) hope youll make it to your deadline and ill see that thing at the contest 8)
HAHAH, I want to see more :(
Hey sabooya, you get your update :) This is my work from yesterday.
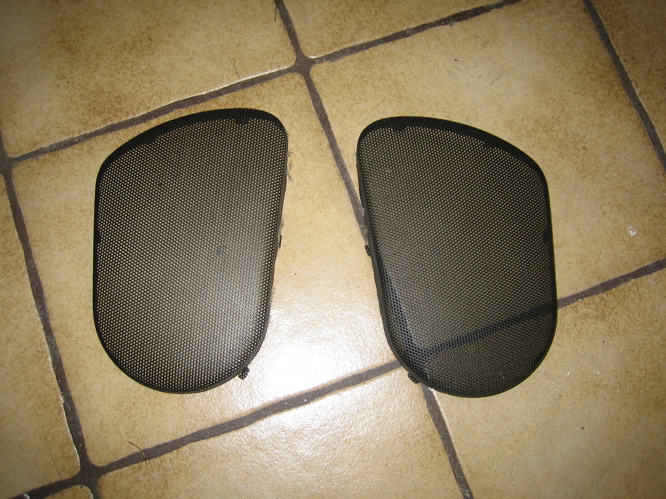
I could not find any good mesh for a good price, so I killed an old beatbox (:
The mesh is big enough for my needs. But that has to wait some days.
I still try to assemble the parts that are needed for a good picture to send to some sponsors. So I started a new version of the feet:
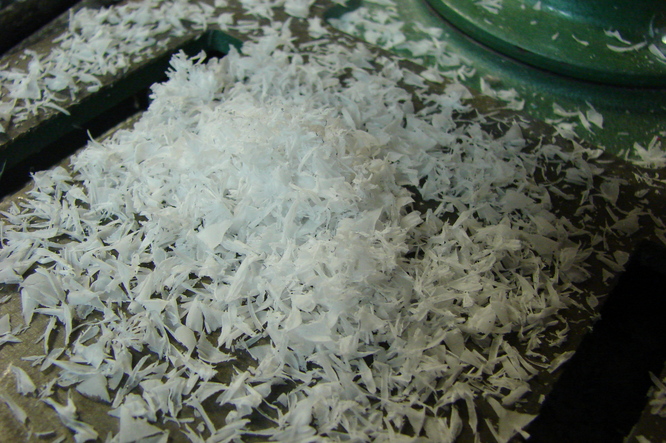
Produced lots of saw mill waste:
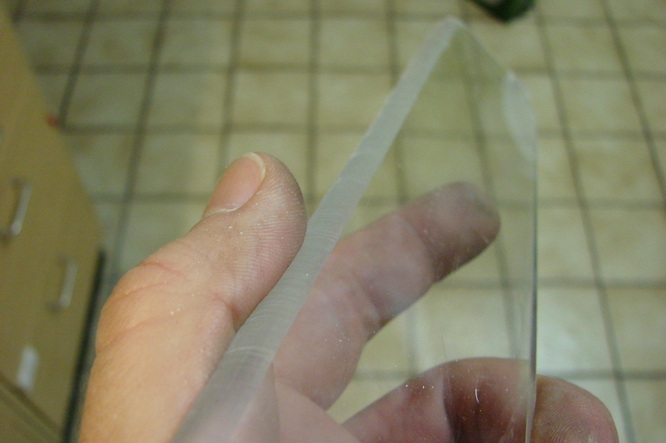
And a nice rounded edge that only needs little polishing:
I can't do one kind of work for a longer time, so I hopped back to the switchpanel and finished the microswitches and the cabeling:
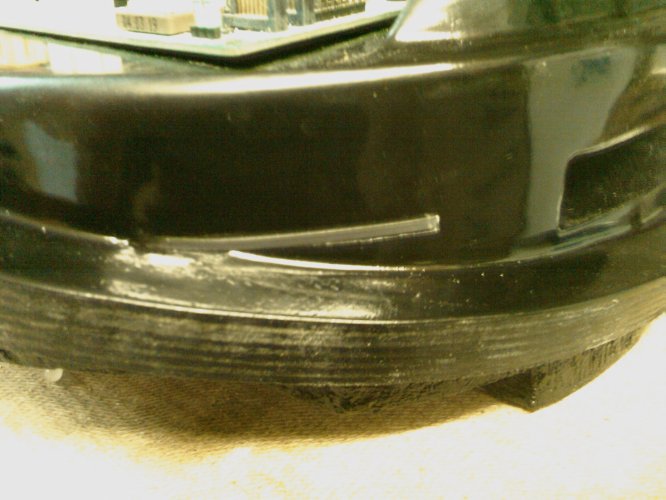
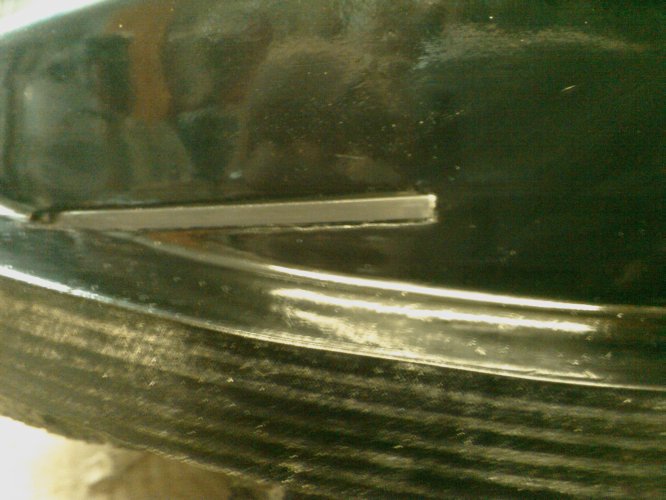
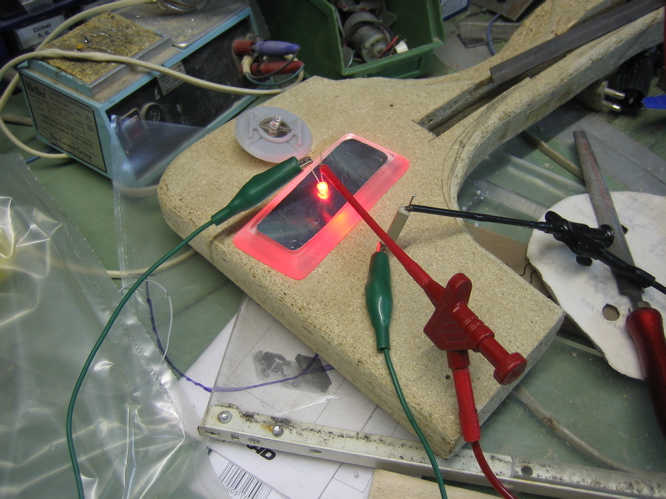
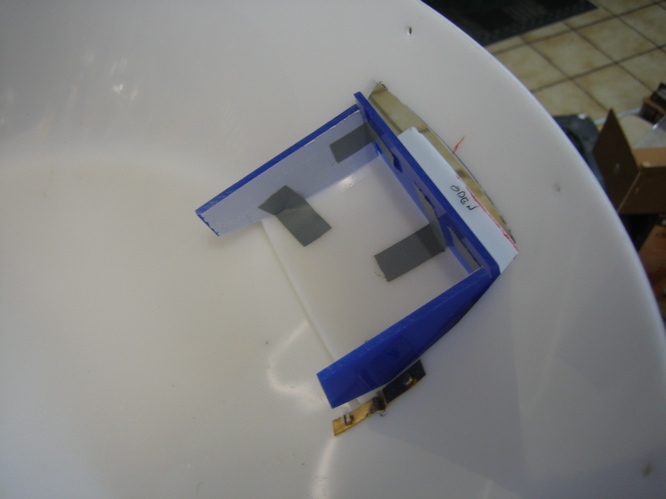
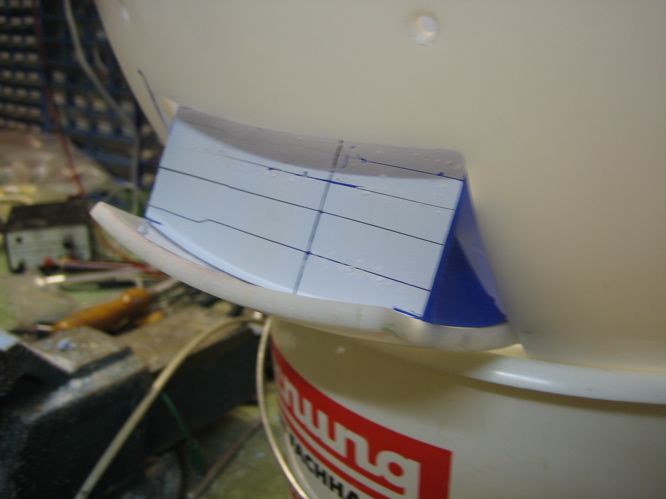
From that I went on to the HDD activity light. That's a piece of plexiglas with a red and blue LED that alternate when HDD is active. Same thing will be done for DVD activity on the other side of the baseplate.
Next toppic, the DVD-bay-cover:
Taped it against sawdust, then drilled mounting holes:
The cover is made of 3 layers of wood that are shaped so they fit the baseplate. With a saw I caved the wood to make space for two LEDs:
Those LEDs will illuminate an 1mm gap around the DVD-bay-cover when the bay is closed.
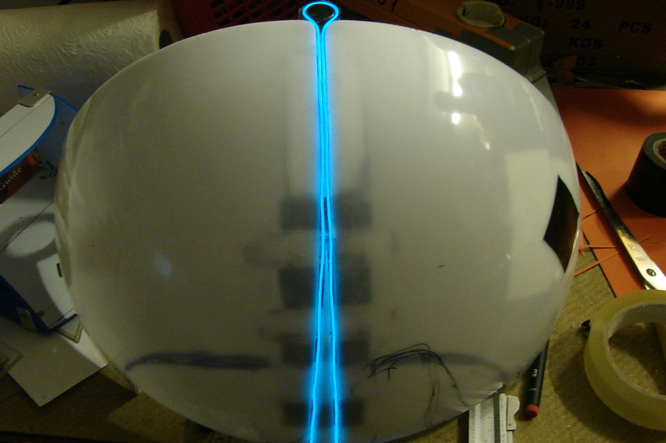
Last thing was the upper sphere. The glued pieces:
I don't have much spherical plastic left, so I had to work with lots of small parts:
Testfit:
And why did I all this stuff :think: Because I wanted to illuminate it :up:
That light-string will be replaced by a red one and be covered by plexiglas.
I think I can go on with that work tomorrow.
Hope you all had a nice X-Mas. See you soon,
Squelsh
Oh man that's cool looking! I wish I knew how to motorize computer doors and install monitors etc. in cases!
why, oh why, have I not subscribed to this sooner?!
I think you deserve a +rep for this. Definitely.
Yippie! Thanx Helix, thats the first +REP since weeks :)
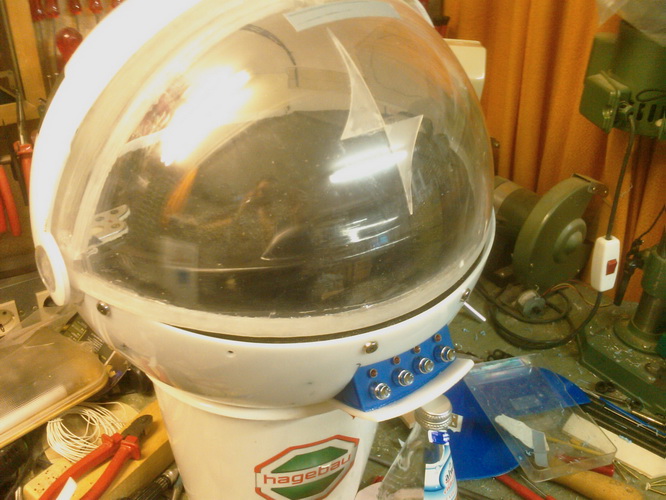
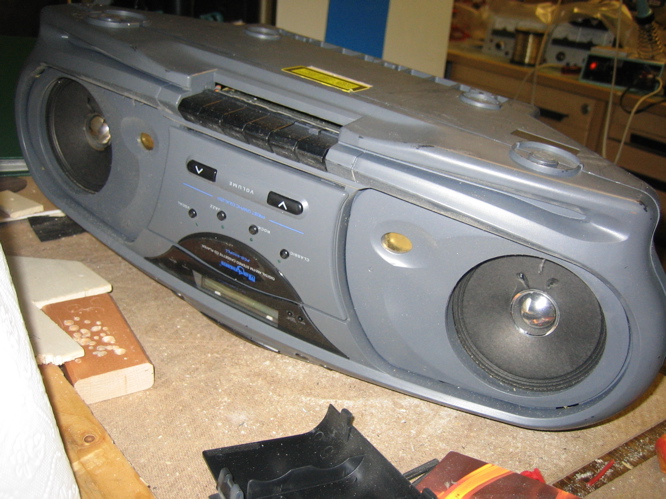
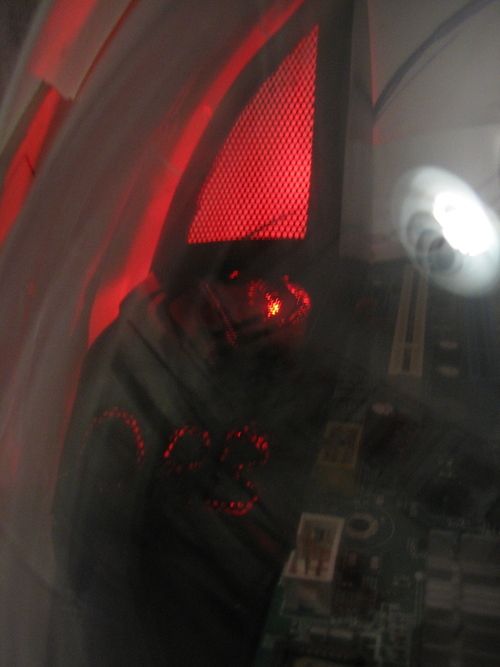
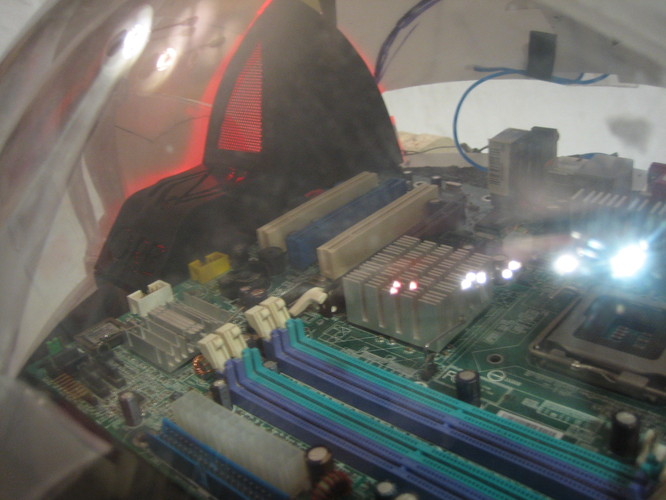
Yesterday I borrowed a GeForce 8800 GTS 512 from a friend to see, if the card fits into the Orb. Because when I drew the plans I calculated with the size of an ATI Radeon card which is MUCH smaller. I really feared that this monster would not fit inside the sphere.
Result: NO chance to put that card inside with the original heatsink :mad:
But relief: With the watercooling block I only have to put the motherboard about 3 mm to the backside so that the visor closes correctly! :D
With the card in my hands I played CRYSIS much to long and did not much modding yesterday. Great game :up: I only finished the feet illumination (sorry, no pics yet)
and the cover for the backside. You must imagine it painted. With this dirty white it looks poor.
Nice use for the EL wire. Have a rep on me for sticking with this!
I need your comments on this update:
I went on with some parts for the inside of the Orb. For that I bended some plastic parts with the oven:
On my first try the clamps made ugly marks:
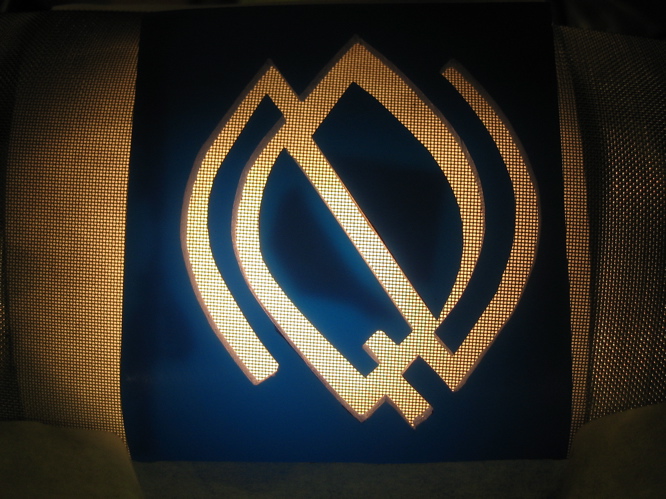
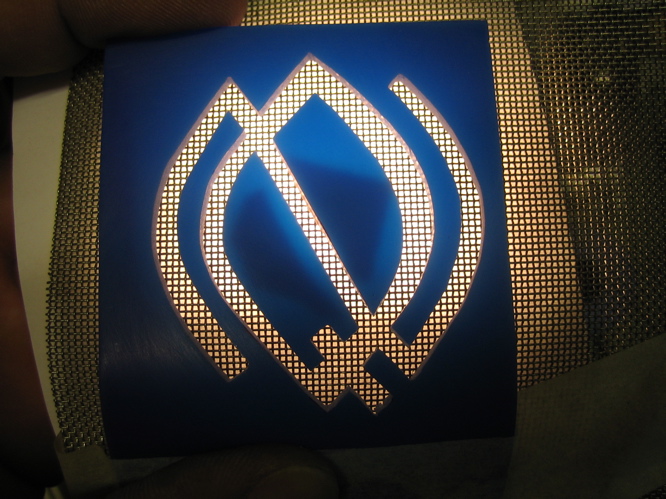
But the next two tries went all right and are ready for a cutting. The logo is from the NetQuarter.org club. We organize LAN Parties in Germany.
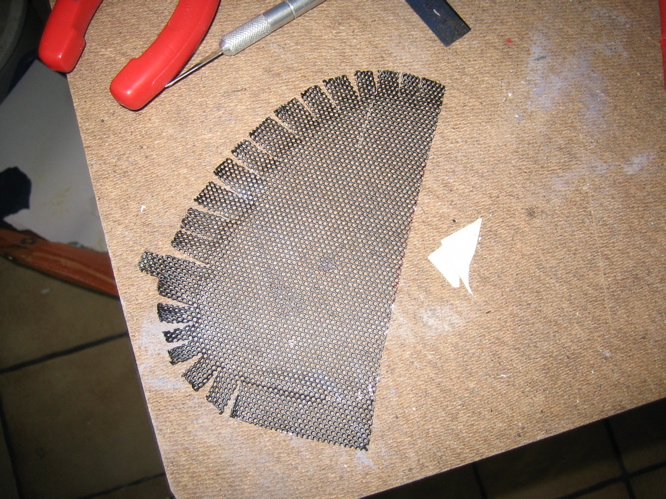
Thats the unfolded mesh from the beatbox I disassembled:
And here I need your comments: Those are tests of three different meshes I can use. What do you think, which one looks better? (I would paint the metal one in black if I use it).
1. Beatbox mesh:
2. Finest mesh:
3. Coarse mesh:
Which one should I use? The one from the beatbox looks cool but it may be too coarse for that small cutouts... :?
Personally i actually like the beatbox mesh. The other
ones look too small and squarish for the cutout, but idk its up to you.
I like the fine mesh. The Beatbox looks a little to big. IMO
i like the beatbox mesh
I like the top sample.
i like the coarse mesh, if not that then the beat box mesh.
Thanx a lot four your comments so far!
I think it's gonna be the Beatbox mesh. Hopefully I can work on it this night.
im also in for the beatbox mesh!... always gives a nice look! love the lightwire btw! was drewling when i saw that!
New subscriber. +rep for a well thought out, spherical mod.
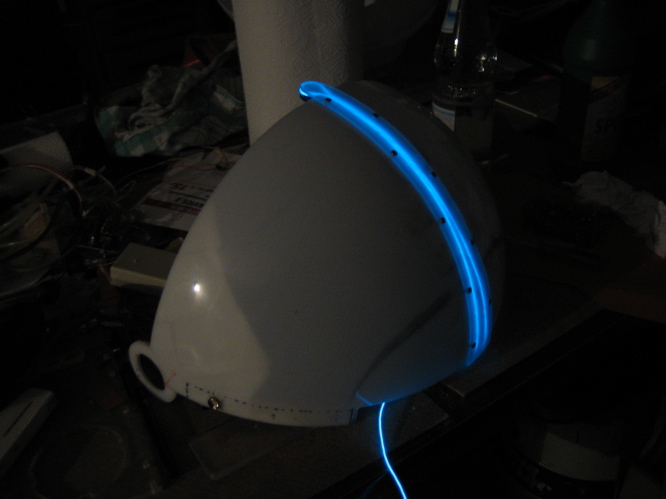
Thanx p0Pe ;) This shows me once again that the stuff that is not planed from the beginning is often the best! The glowwire was not in the original plan...
Thanx Matt. I think, you subscribed at the right time. These days the Orb already looks like a sphere and is not only bits and pieces :lick:
So, here is a short update:
Today I gave the final shape to the inner casing so it fits into the upper sphere. For that I had to change my point of view every minute to watch fitting from the front and then mark the material to cut from the back of the Orb. That really annoyed me! Then I remembered some rotating plates from my moms kitchen. Normaly we use them to serve cheese. But now I found their true purpose :D
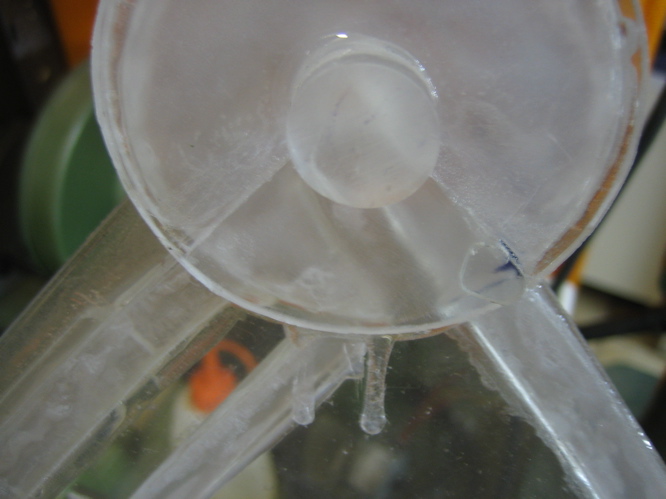
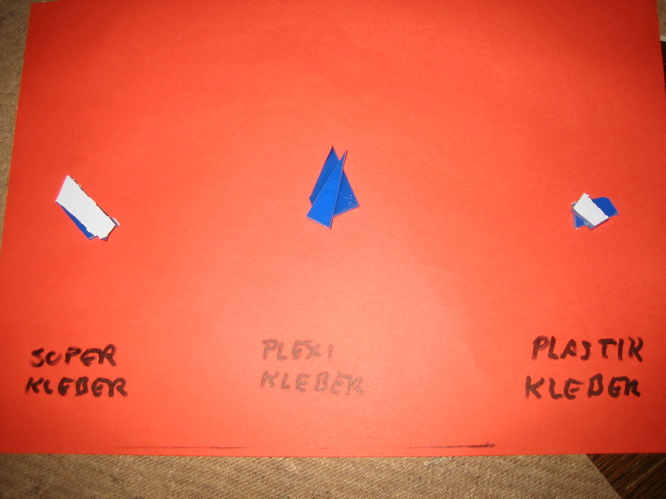
After some filing I could glue the parts together. But before I made a test with three different types of glue:
I went for my plexiglas glue.
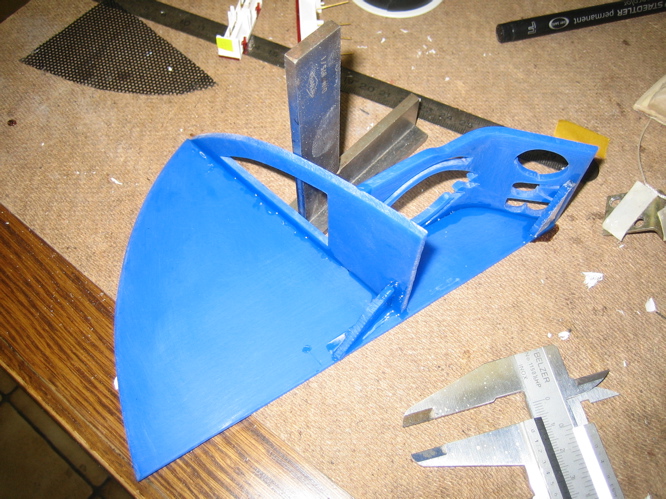
In this comparison pic you can see that the new plastic parts are a little bigger than the wooden parts. Thats because of the new upper sphere design with the glowwire enlargement.
I only had time for one more thing today: I added another layer of bondo onto the one Orb-Foot. So tomorrow it's time for sanding and painting the foot and the inner casing parts :up:
See ya,
Squelsh
still awesome :smoker:
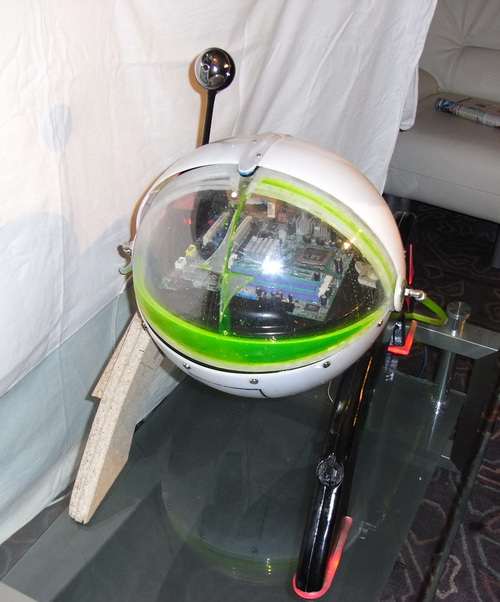
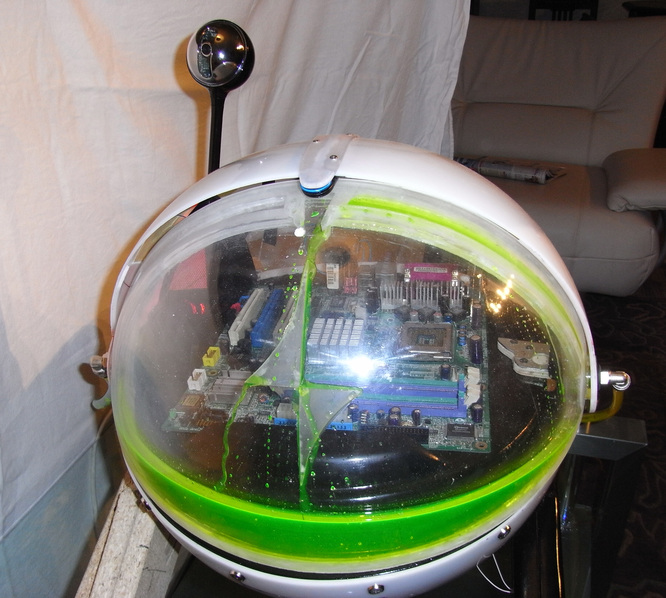
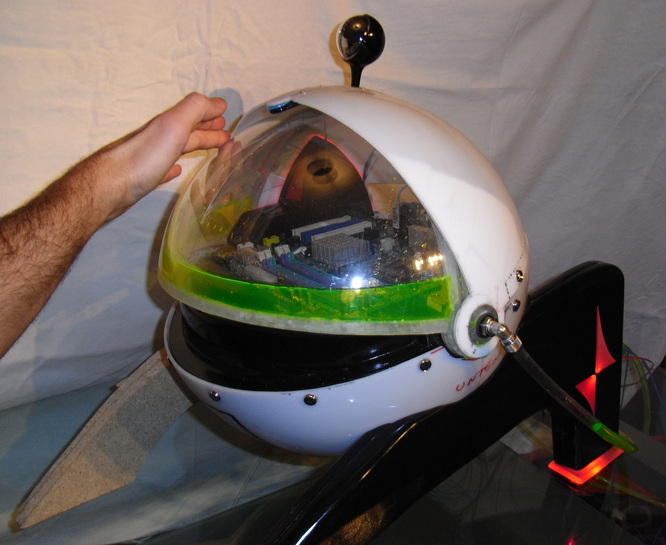
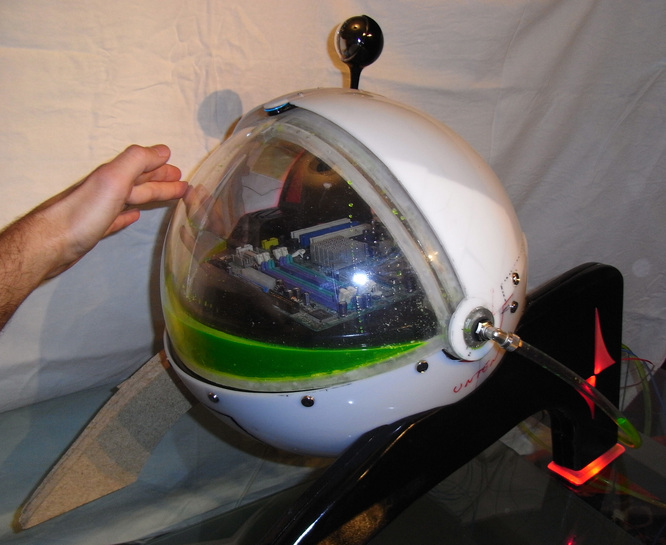
"Good news, everyone!" (Hubert J. Farnsworth)
No, in deed, good news!
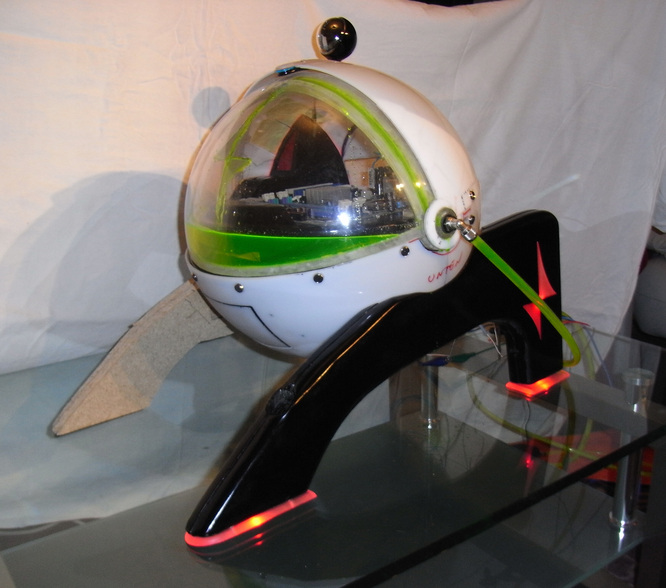
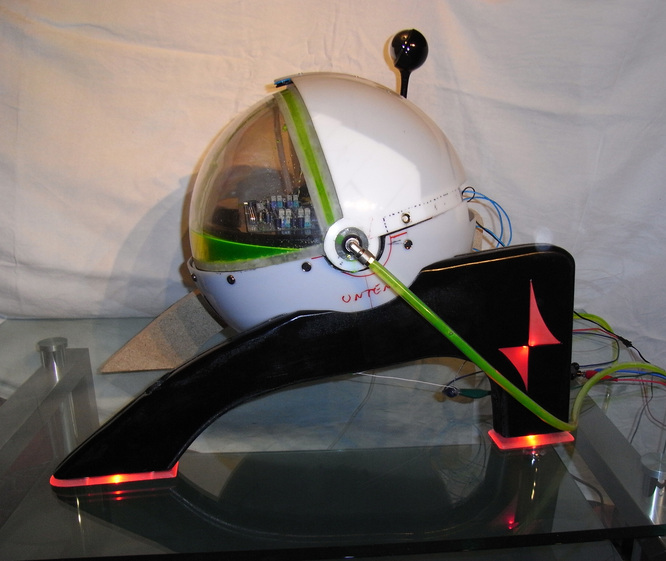
I did a little photo session last night :rolleyes:
And I don't want to hide the results from you! So here are the Top10 I got:
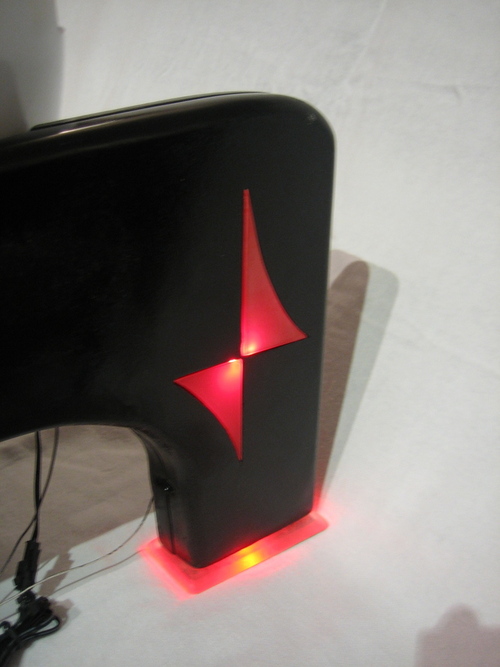
You have to imagine this with a lot more RED water and a RED and BLACK Fatal1ty MoBo inside! And of course the sphere needs a paint job :p
Hope you like it!