hey congrats man!

Printable View
hey congrats man!
Aaaaaaand here we go again with the latest installment in this project...
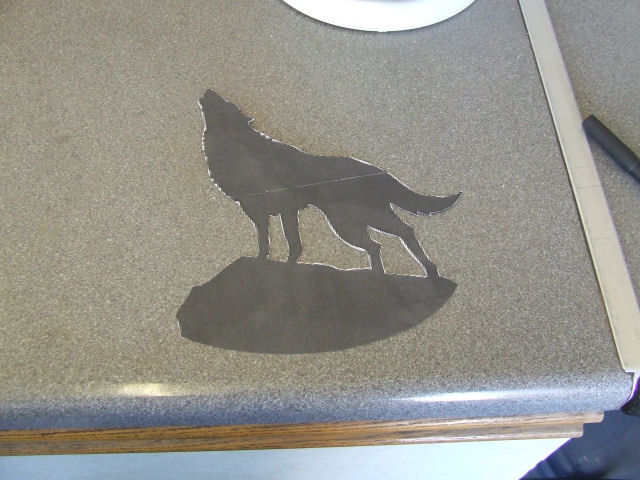
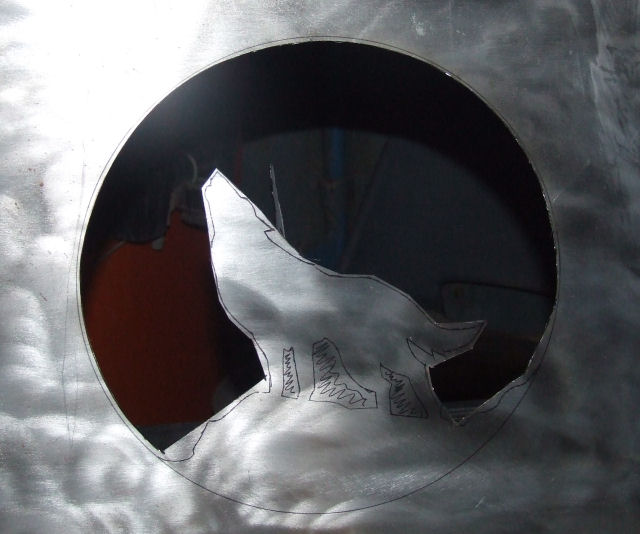
I'm sure you all remember this - I made enough of a fuss about it....
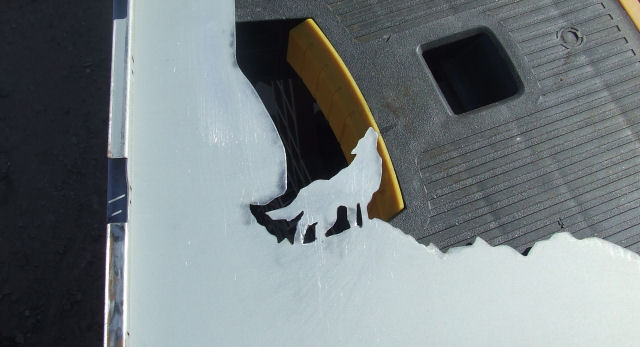
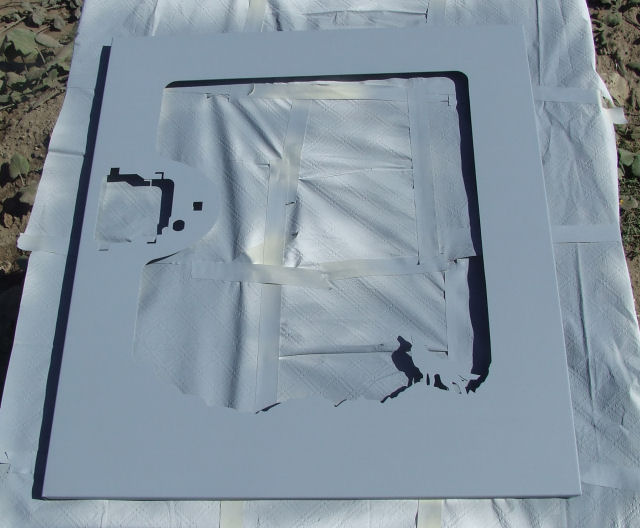
Well that bulge just behind the wolf was originally meant to be a tree, but no matter how much I've looked, I can't find a sensible image that I can 1) make work - not TOO intricate and 2) won't look like a cartoon christmas tree - so I decided to get rid of it altogether.
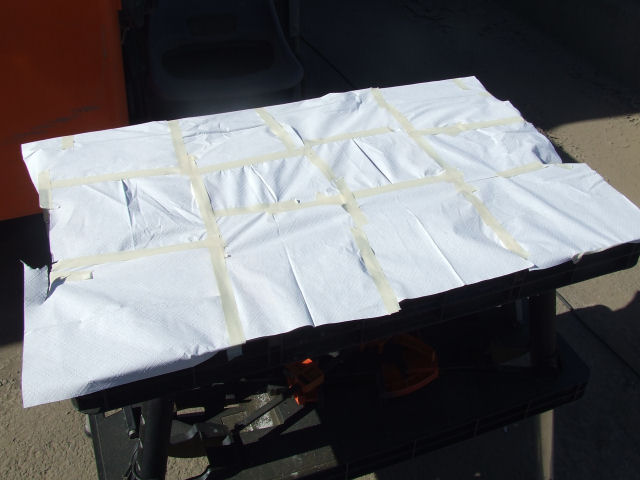
I've also noticed that the metal is starting to discolour since I stripped it down, so I thought a coat of primer, even if it's going to be replaced at some point with better primer, might seal it and stop that problem. I wasn't planning on painting at work so I didn't bring in my masking paper, so had to make a big patchwork out of kitchen towels lol
And the wolf panel with the tree bulge removed, the edge filed and sanded to the same standard as the rest of the edges...
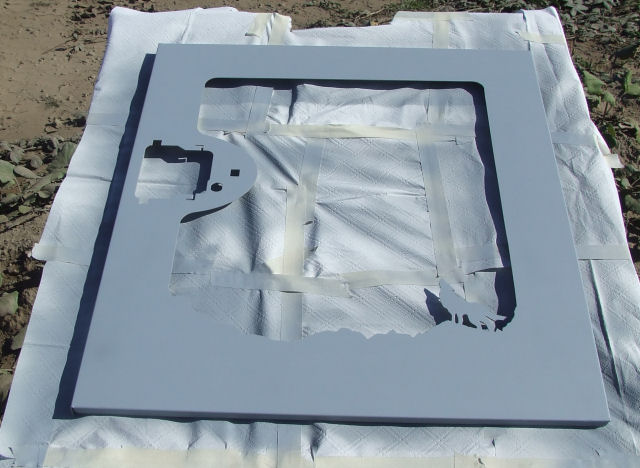
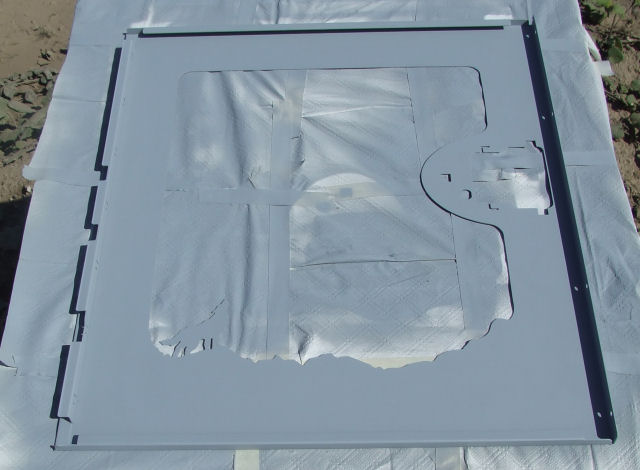
And a light coat of grey aerosol primer
And then a heavier second coat - this aerosol primer does have one BIG advantage - it's touch dry within seconds of hitting the metal and overpaintable inside 2 minutes (well it was today - out in the direct sunlight with a nice gentle breeze going)
And a quick light coat on the reverse too
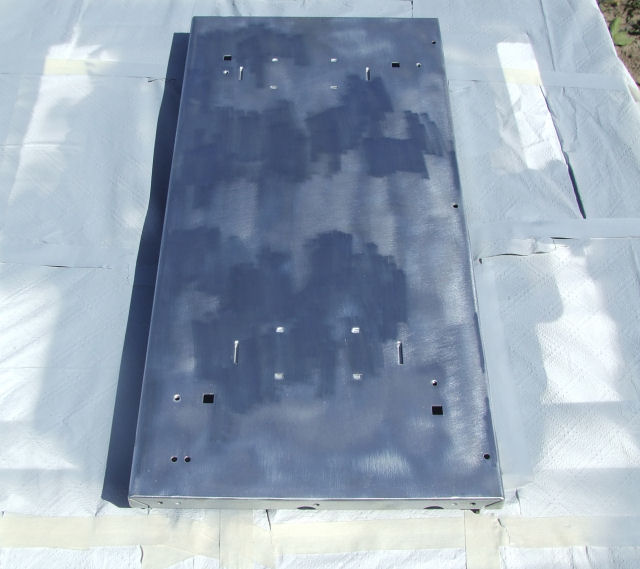
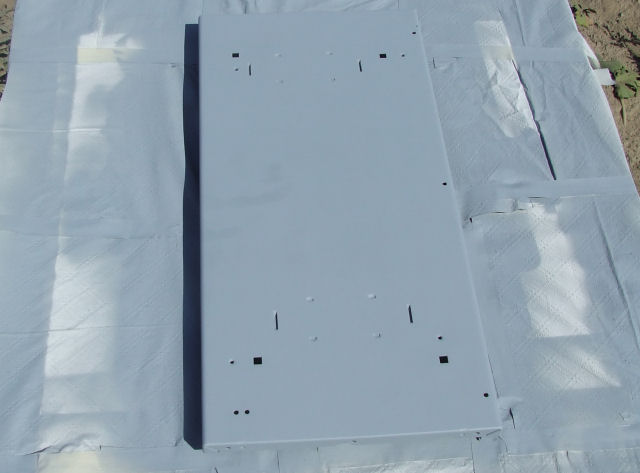
Bottom panel gets the same treatment - from this...
To this...
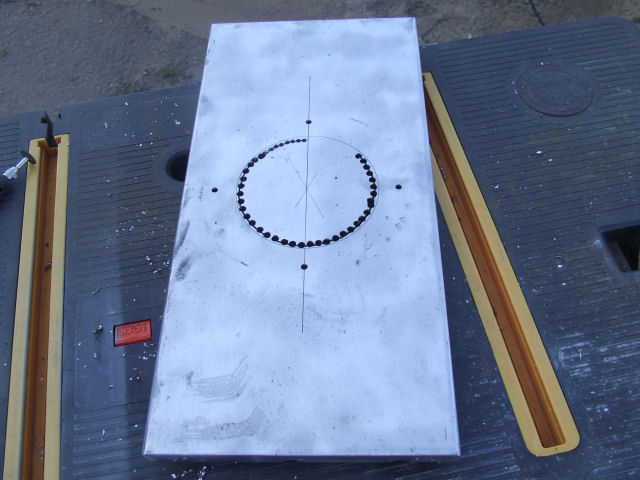
Then the top panel - which wasn't actually ready for paint - need to finish that top blowhole first. Thought I'd try a different method I've seen used to make this blowhole. Started drilling holes as near to the marked edge as I dared...
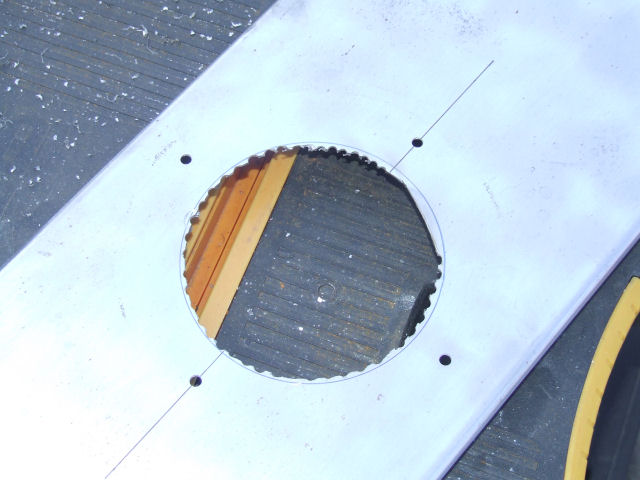
Then the dremel-clone to take out the centre...
And then a LOT of filing and a little sanding...
My advice - DON'T do it this way unless you have NO other option. It took longer, was more hassle, and left a lot more filing and finishing afterwards - I'm sticking with holesaw when I have access to one or the dremel/file method.
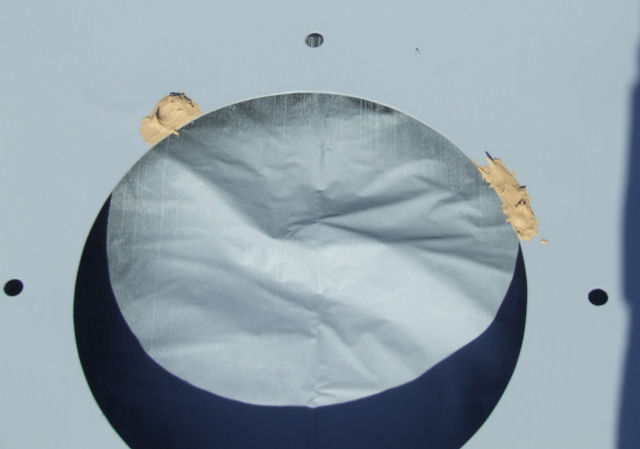
Another problem with the drilling method (although it's arguable that it was a problem with MY control) is twice the drill dropped in before I thought it would and damaged the panel - only really deep scratches, not big dents but still enough for me to want to put them right... Because the filler I had with me takes a while to dry, I primed it up first, then dotted in the two damaged areas..
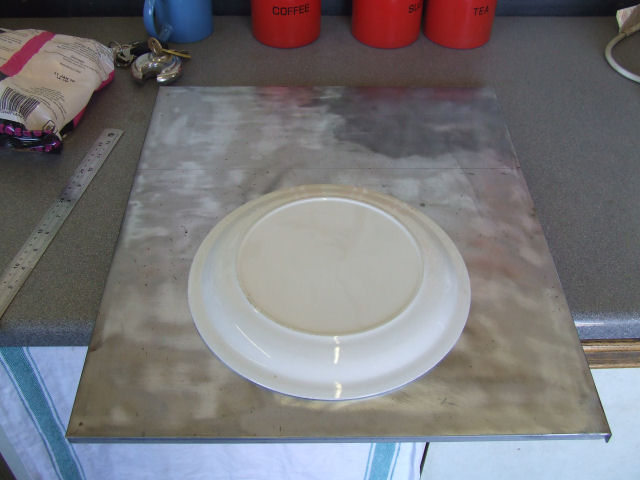
And now for the final big cut. I've been 50/50 on putting something in the opposite side panel to the big window - finally decided to go for it and after looking at dozens of different wolves and outlines, decided "Hell, I really like the wolf I already have, I'll just make it bigger!" Going to back it with perspex, probably illuminated but not see-thru at all - that'll still leave me space between the perspex and the mobo tray to hide some cabling...
Cut out a template I printed off this morning before I left for work...
And used a dinner plate to make a nice even circle - centred exactly between the two edges, and exactly between the bottom of the case and the point where the motherboard tray stops inside the case
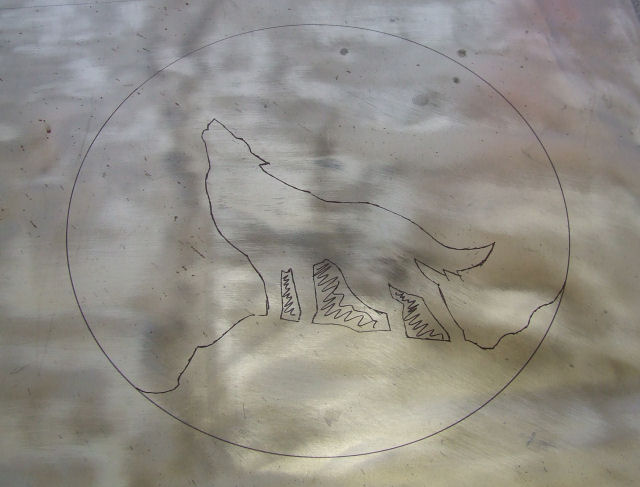
Traced the plate and the wolf and came up with this...
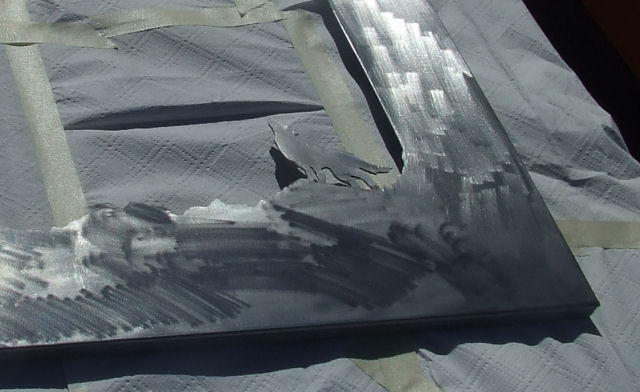
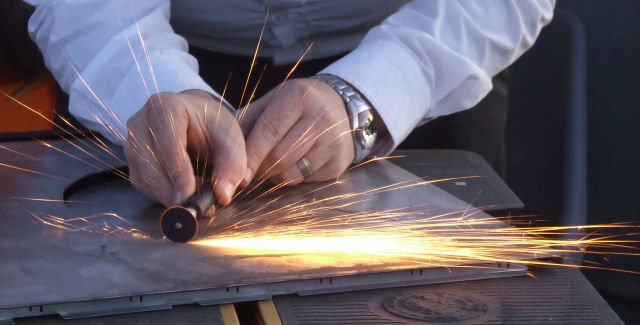
An hour or so of this...
Sparkly!!! lol
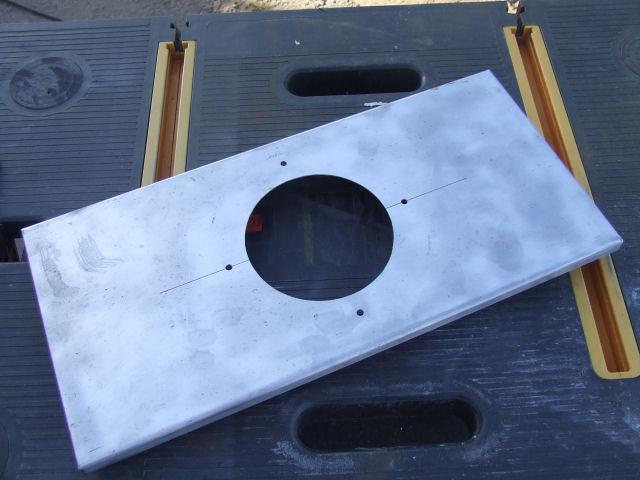
Anyway - here's the panel with the first cut made - the initial rough cut...
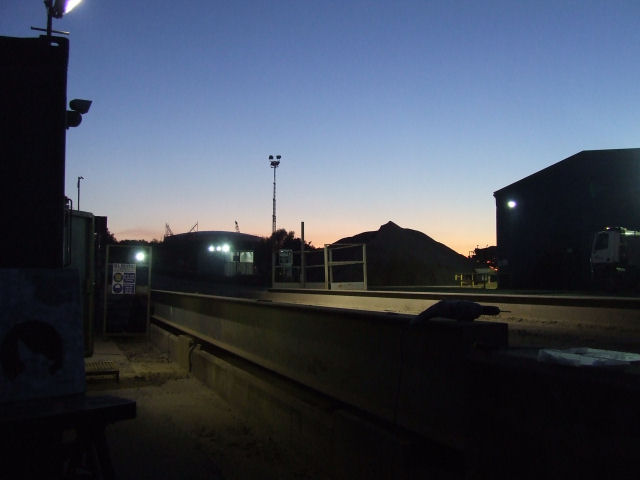
At this point, I looked up and saw this...
And realised that it was time to call it a day.. until tomorrow - the weather forecast is looking good - but I think I might be out of primer - will check at home. I have load of "proper" primer but that means carrying a hell of a lot of extra gear - primer, activator, thinners, mixing cup, mixing stick, waste tin etc and that's a little too much hassle for work - plus it's real dusty here at work and while the aerosol primer dries fast enough for the dust not to be an issue, the high quality primer doesn't.
There'll be more tomorrow, I'm sure...
looking awesome~!
sweet work man, looking great! love the action shot of the dremel!
damn man a bit overdressed for modding, arent you? Half the time I work in my underwear- I mean shorts.
I do most of my modding when I'm at work - I work security on the weekends - there's kinda a uniform requirement :p
Very nice work!
I was thinking the same thing when I saw that picture. It made me think.. He's the gentlemen modder. :DQuote:
Originally Posted by Mark_Hardware
One day I'll get my tie caught in the dremel and you'll be calling me the ghost of modding past :D
I tend to wear trousers at a minimum, and usually a T-shirt. Hot sparks are fine on my arms/hands, but not on my stomach/thighs/junk.Quote:
Originally Posted by Mark_Hardware
Anyway, great Dremel shot. Gotta love those, especially with your work uniform.
That opposite side window is spot on. Can't wait to see it filed out and lit from behind.
Filed out I can do, illuminated from behind - that'll be a while yet - waiting for the plexi, for one thing, and I want the case fully painted before the windows go in to make the painting easier - I'm planning on permanently attaching the plexi with some kind of glue/bond so there are no visible fixings so it'll be one of the last things done...
Anyway.....
And it's sunday and time for a little more....
I have to admit, the day didn't start off too well. I drove to work through 3 REALLY short light rain showers despite the weather forecast calling for cloud with sunny intervals but no rain. Got to work and this is what I was met by...
Not the most promising of outlooks huh? Well it rained again two or three times during the day but never much - just enough to make me pack up all the power tools etc and put them away for half an hour or so. Unfortunately, it didn't rain enough to put a decent layer of moisture down, so when I wasn't hiding from the rain, I was being choked by dust clouds because of the wind - between the dust (no painting) and rain (no anything!) I didn't get a huge amount done - but I wasn't going to be totally beaten so I DID get some bits pushed on....
Took the new side window from this...
To this...
And as that means pretty much all of the sheet metal is now physically done, and ready for paint, I figured I should probably do something with the frame it'll all hang on...
I can't figure any practical way to get a 120mm fan in the back, much as I want to. The entire case is only 200mm wide, so I'm going to put a pair of 92mm fans in the rear - it's still an improvement on the pair of 80mm fans the case was designed for. I started by cutting out the stock fan covers/grilles because they actually stand out from the case and made measuring up difficult because I couldn't get a ruler on a flat surface to make sure of things...
After measuring up, two 92's will fit but the existing holes are in just the wrong places so I'll struggle to get them fitted securely. The only solution I could come up with is to cut out the whole piece of metal and replace it with a new one. So cut the hole out...
And a quick test fit with the aluminium frame I use when working with 92mm fans...
Tight but it'll work (just)...
I turned the case over and started measuring up for the front fans. Again, 2x120mm is going to be so tight and kill so much of the case's practical structure I'm rethinking it. Current thoughts are either 2x92mm or 1x120 and 1x92. Probably the latter - I want as much airflow as I can get, after all.
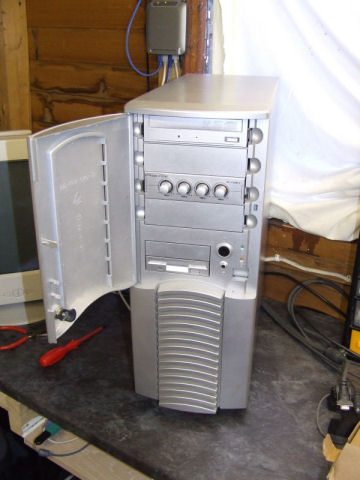
Just for kicks, thought I'd put the whole thing back together - just to see how much it's changed since this...
And here we go...
It looks terrible with the old black, primer and plastic visible, most of the panels primed and one still bare metal - but it's DEFINITELY getting there....
It may be as long as 2 weeks before the next update - my shifts have changed and I'm working all nights next week - nightshift and modding don't go well together unfortunately. I'll probably get some stuff done at home in between but 2 weeks is a possibility :(