Glad to see that you are working on this again. I can't wait to see more.

Printable View
Glad to see that you are working on this again. I can't wait to see more.
It seems pretty hit & miss if I get worklog update notifications, which is why I haven't been posting much.
I like the filing machine idea, good thinking +rep, should save some effort :), gotta say I'm keen on making something similar thinking of its potential uses, and wow, a key switch power on, can't say I've seen that done before, adds a nice security feature to it too, no need for a login :).
About you treating the front piece as a prototype, sounds like a good plan if like you said were having various problems with it.
Woo hoo more!
Actually some kind of exciting progress for me. Been working on the heatsink for the front. (Gee that sounds
familiar)
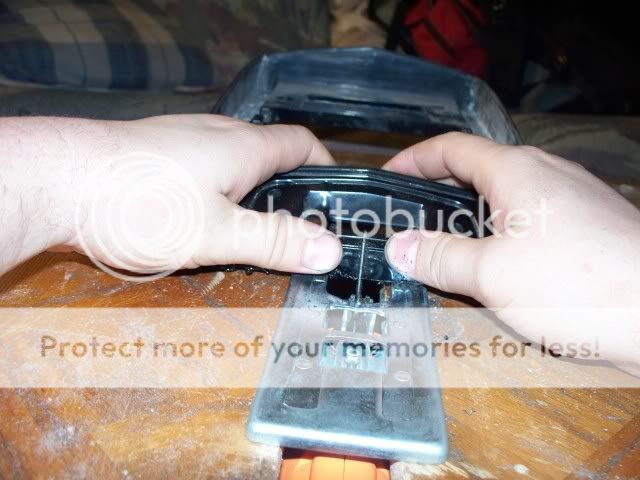
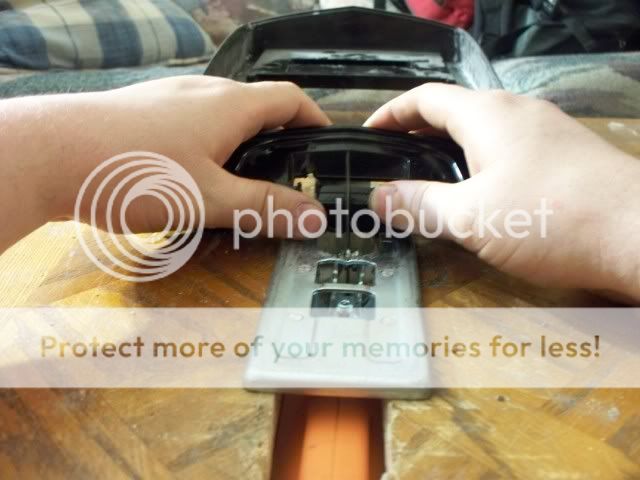
So I took my Mark Hardware Filing Machine 2000 and put a saw blade back in it.
BAM instant table saw! This was literally exactly what I needed to cut this plastic right.
(Action shot!)
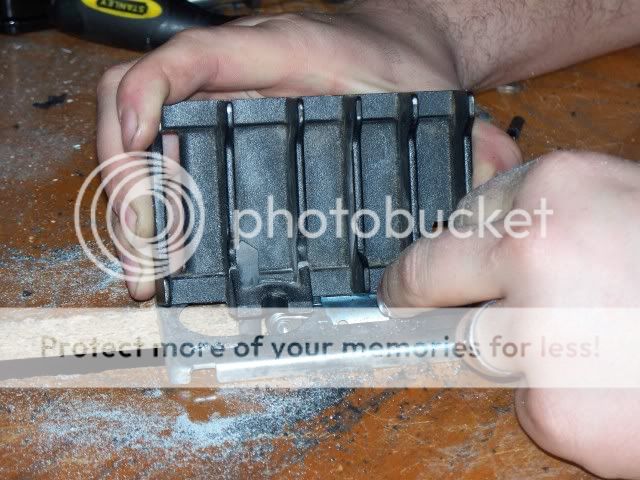
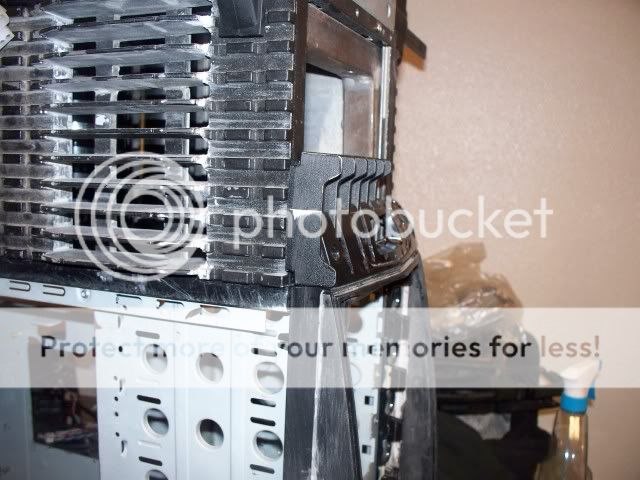
Also, it worked fantastically to cut some of the unwanted material off this heatsink.
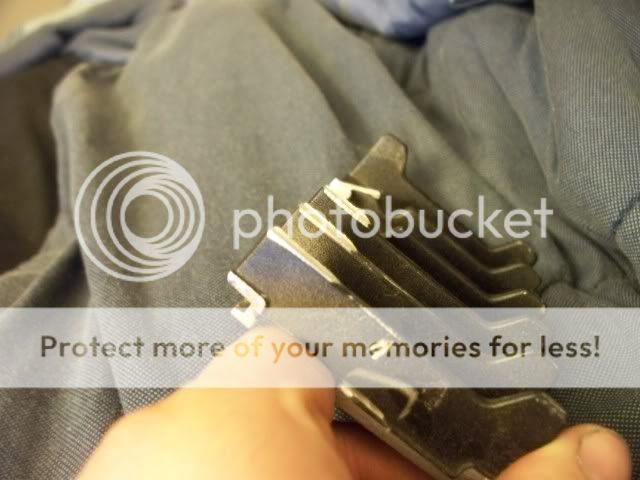
An after shot;
Now let me say this! I do not advise doing this. It just doesn't seem like the safest thing. I mean, it may just be my opinion, but it seems like a great way to lose a finger. My wife concurs with me.
Everytime I use it. Also, I don't want to get sued by any 9 fingered modders cause I gave them the idea. My wife concurs with me on that, too.
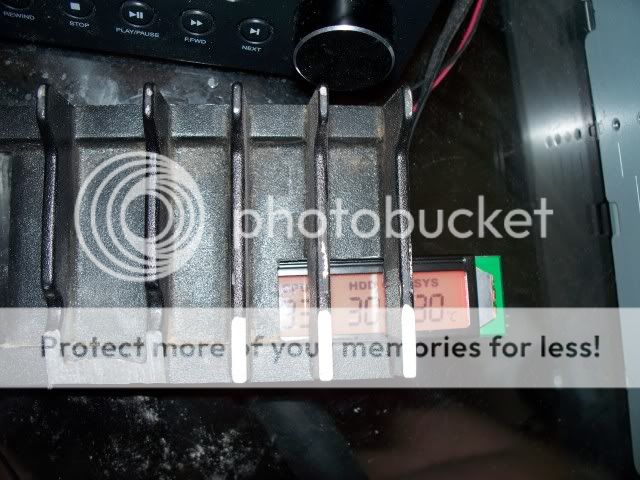
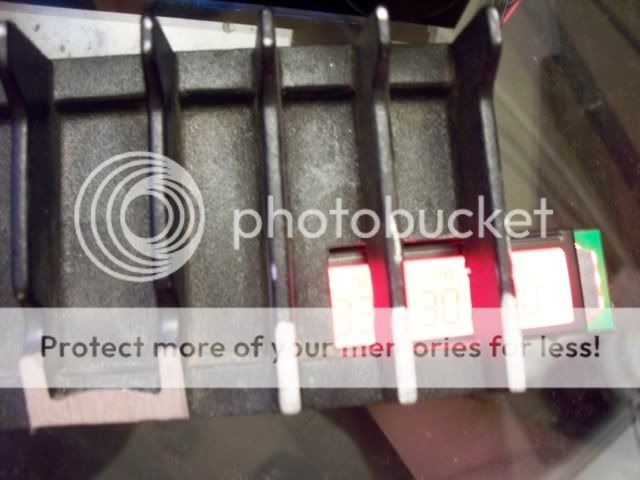
Anyway I'm also have been removing some material to mount the red lcd screen. I'm not too worried about having it as a temperature readout, I just like the red screen.
So here is what its looking like.....
Me likey!!!
Coming along! I want to see this finished!
you, me, and my wife lol
Hahaha, the wife must be thrilled about all the shavings everywhere; and the lack of a husband being around. Hahaha, like the mod so far. ^_^
looking great man.. love it :P
OK, so just an fyi gonna be kinda quiet for another couple weeks. Waiting on Tax Claus to come around so I can get lots of goodies.
For some reason I seem to love my kids a little more this month :rolleyes:
lol I hear ya on that one! I am thinking about dropping some change on an i7. would be a nice upgrade from my athlon x2 +4200! lol
I haven't forgotten, I'm just still waiting on money to come in :D
This is the reservoir for Mark1. It will end up being a standalone deal, sitting on the desk next to the case.
So I am very excited to bring you my latest creation, an external reservior for Mark1. This idea came to me completely out the blue one day, not long after a water pump died on me. As, usual, I came up with a simple idea, and it exploded lol.
See originally I was just going to build a simple reservior onto the side of the case. Then Eureka!
I have been dying to find a way to incorporate this vodka bottle, but until now I didn't really have a viable use.... So, onto the pictures! (Who reads all this anyways?)
So after some deliberation on material, I decided on 3/8" rebar. Using the box as a size reference, we cut and bent lengths of rebar into "U's".
Mocked up;
Welded together now;
Using diamond mesh for the the bottom, here's what it looks like so far...
My high-tech aging process;
And here's the stopper,
After a brief introduction to my drill,
and the bottle is now plumbed.
The line going into the bottle;
A ziptie, to act like a hose clamp to help secure the silicone plug.
(awkward, unclear picture. This is the front of the tubing.)
end plugged, side cut. This will make the coolant actually run down the inside front of the bottle, (cool) instead of just running in (boring).
That's all for now. Still to come, a door for the backside, a way of wrapping or covering the joints. Also, a sweet ass idea for for a stand.
Glad to see you still working on this one buddy, can't wait for more updates :D.
Quick update today. Didn't get as much done as I had hoped I would. I know, shocking, right.
Ok, so, got the door built;
am in the process of grinding down all the weld marks. Might get done tomorrow, idk.
Also started wrapping all the joints...
I will twist the backside and cut them off later.
The plumbing to the bottle is also complete;
aaand that's all for now.
Gonna run through two updates, since this is also posted in "Your Mods" (not my idea)
Almost done grinding. Basically taking the weld marks from this;
to this;
which will rust and fade out nicely.
Also, got done wrapping the joints on the cage. I wrapped them all in a special pattern the mostly covers the actual joint part.
Then I cramped down with vice-grips,
twist twist twist,
clean break off. Then I just hammer that little part down. Simple, effective.
Yay! So Stage 1 is like, almost done! This update will flow quick.
Decided to use standard hinges, and just beat them and rust them.
The door is welded on, and the joints wrapped. TBH, I'm not necessarily 100% on the hinges, but hopefully, with a little work,
and time, they'll grow on me.
ooohhh shiny. That just won't do.
Hey a bubble bath!
Hehe naked metal...
This is what sandpaper wished it could do. Now the hinge is weldable, as well as rust, which in this case is, of course, desirable.
Isn't chemistry cool?
ditto that with a chain.
Also, weld marks just won't do;
ALL weld marks ground off, and also I cut a groove in each link, to simulate the links being hammered
together instead of welded.
Now, smooth steel... Hmm need a highly technical, advanced proccess to utilize, to add a nice, aged and abused appearence...
(12 hours of getting dragged around behind my truck would make anyone look old)
heh
(ignore everything but the chain in this picture!!) seriously.
This is the chain, after a day in the fishtank. I just opened the first and last links for four lengths.
As you can see, the "special aging proccess" eliminated even the grinding marks from me grinding down the welds.
Pictures!
Video!
This is Stage 1, about 98% complete, sans more aging. I have some parts ordered, just waiting for them to come in and we can begin Stage 2.
What on earth lol :D:up:, wow what to say, like straight off a saw movie set lol, looked pretty crazy when the pump switched on & it all turned red :eek::D.
that looks sick!
Awesome!!!!!! :bowdown: +rep
OK, update in here... Updates will be jerky in here, sorry. Stage 2; The Stand.
Normal arm, meet normal metal;
First cuts made;
And replacement "bone" insterted;
Progress is goin somewhat slow, but going nonetheless.
Working on the main frame;
Several angles...
This update brought to you by the letter "D!"
I wasn't trying to make it symmetrical and even... The odd shape is intentional.
Remember this guy?
Well, he is getting, reassigned...
Section of steel hose, jagged cut.
These wires don't go to anything. I just found a bunch of different wires and a small section of hose and cut them and pulled them all in different fashions.
Some black convoluted tubing. This does have tube in it, but it's just to keep its shape. It doesn't go to anything, and the othe end will not be exposed.
Here it is mocked up together, maybe you can get a rough idea of where this is going. Probably not, but hey.
waits for next update :P this is looking really good mate
More materials;
I know the color doesn't come through in this picture, but trust me, this sand has a beautiful red color. I got it from the red rock area around Sedona, in northern Arizona. I will sift it, getting rid of everything but the fine sand.
Also snagged a few red rocks.
As well as these, from a local fish store.
Now, I know these would never exist in the same place naturally, so I don't need some would-be geologist telling me that. I dug the red earth myself, so I know what was around....
These will all come into play in the final stages.
(For those of you unfamiliar with the natural beauty of Sedona, here his a random pic from the web. Almost kinda looks like Mars or something.)
Taking some inspiration from the Wood Stove Mod, (that and the fact that I couldn't find exactly what I was looking for anyway) I decided to make my own smoker unit.
Simple cast aluminum project box, used a dremel to cut the hole for a 40mm fan.
DC powered soldering iron;
Assembled;
The clear tube off to the side goes to the respirator mask the biomech skull will be wearing.
Test run using vegetable oil;
It smokes, but I'm not exactly going to be using this to send out any smoke signals.
To get more contact with the actual heating element, I disconnected the wire,
Then flipped the element around inside the barrel. The holes will allow more contact, and better heat dispersion. Or something. And stuff.
Got the arm welded to the frame.
Here it is with the real arm in place;
Cage in place;
Also, one leg, prepped for install;
Nice and flush.
(As it turns out, the single flat stock isn't strong enough. Will have to switch to angle iron or something that doesn't flex.)
Here it is all mocked up;
Please note- the water pump will not be right there. It's just holding up the skull right now.
Alright, an update for those who don't stray from the WIP section;
I had to use angle iron instead of flat iron. The flat iron flexed when the cage was hung.
I've been working on the legs for the base. Now, I kinda wish I had gotten more (better) pictures, cause I'm pretty proud of this work lol.
On both the legs, I made notches;
On the bottom side of the frame, corresponding notches;
This is where the arm is welded to the frame. You can see it is notched out here too;
All these pieces fit together like a big 3D puzzle, it really worked great.
The flat bar welded on here at an angle is for the bio-mech skull.
Here are a few pictures showing the legs, post- assload of grinding;
During which my RTX died. So after some shopping around, I decided on this little number;
Eh I'll read this later.
Got a few other things in the mail as well;
Tools!
Connectors!
Now, I'm not 100% on how to use these, so if anyone has any pointers, it would be appreciated. There are pass-through and end cap connectors there.
And let's not forget;
hehehe
Speaking of "legs"
On the cage side, the femur will rest on the angle iron. (Which has been cut to length now) I will cut away parts of the bone to fit down on the metal snug.
For the other side, I cut the other femur;
Some grinding blah blah
fits in there great.
Eventually I will stick a carriage bolt in there, reminiscent of the arm;
Some gratuitous shots, how it sits now;