:stupid:Quote:
Originally Posted by msmrx57

Printable View
:stupid:Quote:
Originally Posted by msmrx57
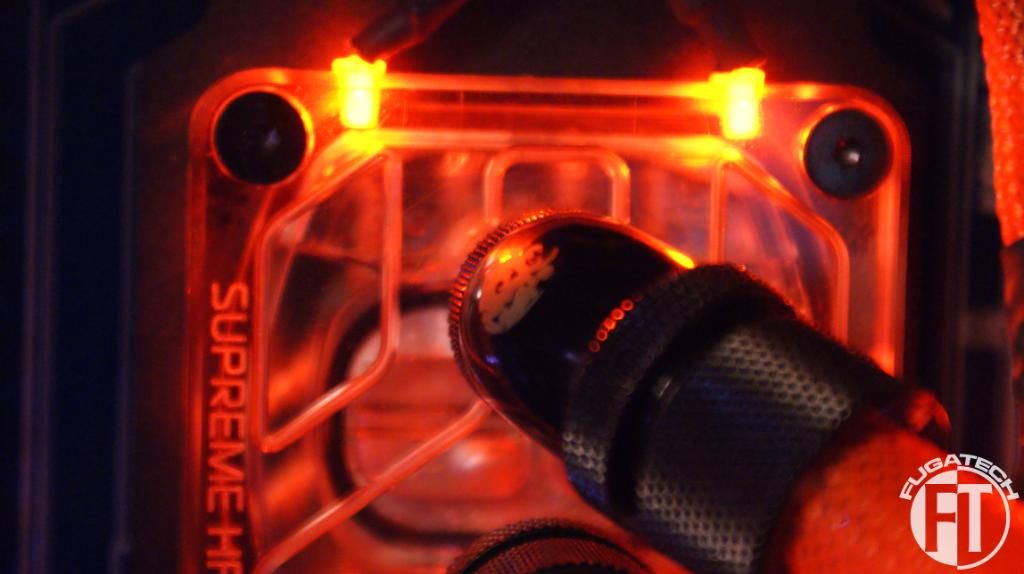
I connected the WB LEDs now and put power to the fans. Here are the results.
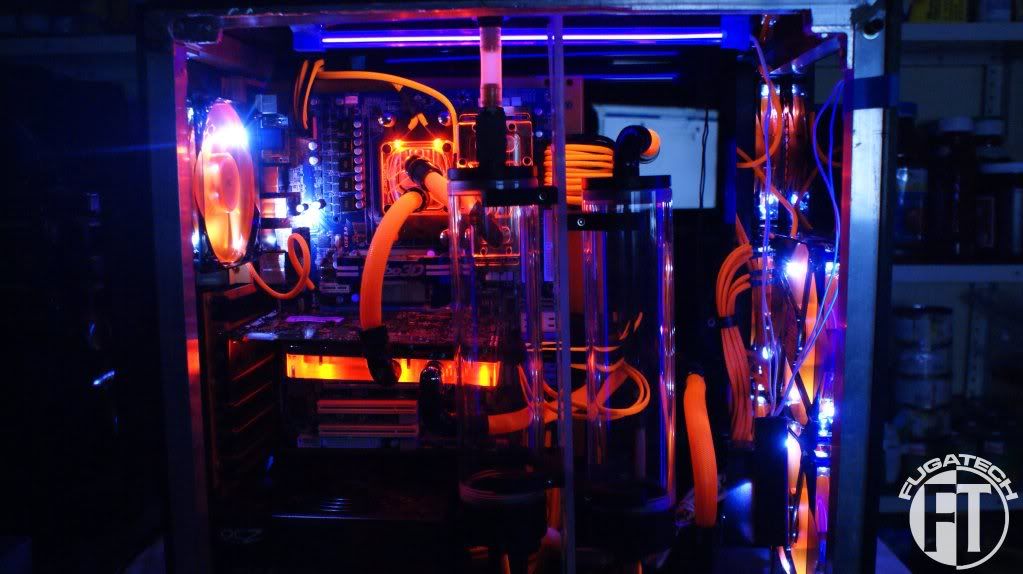
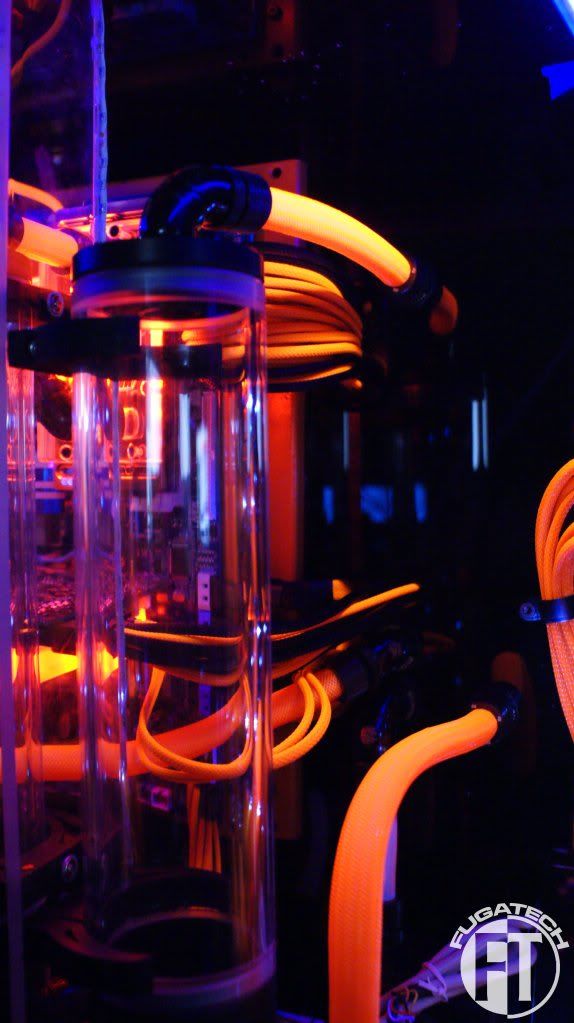
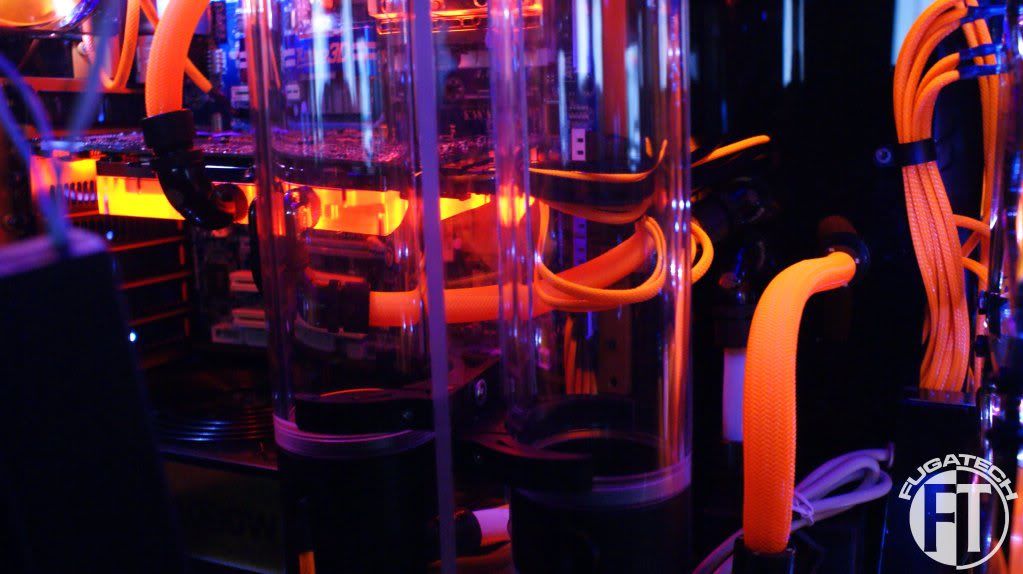
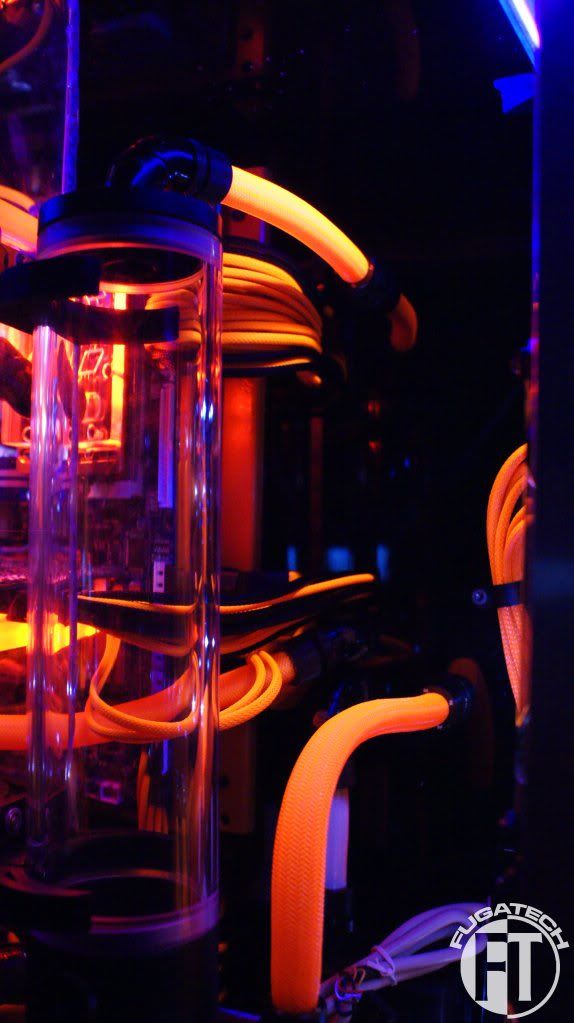
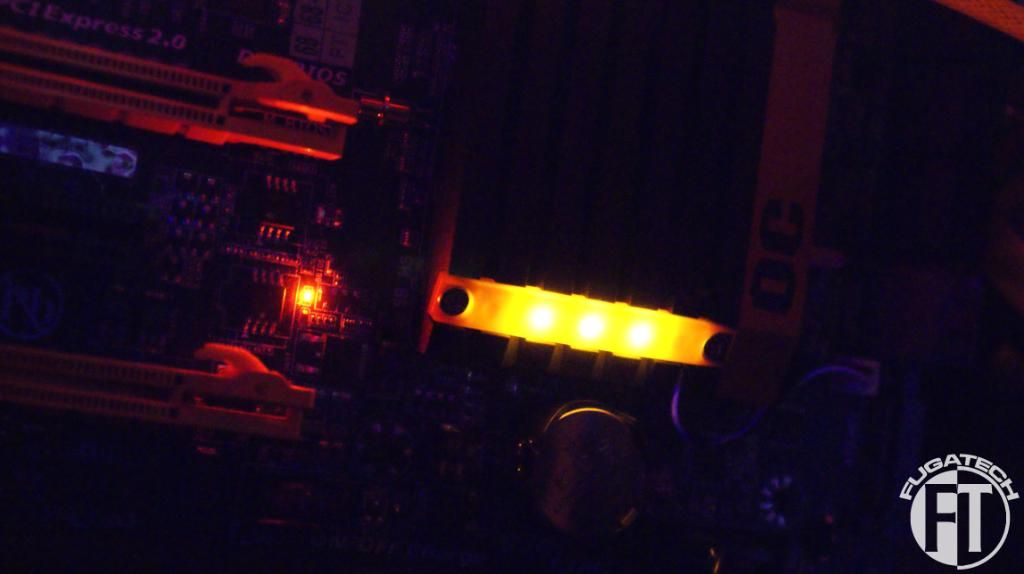
This first set of pictures are with 1 UV Cold Cathode running from front to back on the top of the case and one on the front panel running up and down.
Now these pictures are with both UV Cold Cathodes running the width of the case on the top panel. 1 in front and 1 in back. (That was really hard to explain lol)
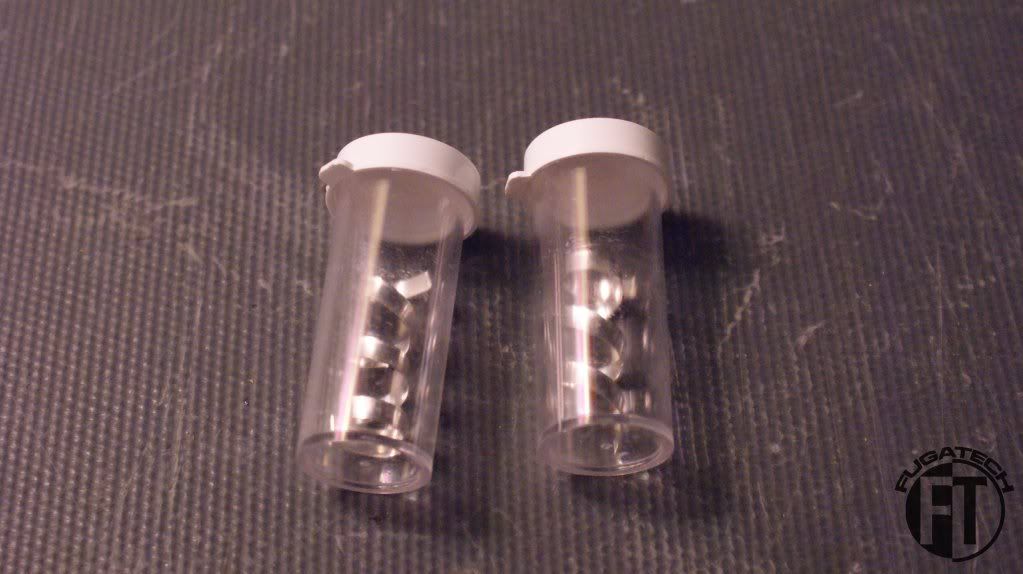
I still have a lot more work to do. Going to make the res LEDs tonight and try to figure out how I'm going to do all the switches for all the different lights.
Cheers till then.
Are you planning on supporting the end of the graphics card in any way? It looks like it has a lot of sag on the right.Quote:
Originally Posted by Fuganater
Yes I have a support measured out. I just need to cut it.
Its voting time! This is the last round of points that goes to the total, its not a "like" contest. You have to register but I know you all will to help out!
Please go here: http://showdown.newmodcity.com/final-round/#comment-59 and vote for my mod in the Scratch Build category.
Thanks!
My goodness where has the time gone??? Where to start??
Lets start with some goodies!!
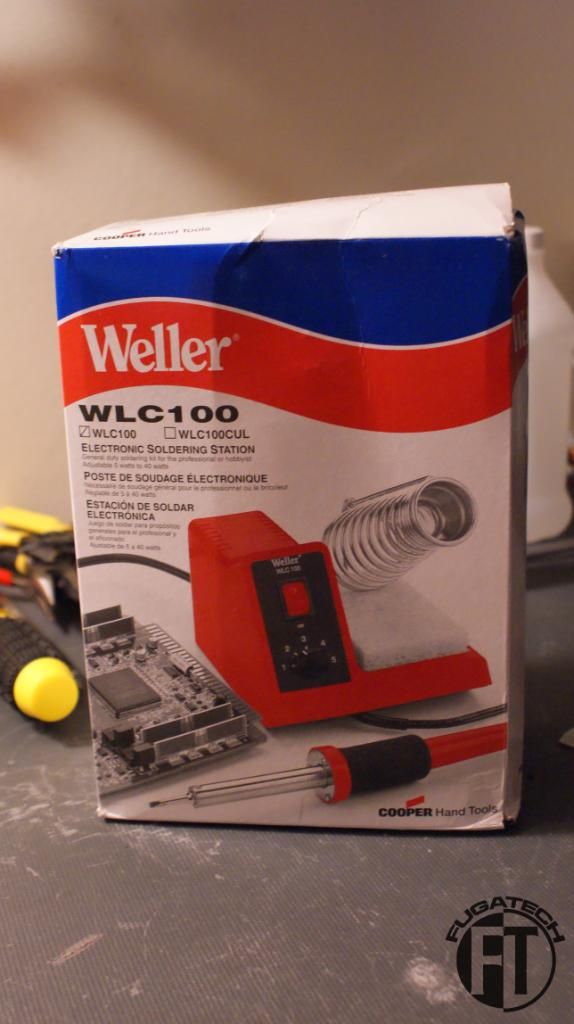
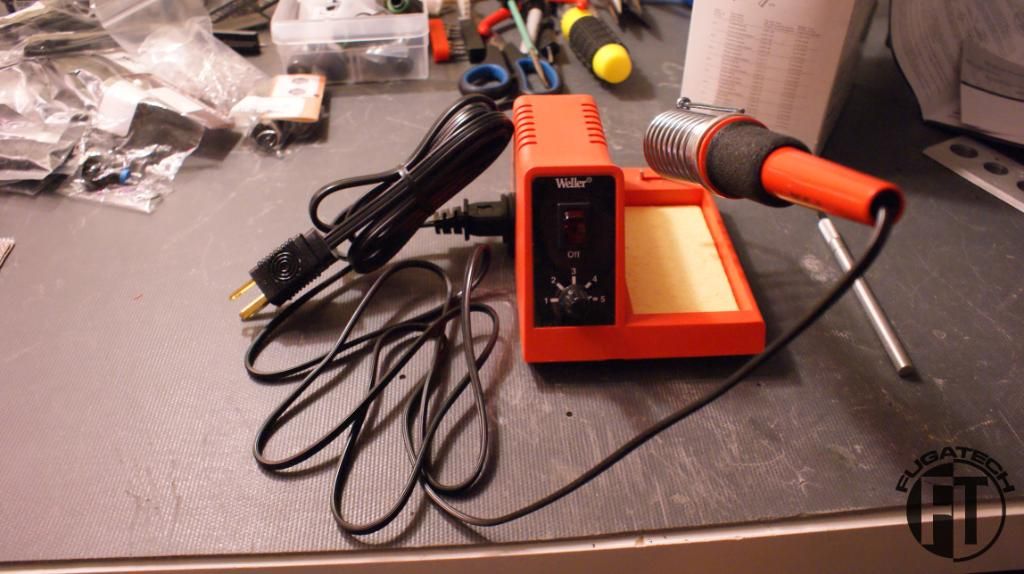
Got a new soldering station. I like it but I need to buy some different tips for different jobs.
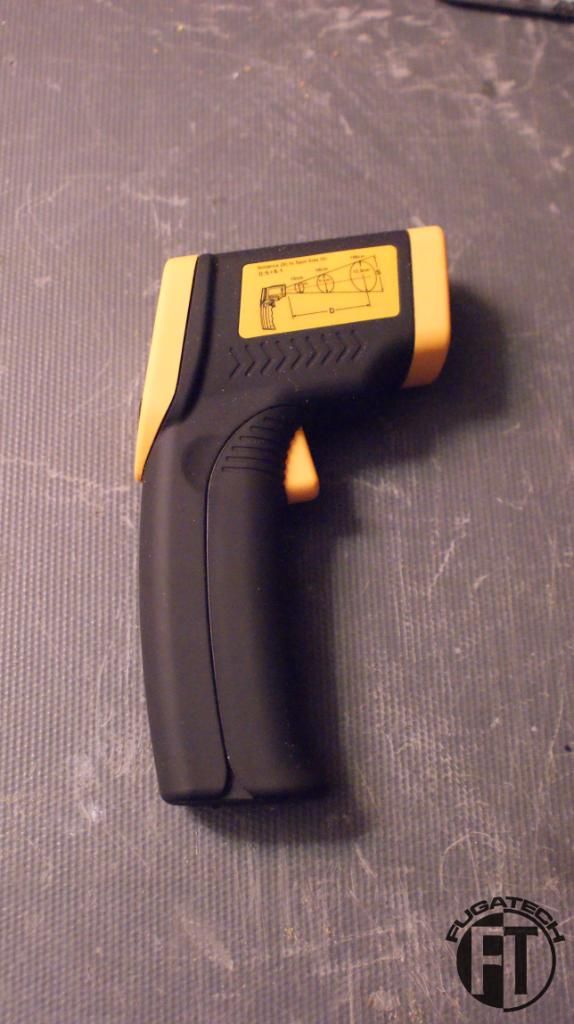
A spot temp sensor that I got for Christmas. The best tool for identifying dead spots/hot spots in your case.
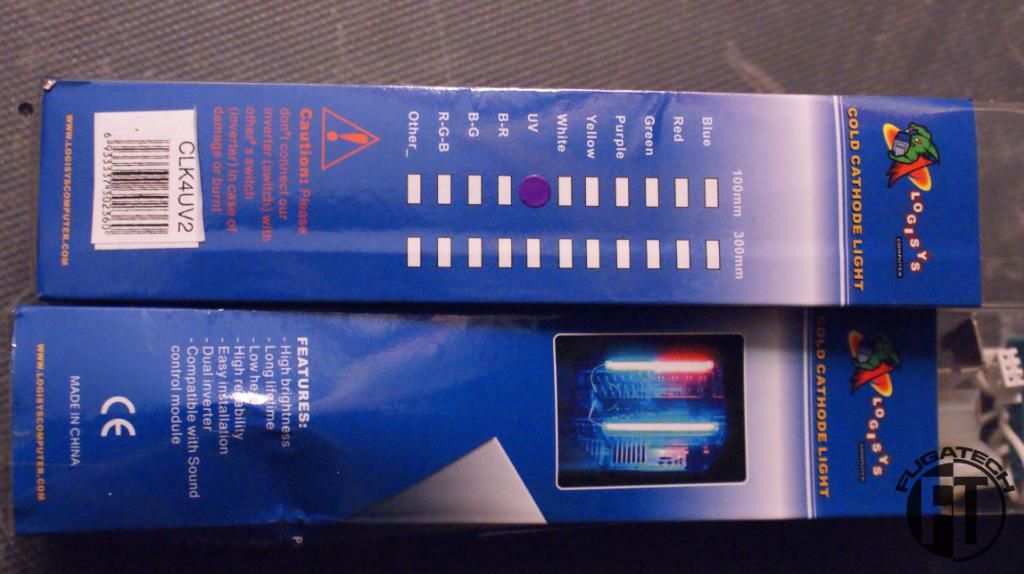
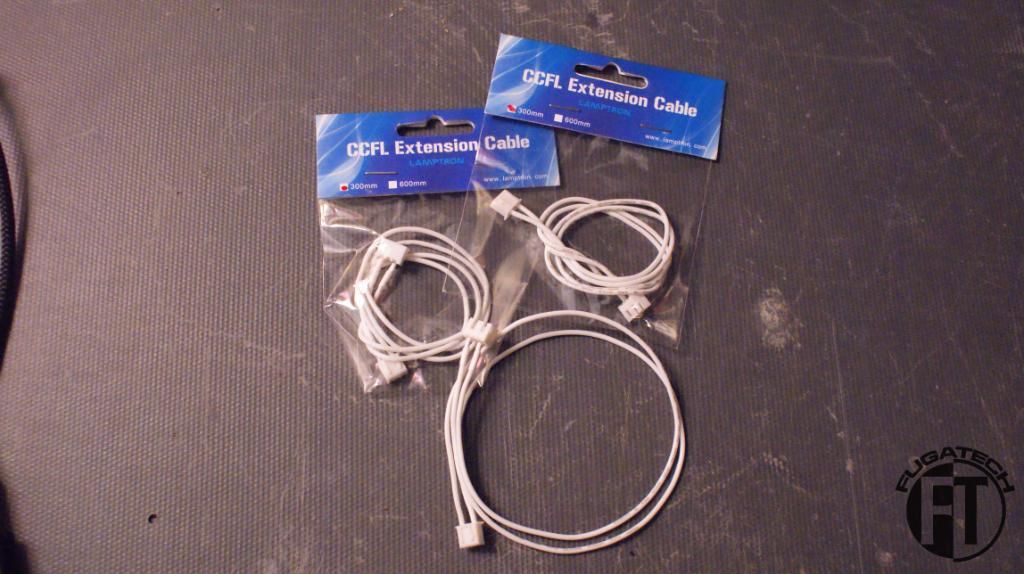
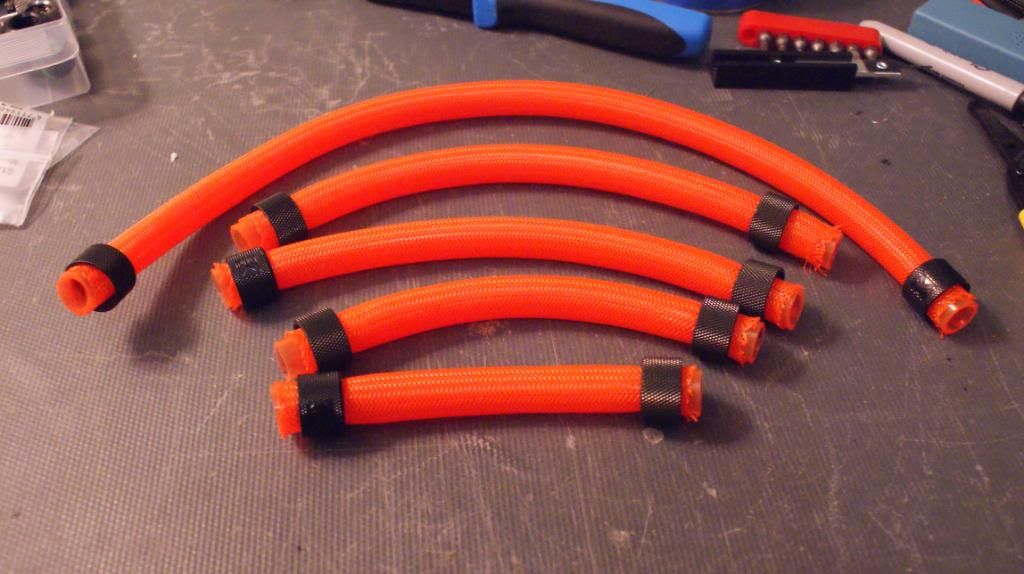
4" UV Cold Cathodes + extensions
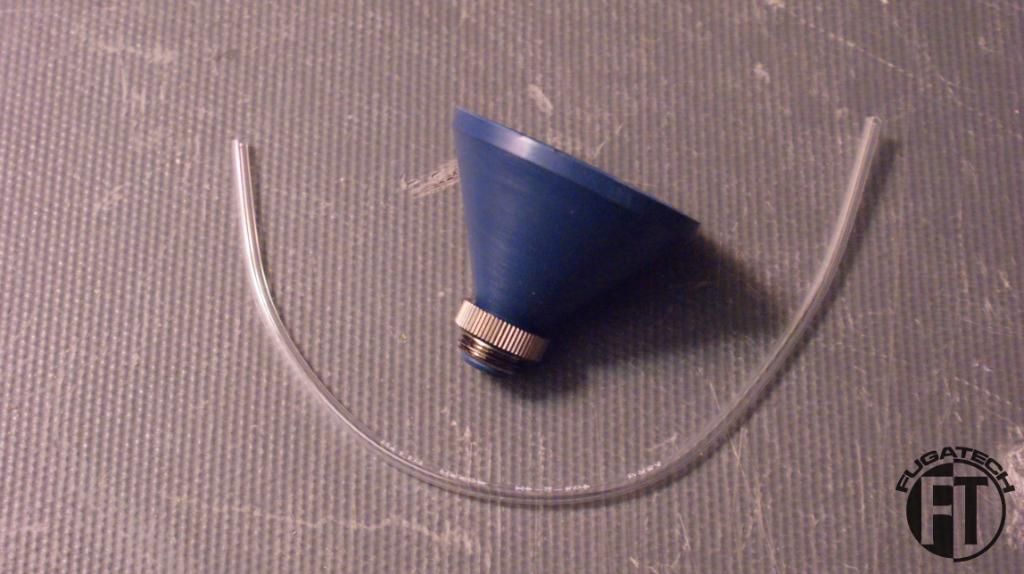
An awesome threaded funnel with air tube
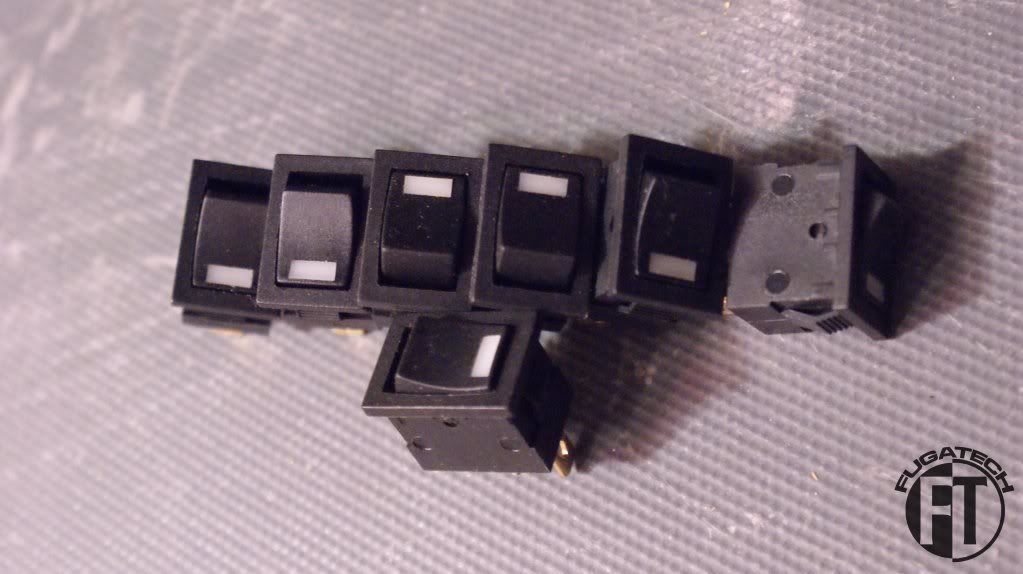
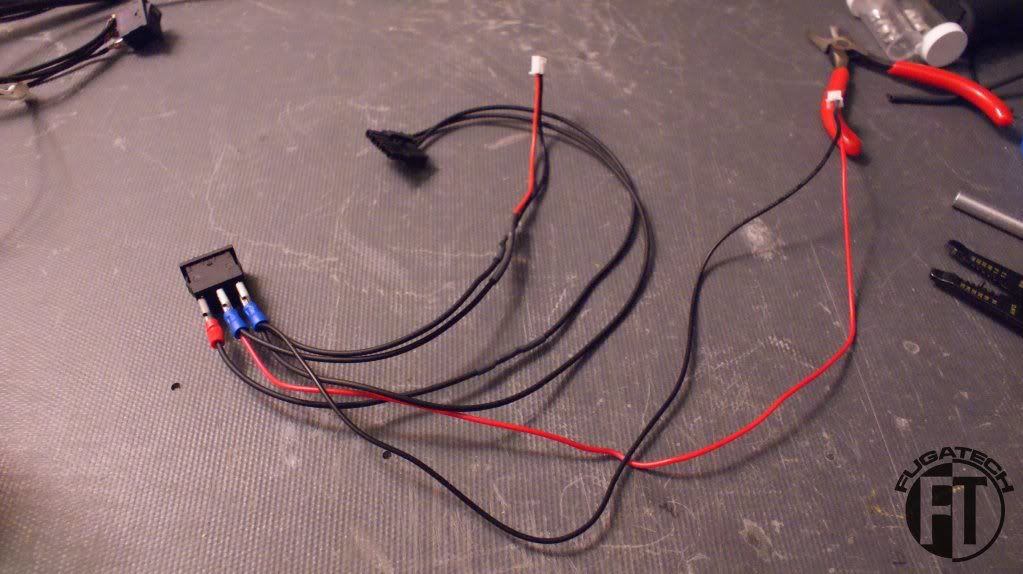
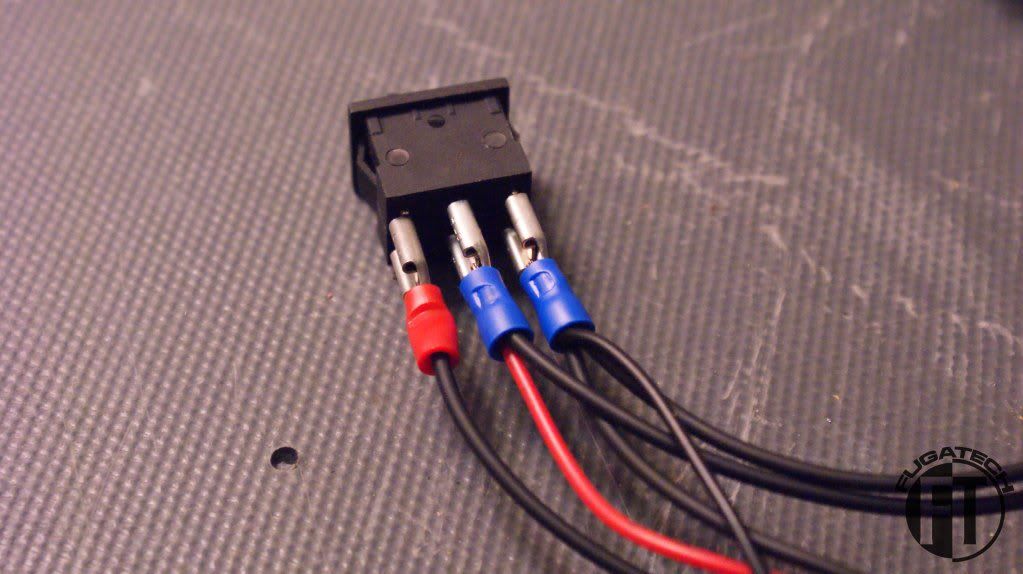
Rocker switches for turning on and off all the lights.
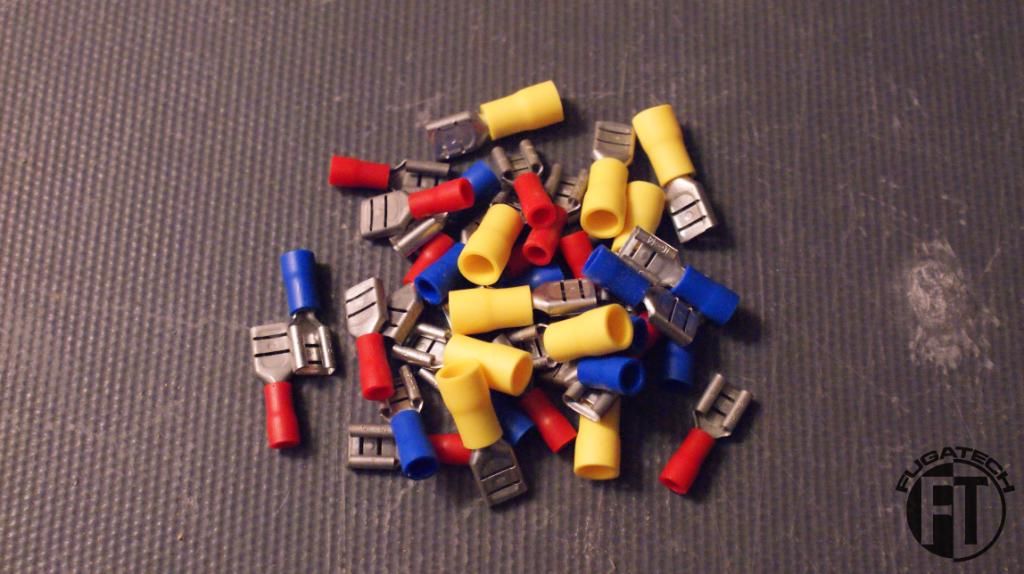
A bunch of terminals for the rocker switches
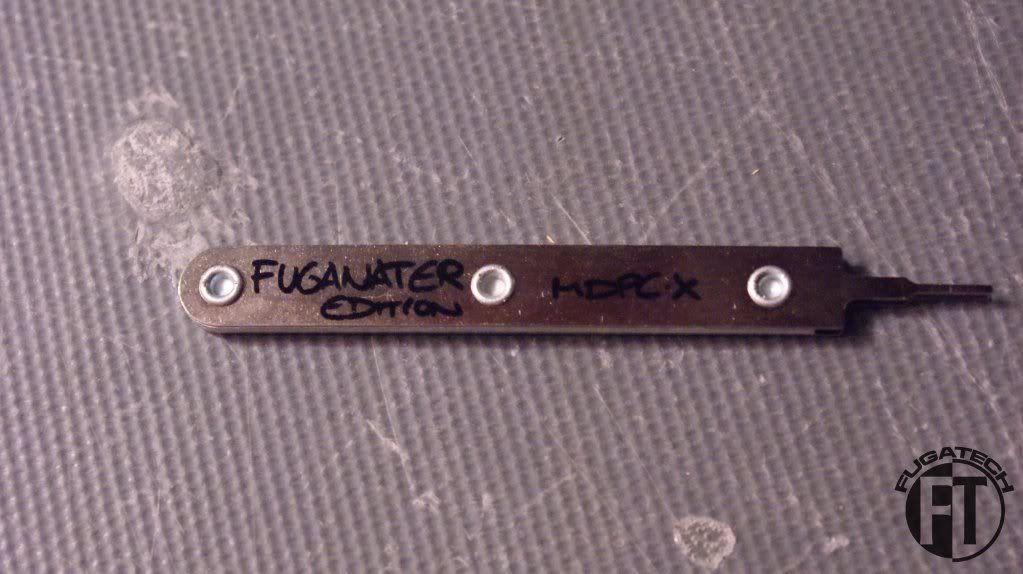
MDPC ATX pin remover
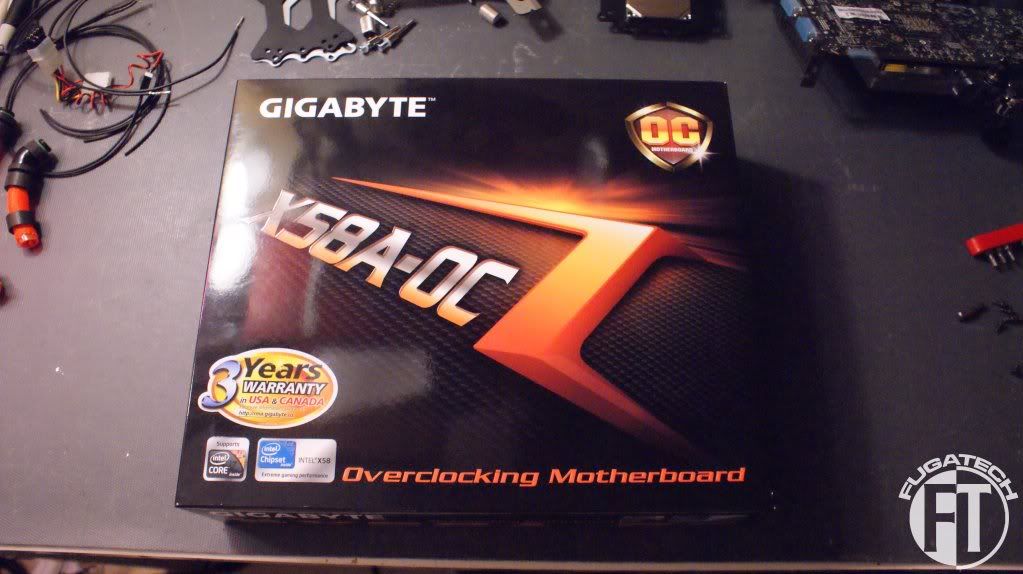
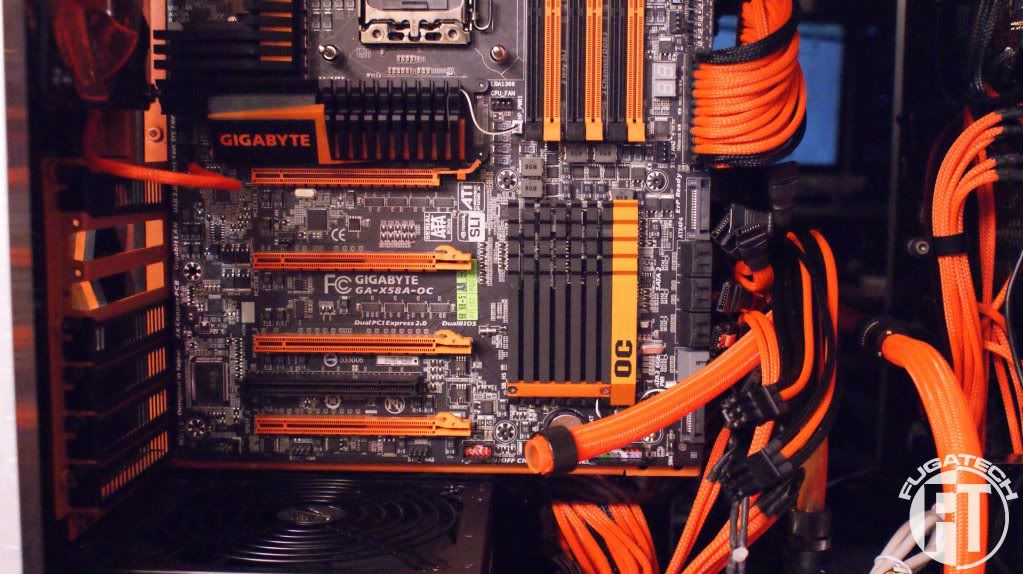
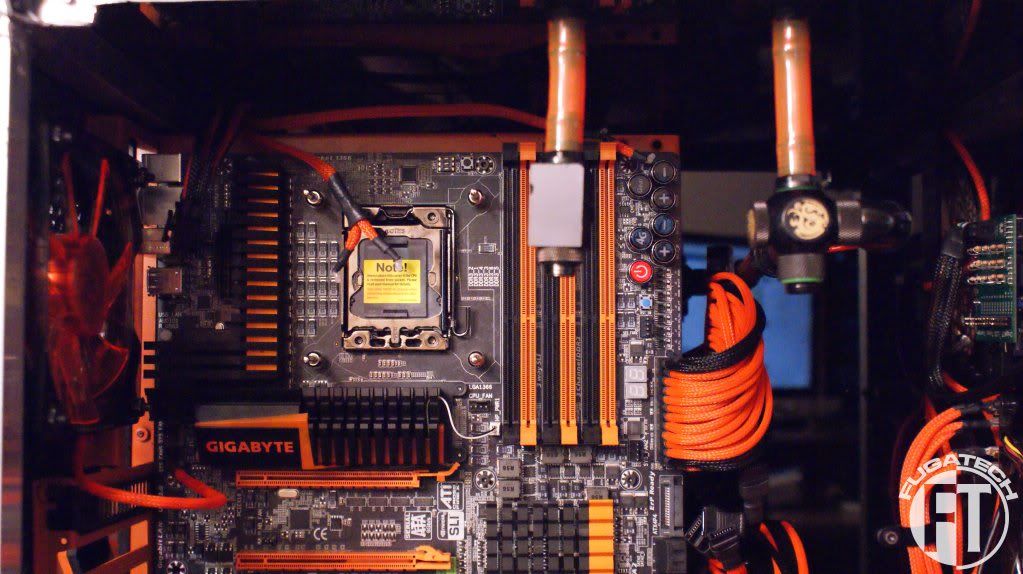
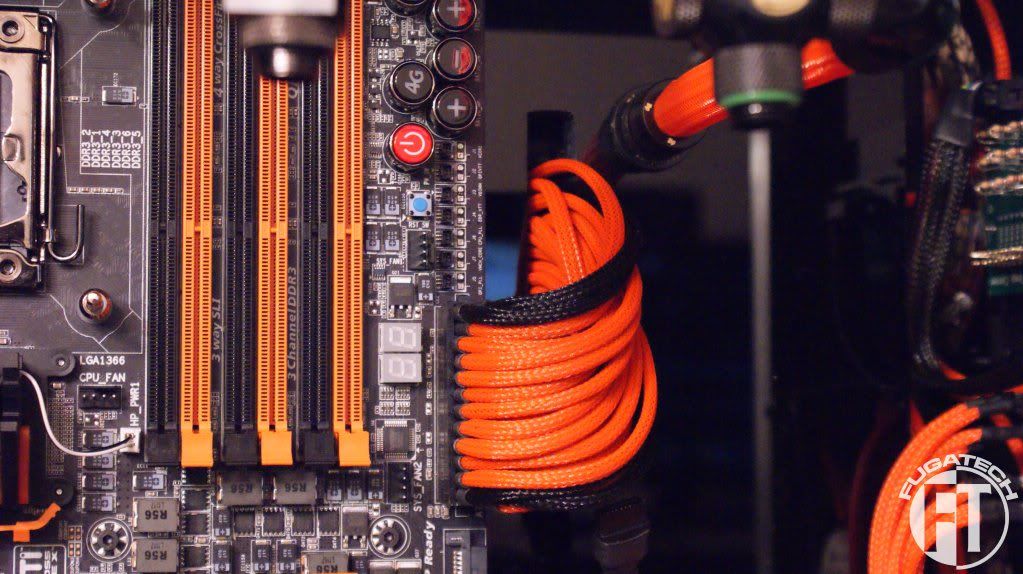
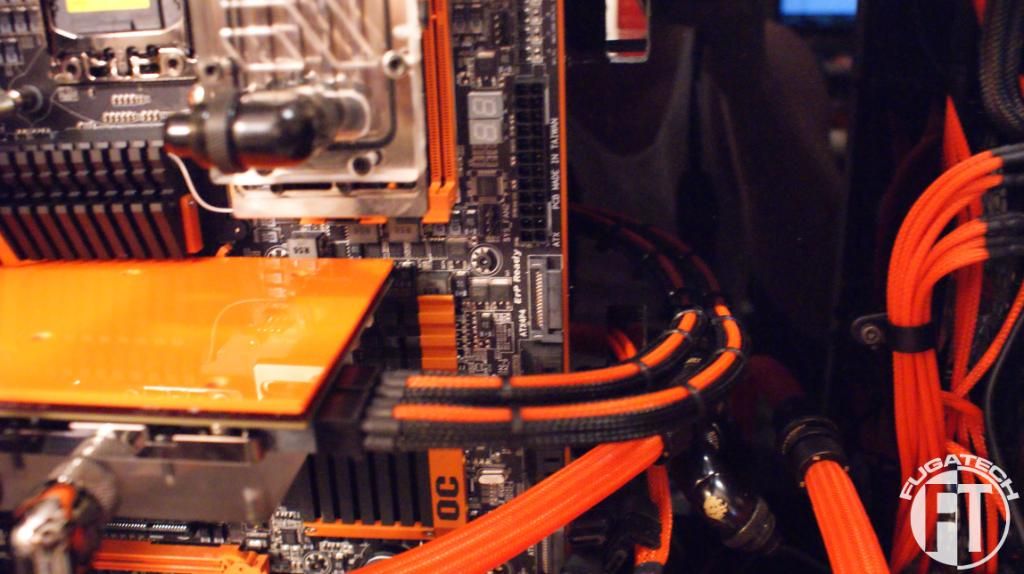
Gigabyte GA-X58A-OC mobo!!!!
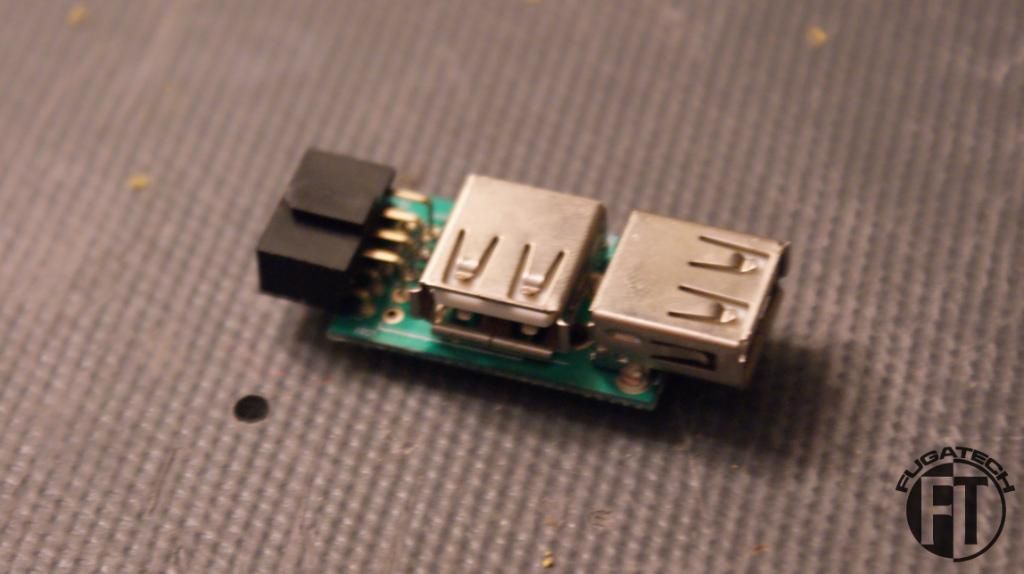
Internal USB plugs
On to the modding!!
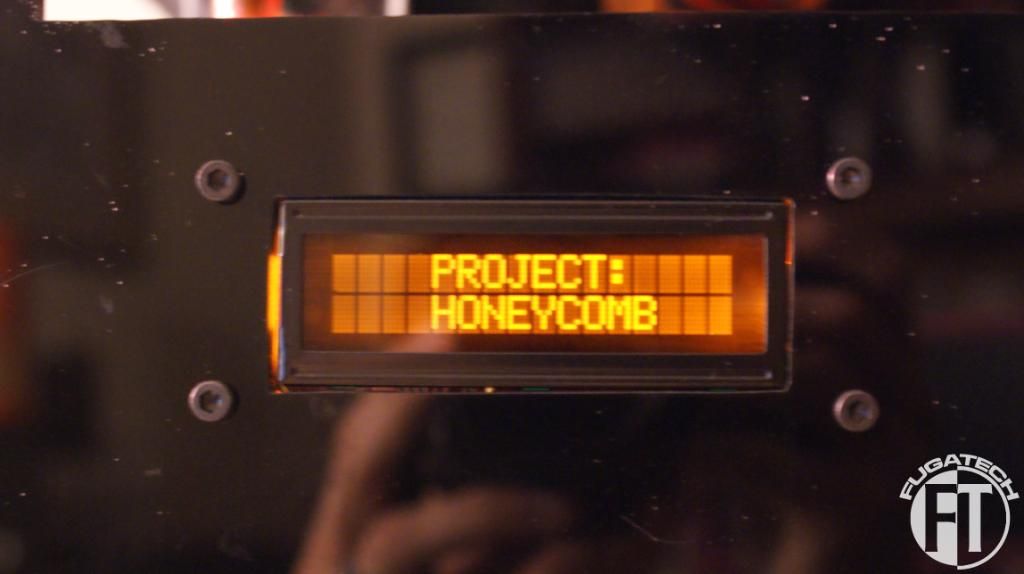
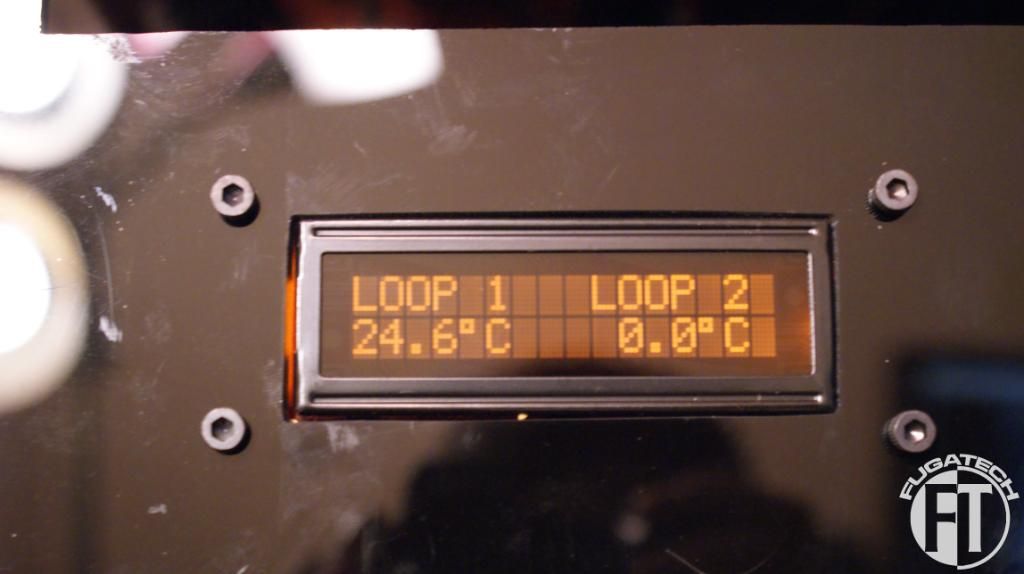
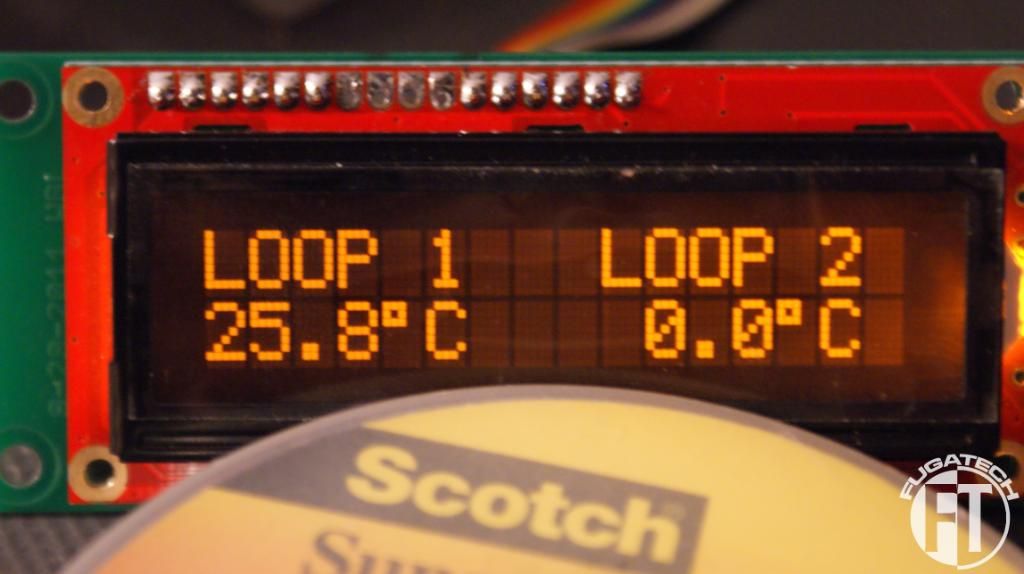
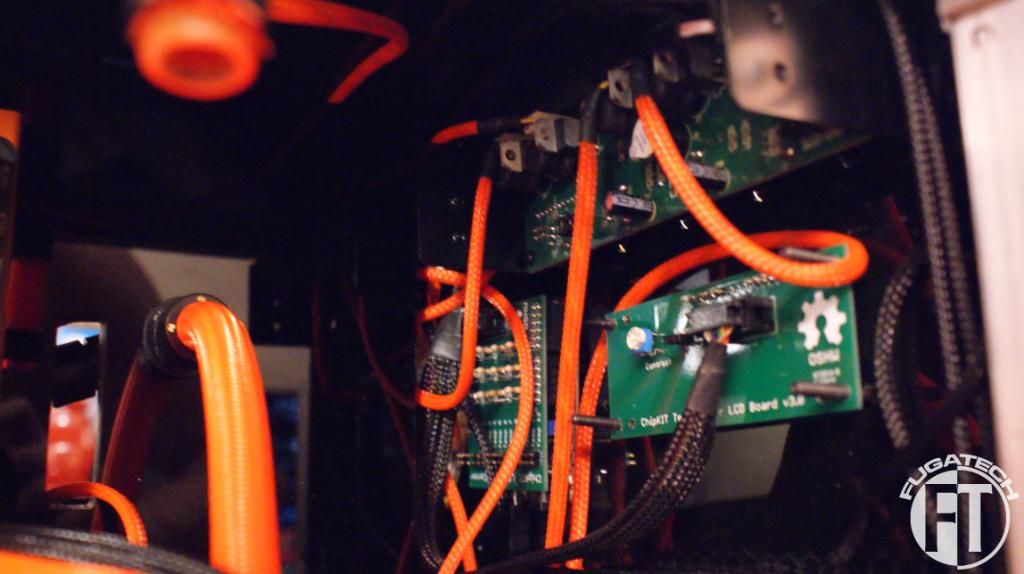
I contracted Will from TBCS to make me an LCD temp sensor setup for this mod. Its 2 pieces, the LCD and control board. It can display up to 12 different temps! I'm very very happy with it.
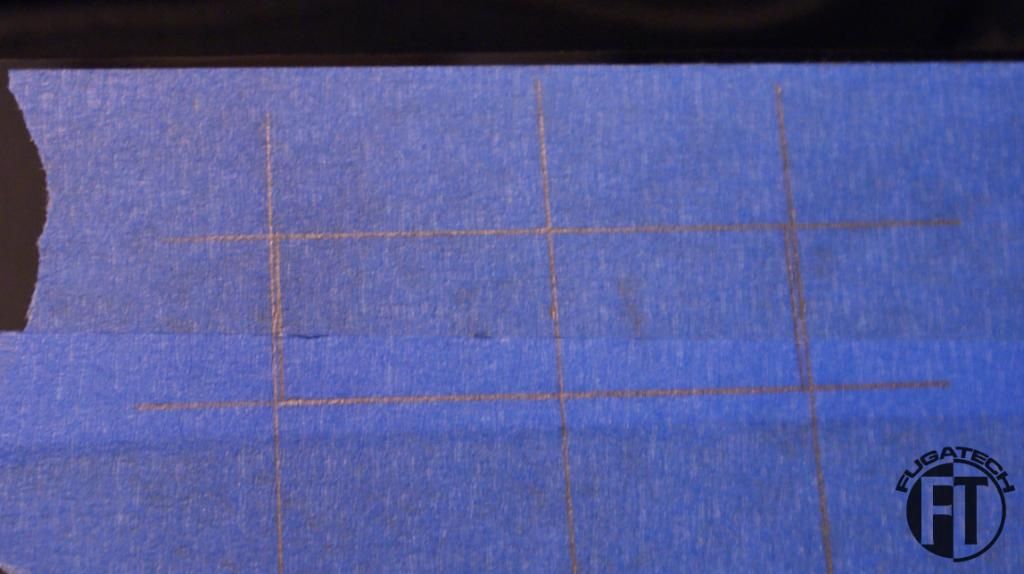
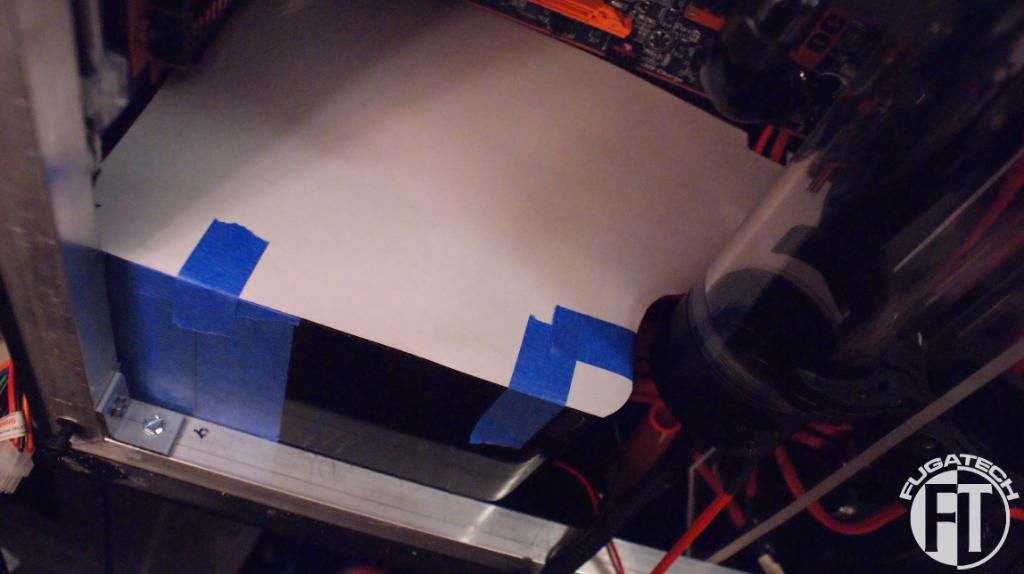
Here is the front all taped up and sketched out. Time to drill and cut!
And here is how it looks installed.
Thanks Will for all your help!
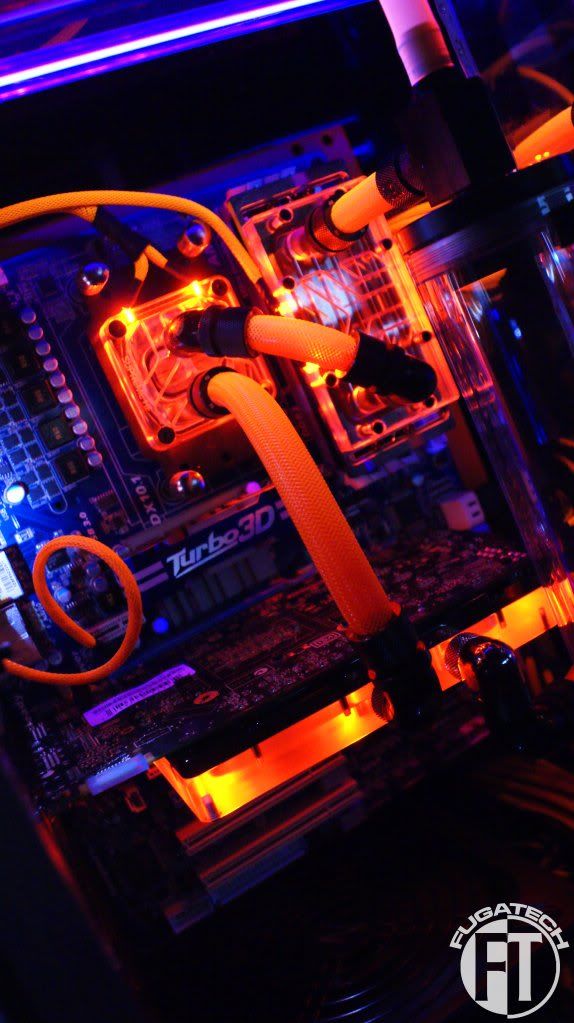
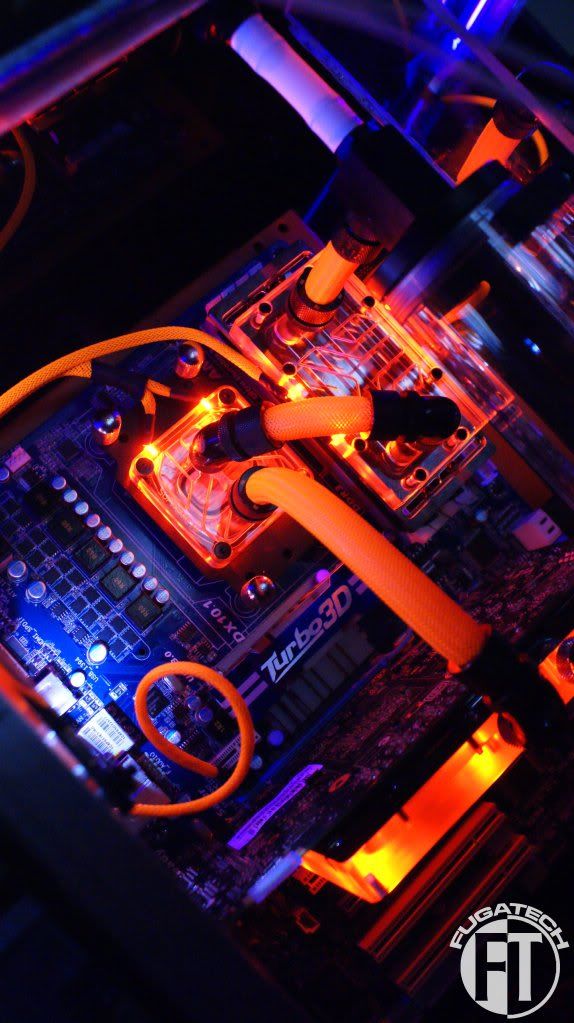
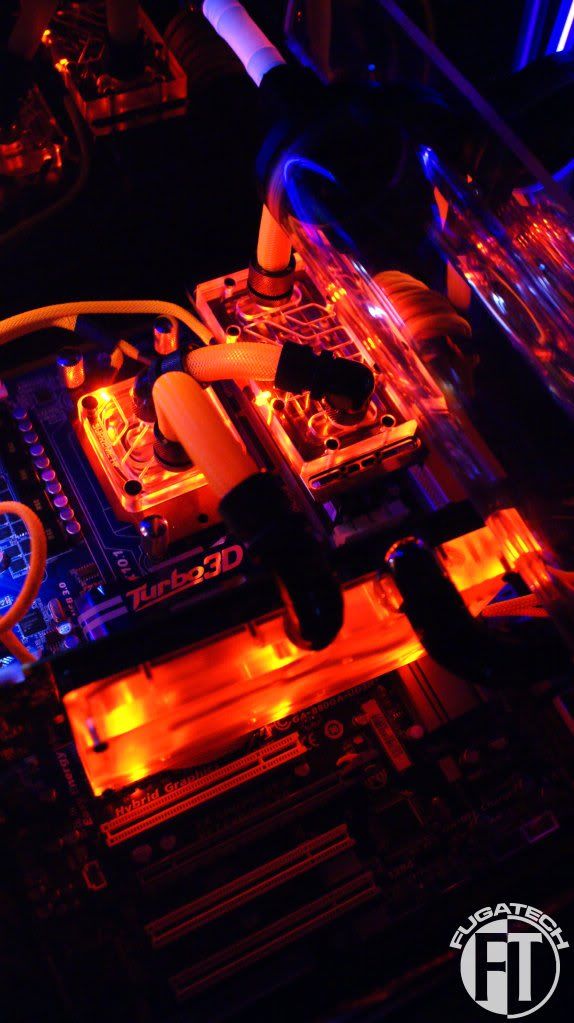
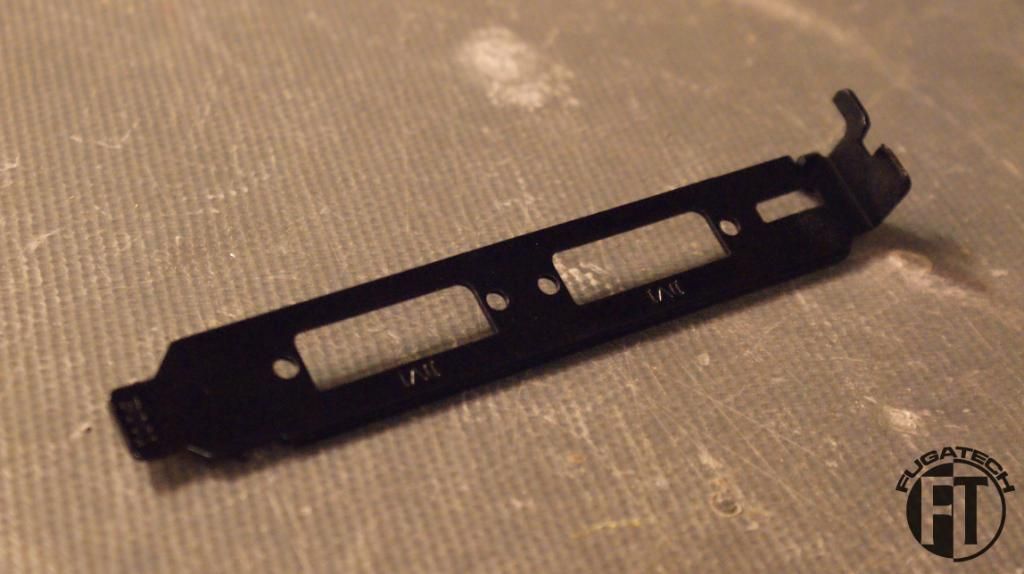
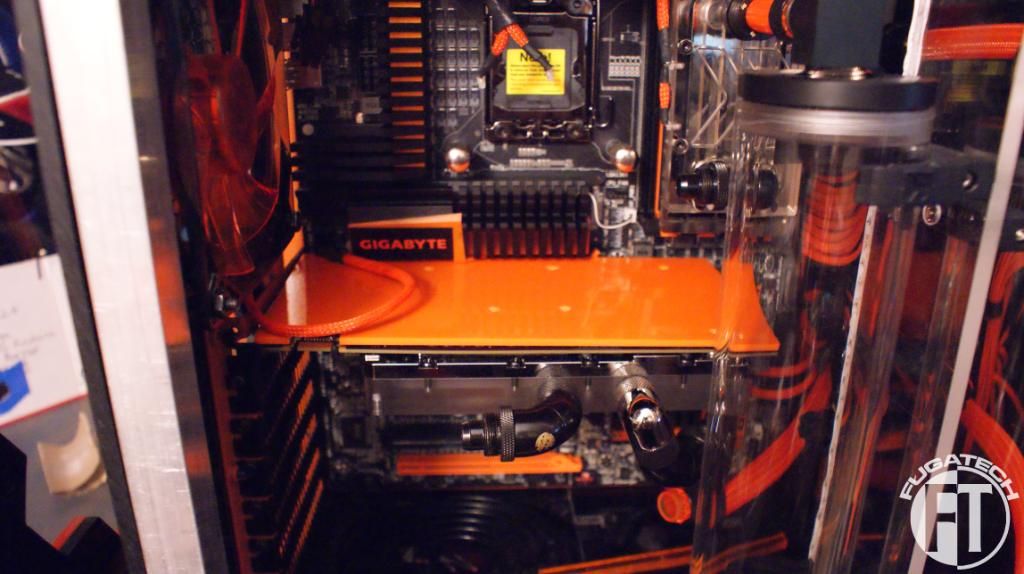
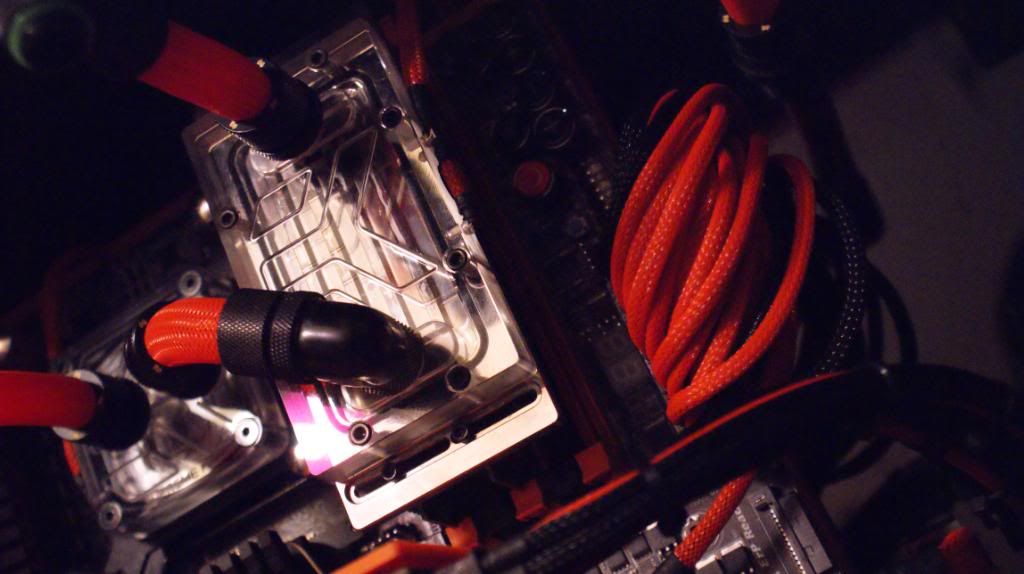
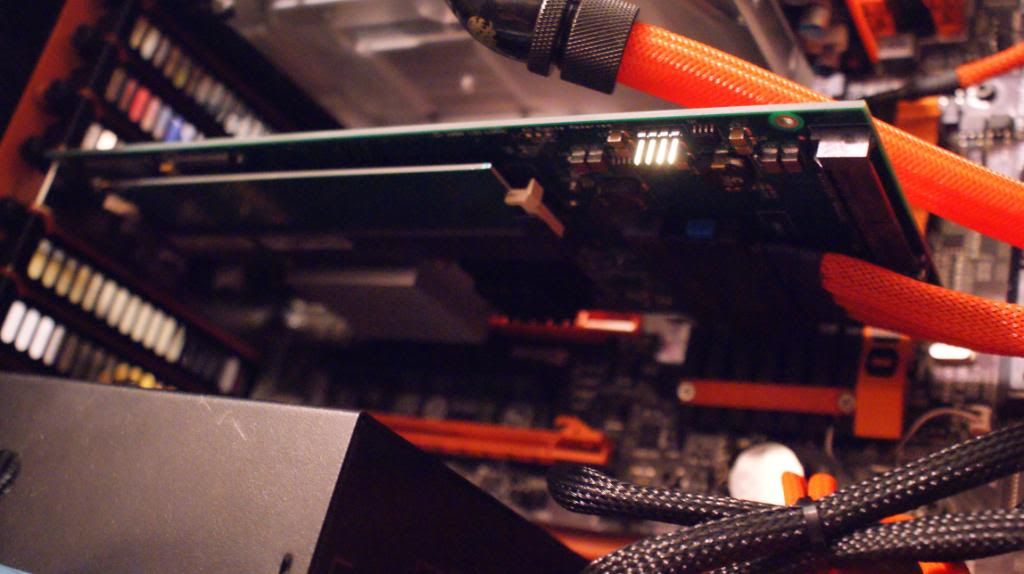
Now for the GPU. I got a single PCI bracket for it since its WC'd.
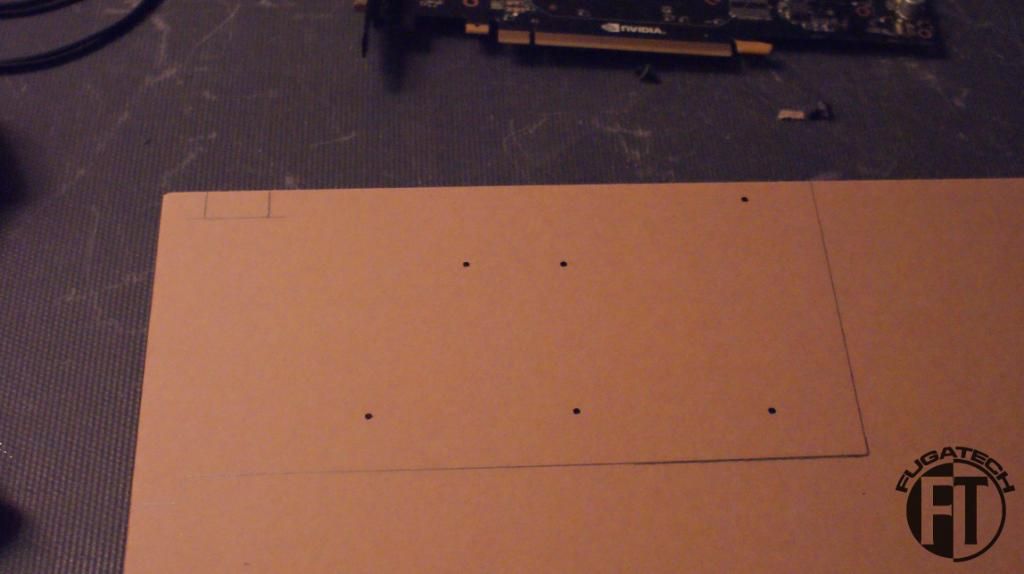
I'm a huge fan now of making backplates for all my GPUs. Measured.
Here it is mounted to the card and installed in the case.
It didn't come out very good because Bitspower uses different sized screws than DD does so my longer screws didn't fit. I may remake it later without drilling any holes in it.
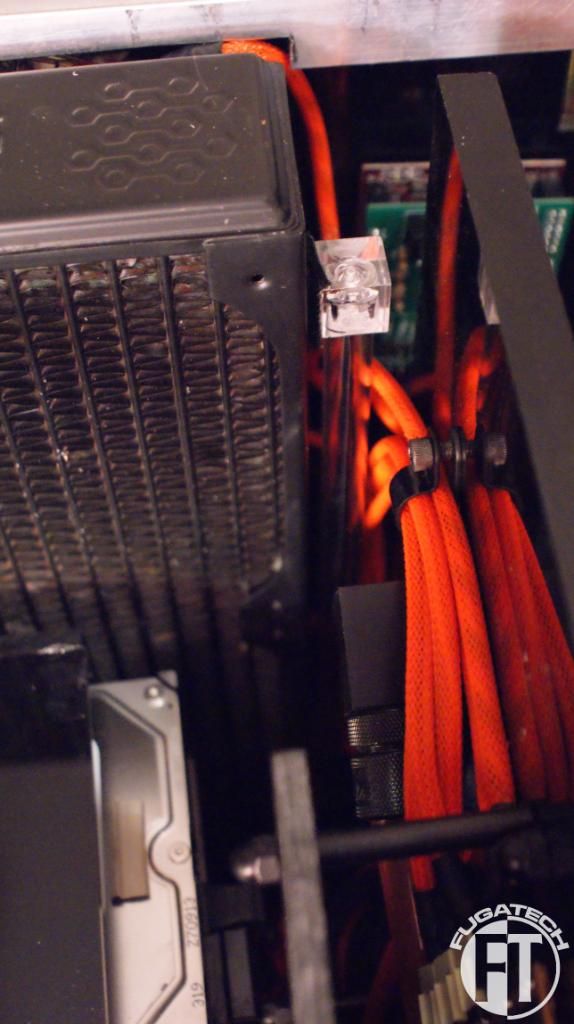
Everyone noticed how my GPU was sagging because of the Bitspower WB. Here is my fix. A 1/4" x 1/4" piece of orange acrylic cut to height. (the paper was still on when I took these)
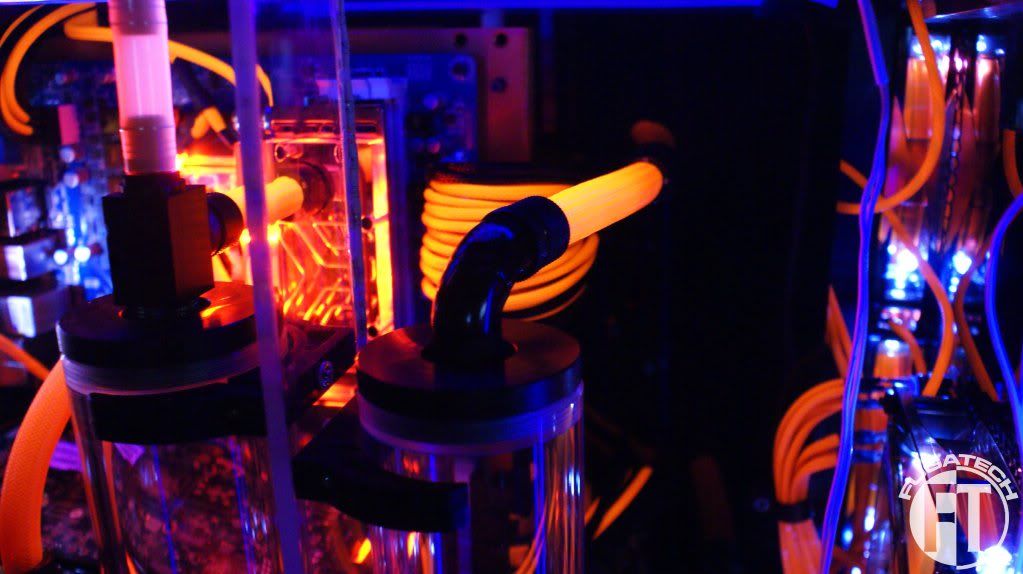
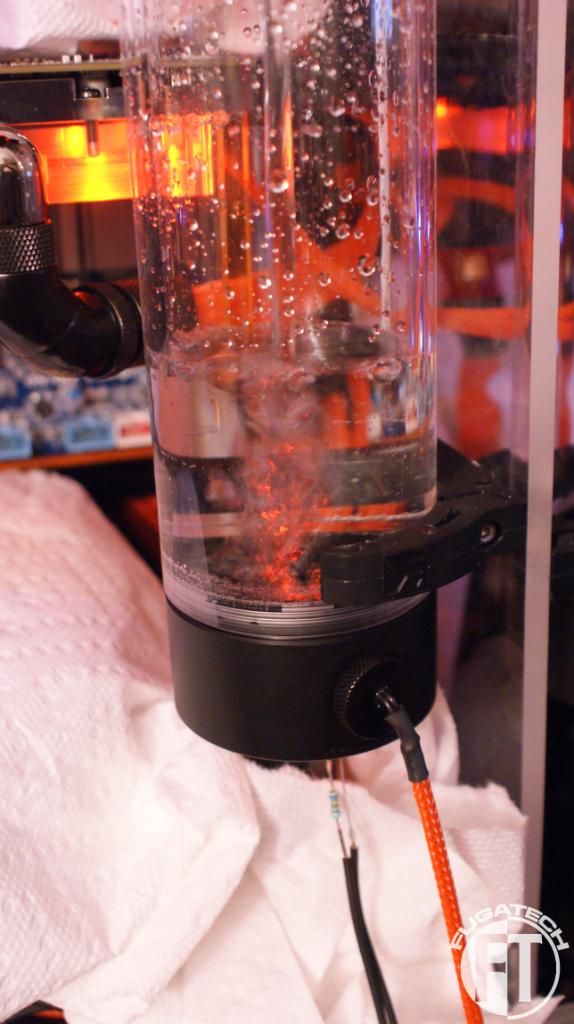
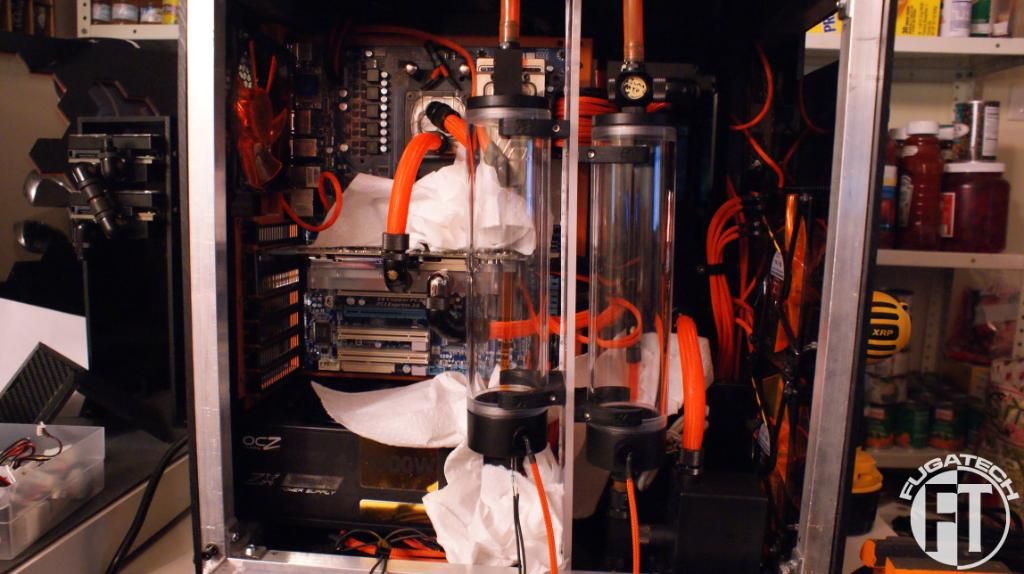
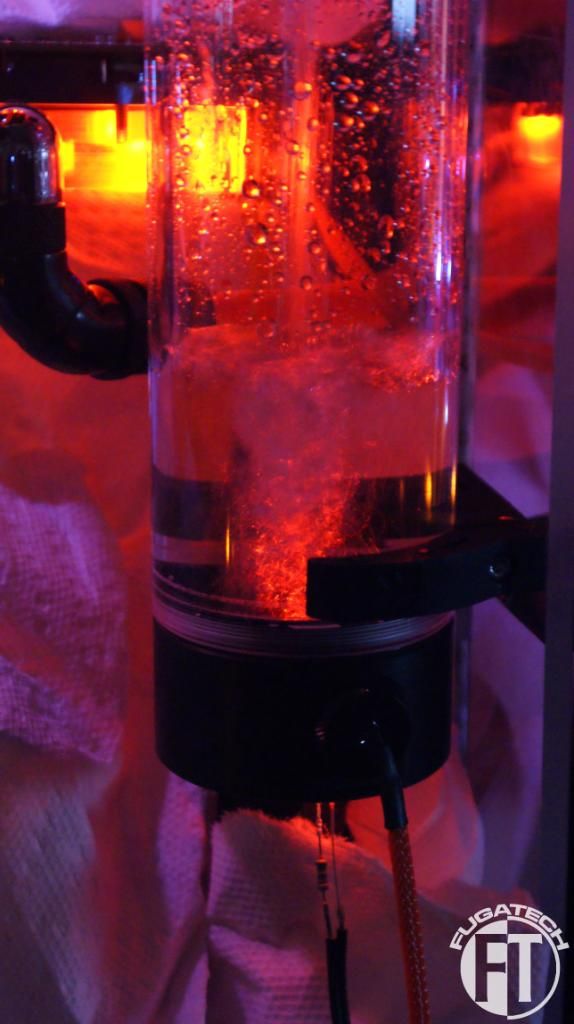
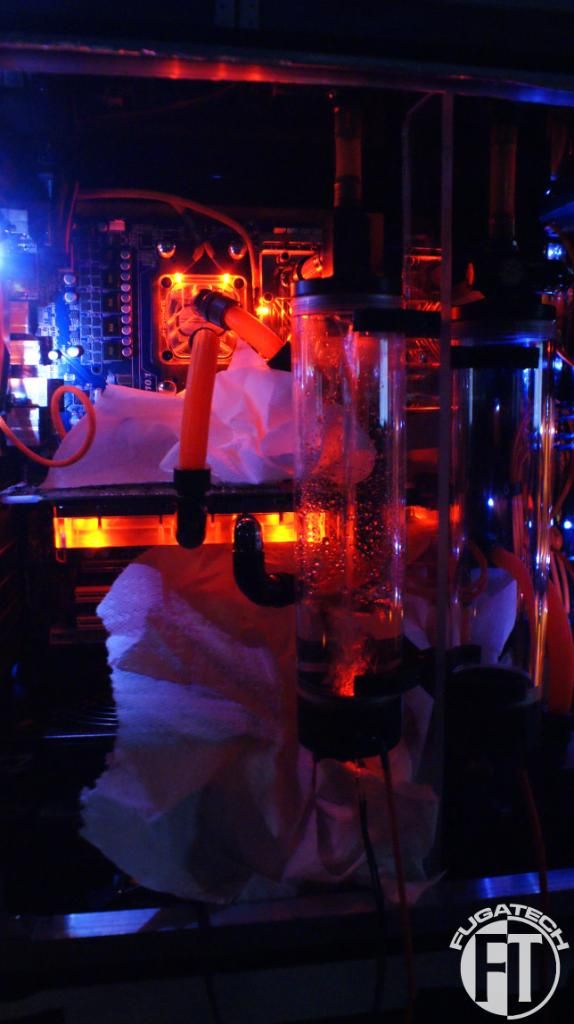
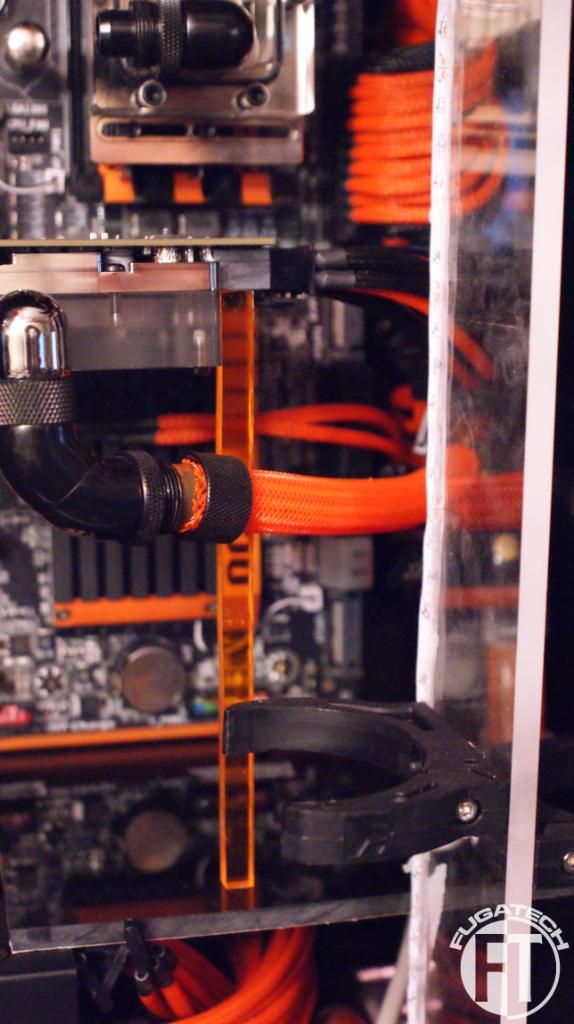
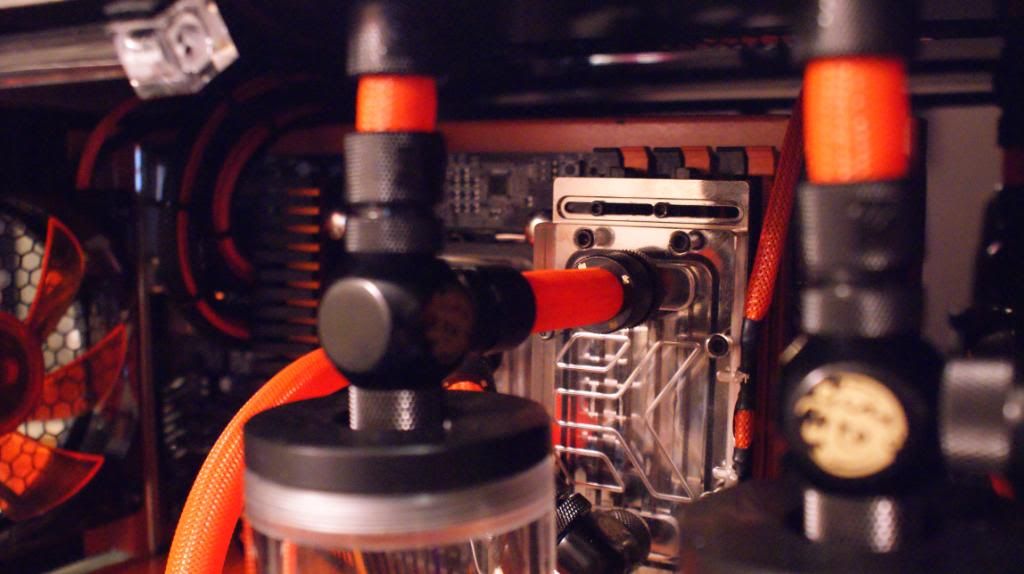
After awhile I just HAD to put water in this to see how it ran.
No load. No OS. Just running.
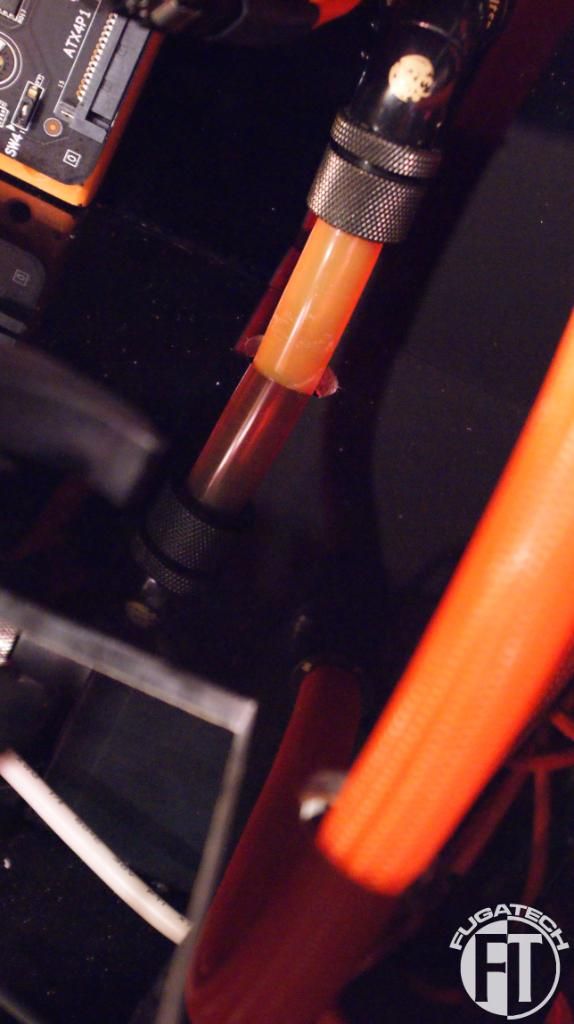
I noticed an air bubble in my CPU block.... I need to figure out how to get rid of that.
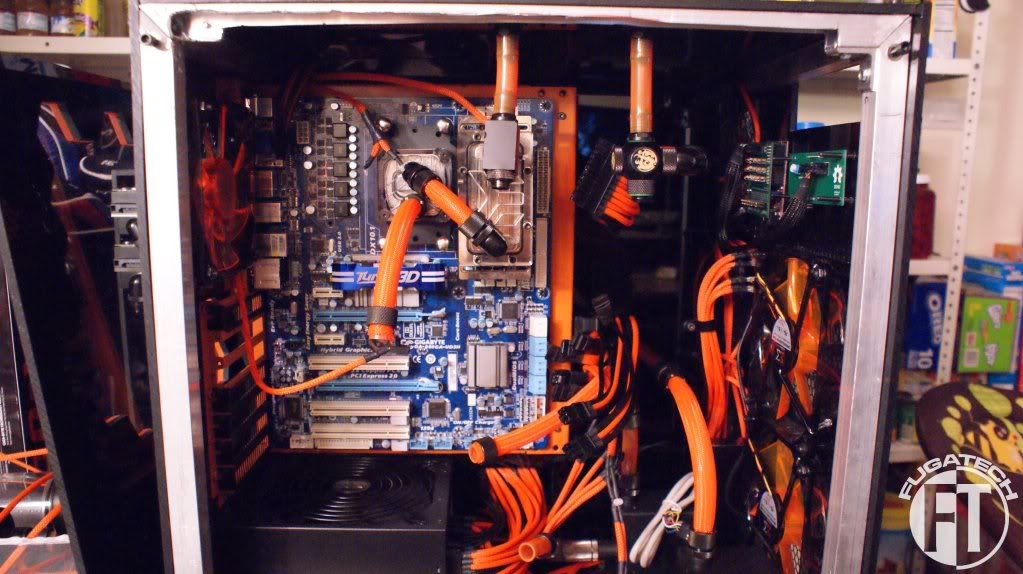
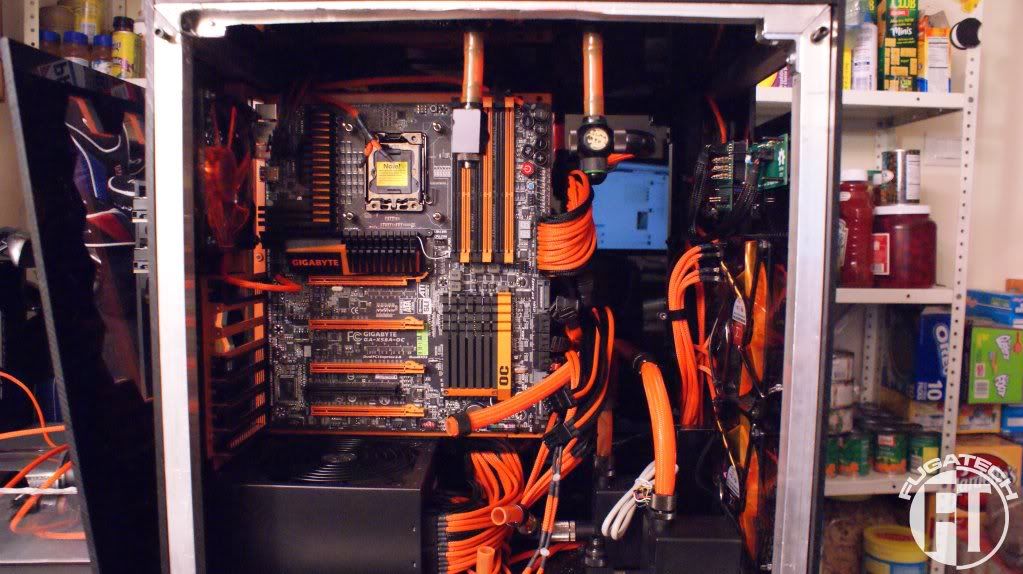
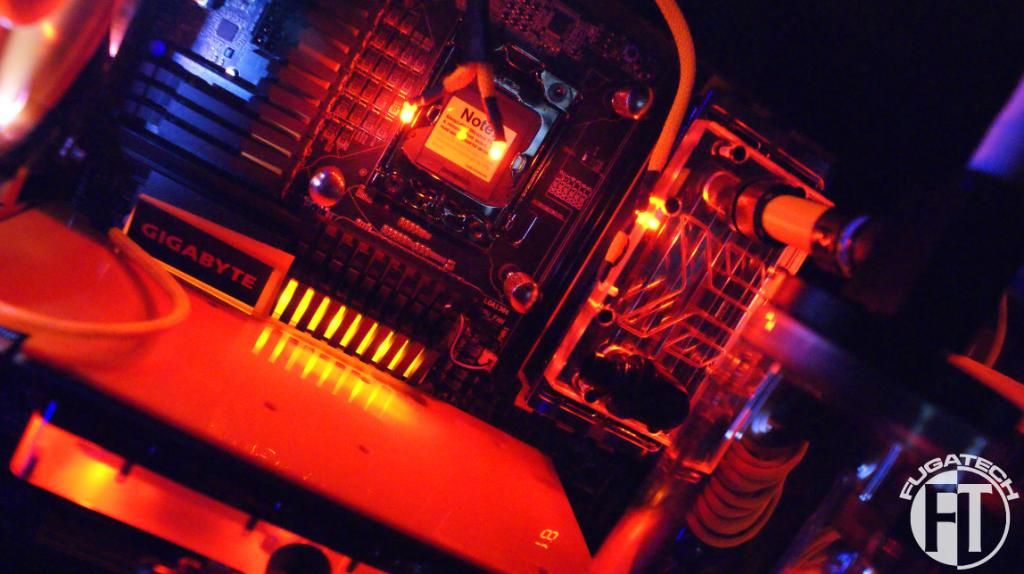
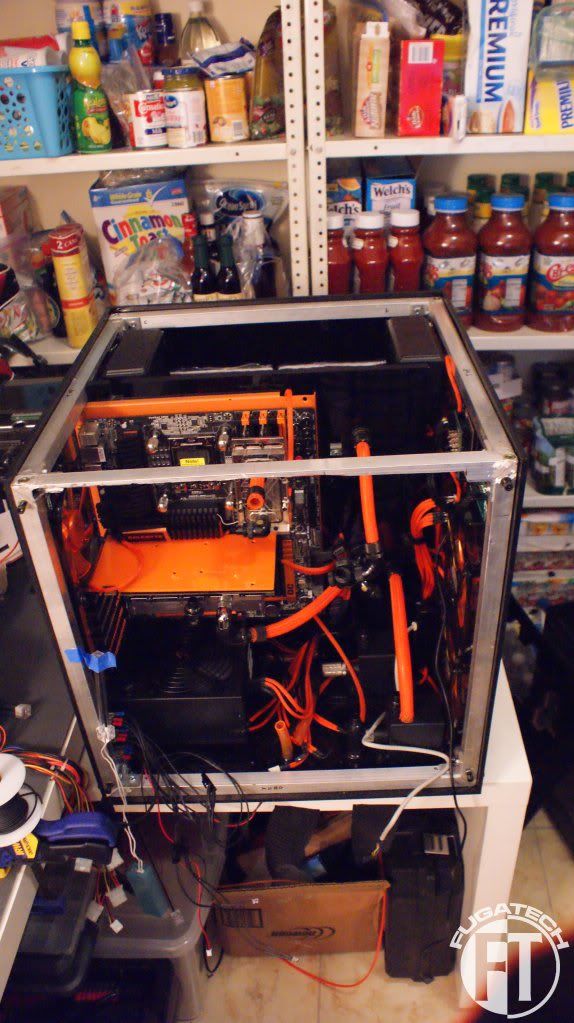
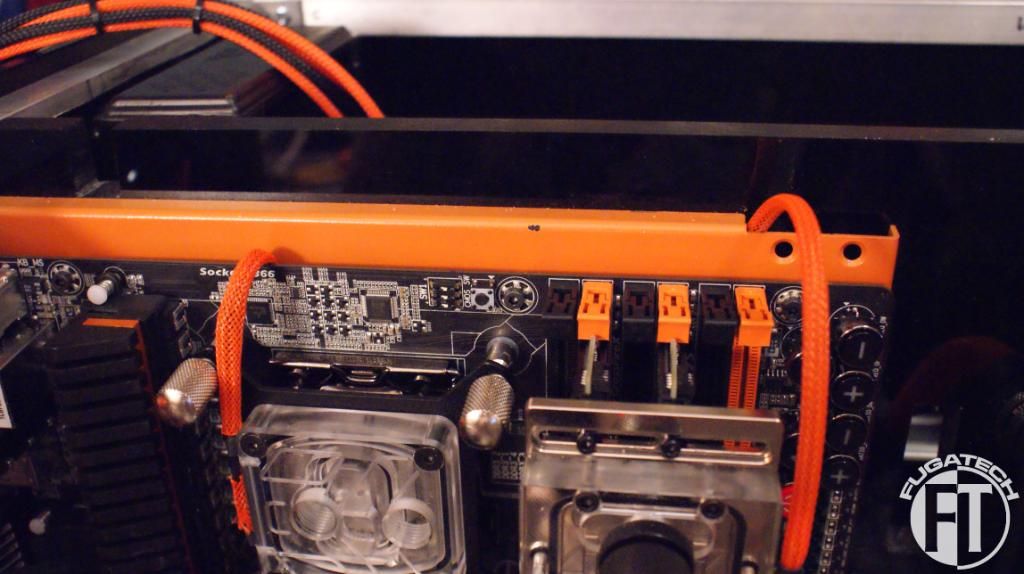
Since I got that awesome OC board I had to get that slapped in ASAP! So out with the old.
And in with the new.
The ATX connector is in a different spot so it looks a bit off.
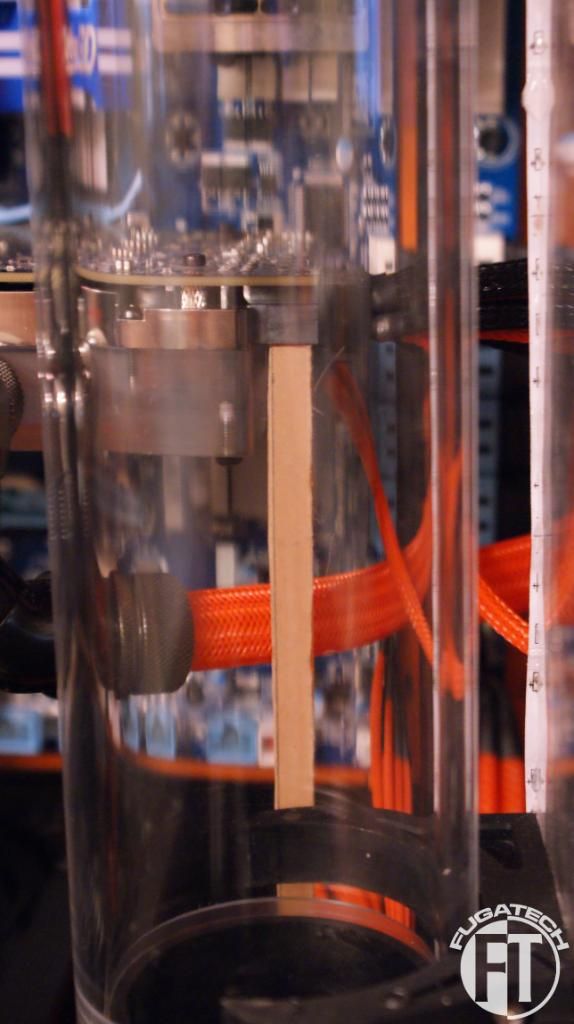
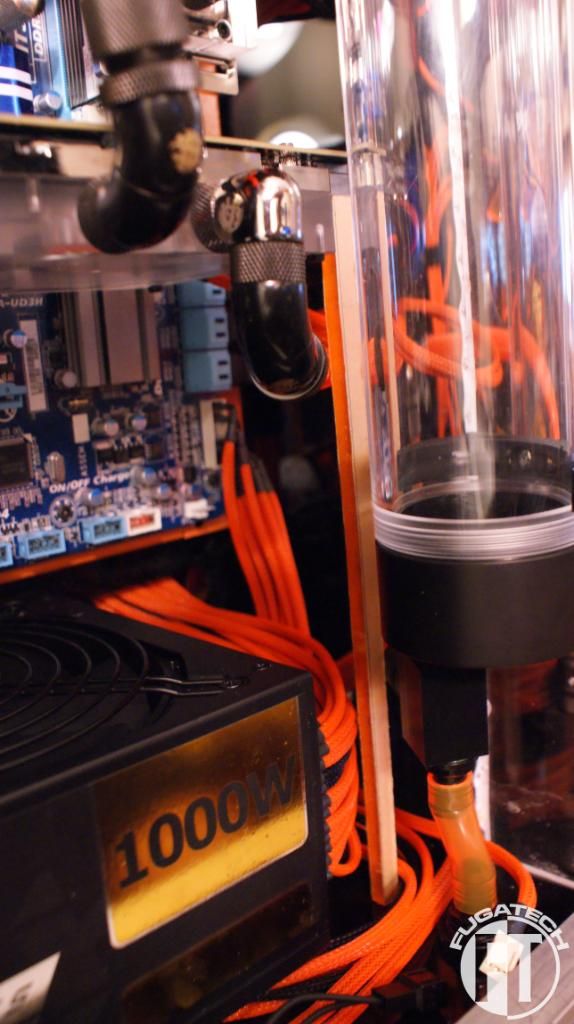
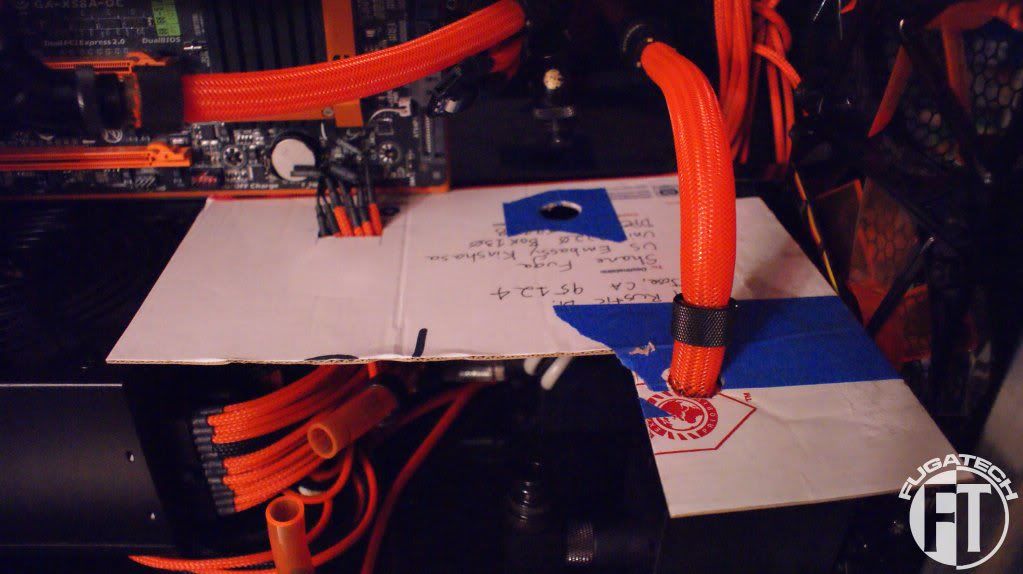
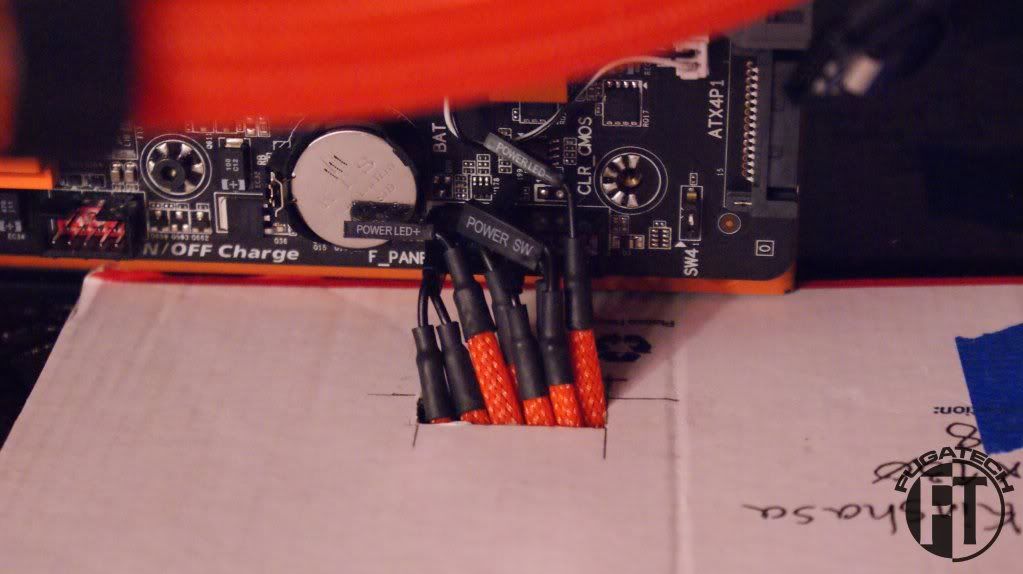
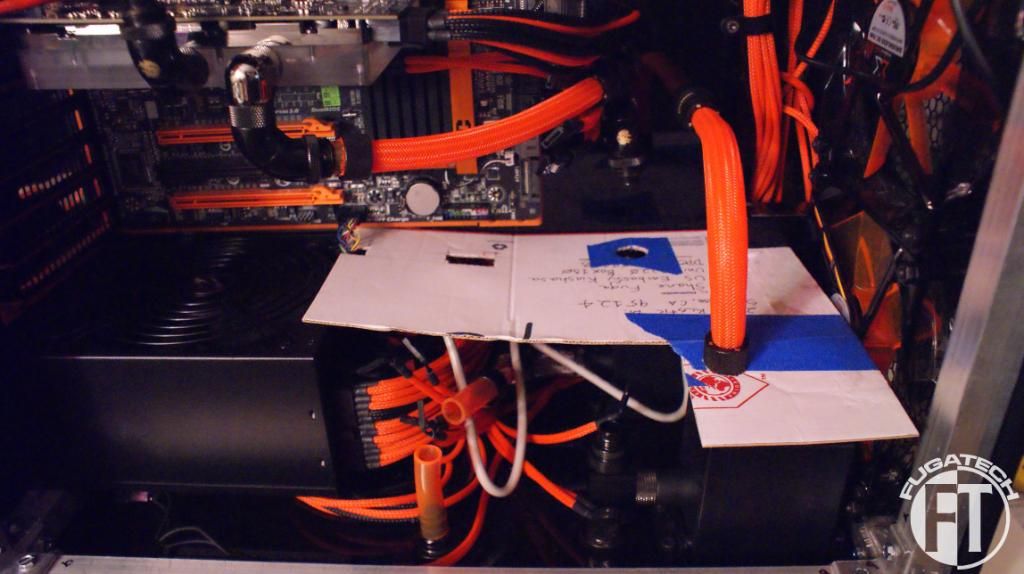
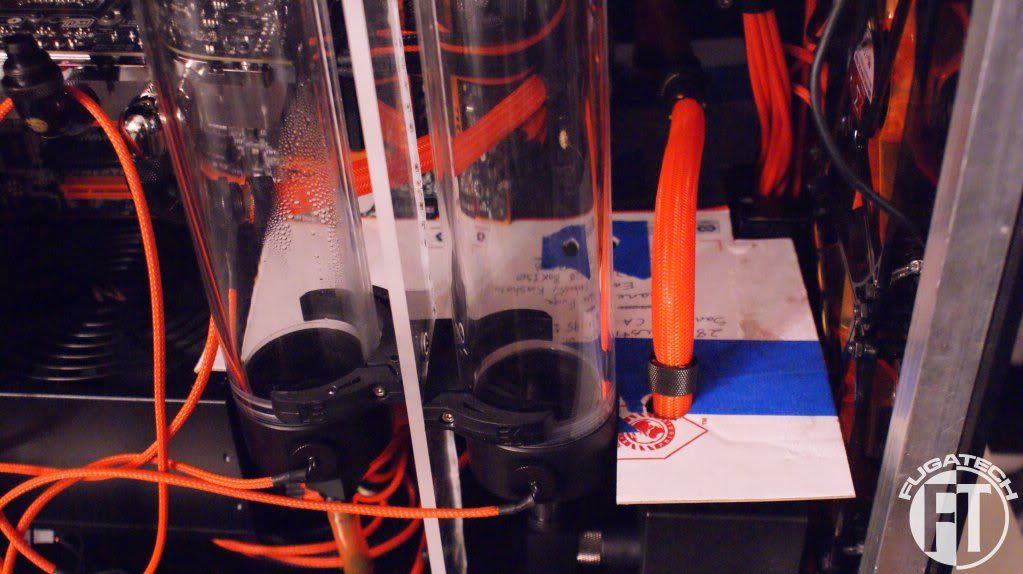
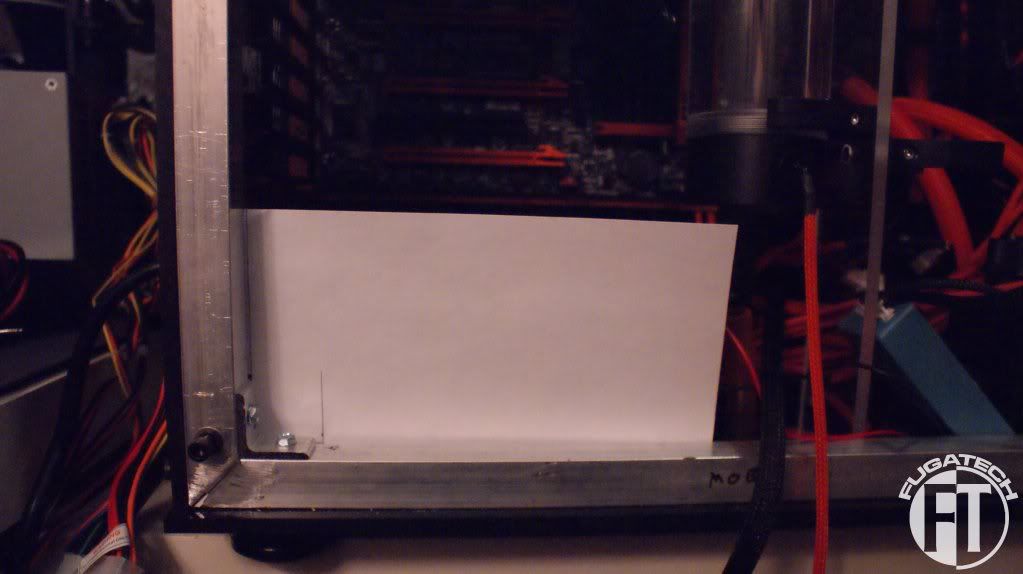
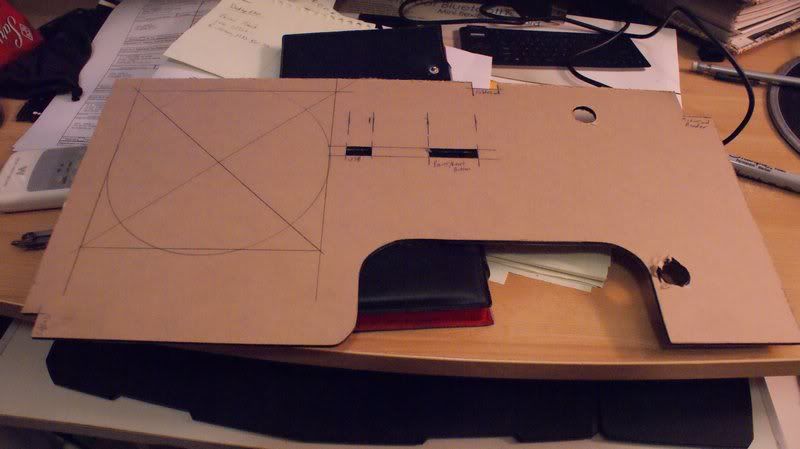
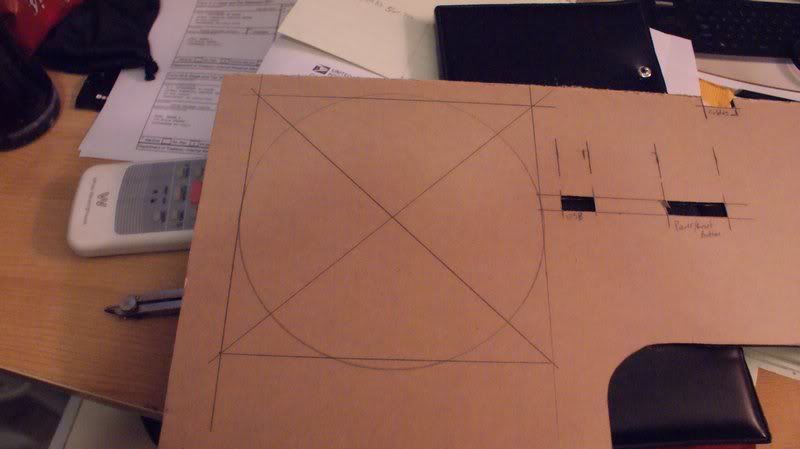
I wanted to make a midplate to hide all the wires. A PSU shroud just won't be possible any more. I started with cardboard.
Have to make sure the res support bracket can still fit.
It only goes back so far because that's the biggest I could go unless I buy another sheet of acrylic. I'm debating it but then that means I would have to flip my PSU and drill another hole... decisions decisions...
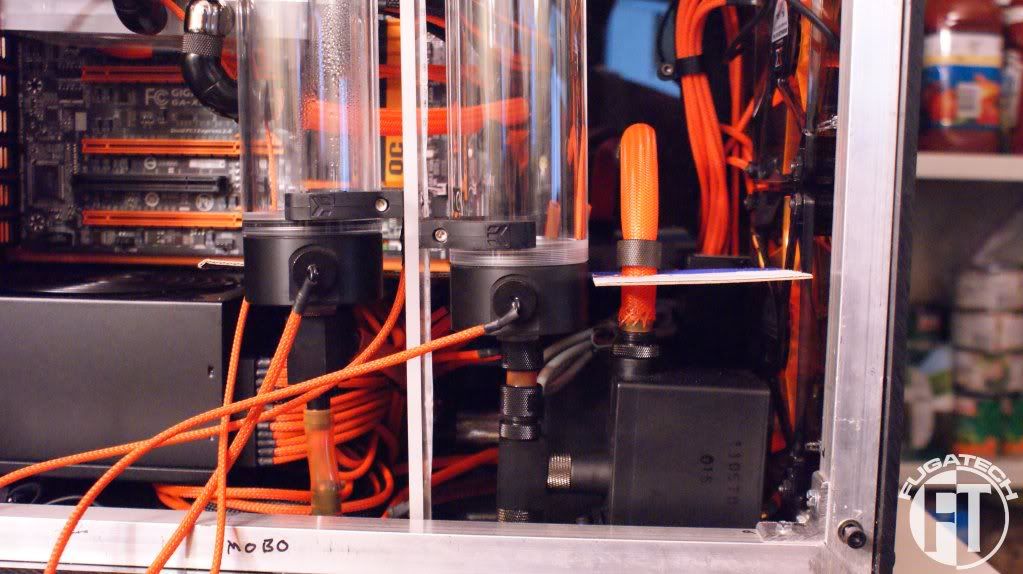
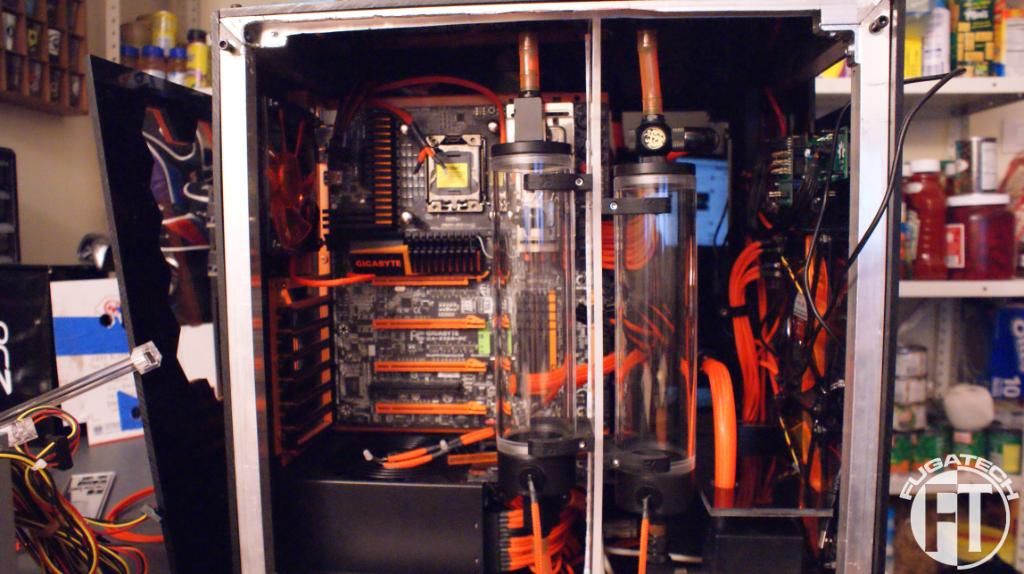
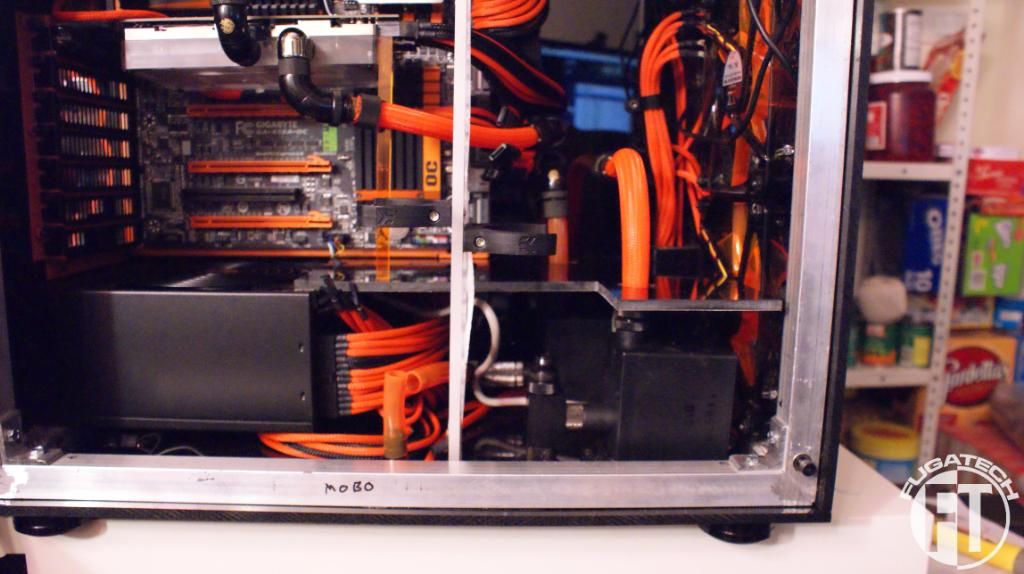
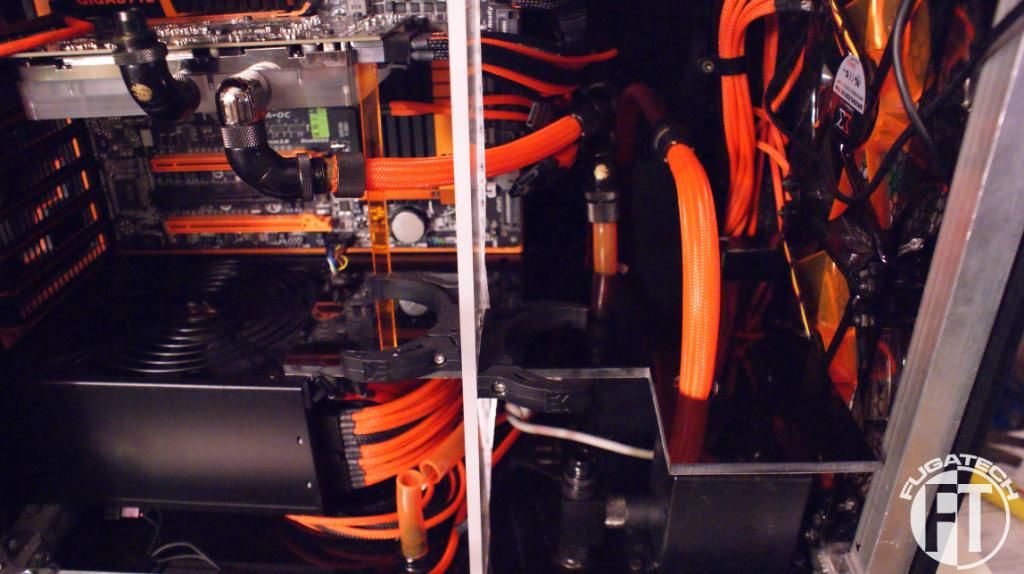
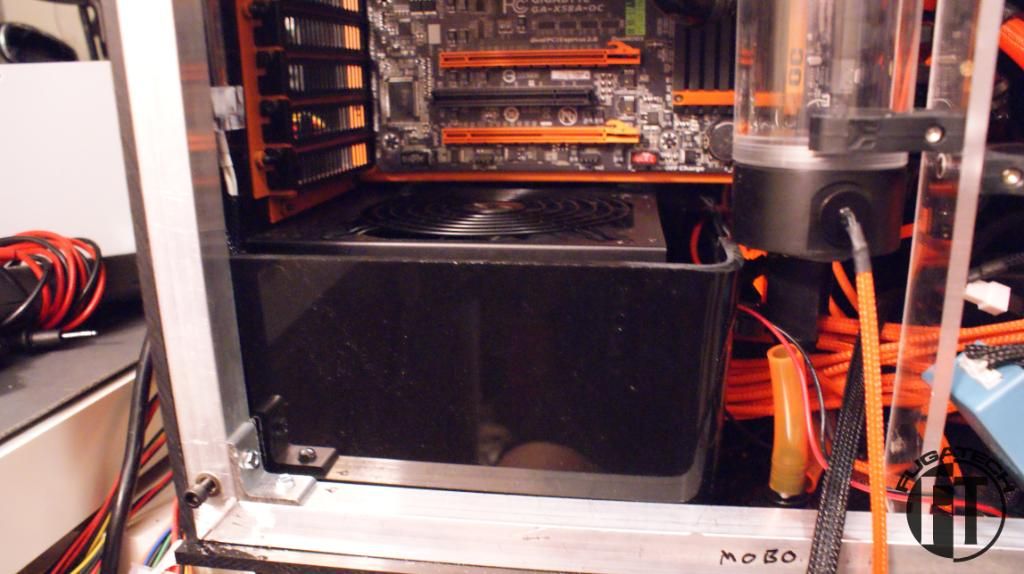
Well I cut and installed the midplate. Here is how it looks.
Since it goes under the GPU I had to shorten the brace. This works out great because it puts pressure on the corner that needs held down and I don't need to screw or glue the midplate into place.
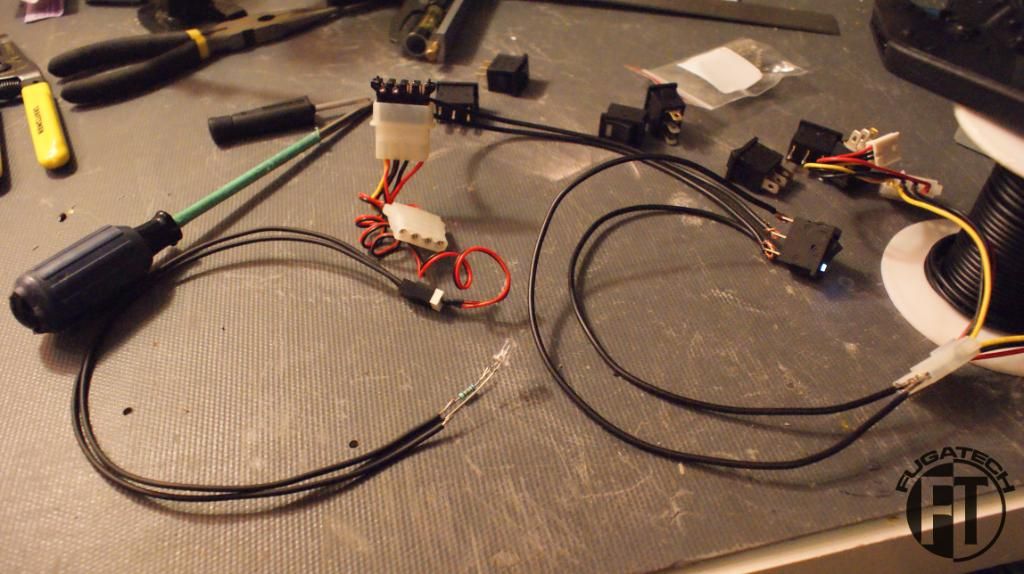
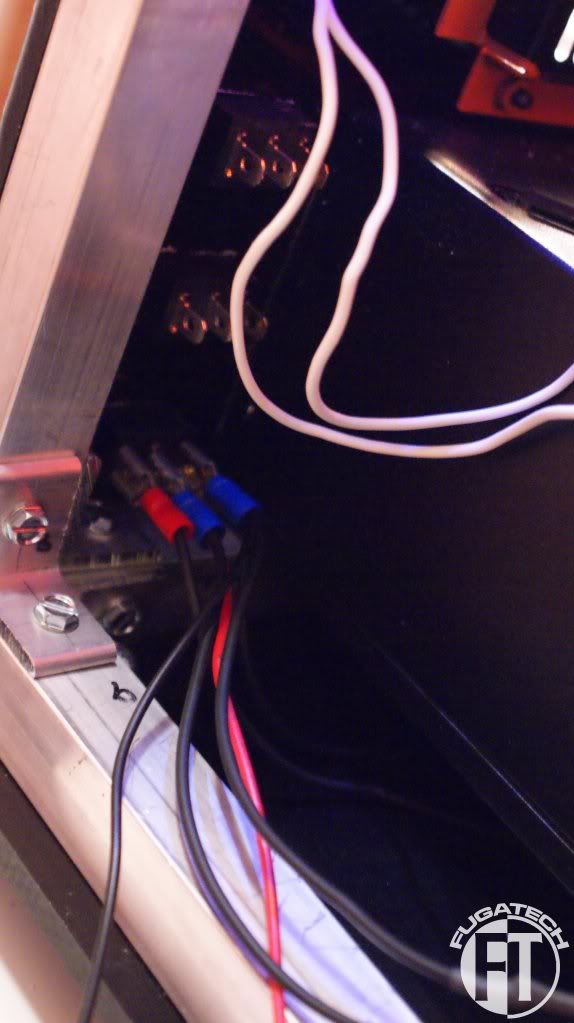
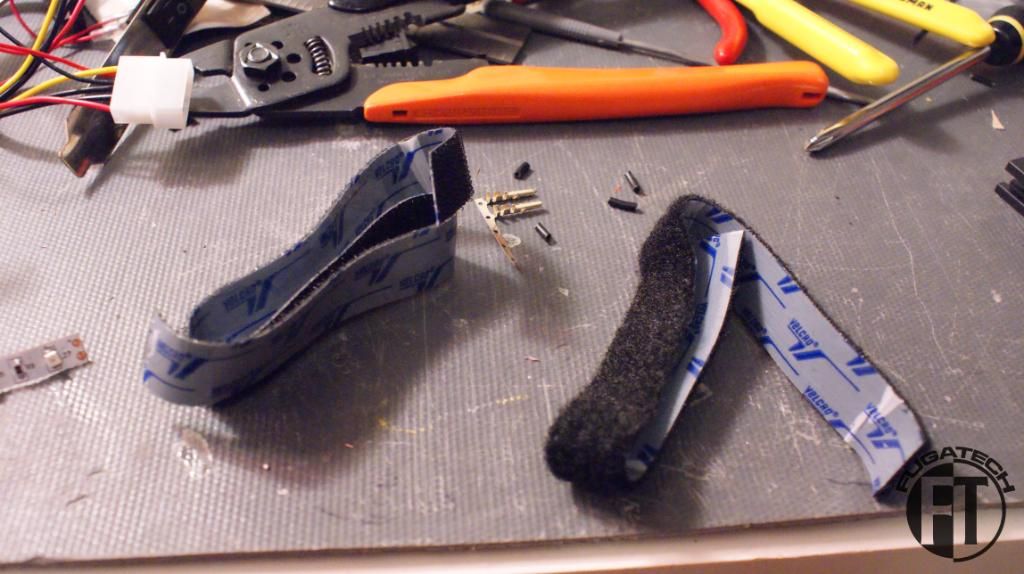
Since I never used rocker switches I had to experiment to get them to work.
This was great because I was able to cut and rewire my cold cathodes to use one new rocker switch that will be mounted in the back of the case. That will be in my next update.
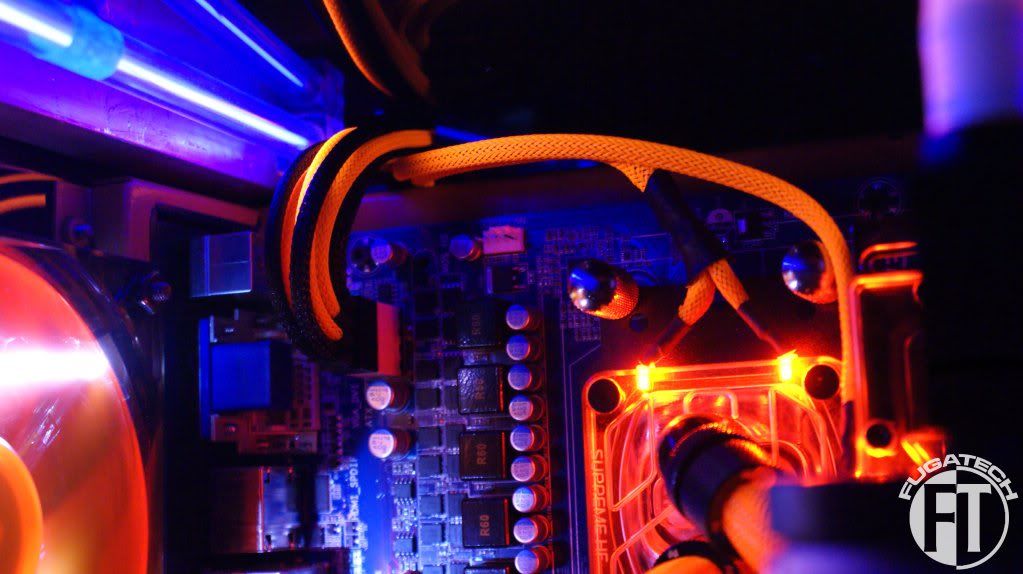
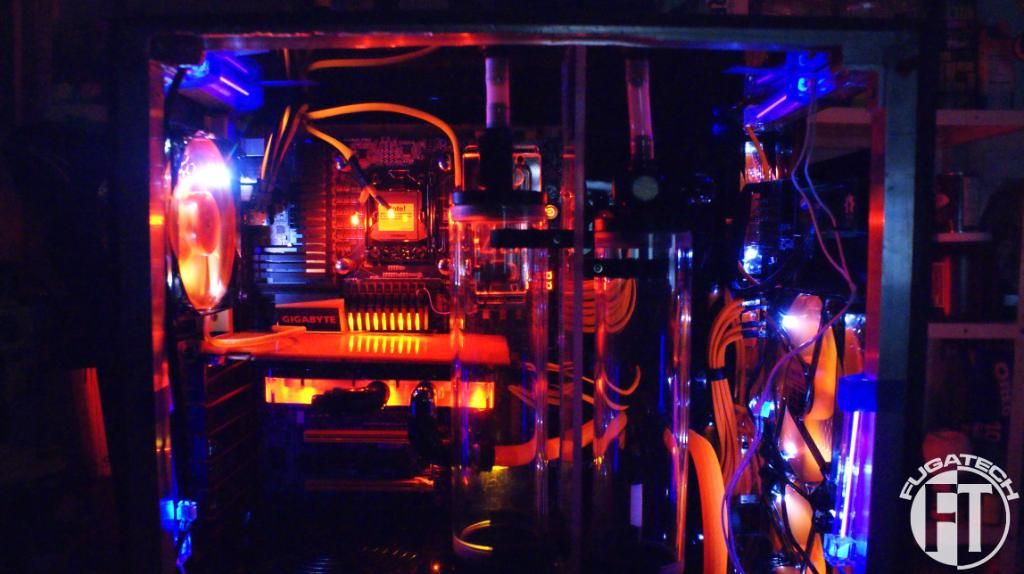
And lastly I installed the 4x 4" UV cold cathodes to see how it all looked.
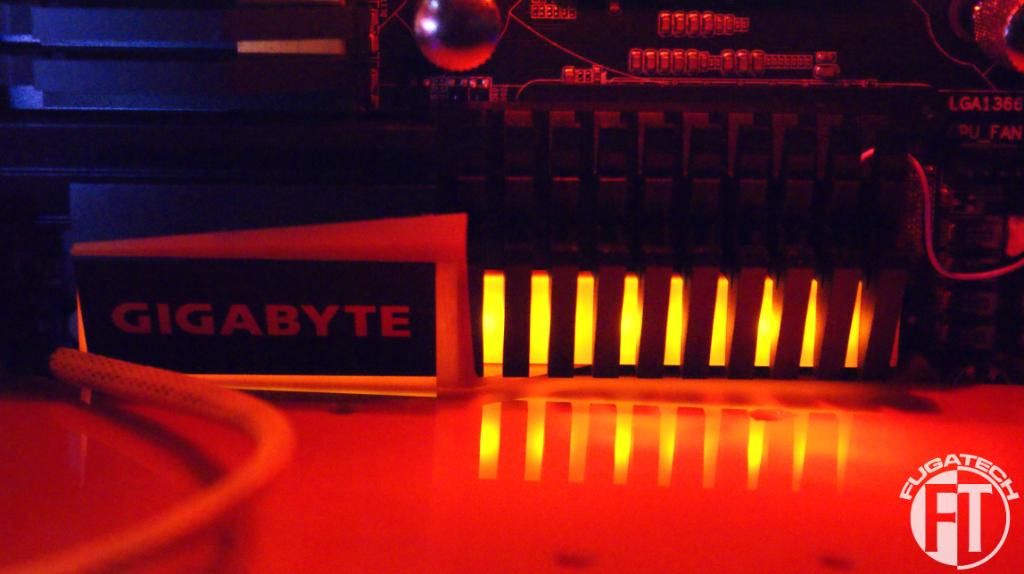
I love how the mobo has some lighting in it already. Fits in PERFECTLY!!
That's it for today. I'm sorry this update is so big. December has been crazy for us. I'll do my best to keep updates smaller and more frequent.
Cheers till next time.
loving it! :santa:
Heh - I remember drooling over that board when Gigabyte announced it last year at CES. I remember seeing it appear on the projector screen at the GB party where Curtis won his motherboard. I wanted one for my orange and grey Antec 900 revamp but can't justify an upgrade from my Q6700 system...
that board looks SOOOOOOO much better in there!!!
Thanks!Quote:
Originally Posted by Cale_Hagan
It truly is awesome lookingQuote:
Originally Posted by slaveofconvention
Thanks!Quote:
Originally Posted by SXRguyinMA
FEATURED!!!
Congrats!! :banana:
Well deserved. Congrats man!! :up:Quote:
Originally Posted by SXRguyinMA
hehe thanks guys!
you deserve it, this thing is sick!
Forgot to say in my last update that I got some Silver Kill Coils for the loops.
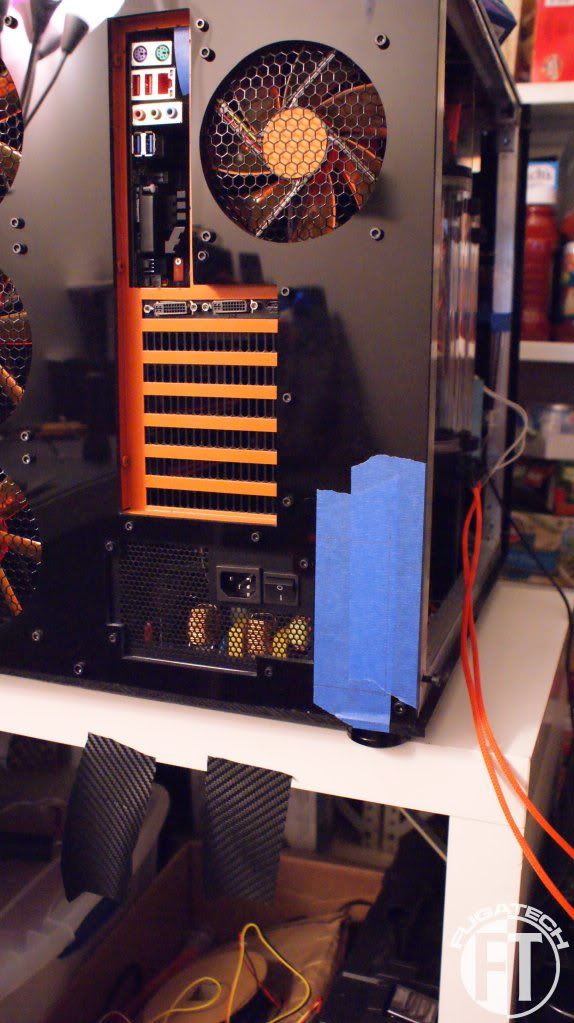
Since I had never used rocker switches before I had to do some testing.
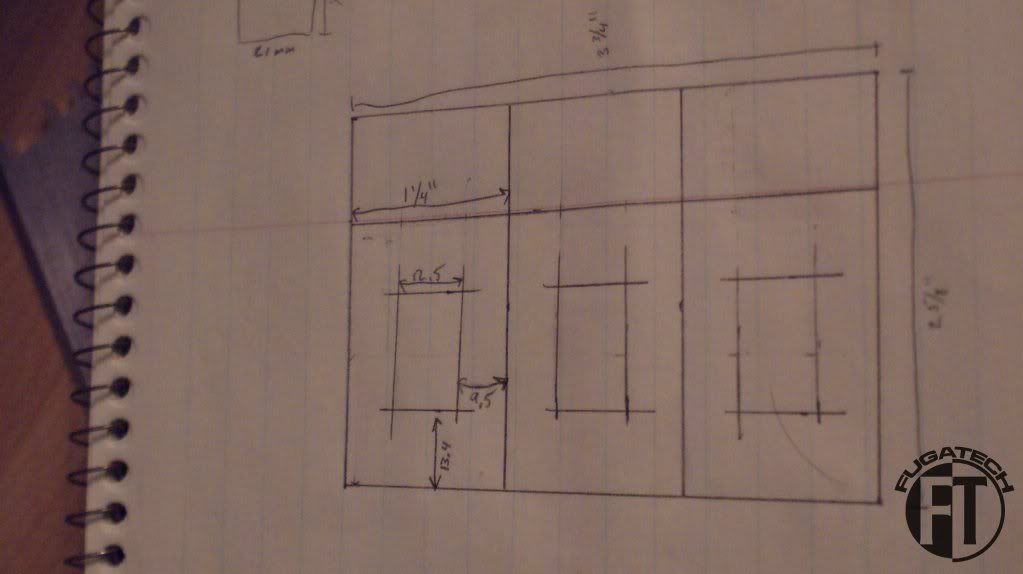
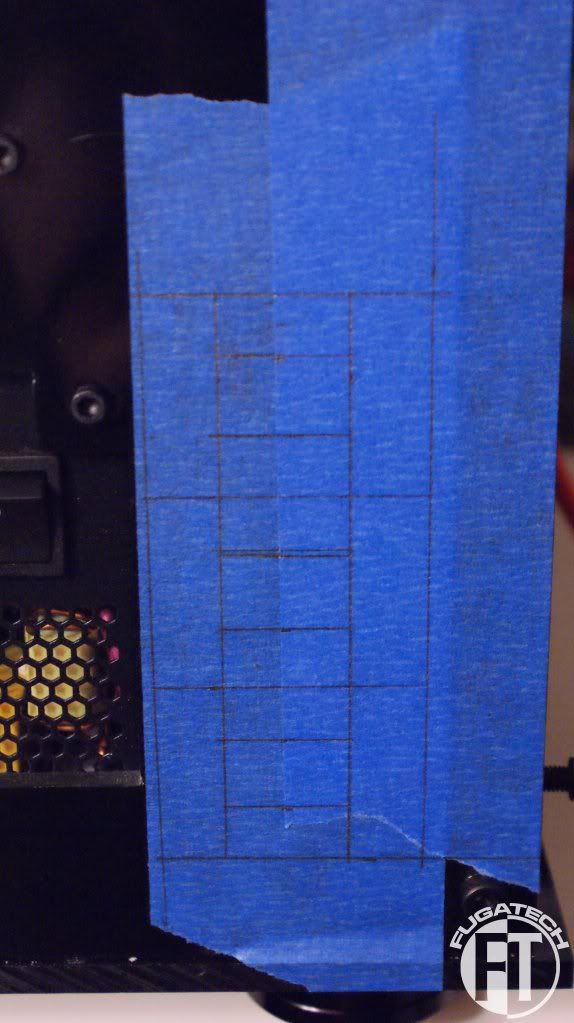
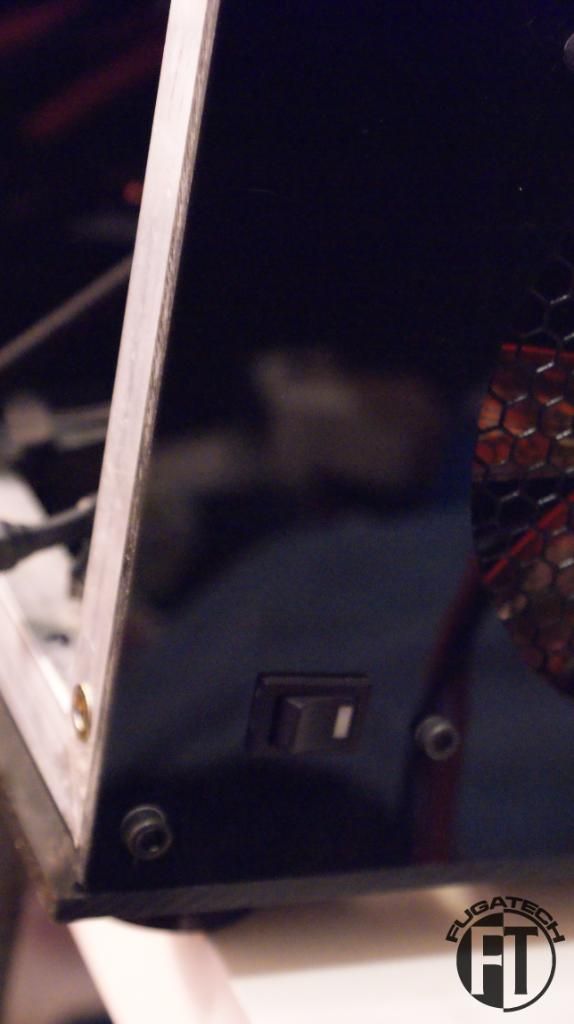
Now how to mount them? I made a sketch so I knew the measurements.
Put on some tape.
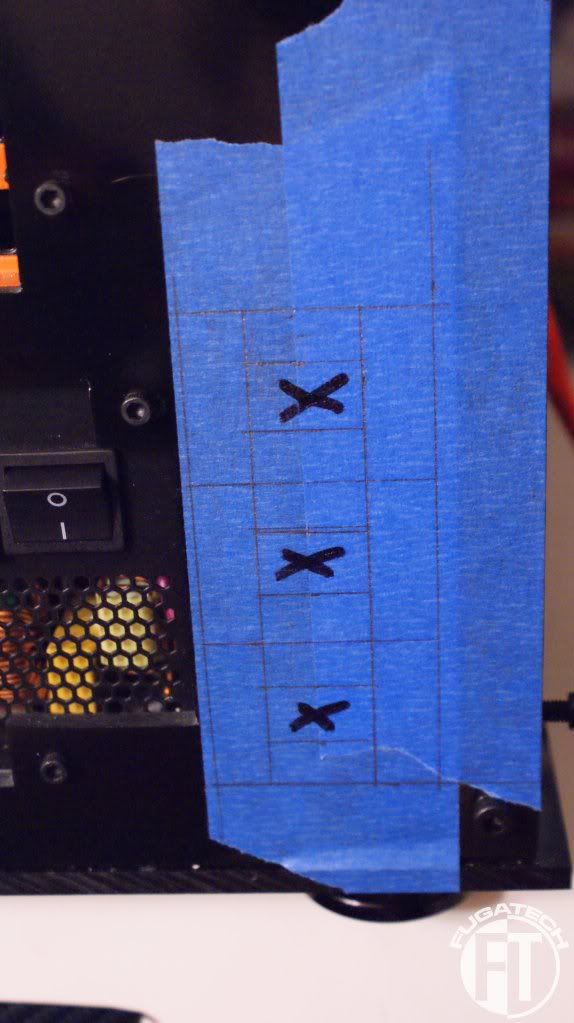
Marked
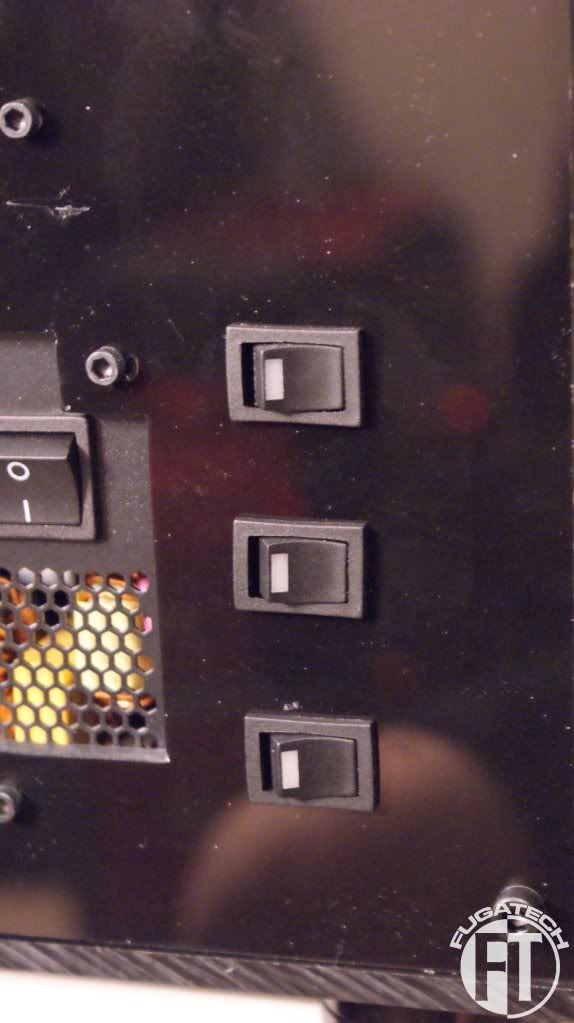
Cut and installed!
It works!
Inside view.
These 3 will control the Mobo door LED, All UV Cold Cathodes on both sides of the case, and the res LEDs.
I put another switch on the HDD side of the case for the HDD door LEDs.
Inside view.
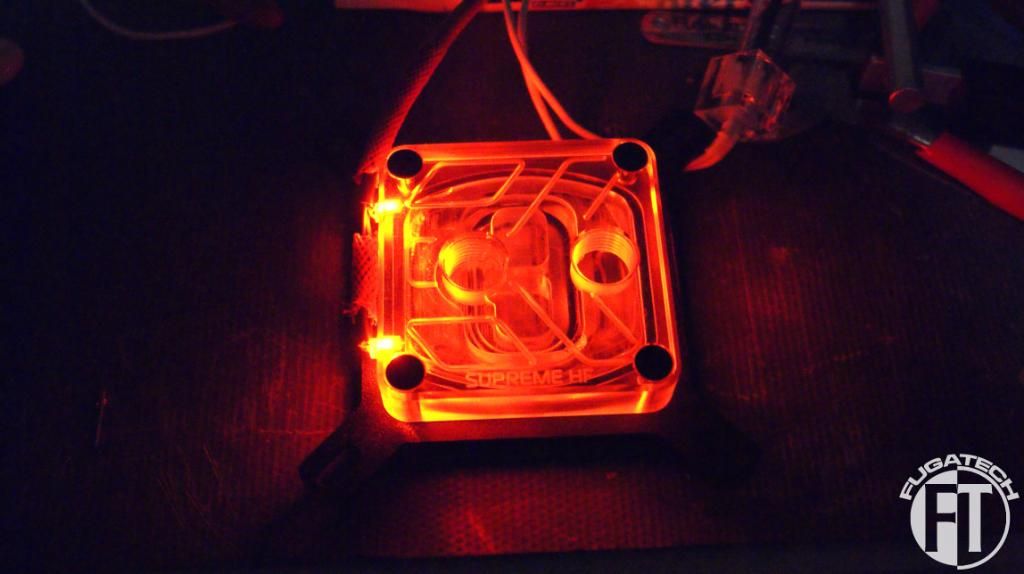
Because I had the CPU block sideways for the AMD chip I had to redo my LEDs.
Next I pulled the top of the case off so it would be easier to work on the next few parts.
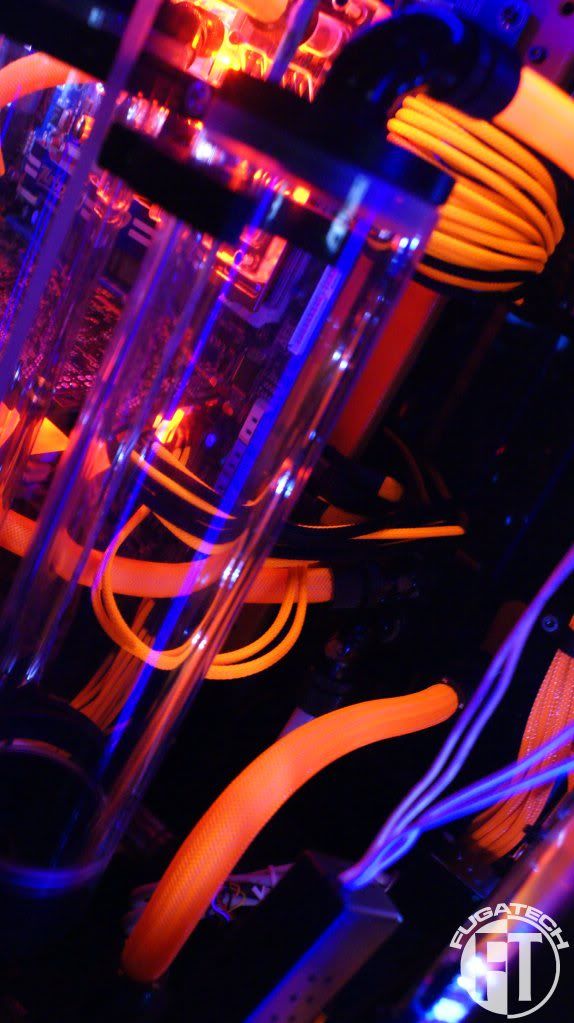
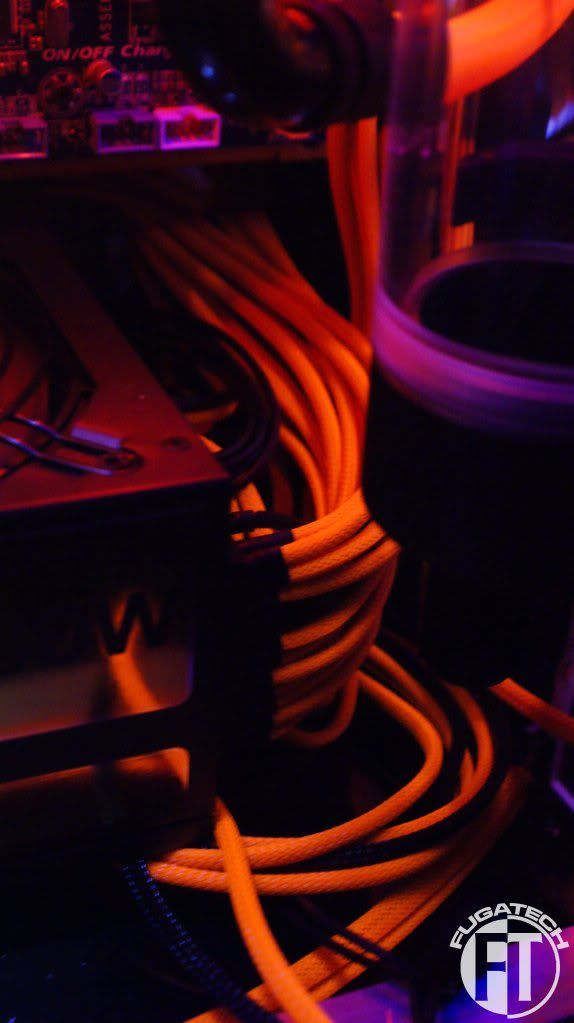
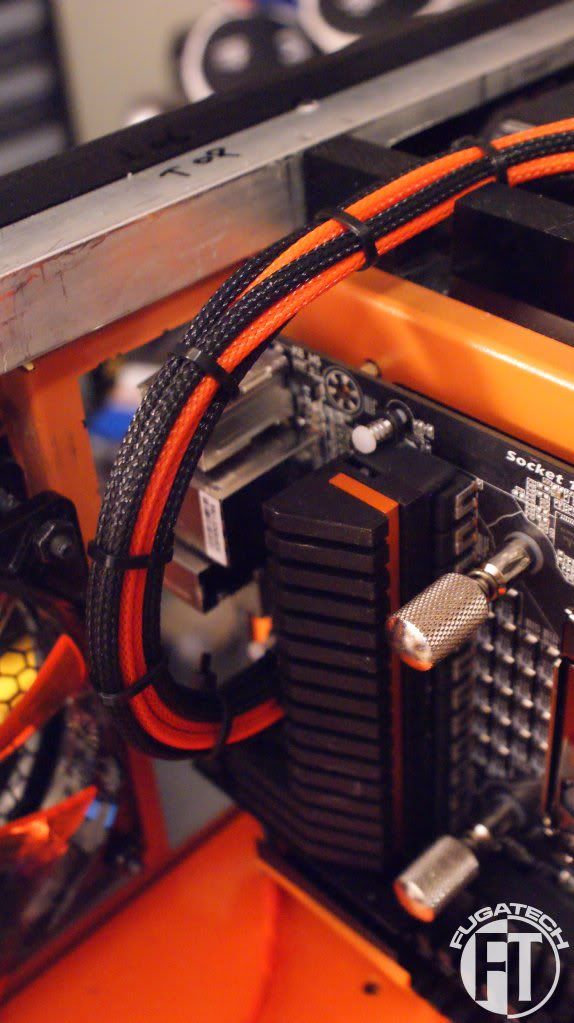
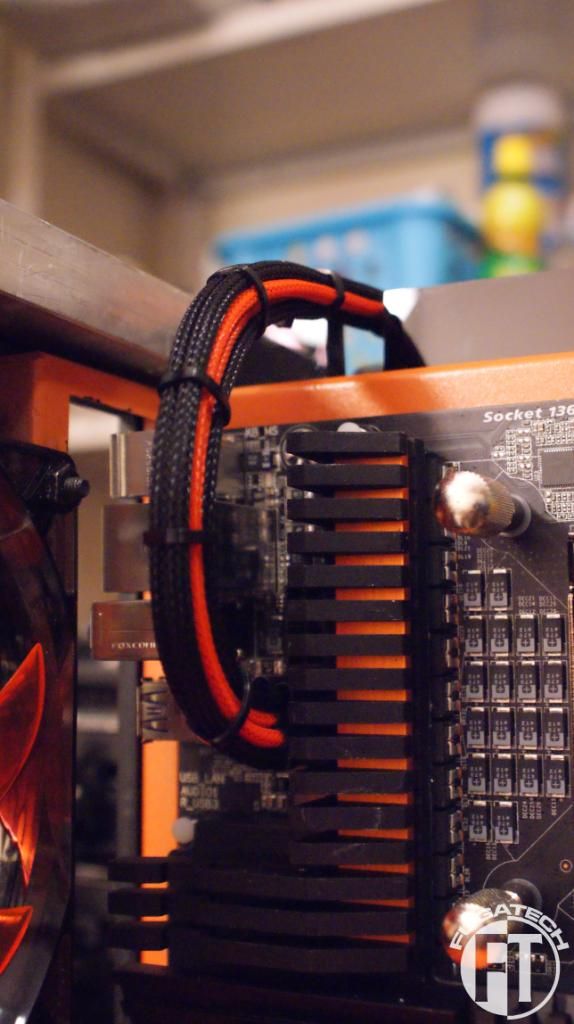
I decided I didn't like how the cables looked. They needed to be tied up and hidden better. So I started the process of putting cable ties on.
Looks much much better
Next I reran the CPU and RAM LEDs behind the mobo. After I flipped them both because I am a noob and mounted the EK sideways on the CPU block and backwards on the RAM block.
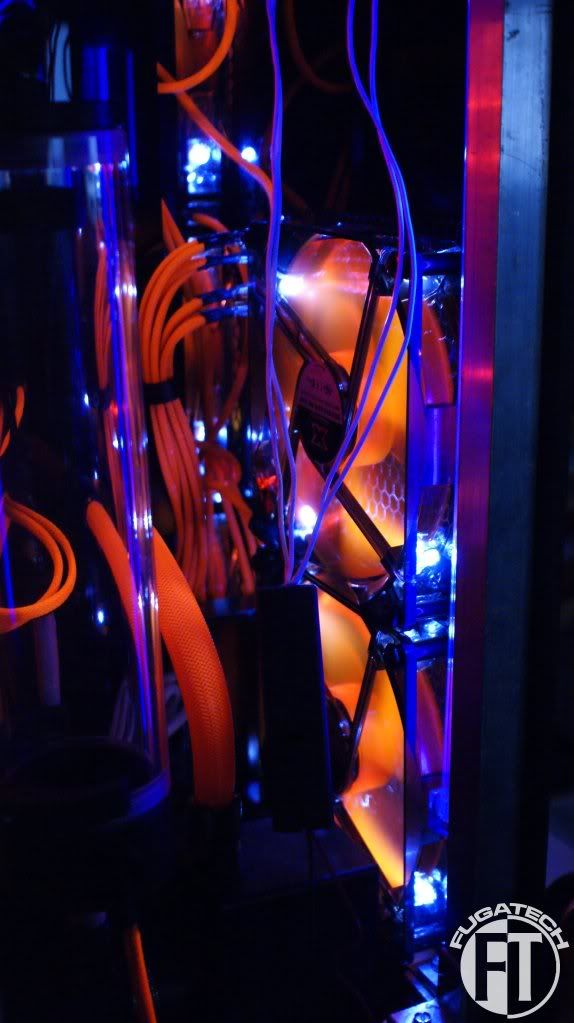
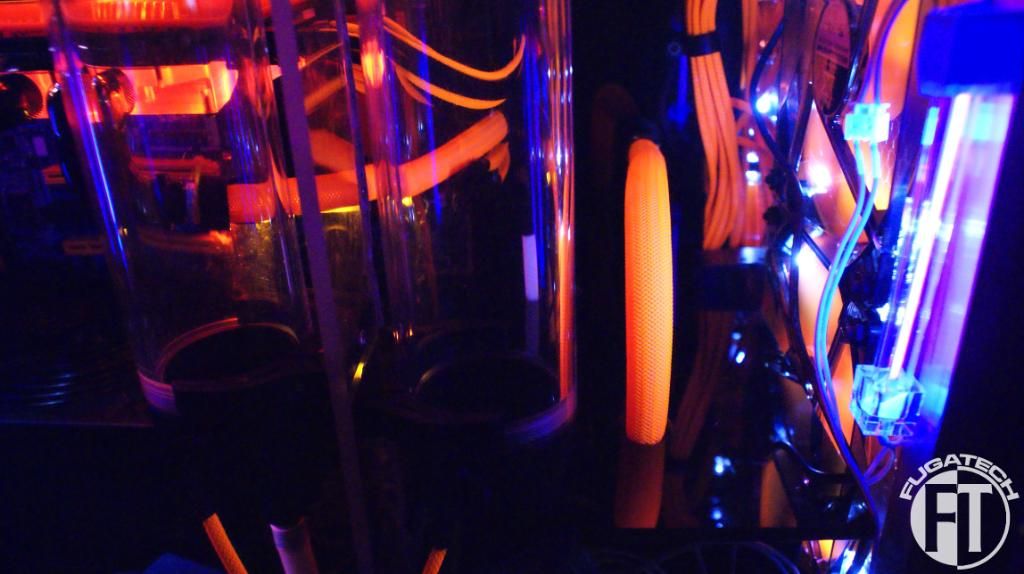
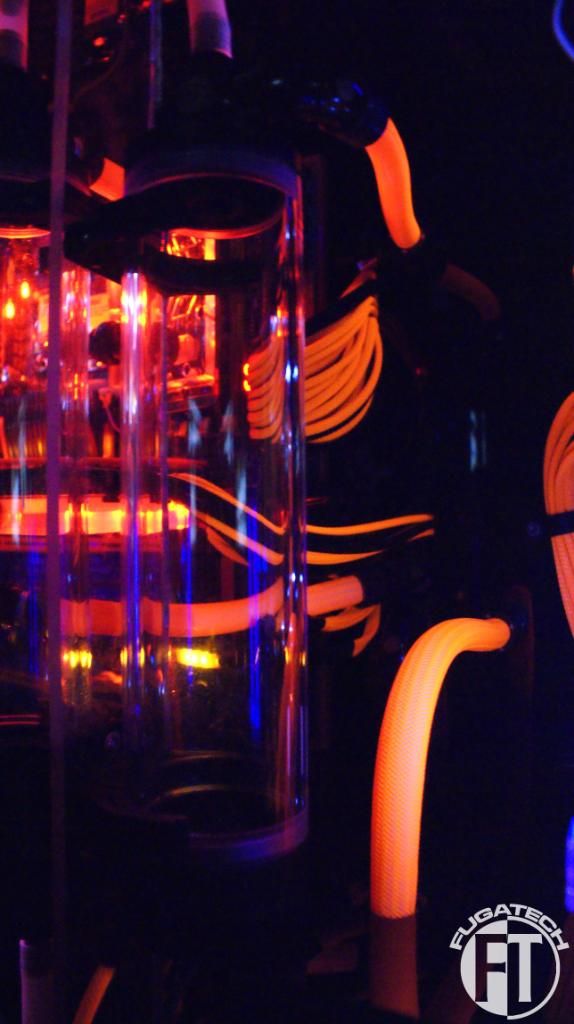
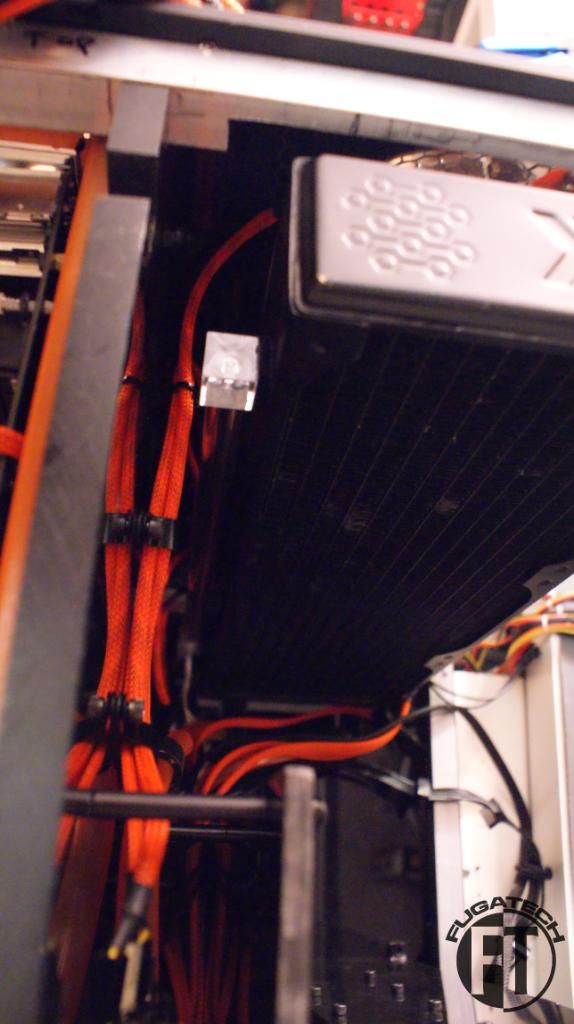
I then installed the 12" Lamptron UV Cold Cathodes in the HDD side of the case using some Velcro.
As you can see I mounted them to the Rads because it was the easiest place to put them. They light up the wires and tubing behind the HDDs very nicely.
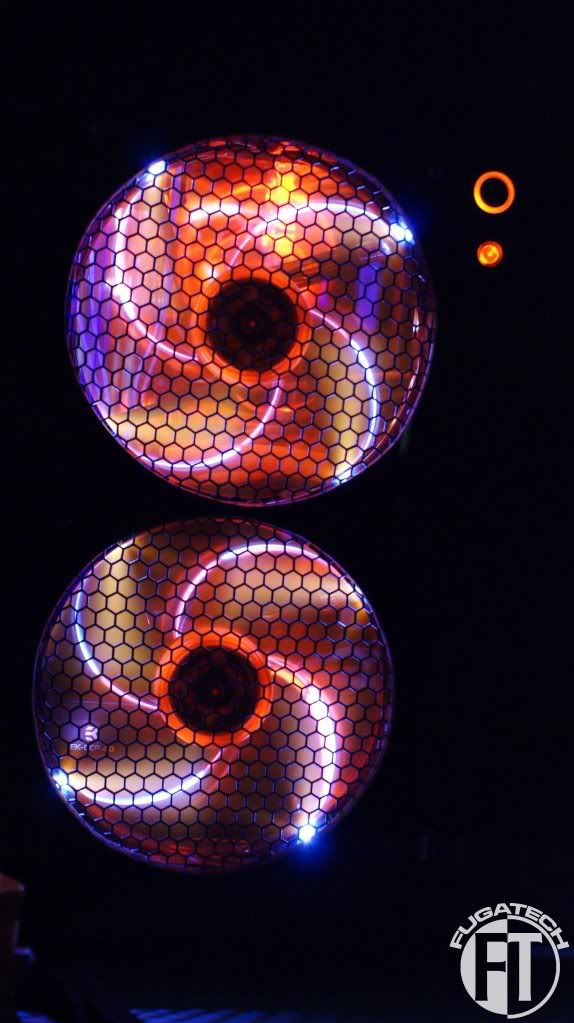
Lastly I installed my Lamptron FC5V2. This will control the 3 fans on the mobo side of the case and the 200mm exhaust fan on the HDD side of the case.
I'll have to clean up the wires later.
Thanks all for today. My MDPC order was lost in the mail so I am waiting to get that so I can finish sleeving the system.
Cheers till next time!
Looking good! A tip on the switches (if it's not too late) - have them switch the ground side of the circuit, not the power. Probably doesn't matter as the switches won't be seeing millions of cycles though lol
Looks good. my only comment is, perhaps it would look better to replace the black zip ties with these?
http://www.amazon.com/Goody-Clear-El.../dp/B00122CP30
they are very small and clear, and would likely look much better.
Explain please.Quote:
Originally Posted by SXRguyinMA
Ahhhhhh. We use those for my daughters hair. I'll try a few tonight and take some pictures. +rep for the idea.Quote:
Originally Posted by diluzio91
When you put a switch on the hot side of a circuit every time you close it you get a little arc of current between the contacts. Over time this arc can either degrade the contacts to the point where you have connection issues or worse yet spot-weld the contacts together. I'm sure with computers though it's nothing to worry about as it's such small voltages and currents you'd almost certainly never have a problem. I've seen a lot of starter relays and the like get stuck open (constant cranking) or fail to work at all just from switching so much high current. PC applications should have zero issues though, but I always put my switches on the negative side (when possible) as force of habit lol.Quote:
Originally Posted by Fuganater
Ah ok. Well I shouldn't be switching things on and off daily. They are pretty much just there for when my wife yells that its too bright.
The project is nearing the end. Here is what I'm waiting for to arrive to finish it. Hopefully it should all arrive this week.
- i7 950
- Sleeving
- Heatshrink
- Plexi for midplate
- More Bitspower fittings (mainly T, L and Q fittings)
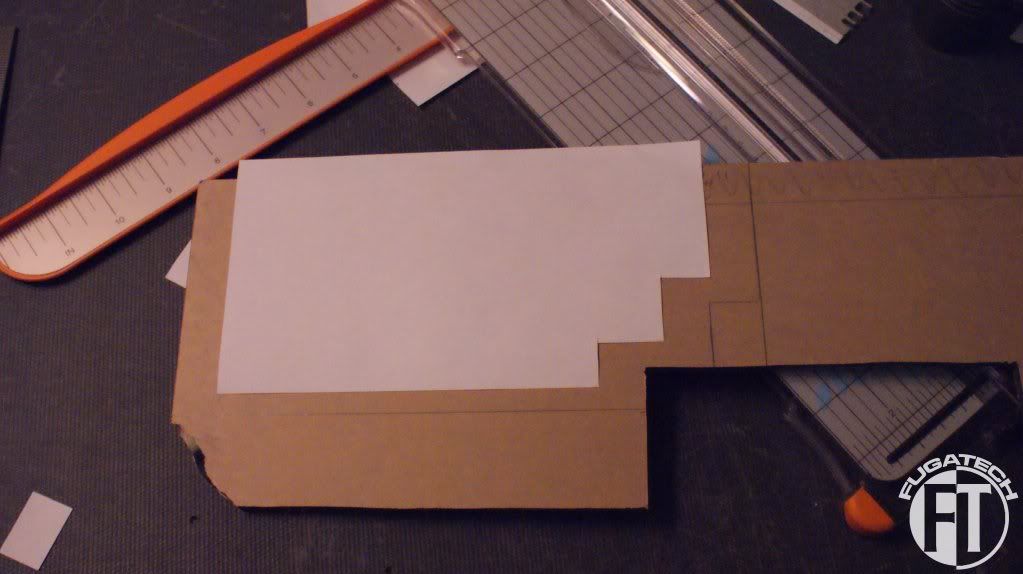
I worked on a new midplate design.
This piece is notched to fit in just perfectly.
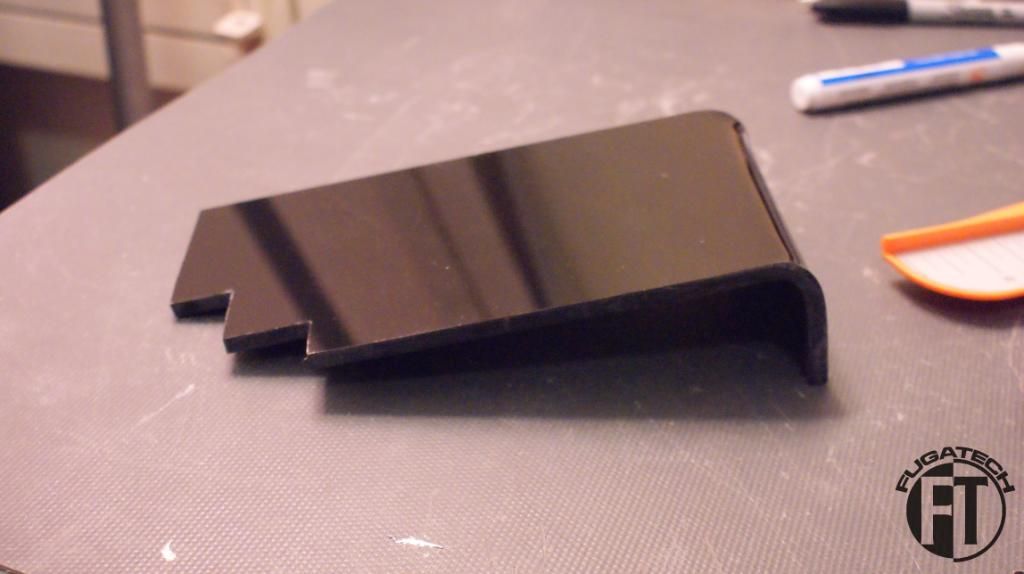
I had a scrap piece of 1/4" black plexi glass so I put my template on it and cut.
After I cut it, I bent it.
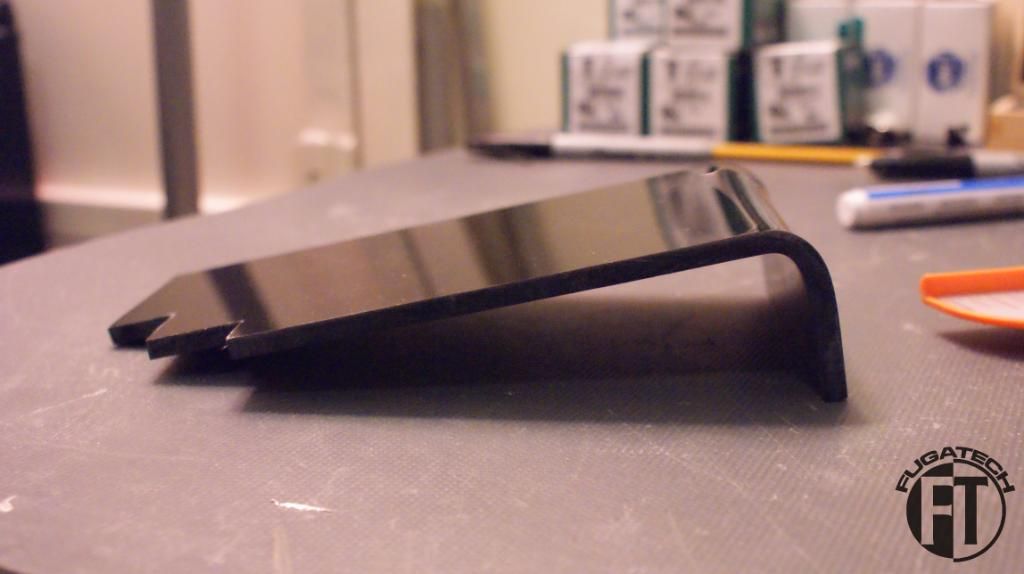
And it was too big :(
Taped off and marked. I had to cut 1/2" off.
Then it fit just right. You can also see I started the top design already with paper. I ordered 1/8" black plexi for that part.
After I get the plexi I will cut it and ship it off to have a honeycomb pattern laser cut into it for the PSU exhaust. Should look pretty boss.
Cheers till next time.
How did I miss this! +sub
Bam! Sorry it took so long, I know you asked ages ago.
It's awesome...
Unlike mi....
:P
It just seems like yours is closer to your mod than mine is.
It was difficult to isolate the theme of youor mod, in those cases I do a general/non-specific theme.Quote:
Originally Posted by AmEv
It's still good, AE...maybe you can build upon jdbnsn's design ;)
Please stop flooding the thread with off topic comments please. Please use PMs.
Ok, on topic comment then:Quote:
Originally Posted by Fuganater
Give us more! Amazing work so far!
Also, grats on 2k posts :)
Thanks jdbnsn!!Quote:
Originally Posted by jdbnsn
Sorry *blushes*
Congrats, though!
Thanks everyone.
More work is coming. Just need to finish a review today and maybe I can get some pictures up.
I didn't take many pictures but here is the midplate. Took me 2 tries. Good thing I bought extra acrylic.
I'm going to send it out to have a honeycomb grill cut into it where the PSU exhaust is.
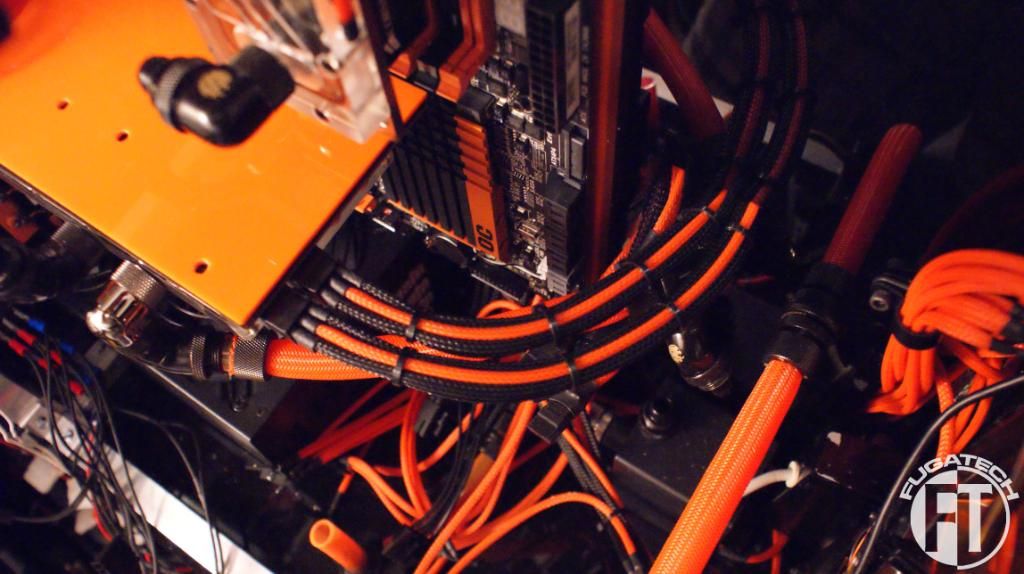
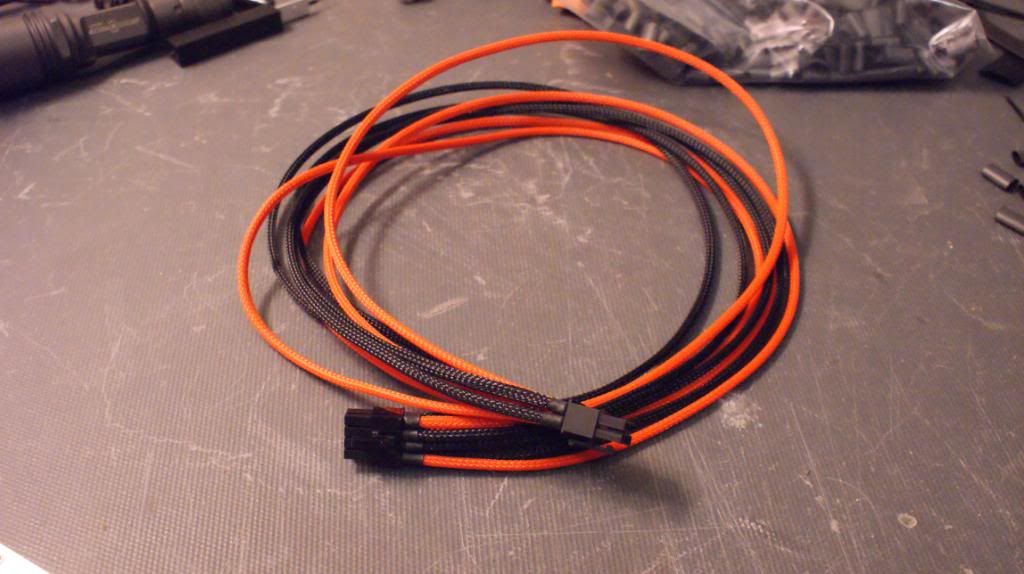
I sleeved the rest of the tubes.
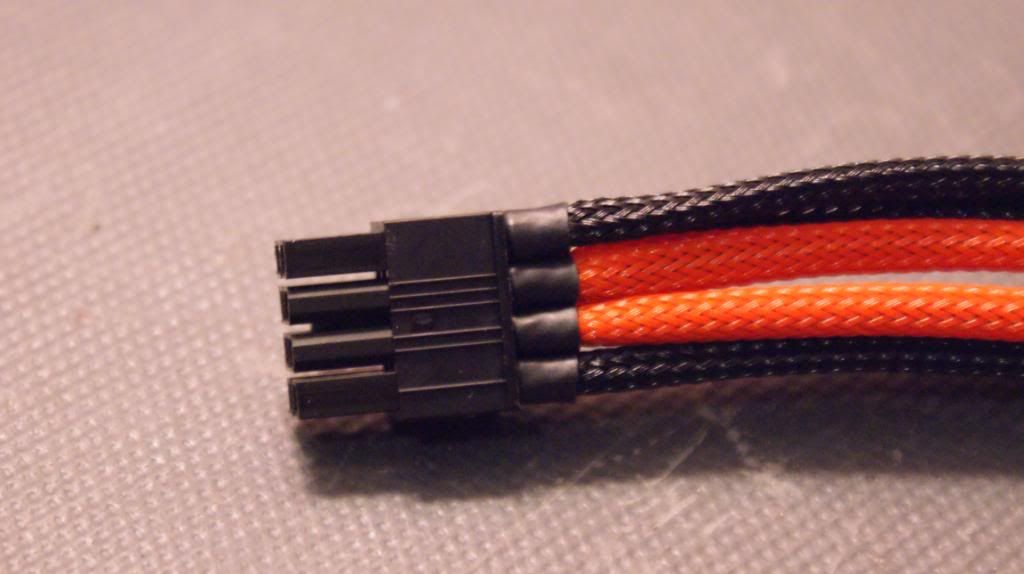
Finished the 2nd 8pin CPU power cable.
Came out OK.
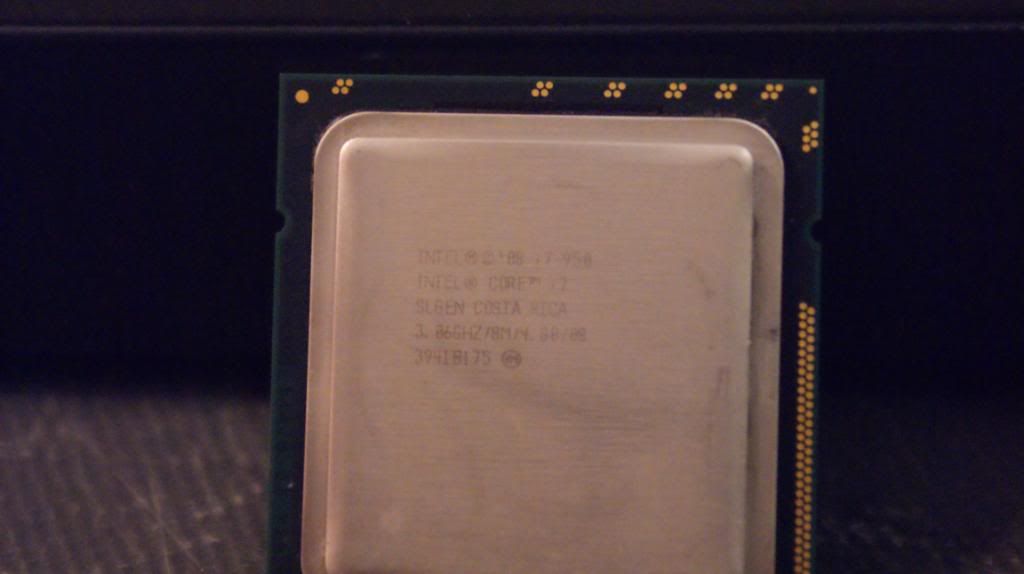
Got my 950 :D
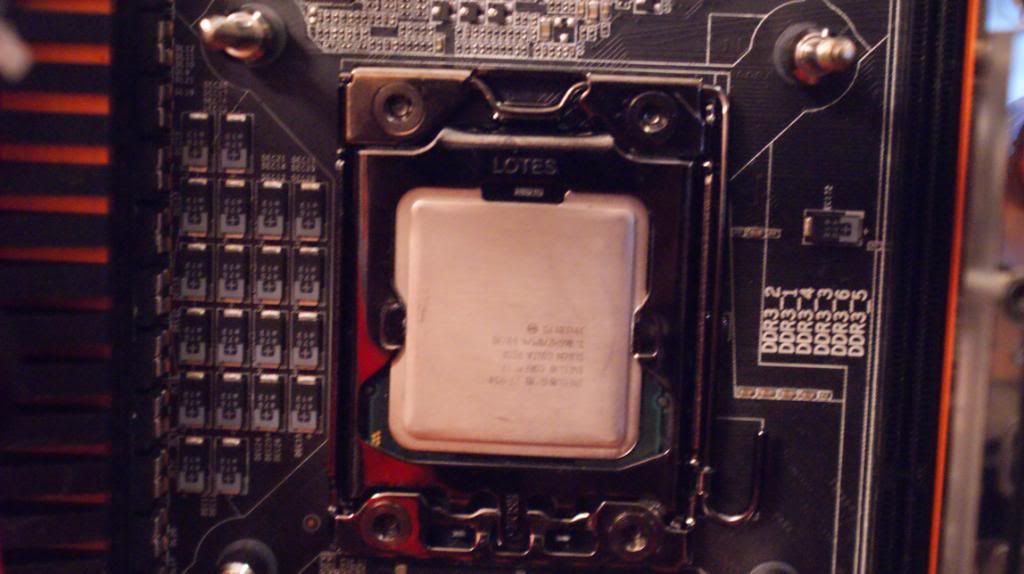
And installed it.
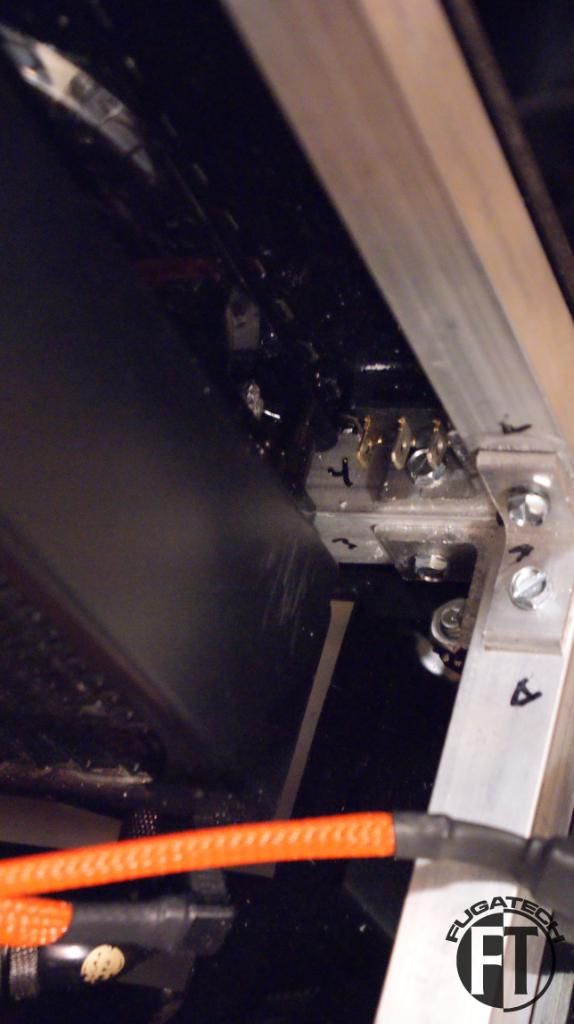
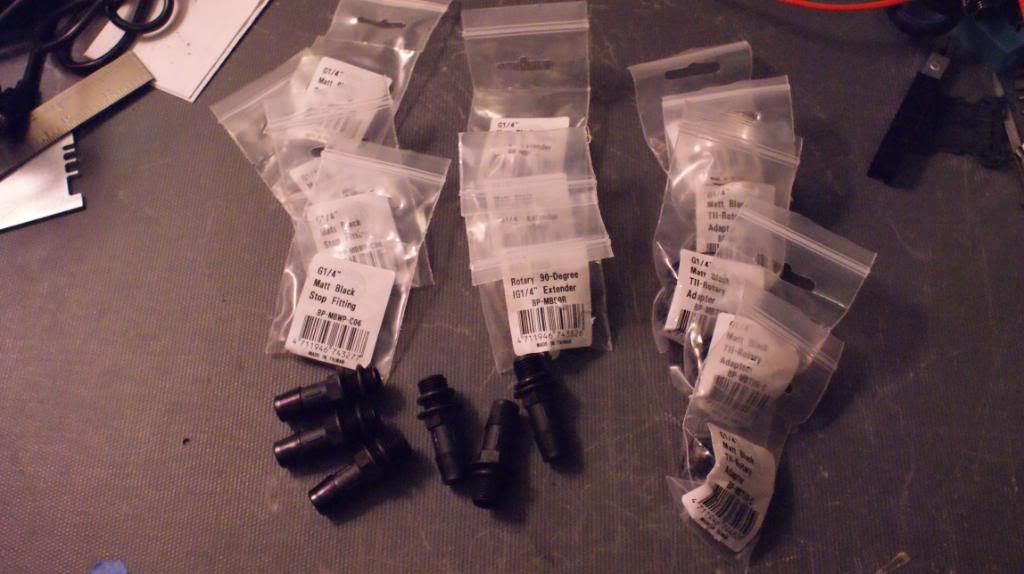
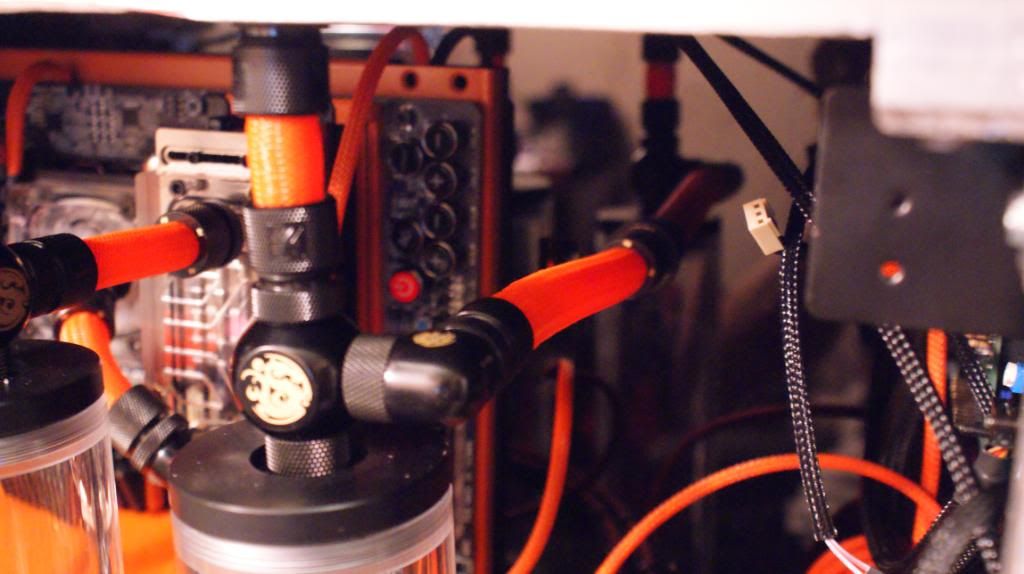
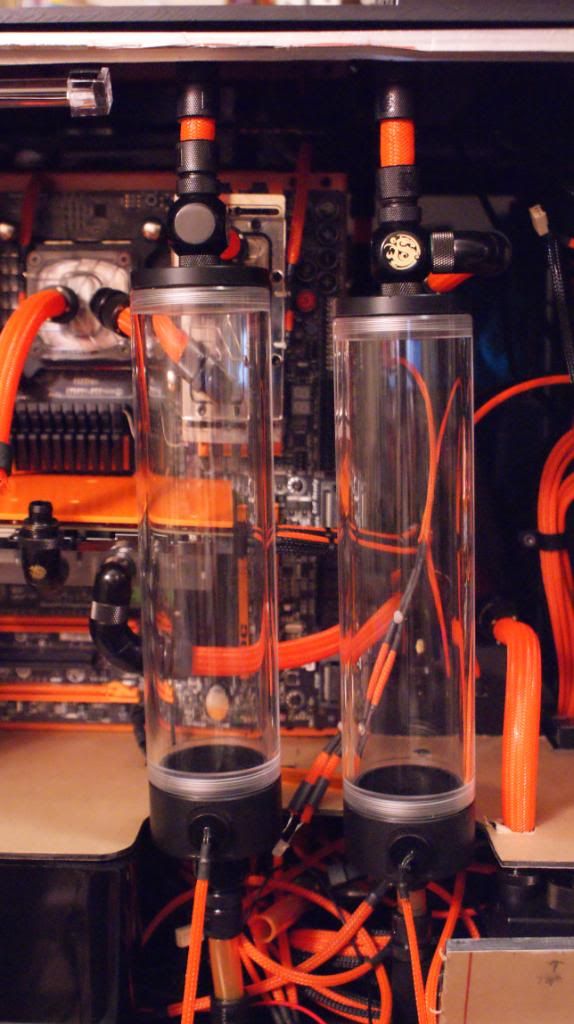
Got more fittings. You can't see where they go but I was able to use some Q fittings to make a drain port at the bottom of each rad. I also was able to replace some silver fittings with black ones.
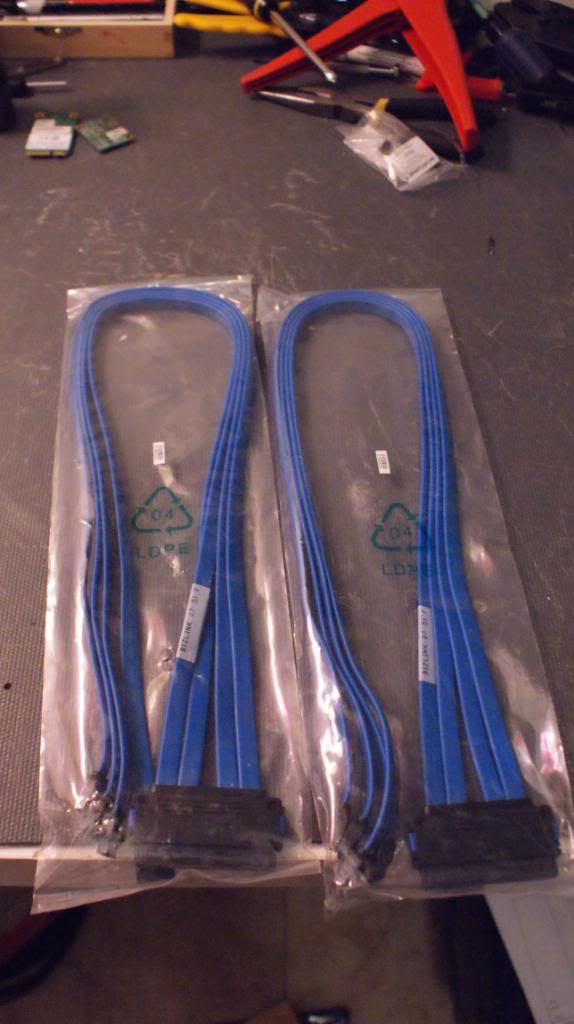
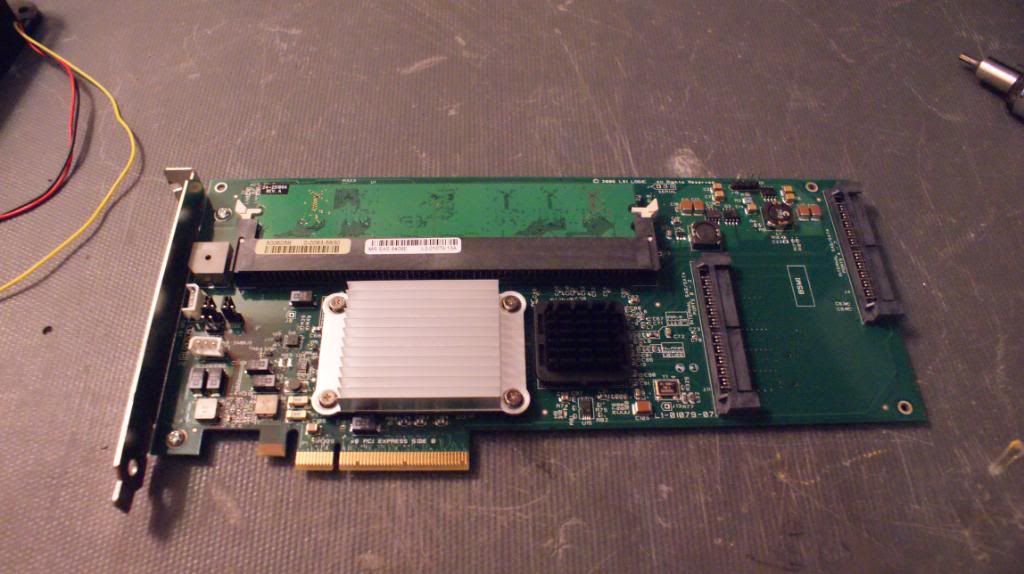
Got a RAID card! It works great but sadly, WHS can only recognize 2TB partitions. So I had huge issues at first but for now it just gives me the ability to have 8 more HDDs. It also helps with cable management.
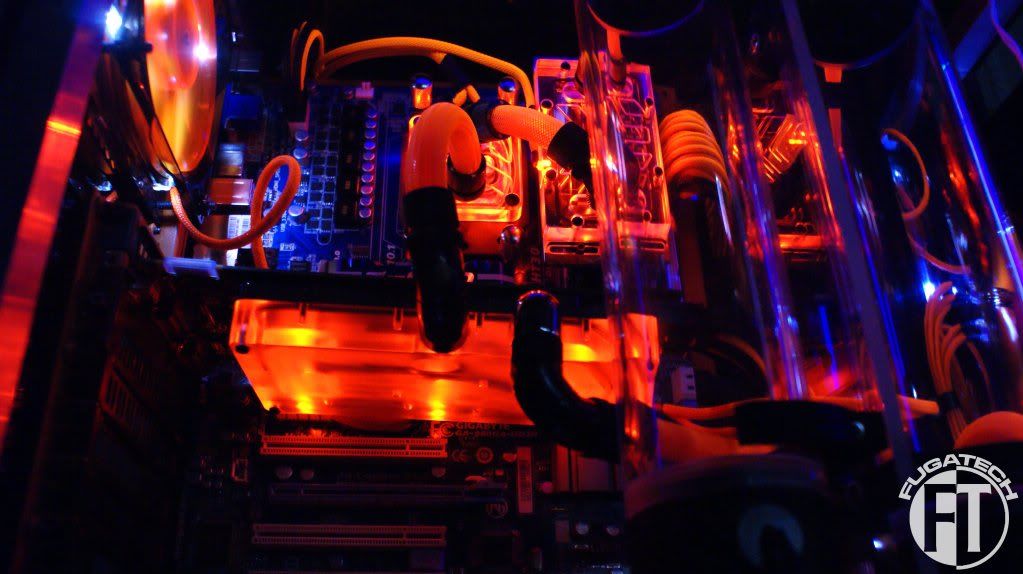
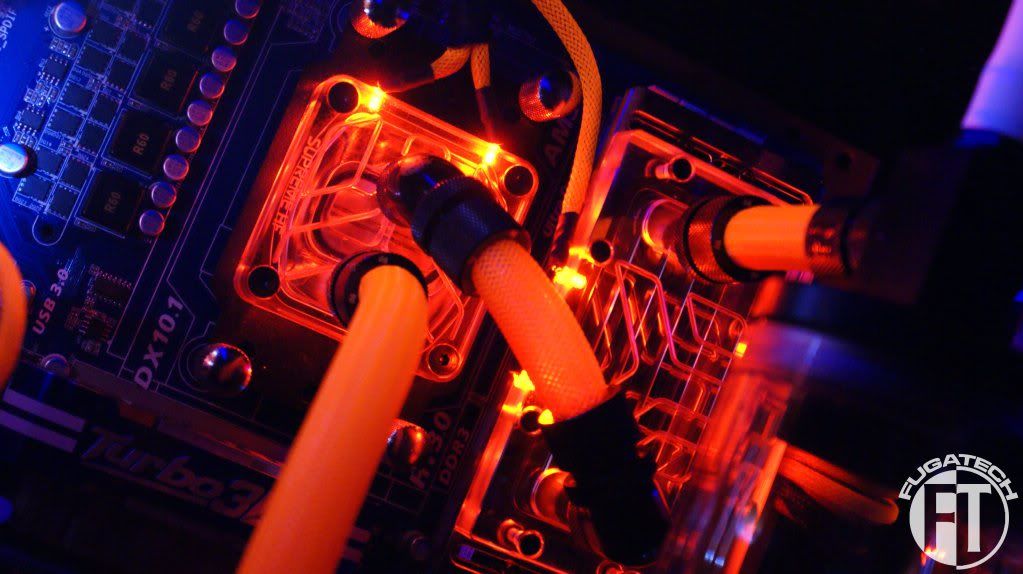
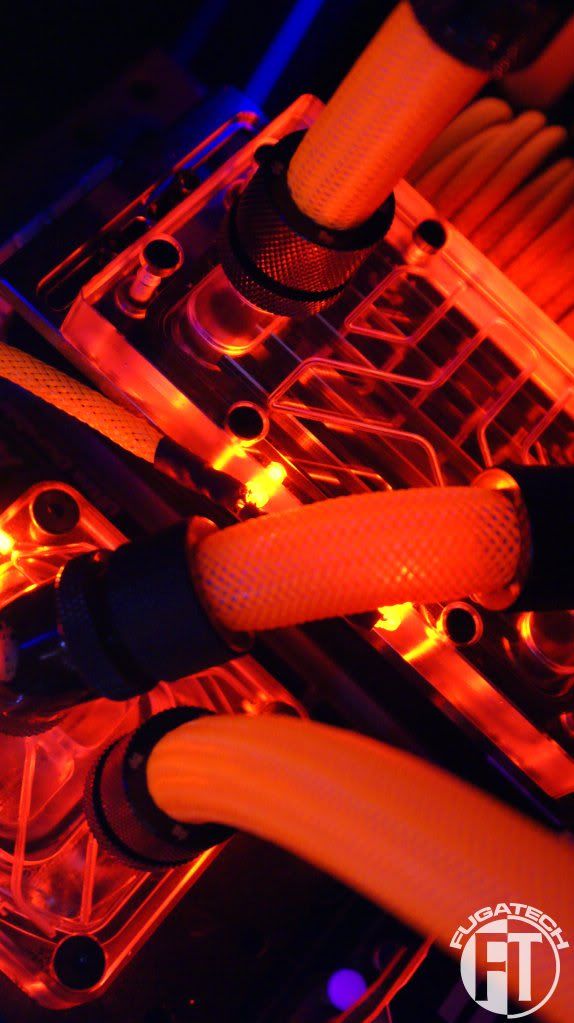
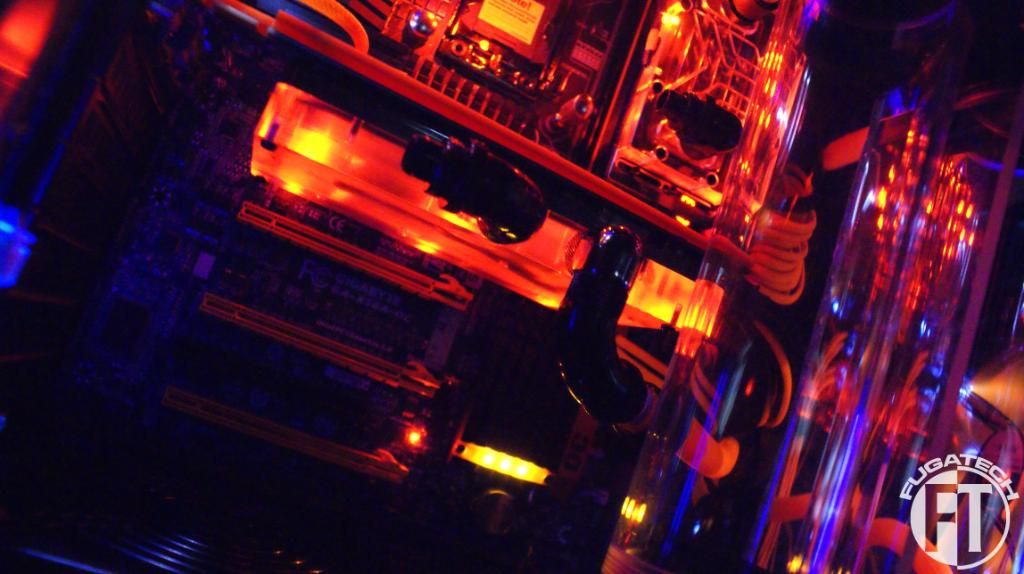
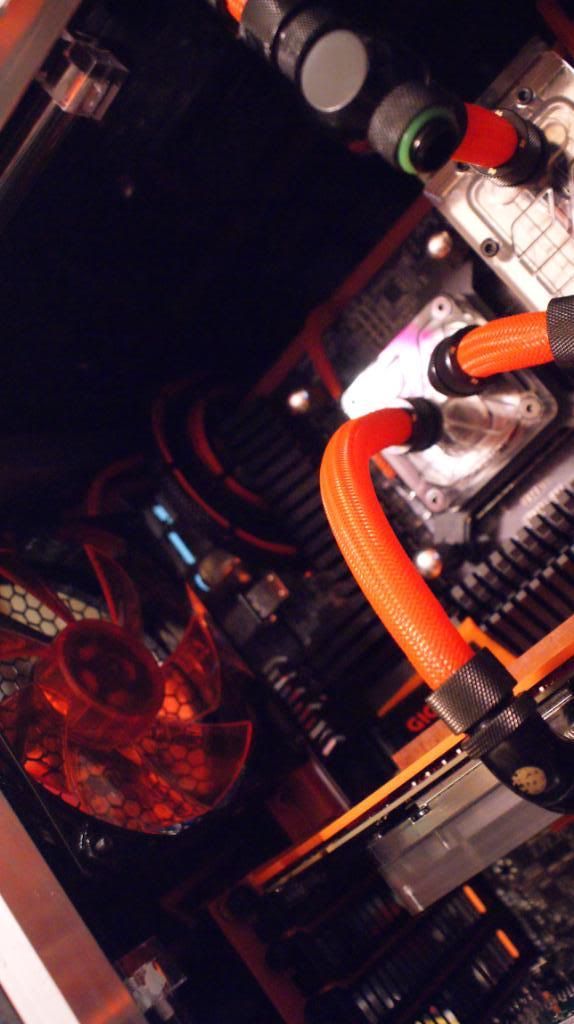
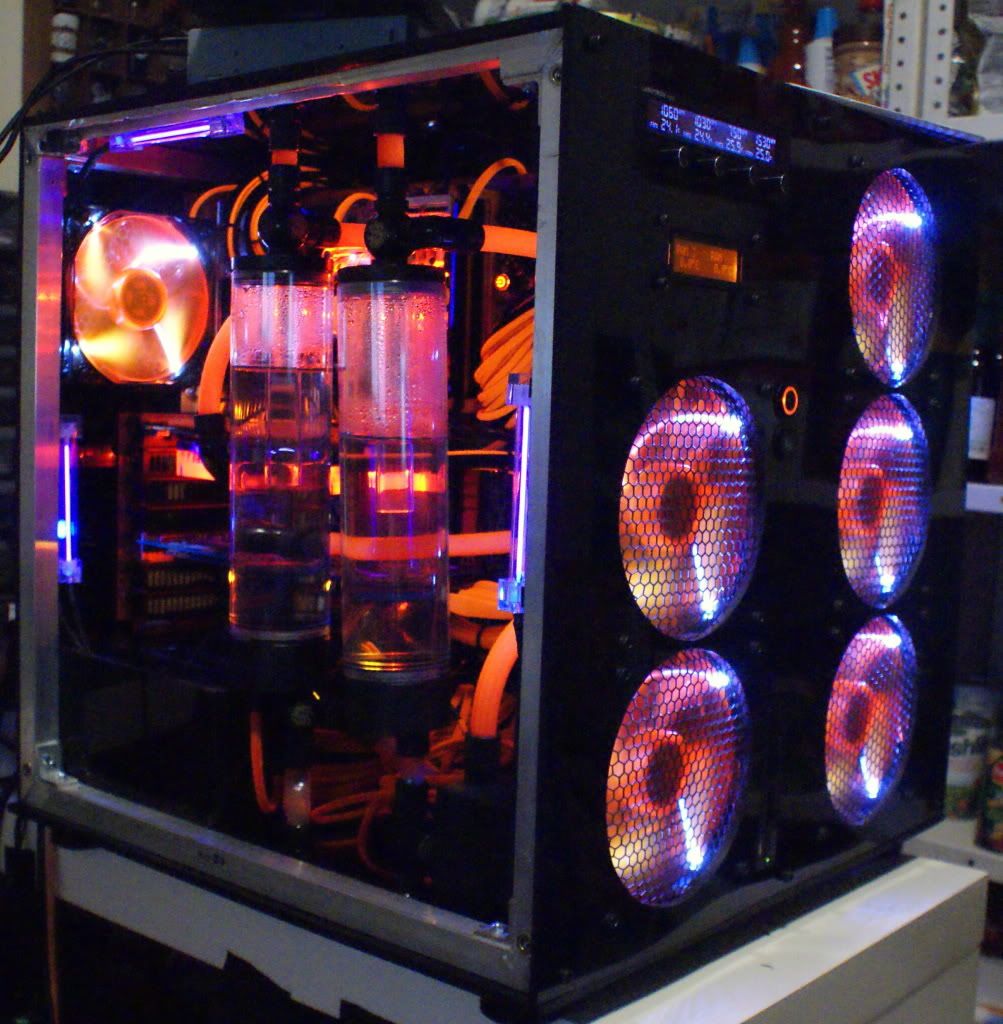
Now for some pretty pictures. (best I can do atm)
So the system is filled up and running now. I got WHS v1 installed and things are going smoothly right now. I just have to finish up the midplate and install the rest of the temp sensors and then I can call this mod complete!
Hope you enjoy the photos. Cheers till next time!
Not gunna lie, that's looking pretty awesome!
Nice...I like the orange/black contrast...:up:
Looking good! I'm loving those sleeved tubes more and more!
I agree with the above, your color scheme is beautiful! This is one elegant and sleek machine.. Good job
-Jon
Thanks!Quote:
Originally Posted by Aldersan
I too like it way more than I thought I would.Quote:
Originally Posted by Neodymium
Kier gave me the idea. He's not the first to do it but I thought it would look good because Orange UV reactive tubing isn't very sexy looking.Quote:
Originally Posted by SXRguyinMA
Thanks!Quote:
Originally Posted by jdbnsn
Small update.
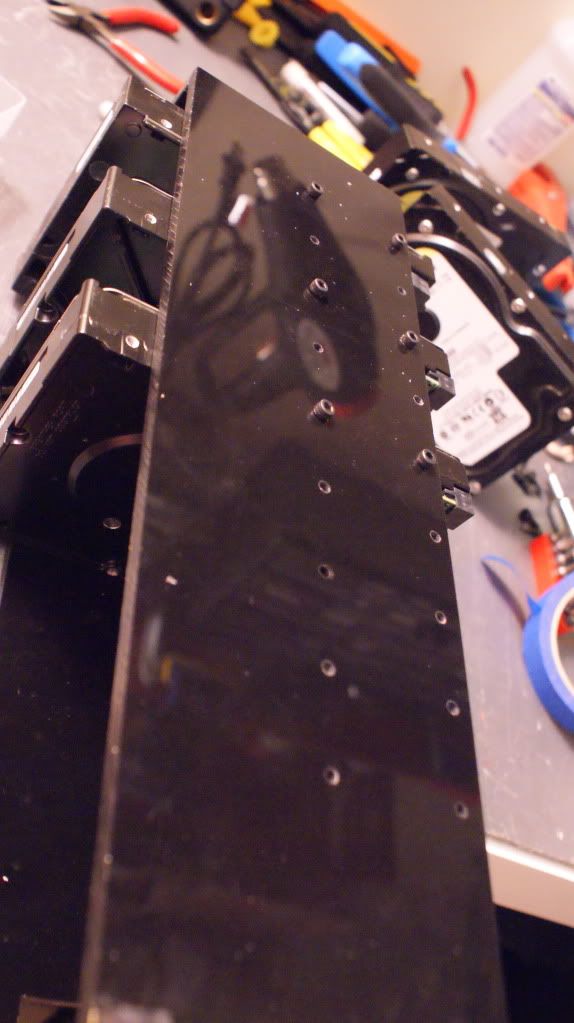
I drilled the HDD holders to allow 4 more drives per side.
Now I need to figure out how to get more air flow. I'm thinking of cutting out a chunk of the side of these and maybe a slit between the 2 holes but I'm not sure yet. I play with it a bit this weekend.
Quick photo of the case.
Cheers till next time!
< Laser Cutting available if interested. Doing some lighted case badges for Aldersan this week.Quote:
Originally Posted by Fuganater