Update 4/20: Question for the masses
After having run some tests, the EM interference I was getting on my temp display is reduced when a piece of foil-covered plywood is placed between the ball and the display, and goes away entirely when I touch the foil while its there. :) (The temp display is completely inoperative now, but I'm sure that had nothing to do with my taking it apart...)
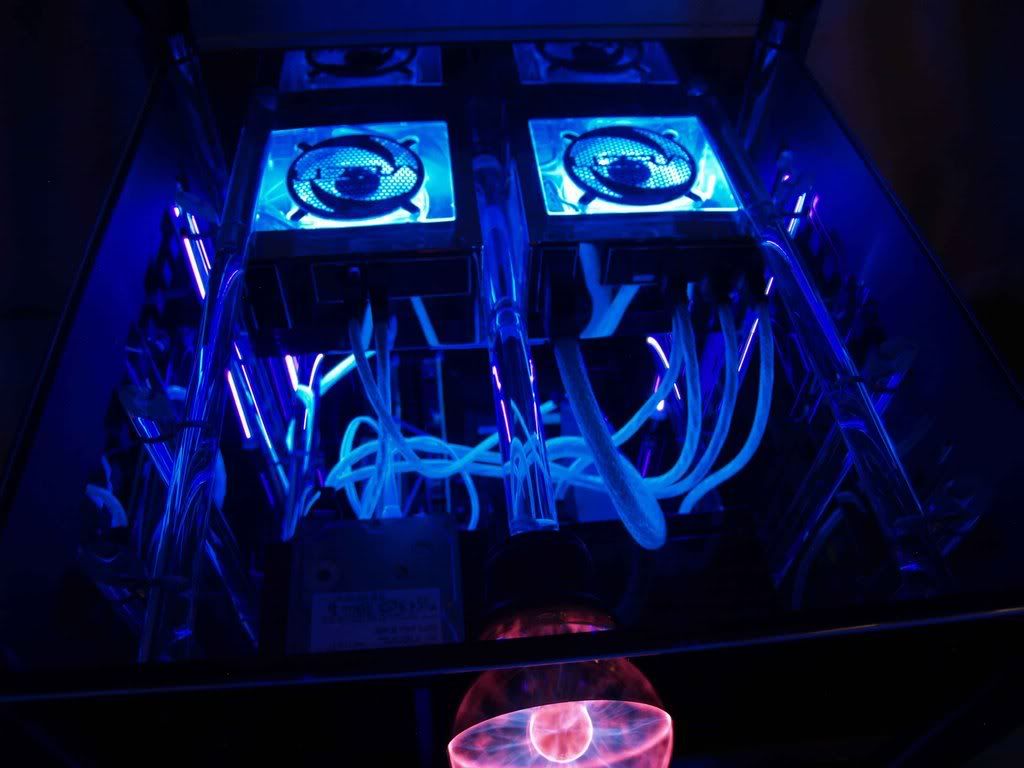
I've decided to try shielding my plasma ball with a sort of shelf (made out of plexi, of course) beneath it, running from one side of the case to the other, with one side covered in wire mesh and a ground wire soldered to it. This should shield all my components effectively, but I have a couple of questions.
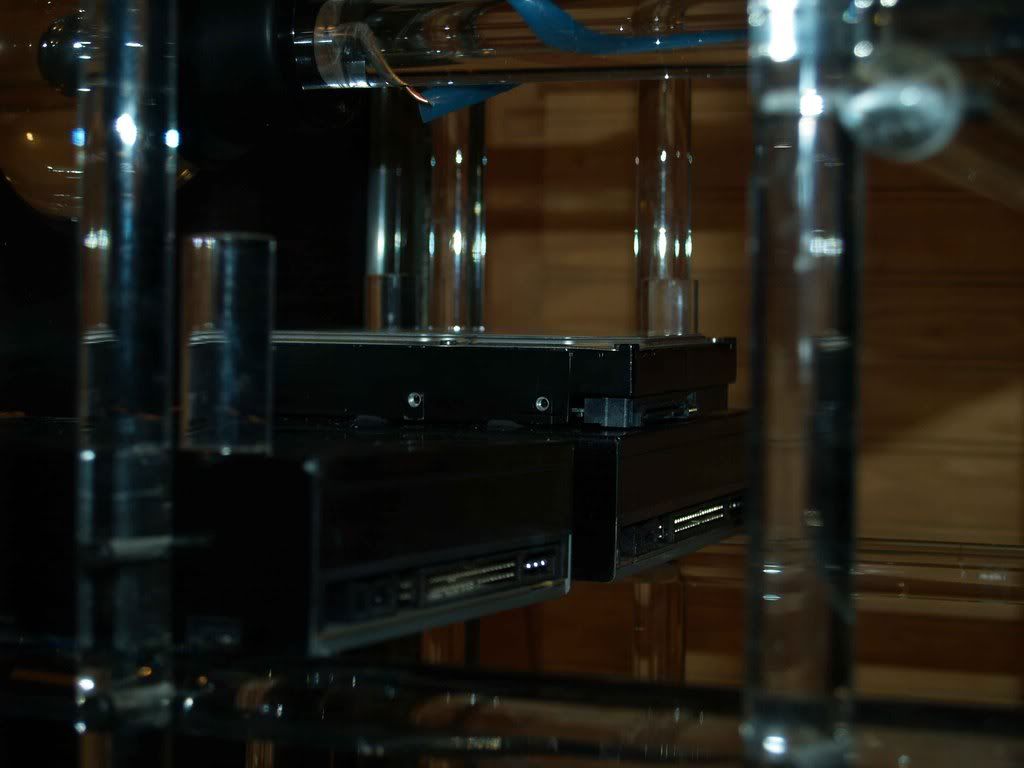
I had to lower the hard drives from the previous configuration to make room for the shelf. The test drive is now mounted directly to the shop of the DVD drive, screwed to it from inside the drive, with only four rubber washers separating them, as shown:
Am I asking for trouble with heat here? There is plenty of ventilation on the sides, but not very much above it (due to the shielding shelf that is not in the pic) and none whatsoever on the bottom. Anyone think this will be a problem?
Also, what should I ground my mesh to? Normally I would just ground it to the case, but obviously that won't work here. Hate to ground it to my motherboard tray, any other suggestions? Thanks!!
________
Starcraft replays
Re: Update 4/20: Question for the masses
Quote:
Originally Posted by
blueonblack

Also, what should I ground my mesh to? Normally I would just ground it to the case, but obviously that won't work here. Hate to ground it to my motherboard tray, any other suggestions? Thanks!!
Why the MoBo tray? Simply ground it to your PSU case. I think that is the best you can do.
It's in the house!!!!! :D
Wooo hooo! Got it in the house!!
The only thing that has been keeping it in the shop is the need for further acrylic manufacture, and I got that done. Except for the top, and I have been asked to do a tutorial on sanding so I plan to use that as my subject for that, will be a separate project.
The last things I had to do in the shop were the drive bays. Had to stealth them, really didn't want to look at some mass-produced-in-China drive door on this thing. I ordered some 1/8" plexi to match my case earlier for this very reason. I needed to round it over on the router table, the best bet being a bearing-guided bit, but the stock was too thin, it actually rode UNDER the bearing. So I used that magic stuff, double-sided tape, to stick a small piece of 1/4" scrap on top of the 1/8" to ride on the bearing:
Worked great! My drive doors turned out really well.
I decided that I didn't want a card reader in this thing, since the holes are all different sizes and placement, and thus far this thing is perfectly symmetrical. Instead I found a 4-port USB hub that is made for a 3.5-inch drive bay and installed that. Perfectly symmetrical. :) I used the same roundover technique above to make the frame for it.
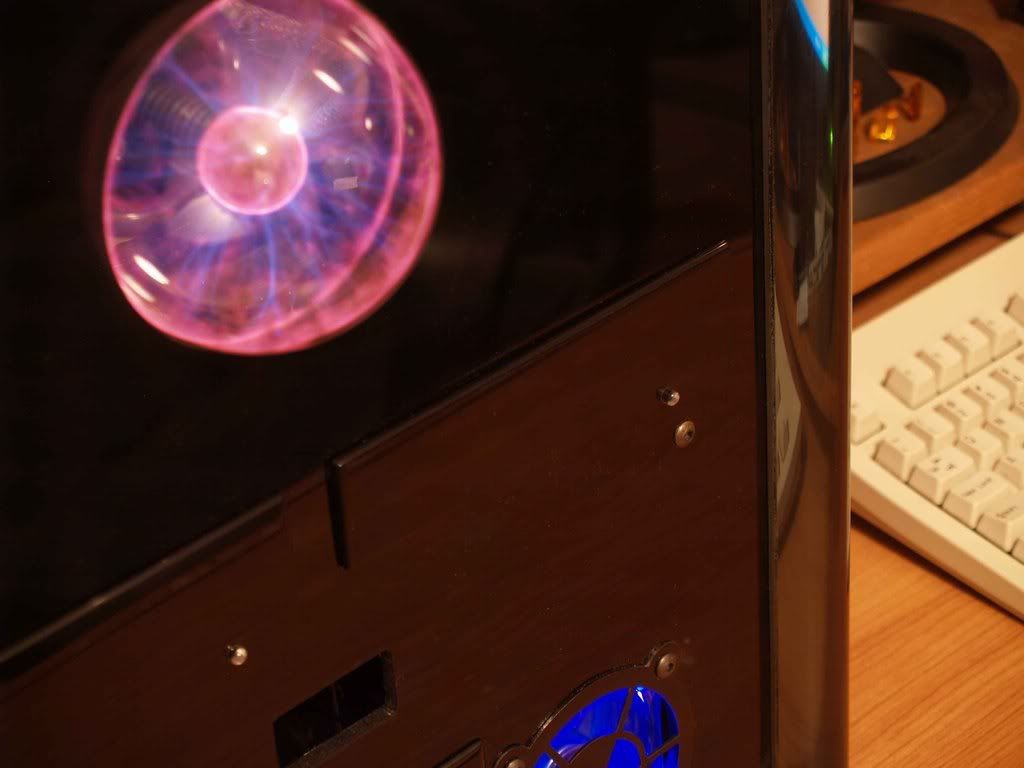
For the buttons on my drive bays I used some 1/8" plexi rod, cut to about 3/8" and rounded on one end in the drill press and polished on the bench grinder, superglued to the button on the drive. Turned out beautifully. Here's the best shot I could get of the drive bays and buttons:
Having some power issues with my lights, and looks like I got a bad IDE cable from FrozenCPU (won't even open the drive door when the cable is installed), but overall very happy. MAJOR cable management issued to tend to, but it's on my desk and working! Wooo Hooo!!!! :banana:
________
Romanian Cooking