-
Re: Project; Mark1
OK ladies and germs, here we go....
Not much of an update today, but I promised I'd get something out this week.
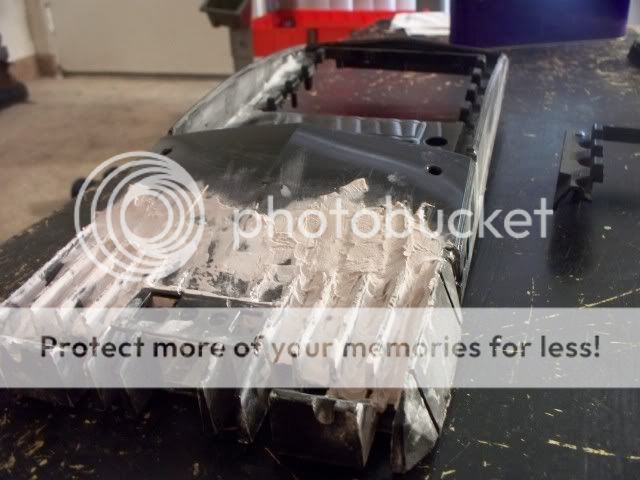
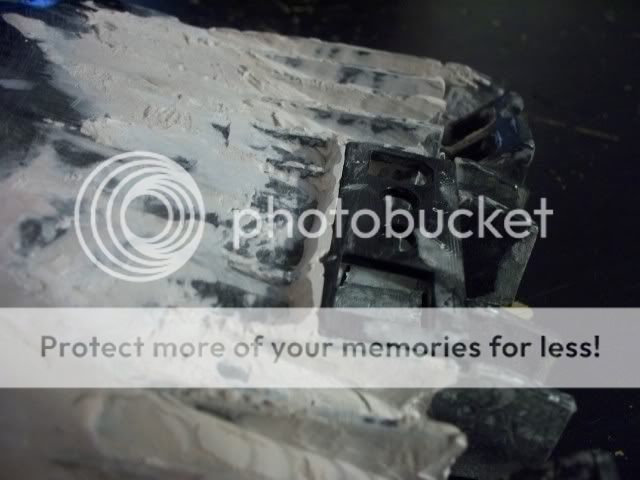
This piece has been kicking my butt all week.
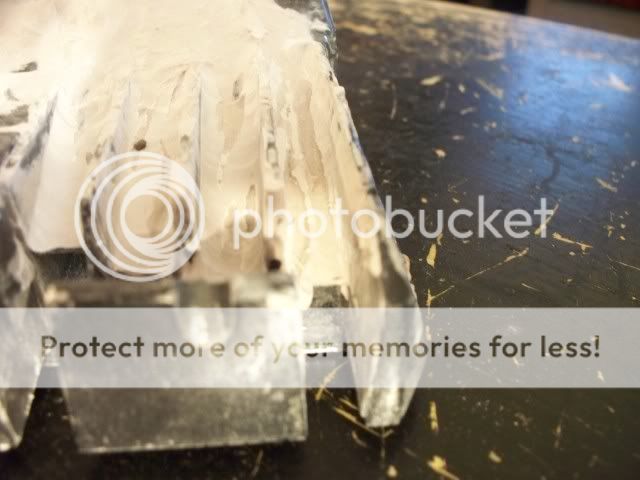
Hopefully you can kinda see where I'm going with this. I have to sand down all the bondo in between all the fins, for one. The problem is, it's very difficult to do by hand.
I used a dremel with this attachment,
But that left a rough finish. Btw I know that's not the designed use for that attachment, but it actually worked really great for that. I still use it, but only to take the bondo down a little, not all the way.
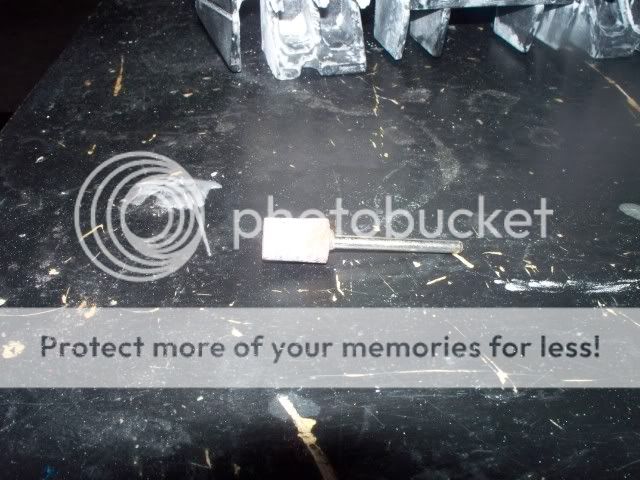
I have come up with a potential solution to this problem, a simple block of wood, sanded to the size to get in between the fins.
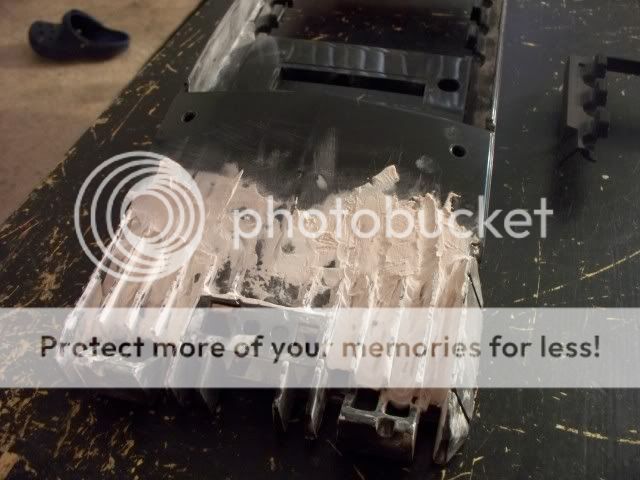
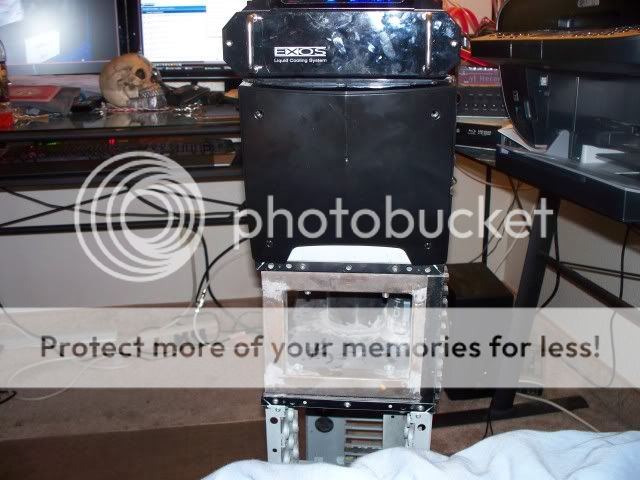
Here's the other problem area.
I am trying to get a smooth transition between the plastic cover for the front header, and the rest of the cover. This really is the area I am having the most trouble with. I can't quite figure out how to attain the look I'm going for.
I'm thinkin I will just take a break from this part and work on a different area for a while....
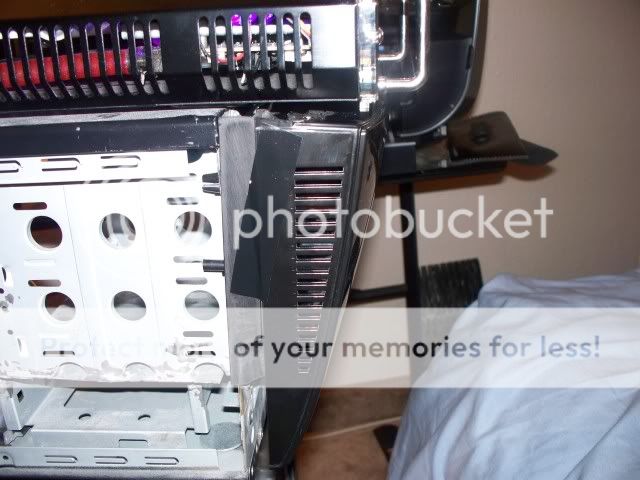
Here is the front of the minicase. The plastic there is cut off the front bezel from the second case.
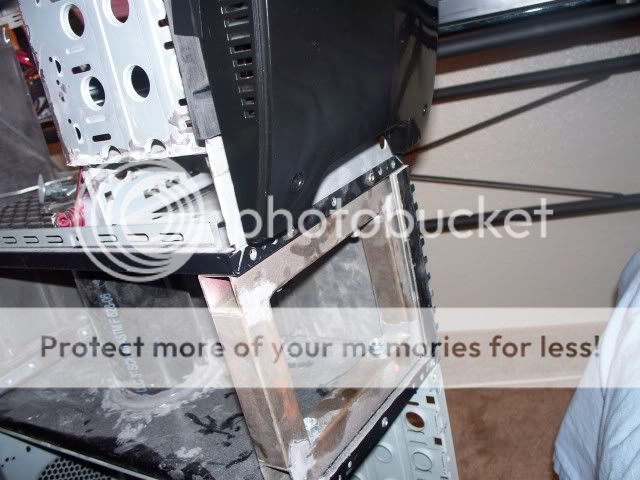
Here is the piece I am thinking I will attach here.
I know it seems a bit odd, or backwards to attach the bottom piece here. My reasoning for that is twofold; one, I it will make the plastic level with the front of the Koolance unit. Two, it is longer, so it comes down to about where I want it. One other thing (ok so it's threefold) is this gap will be a great spot to mount this remote control reciever that came with my Hauppauge tv tuner.
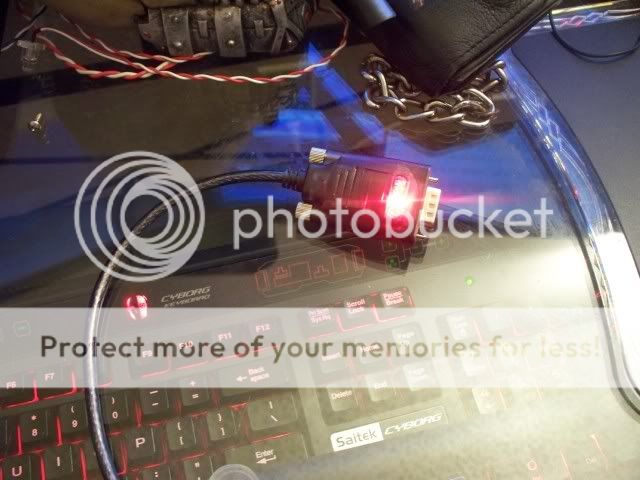
One other thing, got a surprise in the mail today, the data cable I ordered. It's a usb to serial cable. I have to give a quick shout out to bestlinknetware.com. I searched and searched for this cable, and I would find a 12" one for $13, but the wouldn't work. Then I would find a 6' cable for $30 plus. That wouldn't work either lol. Plus, they were all blue. Yeah, so, anyway..... But this site had this cable, in black, 40" long, and for 8 bucks. Oh hell yeah. And it got here really quick, I was surprised! [/schelling].
This cable is for my servo controller, when it comes on Monday.
So that's all for today. I was hoping to show some more definitive progress, sorry guys.
-
Re: Project; Mark1
That fin sanding is a byotch.... and you did the right thing by coming up with a custom tool. Keep an eye out for needle files, those would likely work great in that tight space. If yo uhave a HArbor Freight near by, you can get them for cheap.
For the plastic cover/front header area, get some shortstrand fiberglass filler. Since you are going to be plugging stuff into that area I'd be concerned with all that bondo built up like that, seems like a potential for cracking.
This is one helluva case... and you running with the muse is keeping everyone guessing.
You keep building for you, and not everyone else. If you follow everyone else's desires on design, you are not building your case anymore. :)
As it stands, one thing that is driving me nuts is the butt end of this thing, and I'm sure you have a plan to clean up the seams and the various "levels". Still early in the build, and the artist is still working! So, keep on going and I look forward to what you will be doing!
You like your JB Weld.... they sponsoring you? ;)
Keep up the great work!
-=TD
-
Re: Project; Mark1
looks good mate! i really like
-
Re: Project; Mark1
this look really, really good! i miss some more "overall pics" where you see the whole case. just went through the entire log dude:) great work! and wicked choice in material.
have a +rep and lets se some more work!
-
Re: Project; Mark1
Hello all again just a quick text update today....
Thanks for your comments and support everybody, sorry I didn't say so sooner.
TD, Yeah I have needle files, they are a life saver I use them constantly. And I assume you are talking about the back of the case? I still don't really know for sure what I'm gonna do. I knwo I want to use the plastic it came with as well as hide every wire back there. And the seams I am thinking a gasket maker. Will ensure no gaps and clean transitions.
Pope, I will try and get some more pics like that, it's just usually in pieces so I can work on one part at a time.
So starts the beginning of my weekend today. Gonna run a few errands, including a trip to ye olde Harbour Freight as well the my freindly local neighborhood Home Depot for supplies.
Quick stop by the doctors office (always fun) then it's on to modding! Oh yes I plan on getting some serious work done this weekend. It's on like Donkey Kong.
Gonna do some (more) work to the front piece, as well as an idea I recently came up with, a place to stash my ipod.
I got my servo controller in the mail, and I only got one servo (lame) cause I'm perpetually broke these days.
But I plan on figuring out how to mount one of the servos for the doors, and hopefully get those going in the right direction.
We'll see!
-
Re: Project; Mark1
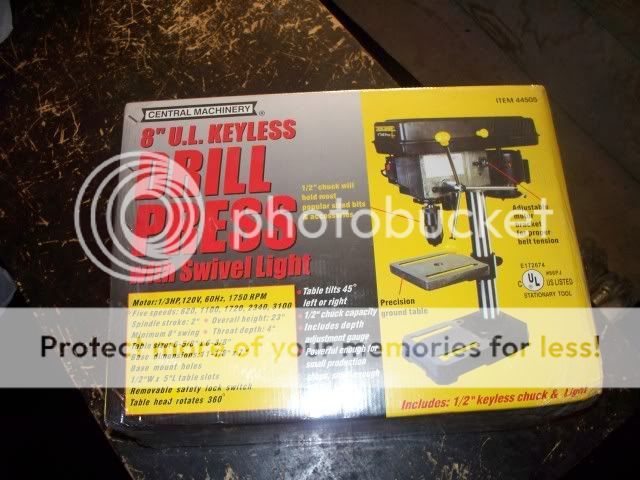
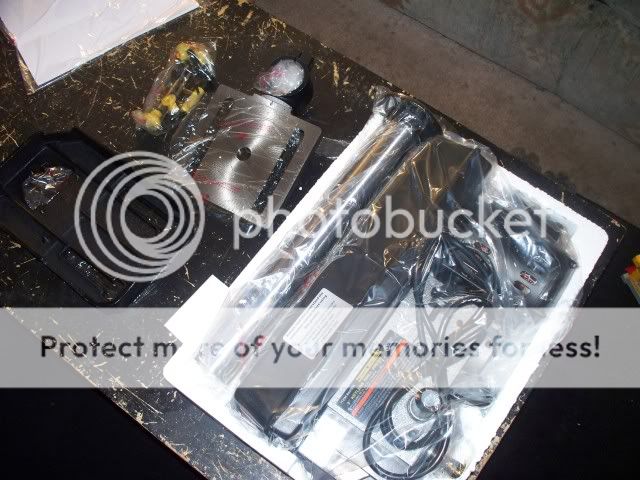
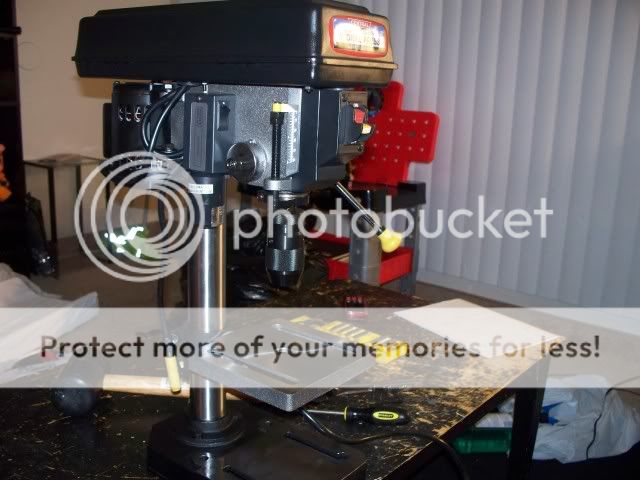
So just got back from running around... Got cleared for surgery (yay) and a trip to Harbour Freight resulted in a little more than just sawzall blades.
Oh yeah. It's not huge or anything, but hey it's a friggin drill press heck yeah! I'm super excited I've wanted one for a long time. This will definitely come in handy!
-
Re: Project; Mark1
I think you'll be amazed at how useful that little machine is. I know I use mine a LOT more than I thought I would when I got it. New tool rep!!
-
Re: Project; Mark1
Nice drill press. I was going to get one but ended up getting the Dremel workstation instead lol.
-
Re: Project; Mark1
I've always wanted a drill press that doesn't wobble when it comes in contact with the material... An exact drill press would come very much in handy with metalwork and circuit work. I'm jealous. Also, I'd love to see you use one of those black box... boxes as carryon luggage.
-
Re: Project; Mark1
nice drill press mate! looks good