-
Re: Project: Power House
Thanks! you can use some transformers and such to get 24v if you really want to :D
http://www.aaroncake.net/circuits/12...er_Circuit.asp
:EDIT:
actually I may use that circuit and have a 24v supply line for the adjustable one, rather than just a 12v :think:
-
Re: Project: Power House
Update time!
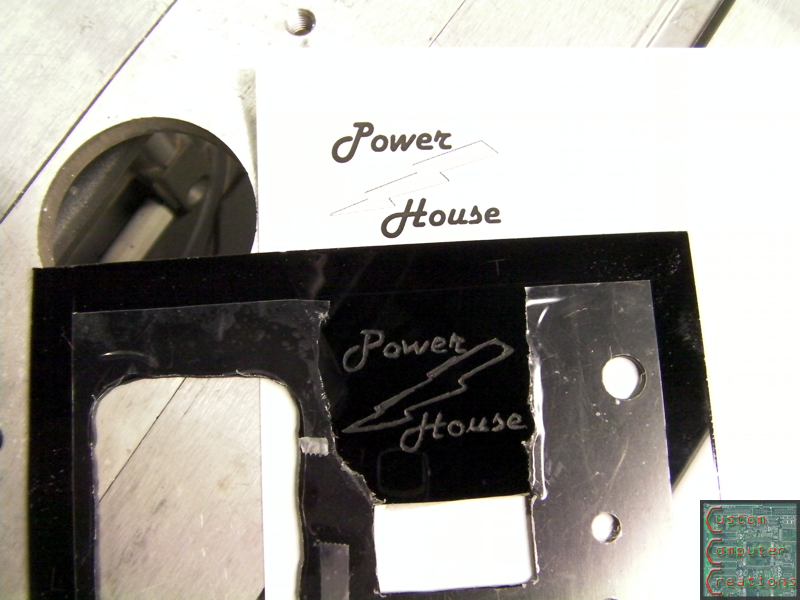
I made this logo in Photoshop:
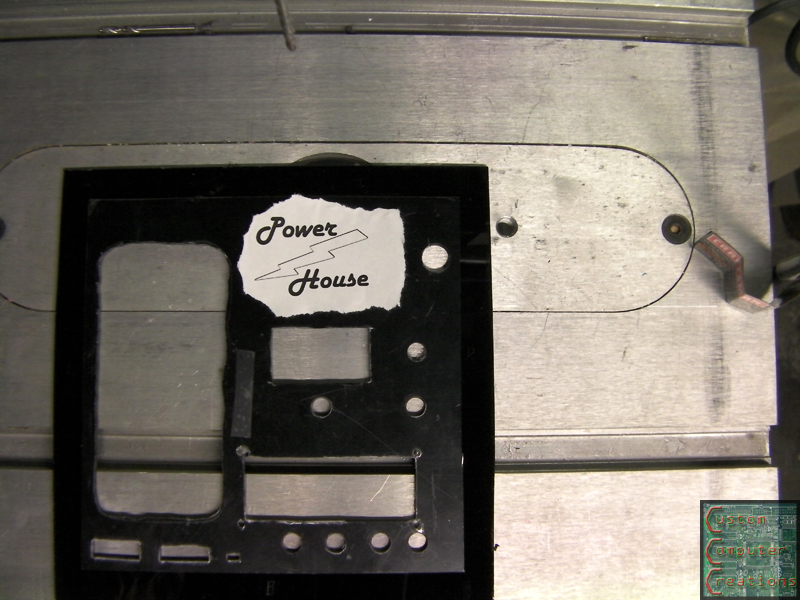
Then I printed it out and taped it to the front panel:
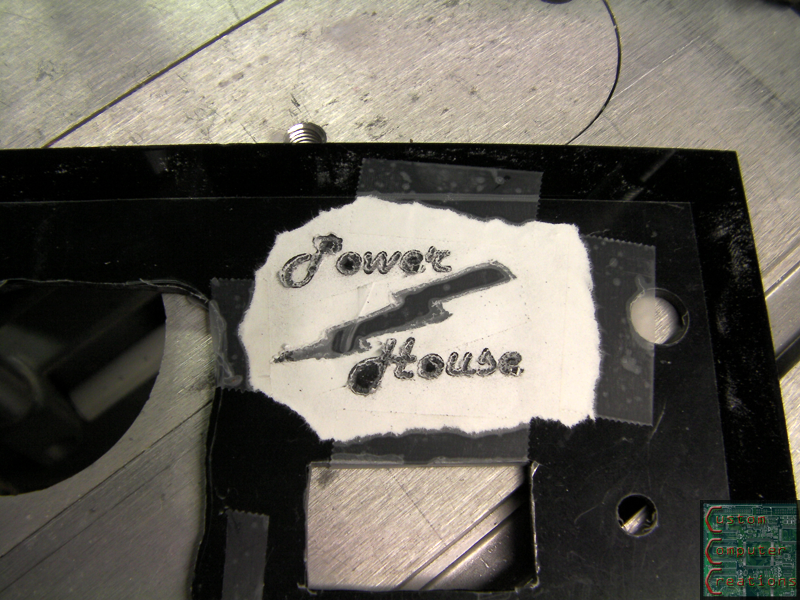
After a quick run-over with the engraving bit:
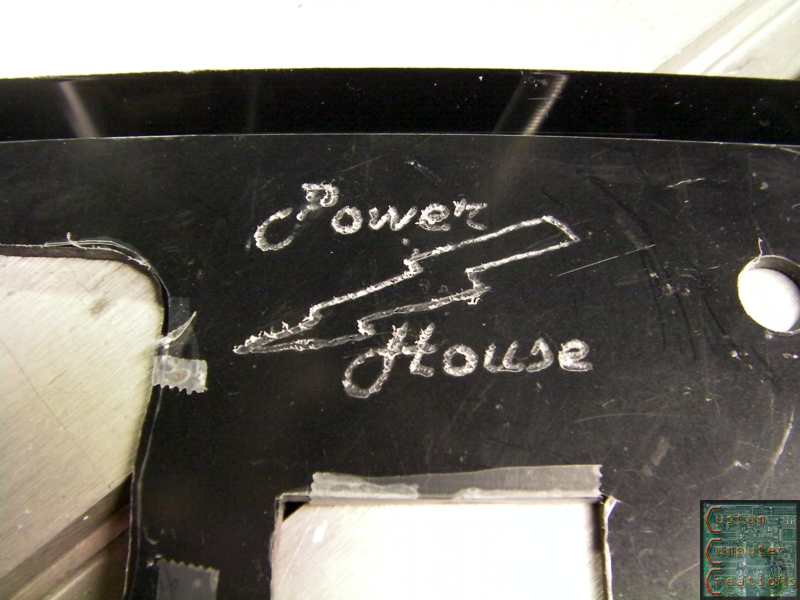
Then I removed the protective film and finished it up:
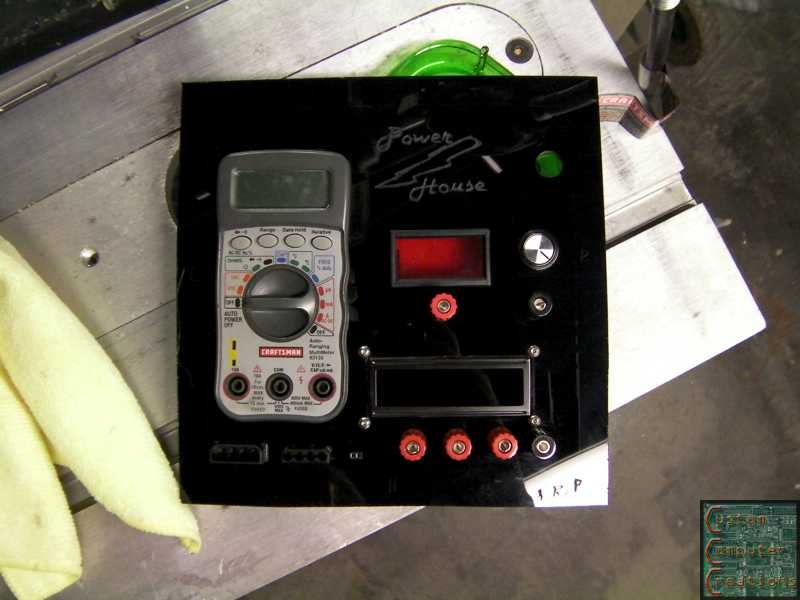
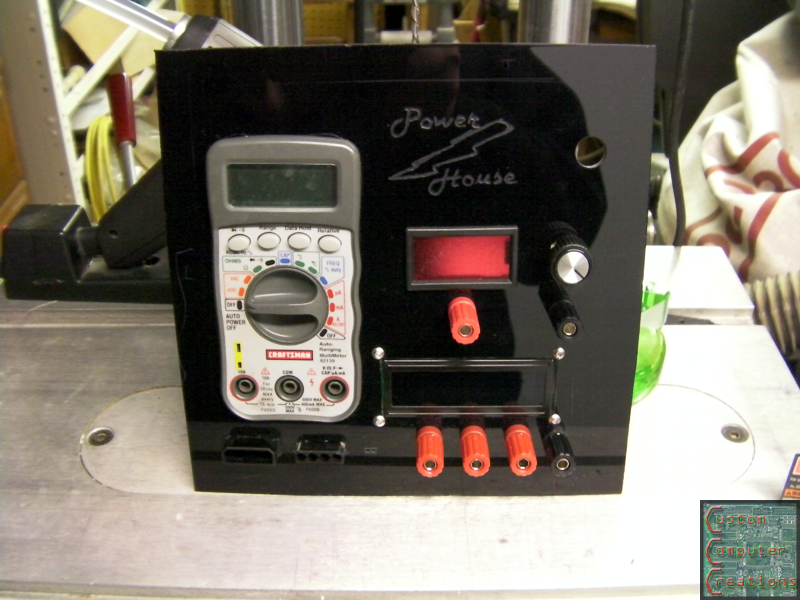
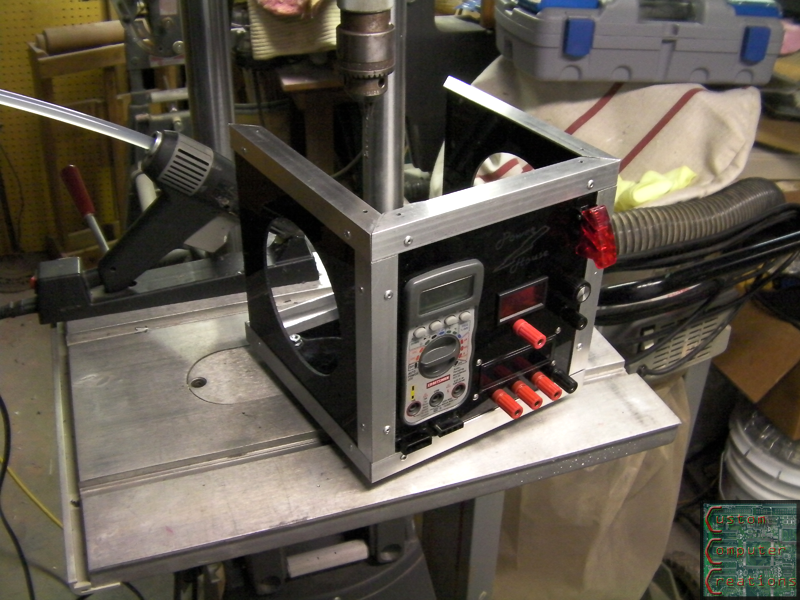
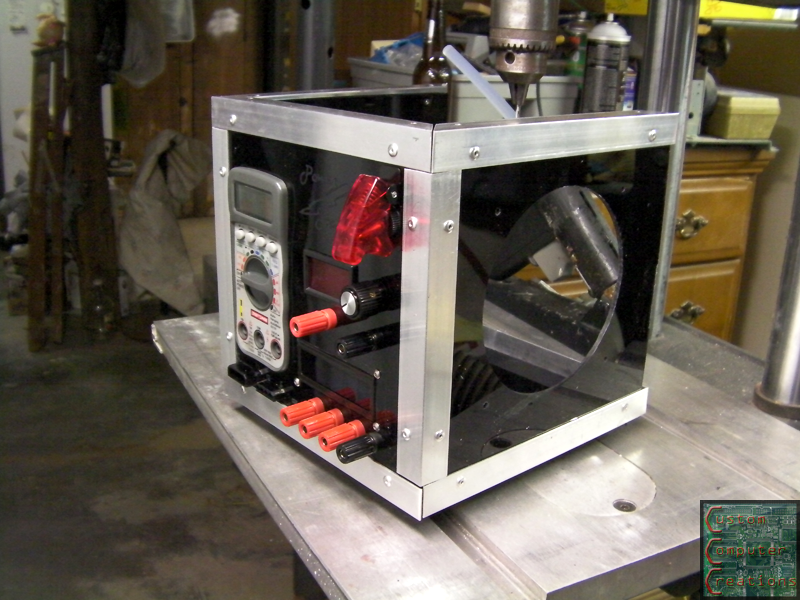
Then I got everything mounted to the front panel, held in with a dab of hot glue here and there:
Then it was time to start final assembly!
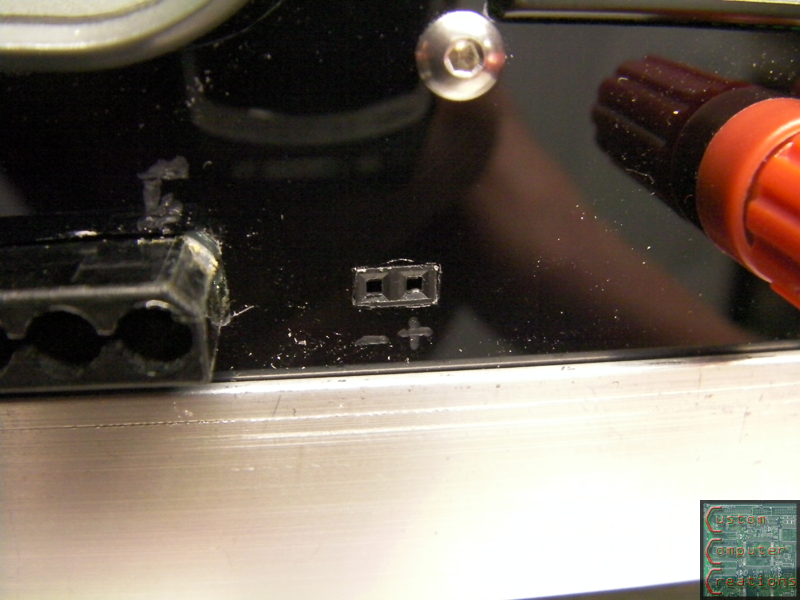
I marked the positive and negative for the LED tester with the engraving bit as well:
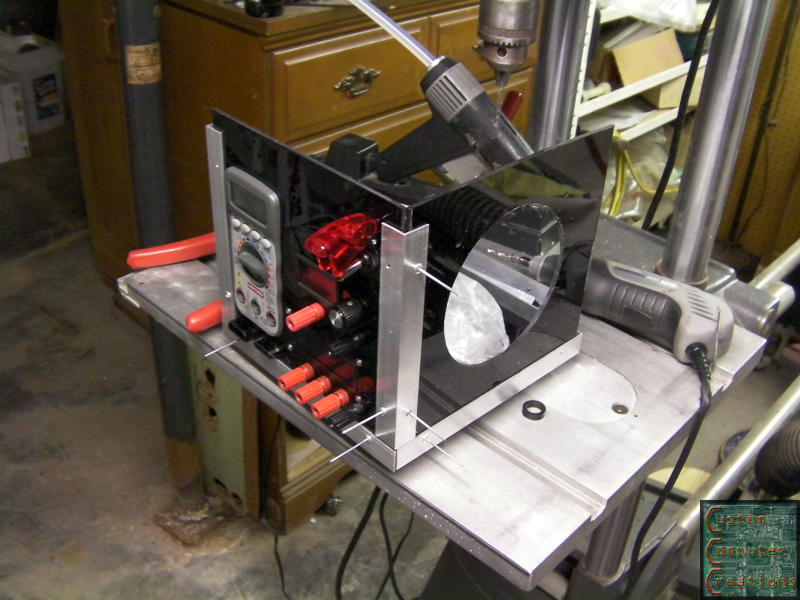
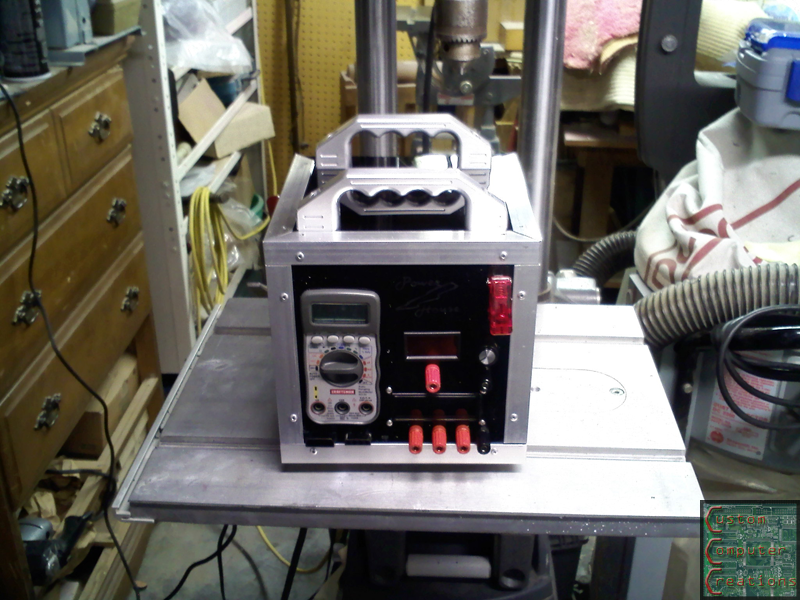
Then I went about mounting those sexy MNPCtech handles. My camera battery was dead so I couldn't take pics of the progress, but it was just more temporary assembly and marking and drilling holes. I shot a final pic with my cell phone though.
The top panel is not yet mounted, as I need to install the PSU and other internals and do some soldering before I permanently mount it. I'm also going to cut some kind of a door in the top as well, so that I can get in and change the fuses in the multimeter if needed.
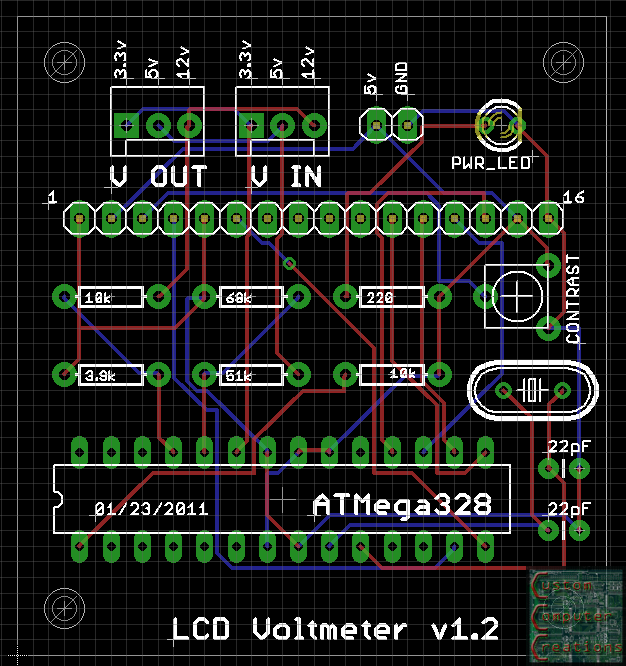
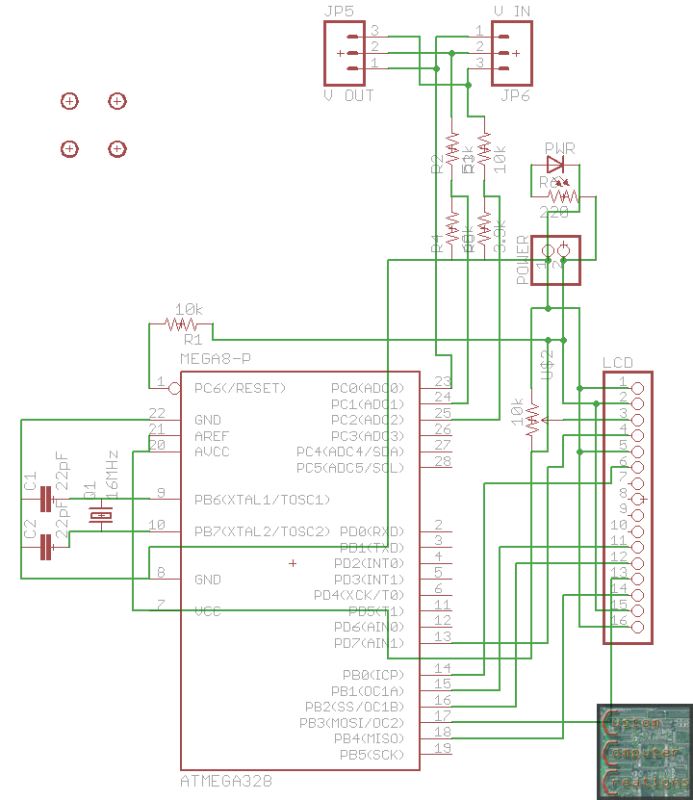
I also made some changes and revisions to the schematic and board designs:
That's all for now!
-
Re: Project: Power House
Ah man you got me thinking now how useful something like this would be...... And I'd have me a bit of a head-start too as I have had a shuttle case lying around for a couple years now just waiting to be made into "something".....
-
Re: Project: Power House
that case would be nice for it! It would be a lot roomier than the one I'm making. Now that I'm trying to stuff things into it I'm wishing I'd made it 10" x10" or even 12" x 12", rather than the 8" x 8" it is now. Ah well, it'll all fit, I just need to get creative :D
-
Re: Project: Power House
Time for an update! :D
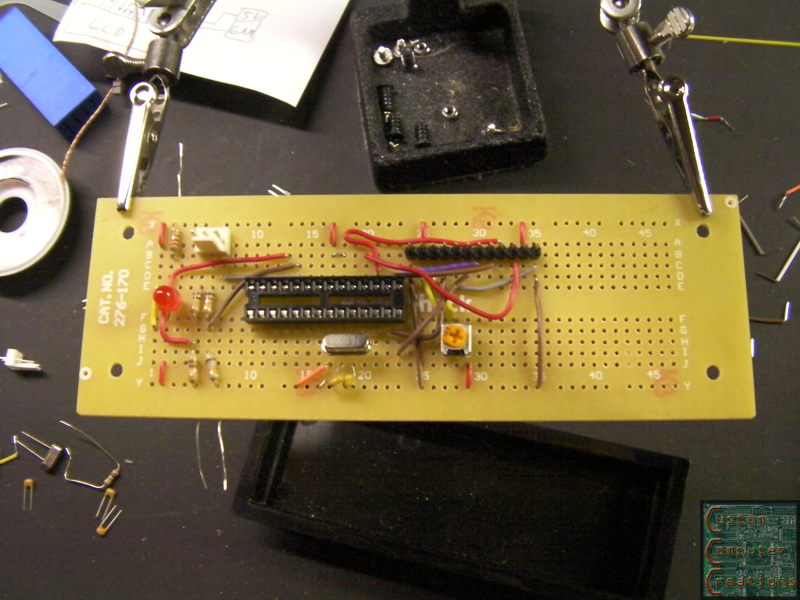
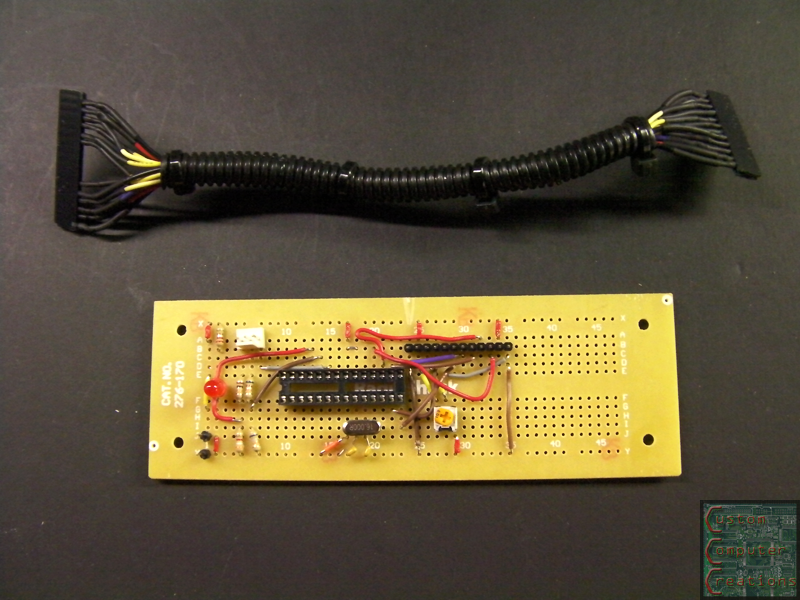
I got the parts laid out on a board.
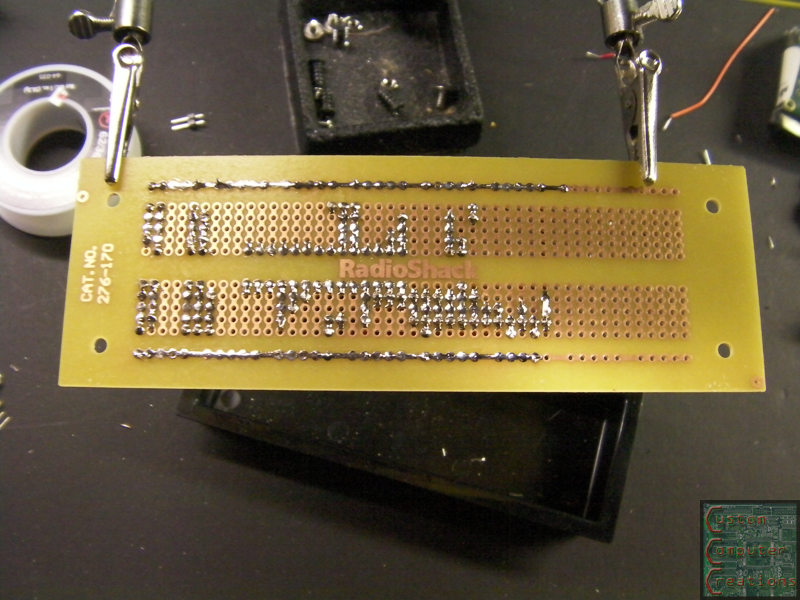
And got everything soldered up.
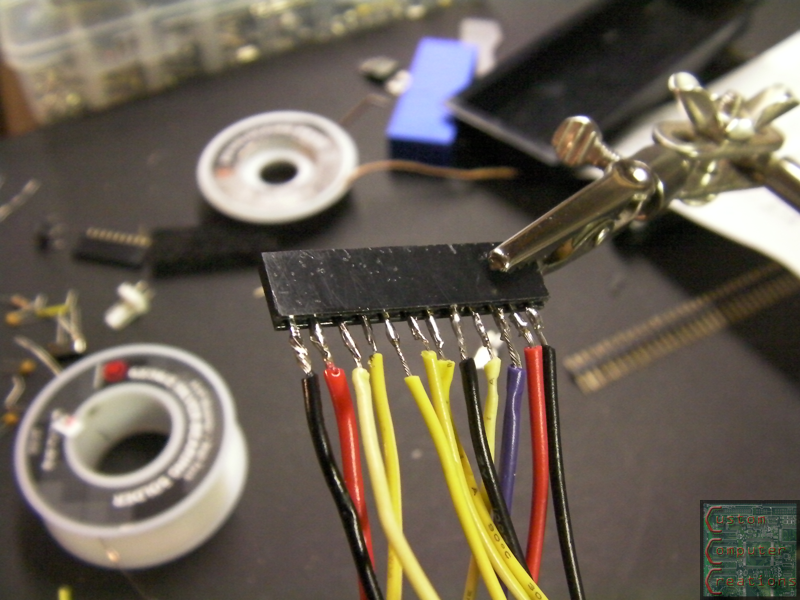
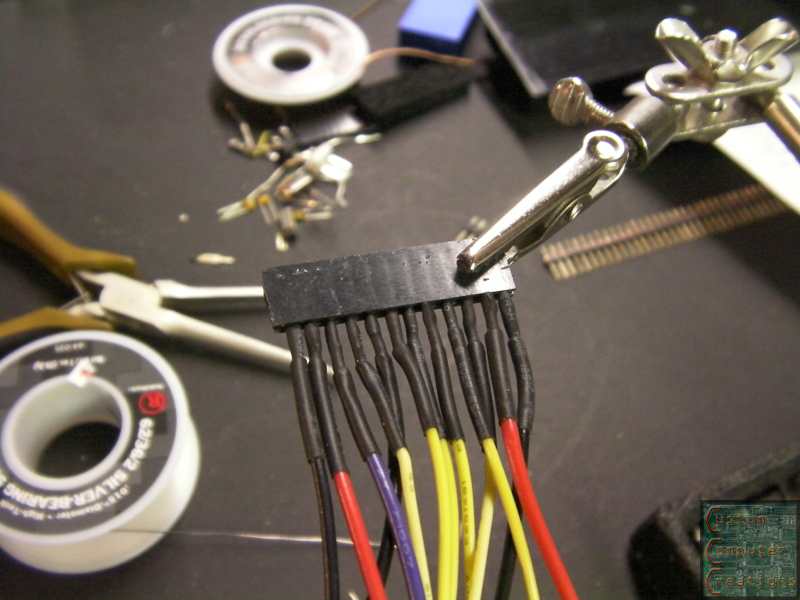
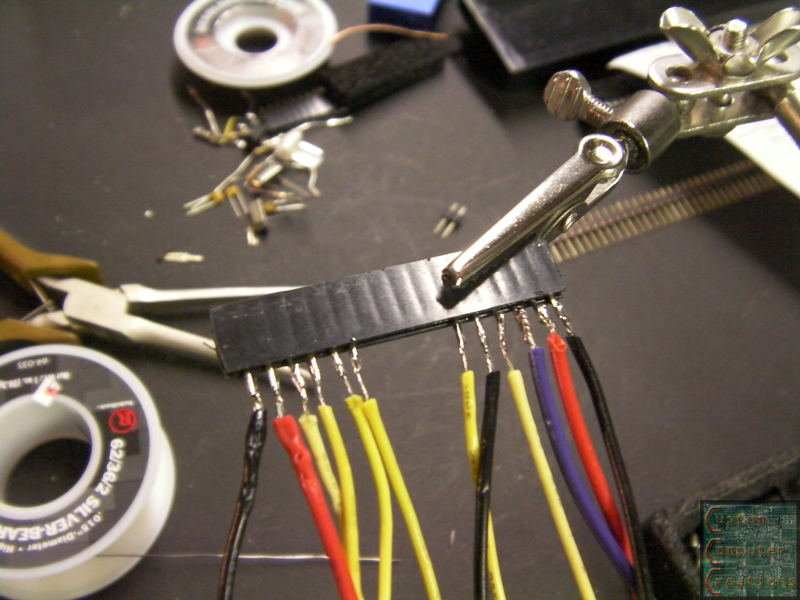
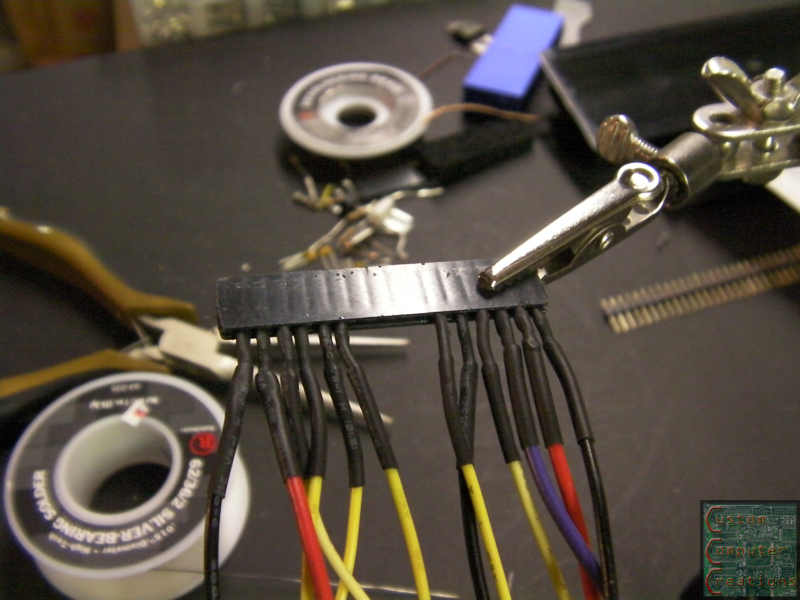
Then I made a harness to connect the LCD and the board.
And ready to get installed!
Now pretty much all that's left is to wire up all the internals and finish the top and rear panels! :D
-
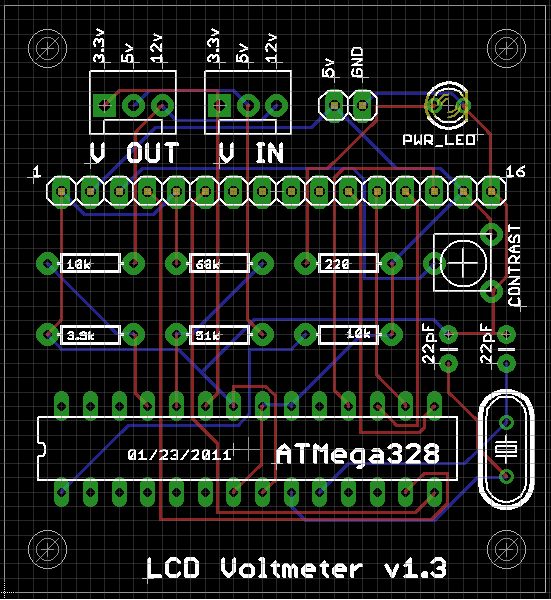
Re: Project: Power House
new version of the board. I noticed some errors with the last version, so I corrected them, and rearranged some parts :D
-
Re: Project: Power House
ok so I think I found a simple easy way to get 24v on the variable output. Radio Shack has a 120VAC to 25.2VDC transformer for $7. Problem is it only outputs 450mA. They have a 120VAC to 25.2VDC 2A version that's bigger (read: won't fit into this enclosure). The question is - is 450mA going to be enough for most small electronics? I was thinking I'd need at least 1A. :think:
-
Re: Project: Power House
It'll be a lot more efficient if you just make or buy a DC-DC converter circuit. No sense in converting from AC to DC more times than you have to. It'll also let you put a bigger load on the bigger rail and let you easily upgrade it later if you want to replace the PSU.
-
Re: Project: Power House
I think I'm going to scrap the idea, and just use the link that CJ posted (once I can get it to work right) to hook a variable to a 12v line. This way I can go from 1.25v to ~10.5v or so, in addition to the dedicated 12v, 5v and 3v lines
-
Re: Project: Power House
We had to do a project like this in high school. We then used the power supplies we built on our next project which was to design and build light bulbs. We modified our design and built it to use a potentiometer which gave us greater control. It was pretty awesome.