Yeah I'm stuck between the thought of making something myself and it never being good enough for me to be happy with it or buying something (if I can find it!) and still not being happy because I ddin't make it myself haha

Printable View
Yeah I'm stuck between the thought of making something myself and it never being good enough for me to be happy with it or buying something (if I can find it!) and still not being happy because I ddin't make it myself haha
I'm really ready to go to bed now but I've been neglecting this log for a while so based on today's progress I think it's about time to bring it up to date!
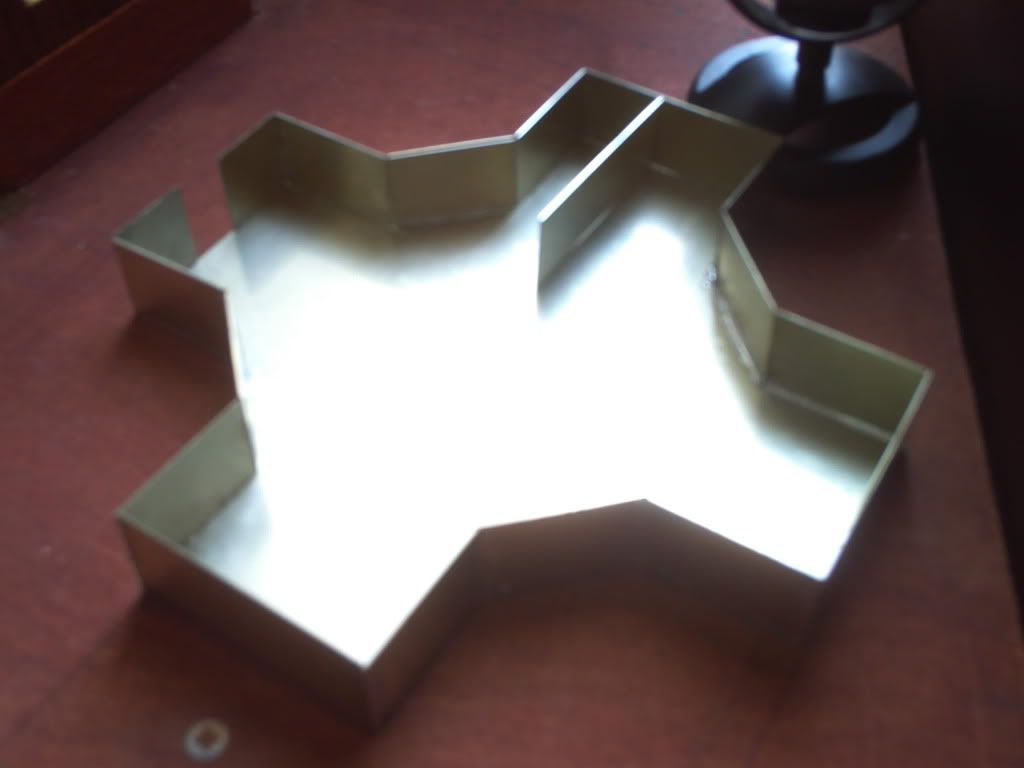
First thing I finally got round to finishing up was the UFO walls whcih gave me some real trouble. Even with some high-flux solder it was a nightmare trying to get it to hold a shape I was happy with and I substituted the tape I was using for temporary support for superglue here. The tape tends to melt and leave a nasty substance to remove, the glue however is highly noxious and evaporates under the heat of the iron...
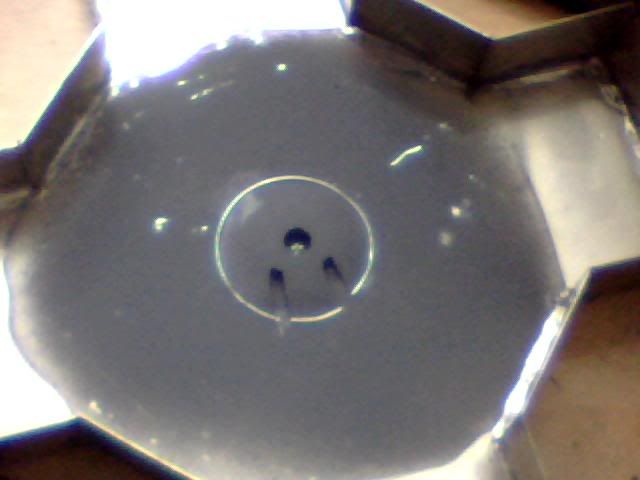
Either way I finally got all the walls in, the final shape of the craft has it with a curved exterior wall but the inside is pretty much finished now (I think!) Anyway, here it is with the walls up, the internal one is not attached but is in the right place...
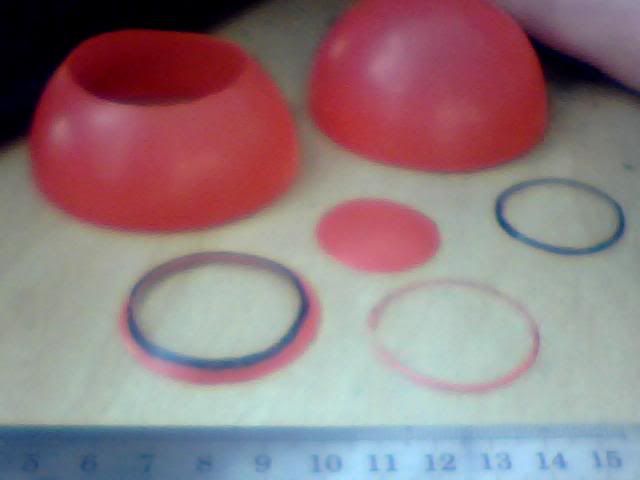
Next I got to work trying to figure out how I could detail the interior. I came to the decision that the craft would be powered by 5 grav-wells (one on each end of the 'X' and a 5th in the middle) with the power source located directly above the central one. In the game however all we know is that that's where the power source is, noone has ever seen under the floor of these things until now ;) I set about making the central grav-well which would be visible but lacking anything metal to use I cannibalised one of my son's plastic balls.
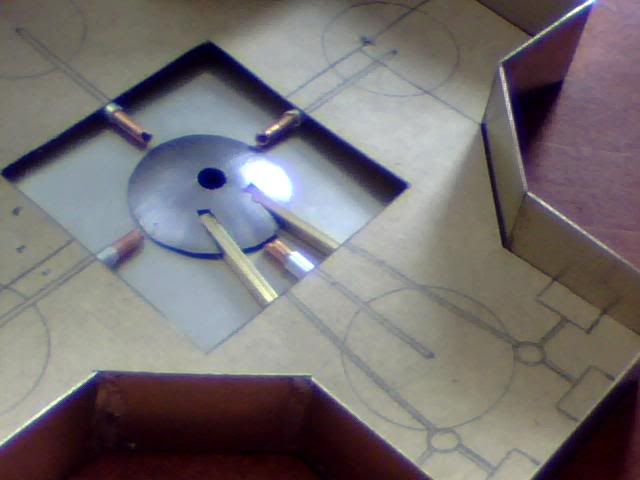
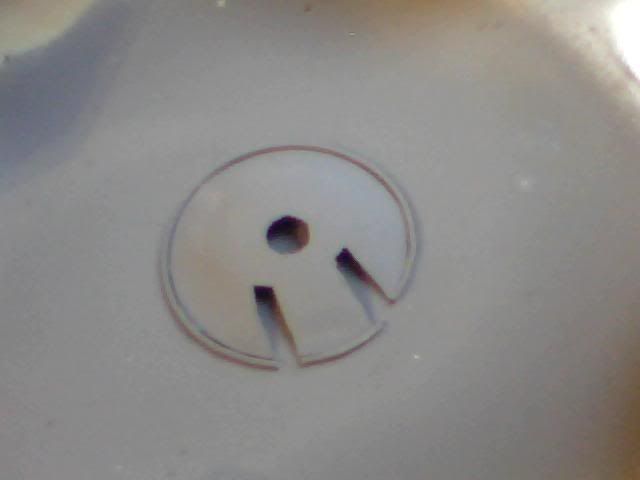
I cut another small hole in the top of the disc that would form the grav-well to replicate the former position of the power source and then attempted to paint it silver to match it with the real metal. It looked crap and was never going to work but I had a play with some other details to see how the layout looked best and came up with the following arrangement. The 4 pipes are conduits for taking whatever energy this ship uses from the source to the outer grav-wells while the bars lead to the navigators' control panels and carry optical inputs (apparently)
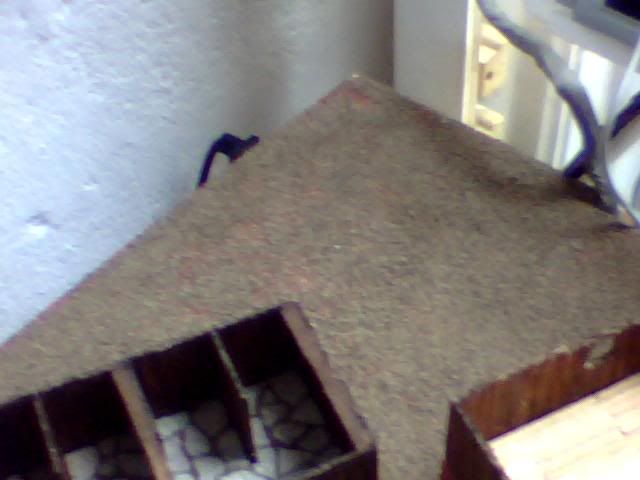
I laid down some soil next but only did the left side of the board and it turns out the method used was fairly sub-par as it didn't hold as well as I'd hoped. When I returned to lay the stuff on the right half of the board I used a different method which was far more successful so I scraped off the loose parts on the left side and redid them too.
(Patchy bits)
Now I have a long wait for my scenery to arrive (this is about a week ago I guess) so I went back to the UFO detailing as I knew it'd be put off forever otherwise.
With the silver paint looking crap and cheap (brush-marks not helping) I looked for an alternative way to match the grav-well with the base and also hide the join between the two. I decided to spray the under-floor part of the ship to tie it all together and avoid brush marks but had to go with a dark grey as I have a limited selection of colours in cans! The below is the first attempt which came out badly but the colour works fine being very close in fact to the in-game palette.
As seen in the above image, I used some thin wire to conceal the join (solder actually!) and then I sprayed it again for a better coat.
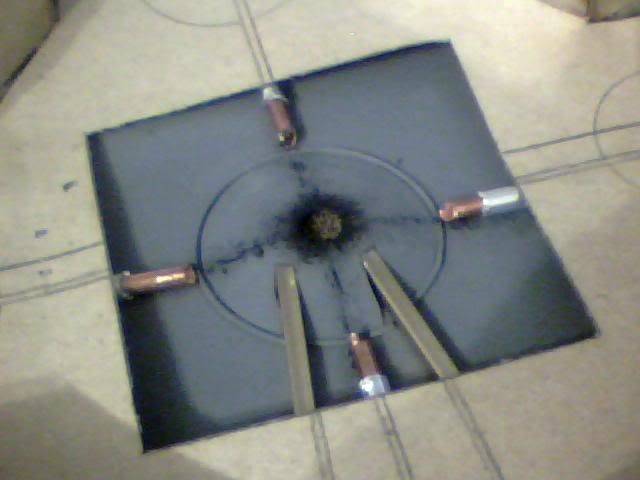
Feeling much happier with the finish I blobbed some black paint inside the grav-well and followed it with some soil while wet to simulate looking right through the bottom of the craft (remember that's a hole there now the power source has gone poof) I got some black on the top of the well so went with it and added a little basic detail.
The lines are again to simulate the power conduits and help give an idea of the vessels original layout before the explosion. Here is a shot with the fiddly bits back in place for a quick check up on progress. Looks good but doesn't look like a massive explosion has gone off so will work more on detail later!
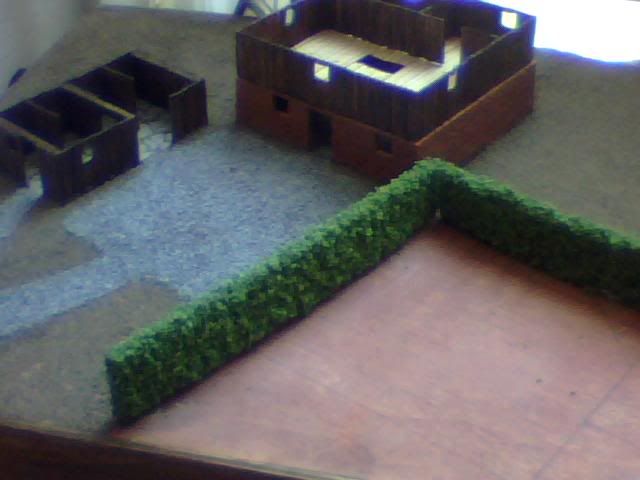
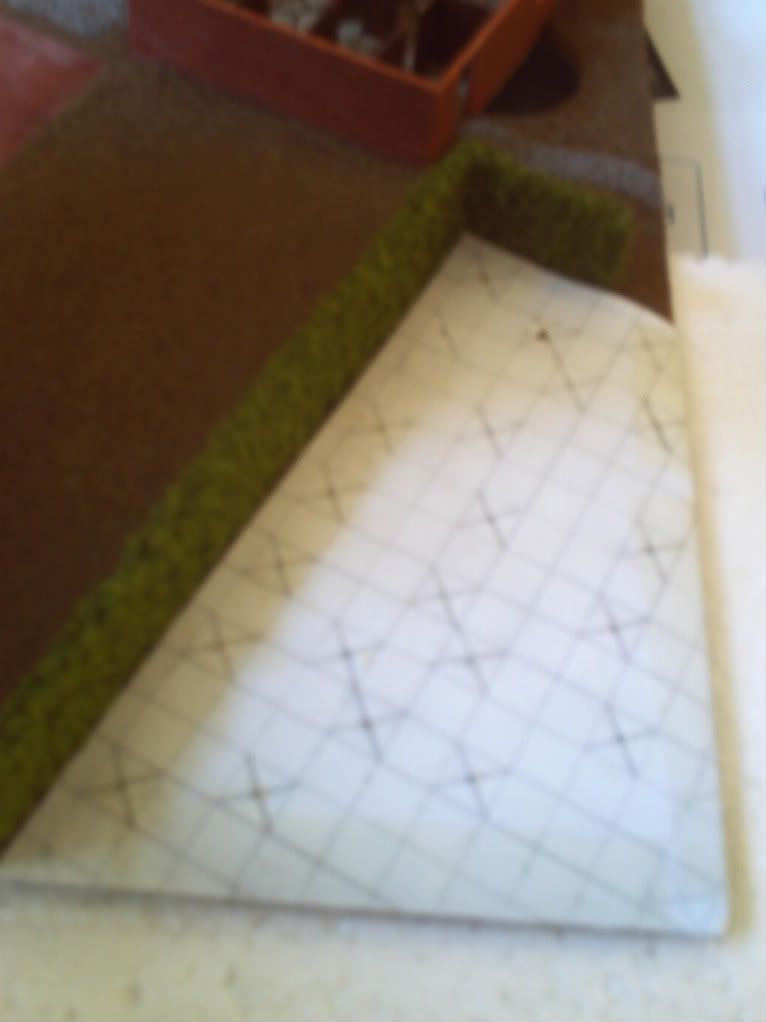
Finally, just a few days ago, my delivery of scenery arrived! But I was on the grinder so I missed the postman and had to wait another day to collect it :( But I got it yesterday and boy was I busy today! I got trees, grass and hedges from these guys and all of it was custom made so sadly not cheap (cost about the same as the laptop but then so did the bricks!!!)
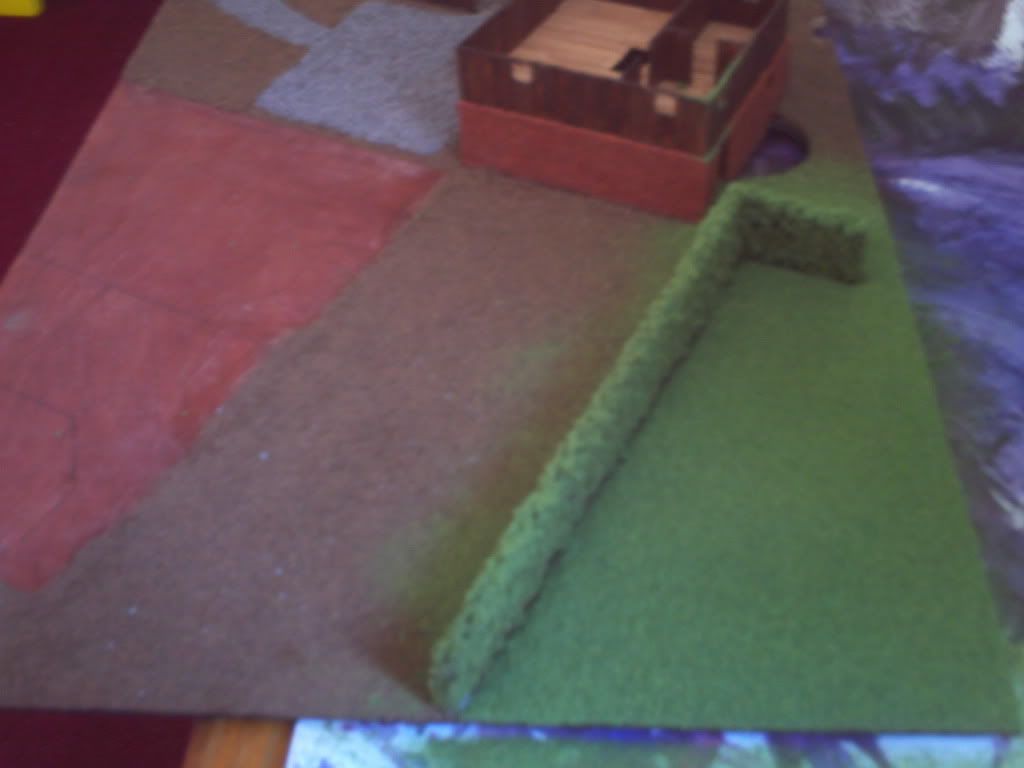
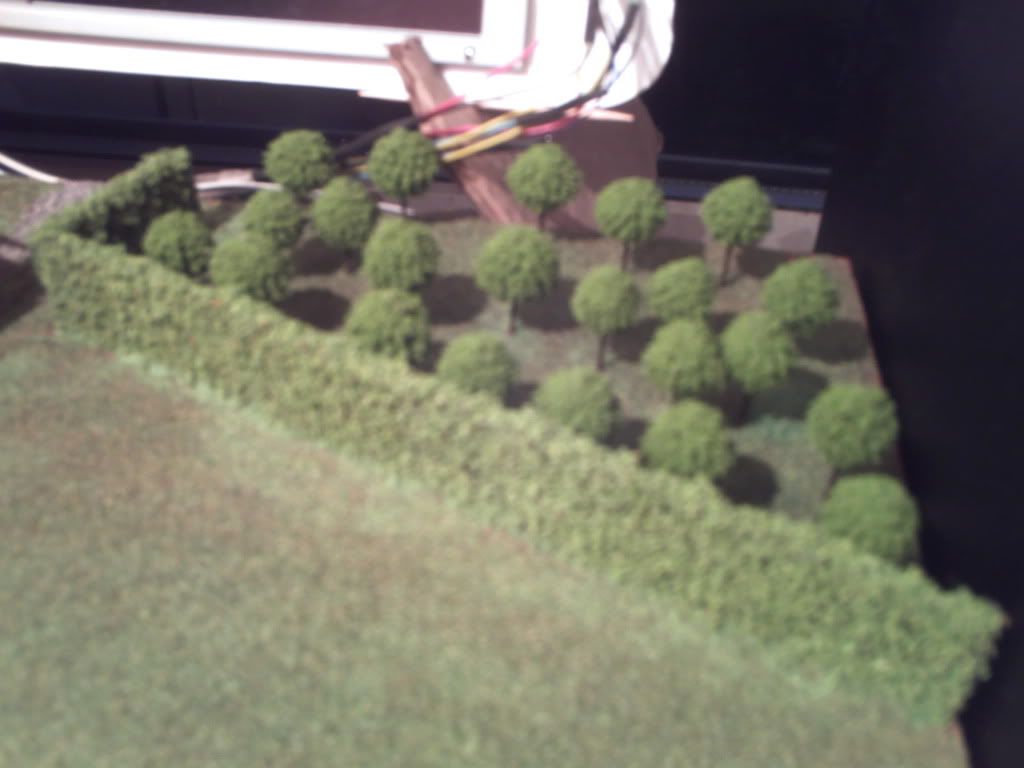
Here's the hedge set up in the wrong place just for a photo-op, dimensions are perfect and the trees are spot on too, just missing little apples but I'll need some VERY small beads to make them!
I measured up the hedges first and formed them into one continuous piece before attaching the whole lot to the base. Then with the assistance of a simple paper template (based on the positioning of these trees in the game of course!) I drilled 1mm pilot holes to shove the trees into!
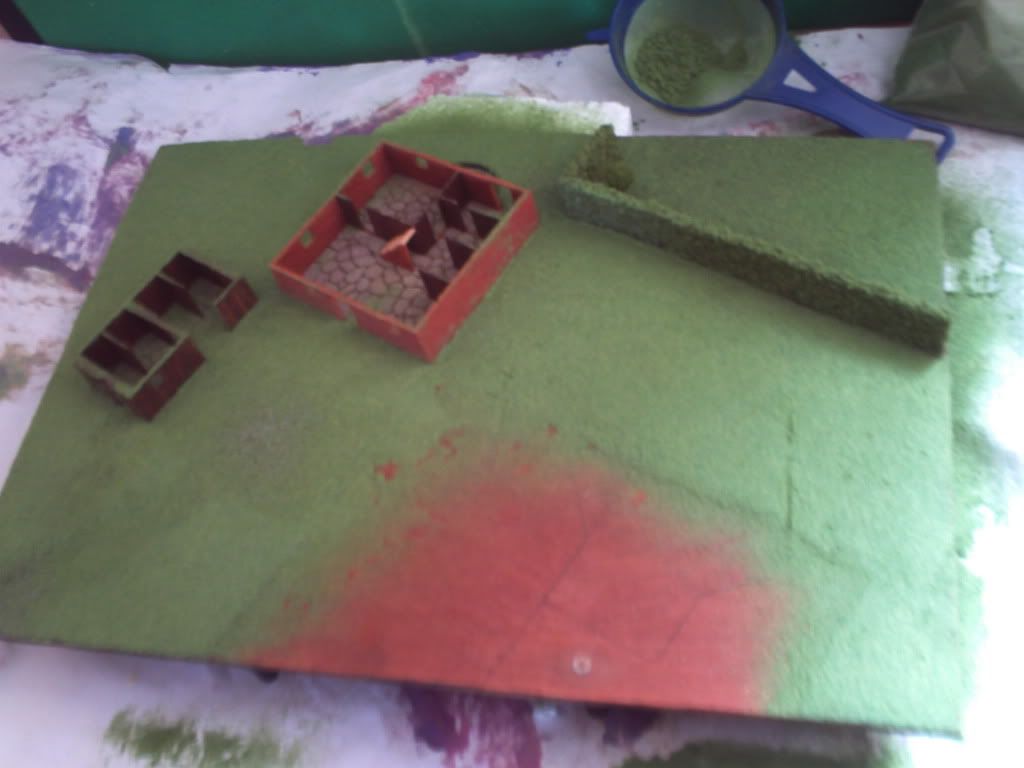
With the holes drilled I treated the orchard as a spot for testing the flock and it came out pretty well. I think I took this after removing the excess but it's thinned out a lot more since then and will continue to do so for some time I'm sure!
Happy with the grass I moved onto the rest of the farm but not before test fitting one sole tree. It looks perfect but the trunks are a very lame and pale brown so I repainted them all with a darker colour for more contrast and (you guessed it) accuracy to the game sprites!
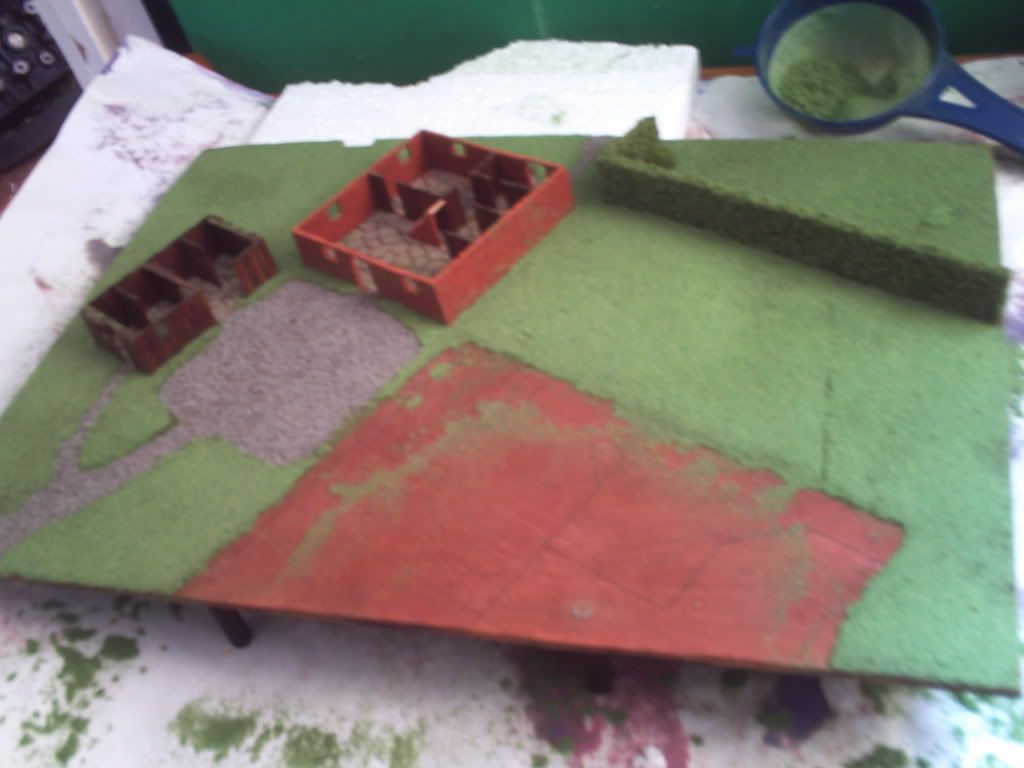
After tipping and tapping most of the excess grass off my farm I ended up with this so it was out with the brush to mow the lawn.
People recommend soft make-up brushes for this but I had to resort to a 1" paint brush! Either way I was careful and it turned out fine.
After the final brush off I fitted all 22 trees very carefully but still lost a lot of ground cover in the process. The holes I'd drilled were very snug as intended but that meant there was a lot of pushing and pulling involved to get them all through and the shock did remove a fair bit of foliage.
Regardless though I've managed to do all the grass, trees and hedges today so I'm dead chuffed with where I am! I haven't really got many decent pics as the sun is long gone but here's what I managed. First the orchard just after an apple harvest :p
And now an overview of how the case looks this evening! Just need tops on buildings, a stonewall at the bottom and the ploughed field and of course the UFO itself!
Thanks for looking and let me know what you think ;)
Quick question folks... If I want to upgrade the crappy speakers that are in this thing can I just do it? Presumably a speaker is a speaker so just cutting the old ones off and soldering in a newer piece of kit should work shouldn't it? I only want to slightly improve on what's there now so I'm not talking a massive overhaul, just slightly larger, louder speakers (probably sourced from another lappy)
probably if they come from another laptop then you could just swap em straight up like you want. otherwise you have to pay attention to the impedance of the speakers.
as an example, if you have a system designed for 4 ohm speakers, you can use pretty much any 4 ohm speaker safely (sound quality not withstanding). you can also go UP in impedance. so with the same 4 ohm system you can use 8 ohm speakers safely. however, you may have sound and volume issues. but it'll work. you can't however go DOWN to a 2 ohm speaker or you risk burning up your amplifier transistors.
you also have to know that impedance ADDS in series and DIVIDES in parallel. so if you have the same 4 ohm system you can take two 2 ohm speakers and wire them in series to make a 4 ohm speaker.
that's probably way too much info for you since you are just planning on using other laptop speakers, but it's good to keep in mind anyway.
i knew a guy i was in electronics school with that wired up his chevelle. he used 4 4ohm speakers wired in parallel for two channels. so that meant that all four speakers divided down to 1 ohm per channel. he therefore blew his nice new expensive amp because it wasn't designed for that low of an impedance.
now, just to qualify about dividing since i know there are others on here in the electronics field, there is actually a formula for determining parallel impedance that isn't just simple division. but as long as you are using the same impedance rated speakers it works out to the same as dividing them in two. it gets more complicated if you run a 2 ohm in parallel with a 4 ohm.
Wow, thanks :o That is lots of info but sadly I'm a surprising technophobe when it comes to wires and electricity (look how long it took me to extend the monitor cables :p) I tend to prefer using store bought extensions to splicing when I can but right now I can't so I think I need to learn a little about all those big words you just used :D
Just did a quick google for impedance as I haven't the slightest clue what it is, but the Wiki came up with lots of scary equations so I immediately navigated away :p Do I need to understand what it means or is simply understanding the values enough to get me by here?
Also how do I find out what speakers I can and can't use? Basically how do I find out what it's currently using? Can I find out from the hardware itself or will there be software on the lappy itself that tells me?
Way I understand it, first I need to find out what's currently in there, then determine what my alternative options are for replacements and then it's ebay time!
Easy solution would be hook up a set of speakers to the headphone port.
Text pictures:
Code:Parallel
- ___ ____
+ ___O____O
2 4 ohm speakers this way makes 2 ohms.
Series:
+ ---O---O---- -
2 4 ohm speakers makes 8 ohms.
Thanks AmEv, just checked the hardware and the rear of each speaker is marked '8Ω 0.8W' There's more but the rest seems like manufacturers numbers or something... Now what does that mean I can fit? I only want 2 speakers as I'd like to have ports for them in the angled front panel but does it mean each speaker currently fitted is 8Ω or does it mean that they're 8Ω together?
Just looked some more and to clarify, each speaker is individually wired to their plug, ie. not parallel OR series! I have 4 wires coming from the plug, 2 for each speaker... So can I replace each one with another 8Ω equivalent without difficulty?
don't look up impedance, it will scare you.
the 8ohm (i don't know how to make the ohm symbol) mark, means they are 8 ohm impedance speakers. so yes, you could simply replace each one with an 8 ohm speaker.
usually different industries stick with the same style speakers. for example, car speakers are 4 ohm, house speakers are 8 ohm, and there are 2 ohm speakers out there, but i'm not sure what they are used in.
so i would suspect that the majority of your laptops will have 8 ohm speakers.
the0.8W just tells you how power they can handle. you can always go UP with that number. but you don't want to go down or you can blow the speakers. of course i don't think you'll have much luck finding speakers less than .8W, lol.
you could always just get a pair of external powered speakers and mod them to go where ever you want. just keep them wired up the way the are and plug em into the headphone jack.
oh yeah, with speakers you only have two wires to hook up. so it's easier than extending a monitor cable. the other cool thing is that if you hook them up backwards (positive to negative and negative to positive) they still work and won't hurt them. but with higher performance speakers (expensive car and house) the sound quality is diminished a bit if they are hooked backwards.
Awesome, thanks man, going to do some ebayin' I think! The otehr thing I want to do on the front is get custom grills cut. Is there anyone here who can laser cut some bits out of some nice shiny metal for me without wanting loads of money for it? That'd be nice ;)