Re: Project: Frankenstripe
Alright, time for some new stuff.
1st off, the new idea for the window:
A magnifying glass that I acquired through a bit of dumpster diving a couple years back. I had originally intended on using this for fly-tying (another hobby of mine!), but just never got around to modding it on an arm. So now it's gonna go into Mach 2. Here's a closeup of my newest Ebay purchase:
That's the CPU on a HP Pavillion that I picked up for $40 bucks. The guy said it didn't work. Gee, wonder why? If the chip is fried, oh well. I'll get a cheap P4 and drop it in there, and do a bit of cable management, but that's gonna be down the line. Probably should plan on getting a HSF for it too.
So there it is, my minor update. I'm planning on heading over to Harry's computer pile and seeing if I can find a decent case for Mach 2 on Thursday, and probably start modding later that day.
Re: Project: Frankenstripe
Here begins Mach 2. Got myself a real case, not nearly as much of that flimsy plastic stuff for me!
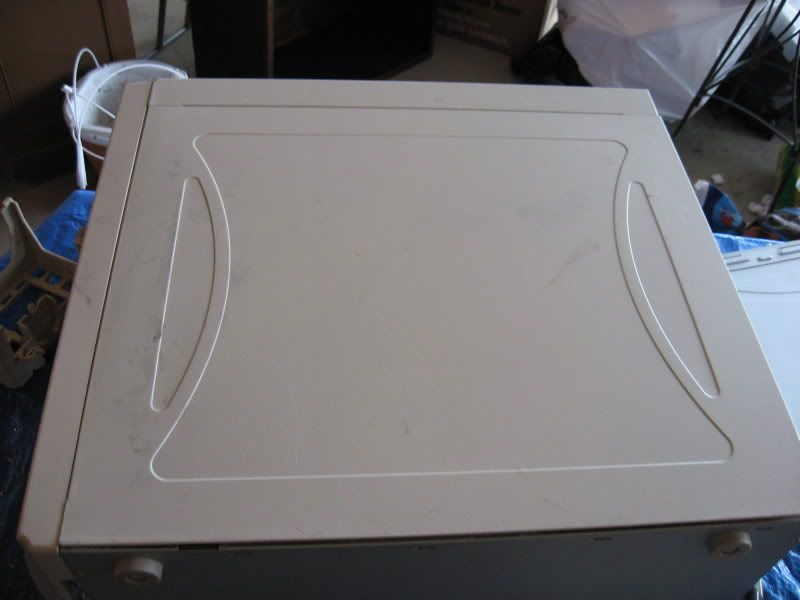
Beginnings of dismantling:
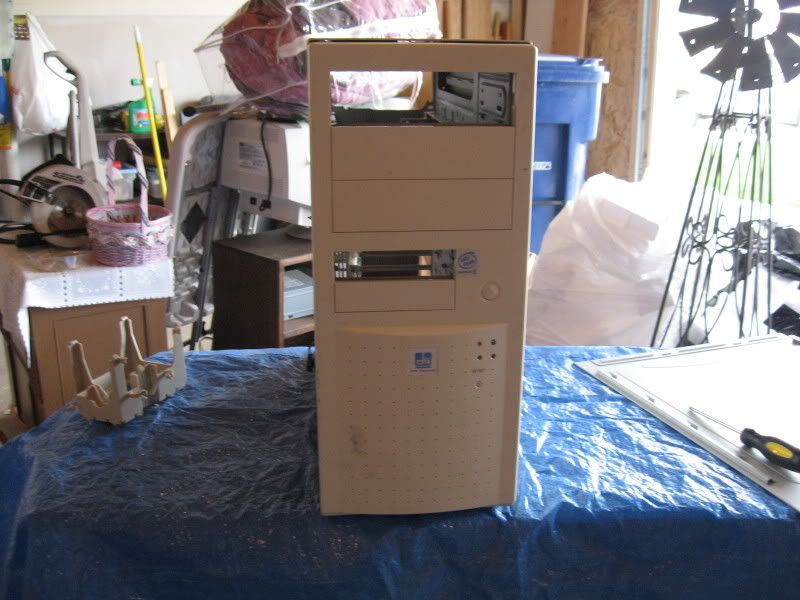
Quick shot of the front panel:
Front panel got chopped up. I've got something in store here. Don't know what exactly, but like I stated previously, this mod took on a life of it's own a long time ago.
View of the inside:
I don't think I had my screw tight enough in the cutter. Snapped it right off. Oopsy.
I just spent the last couple of hours sanding. Pretty much down to bare metal:
Tomorrow, I shall clean everything down and prime the top and back panel. The side panel needs a hole. But in order to get that, I need to make some measurements first. Which means Blue is going to get opened up. Oh, the agony!
Re: Project: Frankenstripe
ive had that happen to me before...broken screw in the cutter....
lookin good!
Re: Project: Frankenstripe
A little more progess, this is starting to come together nicely, if I do say so myself. Now I'm just hoping I don't royally screw up the defyant-inspired blowhole that's next.
Anyways, on with the pics!
Just in case you forgot what is going to go into the side as a window:
So I chopped it up a bit, and sanded a bit. Looks like it was never part of a folding unit!
Did some more sanding--there were a few areas that I needed to go over again. I'm to the point now, however, where I can rub everything down with some mineral oil (my project for the next couple days)
So, onto placement:
Looks like a good spot. Out comes the masking tape and a permanent marker:
As you can see, it's been mocked up, marked up, lined up and drilled down. 30 seconds later:
And now for a couple of the backside:
And every mod needs a mascot! I do believe that's where I went wrong the first time. So here's my mascot, my in-law's cocker spaniel:
More next Friday, as I got to work the next 6 days.
Re: Project: Frankenstripe
Nice mod, keep up the work.
I got a cocker too :)
Re: Project: Frankenstripe
lol. . a Mascot. I got a Chihuahua.
Great Idea. . With the Magnifying glass.
Re: Project: Frankenstripe
That guy is going to become a fan guard. I'm going to have to find some stock somewhere and get some practicing done.
Re: Project: Frankenstripe
Here's what I've got planned for Friday:
The two elliptical areas are going to get bondo'd. The two triangle shaped areas represent the two smallish windows that I'm going to cut into the panel.
Also, the more I think about it, the blowhole isn't going to be done on this mod. Two reasons--#1, I need more practice with shaping bondo, and #2, it really doesn't fit into the theme as well as I thought it would. I still have the old front panel from Mach I of this mod, so I will woodshed on that until I am satisfied with the results. Hell, if it's good enough, I might even post some pictures!
Having said that, I am planning on covering the gaping hole in the front panel with either modder's mesh or something similar. I'm still planning on a 120 mm fan in the bottom of the case, so I'll probably get that cut this weekend as well.
After that's all said and done, it will be time to move onto the next part. I'm also planning on getting some acrylic rods from Estreet Plastics, cutting into the front panel like this:
(not to scale, and I added a view of the mesh as well).
And installing rods on each of the long sides of the front panel. And yes, those rods are gonna light up. I'm planning on getting a handful of red LEDs from LSDiode as well.
After that phase is complete I will move onto painting.
Re: Project: Frankenstripe
So I've got some goodies heading my way courtesy of Crimson Sky's eBay offerings, including a fan controller that is going to go into this mod. After a quick PM regarding the dimensions, I'm going to add a 120 mm fan on the top of the case and build a 'false top' out of wood for the frame and styrene for the body, with modder's mesh (or similar) on the front and back for air flow, kinda like this:
I'm currently planning on ~ 3 3/16 inches high so I can add one or two 80mm fans for added air movement.
Re: Project: Frankenstripe
A bit more of an update. I got the rough shape of the window cut out and the 120 mm fan hole in the top of the case cut as well. Tomorrow (hopefully) I'll be working in Dad's shop for a little bit, so I'll have access to all sorts of goodies. Anywho, here's some more pics:
All taped up. Wasn't quite sure how far I was going to be going with the cutting, so I played it a bit safe.
Opted for one big triangular window instead of the two small ones.
Three guide holes and a few minutes with my jigsaw and I've got a very rough shape.
Uh...jigsaw decided to take my masking tape off in the process. Not that big of a deal.
Busted out the dremel and got a helluva lot closer to my finished product.
While I was letting the dremel cool down, I marked out another hole
Viola!
So that's it for today progress wise. Next week I'll be getting my grab bag in the mail, so I'll see what can be used other than the fan controller--I've got plans for some of that loom that's in there.
Comments and criticism always welcome!