Re: Project: Accelerated Fear
Nice work mate, I never thought of B&Q for ally but I know it is expensive these days as all the metal market prices went mad a while ago and prices went through the roof, I need a piece of 3mm ally sheet for the base of mine but the cheapest I can find is about £30.00:eek:
+rep for persevering with them sponsors8)
Re: Project: Accelerated Fear
Quote:
Originally Posted by
Beta-brain

Nice work mate, I never thought of B&Q for ally but I know it is expensive these days as all the metal market prices went mad a while ago and prices went through the roof, I need a piece of 3mm ally sheet for the base of mine but the cheapest I can find is about £30.00:eek:
+rep for persevering with them sponsors8)
£30 :mad: welcome to rip-off-britain! It makes me so mad how badly we get shafted for things like that! Plex is pretty much double the price compared to the US.
Have you tried a scrap metal yard? Or it might even be worth going to a place where they do CNC machining and asking for an offcut, you can find lots on industrial estates. I got some good bits and pieces from the local tip, just ask one of the monkeys who work there, prolly only cost you 50p :banana::banana::banana:
Good luck :)
j5
Re: Project: Accelerated Fear
your not the only one that love geting parcels
Re: Project: Accelerated Fear
Hey Guys, time for an update! Its been ages, and i have a lot to tell you about so sit back and relax coz this update is gonna be pretty BIG :)
After a lot of attempts to talk to the right department at AMD i finally managed to speak to a lady called Julia, she said she couldn't help :( BUT :D she would put me in touch with her Tech Specialist Ron who might be able to sort something out for the project. Anyway i spoke with Ron for a while beating around the bush about what i actually wanted (i didn't want to take the piss and start demanding stuff you know?). Eventually i told him if he could send the the best he could spare id be very grateful. He took my address and telephone number for the courier and said he would have a look around to see what he could find for me but he couldn't promise anything...two days later...
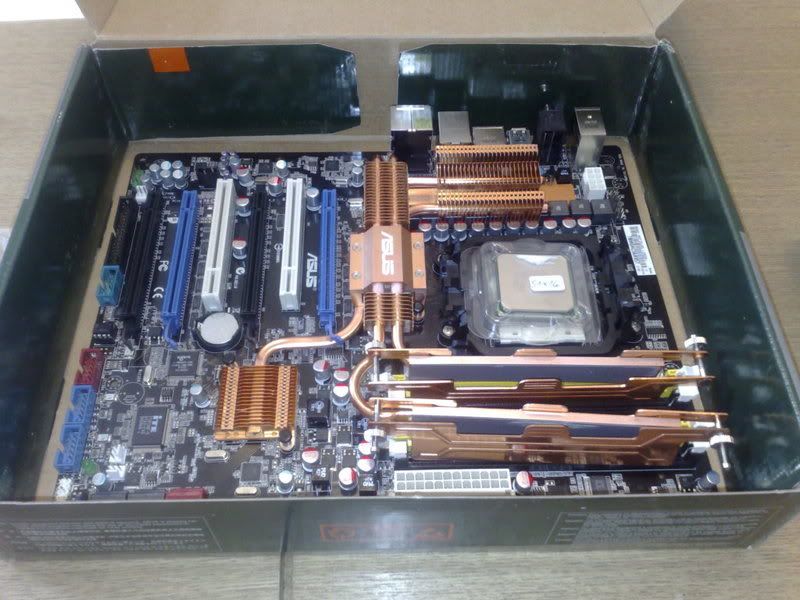
BOOOOM!!! an ASUS M32-MVP Deluxe!! I nearly wet myself when i opened the box and saw all that copper!! Totally wasnt expecting it!
Ohhh.. wait a tick.. whats that little silver thing laying on top there?
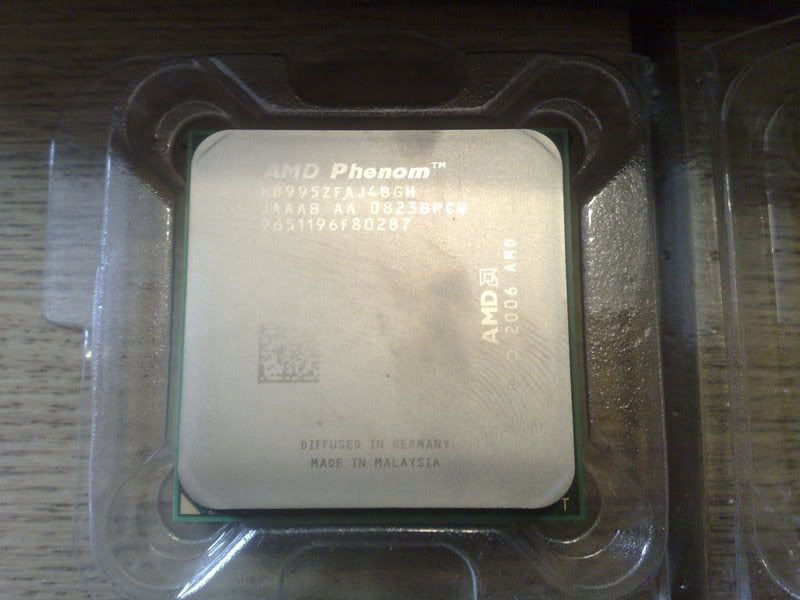
BOOOOOOM!!!! An AMD 9950 QUAD CORE!!! 2.6Ghz!!!
After i had changed my underwear and recovered from the shock that the project just went up about 15 levels i sent Ron a very big thank you email, he just shrugged it off saying it would just go out of date if he kept it! But man, it means a lot. Thanks Ron you made my year.
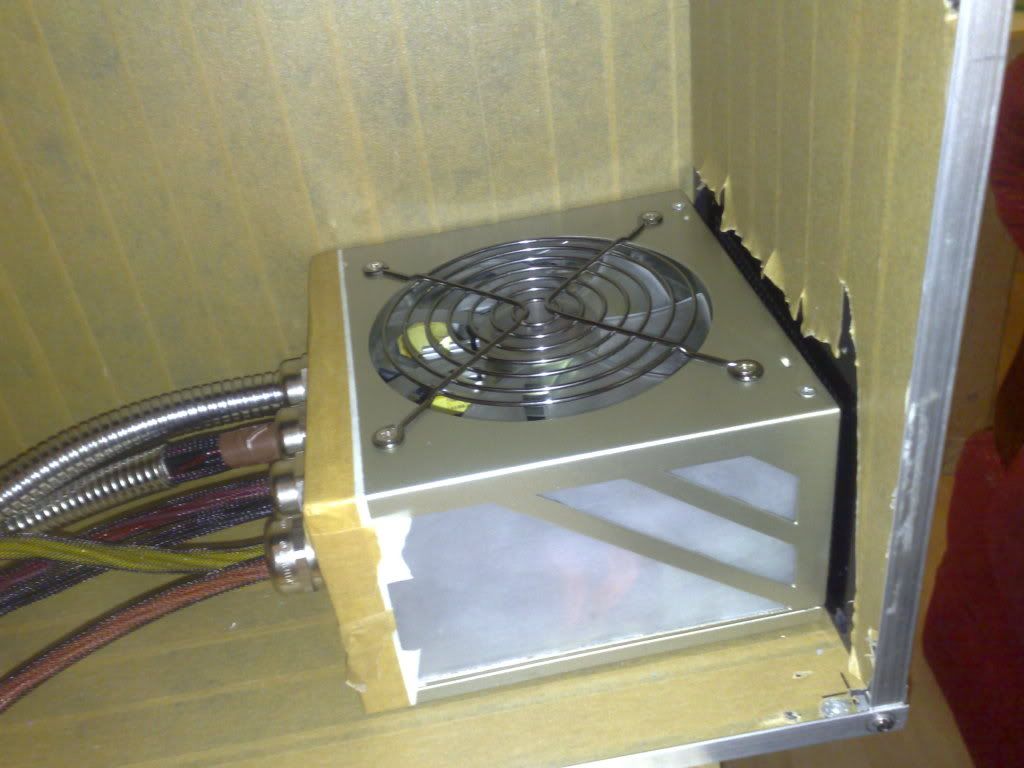
Now with a spring in my step and renewed enthusiasm i got to work, for some reason i was really paranoid about the Power Supply, iv had mother boards go bang before because of improper wiring, ATX Connectors populated backwards ect, i wasnt go to be taking any risks with all this lovely new stuff.
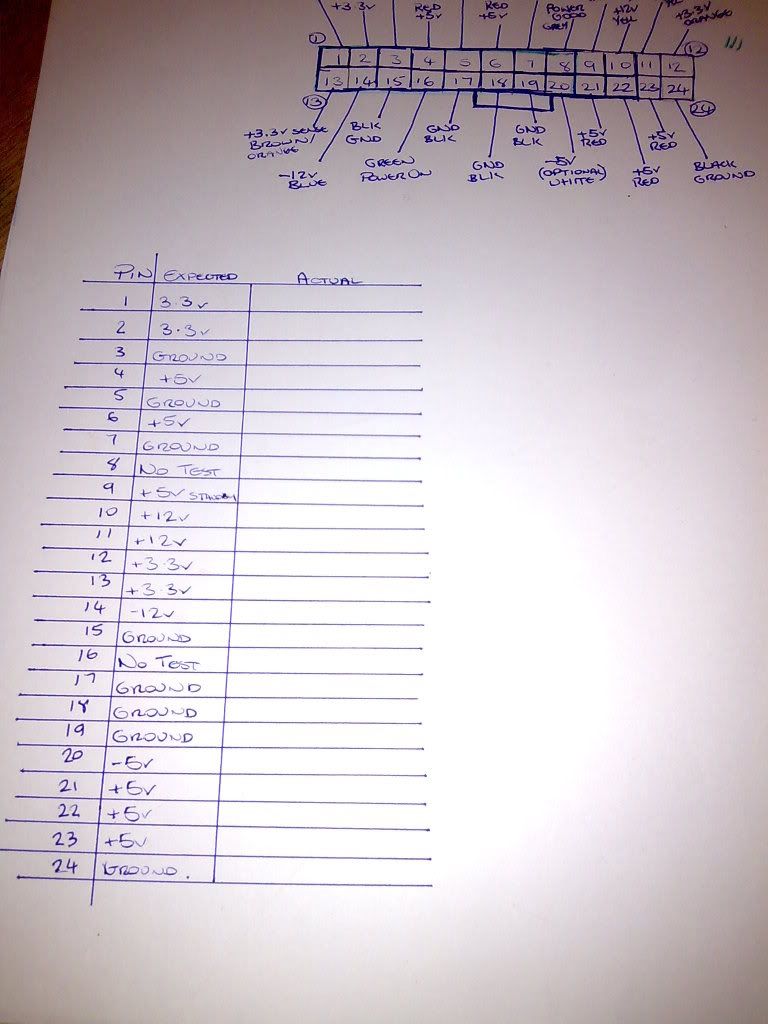
I looked on quite a few websites to get the pinouts of an ATX connector, once i had four seperate sources i compared them to check they were all the same, they were! (joy) so i wrote them all down in a rough chart and wrote down what voltages i should get from each pin.
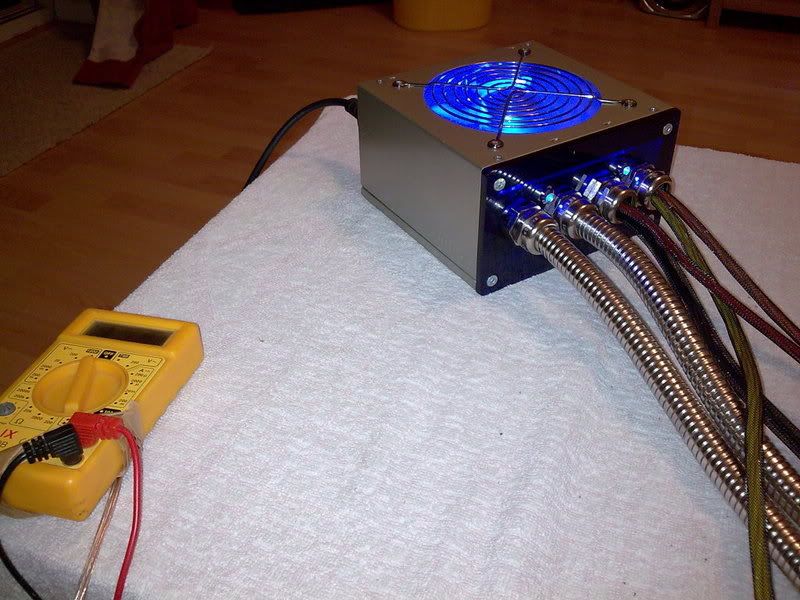
Then set about about testing it with a multimeter.
Some of the voltages seemed quite low, 3.3v was sitting at 2.8v, 5v was sitting at around 4.5v and 12v was 11.7v, i looked up the tolerances on the web for ATX power supplies, hmmm +/-5% on the above so it shouldnt be that low, then i read a little thing saying NEVER TEST A PSU WITHOUT A LOAD.
I added 3 fans to the loop and all the voltages pulled up to pretty much dead on! :banana: According to a mate the PSU was switching into "Soft On" (eww) mode as it didnt detect a load, i dont know how accurate this is as he often talks rubbish but having a load on it seemed to sort things out.
Im now fairly happy with the PSU, im not sure if it will be able to handle everything, but it has overload protection so if it dosnt work ill just have to mod another one, a lot of work but if needs be ill do it.
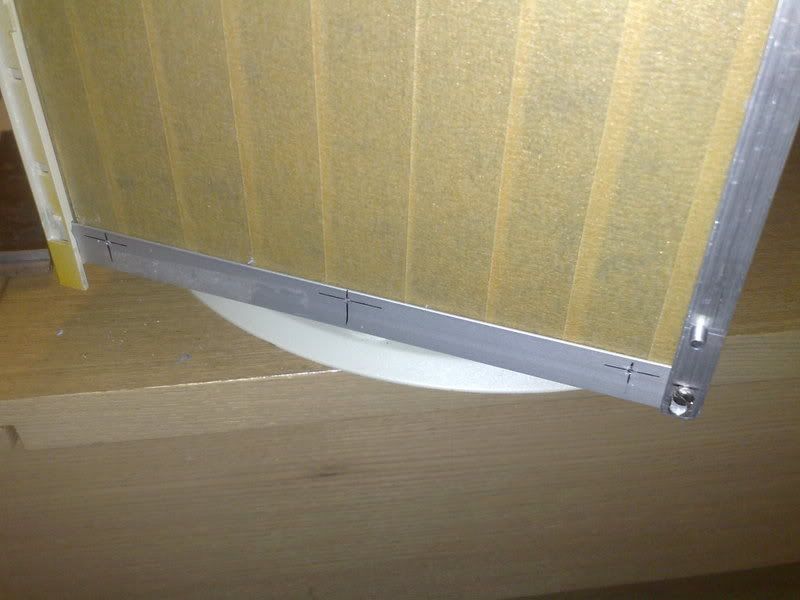
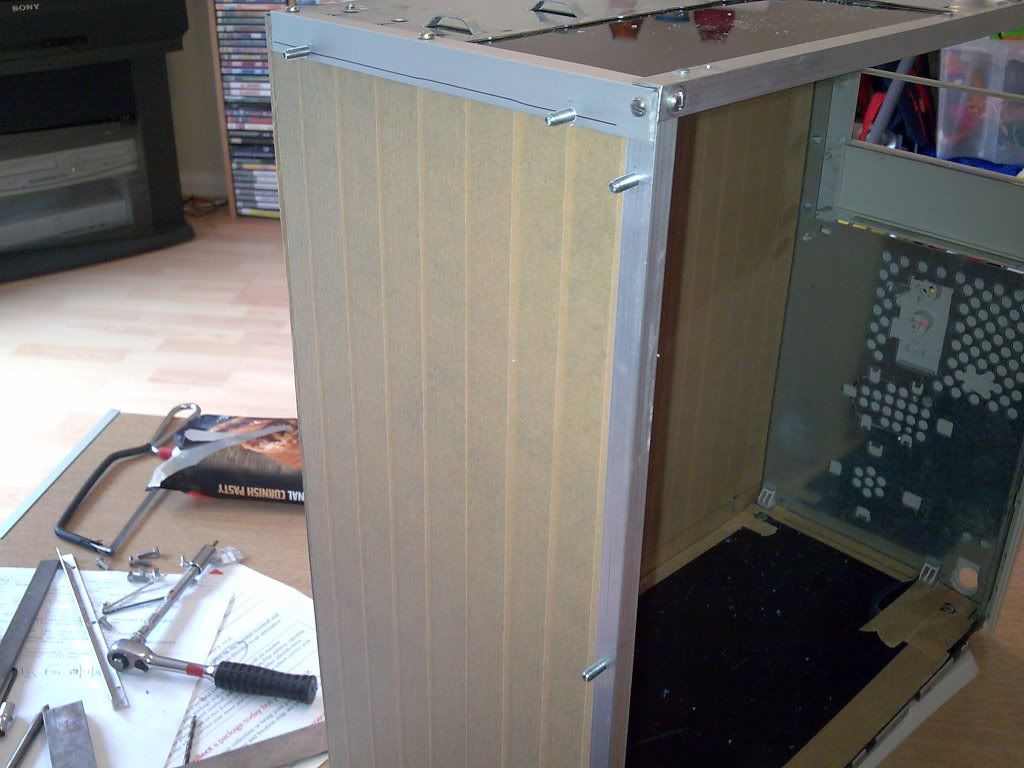
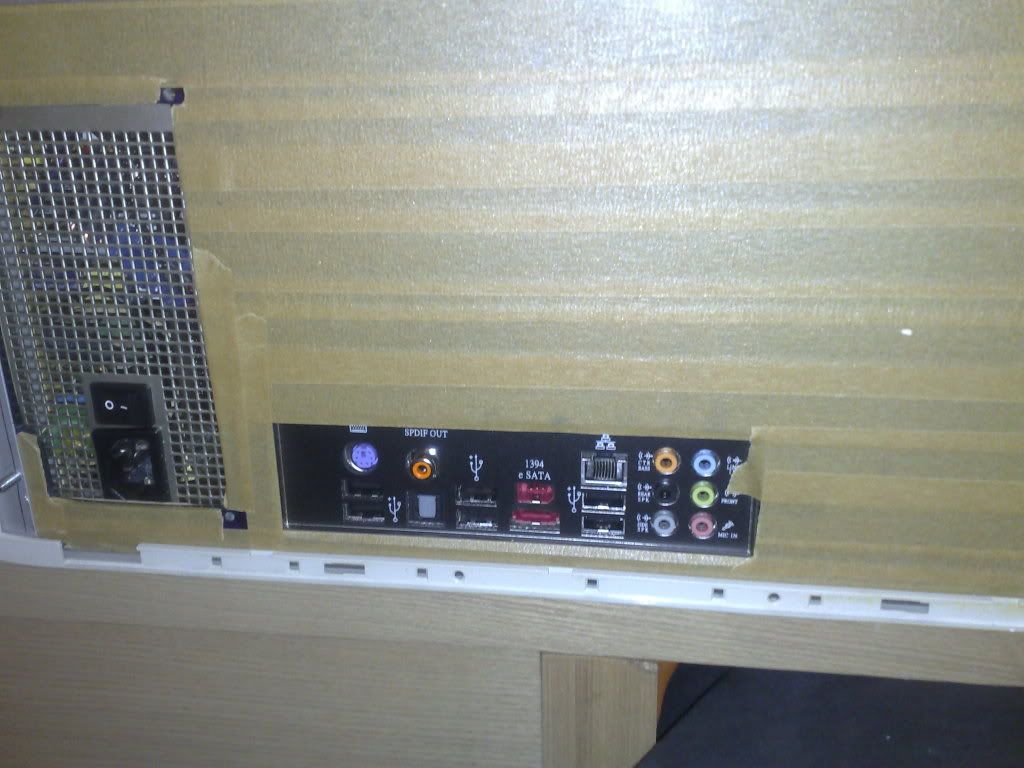
Onto the frame, i bought some more angle ally from B&Q, this time 15mm x 10mm for the top and bottom of the rear of the case, drilled 9 holes, tapped them and added some m4 countersunk socket head screws to secure the back panel.
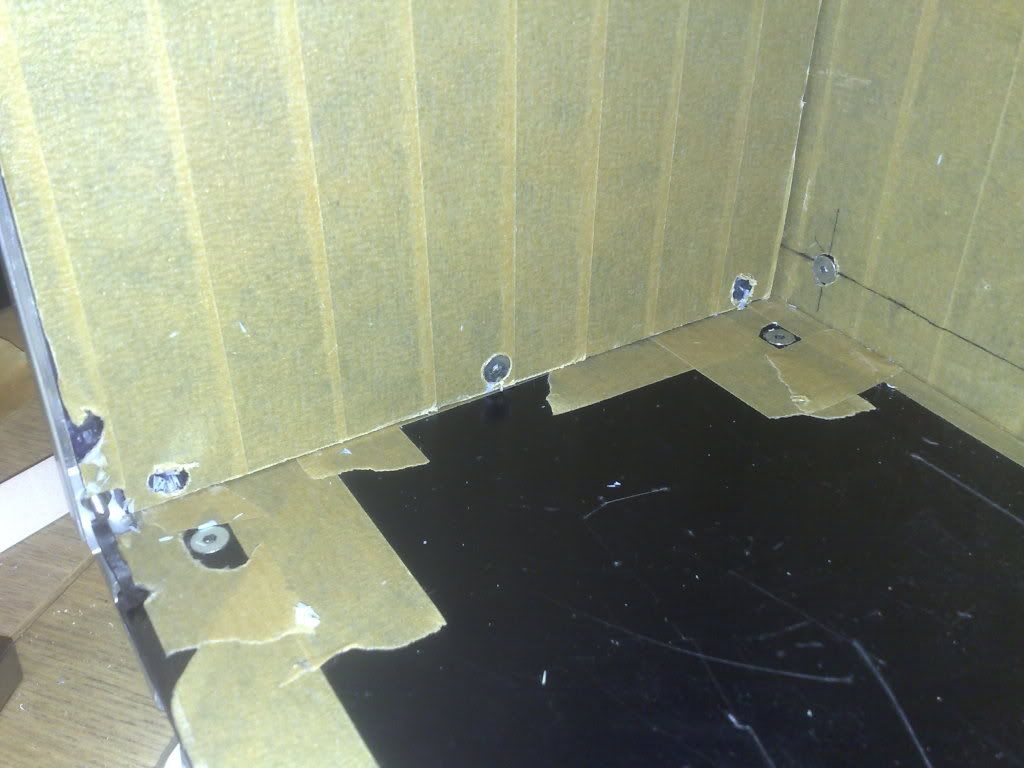
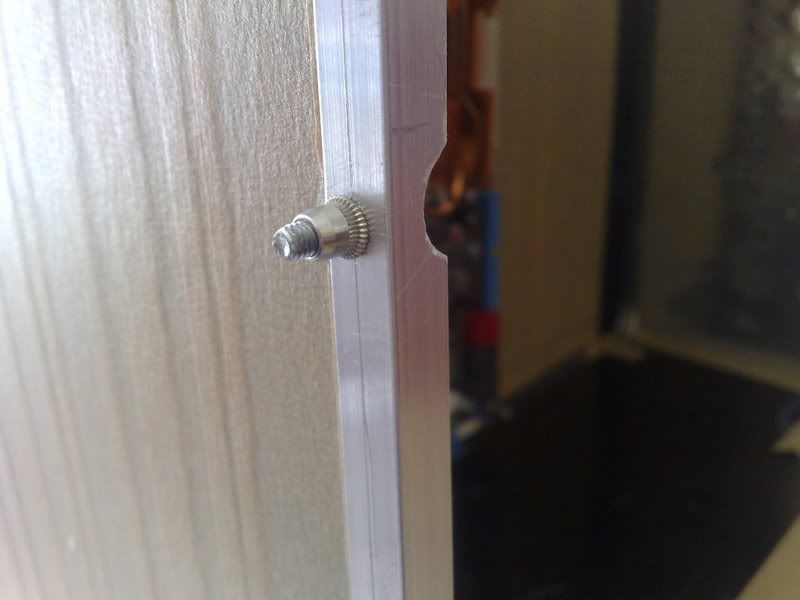
I really wasn't happy about having screws tapped into ally, its too soft and prone to getting stripped if the screws over tighten, i took it to work and used a Riv nut tool to put m4 riv nuts in the frame.
There really clever, there just like a rivet, except they have a thread inside them, trouble is you need a special tool to insert them that costs quite a bit of cash.
Ignore the dirty looking tape, its very very shiny and clean underneath :) The back panel is now very secure and solid, the whole case strengh was exponentially improved just by adding the back panel. Time to add the PSU mounting holes and the PSU exhaust hole to the back panel.
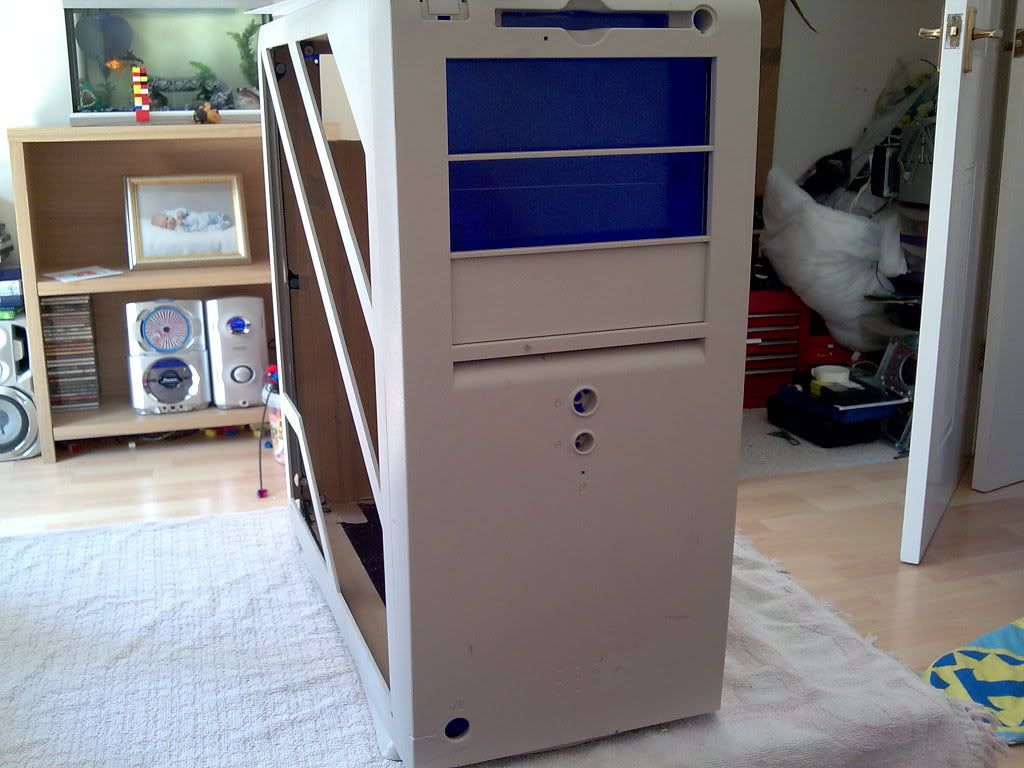
I offered it up to the frame, the case is a LOT smaller than i thought before. im used to working on a TT Shark which is a full tower but we should have just enough room.
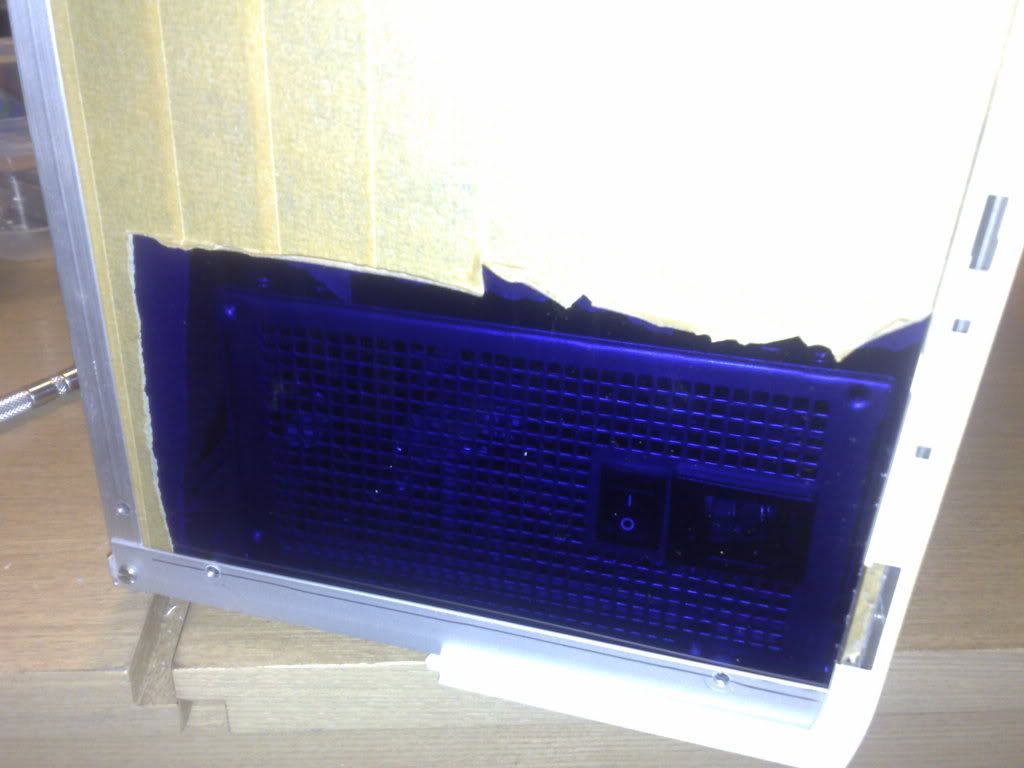
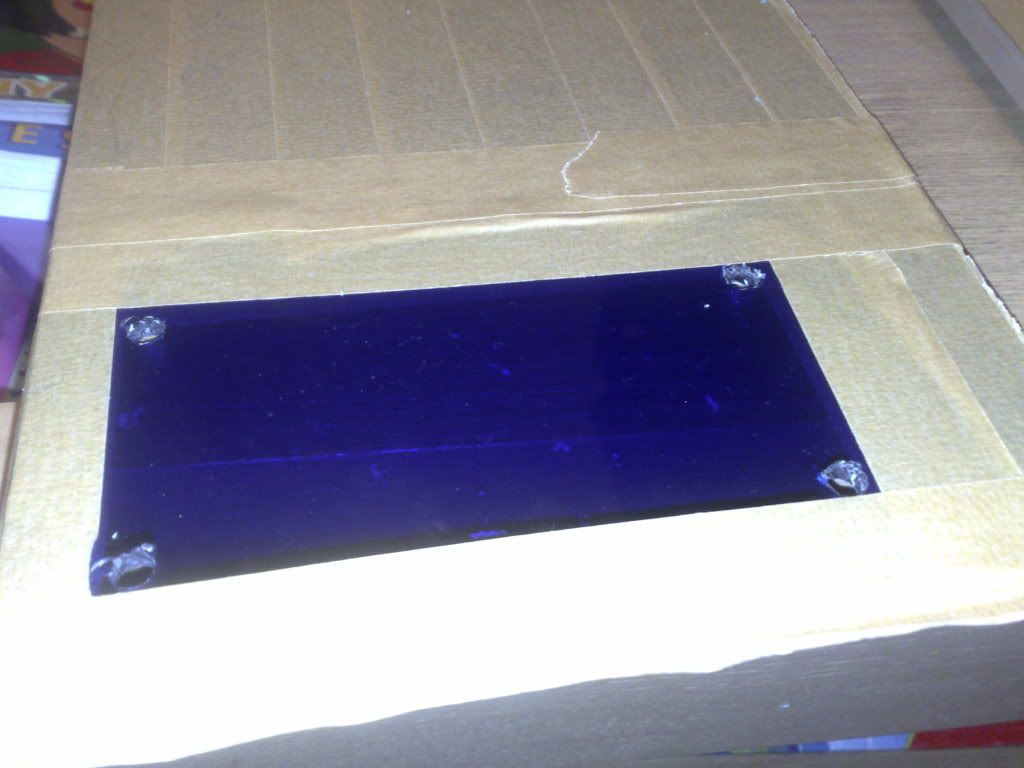
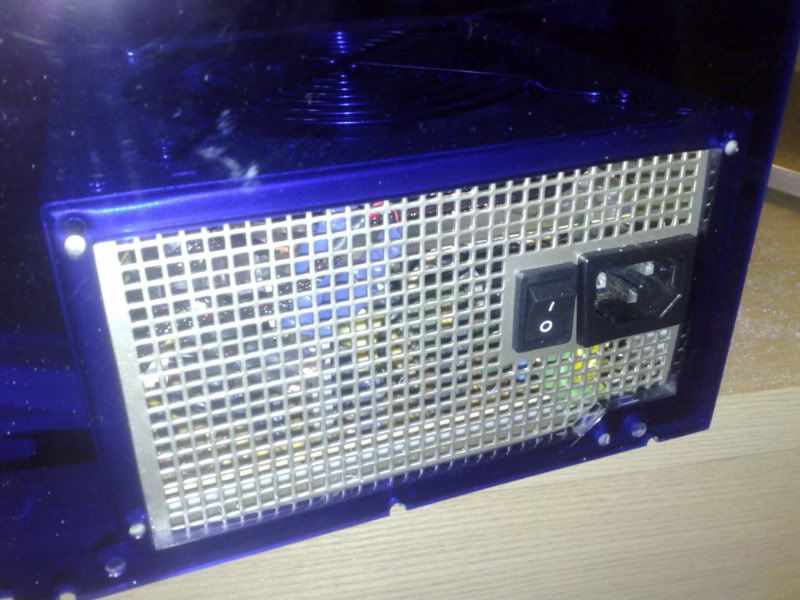
Had a hard time marking the holes as the darkness of the plex didnt really let me see them. Anyway i marked them, drilled them, then remasked around them and drilled 4 corner holes of the exhaust hole
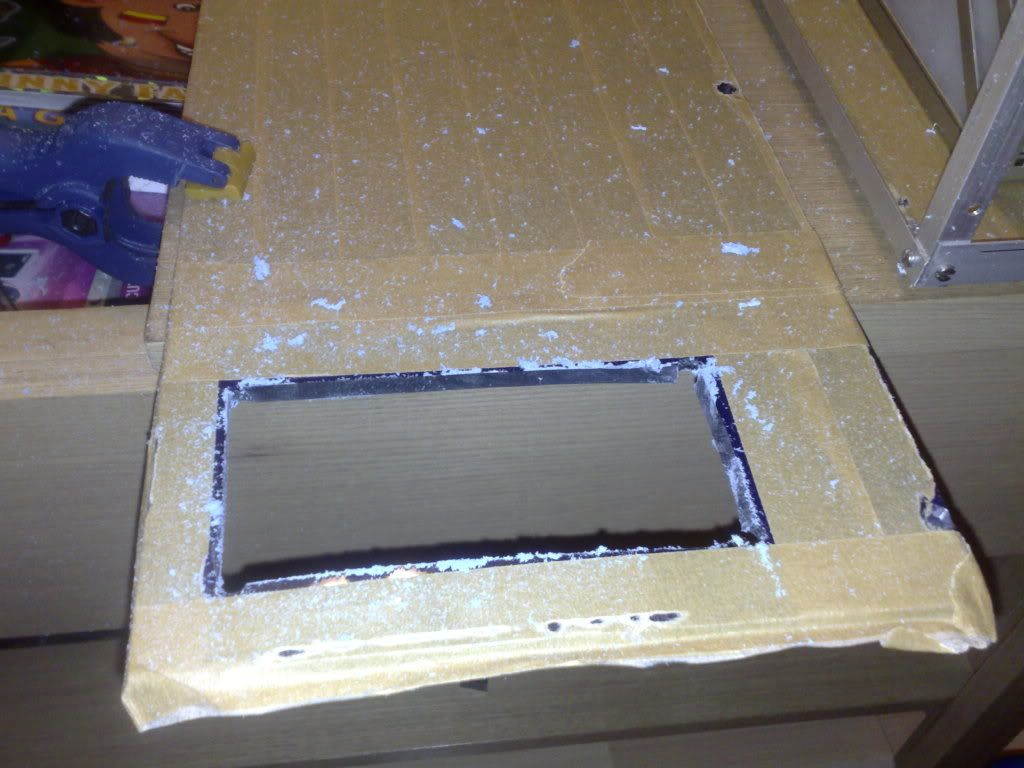
Then dremeled it out up to the holes
Some Filing (yes those are my legs covered in swarf, there was a lot)
More filing and a quick tidy up, need to polish the whole panel still.
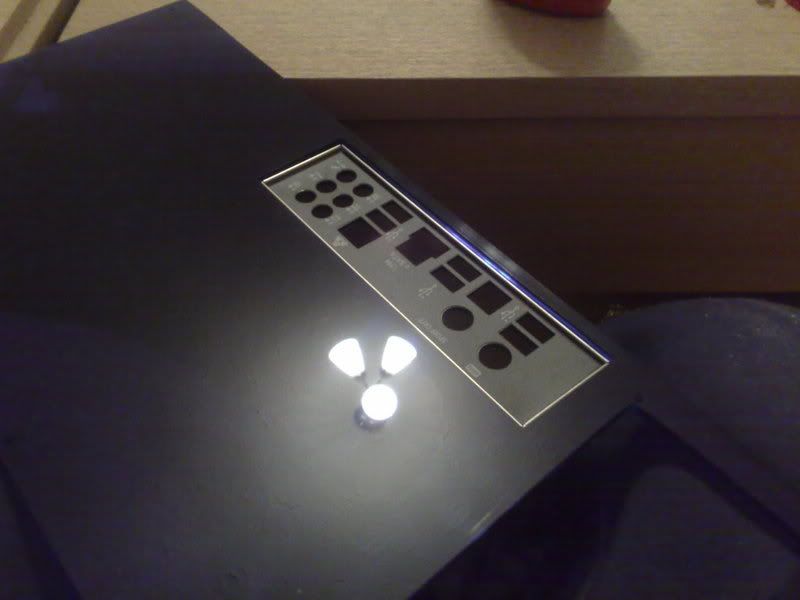
Next was the I/O panel. Didnt know which to do first, the motherboard standoffs or the I/O panel, decided to go with the I/O panel and then use adjustable mobo standoffs to take up the slack.
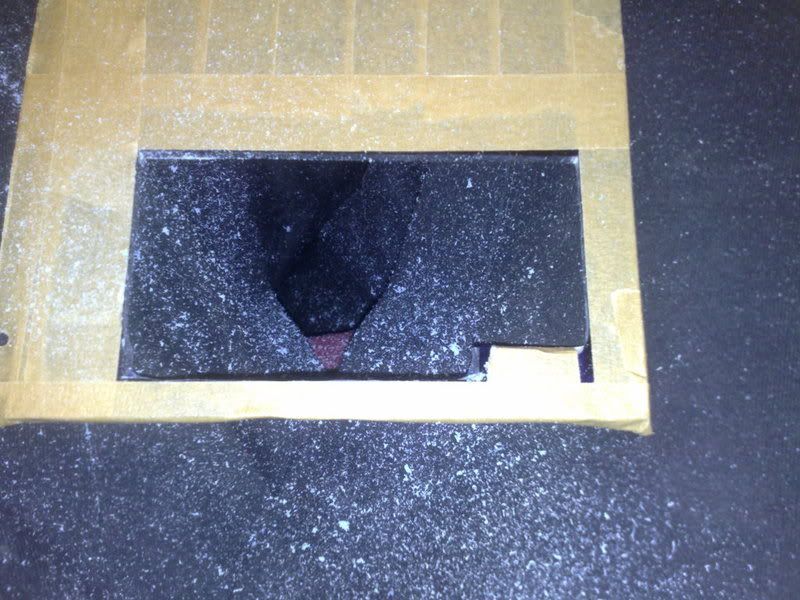
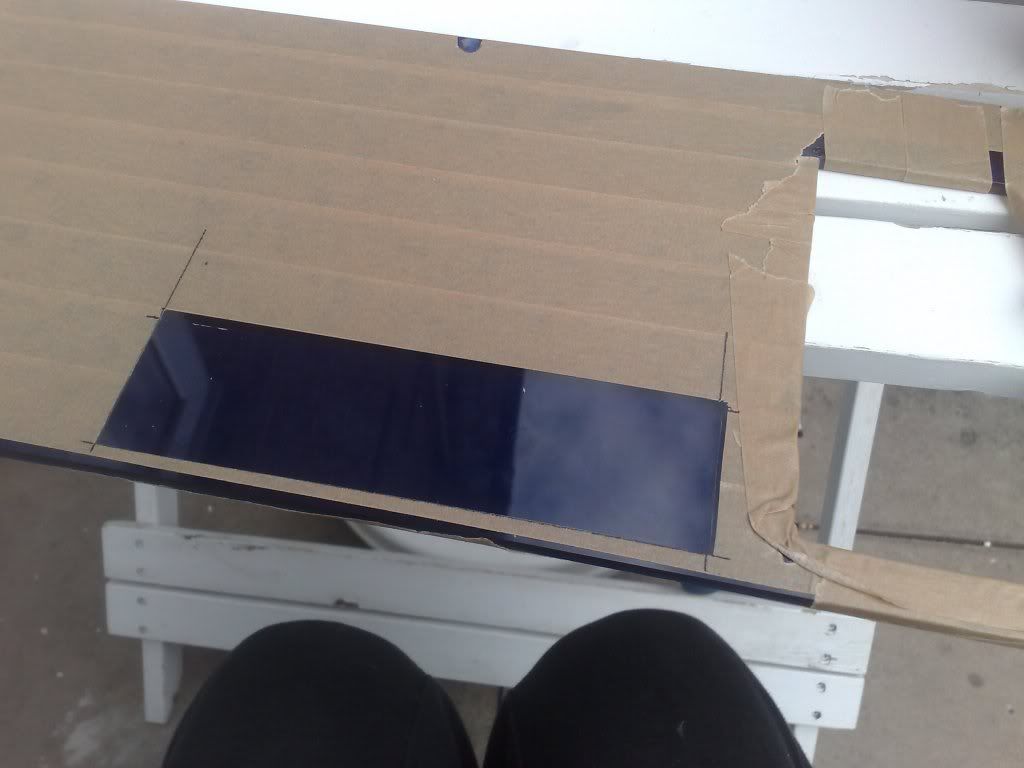
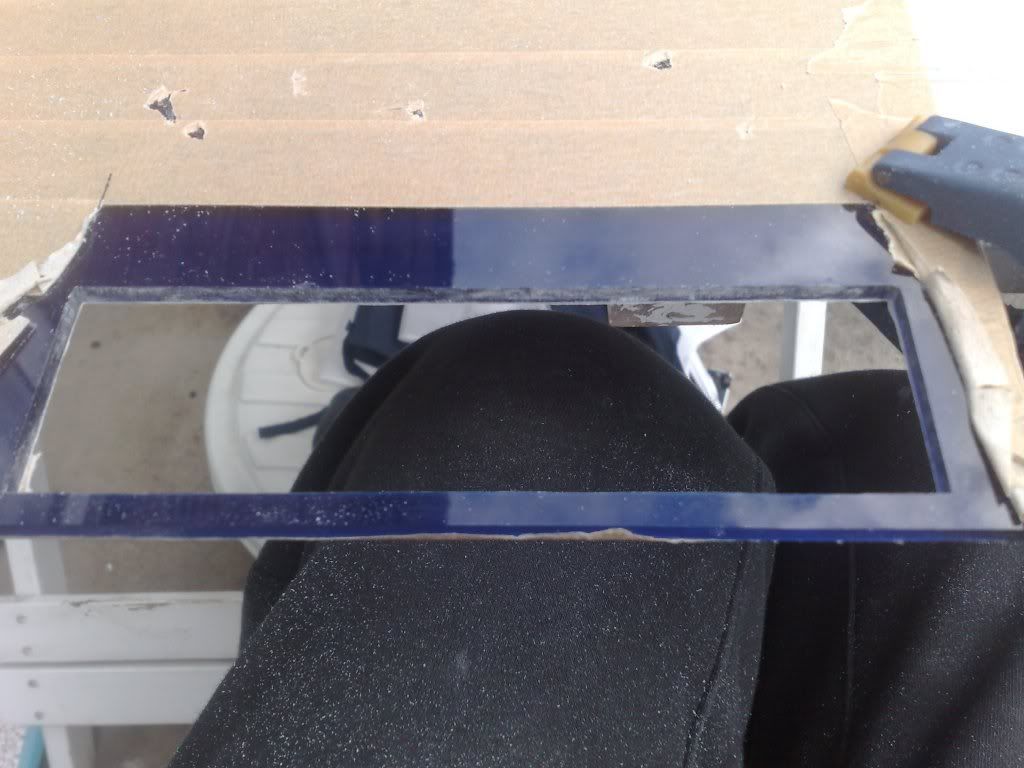
Marked it up.
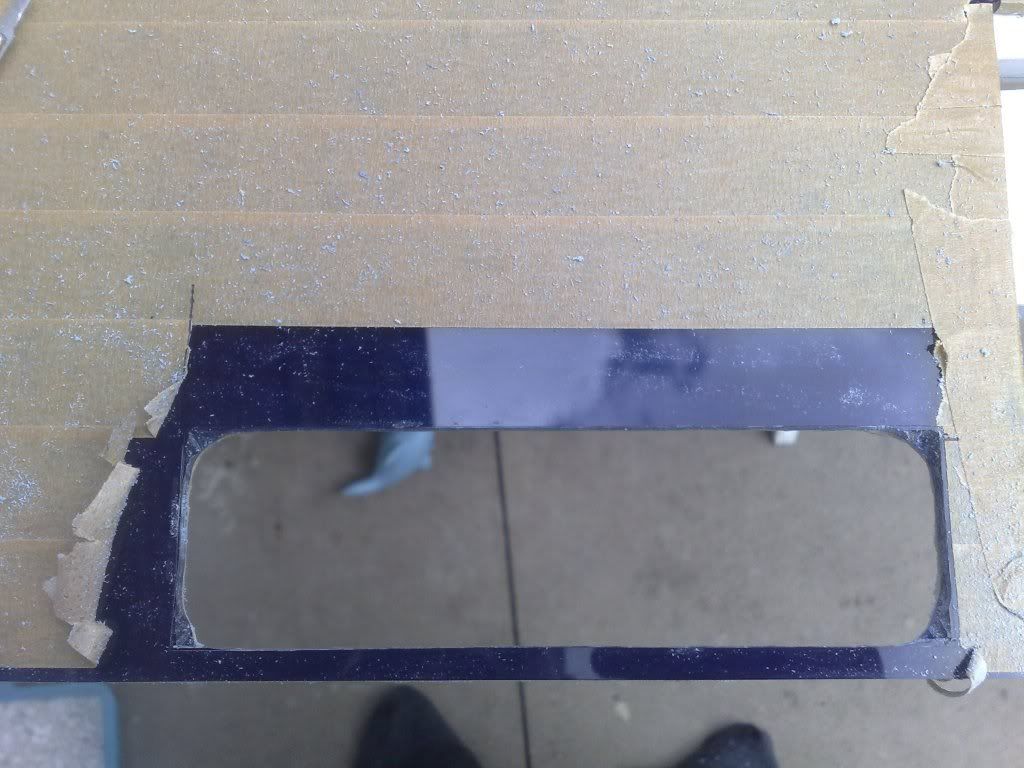
Cut a hole.
Made it bigger.
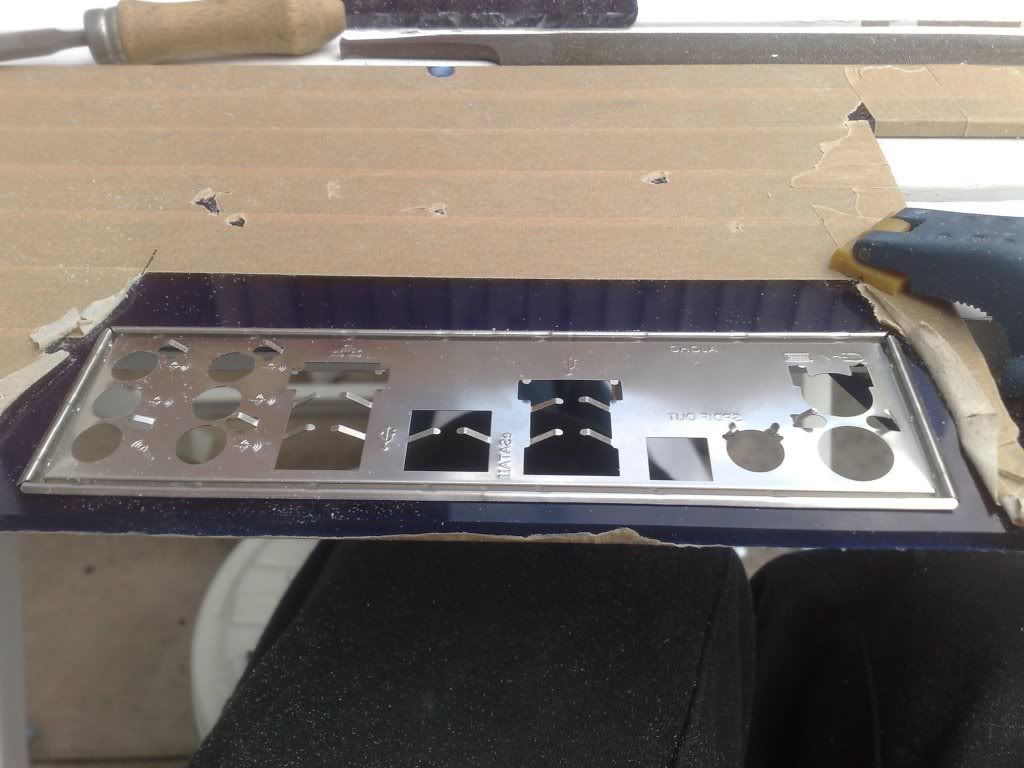
Used an old I/O panel to check the fit.
Fits good!
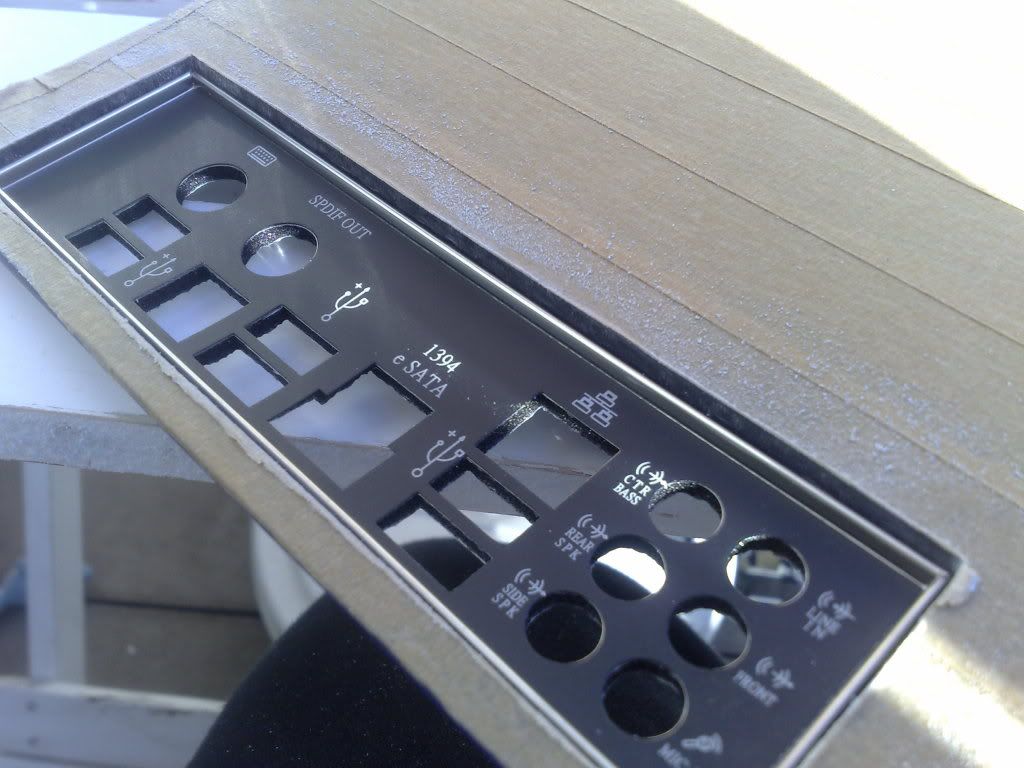
Fitted the ASUS one, its niiiice :)
Polished it up.
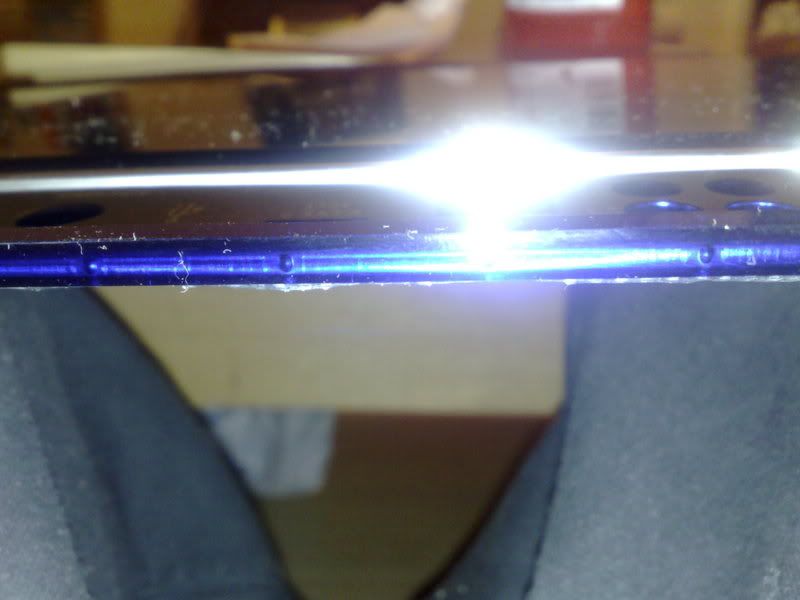
I managed to get a really nice finish on the edges, thats the dimples on the edges of the I/O frame you can see through the edge of the plex.
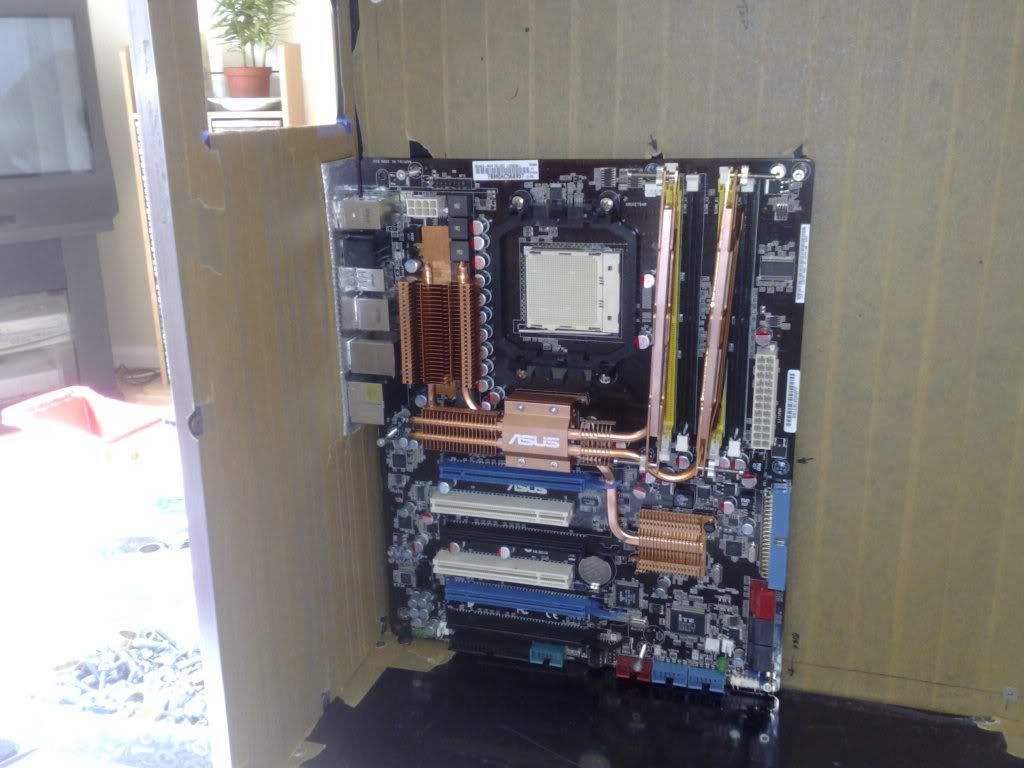
Next i fitted the standoffs for the motherboard, getting all the holes lined up perfectly was a lot harder than it sounds, i used some 8mm standoffs and adjusted there height with washers so it lined up nicely with the I/O frame.
See what i mean about the size of this case? Its tiny, there was literally 2mm between the bottom of the board and the bottom of the case.
Still, at least it all fits. Phew.
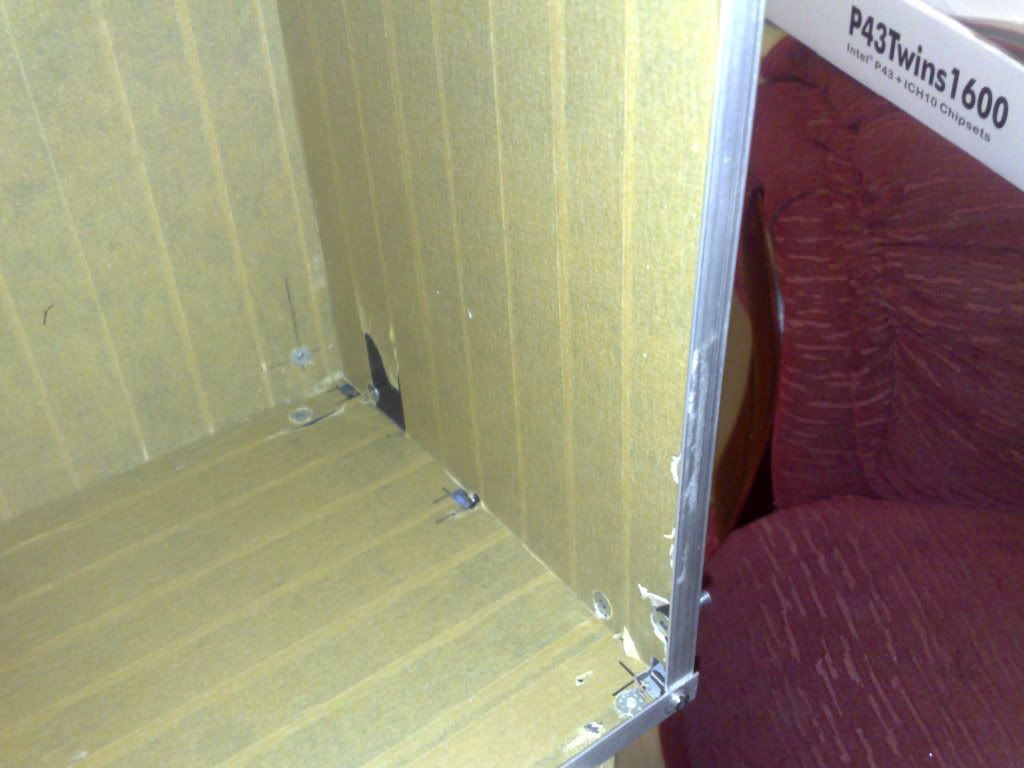
I added the same to the front, blue plex, rivnuts ect, same as the back except less holes (will be soon though ;) ) so i wont bore you with that, just a few snaps.
More in a sec..
Re: Project: Accelerated Fear
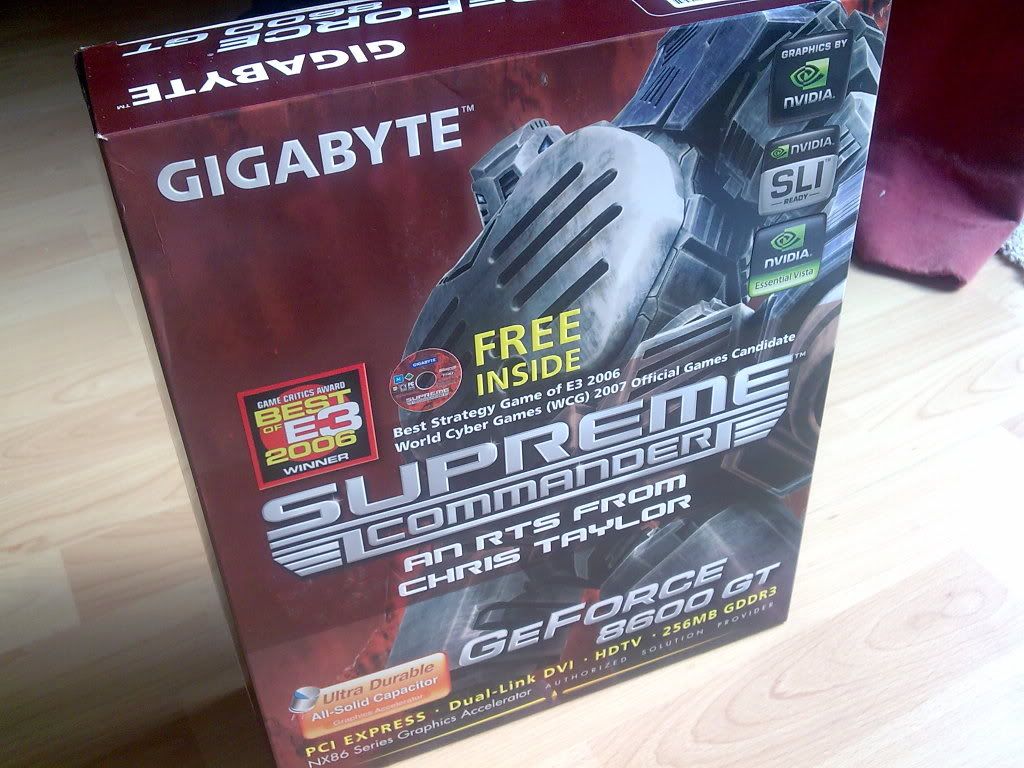
Iv been talking to a guy called John Hung after emailing Giga-Byte asking for some hardware sponsorship a few weeks ago, its typical, the day Ron sends me the Asus board John mails me to say i can have a sample of a GA-MA78GPM-DS2H Crossfire Hybrid board, i didnt know what to do, if i accepted the board from John and Ron saw the log he would think im a lying little ****, if i took the Giga-byte board but used the ASUS, Giga-Byte would be pissed. Man i had to email John and explain the situation, i knew Giga-byte do versions of graphics cards with there branding which got good reviews so i dropped a small hint to John about the possibility of getting one instead of the motherboard. I thought id blew it but he replied a few hours later that day saying i could have a NX86T256D!
Couldn't believe my luck, whats more is that the main office for Giga-byte where John works was 10 minutes from my house in MK! So i drove of to meet John at his office, he was a really nice guy, he was asking all sorts of questions about the project, was great to meet him.
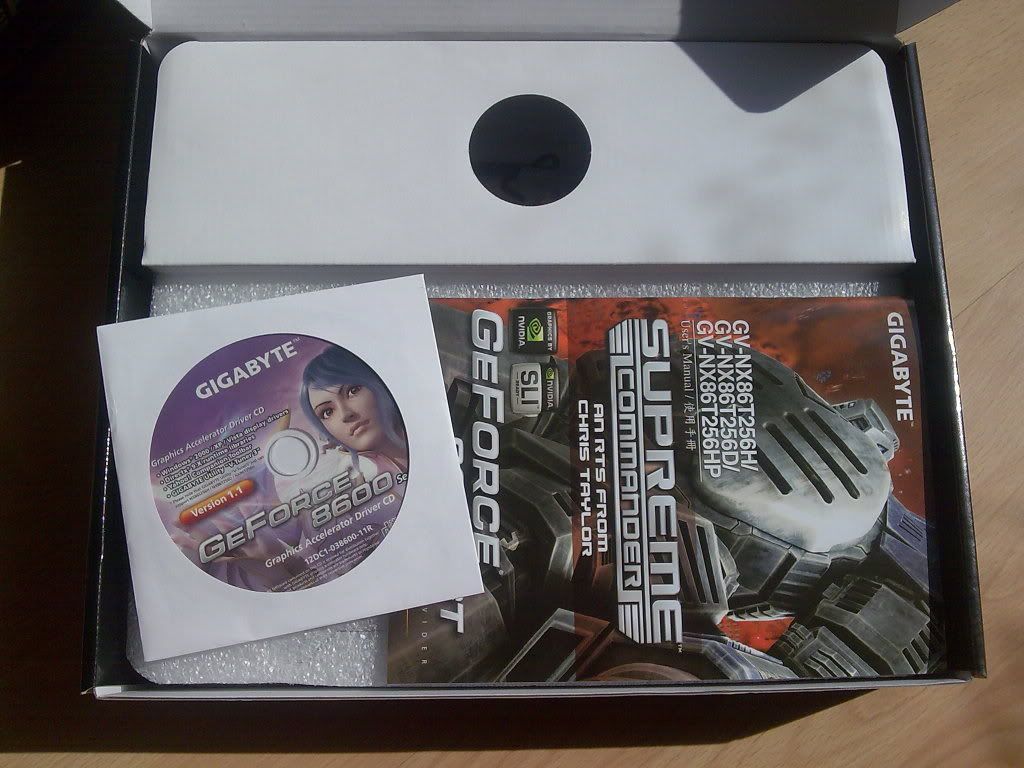
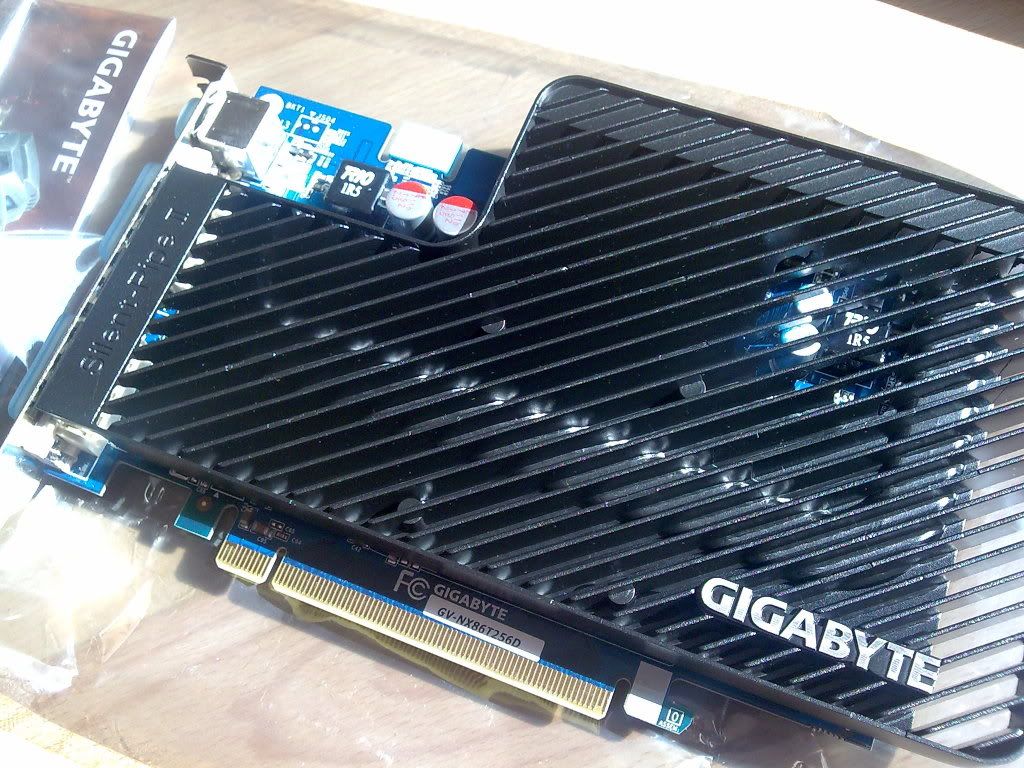
Got home with this baby.
Ok so my ATi blocks wont fit, but its a silent pipe! Just need to make sure my Airflow is up to scratch then in a few months when i upgrade ill add the blocks to my new card.
The card looks really nice, the heatsink is kickass!
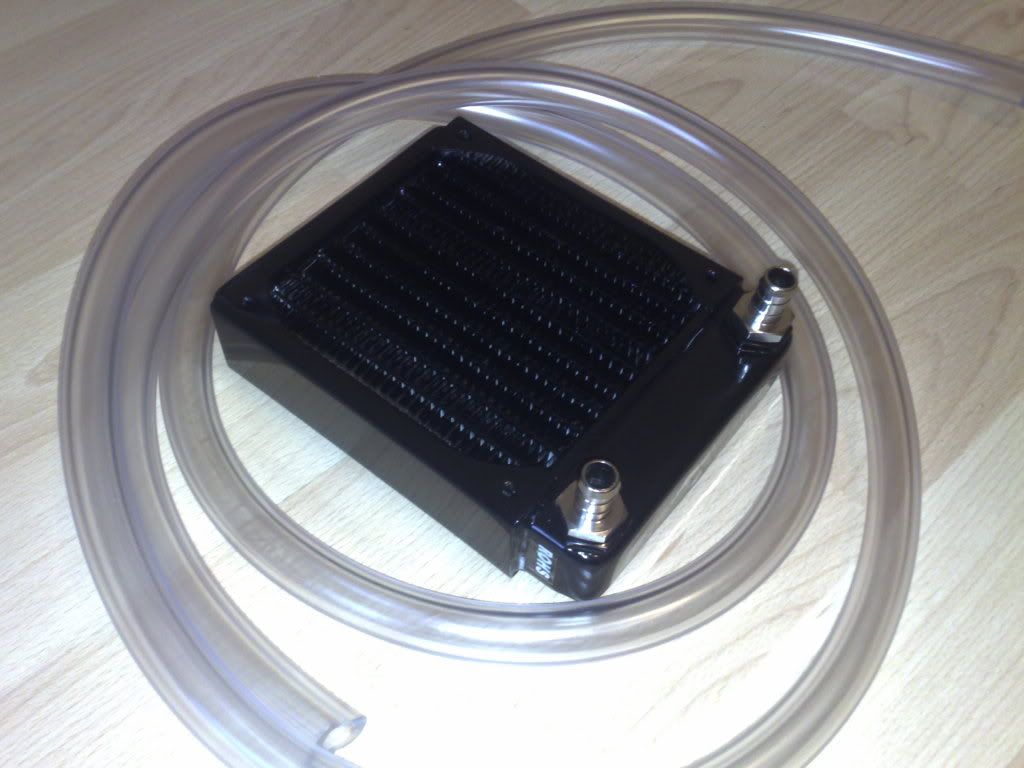
I put in an order with a UK based water cooling company, im not going to Hotlink them because they totally screwed up the order, it took over a week to arrive first class and it was damaged when it got here due to just being slung in a jiffy bag. After another week and a half my new cooling gear turned up. I used XSPC gear because my budget is low and they got good reviews, if it turns out to be crap ill get better stuff later on, i got a 120mm rad and some 3/8 ID - 1/2OD tubing.
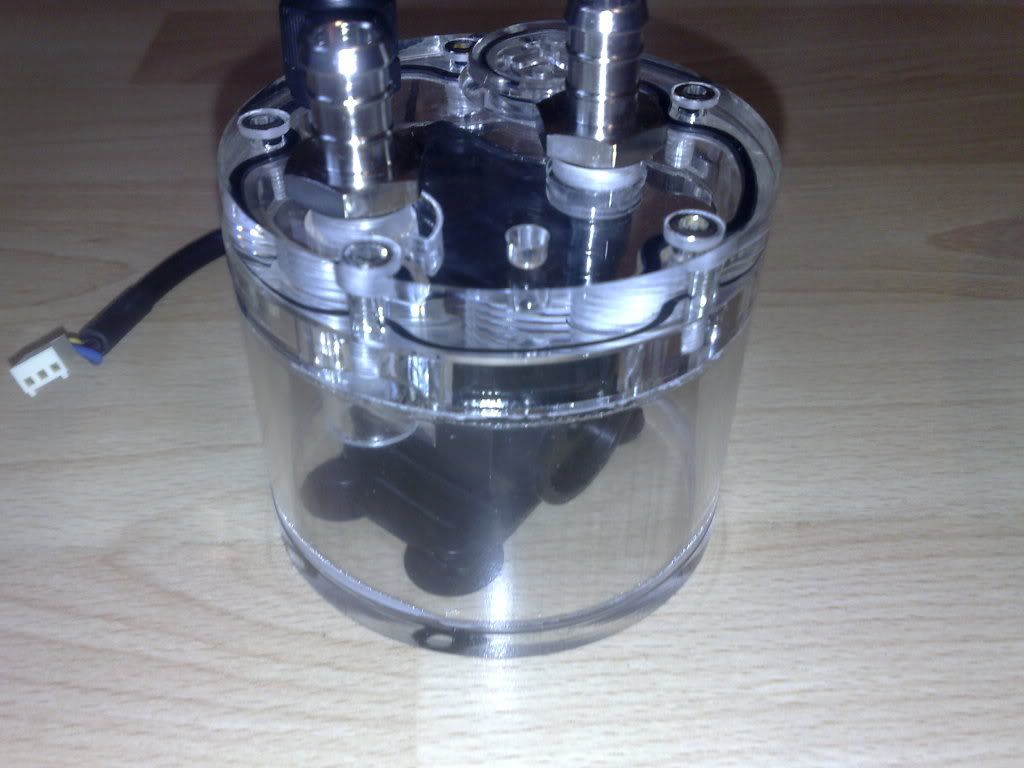
And this nice little compact pump/res.
Hmm the pump has no feasible way of being secured into place, have to mod something :D
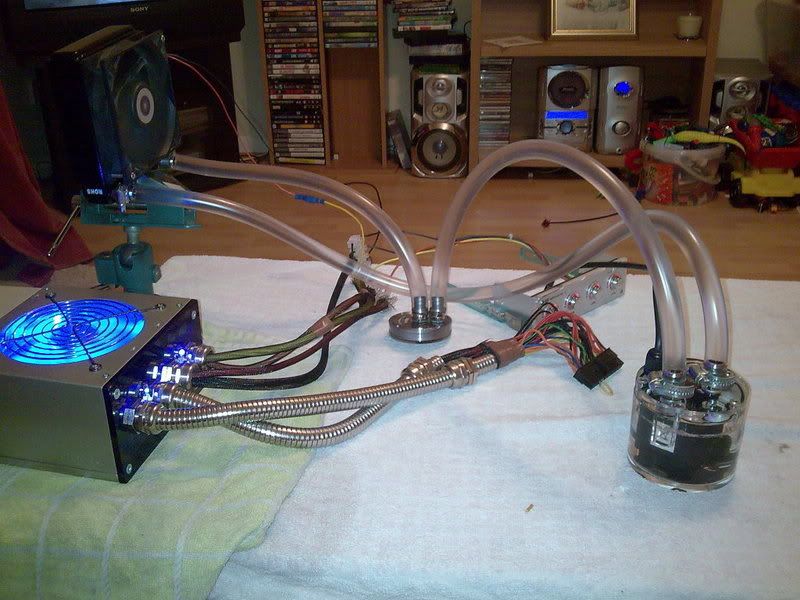
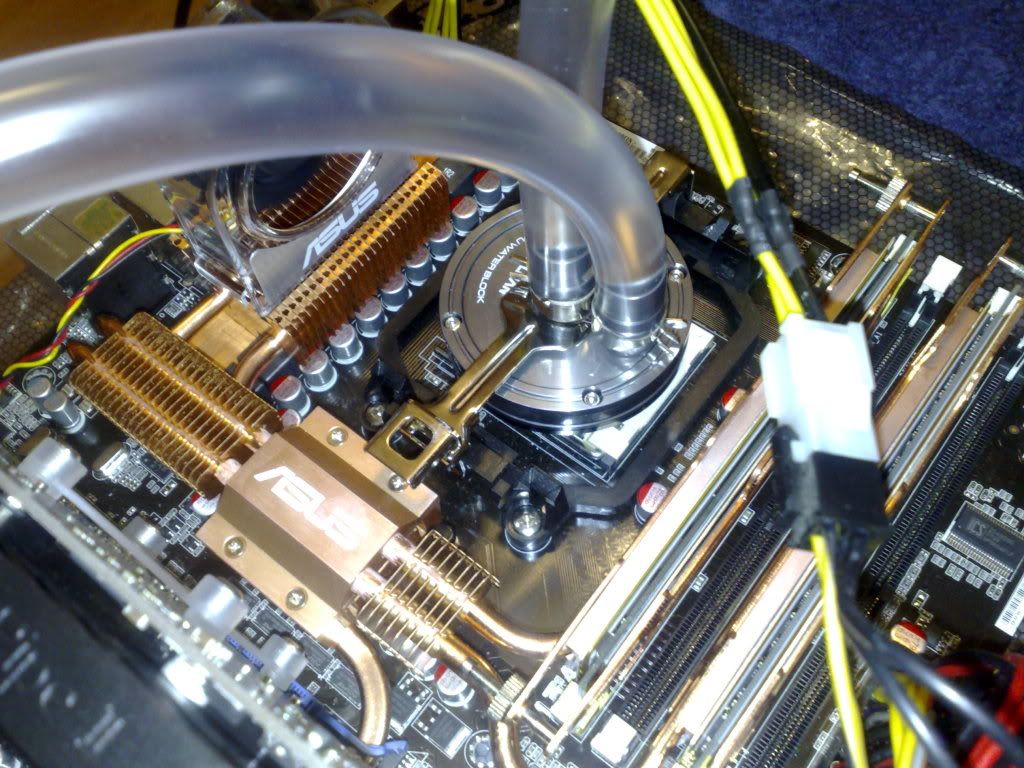
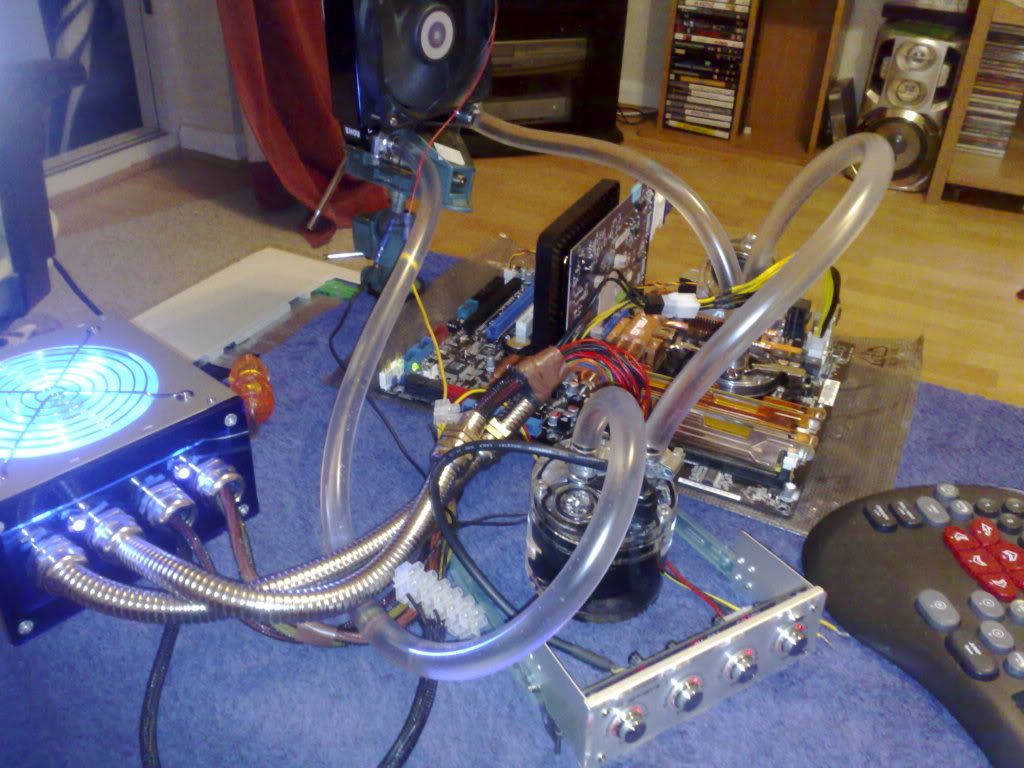
I got the lovely blocks from QuietPC.com, i was a bit worried about the Barbs fitting the tubing but they fit perfectly. I got some distilled water from work and decided to do a little test run, ill add dye later, this is my first ever water cooling setup!
hahaah i got water EVERYWHERE! But that little pump is really good, its so quiet i had to put my ear up to it to check it was on! But it didnt leak :banana: after about 5 minutes i ran my finger across the CPU block, it was ICE cold! Id definatly recommend those Zalman blocks from Quietpc, there made for a reserator but work perfectly with 3/8 tubing. I left it overnight, still no leaks so all good.
Now i can test my hardware!
The Zalman block mmm
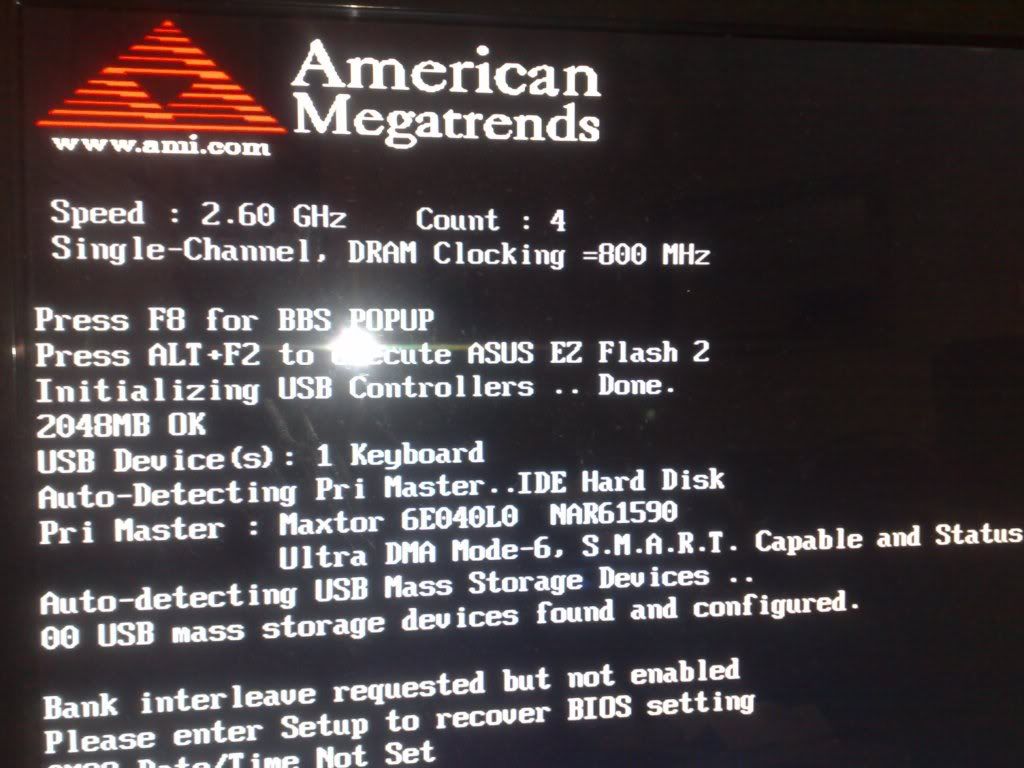
Hahah look at that setup, it looks like a mad scientists lab! I fired it up and got POST :banana::banana::banana:
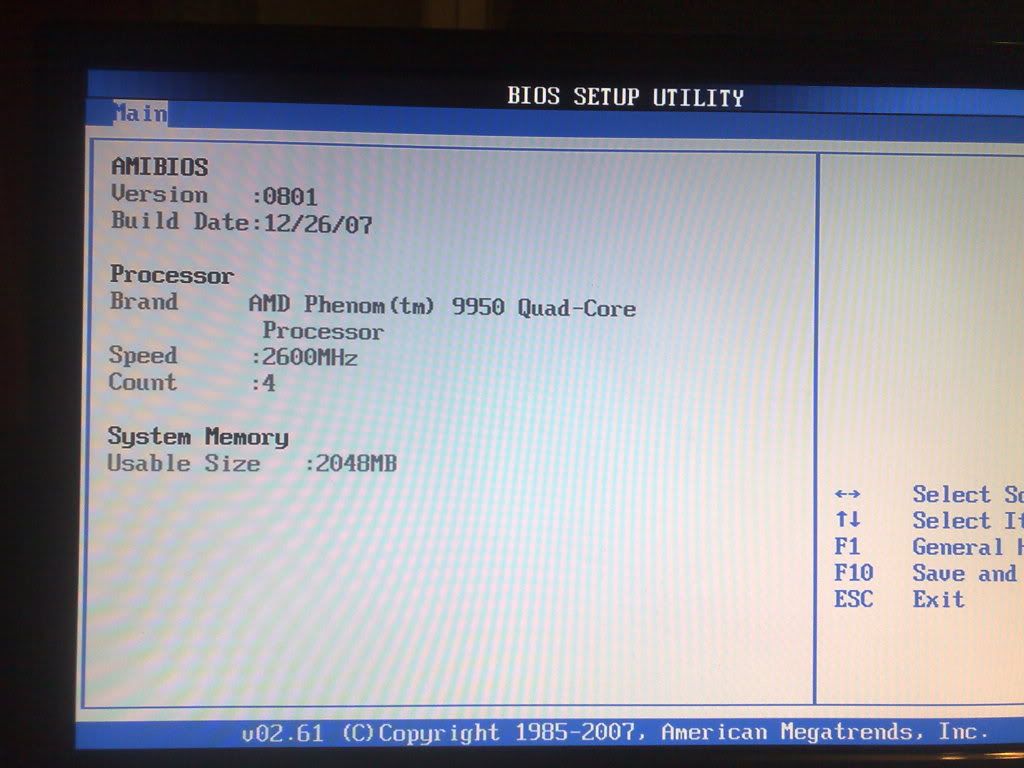
Still cant believe im rolling a 4x2.6Ghz Phenom cpu
Got BIOS!
AHHH BLUE SCREEN OF DEATH FLASHED UP!!!
Then it rebooted :think:
Checked on the net, hmm maybe flash the BIOS, nope still BSOD, changed the RAM, still BSOD, i was convinced the PSU wasnt generating enough juice until i realized...windows :down: Had to go buy a crappy old drive and load on XP to check and it worked perfectly! YAY!
Thats it for update 6 guys, hope you enjoyed reading, comments appreciated.
j5
Re: Project: Accelerated Fear
you lucky you...:D
this is going to be one cool case:up:
keep up the good work!;)
Re: Project: Accelerated Fear
Damn i wish i was that lucky
Re: Project: Accelerated Fear
A nice big update, very nice work with the PSU and mobo mounting.
Re: Project: Accelerated Fear
have the same mobo and almost same cpu:P you can easily clock it too 3 ghz;)
Re: Project: Accelerated Fear
i has a tutorial badge! thanks jdbnsn! :banana:
Quote:
Originally Posted by
kris
you lucky you...:D
this is going to be one cool case:up:
keep up the good work!;)
Thanks kris, i still cant believe my luck aswell :)
Quote:
Originally Posted by
985323
Damn i wish i was that lucky
Just be persistant :) im making a complete nuisance of myself with A.C.Ryan at the moment trying to get some fans :up:
Quote:
Originally Posted by
The boy 4rm oz
A nice big update, very nice work with the PSU and mobo mounting.
Thanks man, project LEXA is looking good too mate, keep it up.
Quote:
Originally Posted by
p0Pe
have the same mobo and almost same cpu:P you can easily clock it too 3 ghz;)
Wooohooo cant wait to do that hahah cheers p0Pe :D
Cheers guys!
j5