-
Re: Project: L3p L4n
Thanks SXRguyinMA!
Ok ..this is the first and the last time I'm modding a case with 5mm thick walls and a 3mm thick panel :D
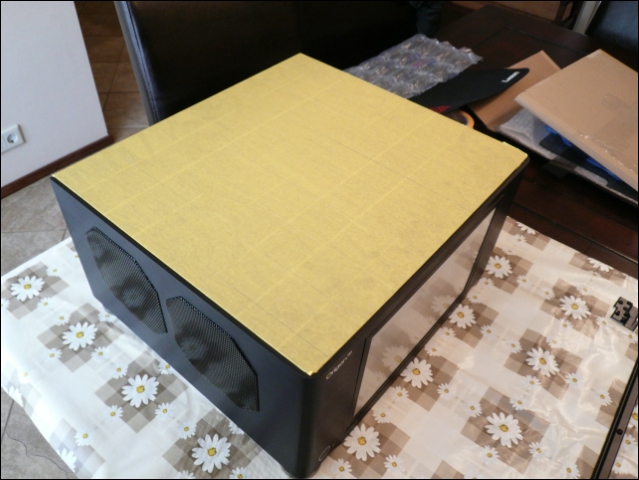
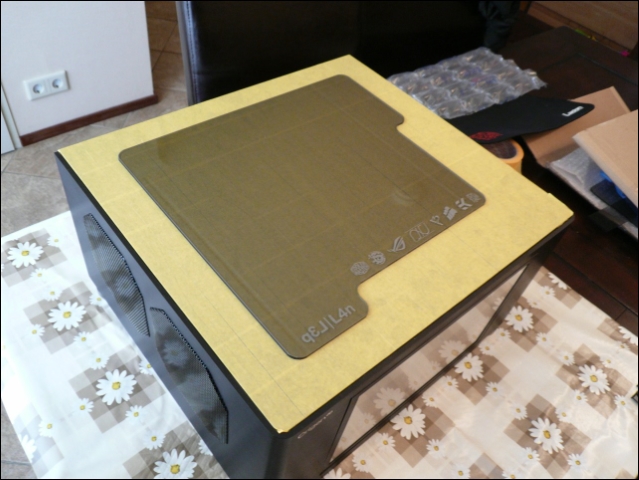
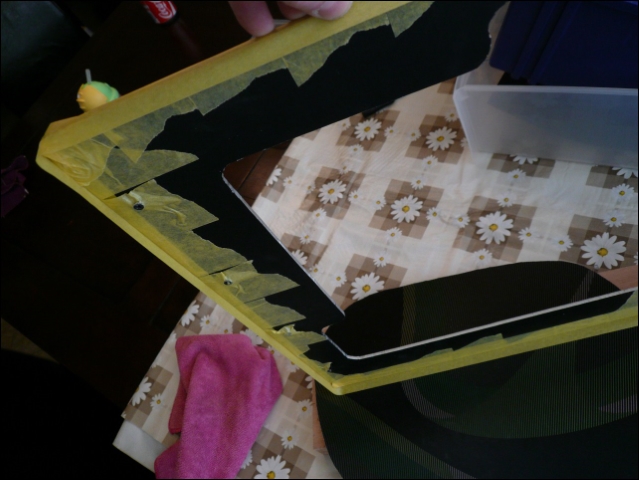
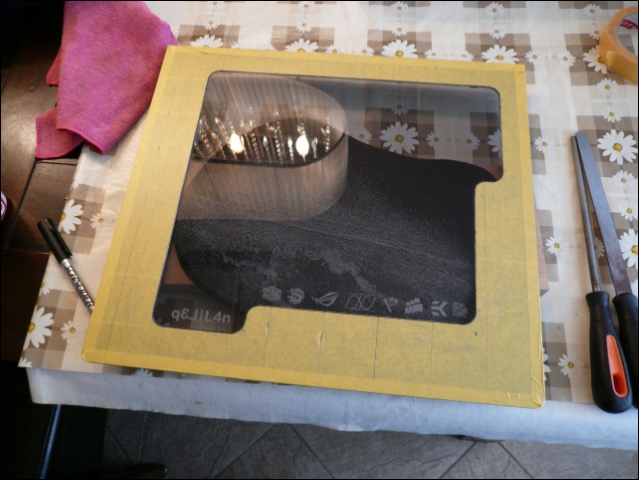
First a double layer of painters tape.
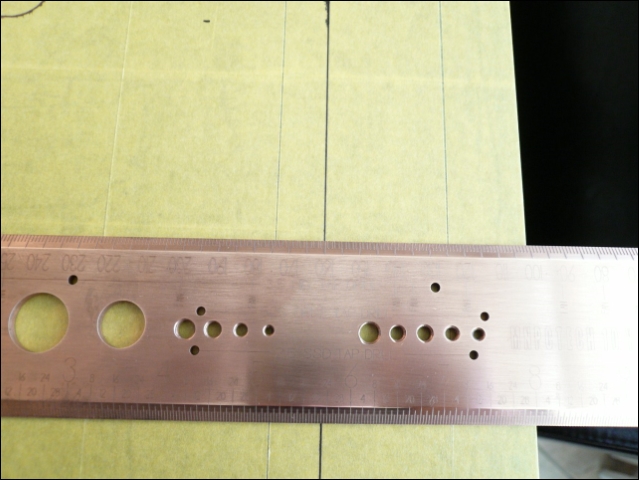
Then re-locating the spot.
And double check it.
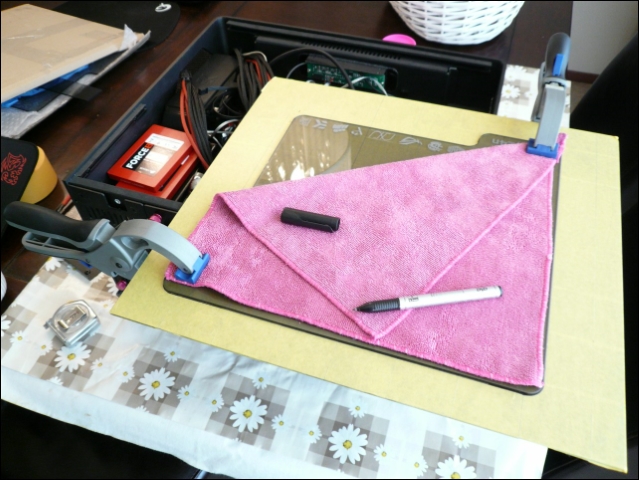
Also tightening it very well so I can mark it without moving.
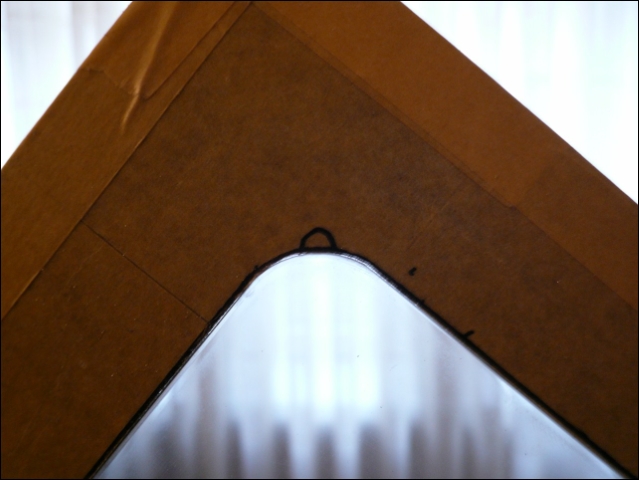
And a triple check.
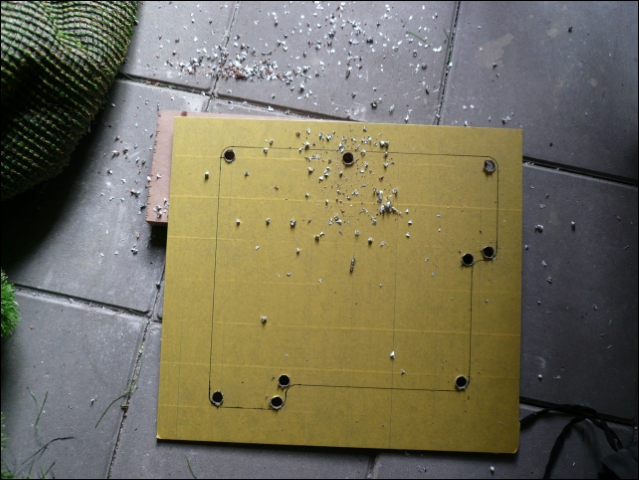
Drilling the holes was easy :)
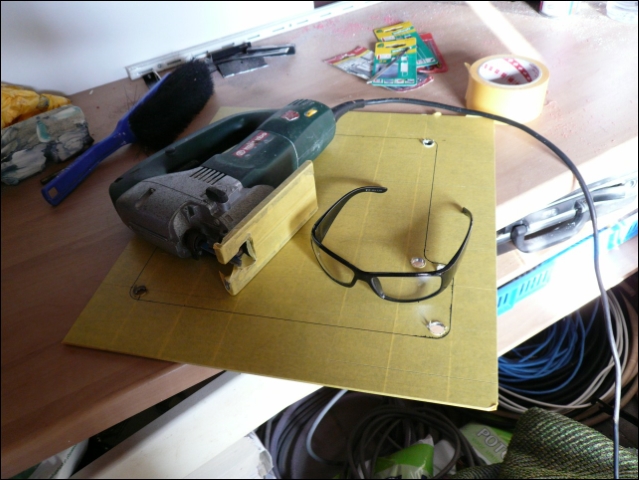
Also taped the jigsaw and got my MNPC glasses.
(Without glasses it always takes me 1 minute to get something in my eyes :P )
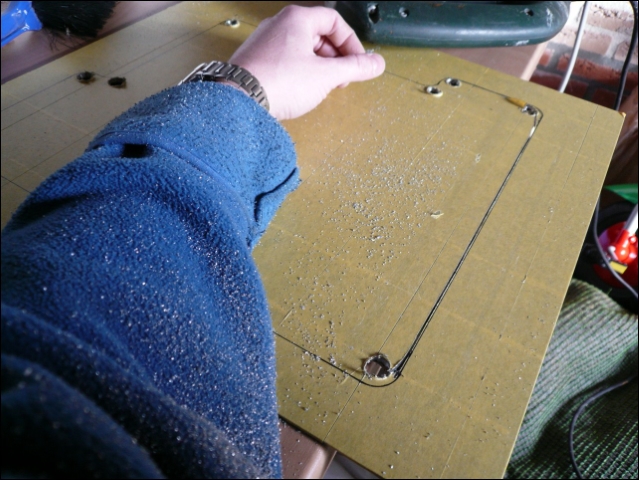
All under it.
Done sawing.
The fitting :/
Extra protection for the edges.
Polishing the round edges.
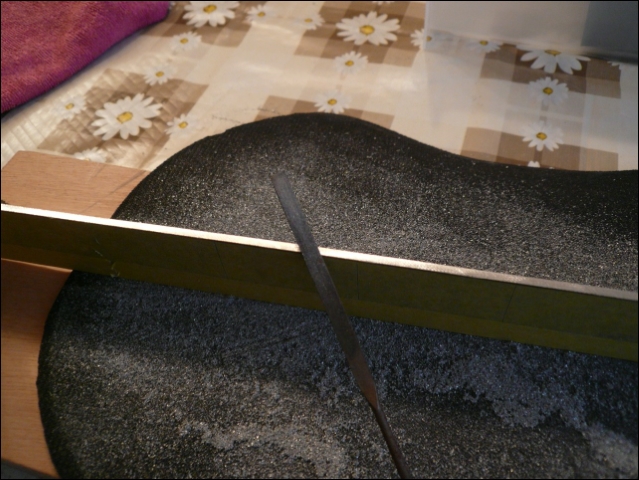
Now the straight pieces.
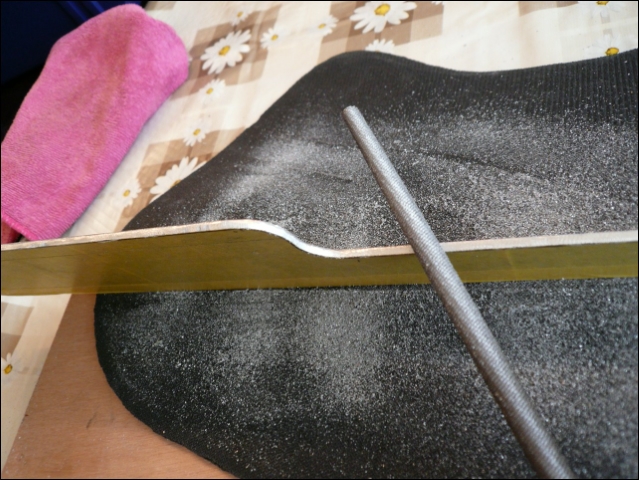
I always use the file skewed, this way you have more surface and you will get it much more straight.
3 hours of filing further (yes three!) it finally fits with some power.
Need to file the points there where the pressure is too high.
Finishing it with a small fine file.
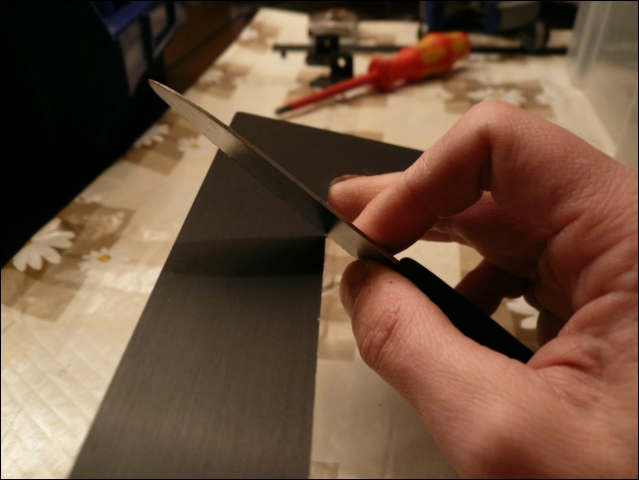
And getting the old knife back to remove the small curls.
Can't do it with a file since it will have skewed edges again
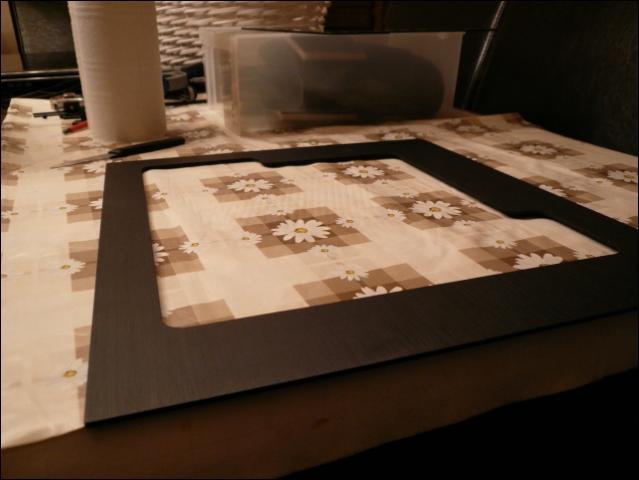
You can see the difference before and after the knife.
Painting the edges again with matt black paint.
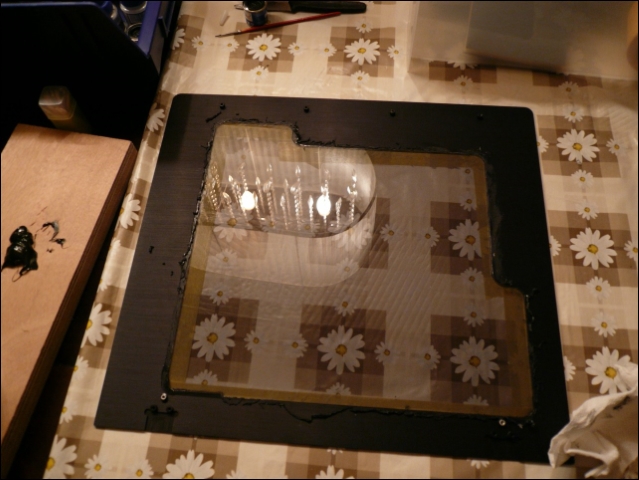
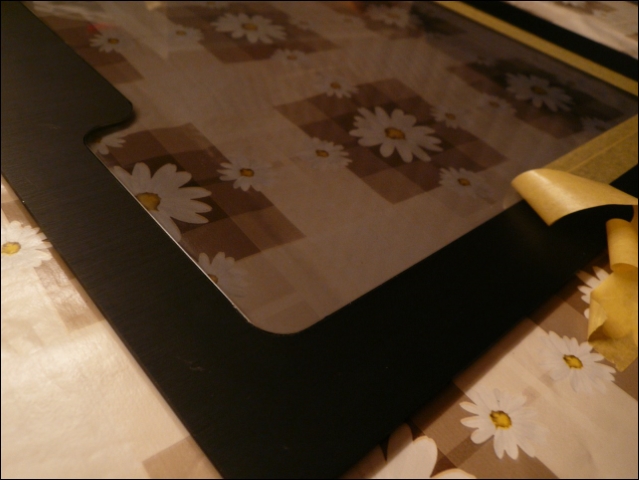
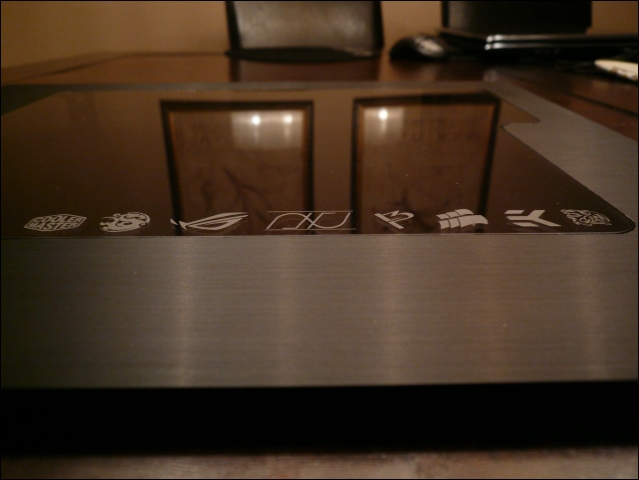
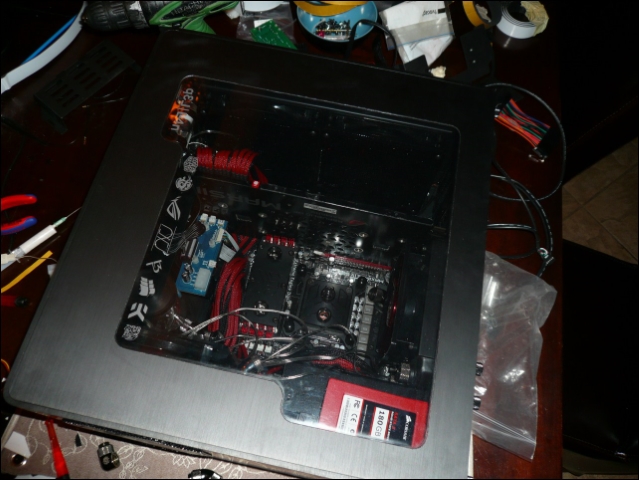
Window in and use rubber glue.
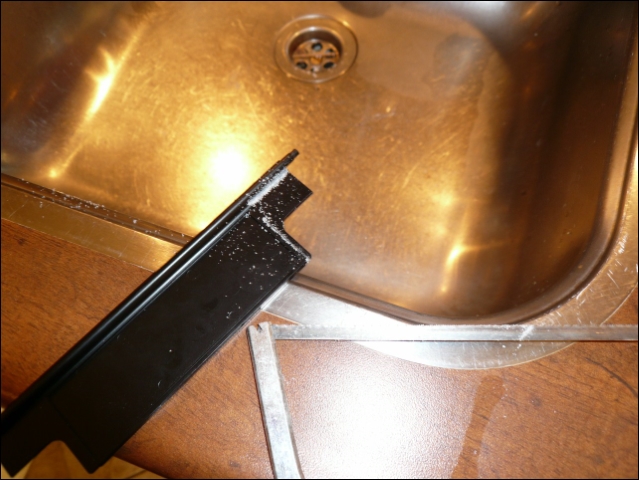
After that remove the remnants again. (Was a kind of a mess)
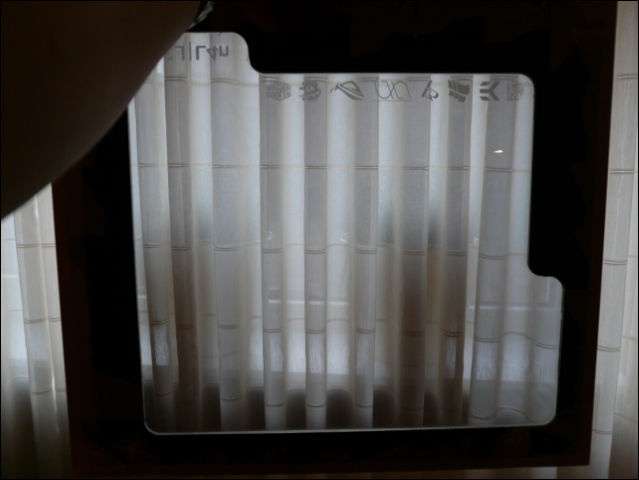
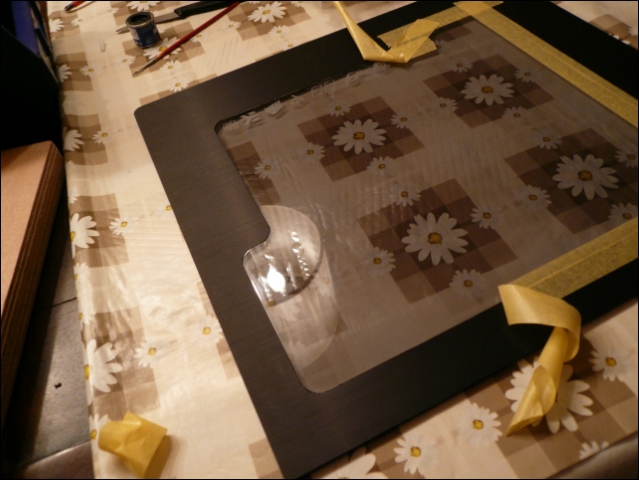
But don't worry. Removing the tape on the other side for the first results.
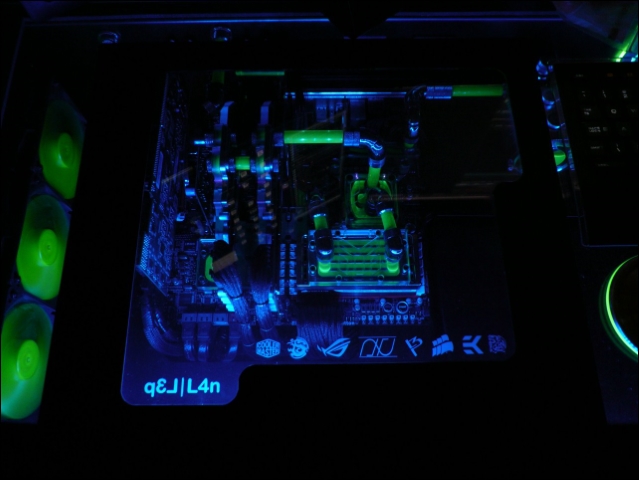
And a quick test :)
Tomorrow will fill up some minuscule edges with glue. Am tired of it now :)
Must say I'm very satisfied..
Till next week :o)
-
Re: Project: L3p L4n
-
Re: Project: L3p L4n
amazing so far, keep it up!
-
Re: Project: L3p L4n
Great job!!! I love flush mounted windows like that. :up:
-
Re: Project: L3p L4n
-
Re: Project: L3p L4n
that looks great! nice work!
-
Re: Project: L3p L4n
-
Re: Project: L3p L4n
This is super rad, loving your work so far.
-
Re: Project: L3p L4n
Thanks again a lot guys!
This time maybe a bit boring update.
Changing, (not)fitting, measuring and some cable management.
(Sorry, no block update yet :) )
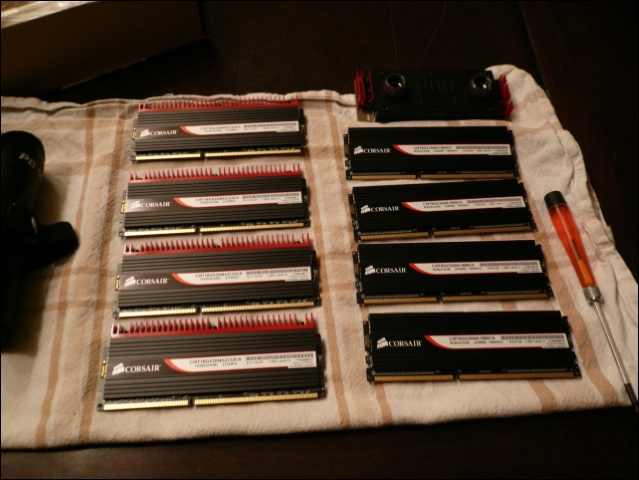
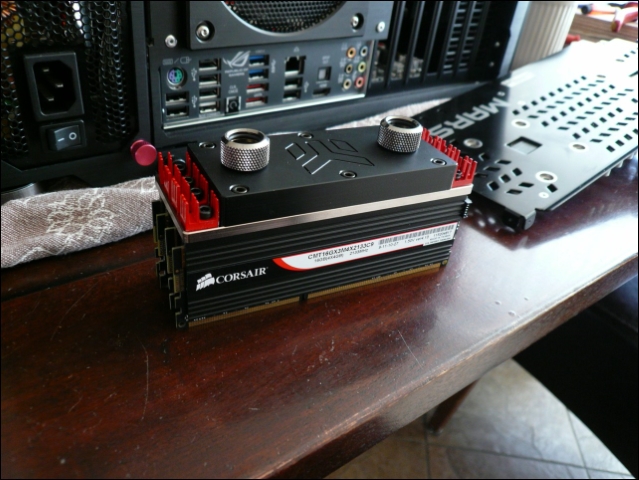
First change the quad kit.
With 5 previous kits on other builds it was easy to remove the plates for the red fin fixation.
With 3 out of 4 it was impossible somehow.
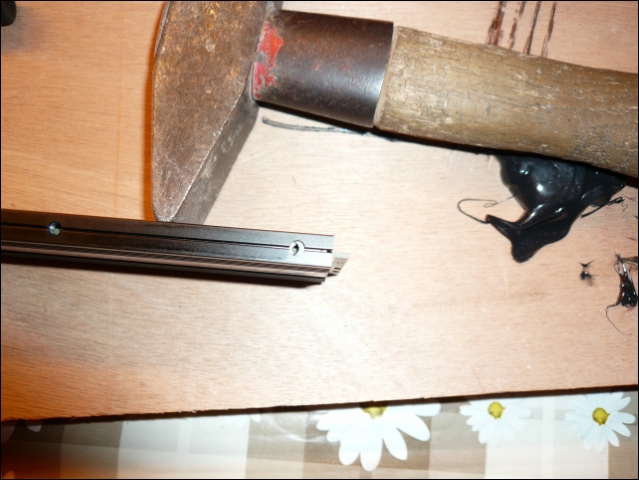
Even with a hammer there were 2 sticks I couldn't replace.
Did see some horror pictures of removed heatsinks with the ram still on it so didn't want to do that either.
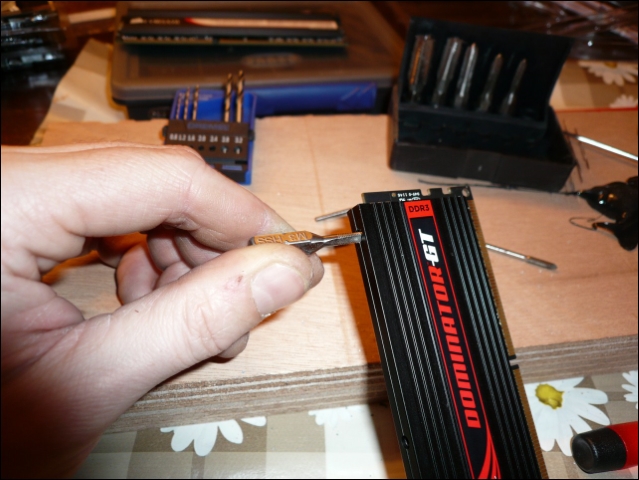
Also had another problem cause of hammering on it with 1 stick.
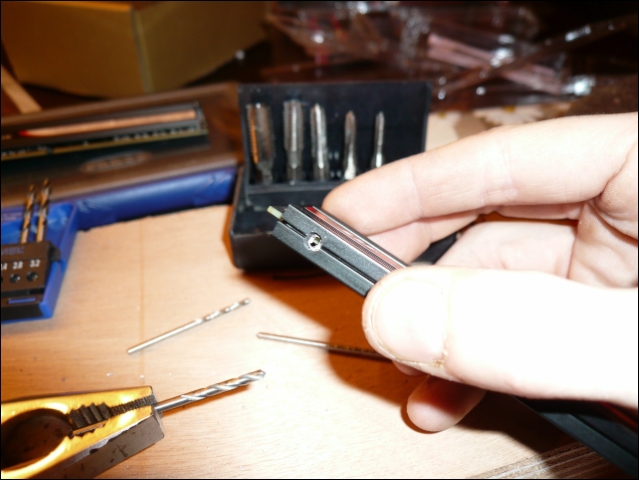
Then carefully drill it by hand.
And the tap by hand.
Got it fixed one hour later :)
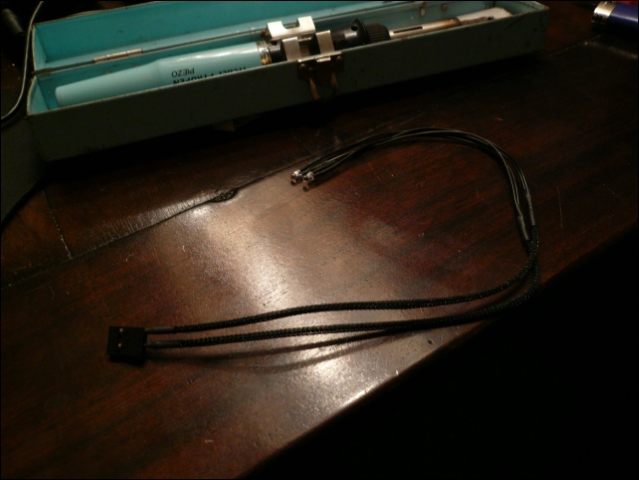
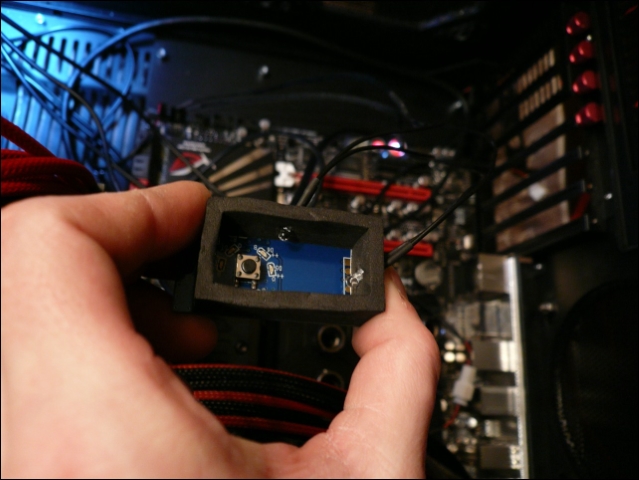
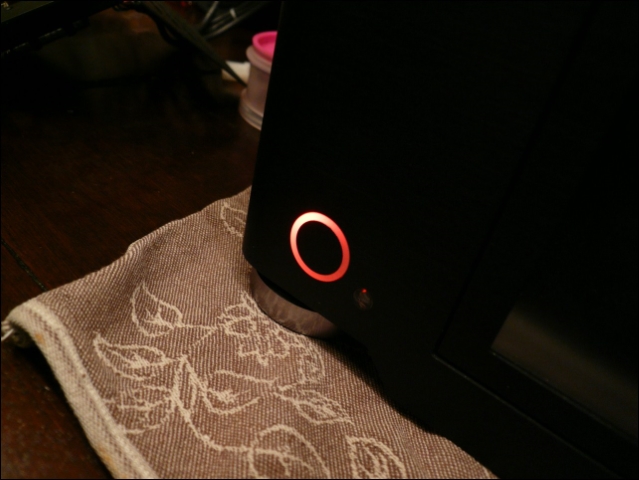
2 red leds soldered and sleeved for the powerbutton.
Disabled the blue smd leds.
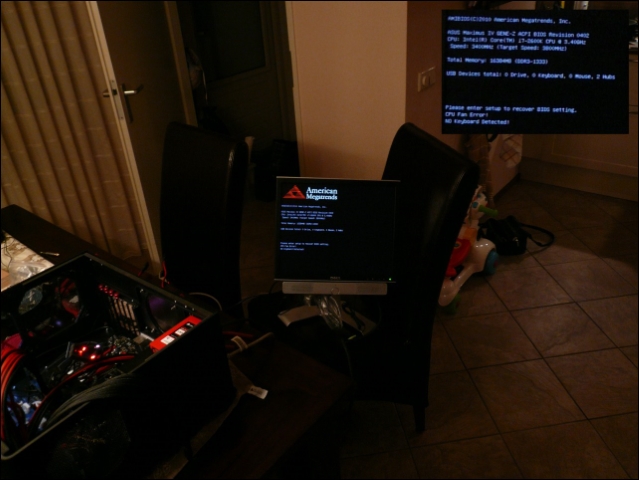
Wanted to test this together with the hardware that didn't run for a single minute yet.
(Incl. the hammered Ram and lapped Cpu)
Joy!
Ok... off ... fast ... no water in the cpu block yet :)
Next small problem...
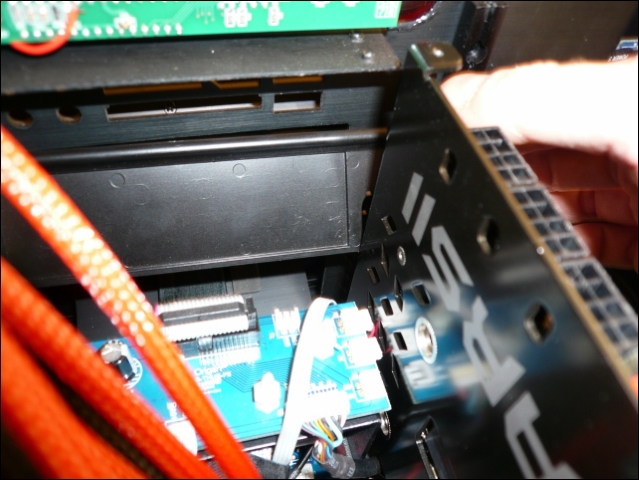
I measured everything at the start...that was for Matrix cards, the Mars is a little longer.
Sawing again.
Discovering all kinds of convenient stuff in the yacht building industry.
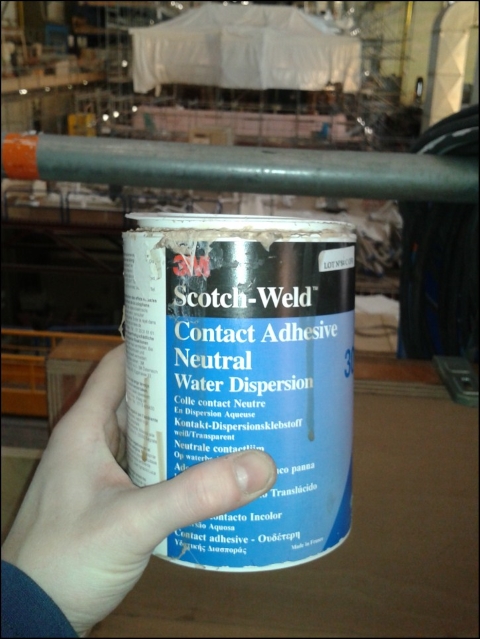
Saw this last week, primer for all kinds of self adhesive stuff like ledstrips
They hang complete ceilings with Velcro with it.
Worth a try on the last radiator.
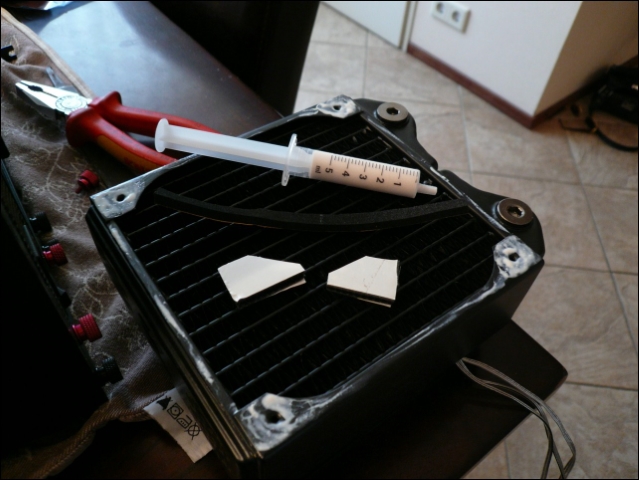
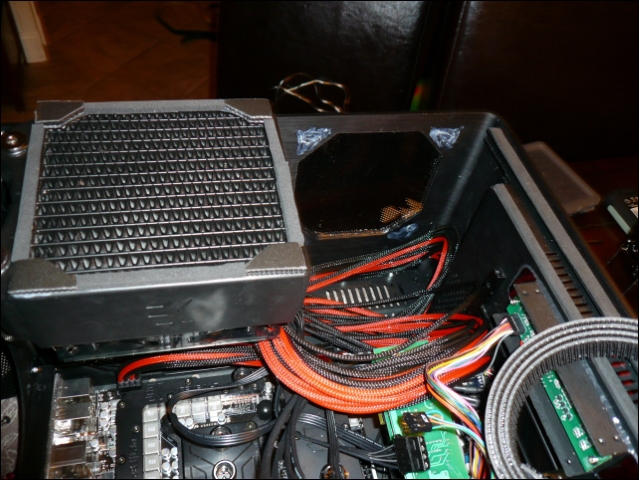
Did the corners with 3M Velcro, the edges with isolationtape.
Believe it or not ... It works to good .. Can't get it off with my bare hands :P
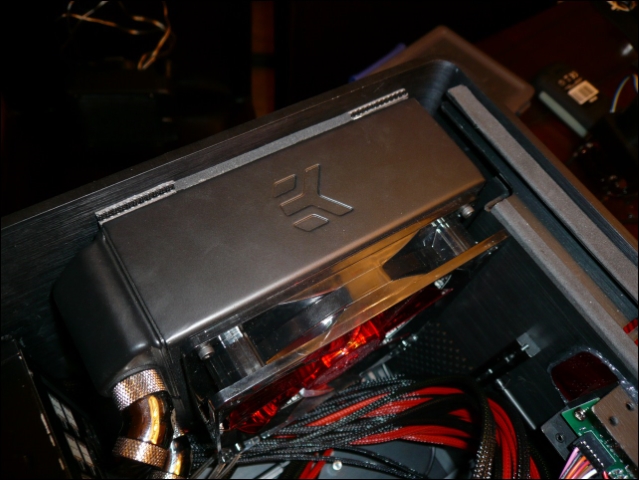
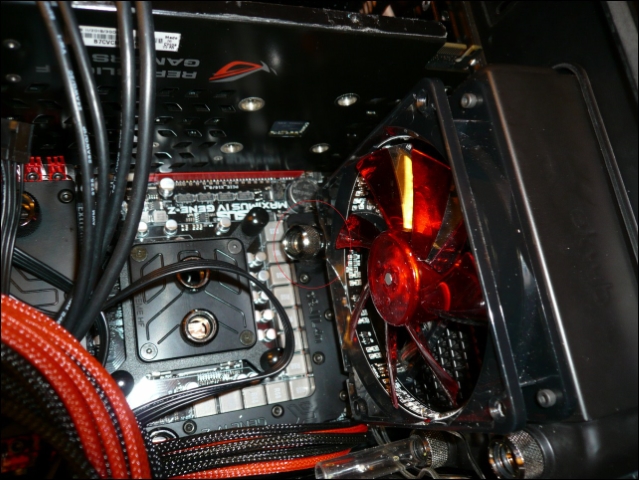
Had to file the fan on the back radiator after measuring with 7 different kinds of BP fittings to make the angle I wanted.
Still 2 prints to hide..
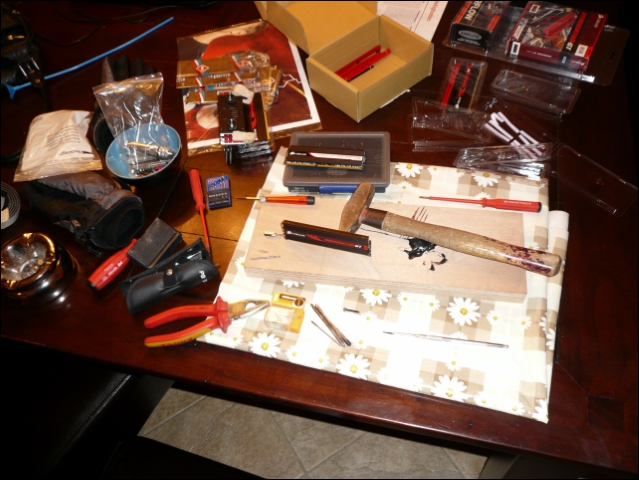
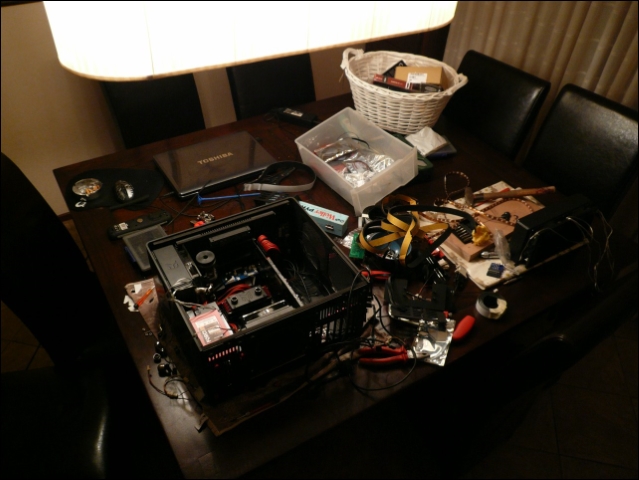
And the mess on the kitchen table again.
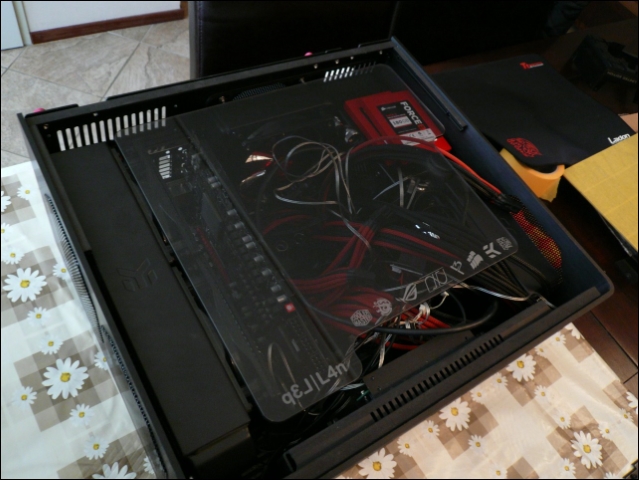
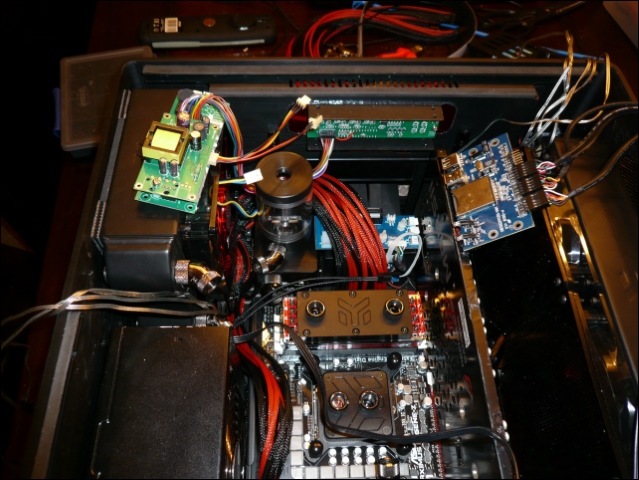
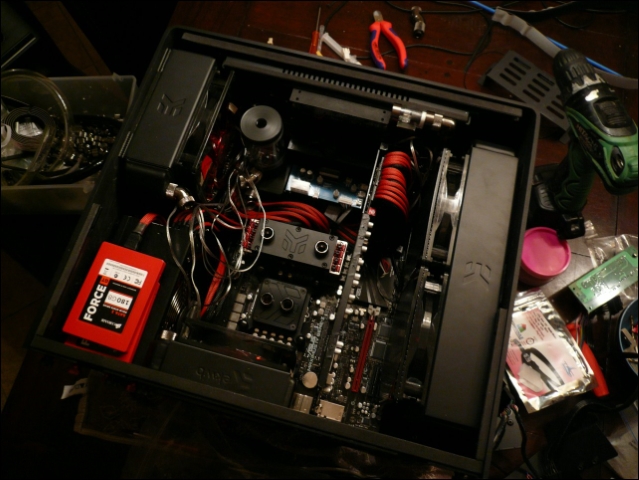
Not easy to hide 3 x 8 pin + 24 pin without a 'double bottom'.
Also sleeved the 2 sata cables.
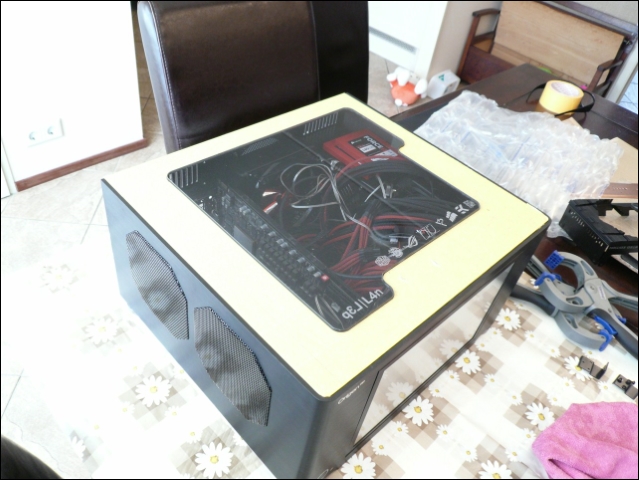
Cover on top .. Till later this week :)
-
Re: Project: L3p L4n
Still no news about the copper-block :/
My friend Quepee has been sick quite some days, so he has a lot to catch up at work.
He's all better now so hopefully soon good news!
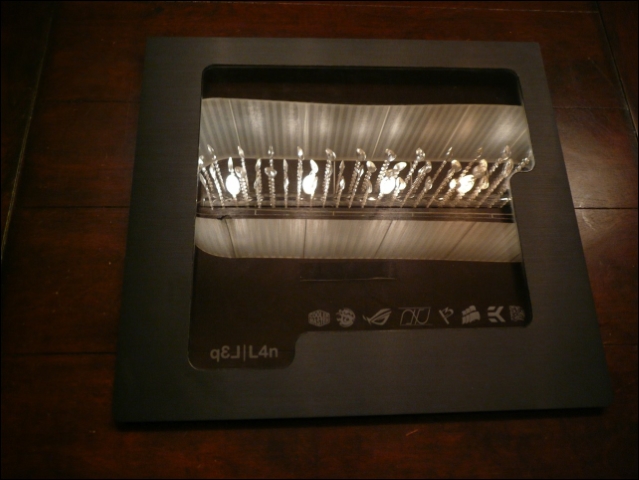
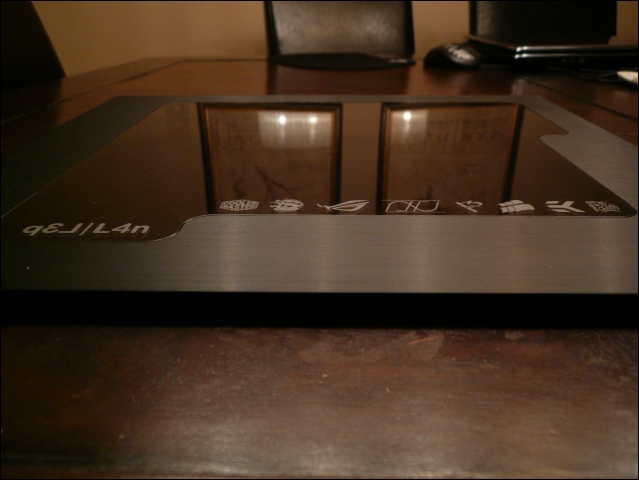
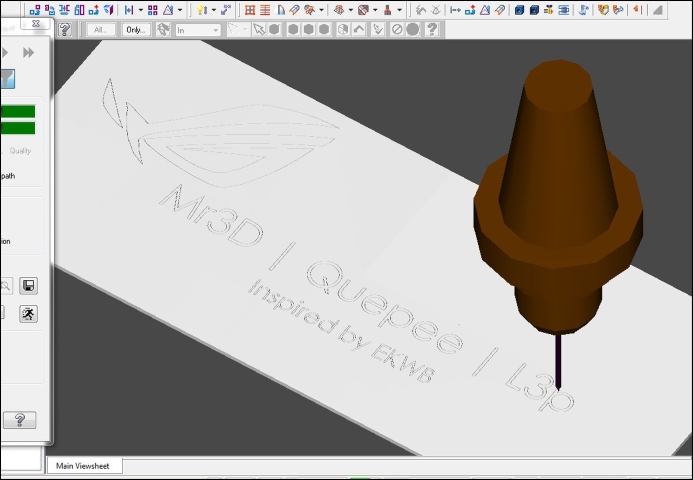
All I got for you guys is a design for the engraving.
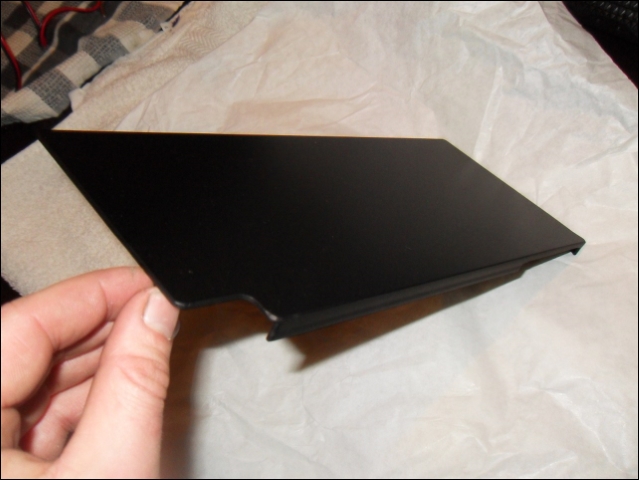
And the backplate came back from the anodiser :)
These few weeks did give me some time to prepare my next build already :)
(First info and hardware pictures on site, buildlog will follow)