:bowdown:
need I say more??
+rep

Printable View
:bowdown:
need I say more??
+rep
Hello, unfortunately I had no time or no passion in the past. This is the reason of the long break between this and the last update. I hope you could forgive me ;-)
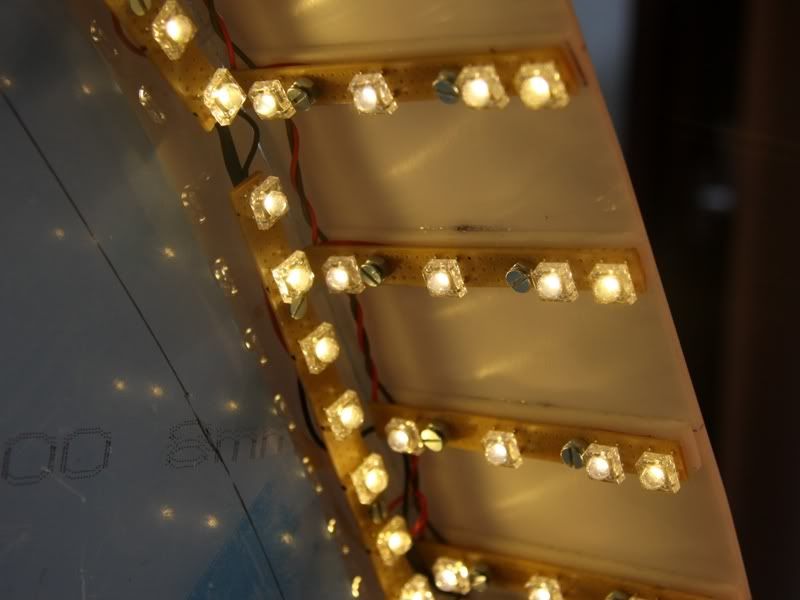
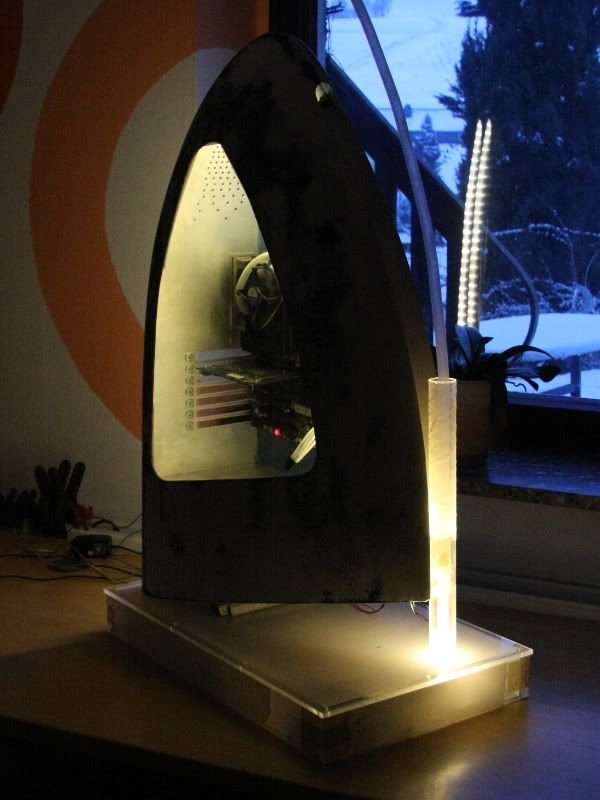
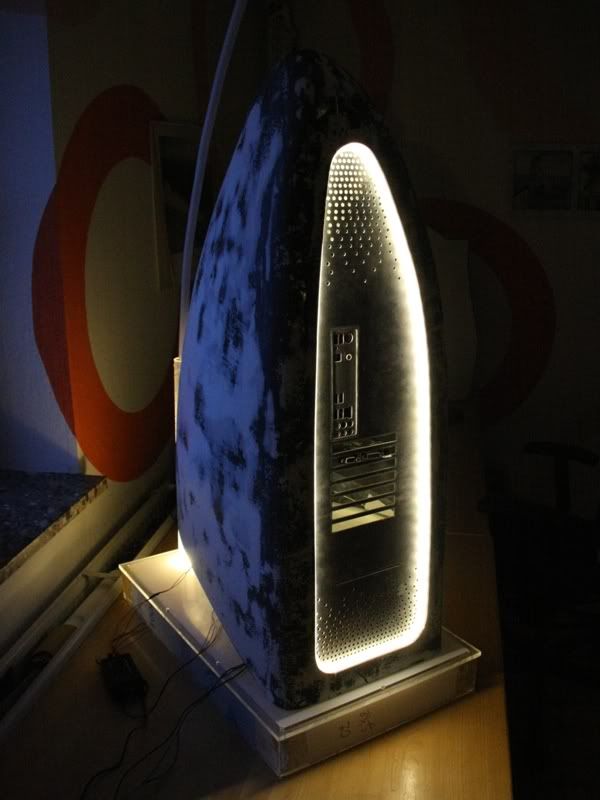
Now lets start with the illumination of the inner space. This was actually complete, but only actually. Because I wasn´t really satisfied with the smoothness of the light. I know at the pictures I show you I looked very smooth, but in reality it wasn´t the same case. At the following picture that I made with a shorter exposure time you see the real disaster.
To get a 100% smooth light panel I thought it´s enough to take more LEDs. So I desoldered all the 60 LEDs and solder all new with 120 LEDs.
The result was indeed brighter but still not to 100% smooth.
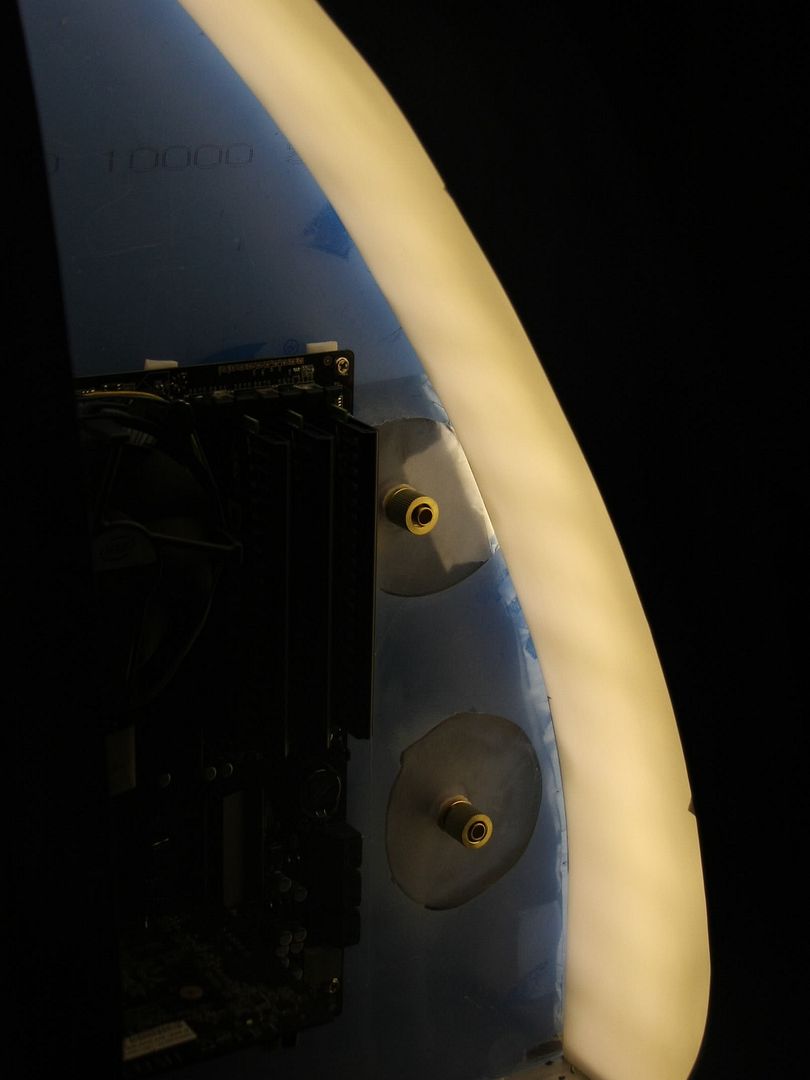
Because I had no passion to unsolder again all the LEDs and take still more LEDs I had to take trick 17 that means head away.
And now I was satisfied with the light panel, because now it´s a really smooth light without any inequality.
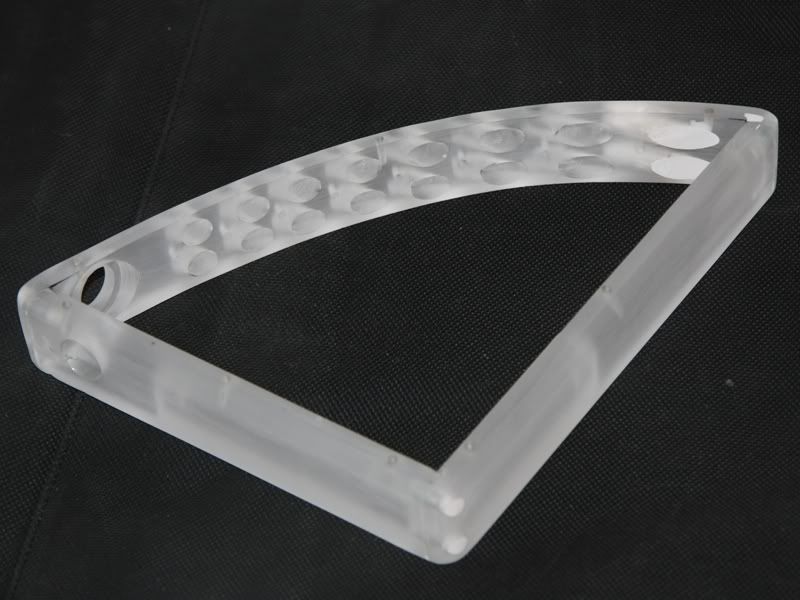
Ready with the illumination of the inner space I could start with a kind of connecting central for the PC. At first I build a frame made of Plexiglas.
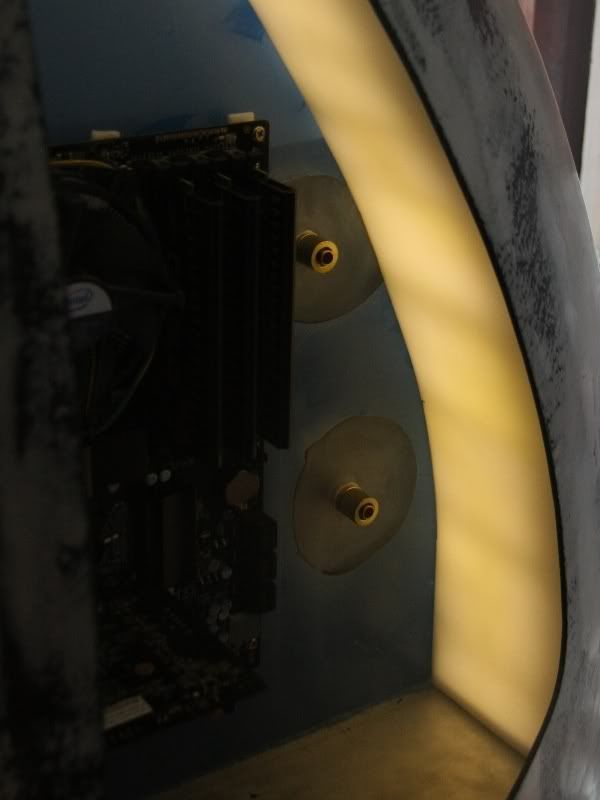
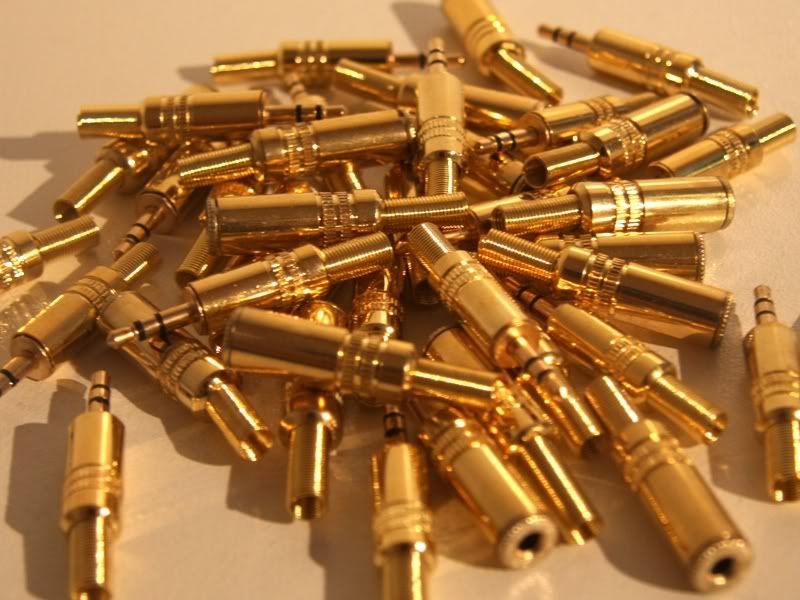
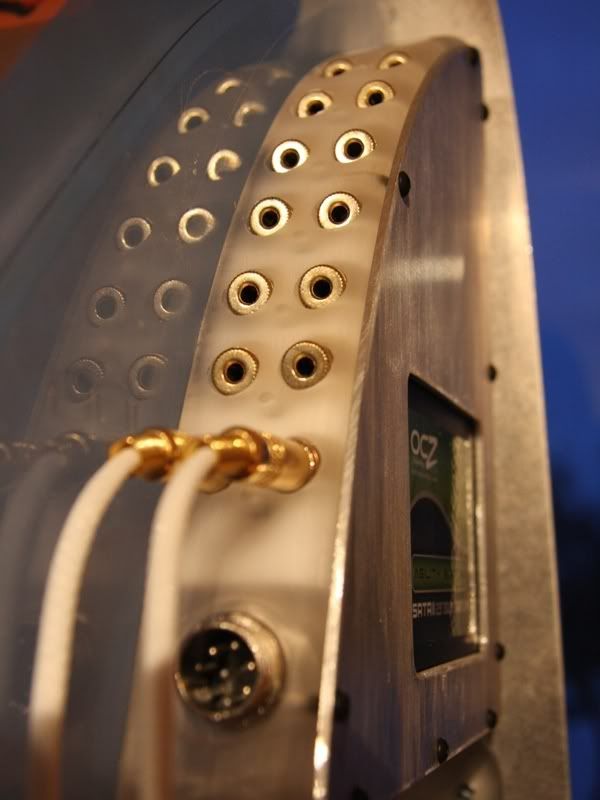
In the meantime I got the 3,5mm connectores.
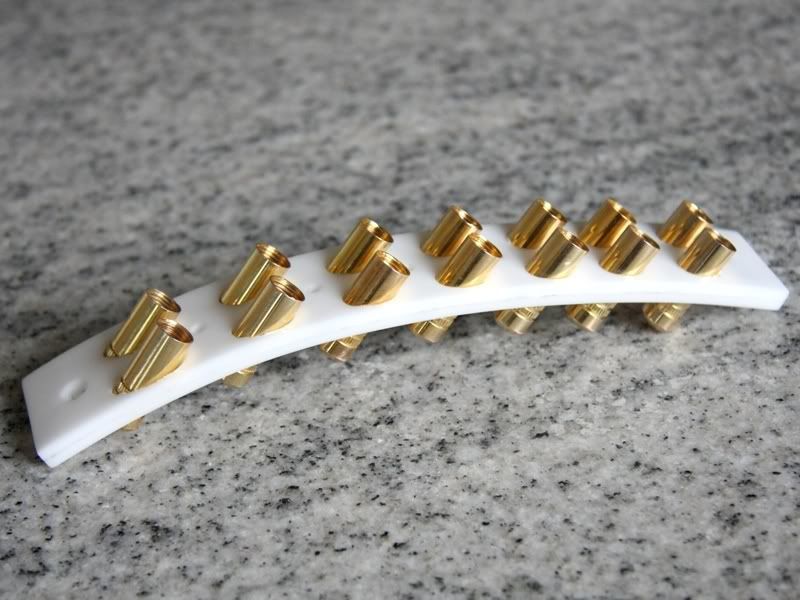
I glued the sockets in a white bend piece made of Plexiglas.
Ready with this I could start with soldering. For this I made at first a kind of solder plan that showed me that I have exactly to solder. Because of this I haven´t to solder on cable 5 times and I also know 2 months later what I soldered together.
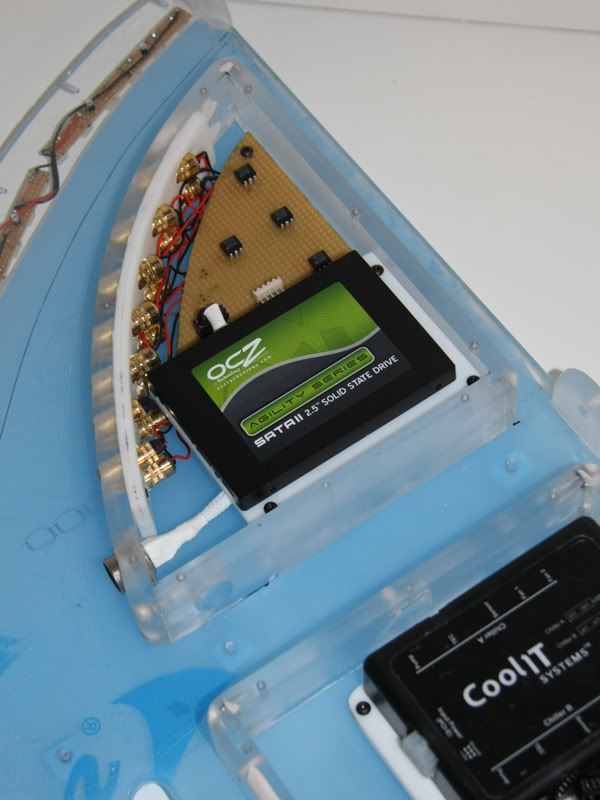
With this plan in front of my face I was able to solder all these sockets with the opto-coupler and the bushes at the perfboard.
I know I looks like a real cable tangle but with my smart soldering plan it is actually quite clear.
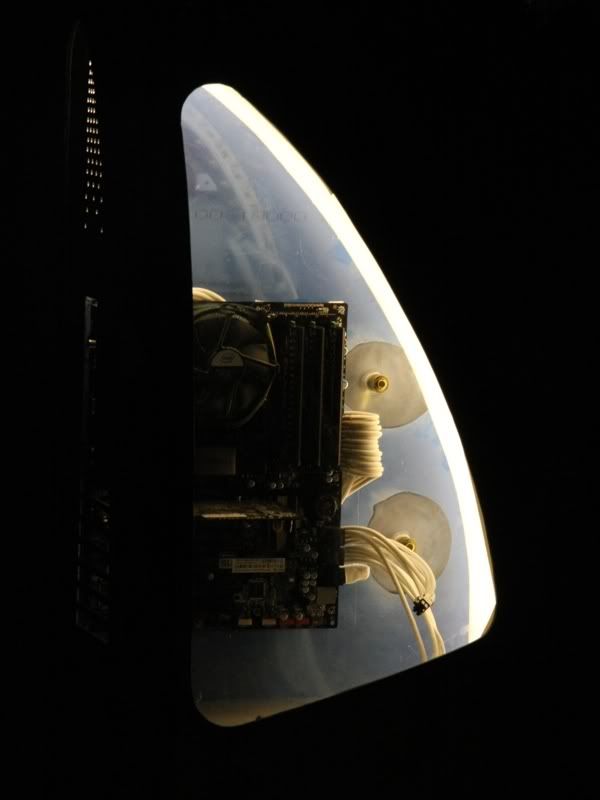
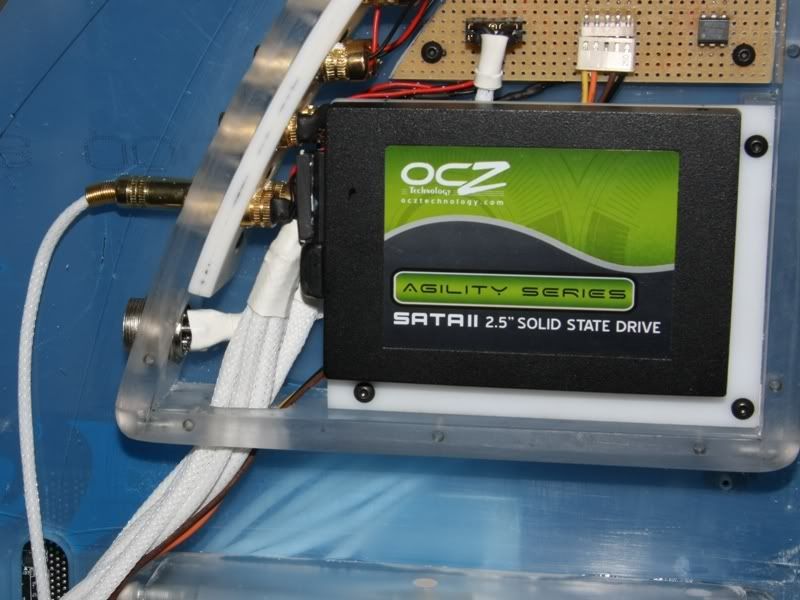
Now I could glue the frame made of plexiglas at his final position. After this I bored some threads for the perfboard and the SSD.
Certainly the box get a bezel made of aluminum. A picture with it you´ll see in the next update I hope.
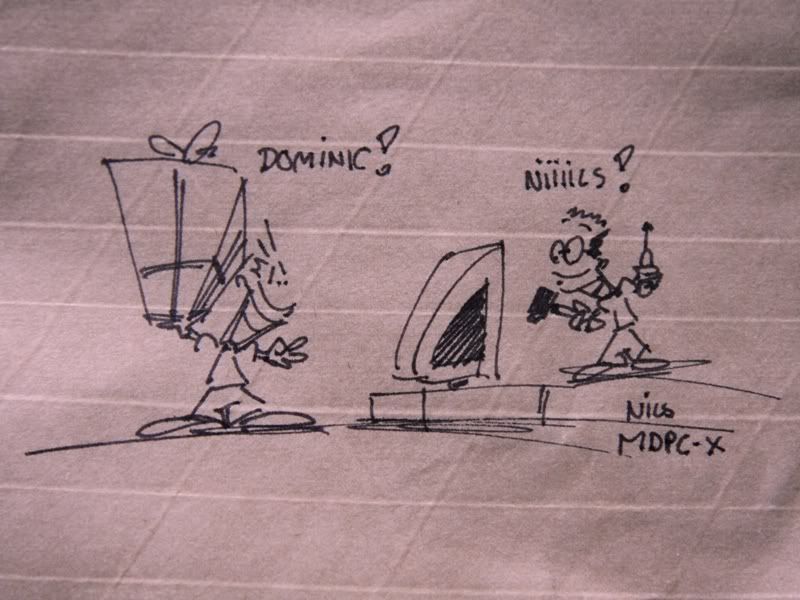
Well in the meantime I got a package that had at his back a little but really nice sketch.
Naturally was the content not less nice like the sketch.
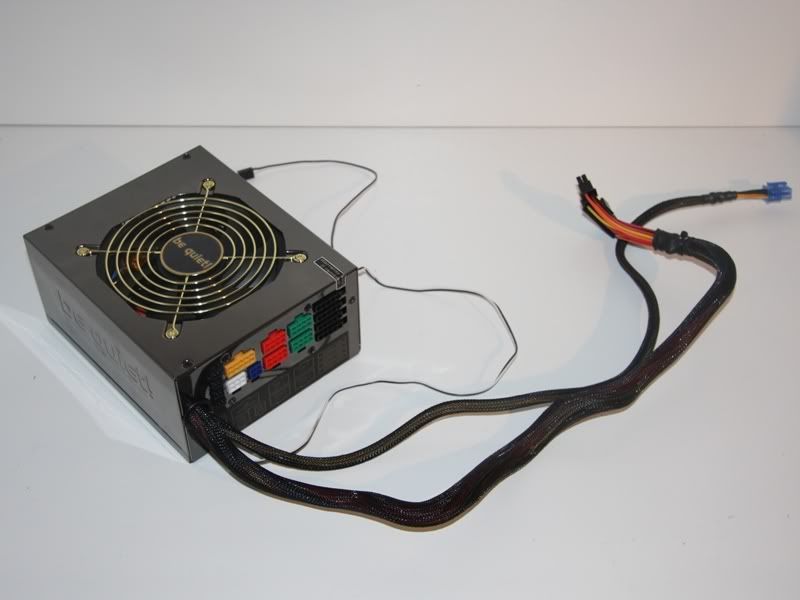
With this delivery the last hours of the great be quiet! supply were counted. Natural I made a last picture of it before the aesthetic operation started.
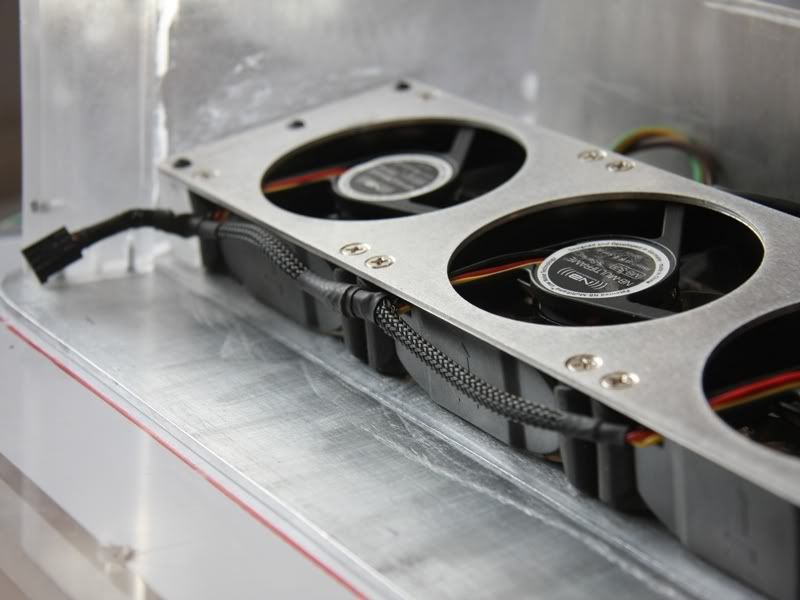
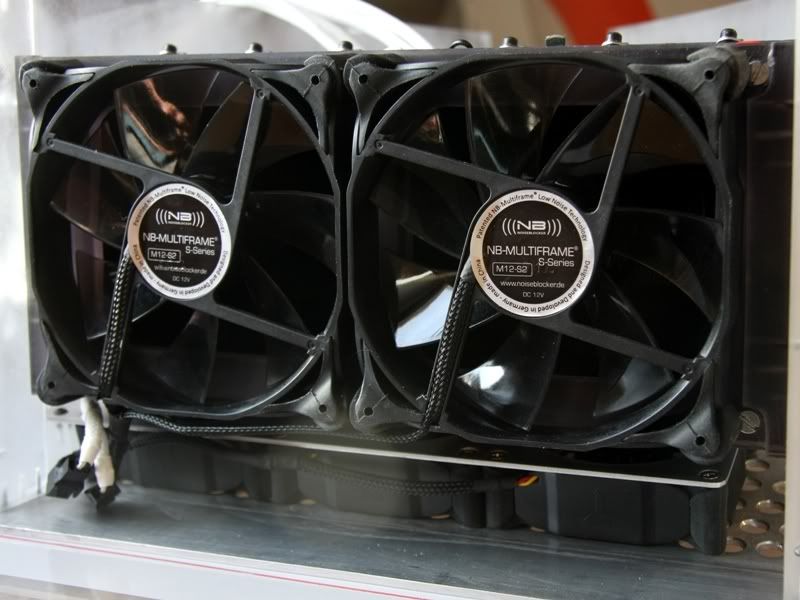
And after maybe 20h 25h hours the power supply looked so.
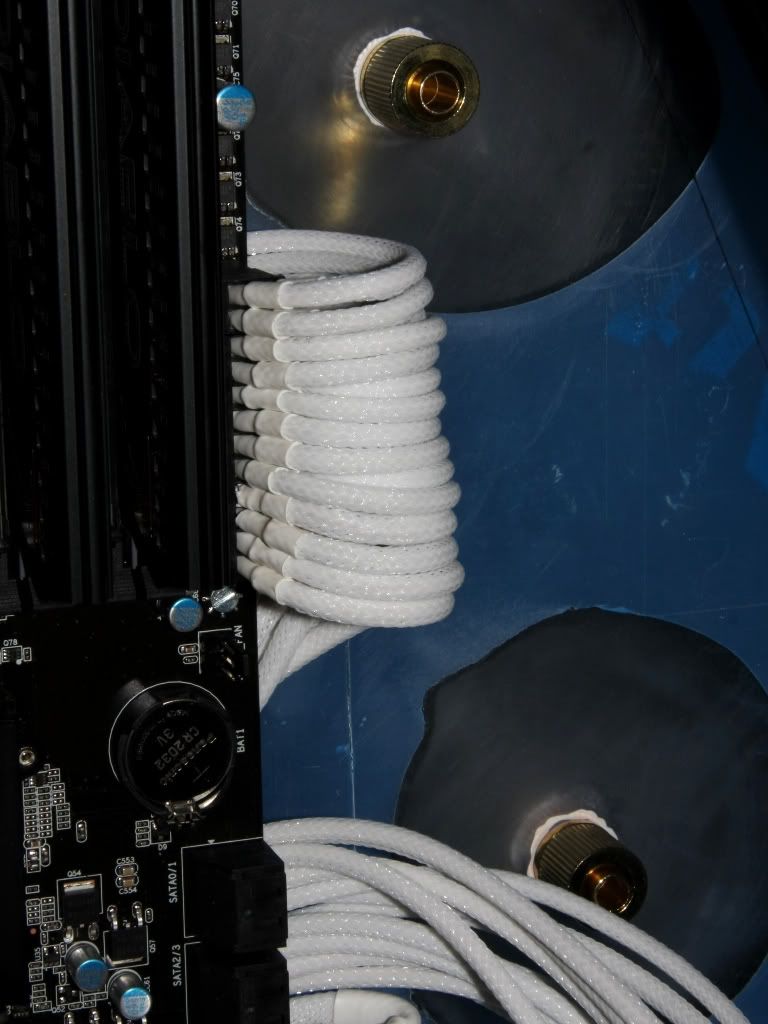
For the friends of macro pictures another picture.
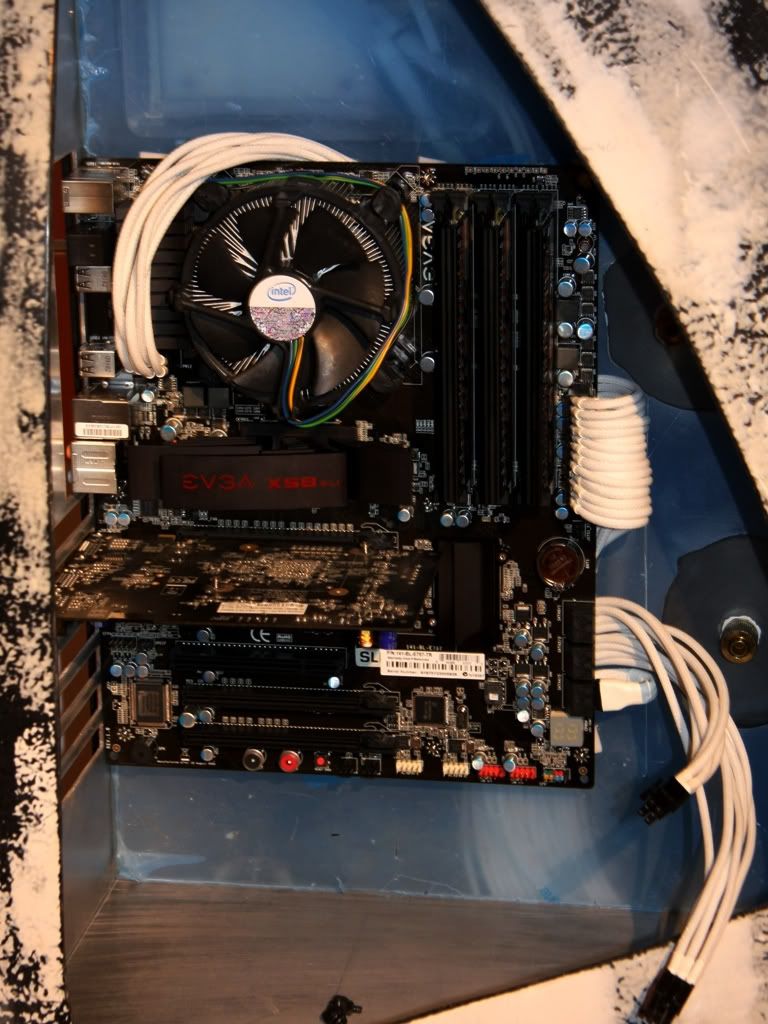
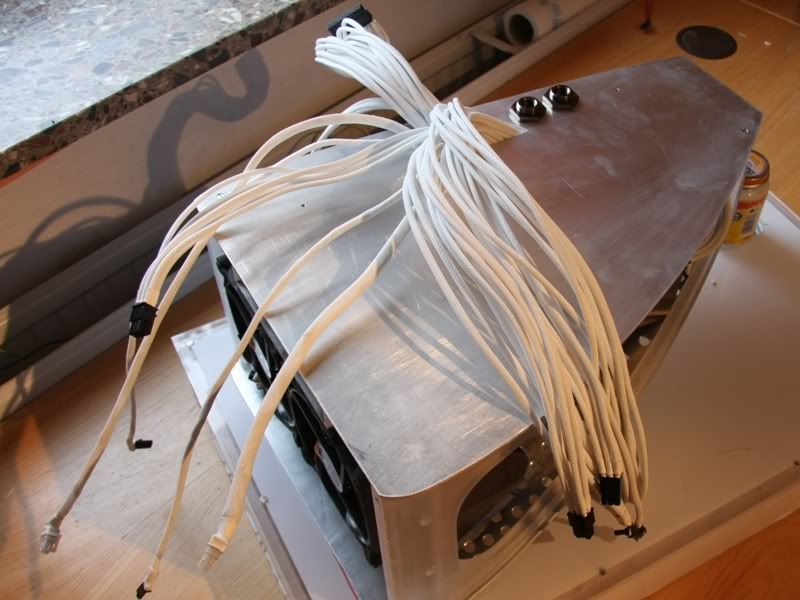
After I was ready with sleeving I build in the supply to see how I looked in the case. Unfortunately my pleasure didn´t rise up but rise down.
The reason of this disappointment was a 2 week break because I had no passion to make anything for this project.
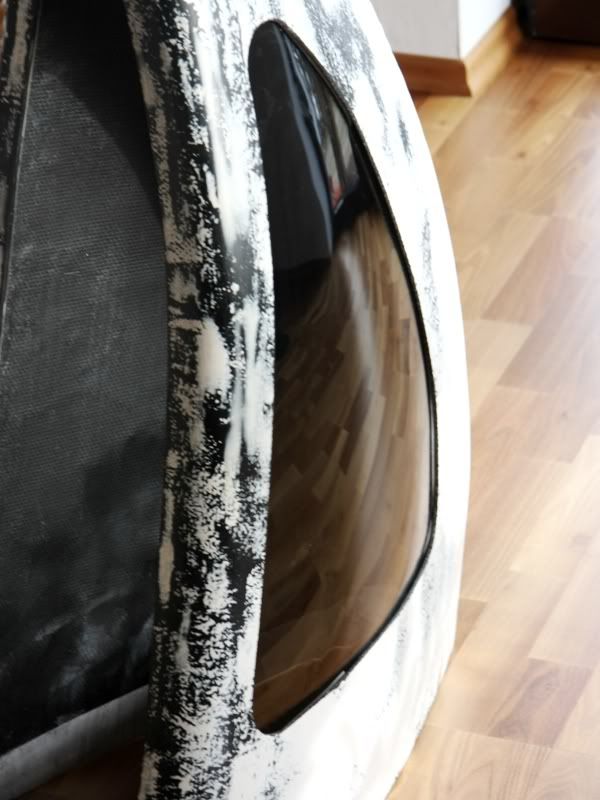
At least a picture that shows my second try to bend a plate made of plexiglas in the form of the window for this project.
Well and now we are at the end of this update, but I hope you haven´t to wait only two or three weeks for the next update, and not two months ;-)
P.S.: Oh I had nearly forgotten to say you that I came to a decision as related to the socket and the sail. And so I´ll make the socket white and the sail gold. I hope the fans of white sail and black socket won´t be really disappointed and I try my best to convince you that a gold sail look better than a white sail at the end ;-)
@raistnox: The idea with the pinstripping is not bad, but I think the socket should be only a socket. That means that with a great pinstripping the socket attract the attention to much. But maybe I don´t like the complete white socket at the end and then I´ll remember to your idea.
@Twigsoffury: Thanks and I also hope that a 24k gold leaf case would be kick a%$...;-)
looks awesome!
:eek: no words........ :up:
I love the white flexing :D
Great job, can't wait to see updates
glad i could help out, i do agree that sometimes pinstripping can be overpowering and detract from the main focal points and certainly with something like this where you just want to break up the white a bit you dont want that, any way good job thus far you are indeed a skilled craftsman and i cant wait to see the conclusion
I'm lost for words, again :D.
I can't even imagine how bad a$$ this is going to end up looking like, merry christmas. :santa::up:
Christmas-Update
About questions, suggestions and criticism I´ll be very happy. I wish you a merry merry Christmas and a very great start in our next decade!!!
Beautiful work on this mod. I love what you've done to this point. Keep it up!
:) Really coming together now, can't wait to see the finnished piece congrats, it is such a nice fuzzy feeling getting a scratch build to a point where you can actually use it, even though there is still some more to do but being able to sit back and say I made that is nice, I know when I got to the stage where I could put my pc gear inside my latest I had a big grin all day and almost did a singing in the rain do hehe :) merry christmas & all the best to all at TBCS.
I'm off to stuff my hdd with cheap quality games courtesy of steam :banana:.