Those are cool looking. I need to make friends with somebody who owns that kind of machine!
You can never go wrong with black and red.:)

Printable View
Those are cool looking. I need to make friends with somebody who owns that kind of machine!
You can never go wrong with black and red.:)
he's convenient...he's 5 mins from my house :D
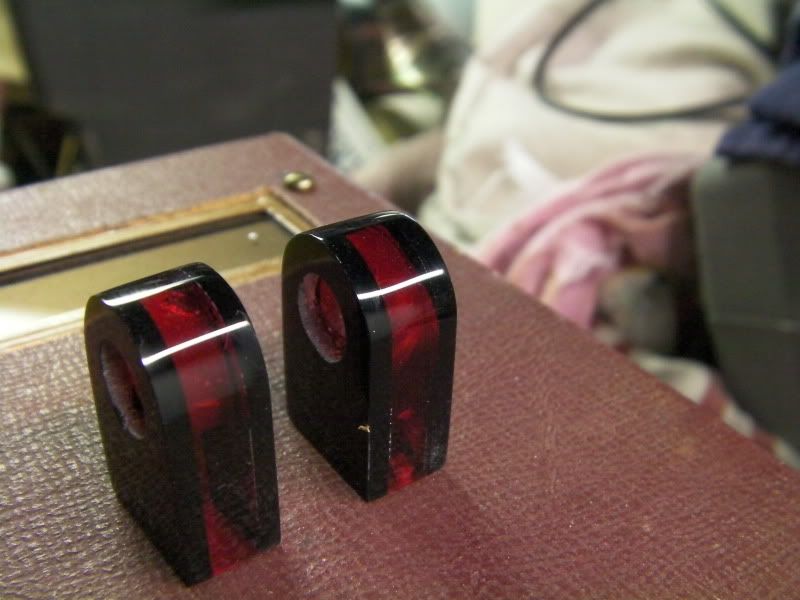
I'm experimenting with different finishes on them, from polishing to frosting, etc. We'll see how they turn out then I'll go from there
Alright it's been a busy couple weeks but I did manage to squeeze in some modding time!
I tried different finishes on the cable guides, and I ended up just sanding and polishing them. Nothing else I did gave a uniform look like I was after.
Small ones polished:
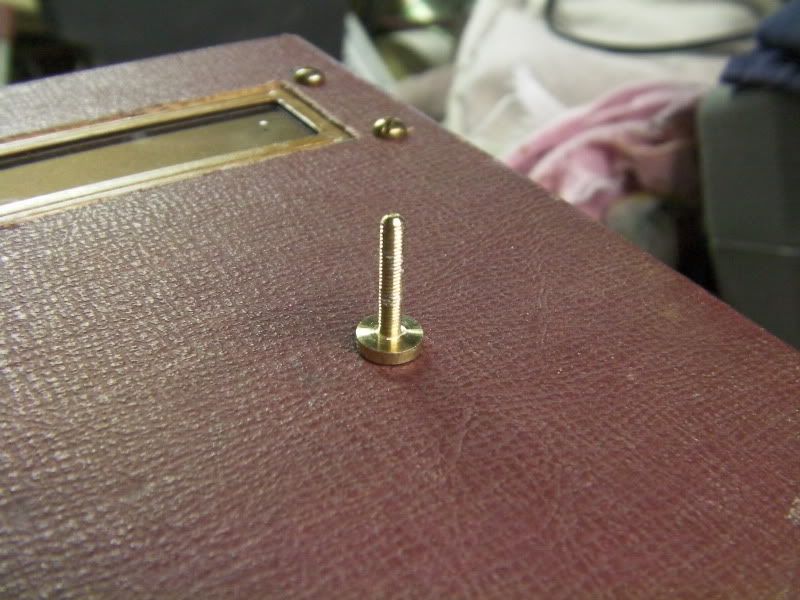
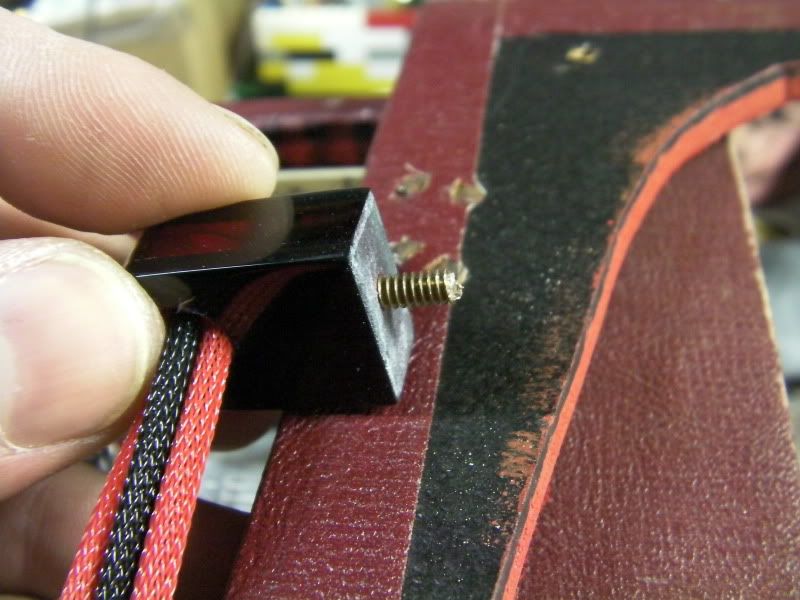
Now I had these screws leftover from taking apart the LCD panel:
And decided to use them to secure the cable guides to the case.
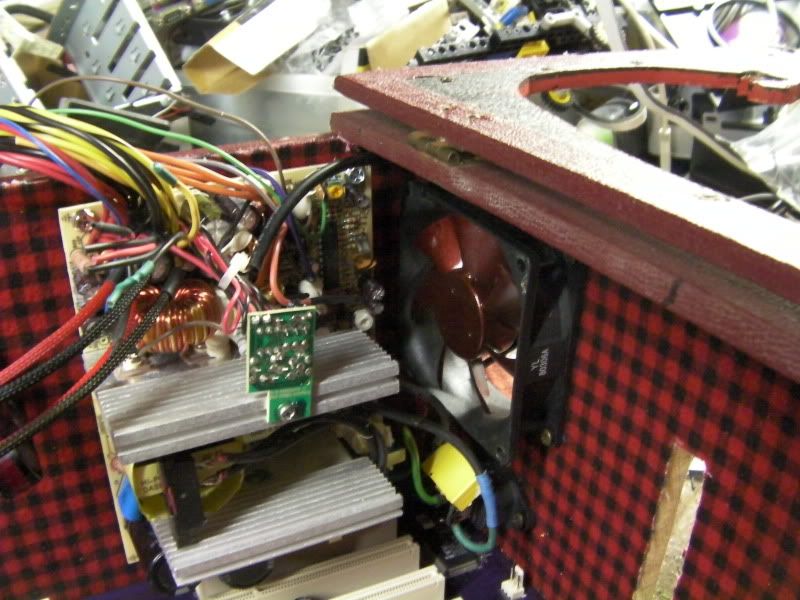
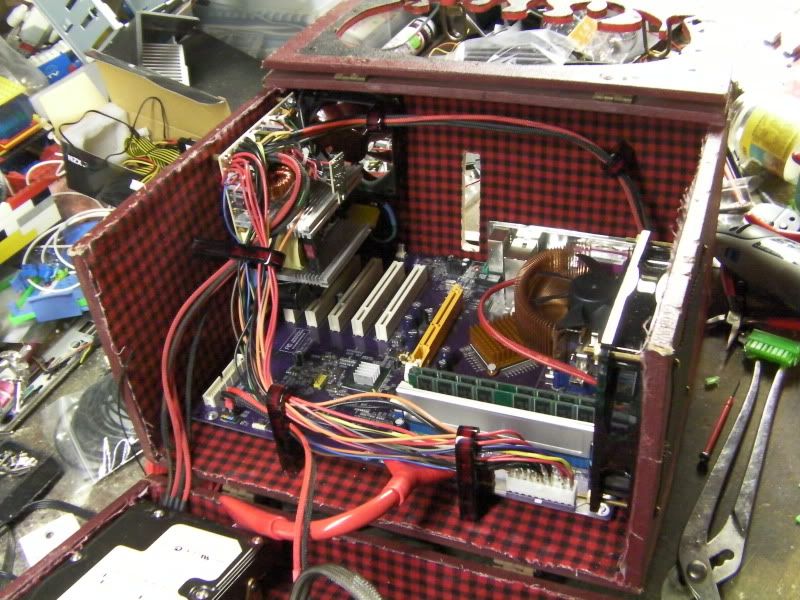
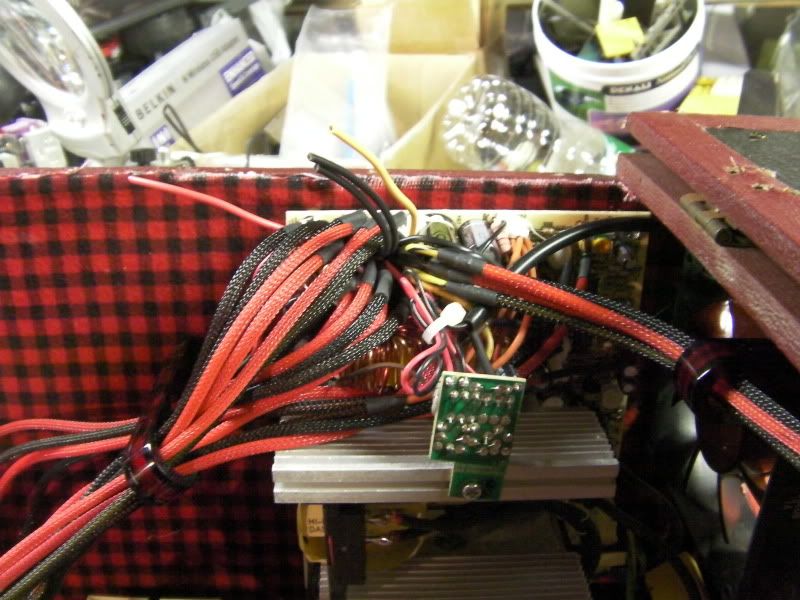
I mounted the PSU, PSU fan and plug:
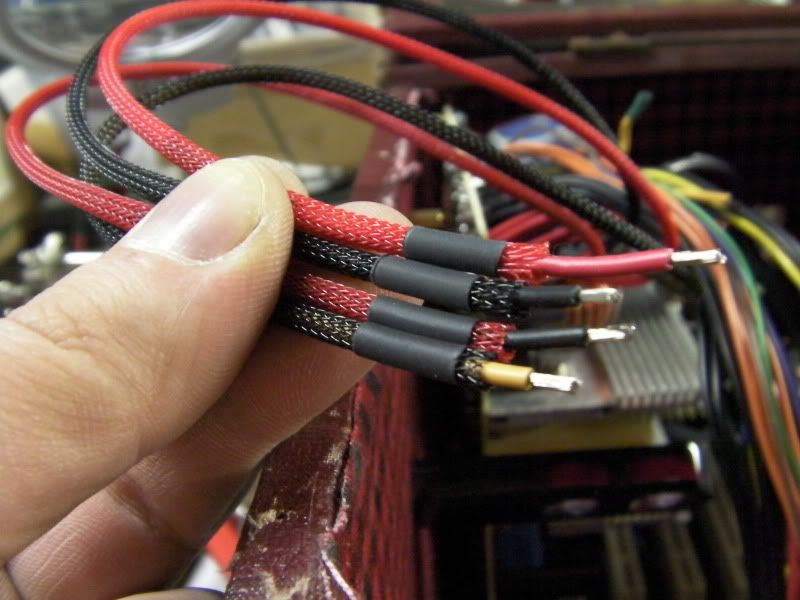
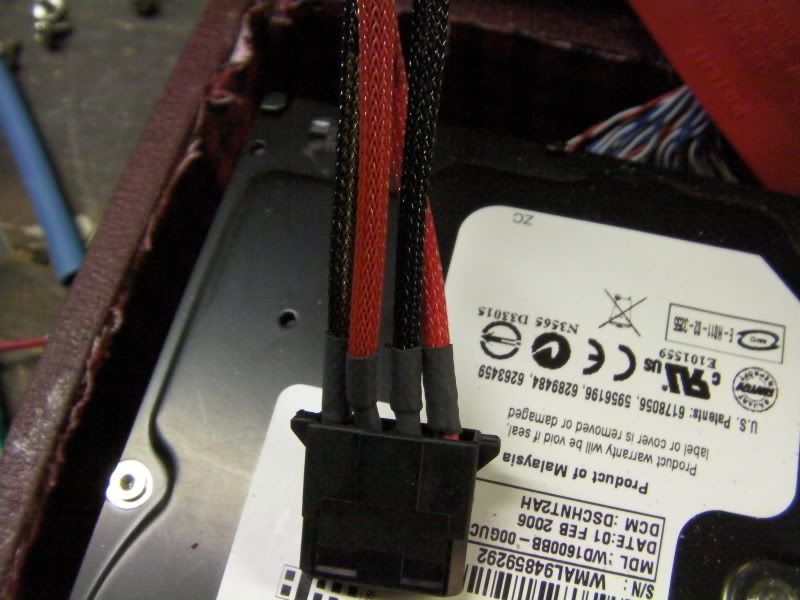
Next up I uni-sleeved the 4-pin molex for the HDD:
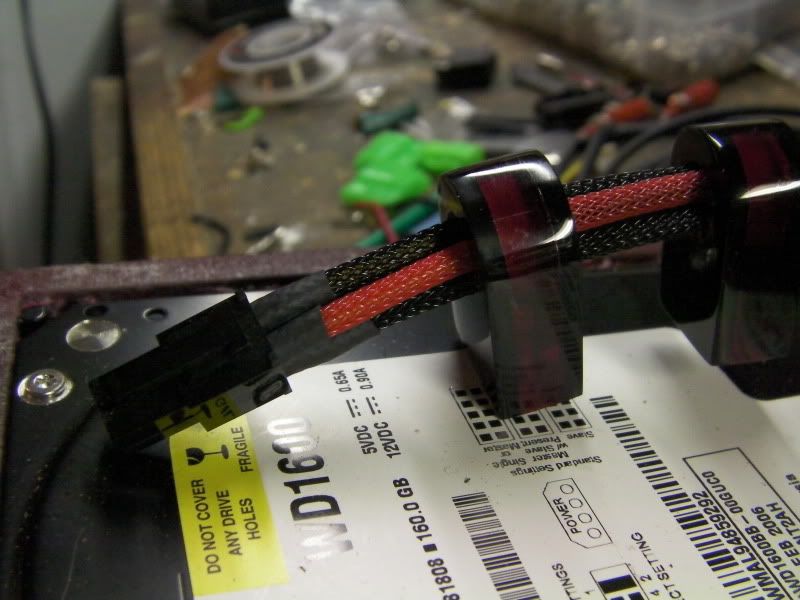
And ran the wires through the guide and put on the connector:
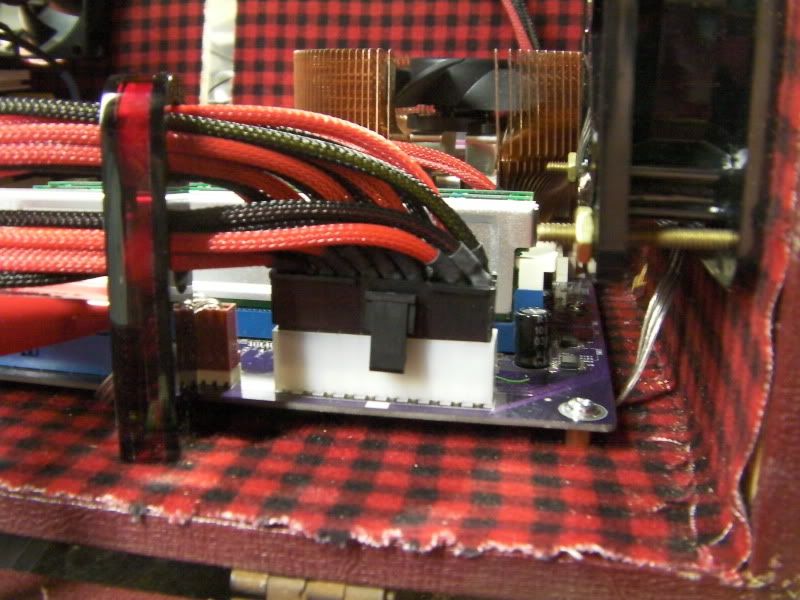
And lastly I unisleeved the 4-pin mobo connector:
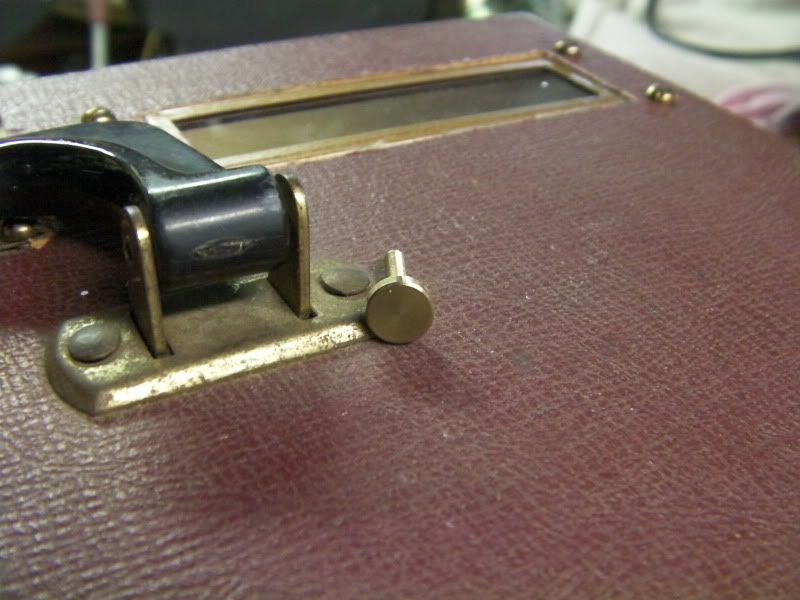
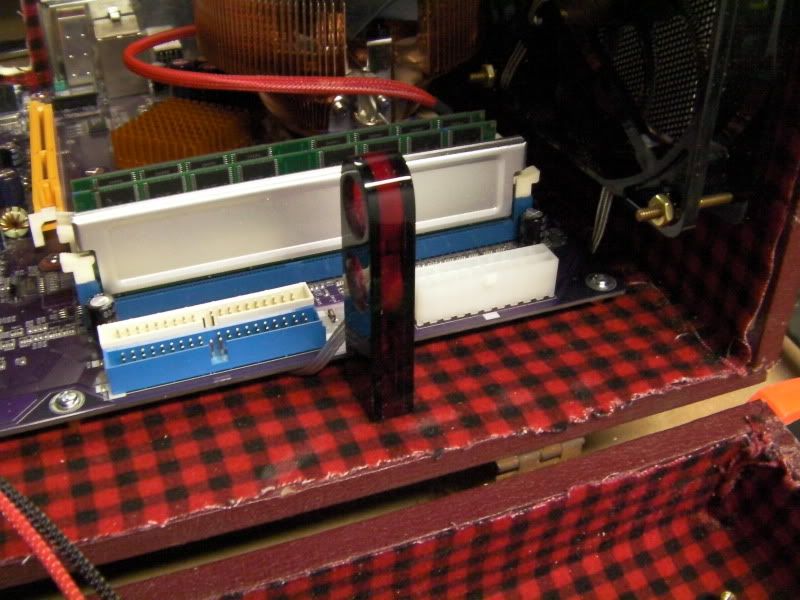
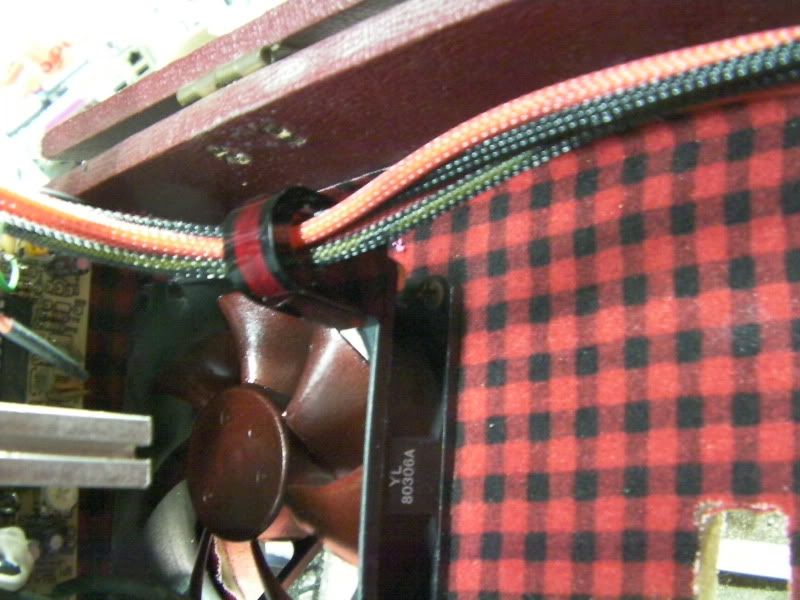
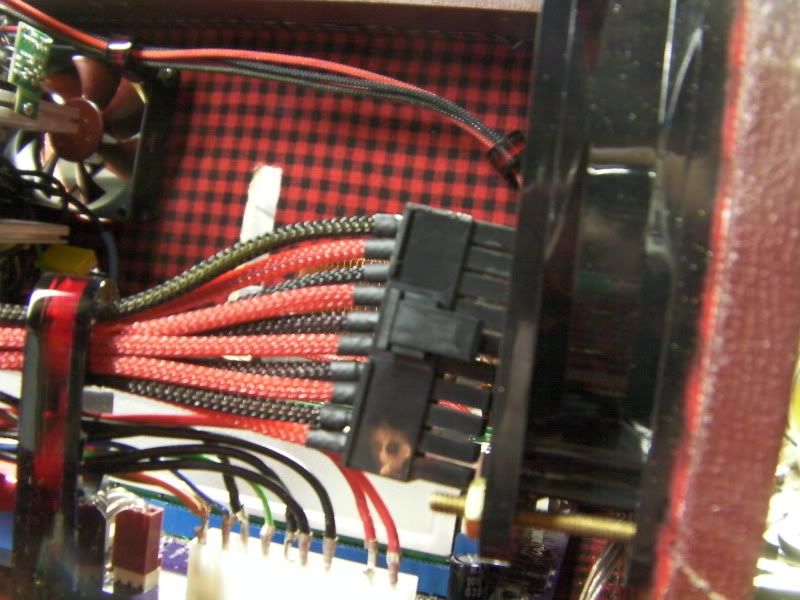
I used a piece of brass bolt that I had cut when shortening them for the window, threaded it into one of the cable guides then cut it even shorter.
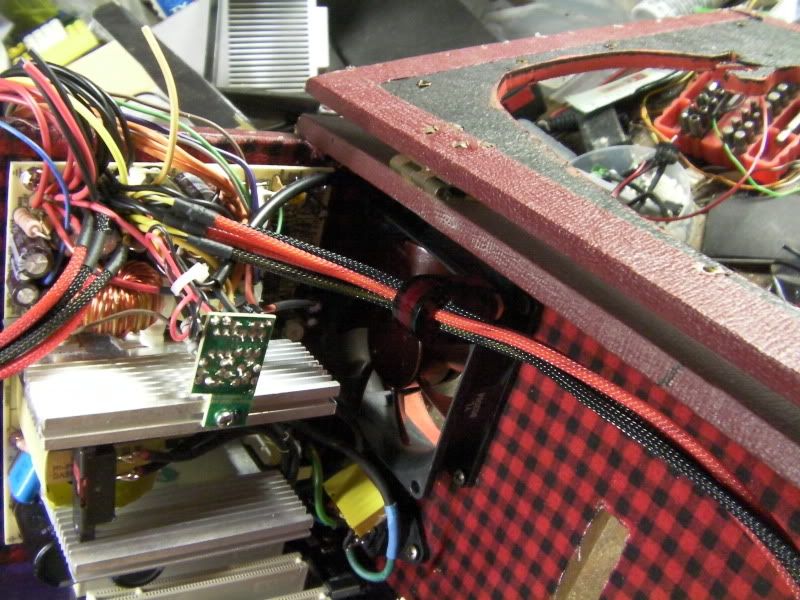
I then put the stud through one of the empty holes in the fan and secured it with a nut:
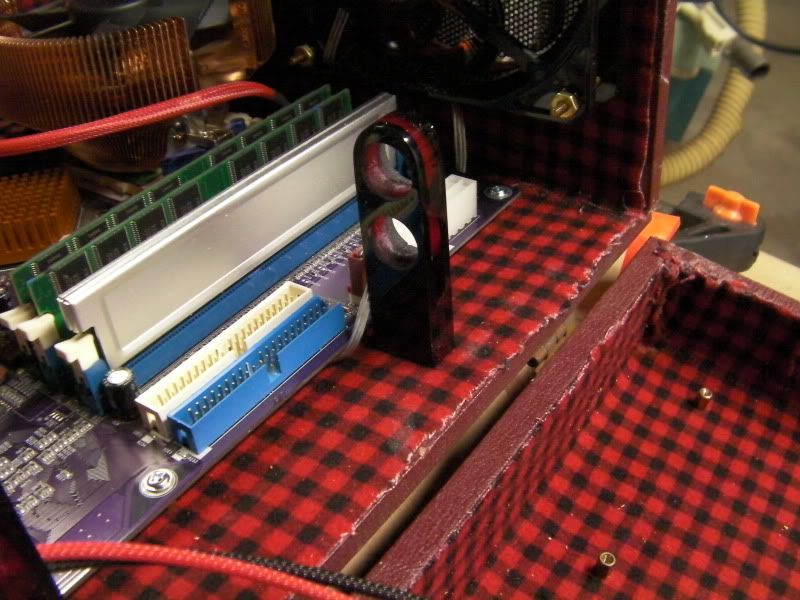
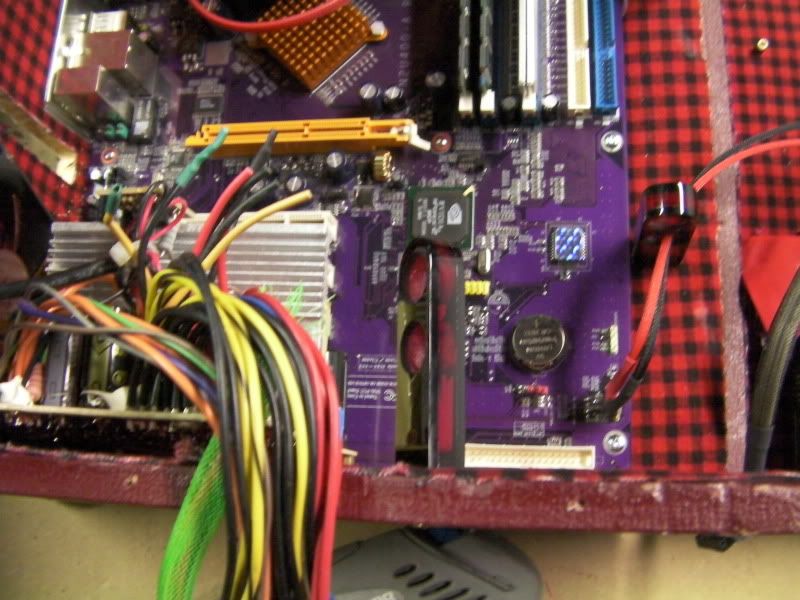
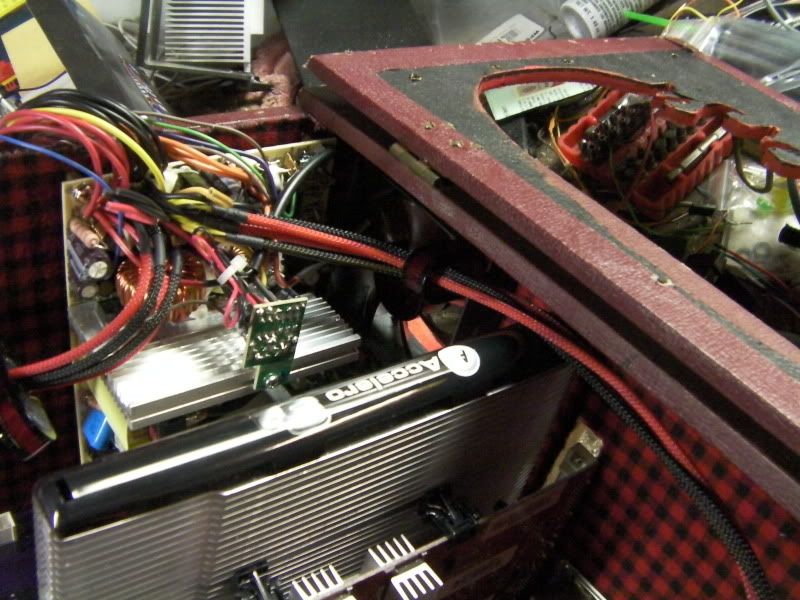
And here is how it will be run. I just need to mount the second cable guide and that piece of wire will be done:
All I've really got left to do is uni-sleeve the 20-pin power connector and run it through the guides, mount the window, and once my LED FX kit shows up from John at PCBoard.ca, I can devise my lighting scheme!
One of the final steps will be to get a copy of Win7 Home for this puppy to run!
Lookin good. Good job sleeving too.
Looks great. I don't always like cable guides, but these look really good. Well done. :up:
Quote:
Originally Posted by BS Mods
Thanks guys! :DQuote:
Originally Posted by x88x
Update time!
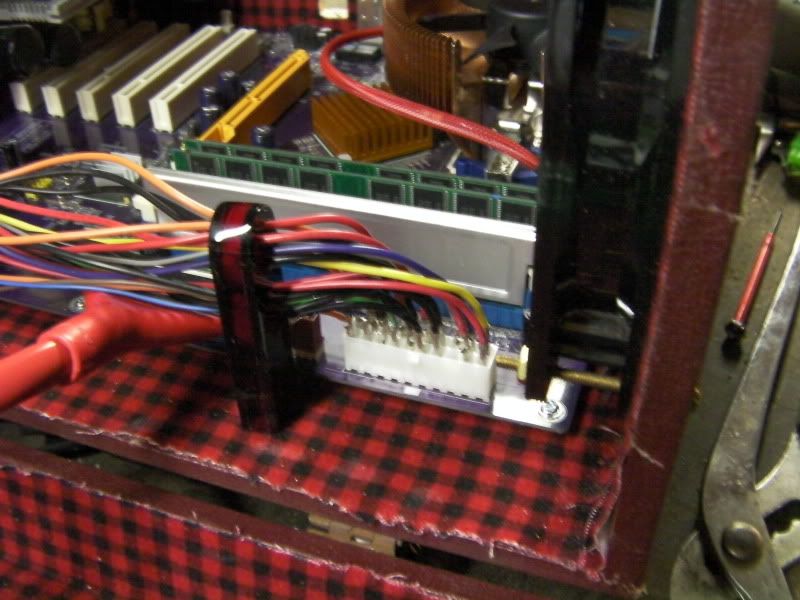
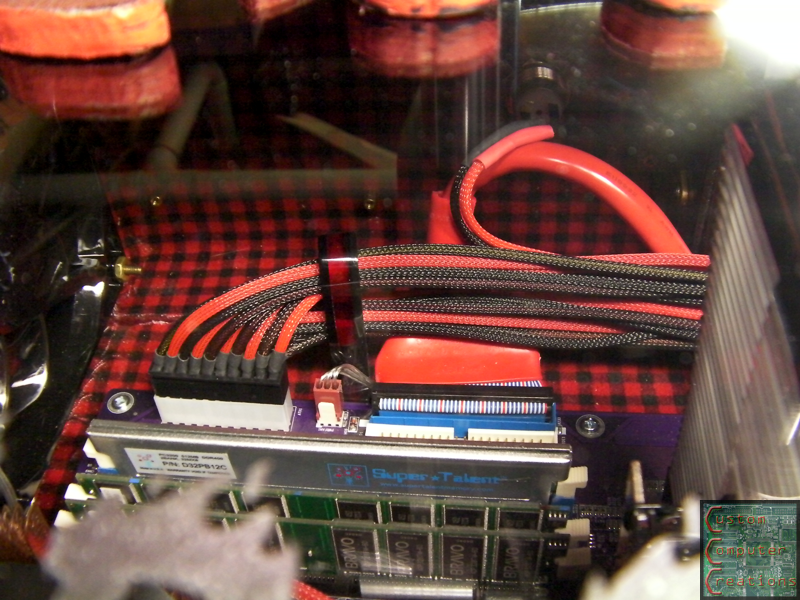
I popped the pins out of the green ATX 20-pin connector, and routed them and plugged them into their final locations, and I'm SO happy I didn't have to extend any of them!
The first row sleeved:
And finished!
I may put some zip ties on them just to tidy them up a bit, but we'll see. The 4 wires you see that are still unsleeved I left for the lighting system. Once i get it mounted and wired, those will be sleeved as well.
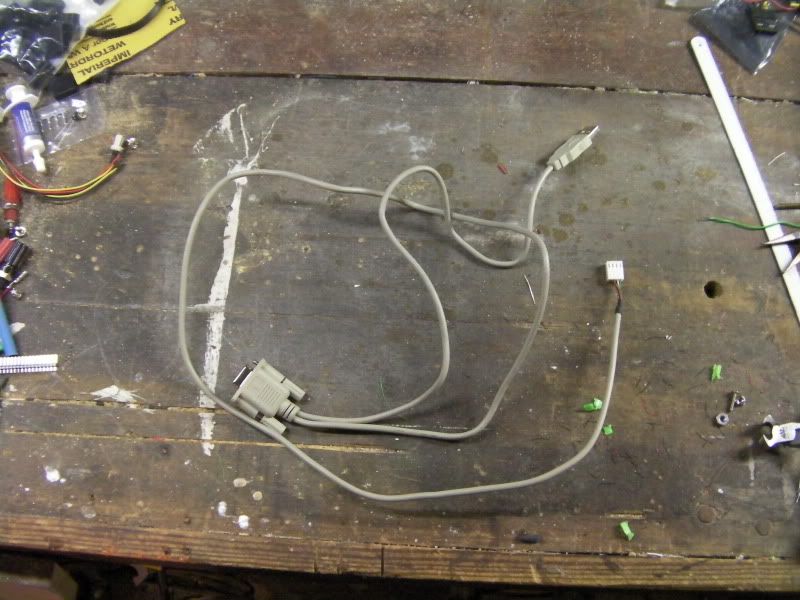
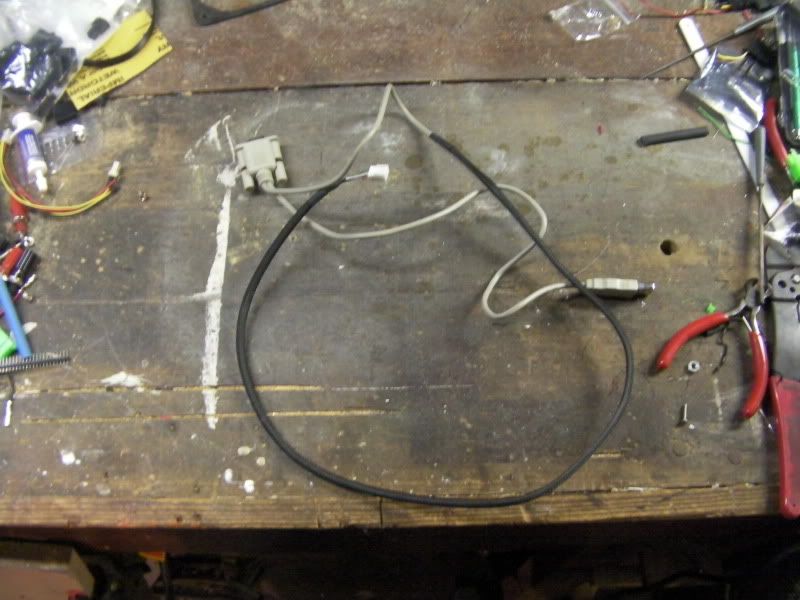
I also sleeved the cable for the LCD screen. This will run under the motherboard and out the back, and plug into a USB port (for power) and the serial port (for data) in the back.
Before:
After:
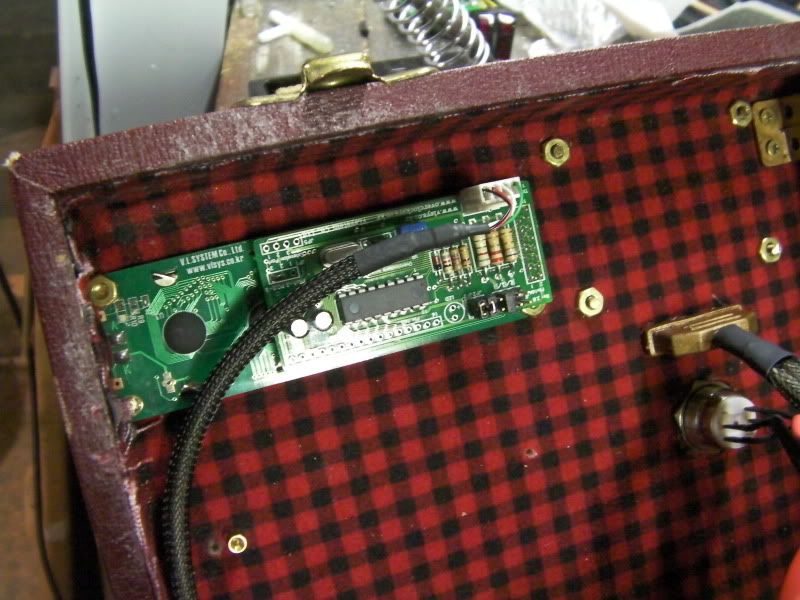
Installed:
That's it for now!
looking good sir!
Alright minor update!
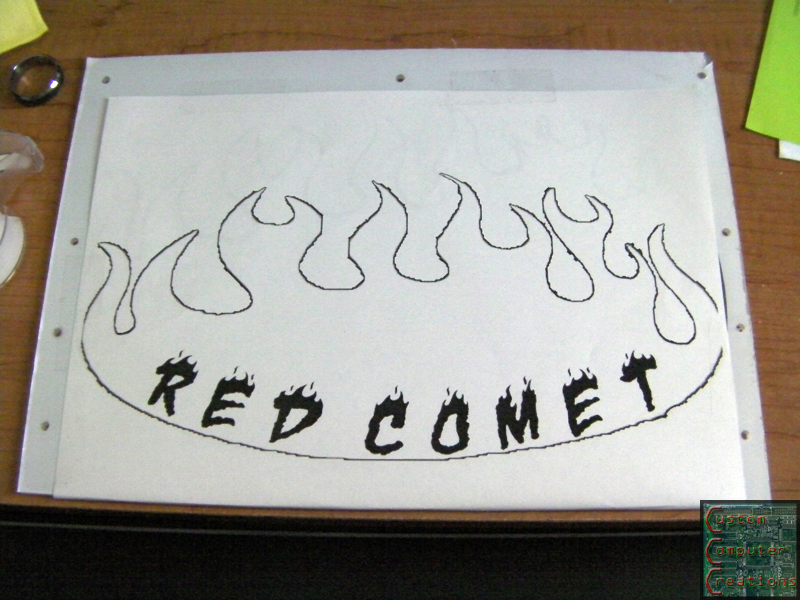
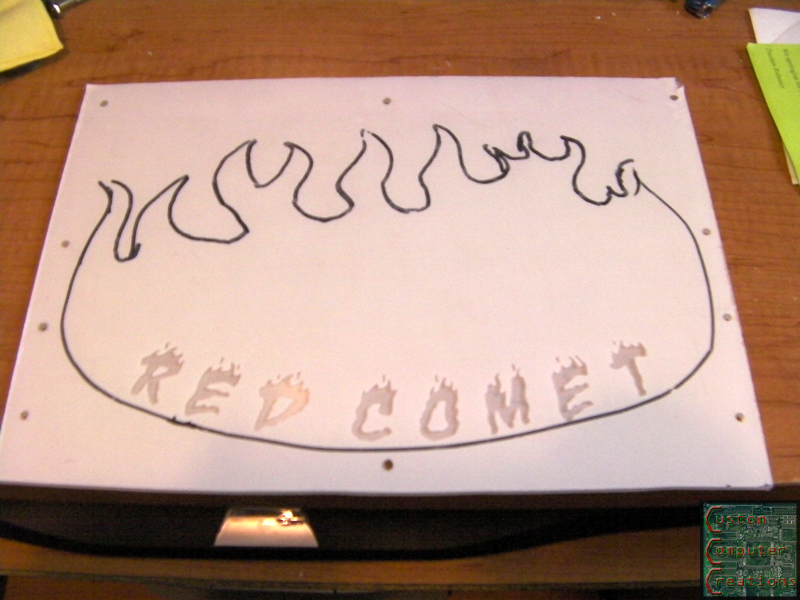
I made up some lettering in photoshop, then printed it out and taped it in place on the plexi panel.
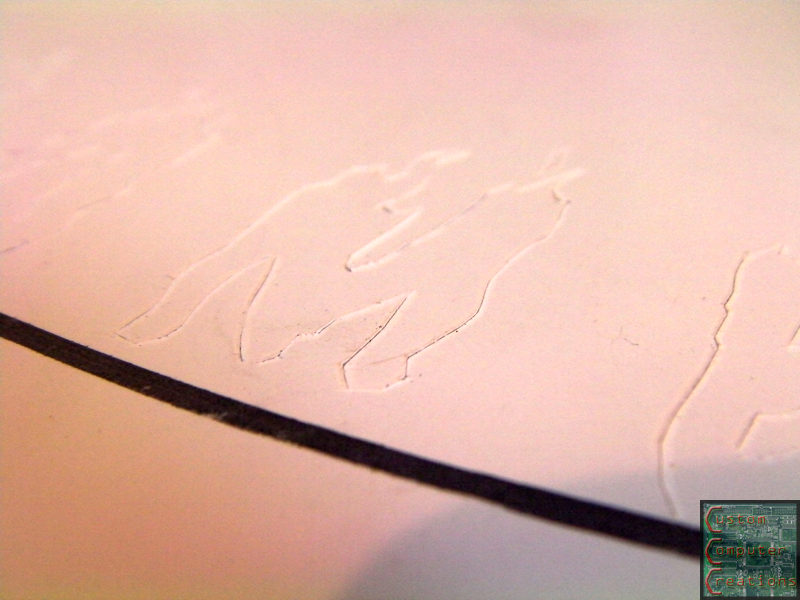
Then I (painstakingly) cut it out by hand with a razor blade, then peeled off the paper to get this:
Then I peeled out the letter pieces and got this:
I will etch this with either my Dremel (less likely) or my handheld bead blaster I got from harbor freight (more likely). I also got word that the LED FX kit is finally in stock and on it's way to me :D
Once the window is done, all that will be left is to be wire up the LEDs and it'll be done! Also, I'm not going to have the RFID reader in this only because I'm not going to be installing Windows 7 on this machine like I originally wanted to, and the RFID reader ONLY works with Windows 7. I'm trying to figure out how to hook it into Arctic Cat though :D
Update time. :D
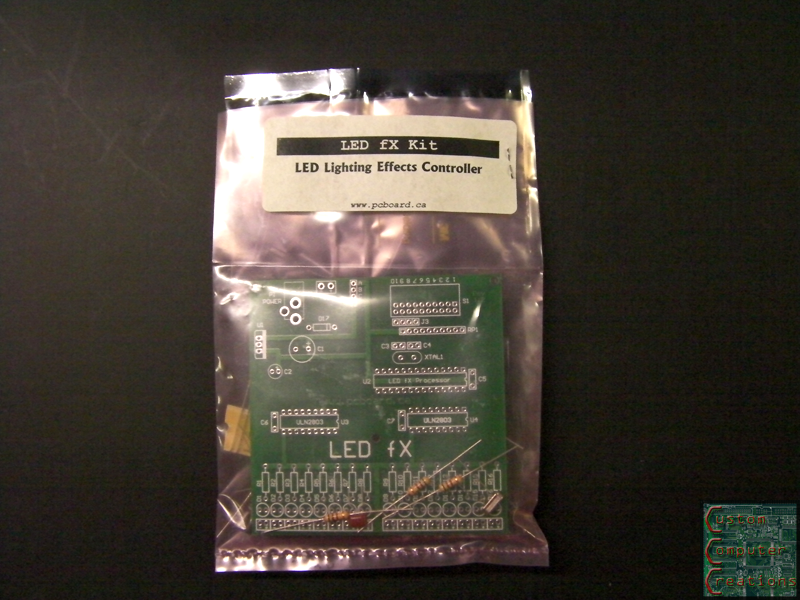
I got the LED FX kit in from John over at PCBoard.ca!
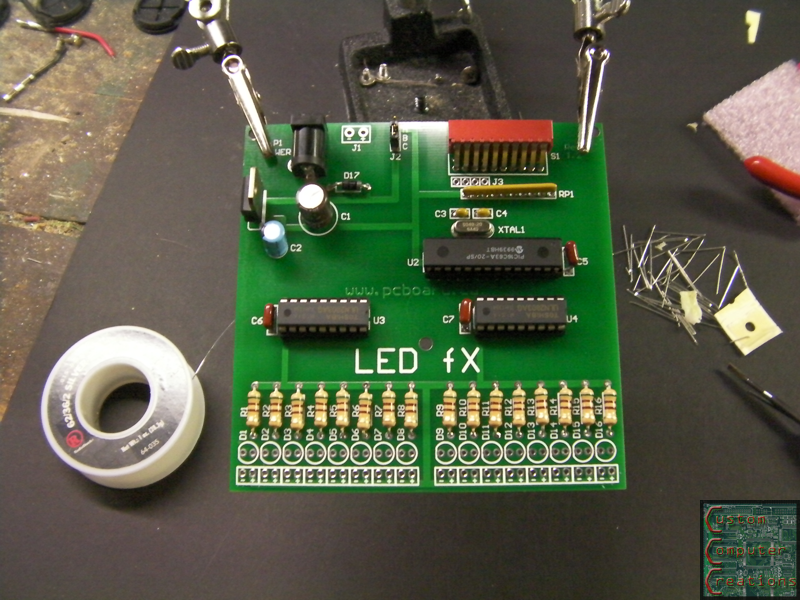
And assembled:
I can safely run 4 LEDs from each of the 16 outputs on this puppy, so I've got some options :D
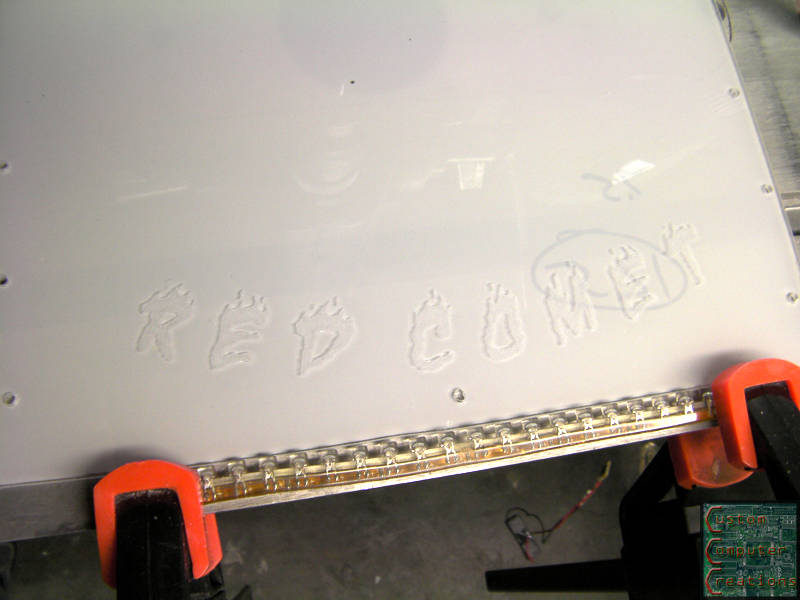
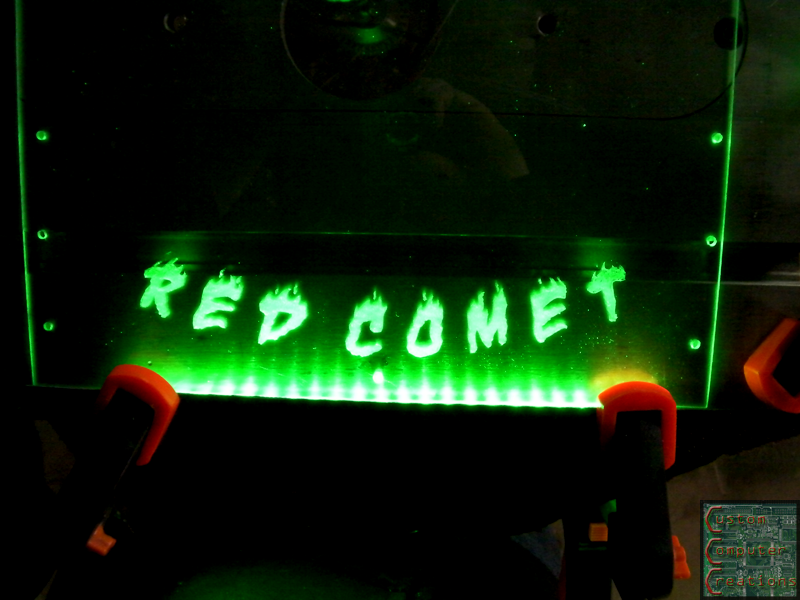
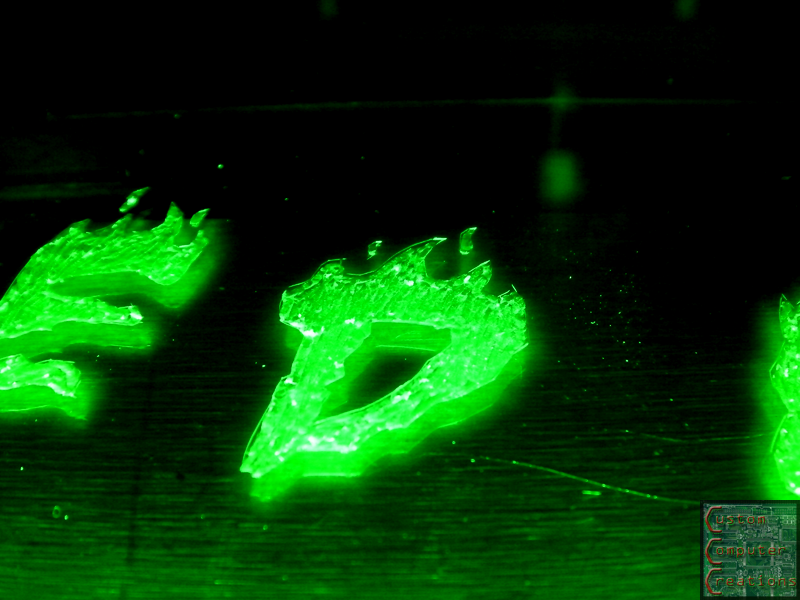
I spent an hour or so with the dremel and the VERY small ball-shaped engraving bit.
And the result. Not bad for my first time eh? The green is only for effect. It actually worked better to edge-light it like this and etch it, that way you can see your progress much easier.
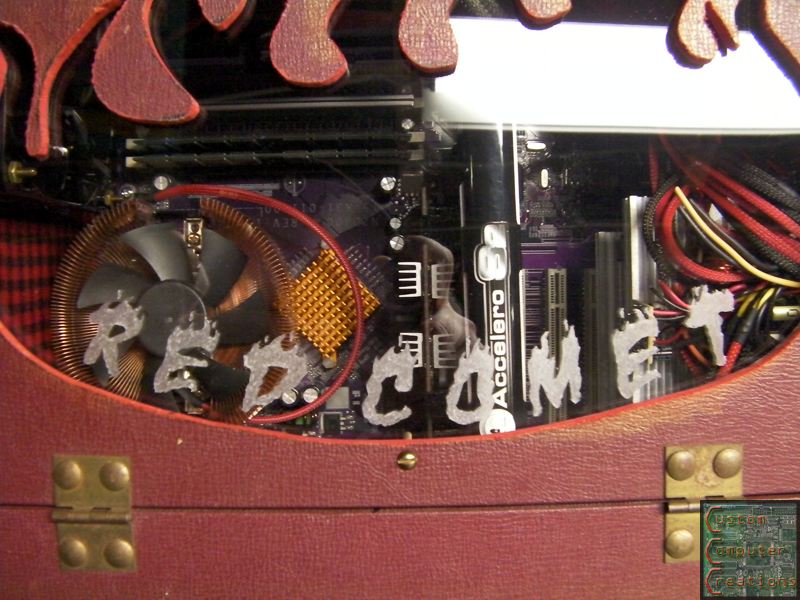
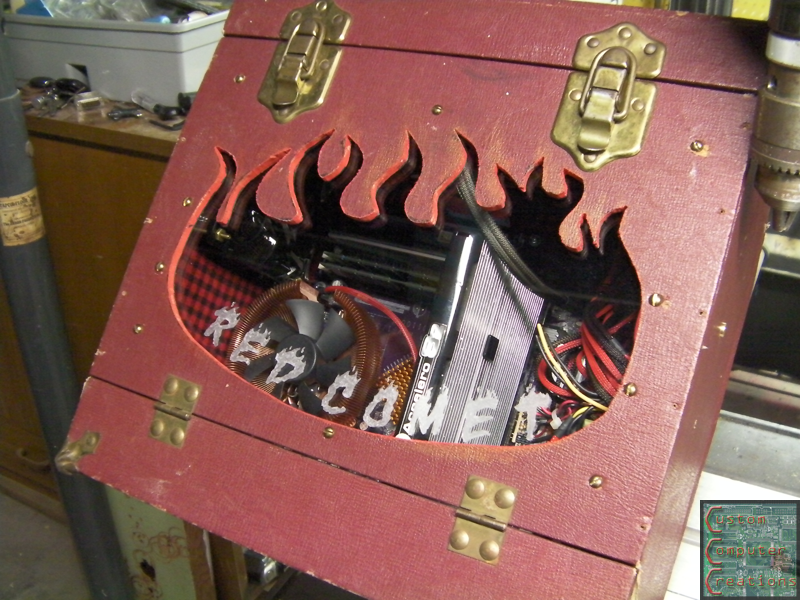
And I got the window mounted.
And a neat shot of the inside through the window :D
All that's left to do now is mount the LED FX board and wire up the LEDs! :banana:
Ooh.. now that I can see this on a monitor, it looks 10x better! I really like that close up of the lettering. The different depths really sets if off.