Dell Perc would be a great choise, its a bit troublesome to get working on some chipsets though, but you just have to try it out, works in most cases

Printable View
Dell Perc would be a great choise, its a bit troublesome to get working on some chipsets though, but you just have to try it out, works in most cases
Hoorah!
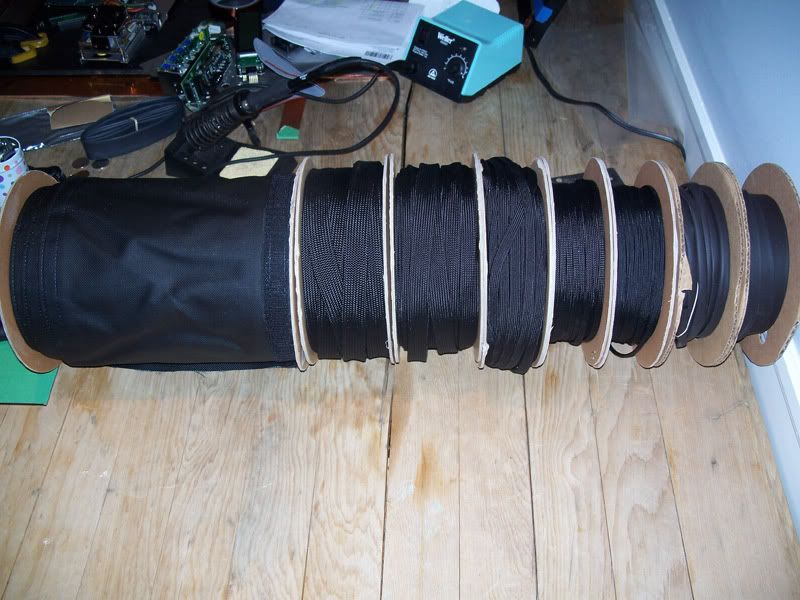
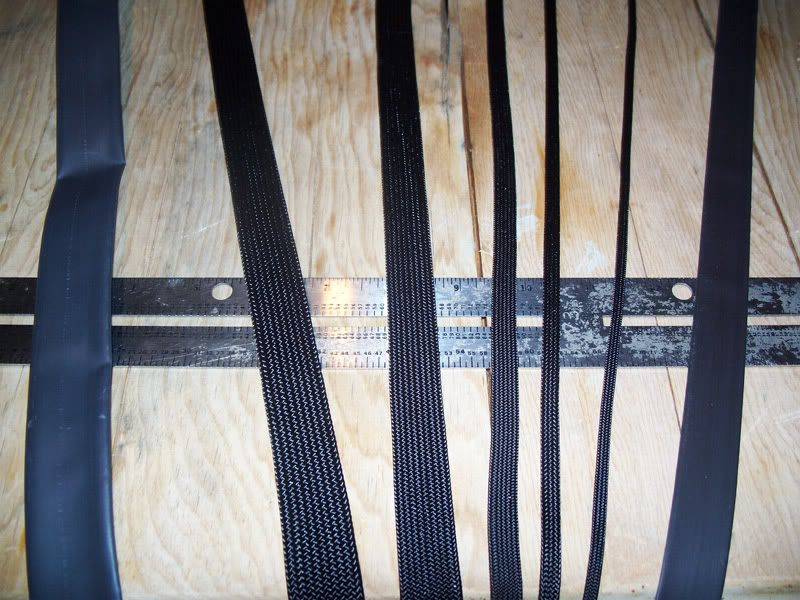
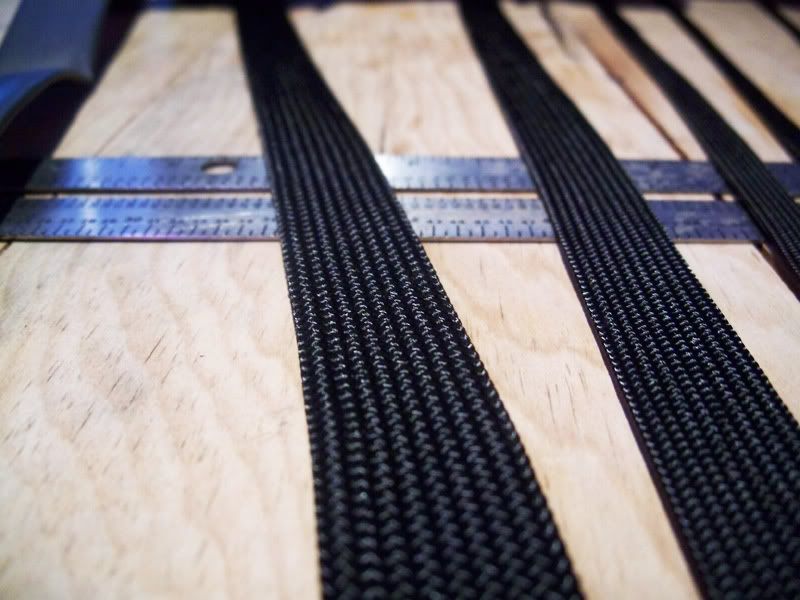
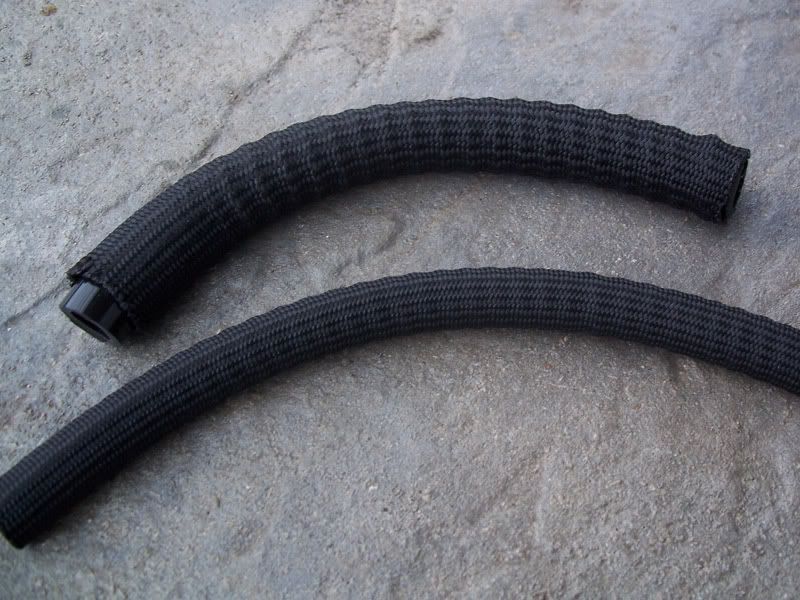
My cable/tube sleeving has arrived - finally!
I will be using Nylon Multifilament sleeving - built to military grade specifications.
The 'wire harness' coming out the back of this machine will be manages with DuraWrap sleeving - made from ballistic nylon.
Here's my order, 2.5"ID durawrap, nylon multifilament sleeving (75' - 225' spools), and 4:1 heatshrink (25' - 50' spools).
Some crappy pics showing off the goods:
The quality of this stuff is incredible... and it's very hard to cut (w/o a hot knife). I'm positive that it will definitely suit the build.
I forgot to order 1" heatshrink (but compensated by adding it to my PerformancePCs order which should be here any day) so I can't jump right in and start sleeving my tubes just yet. But I am going to start sleeving the items that I can.
Thanks for reading, more coming soon.
$500 in just heatshrink and sleeving...now THATS dedication :bowdown:
Um, yeah!Quote:
Originally Posted by SXRguyinMA
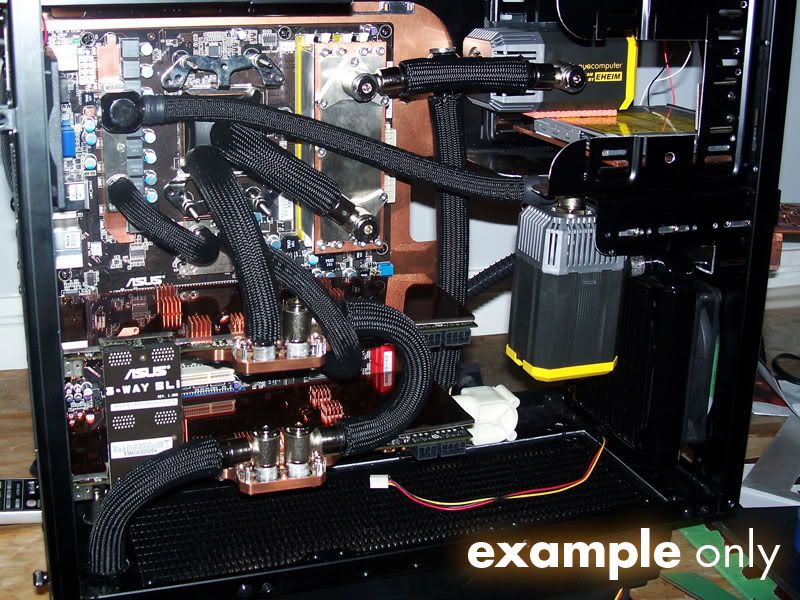
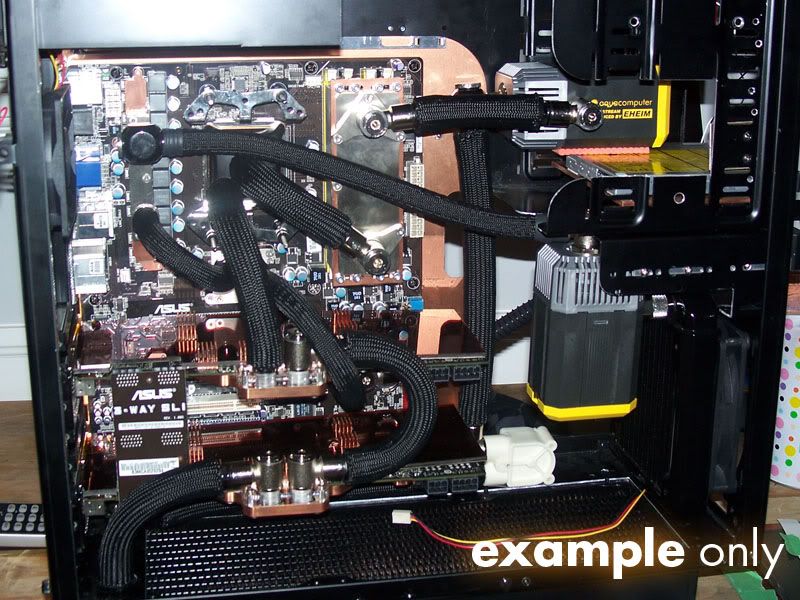
I did a couple of short sleevings tests:
I sleeved the tubing and the anti-kink coils... the sleeving WORTH EVERY PENNY in my mind. The look turned out fantastic.
-
-
I'd like to hear your opinions on the look.
Thanks
the one on the bottom in the first pic looks the best, the other has odd wrinkles in it, but looks great IMHO :up:
Please read the text.Quote:
Originally Posted by me
Wow! Looks amazing! How hard was it to sleeve over the coils? Will longer pieces be problematic? Any snagging concerns? Can't wait to see it in place.
my bad :neutral:Quote:
Originally Posted by Langer
I must admit, that sleaving is the bomb! However, are the anti kink coils absolutly necessary? They do make it look bumpy. Have you tried to see what it would look like with the Coil on the outside of the sleaving? Maybe the coils could be a different accent color? Copper maybe?
Just a suggestion. :)
@Mach Thanks a lot, as always. It was actually a lot easier to sleeve the coil than the bare tube. The coil acted like a screw, and let me just twist the sleeving into place nice and tight. To prevent the coil from snagging I bent the end into a U shape and put the end inside the tube.
@ SXRguyinMA - np mate.
@rendermandan - I will be using the coil for the smaller tube, and I agree about the larger. Earlier today I ordered a length of solid copper tubing 1"OD - 3/4"ID. I will be throwing it onto the lathe and making a bunch of "rings" 15/16"OD - 7/8"ID - 1/4"Long - I'll place these rings strategically along the tube for the larger runs where kinking occurs.
if you need copper tube let me know, my dad installs heating systems, so I've got TONS of it laying around :up:
Cool idea mate. I have seen it done before with great success. I tried it with some plastic sleeve I had laying around and couldn't get the right effect.
Here is a link to a project that uses the same method of tube sleeving, looks very cool:
http://www.million-dollar-pc.com/sys...rderbox-fc.htm
That sleeving looks great. That's the same kind of stuff I used to sleeve hydraulic hoses with. If you are trying to sleeve a long hose, as in anything over 1.5 feet, you'll want the coil on there to make the sleeve go on easier. I think that will look amazing in there with all of the copper. +rep for so many reasons
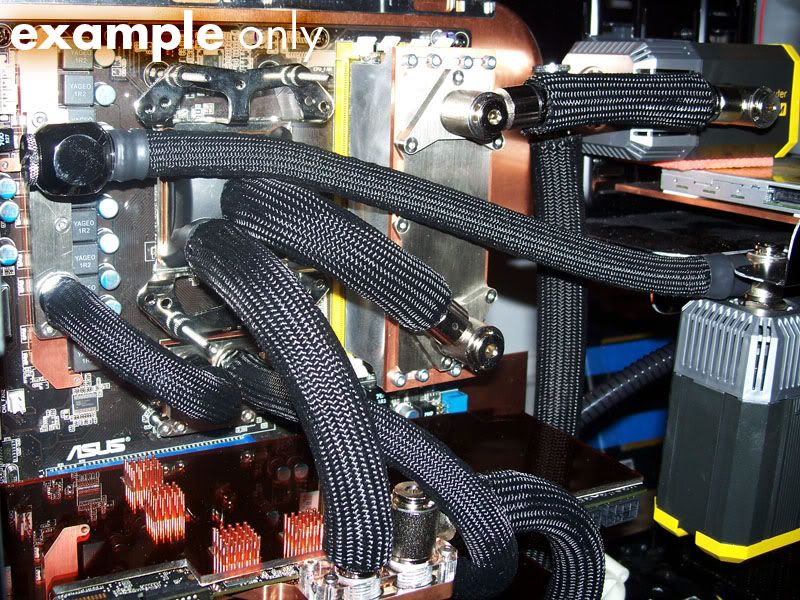
I decided to do some test sleeving (after all I have a couple extra feet of sleeving).
Still missing the heatshrink, 'tidyness', clamps, and copper antikink rings.
That is simply amazing. I can't wait to see it with the heat shrink on it.
Ahh that's what I'm talking about. Beautiful! Add copper rings to that, wow, just wow!
where did that pico-ATX board go?
Even though that's an example you got a very nice effect. Great job.
Thanks fella's.
The pico-ITX is on my desk, I was installing the copper RAM sinks on it.
Thanks guys.
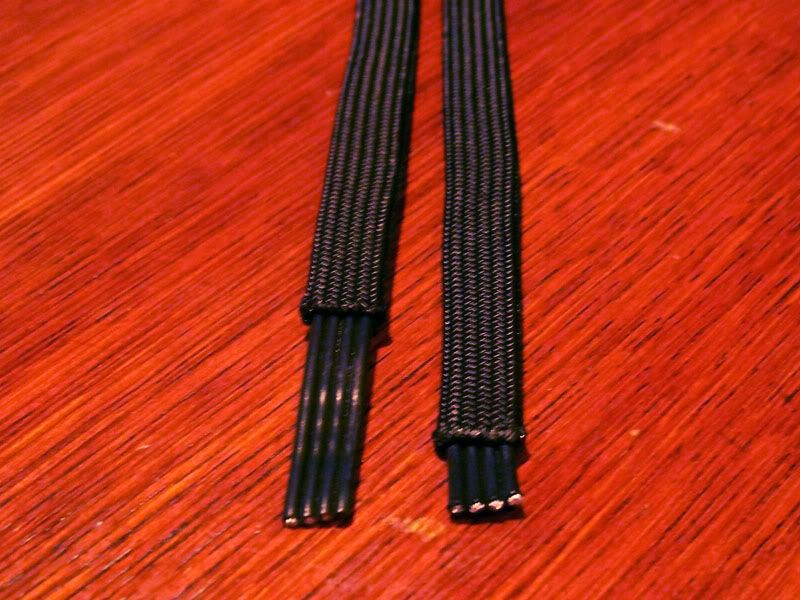
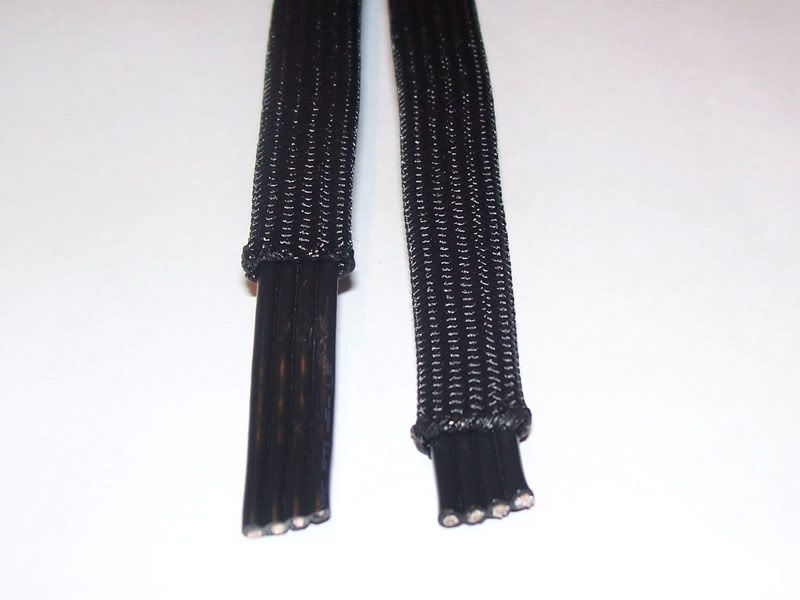
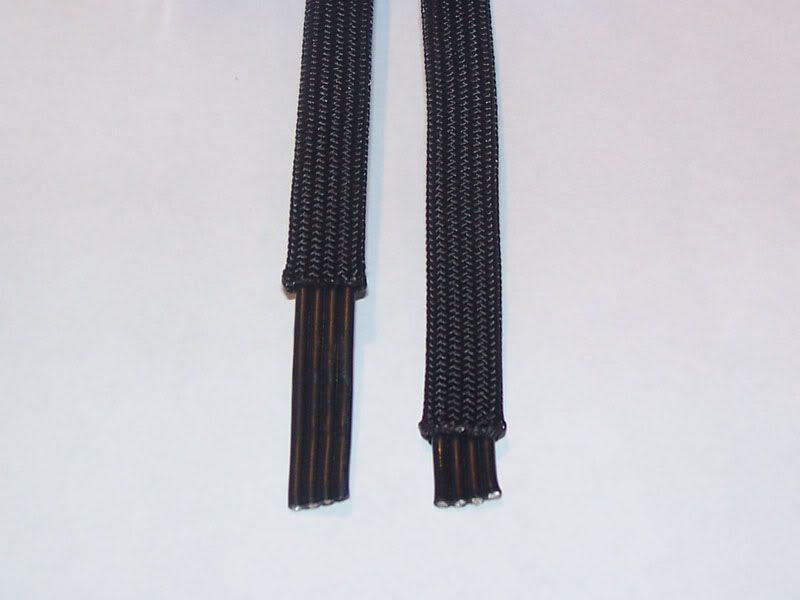
I did a quick sleeve job on a test cable. This 4conductor ribbon is a very tight fit inside the 1/4" sleeve.
It is a tight fit but looks damn good ;).
so nice... omg well done
Man, looks absolutely amazing.
Liked the big Example Only on the pics lol
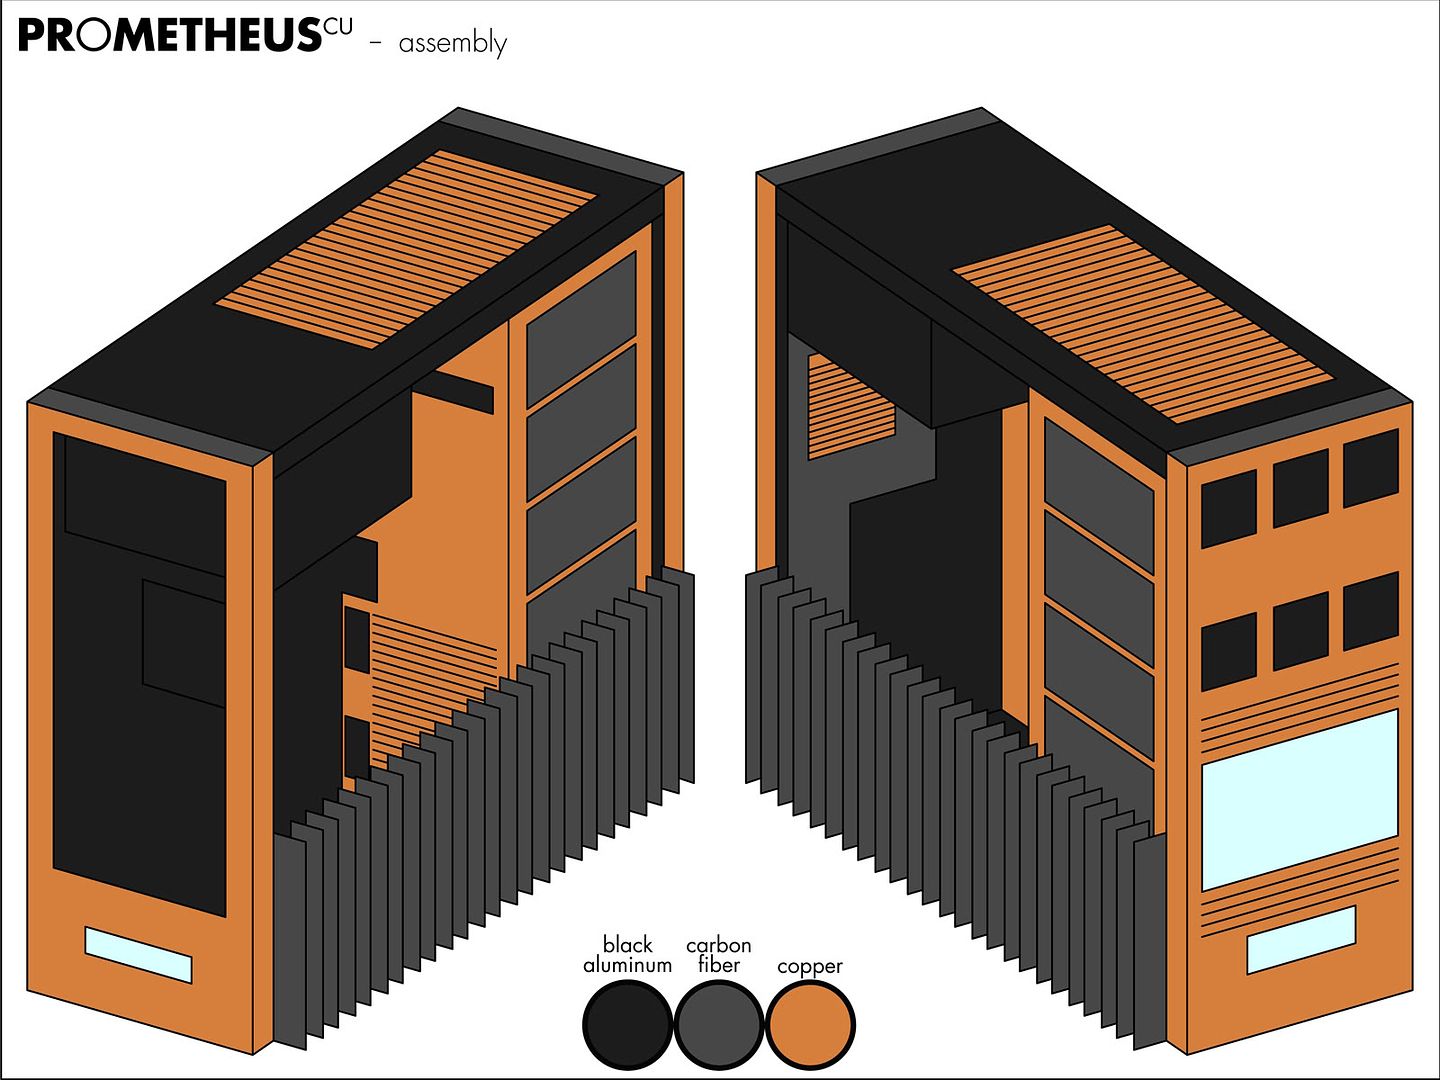
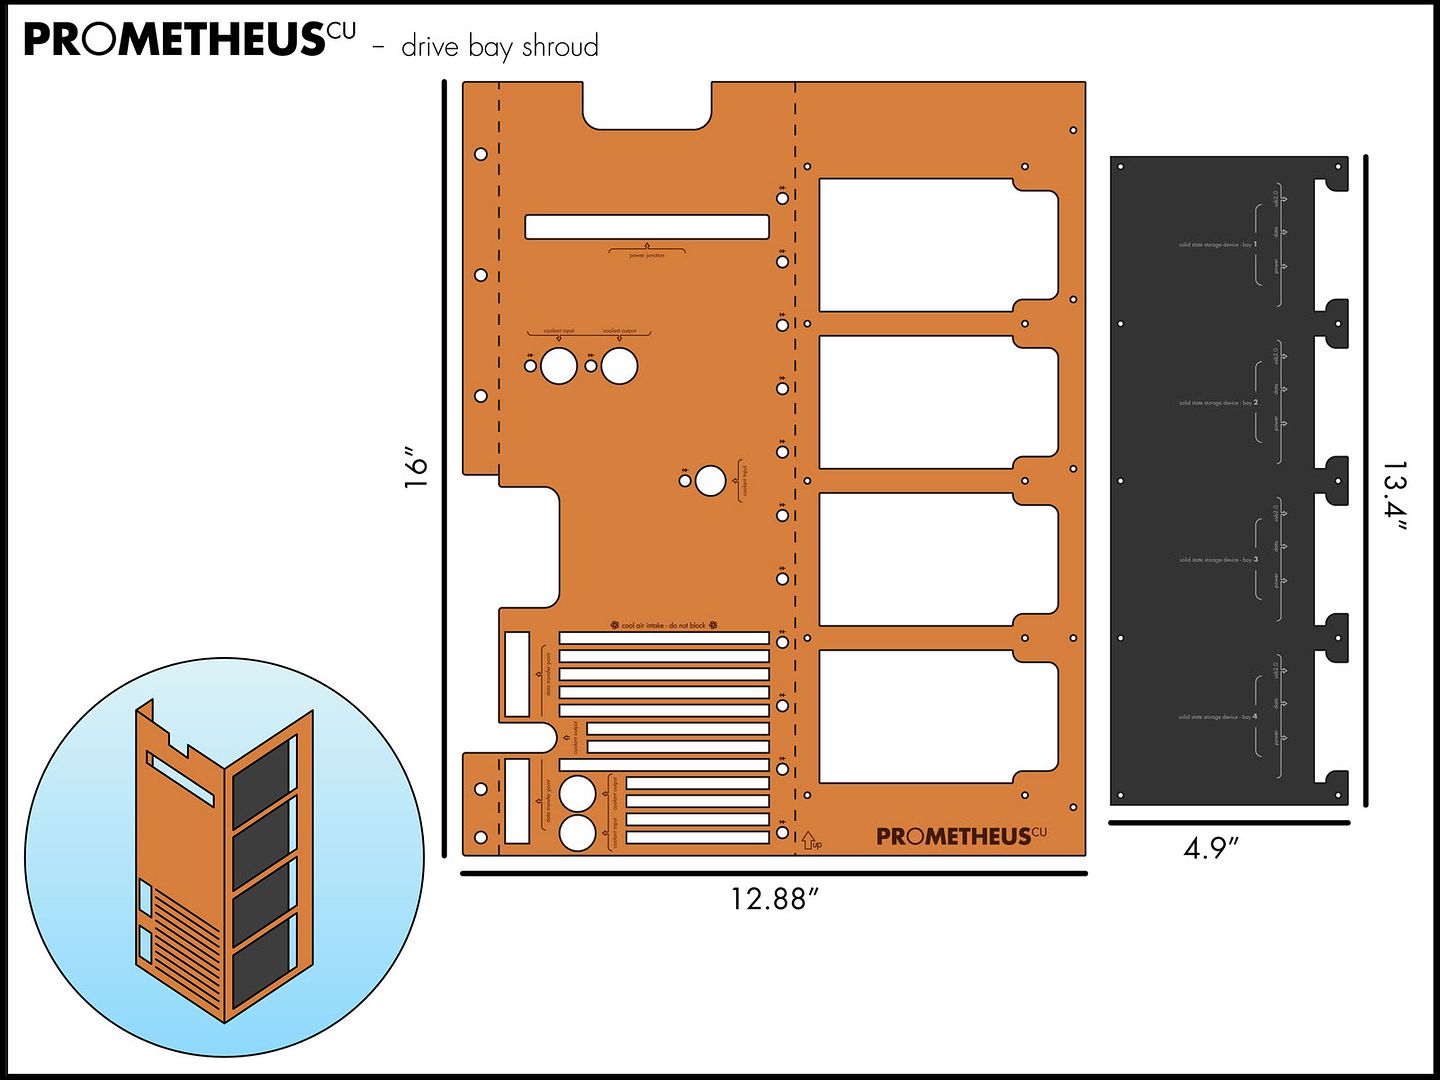
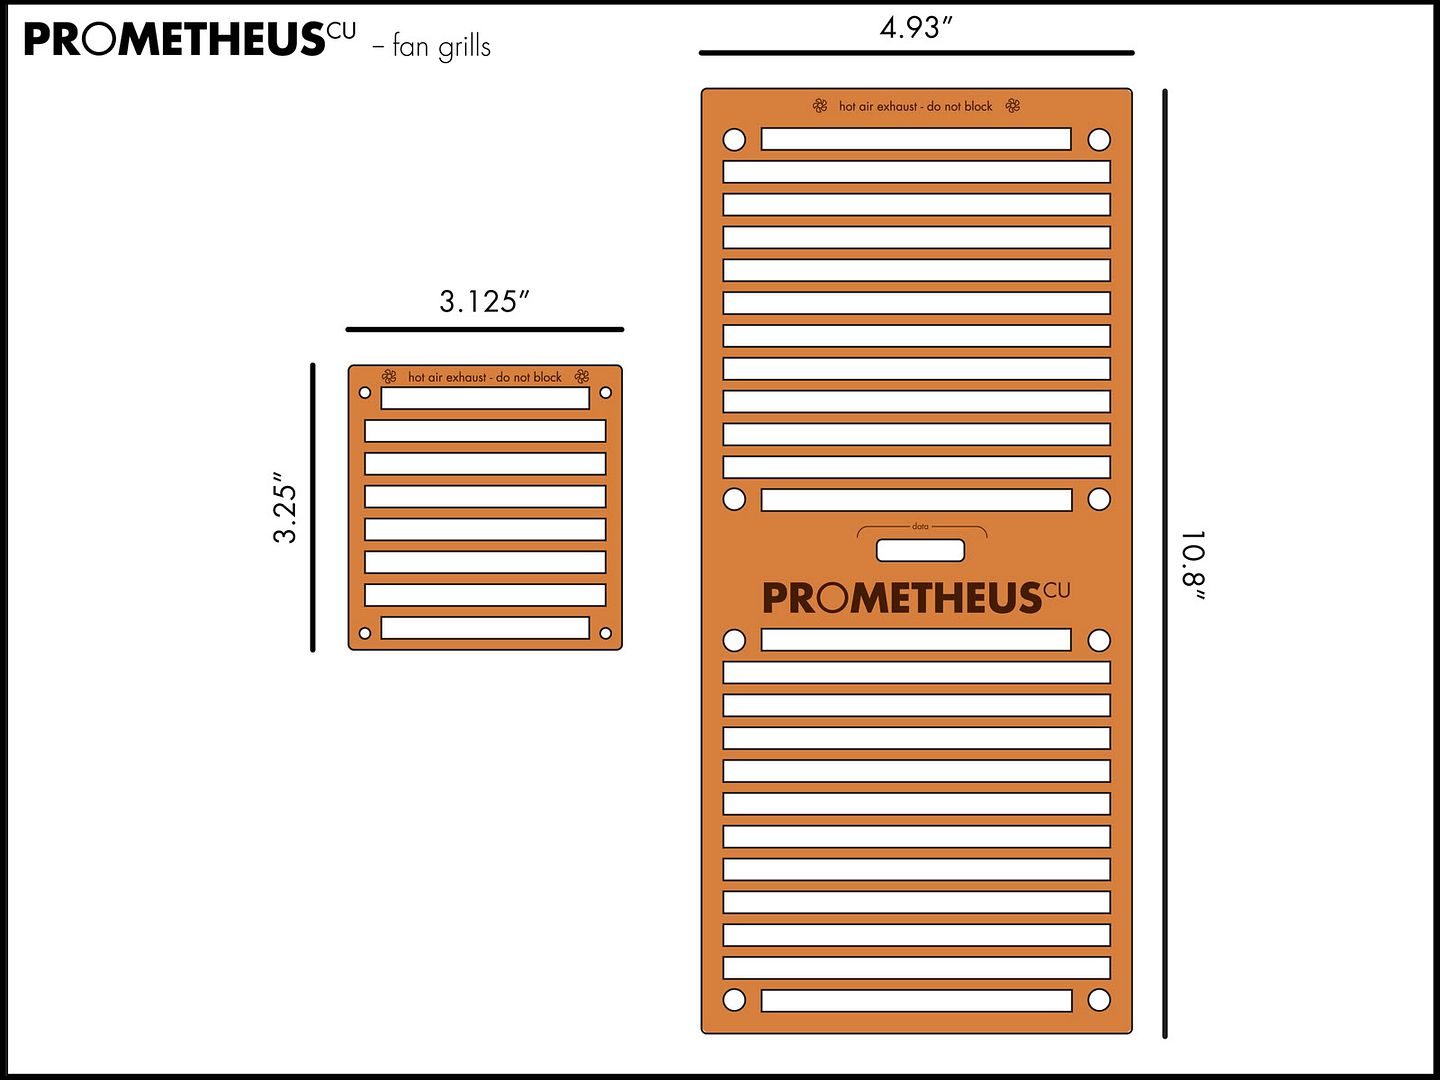
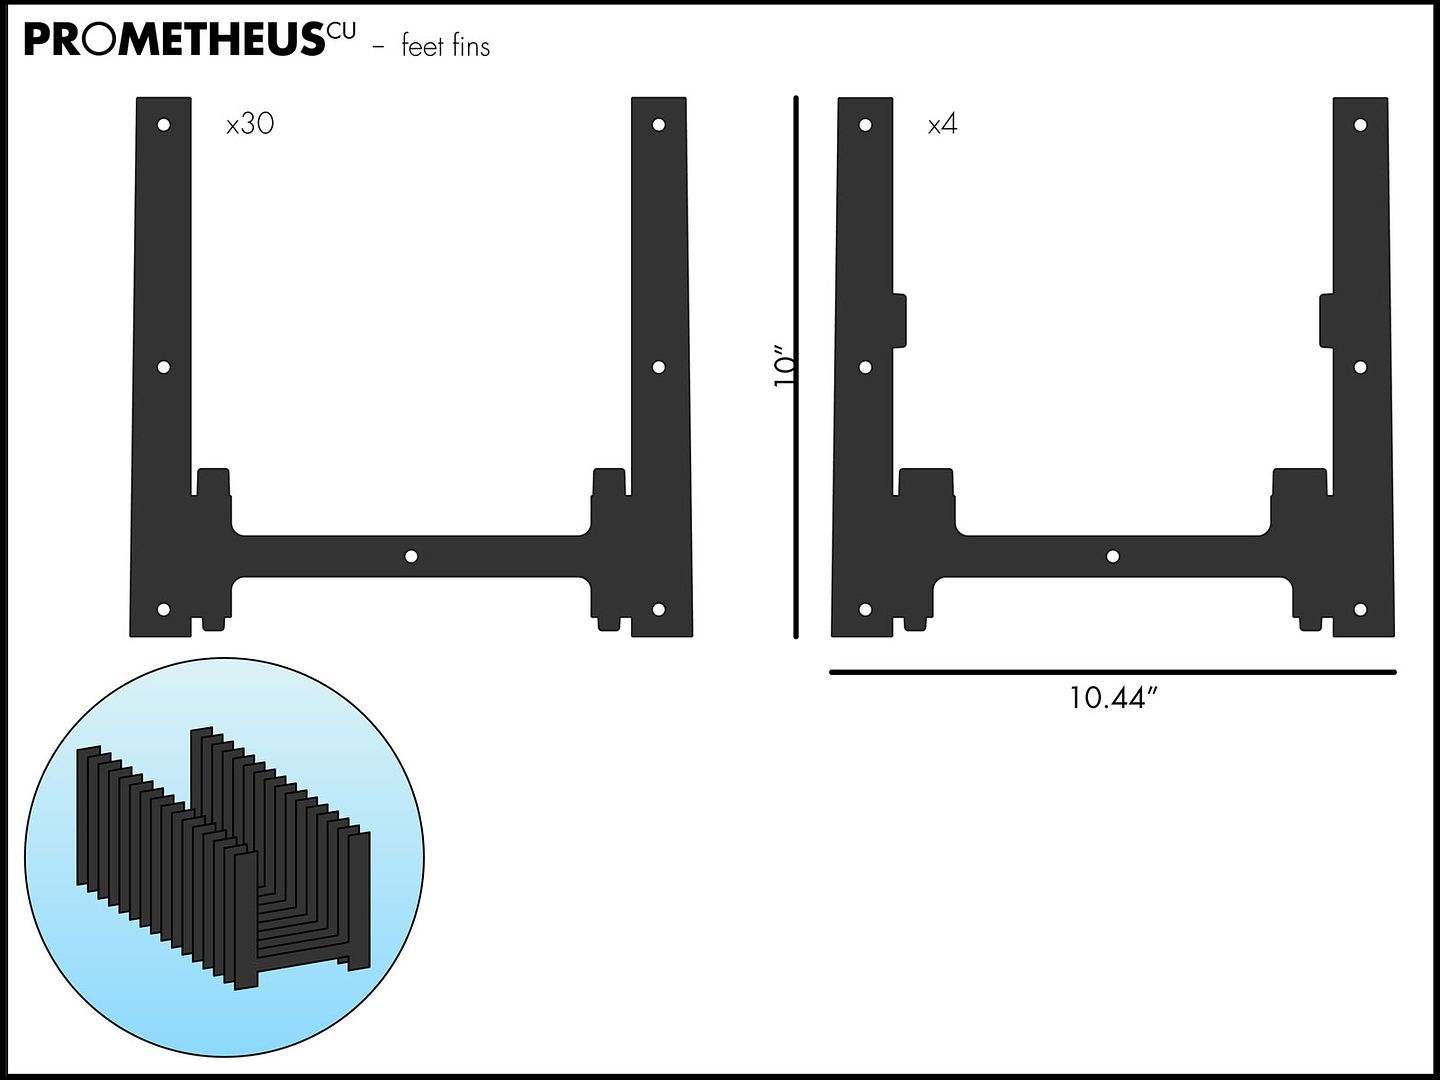
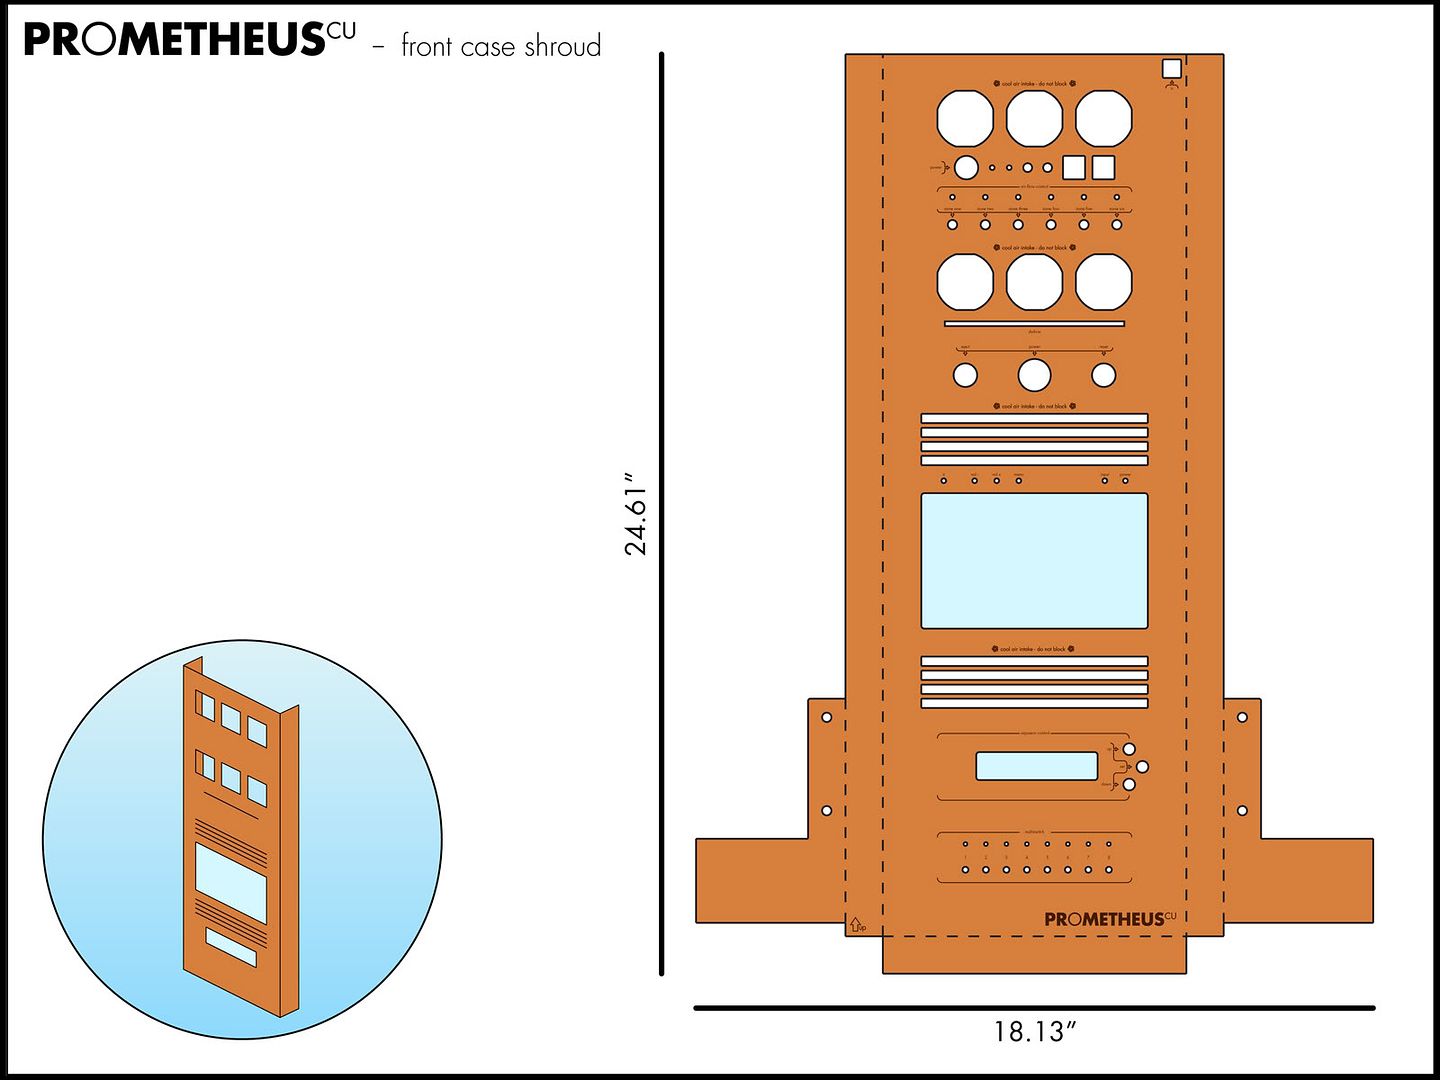
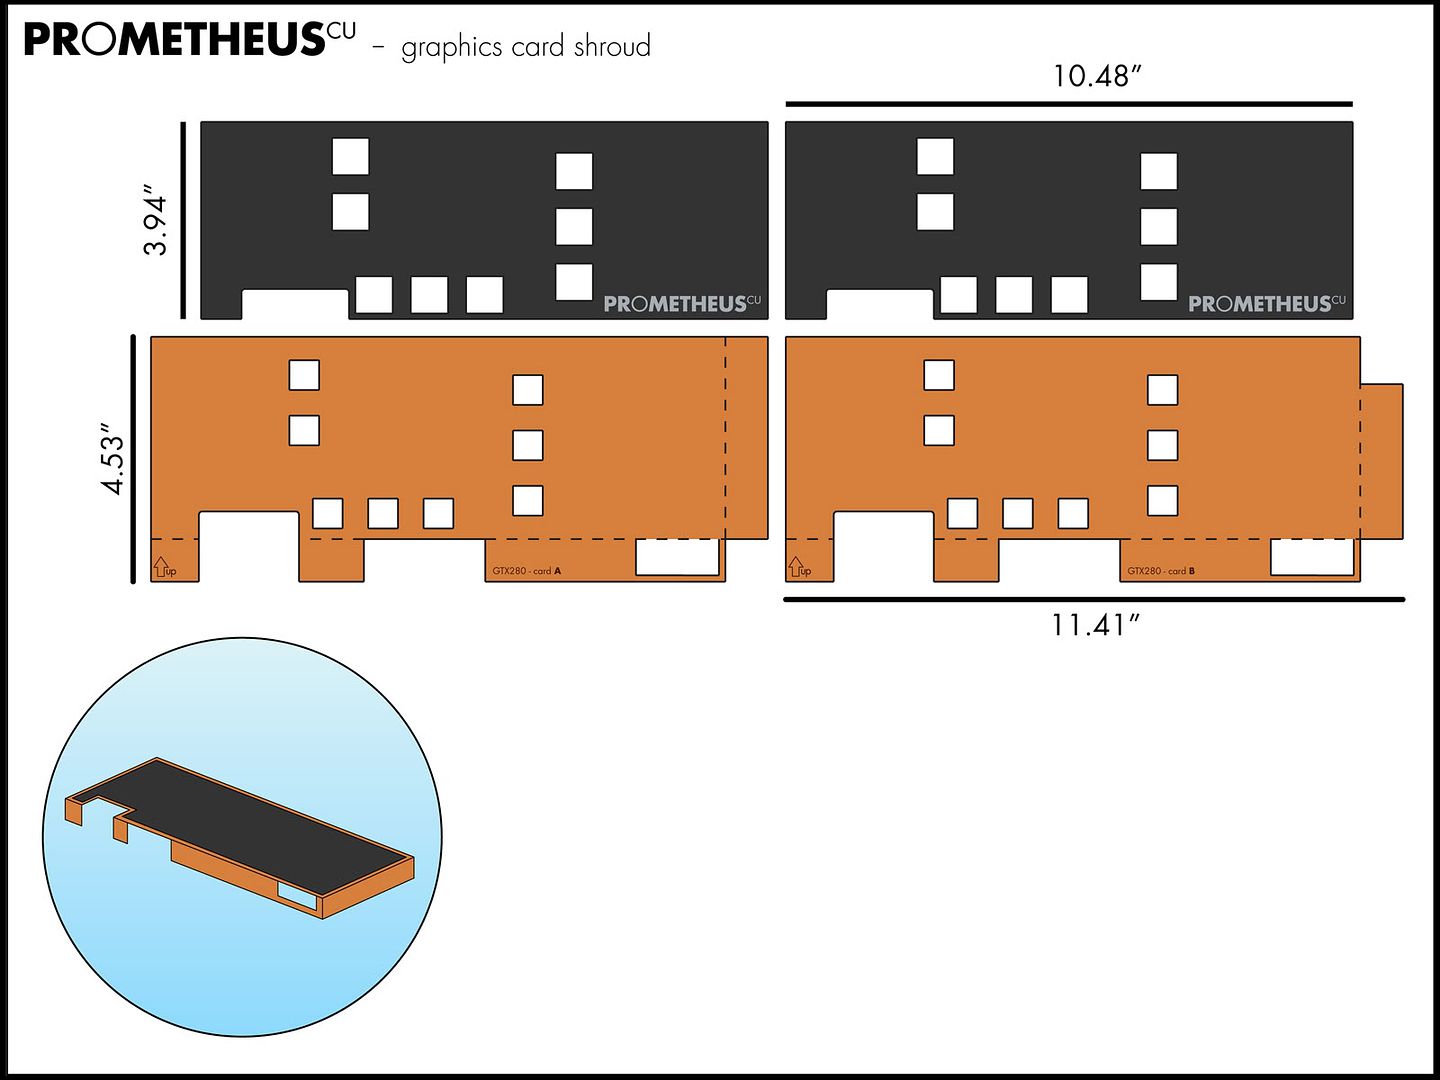
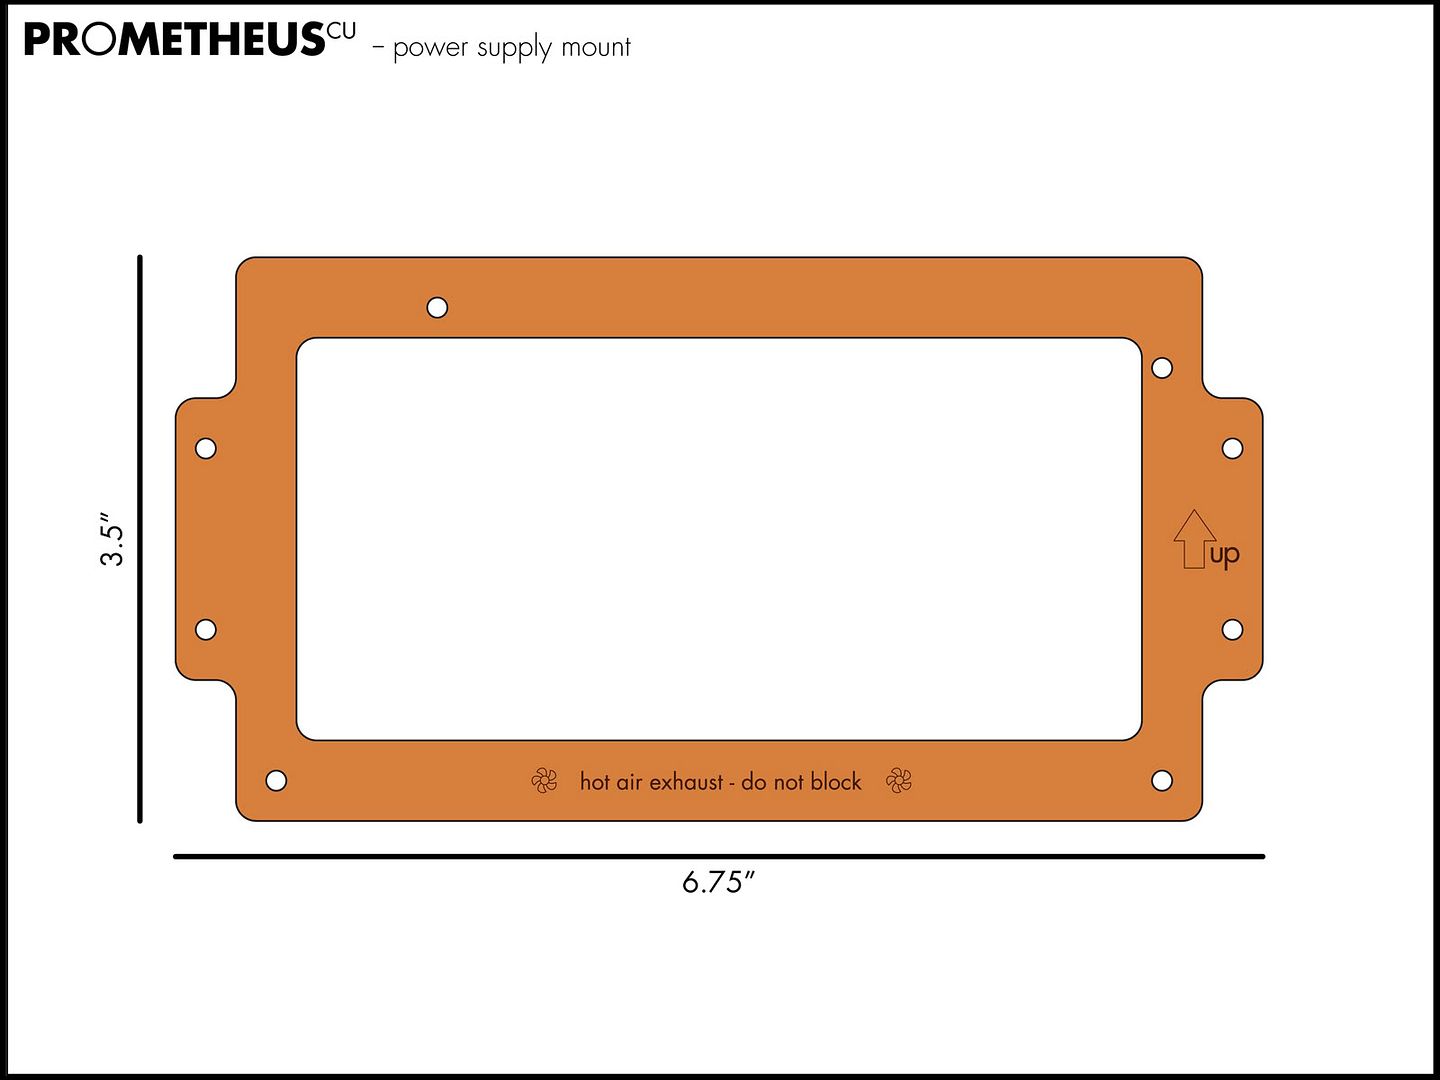
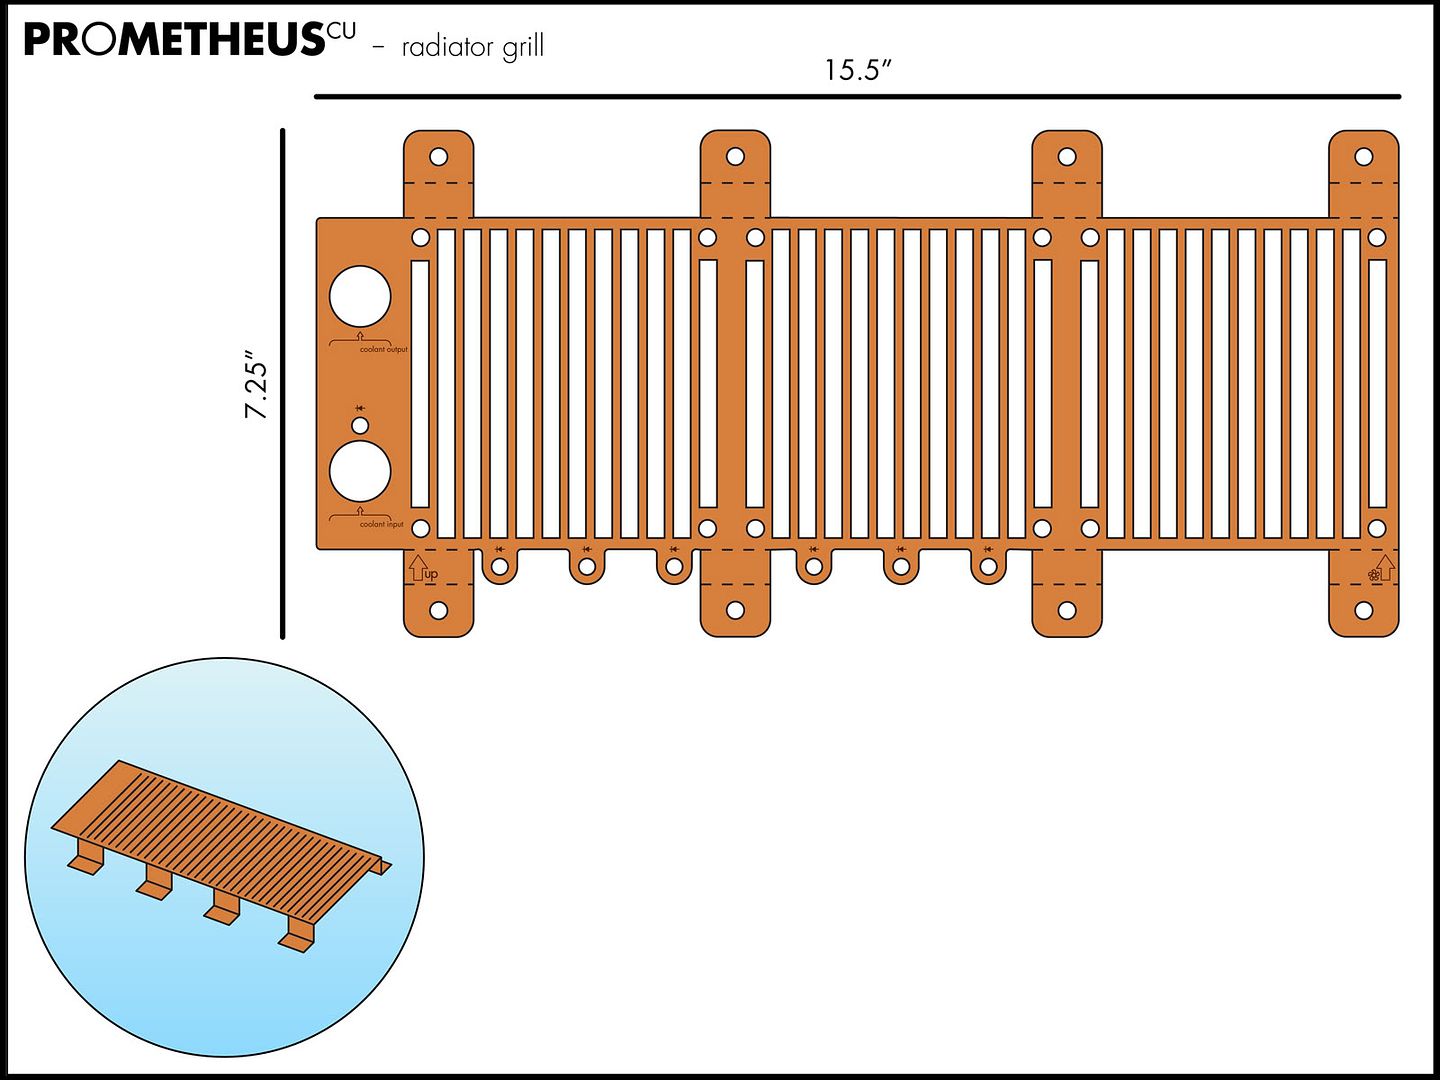
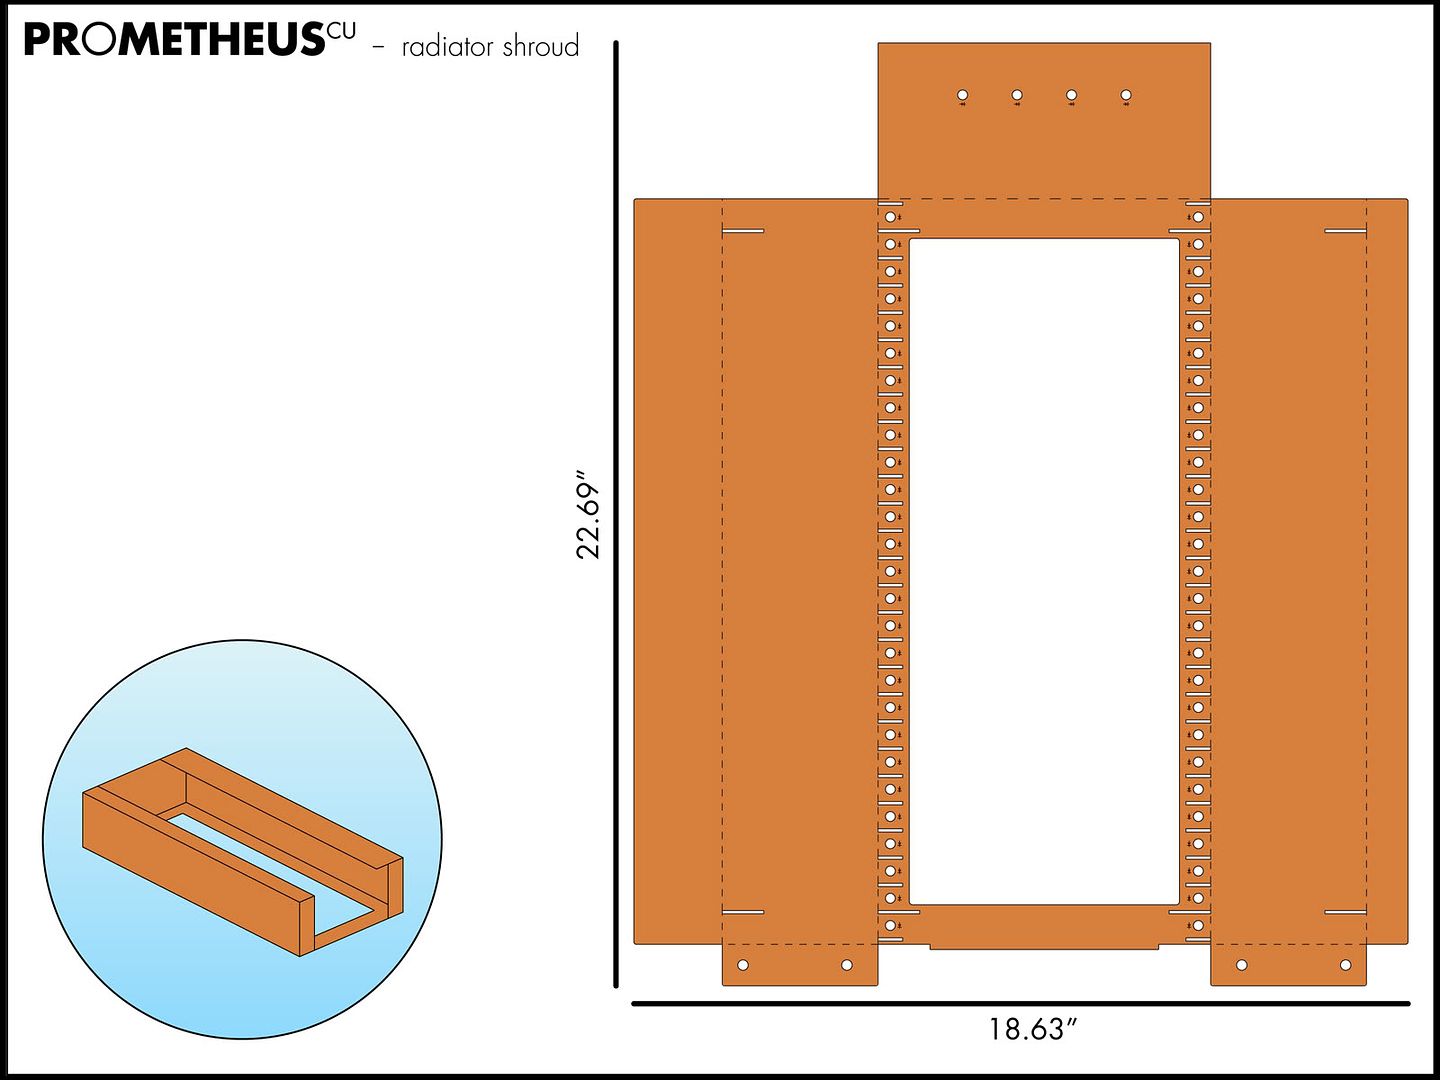
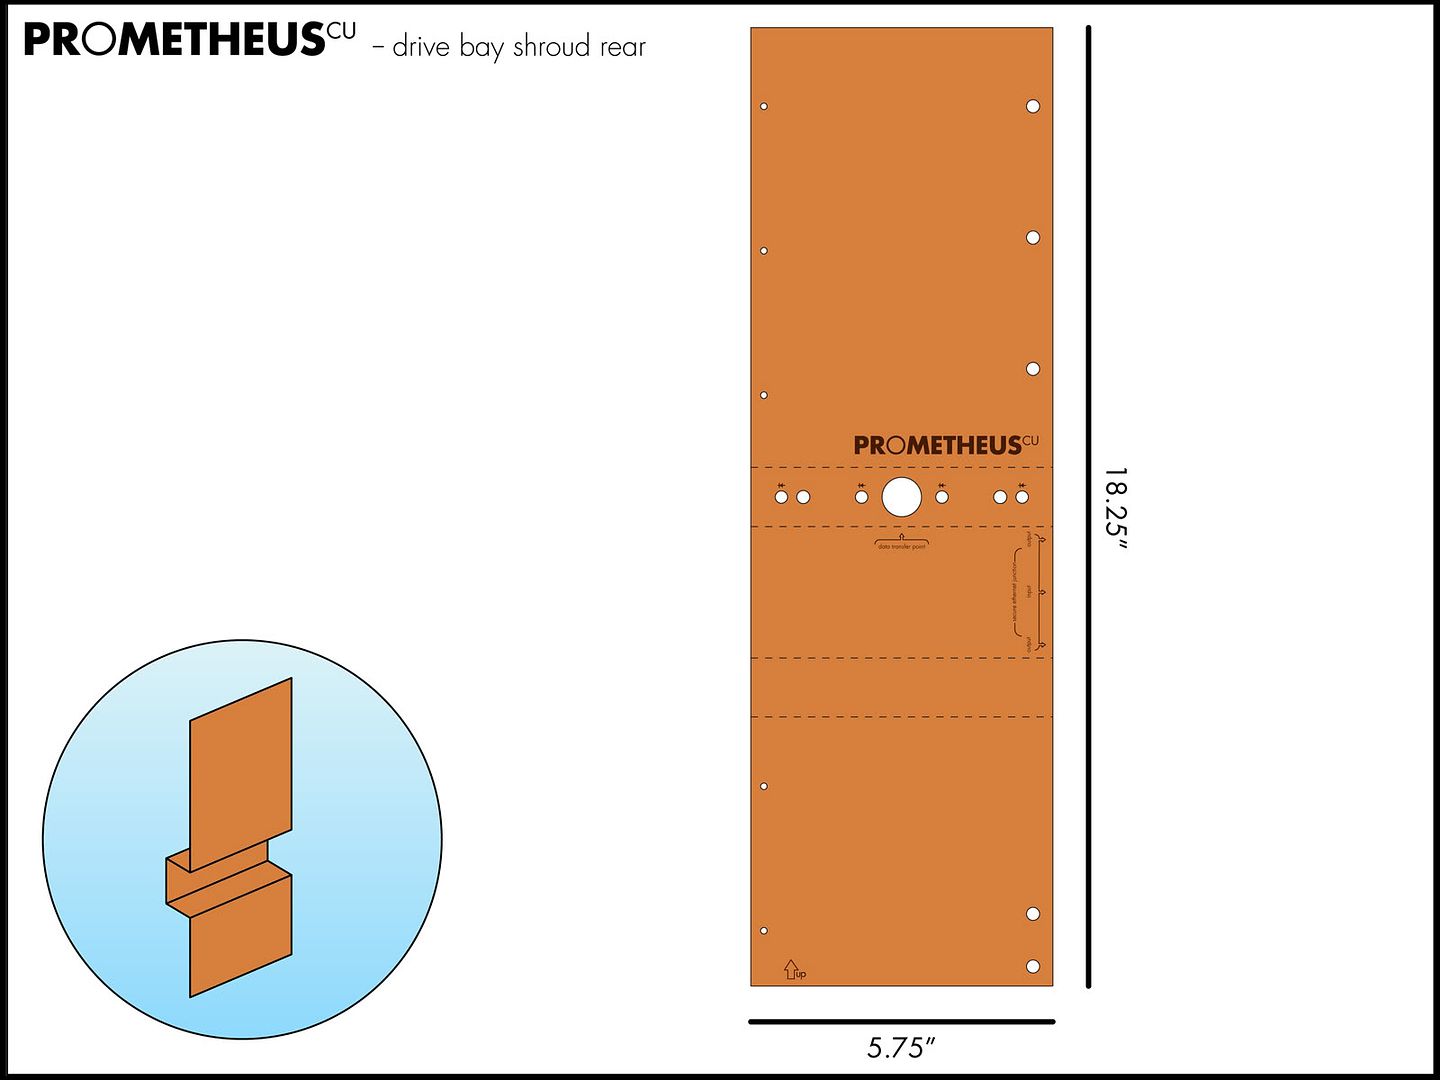
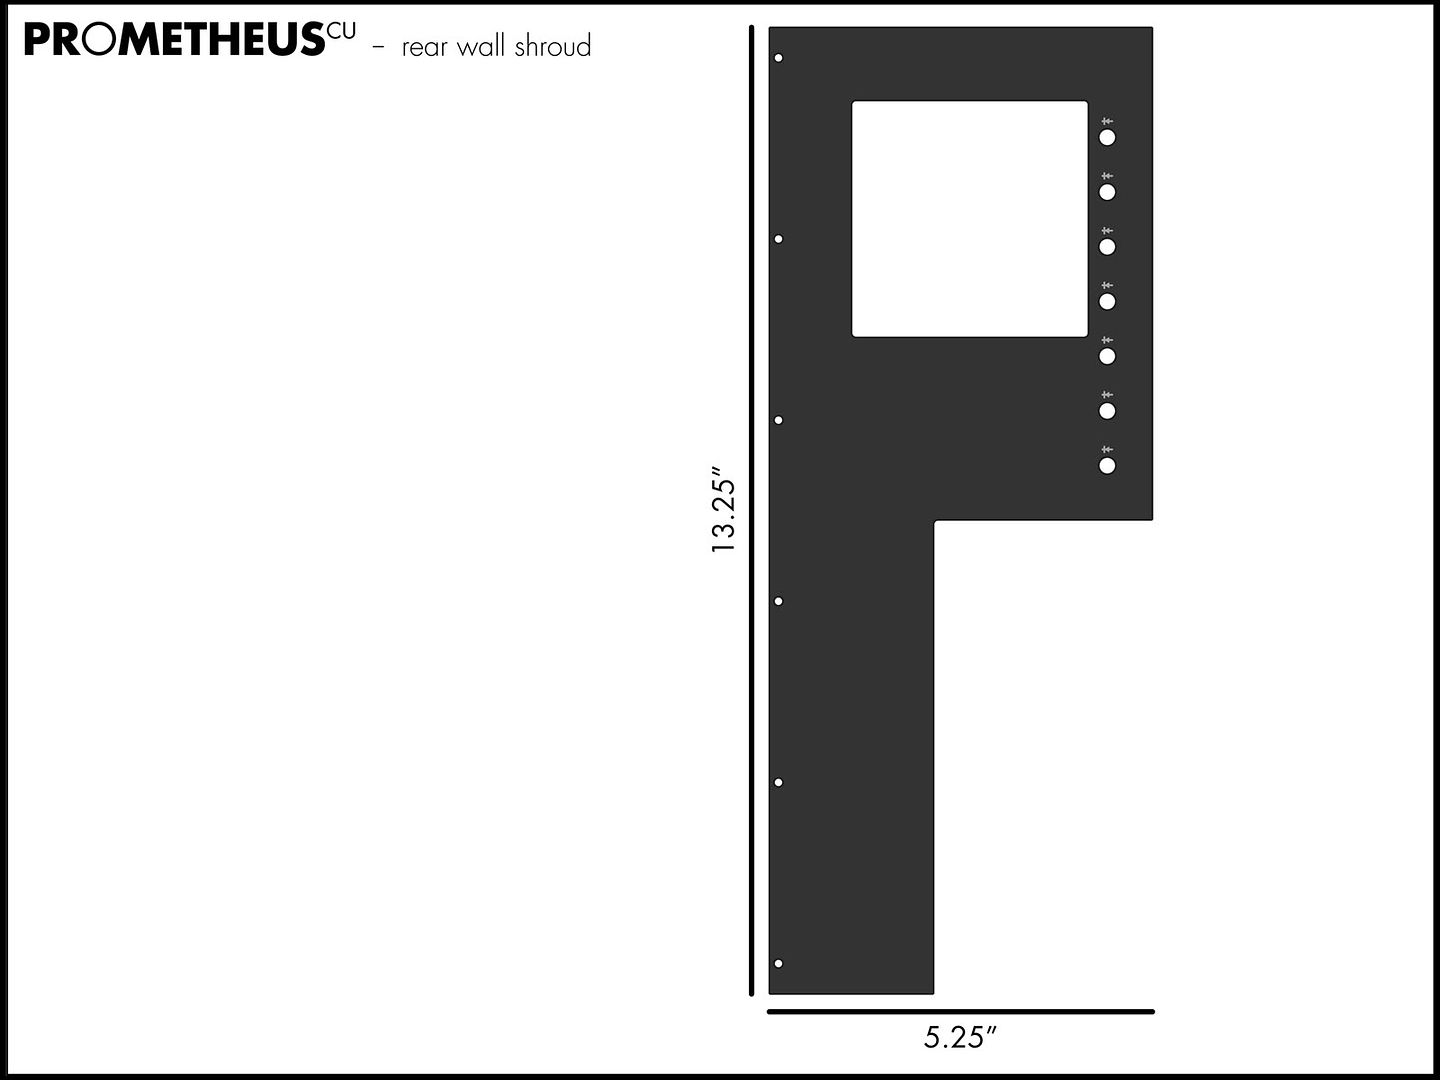
I get the feeling across my worklogs that some people don't understand that the majority of this case will be shrouded in laser etched, waterjet cut, copper plate.
I've taken the liberty of colouring my part diagrams, and illustrating what they will look like after bending, and assembly.
I hope this helps some of you visualize the final product.
Orange = Copper
Grey = Carbon Fiber
*click for big*
I hope that helps. =)
Thanks for reading.
this things going to look amazing :bowdown:
Quick update:
I WANT THESE!
evil-98 from XtremeSystems is making them... I'm not sure about availability just yet. I can't wait to hear back from him.
here is his thread at XS
wow, those are sexy as hell!!!!
yes indeed, especially all the tasty colors...mmmm....
As I have always said and will continue to say this is gonna be bloody awesome upon completion. BTW, very sexy clamps.
i just read the whole thing and I have only one word.
sex
lol nice renders man... wanna make some for me lol.... i cant make em for peanuts..
great work
that's just sick stuff dude. can't wait to see the whole thing done.
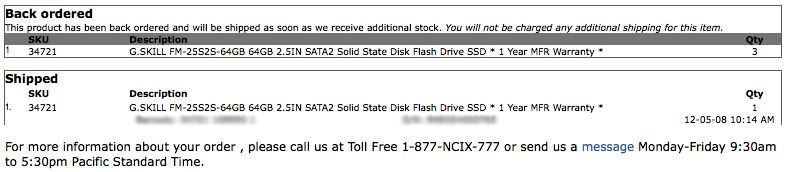
Unfortunately:
NCIX wont be getting the others until the end of the week at the soonest... and I'm pissed off.
-
However the one drive has arrived, and so has my Massive Performance-PCs order
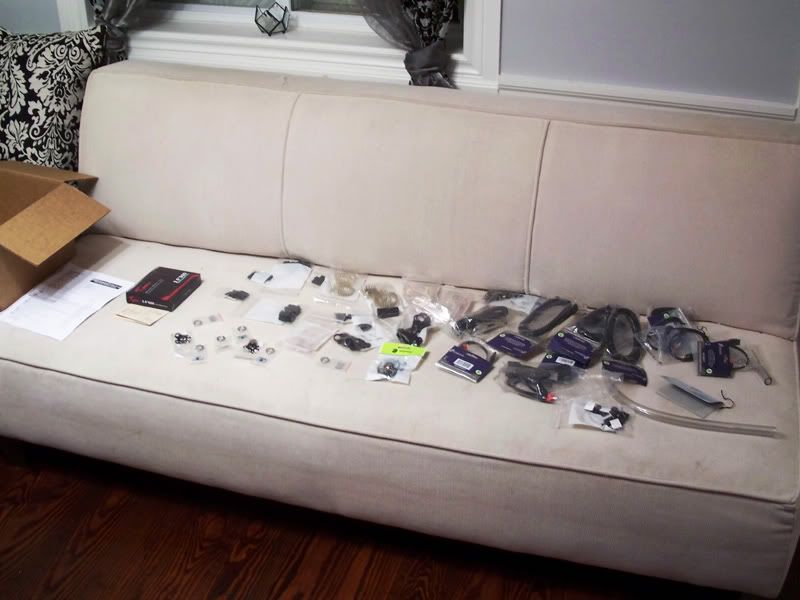
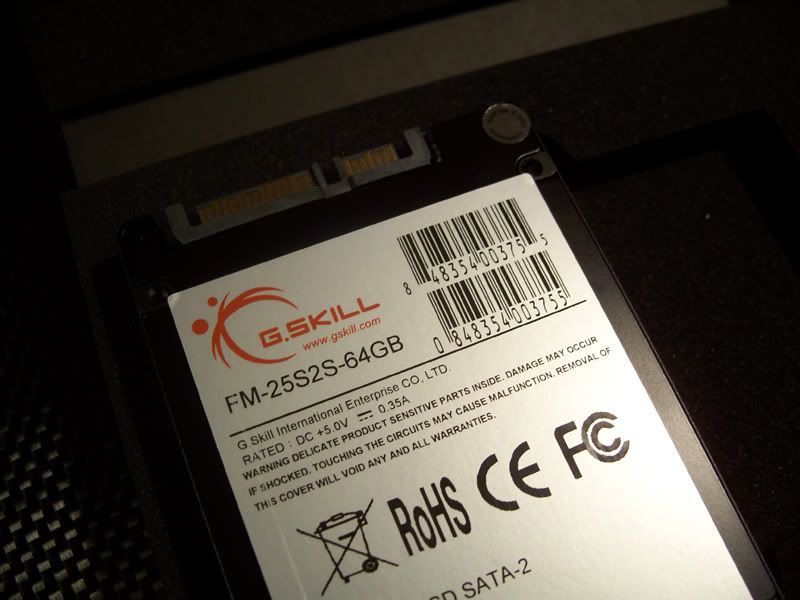
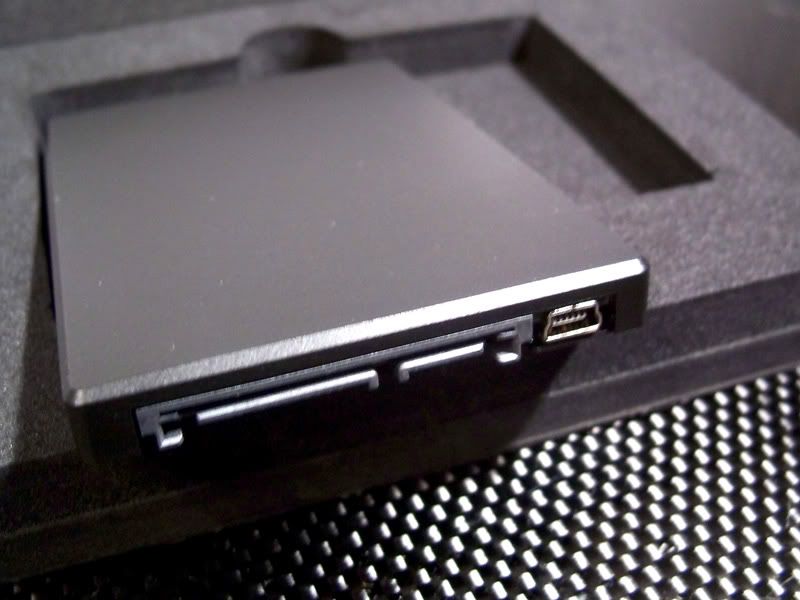
The parcels arrived today and I'm ecstatic... but I only got one pic taken before my camera died on me.
In the photo:
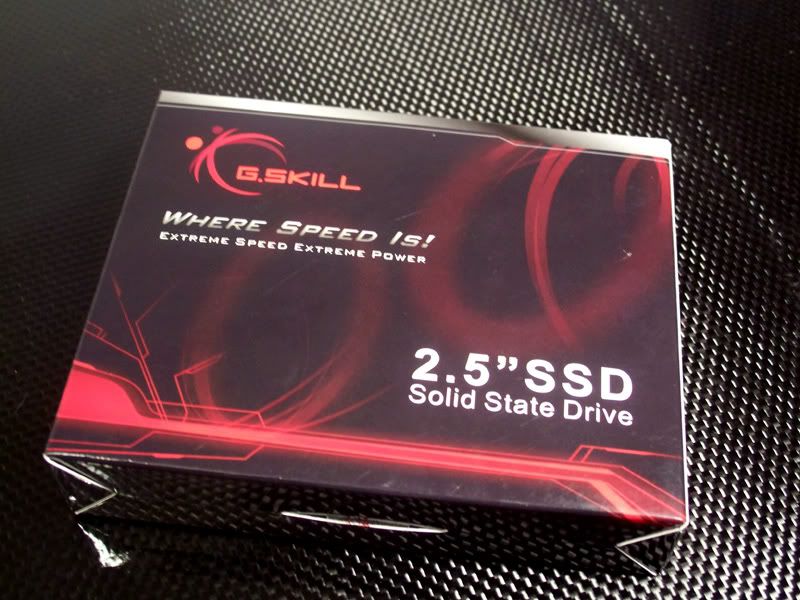
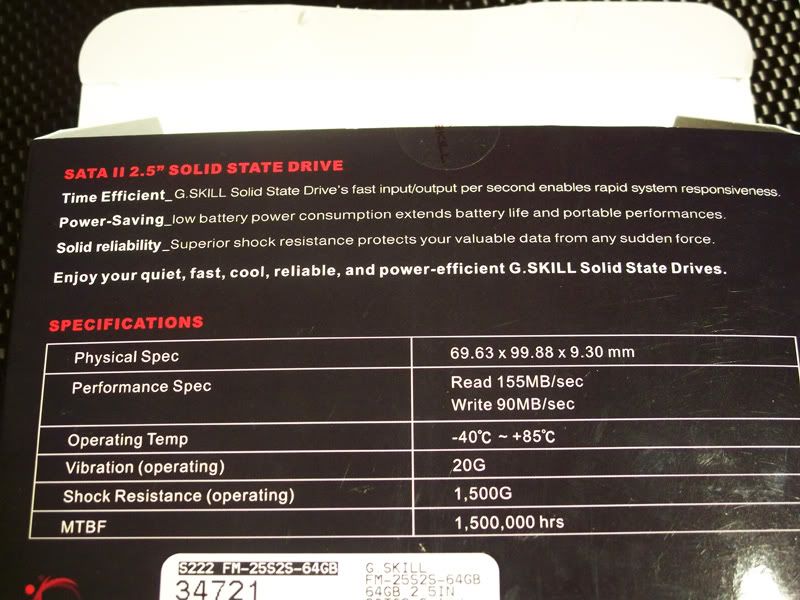
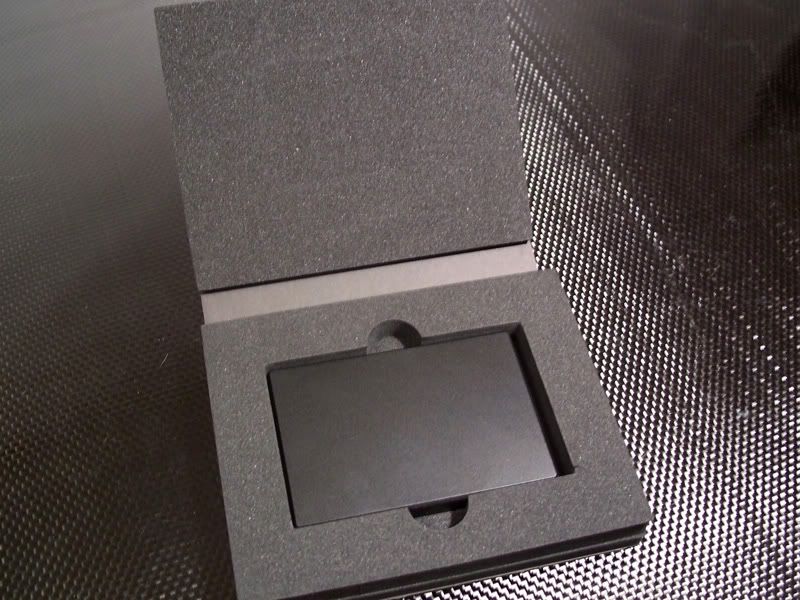
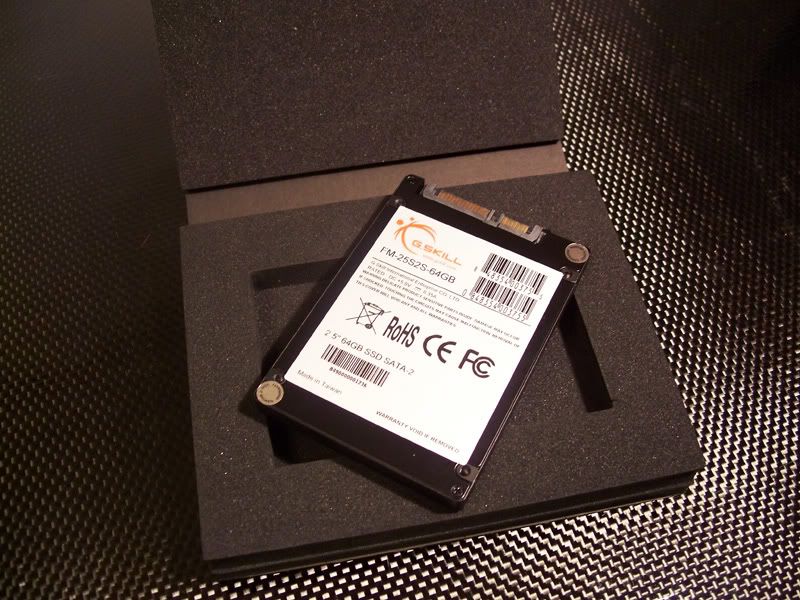
1x 64GB G.Skill SSD
4 x Connectx™ SATA 90deg Connector Female - End Cap
4 x Connectx™ SATA 90deg Connector Female - Pass-through Cap
5 x Connectx™ 4-Pin Floppy Connector Female
8 x Connectx™ 6-Pin PCI Express Connector Female
8 x Connectx™ 8-pin PCI Express Connector Female
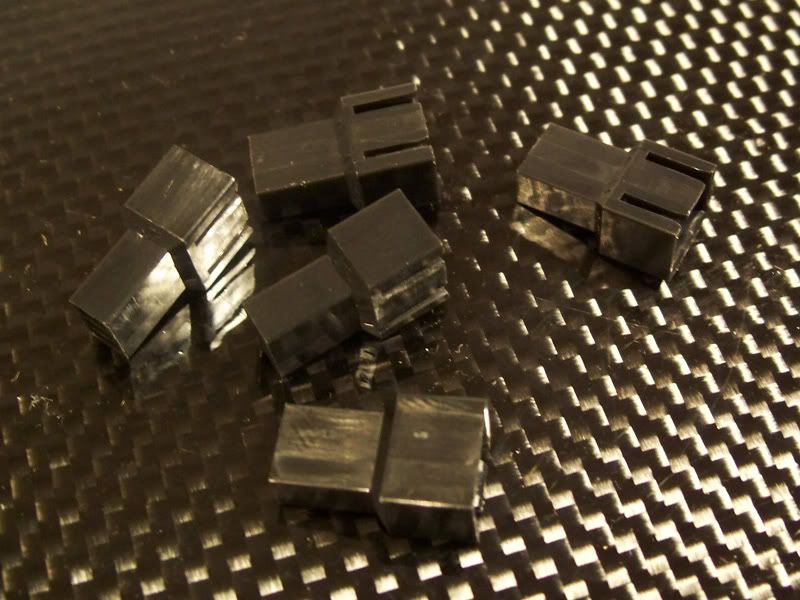
5 x Connectx™ 3-Pin Fan Connector Male
2 x Connectx™ 24-pin ATX Connector Female
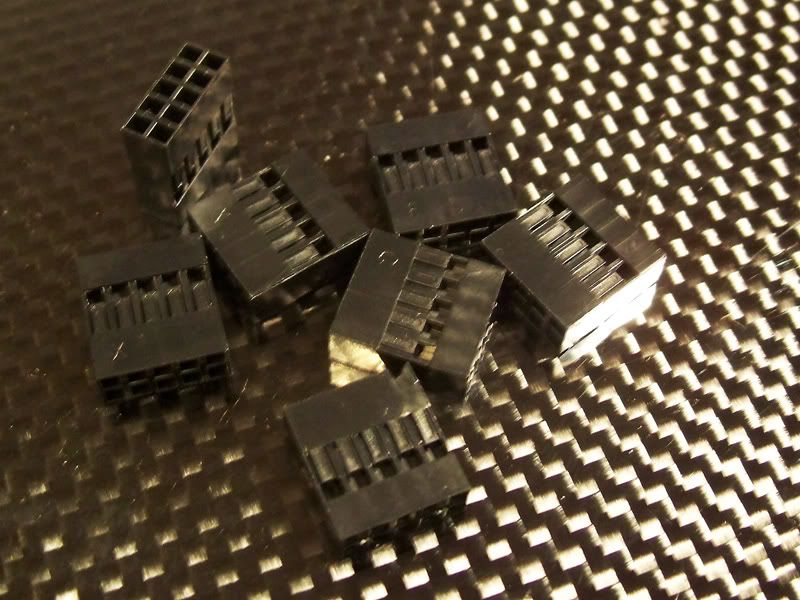
7 x USB 2 X 5 Header Connector Female
Power Pins:
80 x USB Header Female Pins
200 x Connectx™ ATX Female Pins
100 x Connectx™ Molex 4pin Female Pins
100 x Connectx™ Molex 4pin Male Pins
60 x Connectx™ Floppy 4pin Female Pins
Data Cables:
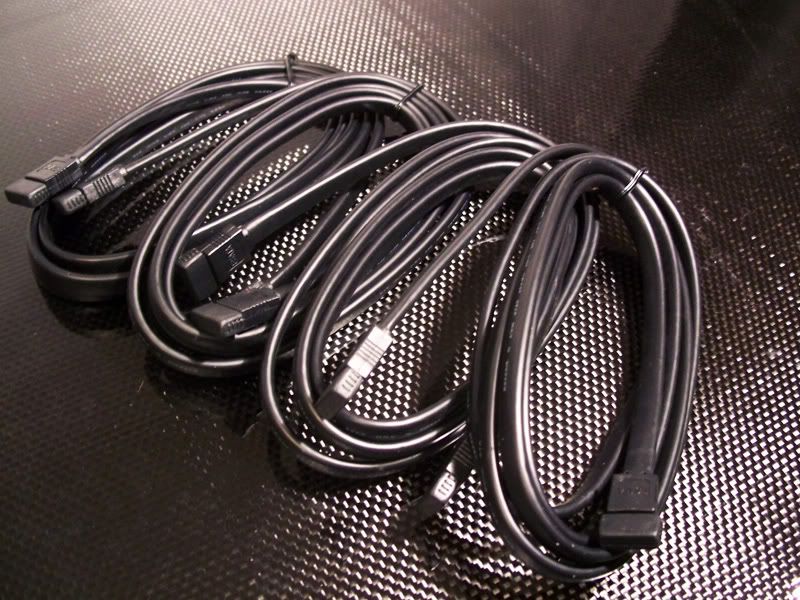
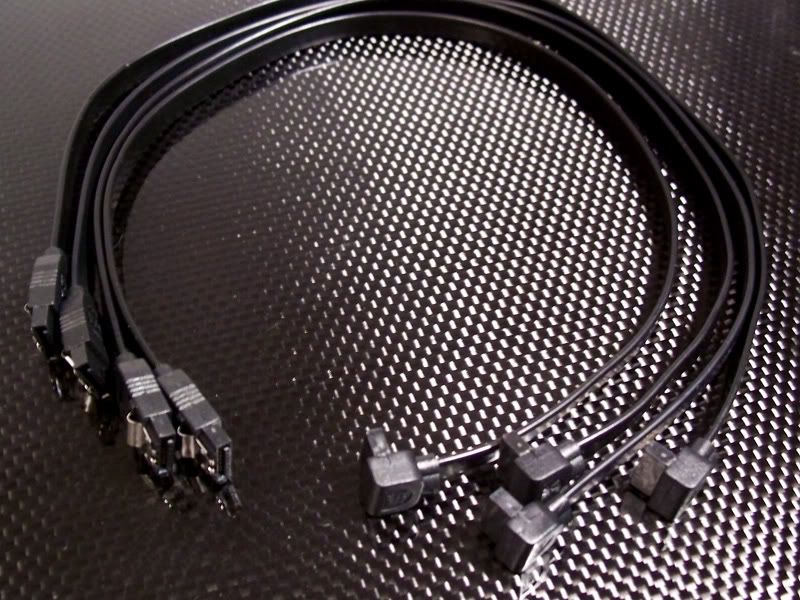
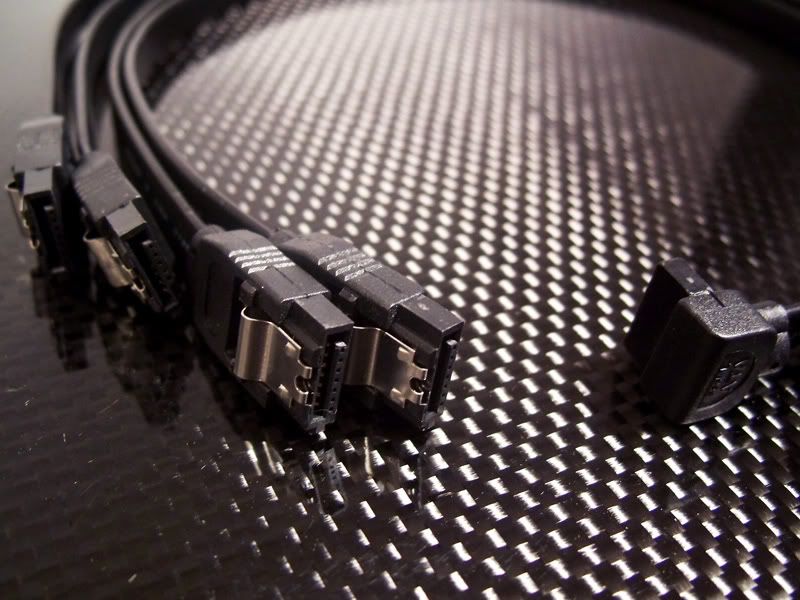
4 x E-SATA II Cable w/ Metal Latch - 6'
4 x SATA II Cable w/ Metal Latch - Straight to 90deg - 18"
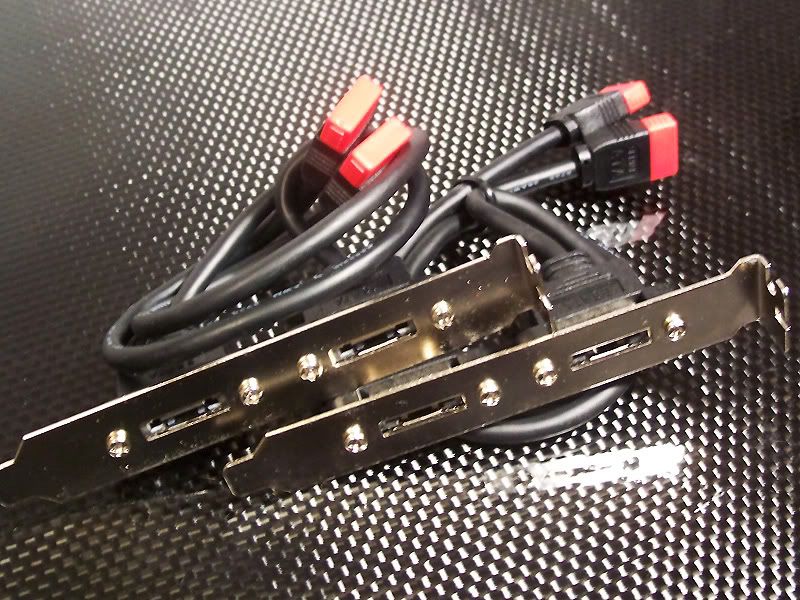
2 x A.C. Ryan Dual Internal SATA to eSATA PCI Bracket
Cooling:
36" x PrimoFlex Pro LRT Clear Tubing - 1/2"ID X 3/4"OD
36" x PrimoFlex Pro LRT Clear Tubing - 3/8"ID X 1/2"OD
16 x Clamps for 1/2" Tubing
10 x Clamps for 3/8" Tubing
2 x Bitspower G1/4" Stop Fitting
6 x Bitspower Premium G1/4" Fitting Spacer
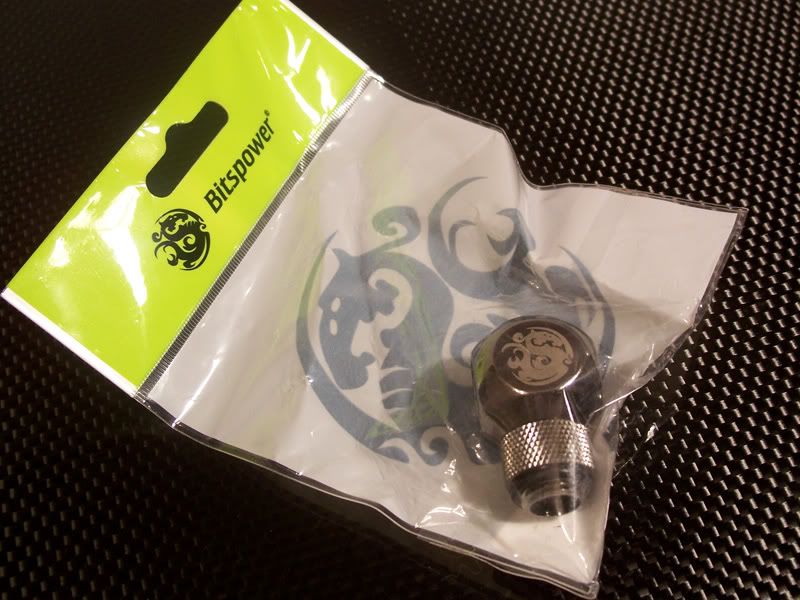
1 x Bitspower Rotary "Q" - Dark Nickel Plated
Misc:
10 x Cord Clips 3/8" x 3/8"
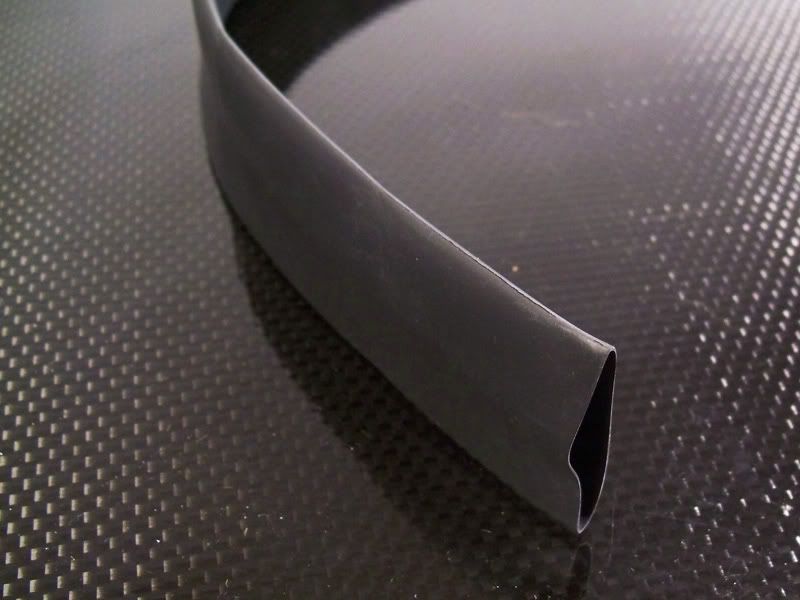
24" x Heatshrink 3:1 - 1"ID
50 x Black Aluminum Pop Rivets 1/8" X 1/4"
Missing from action - PPCs forgot to box one item, but I can't blame them considering this order had over 200 items:
10 x Connectx™ 3-Pin Fan Connector Female
More pics coming once I get some more batteries tomorrow.
I found some batteries... I had a stash apparently (a stash of batteries, that is).
(Does anyone else here hide things on themselves and forget where?)
Many pics...
First up, G.Skill 64GB SSD - there are THREE more of these babies coming to me as soon as NCIX gets it's **** together.
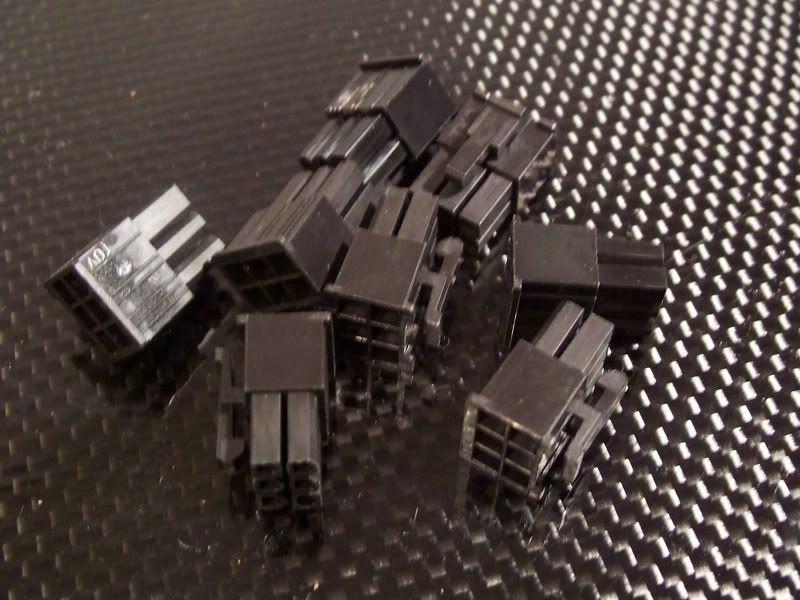
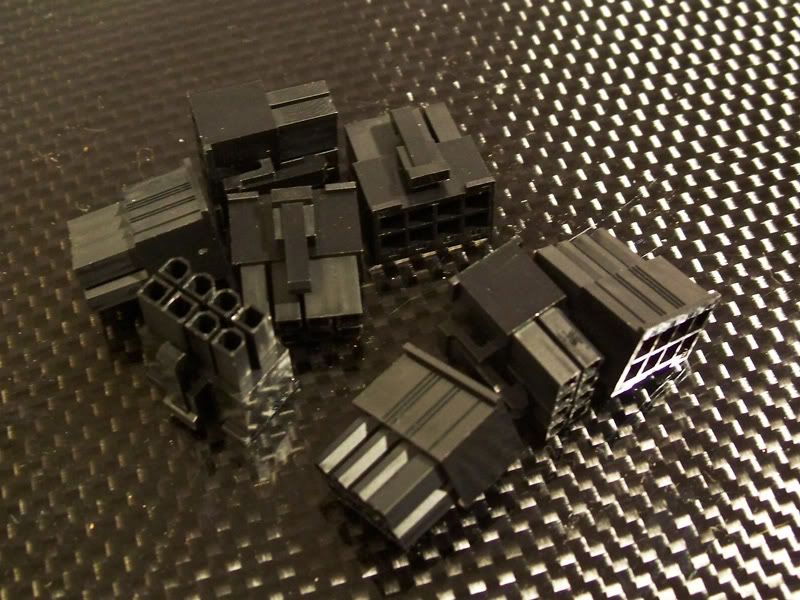
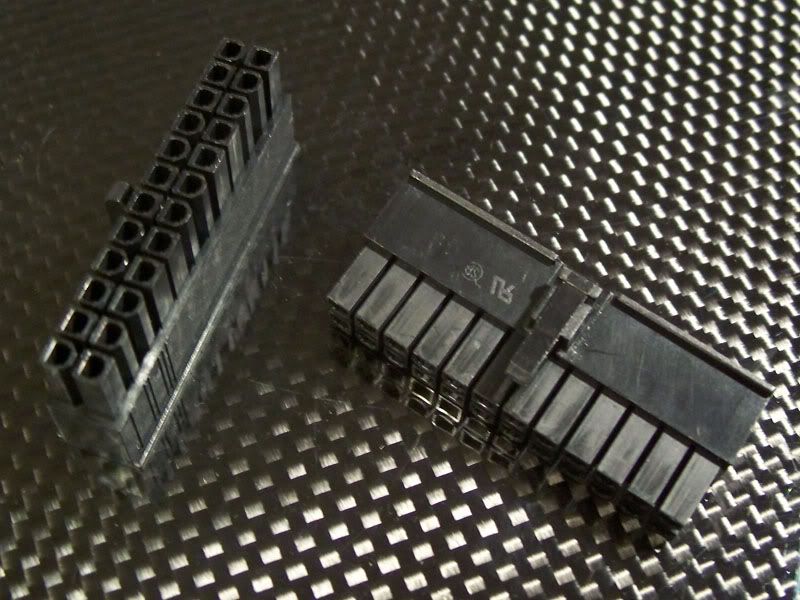
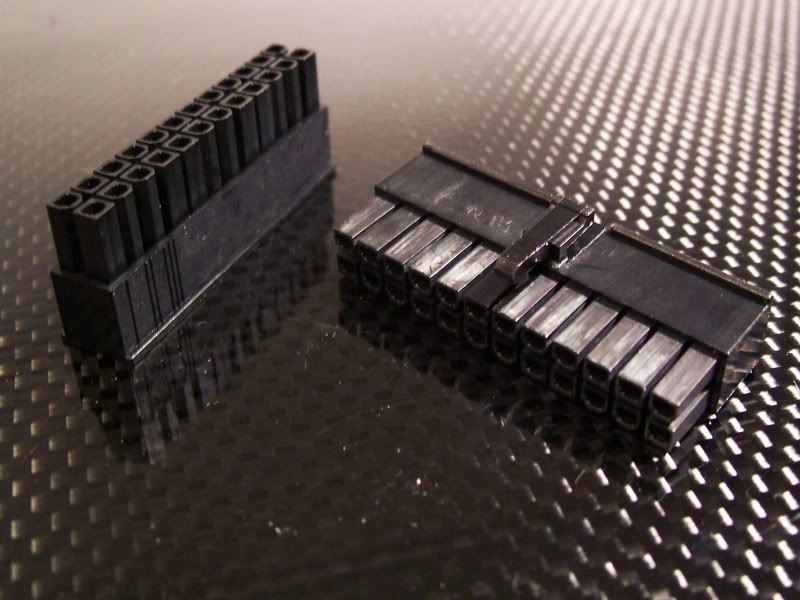
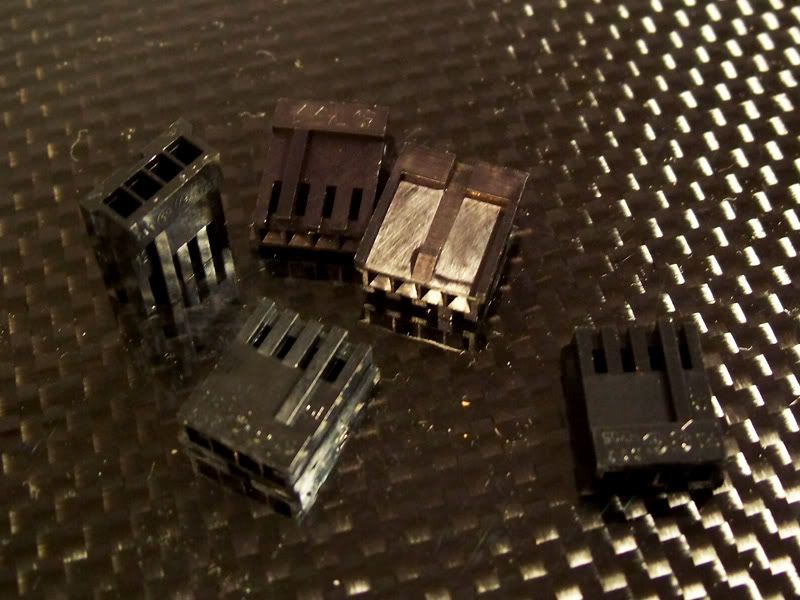
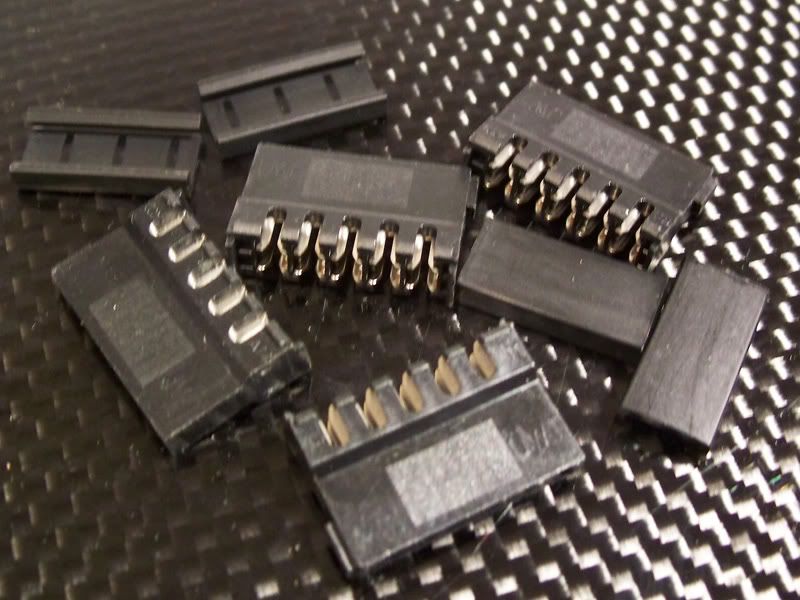
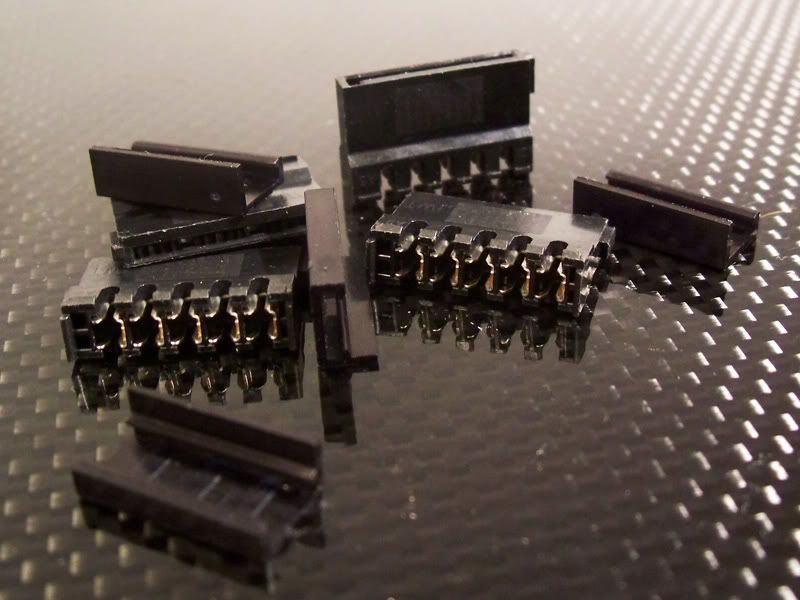
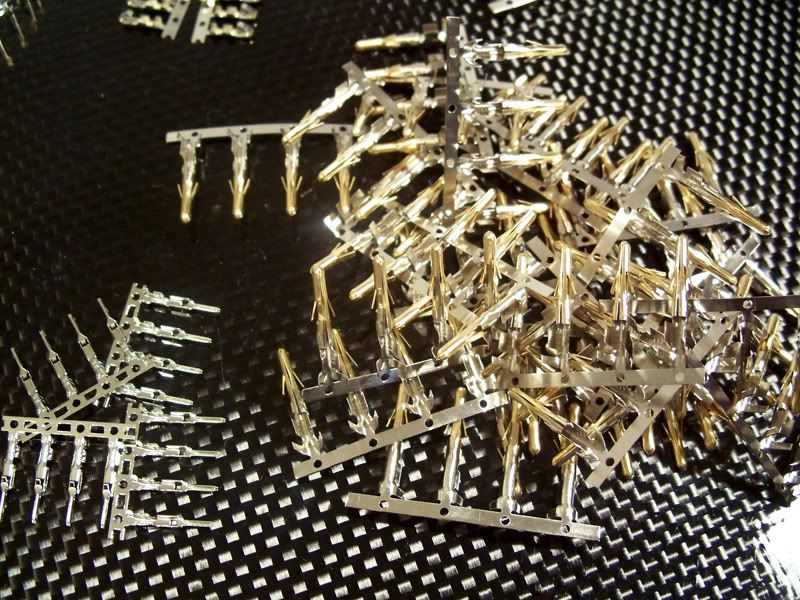
Molex Connectors galore. I plan on using my own wiring throughout so I need custom plugs - I'm not looking forward to wiring this Beast TBH.
Internal 2x5pin USB header plugs:
3pin fan plugs:
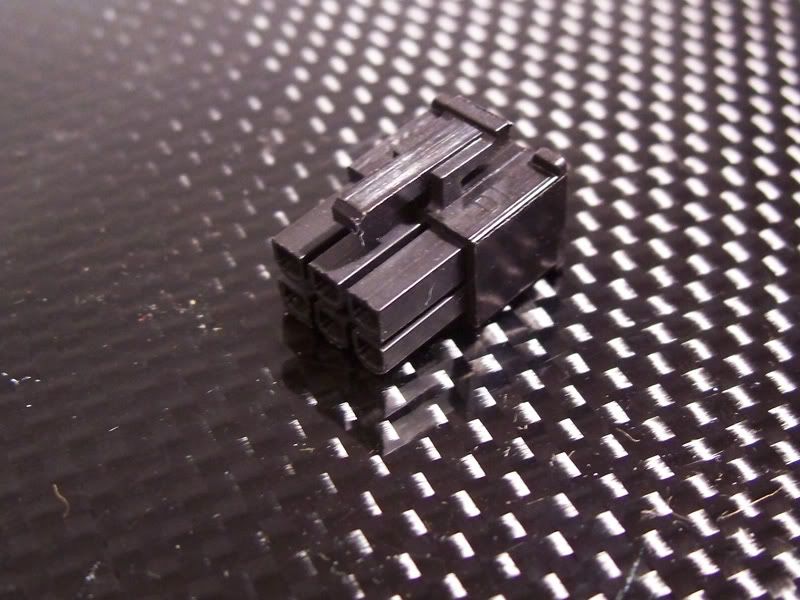
6pin Molex plugs:
8pin Molex plugs:
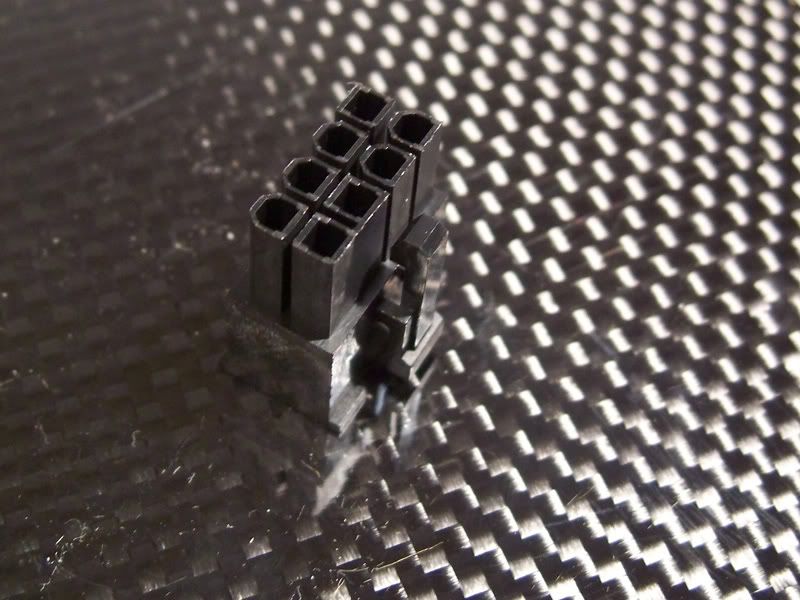
24pin ATX Molex plugs:
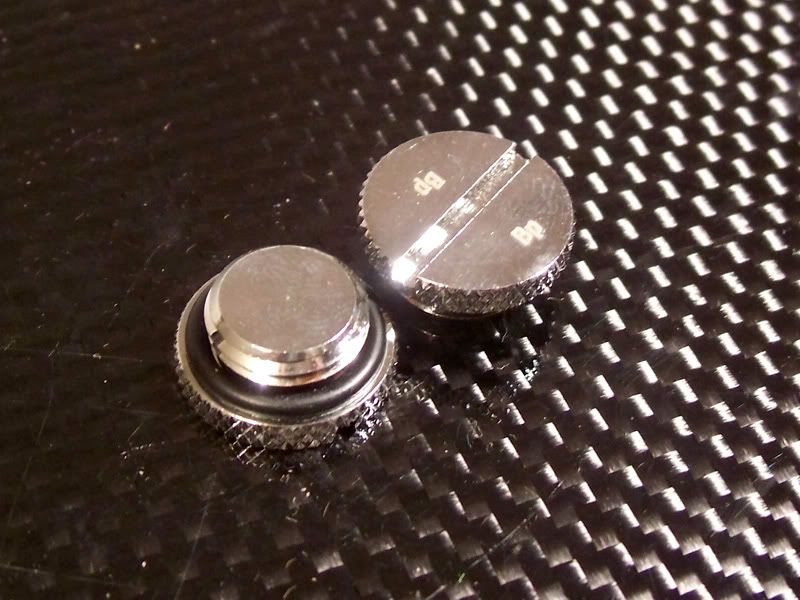
A Bitspower "Q" fitting... that still isnt the right variety, I'll have to head over to Parker Fluidline to get what I want (I may have to make it myself):
Some cable clips, that will hold the GFX power lines parallel to the motherboard tray:
The clear tubing that will be used as "windows":
Four 6' black eSATA cables for my external drives:
A couple more bitspower fill stops:
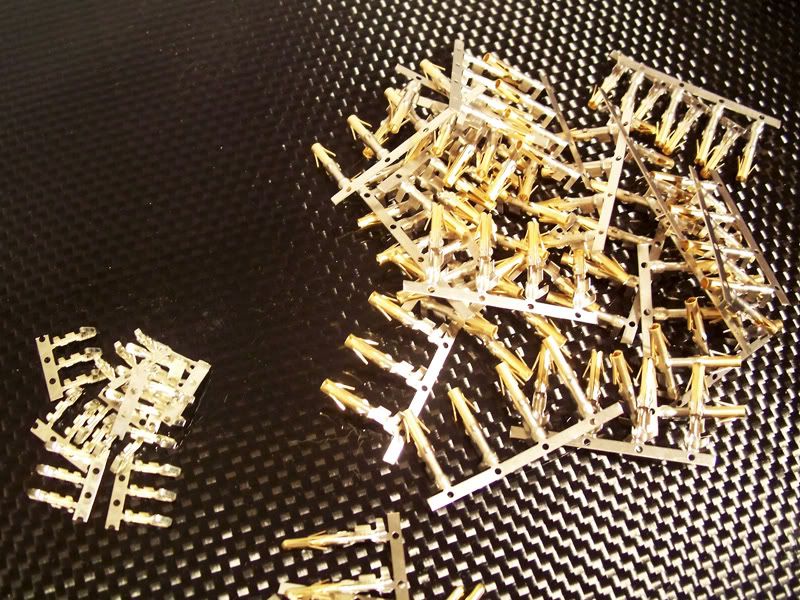
Some 4pin floppy plugs:
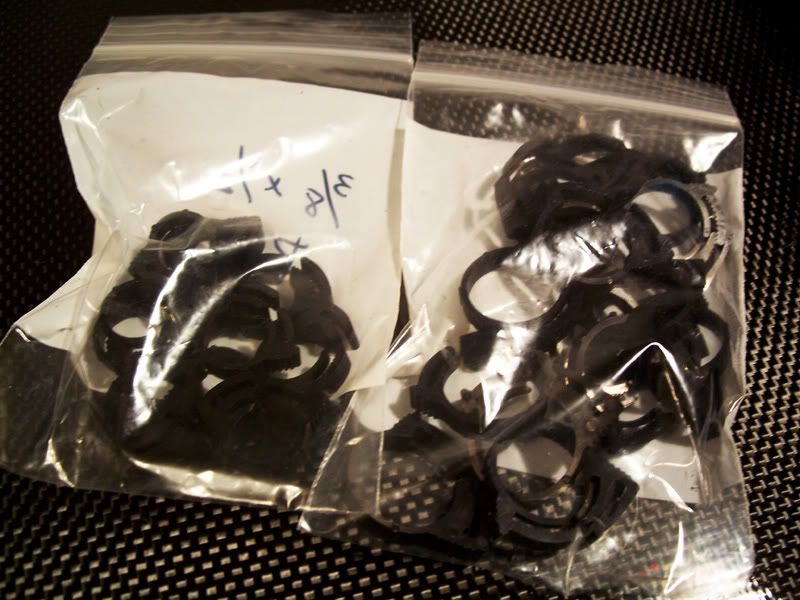
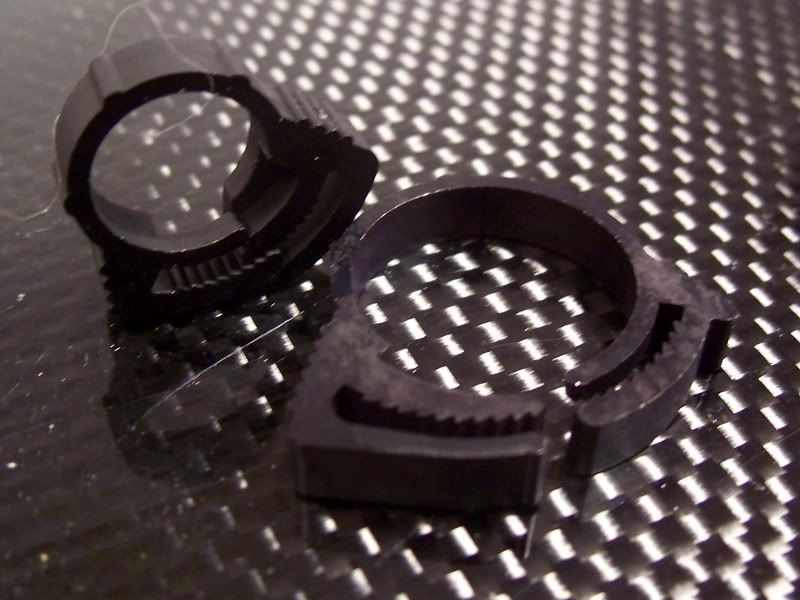
The hose clamps that I ordered before discovering Evil-98's clamps:
50 black rivits, because my local SB Simpson had none:
4 Sata Molex connectors, punch down style - 2kinds - terminated end, and open end:
Two AC Ryan "backies" or whatever they called them. Sata > eSATA backplane adaptor:
4 Sata2 cables with 90degree ends:
Some 1" heatshrink, because I forgot to get some from CableOrganizer.com (probably for the best, because I don't need another 200' spool of the stuff)
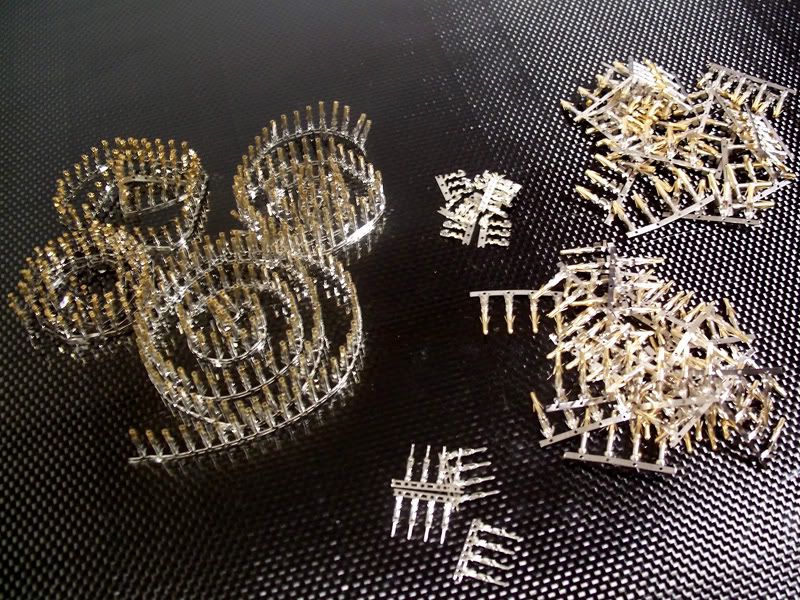
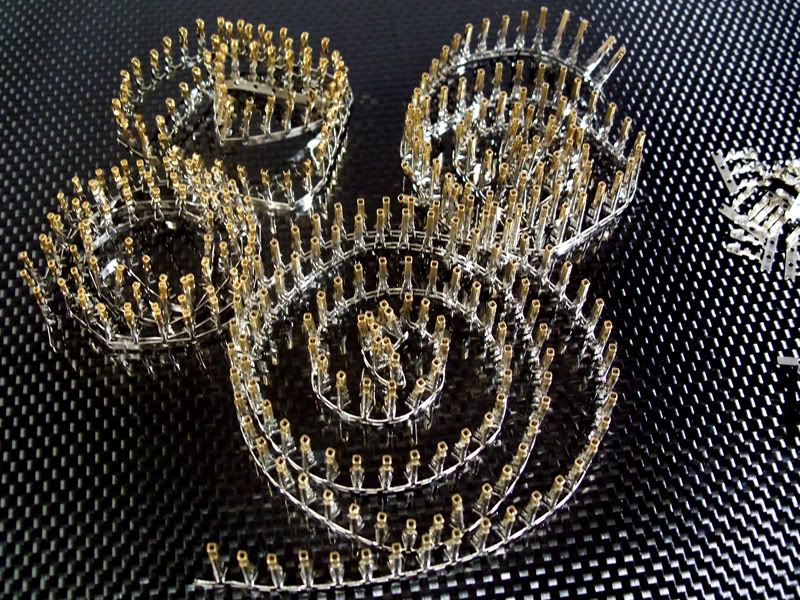
And PINS! "Who knows how many... maybe a million... maybe more - nobody knows really" (slightly adapted Jeremy Clarkson circa Supercar Showdown... that tubo scene was funny):
Performance PC's did forget to pack my 10x female molex plugs, but can you blame them... there was over 200 items in that box afterall.
*PHEW* that's a lot of stuff... and I GET TO PUT IT ALL TOGETHER, jealous? I wouldn't be.. Hahaha.
That's all for today, I've been busy this evening fixing my Old Man's Laptop - and HP really really isn't bit on quick disassembly.
Thanks for reading, tune in this evening for some progress.
That is a lot of gear, good luck putting it all together.
lots of goodies. Have fun assembling them all.
I'm really looking forward to seeing how you handle all this wiring. Keep up the phenomenal work!
Thanks fellas!
however...
DAMN DAMN DAMN!!!
Does anyone have a trick for crimping molex pins for an idiot who forgot to order a crimping tool?
(I've just now ordered a crimper from PPCs, but that'll take a week+)
I believe a "duh" is in order. haha
you mean this:
lol
Exactly!
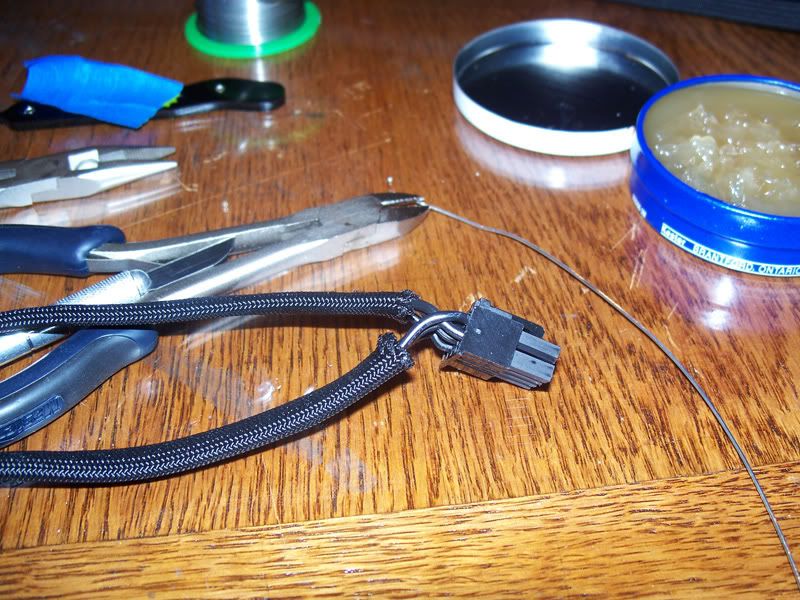
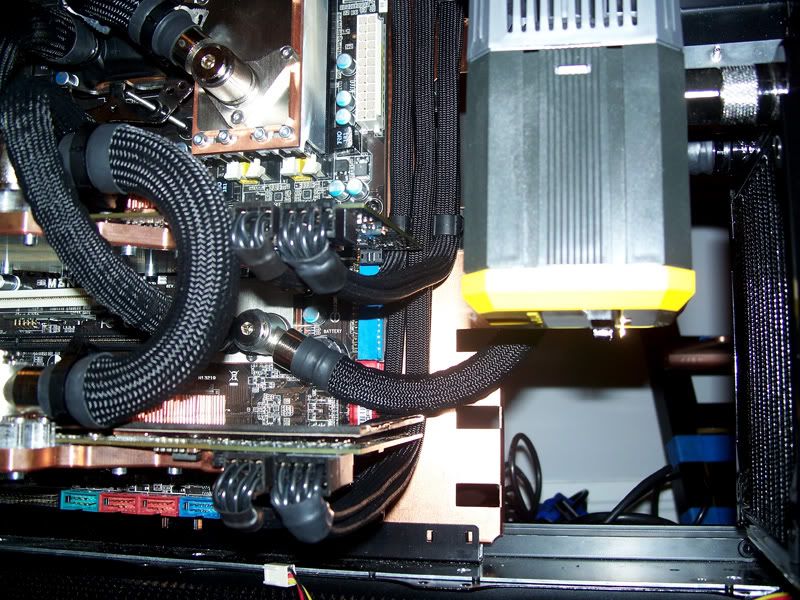
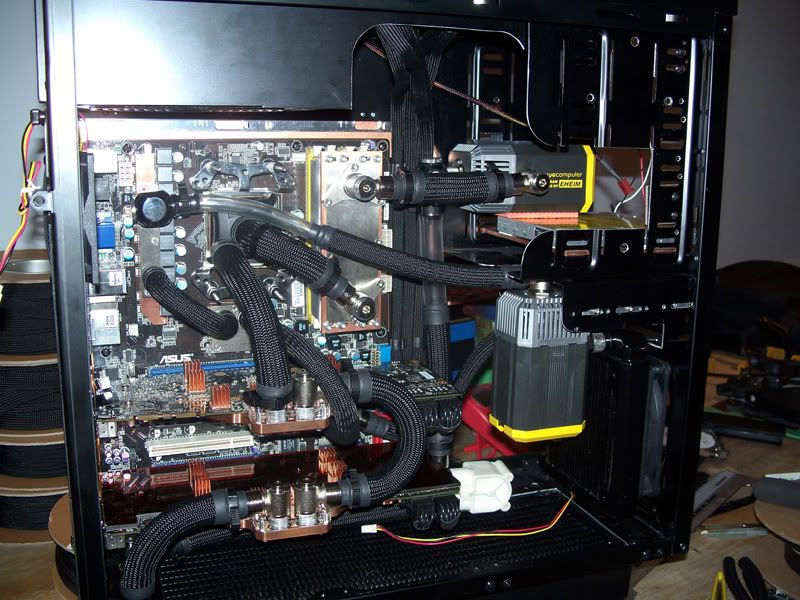
I started wiring my GTX280's tonight.
First I soldered the pins into place, because I didn't want to wait for the crimper to arrive.
I also sleeved the ribbon cable style wires with my Nylon Multifilament sleeving.
Believe it or not but these power lines will pretty much be the ONLY VISIBLE POWER LINES when the build is done.
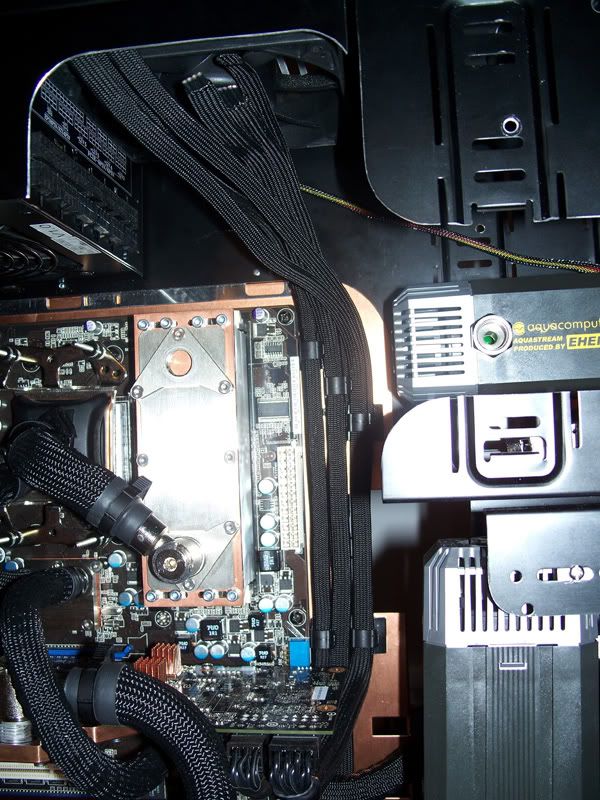
The tubing is not complete , and all the heatshrinking is temporary, also the hose clamps will be swapped out.
Here is step 1 in the wiring puzzle:
I crossed the wires like this so make bending them around the GFX card easier.
I've also installed the clear tubes that will act as windows: