Haha your right, does look like it has been submerged. Looks awesome.

Printable View
Haha your right, does look like it has been submerged. Looks awesome.
Update: LCD Screen
Still waiting on some more acrylic before I can begin the side panel, which is a little frustrating, however .....
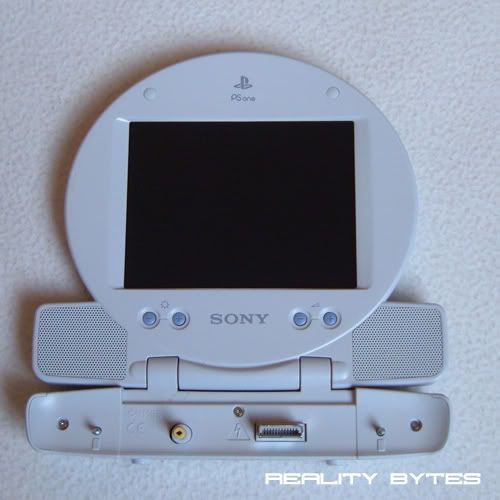
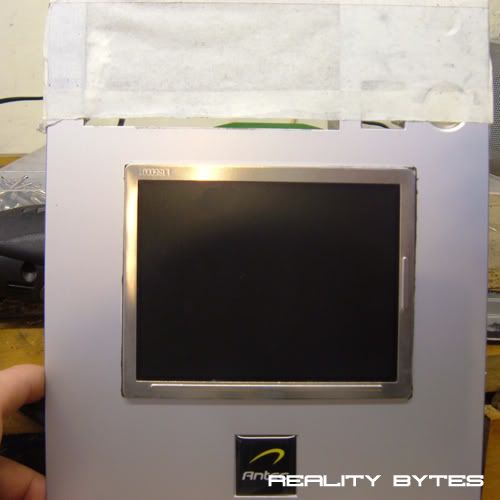
Today my PS1 LCD screen arrived, I picked it up on Ebay second hand so it cost next to nothing, which is good as I have never modded on of them before. I have read a few tutorials on various sites and along with some help from you guys I am confident I can get it to work.
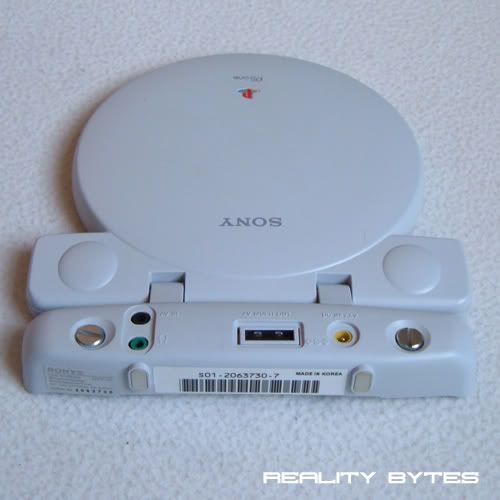
So first off here is a picture of it straight out the box:
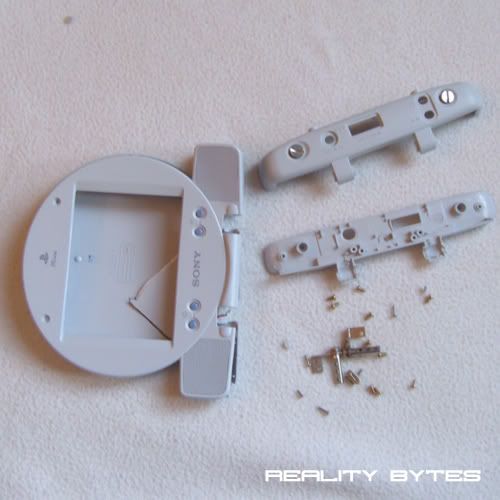
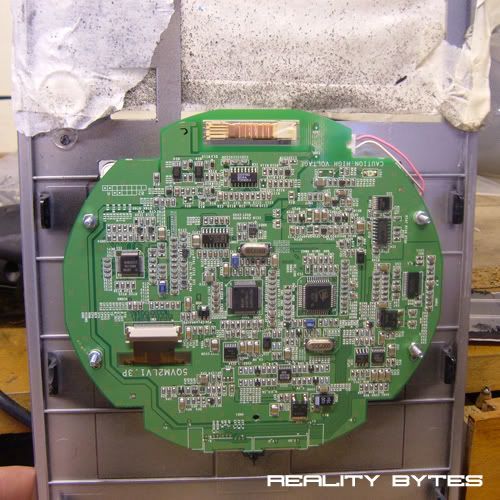
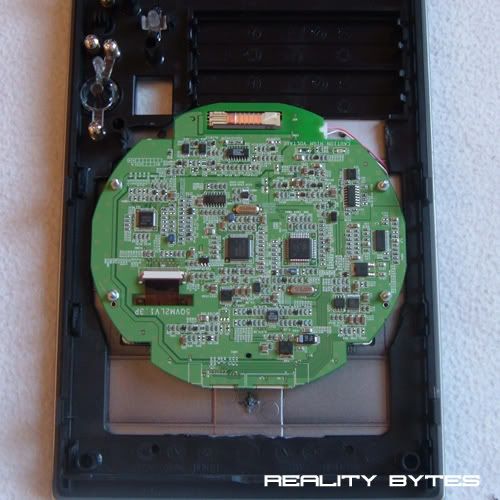
Obviously I am not going to mount it in its casing. I need to get the LCD and its circuit board out, time to take it apart.
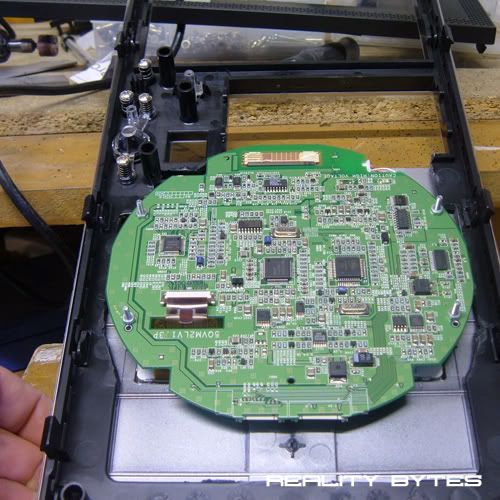
A few screws, a little frustration and some snapped plastic later:
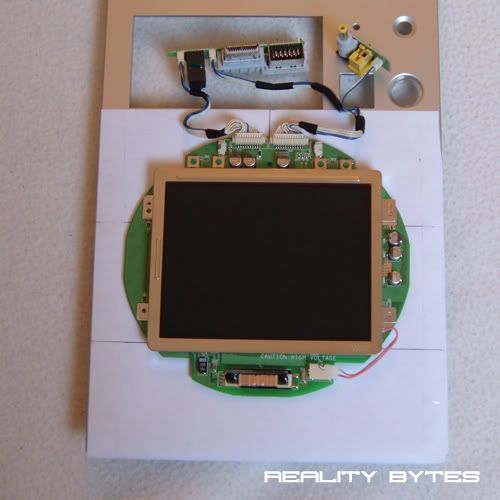
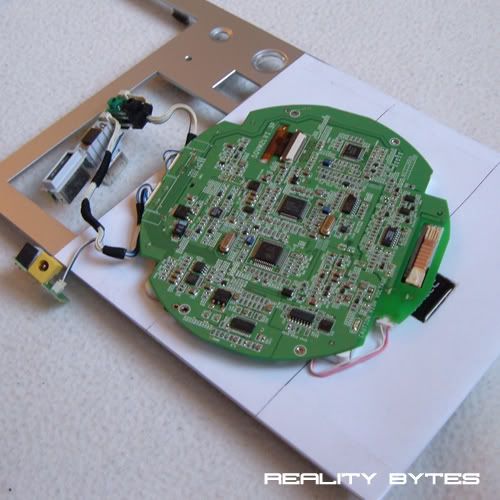
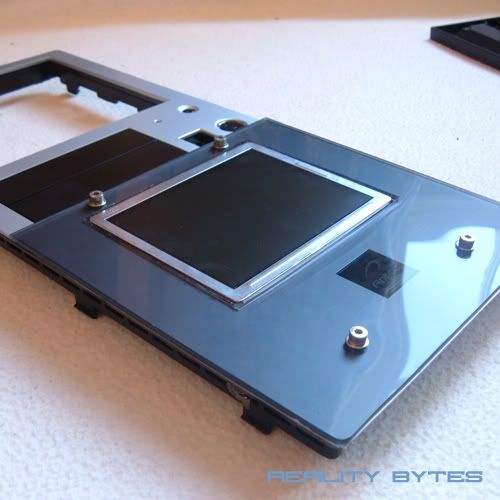
Here is the screen and circuit board removed from the case:
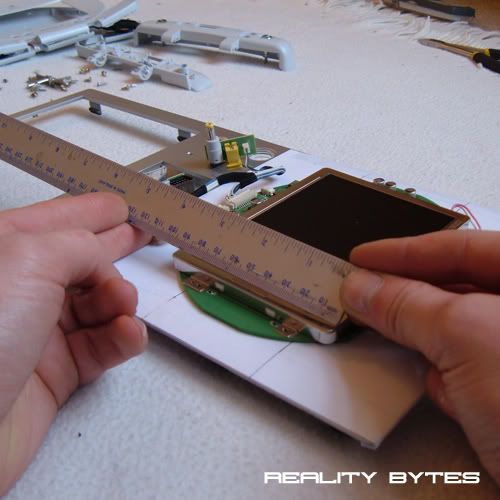
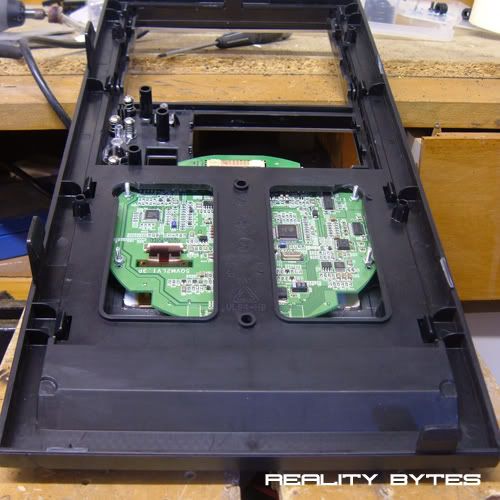
Now to take some measurements of the screen and surround in order to mod the area it will be mounted:
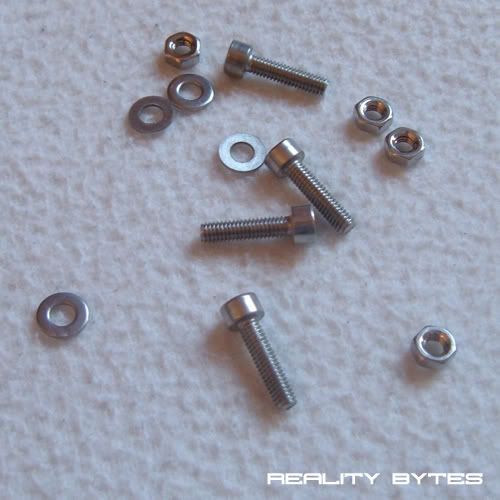
I was running a little low on fixings so also brought some more nuts, bolts, washers and threaded rod. All M4 in size and all bolts are the socket cap type that I have tried use throughout the case:
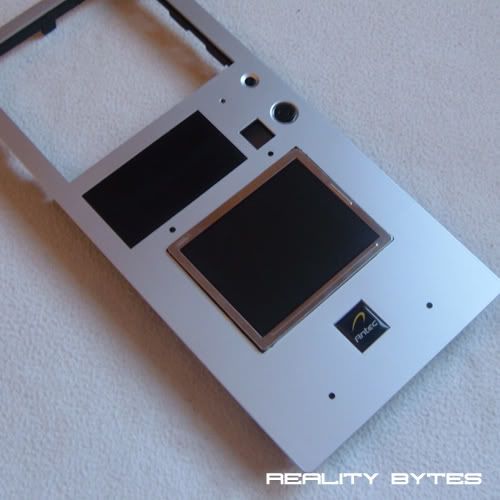
I am going to mount the screen in the front panel of the case, below the 3.5" bay covers.
A few pages back I said I was unhappy with the front panel as it was too 'stock' and TBH just looked like a run of the mill PC face. I think having the screen mounted in it, to use as a system monitor or just to have visualizations playing, will add that much needed eye candy. Also the whole front panel will be covered with 3mm smoked black acrylic, but that's for another day.
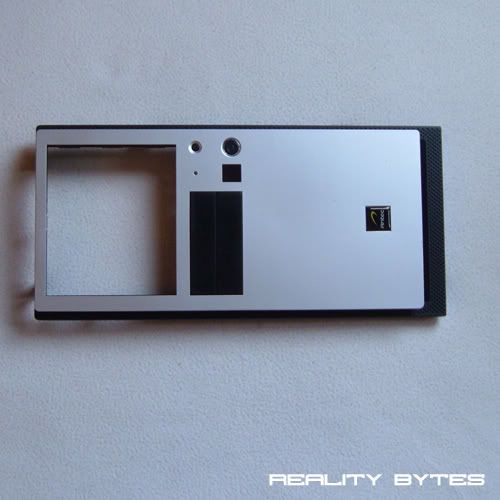
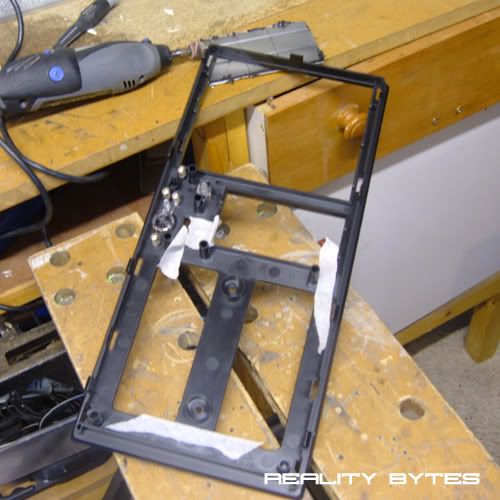
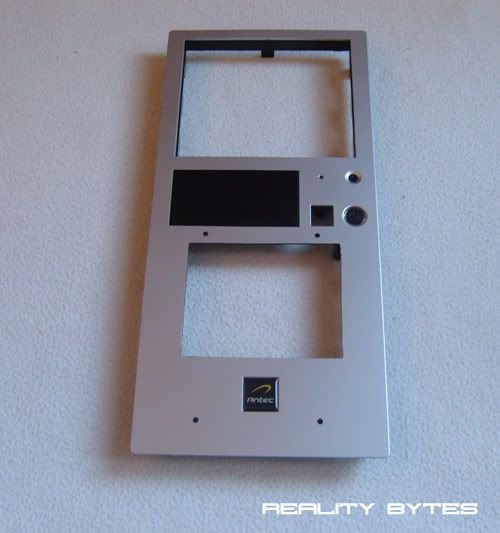
Here is the front panel removed from the case:
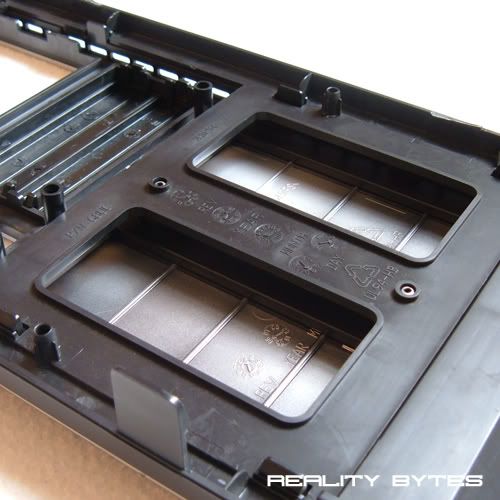
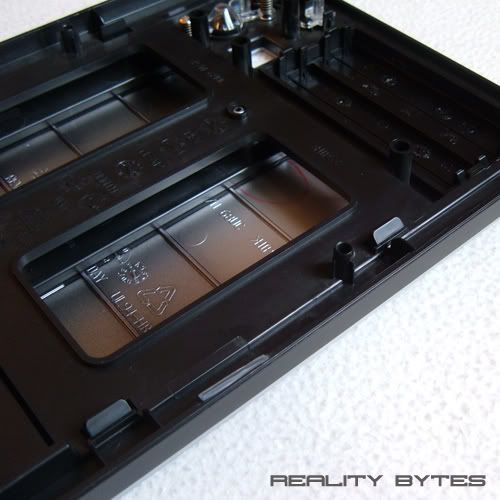
The panel is in three parts (all ABS Plastic), this is ideal as it gives plenty of space between them to house the LCD circuit board.
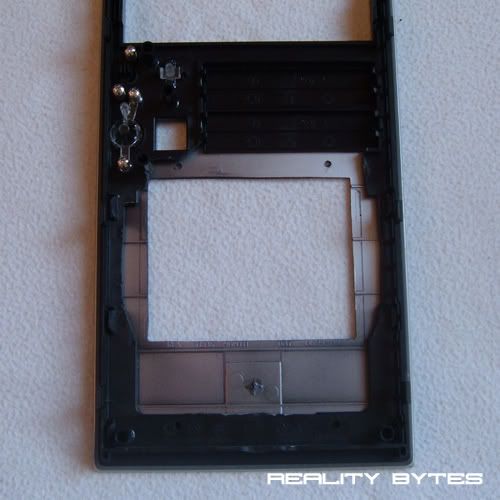
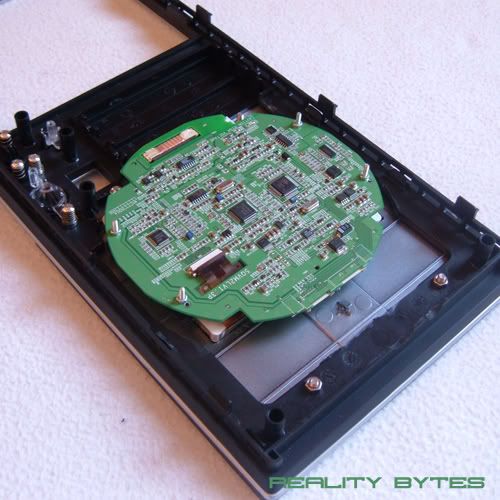
Here are a couple of pictures of that space I have to work in:
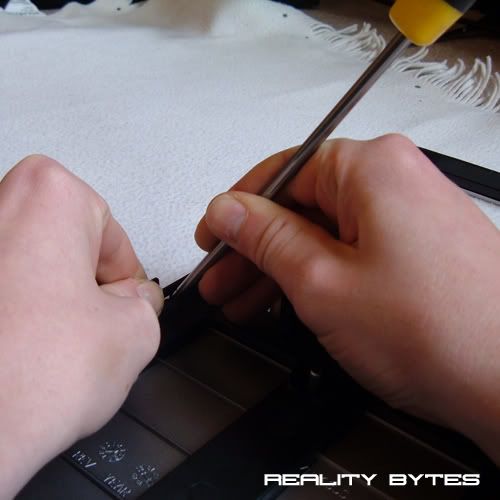
So lets get those three panels separated. They are all (rather cheaply) held together with small plastic tabs, as you can see below:
The tabs are quite fragile so I gently prized them apart with a flat head screw driver:
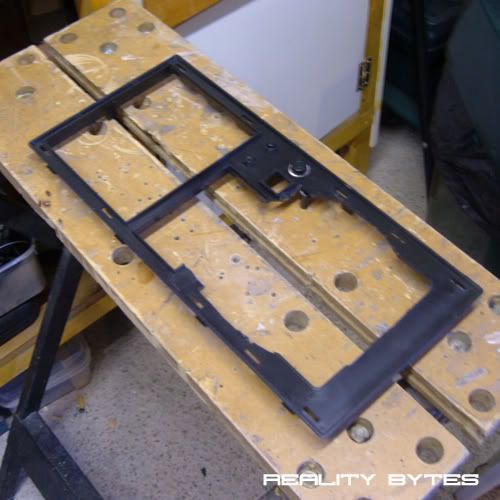
Now its the same deal to get the inner panel detached from the front faceplate:
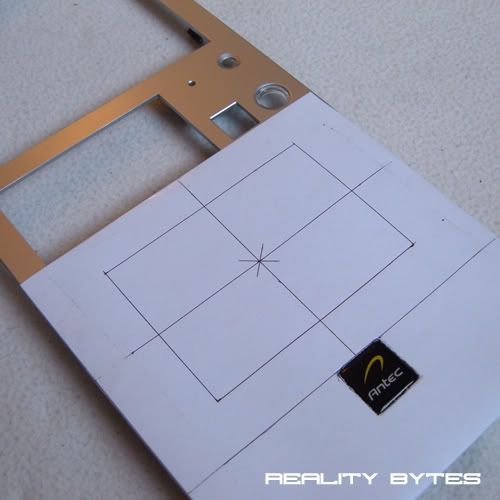
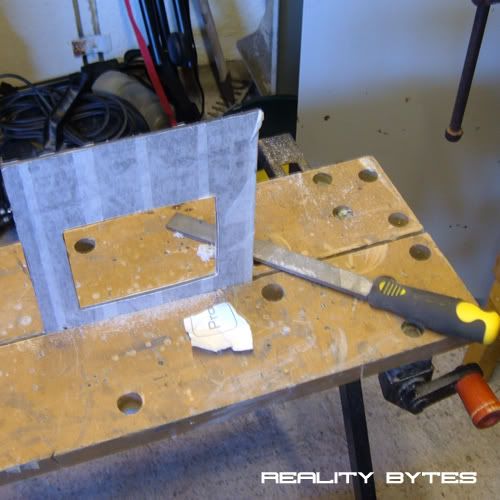
Now that the silver front faceplate is removed I can mark out measurements for the area I need to remove in order for the screen to show through:
Initially I marked out the area between the bottom of the 3.5" drive bays and the top of the case badge, then measured the area to find the centre point:
The area of the screen I need to be visible through the front panel is 115mm x 80mm (5" screen) so using the centre point as a starting point I marked this out on the front panel:
That's it for now, this weekend I will be able to get down the garage and start cutting the front panel to mount the screen and also cut the acrylic to go on the front and then it will be time to try and wire it all up ..... :twisted:
Thanks For Reading
Looks good. What are you going to display at it?
I will most likely use it for system monitoring whilst gaming etc using a Samurize config. Then the rest of the time have visualizations playing along to my music.
This is one killer looking mod man. Very clean and very cool. +rep dude.
OHHH pretty lol. Can't wait to see this mounted mate.
Update: LCD Screen - Part 2
Hello everyone,
Pleased to say I had a good day of modding today, I managed to spend some time down the garage and got quite alot of work done on the LCD / Front panel.
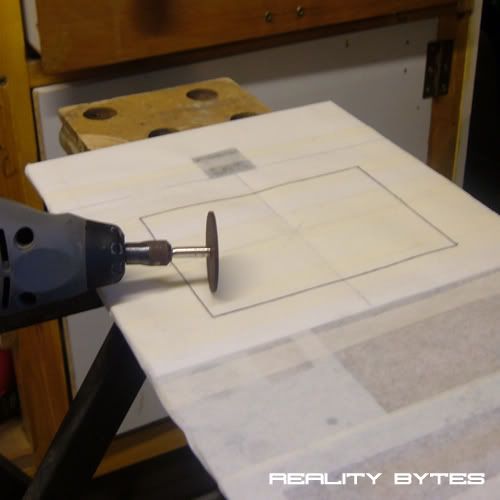
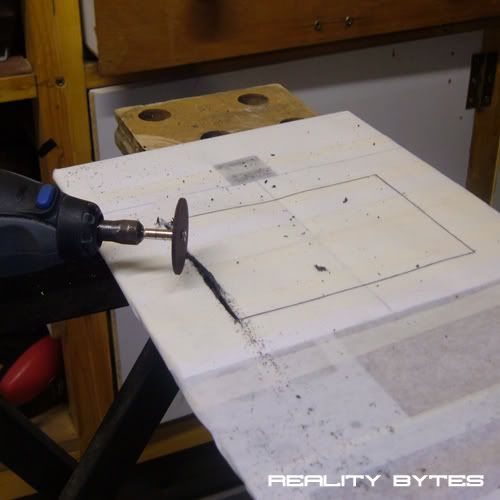
Lets get started! Masked up the front panel for cutting:
Out comes the dremel:
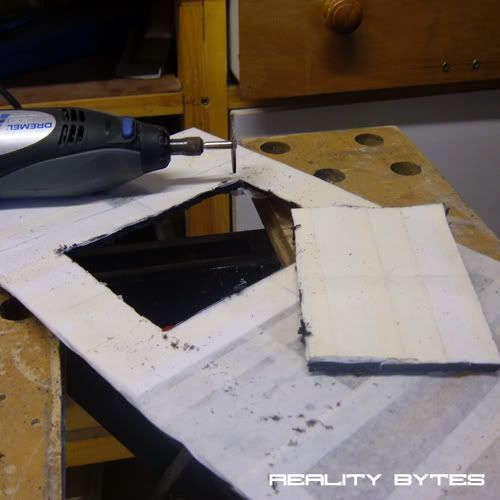
Cutout for the screen:
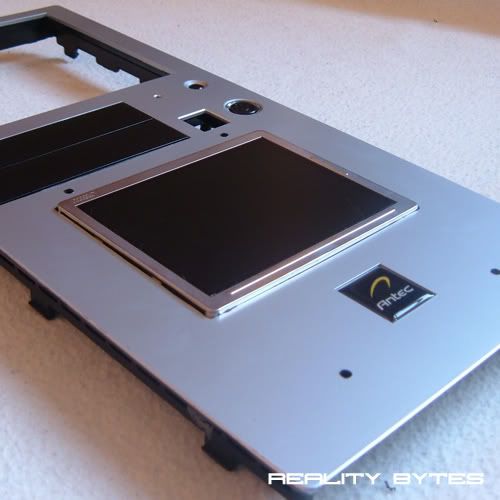
Then a quick test fit. I was going to hide the silver surround but decided to have it exposed as I quite liked having a bit of shine:
And from the back:
Now to mark up the second panel for cutting to allow the screen to fit in:
Cuts made:
Another test fit:
Then the third panel:
Test fit:
Next I masked up some black smoked acrylic to make a surround:
Lots of smoothing and sanding. I used 200, 600, 1500 grit sand paper to polish up the edges:
With all the cutting and sanding done it was time to get some lunch and get back indoors out of the freezing cold garage and fix everything together.
First and second panel joined:
To raise the screen away from the circuit board for a smoother fit I made some spacers from the parts below:
Then fitted to the screen:
Allowing the screen to mount through the front panel:
Now for the acrylic surround:
I fixed this through the front panel with M4 nuts and bolts:
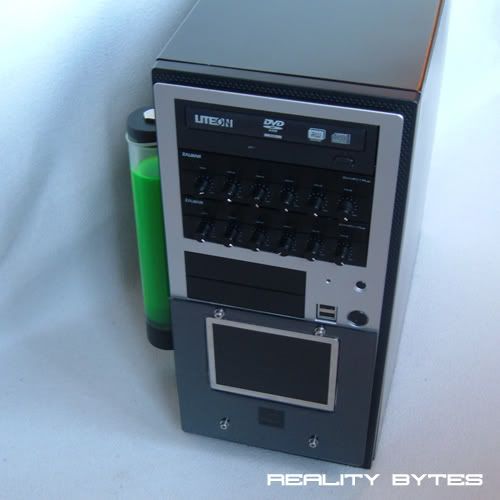
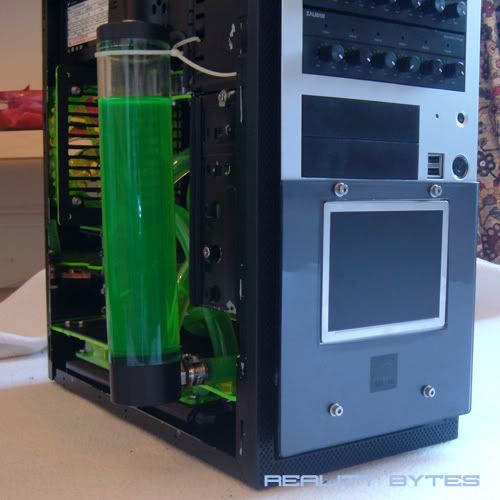
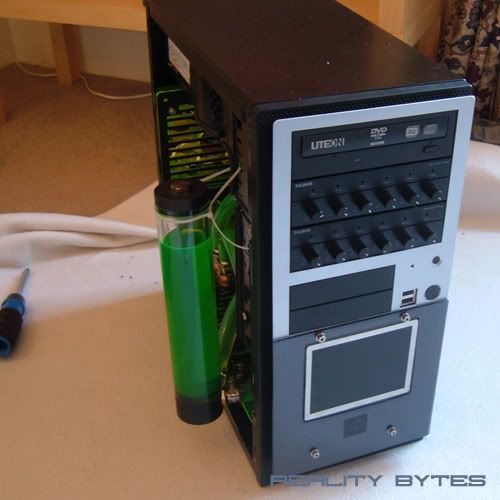
And the finished product fitted to the case:
I am very happy with how todays work went. I still have got to fit some more acrylic to the front panel to finish it off but I hope you will agree, it now looks alot better than it did before.
Next is the wiring, not looking forward to that in all honesty but its got to be done.
As always thanks for reading, let me know what you think.
It really fits well with the overal look of the case. Good job! Are you going to make it work on your VGA port or will you just put in an S-video?
Very clean looking facade, looks like a high quality stereo component. Great work!
Thanks Maleficus, and thanks for the +repQuote:
Originally Posted by .Maleficus.
Thanks TEAMIKKE, I am going to wire in a VGA connection, should get a better picture that way than with S-video. I have got the pin-out diagrams, just need to get a new tip for my soldering iron now as its a very small area to work on.Quote:
Originally Posted by TEAMIKKE
Thanks jbdnsn, much appreciated.Quote:
Originally Posted by jdbnsn