-
Mini Scratch Build
Project Goals:
build a scratch case
reduce the size of the case
learn more modding skills
have fun
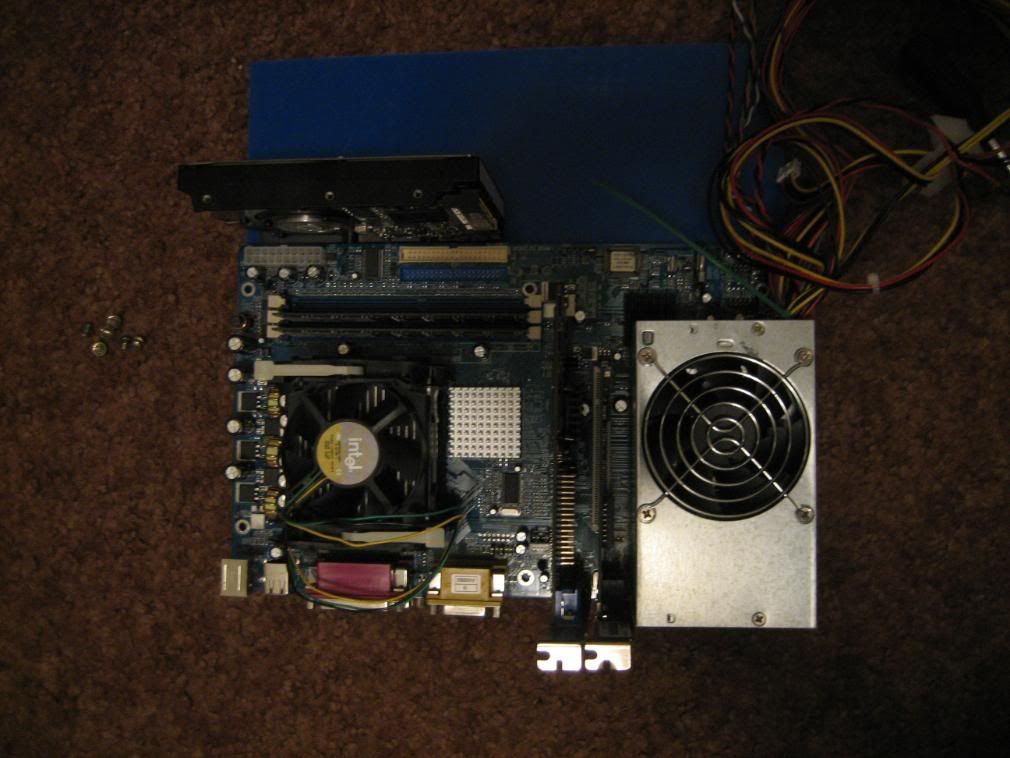
components:
mostly old stuff I had laying around, so I don't have all specs
2.0 ghz intel celeron d
512 mb pc 2700 ddr
32 mb graphics card
10/100 network card
20 gb hd
230 w psu
no cd drive (I have an external for rare cases)
clear acrylic
what I don't have:
tools (poor college kid)
hardcore gaming desire (I mostly play older rts games, so this system will be fine)
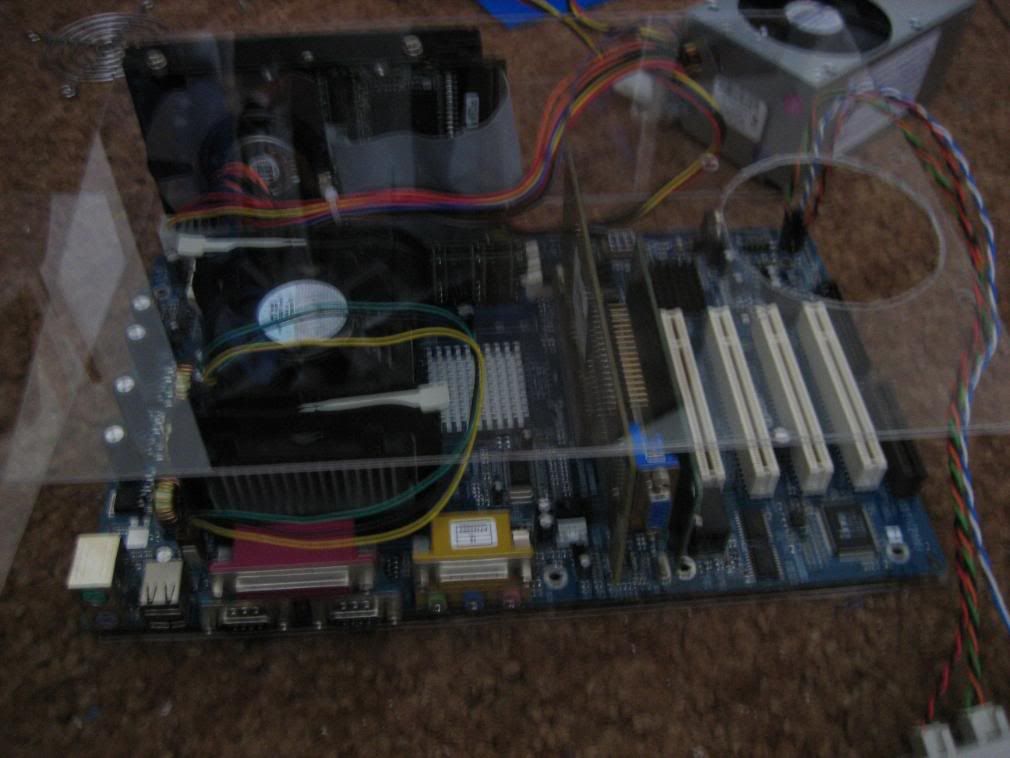
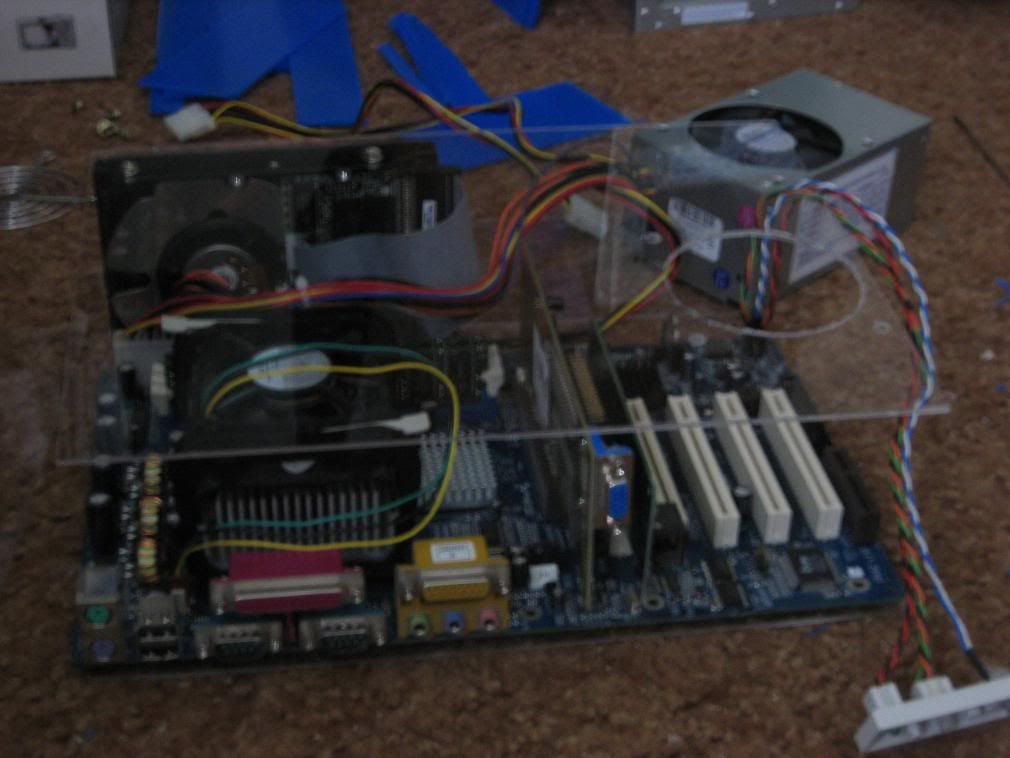
Onto the pictures and important stuff
component layout
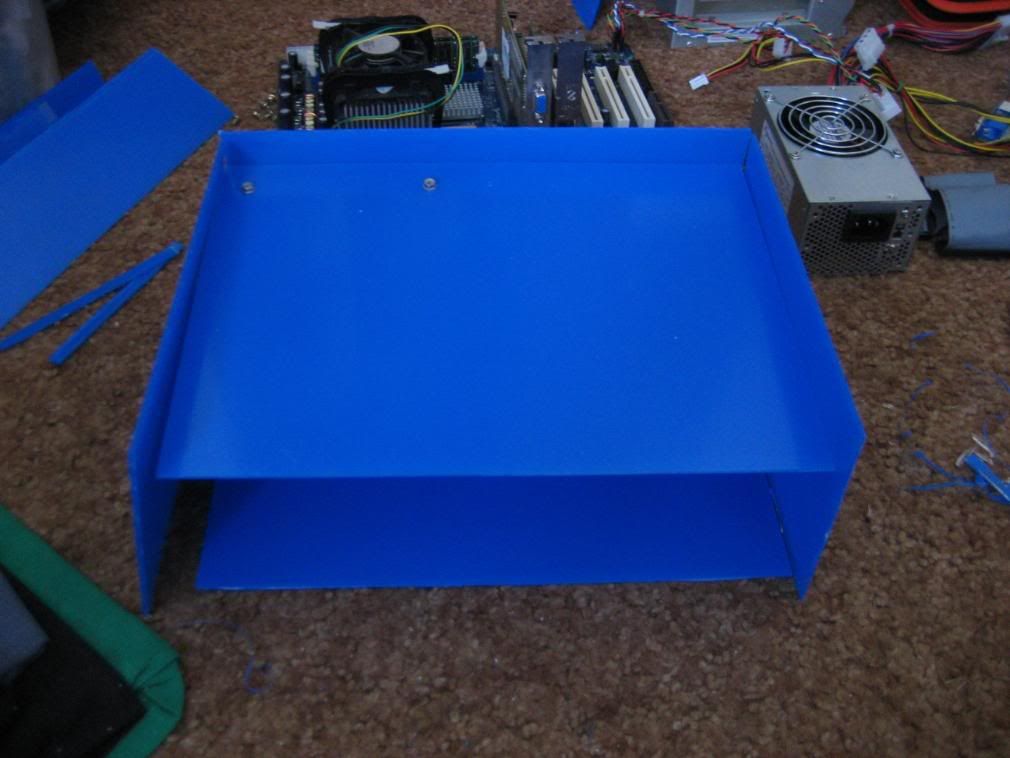
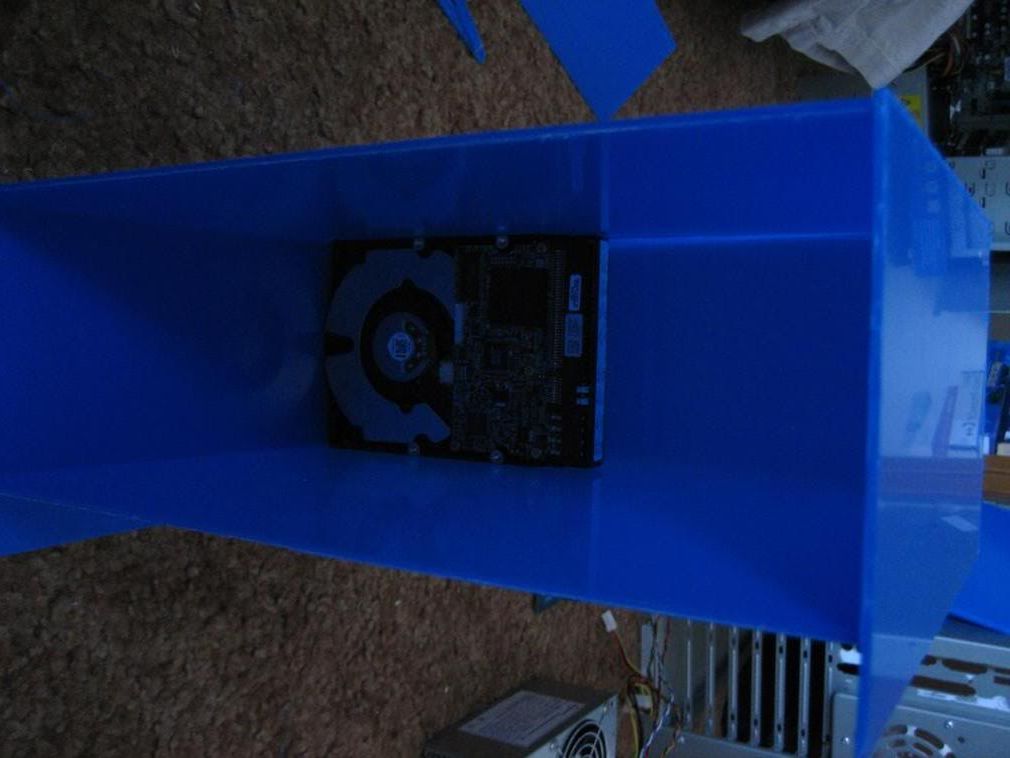
rough case layout (The blue coloring is scratch protector which will be removed)
I cut most of the case using a pocket knife and a ruler, just score and break
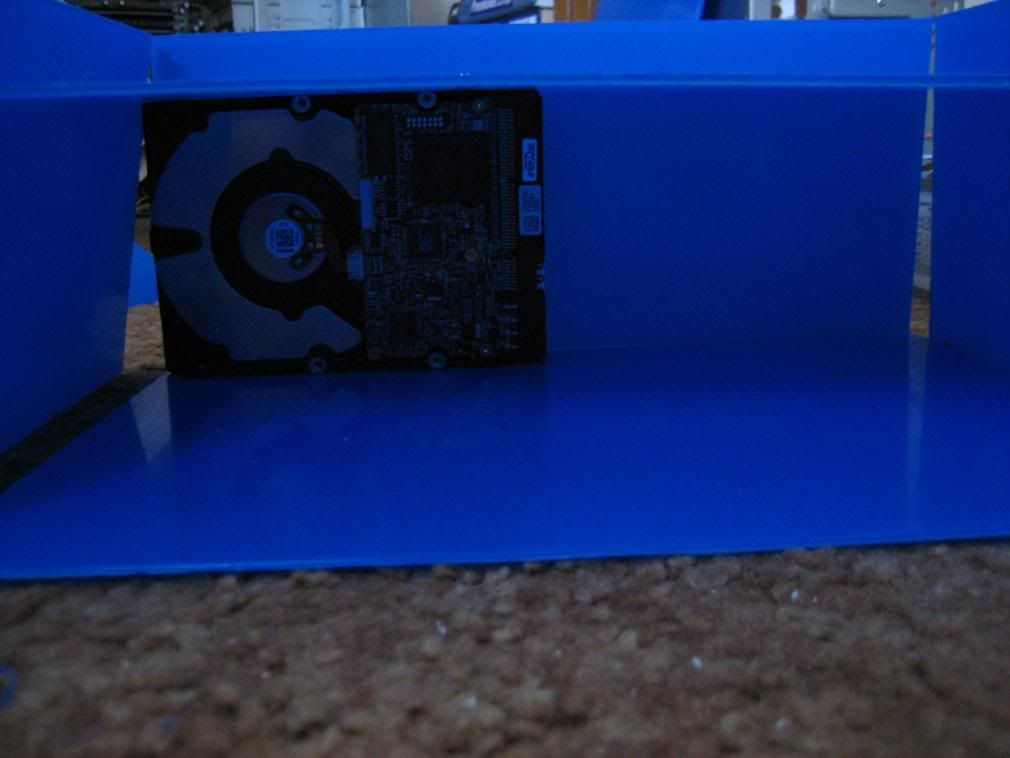
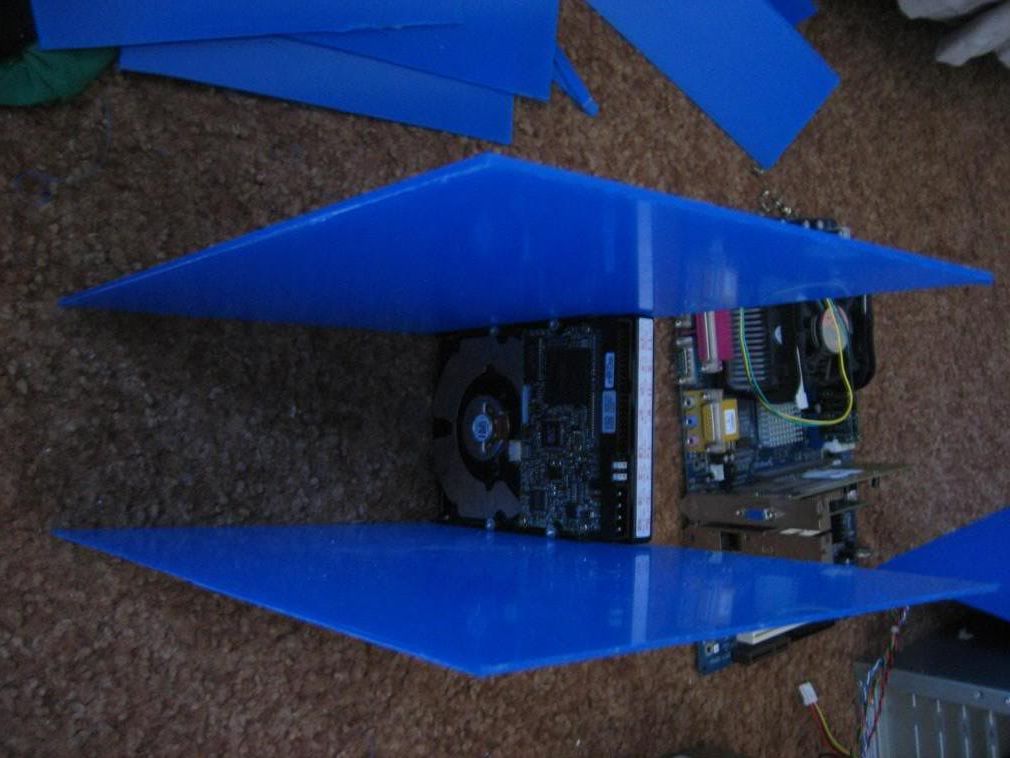
with harddrive attached
with harddrive attached, mobo in background
with harddrive attached
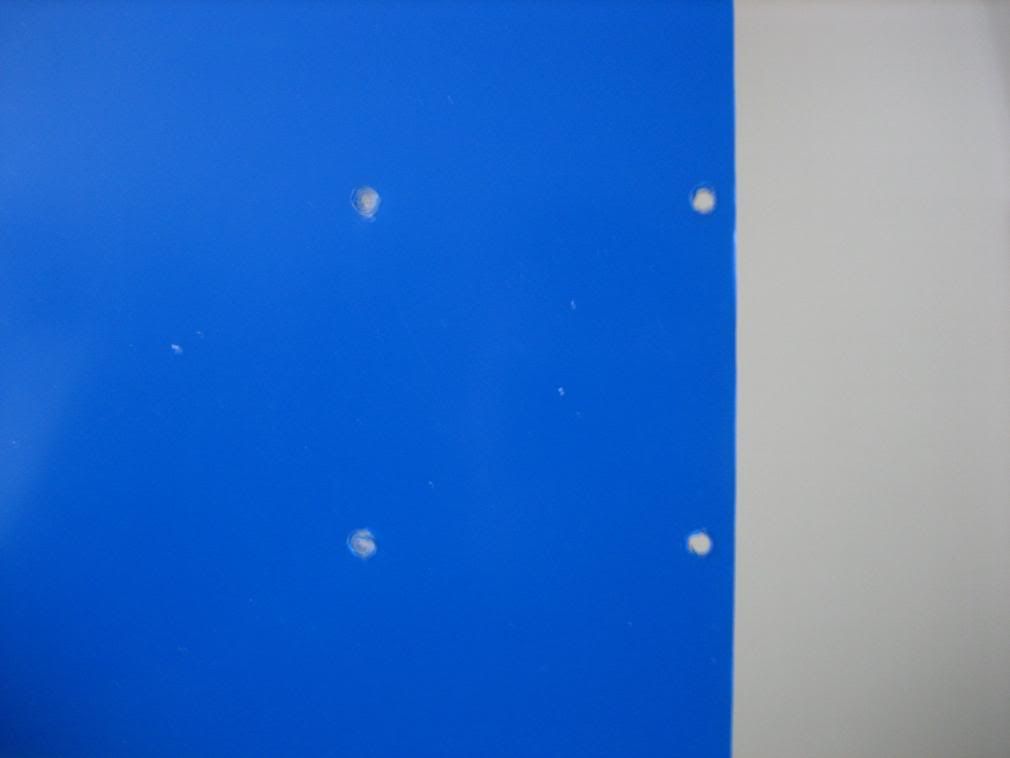
holes for psu
Rather elaborate technique to make up for my lack of a drill:
bend a coat hangar straight
heat one end over a stove
press against acrylic
repeat
scrap hole with knife, to enlarge enough for a screw
they fit!
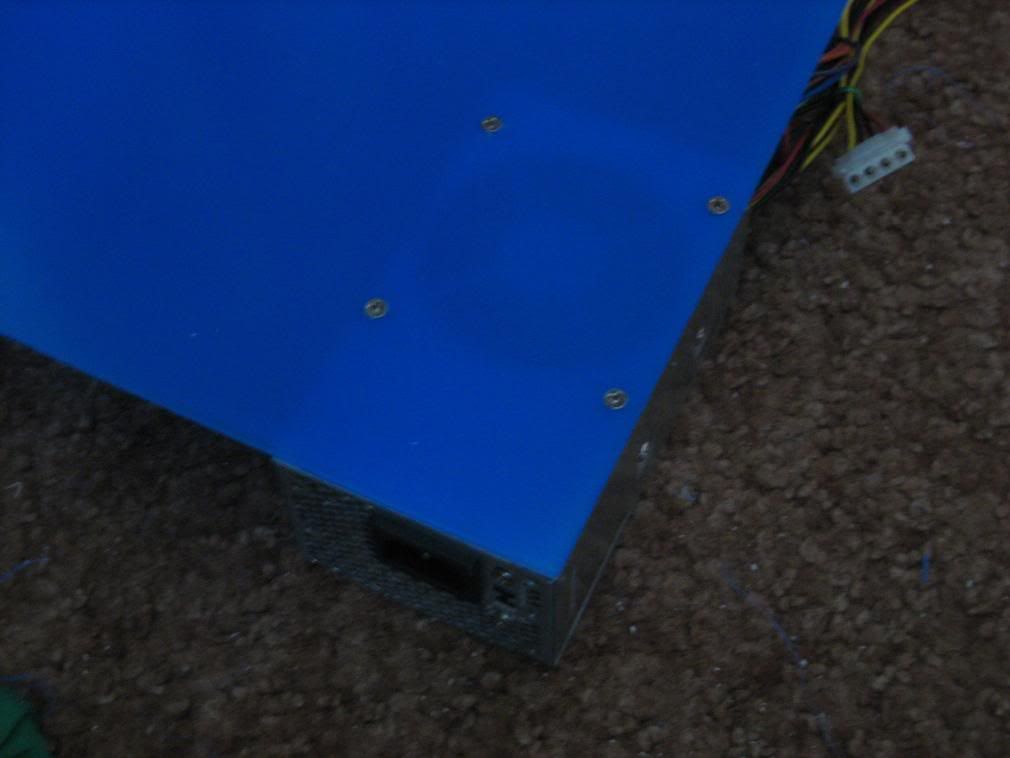
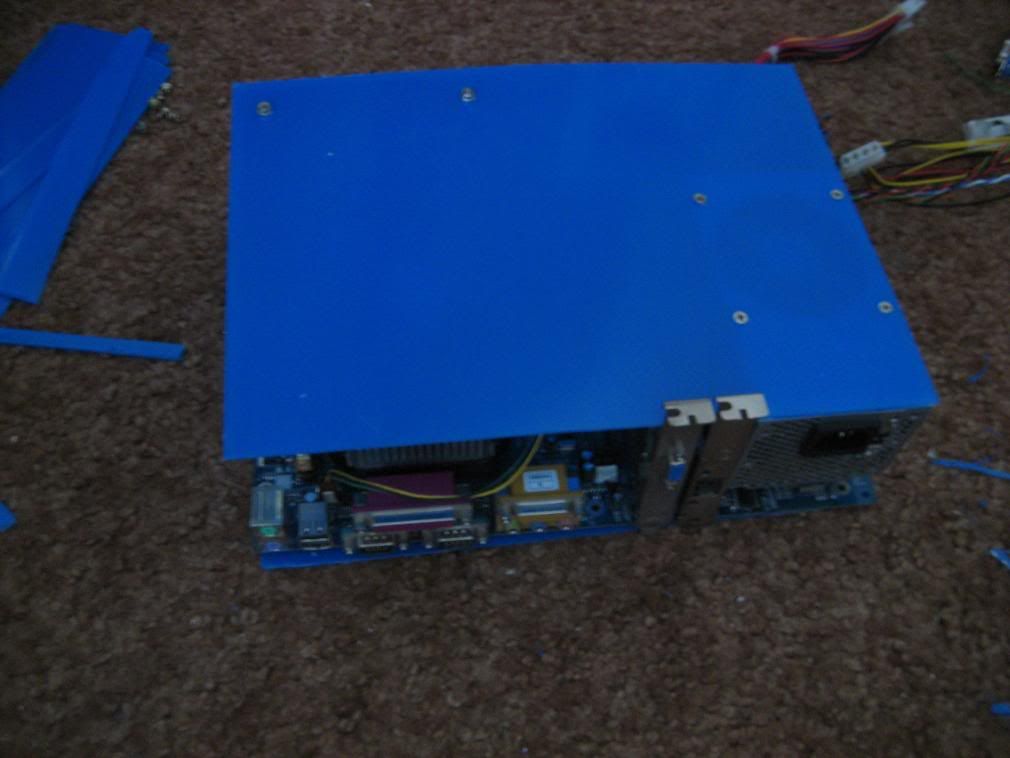
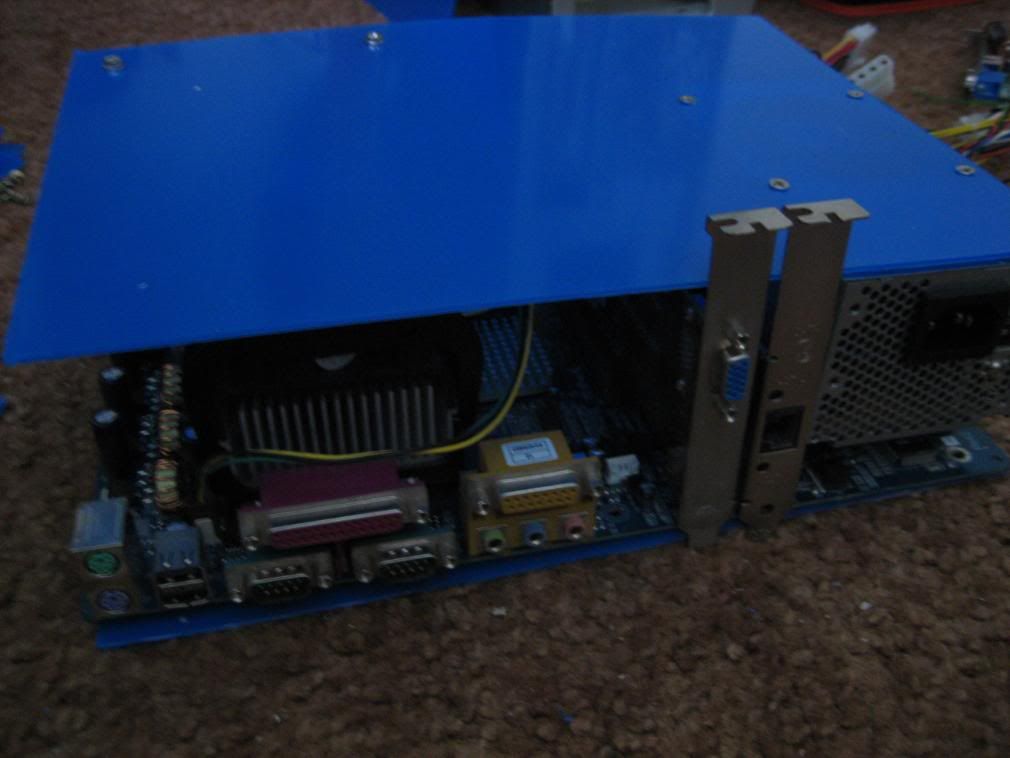
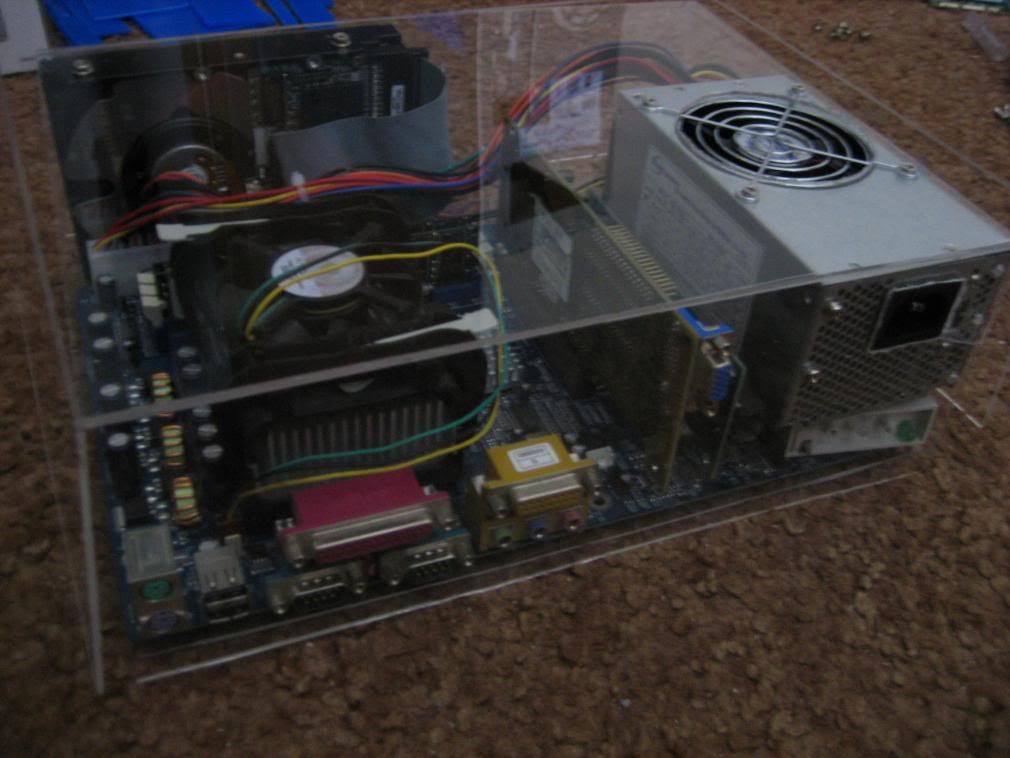
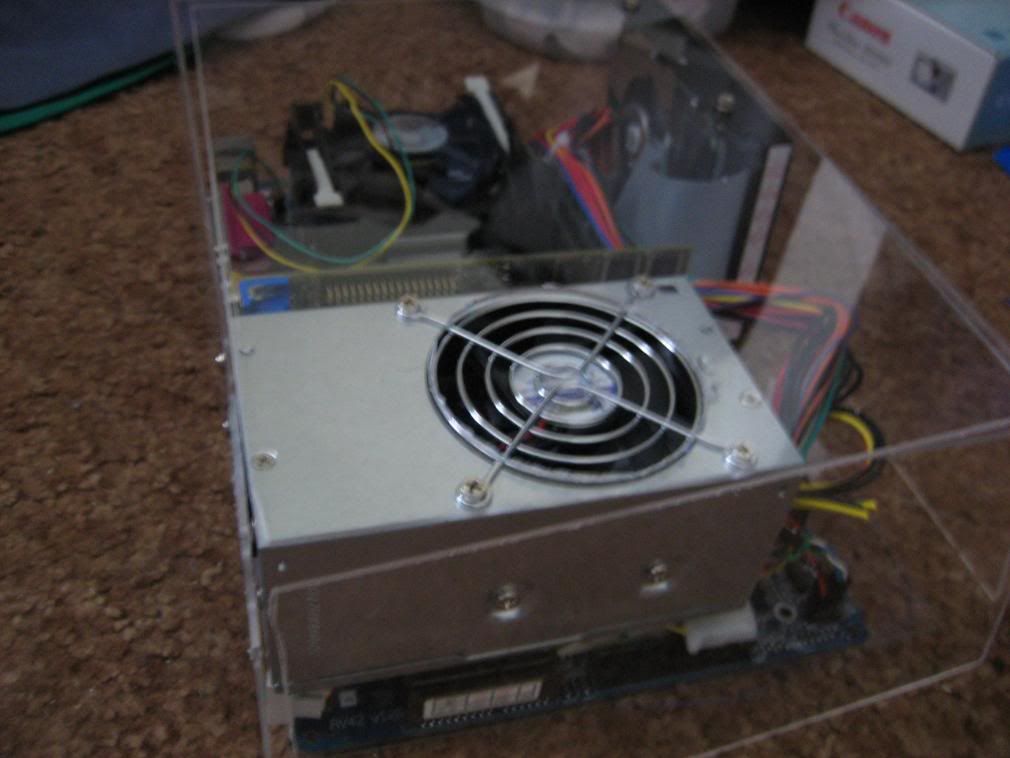
all components screwed in, roughly
closeup (Notice the bend in the top piece. This is because the psu is currently sitting on the mobo. It will be supported by the side piece to provide a 1/2 inch clearance, allowing some airflow)
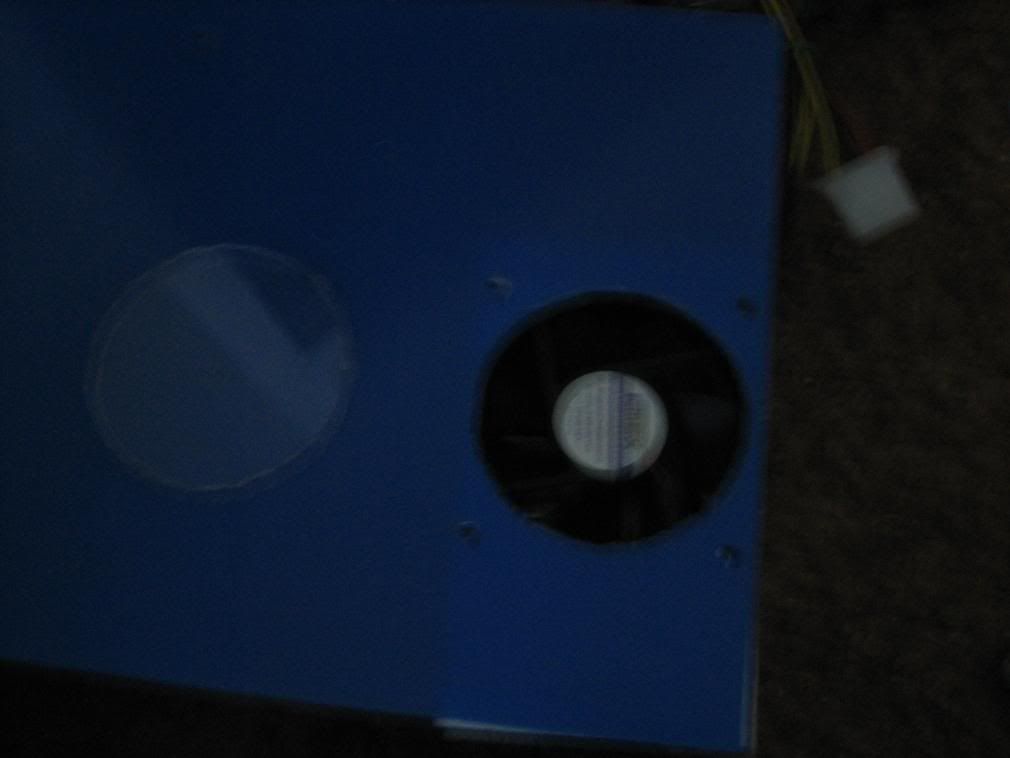
hole for psu fan
How I made the gigantic hole for the fan:
use a trashy exacto knife, or other replaceable blade knife
heat the blade
push through like butter
(note: do this in a well ventilated area)
Warning: the heat will ruin the finish on your blade. don't use a good knife
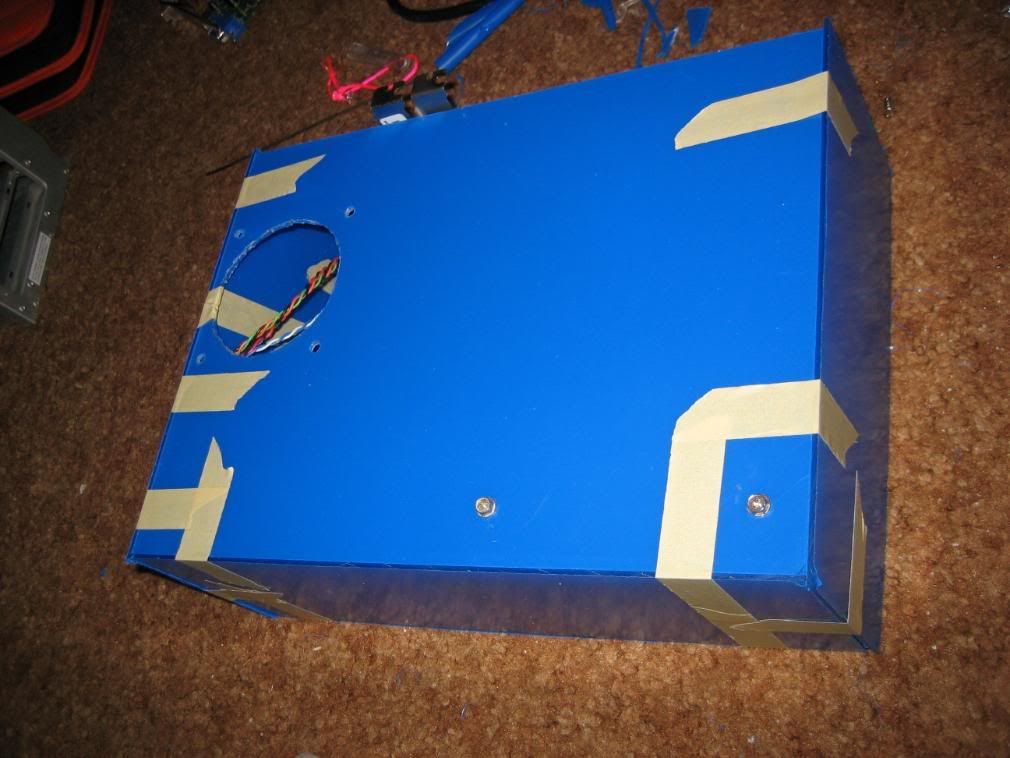
taped together case
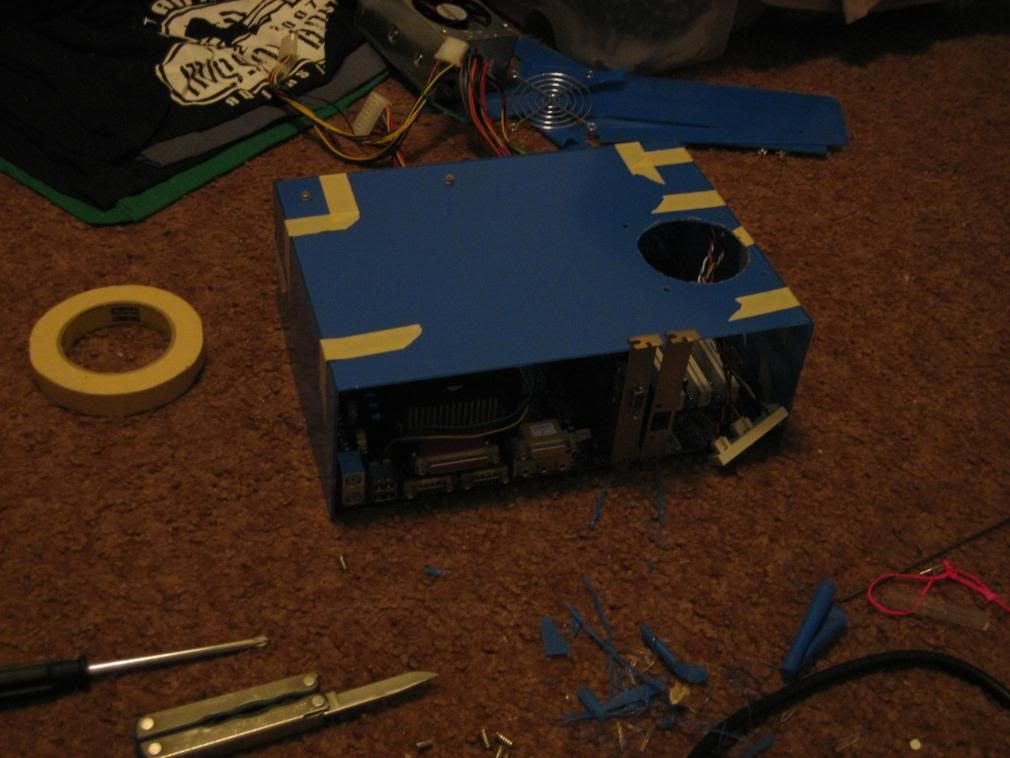
back view of case, with my two main tools in the foreground, a screwdriver and a leatherman
Future:
I'm beginning to like the blue color, so I might paint at least parts of the case blue
actually gluing pieces together (I need to get glue first)
removing scratch guard
cut hole for power button on front
attach the mobo
cut pci metal parts shorter (They are too tall)
sand out the edges (need sandpaper)
I don't plan on putting in any LED, UV,etc, at least at first. I know this is blasphemy, but they seem a bit pointless.
Dimensions:
old metal tower dimensions:
7"*15.5"*18"
new scratch build dimensions:
12"*4"*9"
for people that care, that is just under a fourth of the original volume. Especially in a college setting, that saves a lot of space.
Definitely looking for comments and suggestions, as this is my first attempt at modding
-
Re: Mini Scratch Build
Dude, I have to give you some serious +rep. Damn! I thought I was trying to do something with only nothing (atleast compared to some of the great modders...no mill, no sick tools just drill, hand tools, and dremel) but you have really set the bar.
This is like the freaking MacGyver mod. I freaking love it! Just fricken awesome. I would never have the balls to try that without atleast a drill. Damn dude.
Clothes hanger + Stove FTMFW!
Keep it up I cant wait to see how this turns out in the end!
Edit: Just realized you were new here to TBCS. Well, Welcome. Stay awhile, take a look around at some great mods by great modders! And most of all, have some fun dude!
-
Re: Mini Scratch Build
Wow man. Lotsa rep for tool ingenuity. Welcome aboard the TBCS!
-
Re: Mini Scratch Build
Now THIS is modding! Hell yeah man, keep it up!
Oh, and have some more rep too!
-
Re: Mini Scratch Build
ok that's awesome. I really dig this build for the McGyver look of the modding. Also c'mon the mans got a leatherman.... a LEATHERMAN people. We are lucky he doesnt take over the world with that thing.
P.S. I carry one in my pocket also...
-
Re: Mini Scratch Build
thanks for the support. I didn't originally intend this as a macgyver build, I just wanted to scratch build a case with whatever I had on hand.
updates:
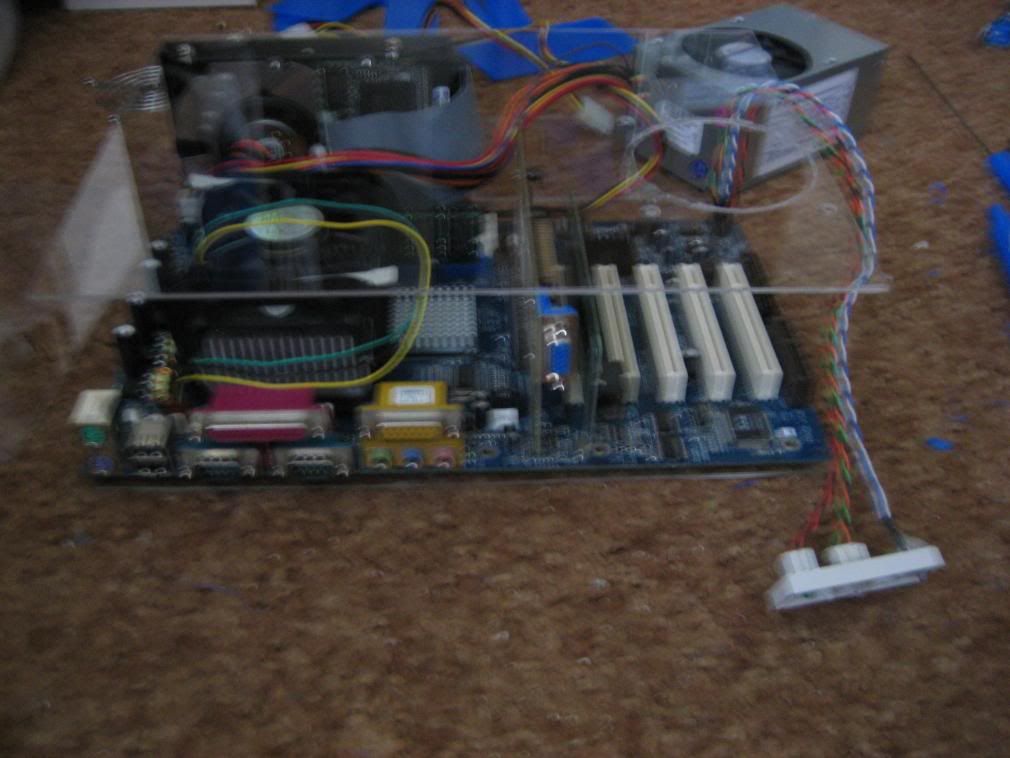
I removed the scratch guard to see what it looked like, and so I could actually see what the wiring would look like
more construction pics:
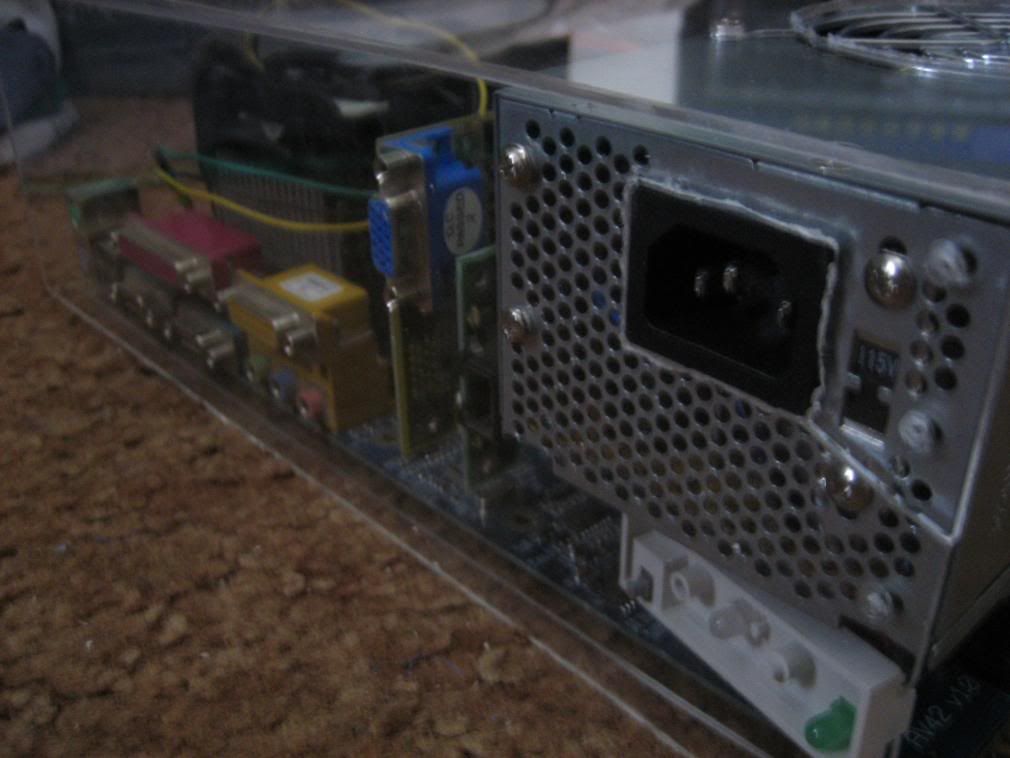
note the removed faceplates for the pci cards
with the backplate started
close-up of the backplate (with a crack in it, I got impatient)
general view
future steps:
wire sheathing? possibly for 20 pin atx, 4 pin molex, and cpu fan
finish backplate: including holes for power switch, vga out, lan, onboard mobo out
cut hole for cpu fan through top, and build a tunnel/cylinder to direct air out
gluing pieces together, when I get glue
paint job?- suggestions/opinions?
turn into a fish tank (jk)
-
Re: Mini Scratch Build
That's awsome! Way to use the tools you have.
-
Re: Mini Scratch Build
Wow man nice build have some more rep
-
Re: Mini Scratch Build
Moved this to the works in progress section. Keep up the good work weazel!
-
Re: Mini Scratch Build
Thanks to all for encouragement, esp sgtm for moving to correct location.
More updates:
Cable management- just ordered 3 ft cable sleeving, 1 round clear ide cable
After a test power on, to check for anything I had broken, I realized something. The nice backplate that I created (which had the nice cutout for the psu cord). This nice piece of work is also blocking all air intake to the PSU. Note to self. FIX IT before it BURNS.
I also dug a silver 80mm fan out of my box of random parts. I plan on putting it on the front corner, blowing inward. For total ventilation this means: psu grill on back, soon to be open, psu fan on top, blowing out, various openings on mobo ports, fan on front, blowing in.
The cpu fan is blowing downward, so some of that air should be escaping through the mobo ports.
My roommate pointed out the finality of glue, i.e. once I seal the case, I can no longer tinker, and you know how much everyone loves to tinker.
The new plan is to use tape, possibly colored. And don't worry, it won't be a sloppy job like the masking tape in the previous photos. I'm thinking more along the lines of a nice even border running along each corner, which will also help to accentuate the box, rather than the current entirely clear state. Any color suggestions?
Current total cost: ~$26 ($17 for plexi, 9 for random)
Soon to come (Hopefully by the weekend): more pics, clearer pics, up and running pic, size comparison pic (I think it even fits inside the original tower)