Update - Finally some progress!!
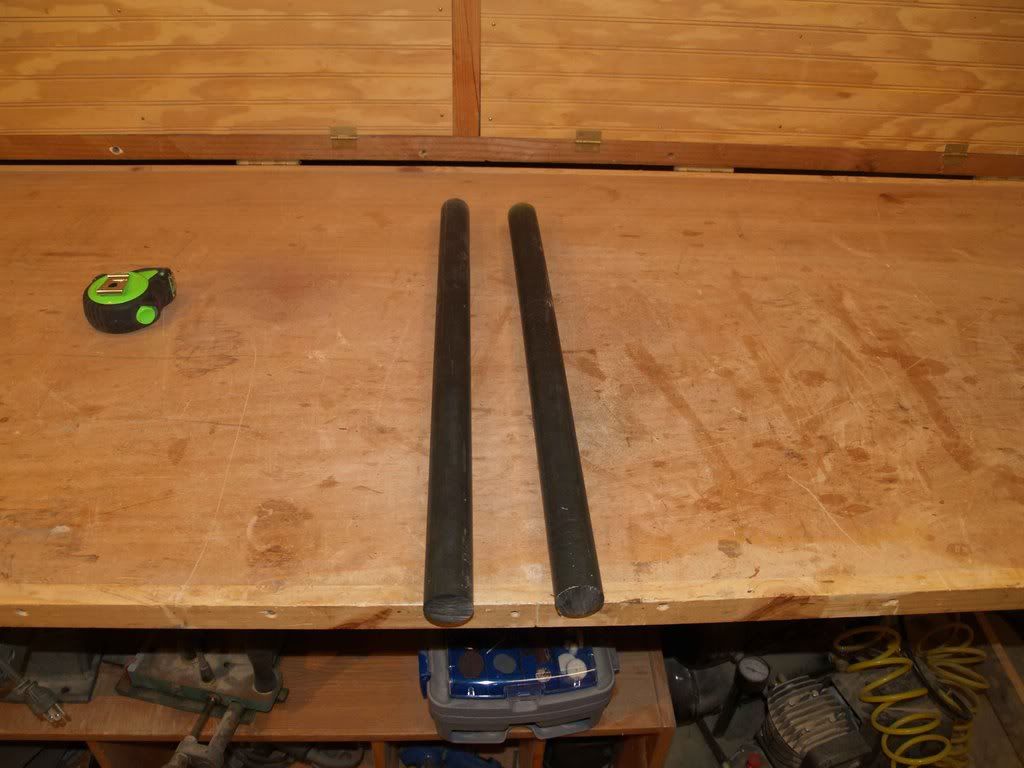
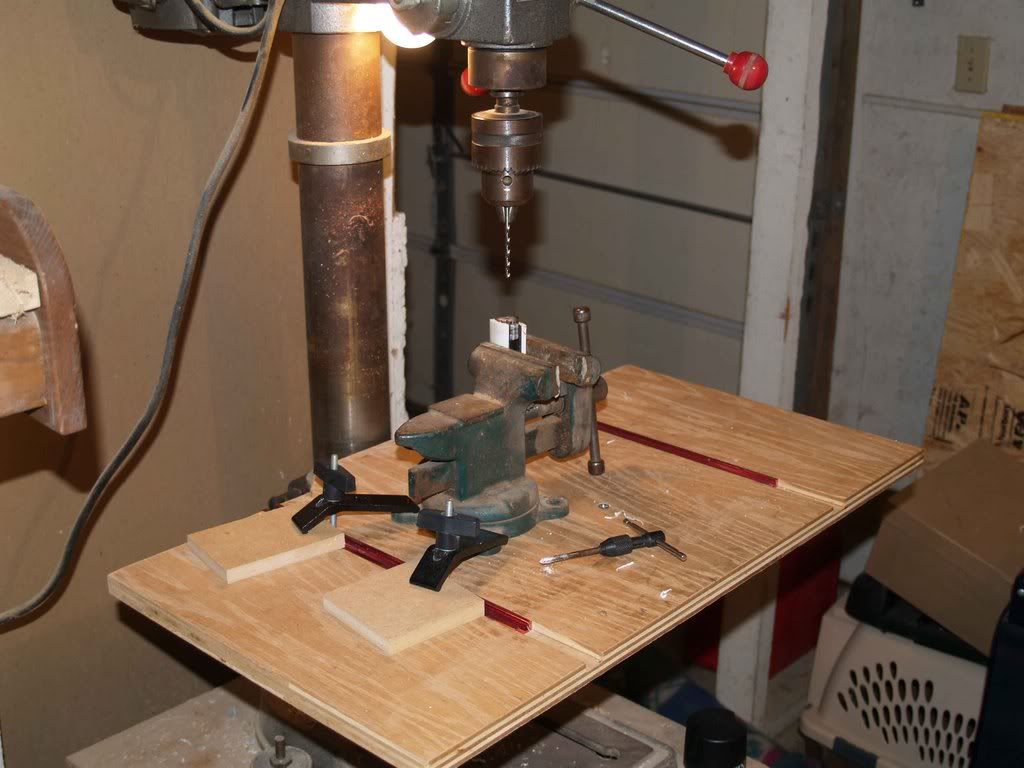
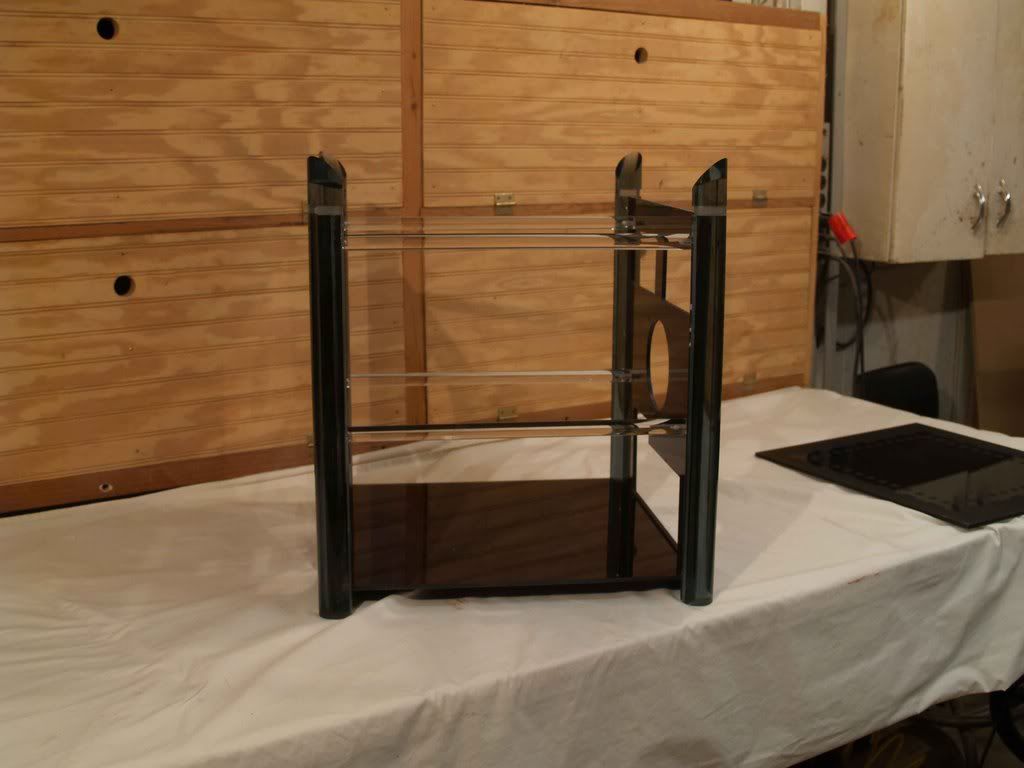
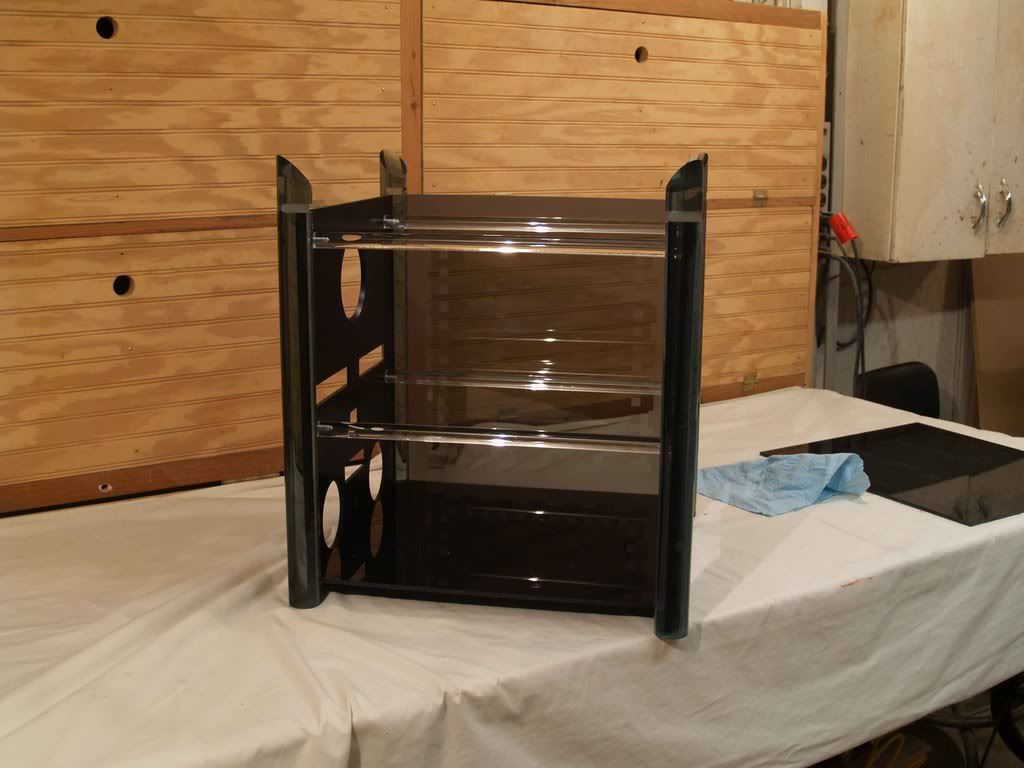
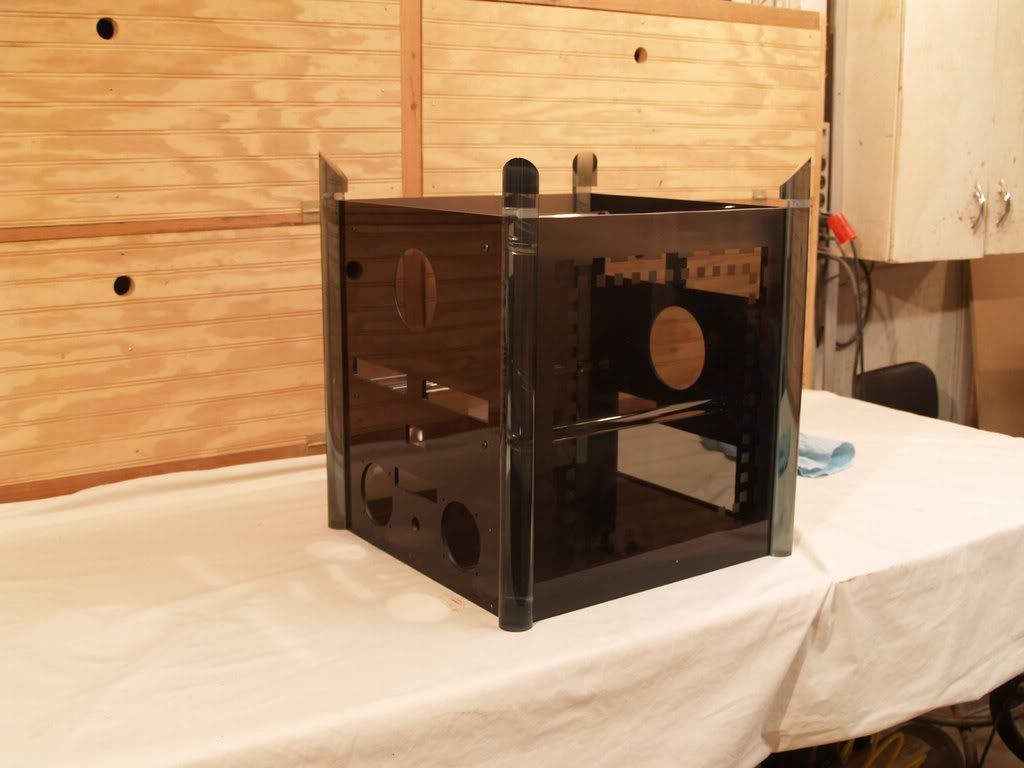
Finally got back to work on this thing, all my parts are in, had a heck of a time finding the tools to machine these large acrylic rods but it's done!
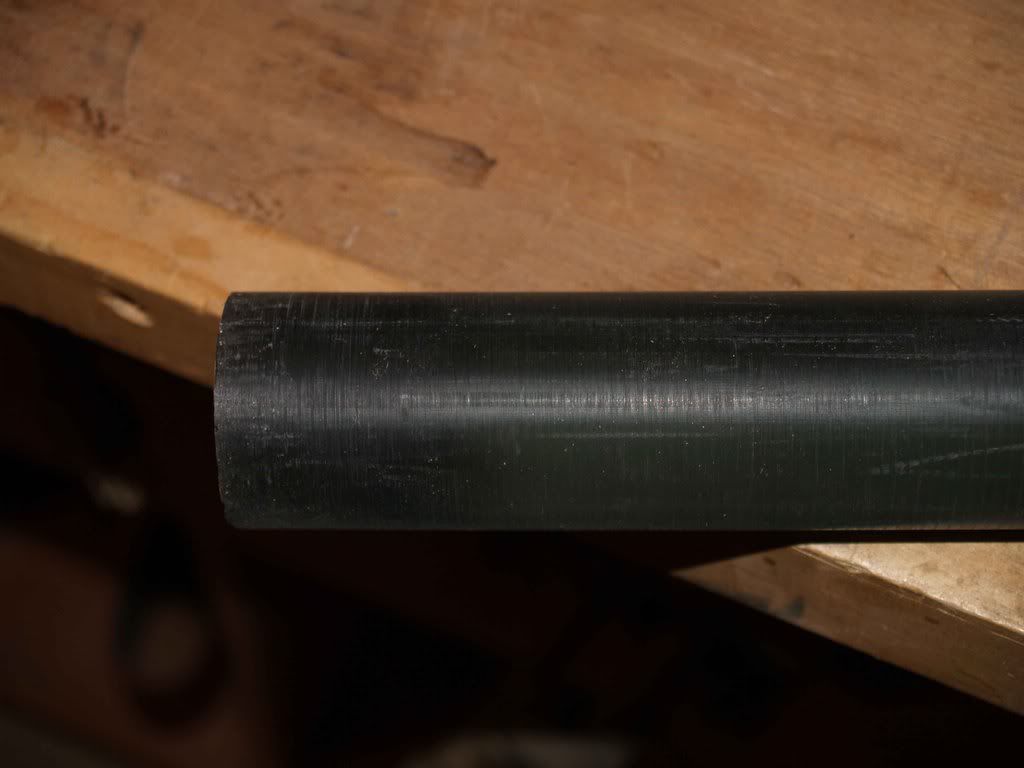
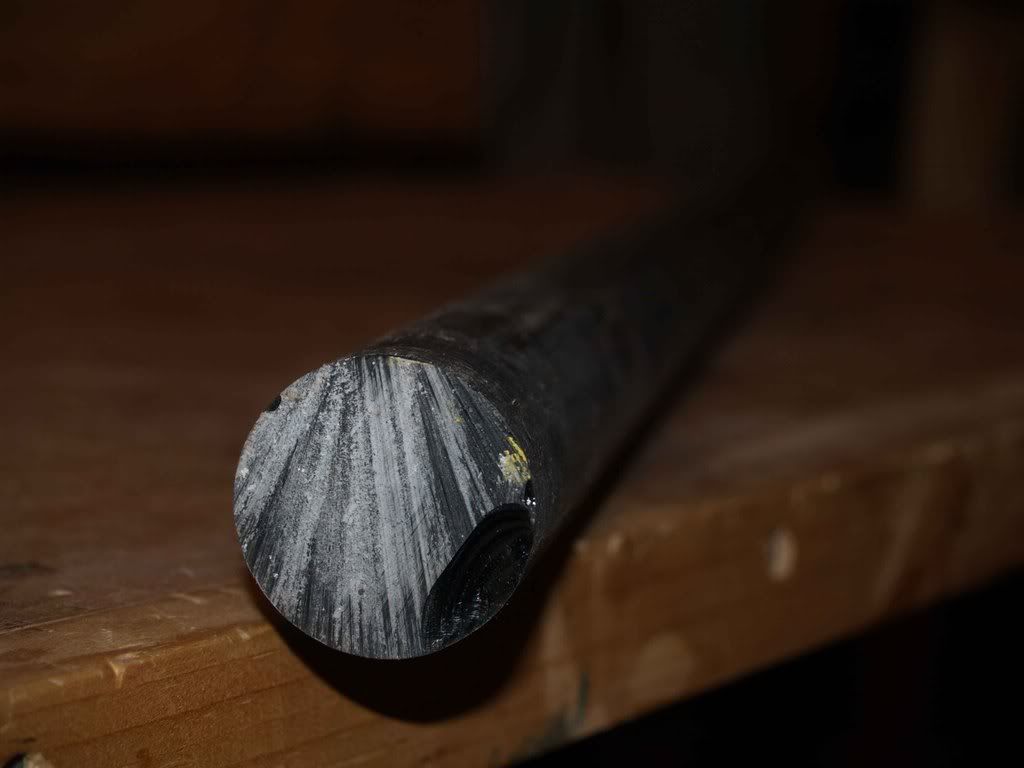
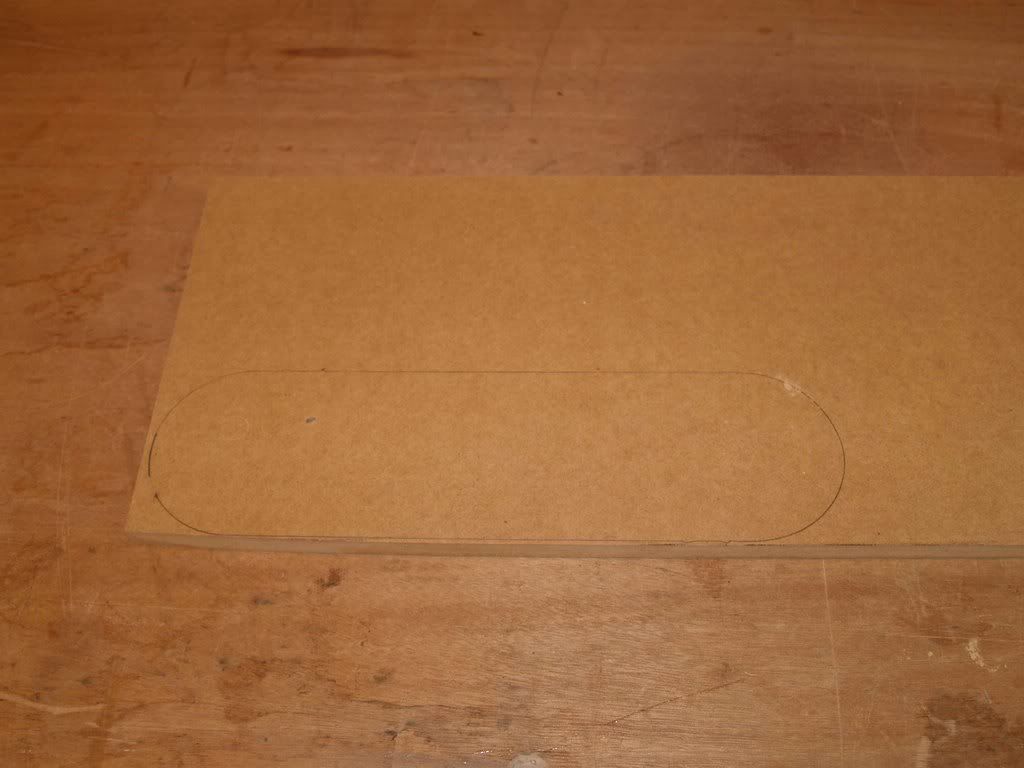
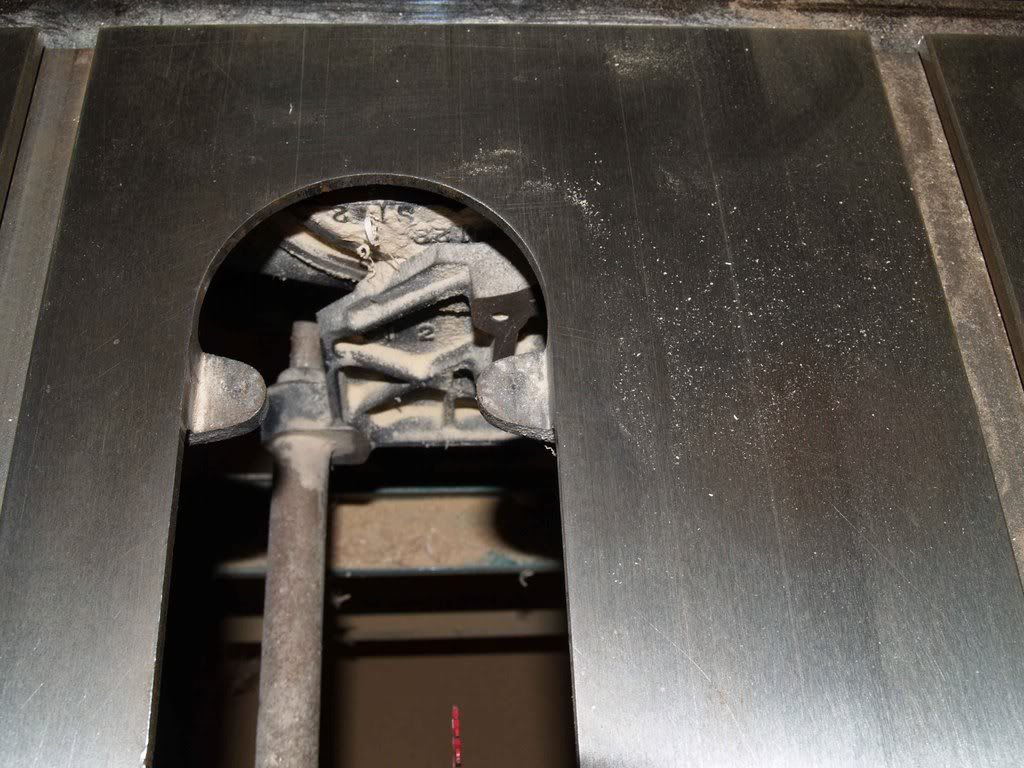
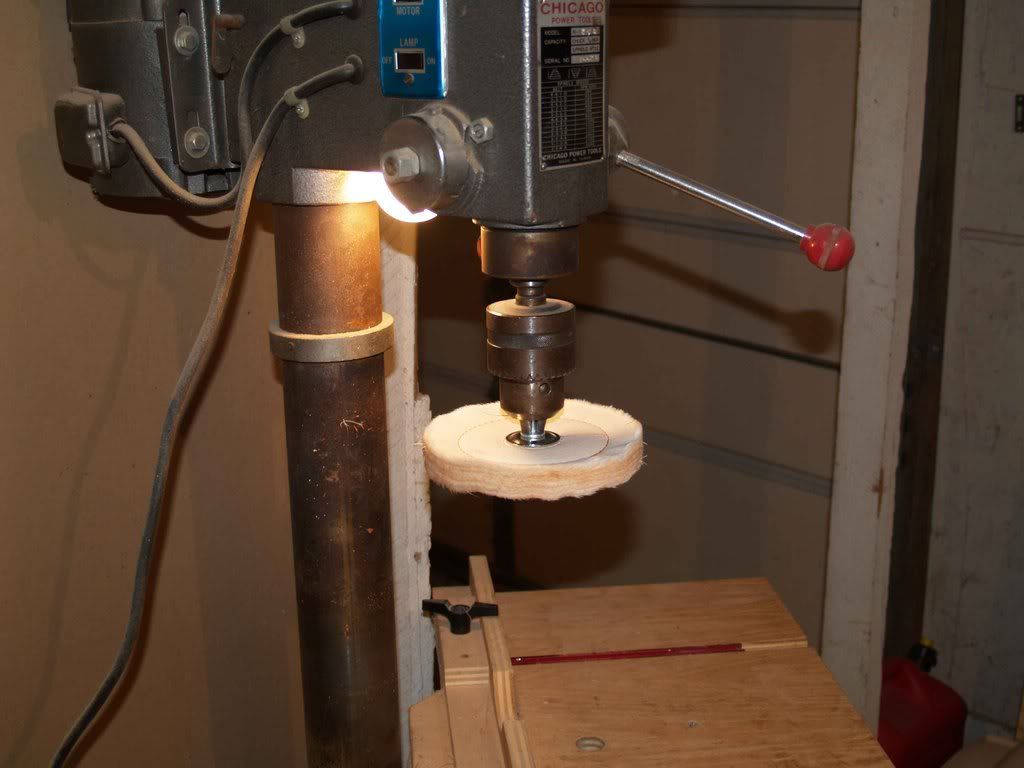
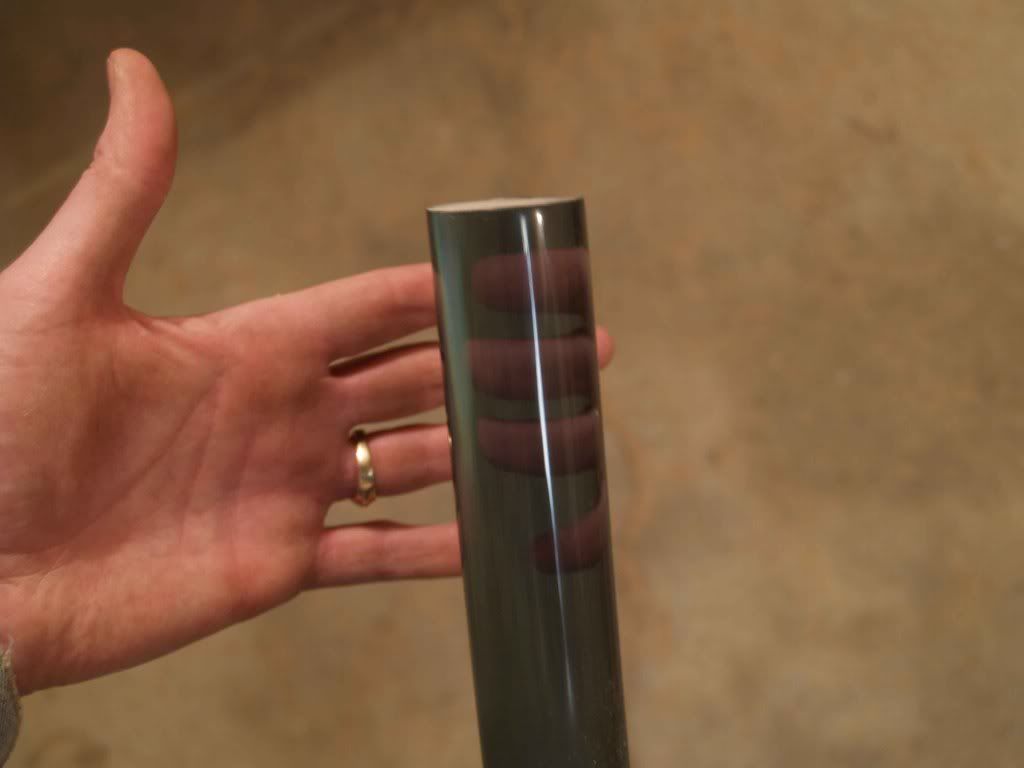
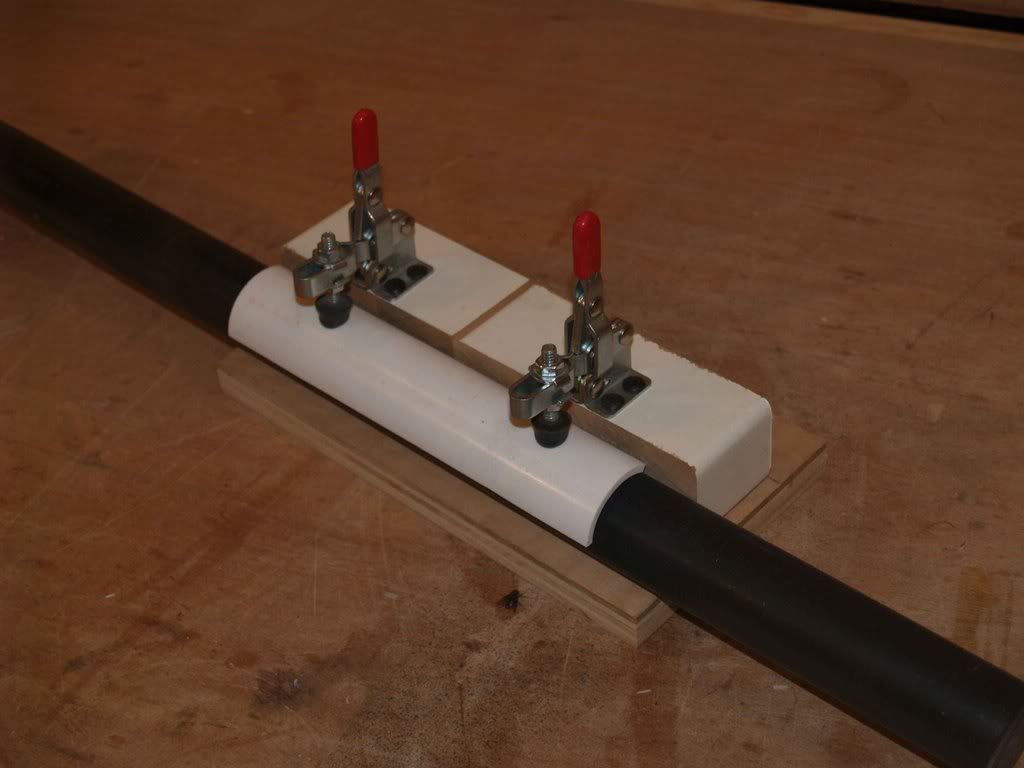
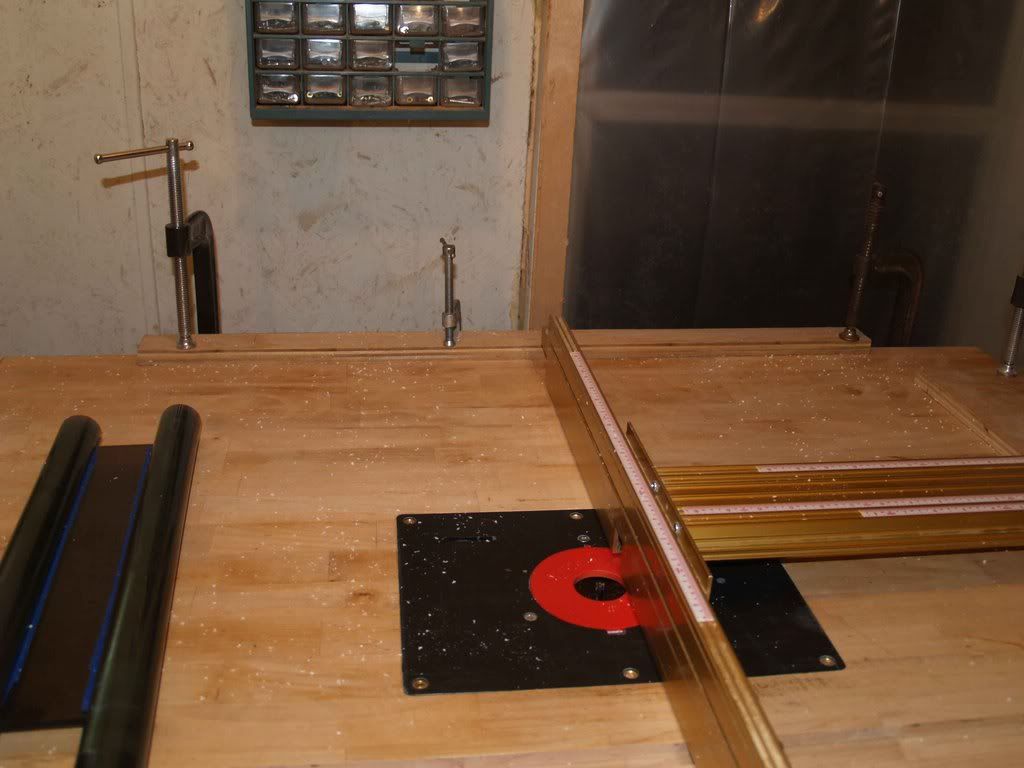
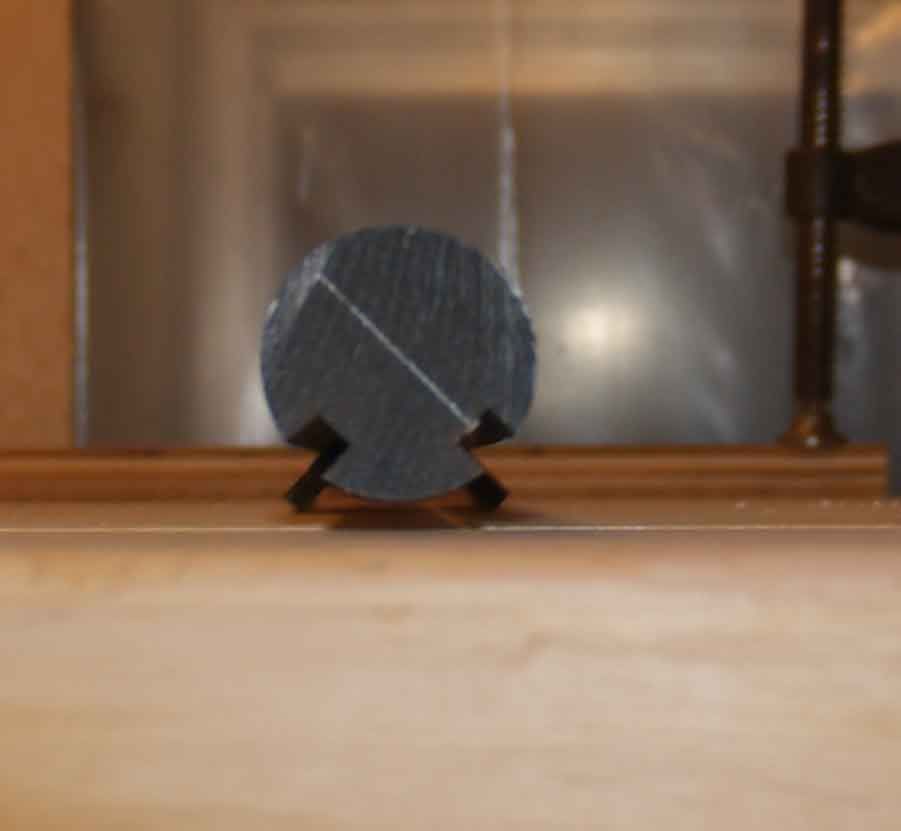
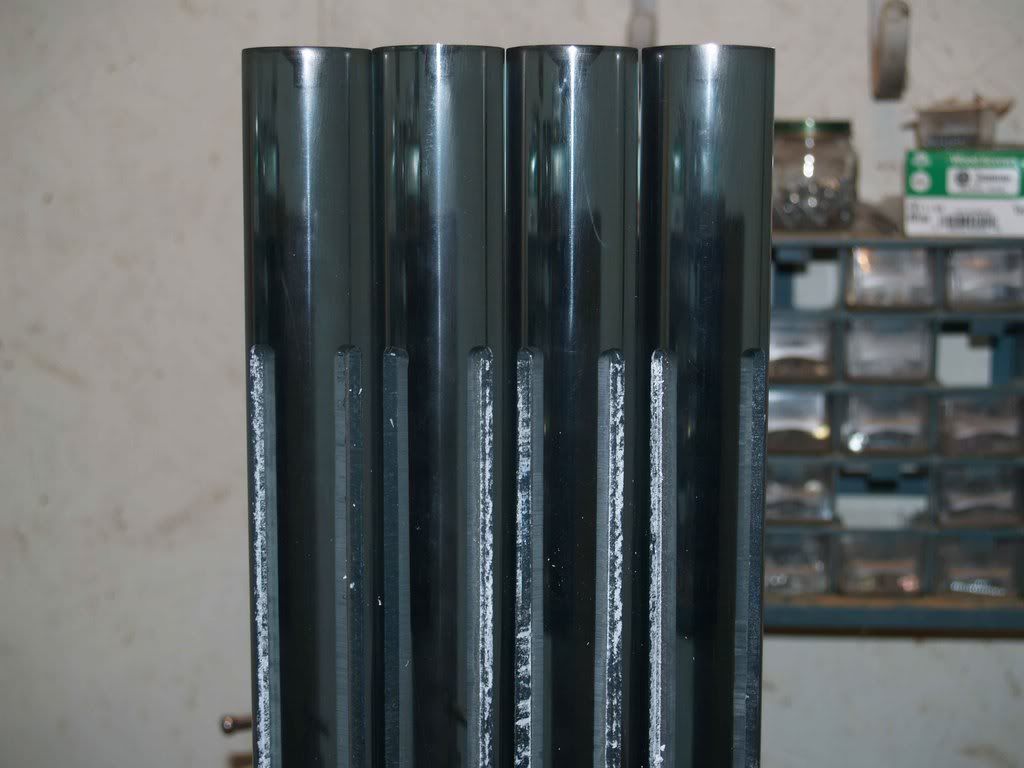
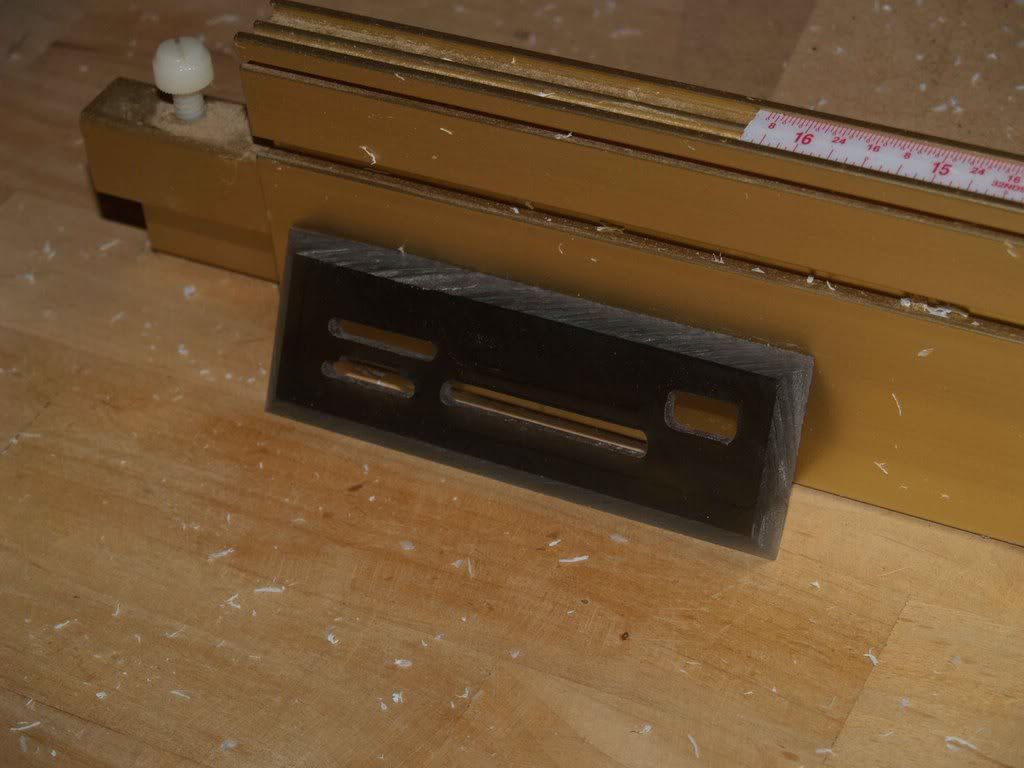
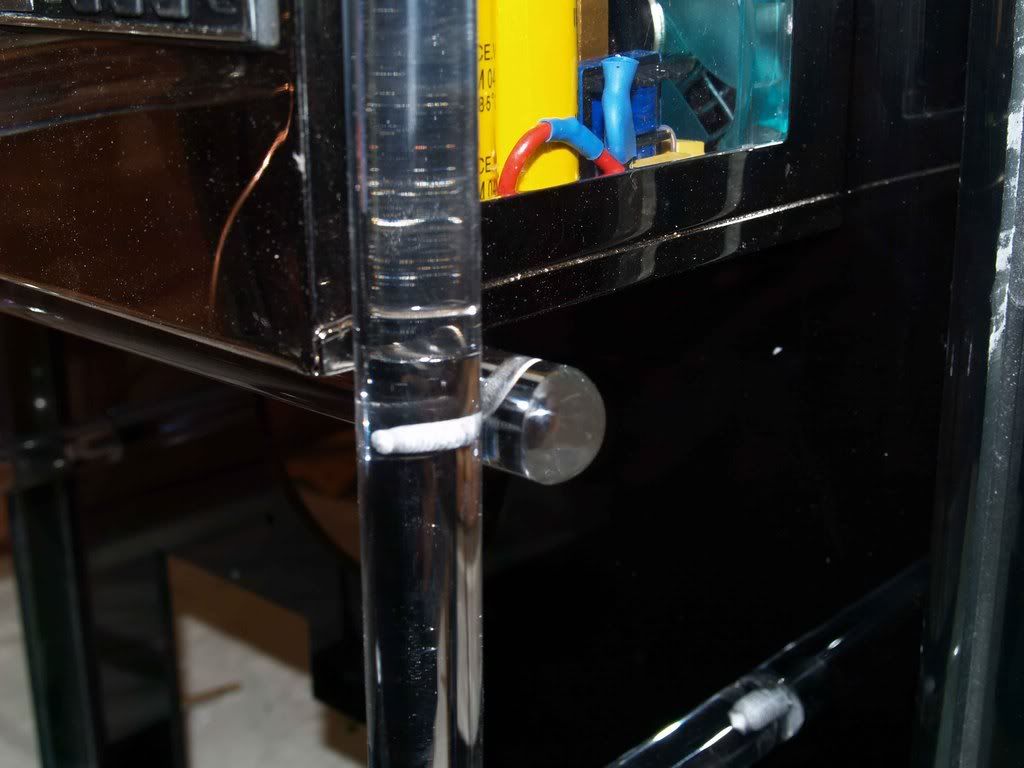
I'll be using four of these vertically as the main support for the case, with a sheet of 1/4" acrylic glued inside a groove in the side of each one. Needless to say, the grooves had to be perfect. Here's a shot of one of them with a single groove.
These grooves couldn't go all the way through the rod, as the tops are going to be visible and polished, so I had to set up a stop block before cutting any of them so they would all be exactly the same length.
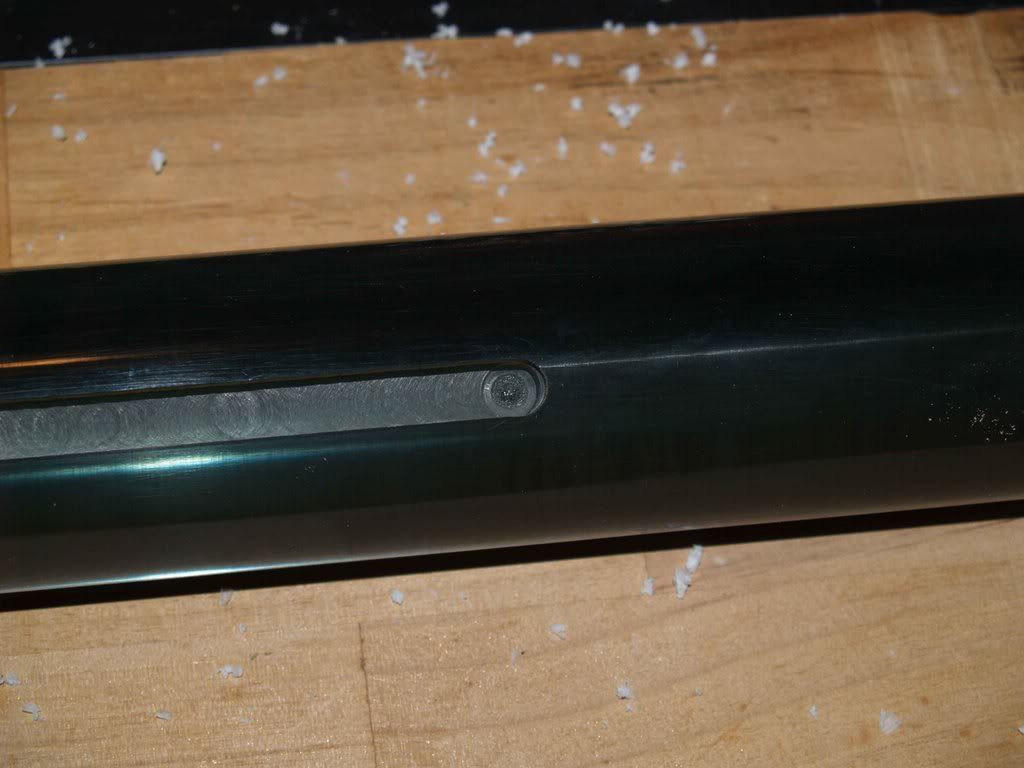
The end of one groove:
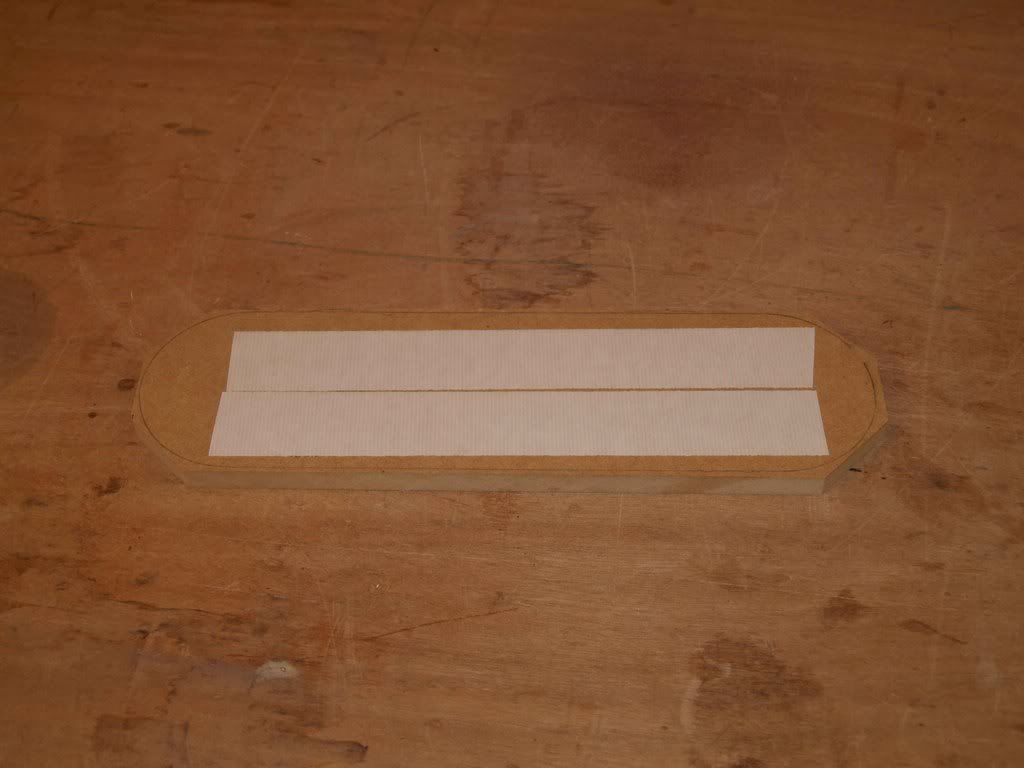
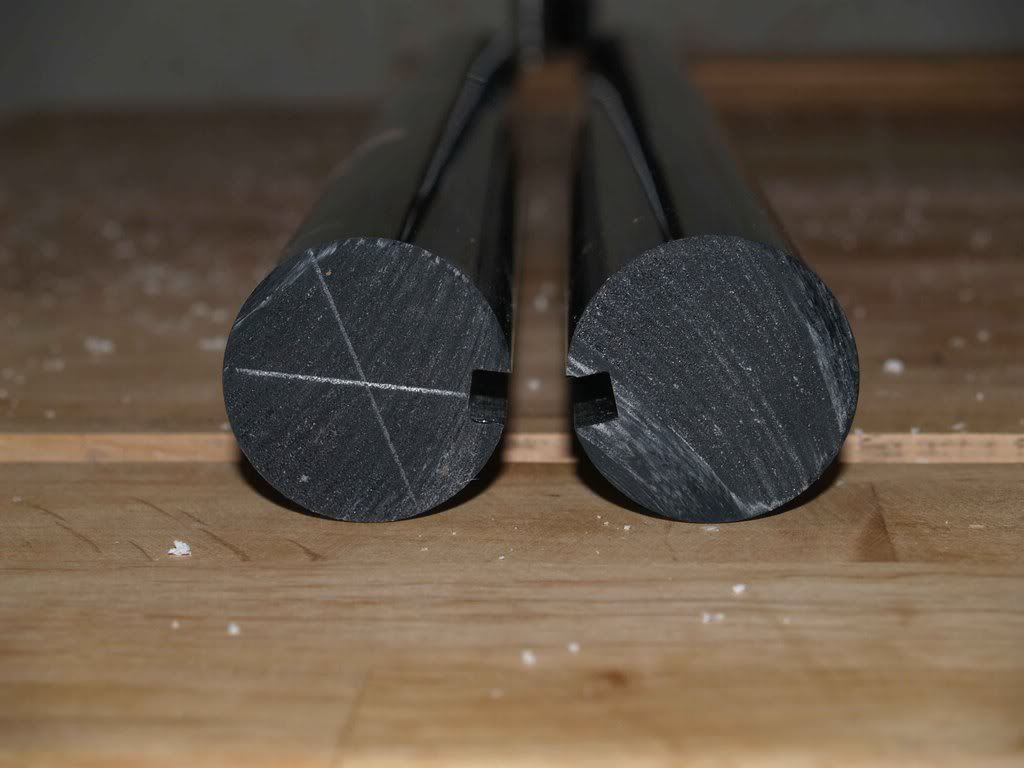
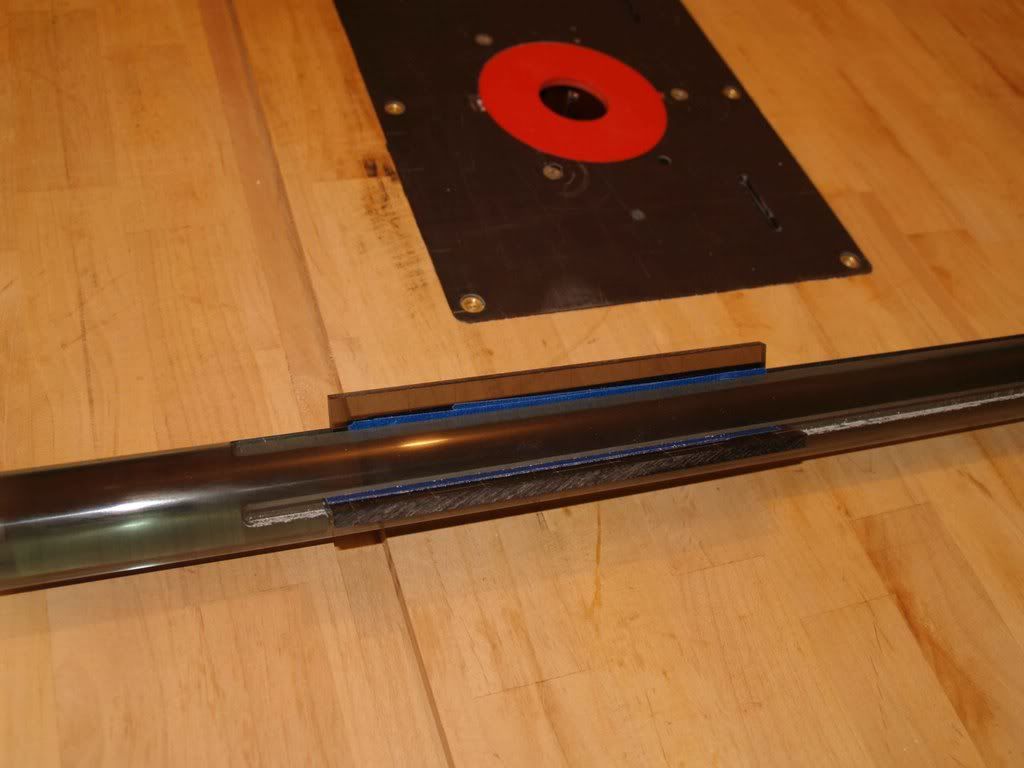
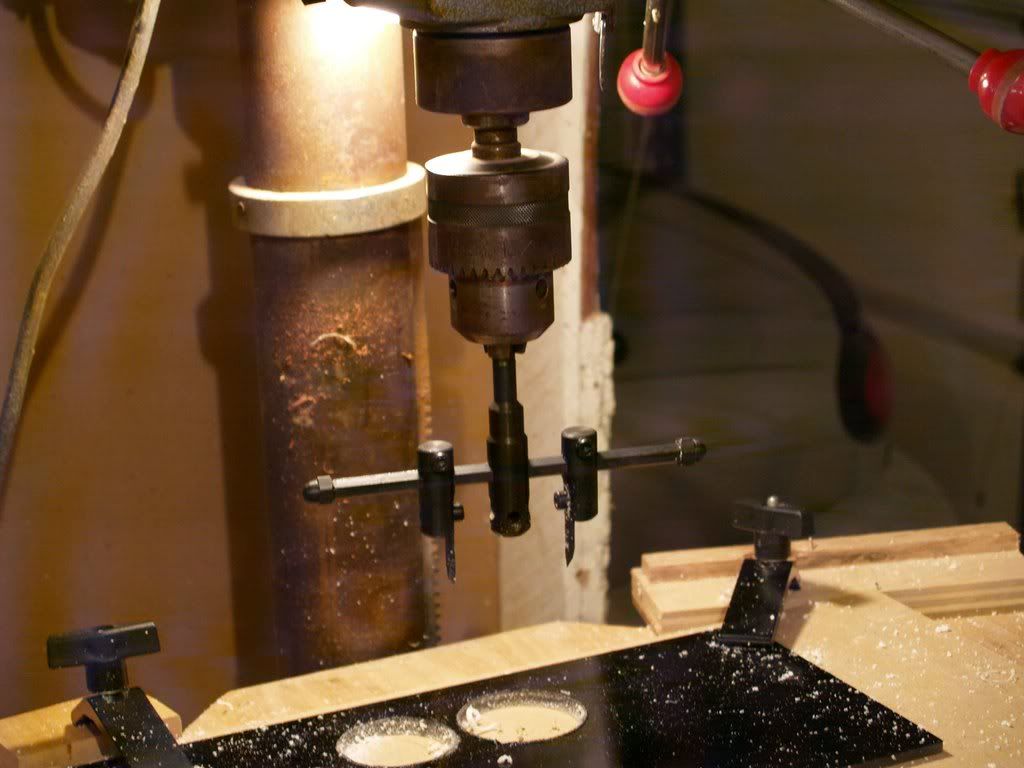
One groove was pretty easy really, but the other groove on each column had to be exactly 90 degrees to the other, since they are corners. How to do that? Found a simple solution:
Set two grooves side by side, connect them with a narrow piece of scrap:
And bingo. Leave them connected like that and run them over the router, the groove that's cut on the bottom is a perfect 90 to the one on the side. :D
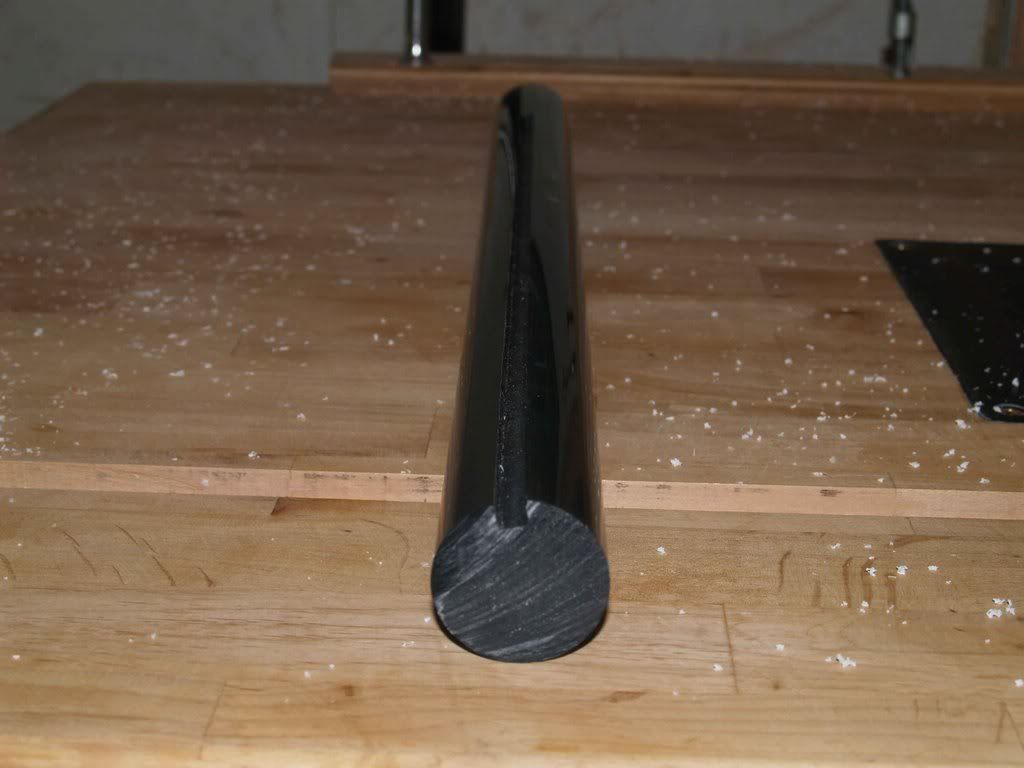
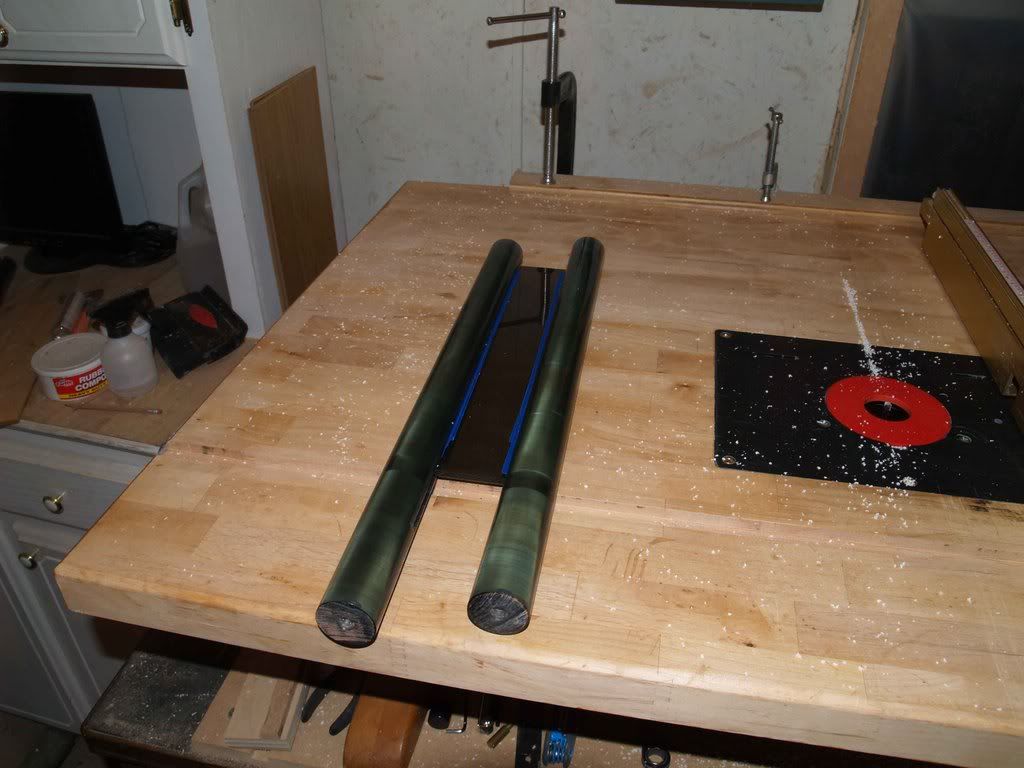
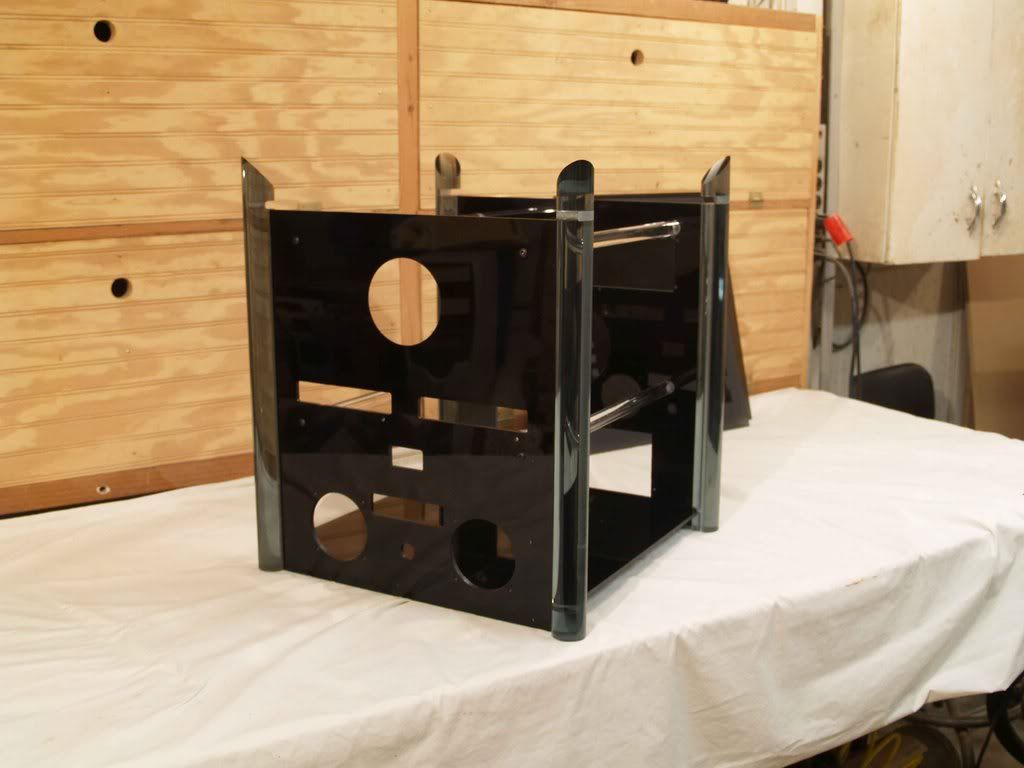
All done:
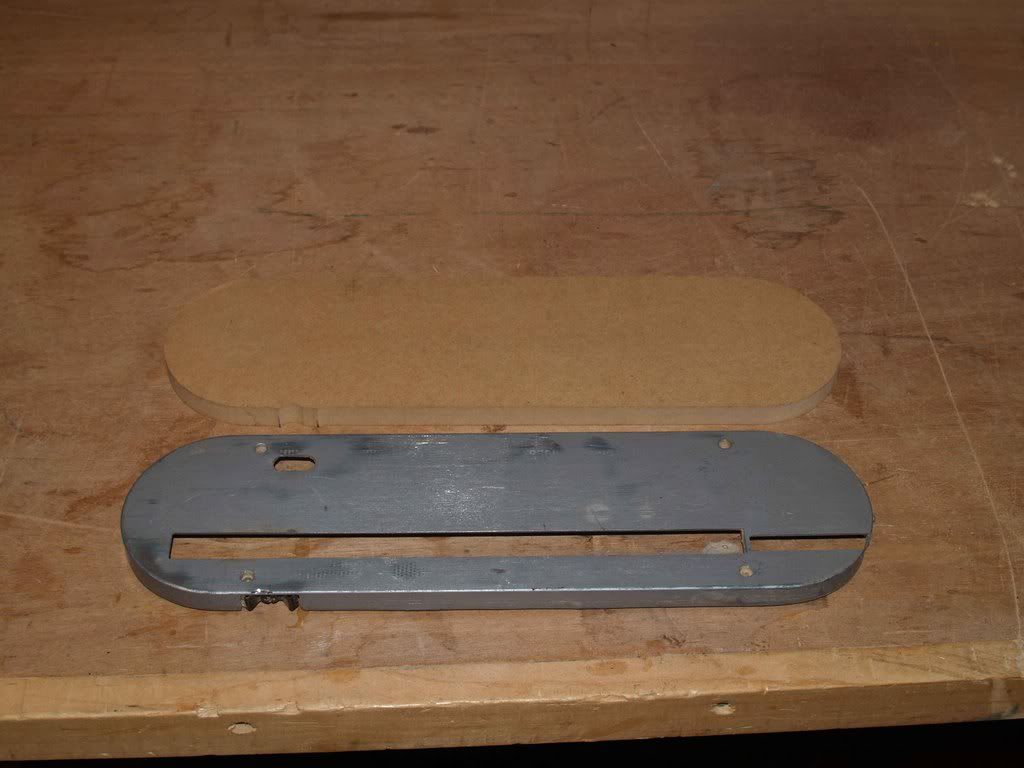
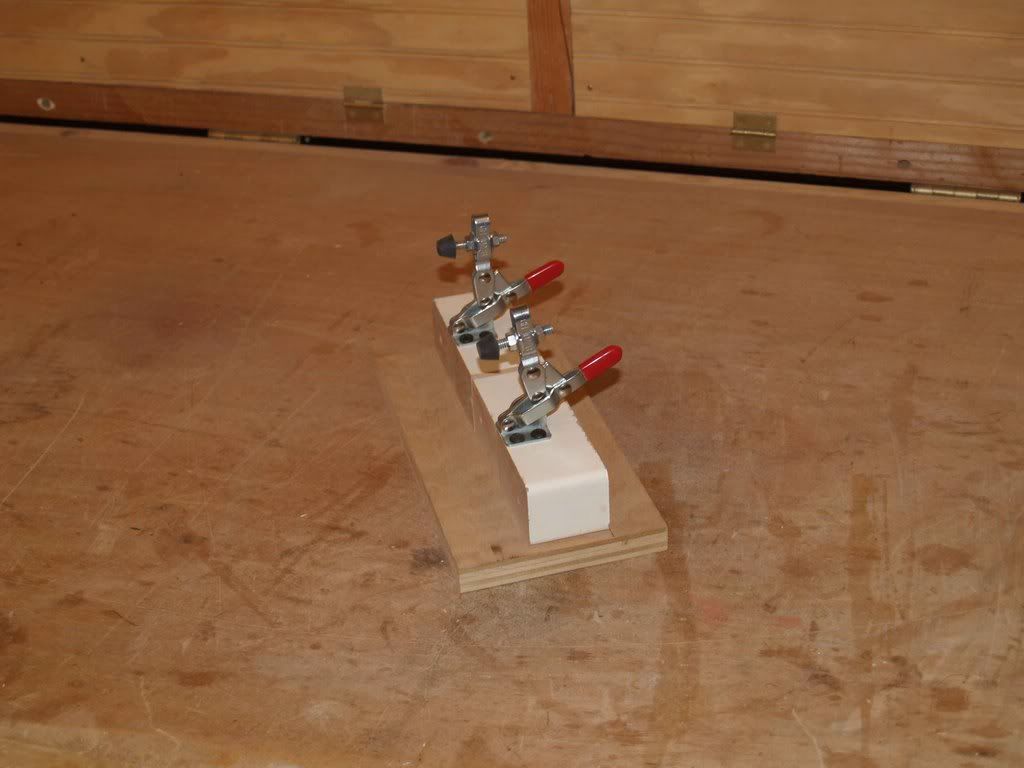
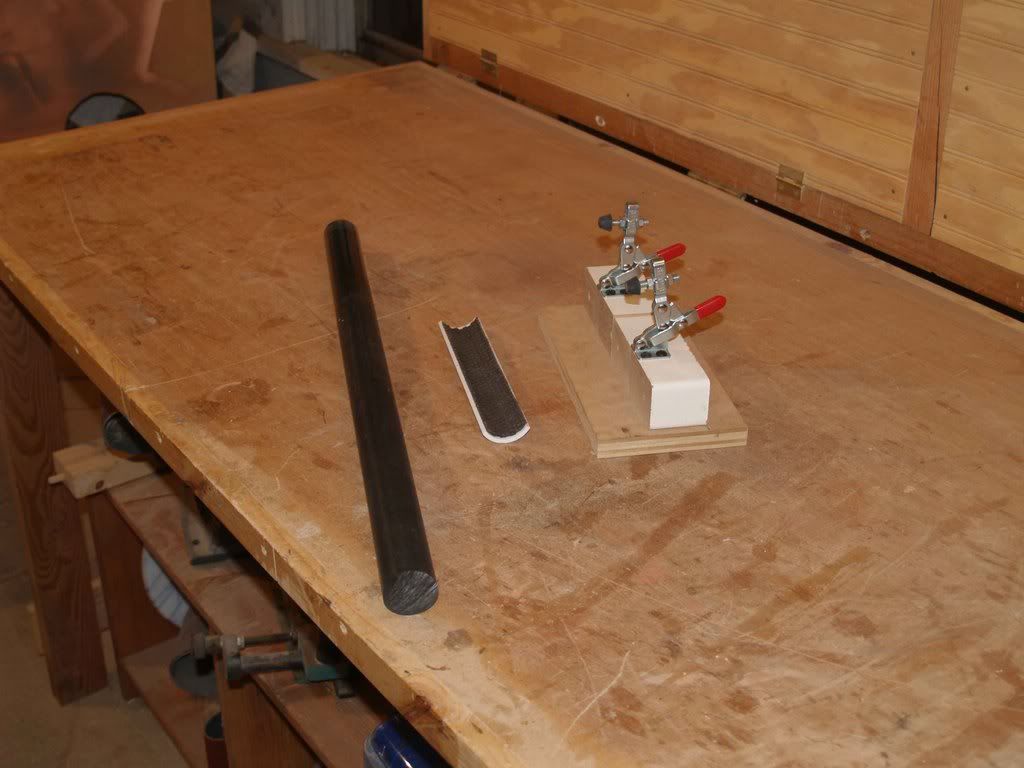
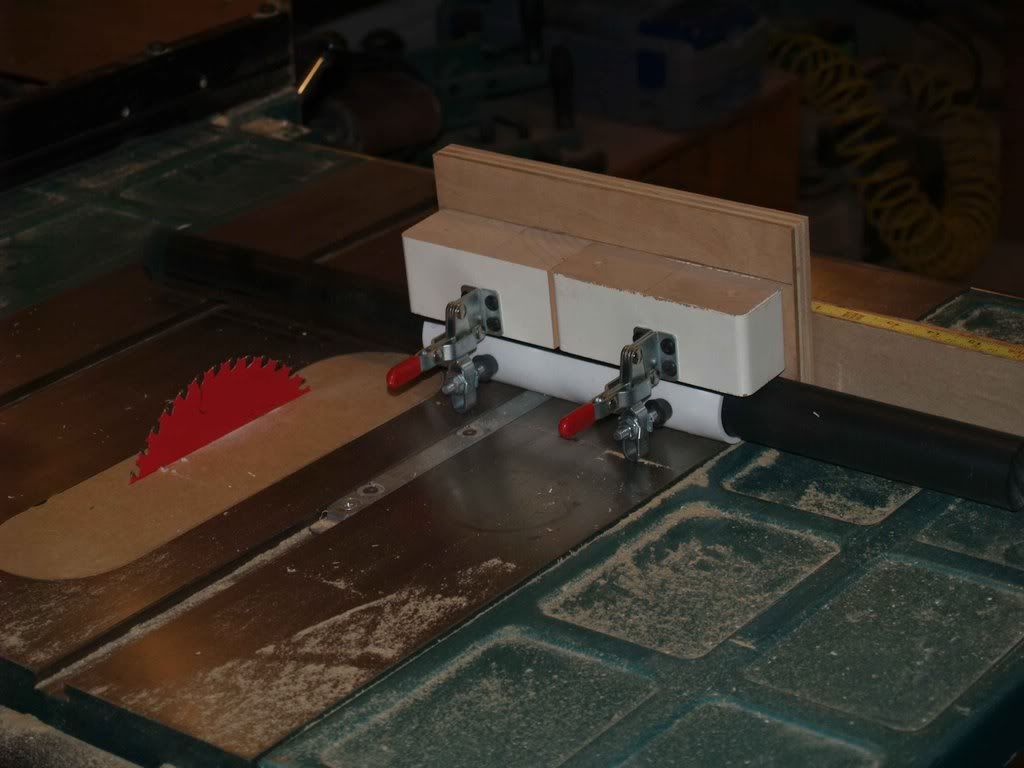
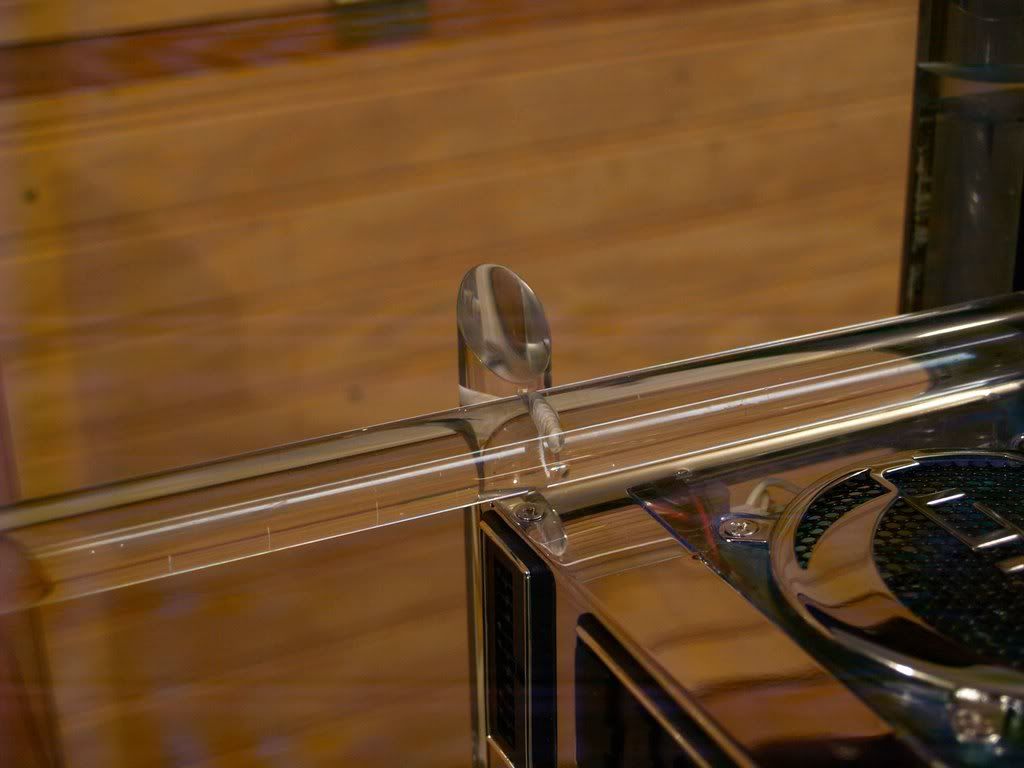
Now there also have to be short grooves *across* the columns for the top and bottom pieces. And they have to be perfectly 45 degrees to the two grooves I already cut. Same method:
Hook two *equally sized* pieces of scrap into the two grooves and set the rod on these pieces. Automatically sets the angle perfectly to 45 to the router bit.
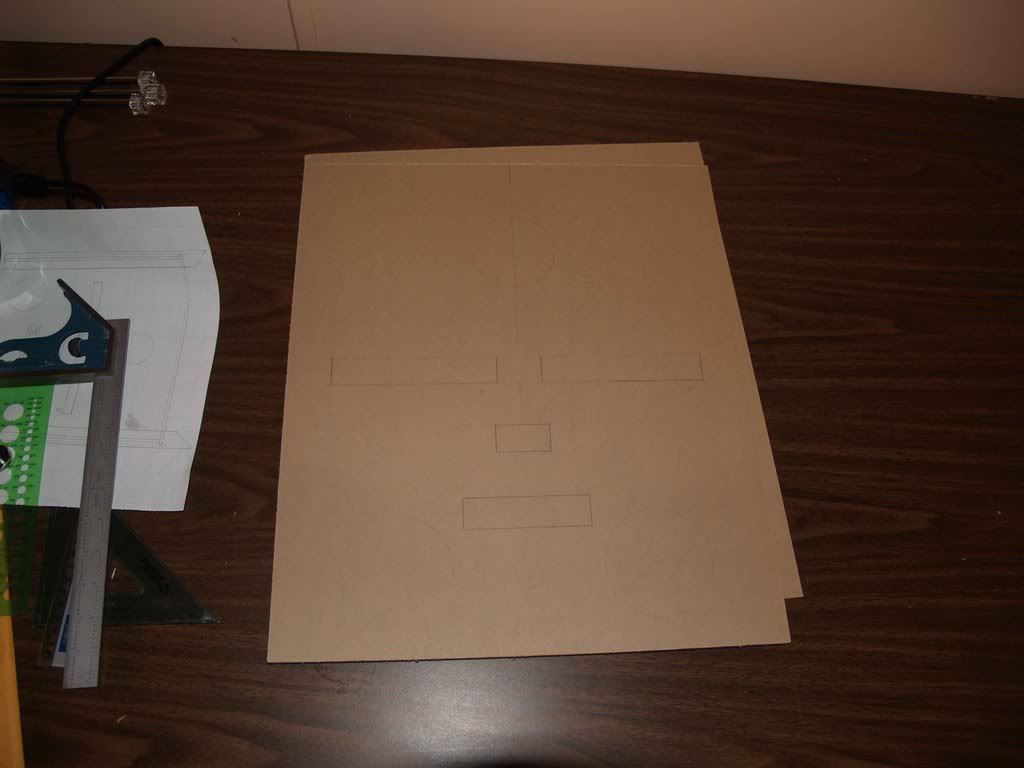
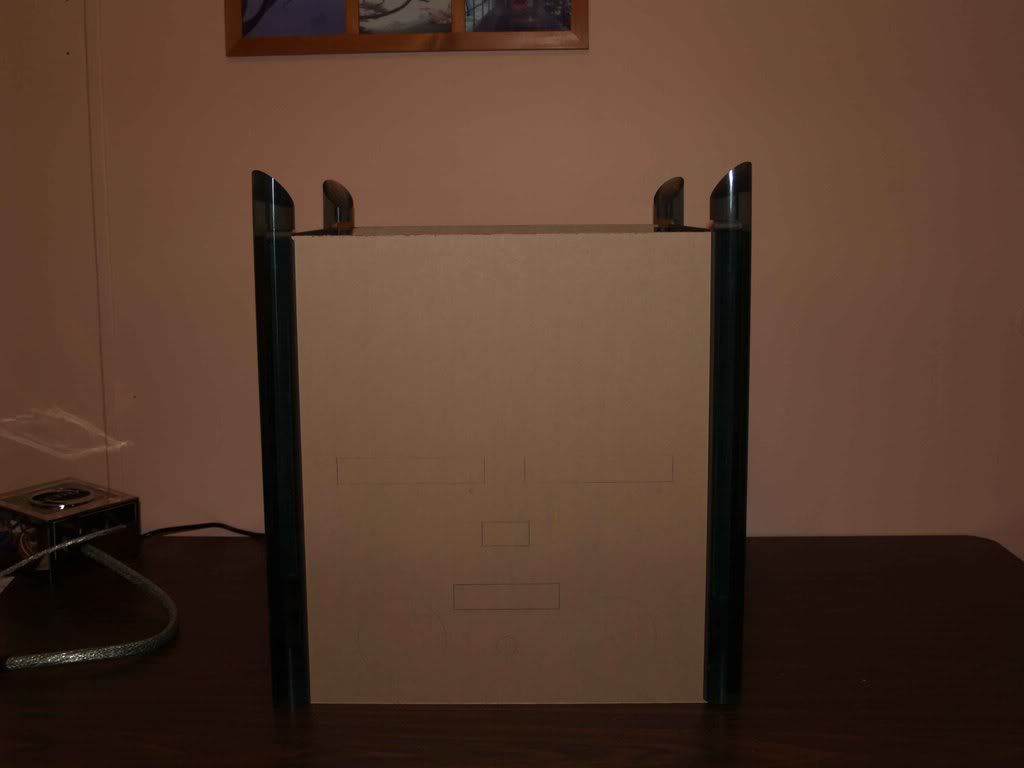
This is a rather poor shot of the front piece with the layout for the holes on it. Ran out of time to actually cut them tonight.
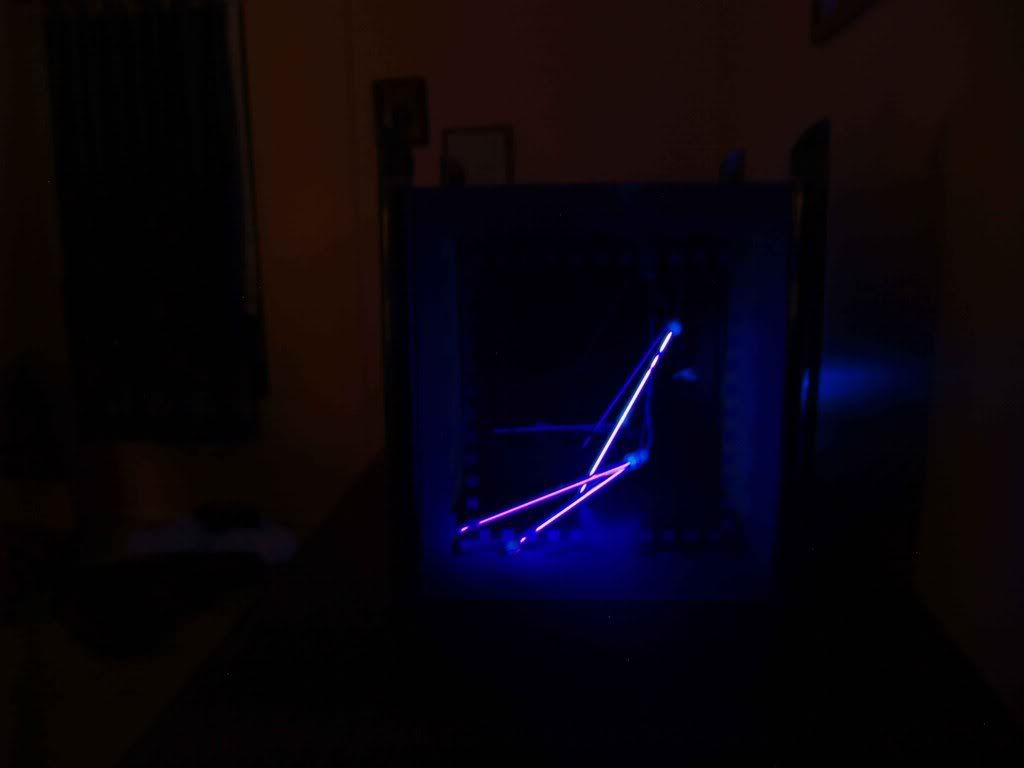
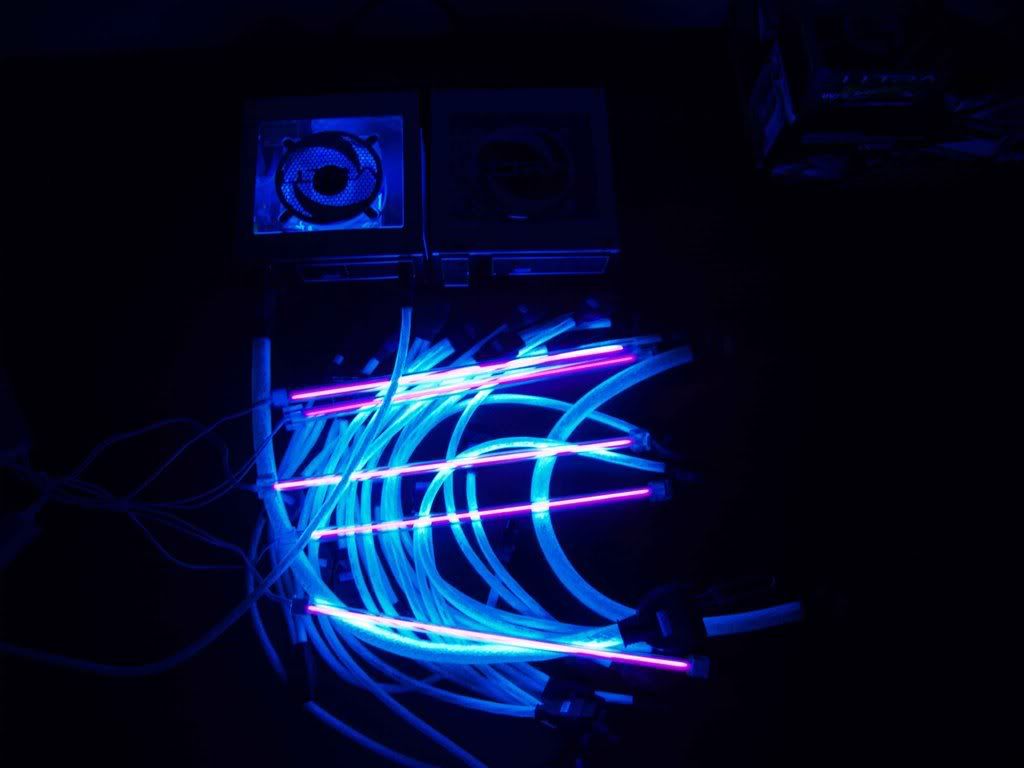
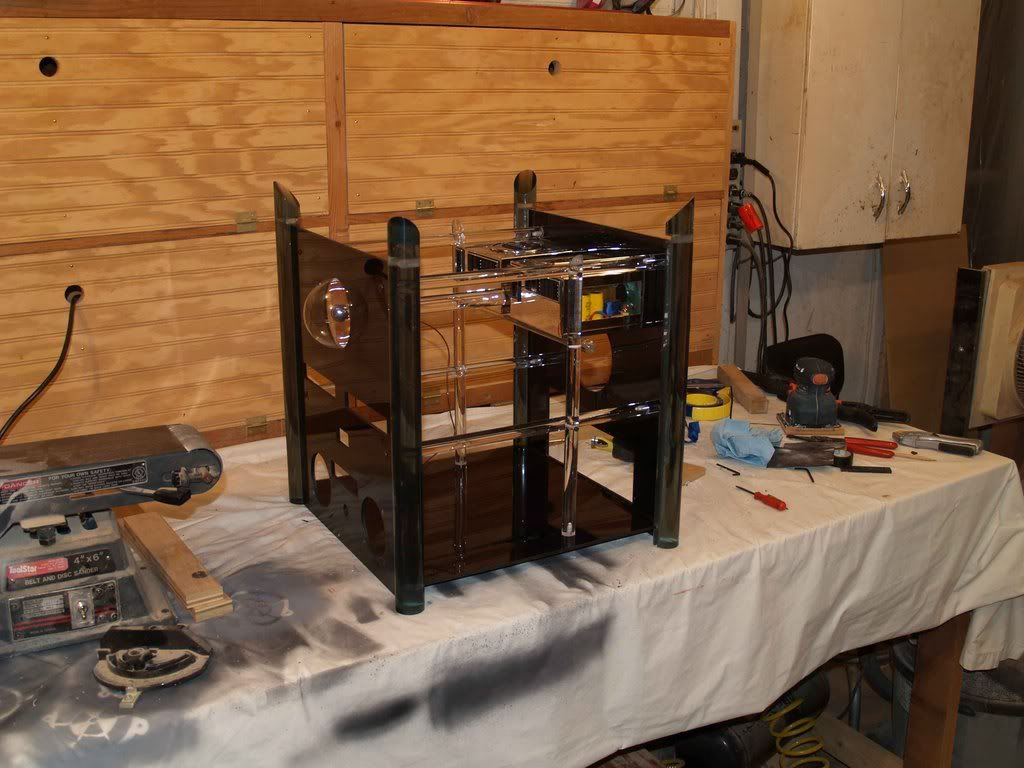
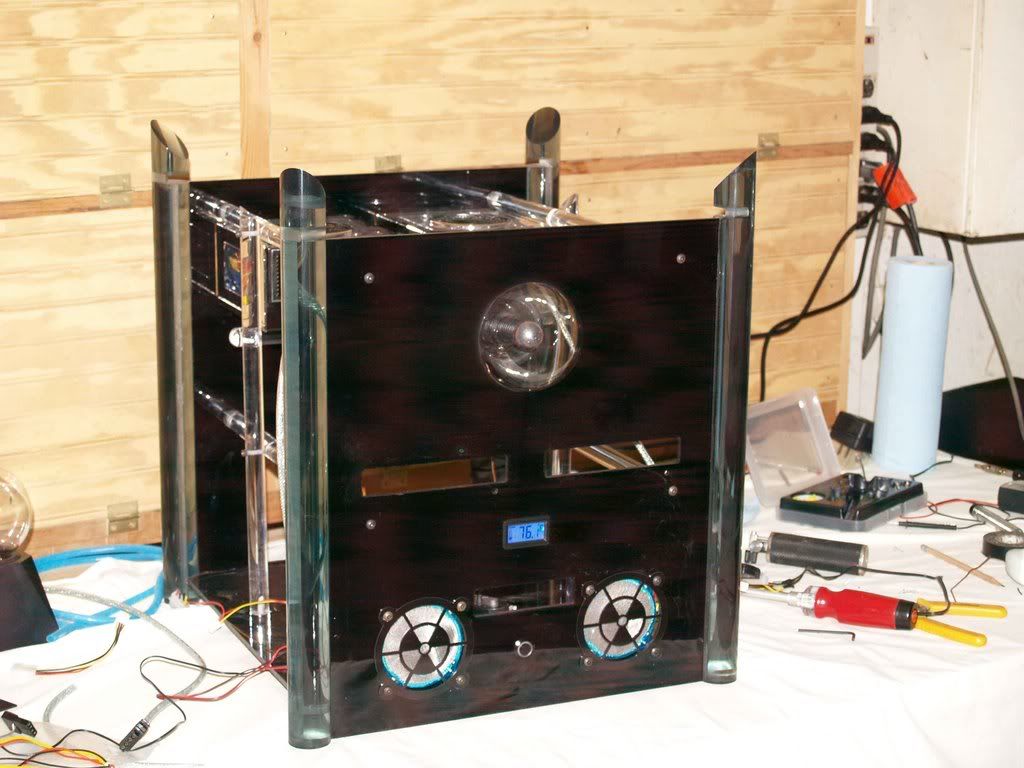
I did, however, get the columns and all four sides put together loosely just to see what this thing will look like. I like it.
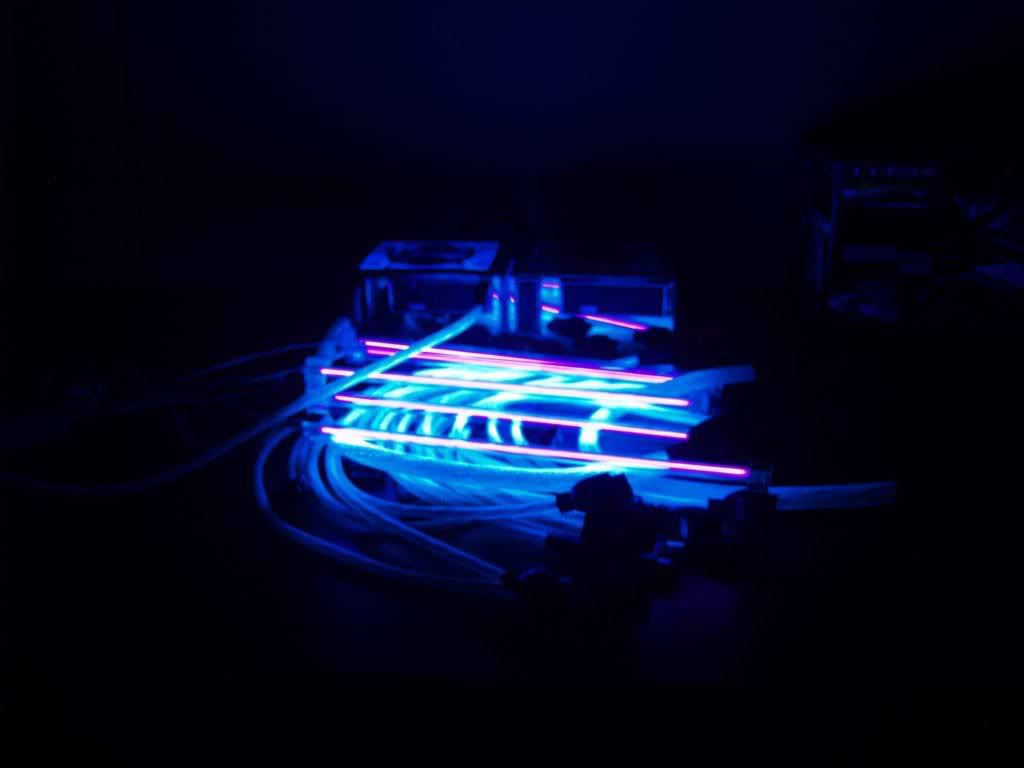
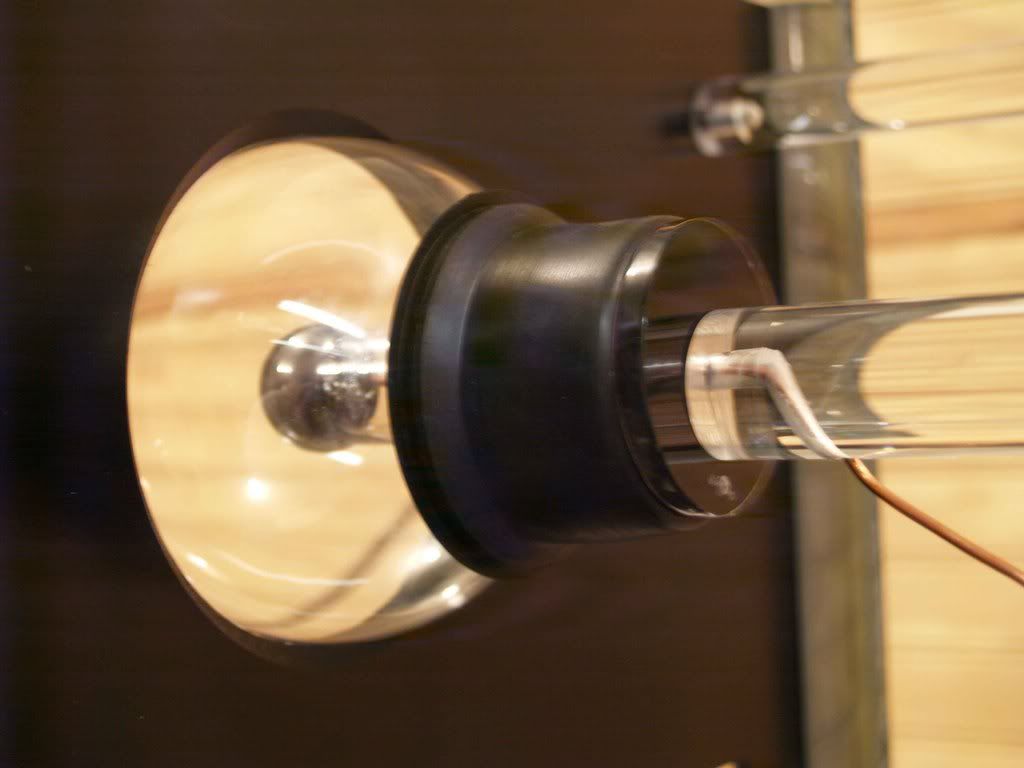
And I just had to lay some of my UV tubes in there to see if they were going to shine brightly enough through the tinted acrylic. The picture is awful, I know, but it looks like the lights will work. I have more coming anyway. :D
That all for this week, will start cutting the top and bottom next week, finish designing the inner support structure and hopefully get some components in there!
________
Suzuki gs1000s
Power Supplies and The Learning Curve
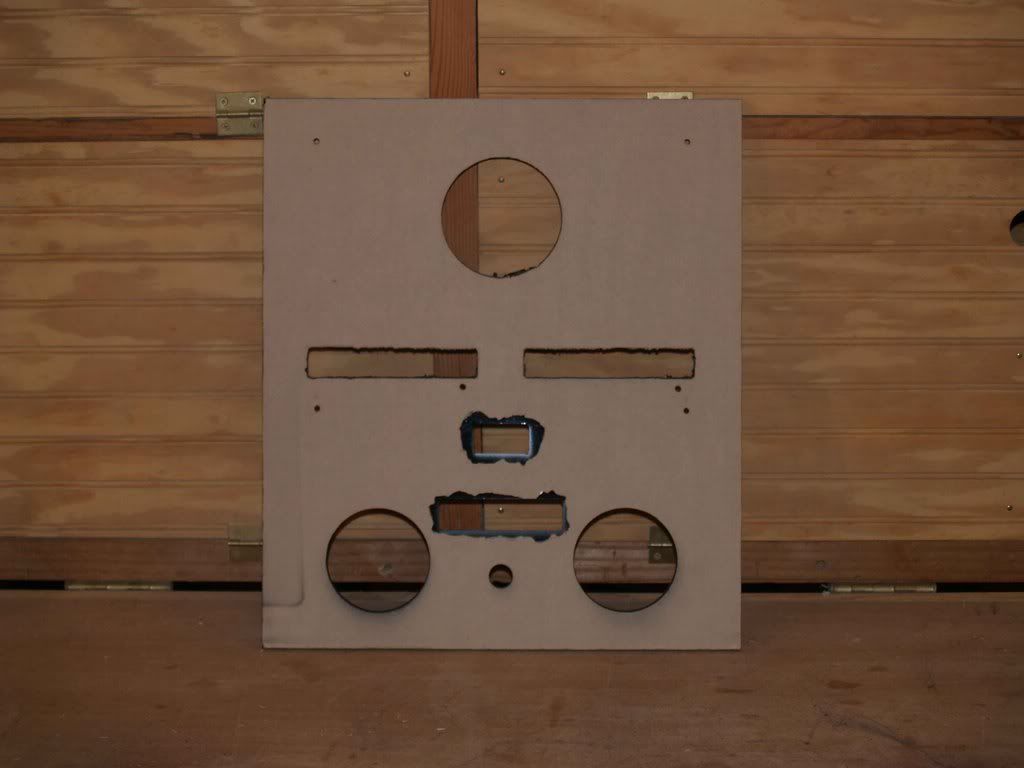
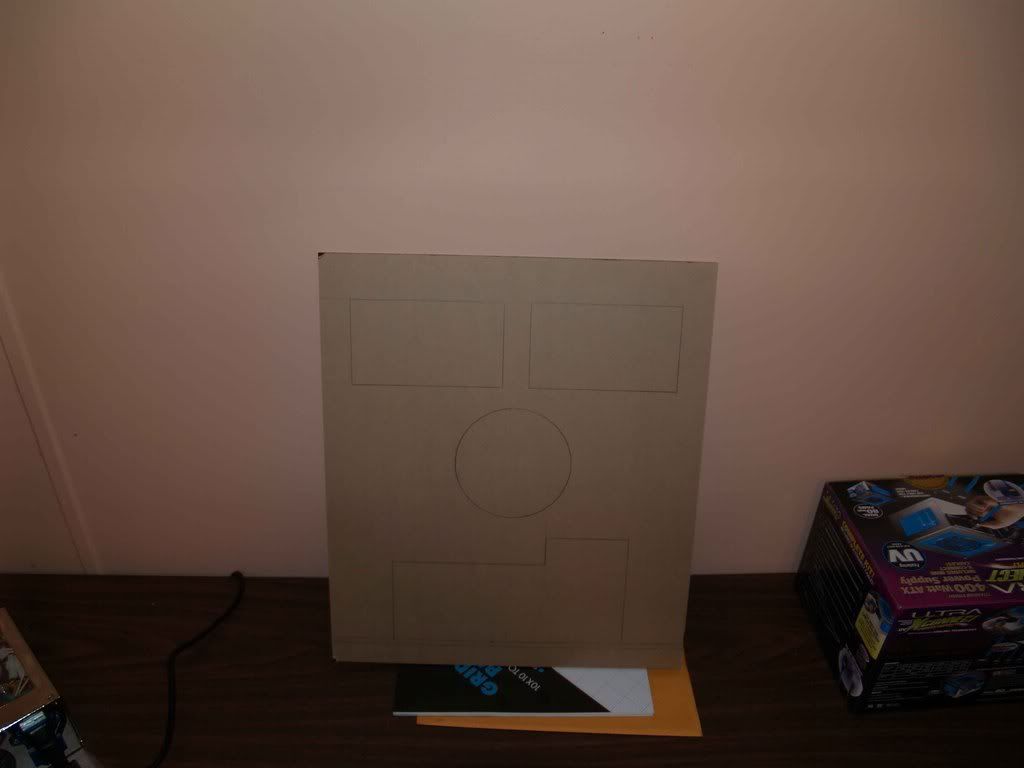
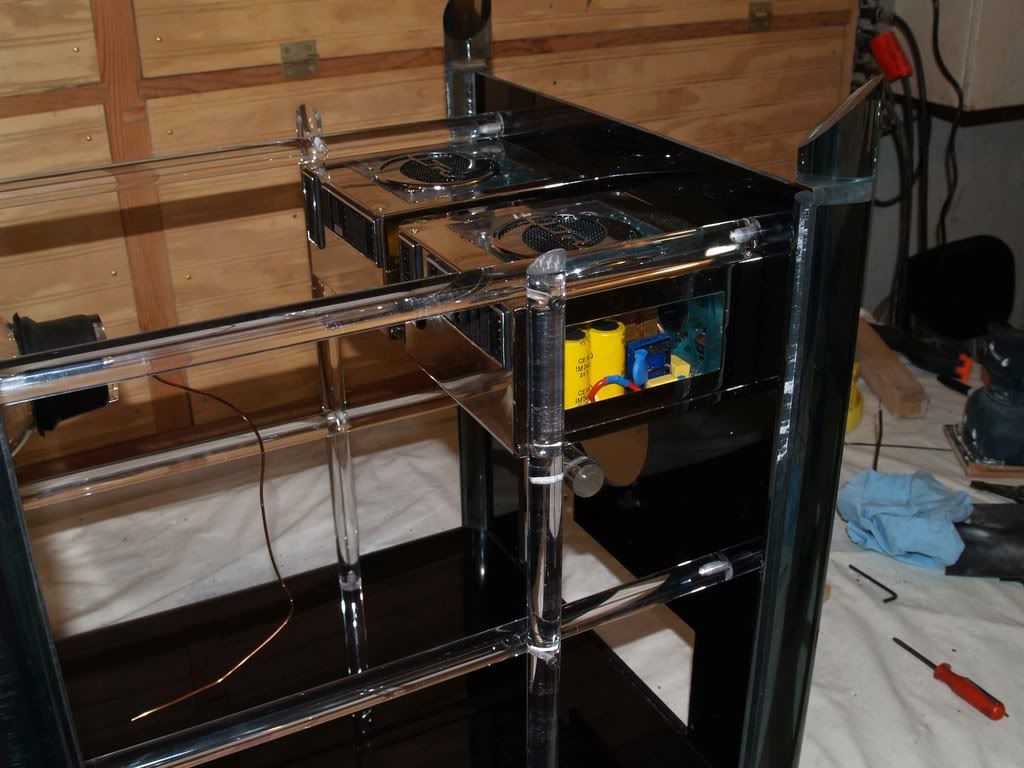
Just a small update tonight, got the rear panel laid out...
I had to make a concession here. I wanted to build this thing with as few factory made components as I could. That included cutting i/o slots & circles in the rear panel. But I wondered how I was going to upgrade? I plan on having this thing for a LONG time, and who knows what components are going to do?
I've decided to steal the removable motherboard tray out of my Microfly. It's metal and therefore the enemy, but it solves SO many problems. The big hole on the bottom of the layout is for the rear panel of this tray. Large expanse of metal in my beloved acrylic, but I think once I spray paint it satin black and cover it up with all the other stuff it will blend right in.
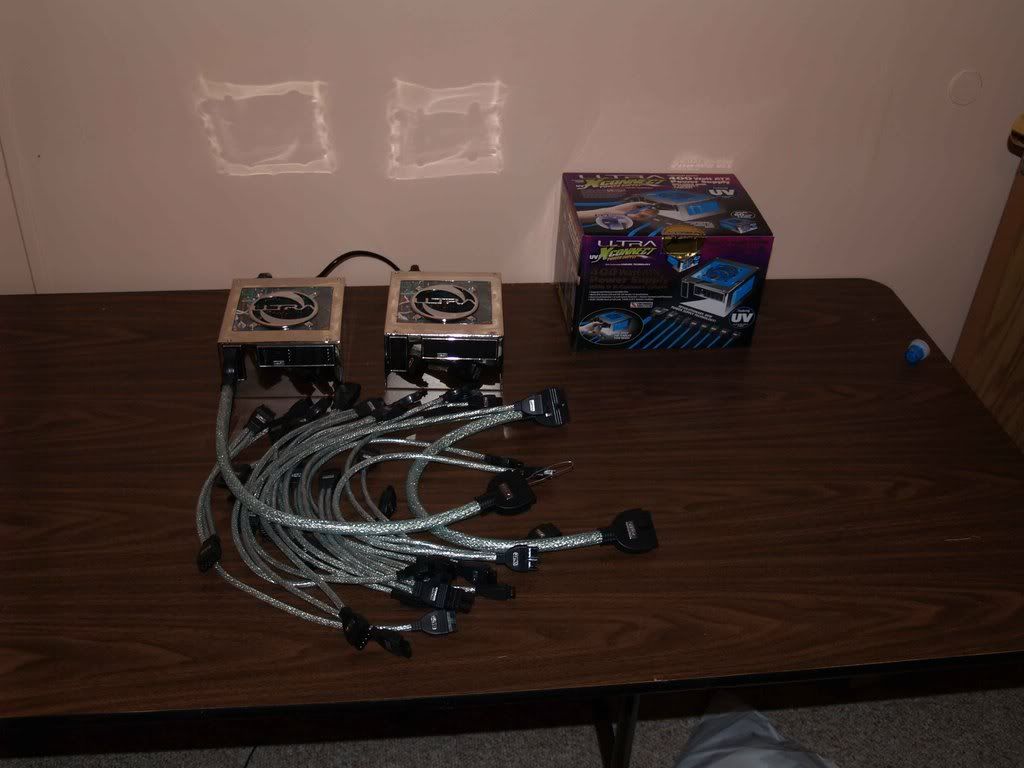
On to the title, when I started this thing, I went dashing around frantically looking for case components. I even deluded myself that this hobby wasn't all that expensive. (yes, I actually believed that) I mean, you add a light here, $20, a window there $50, some copper heatsink shinies on your boards $10.... So I was looking for shinies. I came across these:
These are 400-watt Ultra X-connect modular ATX power supplies, with the heap of cables included. I came across these at TigerDirect and ordered them. The design has always called for two power supplies, and now I'm glad. I learned a lot about wattage, amperage, number of 12-volt rails, thermal protection, oversurge protection, etc etc etc. Running both of these in tandem should give me all the juice I'll need. I've read reviews on these from every different perspective, from God himself uses them on the Divine Server to them being agents of Lucifer sent here to steal our souls. Me in the middle, I already bought them, hook 'em up! At least they glow nicely.
Hope to get the rear panel cut tomorrow and start on the bottom shelf, have to nip the corners on it to fit the grooves in the columns. Catch you guys later!
(Hey, that "Front Page" thing isn't anything like the piece of paper hanging in the post office with all the black and white pictures, is it?)
________
Medical marijuana
Upate 4/11: Oooooooo, pretty!
Done with the work week so I get to mod a little. :banana:
Been working on the front of this thing lately, got my intake fans/fan filters/grills installed. Bought 2 UV-reactive 80mm fans from FrozenCPU, didn't even realize that they had four UV LED's built into the fan until I plugged them in. :)
Haven't decided on the fan filters, they look great with the lights out but I don't think I like seeing the metal mesh with the lights on, may flip them to the inside of the fan.
Also undecided on the fan grilles, still looking around for something better, who knows?
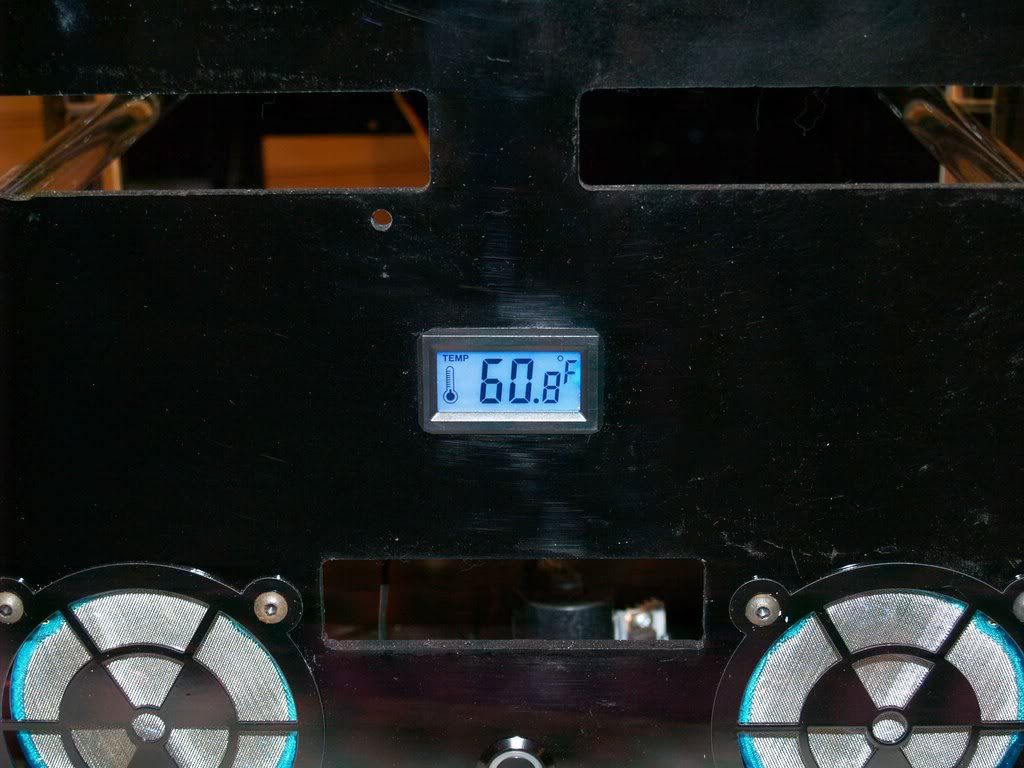
Also got my temperature probe/gauge installed.
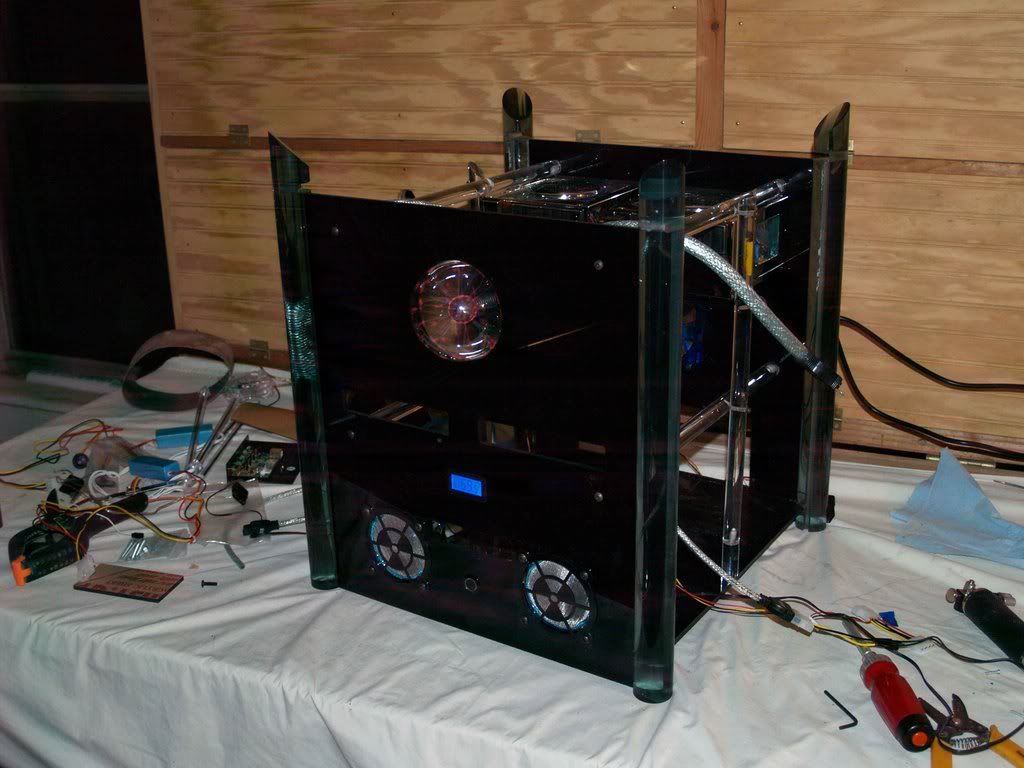
Quick overall look:
Closeup of some of the newer additions:
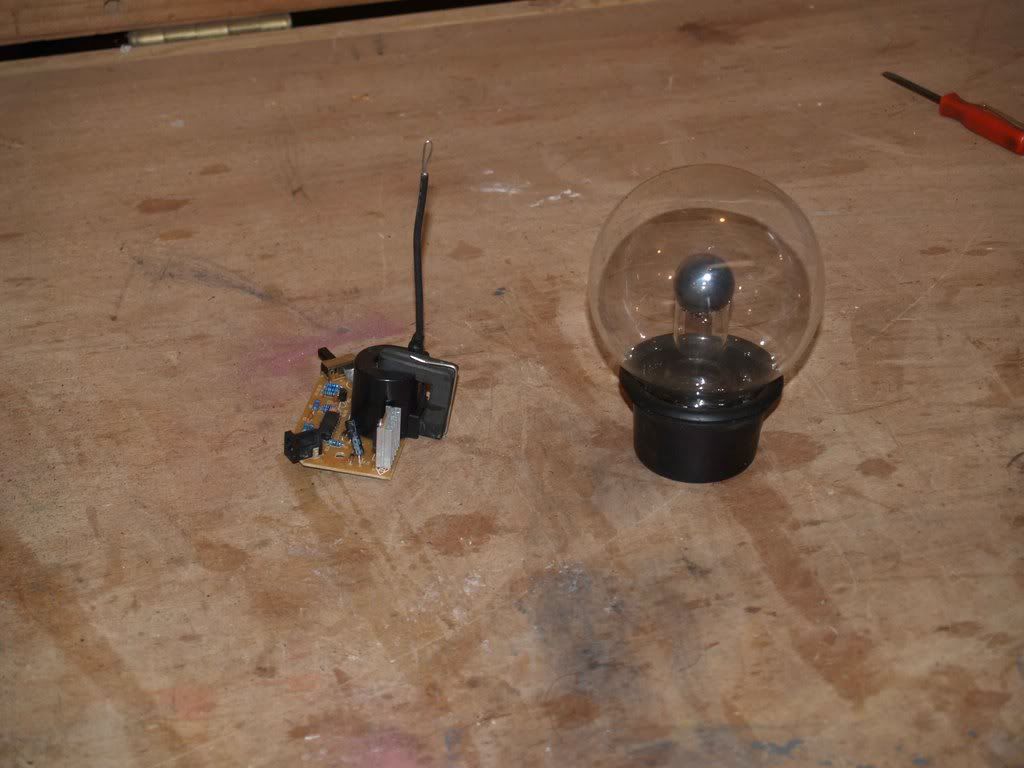
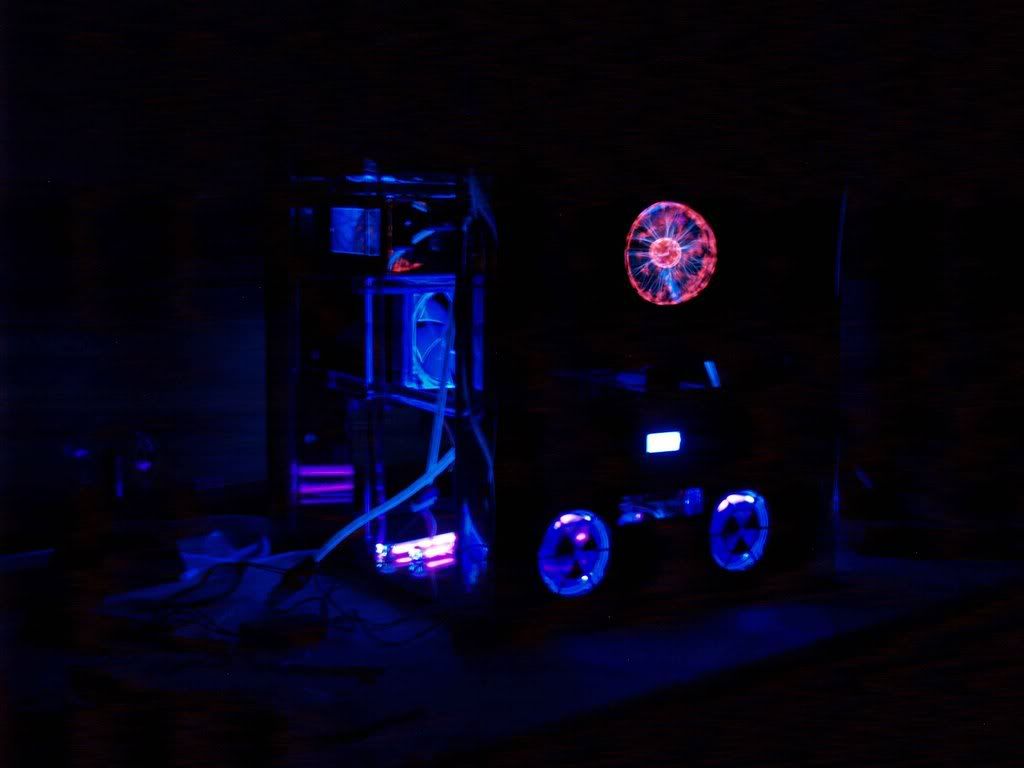
Finally got the plasma ball working!!!! Still have no idea what I did to let the magic smoke out of the last one, but I did. You can see it working with the lights dimmed:
But of course I like the whole thing in the dark:
Don't have the bulgin switch lit up yet but that will be the last light on the front.
Did run into an interesting and unexpected problem: the temperature probe reads between 10 and 20 degrees higher with the plasma ball turned on than it does with the ball turned off. Obviously EM interference, but I have no idea what area I need to shield or how to shield it. Any input would be appreciated. :?
________
List of toyota transmissions specifications