I've been a long time lurker... I haven't completed a project I felt was post worthy until now, so I decided to register and share it with you all.
This mod has already been completed. It was my entry into a case mod competition on another forum. I recently switched the GPU out to an HD4870, and so will be changing the color scheme and adding quite a bit to the aesthetics. If figured that I would post the entire original log first, and then continue the rebuild from there. :)
Lots of changes have happened throughout this mod, but I decided to leave all of the original pics attached for a more natural progression. If you see something missing in a later photo, it likely got axed. :)
I'm not going to clutter the the first post with a whole bunch of stock
rocketfish pics, if you aren't sure what they look like, or would like
a bit of history relating to the "famous" rocketfish case, just type
"rocketfish" in the search. :P
So, lets jump right in. :)
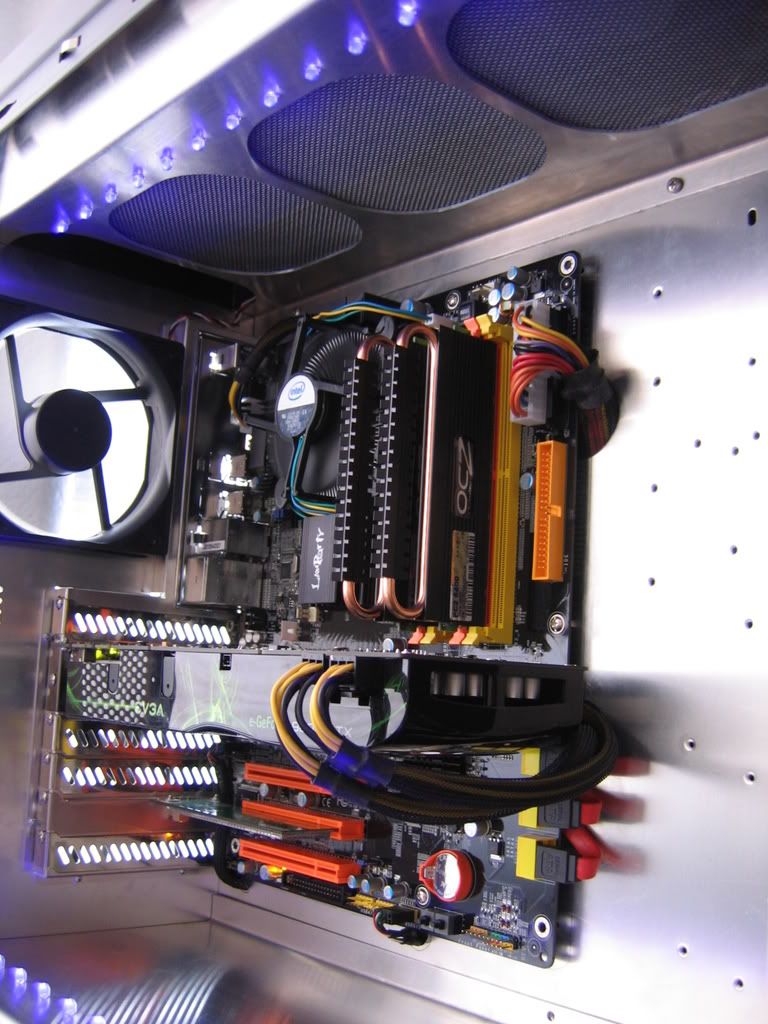
System specs:
E4600
Gigabyte P35-DS3L
EVGA 9800GTX
4Gb G.skill
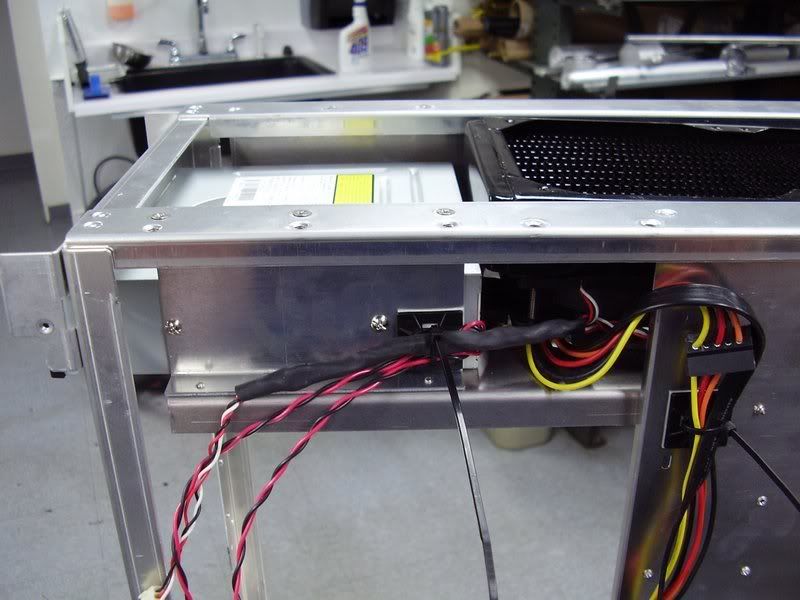
WD 250Gb SE16
Sony/NEC DVD-RW
PC Power & Cooling Silencer 610
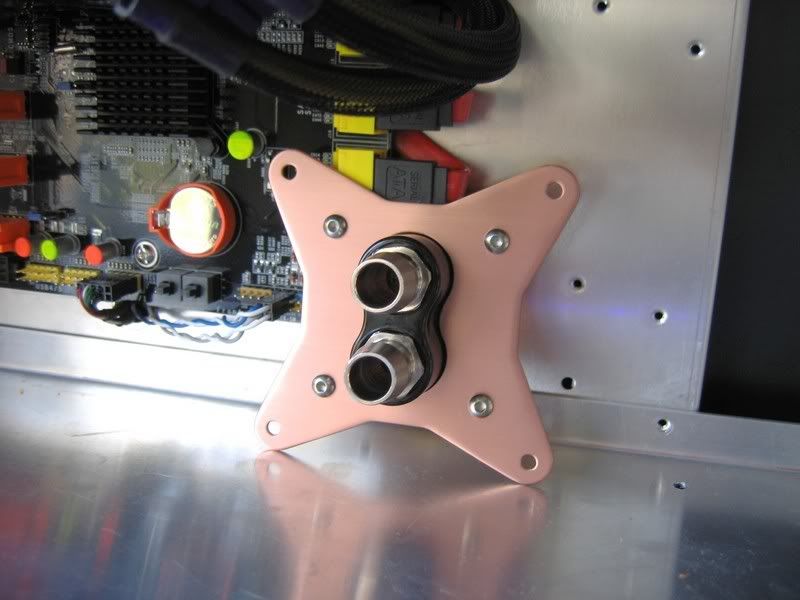
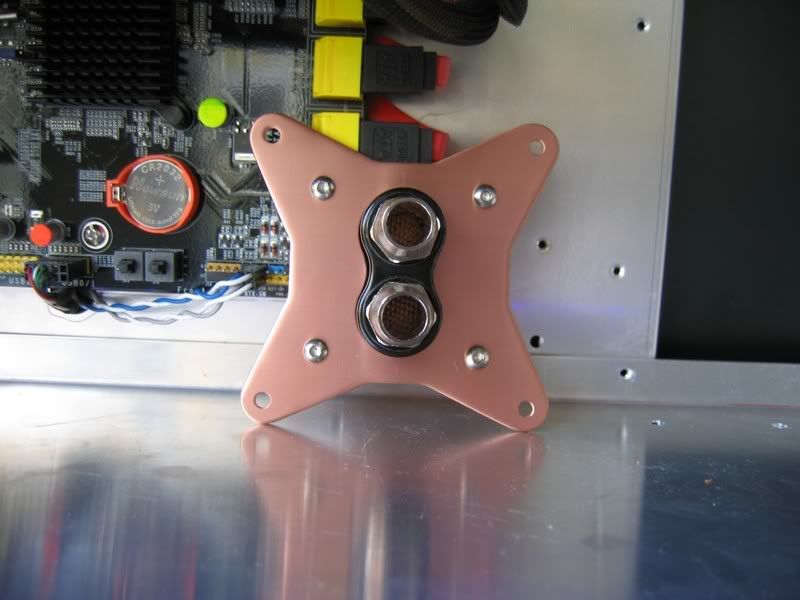
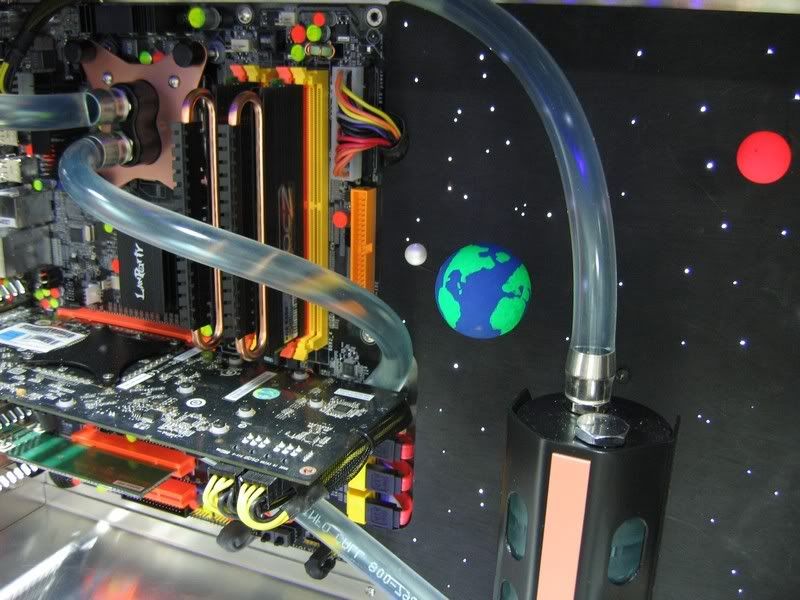
DDC3.2/MCP355 w/XSPC top
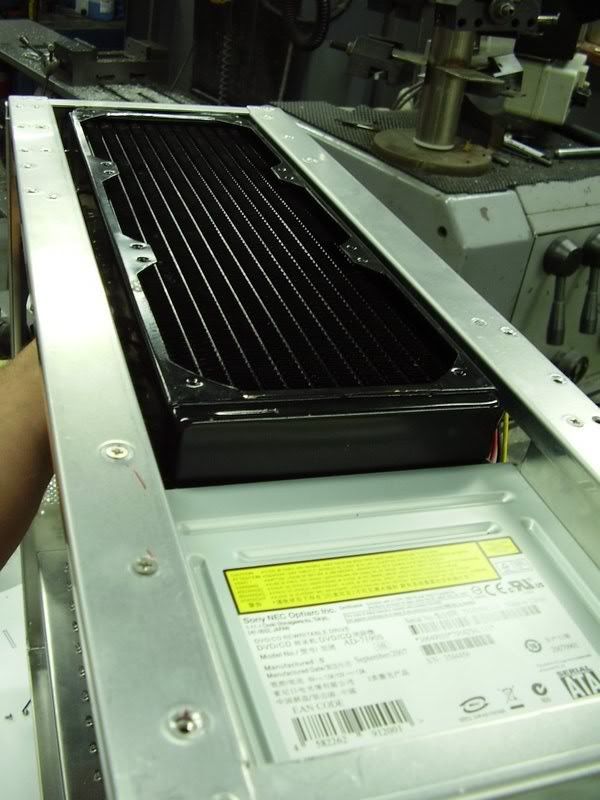
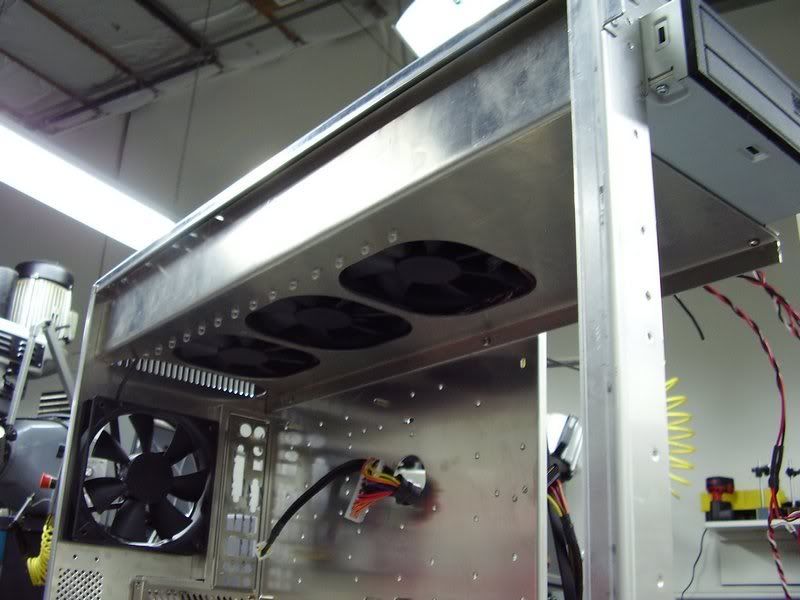
Swiftech MCR320
CPU GPU cooling- custom waterblocks
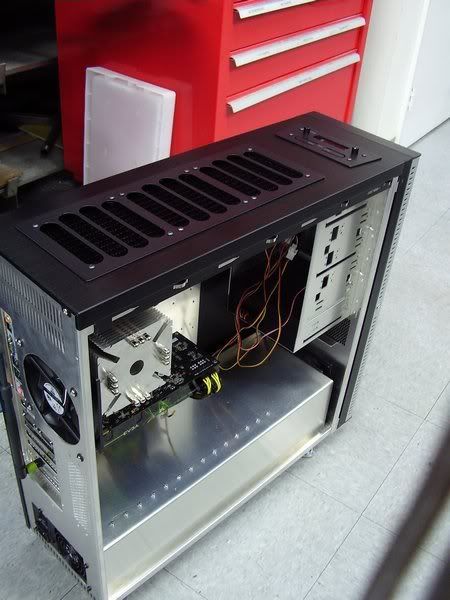
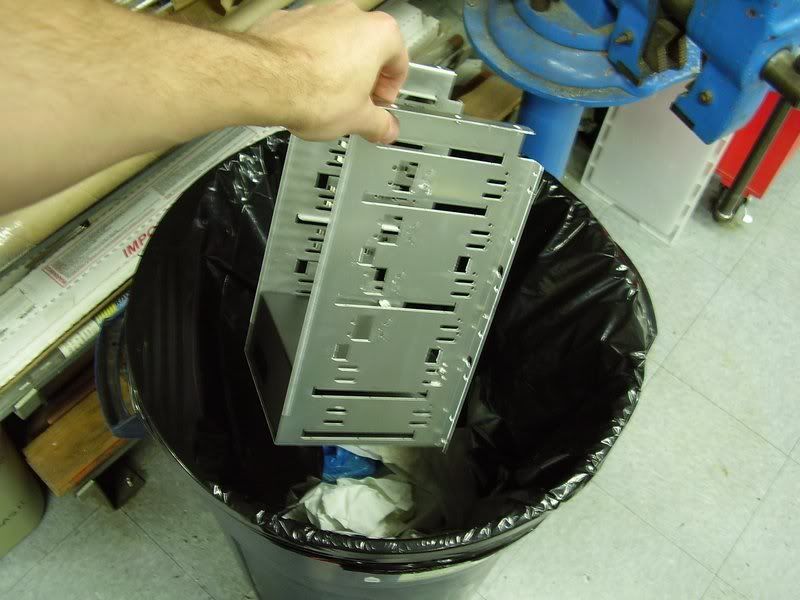
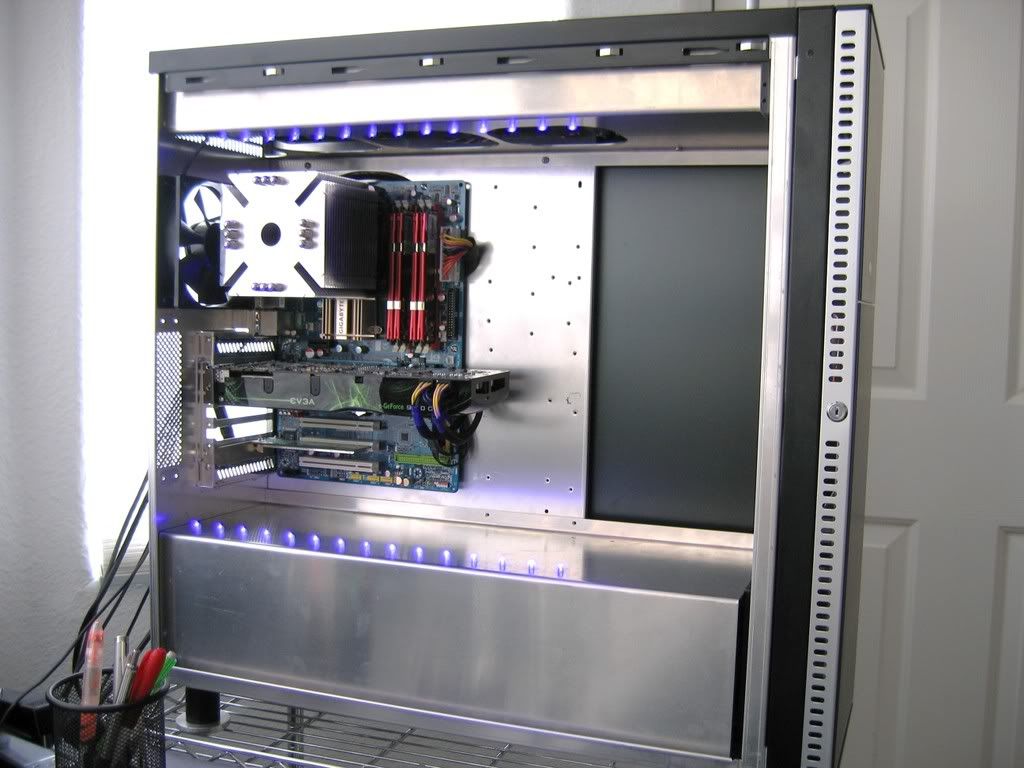
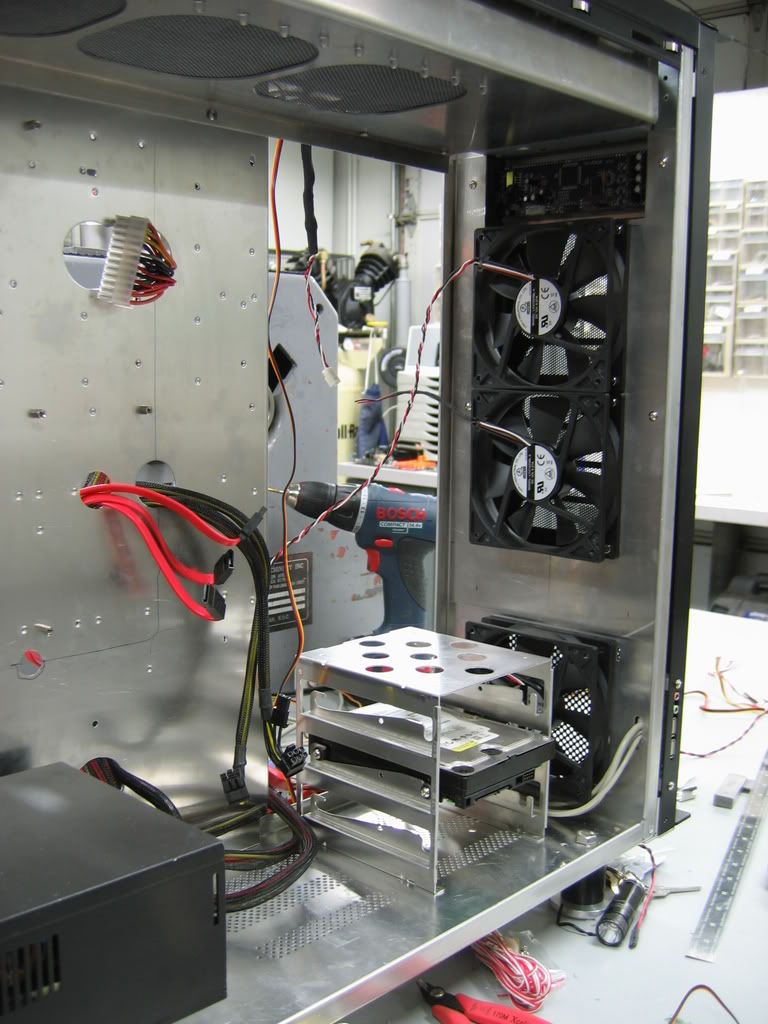
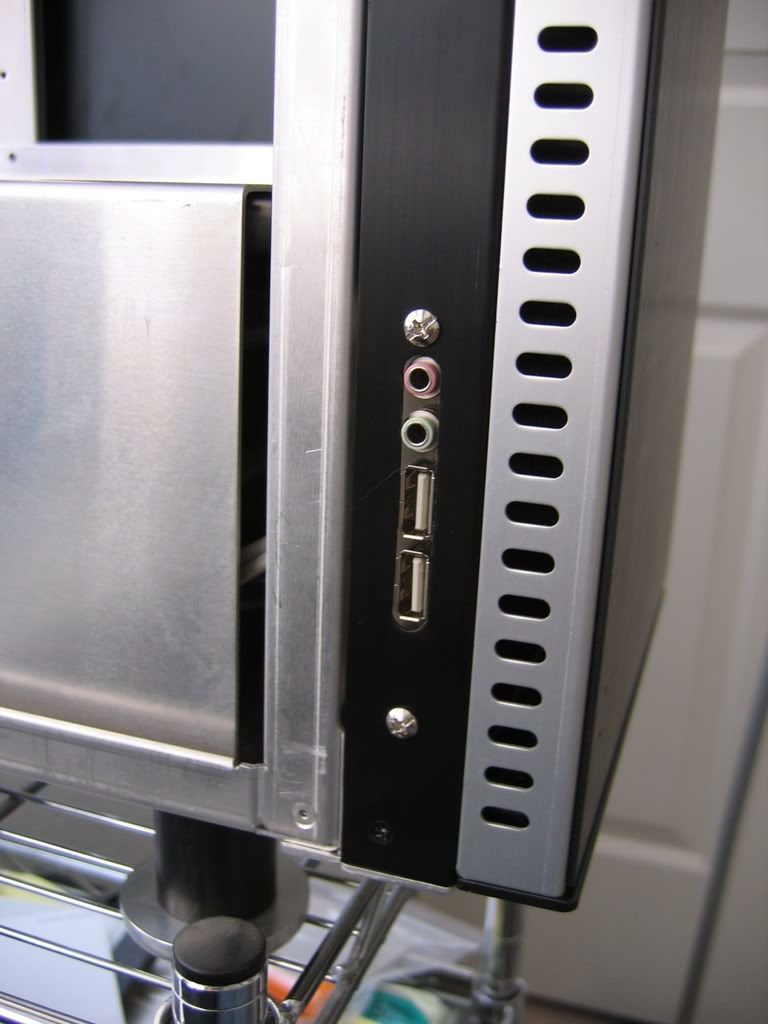
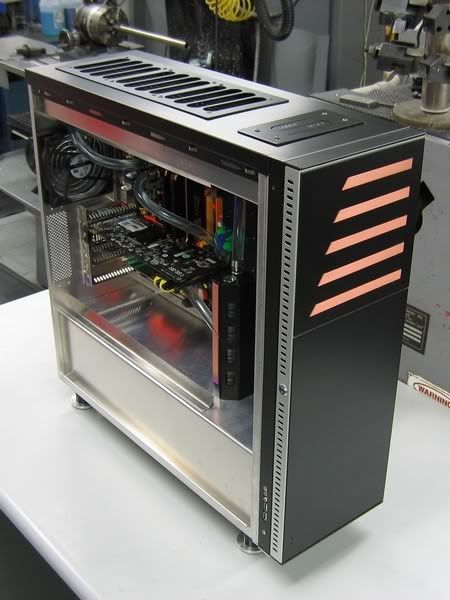
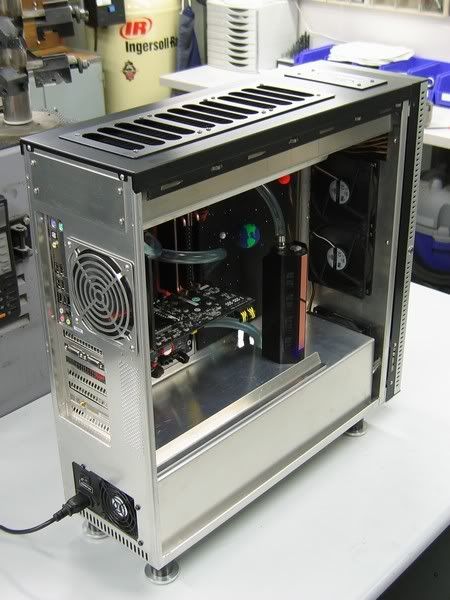
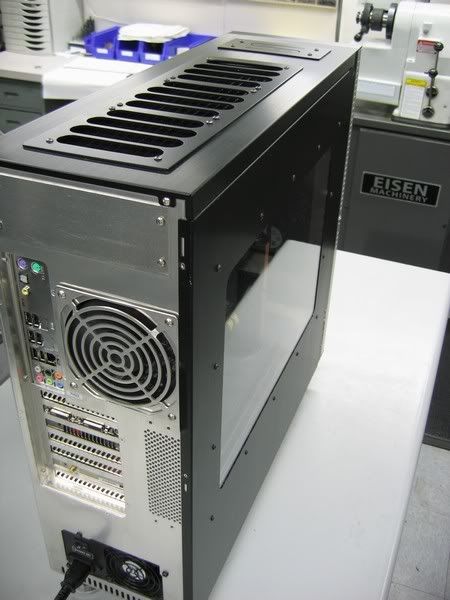
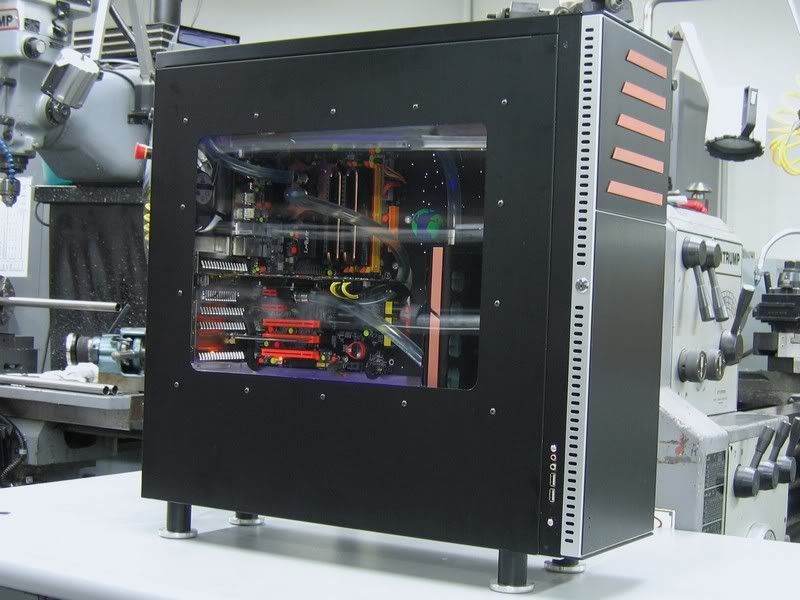
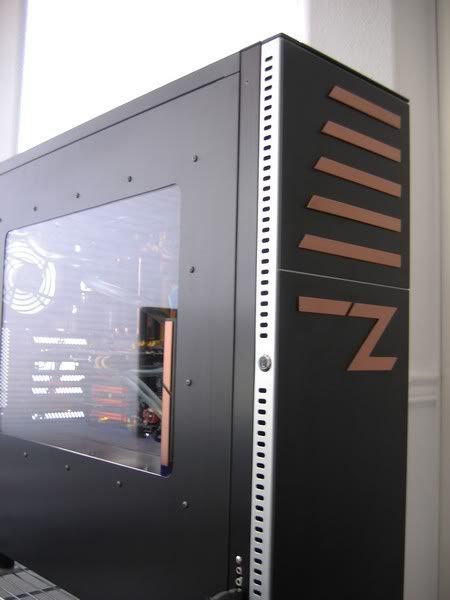
Here is my case with the front door and floppy bay removed. I also
removed the USB/headphone jacks from the top of the case. I am going
to switch that PSU out for a PCP&C version because it has two PCIE
connectors.
Since the 3.5 bay is gone, I'm going to remove a section to help
with ventilation.
The same section needs to be removed from the inner front panel.
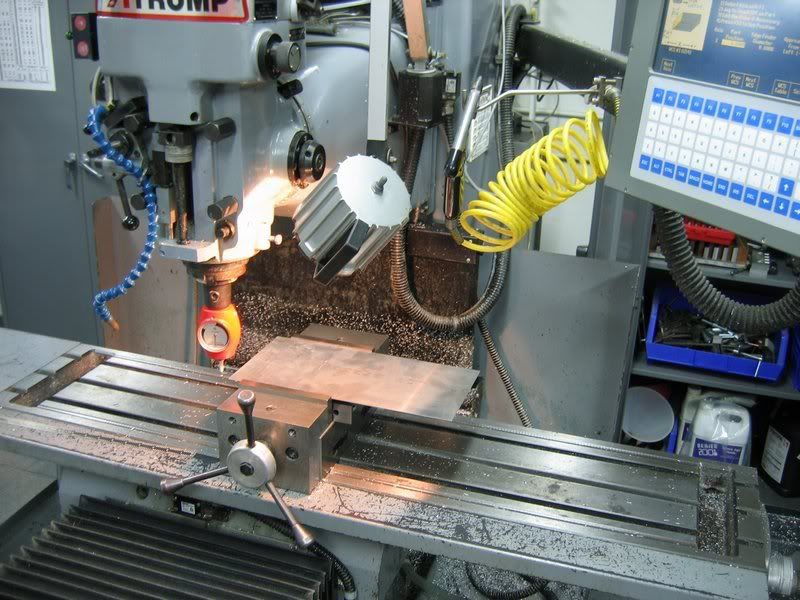
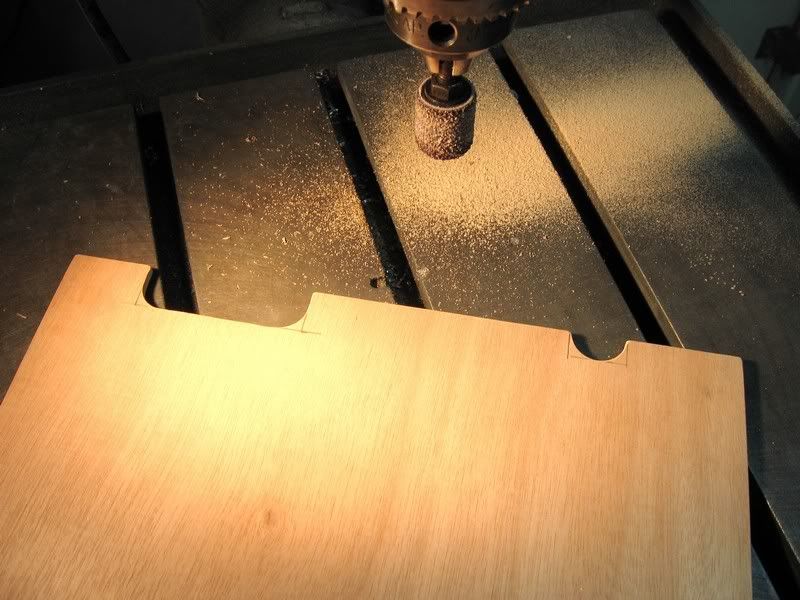
Also seen here, Pnuematic nibbler and the "belt sander gun" as I
like to call it. Modder's best friends. Invest in these puppies,
and cutting window/radiator holes will turn from minutes into seconds.
I am very grateful that I have access to this equipment at my work, and
that my boss is generous enough to let me use it. :)
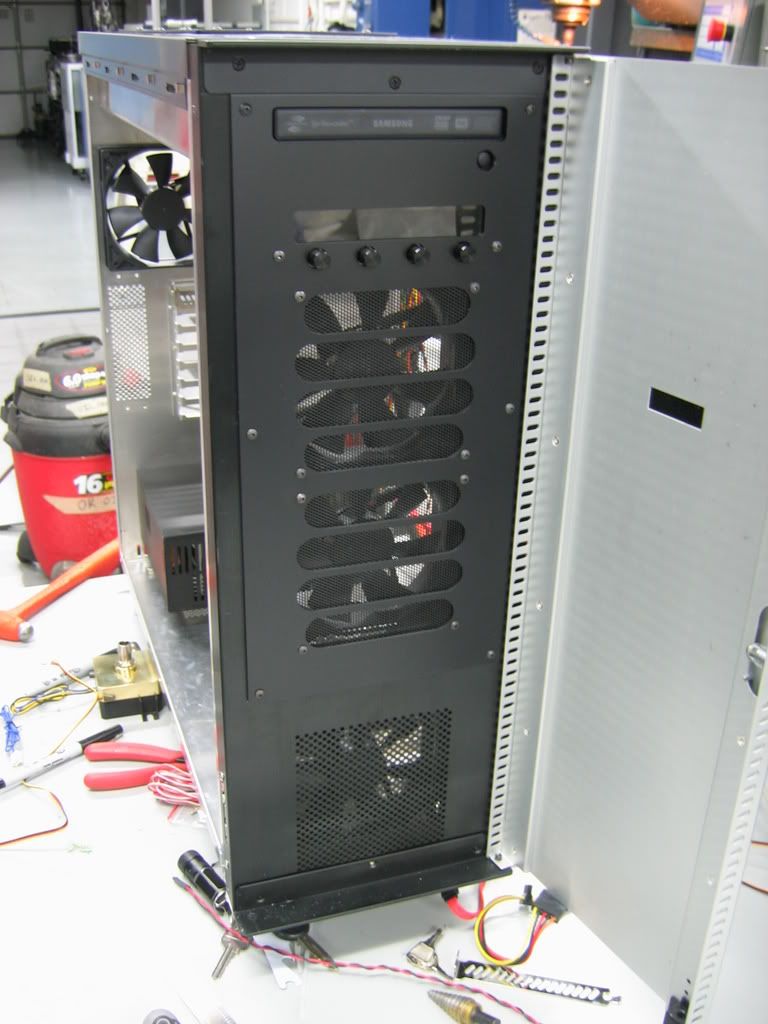
After cutting. You can see I didn't do a perfect job but it won't matter
in this case.
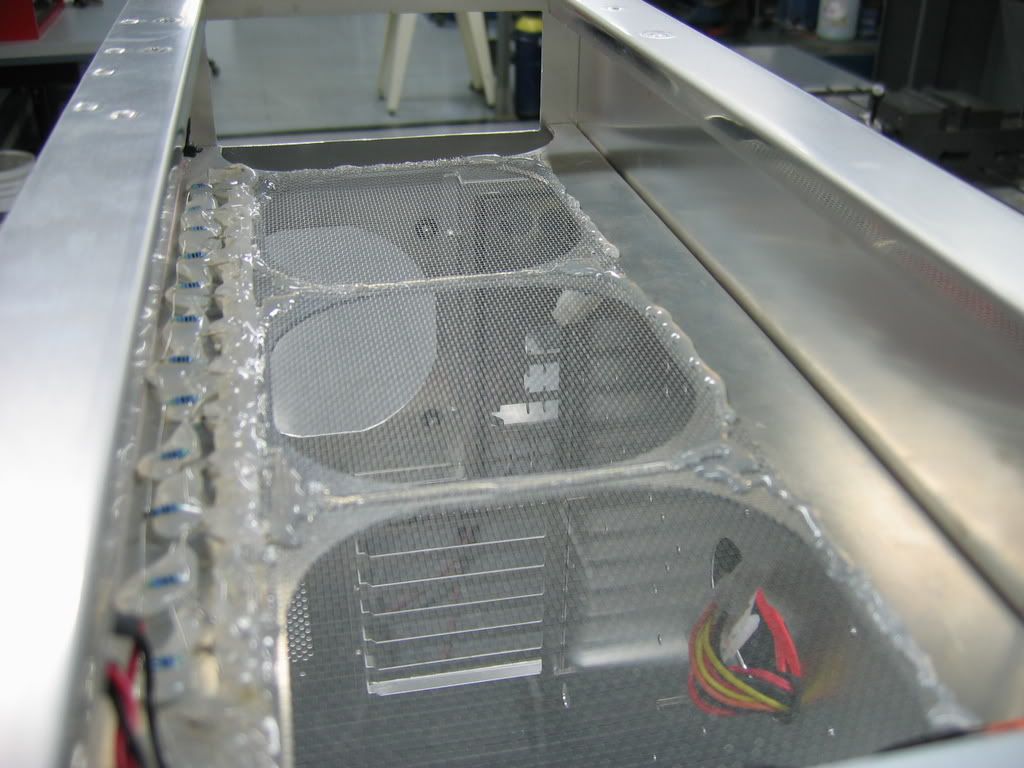
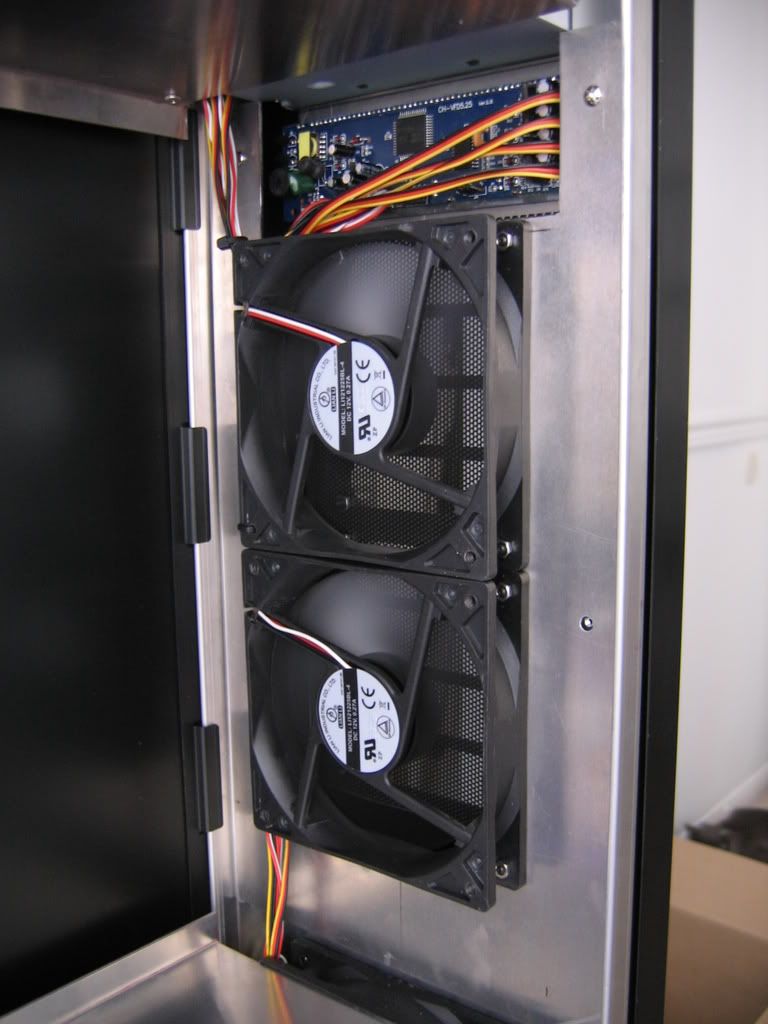
Some mesh added to the hole
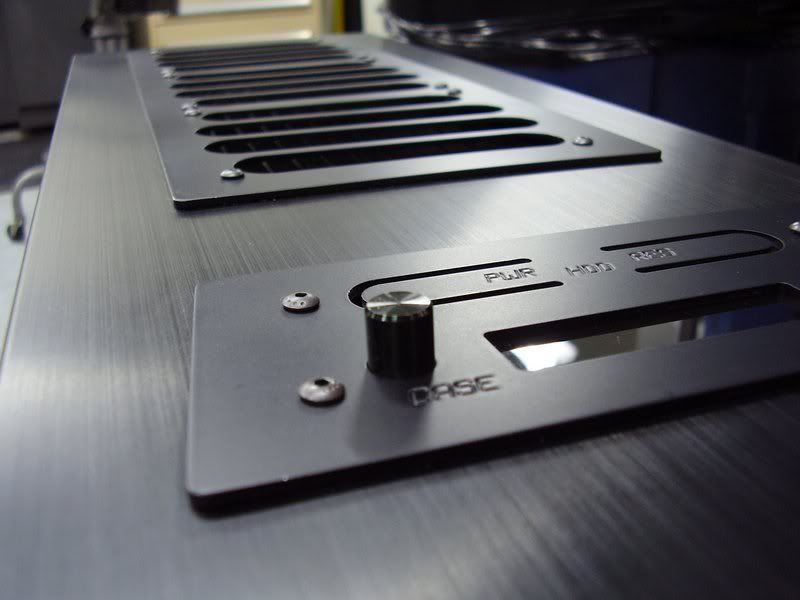
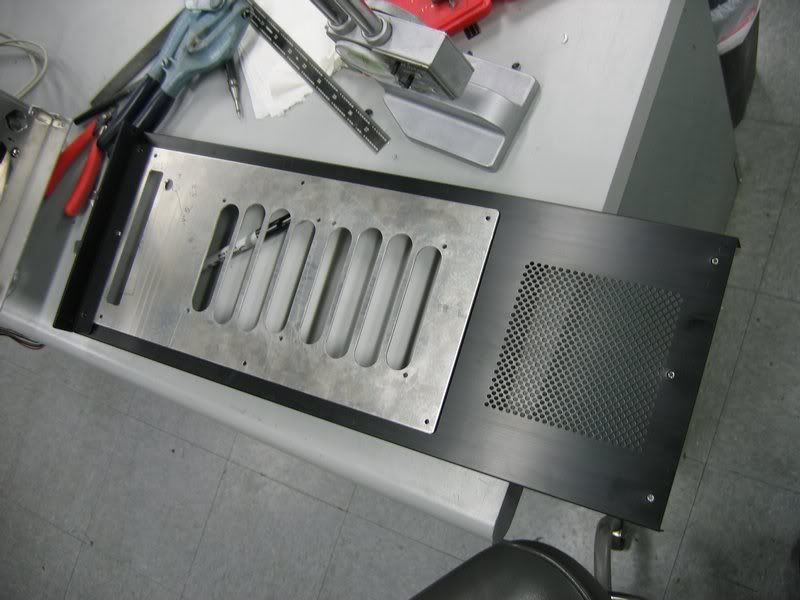
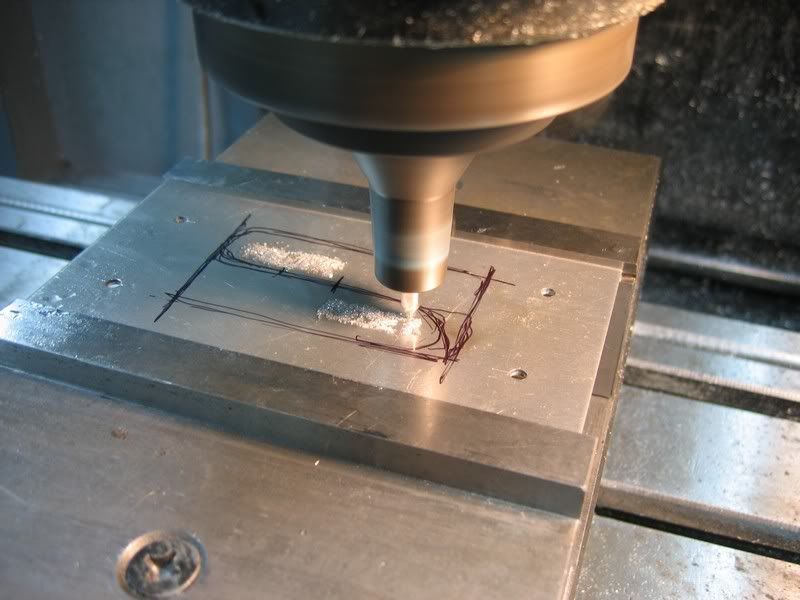
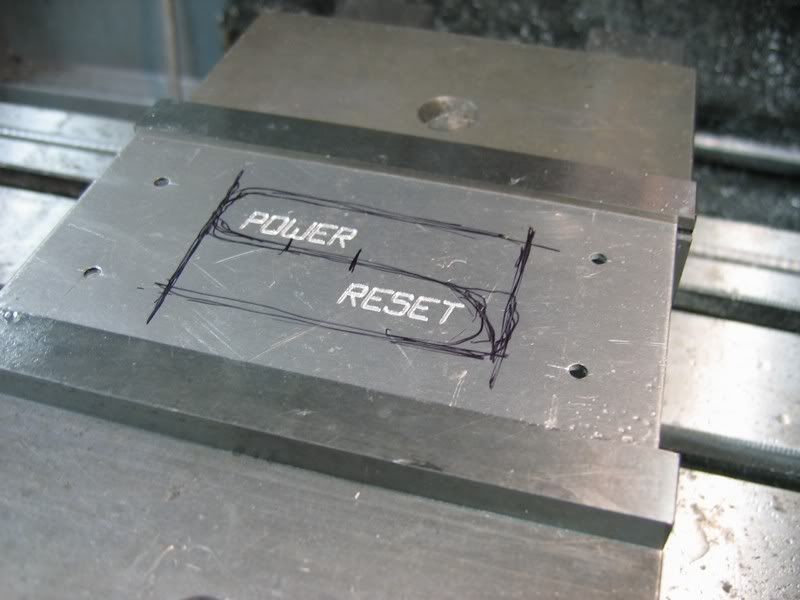
I made up a nice little aluminum grille for the inner front panel
using the punch and shear(the two will be pictured later).
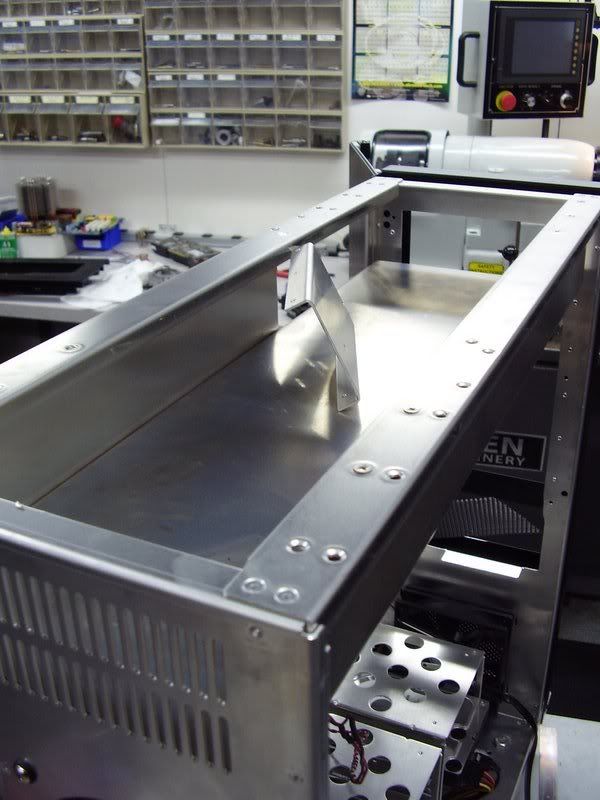
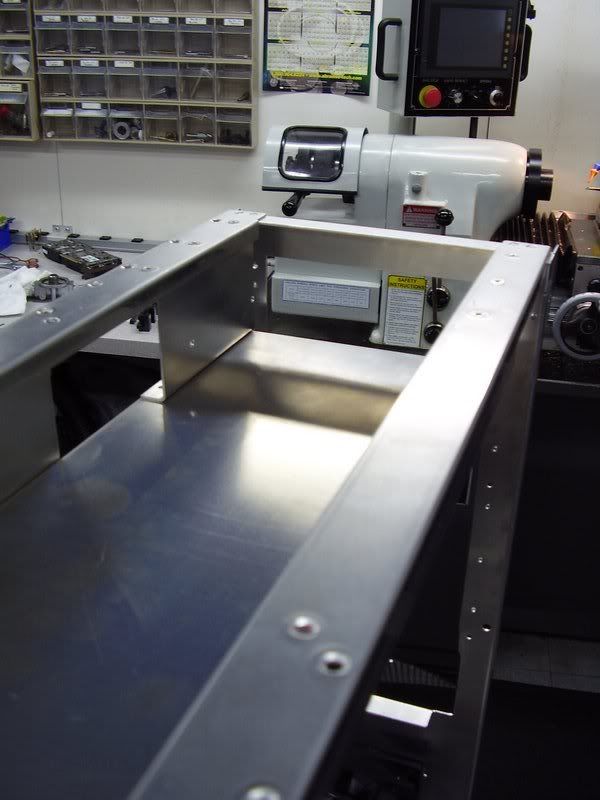
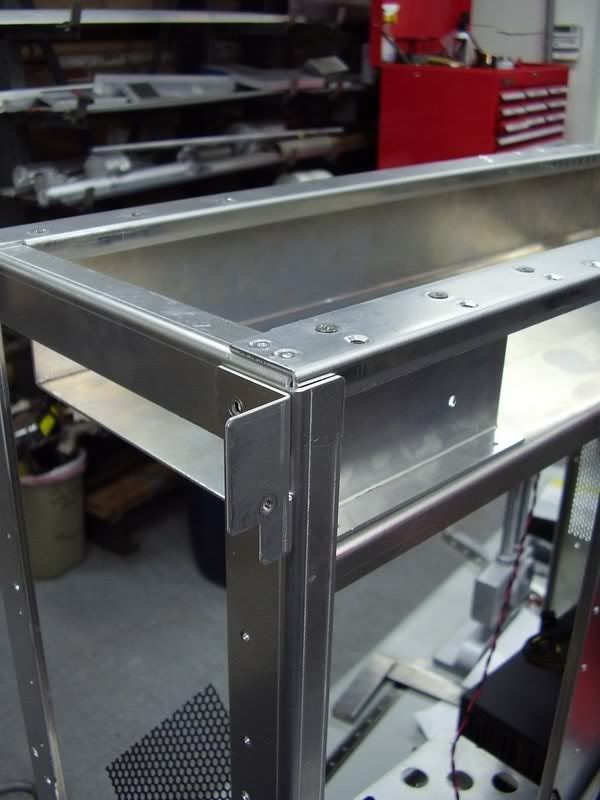
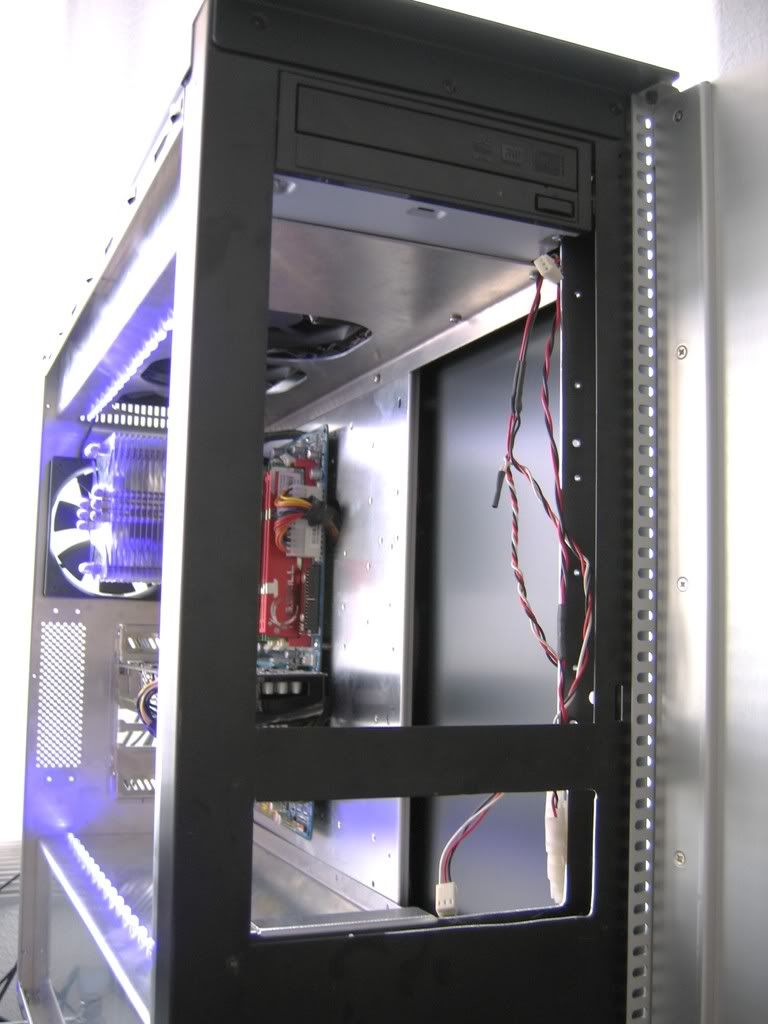
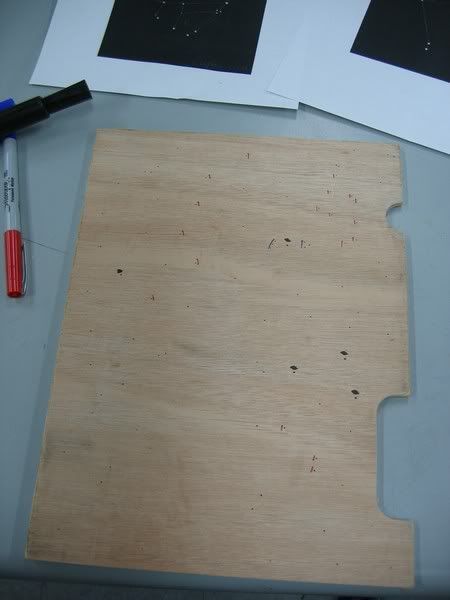
There is a bracket between the hard drives and motherboard tray that
adds quite a bit of strength to the case. I want to make a nice divider,
but still retain this feature some way.
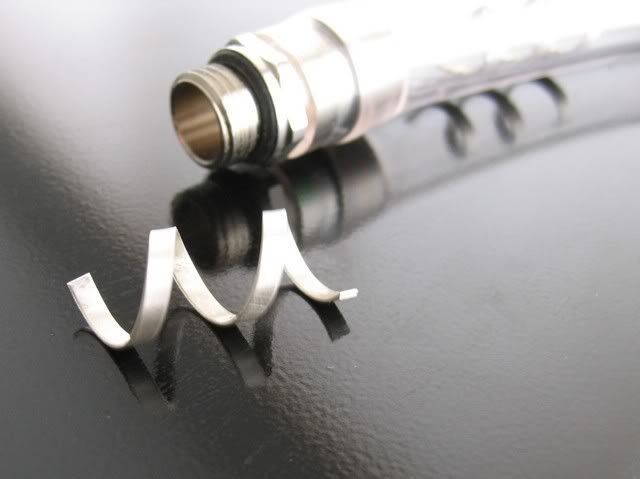
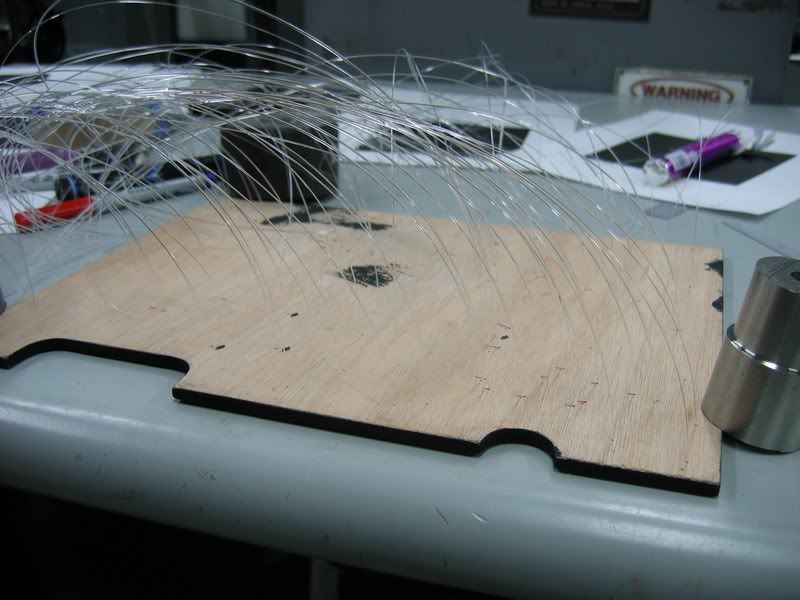
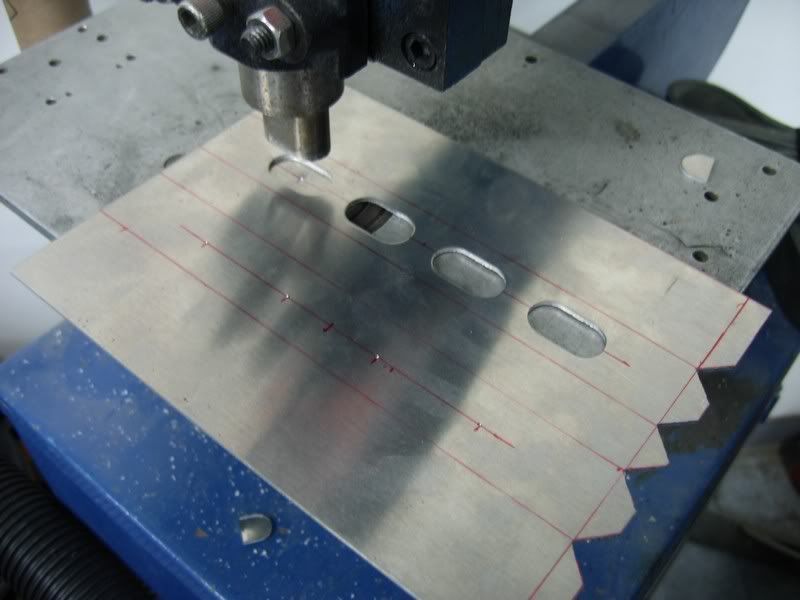
Here is the aluminum sheet sheared to size and drilled out for some
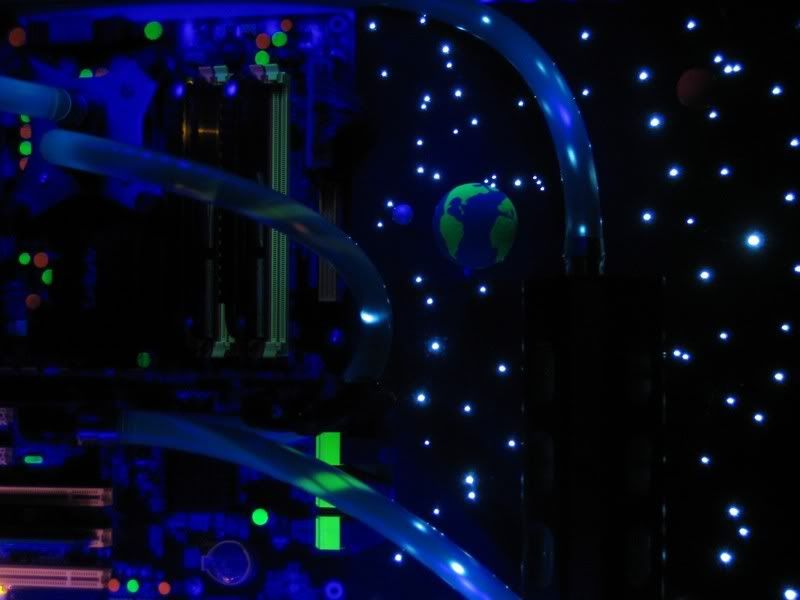
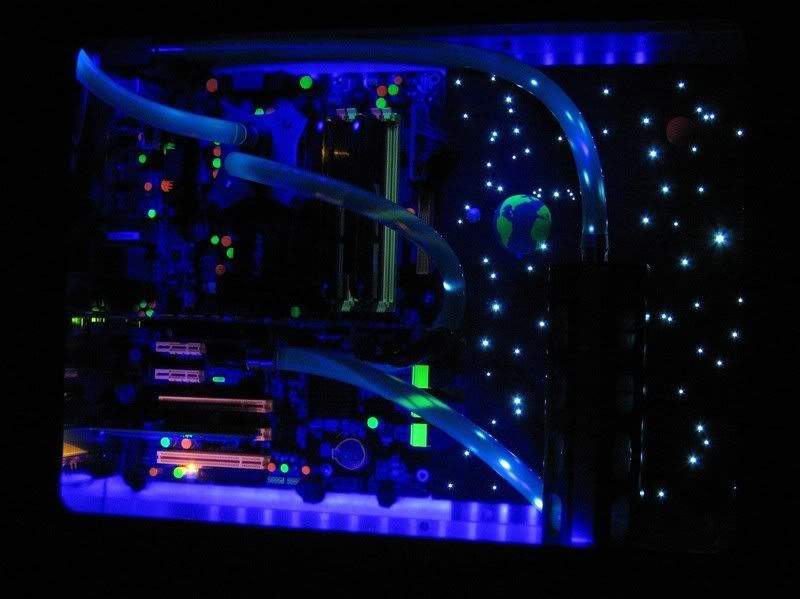
UV Leds. You can see the bend lines marked in red.
Here is the metal about to be bent on the brake.
Perfect fit! :D I love it when that happens, especially because screwing
up means buying more metal.
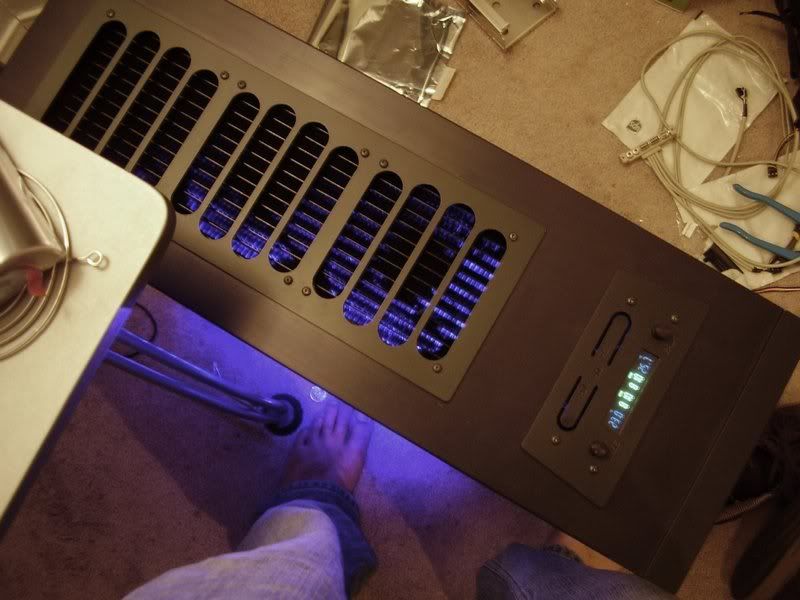
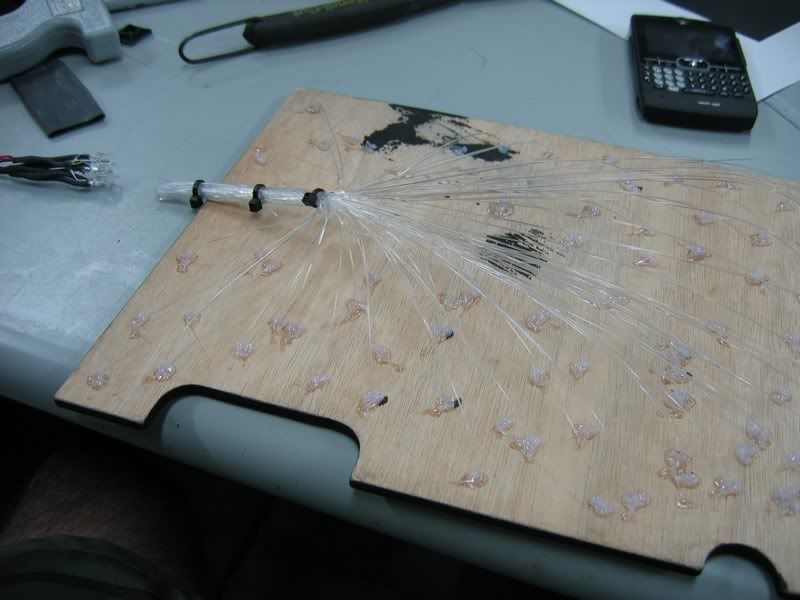
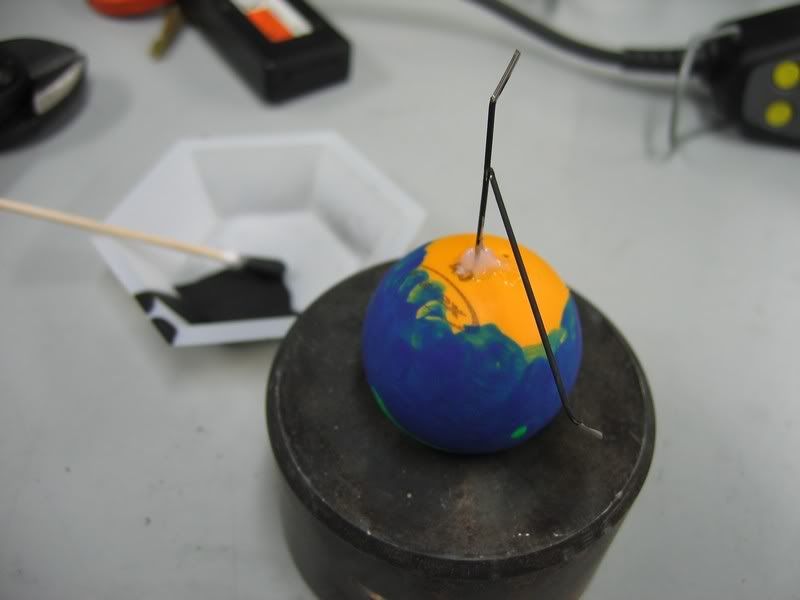
I hot-glued the UV Leds in the holes on the back of the cover, and wired
them up with a molex connector.
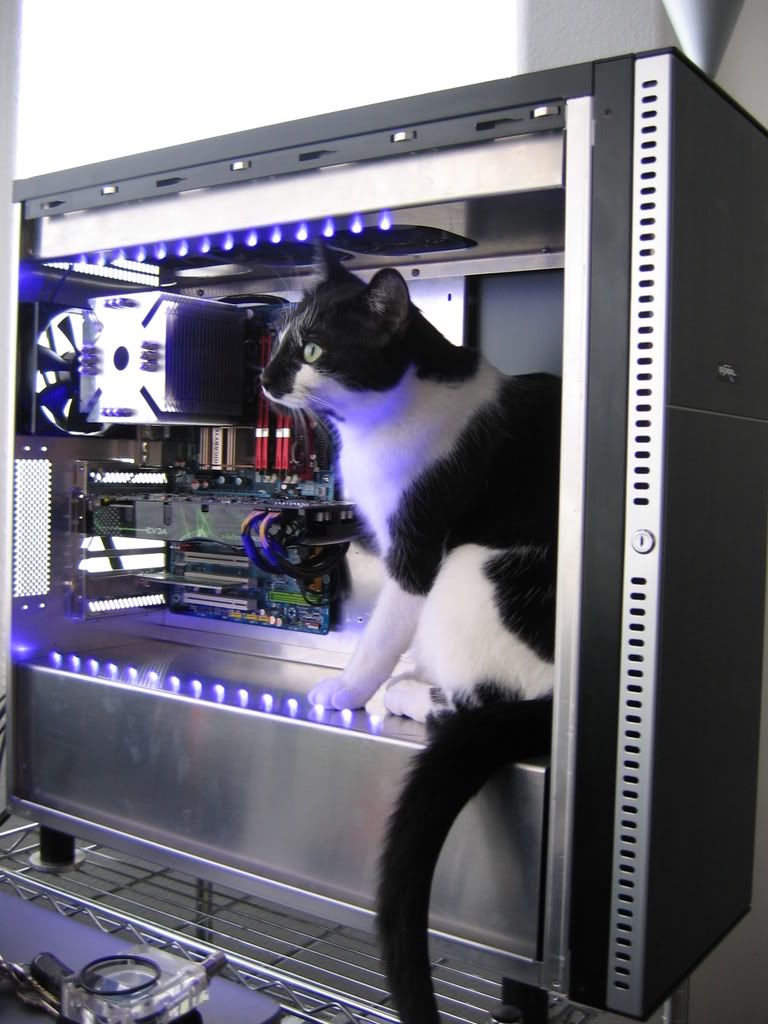
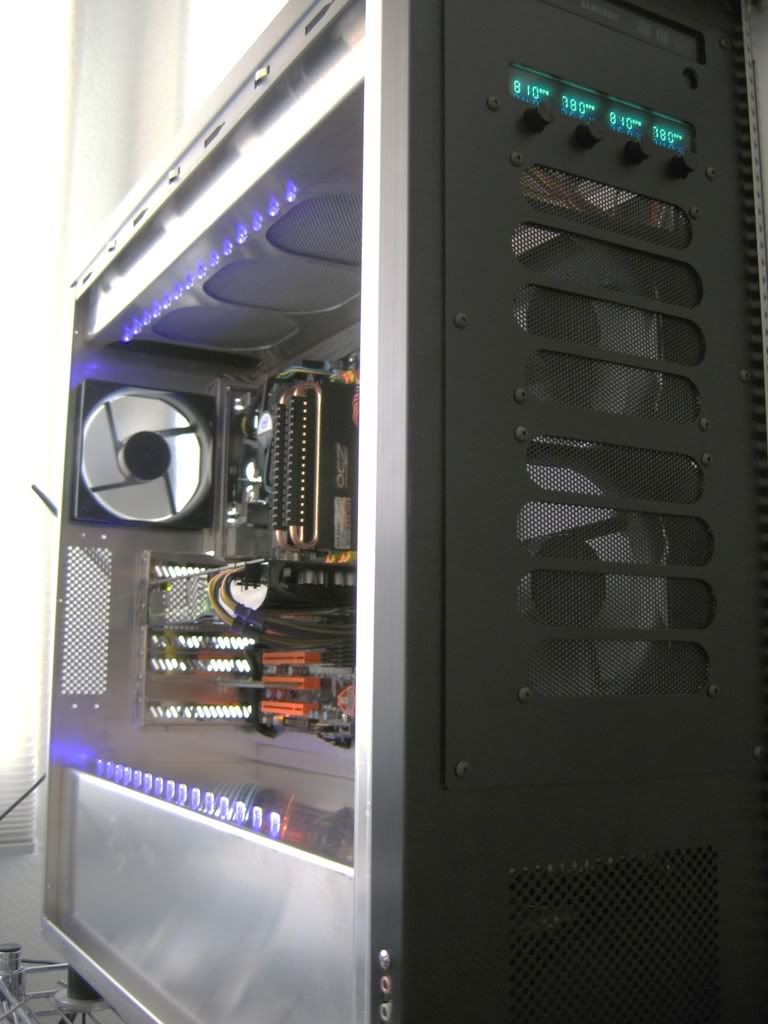
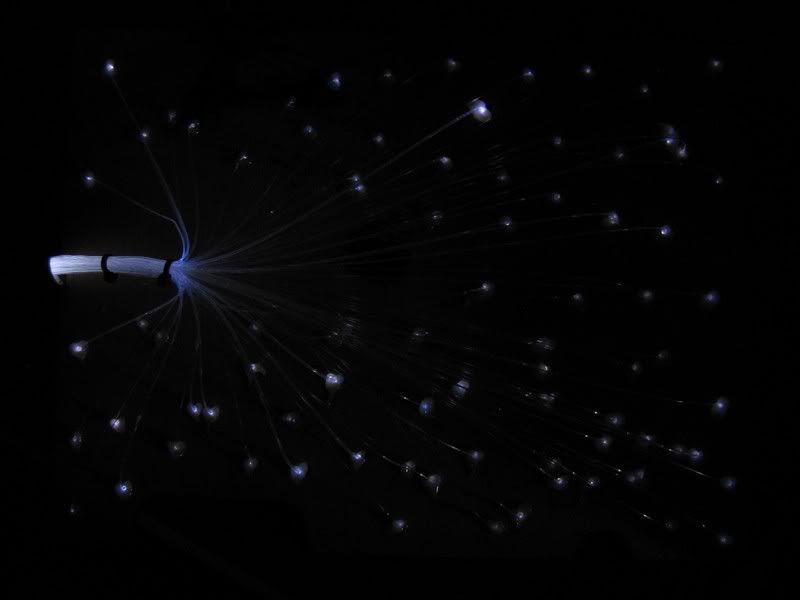
Testing. :)
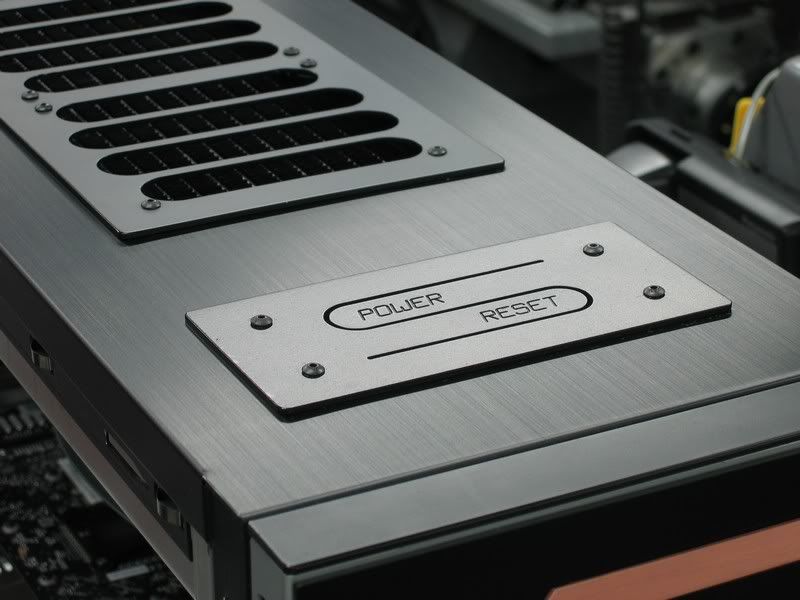
I was going for the clean look, I think it turned out pretty well.
I used the same mounting holes as the previous bracket to hold in the
so the cover ends up handily serving a dual-purpose.