-
Project: Archangel II
Greetings, all - I'm back. I've been out of circulation for a while as I haven't needed a new case and because all of my money has been going into my two-wheeled mod project.
Recently bought a new machine, and it is of the "reverse" arrangment, meaning that everything is upside down, and the case opens on the right-hand side. Because of this, I realized that I could actually have a window on the side that I see for once. This meant that I had to do something about that.
The case is a smallish form-factor HP case, so I don't have much room to work with. Also, this is going to be a minor mod, so it won't be a long build. I'm pretty much just looking to spruce up the side of the case.
The name comes from the fact that this is an upgraded version of my old machine, named Archangel (the naming convention on my network also includes Saint, Oracle, Prophet, etc.)
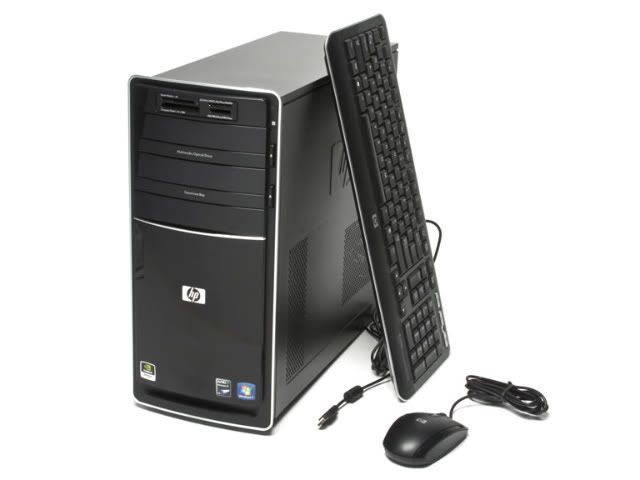
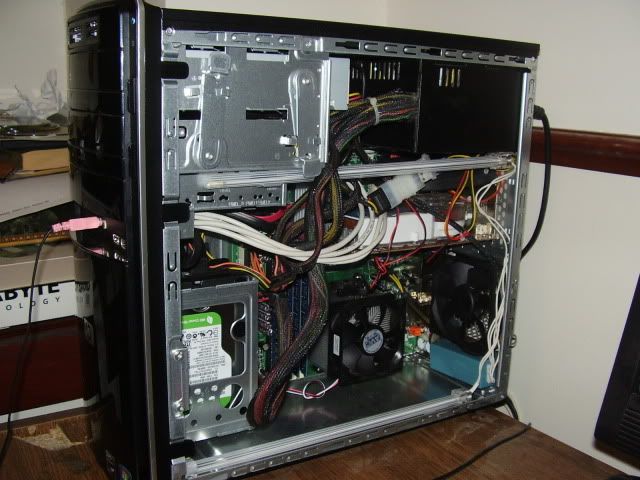
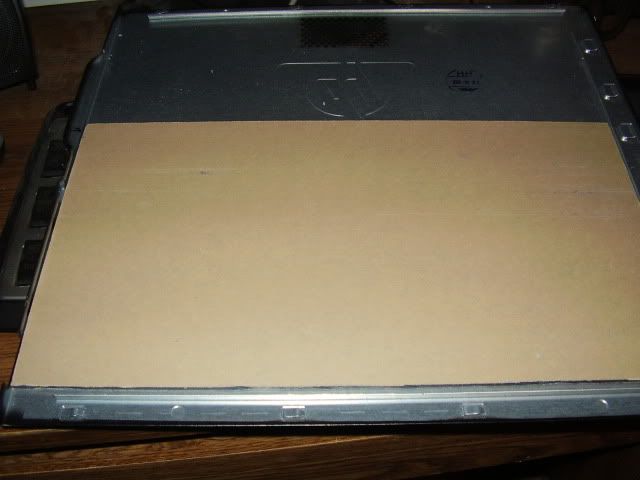
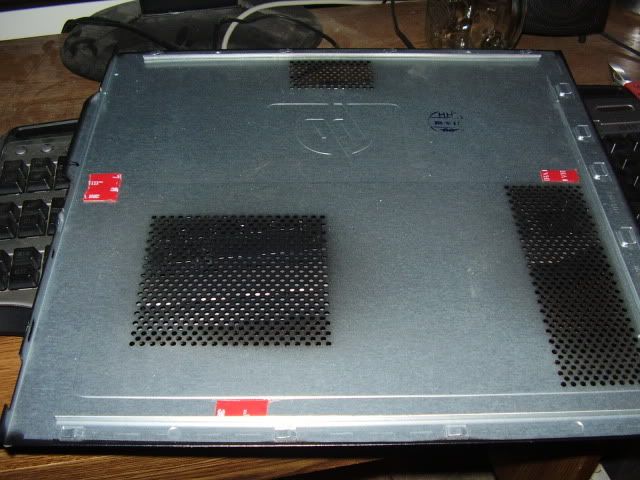
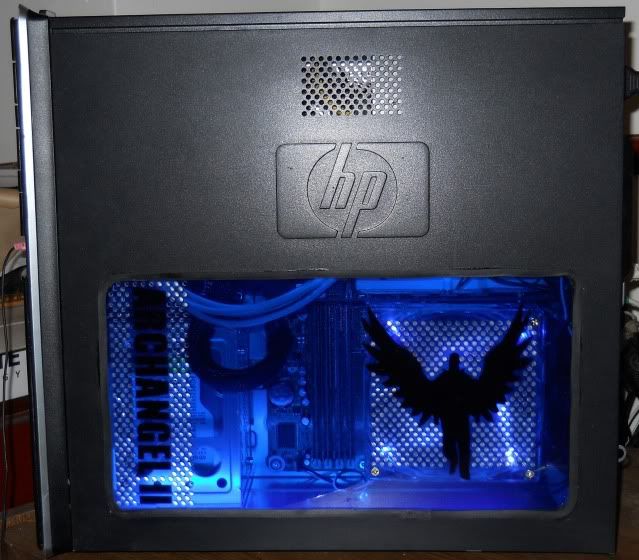
Here is the unmolested case (file photo):
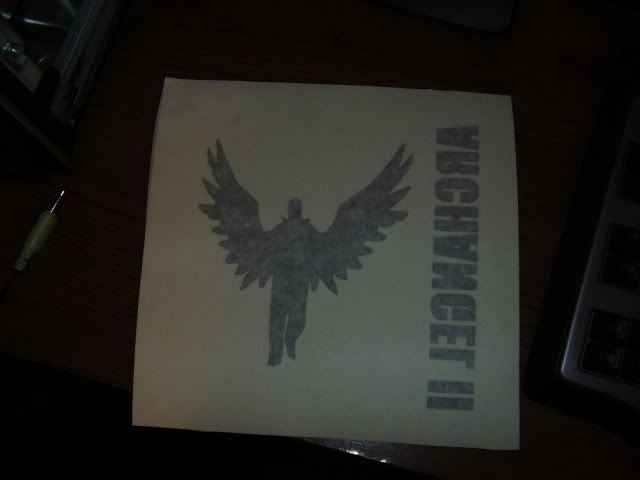
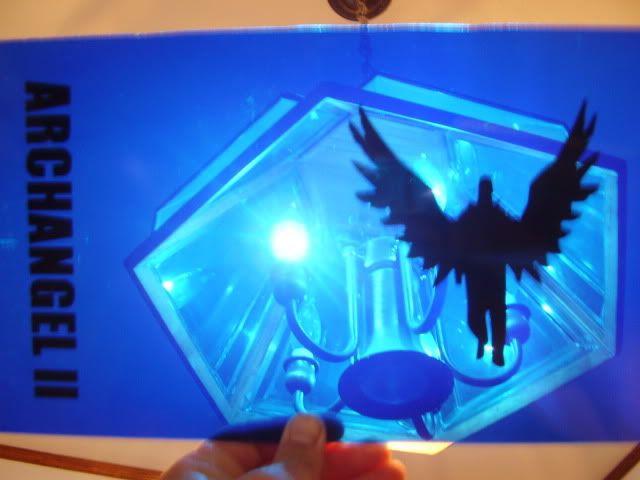
...And this is a mockup of what I plan to do to the side of the case:
The plan is to use blue plexi for the window, and redrill the stock vents. Also, the idea is to cut out the HP and the surrounding areas to replace with more plexi. (This part is a maybe - I need to decide if it will be worth the effort vs how it will look.) Next, I will apply vinyl decals to the window for the name and the namesake angel. Finally, it will be backlit with white CFFLs.
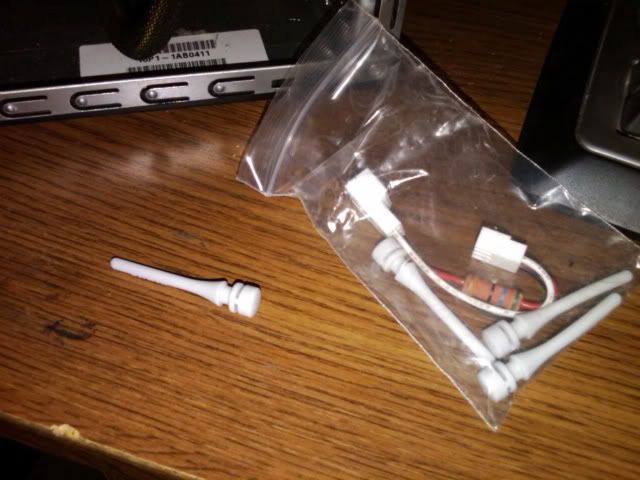
Last weekend while I awaited supplies, I got into it to get some other work done. First off, I replaced the fan screws with some rubber mounts that I had around:
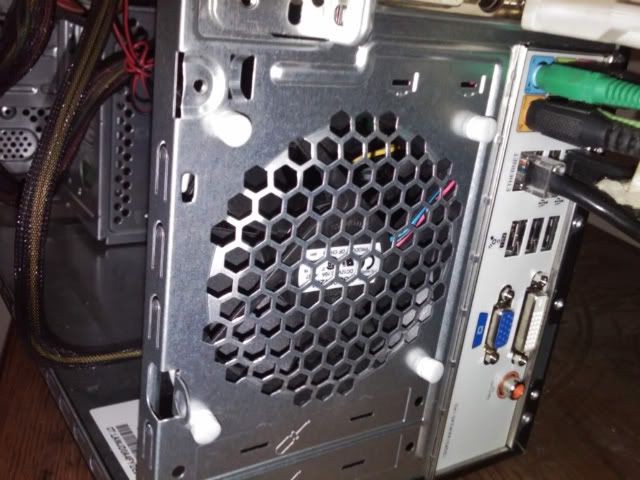
These are very easy to install. They are just inserted from the outside, then you pull the tails until they pop through.
They don't make a huge difference, but they cut the sound vibrations down. This machine is fairly quite, and this knocked it down even farther.
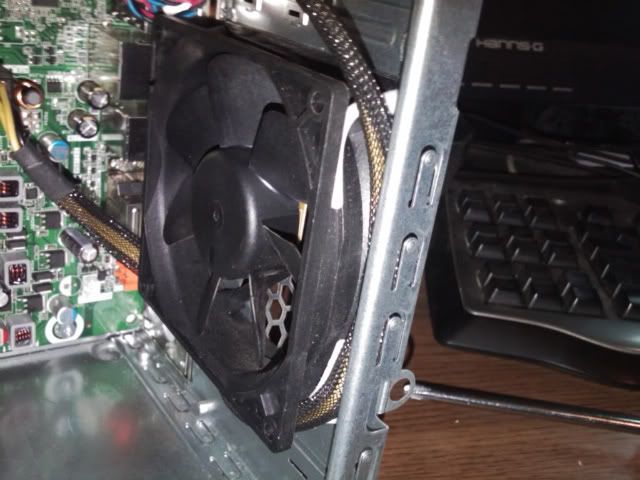
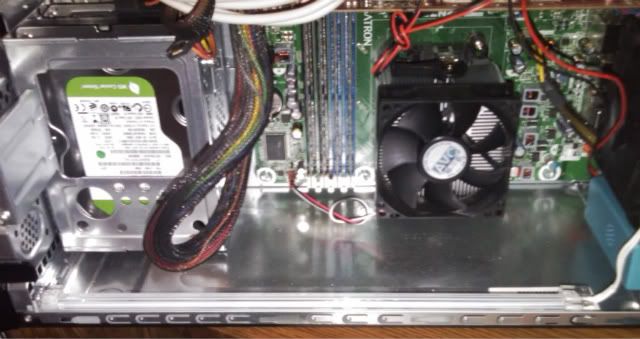
With the sharp, pointy stock screws replaced, I could wrap a power cable around the fan to keep it out of the way and open up the airflow a bit more. With the non-stock PSU I have in here, I was having some cable-management issues.
-
Re: Project: Archangel II
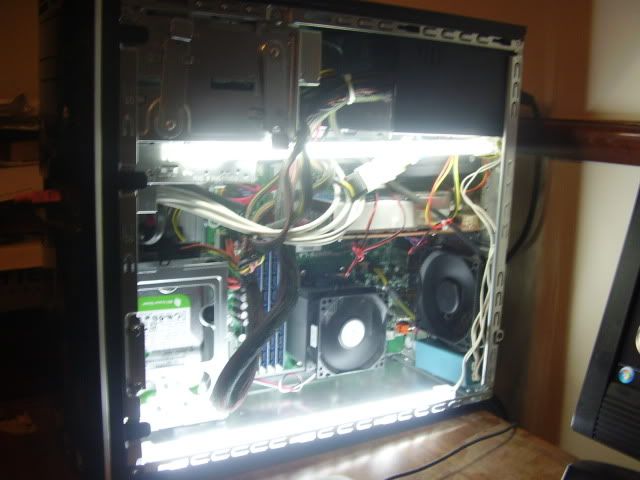
Next, since I already had them around, I installed the CFFLs. One is along the bottom of the case, and the other about halfway up. This one is iffy, as I'm not sure A.) if there will be enough clearance with the plexi, and B.) if it will light up enough there. If not, I will double-up on the bottom for a larger bath of light from there.
You can see in that pic what I meant about cable management. I had so many extra connections that I didn't need, and not enough space to stash them. I ended up zip-tying a bunch of them together and filling my spare 5.25 bay. You can also see that I added a system-blower fan over the GFX card to dump a bit more heat out.
Here it is lit up:
For any that haven't used them, CFFLs are inexpensive, bright and easy to hook up. They connect with a simple molex connector, and have an on/off switch that mounts to a spare expansion slot. Since I didn't need the wireless card that came with the machine, I used that bay:
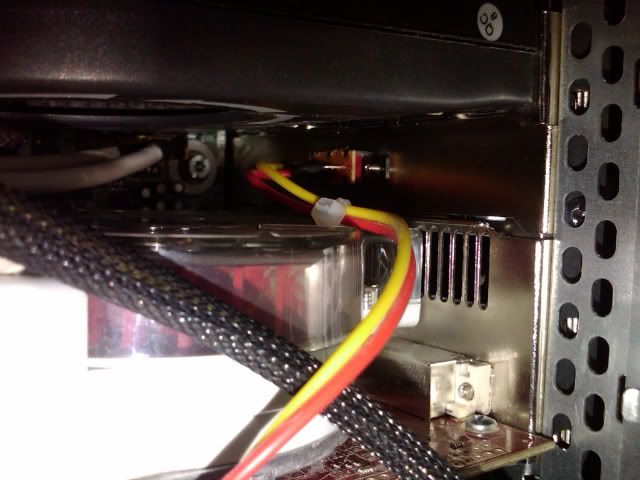
The inverter attached with velcro to any easy off-of-the way spot. For me, that was under the system fan:
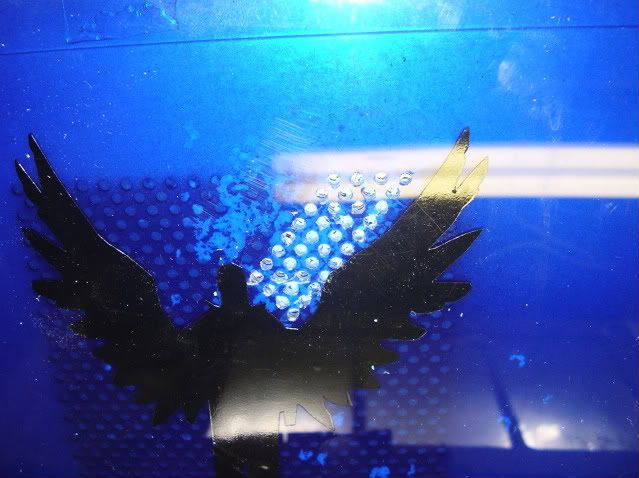
Only thing I'm waiting on now is the sheet of plexi to arrive (hopefully tomorrow) as my decals I had printed arrived today:
-
Re: Project: Archangel II
I had a bit of a setback - my PSU popped. I'm fairly sure that it was just an age thing, as it came in from an older machine...but to be sure, when the new one arrives today, I'm going to stress test it for a week or two and decide if I need to move the system to a different case. (Not that anyone seems to be beating down the door in anticipation of this mod :D)
-
Re: Project: Archangel II
Those white CFFLs are nice.
Smaller cases must be hard to work with. Good luck!
-
Re: Project: Archangel II
Ouch. What are you getting to replace it?
-
Re: Project: Archangel II
Quote:
Originally Posted by
Luthien

Those white CFFLs are nice.
Smaller cases must be hard to work with. Good luck!
Yeah - total PITA. However, there was just something about this case that I had to mod, ya know?
Quote:
Originally Posted by
x88x
Ouch. What are you getting to replace it?
I've got an OCZ modular arriving today. Calculated out with a healthy buffer, the 550W should put out more than enough juice for this machine, while being smaller than the one that popped. Also, it is modular, so I won't have the problem of all those extra cables A.) looking like crap, B.) taking up a drive bay to hide and C.) restricting the airflow in the case.
There's also an extra 120mm fan coming in this shipment so that I can move a bit more air in there.
-
Re: Project: Archangel II
...aaaaand, the spambots have invaded.
-
Re: Project: Archangel II
-
Re: Project: Archangel II
gonna be interesting... will be watching this one!
-
Re: Project: Archangel II
Quote:
Originally Posted by
billygoat333
gonna be interesting... will be watching this one!
Thanks- glad you're watching.
PSU came yesterday, and I slapped it in. Dear god, this thing is massive...so it took some fenaggling to get in place, but really big = really big, air-sucking fan. I also temp-mounted the extra 120mm fan I bought with the 3M tape I use for case windows. System started up and ran fine for 5+ hours with minimal load. Tonight or tomorrow, I'm going to get some gaming in and heat that sucker up.
-
Re: Project: Archangel II
Damn...universe hates me. I've been under the weather all this weekend, and I will be out of town next weekend. I'll get some more work done on this soon, I promise.
-
Re: Project: Archangel II
Hey-hey! Some work!
First I ripped down the glass I had to get a rough fit
I used some 3M "window" tape to hold it in place while I dry fit the side to the case:
Turns out that it was too long and wouldn't fit the back of the case, so I needed to cut it down a little more to get some wiggle room.
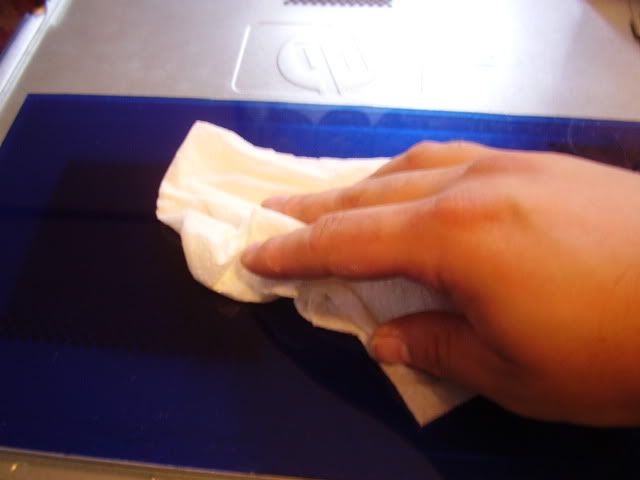
After this, I removed the protective paper and installed it. I made sure to clean it really well. The important part here is to use cleaner that's made for acrylic. The reason being that a lot of cleaners have ammonia in them, which will cause the surface to craze.
The steps from here did not lend themselves to taking pictures, as I needed to move quickly and needed both hands. Basically, I misted the surface with some water, remove the backing from the appliqué, smooth it on to the surface and then remove the second backing. After that, I needed to smooth out the air bubbles. Finally, I will need to leave it sit for a day or two to set, and then I can drill the vent holes.
-
Re: Project: Archangel II
Yee-ha! Here we go with the mega-update. I worked all day and have some great results to share.
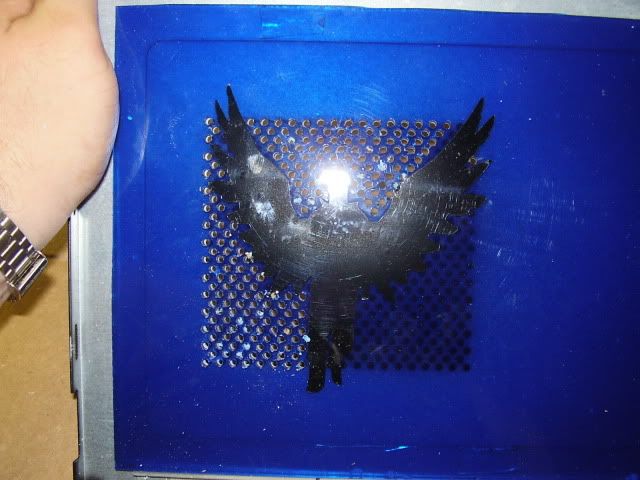
I taped the window back into the case and used the existing holes as my guide. Thus began my hours of drilling...
As you can see, I drilled around the graphic so that it could retain it's integrity. The key is to drill very slowly, letting the weight of the drill push the bit through. Although it is tempting to go quickly with all of the holes to drill, speed can take chunks out of the back of the piece.
Some time later...
Oh god, there's still so much to do. I haven't even started on the nameplate part yet.
Eventually, though - success:
Note to self: Next time a kid comes to my door looking to make a few bucks mowing the lawn or shoveling snow, I'm going to hand him a drill and a sheet of plexi.
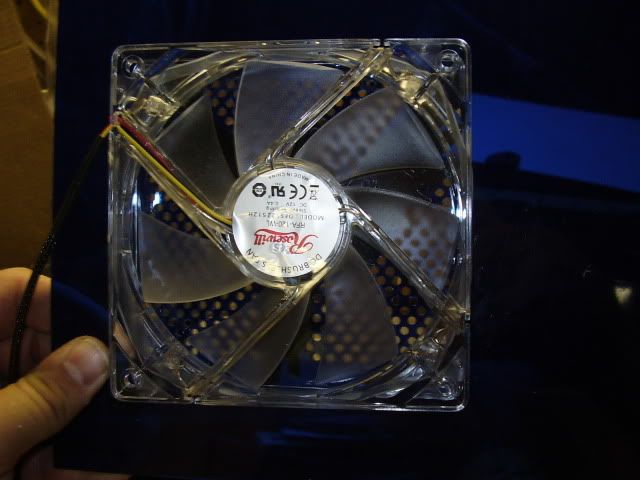
Here, I drilled a few larger holes and attached the new fan to the back of the window:
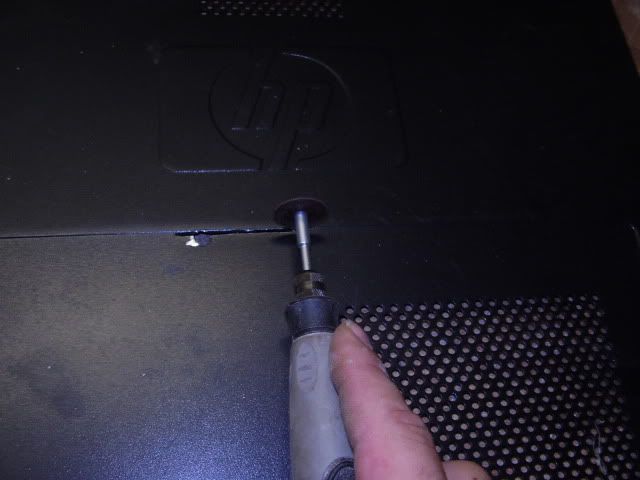
That more or less finished the window. Now, the fun part. I speak, of course, of majorly voiding the warranty:
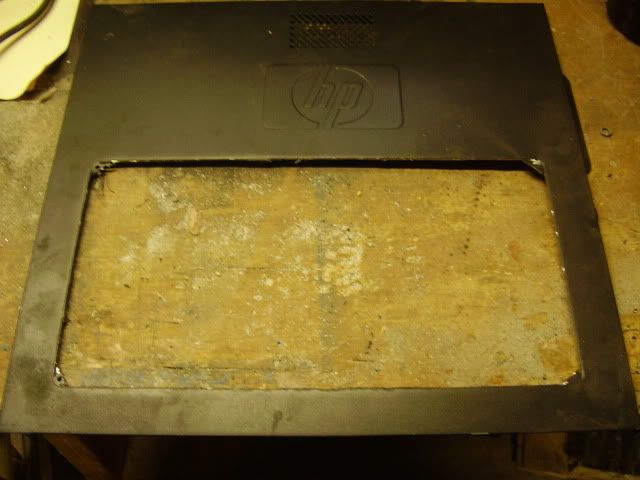
I rough cut the space for the window, leaving the corners a bit unfinished
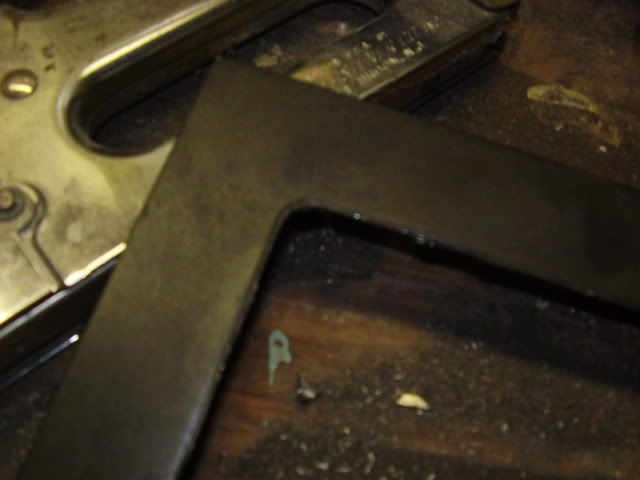
Then, went back with the Dremel and file and cleaned up the corners:
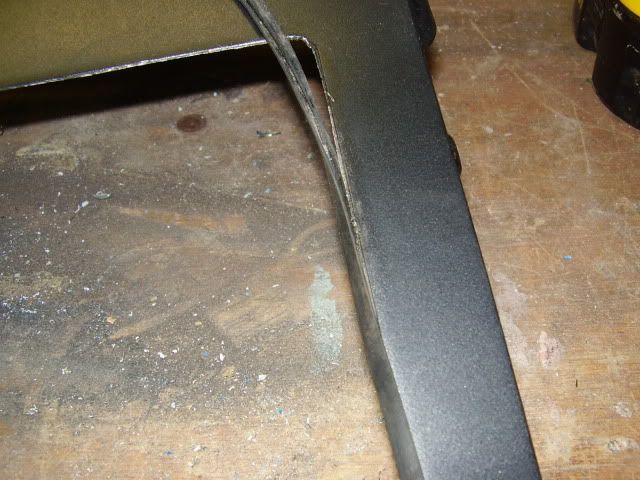
Once cleaned up, I started adding some U-channel molding:
This stuff is great, and can be purchased from MNPCtech.com. It's not expensive and it really cleans up the edges and gives it a more finished look. Some tricks that I've learned: One, use super glue. Doesn't take much, just enough to stick the molding every few inches, especially the corners. It is not, strictly speaking, necessary, but I've found that it holds it in place and makes the corners much easier to do.
2nd, the ends of the piece. (sorry, this picture came out really fuzzy.)
You want the ends to be even so that they don't stick out. Ive found that the easiest way is to have slack on both ends, lay them over each other and snip them both with a pair of scissors. Also, I like to have the seem at the bottom of the window. The top is more visible, and the corners are a pain in the butt.
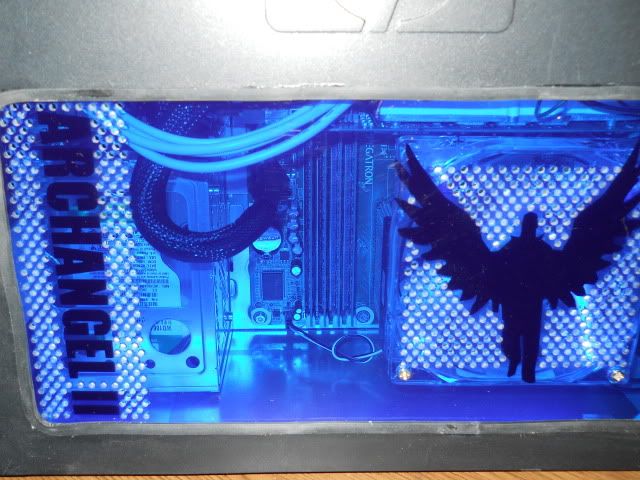
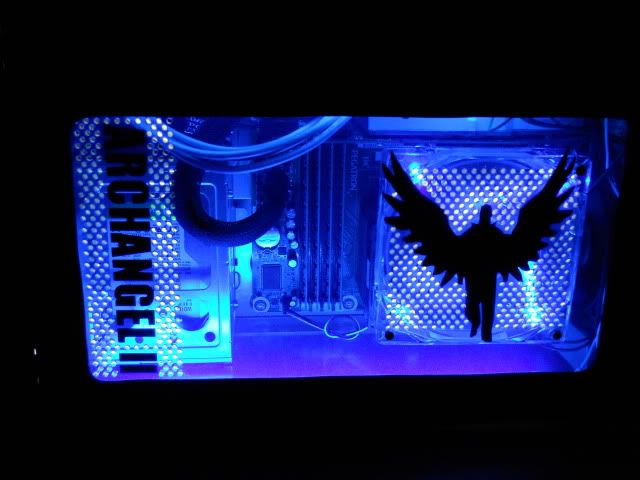
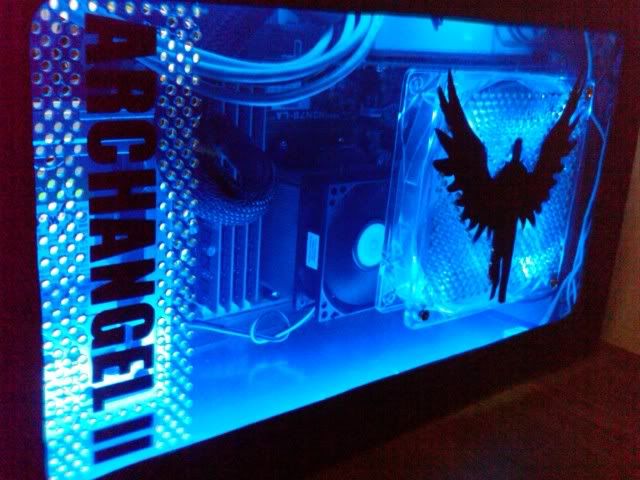
And, that does it. Here is the finished project, thanks for reading:
-
Re: Project: Archangel II
It turned out really nice. The lighting looks great with that side panel.
-
Re: Project: Archangel II
-
Re: Project: Archangel II
-
Re: Project: Archangel II
Very nice! :up: Once again patience pays off with a great finished product. +rep
-
Re: Project: Archangel II
Thanks for the feedback, guys. I know this isn't a real "flash and dazzle" mod, but it was fun and makes this case less of an eyesore.
Have fun and keep modding.
-
Re: Project: Archangel II
Okay, I'm actually going to reopen this one. I have a few laptop LCD panels sitting around as well as tracked down an affordable control board for it, so I thought that I'd mod up a secondary display for this project.
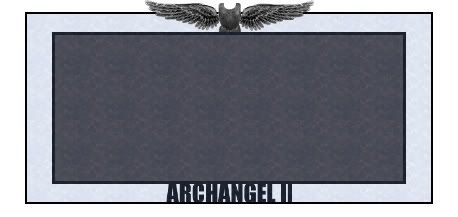
Here is a rough sketch of my idea (yes, I know this one looks like a license-plate cover. Thank you x88x... :D)
The idea is to give a plexi-frame with another vinyl applique on the bottom and LED back-light. The top piece will be resin-molded, but that part is still in development.
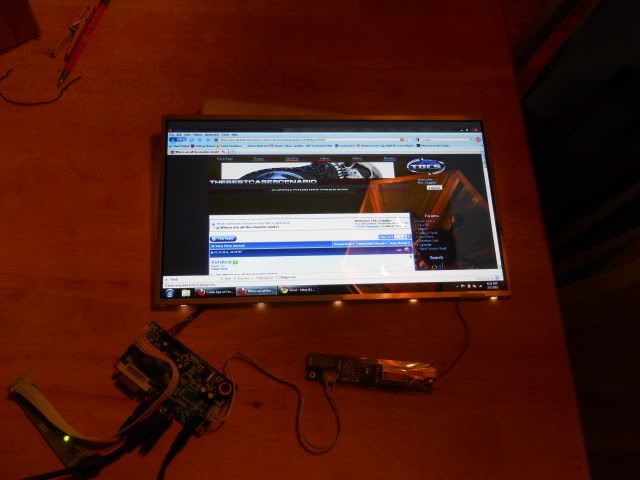
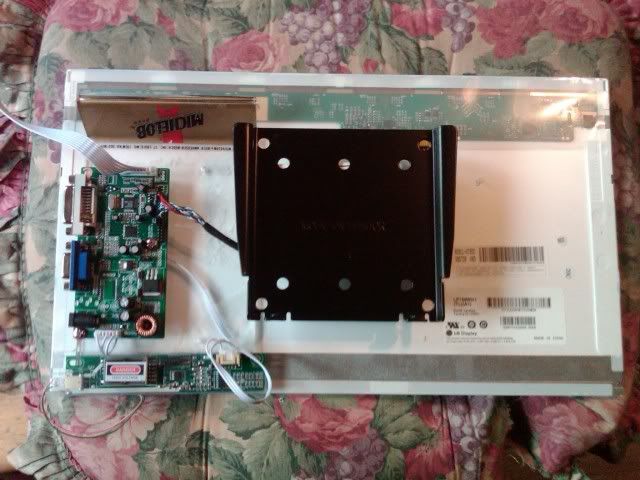
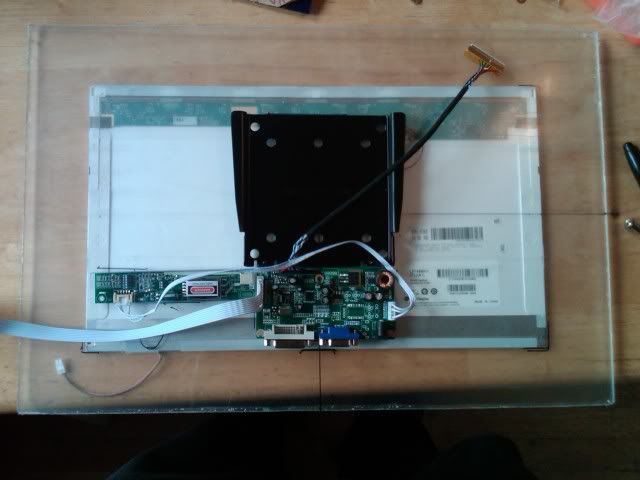
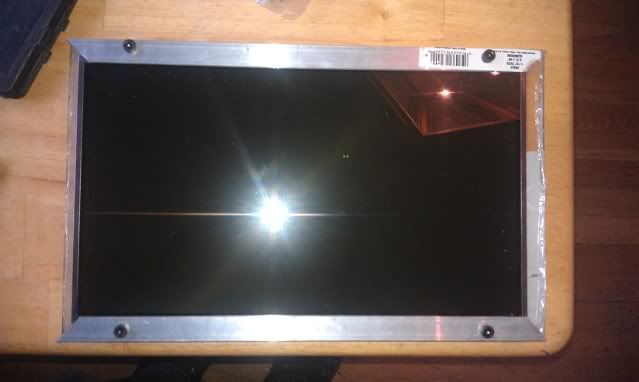
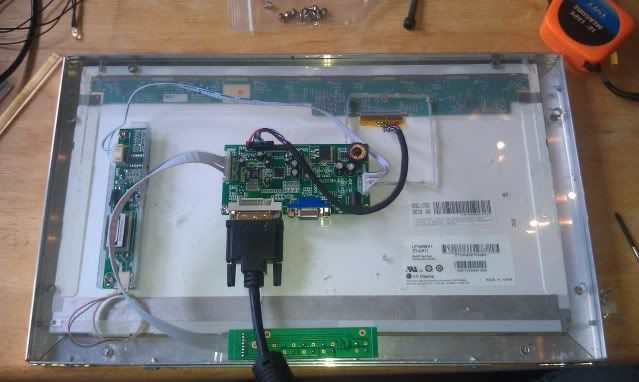
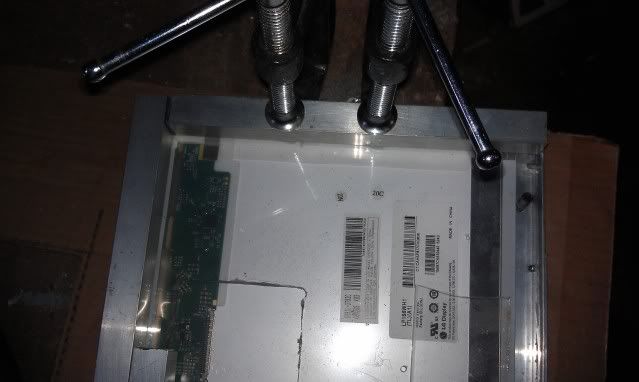
Here is the panel I will be using when I test-drove the controller board:
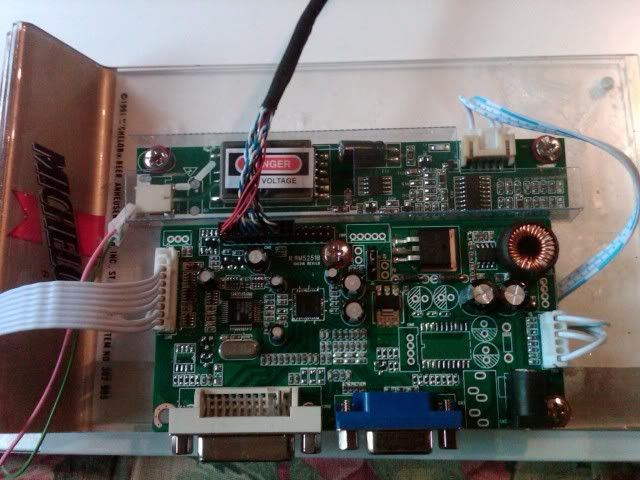
Today I officially got to work on the layout and planning. Since I didn't have any scraps of plexi lying around, I actually used a bar-style menu-holder I had lying around.
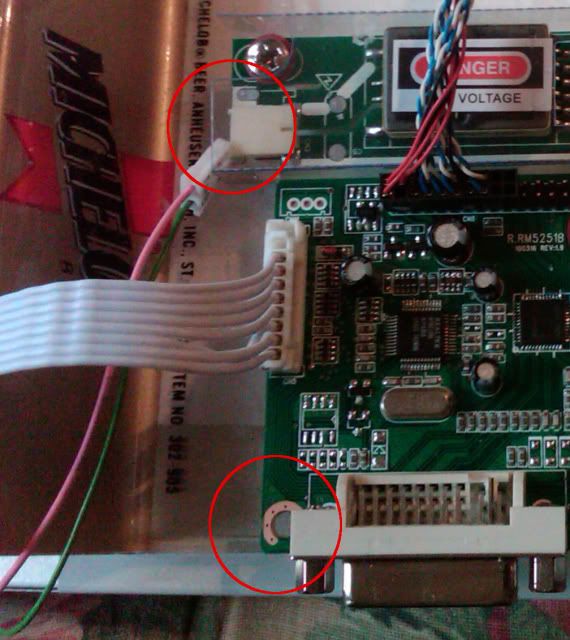
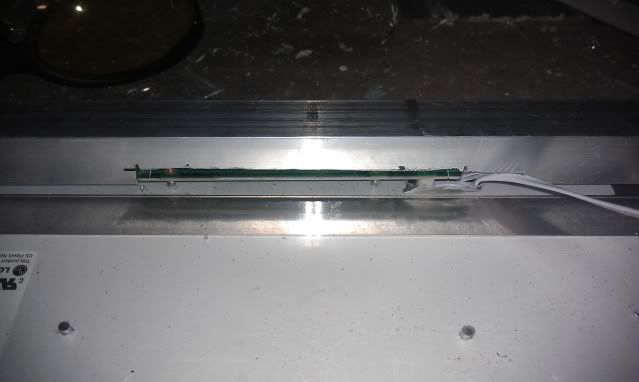
First attempt proved the exact reason why I did a test-run.
First problem was that the position I put the CFFL board was too far from the wires. Another issue was that the screw-holes in the board are very poorly placed (the cheapness of the board comes through sometimes) and have components too close to them. I was able to make two of them work, but the one by the DVI connector was a no-go.
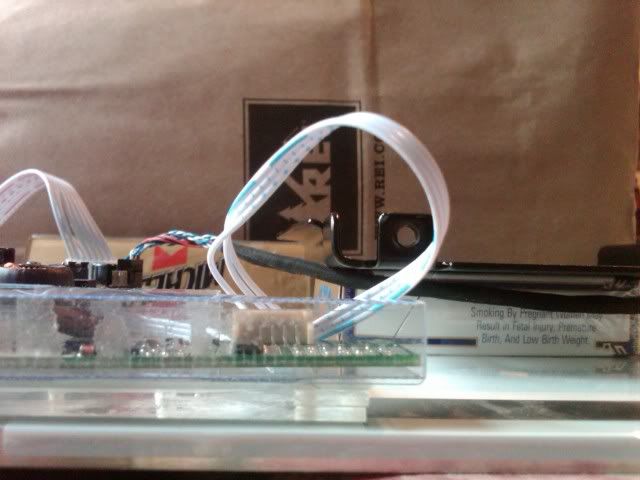
The second problem was that with the board arranged at the bottom, I couldn't get good placement for the wall-mount. By rearranging the connections to the side, I had more real estate in the center:
Final issue was that I needed to raise the bracket up so that there would be room between the board and the wall. Perfect spacing seems to be a pack of cigarettes:
So, the next step is to buy a few sheets of plexi and finalize the rear-structure.
-
Re: Project: Archangel II
Looking forward to how this turns out, should be a nice compliment to the rest of the case!
-
Re: Project: Archangel II
loving this, I've always wanted to build a screen into my case, may not be what you're going for, but I believe someone on the board has an applicable quote in their sig for that ;) happy modding!
-
Re: Project: Archangel II
Sorry...alas, it is not going in the case. Small case and a 15.6 screen. Nope, this one will be hanging on the wall. I have a second panel and a case it would fit in and I thought about it....but any cases that size are on the floor, under the desk - so there doesn't seem to be much point.
-
Re: Project: Archangel II
Okie-dokie - supplies bought, planning moves towards building.
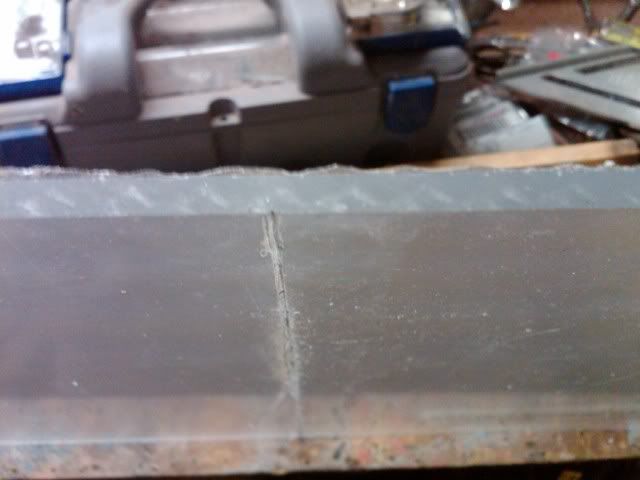
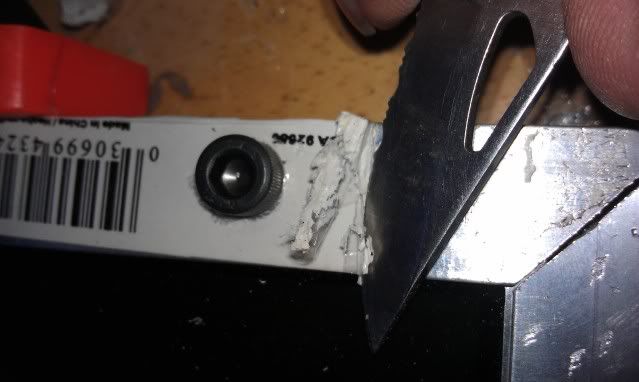
First off, I hate plexi. I don't know why I do so many mods with it. :rolleyes: Every time I start a new piece, I pick up a new plexi knife and try once again try to cut it the "right" way. I've still never succeeded. Everyone tells you to score until you're half-way through the glass, then snap. After 45 minutes with a brand-new knife, this is how far I got:
Yet again, I gave up and ran it through the tablesaw. I don't ever like the cut, but I can't seem to do anything else. At any rate, once I had the sheet split in half for the front and back pieces, I took another look at the layout.
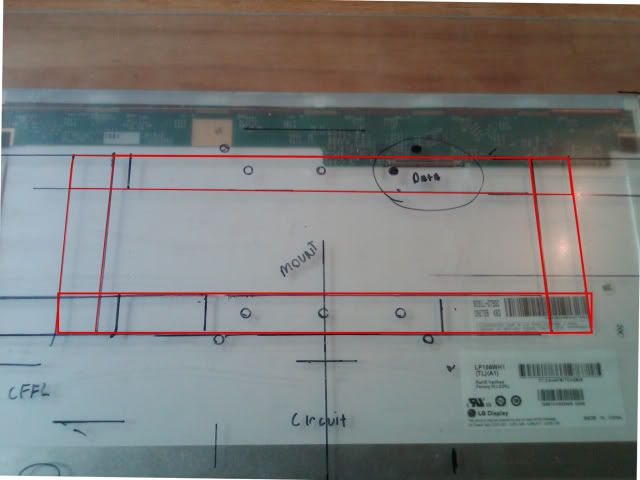
On second look, I think that I can mount the circuit board below the wall mount after all. It's going to be tricky with the main cable, but I think I can make it work.
As you can see here, I marked up the protective coating on the glass to figure everything out. I have marked the various mounting holes for the back plate. As you can see, there are two that fall in the area that I will need to cut out to access the top cable connection. The red highlight mark the frame that I'm going to attache the wall mount to. With the cable routed under this frame, I shouldn't end up having any issues.
So...the big question: Is this too much border around the screen? I really can't tell - it's pretty big when I hold it up to the wall, but it's the amount that I need on the top and bottom for the Archangle logo and the screen buttons (when I figure them out.) What do the rest of you think?
(Note: It will be a royal pain in the ass to cut it down, though - my rip fence on the table saw can't go any farther than 12")
Note: I think I'm going to reduce the height a bit and leave the width.
-
Re: Project: Archangel II
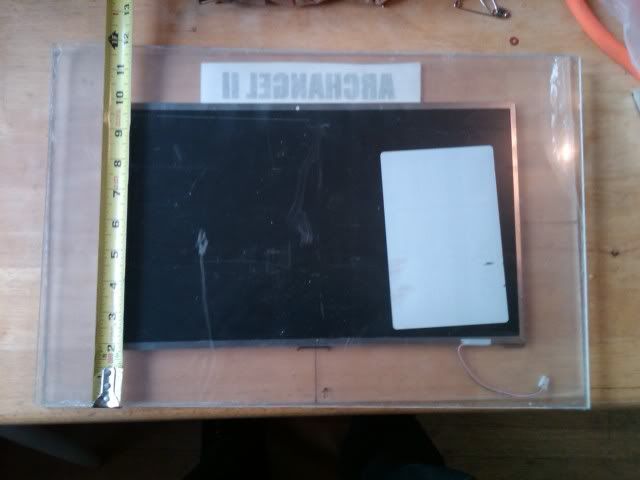
Okay, through a combination of lack of replies, rethinking the project and a bit of "life" happening, this project got put on hold for a while. I really decided that the monitor was going to be way too big. Then, I ended up getting a second monitor anyway, and I put it on the back burner.
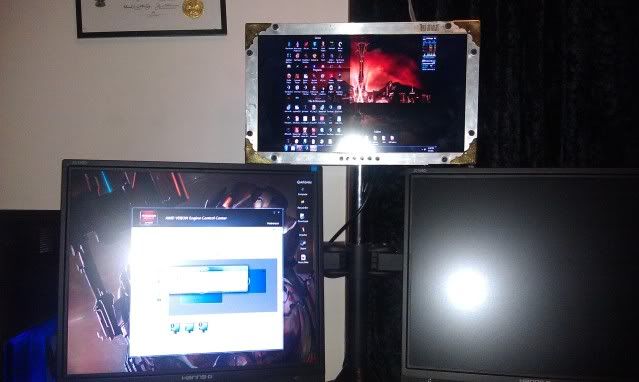
Now, I've decided to use this smaller monitor for a system monitor screen - things like CPU usage, GPU load, etc. For this, I'll be going with the bare essentials and a tiny bit of flare.
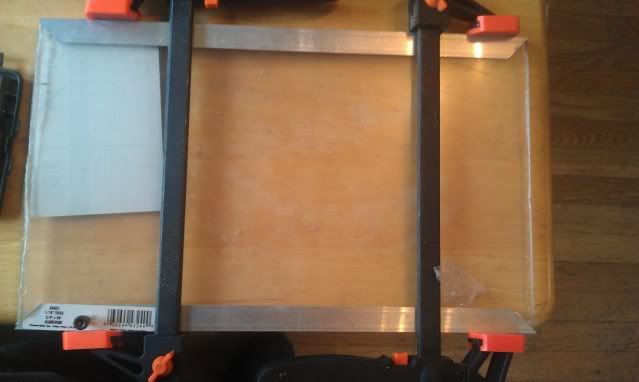
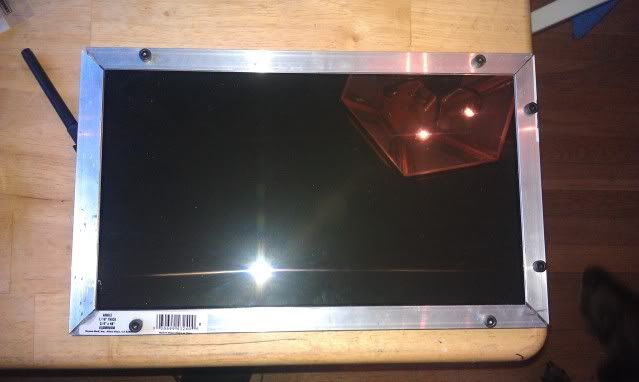
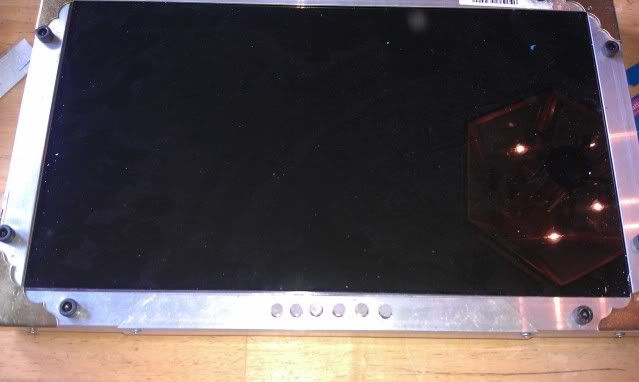
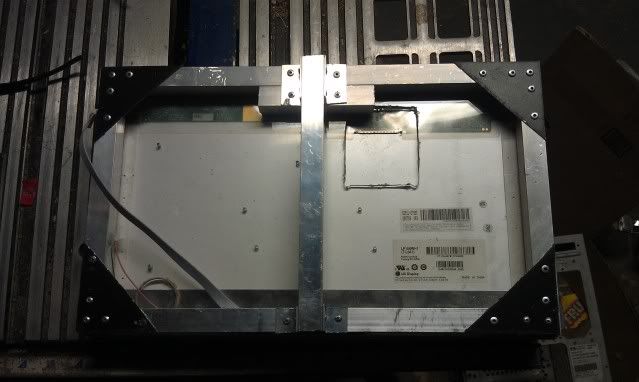
I've nixed the front piece completely, and cut the back piece pf plexy down to just what I need. Instead of plain glass, I'll be going with a metal frame painted black to go with my other monitors and case. the first step was to cut the rails and affix them:
As you can see, I went with black thumb-screws, because I like the look.
Horizontal rails:
...and the vertical ones (Note Modder Dog deciding that she needed to be in the worklog:
Please ignore the corners for right now. They're not perfect, but that's because I plan to cover them and pull them in tighter.
-
Re: Project: Archangel II
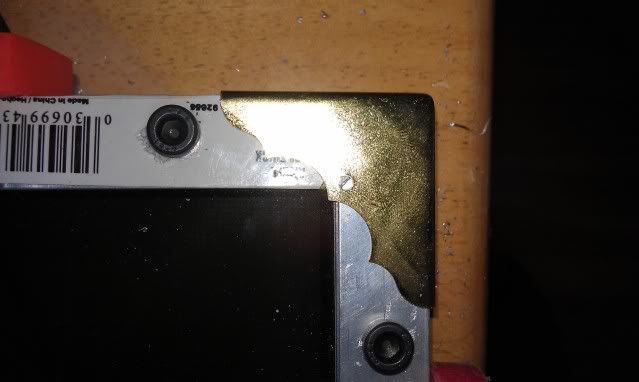
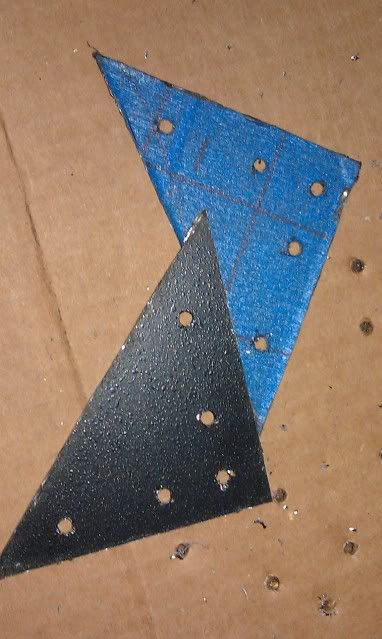
Before doing the corners, I almost forgot to remove some stickers. That would have been annoying:
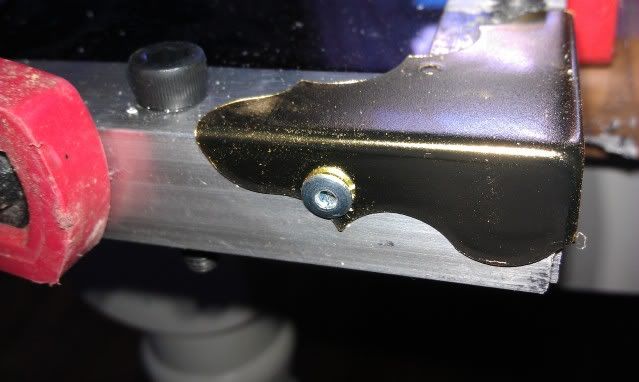
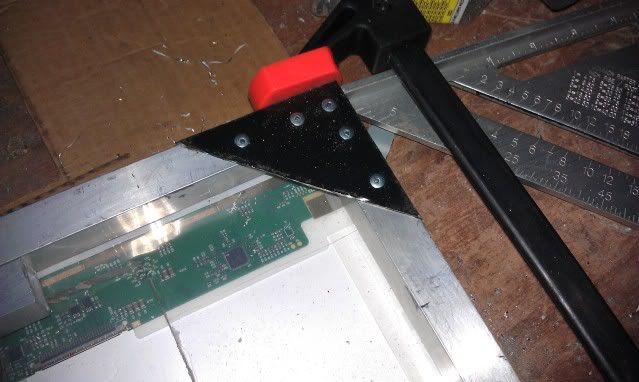
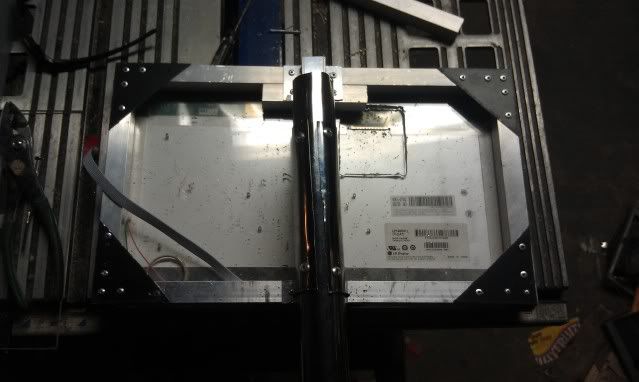
The corners themselves are scalloped corner-protectors affixed with my old buddies, the pop-rivets.
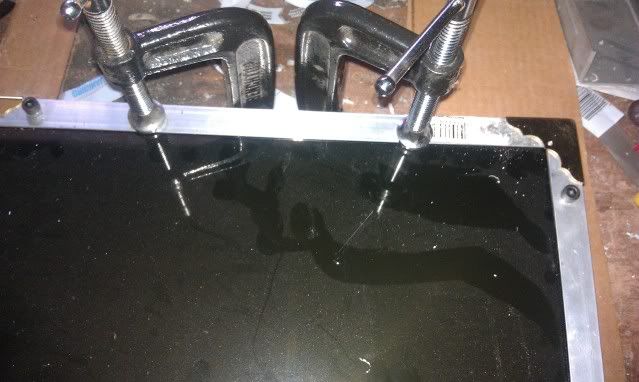
Again, I used the clamps to pull everything in as tight as I could so that the corners were square and flush.
Here's where we are right now. I'll be painting them black, but right now, this really gives me ideas for a future Steampunk mod:
-
Re: Project: Archangel II
Looks good. Nice, solid, basic design. :up:
-
Re: Project: Archangel II
Hey, man - glad you're still following. Sorry I left you hanging on the board usage and everything. Now, I'm in "finish it or die trying" mode.
-
Re: Project: Archangel II
Hahaha, that's fine...I'm not in a financial position atm to be buying boards anyways.. :(
-
Re: Project: Archangel II
Whoops...I did some work last week and forgot to post anything until I did this week's update. A quick update before my update:
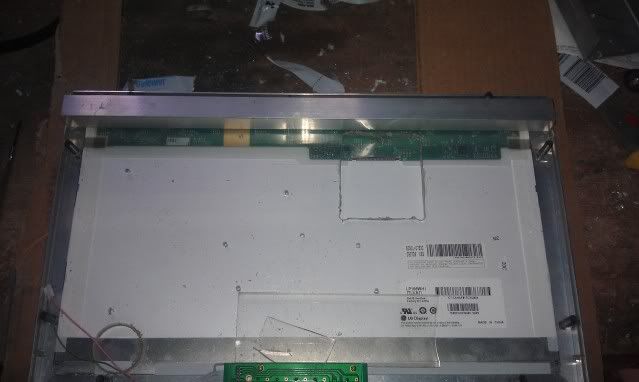
Here is my mockup of the back and wear things will be
I think that I'm going to have to move the main board again, but I will address that after I finish the chunk that I'm on.
I also added a decorative faceplate to the front and cut posts for the buttons (unfinished.)
-
Re: Project: Archangel II
Work today was on the mounting hardware for the back. The original plan was to wall-mount it, but ever since I decided to mount it on the post of my dual-monitor stand, I've been trying to figure out the best way to tackle it.
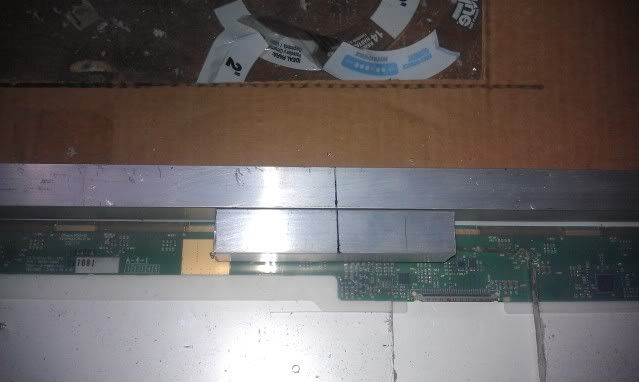
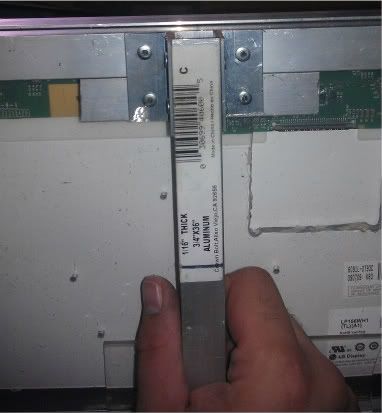
The first step was the manufacture of reinforced mounting point. Here, I used 3/4" square-aluminum bar.
Widening the center of the mount:
This was affixed with the same bolts that I used to secure the faceplate:
-
Re: Project: Archangel II
The vertical bar (which will be connected to another part later) needs to be affixed vertically to the mount-bar.
This was done with some angle-stock and the old modder's fried, pop-rivets:
One riveted, the mount is mostly secure:
Problem is, I really just didn't like the amount of flex in it. I would probably be fine, but I don't want to risk the plexi back-plate cracking or the panel itself twisting. Therefore, I reverted to two rules I learned back in my days of stage construction:
- If it's on the back, no one will see it or care and
- When in doubt, over-build.
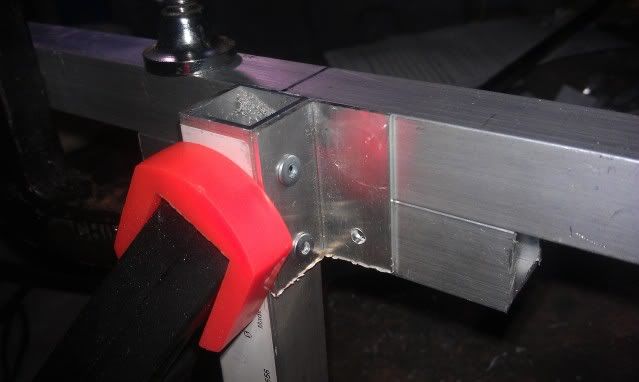
So, to solve the problem, I cut another piece of the bar stock to support to go along the side, along with corner-brackets:
Thing is, this one support stabilized the whole thing, and I'm all out of bar stock. I could just use a piece of angle stock to make the monitor look the same on both sides and have the main construction done...or I could go to the store tomorrow and do it right. In this case, doing it right won out.
-
Re: Project: Archangel II
Looks good. Nice, easy mount too; just grab that big alu bar anywhere and tie it to a post.
-
Re: Project: Archangel II
Very close. I can't really explain what my plan is - it'll be easier when I have pictures...but yes. it should make things fairly easy.
-
Re: Project: Archangel II
Crap...was working today, and my Dremel started smoking. Motor was still running, so I'll let it sit until tomorrow to cool and give it another try. If it's wrecked, then that's it for this project for a while until I can buy a new one. (Don't think my cordless one would be up to the task.)
-
Re: Project: Archangel II
mine did that a couple weeks ago. was using it, and it started popping and crackling and smoking. Haven't touched it since lol
-
Re: Project: Archangel II
My dremel is Craftsman brand. I have yet to have issues with it. *goes and knocks on wood*
-
Re: Project: Archangel II
Quote:
Originally Posted by
Fuganater
My dremel is Craftsman brand. I have yet to have issues with it. *goes and knocks on wood*
my craftsman brand dremel died a horrible death. :( RIP good buddy.
-
Re: Project: Archangel II
Quote:
Originally Posted by
The_Crippler
Crap...was working today, and my Dremel started smoking. Motor was still running, so I'll let it sit until tomorrow to cool and give it another try. If it's wrecked, then that's it for this project for a while until I can buy a new one. (Don't think my cordless one would be up to the task.)
Quote:
Originally Posted by
SXRguyinMA
mine did that a couple weeks ago. was using it, and it started popping and crackling and smoking. Haven't touched it since lol
Sounds like you blew your brushes. Fortunately, you can buy a new set for ~$5-10 and replacing them yourself takes about a minute, or Dremel has great customer support and if it's under warranty (Do they have a lifetime warranty? I forget...) you can do an RMA and they'll either repair or replace it for free (ok, the cost of you shipping it to them).
-
Re: Project: Archangel II - the third monitor
Well, the good news is that my Dremel is not, in fact dead. The smoke was some of the coating on the brushes. I now have it hanging on a hook while using it.
The bad news is that the universe does not want me to finish this project. I very stupidly picked it up wrong, felt a *pop* and I busted my panel. Totally stupid, totally my fault and we'll never speak of this again. Thankfully, I have a second one.
Now, on to the update.
I installed the bottom frame piece and had to cut a notch for the circuit-board. This actually serves double-duty of housing it (no metal touching metal) and bracing the back.
Also, this piece meant that I could anchor the bottom of the upright:
Now, here's the part that I wasn't able to explain before. Since I can't get rivets from the tube side or the pipe side, I had to get creative. For this, I used two pieces of pipe, and split one to make a sleeve:
...and then, just slid the other one inside and riveted it.
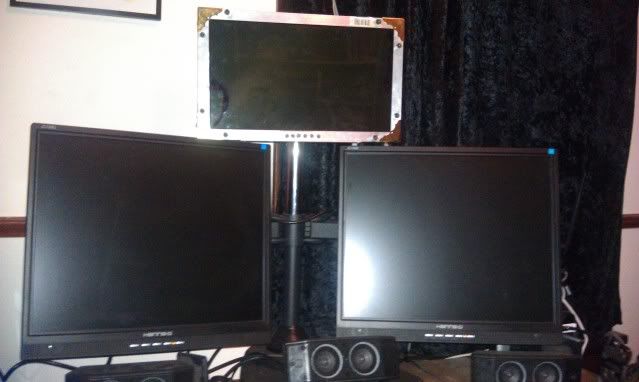
Now, once this was all assembled, the whole thing just slides over the center post of my monitor stand. In place, I realized that it's a little crooked, but this is easy for me to re-rivet and fix. The next step will be to put the final panel in place and test it to make sure the viewing angle is right. If no adjustments need to be made, I will make the buttons and paint the whole sheebang.
(Note, you can see That Which We Won't Speak Of on the left.)
-
Re: Project: Archangel II