-
Project: Steampunk'd TJ11
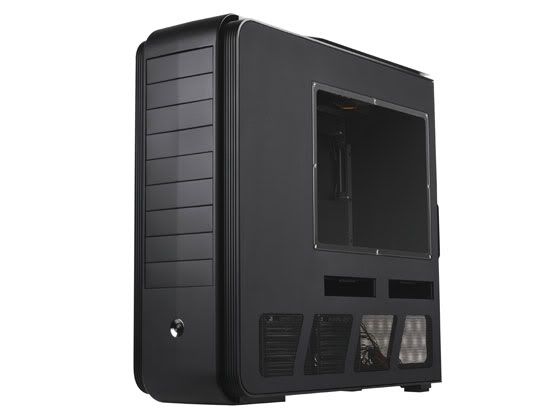
Time for a good Steampunk mod. And what better case to use than the awesome Silverstone TJ11!
Big shutout to my sponsors!!
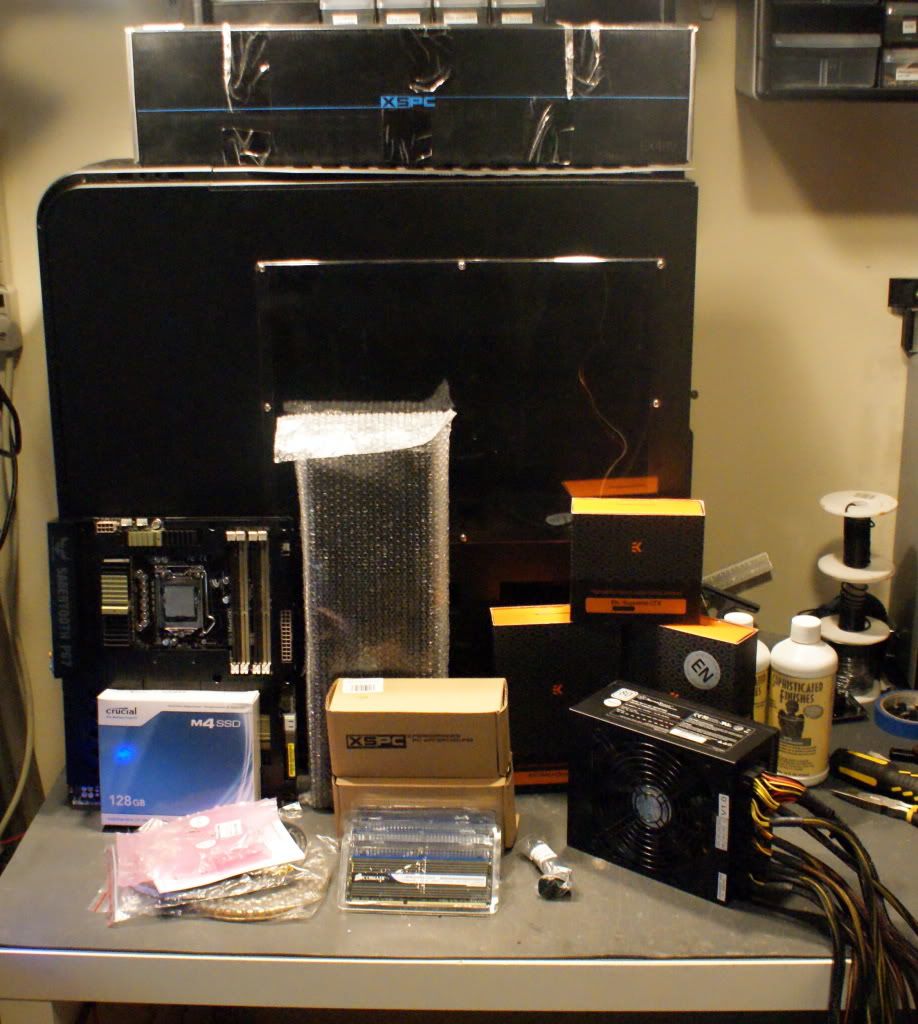
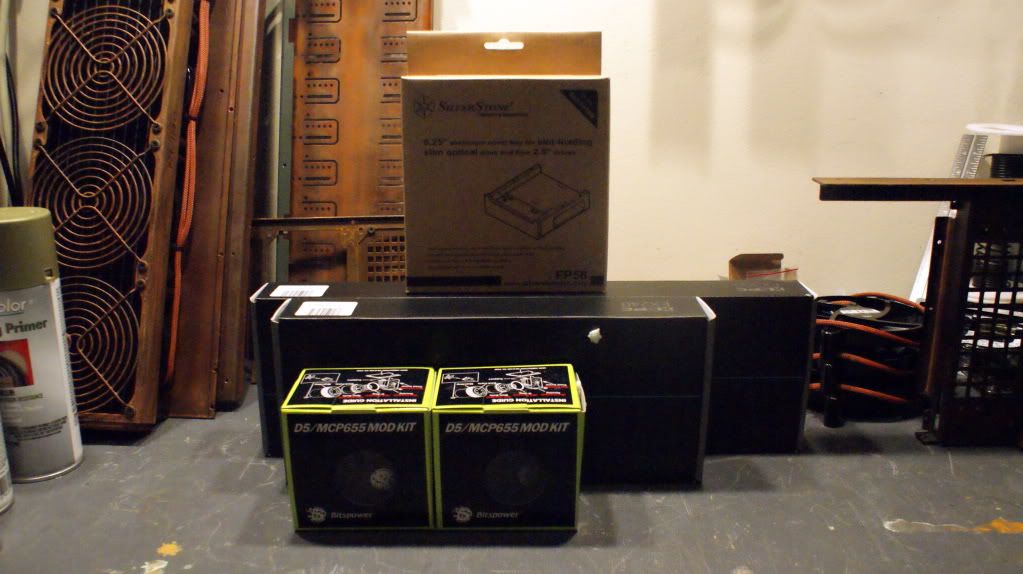
Performance-PCs is providing me with the BP mod kits, 240 and 360 rads and the Silverstone slim DVD bay.
EKWB is providing me with a EK-Multioption 250 Res and 90 degree fittings.
Hardware
Mobo: Asus Sabertooth P67
CPU: Intel i5 2500K
GPU: Unknown
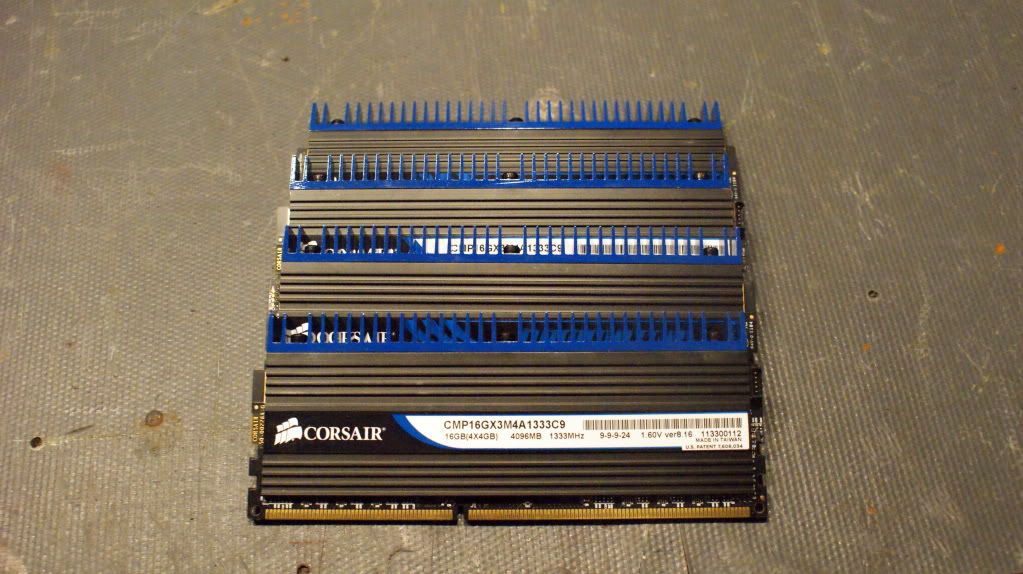
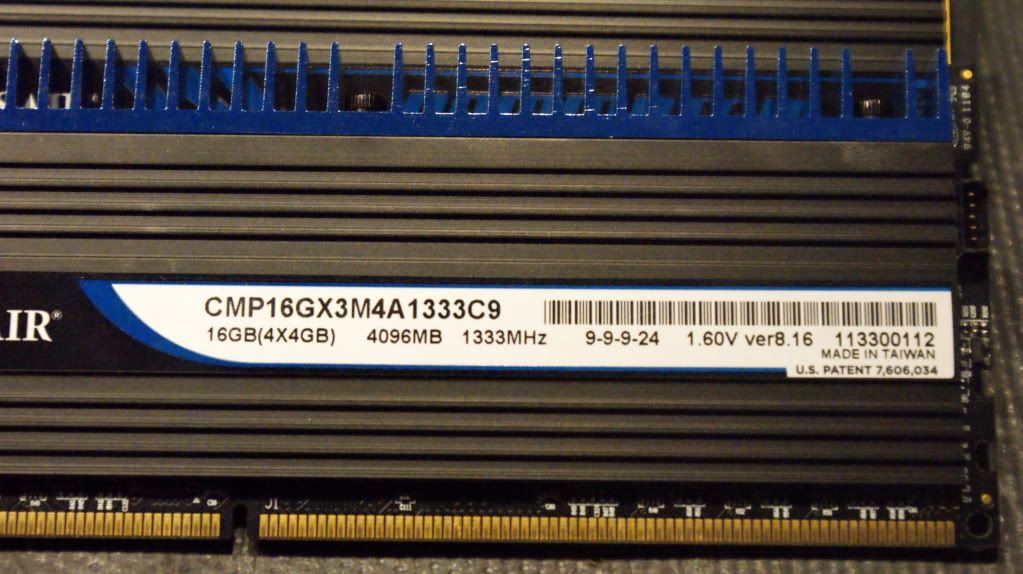
RAM: 16GB Corsair Dominator 1333
SSD: Curcial M4 128 GB
PSU: Silverstone Strider 1200W
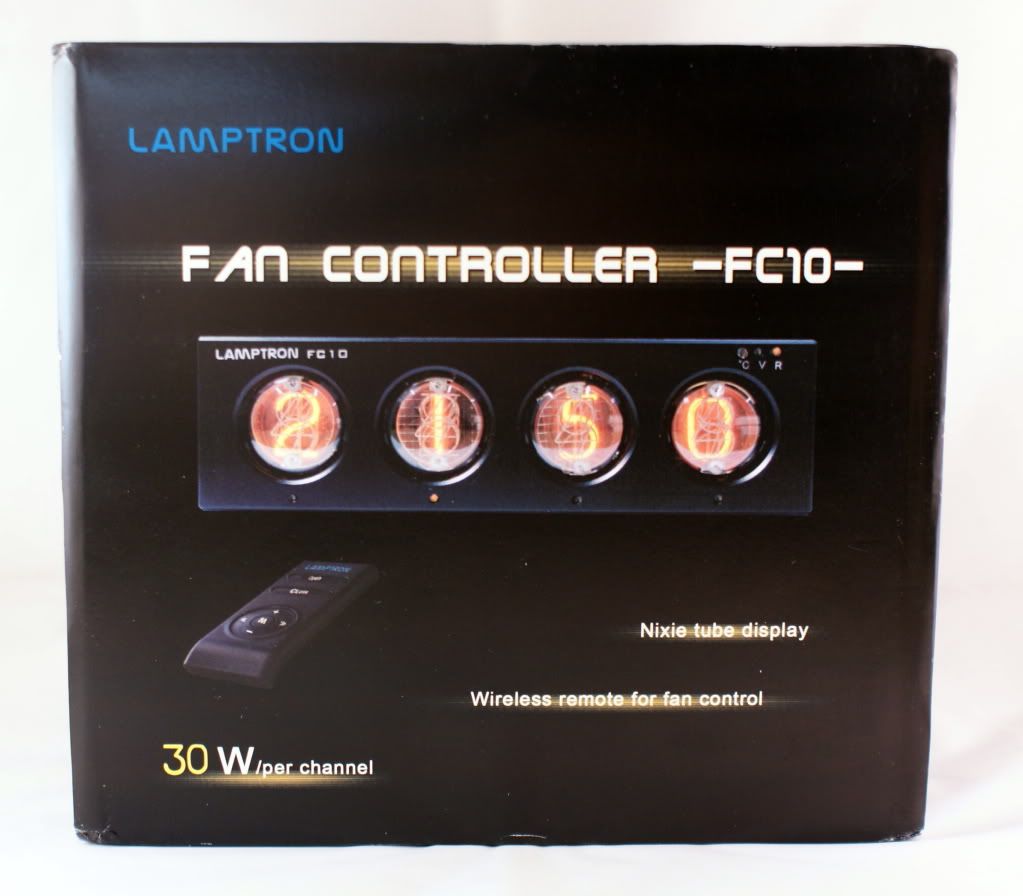
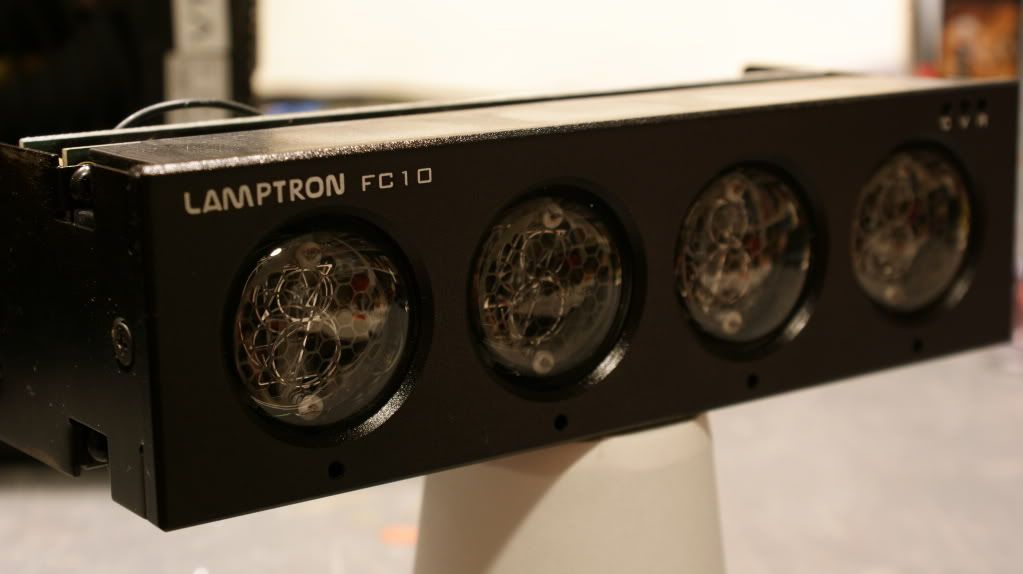
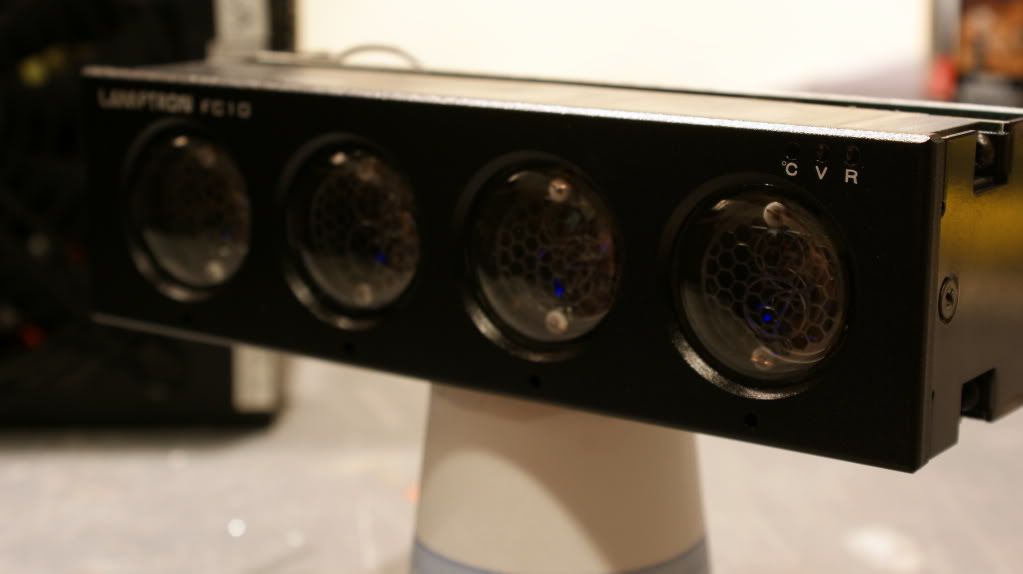
Fan Controller: Lamptron FC10
Cooling
XSPC EX480
EK-CoolStream 360
Another 360 rad
EK-Multioption 150 or 250
EK-RAM Dominator
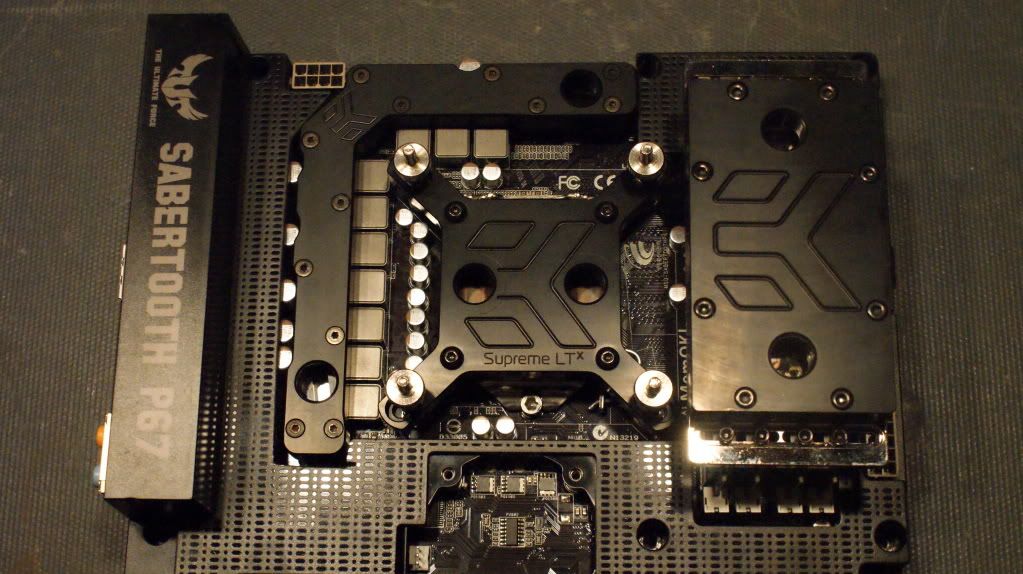
EK-MOSFET Sabertooth P67
EK-Supreme LTX
2x XSPC 120mm radiator stand
Misc
Sleeving: MDPC-X
Yellow SMD LED Strips
Yellow LED bulbs
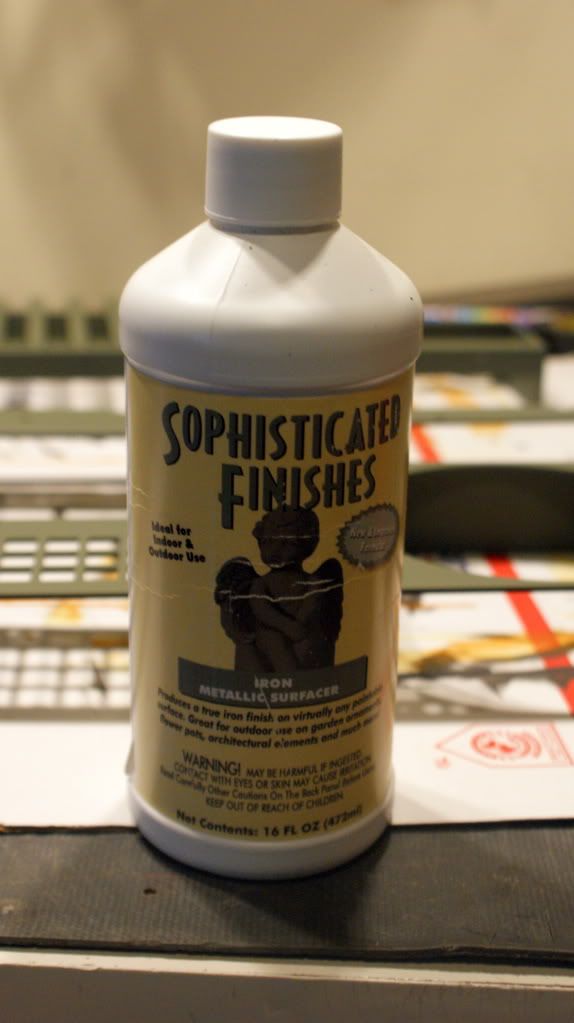
Sophisticated Finishes Rust Effect Kit
Old Vacuum Tubes
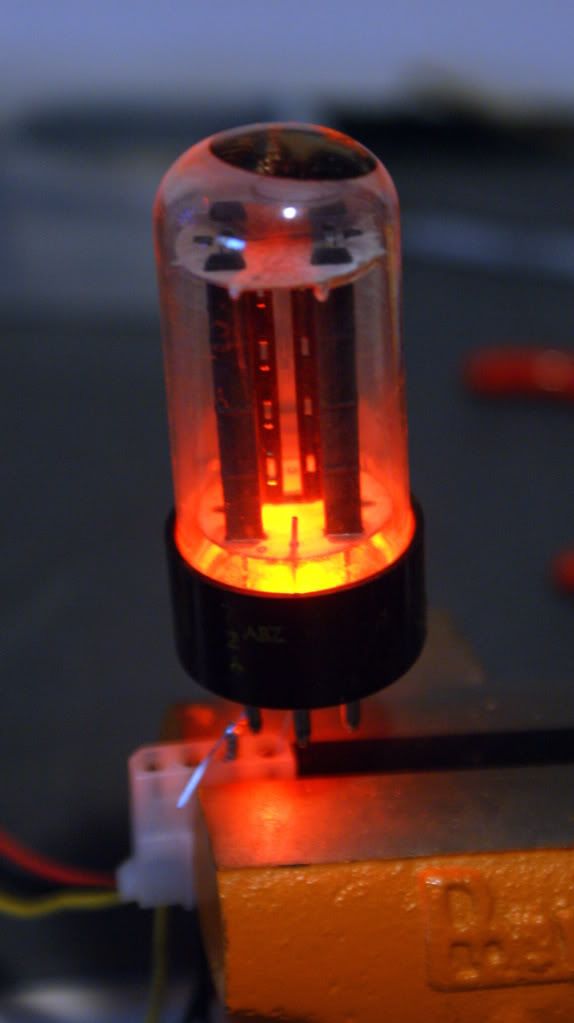
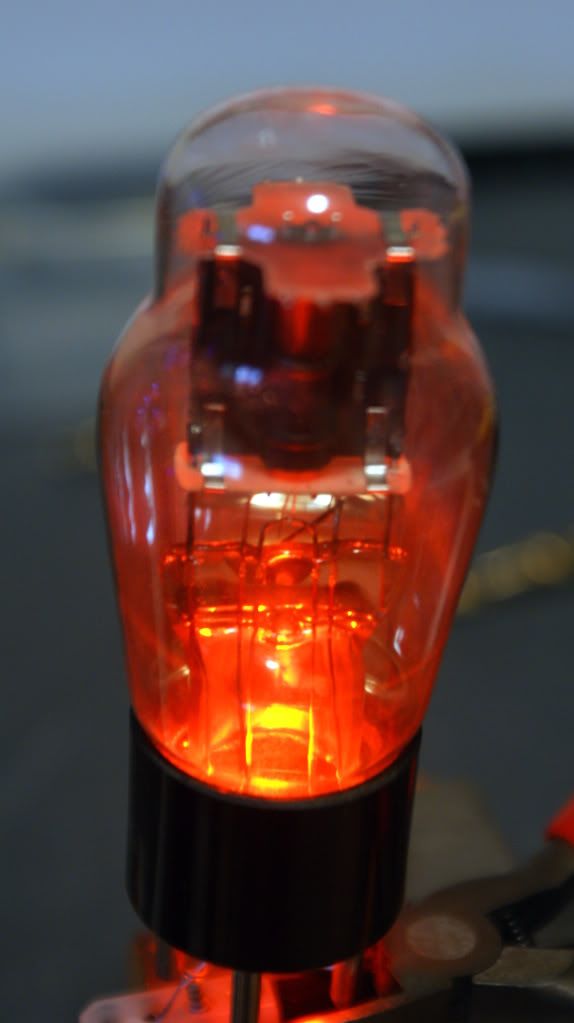
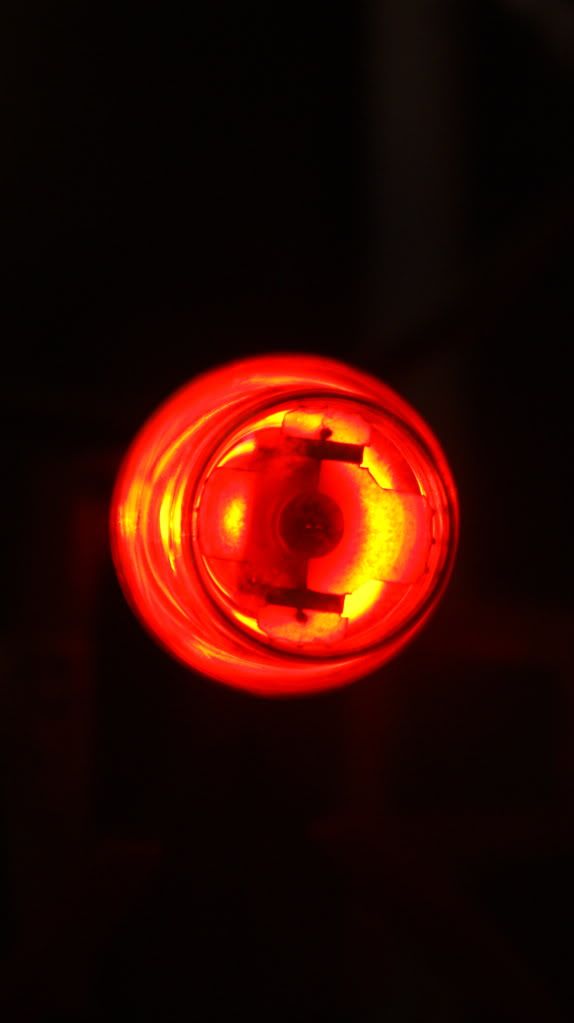
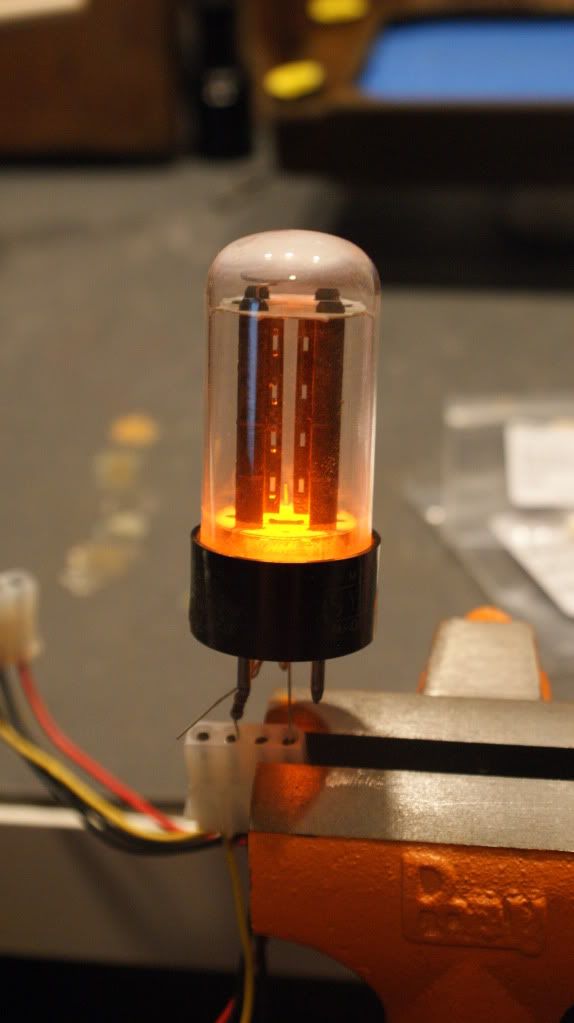
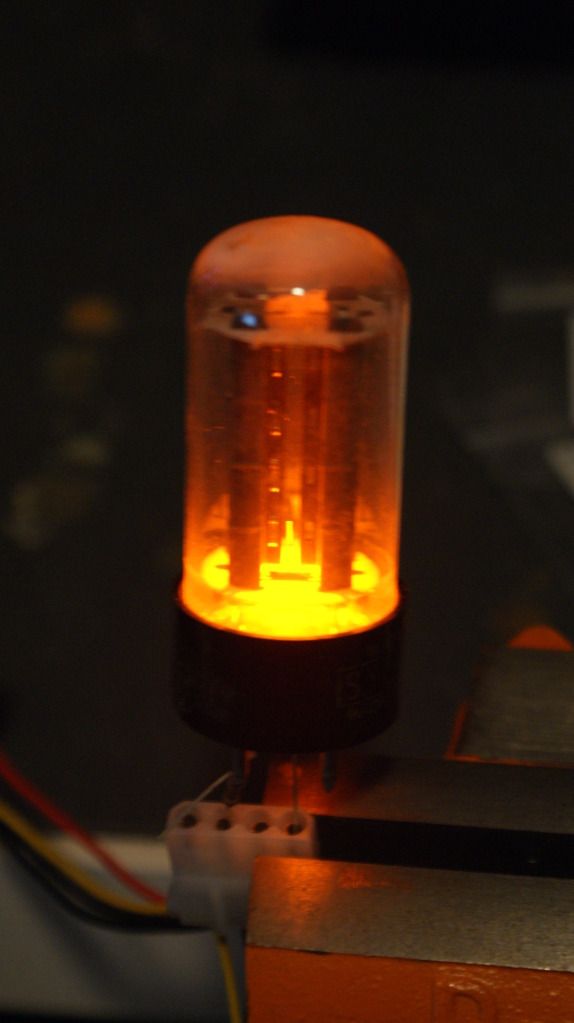
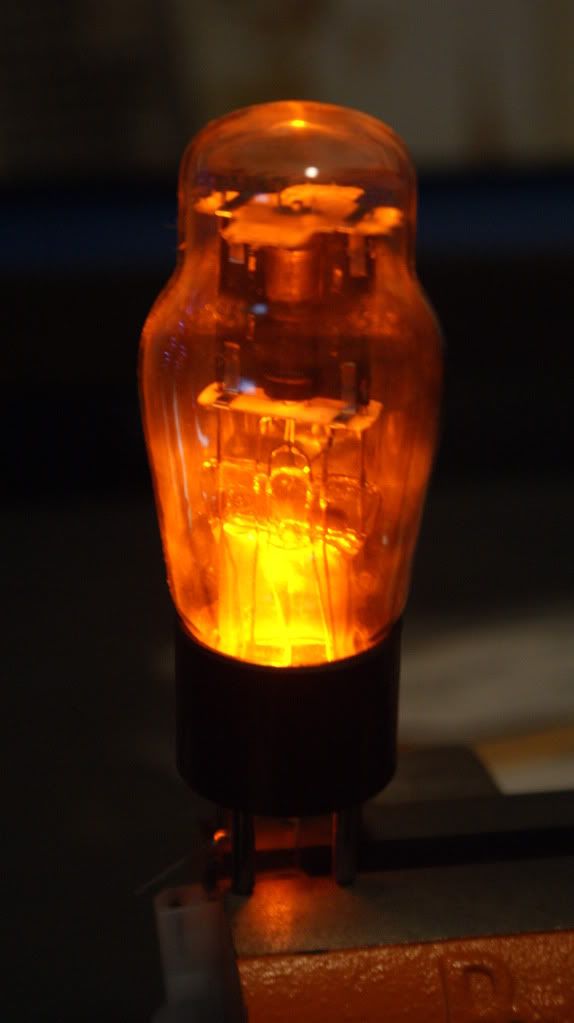
Lets start working! The first thing I did was do some testing with LEDs in the Vacuum tubes. Here is what they look like with an Orange LED in them. Orange is not the final color, yellow is but at the time I didn't have the Yellow LEDs in yet.
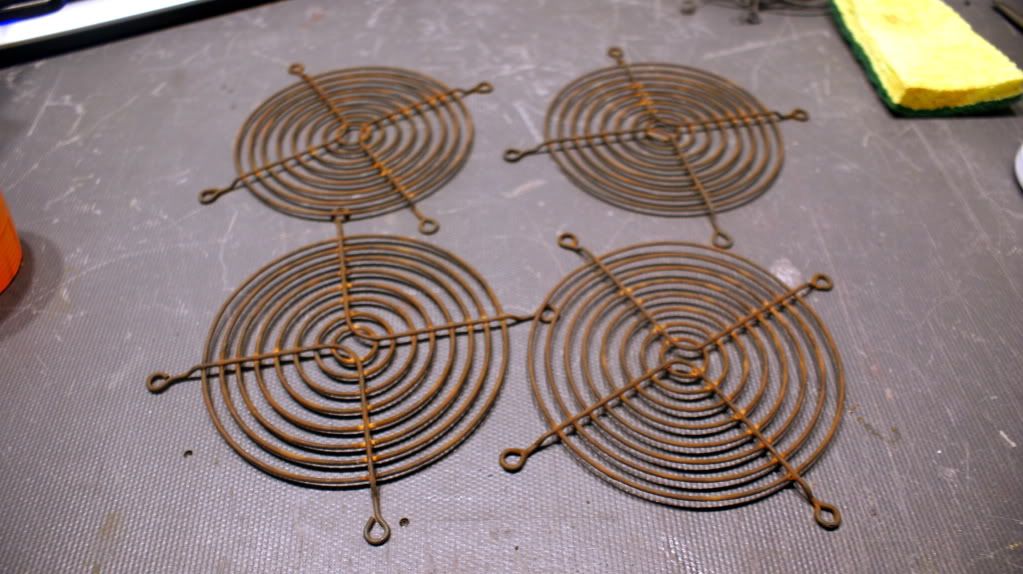
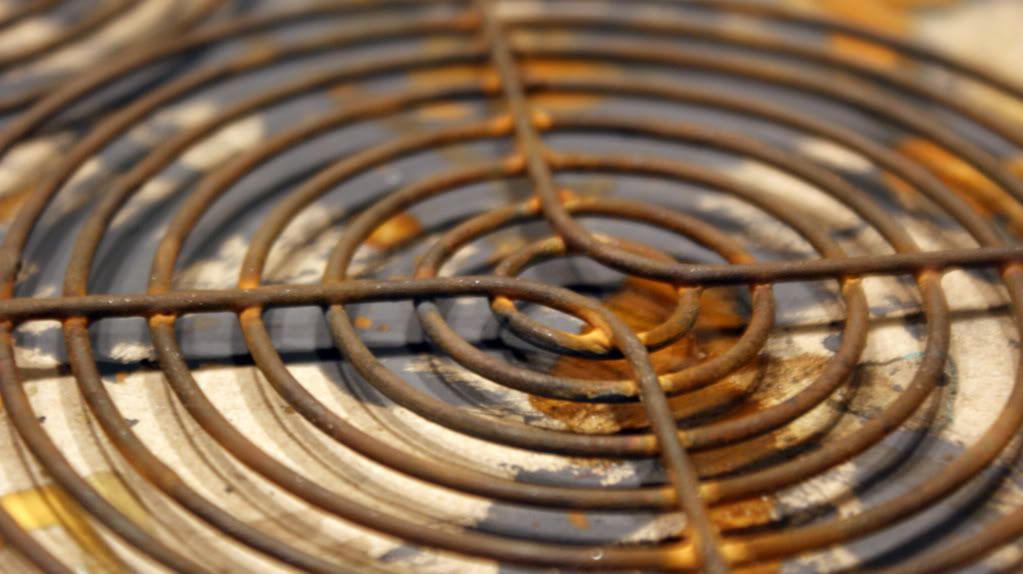
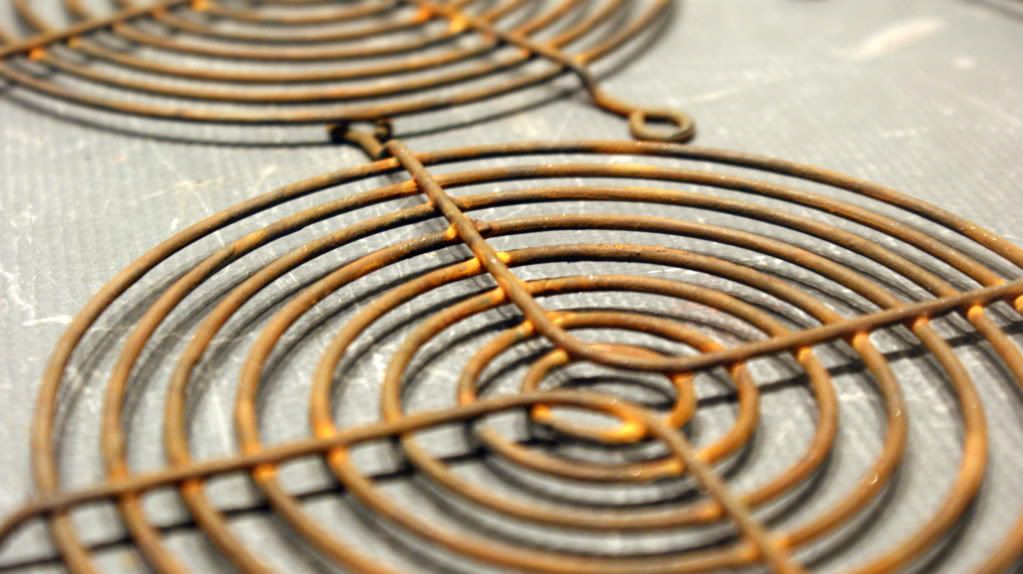
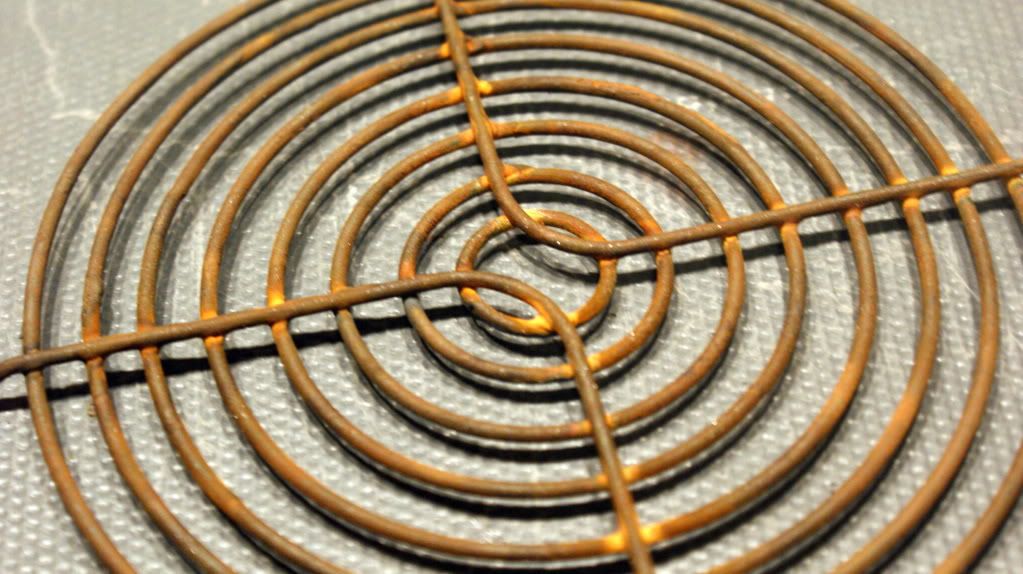
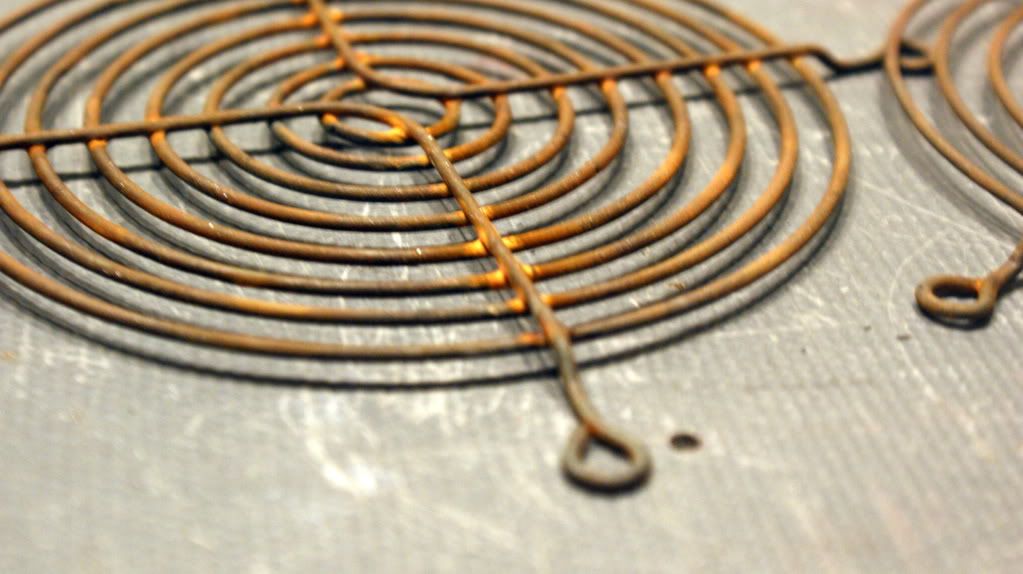
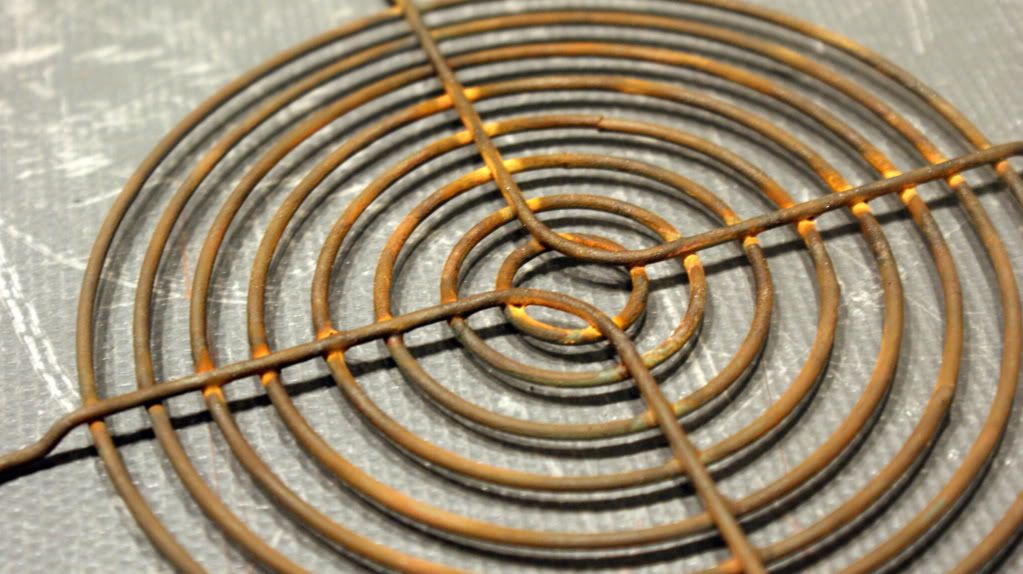
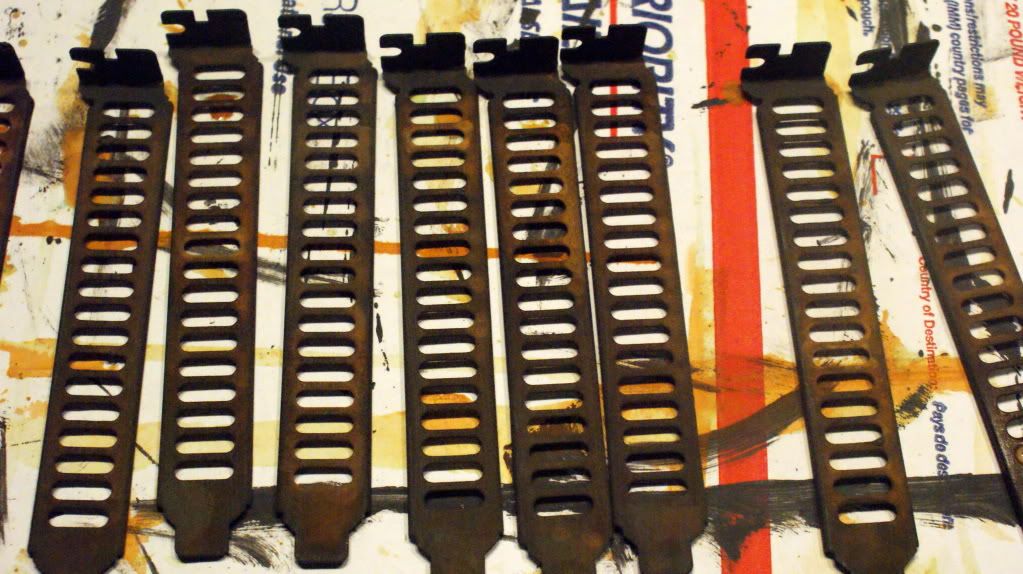
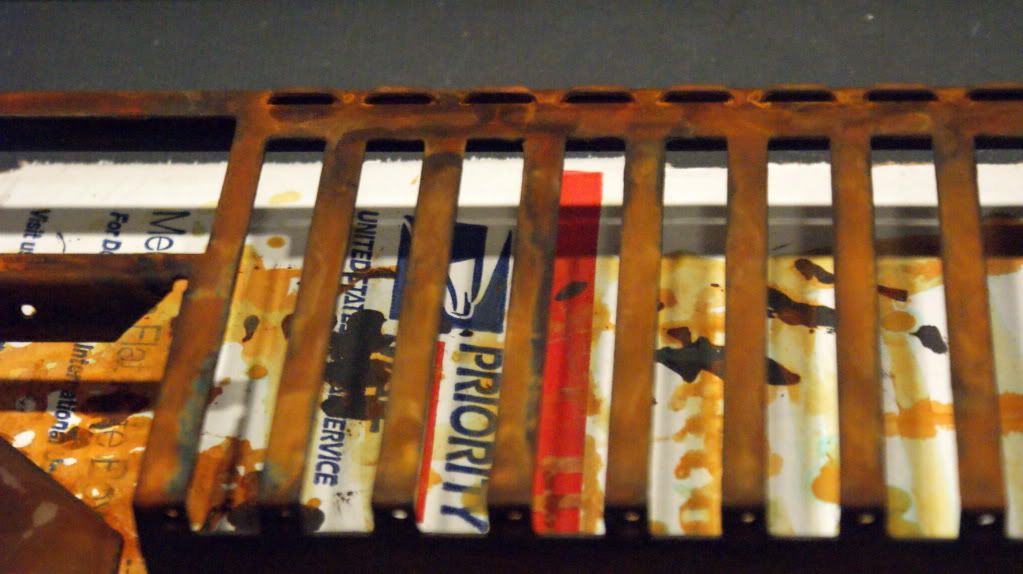
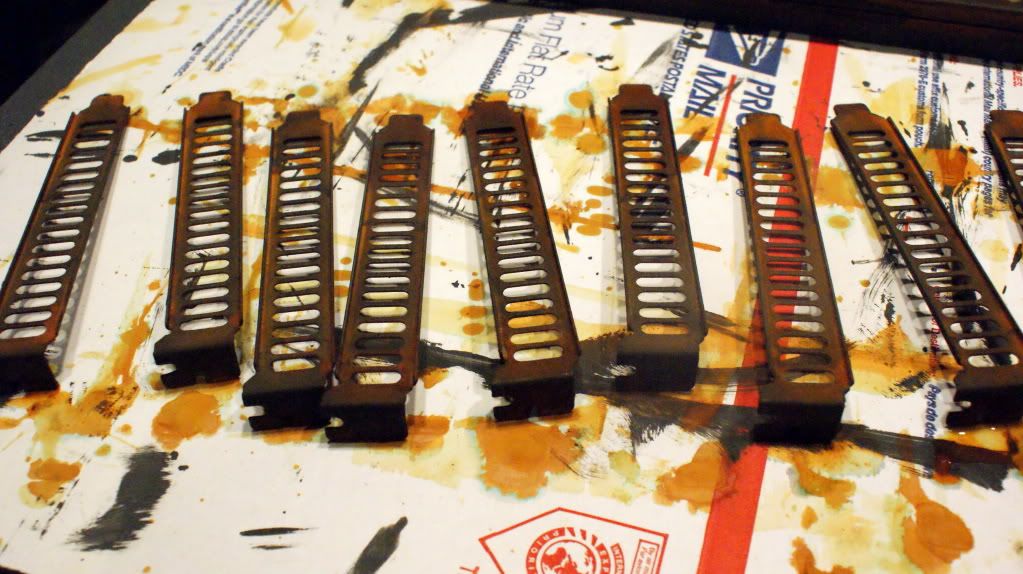
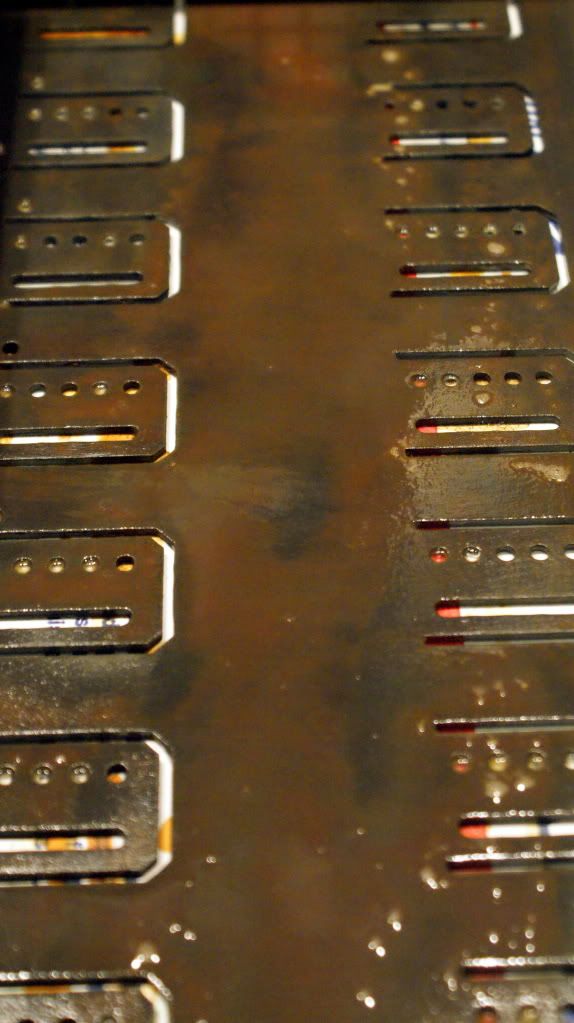
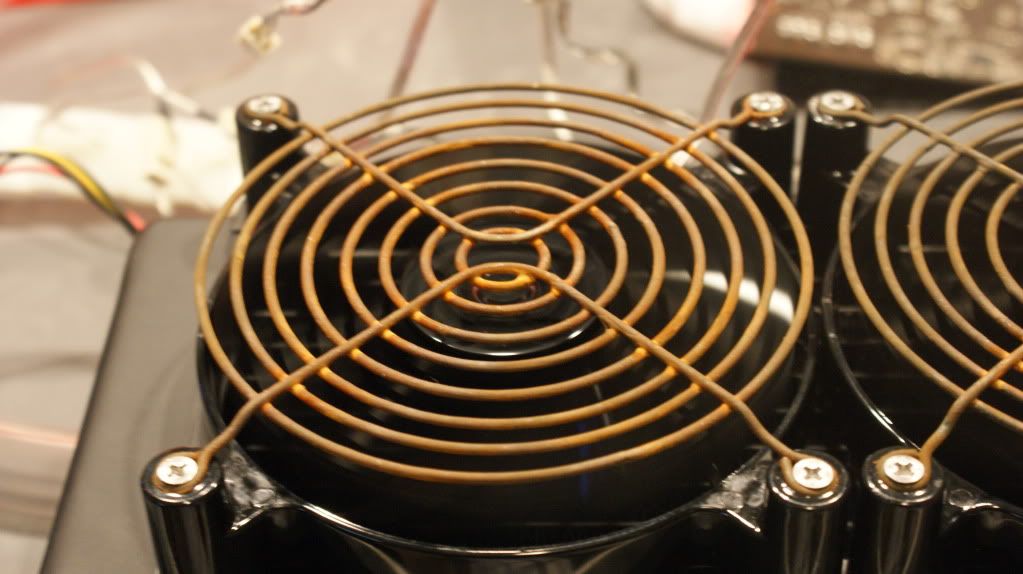
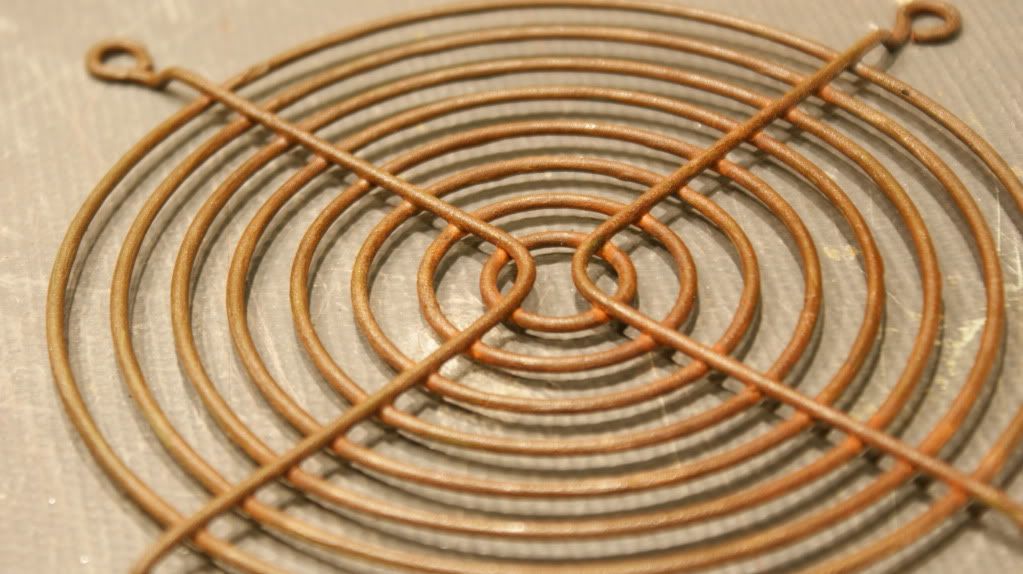
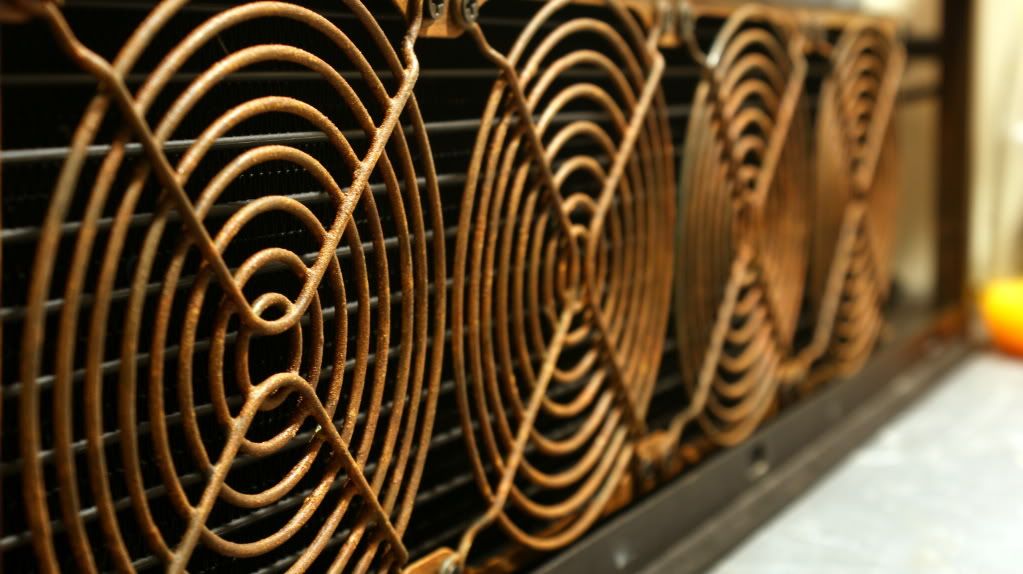
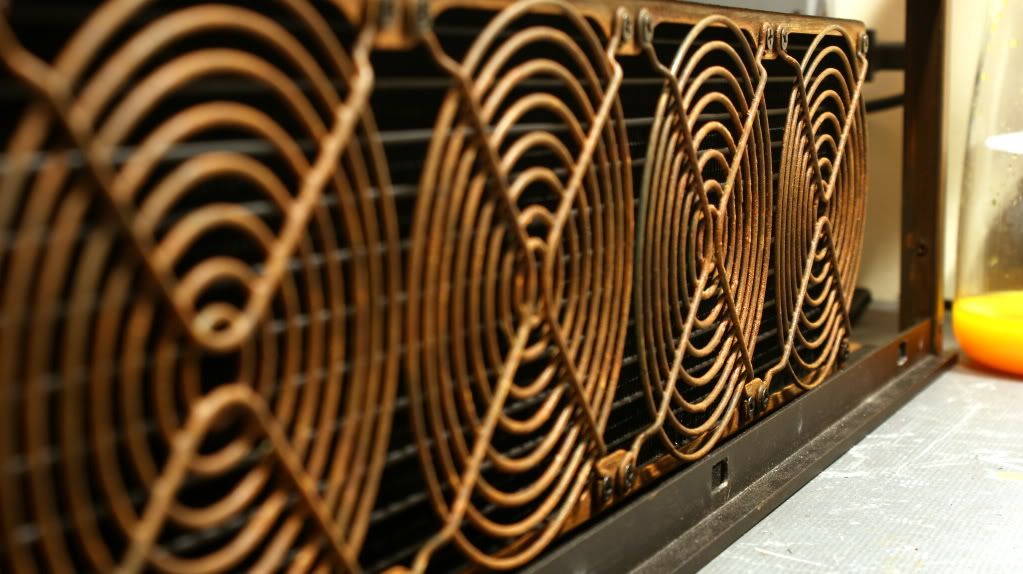
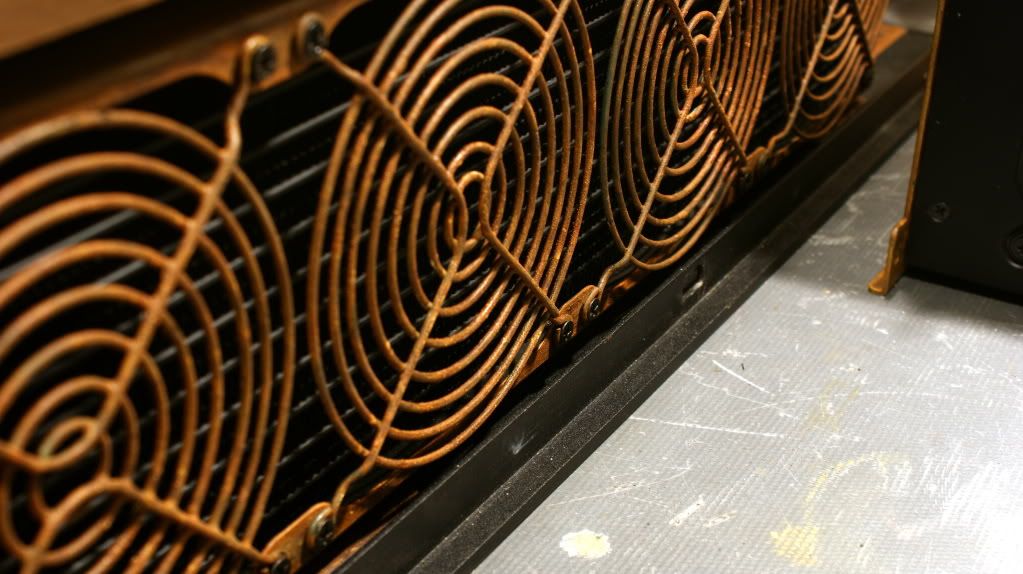
Next up was to see how the rust effect paint would workout. First lets try some fan grills.
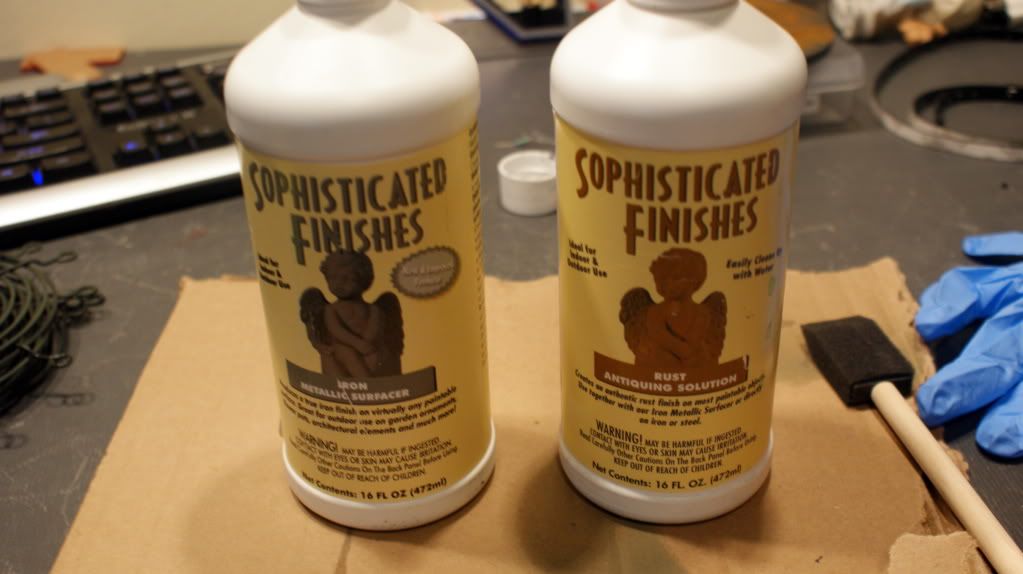
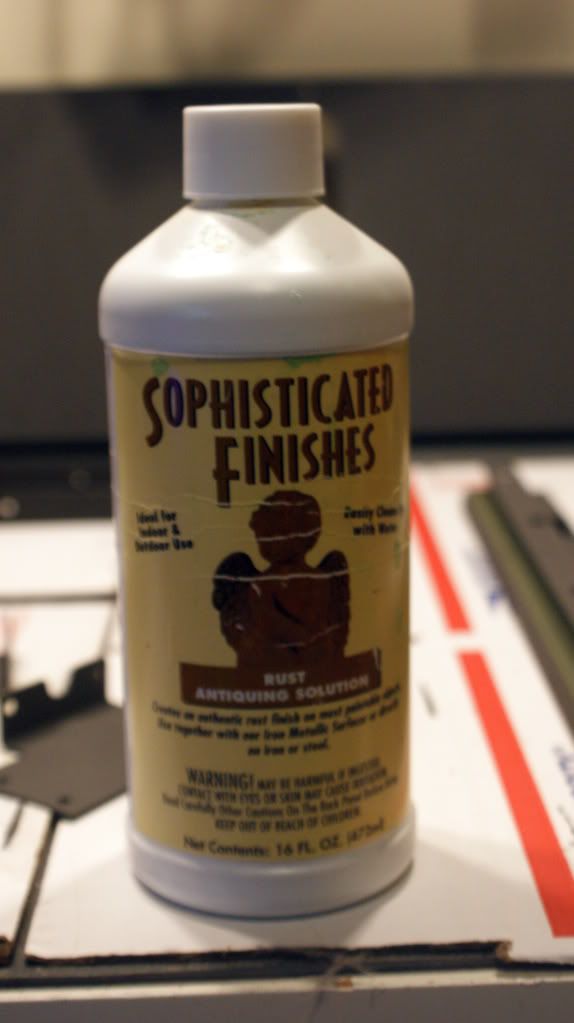
The Paint
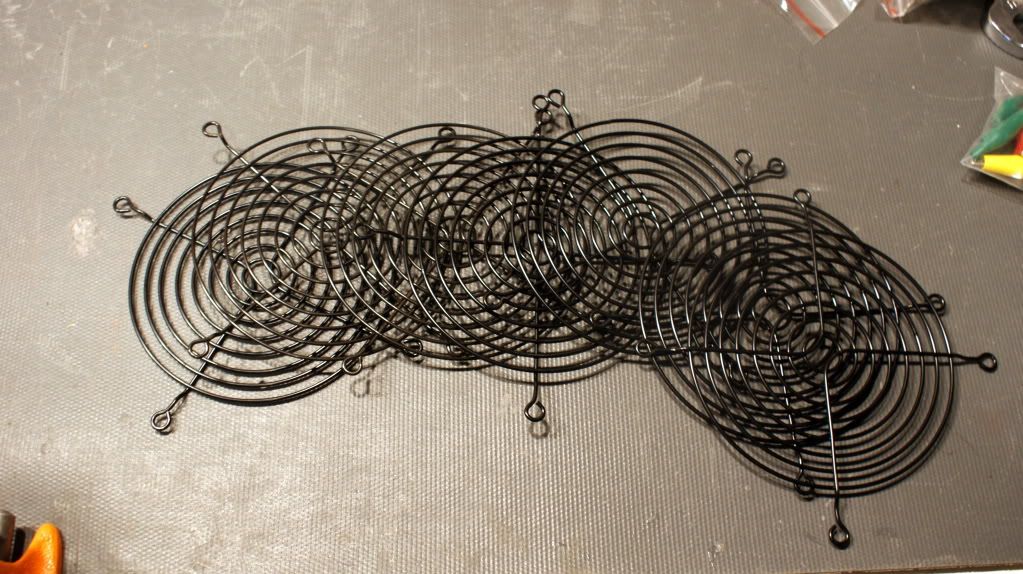
The Grills
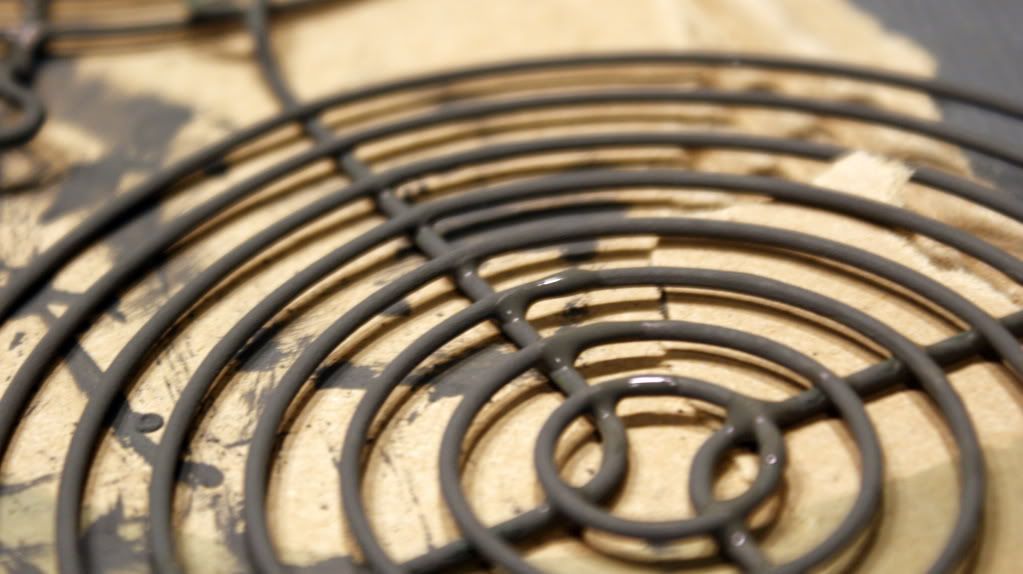
Primer and Iron paint
Rust Paint
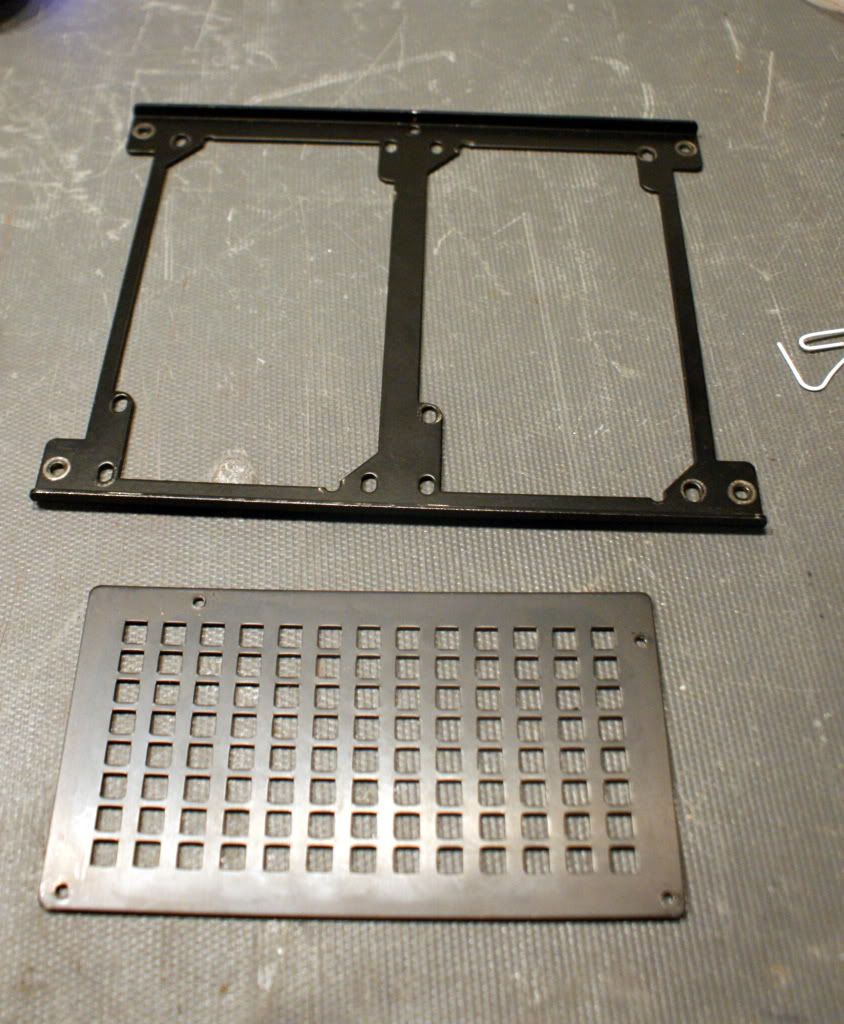
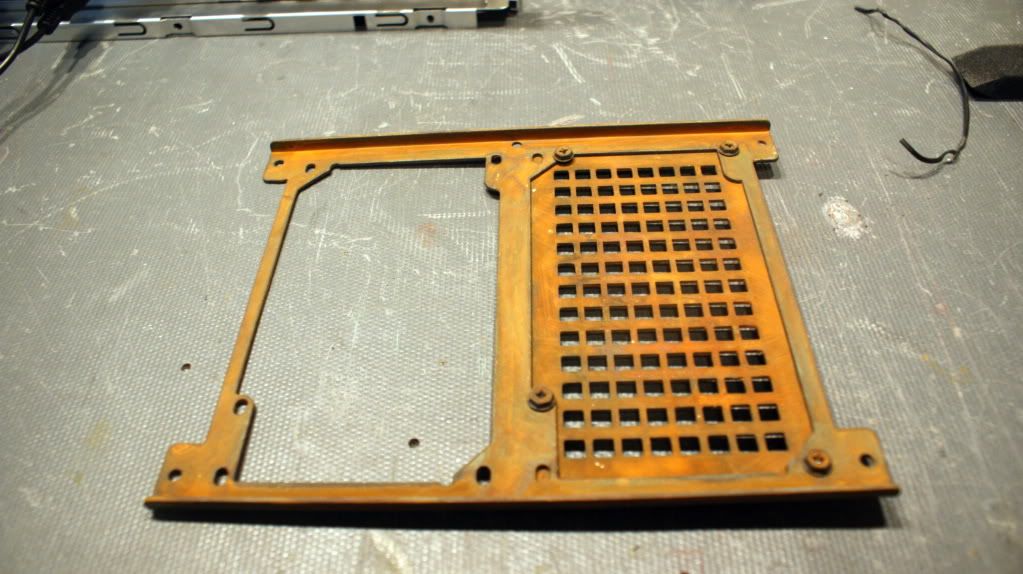
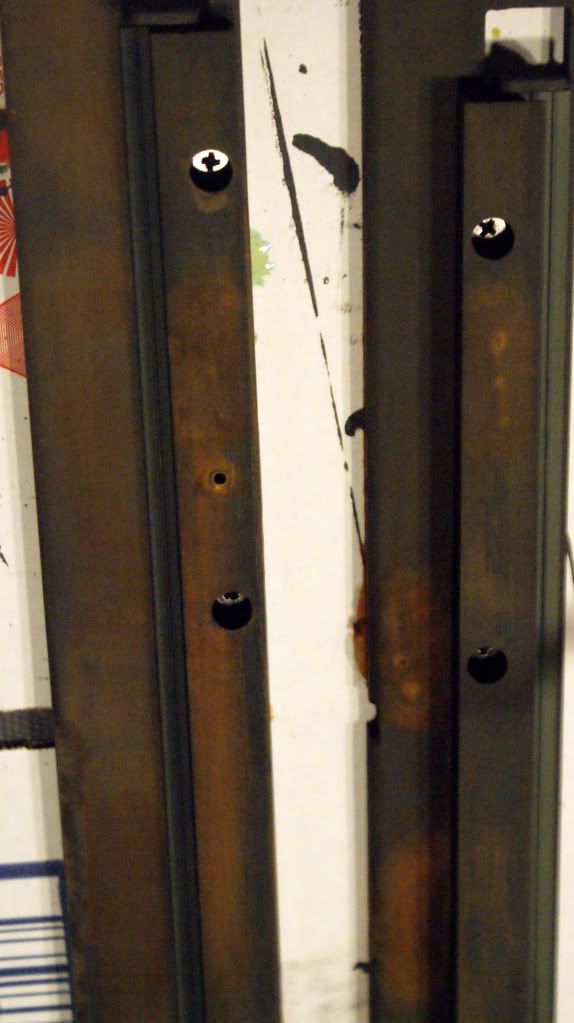
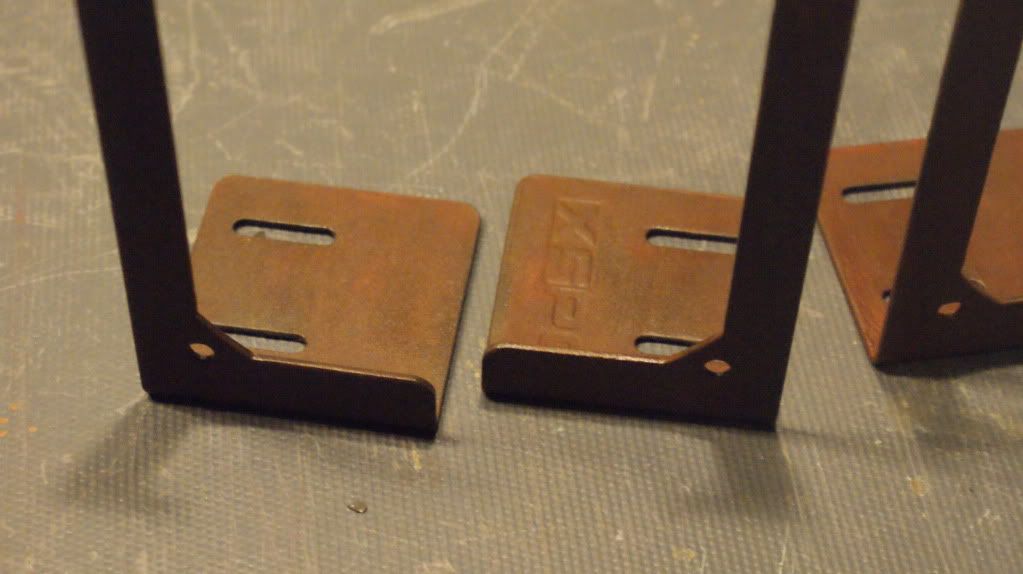
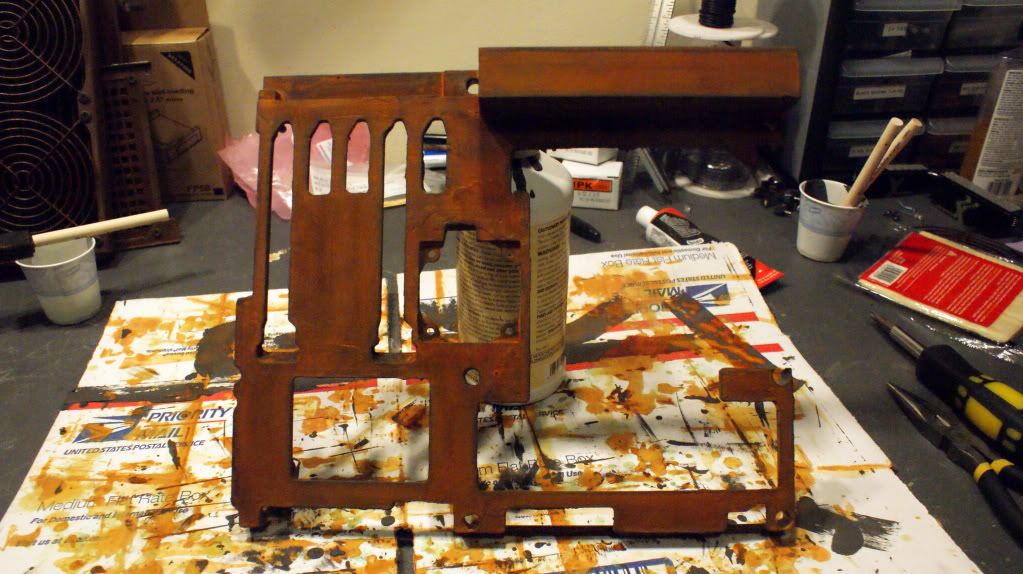
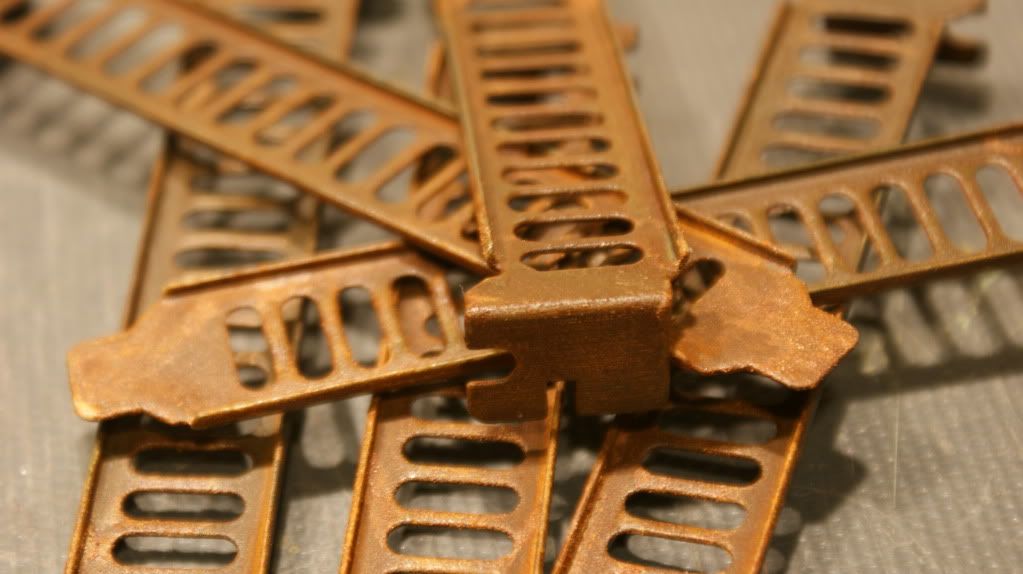
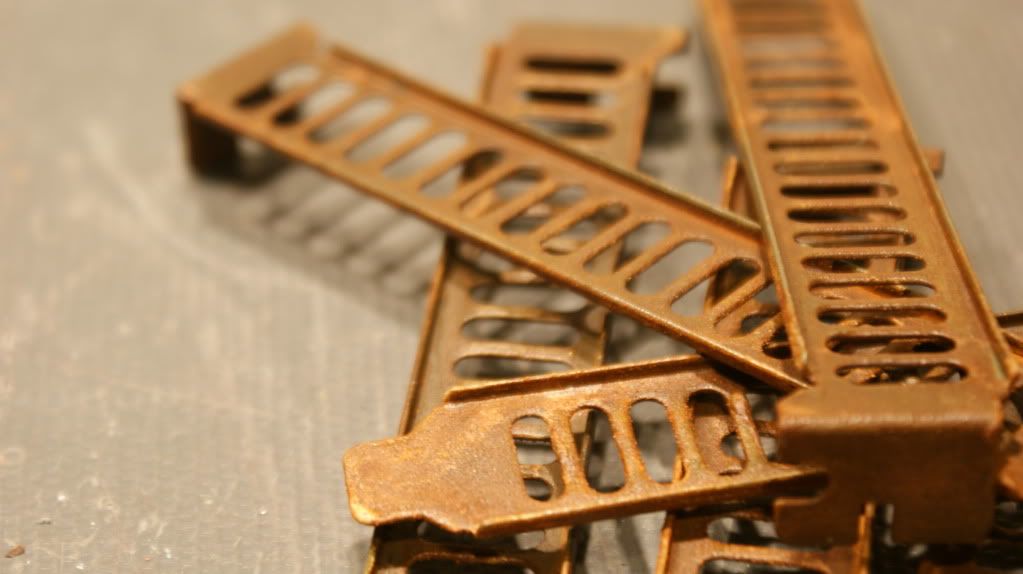
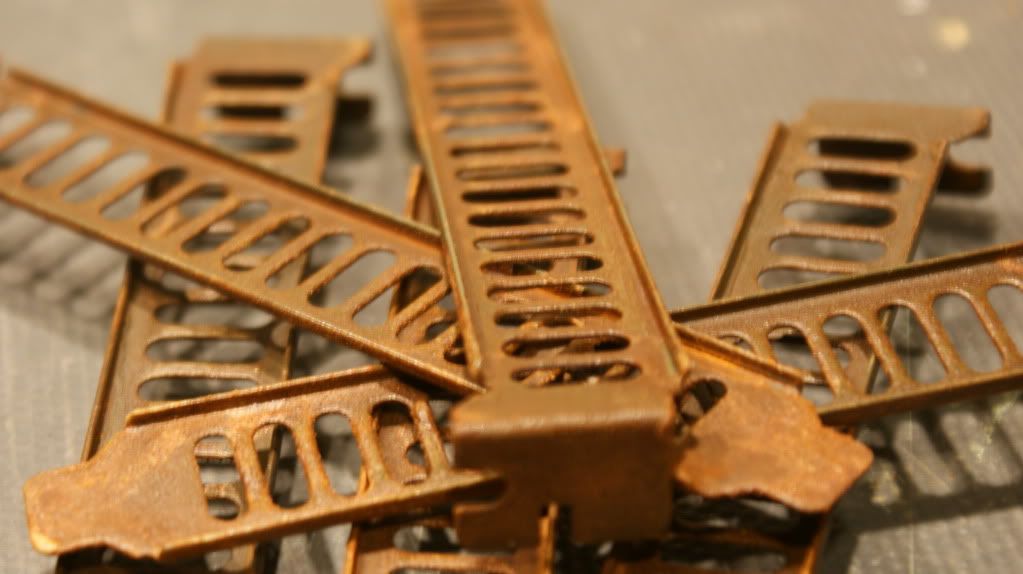
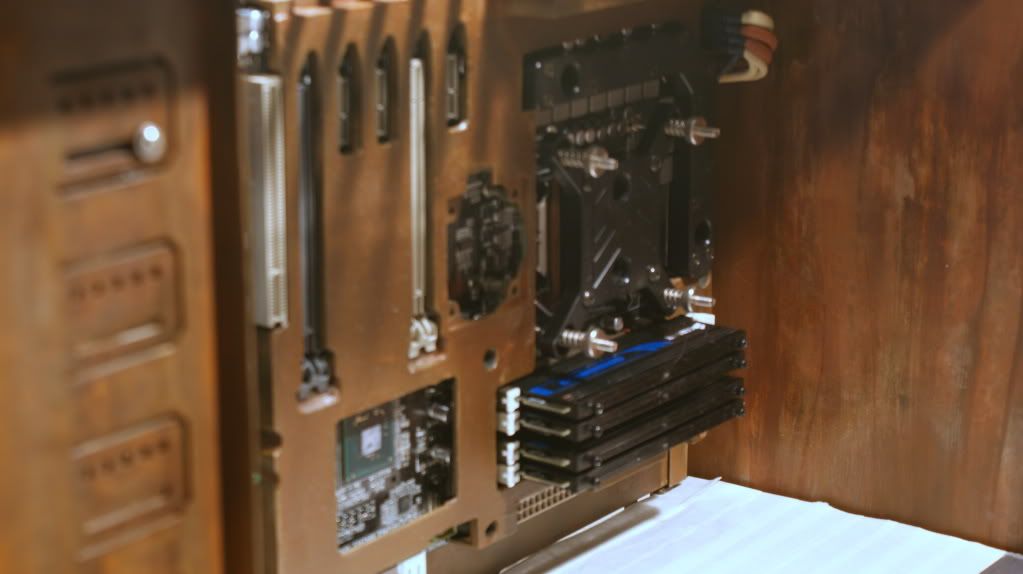
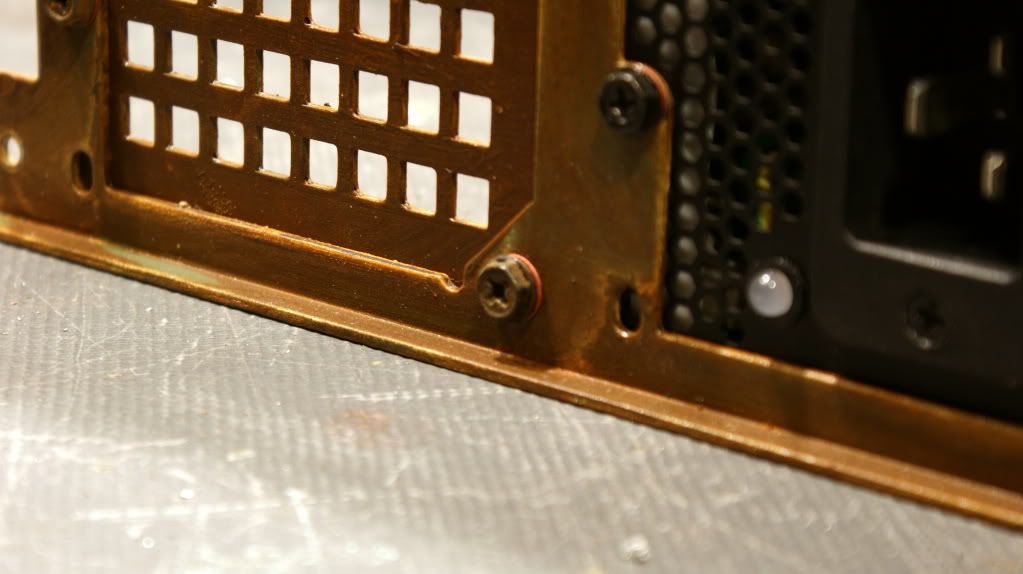
Since that test was successful I thought I should try an actual piece of the case. The dual PSU bracket seemed like a good test subject.
And the result
I am very confident in the results so I started doing more, but that's in the next update. Stay tuned by subscribing so you can see all the updates!
Cheers till then,
Fuga
-
Re: Project: Steampunk'd TJ11
-
Re: Project: Steampunk'd TJ11
Quote:
Originally Posted by
TheGreatSatan

Love the rust
Thanks! I hope the rest of the case comes out just as good.
-
The Case
Since testing is over its time to start on the case.
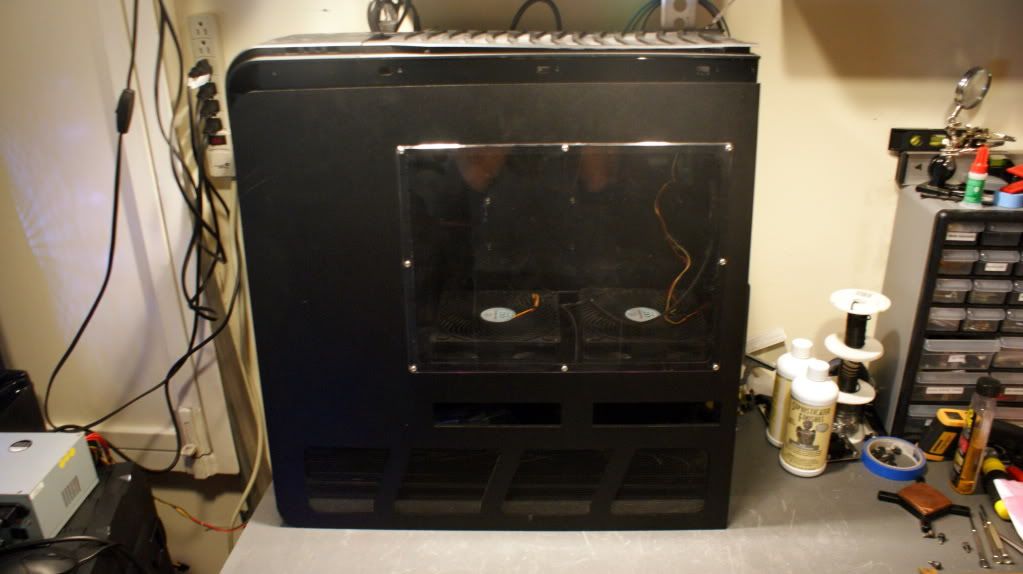
Its actually a good thing I'm modding this case because I got it used for pretty cheap. You would never get a good looking build out of this beatup case unless you paint/modify it. There are several screws missing, HDD bays missing and the front bezel was bent. I was able to fix the front bezel mostly and I ordered lots of new screws.
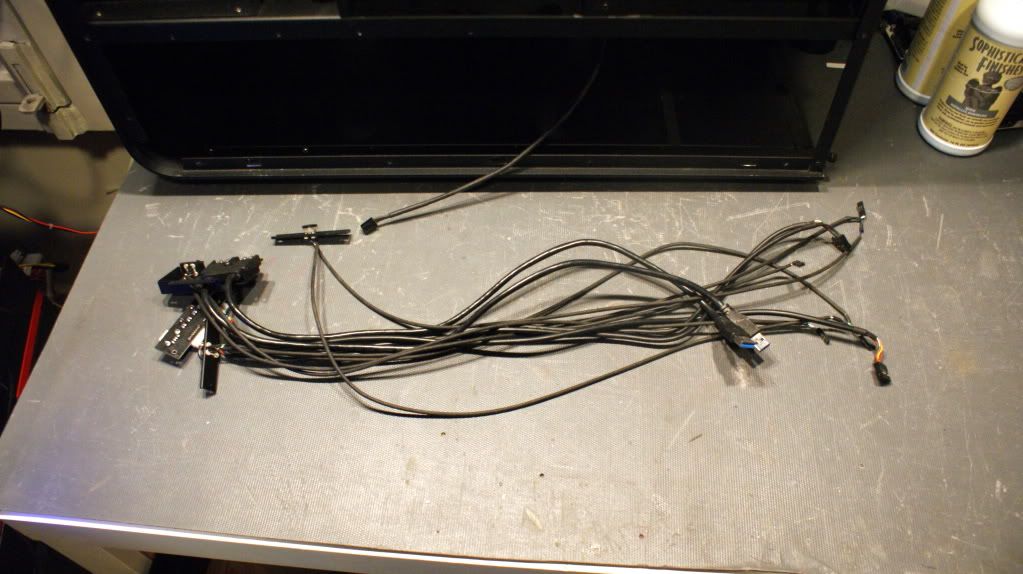
First thing to do is remove all of the buttons, connectors and cables.
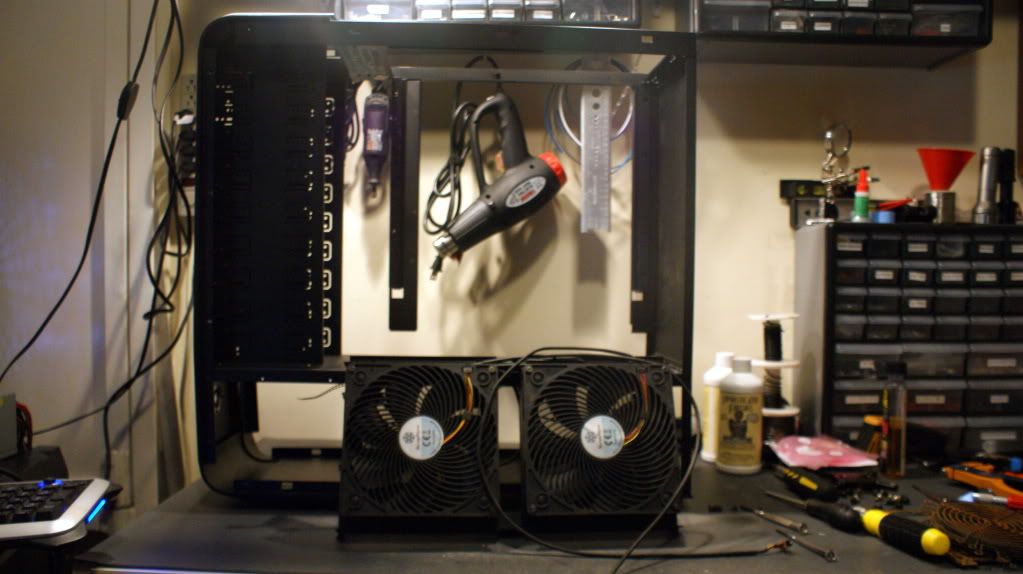
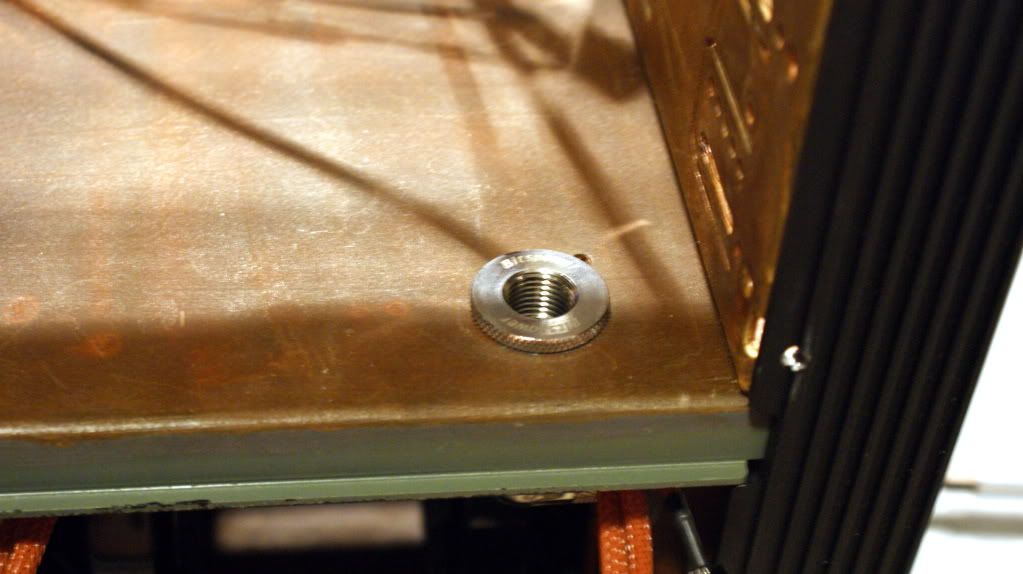
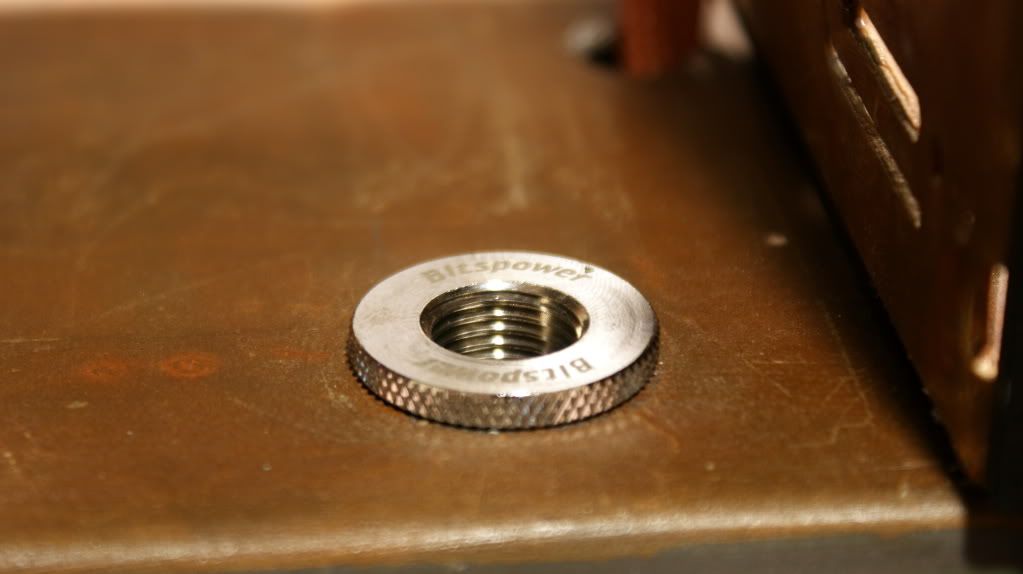
Remove the mobo try and fans. I was going to not use the fans but I decided to make a midplate to hide them and that has cutouts for the fans. There will also be some Bitspower passthrough fittings for the tubing.
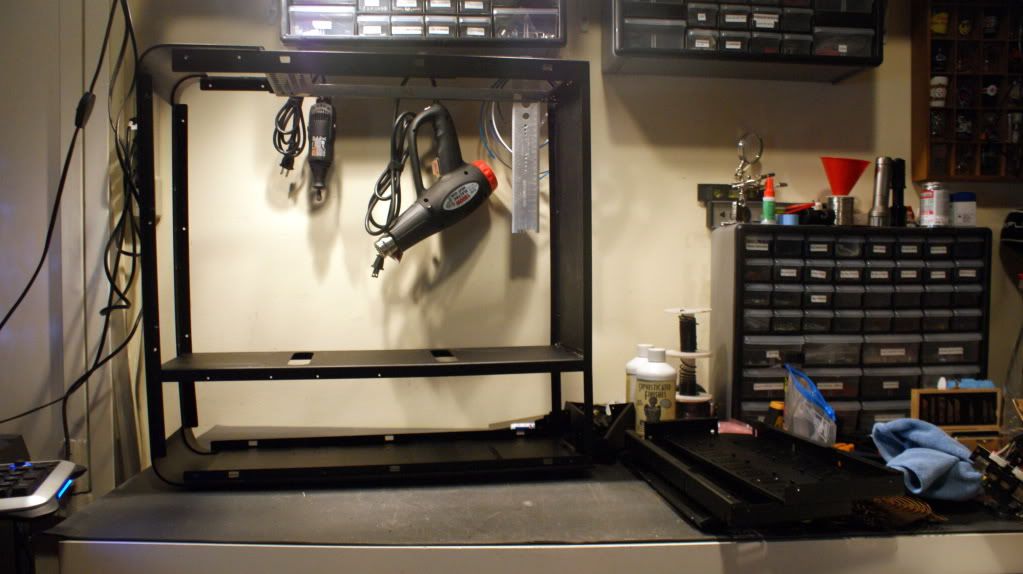
5.25" bays gone and mobo tray rails are out.
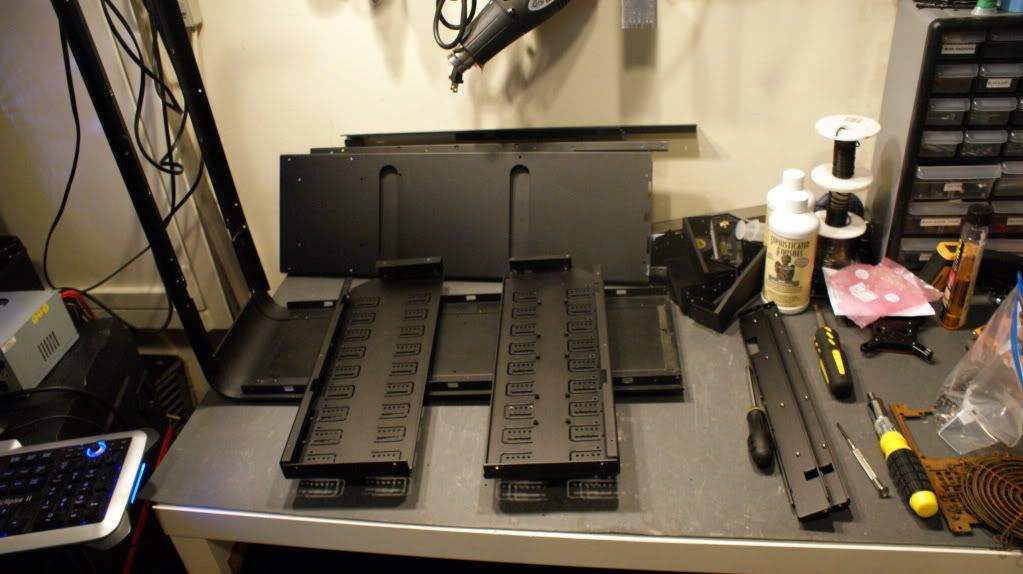
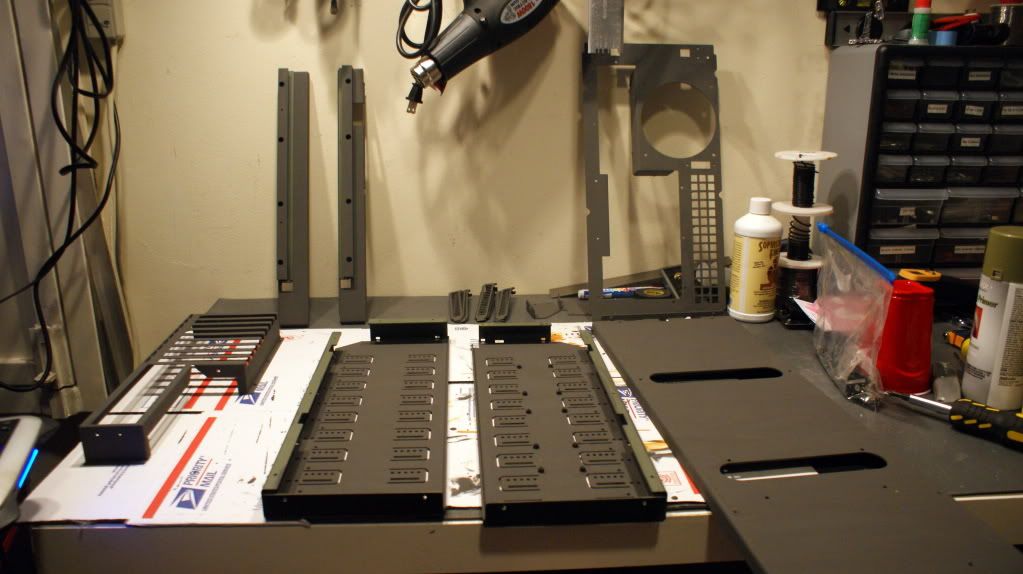
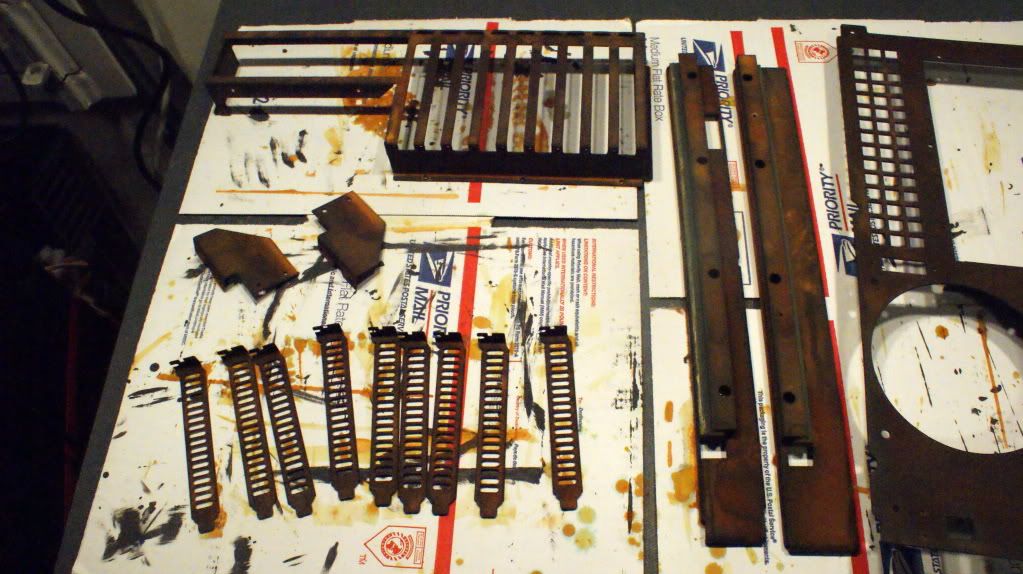
And here it is in pieces.
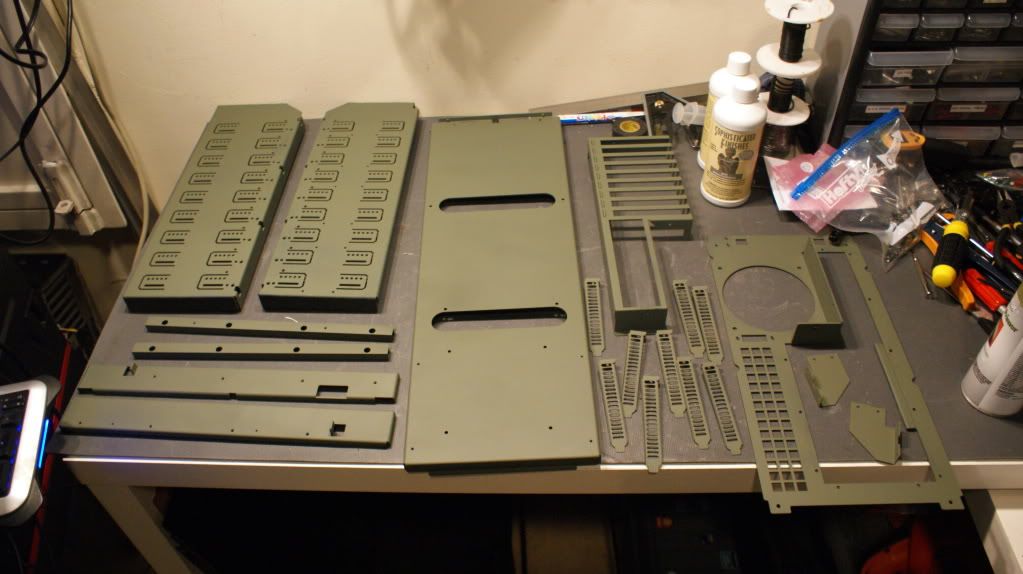
The first thing to do before you paint is get a nice coat of primer on the parts.
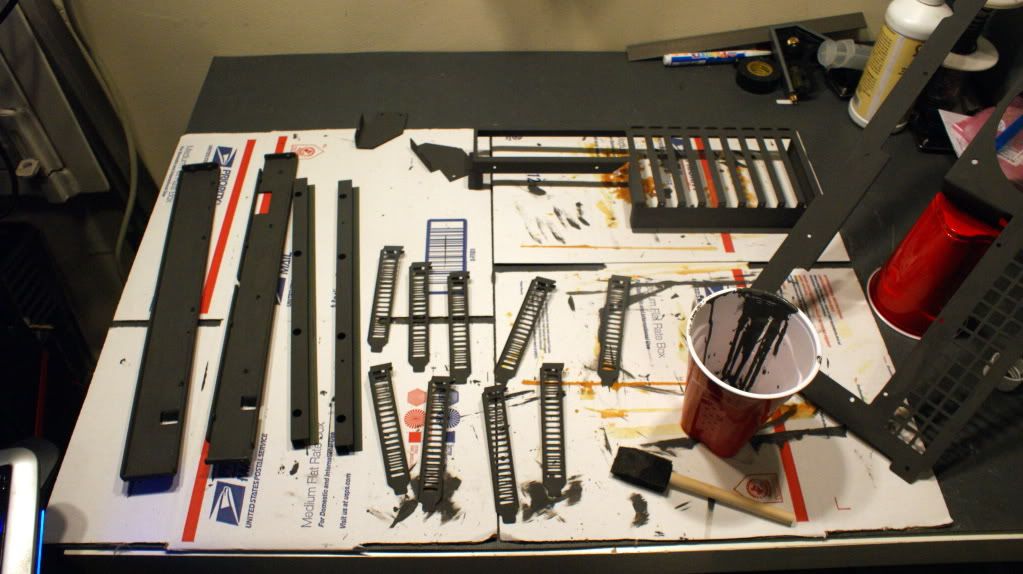
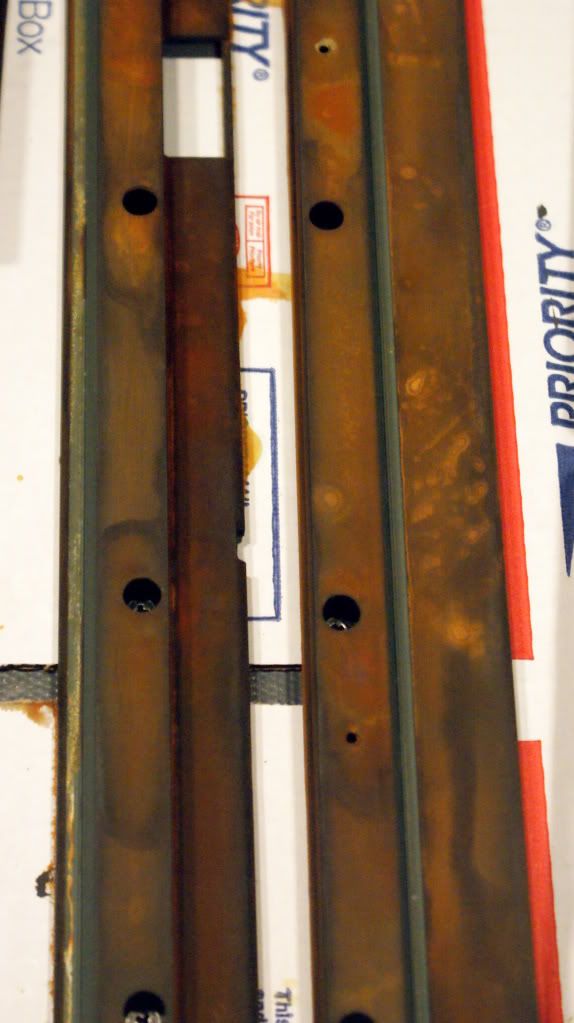
Next I started painting all the parts with the Iron base coat. This actually has iron particles in it which react with the Rust paint.
All the small bits.
And the large ones.
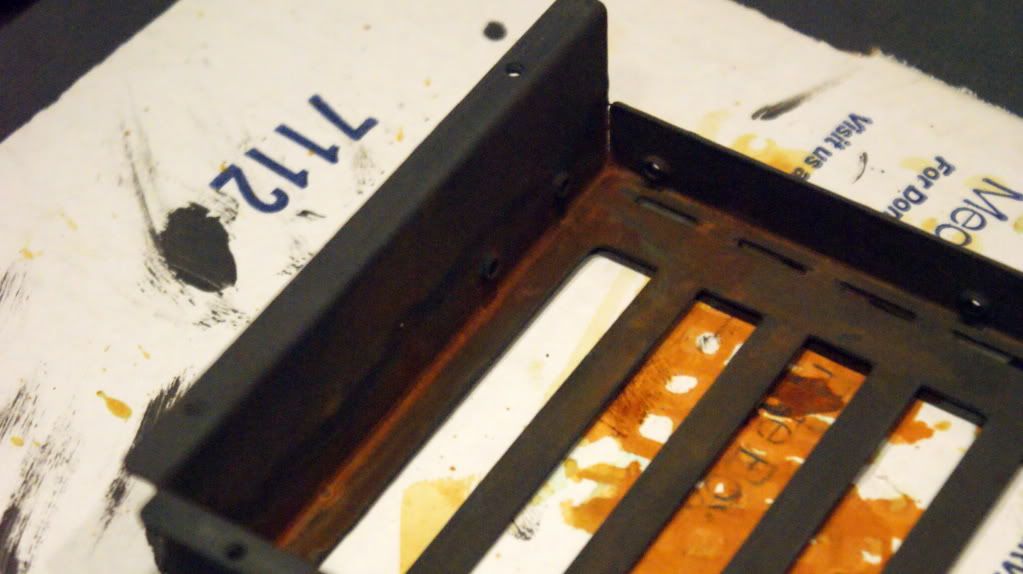
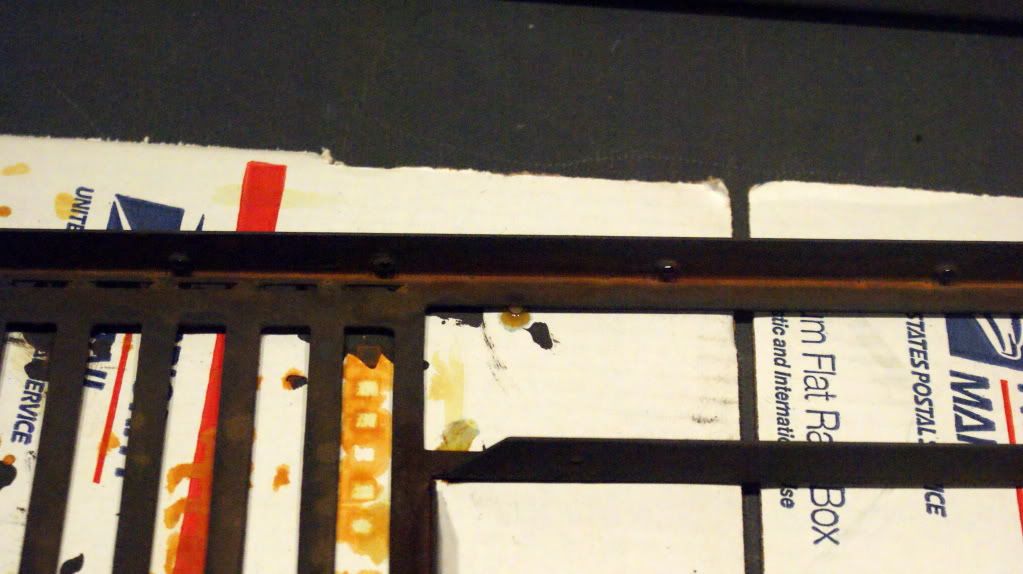
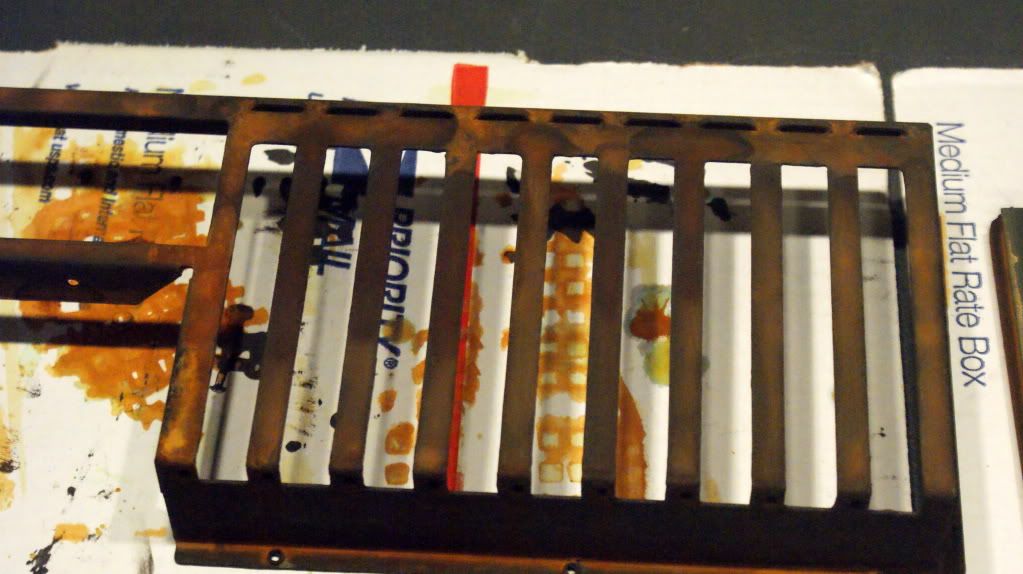
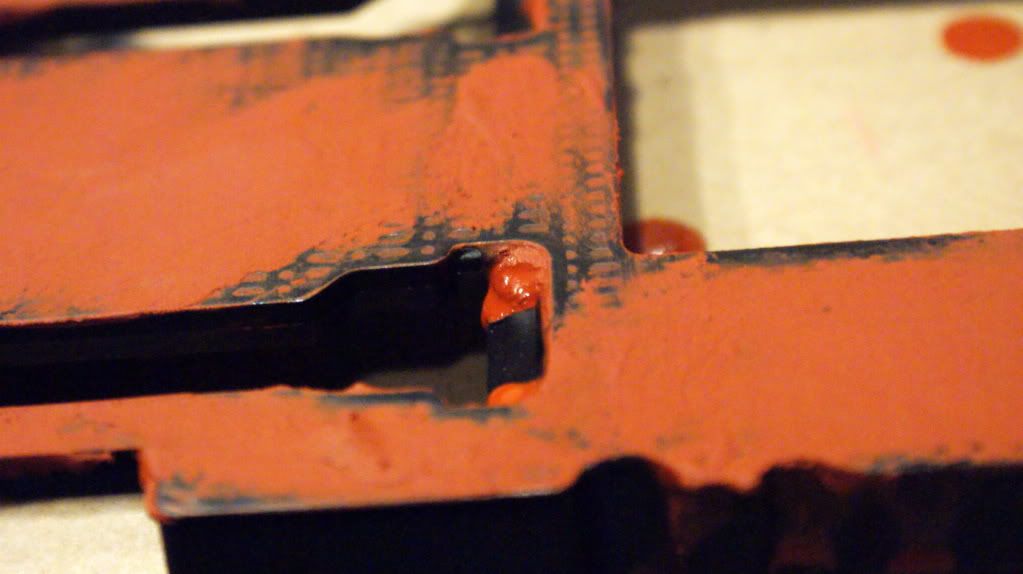
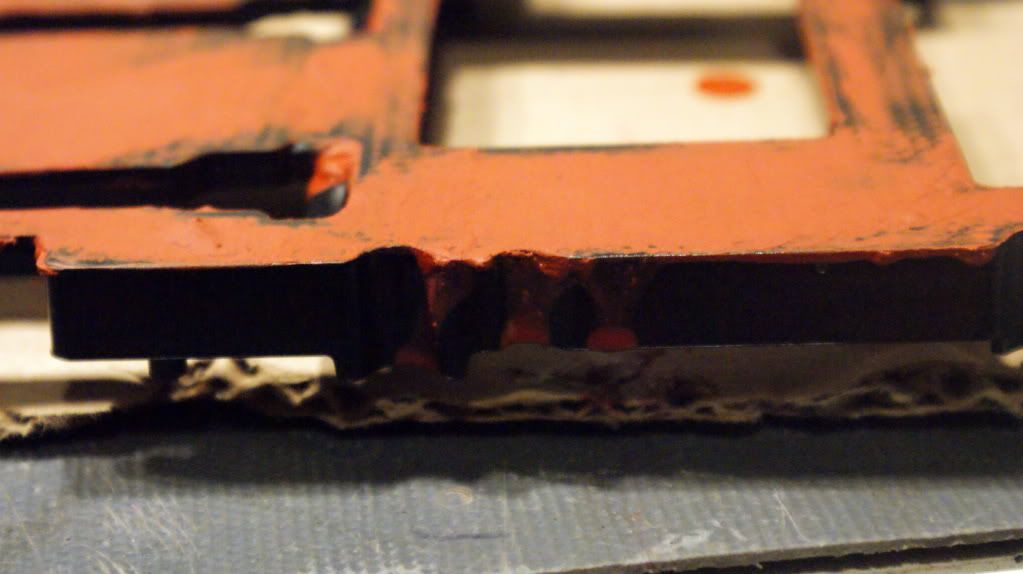
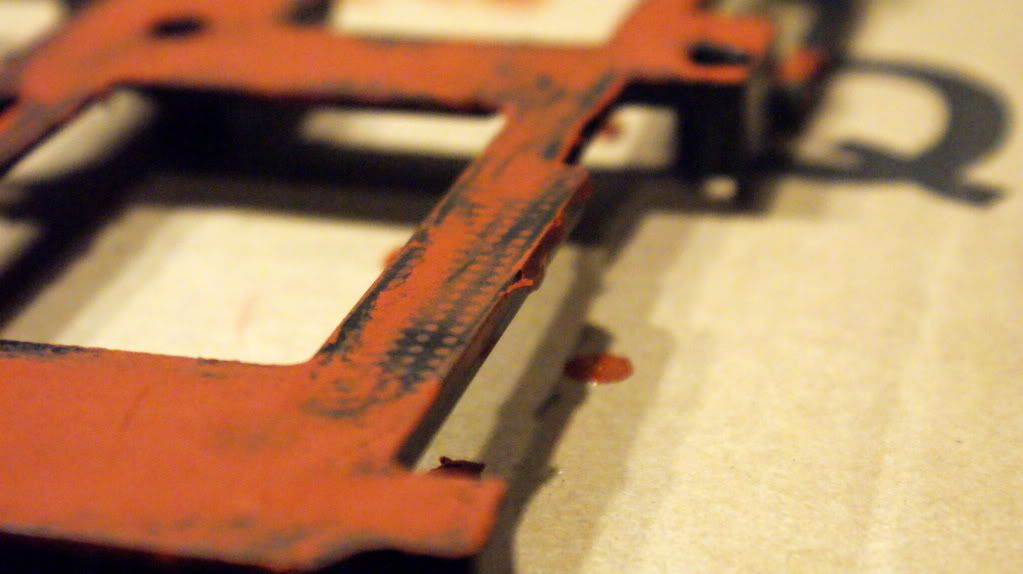
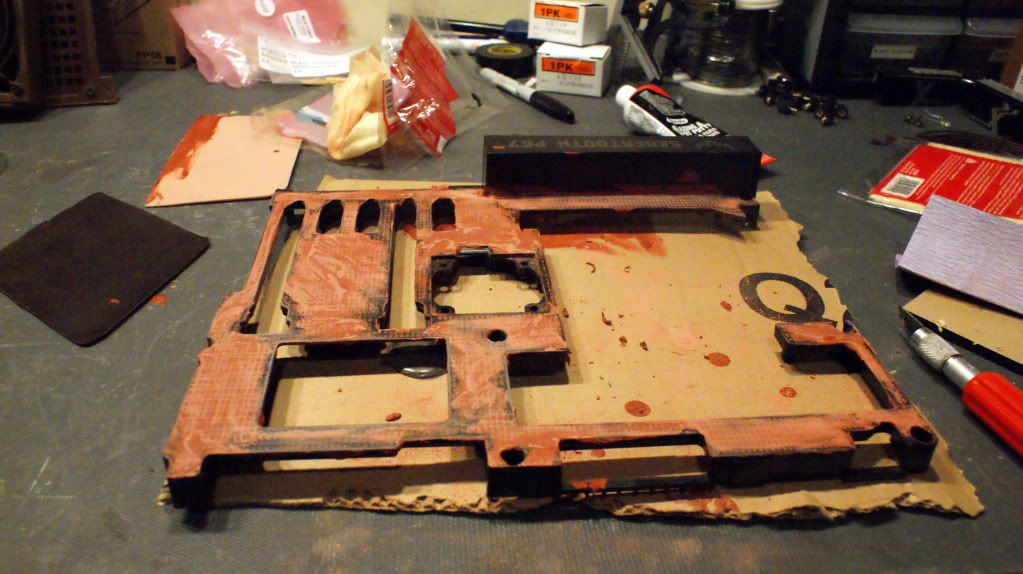
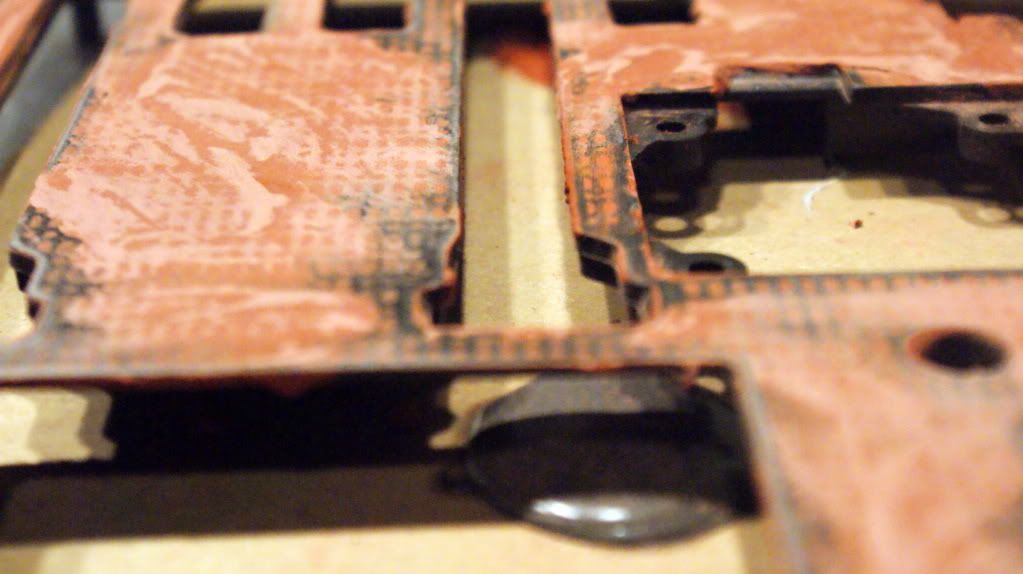
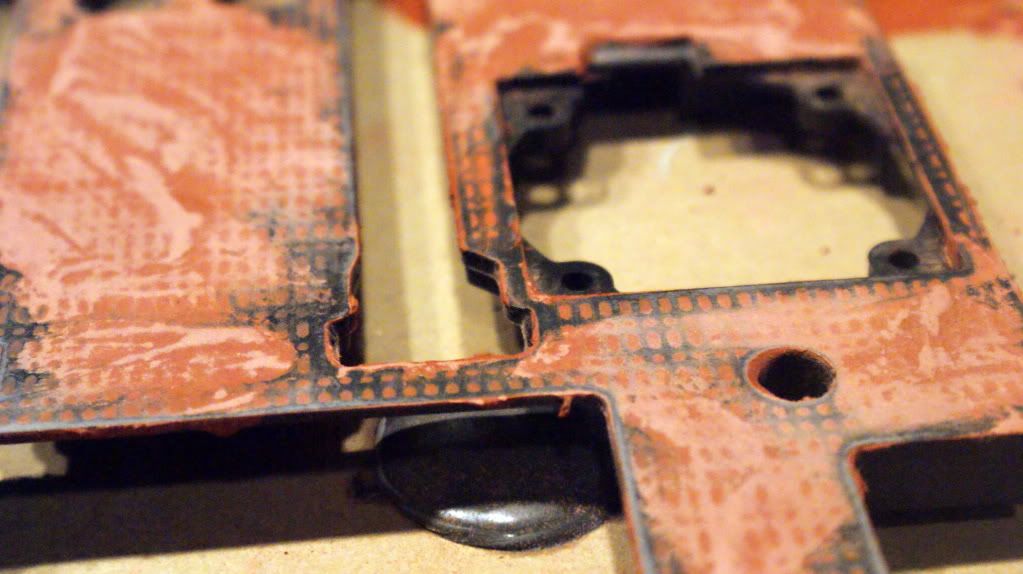
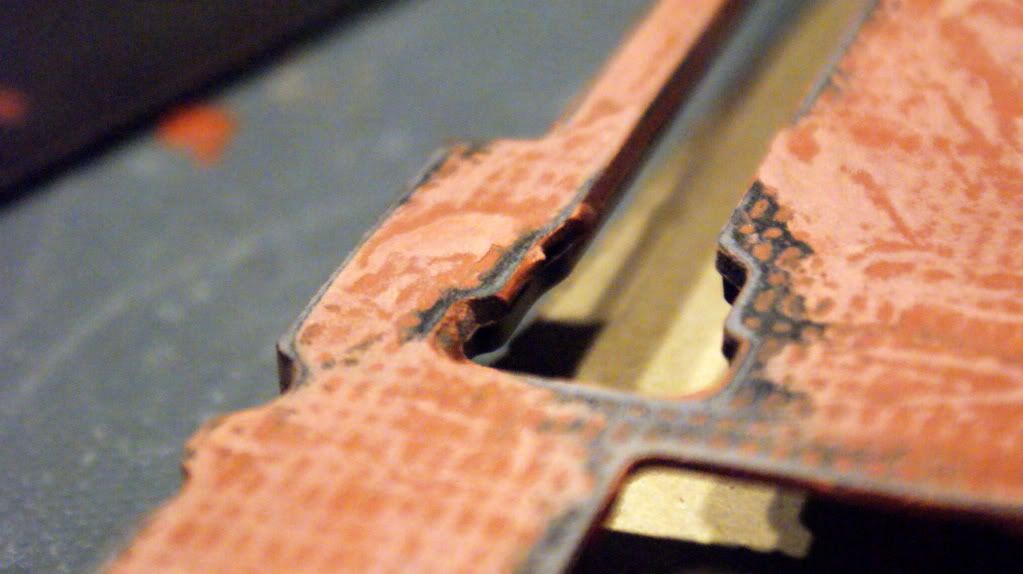
Next is the Rust paint. Its actually not paint. Its a chemical which looks more like blue water but you get the picture.
Just after 1 coat you can see it starting to work.
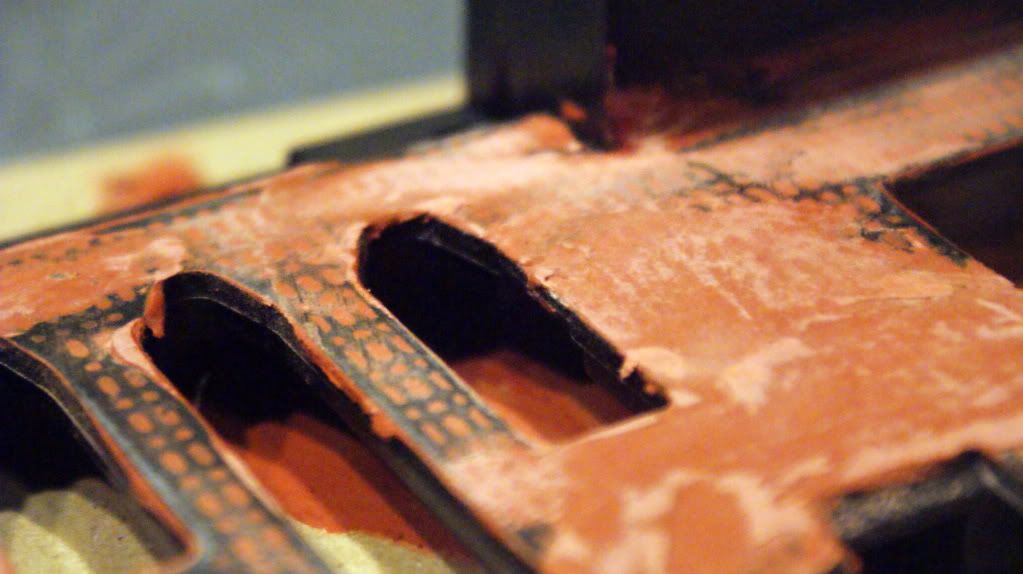
2-3 coats
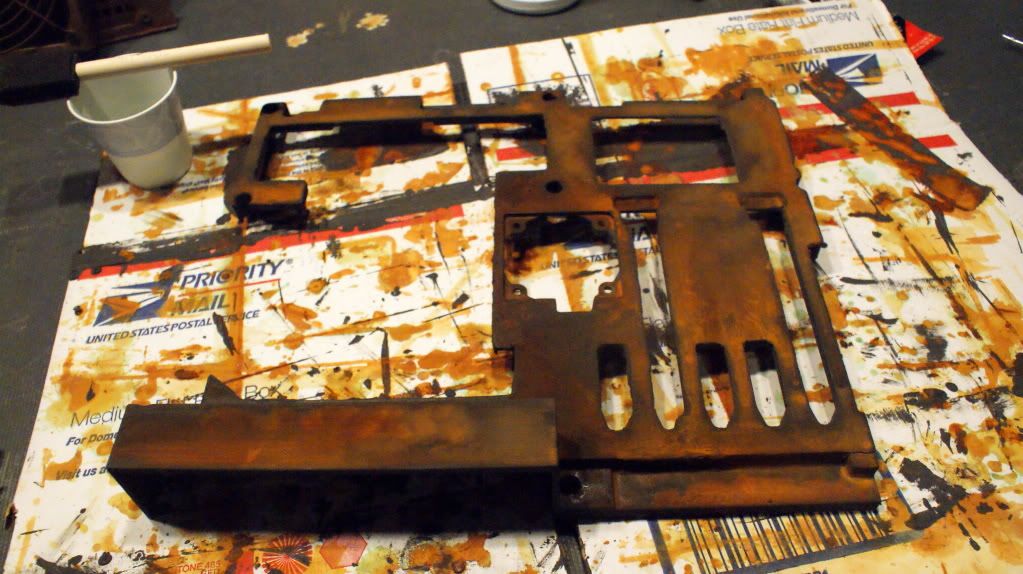
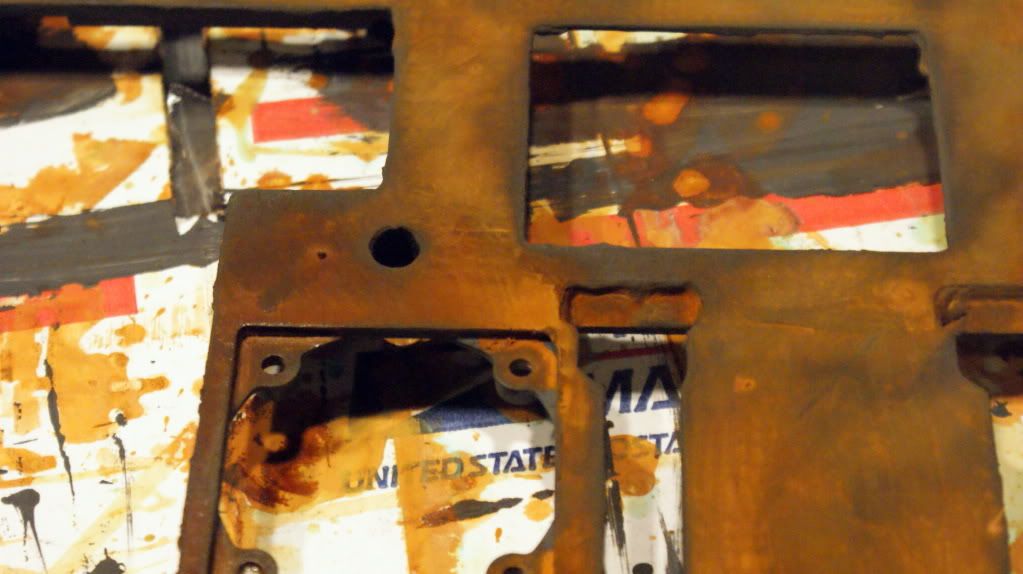
5ish coats
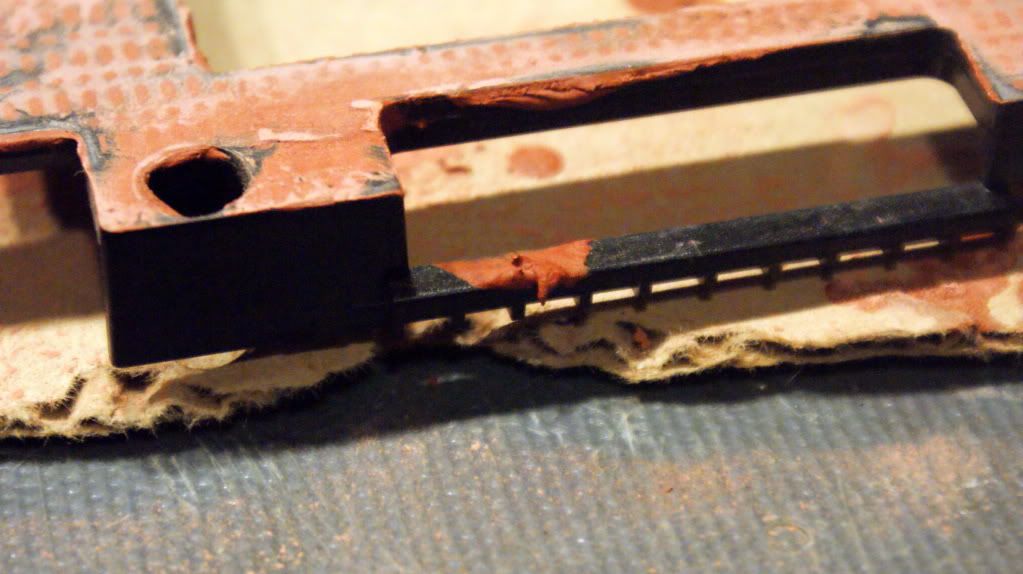
And the first coat on the 5.25" bays
It starts the reaction only after maybe 5 minutes after being applied.
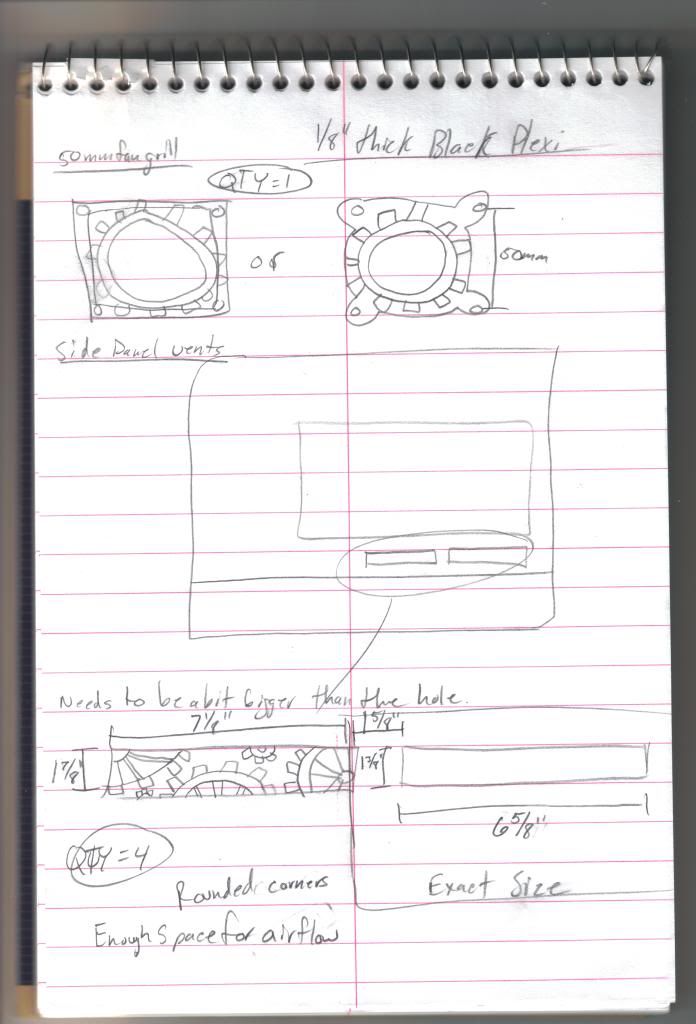
Lastly I'll leave you with some of my grill plans. I have a friend who does my laser cutting and he will do up a sick CAD drawing for me and I'll share it with all of you.
I'm going to install the 50mm fan on the motherboard so I need a grill to make it look nice. Also since I am keeping the internal 180mm fans I have to keep the side panel vents. I want to dress them up some otherwise they just look funny.
His will obviously look better than what I can draw :P
Cheers till next time,
Fuga
-
Re: Project: Steampunk'd TJ11
Finally new pics :P
First saw the new thread and thought oh goodie new stuff and it was just everything from your led tests haha can't wait to see more of this come together especially all the tubes.
-
Re: Project: Steampunk'd TJ11
Looking good.. I saw the picture of the primed parts and started thinking.. I kind like that color! :think:
-
Re: Project: Steampunk'd TJ11
Quote:
Originally Posted by
Stonerboy779
Finally new pics :P
First saw the new thread and thought oh goodie new stuff and it was just everything from your led tests haha can't wait to see more of this come together especially all the tubes.
Gonna hold off on the tubes untill I get the case back together so I can figure out where I want to put them.
Quote:
Originally Posted by
OvRiDe
Looking good.. I saw the picture of the primed parts and started thinking.. I kind like that color! :think:
Me too! The green would make for a great millitary type mod.
-
Unexpected Results and Modding the Mobo
I'm super siked to announce that Performance-PCs.com is sponsoring me with some gear.
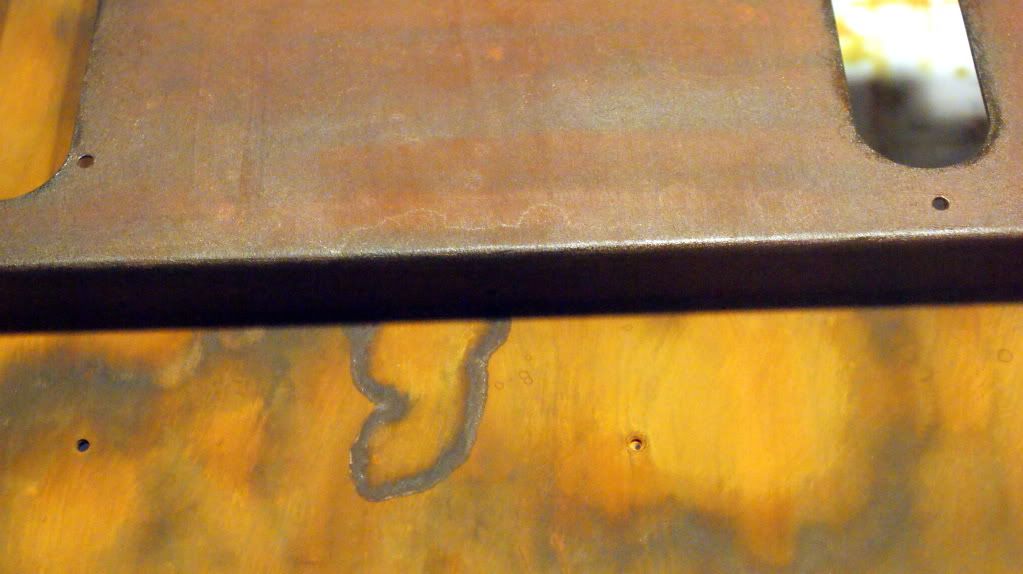
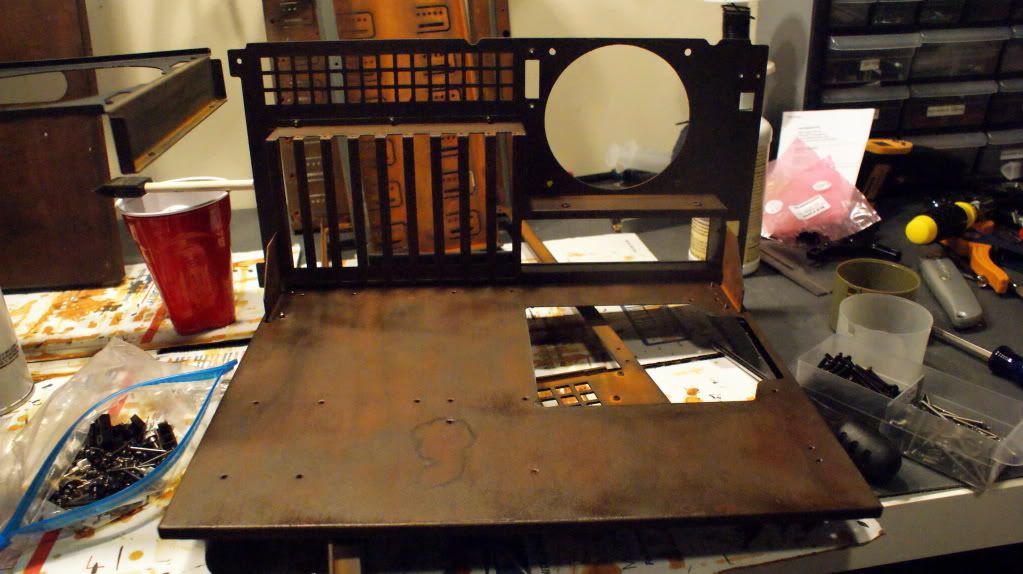
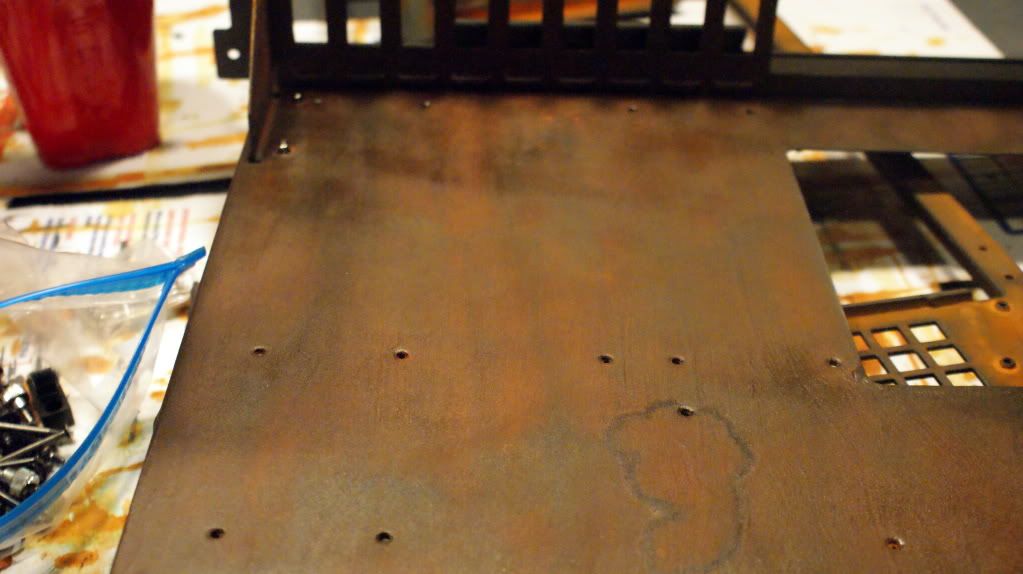
Now for the unexpected results. I needed to put a clear coat on the rust because it would rub off just like real rust. In doing so the color of the rust went from a orange/red/brown to more of a dark brown. I actually like this color because it looks more like leather. Let me know what you guys think.
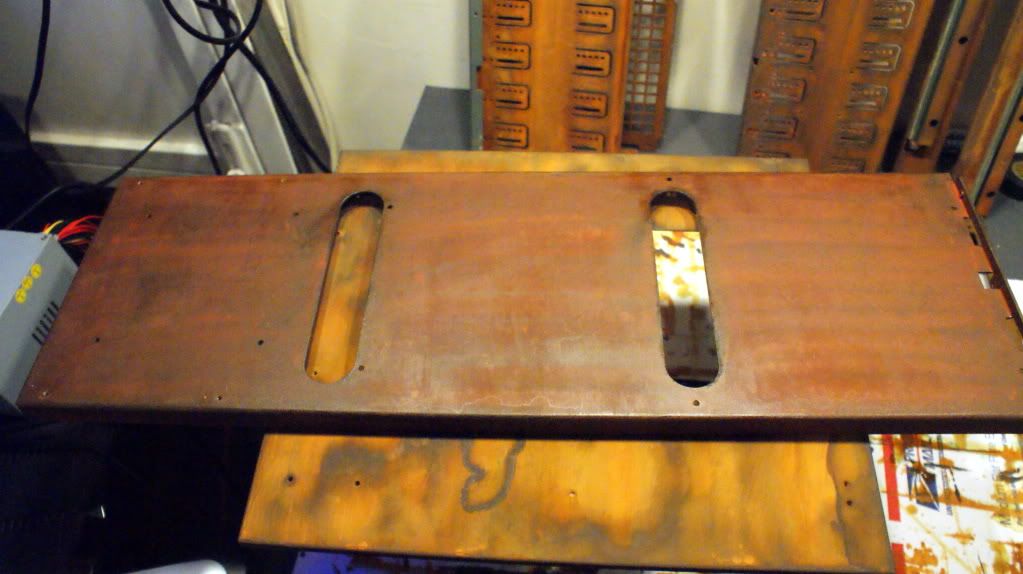
Mid plate with clear on it and the mobo tray under it.
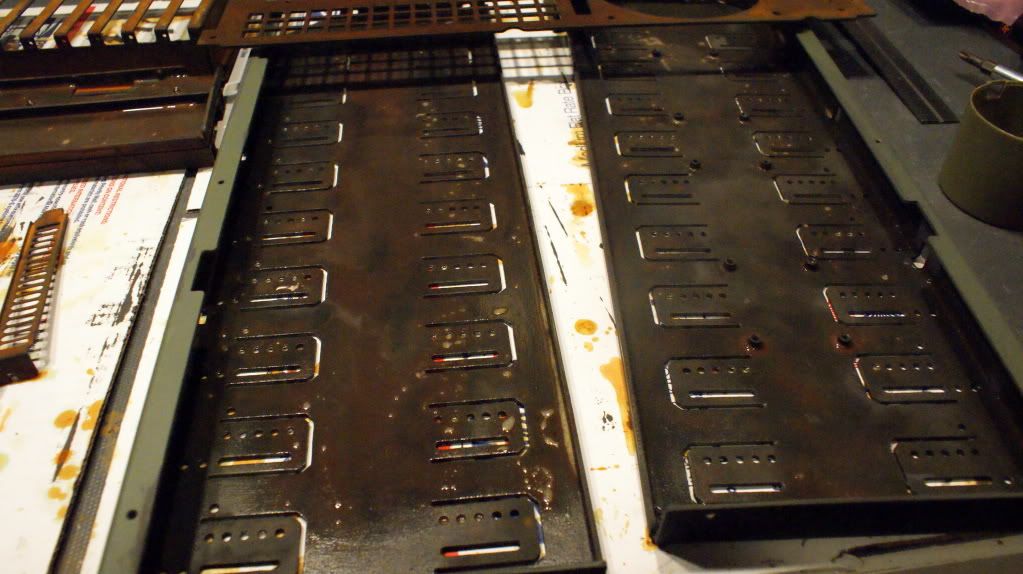
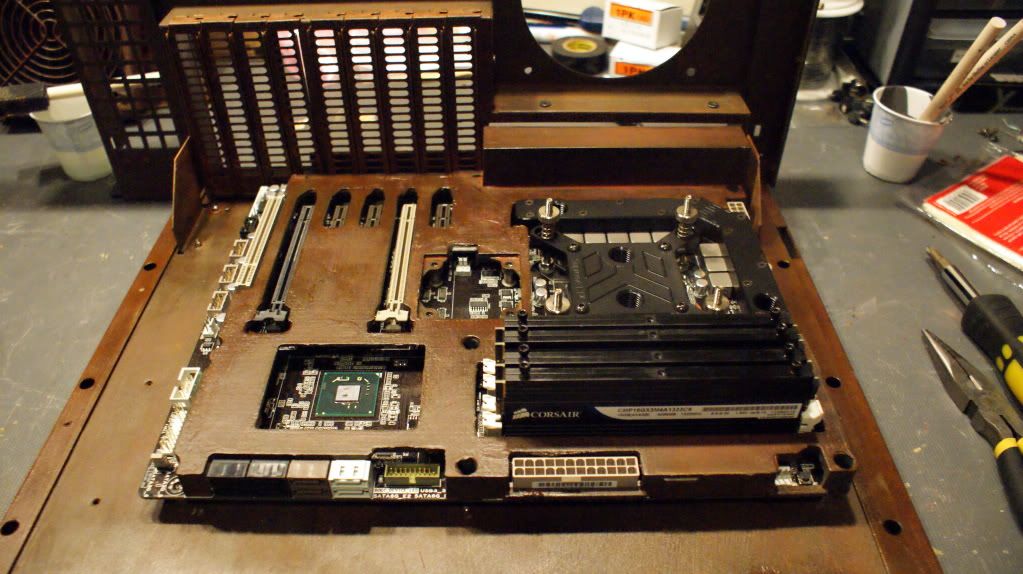
I liked it so I keep putting clear coat on the rest of the parts. Here is the mobo tray painted and assembled.
Still has a rust look to it.
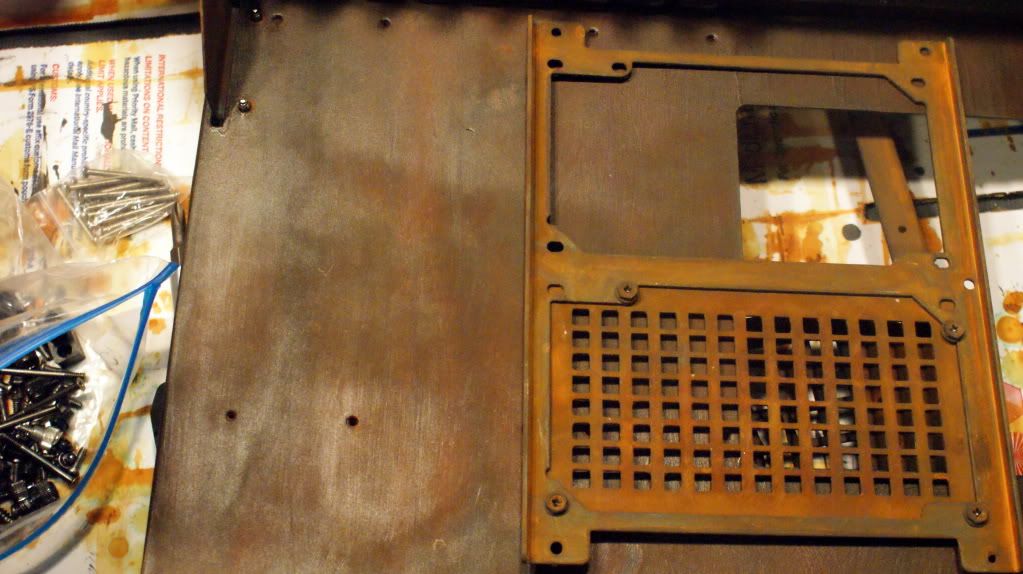
And compared to the PSU bracket.
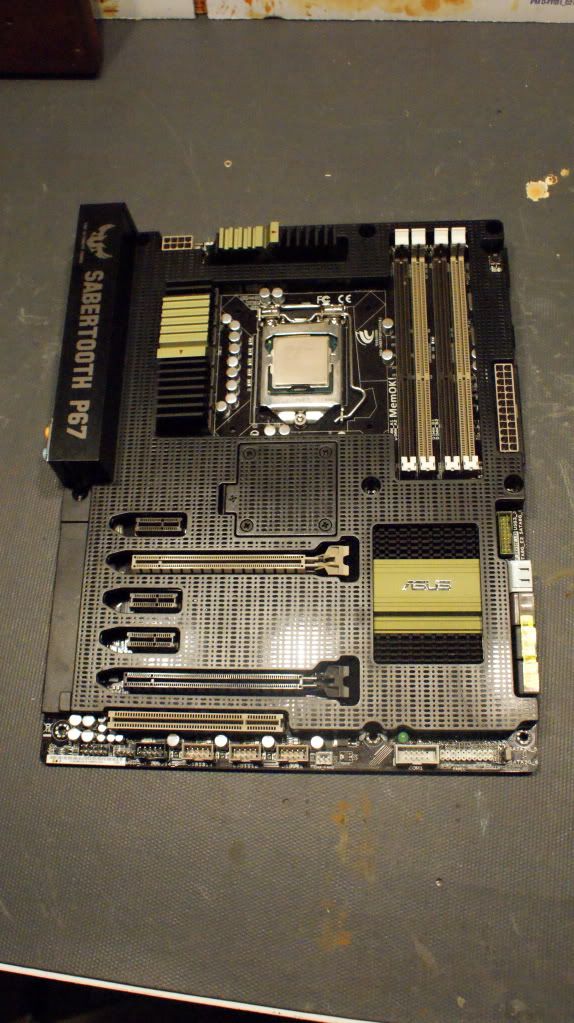
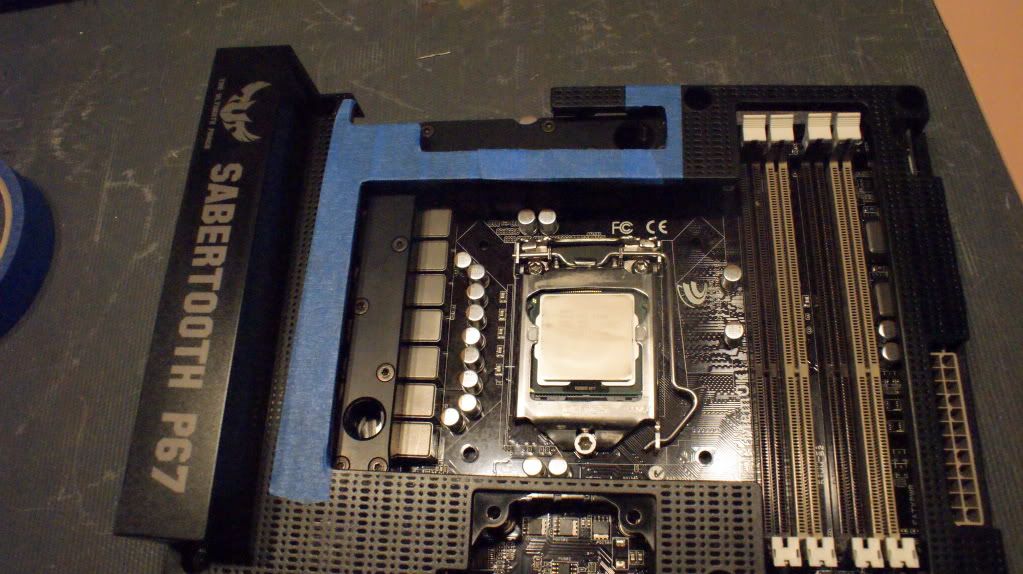
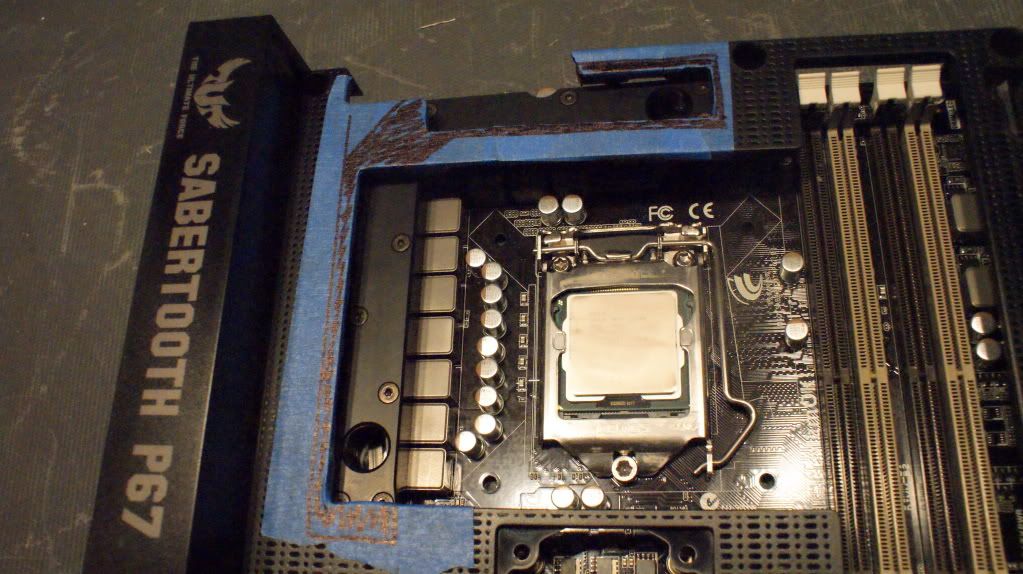
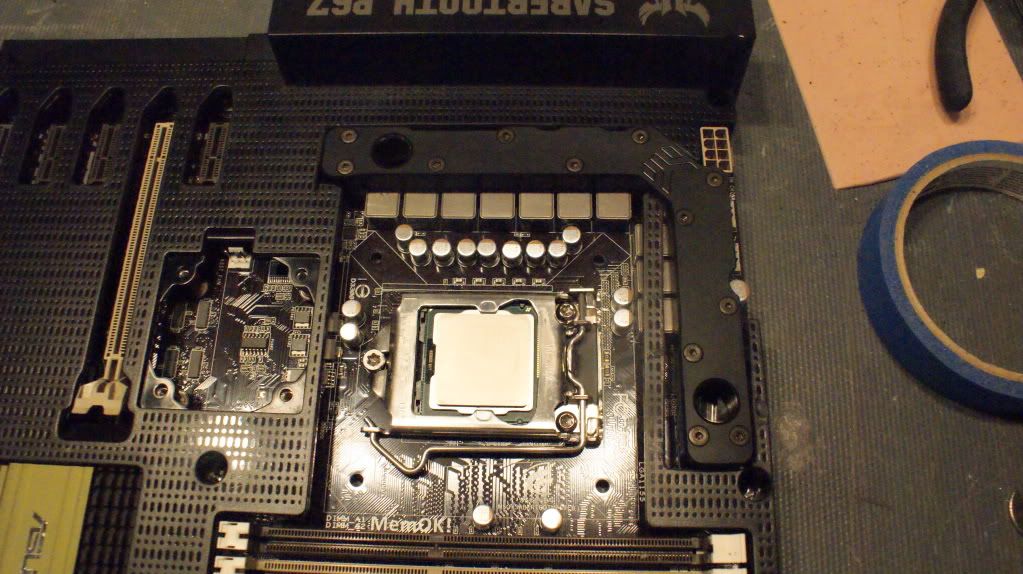
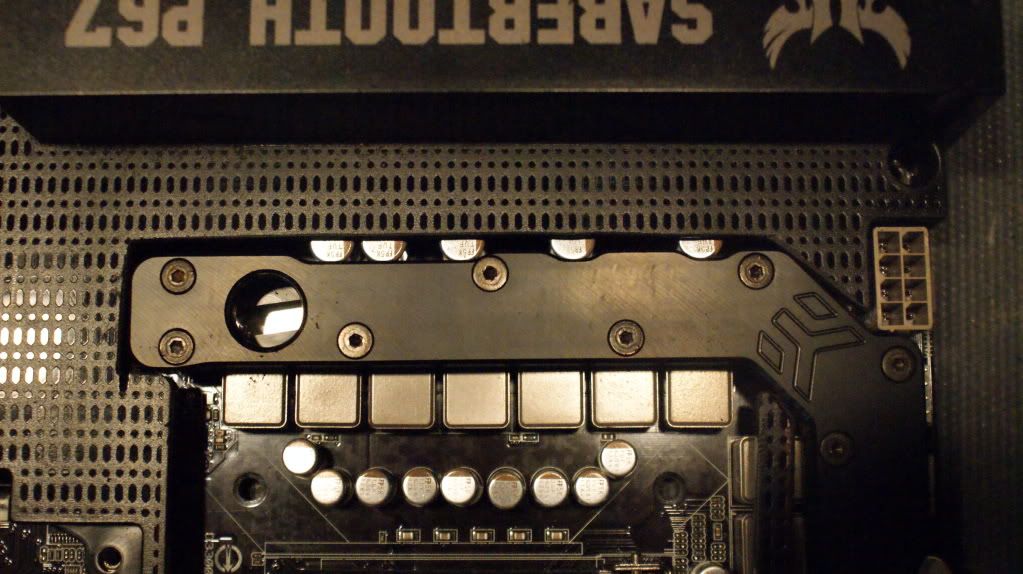
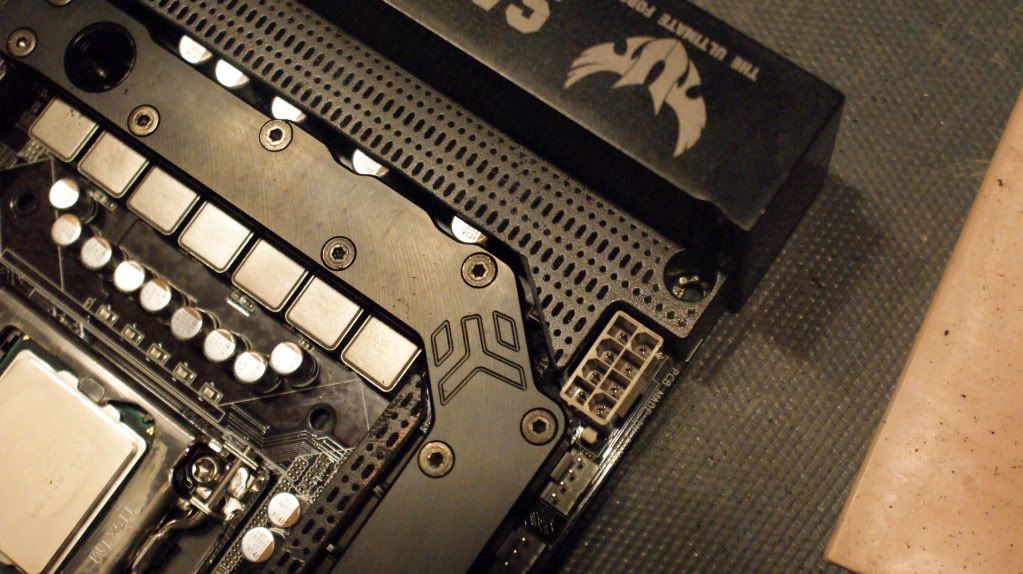
So while I was painting the rest of the parts I decided to start modding the "Thermal Armor" of the mobo.
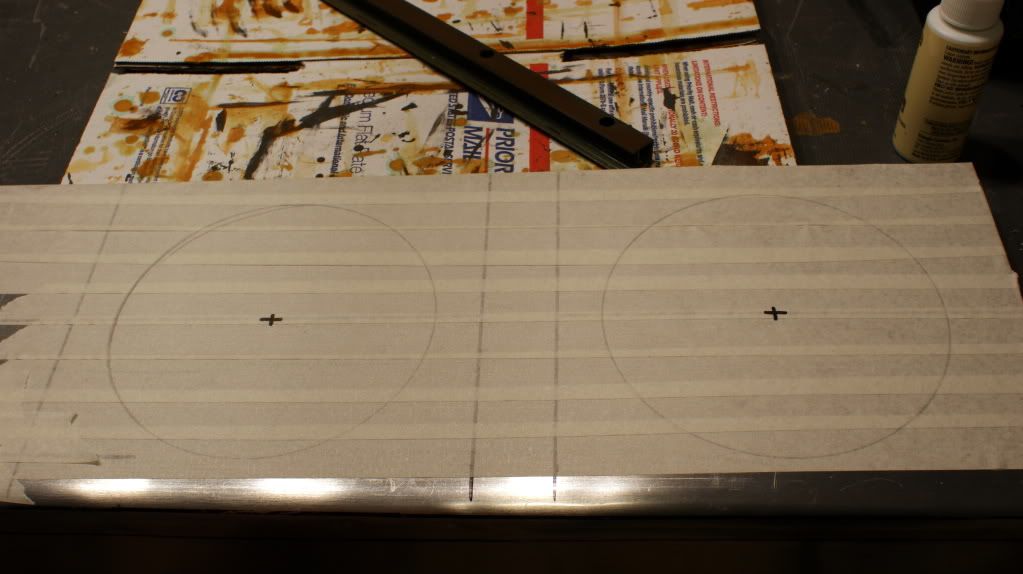
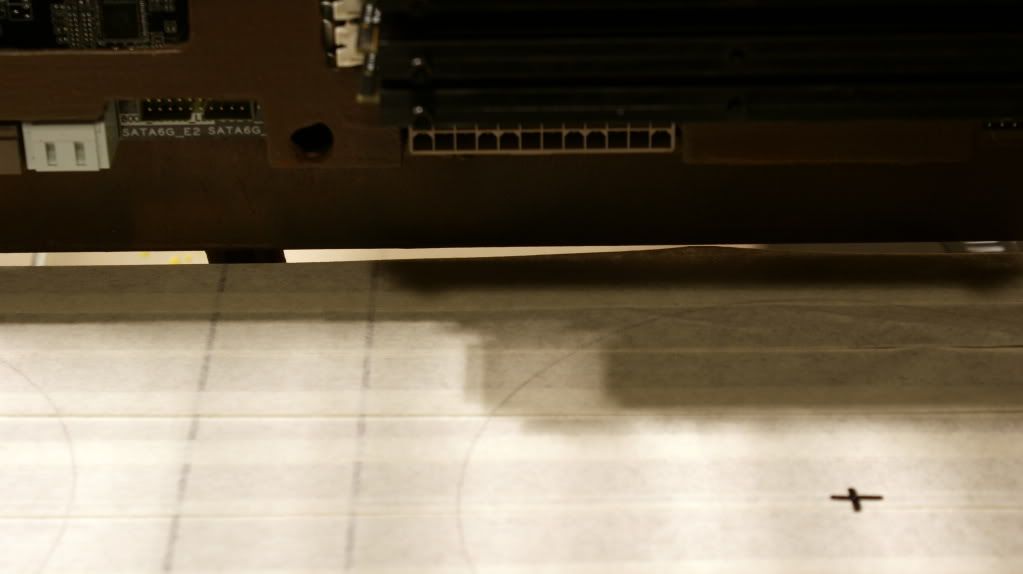
Tape applied
And marked
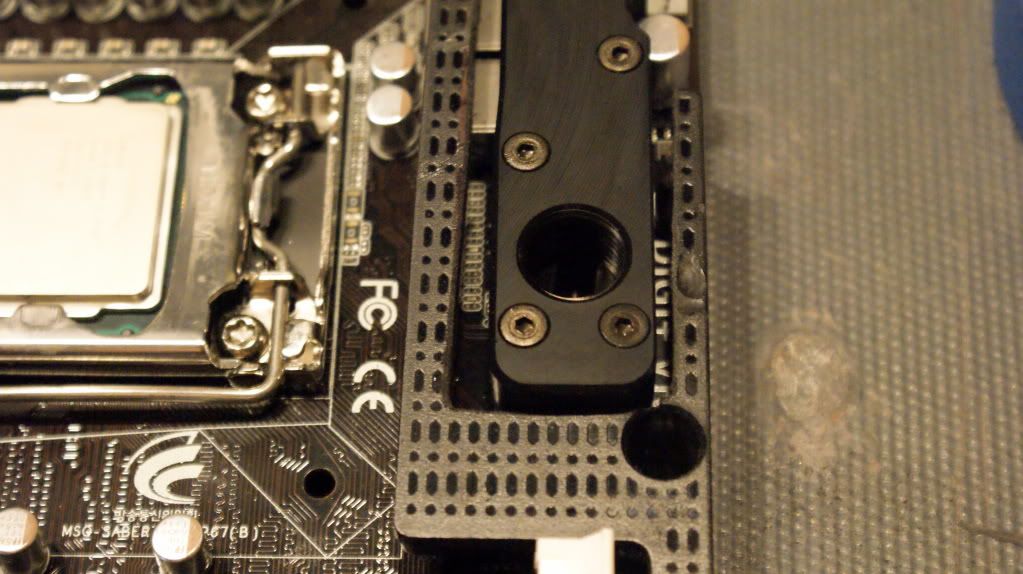
And here are the final results. Not sure I'm going to keep the skinny piece between the MOS block and the CPU, it isn't perfectly straight and looks in like its in the way of the design. Not sure yet what I will do.
Not sure how I will paint it but here are a few things I figured out recently.
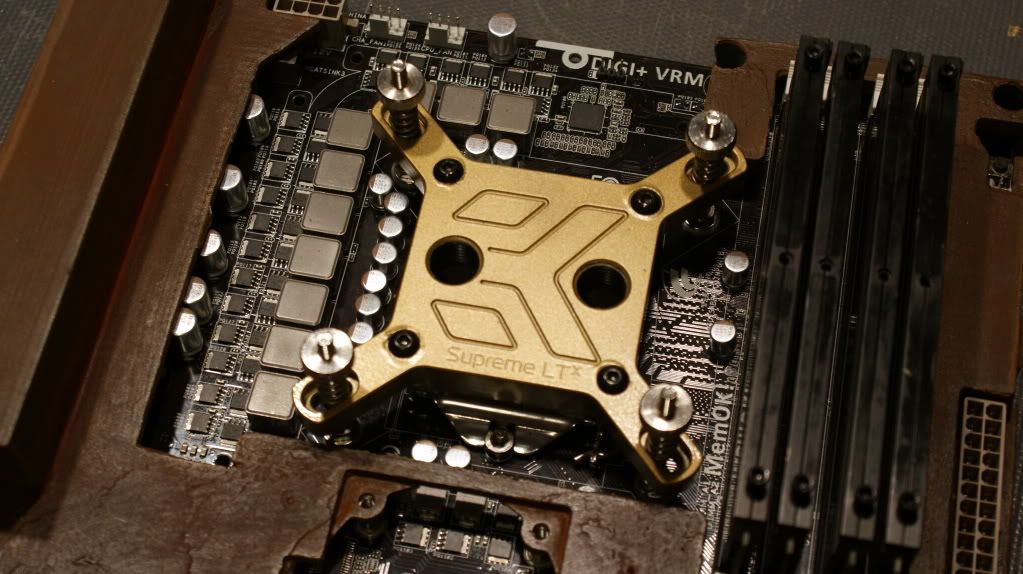
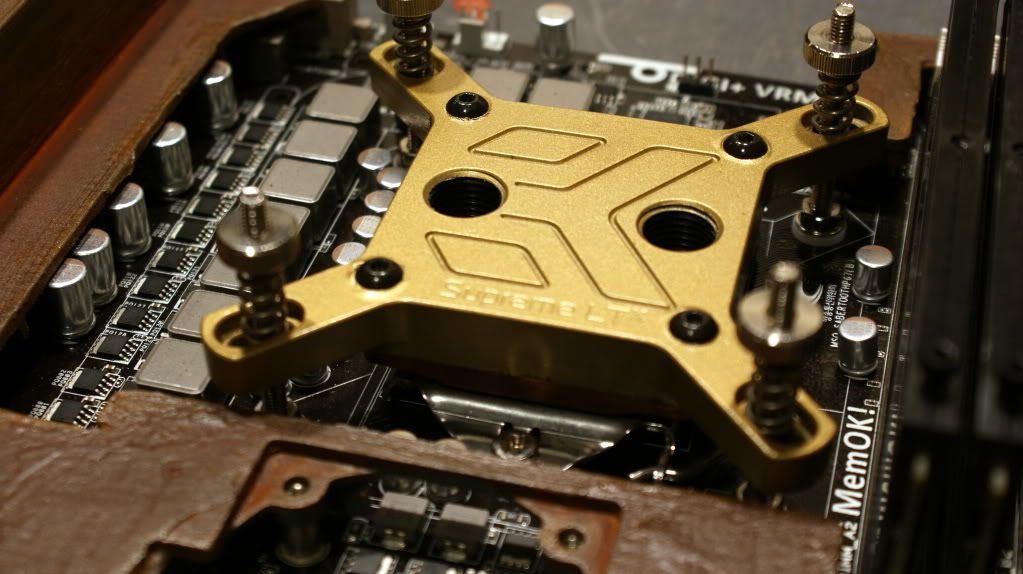
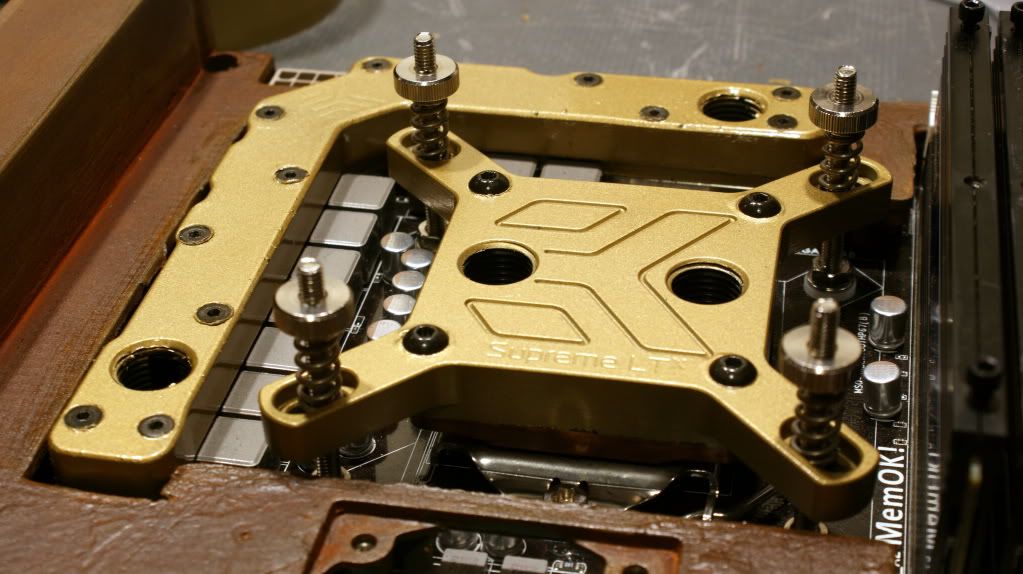
I'm going to paint all the water blocks gold!
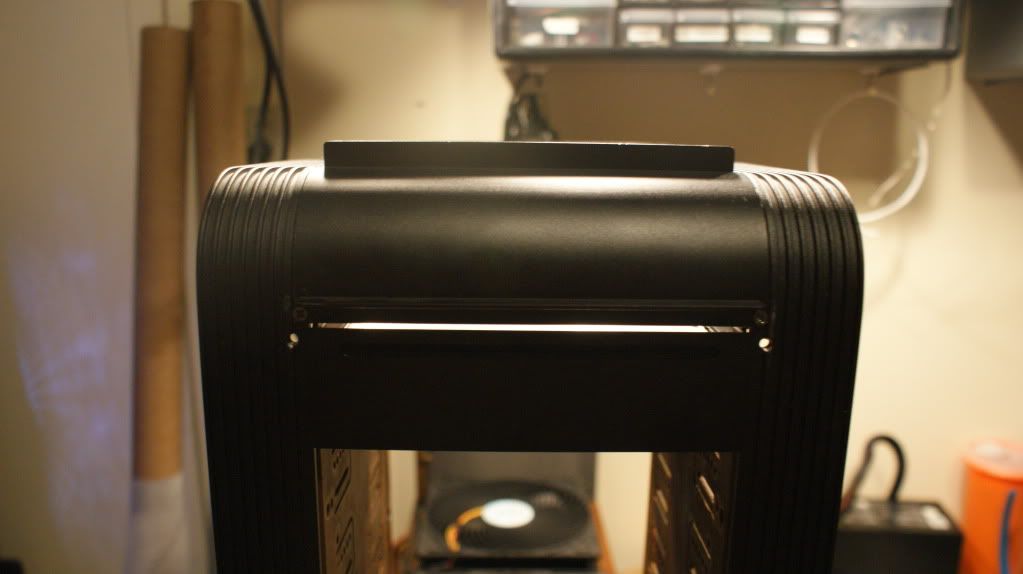
I will paint the 2 ribbed parts of the exterior gold.
The front bezel, back side of the case and side panels will have wood grain vinyl applied.
The Thermal Armor will either be rusted, wood grain or covered in leather!
GPU back plates will be the same as the Thermal Armor.
Things I have ordered:
50mm fan for mobo
EX360 rad
EX240 rad
2x BP MCP655 mod kits
Silverstone Slim DVD Drive bay
Acrylic
Things I need to order
BP Dual D5 Pump top
more Turbine Master fans
EK Uni Brackets for RES
250 Res
Questions, Comments and Recommendations are welcome!
Cheers till next time,
Fuga
-
Radiator, Sleeving and LEDs
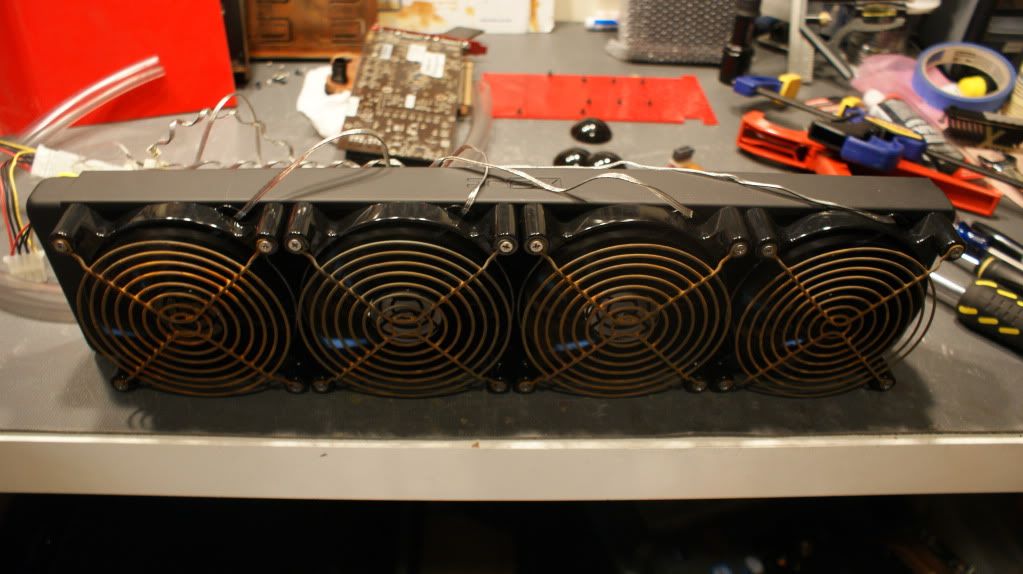
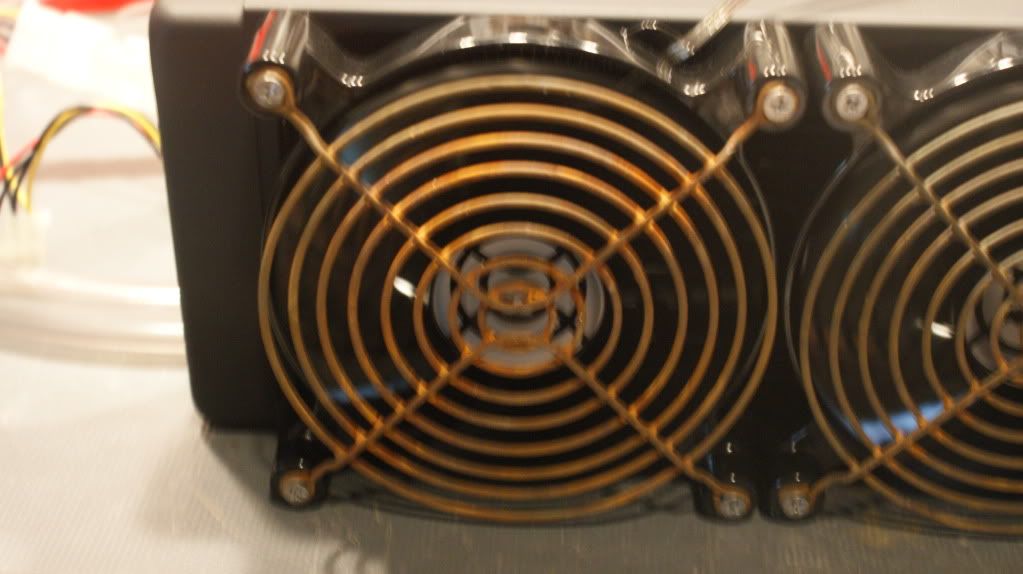
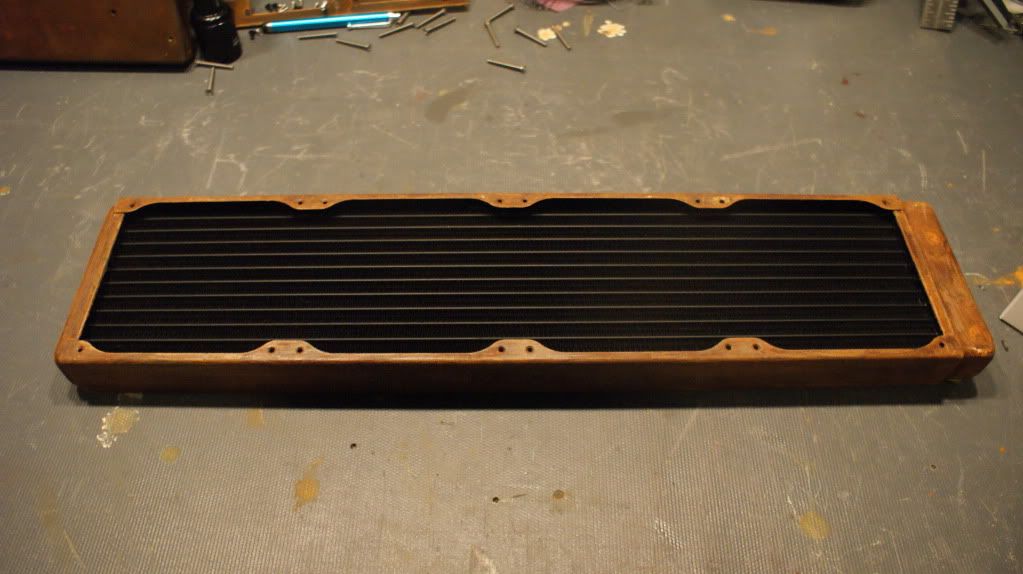
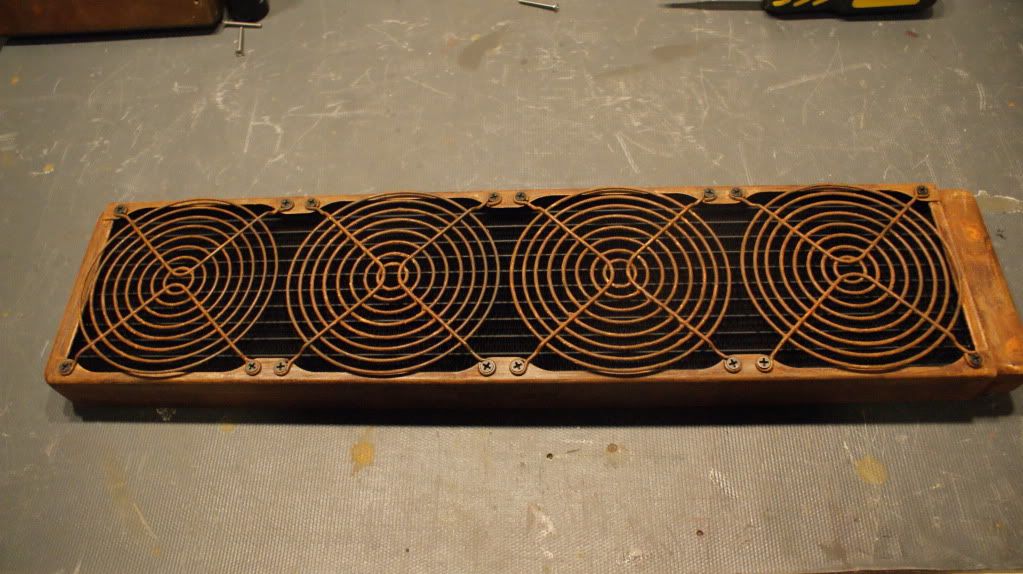
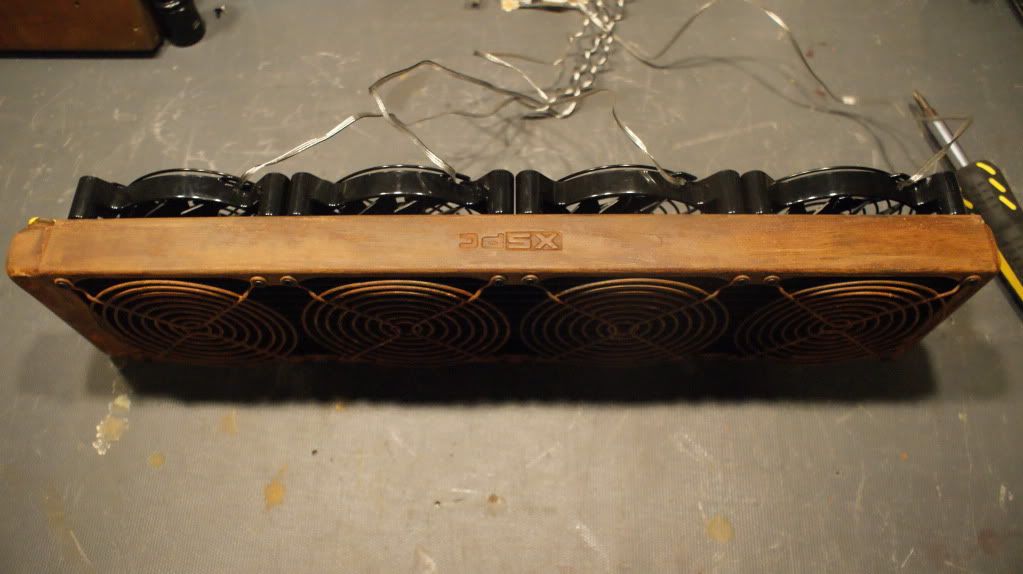
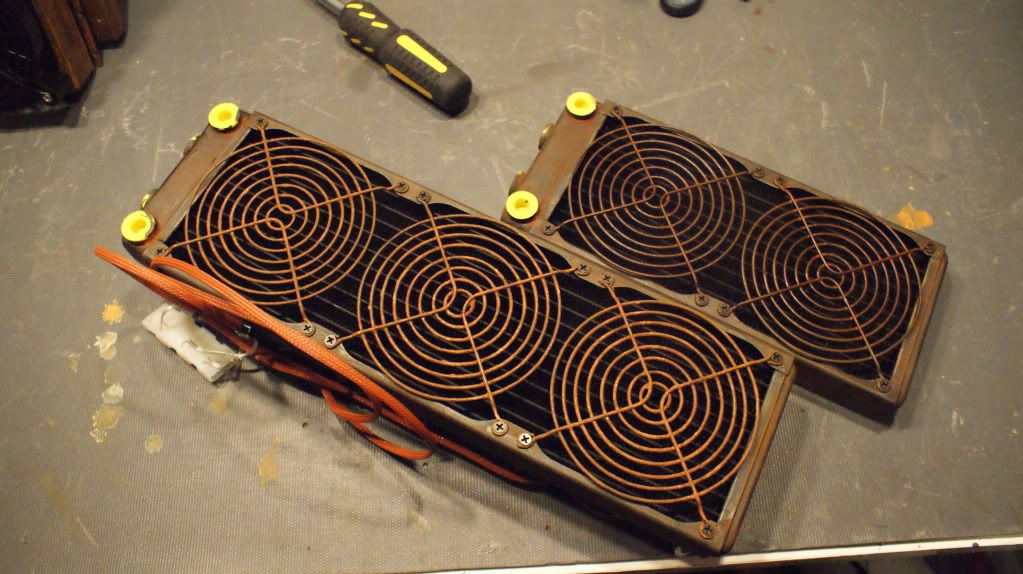
I have been debating on weather or not I would paint the radiators or not for a while now. Here is what the unpainted rad looks like with the fans and painted grills.
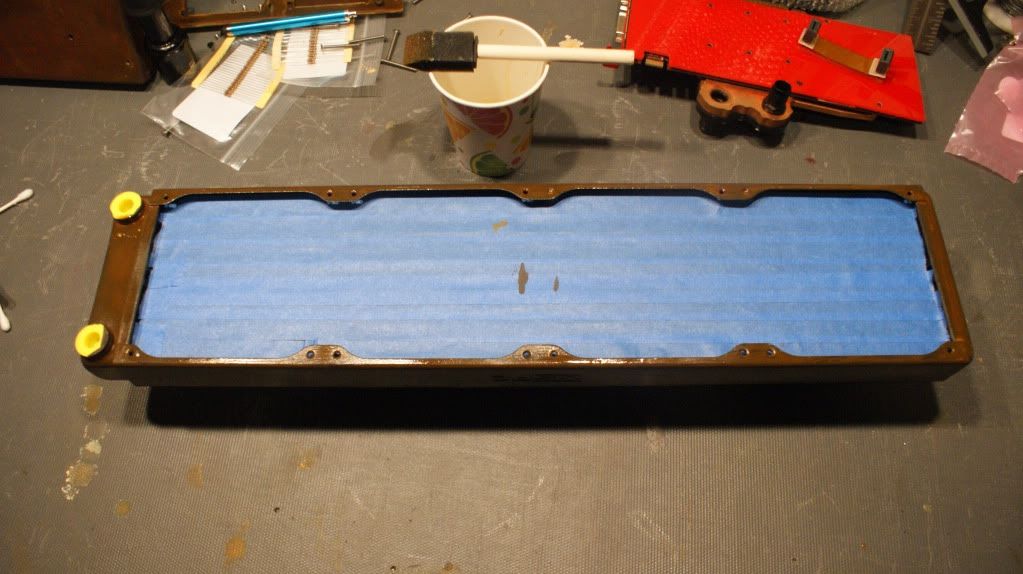
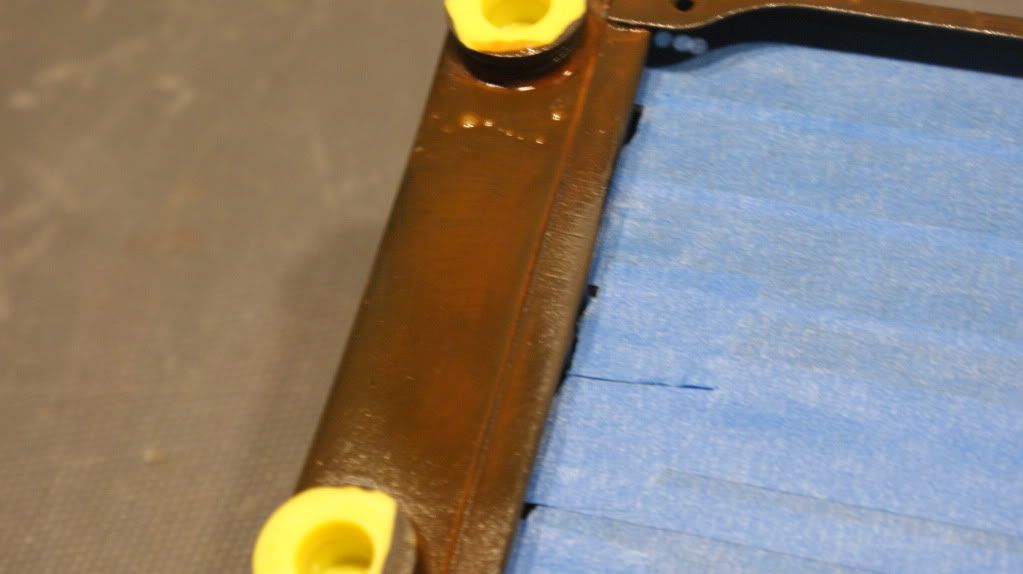
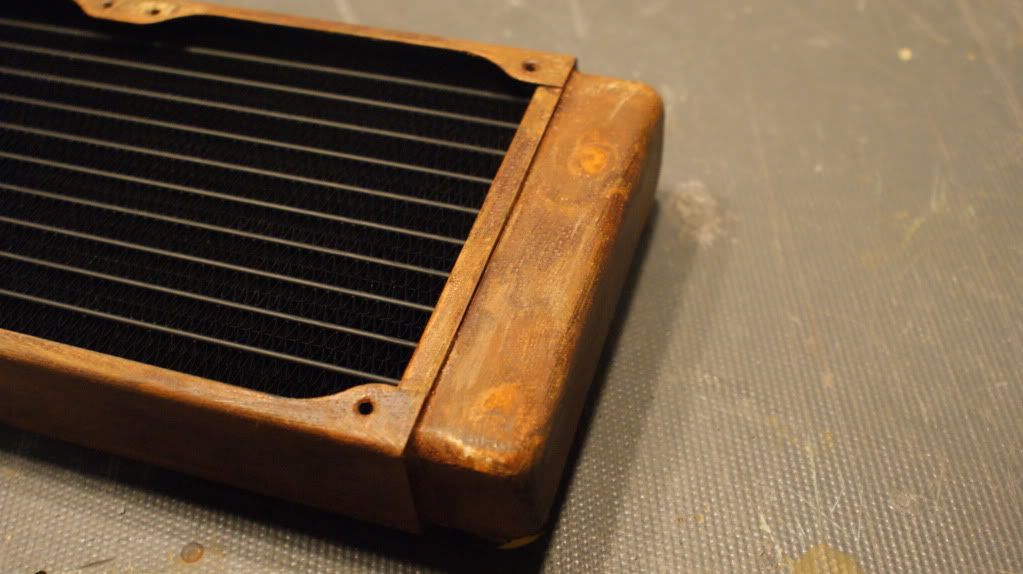
I didn't like the look so I decided to give the rad a make over.
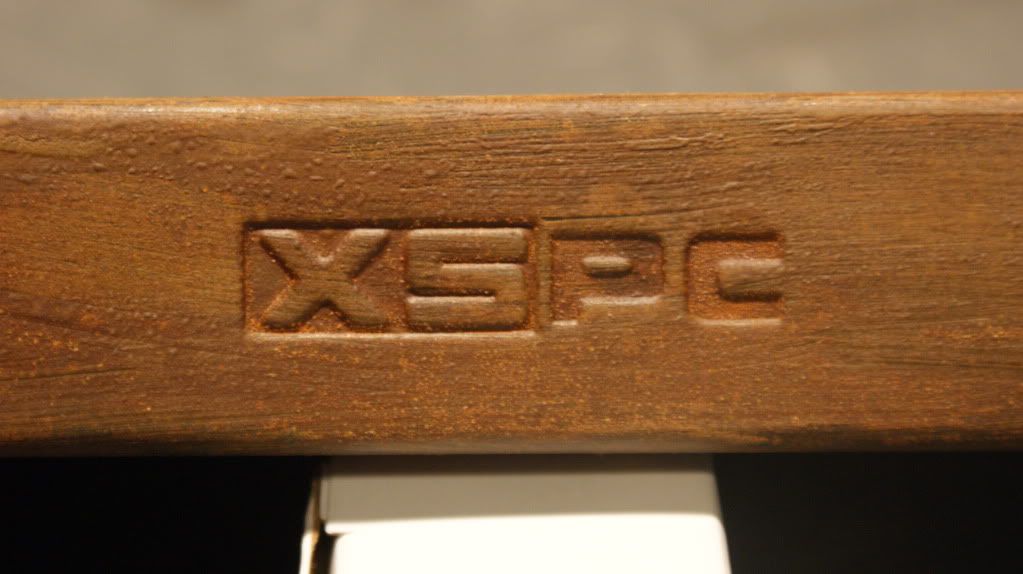
I'm glad the letters are still legible.
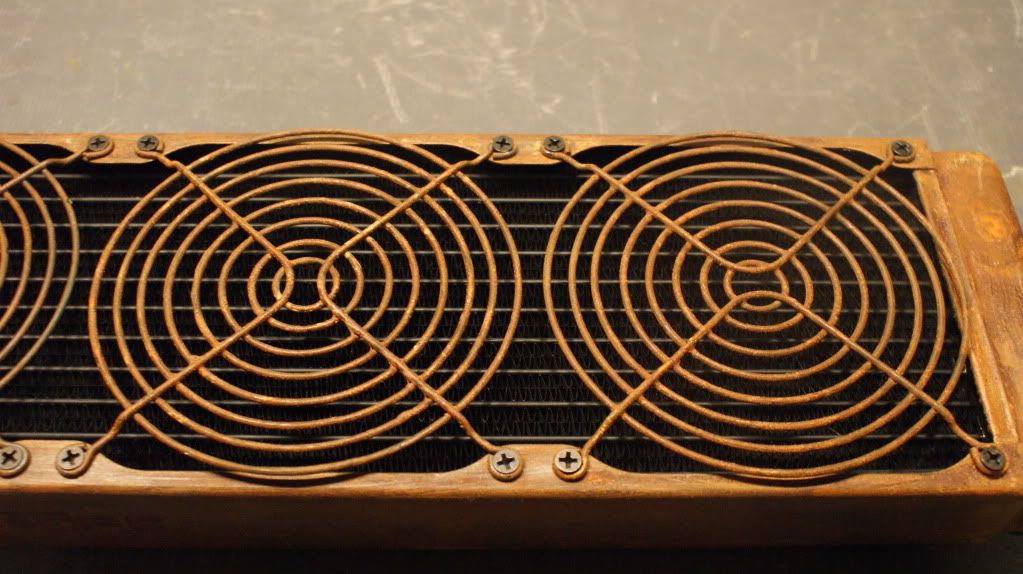
With the fan grills on. These outside ones are just for looks and to protect the fins.
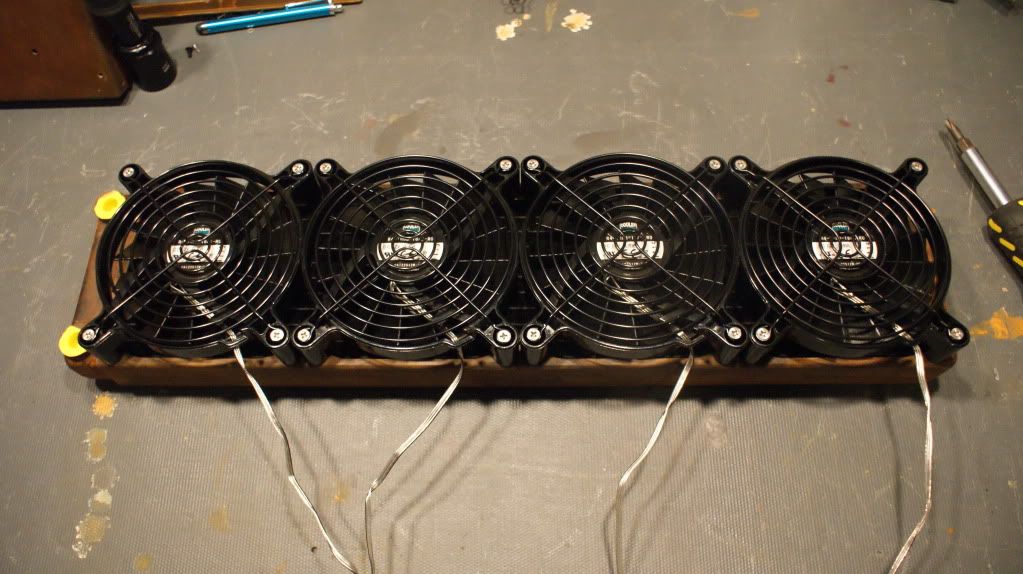
Fans attached.
Black fan grills on the inside fans. I was debating on painting the fans and inside grills but it would be a waste. By not painting them I can easily replace them and not worry about having to repaint them at a later time.
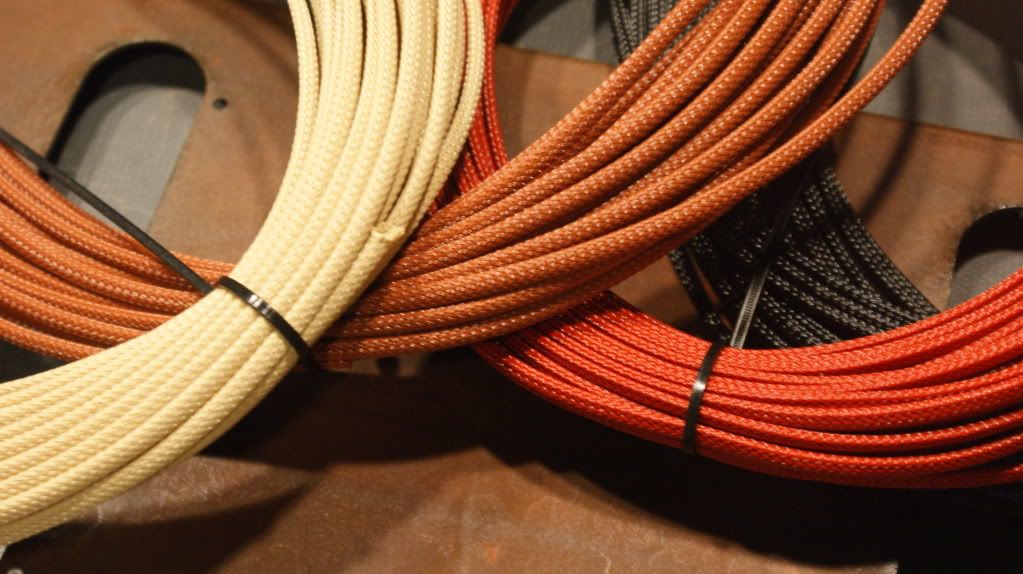
Got my MDPC-X sleeving in. I have no idea what the combo will be yet but I have lots of time to think about it.
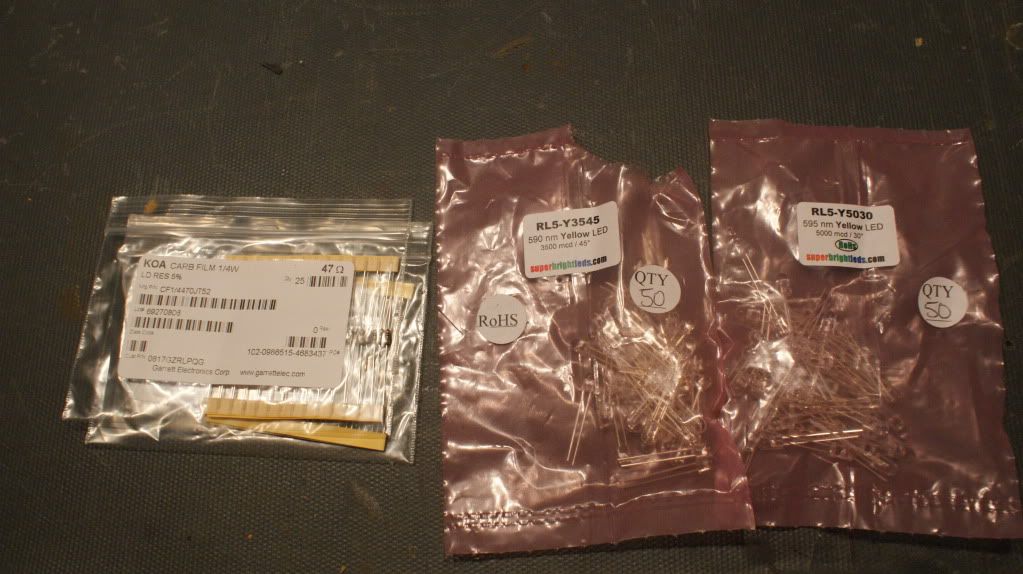
The Yellow LEDs finally came in along with the 47 Ohm resistors for them.
I pulled one out right away and started testing with the vacuum tubes.
I know they still look a little bit orange in the photos but they are a really nice amber yellow in person. They will look great with the other LED strips I have.
Now for a bit of sponsor news. I was talking to Bitspower several months ago and all of a sudden, they stopped replying to me. Well just a few days ago they finally wrote back and we are in talks again for parts. I hope to get all my fittings and the pump top from them.
I also finally got EK to bite. I started talking shop with them. Not sure all what they will be providing but I'm hoping for at least GPU blocks since PPCs took care of my radiators.
What's coming next?
I'm going to finish modding the "thermal armor" on the mobo this weekend. I want to get a nice clean fit.
I ordered a few sheets of aluminium to make a sturdy midplate. (There will probably be acrylic on top of it. I have not decided yet)
I need to do more research into "wood veneer". Someone suggested that instead of using vinyl to give the case a more natural look. After looking at the prices, its not much more than the vinyl so I'm thinking hard about it. Here are 2 that I am looking at.
This one is already finished.
http://www.veneersupplies.com/produc...awn-4-x-8.html
This one requires a finish.
http://wiusa.com/curvwood/Library-Fi...__flat_cut.htm
That's it for today. Hopefully I can get some more done this weekend since its a long weekend but there isn't much left to do on the inside. I need to decide/figure out the veneer situation so I can get the outside done. Oh and I'm waiting for gold paint to arrive. Once I get that I can do the water blocks and some of the case exterior.
Cheers till next time,
Fuga
-
Re: Project: Steampunk'd TJ11
-
Re: Project: Steampunk'd TJ11
-
Re: Project: Steampunk'd TJ11
Quote:
Originally Posted by
BS Mods
So kewl!! I love it.
Thanks man!
-
Performance-PCs.com Sponsor Gear
Performance-PCs.com will go down as the fastest company to ship sponsor gear ever! I placed my order and got it not even a week later.
Here is the gear!
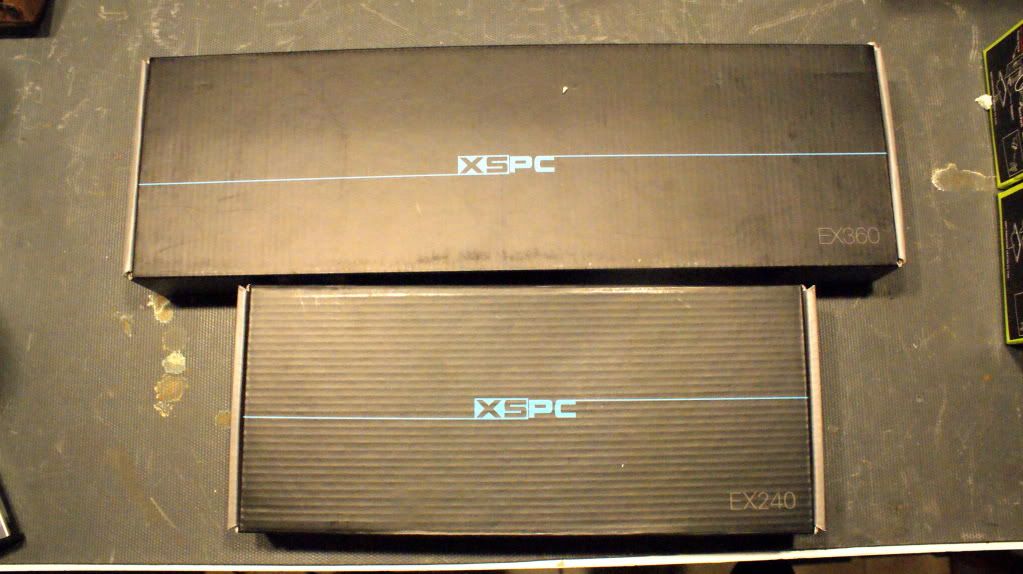
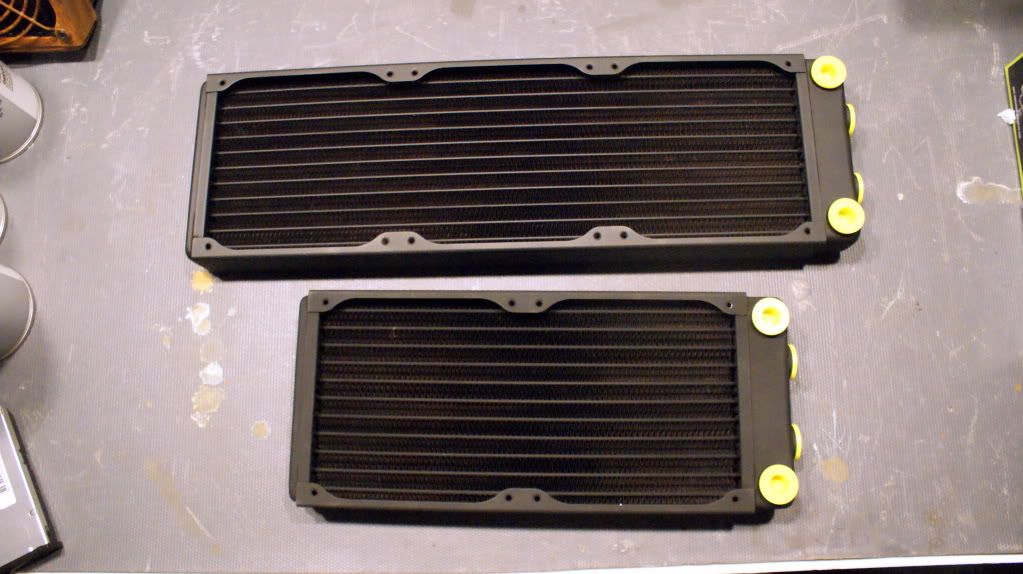
XSPC EX360 Multi Port and EX240 Multi Port
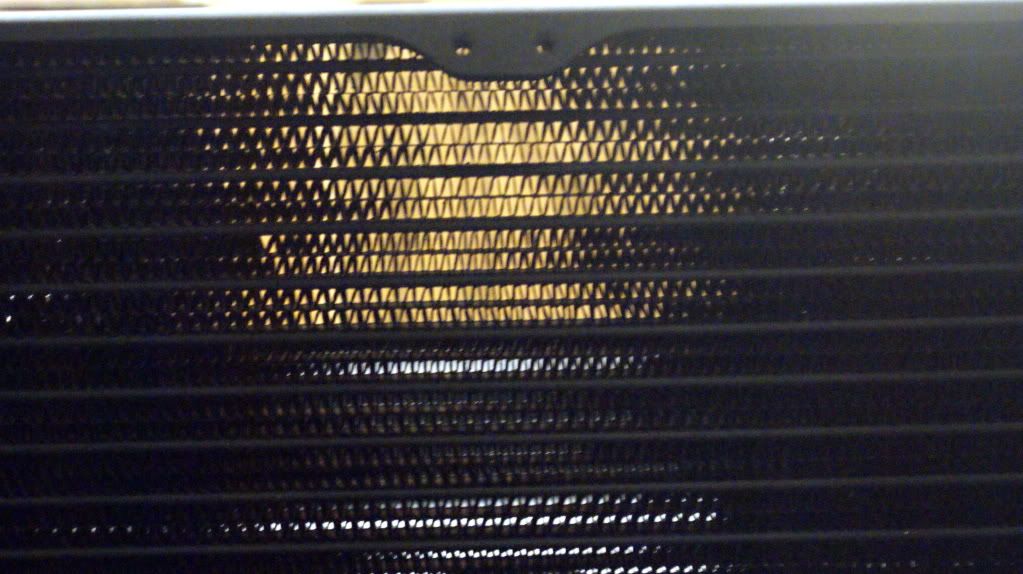
I like these rads because they have such a high FPI.
6 ports on each rad!
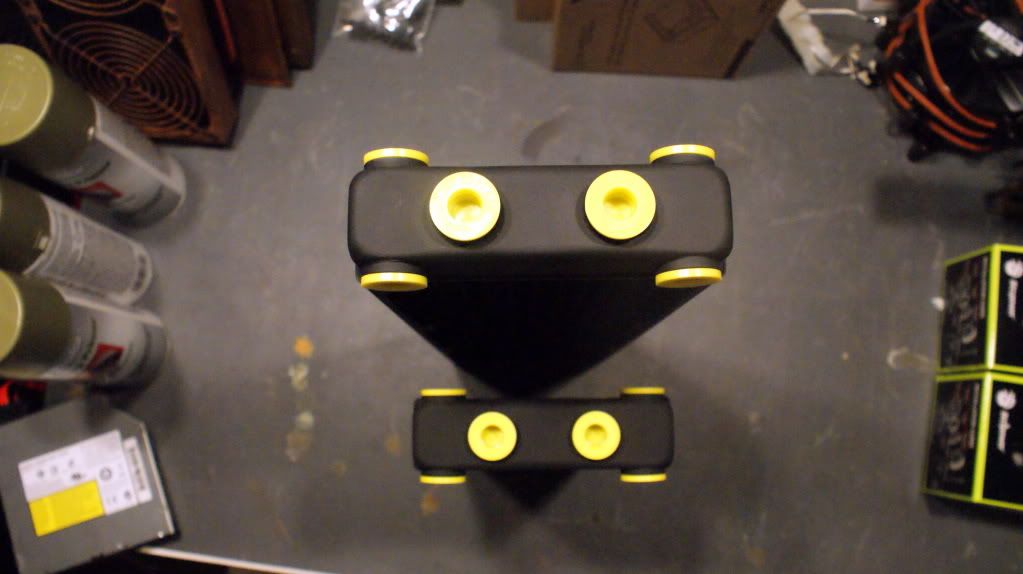
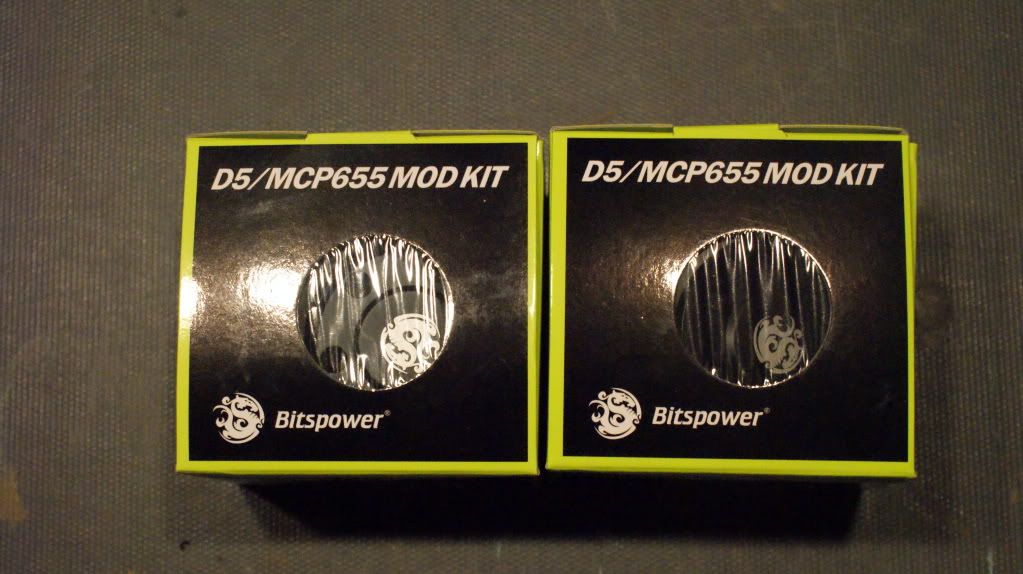
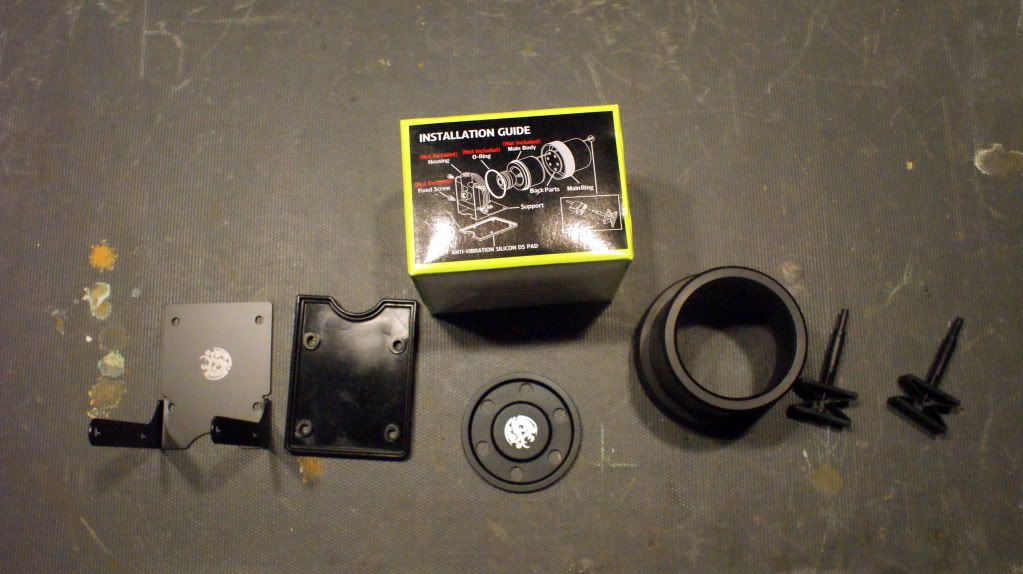
Up next is 2 Bitspower D5/655 mod kits
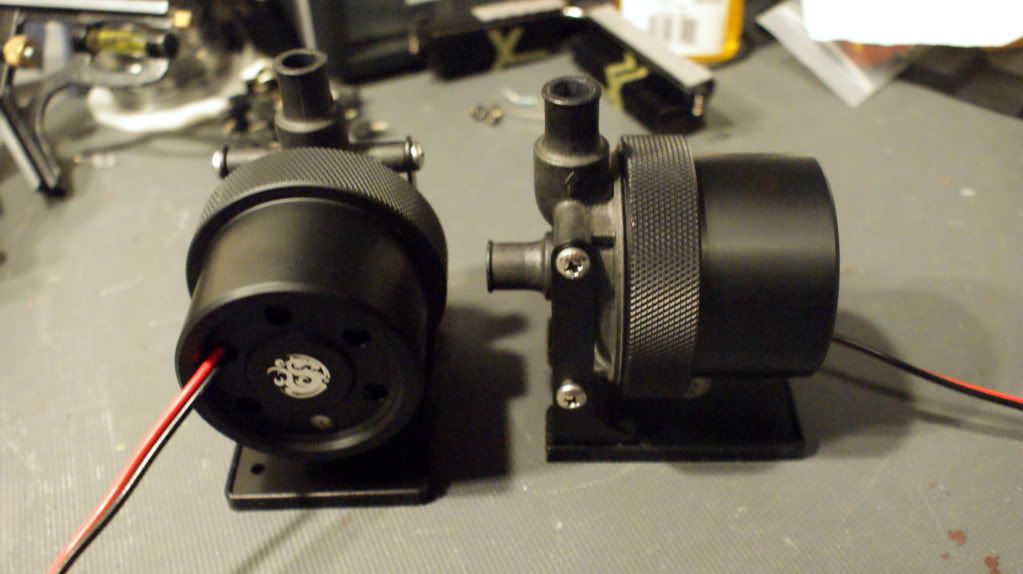
Installed on the stock pump tops. Temporary setup because I will be using a Bitspower Dual D5/655 pump top in the mod.
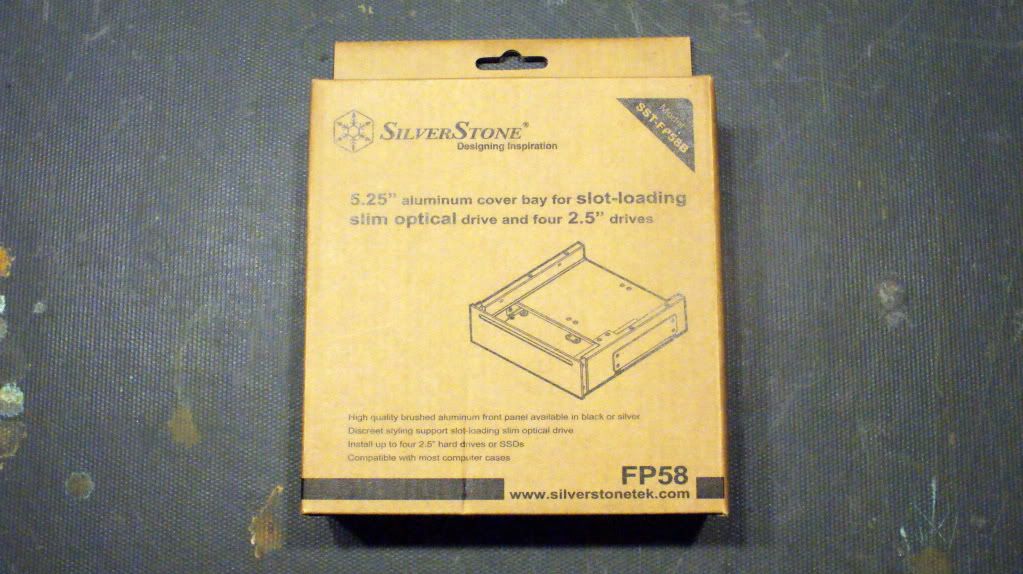
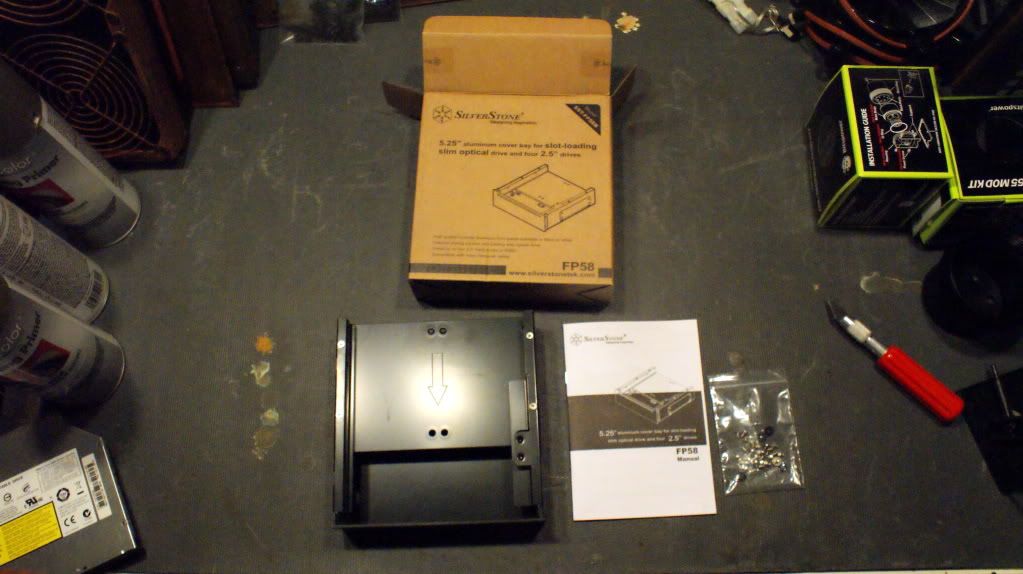
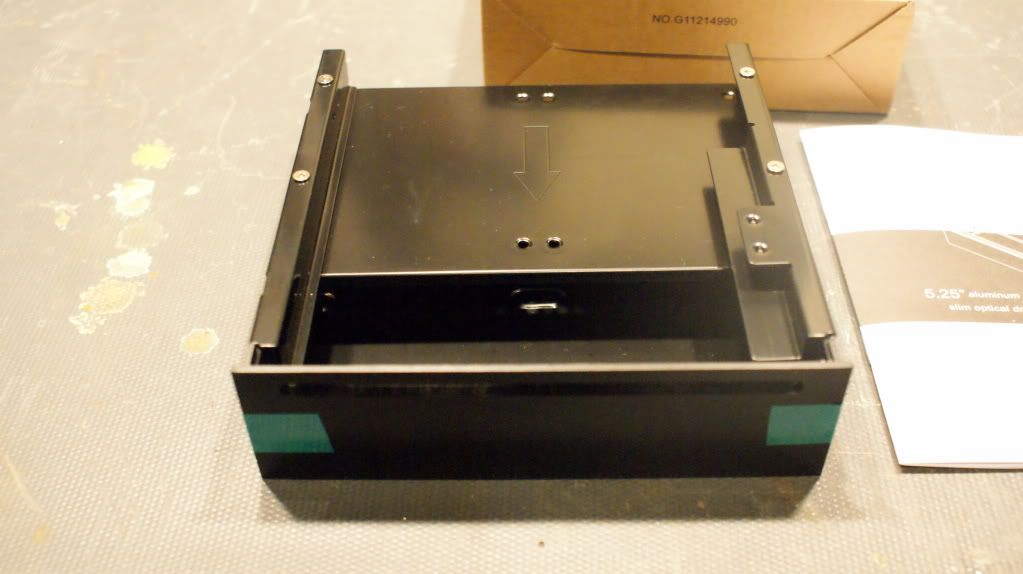
Finally the Silverstone Slim ODD and SSD/HDD bay. I really like this because I can fit my Slim ODD and up to 4 SSD/2.5" HDDs in it.
Thats all from them. More modding in the next update.
Cheers till then,
Fuga
-
Choosing the Leather
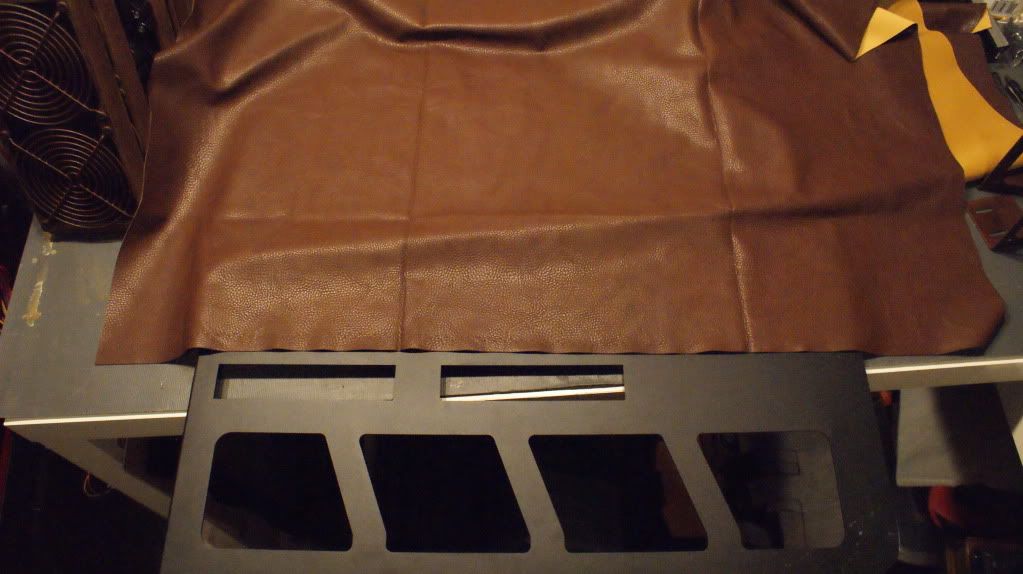
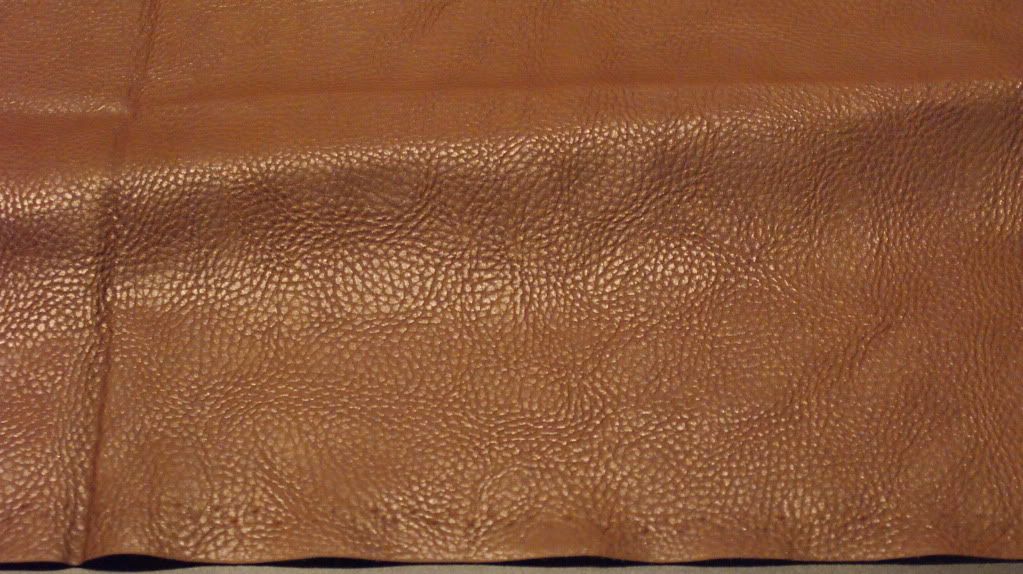
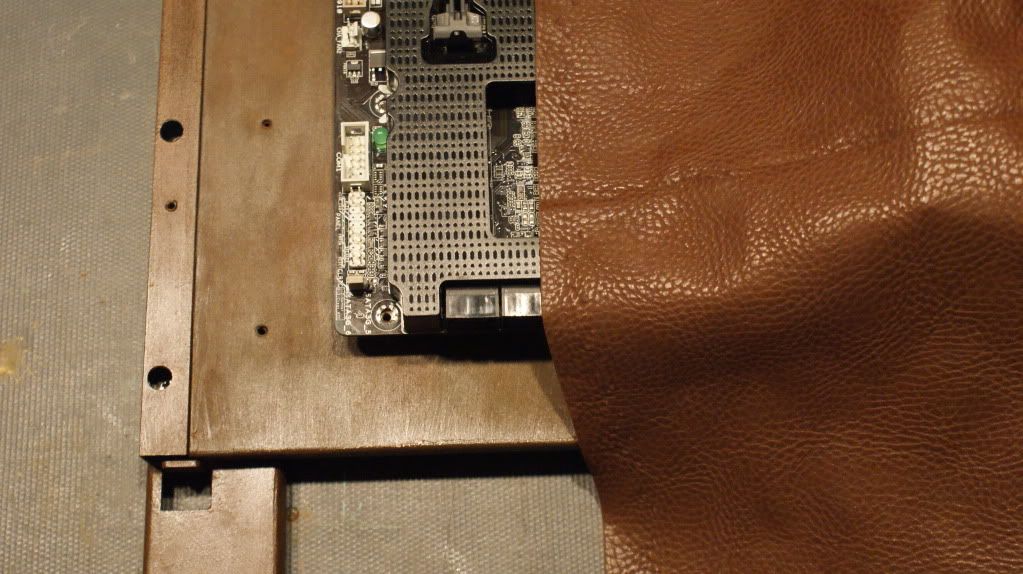
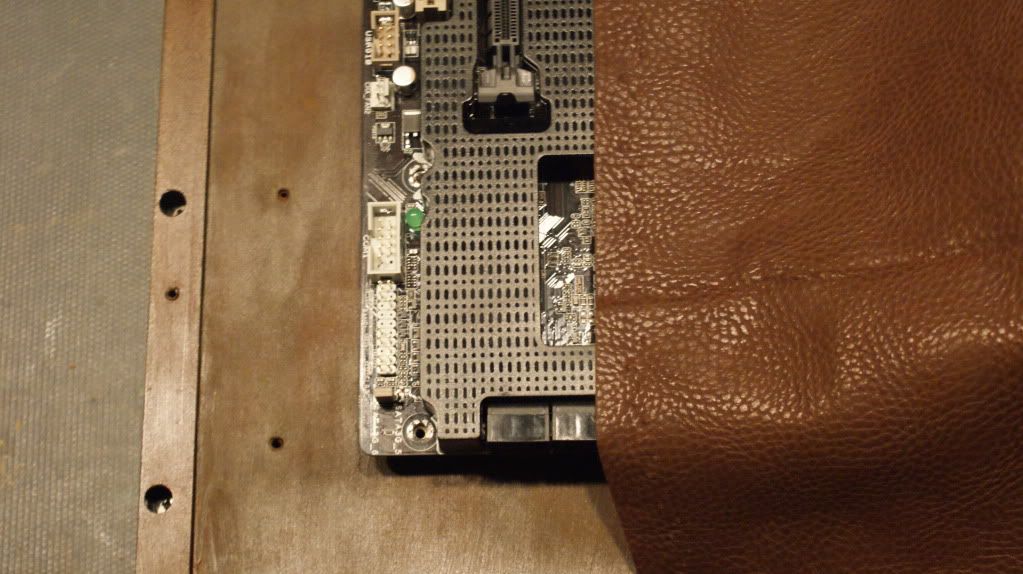
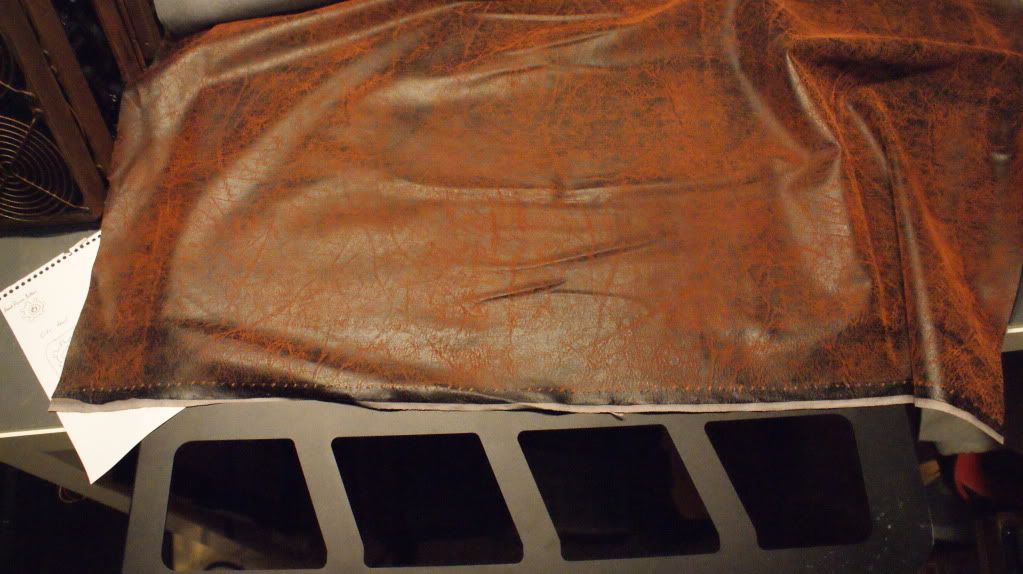
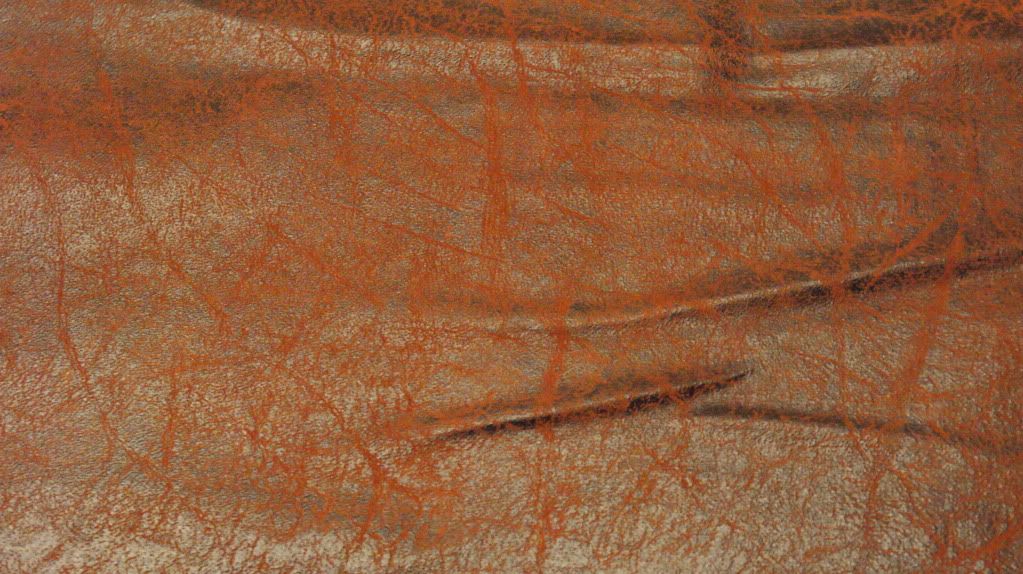
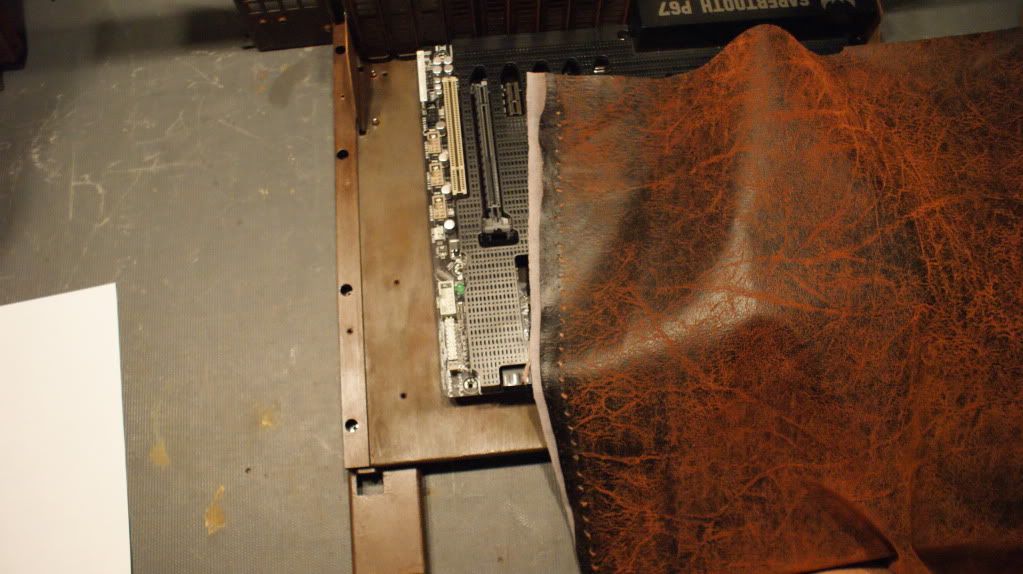
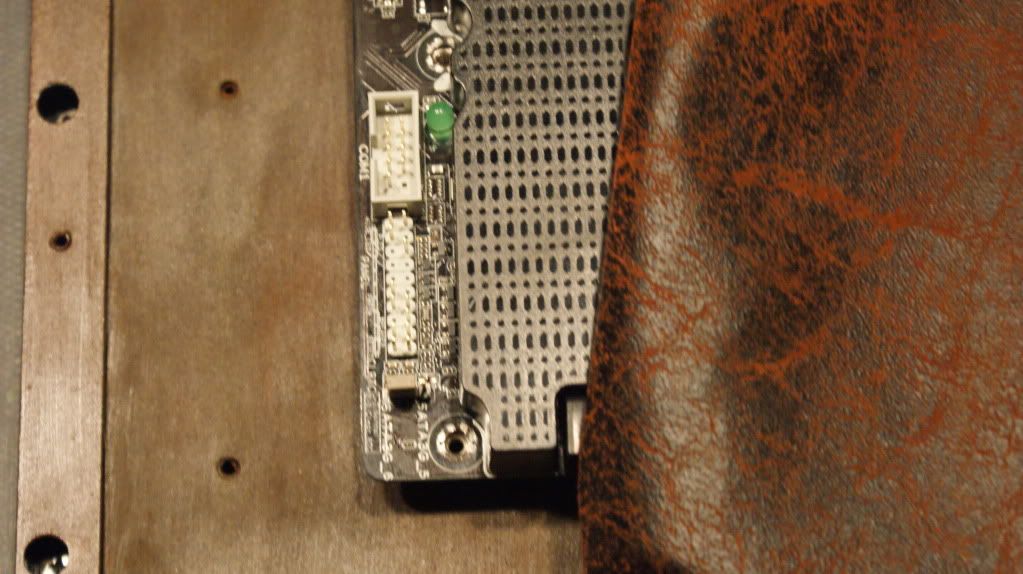
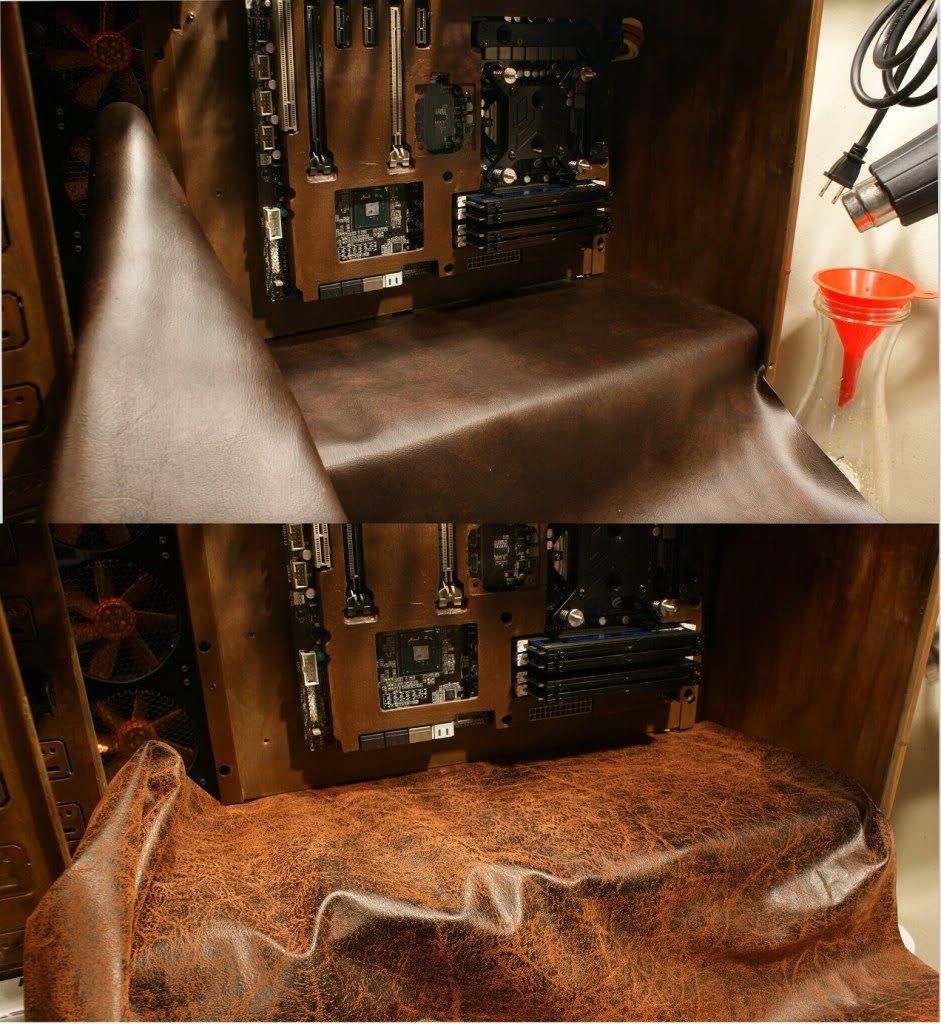
Now I need your opinion! I got 3 different types of Leather fabric and I'm not sure which one to use. I'm going to post a few pictures of each and I'd like to hear what you have to say!
Option 1:
On the door
Close up
On the mobo
Option 2:
On the door
Close up
On the mobo
Option 3:
On the door
Close up
On the mobo
Please leave your feedback! I really want to know what you guys thing. The leather will cover the door panels, the front bezel and the motherboard's "thermal armor". Hope to hear from you guys!!
Cheers till next time,
Fuga
-
Re: Project: Steampunk'd TJ11
I still like the one with the rusty crackle. I vote #3.
-
Re: Project: Steampunk'd TJ11
yeah, number three all the way!
-
Re: Project: Steampunk'd TJ11
Quote:
Originally Posted by
TLHarrell
I still like the one with the rusty crackle. I vote #3.
Quote:
Originally Posted by
xr4man
yeah, number three all the way!
Thank guys for voting. Its pretty much come down to 1 and 3 where where the 2 that I liked to begin with. I'm going to go with option 1 because it is a bit more subtle and it won't take your attention away from the accent parts that I'll be painting. Some people have expressed concern with putting leather on the armor as it would heat up the mobo too much. The Sabertooth P67 is already a hot mobo to begin with and adding another layer of insulation might not be the best idea so I'm painting it to match the interior of the case.
A modding update is coming very soon!
-
Re: Project: Steampunk'd TJ11
Yes, 1 or 3 for me as well. 2 would work better with a wood case I think. Really love the mod so far, keep up the good work!
-
Re: Project: Steampunk'd TJ11
Quote:
Originally Posted by
NightrainSrt4
Yes, 1 or 3 for me as well. 2 would work better with a wood case I think. Really love the mod so far, keep up the good work!
Thanks!
-
Re: Project: Steampunk'd TJ11
I got tons of work done so this update might be a bit big.... sorry but at least it has lots of pictures for you :D
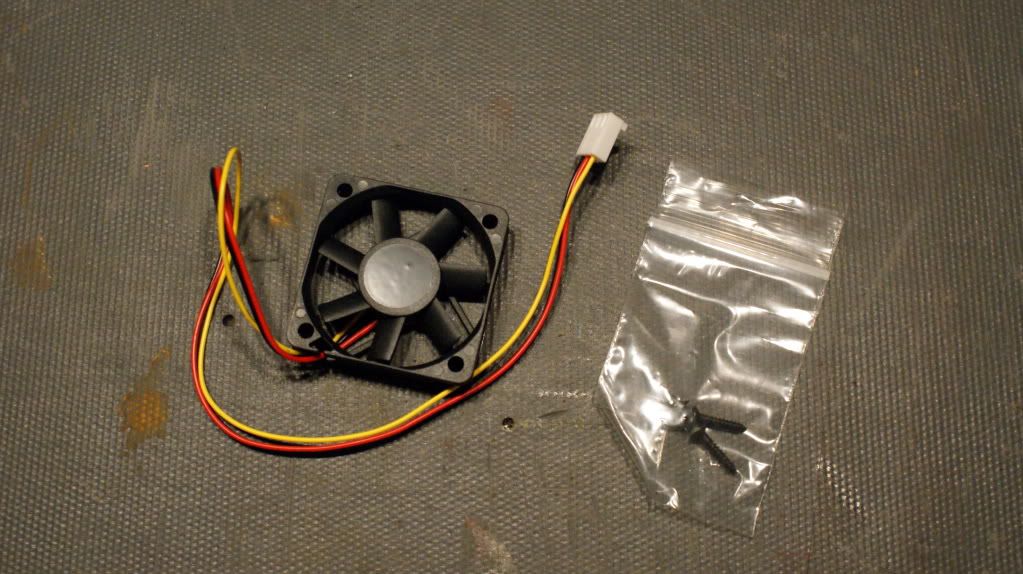
Up first is the 50mm assist fan for the mobo.
You can see that the cable is quite long. So I need to fix that.
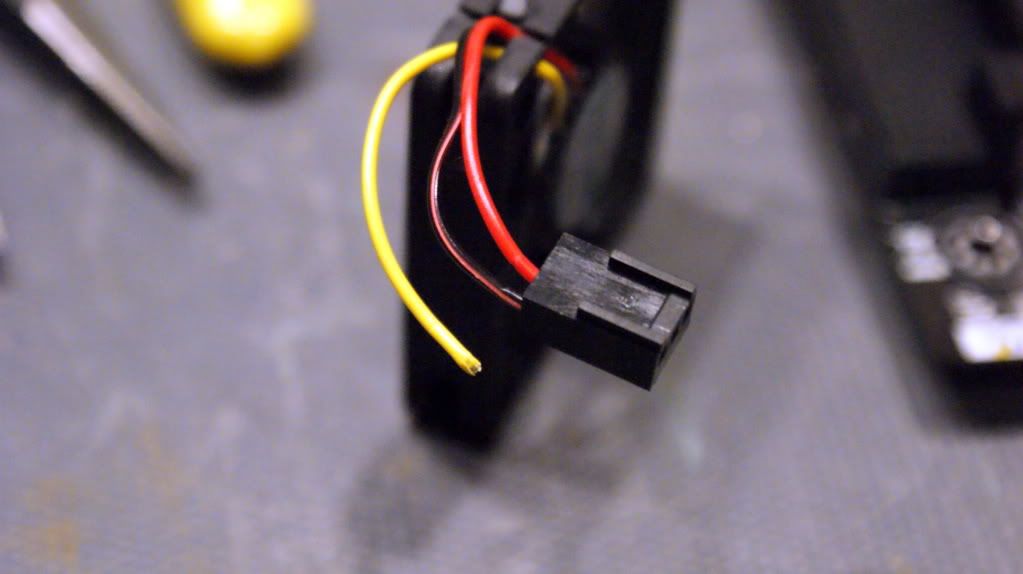
After I got it to the correct length I plugged it in and the wire instantly broke at the connector.
So I did it again thinking I screwed up but it happened again! So the fan is in the trash now and I ordered a new one from Xoxide and hopefully it will be better quality.
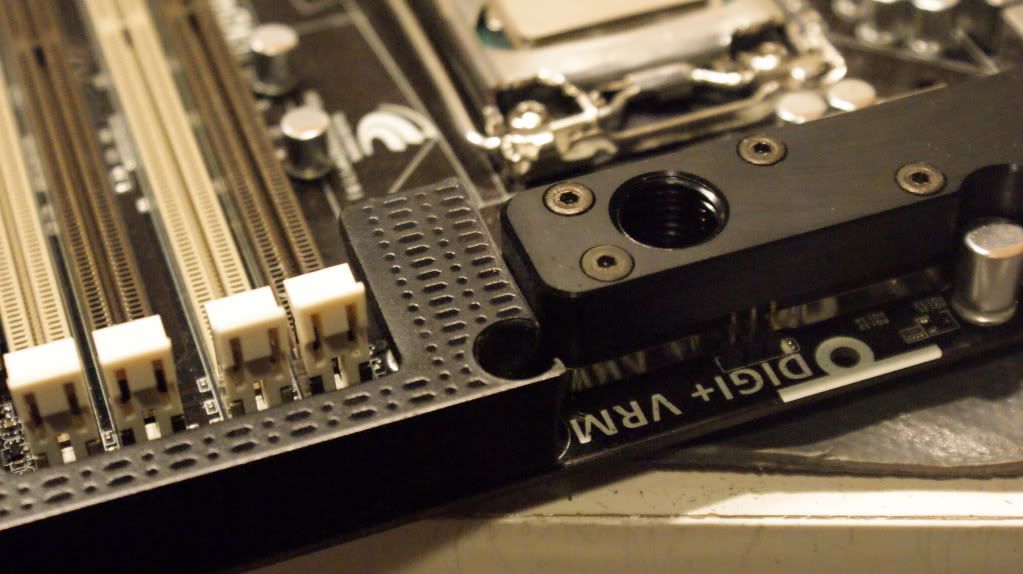
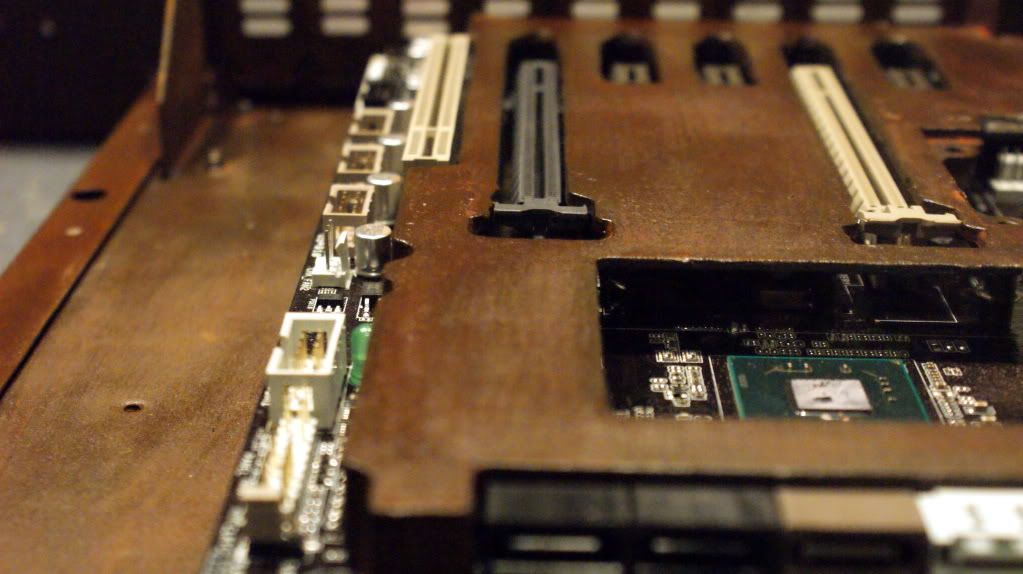
I cut and straightened out the part of the thermal armor by the MOS block. Looks good now.
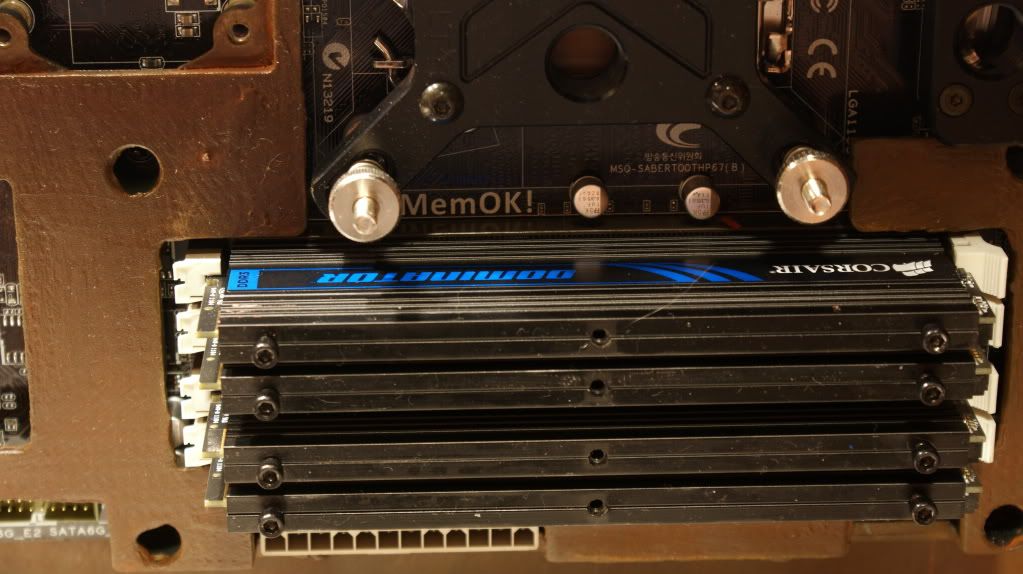
Here is a shot of the RAM. Nice Corsair Dominator!
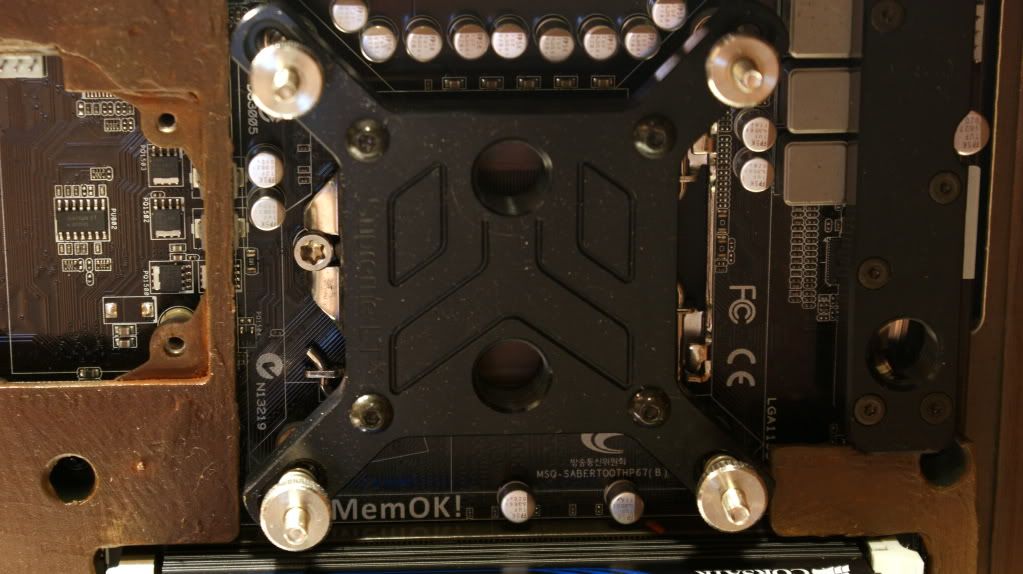
I wanted to do a test fit so here are all the blocks on the mobo.
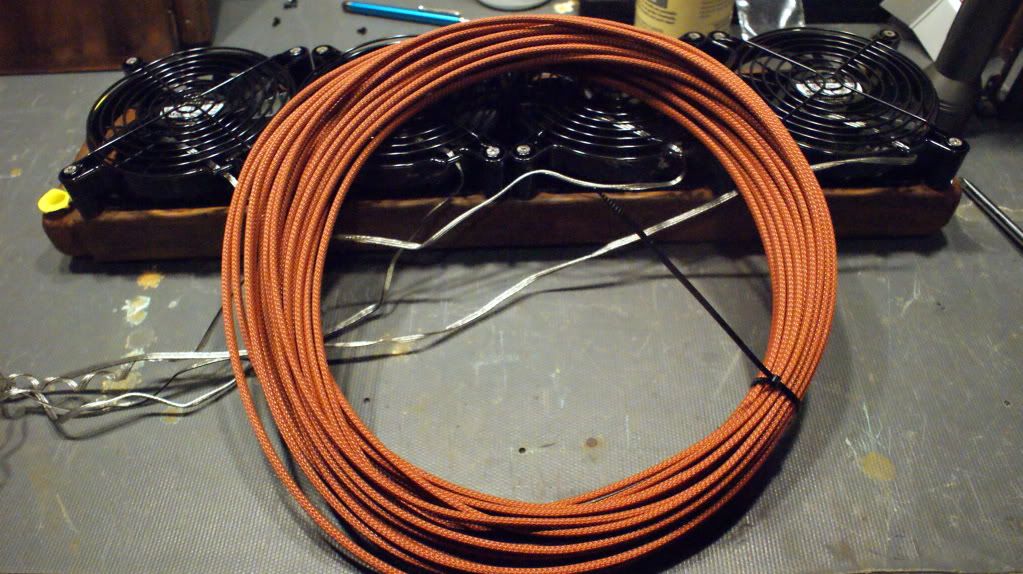
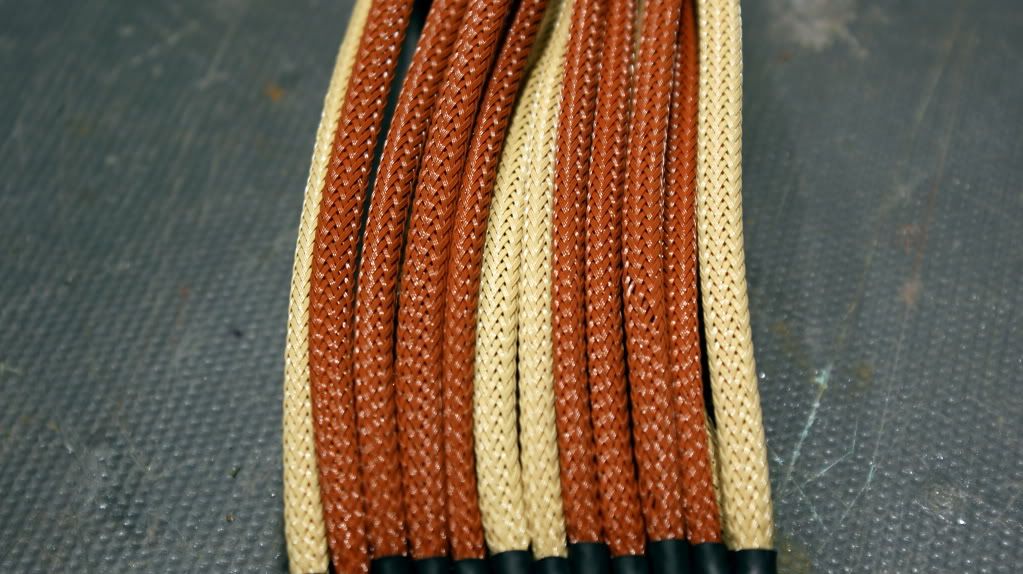
Time for some sleeving so I got out my trusty box of MDPC-X sleeving and went to work. This color works best I think to kinda match the rust.
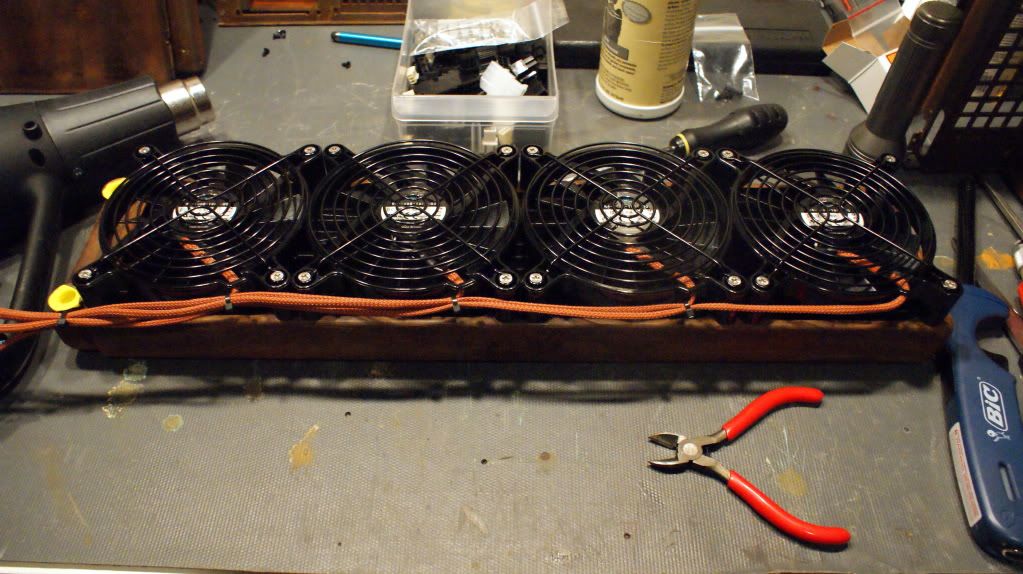
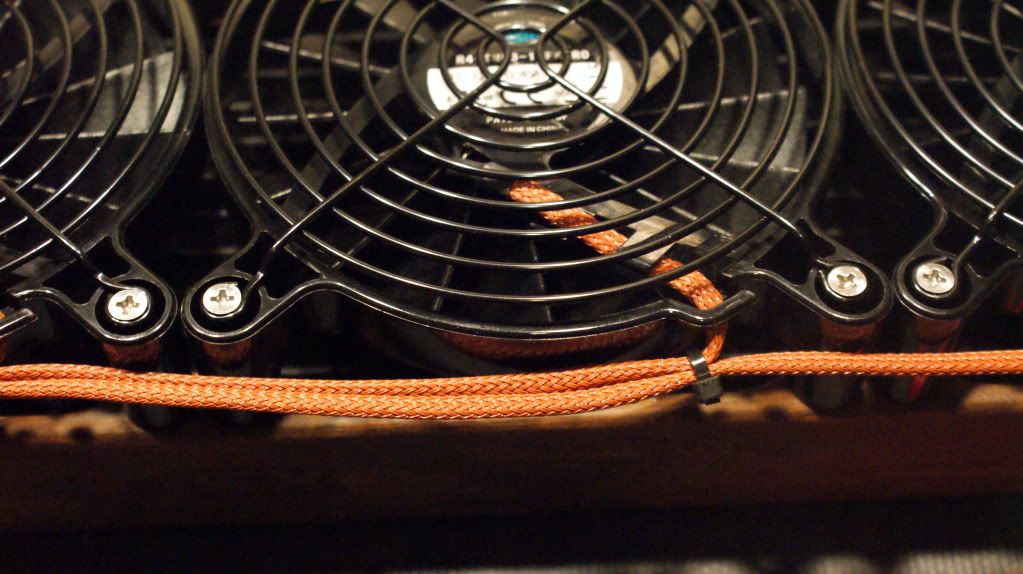
Next I painted the 360 and 240 rad, mounted the grills and fans on them and sleeved the fans. I'm short a few fans and fan grills so the 240 does not have them on it yet.
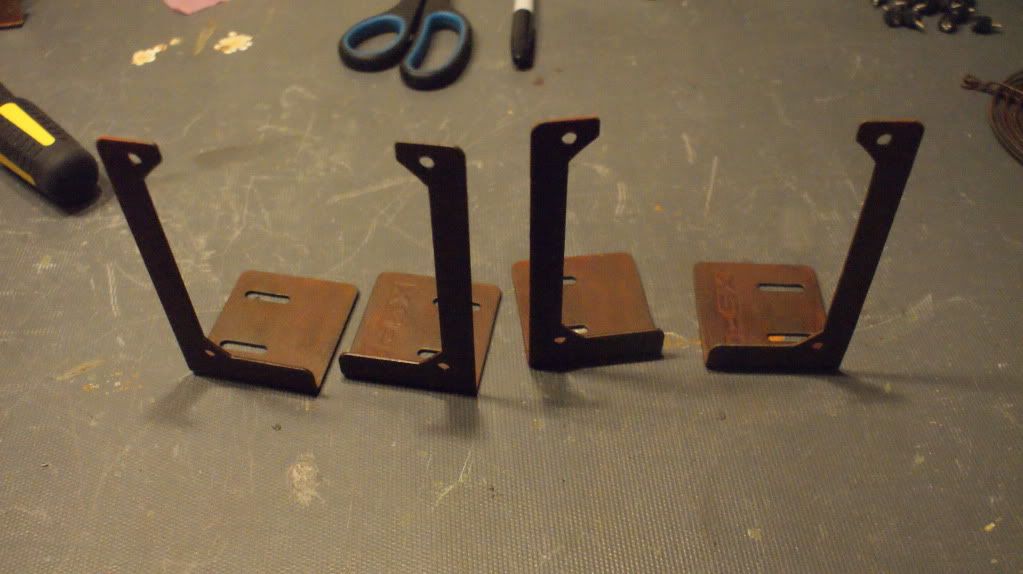
I also painted the XSPC rad brackets.
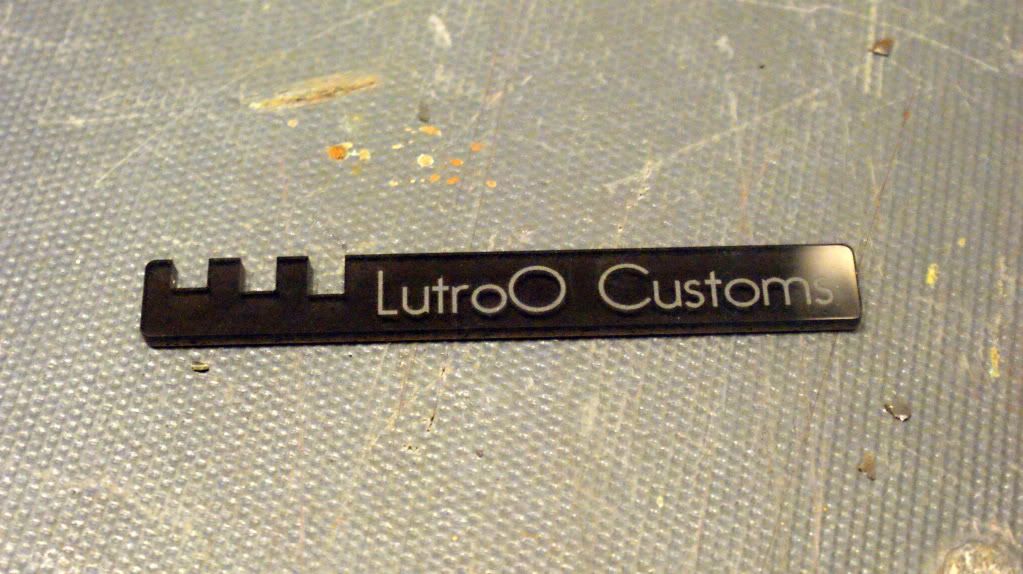
I've heard good things about the LutroO sleeving tool so I figured I'd pick one up and try it out. I'll be using it for the PSU sleeving.
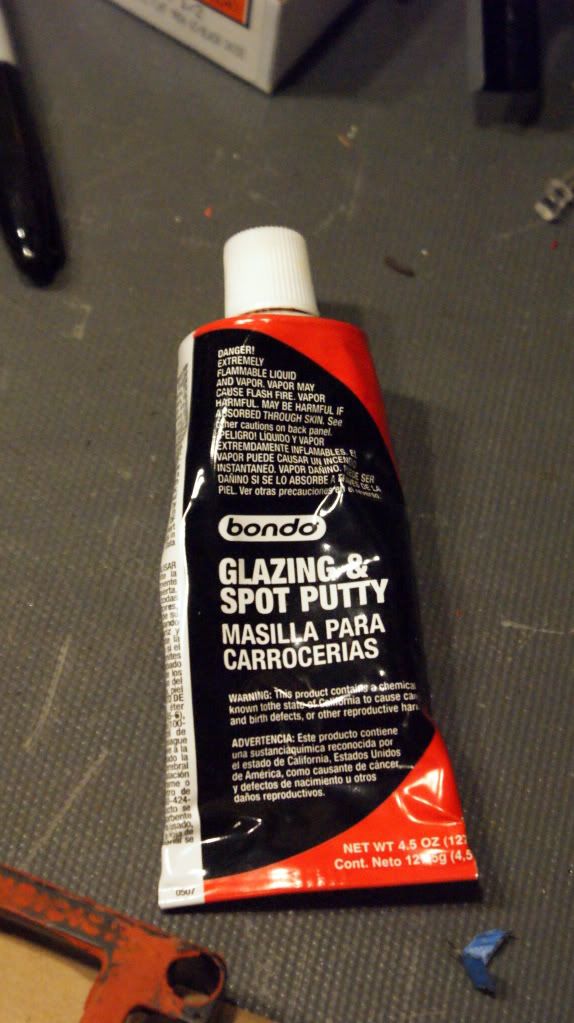
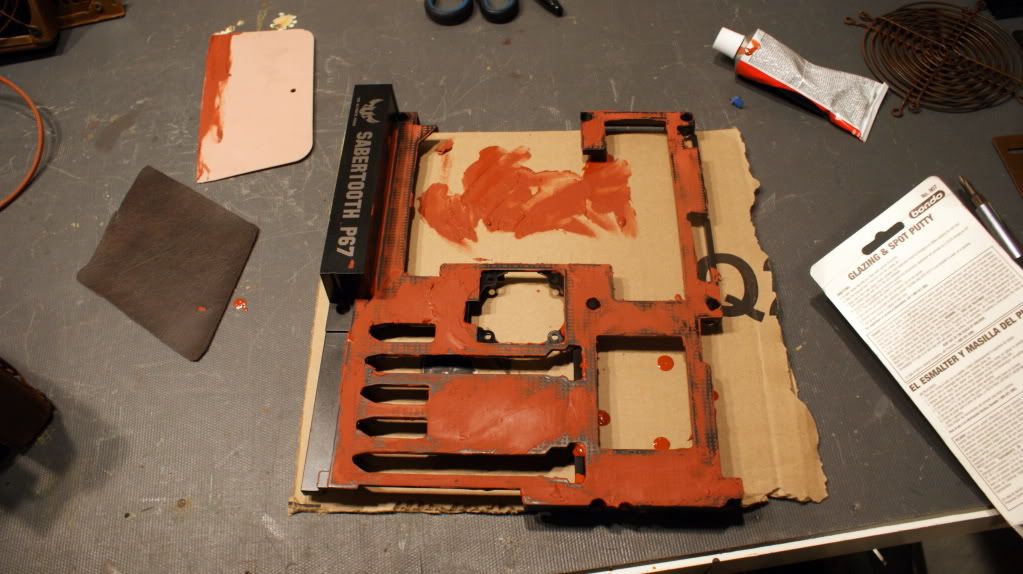
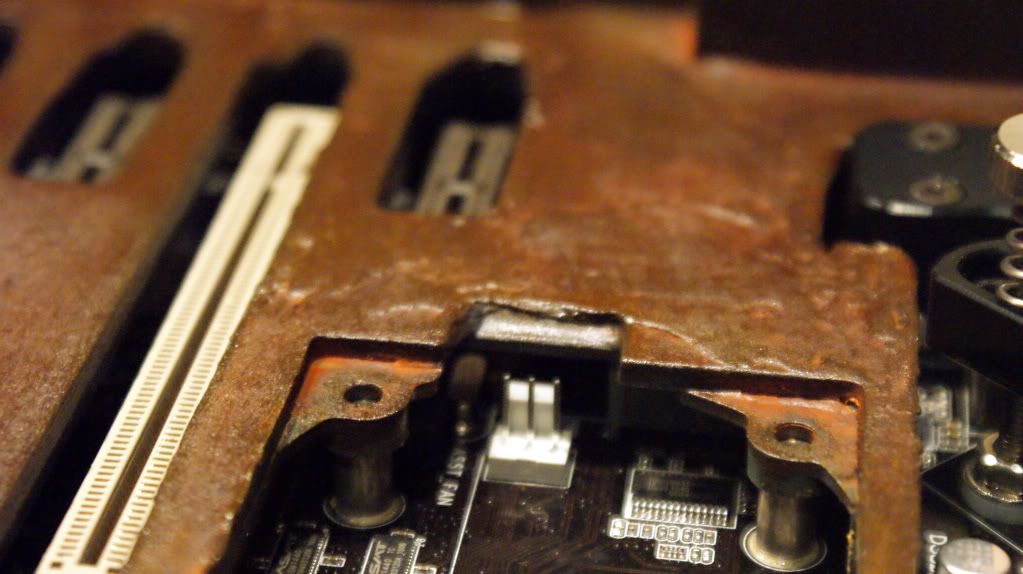
Since I decided to paint the thermal armor to match the interior of the case I wanted to remove some of the little indentations on it. So I got out the Bondo and lathered it on.
Next I sanded it down just a little bit because I wanted to keep some of the imperfections.
I then coated it with primer and the iron paint.
And here it is after a few coats of the rust solution stuff.
Put some clear coat on and put it back on the mobo.
That's all for this update.
Here is what I'm currently waiting for to arrive:
Gold paint
Spray adhesive
50mm Fan
120mm Fan grills
Lamptron FC10
I'm sure there is more but that's all I can think of right now. I'm travelling for the next few days so I probably won't have any work done till next weekend. Hope your enjoying the mod.
Cheers till next time,
Fuga
-
Re: Project: Steampunk'd TJ11
that thermal armour looks all kinds of awesome right now
-
Re: Project: Steampunk'd TJ11
Highly looking forward to see how this one comes out Mate. I never seen you do a Mod yet that wasn't amazing and im sure this one will be also. And leather now that's Unique Mate. Great job. We all know how hard it is to find any materiel or technique that is Unique nowadays.
Will be watching as always
MybadOmen
-
Re: Project: Steampunk'd TJ11
Quote:
Originally Posted by
Stonerboy779
that thermal armour looks all kinds of awesome right now
Thanks!
Quote:
Originally Posted by
mybadomen
Highly looking forward to see how this one comes out Mate. I never seen you do a Mod yet that wasn't amazing and im sure this one will be also. And leather now that's Unique Mate. Great job. We all know how hard it is to find any materiel or technique that is Unique nowadays.
Will be watching as always
MybadOmen
Thanks man! Means a lot to me.
-
Re: Project: Steampunk'd TJ11
I love the finish on the motherboard thermal plate! It's awesome!
-
Re: Project: Steampunk'd TJ11
Quote:
Originally Posted by
Neodymium
I love the finish on the motherboard thermal plate! It's awesome!
Thanks bud!
-
Re: Project: Steampunk'd TJ11
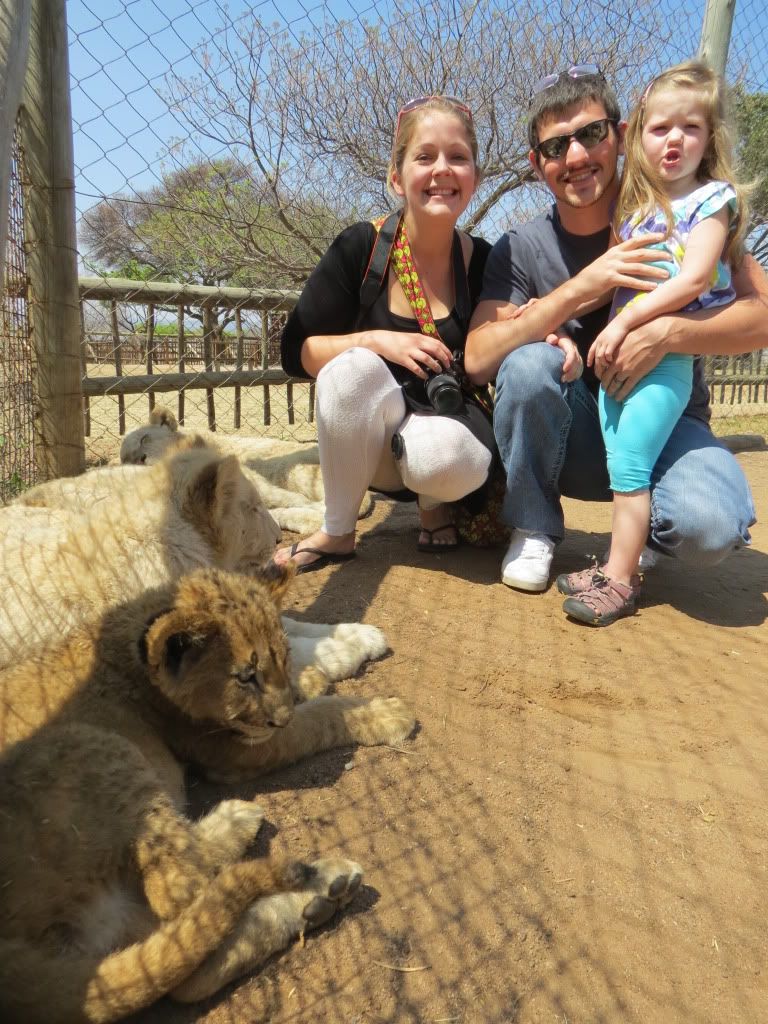
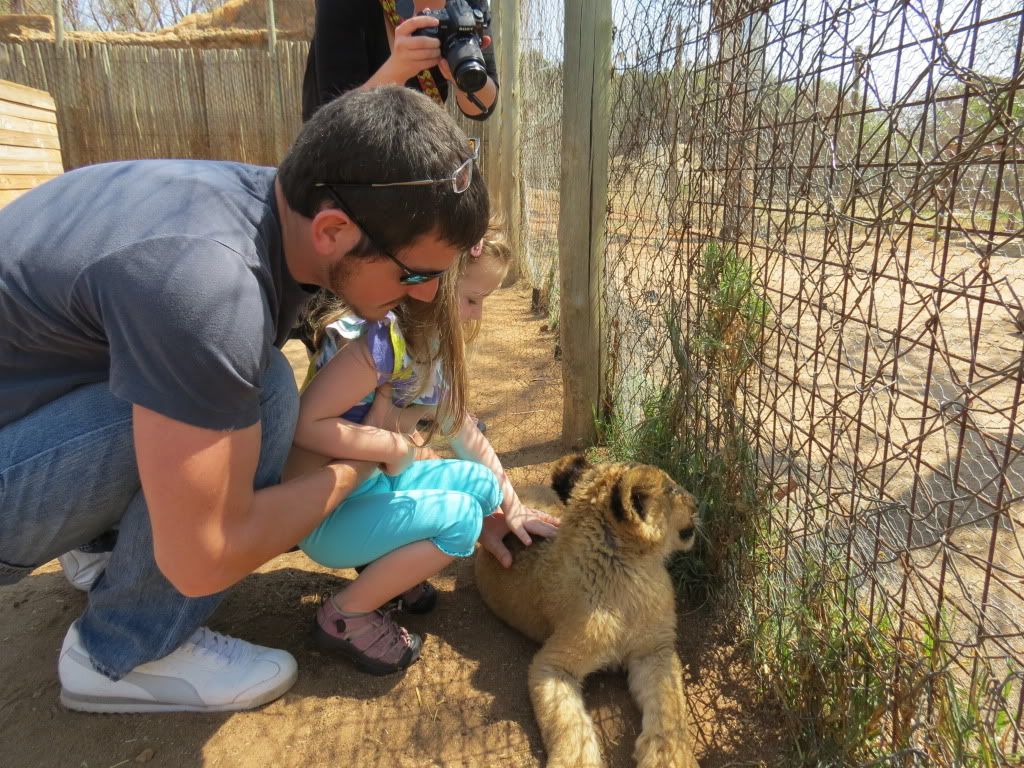
Sorry for the delay in updates. We took a trip to South Africa for some medical appointments last week. Got to do a ton of things down there including visiting a Lion Park!! Was pretty cool to be able to pet some lion cubs.
On with the modding!
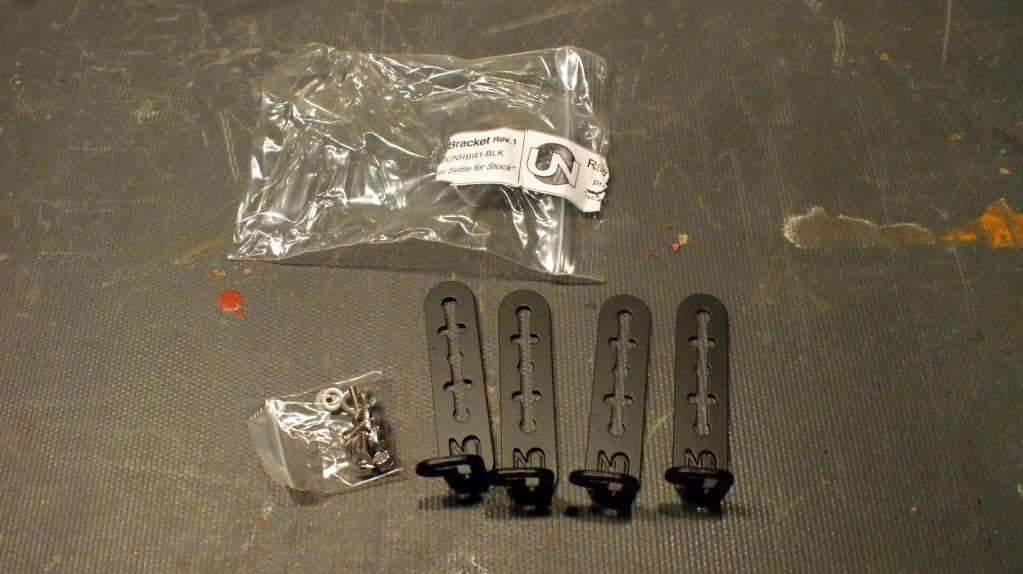
I picked up some UN Radiator mounting brackets which are so freaking awesome. They allow you to mount a radiator in your 5.25" bays.
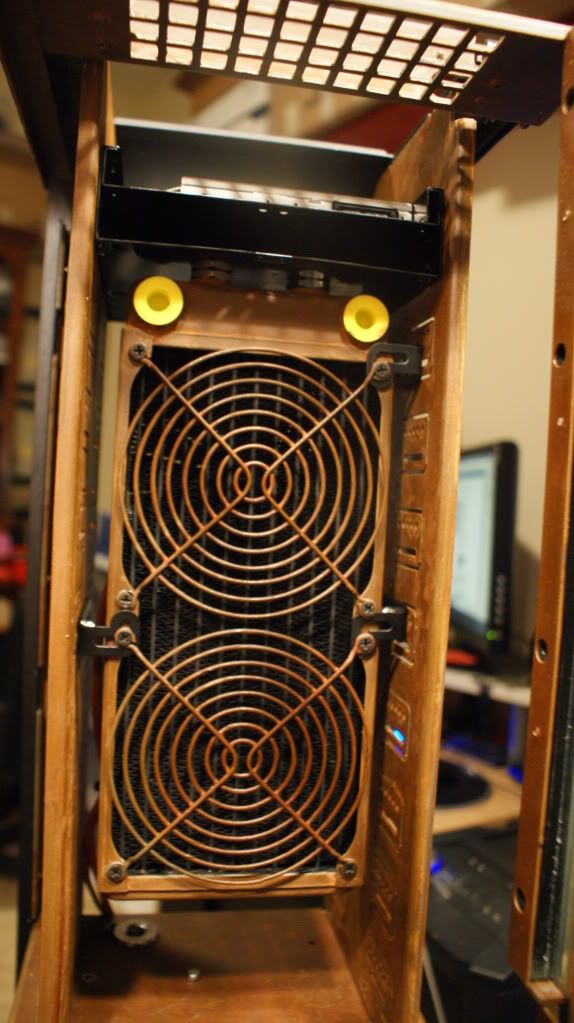
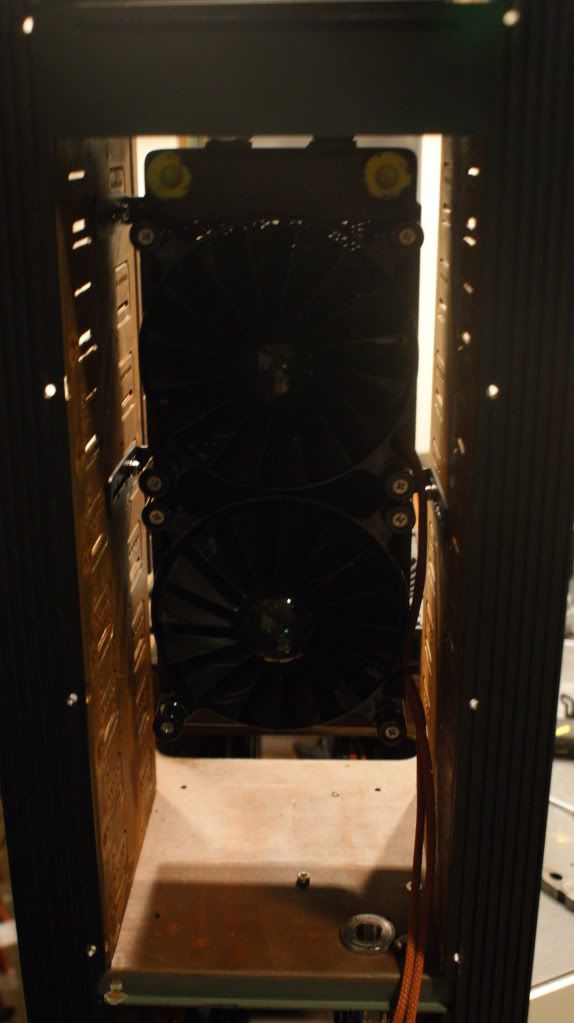
And here it is.
Above it I put the Silverstone Slim DVD drive bay. The rad is touching it because I have to have enough room below the rad to put the pumps.
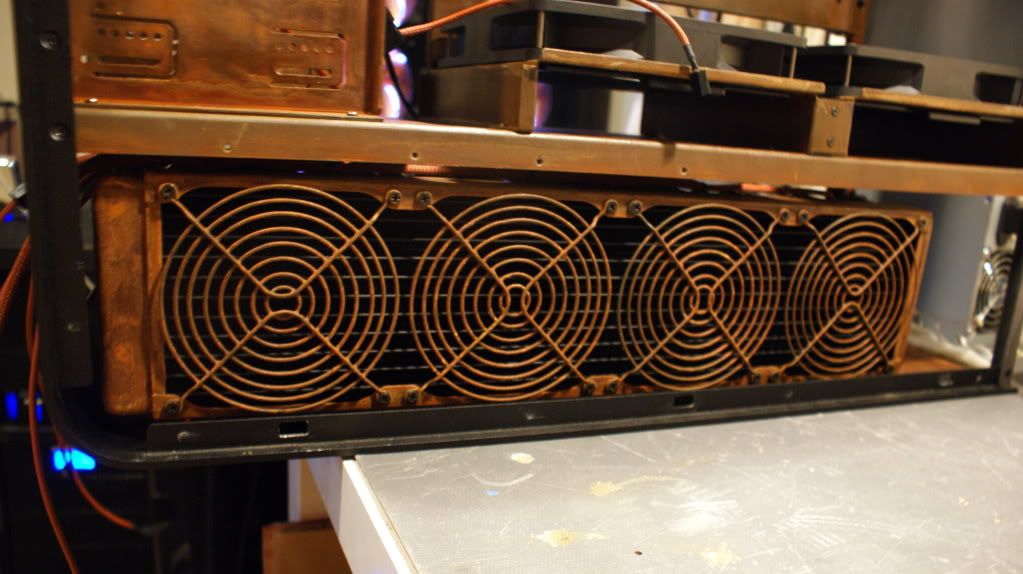
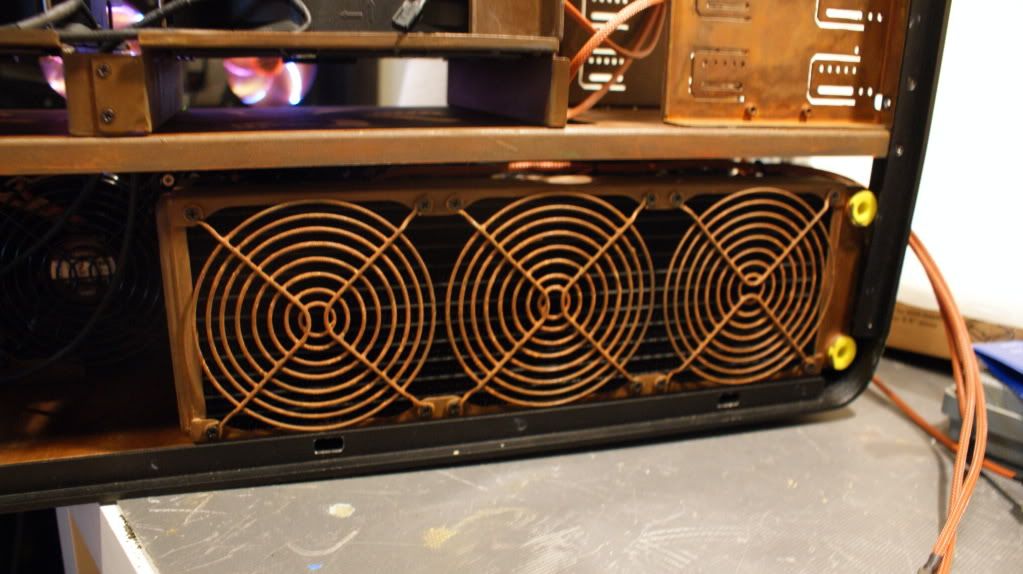
I decided to install all the rads to see how everything would fit. Here is the 4x120
A surprise will be going in this vacant spot :D
And the 3x120
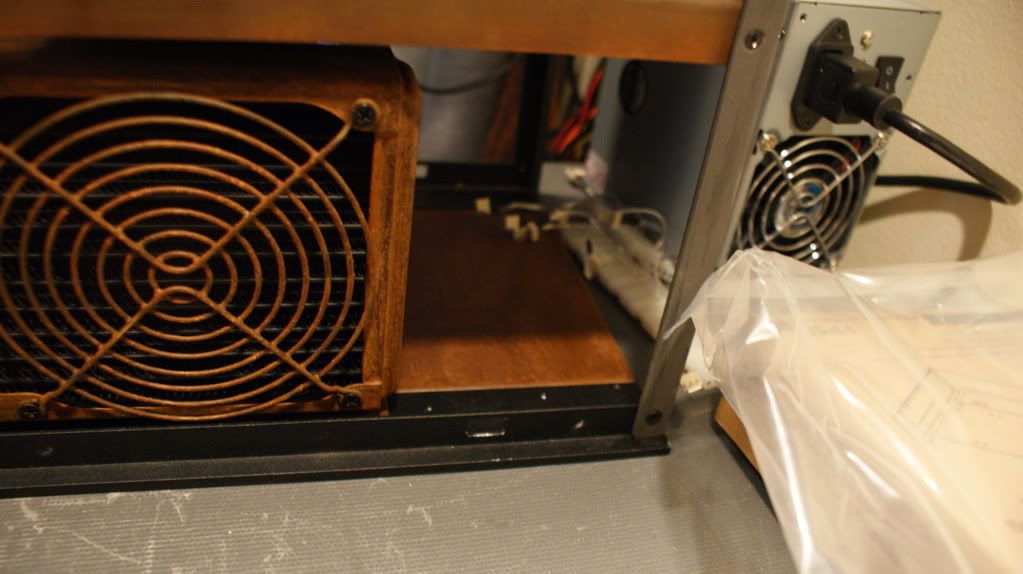
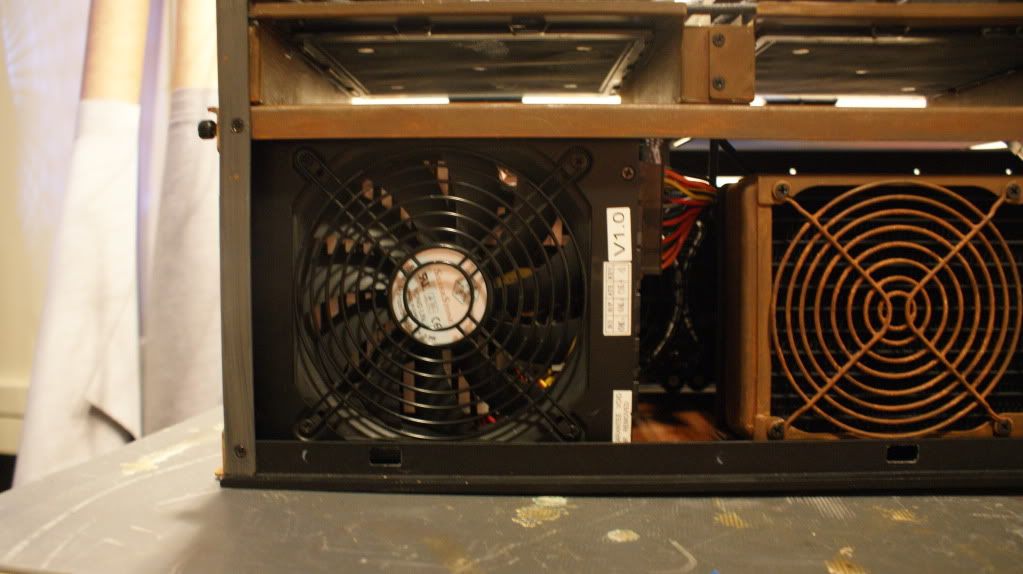
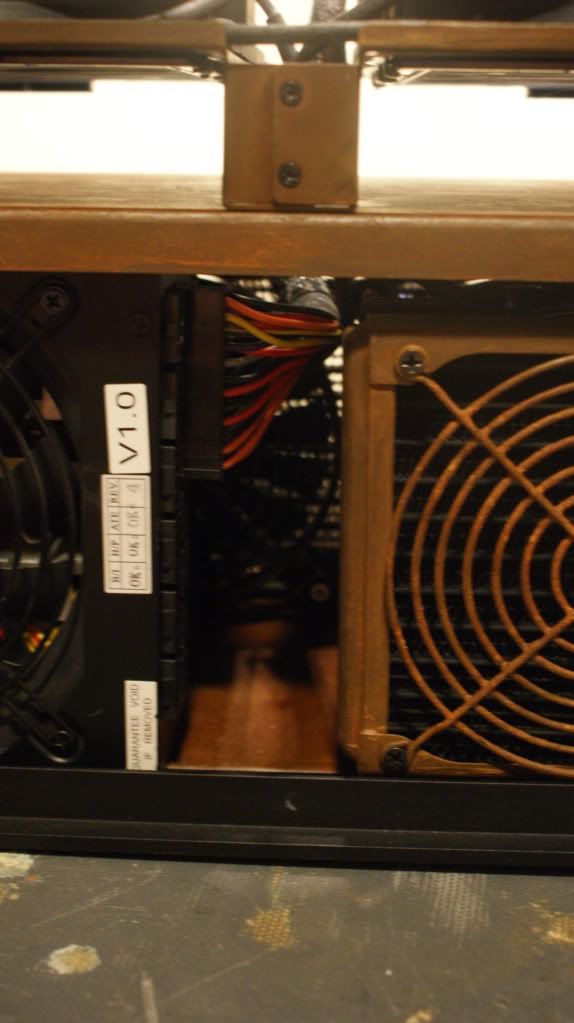
Installed the PSU to make sure I had enough clearance for the connectors.
Indeed. There is enough room!
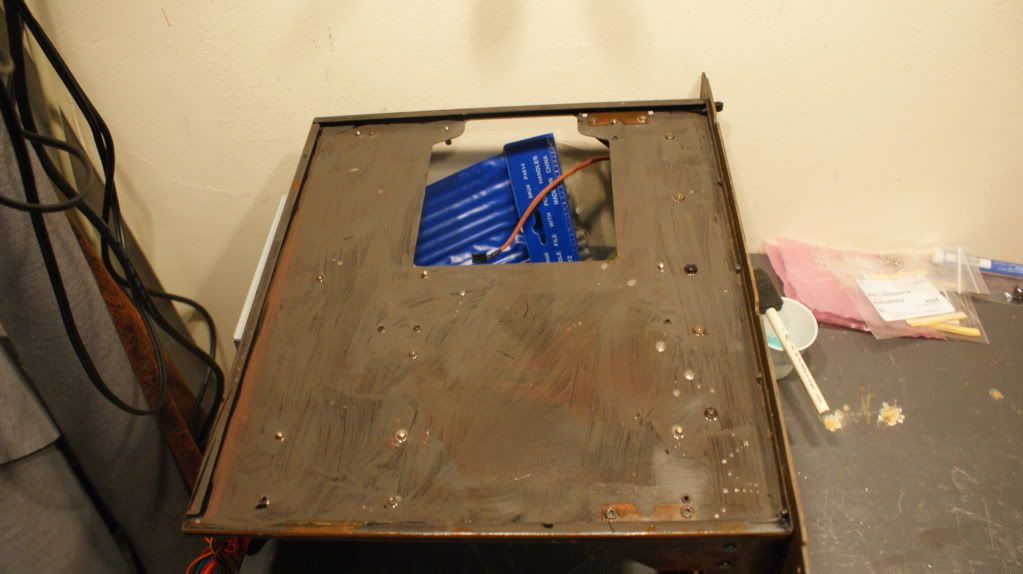
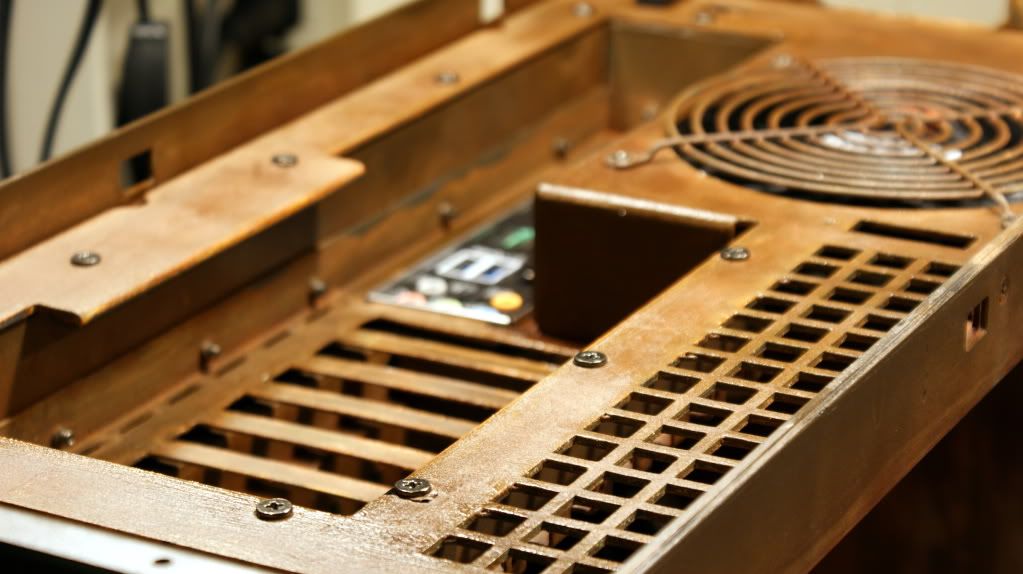
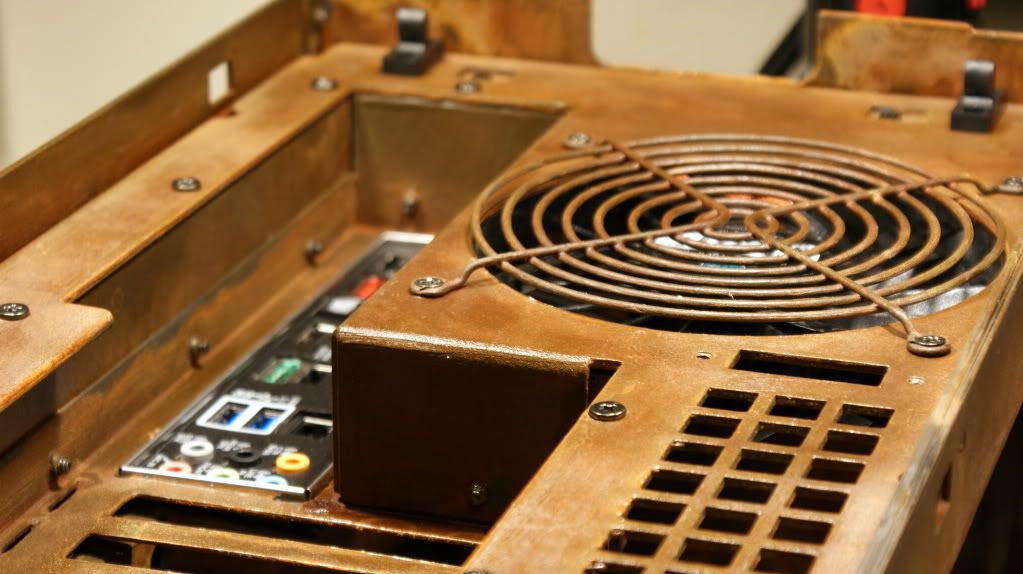
Somehow I forgot to do the rust effect to the back of the mobo tray so that is going on right now. Once its done I can clear coat it and it will be good to go.
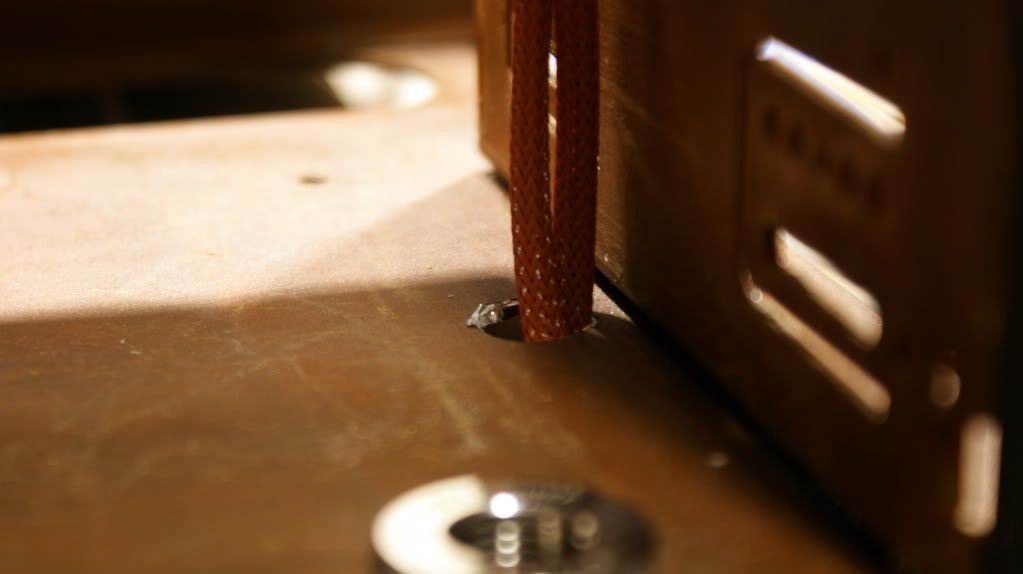
I've been doing lots and lots of thinking on how I am going to run the loop. I figured that I need to bring the loop through the midplate twice but I didn't want you to be able to see it the second time. So I measured and drilled a hole above the 4x120 rad and connected it with a Bitspower D-Plug for now. I ordered a 25mm extension to go there.
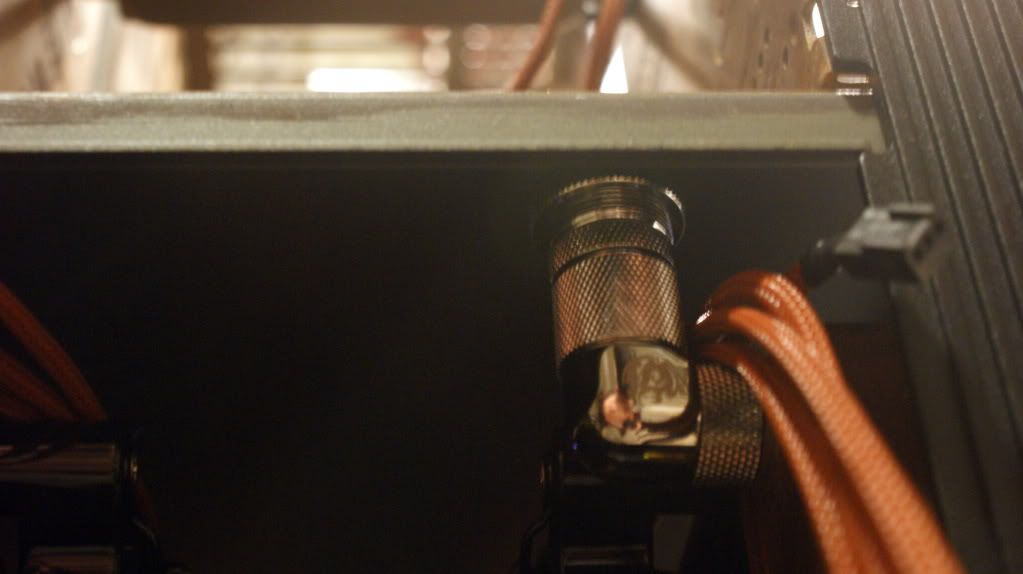
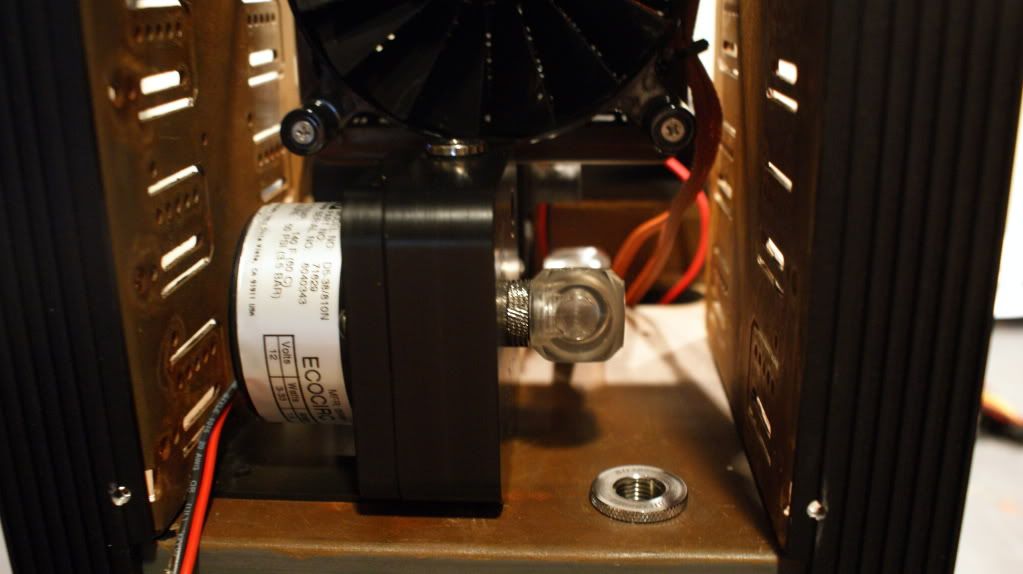
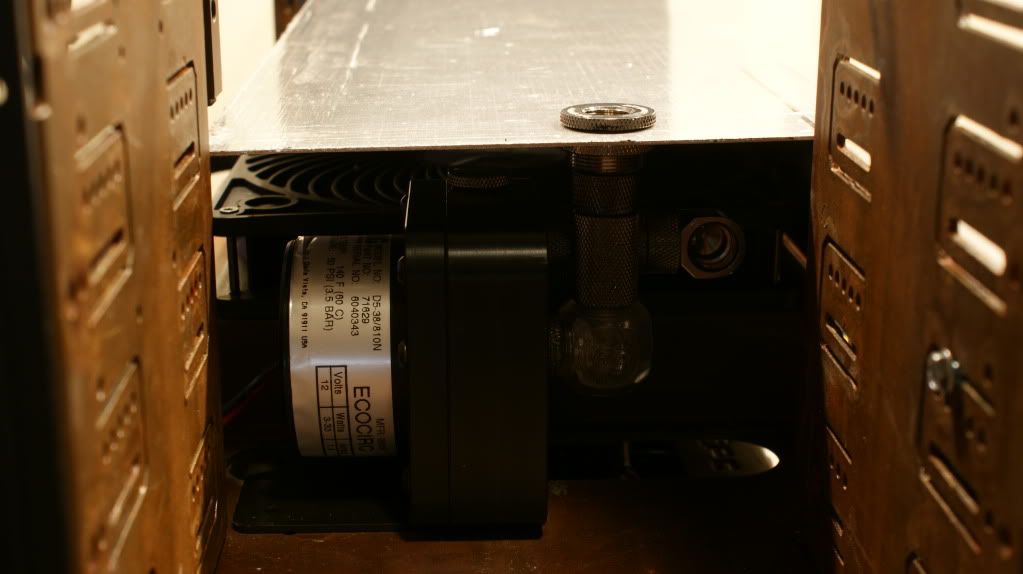
And here you can see where the pumps will be. I measured and the Bitspower dual D5 pump top should fit under it. If not, I ordered a second EK D5 pump top and ill connect them together using some 90 degree fittings and extensions.
I received my Lamptron FC10 too! I'll be doing a review on it soon.
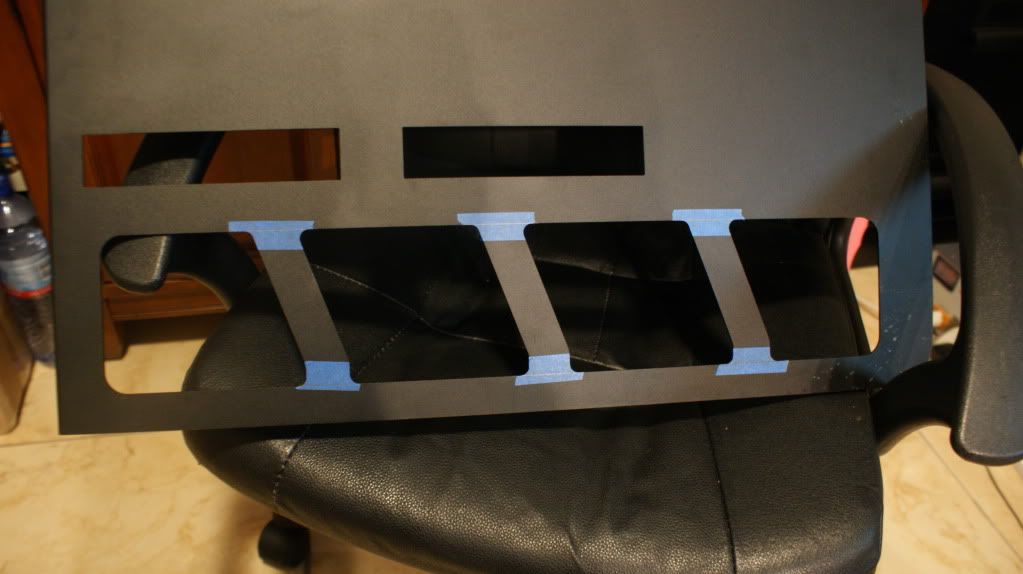
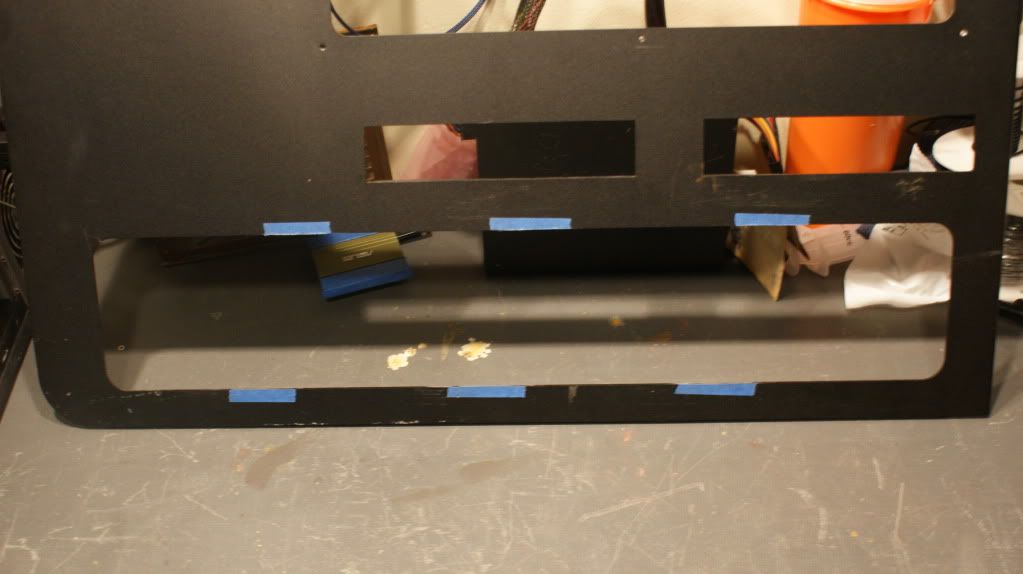
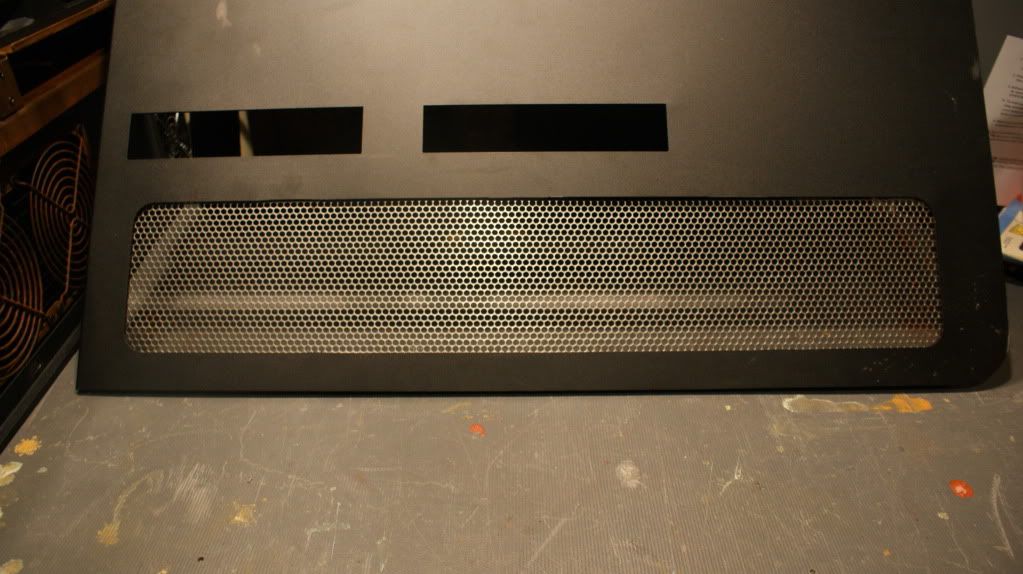
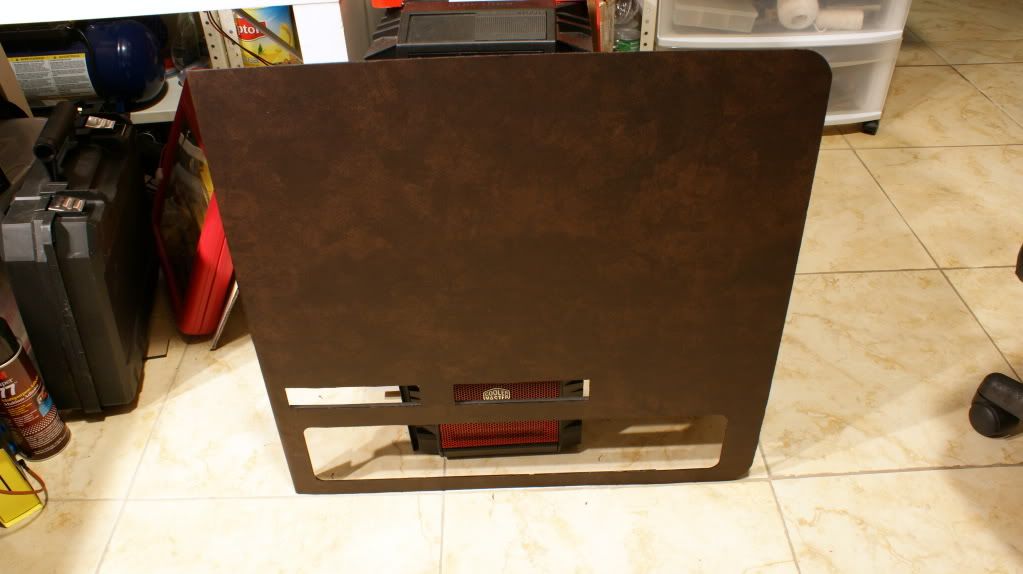
The last bit for this update are the door panels. I like the 4 small windows in the bottom of the side panels for the rads to get air but I decided to make them into one big window.
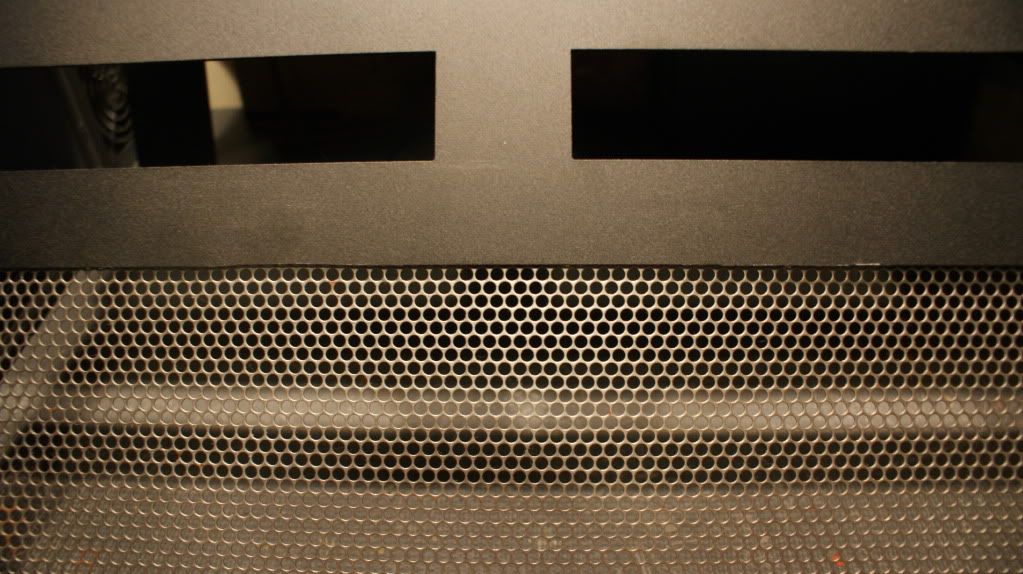
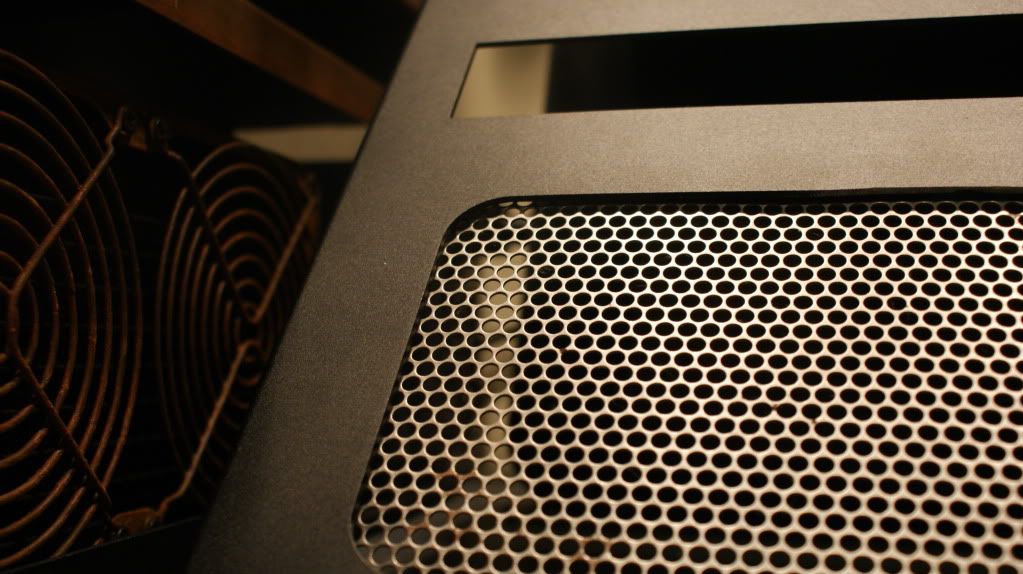
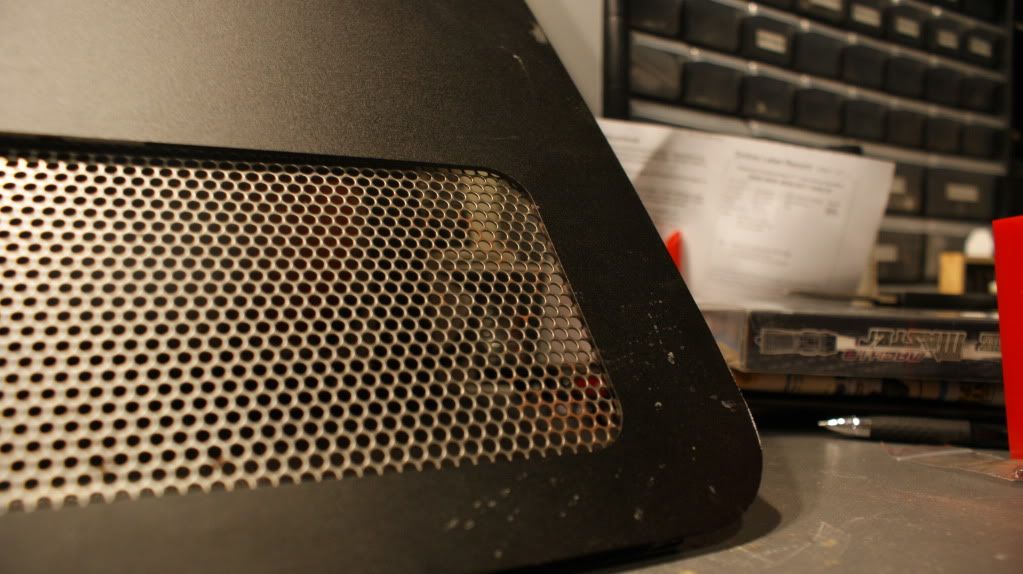
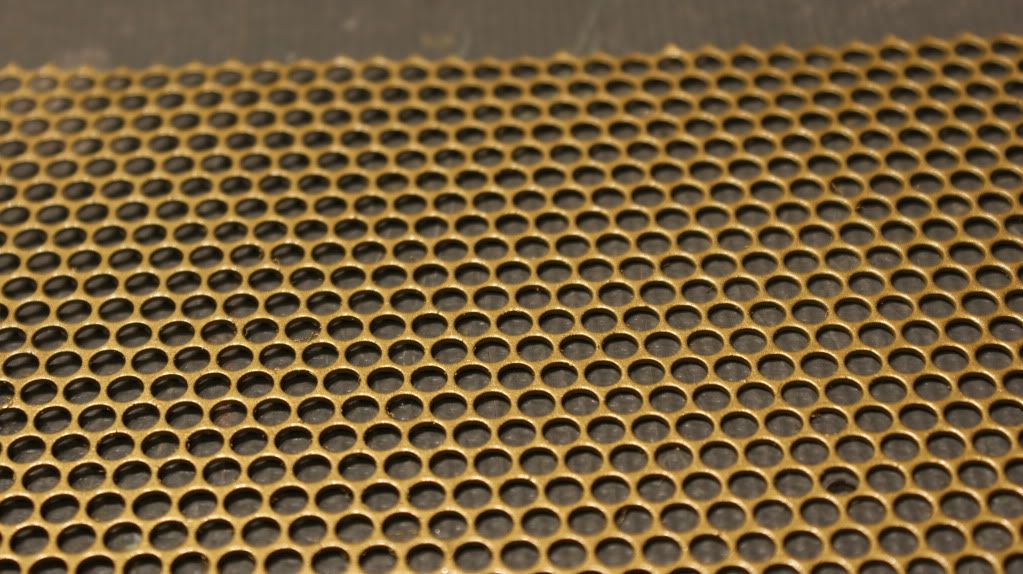
Then I added some MNPCTECH Round Modder's Mesh.
That's it for today. I have the spray adhesive coming for gluing the leather fabric to the case and the gold spray paint for the accents and the water blocks. That should all be here Friday so I can do a good bit of work this weekend. I'm also hoping that the pump tops get here by this weekend too so I can do some more testing to figure out exactly what I'm going to do.
Cheers till then,
Fuga
-
Re: Project: Steampunk'd TJ11
Made myself a little banner.
-
Re: Project: Steampunk'd TJ11
I have three Cooler Master Musketeer III amps in black anodized. I think they might be better used in this project if you are interested in them. Let me know if you want them in a PM.
-
Re: Project: Steampunk'd TJ11
Quote:
Originally Posted by
d_stilgar
I have three
Cooler Master Musketeer III amps in black anodized. I think they might be better used in this project if you are interested in them. Let me know if you want them in a PM.
YGPM :up:
-
Re: Project: Steampunk'd TJ11
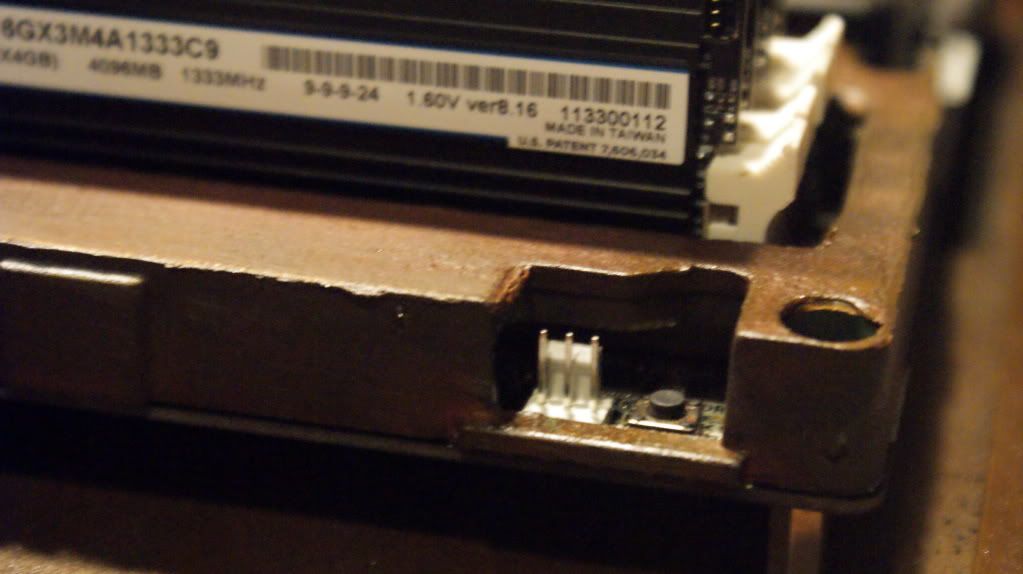
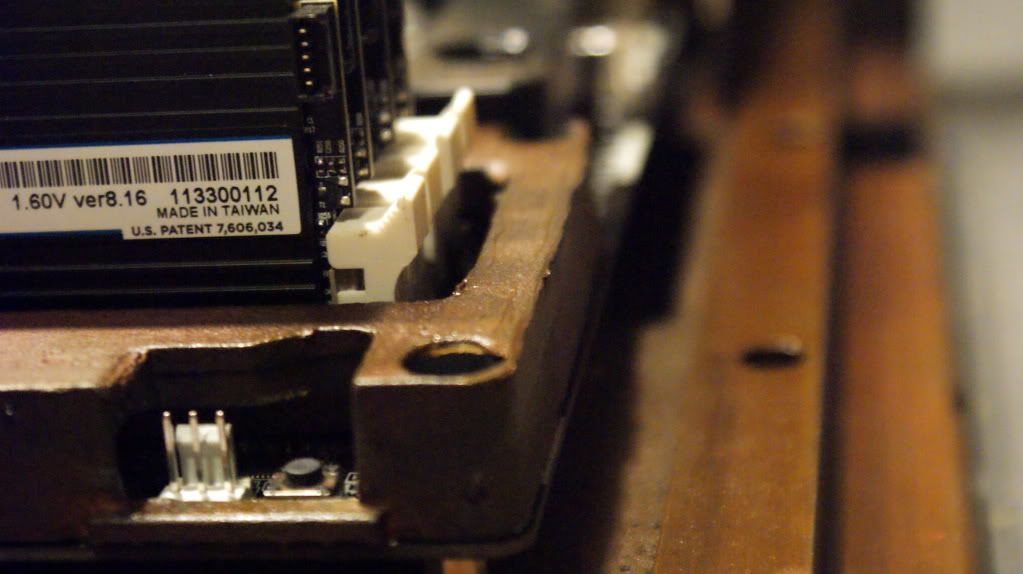
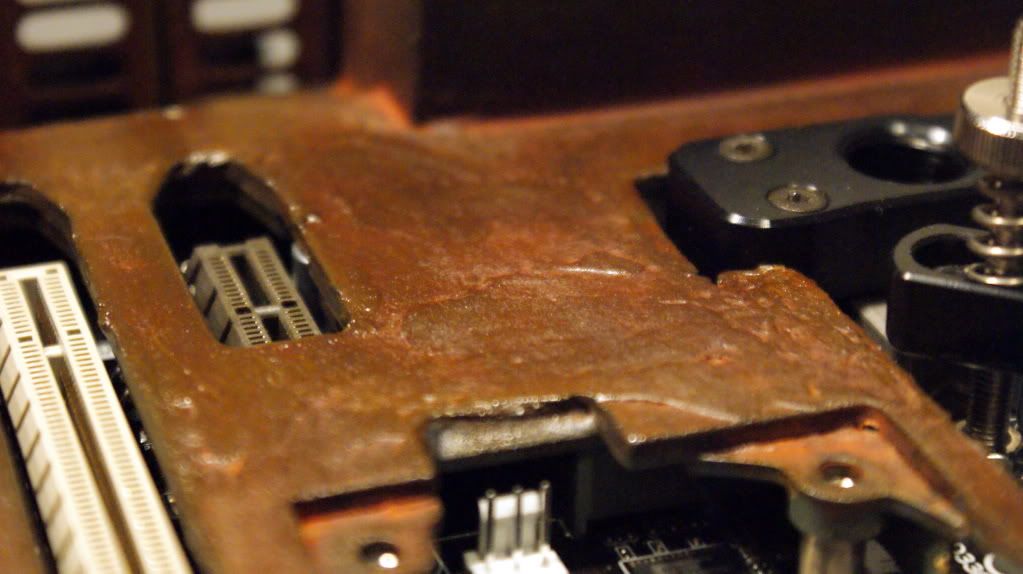
This past week I have really been trying to use my DSLR Sony A350 better. I'm doing alot more manual shots to try and get better pictures. After this update let me know what you guys think.
Here are some pratice shots.
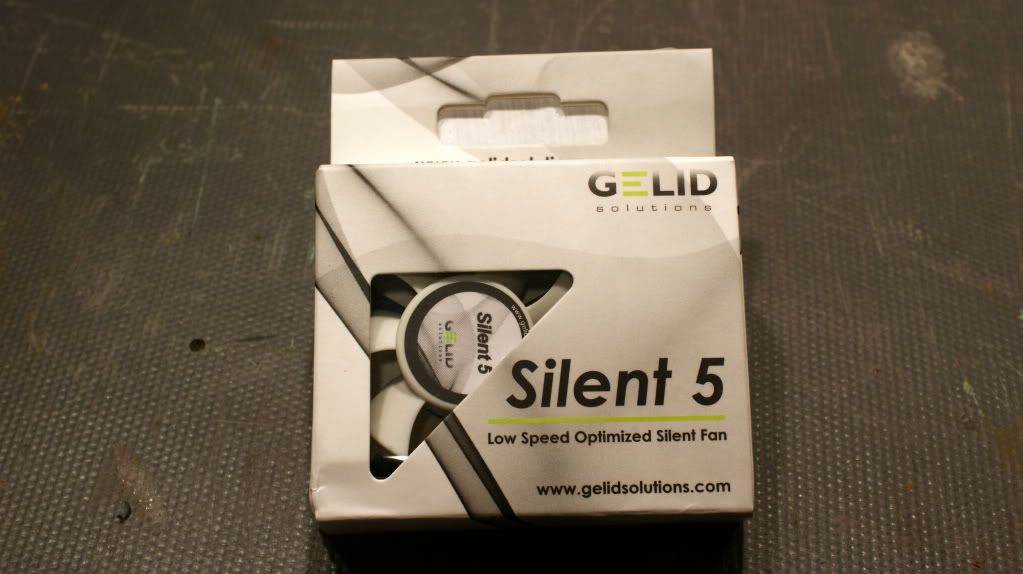
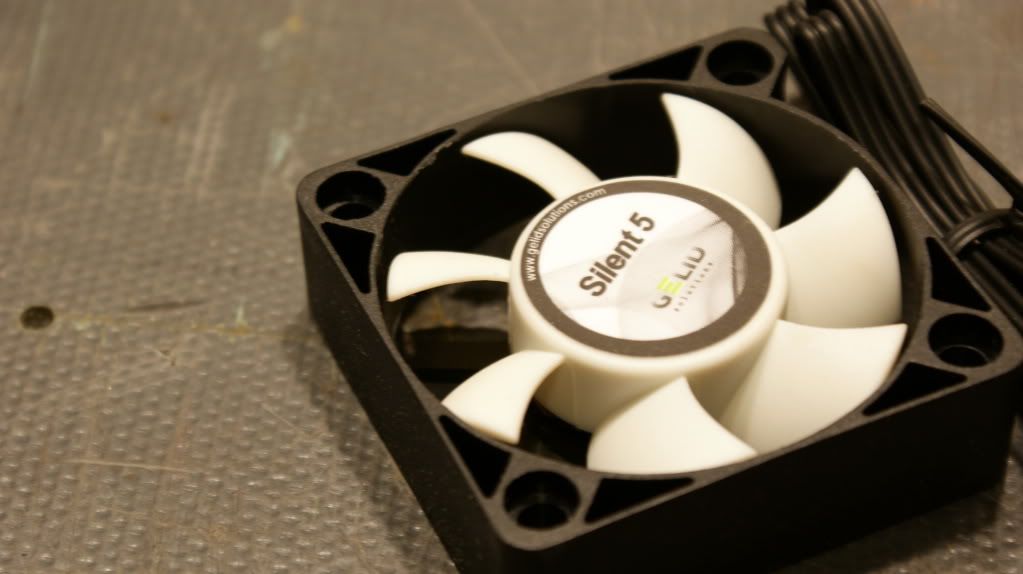
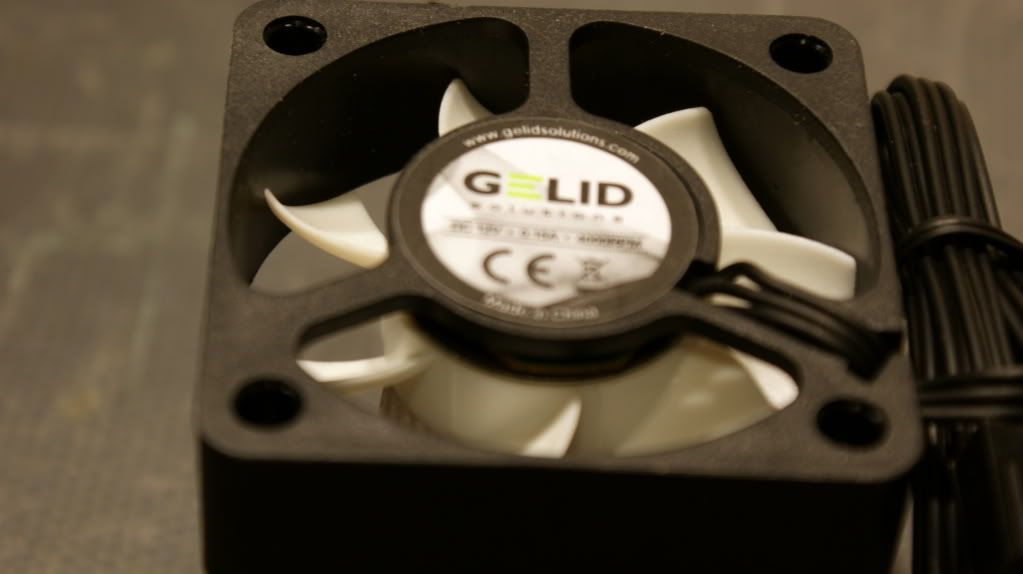
Now for the real update. I forgot to mention I got a 50mm fan for the motherboard.
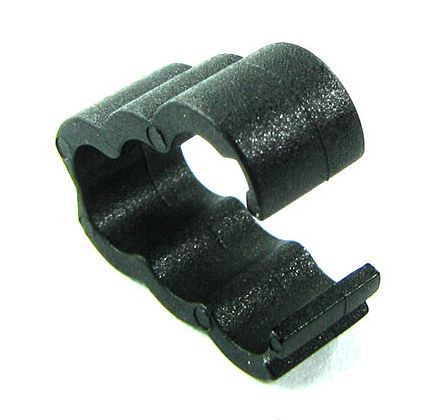
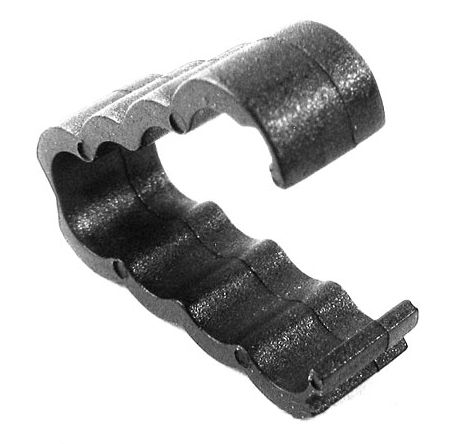
I also ordered some cable clips that I saw in another build. I think they will help to keep all my cables nice and straight.
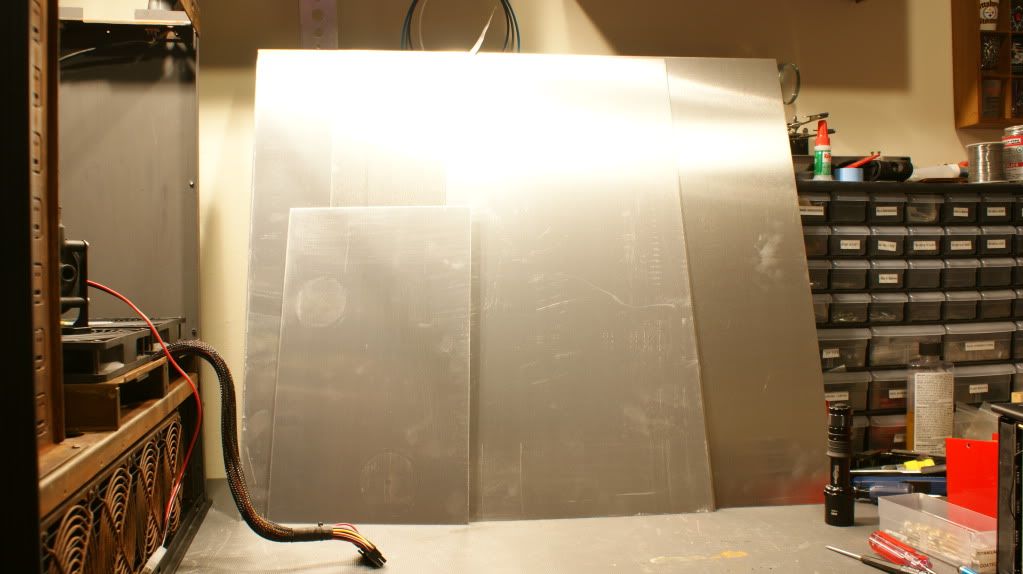
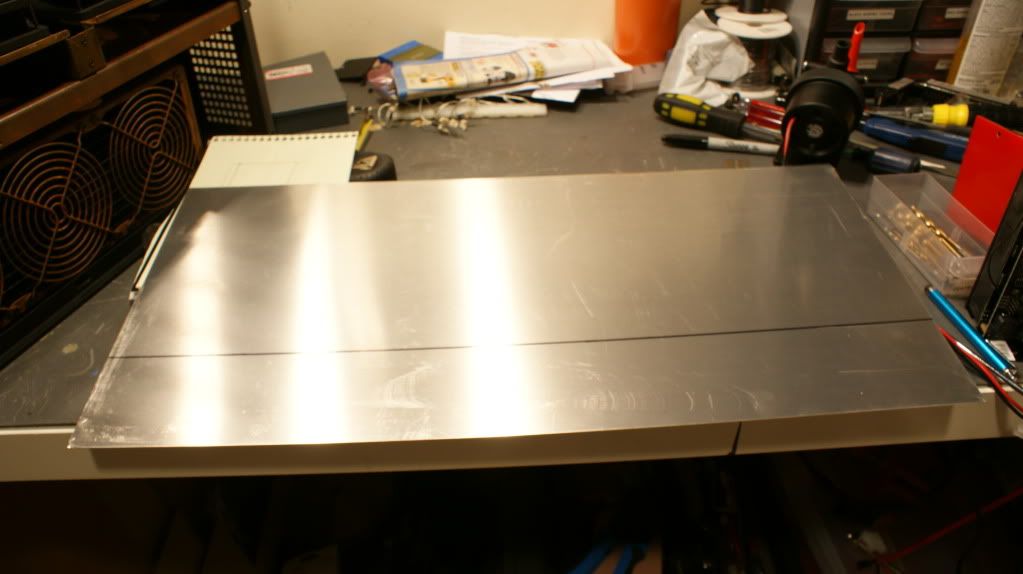
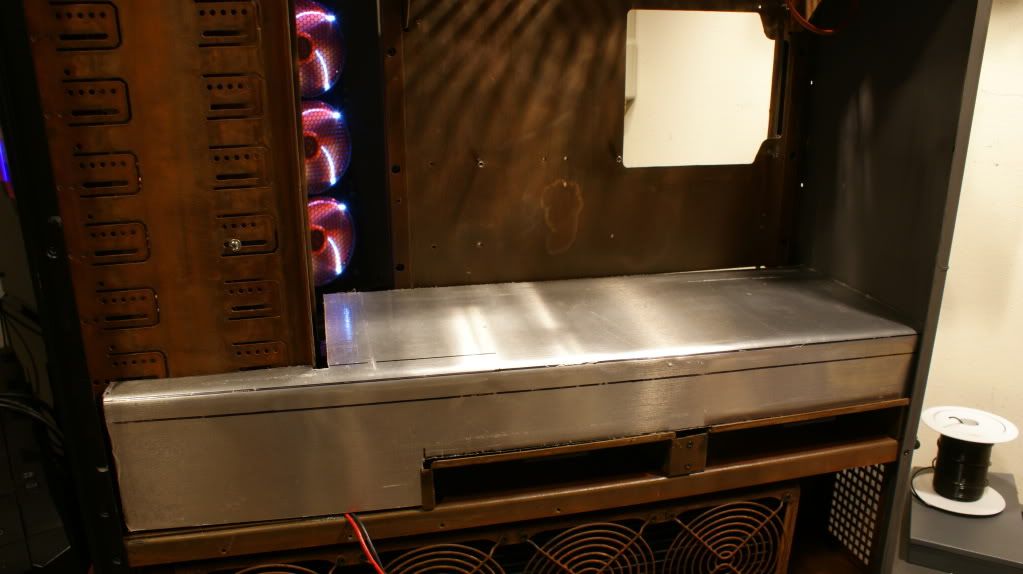
I orderd several sheets of 1mm aluminum so I could make a mid plate. (Got lots of extra incase I screw up.
Measured and marked.
Now I didn't take any of the cutting and bending as that is boring. So this is what it looked like after that.
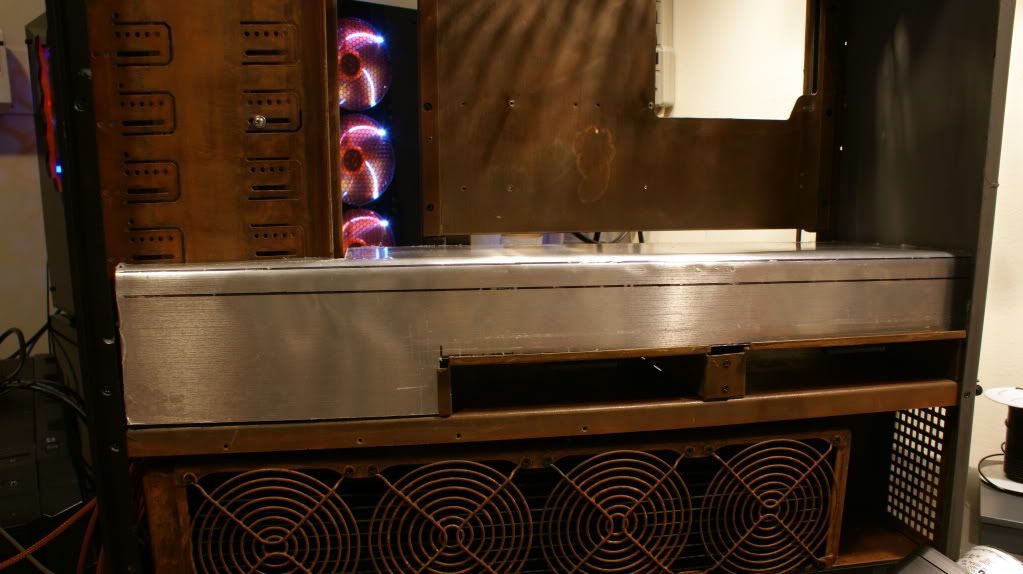
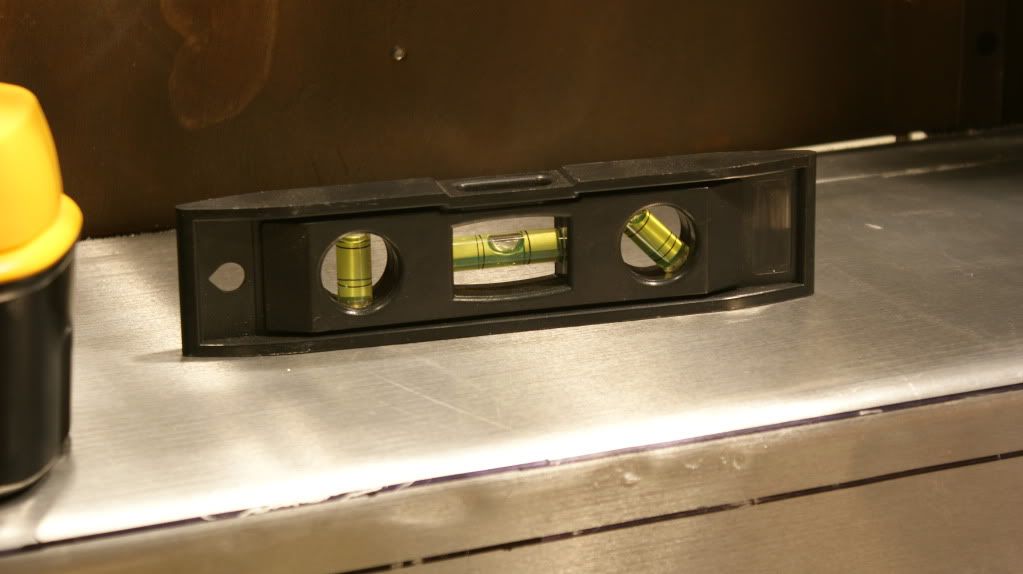
Pretty level
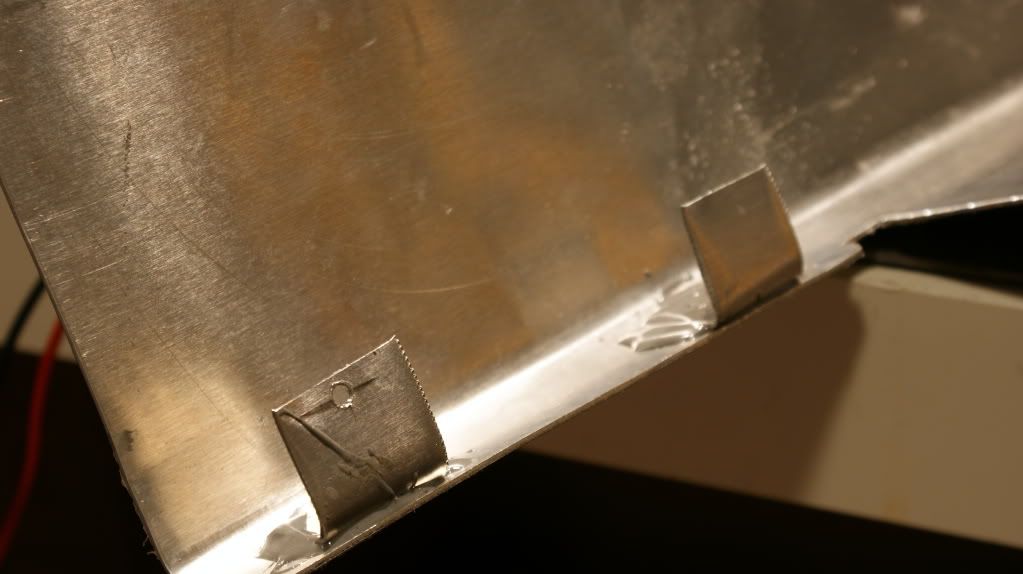
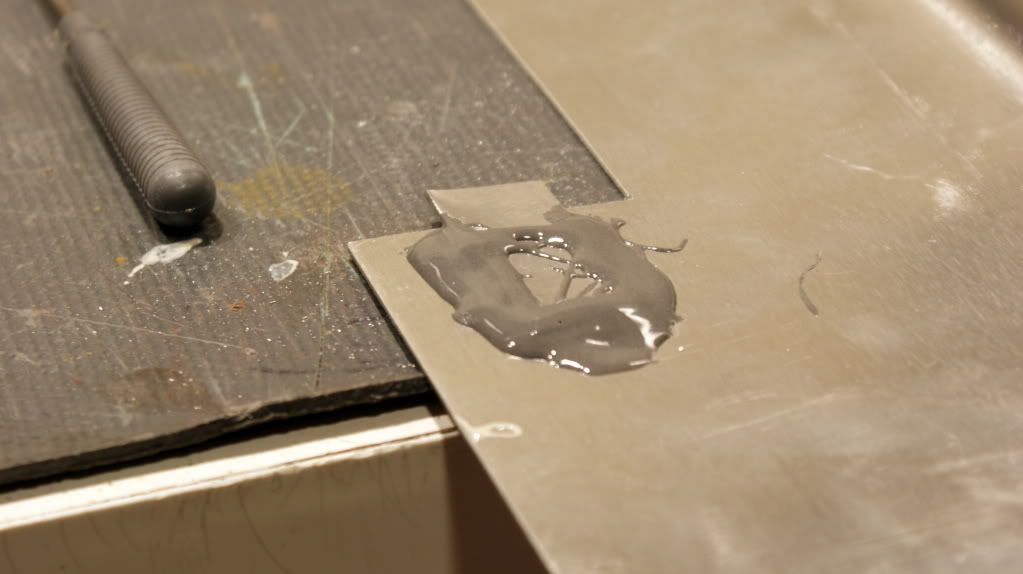
After that I had to find a way to keep it stable so I added some tabs. I attached them with some JB weld. These ones will be secured to the 5.25" bays.
And this one is just to keep it in place.
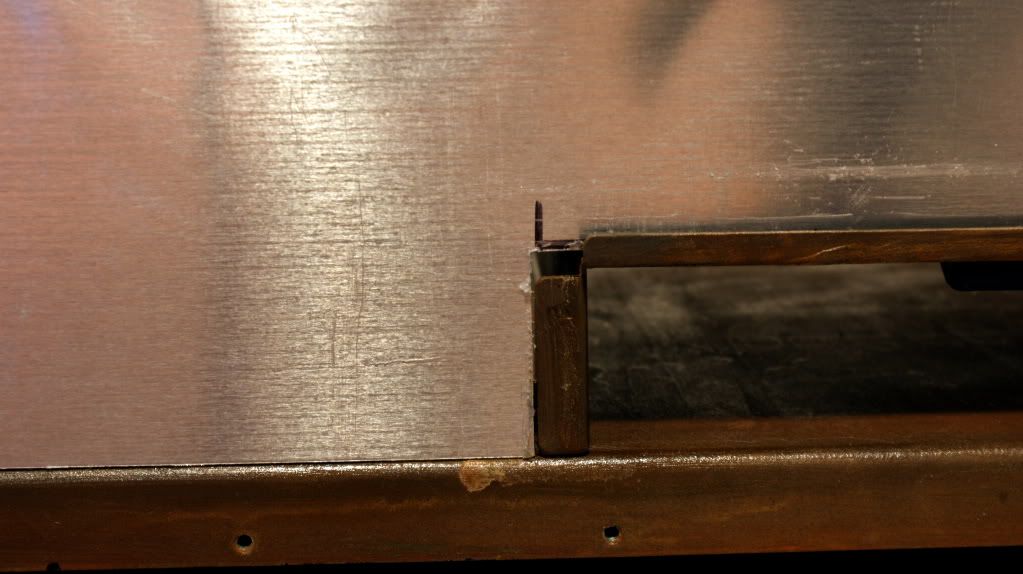
Now it sits nice and flush.
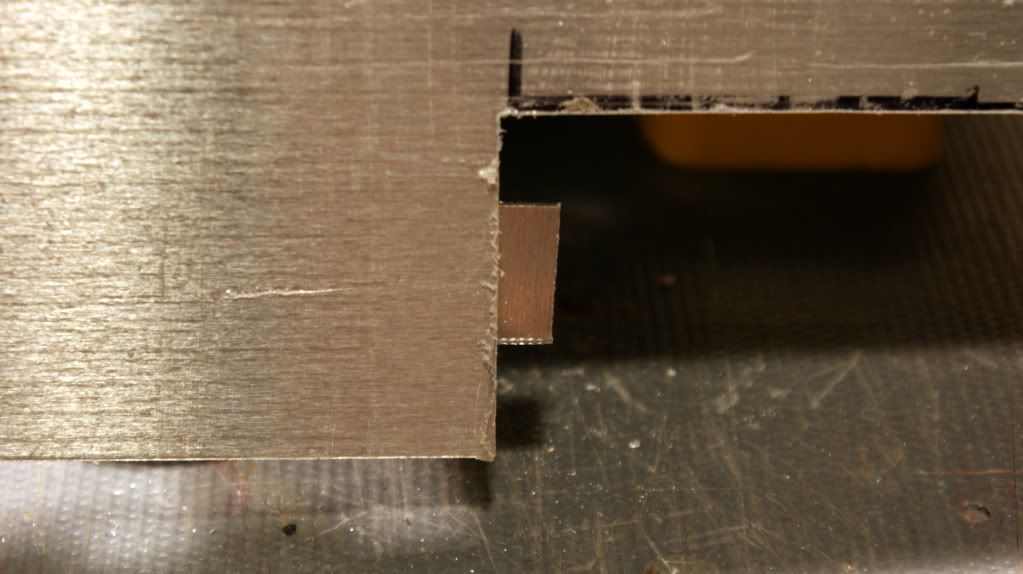
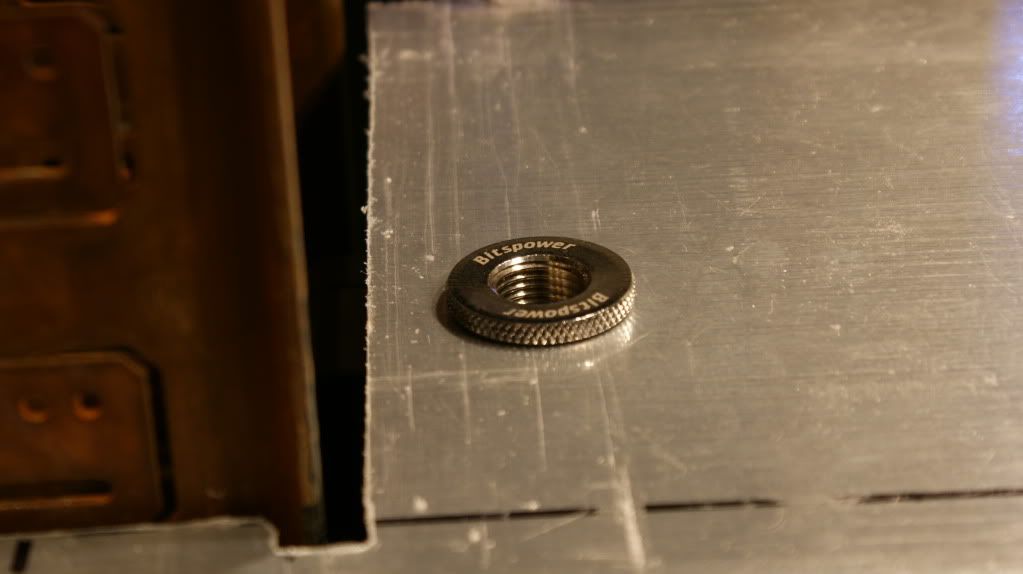
Now you saw where I am putting the pumps so I drilled a hole for the fill port to the pumps.
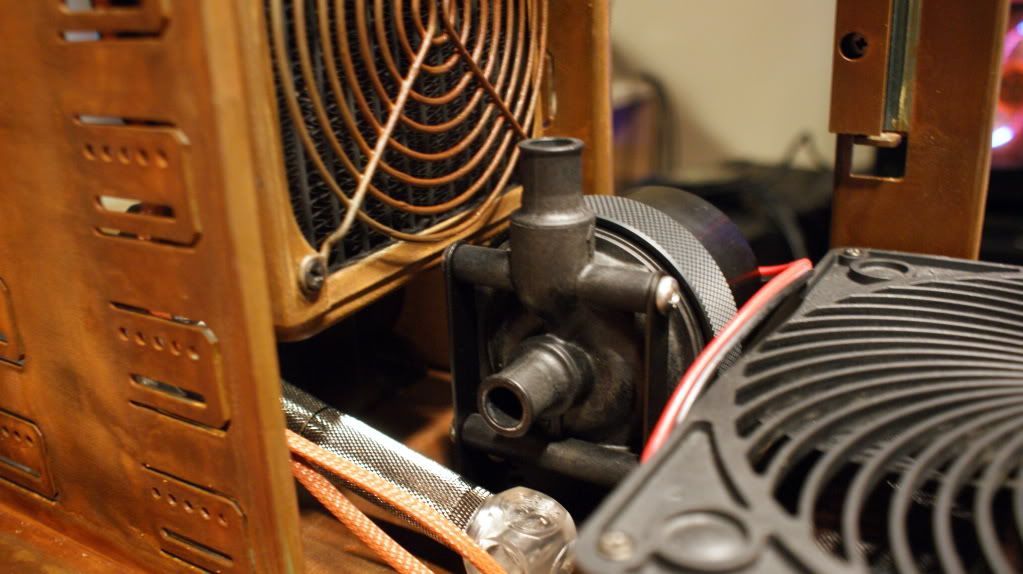
And attached the pump.
Next I marked the spots for the fan holes. They are actually a little bit smaller than the 180mm fans because I need the floor space for cables, tubing holes and acessories but it won't effect the performance too much.
I still need to mark it but I have to cut some away under the 24-pin connector for the cable.
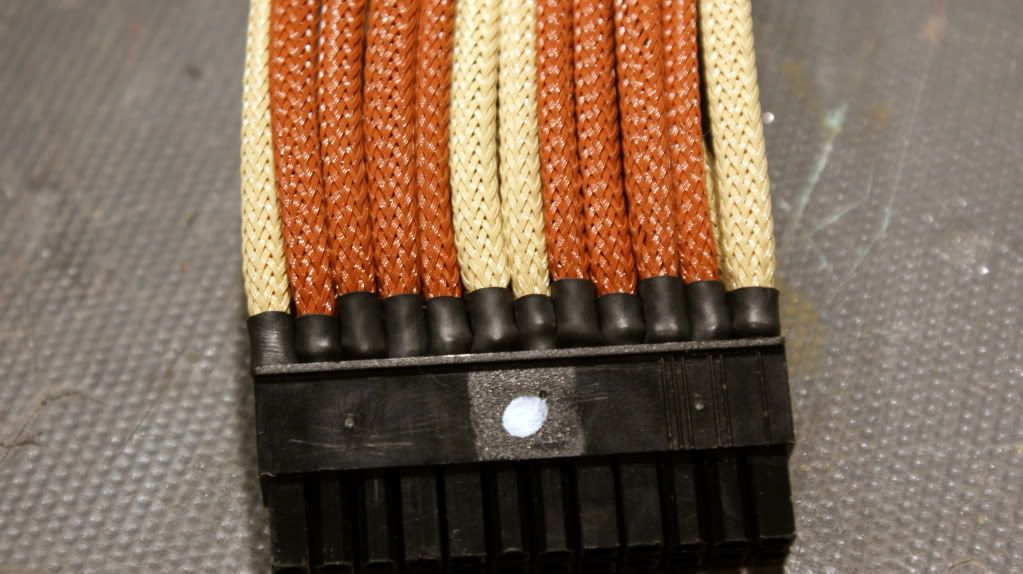
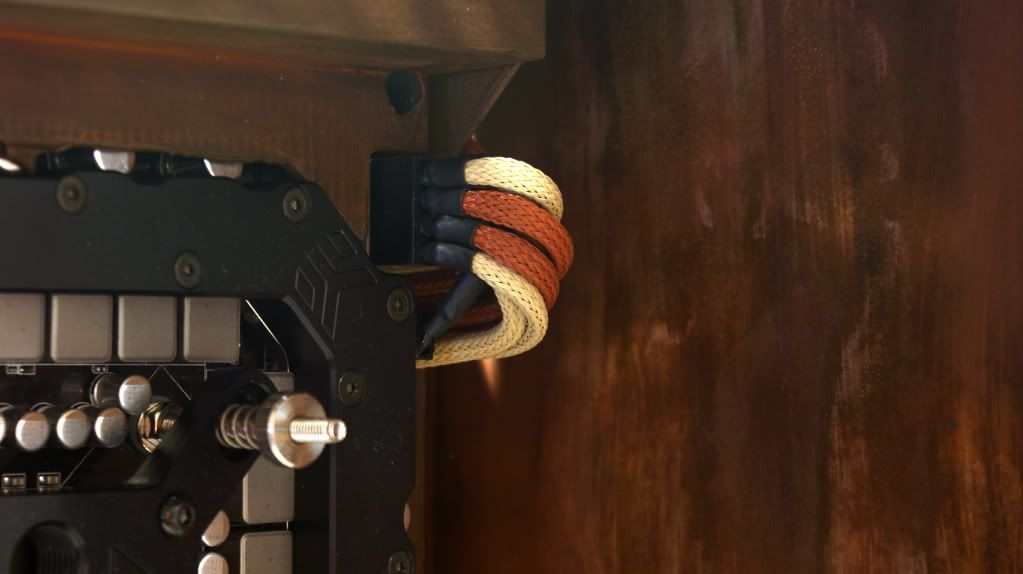
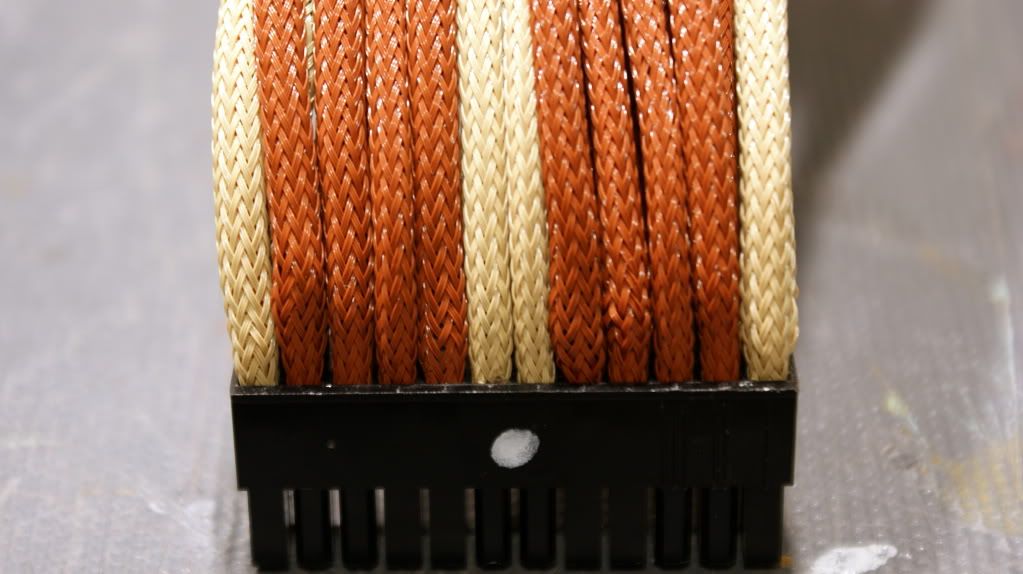
I sleeved the 24-pin cable and 8-pin cable.
The heatshrink isn't great so I may redo that.
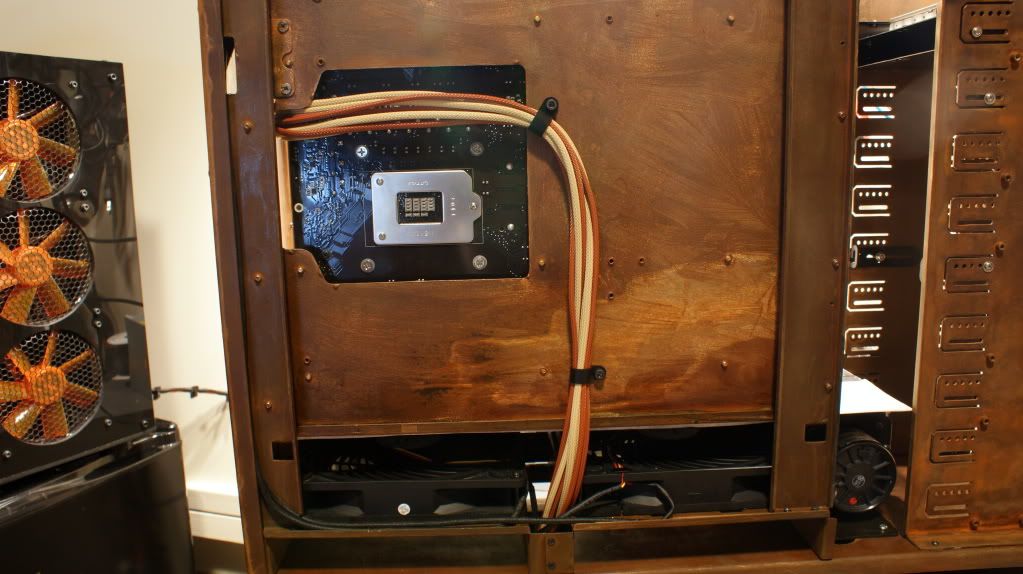
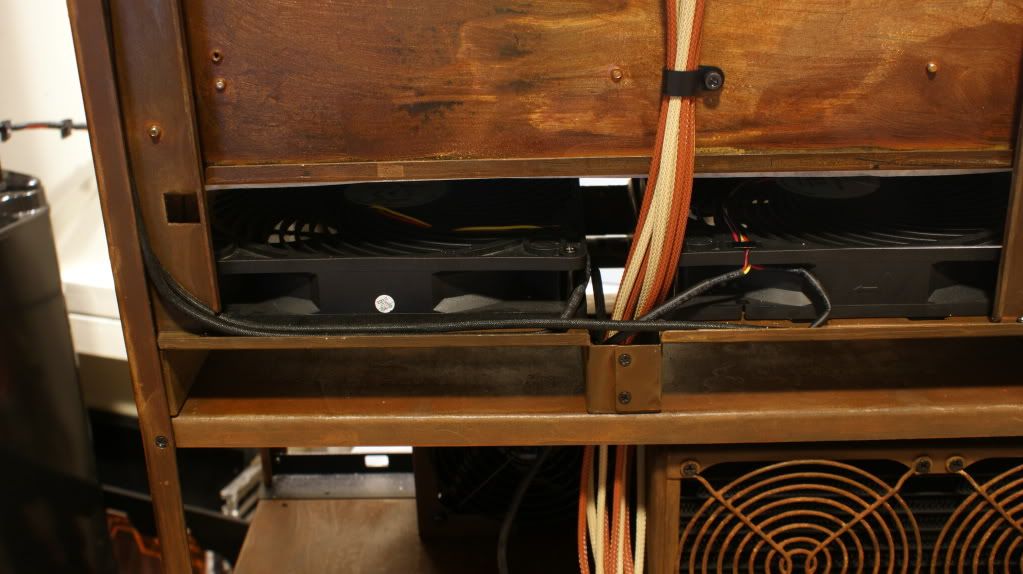
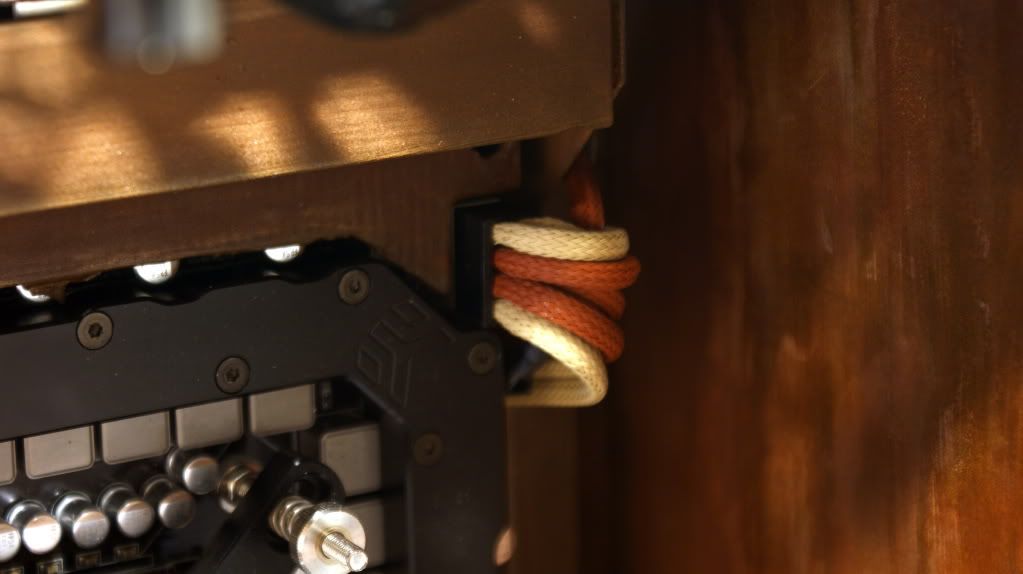
Then I did some cable managment with some P-Clips
And the rainy season is back here in the Congo! We get some decent sunsets because of the weather.
Now for some more pratice shots.
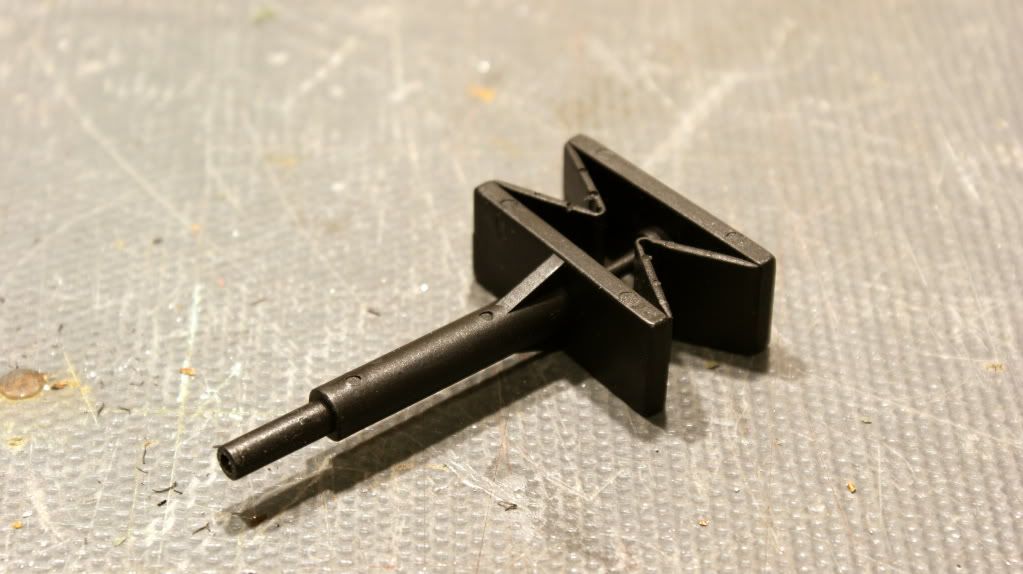
And the best molex pin remover ever!!!
Sorry for all the photos but the only way to get better is to practice!
Cheers till next time,
Fuga
-
Re: Project: Steampunk'd TJ11
Nice camera work. Liking the depth of field you're getting.
-
Re: Project: Steampunk'd TJ11
Quote:
Originally Posted by
TLHarrell
Nice camera work. Liking the depth of field you're getting.
Thanks. I'm really trying to learn more about my DSLR.
-
Re: Project: Steampunk'd TJ11
Here is another big update for y'all!
Finally got my paint and 3M glue in!
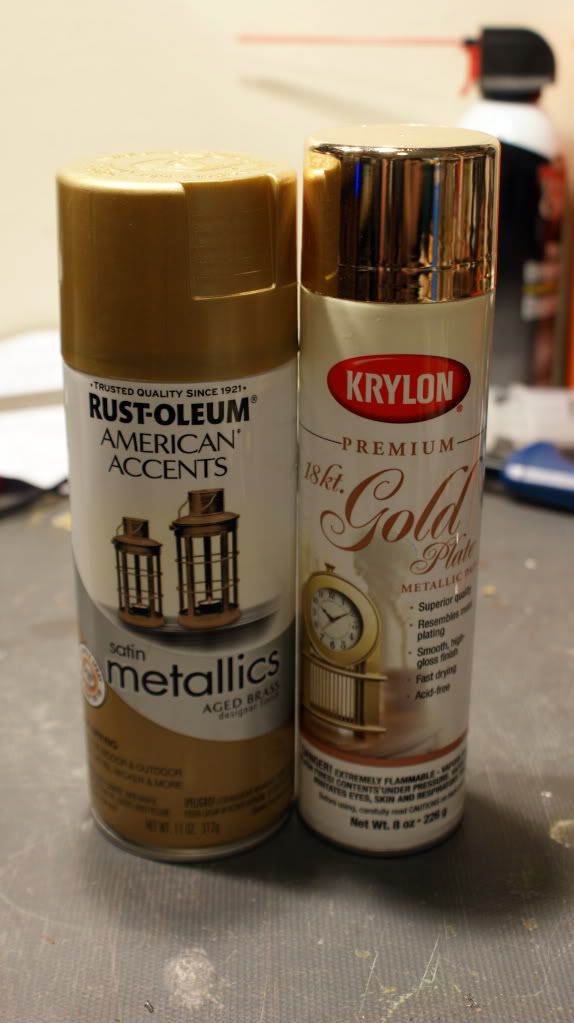
2 types of gold. I will ony be using the Rust-Oleum one though.
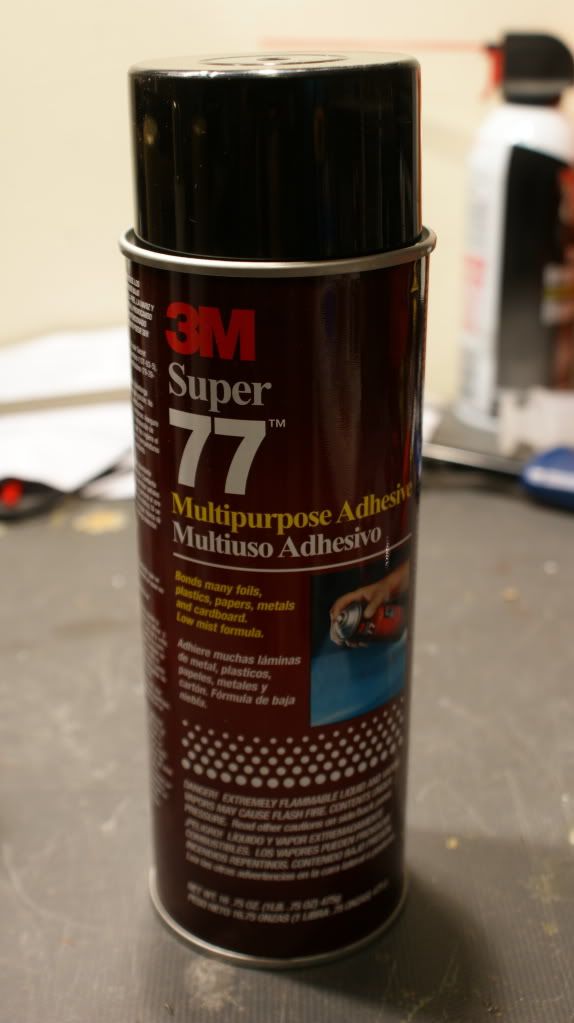
And the glue.
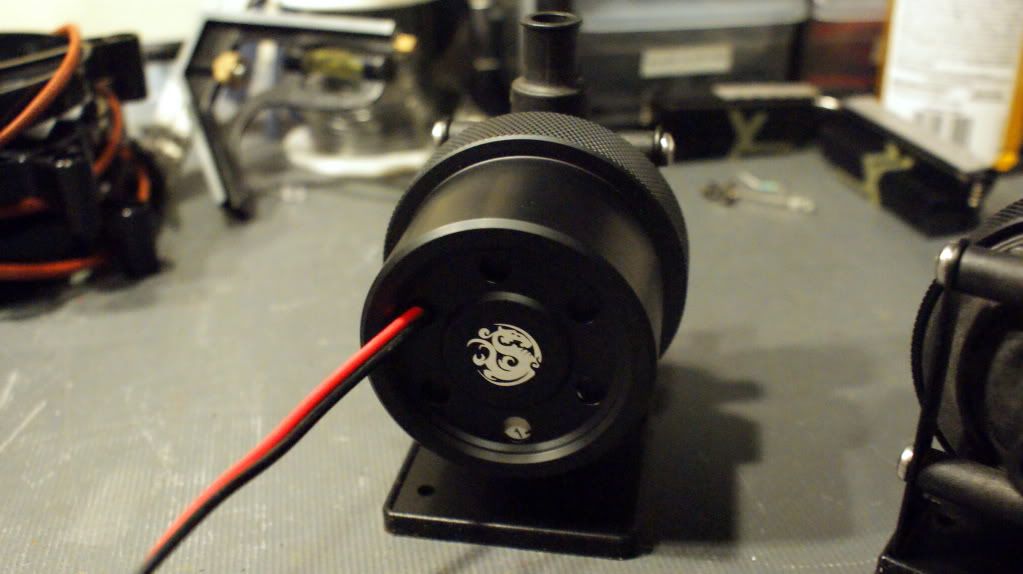
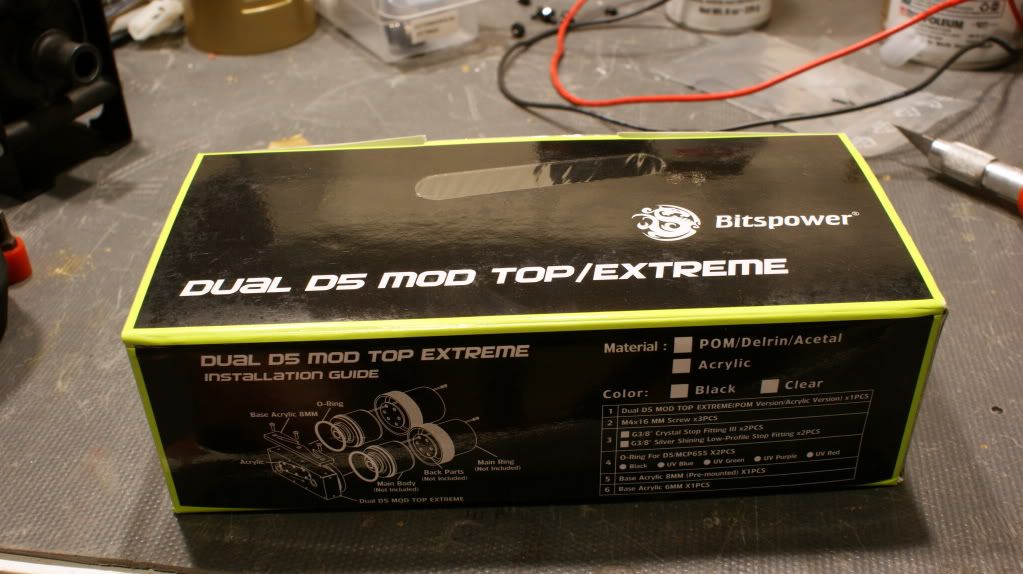
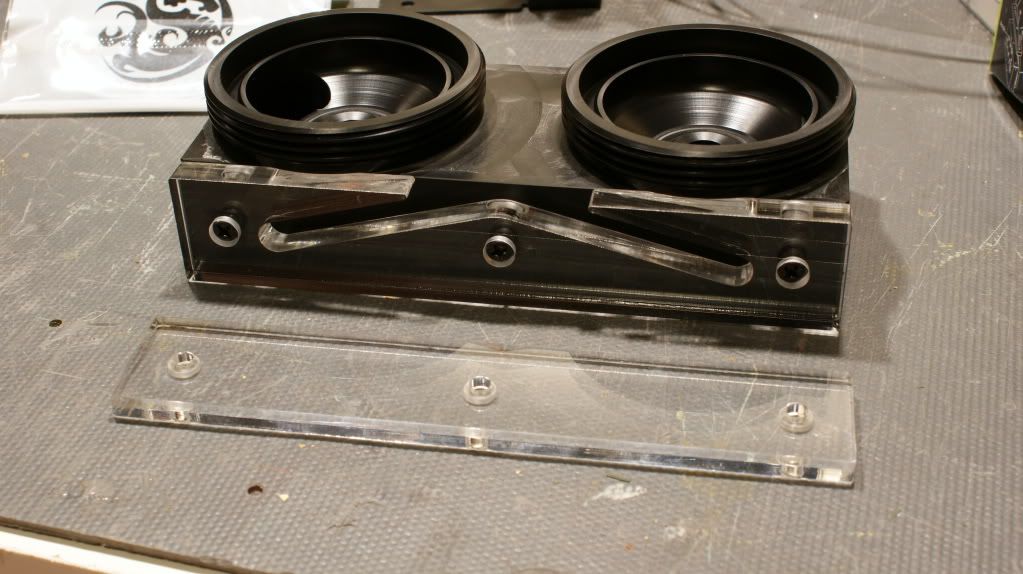
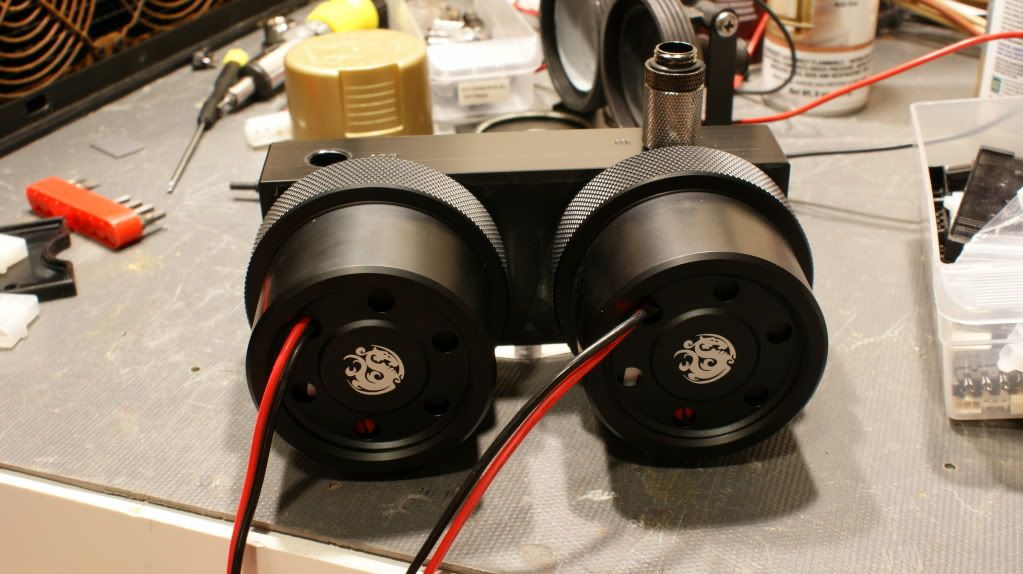
I also got in the Bitspower Dual Pump Top
I had to take one of the Acrylic layers off the bottom so the pump top would fit under the 240mm rad in the bays.
Put the pumps on with the Bitspower Mod Kit.
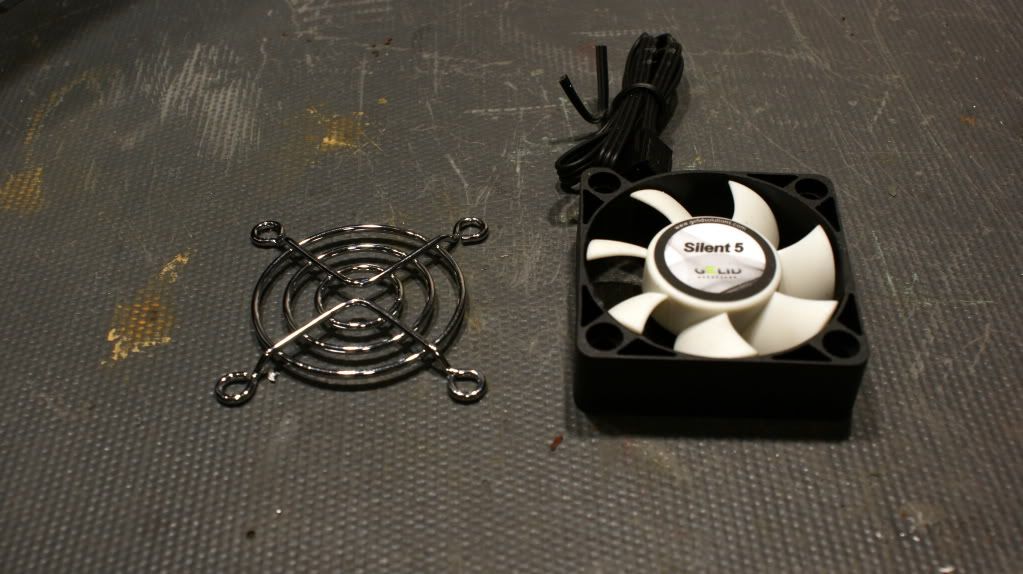
50mm fan grill. Not sure if I will use this or not.
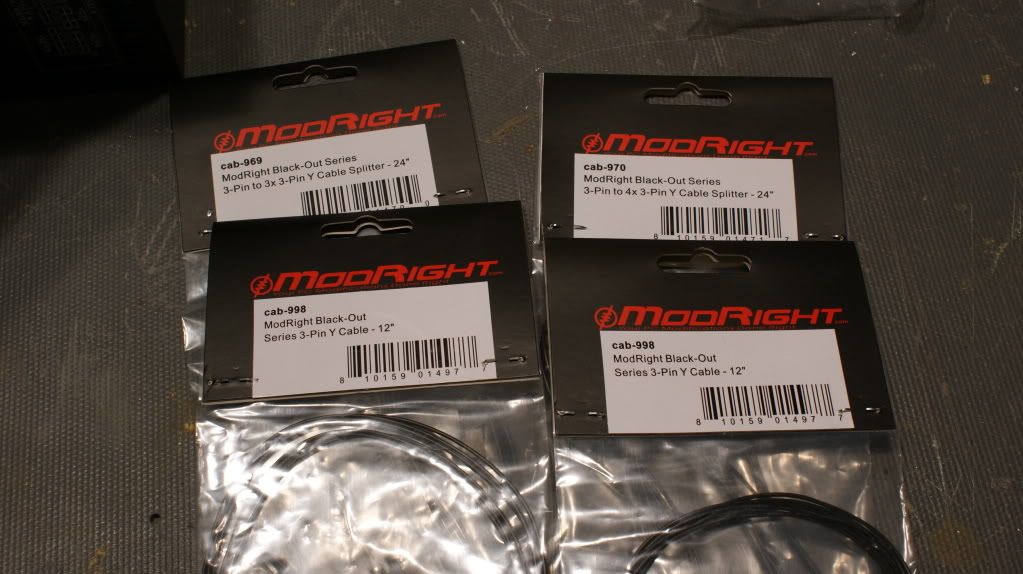
Some fan cables. 1 for each rad.
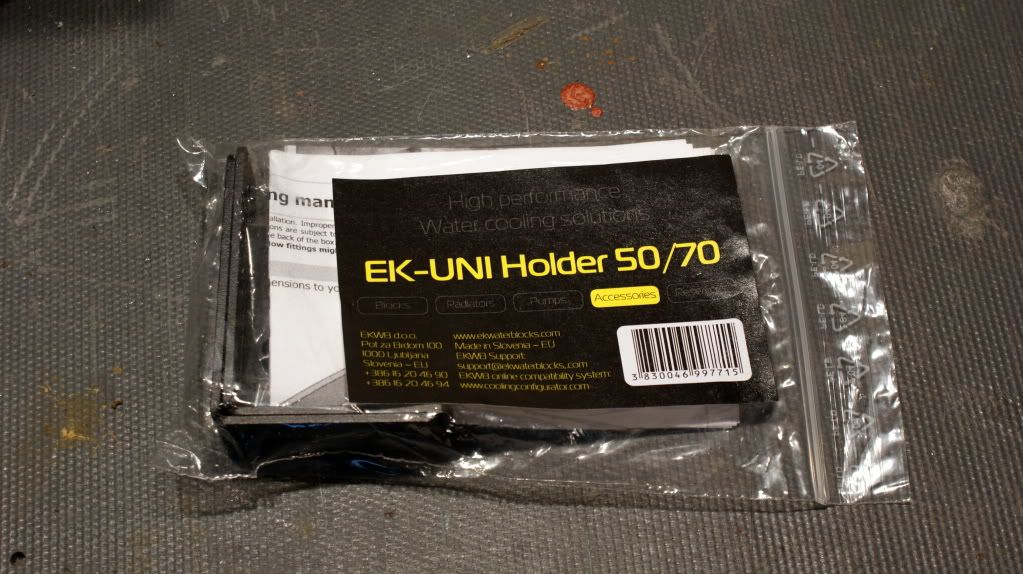
EK Uni Brackets for the Res (These are so I can mount the res to the 5.25" bays)
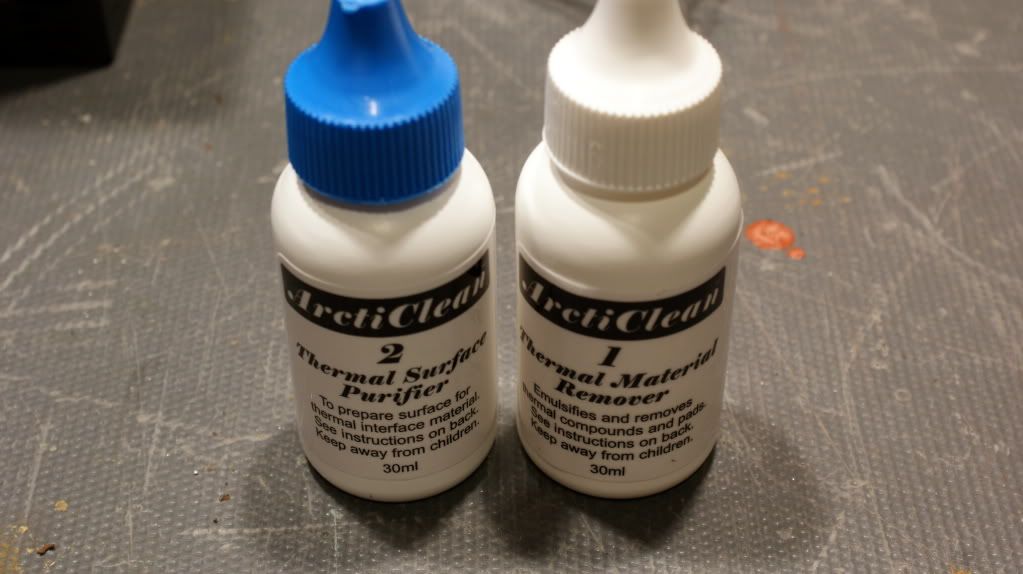
And some thermal cleaner so I can get some nice clean chips.
Now for the modding!
I decided to venture in to heatshrinkless cables for the ones you can see at least. Here is my journey.
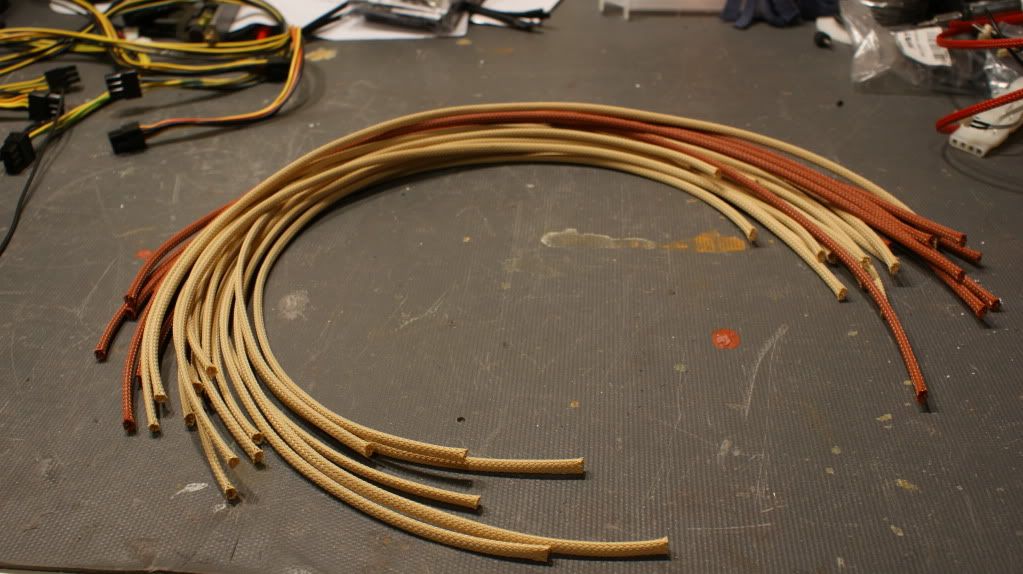
All the sleeve ready to go.
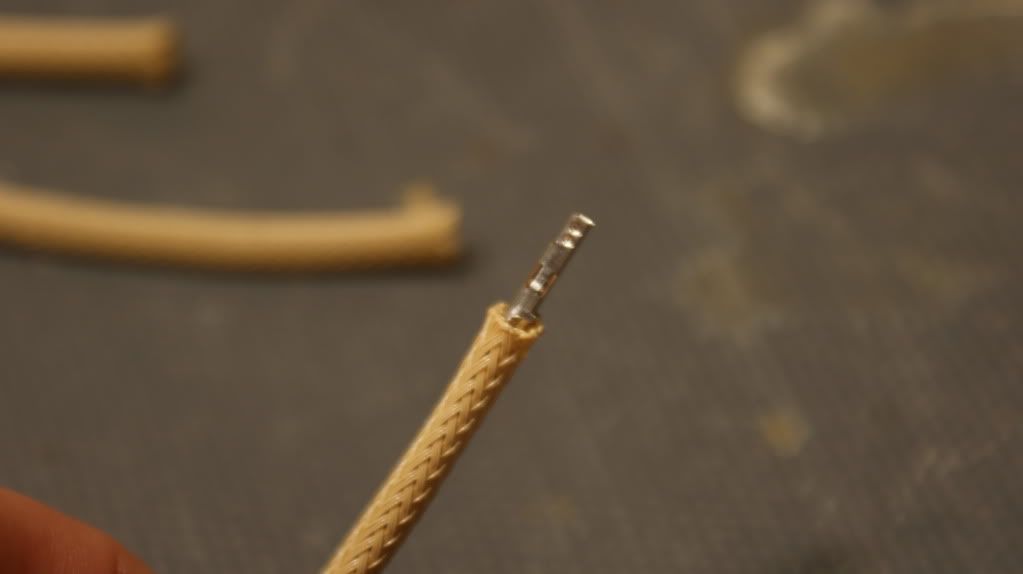
You have to have the sleeve almost touch the 2 prongs on the ATX pin.
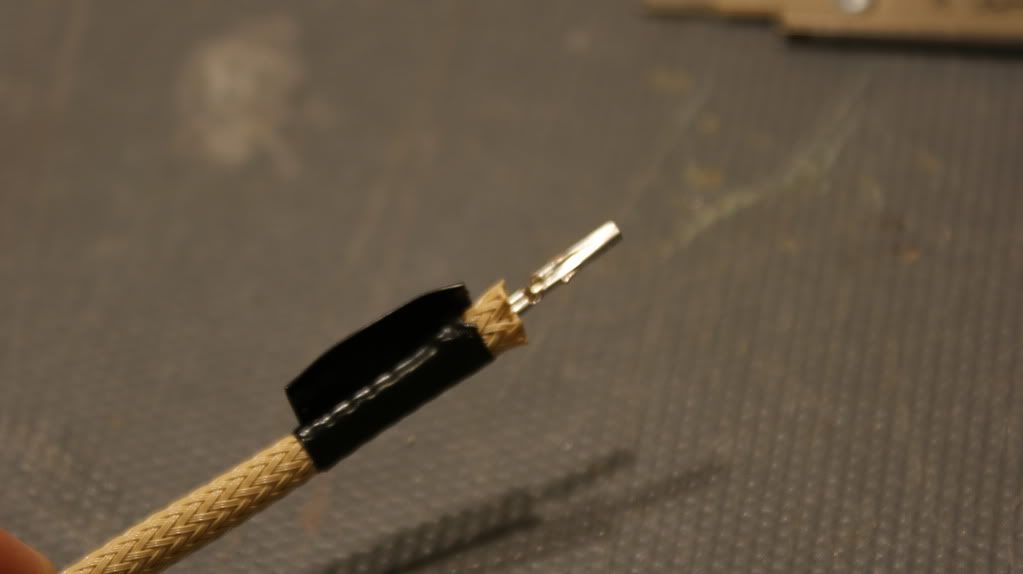
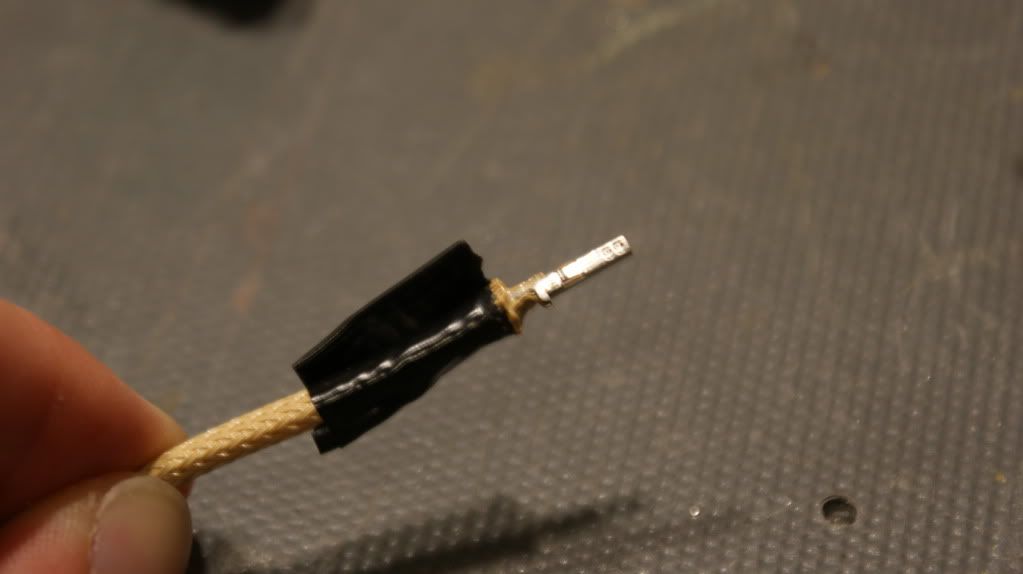
I put some electrical tape on between 1/4" and 1/8" away from the end of the sleeve to keep the sleeving tight and to use as a guide.
Next you use a soldering iron to melt the sleeve to the ATX pin. Don't melt more that what is marked. (Obv the tape is in the way)
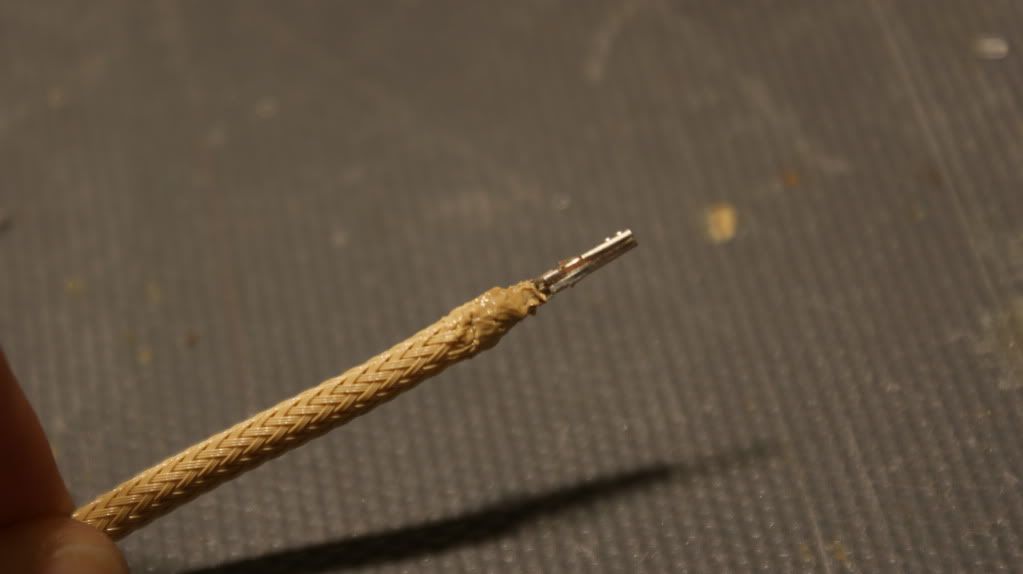
Now all you have to do is melt it just a bit more to make it cone shaped basically to fit into the connector.
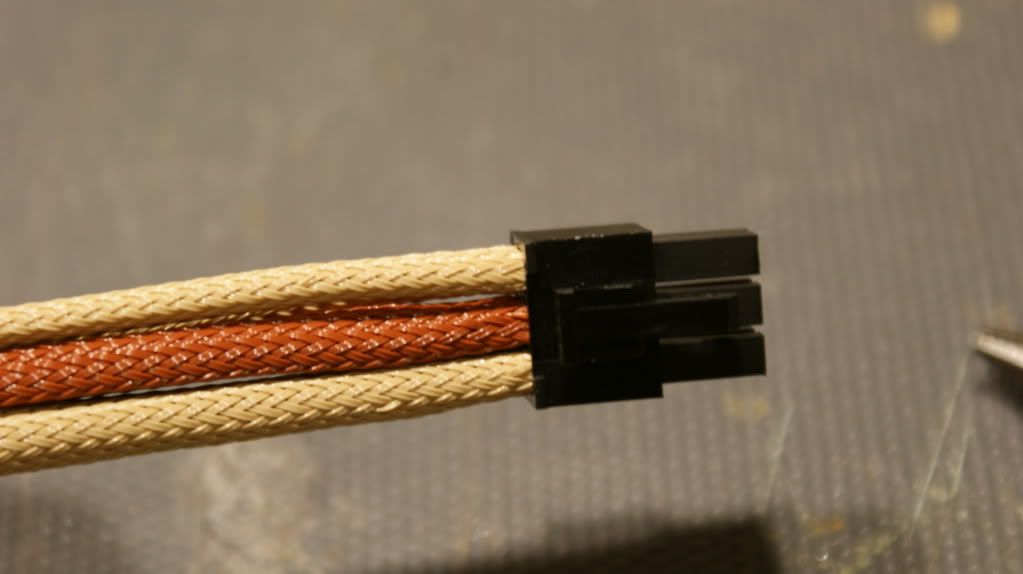
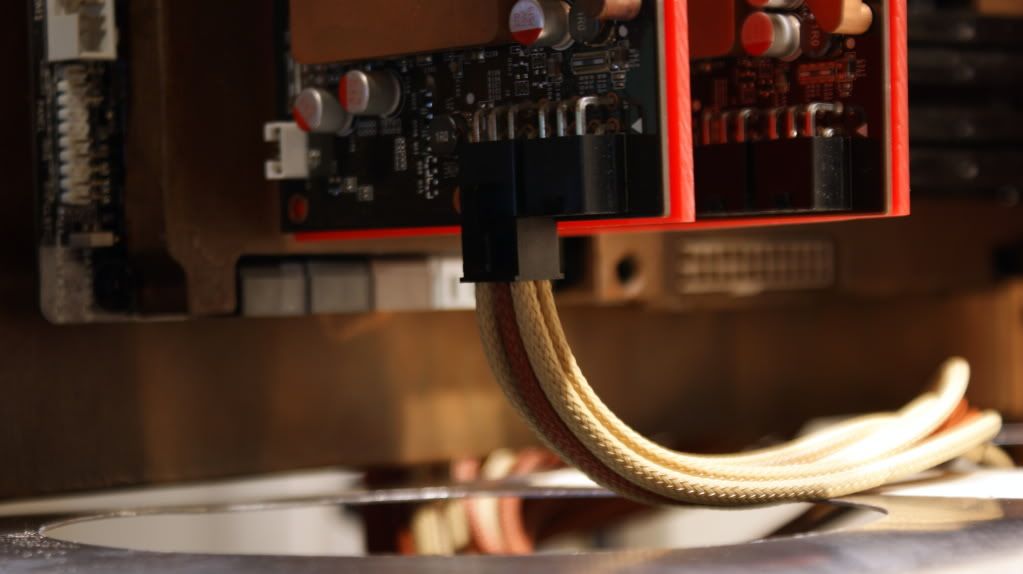
And here it is all done.
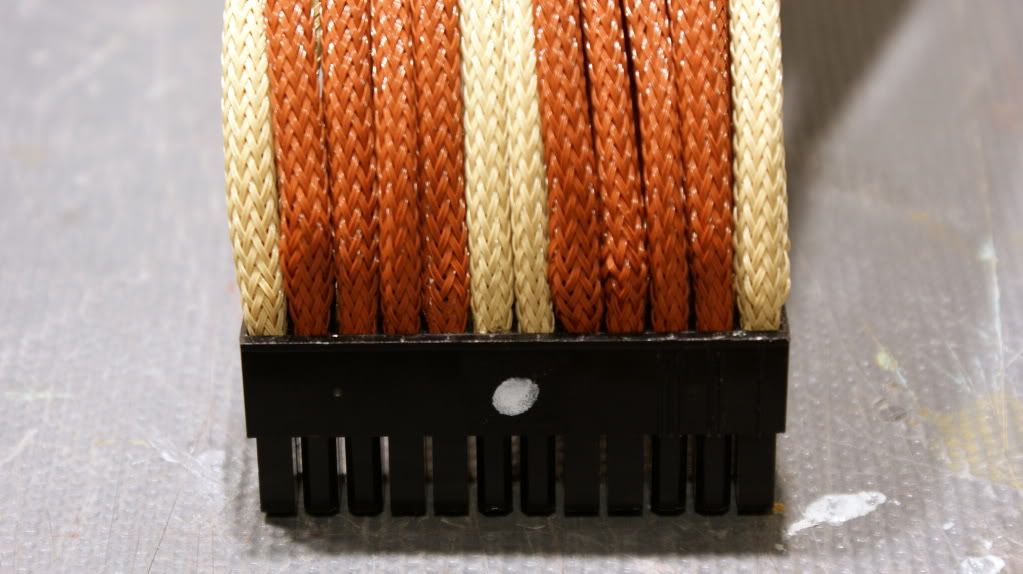
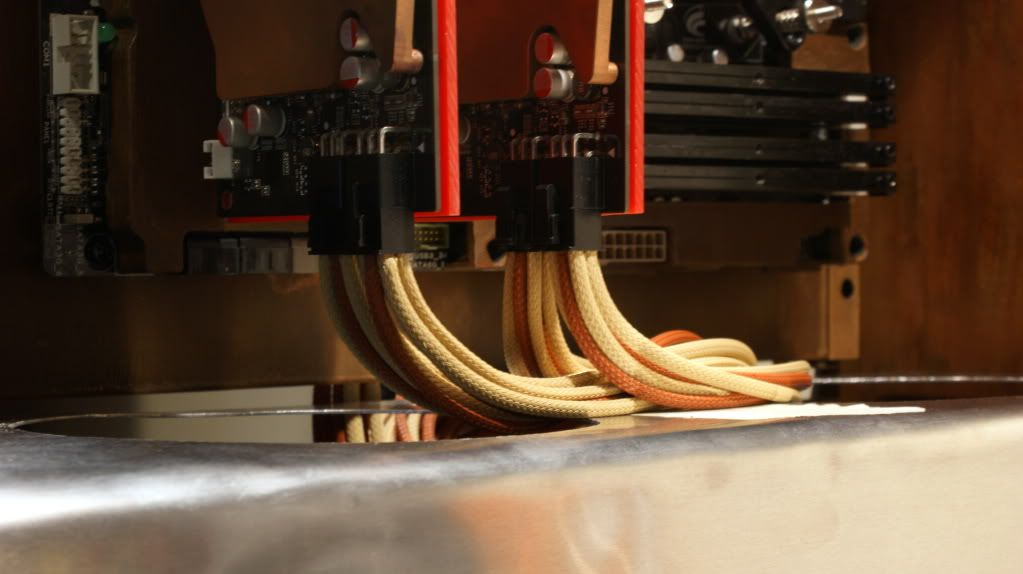
Here is how my 24-pin cable came out.
And the 8-pin
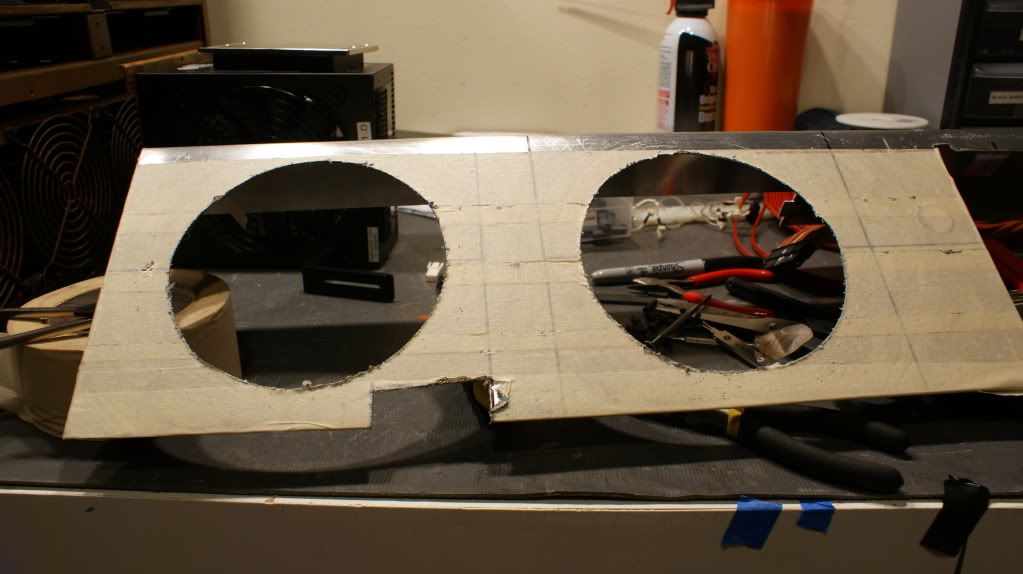
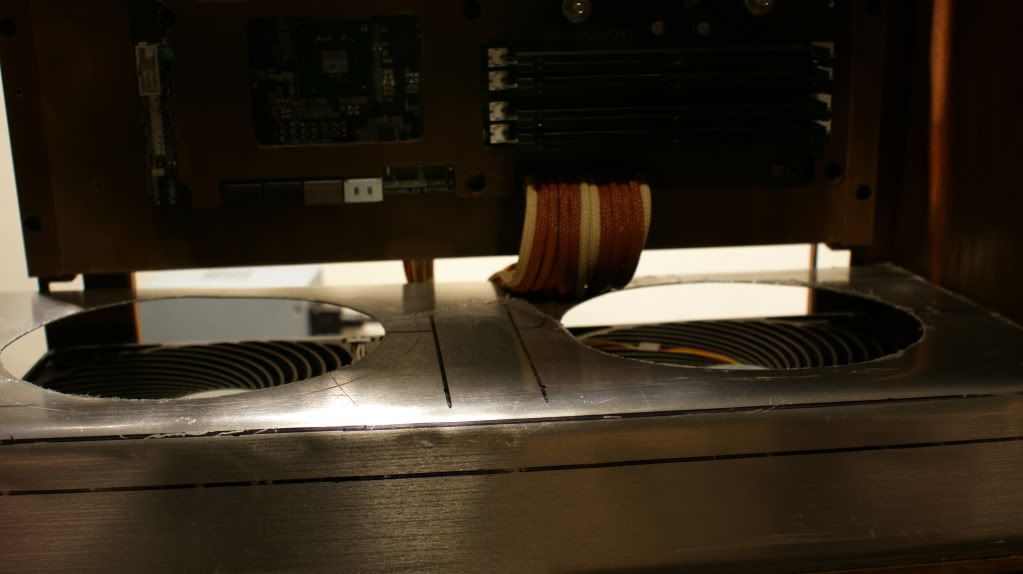
I cut the holes for the fans in the mid plate and a cut-out for the 24-pin cable.
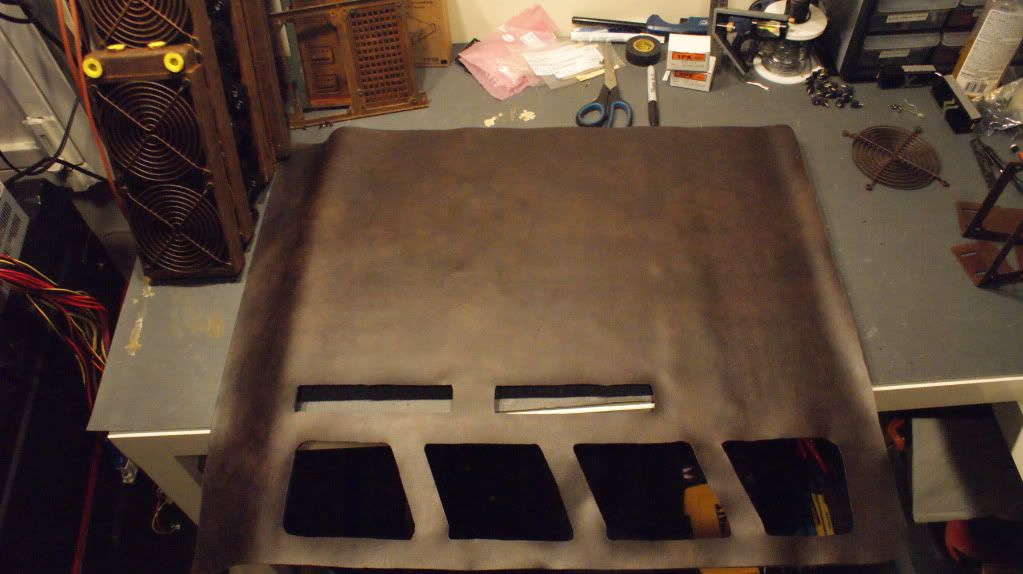
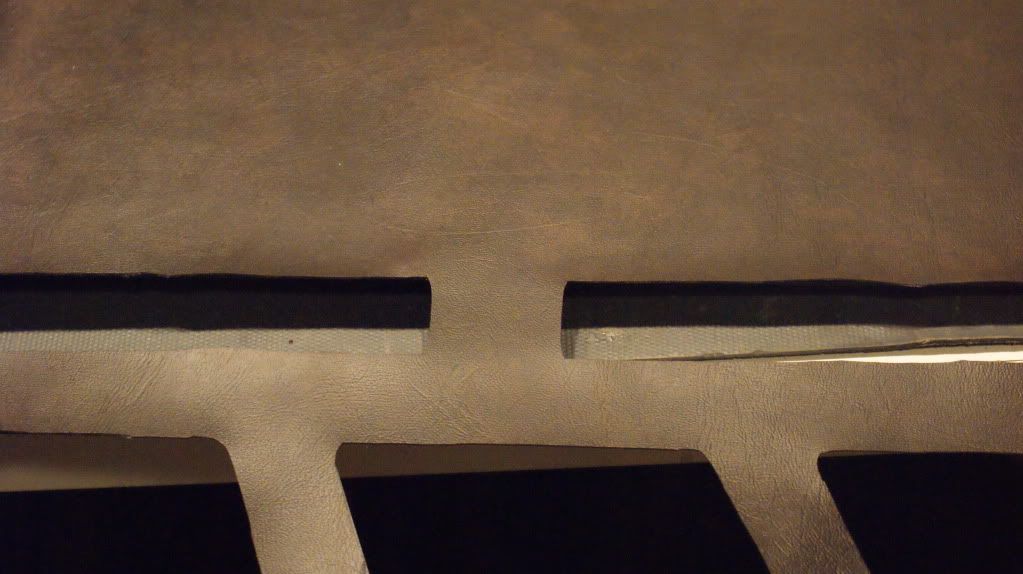
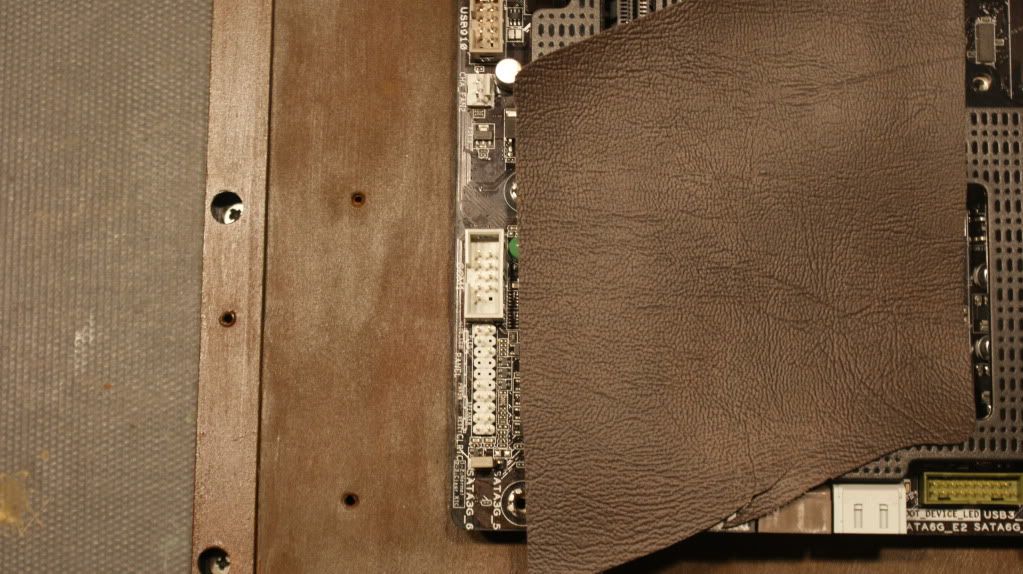
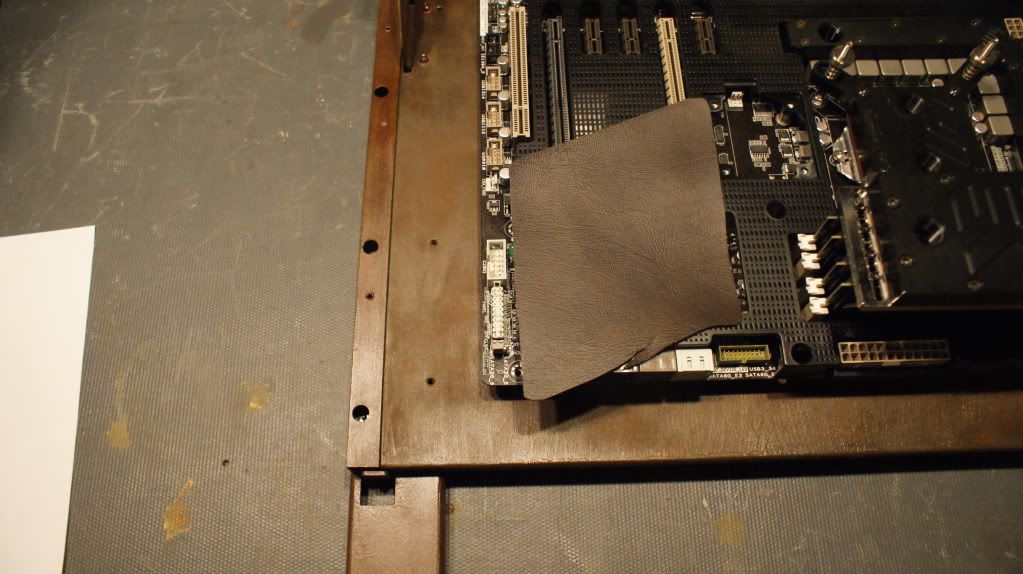
I made this photo so I could figure out which leather I would use for the midplate. I decided on the top one.
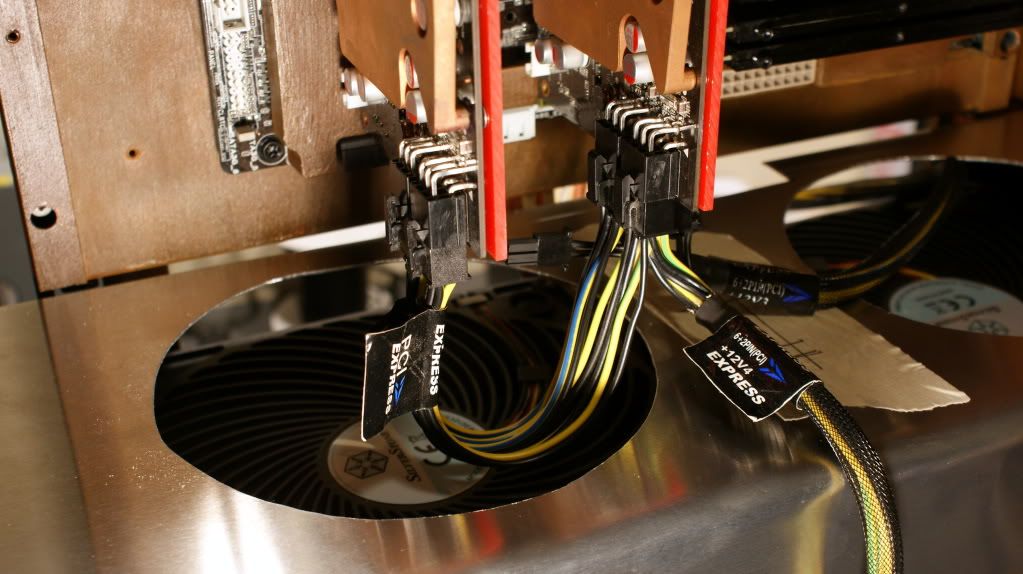
Here is how I was originally going to have the cables for the GPUs
But since I'm going heatshrinkless I can't do that so I did this instead.
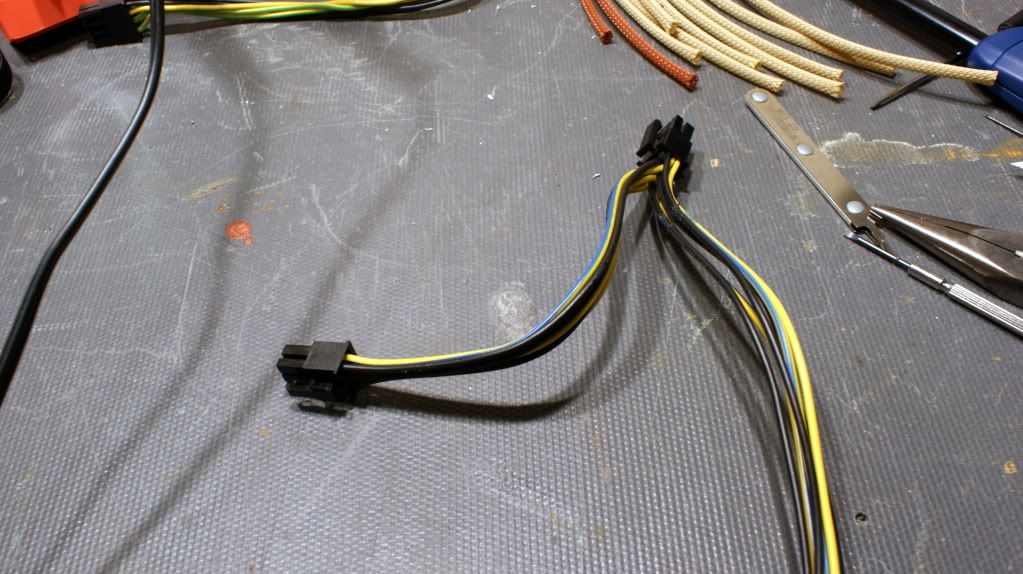
2 of the cables were straight 6-pin cables but the other 2 were made for 1 GPU each so I had to cut off the extra link.
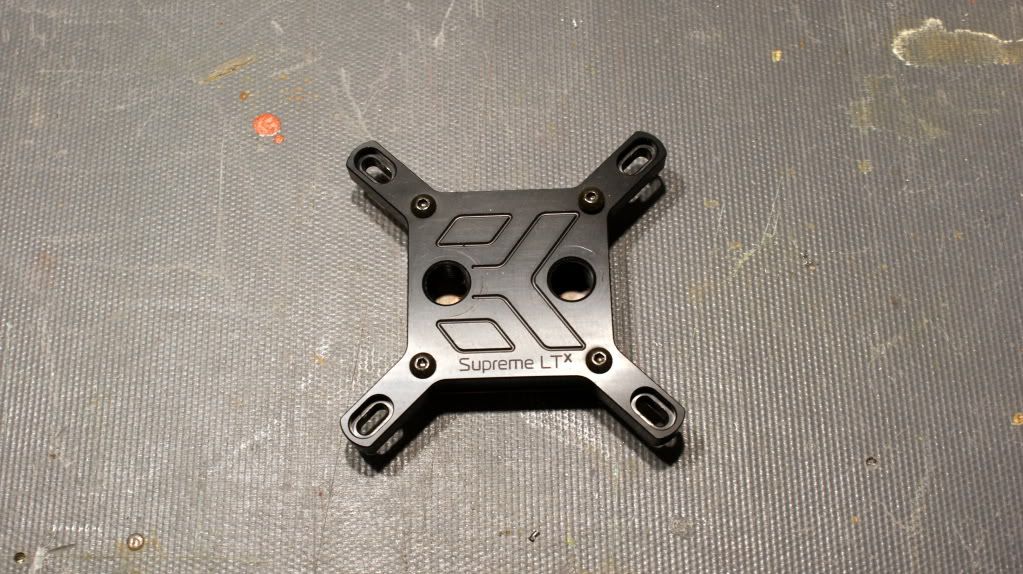
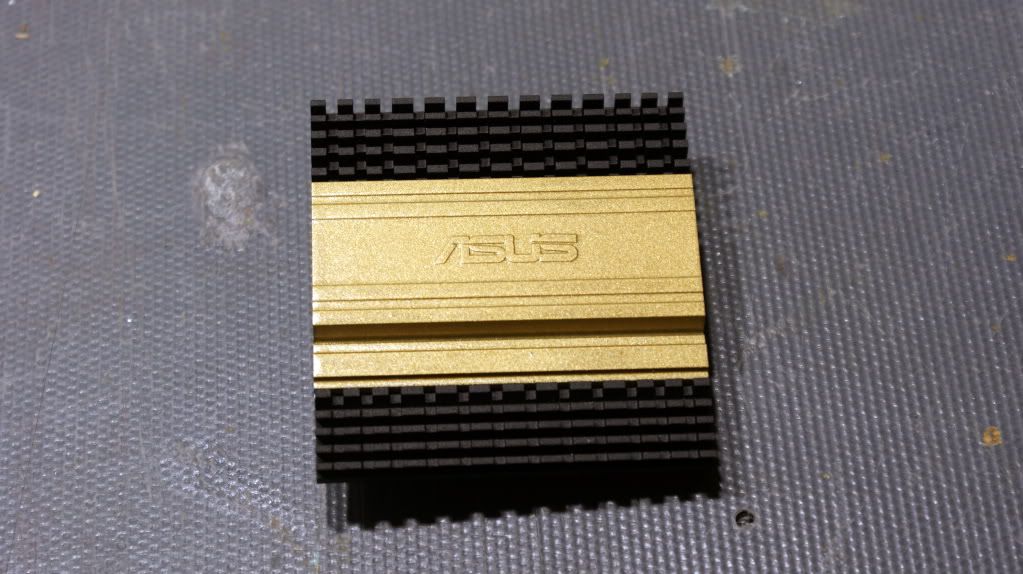
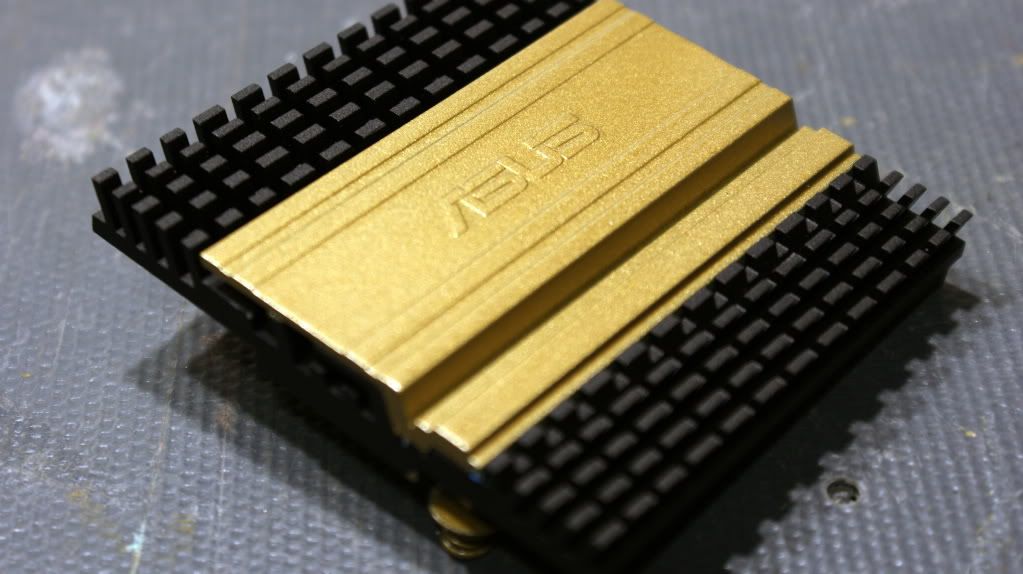
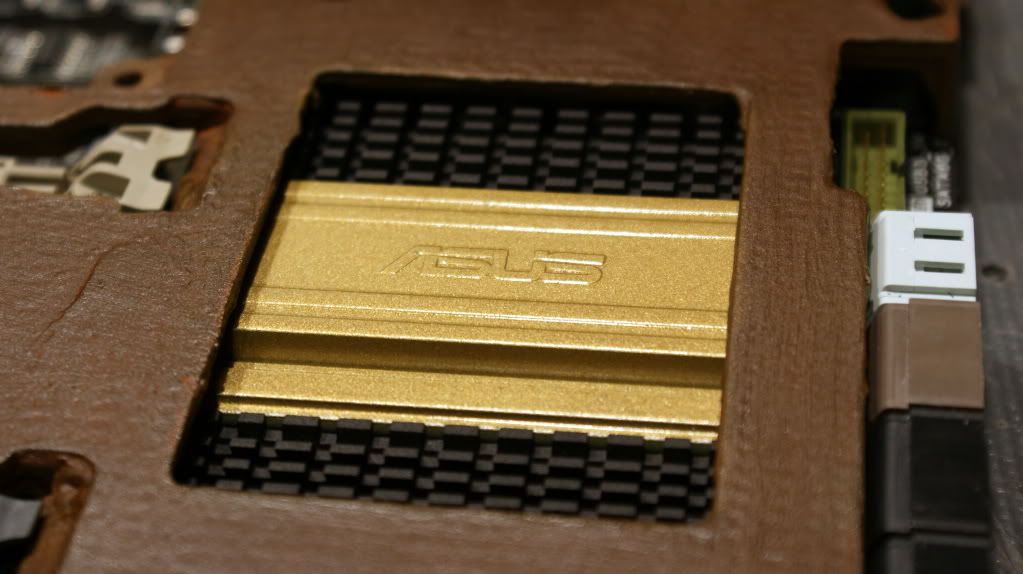
Now for a sweet mod!
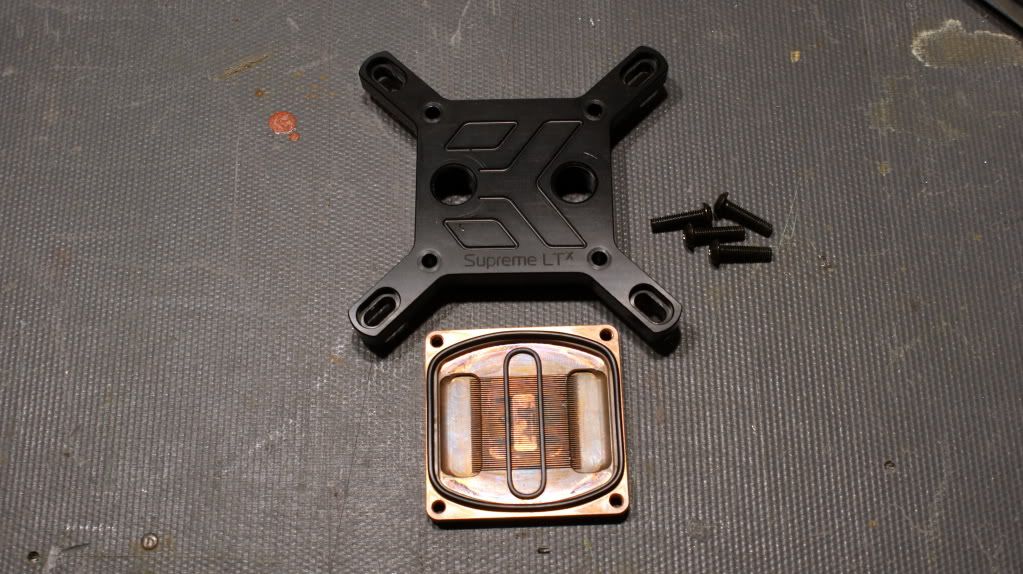
Coming apart...
Presto Chango!!
Did the same thing to the MOFSET block.
Then I painted the SB heatsink.
Looks good!
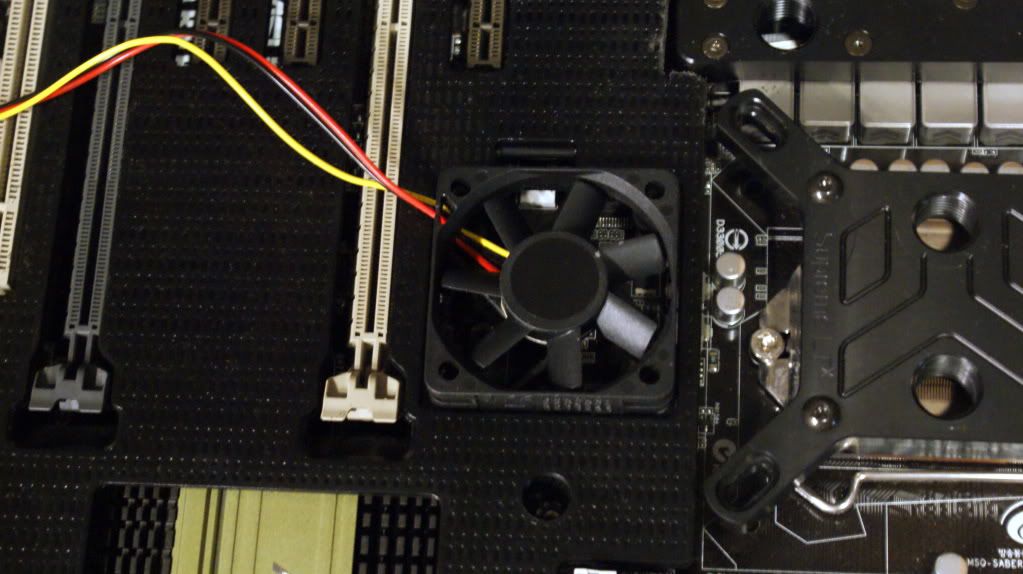
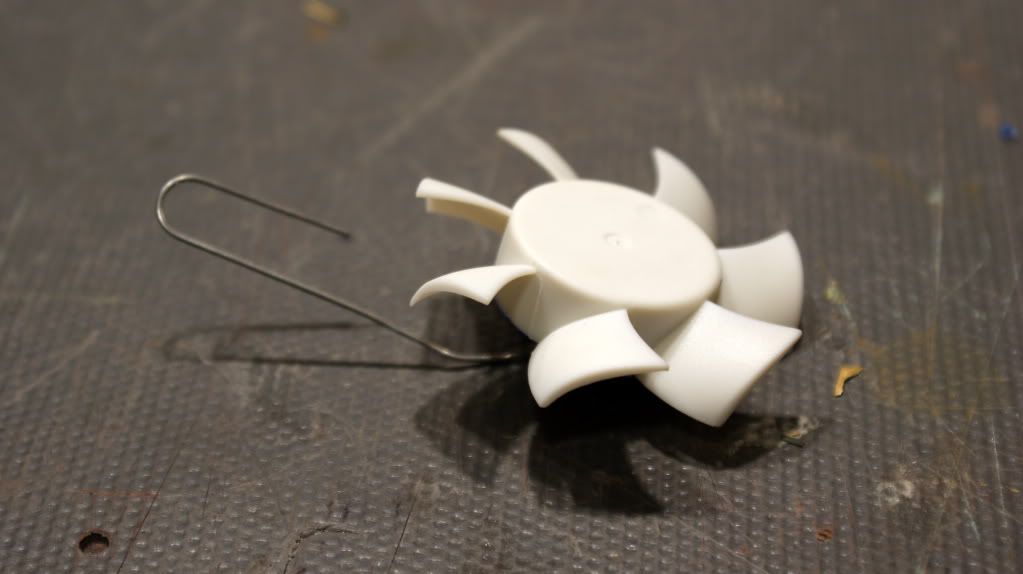
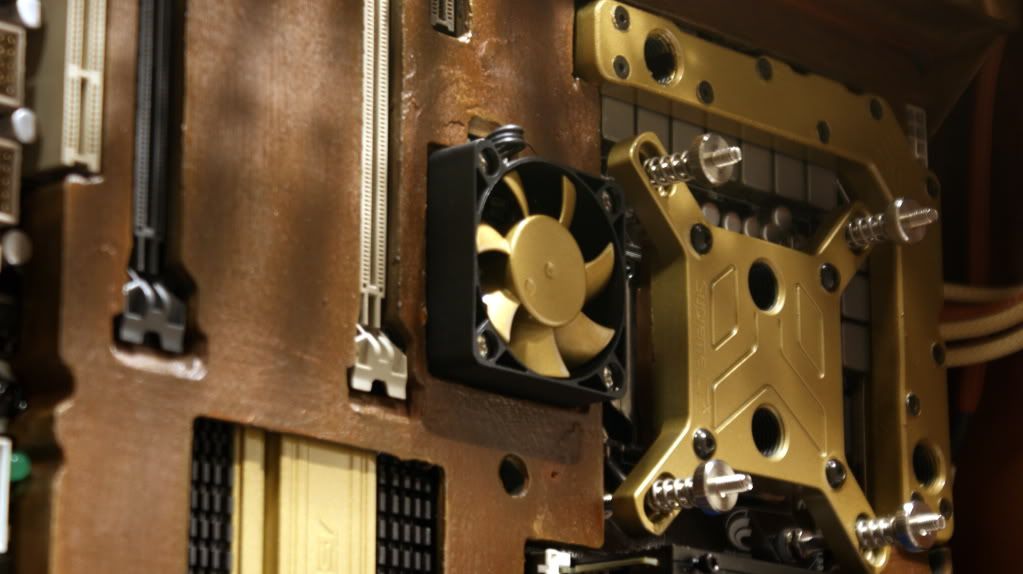
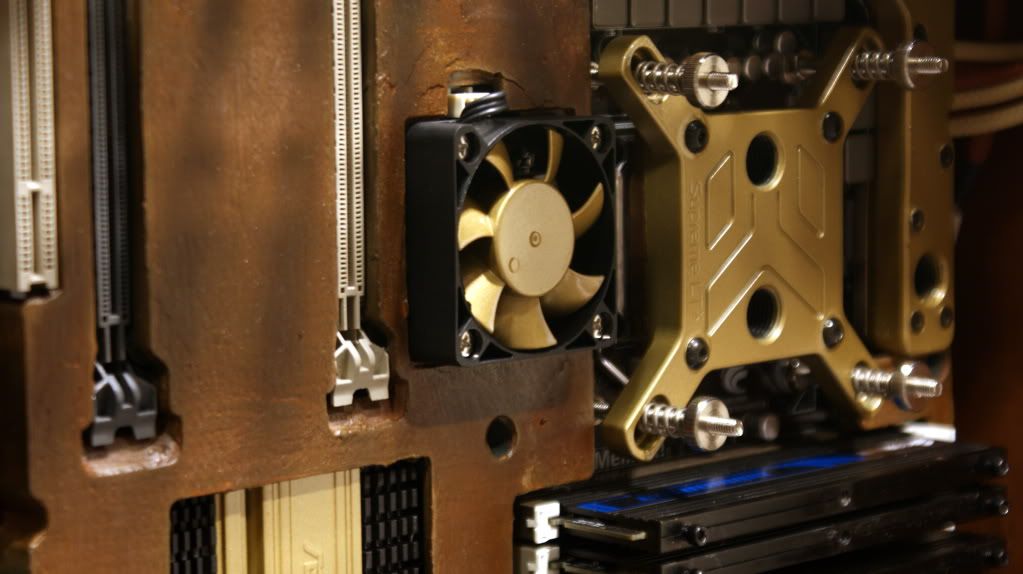
And then the 50mm fan.
Now that all really ads some pop to the motherboard.
Since I decided to use the darker leather on the doors and here is what the first one looks like.
I also painted the mesh for the bottom gold too. Will be installed in the next update.
That's it for this update.
I'm working on the pump placement and routing to get the water from the res to the pumps effectively. Might need to do some fancy piping under the midplate with extensions and angled adapters... Hopefully some more gear will arrive this week so I can keep moving!
Cheers till next time,
Fuga
-
Re: Project: Steampunk'd TJ11
-
Re: Project: Steampunk'd TJ11
First time I will have said this but am loving the gold in the build usually think gold is tacky haha
-
Re: Project: Steampunk'd TJ11
Quote:
Originally Posted by
Stonerboy779
First time I will have said this but am loving the gold in the build usually think gold is tacky haha
I completely agree. I saw the cans and thought, "oh no," then looked at all the rest of the photos and wondered where the crappy looking gold was. Looked again and was amazed at how good it turned out. It really looks great.
-
Re: Project: Steampunk'd TJ11
She's coming along nicely. Keep up the good work! :D
-
Re: Project: Steampunk'd TJ11
Dude, that's looking awesome!
-
Re: Project: Steampunk'd TJ11
-
Re: Project: Steampunk'd TJ11
I was also nervous about the gold, but the way you're using it works well with the leather. :up: