Sometimes you get a chance you can't say no to, so that's what happened to me.
After some discussions and exchanging ideas with Dell, I am very happy to announce to you a build with a super case. It's allready beautiful But I'm gonna give it a try ;)
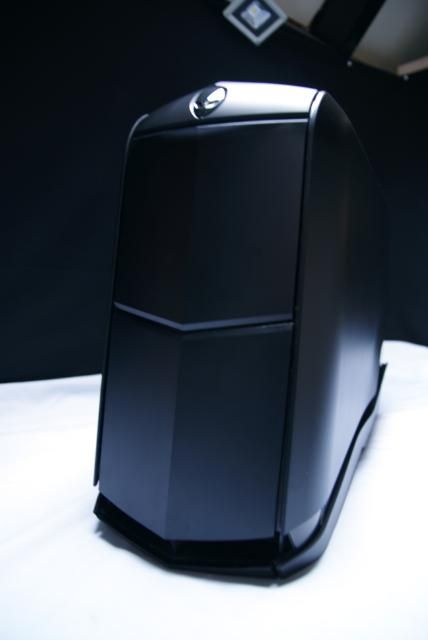
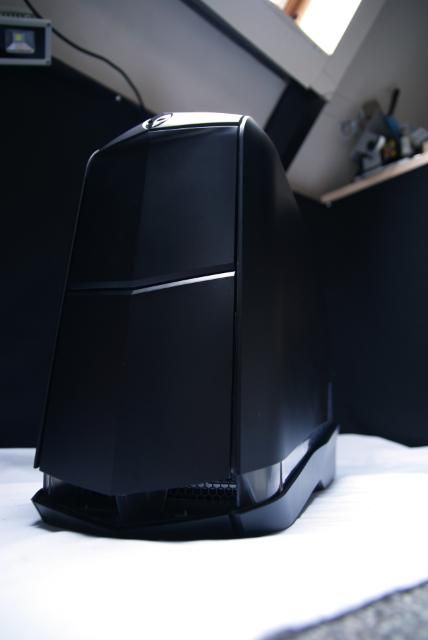
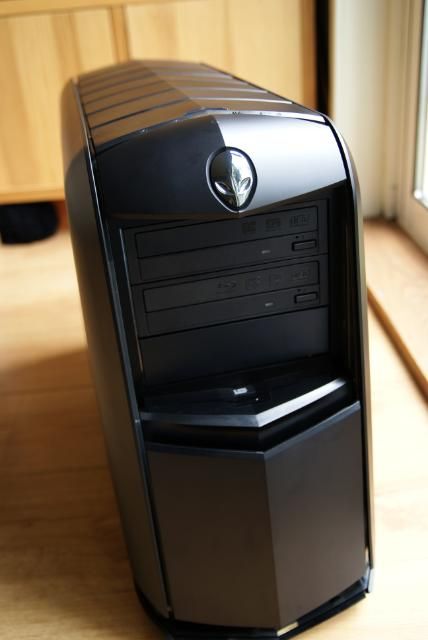
The Alienware Aurora desktop.
And not only the case, but a complete configuration with the following components:
- CASE : Alienware Aurora ALX 875W-chassis (Matte Black)
- PROCESSOR: Intel® Core i7-3820 (4 Core, 10MB Cache, 3.60GHz)
- OPERATING SYSTEM : Windows® 7 Home Premium, 64-bits
- GRAPHICS : 1 GB GDDR5 NVIDIA® GeForce® GTX 555
- MEMORY : 16GB (4 x 4 GB) 1.600 MHz Quad Channel DDR3
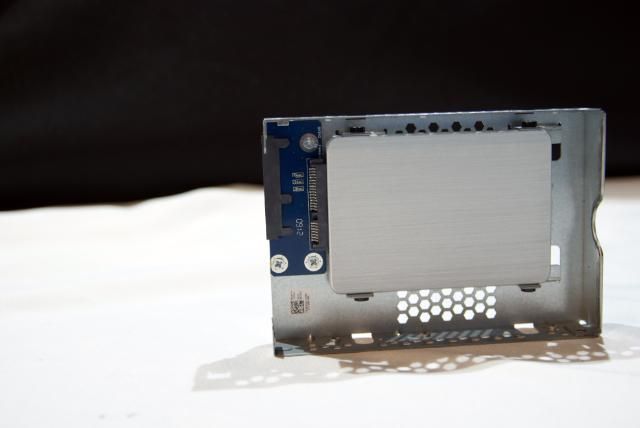
- HARD DRIVE : 256 GB SSD
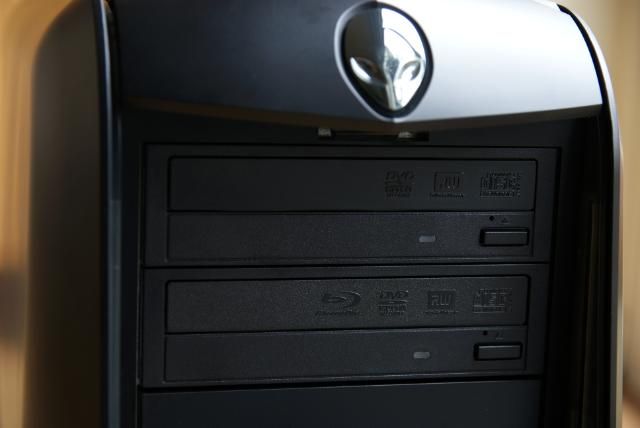
- OPTICAL DRIVE : 8X Blu-ray Disc-rw-station en 24x dvd+/-rw-station
Before I start, first I want to thank all the great sponsors for making this build possible.
Alienware, for the system.
Nvidia to deliver GPU upgrade (more on this later)
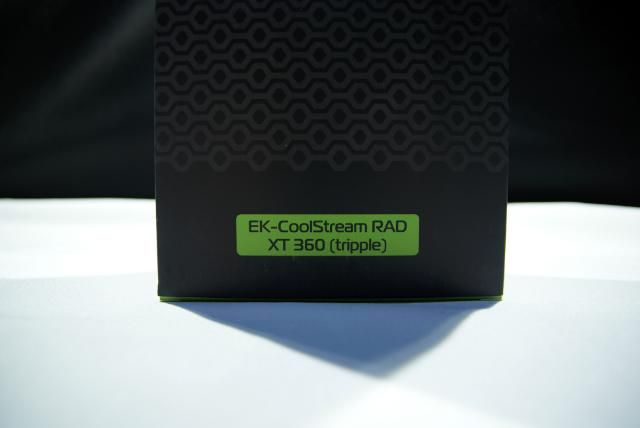
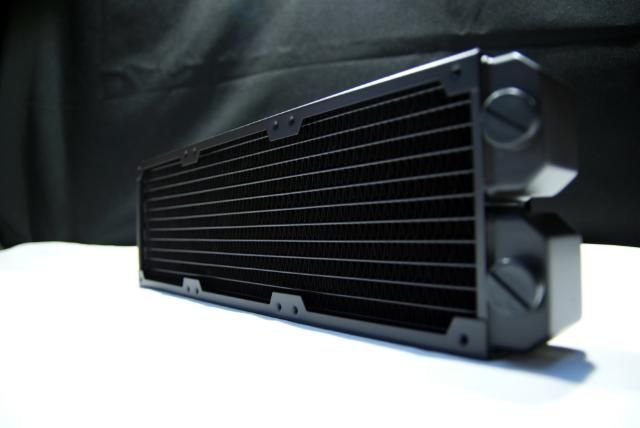
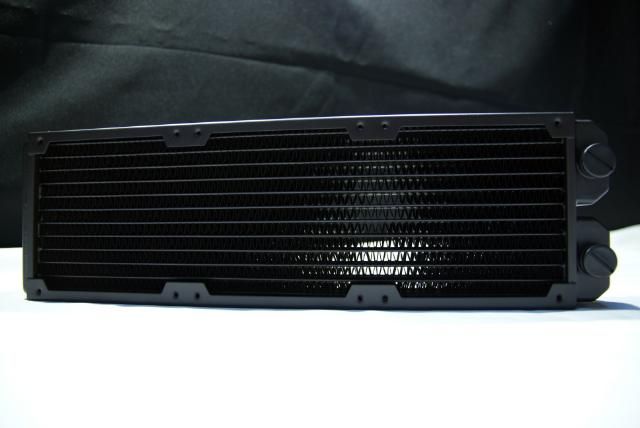
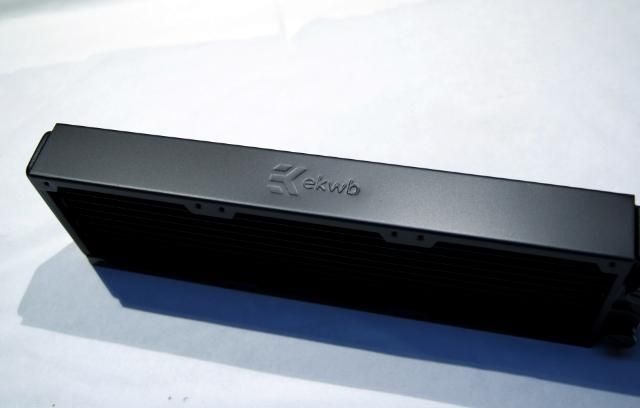
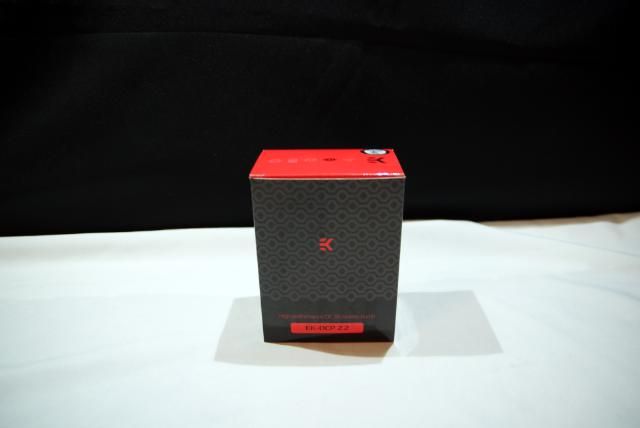
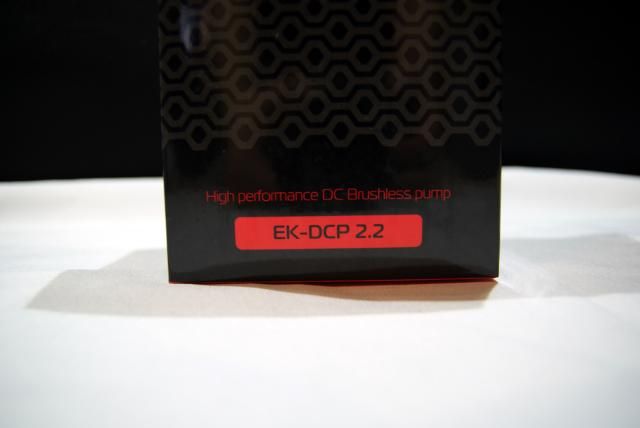
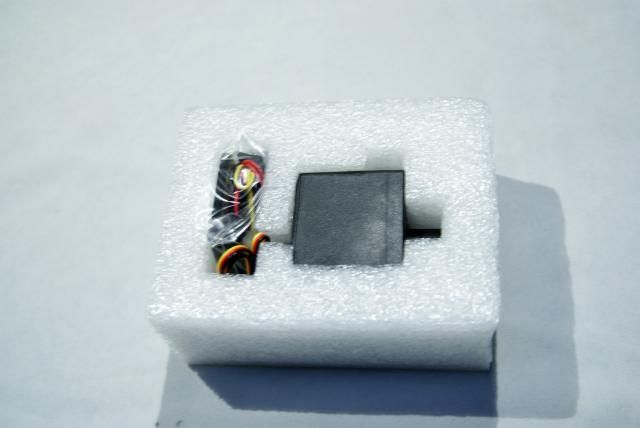
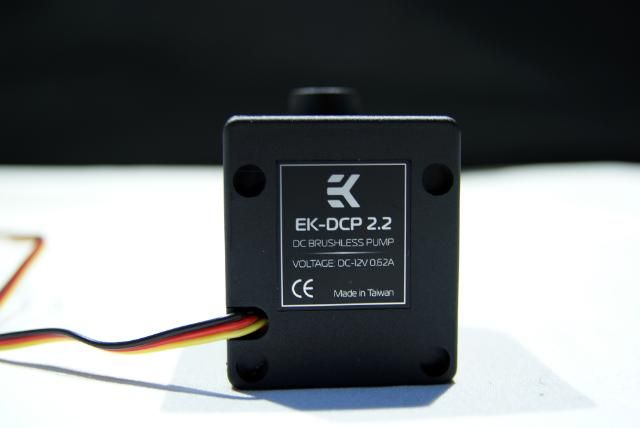
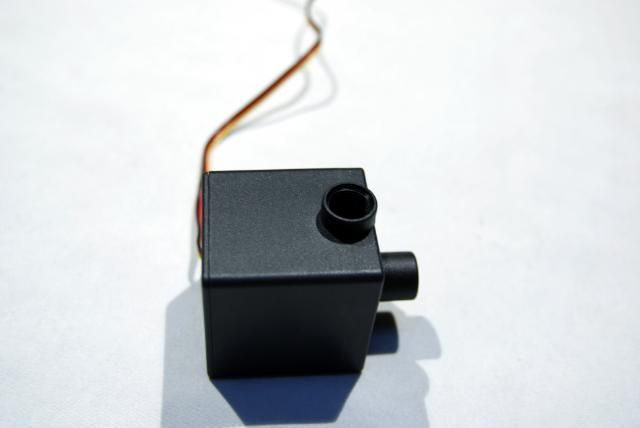
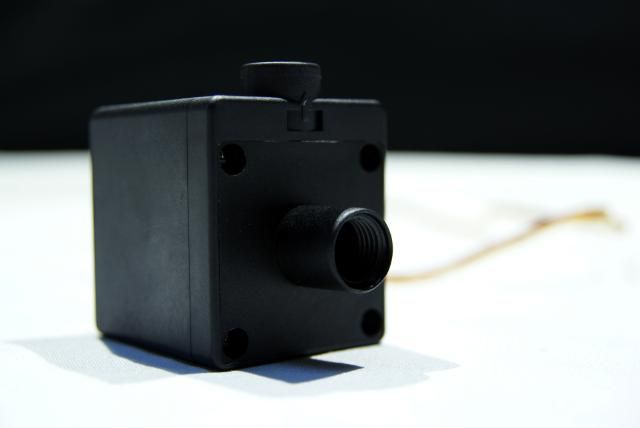
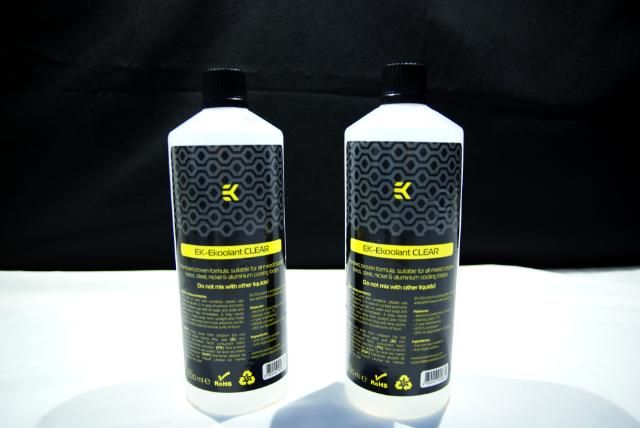
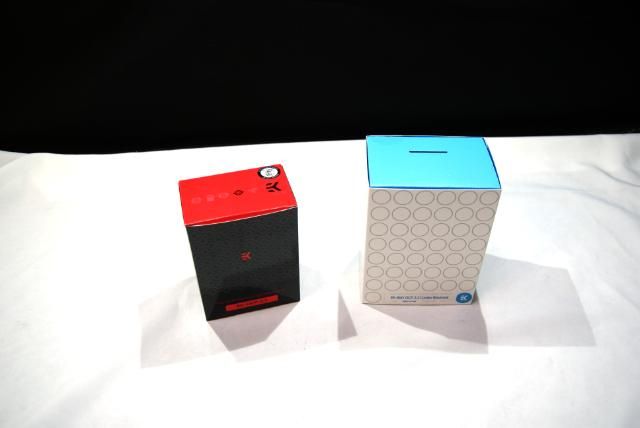
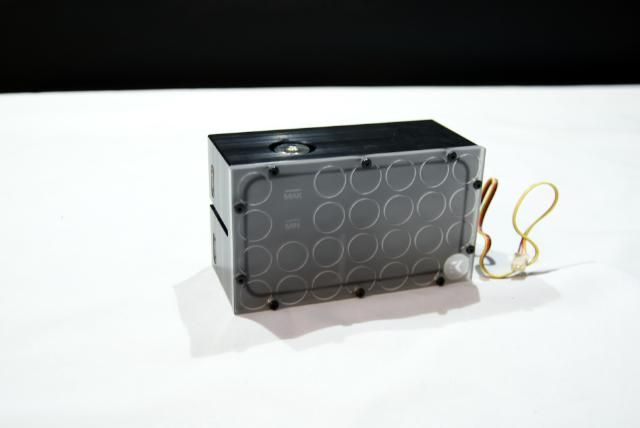
And EKWB for the watercooling components
There will be a lot of pictures again in this build. What is new is that I now going to add videos, think this will be a nice addition.
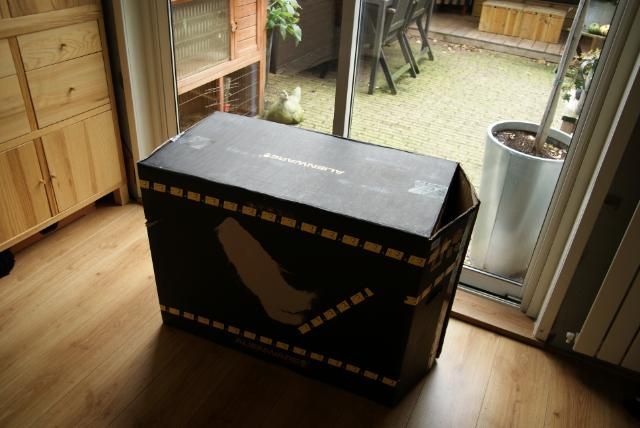
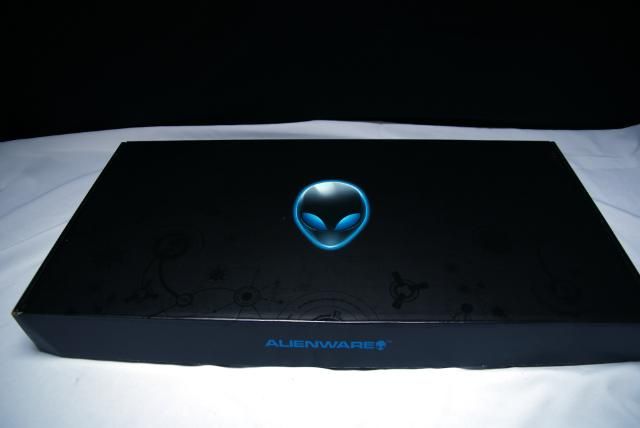
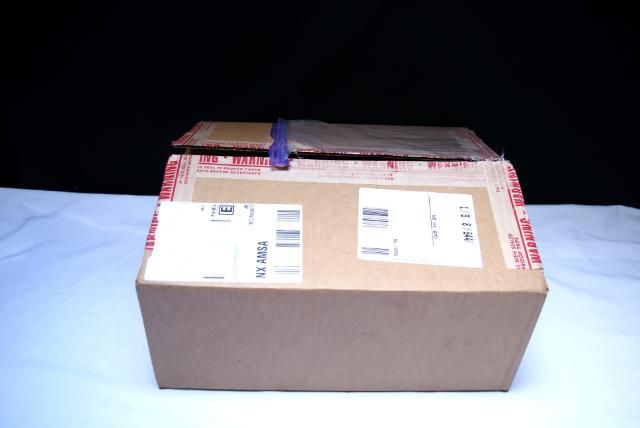
First contact with an alien:
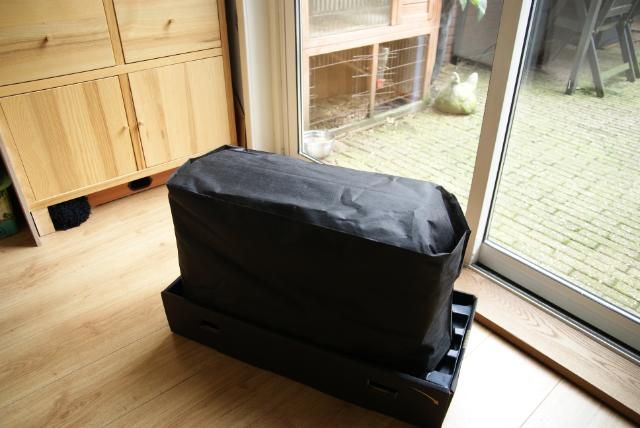
Always a great feeling to receive packages :) Once everything is dragged into the living room to have another great feeling ..... unboxing
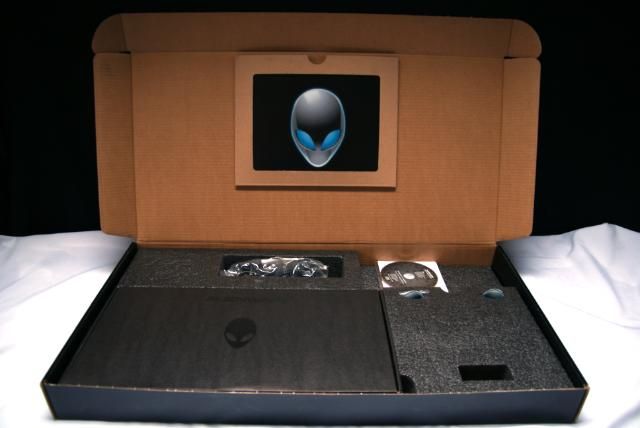
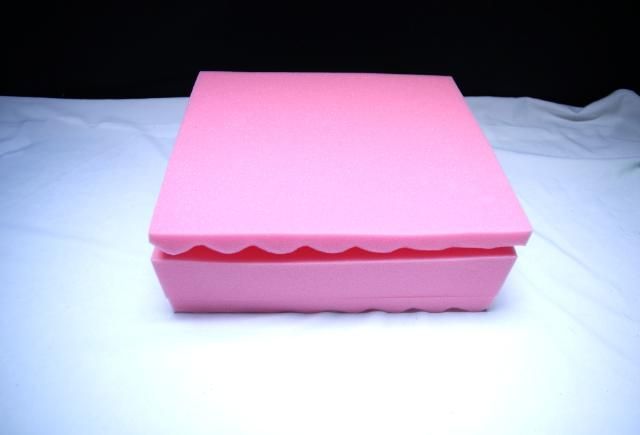
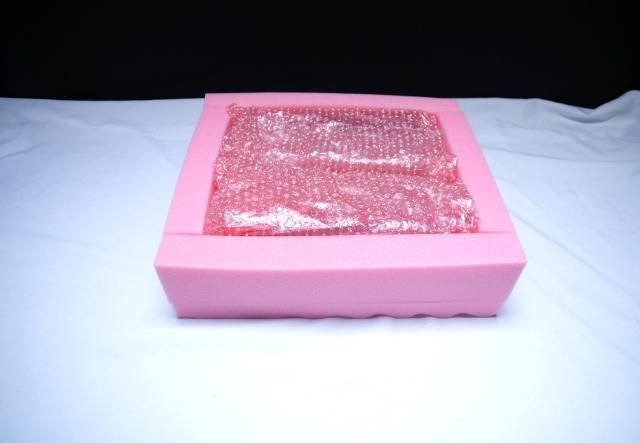
The Aurora is certainly well packed, they have given this some good thought.
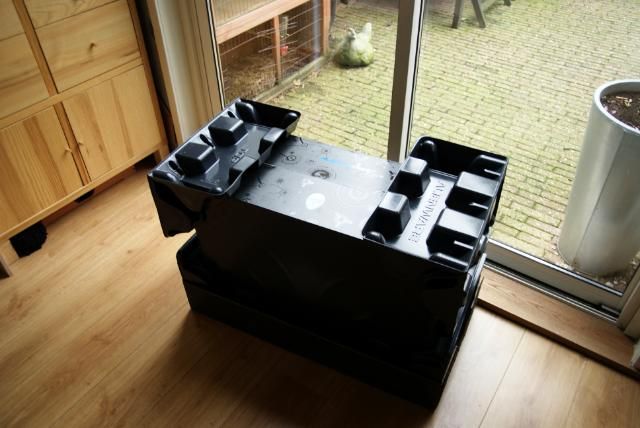
A box in a box
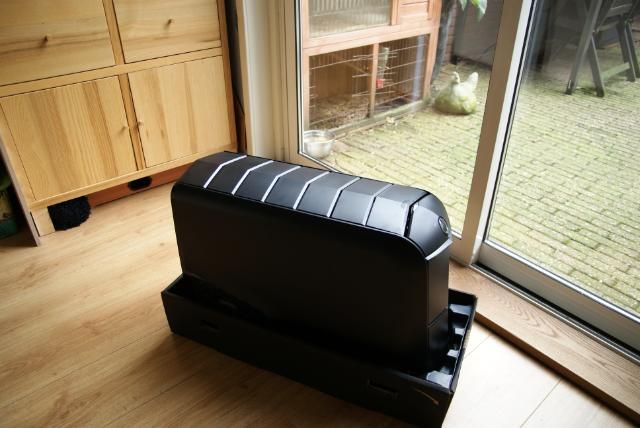
Clips to unlock the cover
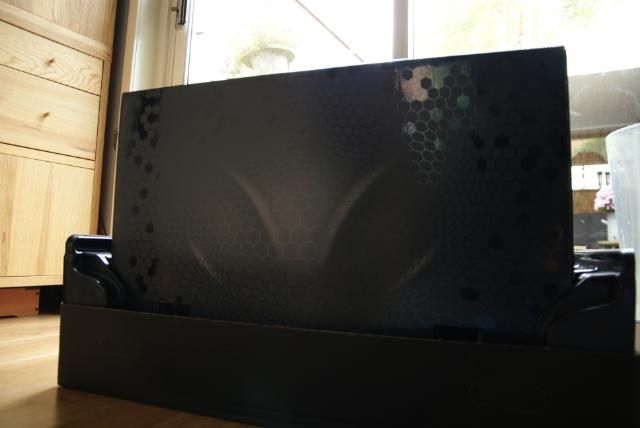
Almost :eeek:
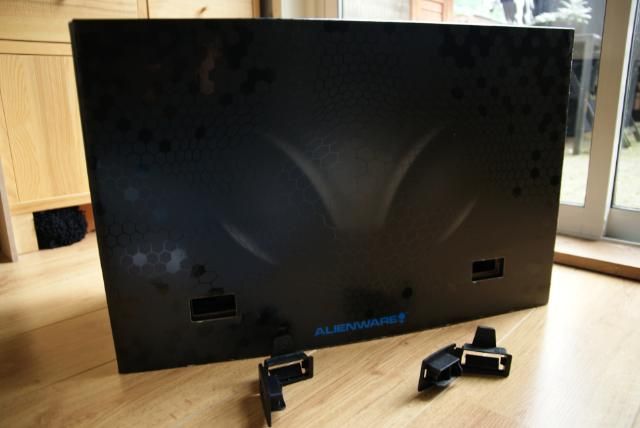
:jawdrop: :jawdrop: :jawdrop:
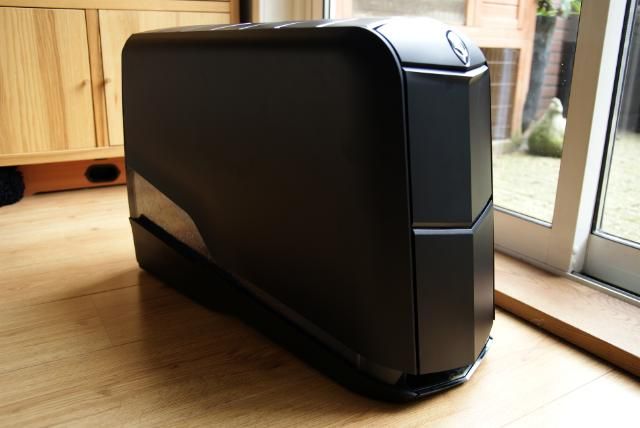
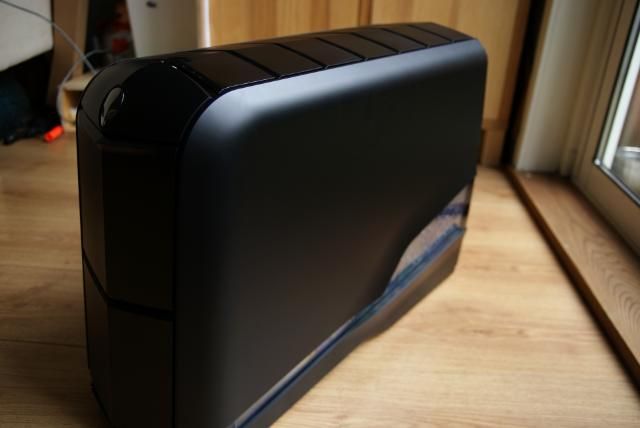
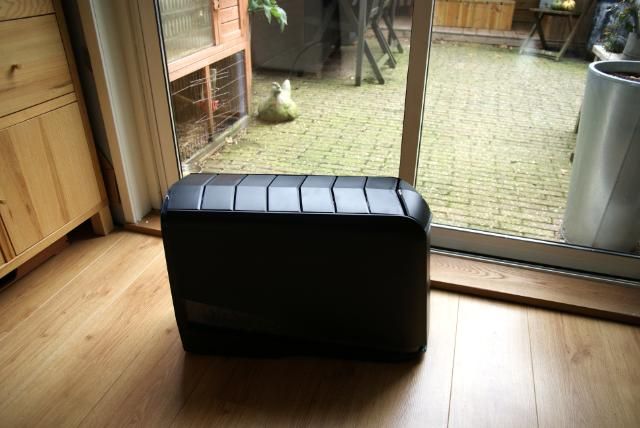
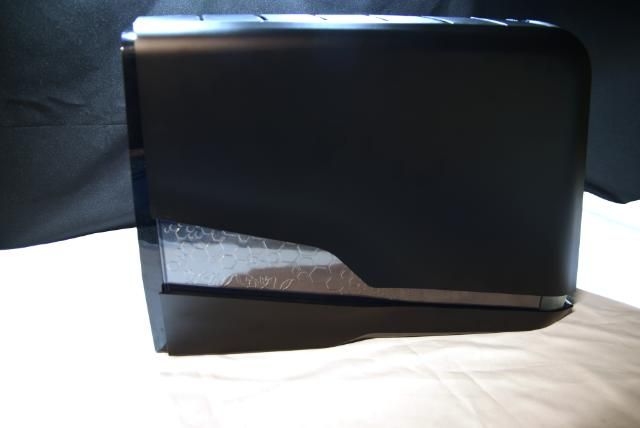
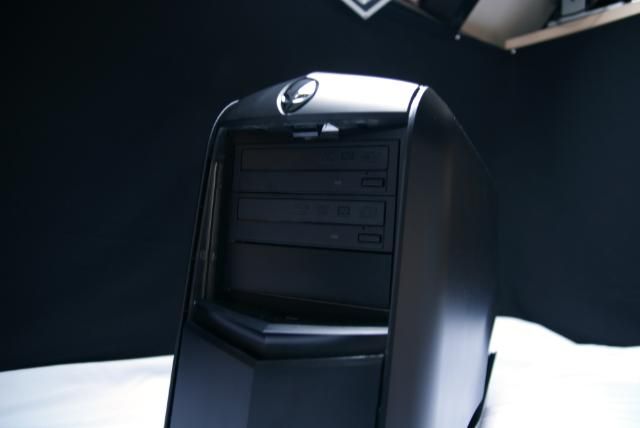
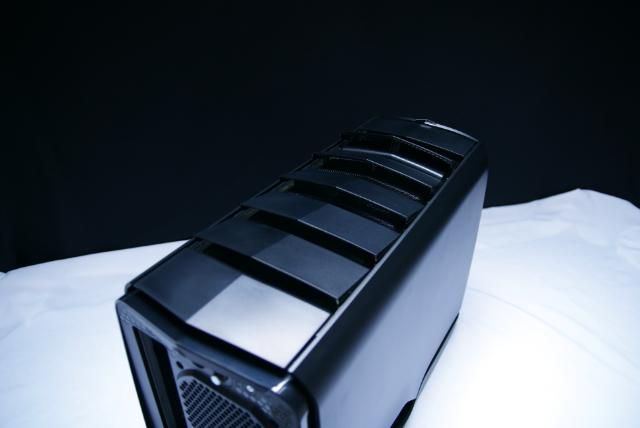
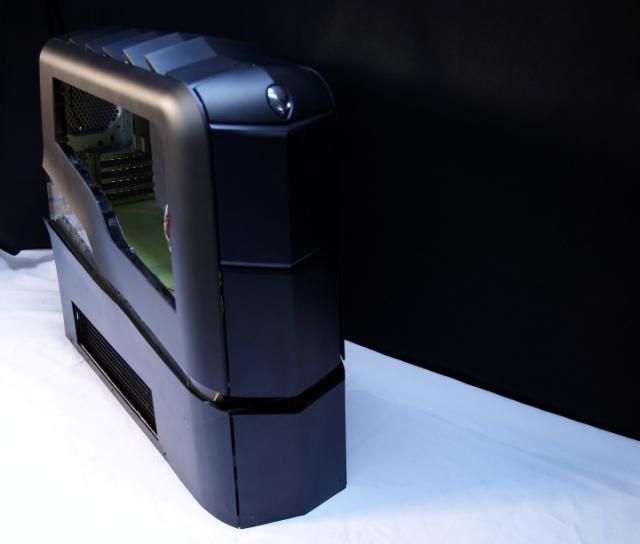
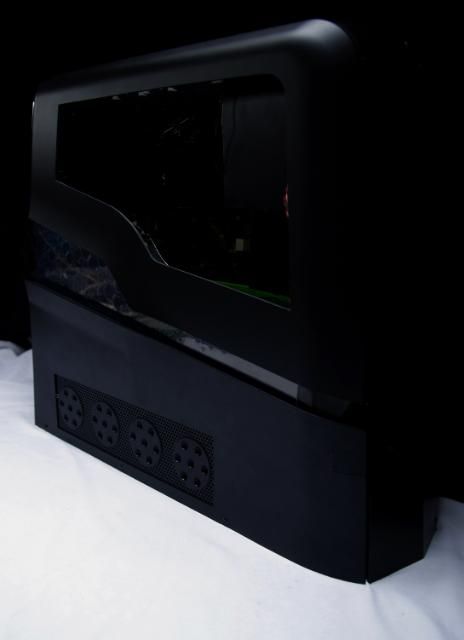
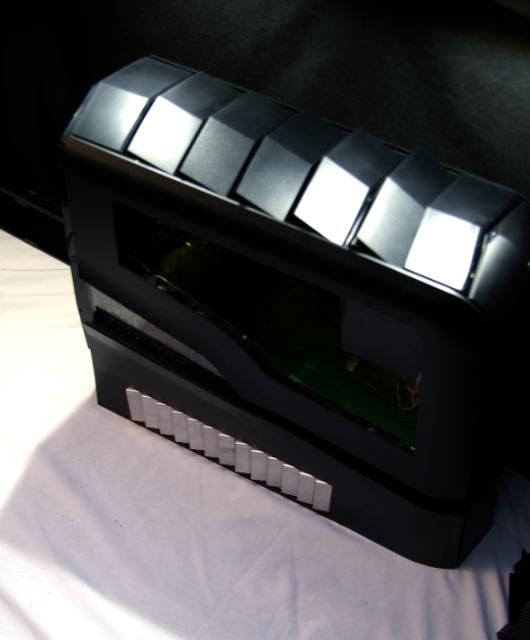
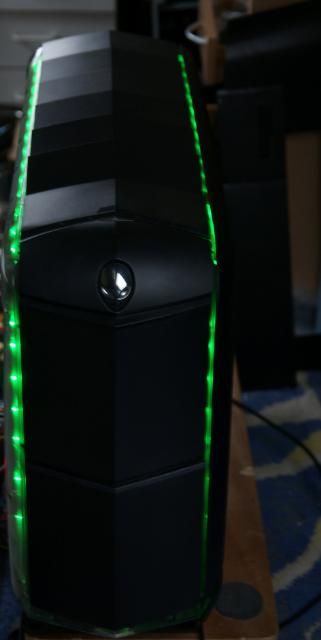
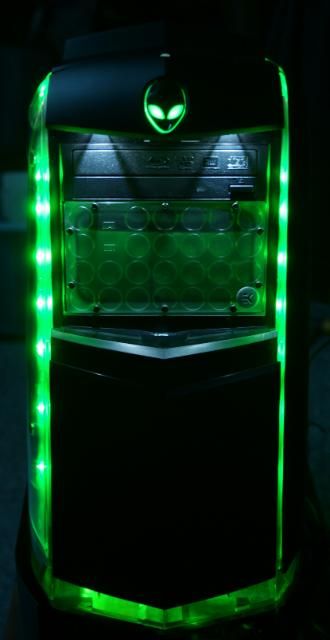
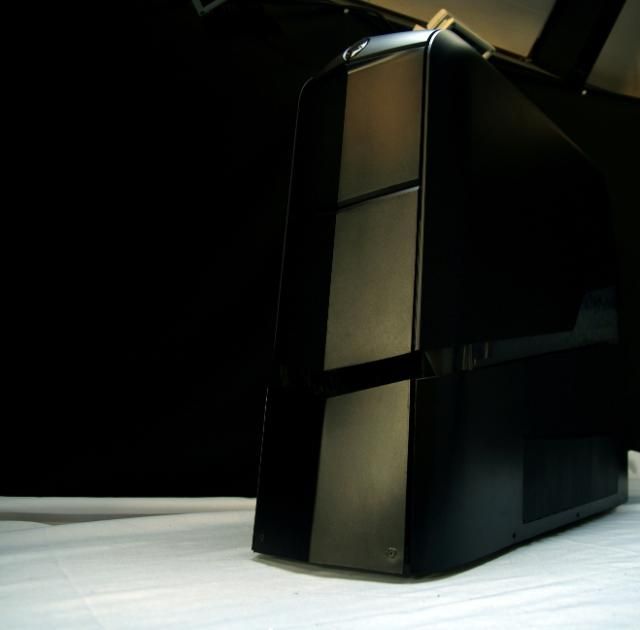
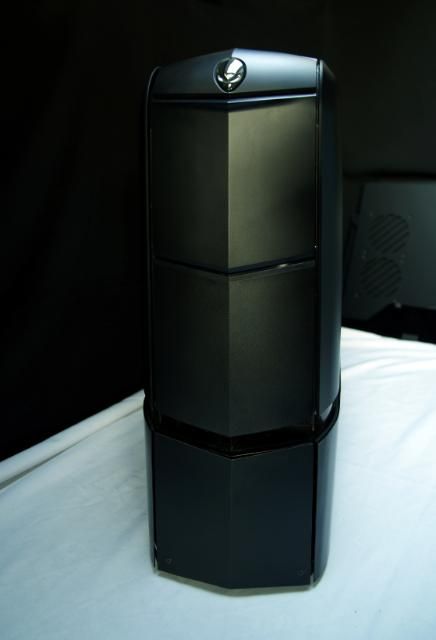
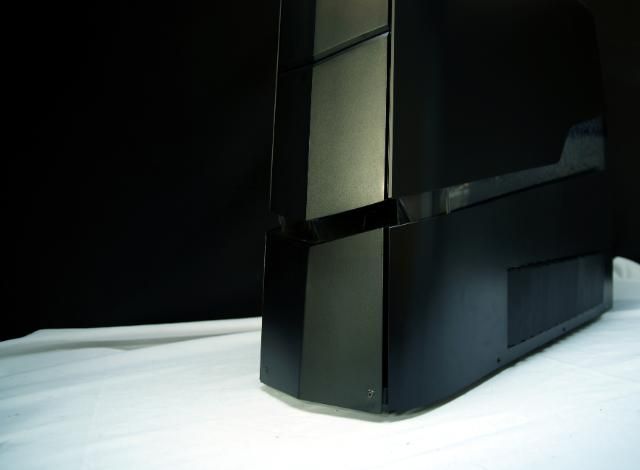
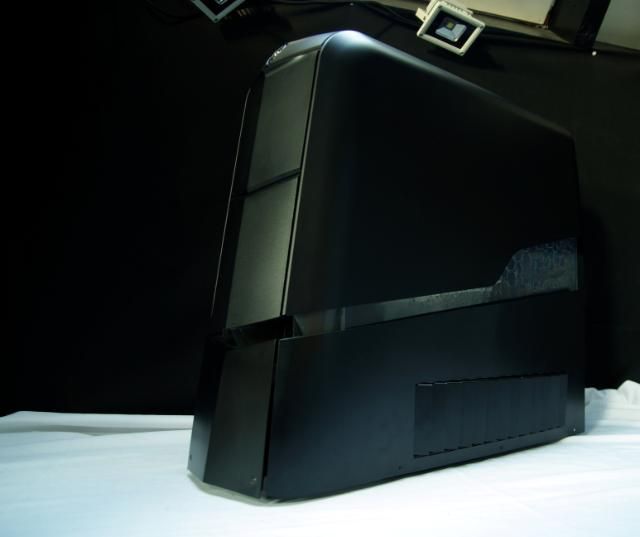
The Alienware Aurora
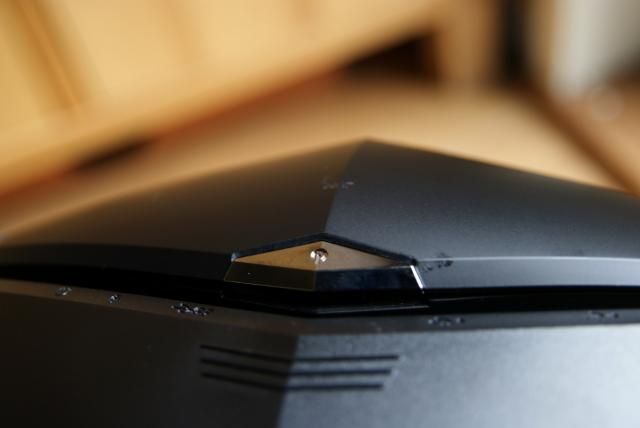
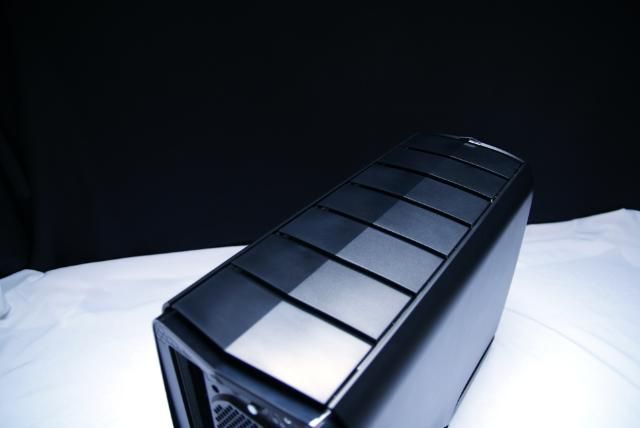
Nice shapes
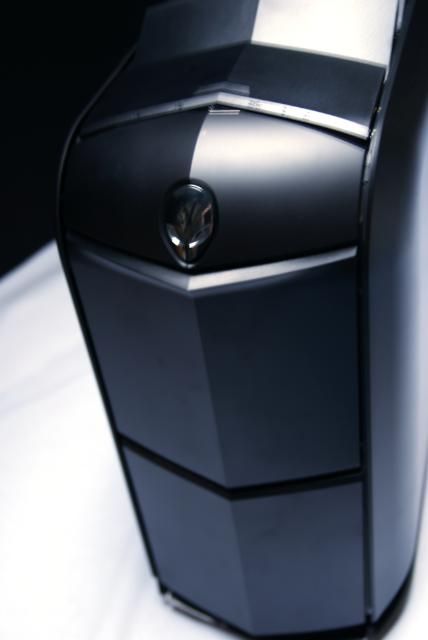
Front also beautiful and clean
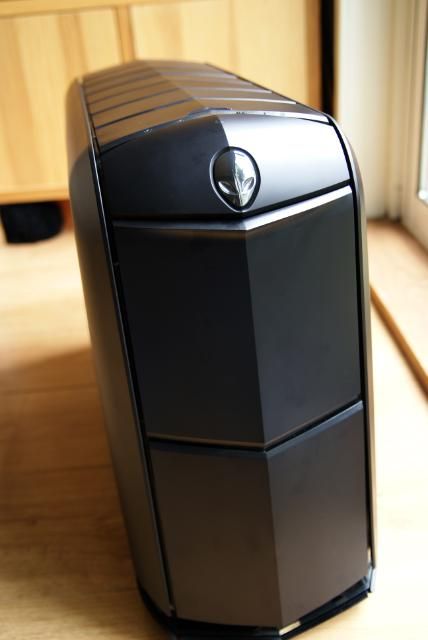
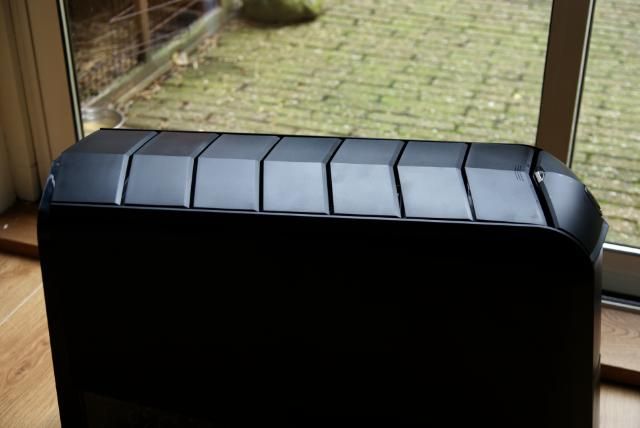
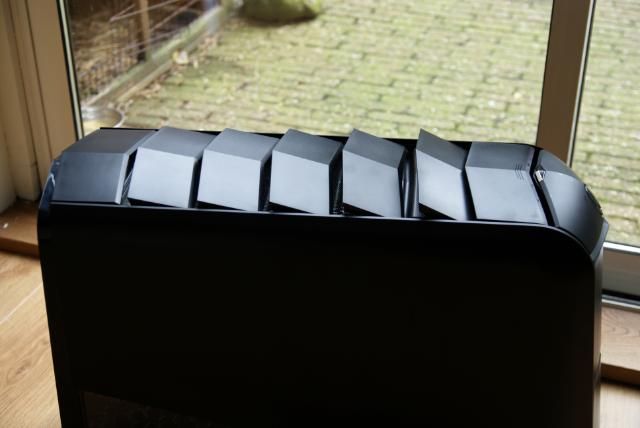
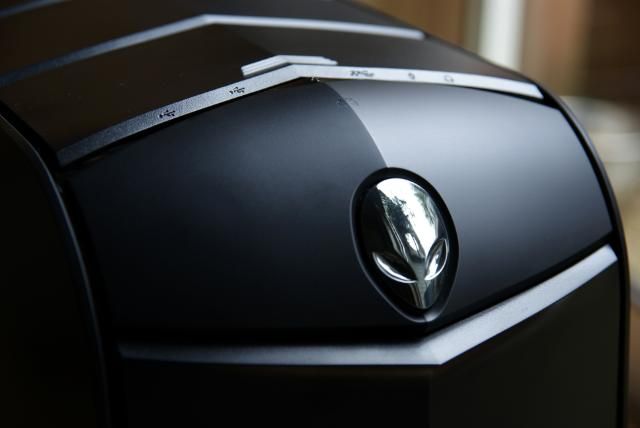
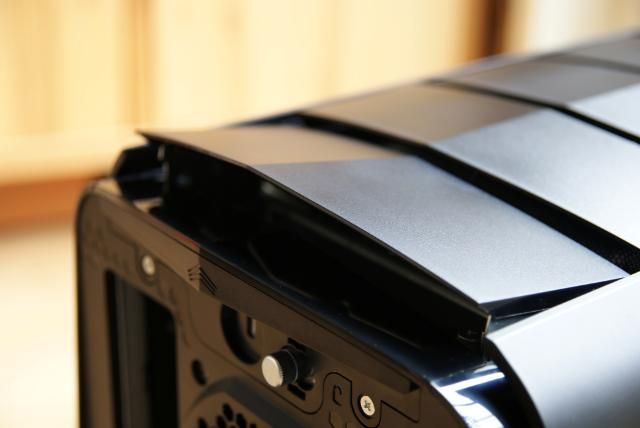
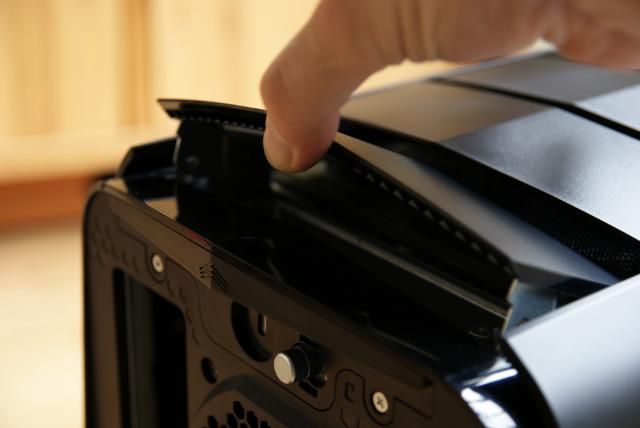
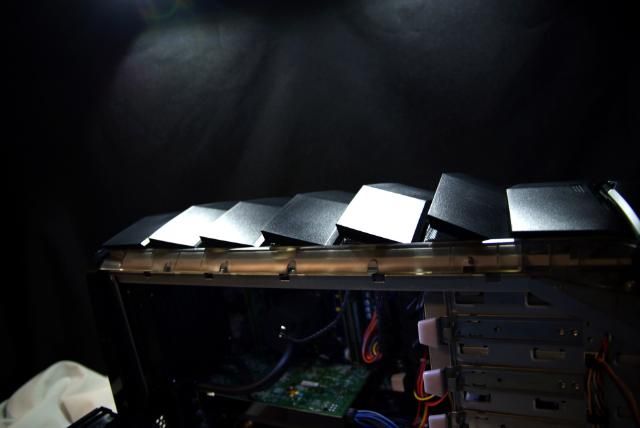
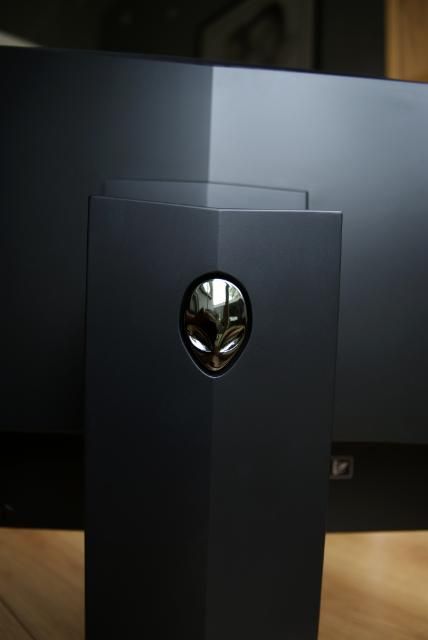
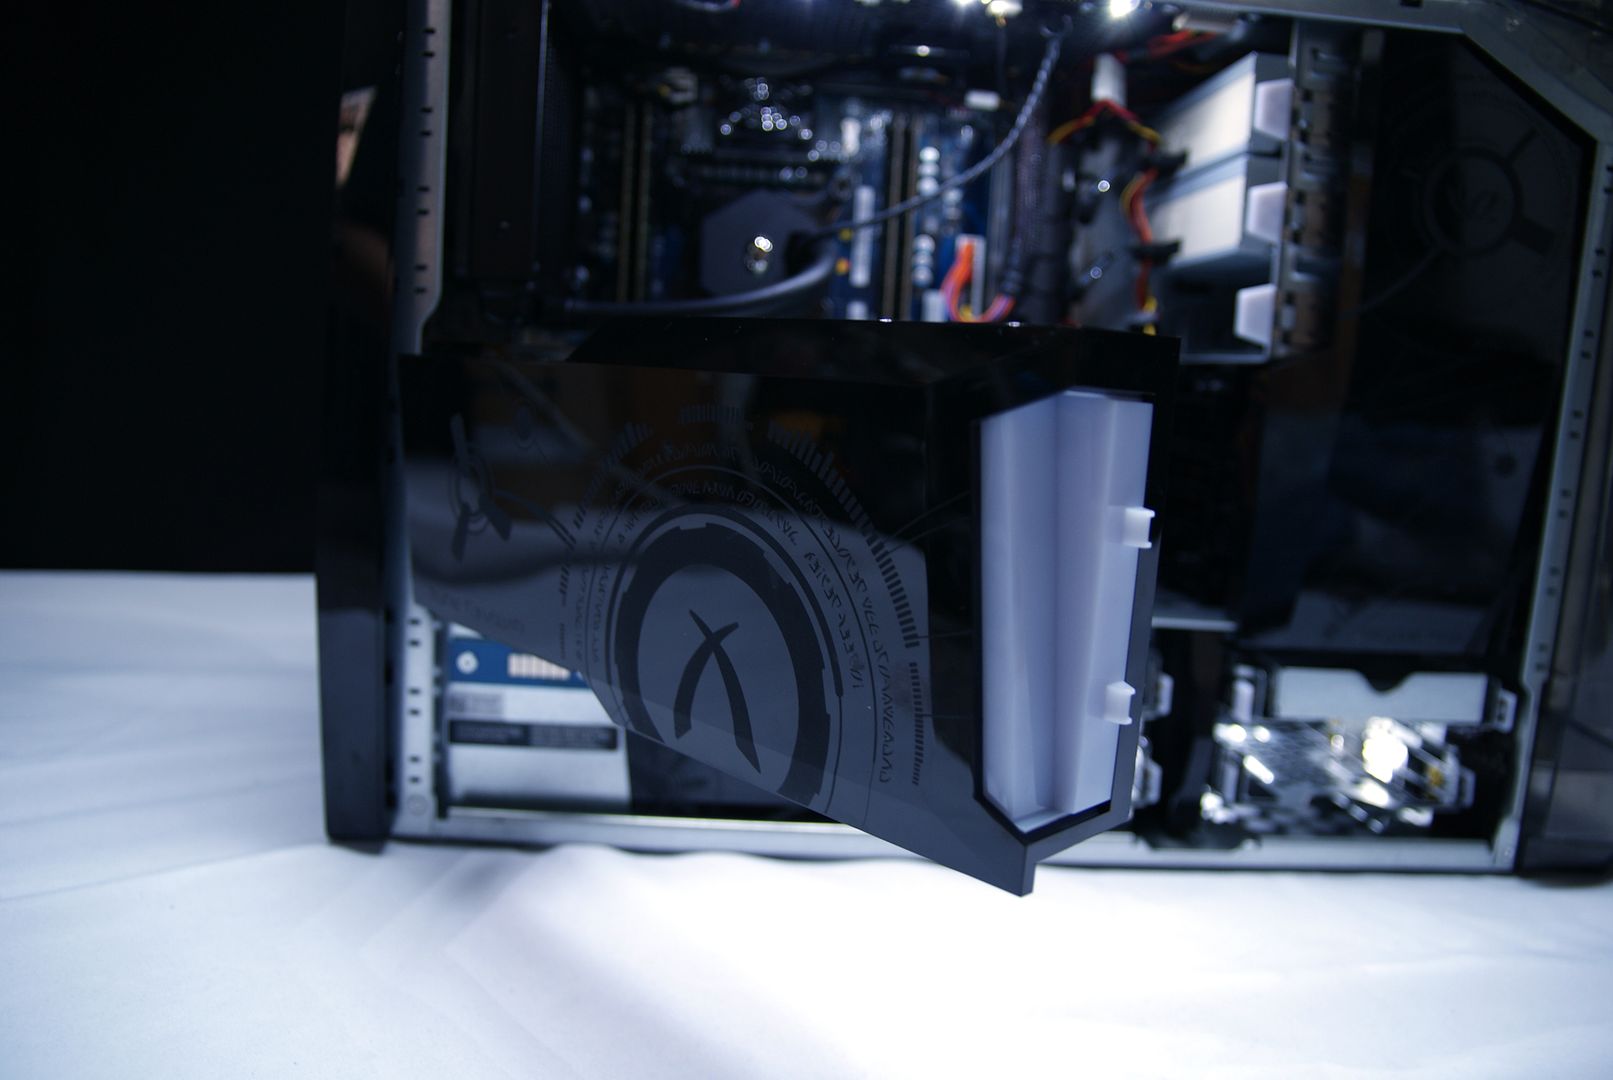
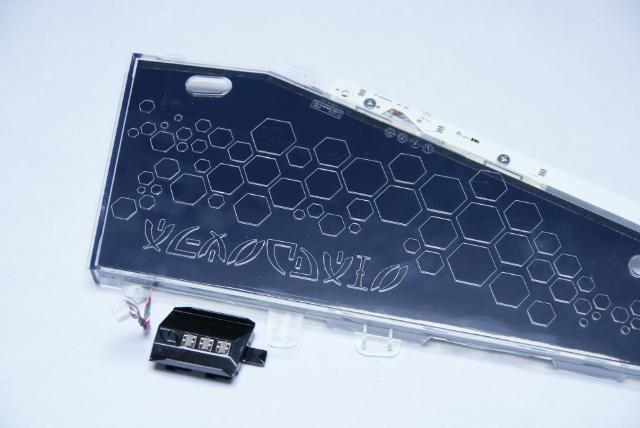
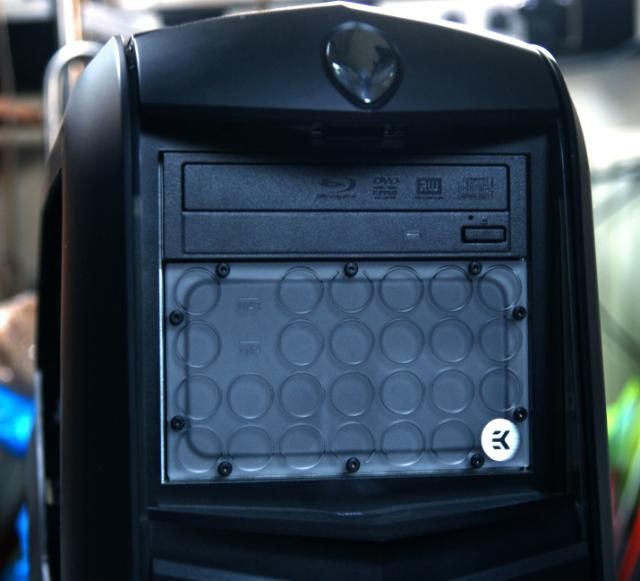
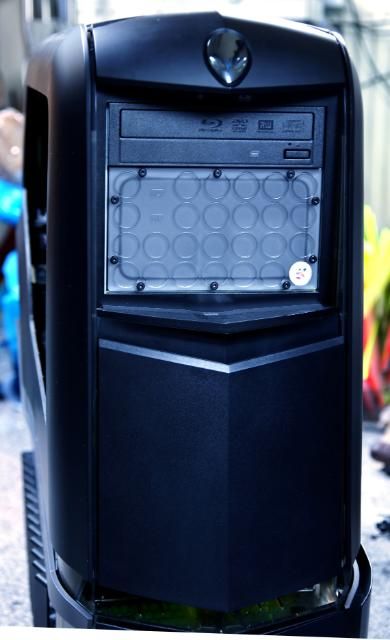
One touch on the Alien head and the panel slides down.
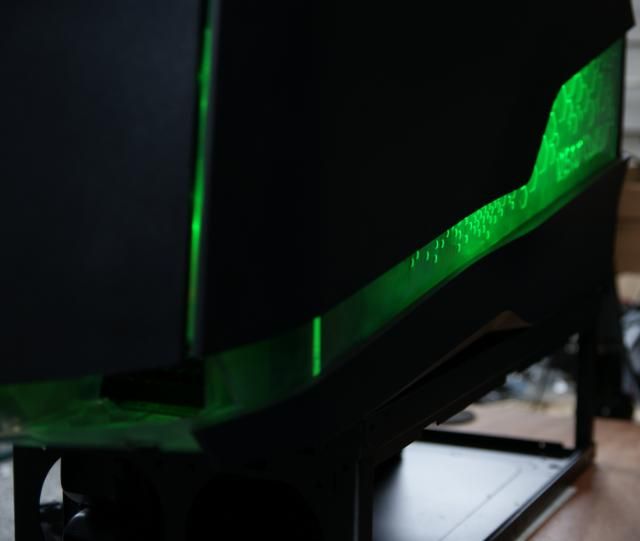
If the PC is turned on and you activate the sliding panel, the lights which illuminate the optical drives will turn on
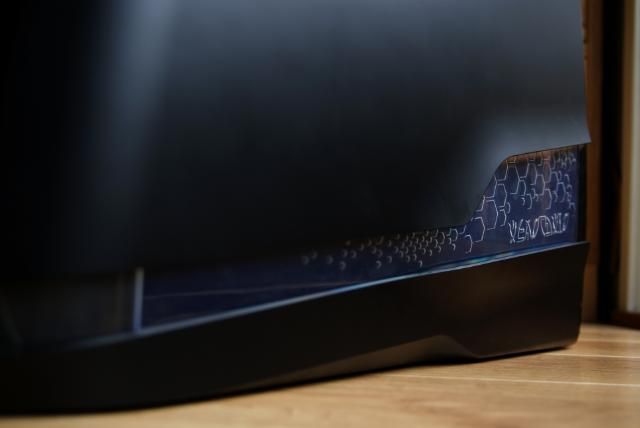
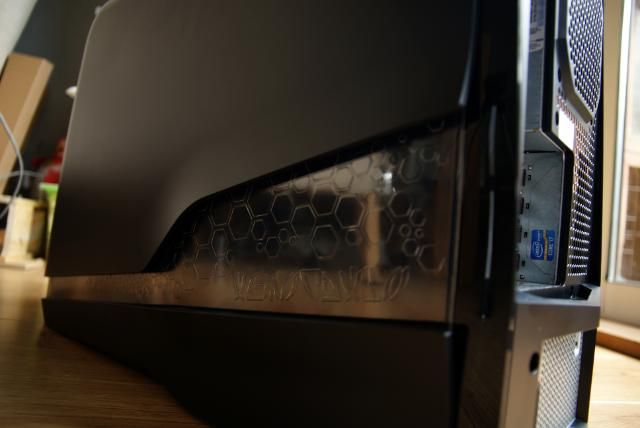
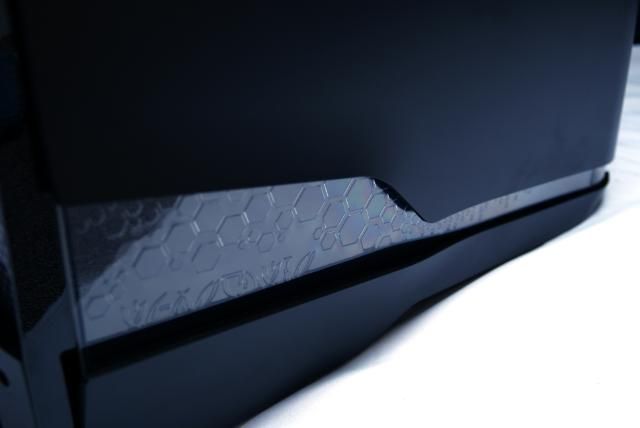
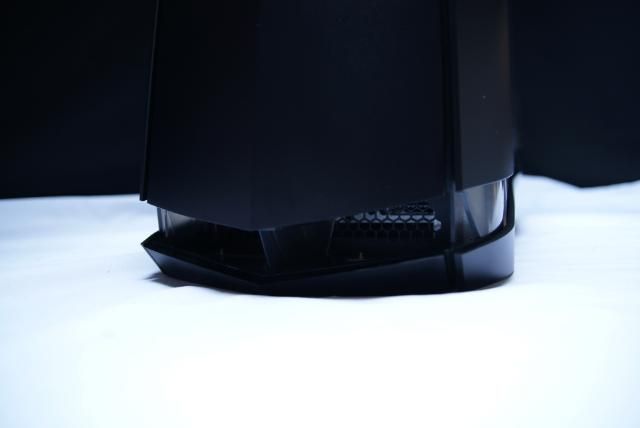
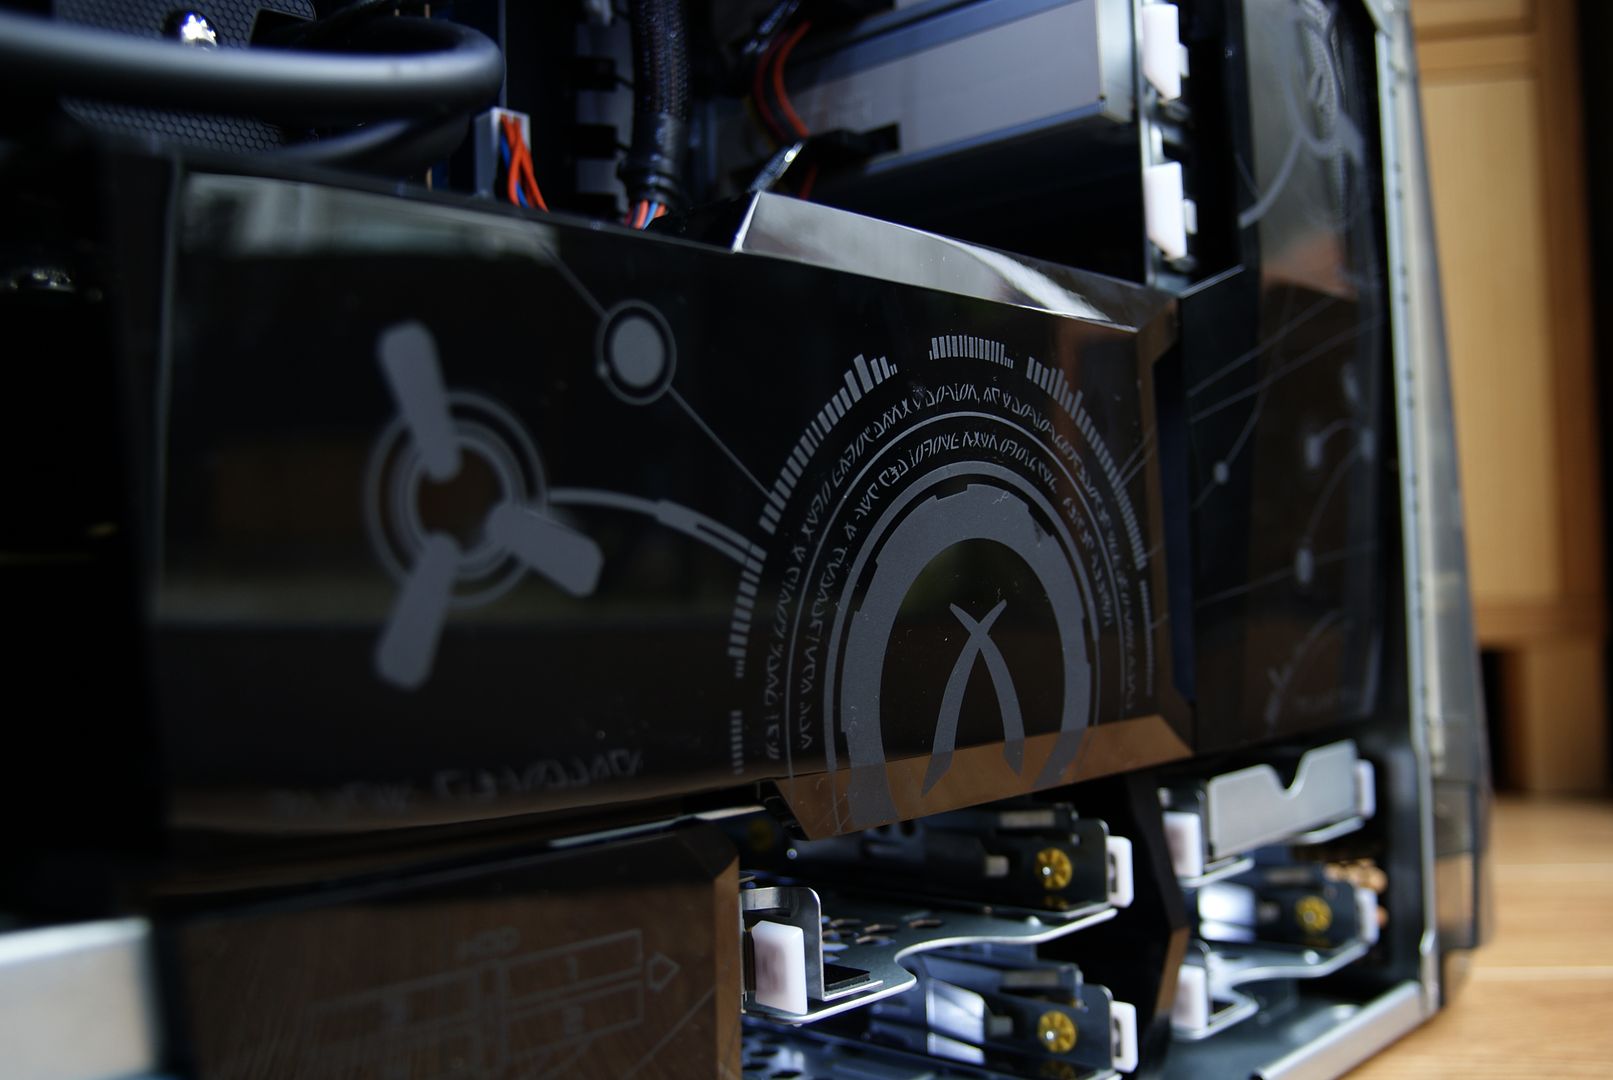
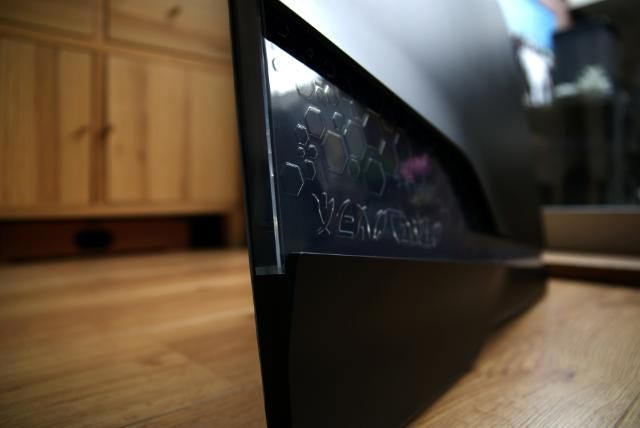
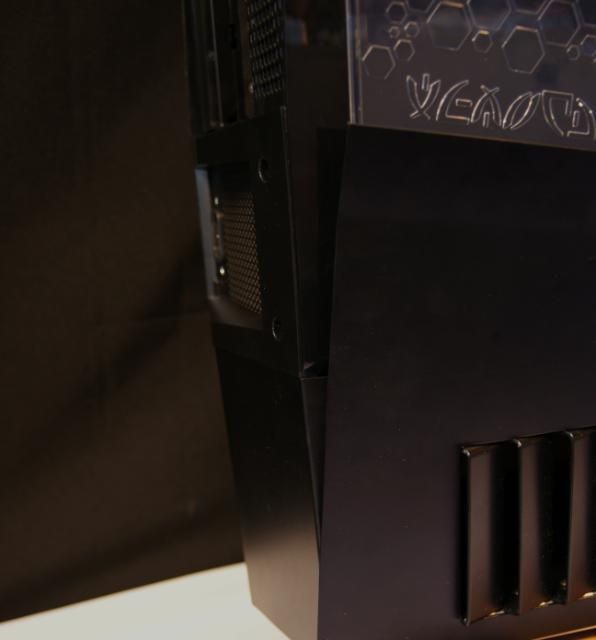
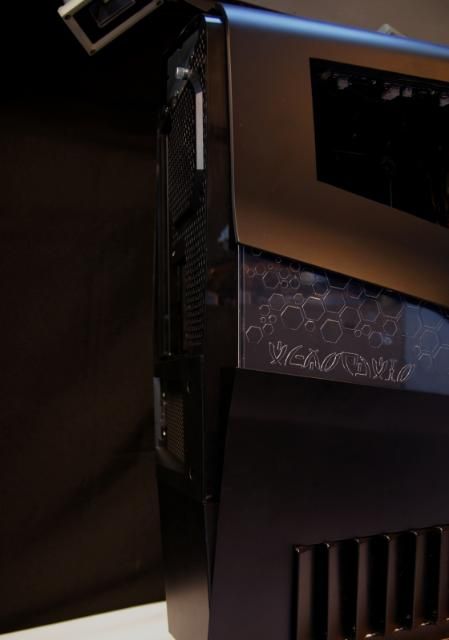
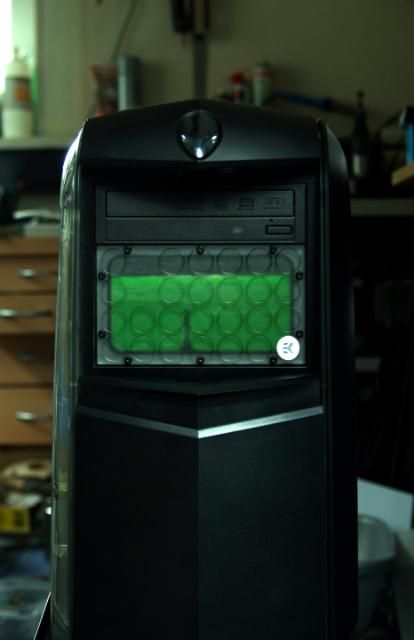
Acrylic part what looks very nice ... especially when it is enlightened
Power button
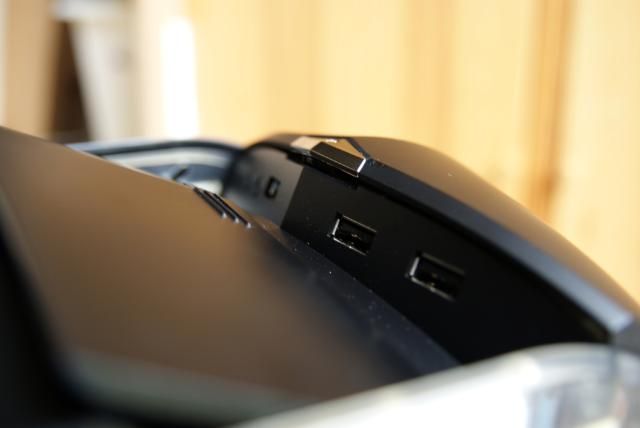
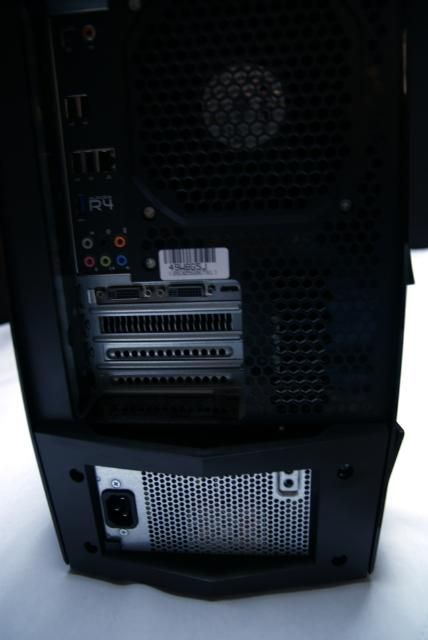
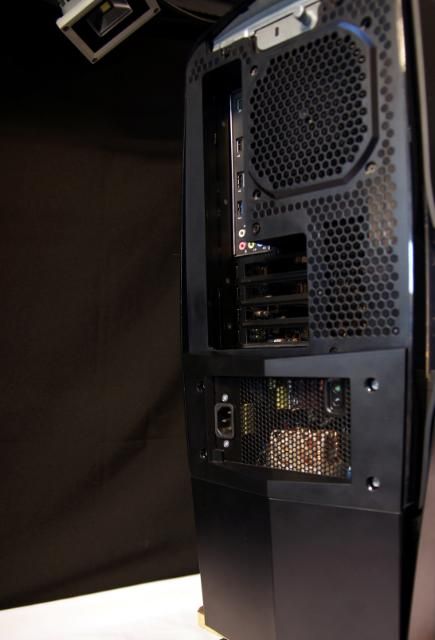
Behind this is a pushpanel to the front I / O. containing
(2x) Hi-Speed USB 2.0
(1x) SuperSpeed USB 3.0
(1x) Mic
(1x) Headphone
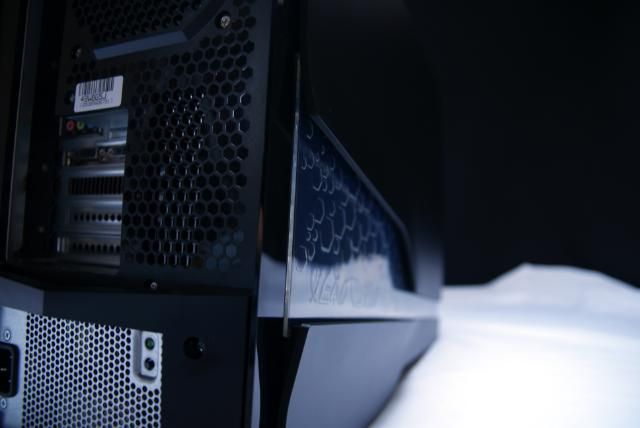
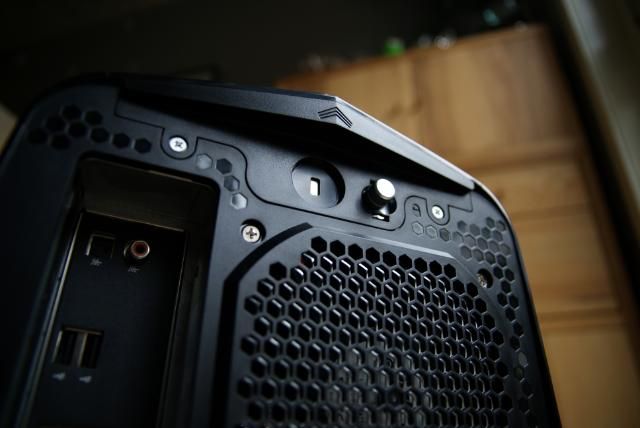
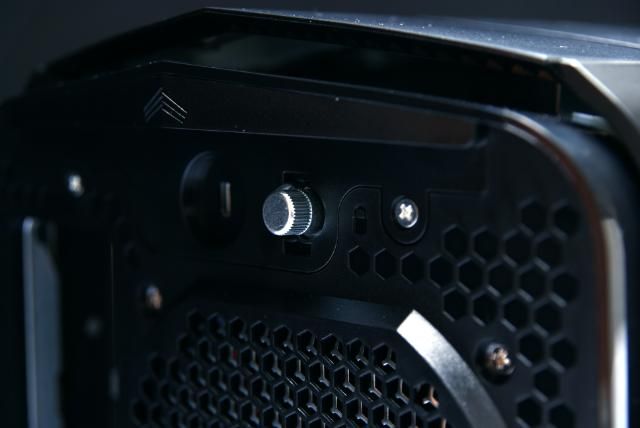
At the rear is the handle to unlock the side panel.
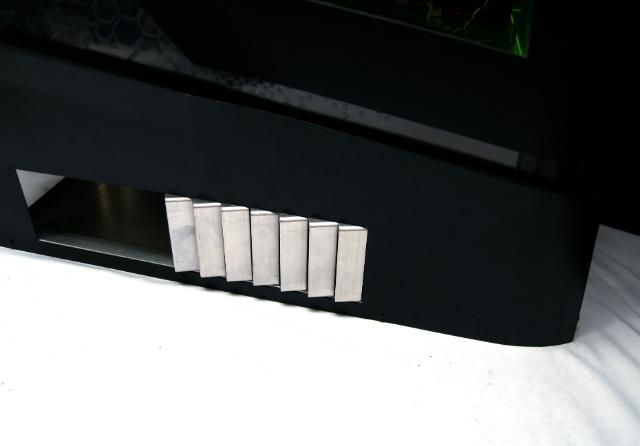
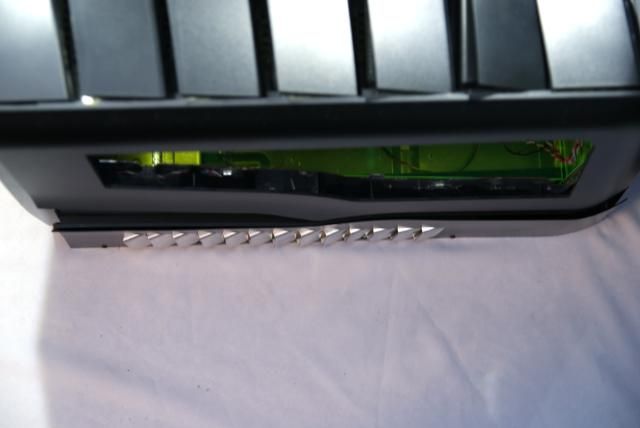
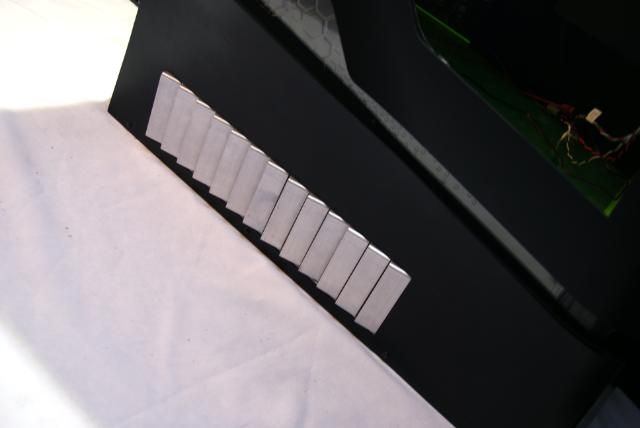
Pull the last vent
To unlock the sidepanel
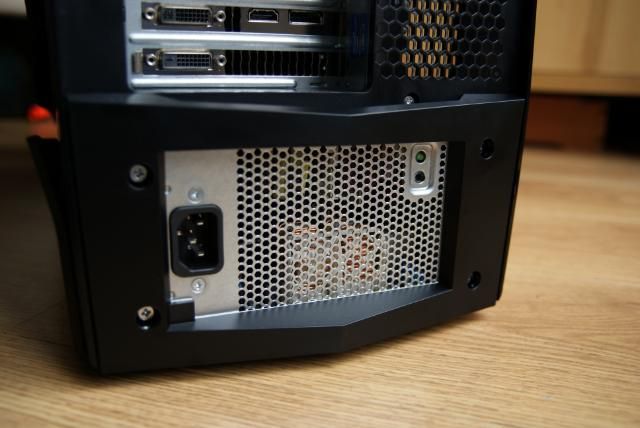
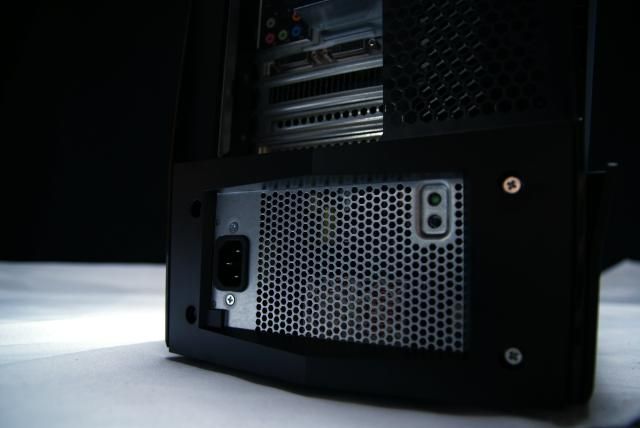
The PSU (Alienware™ 875-watt) is also swappable and modular
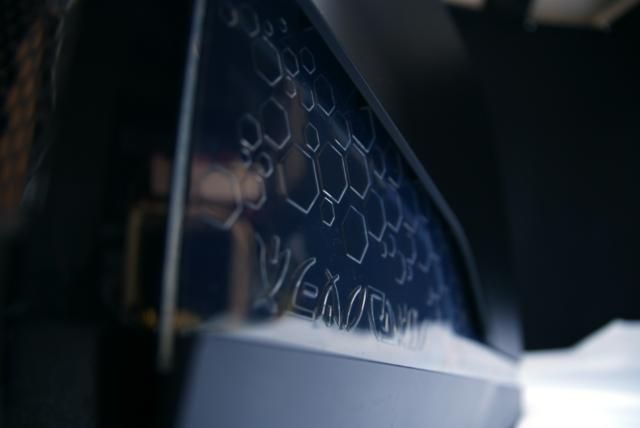
Another great gadget is the enlightenment on the back. Activated with a push button.
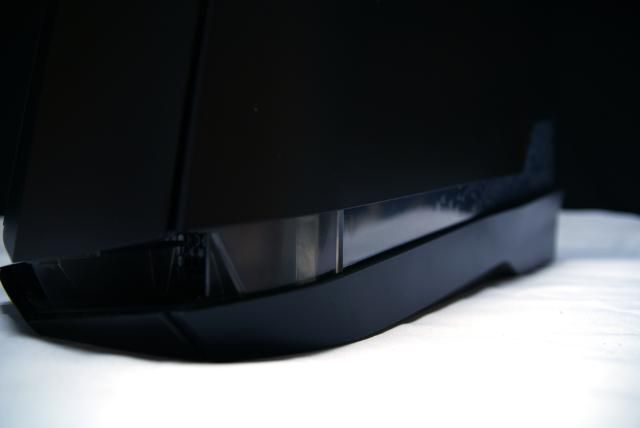
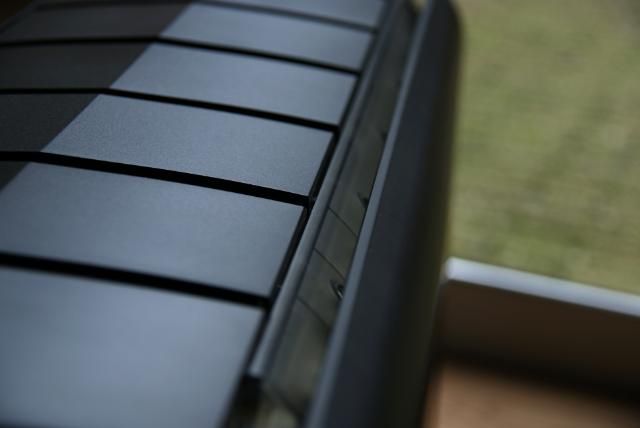
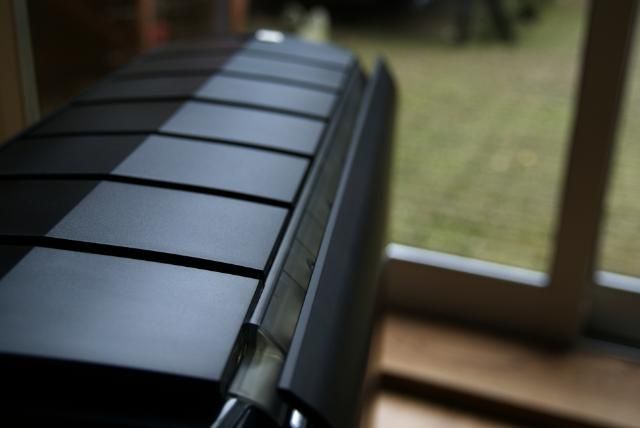
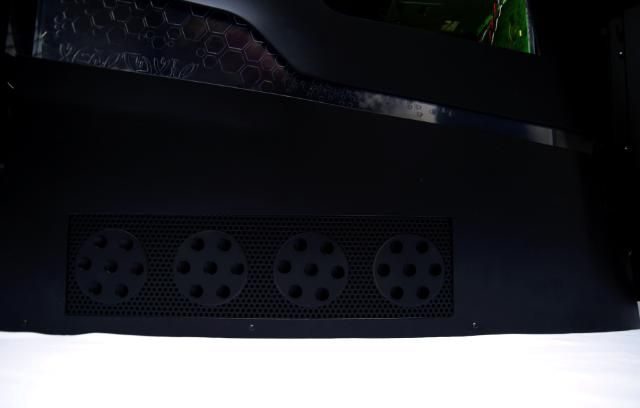
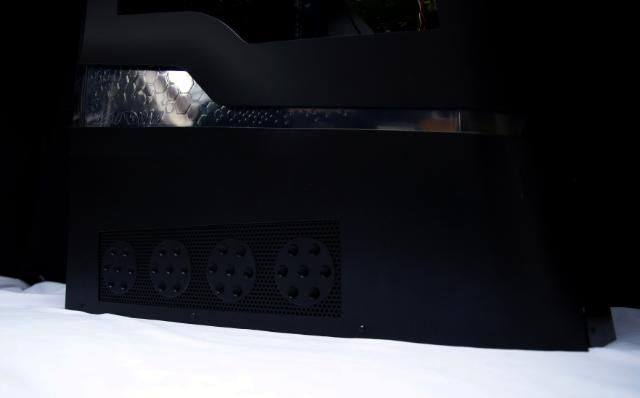
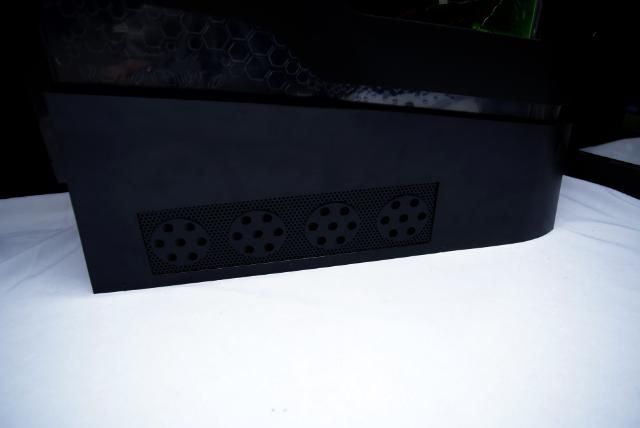
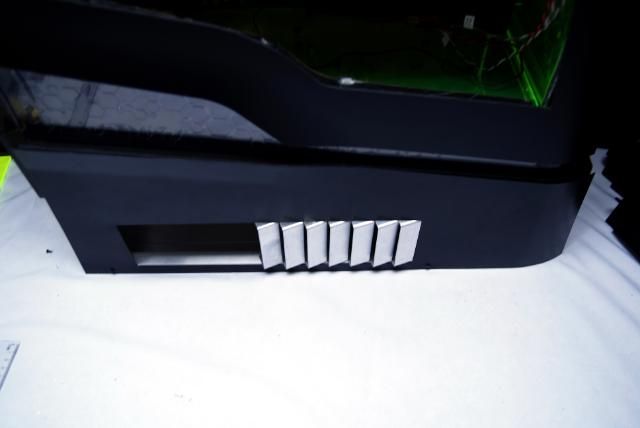
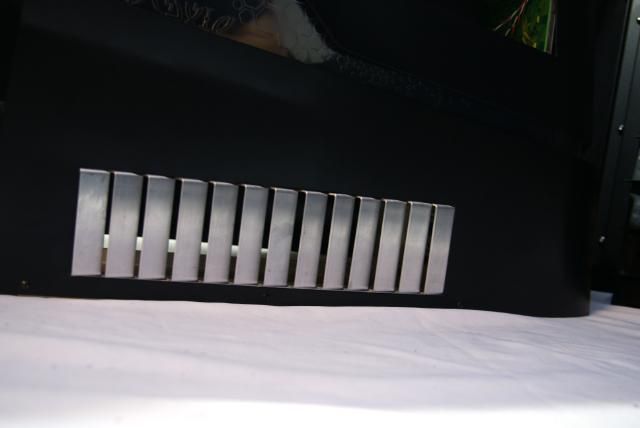
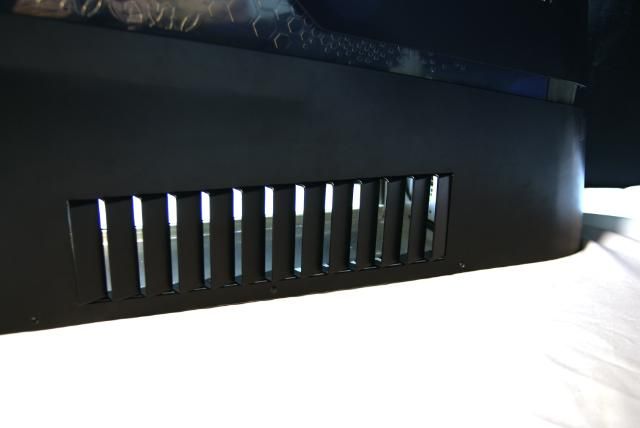
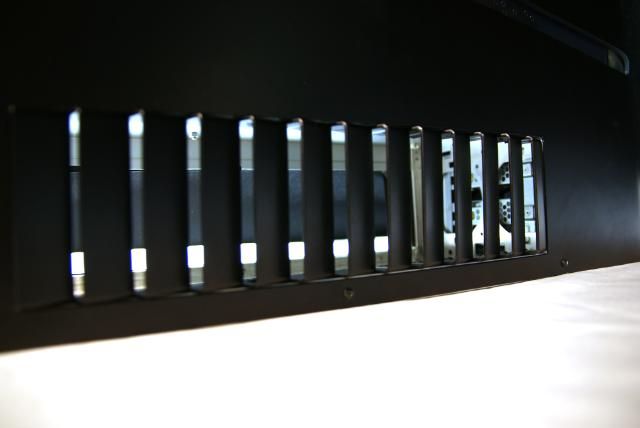
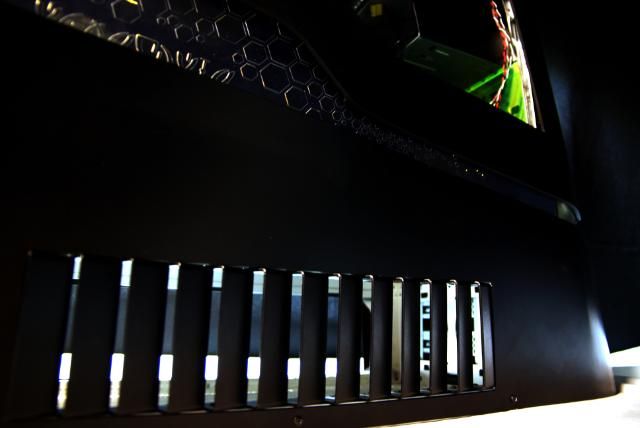
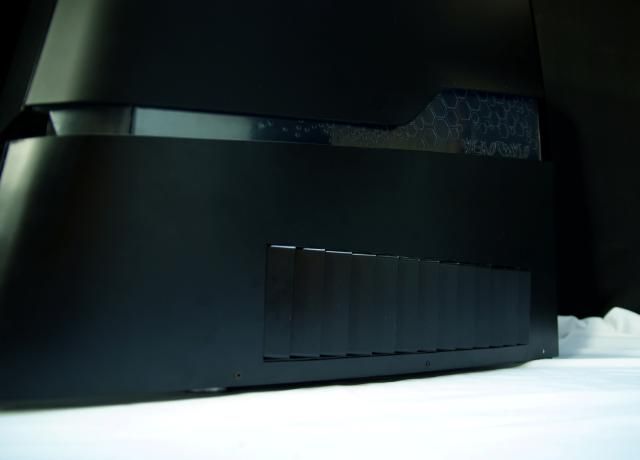
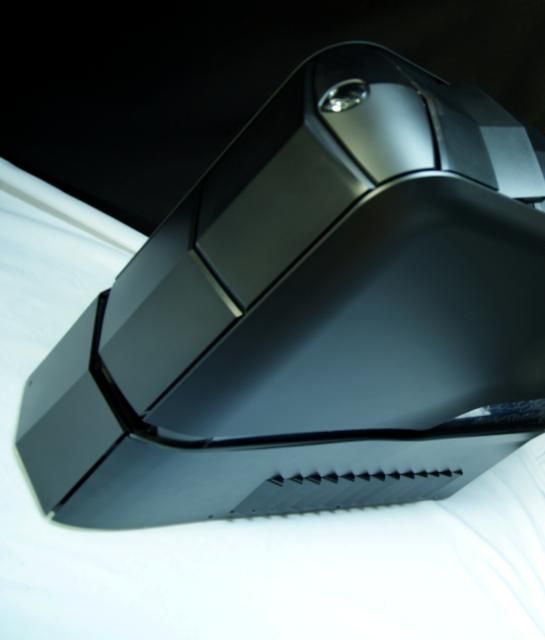
Also a great gadget is the Alienware Active Venting.
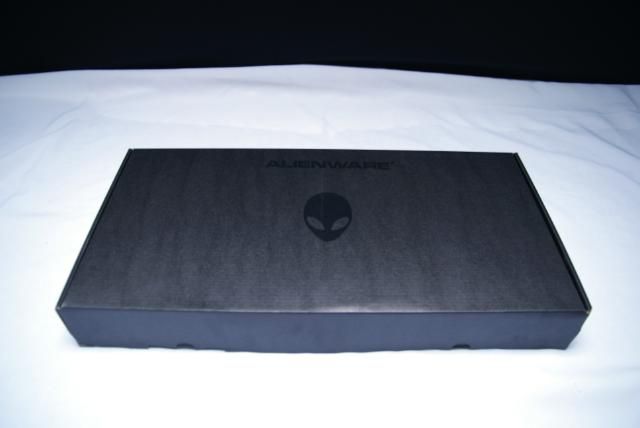
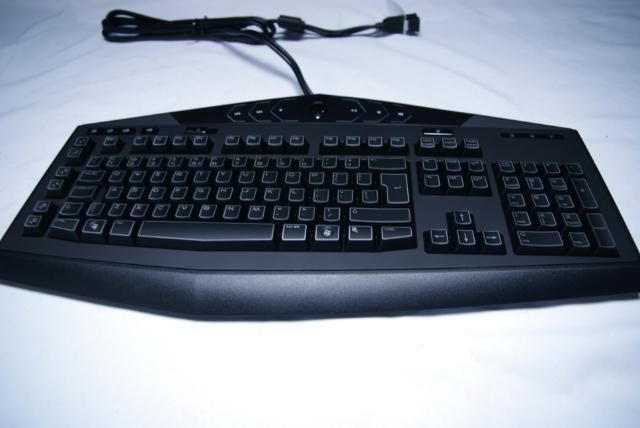
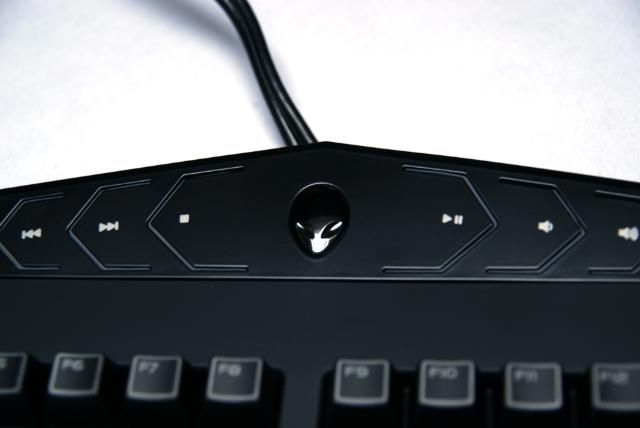
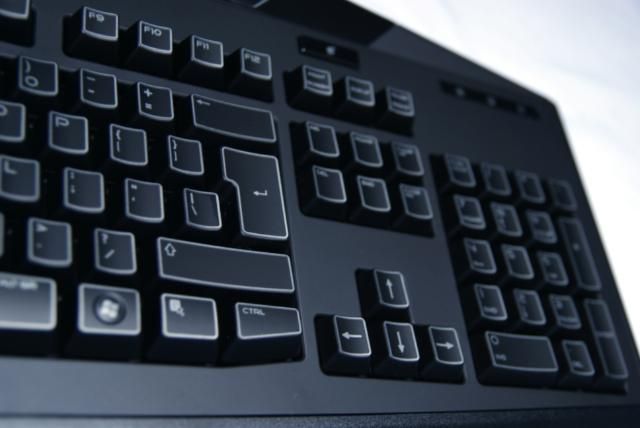
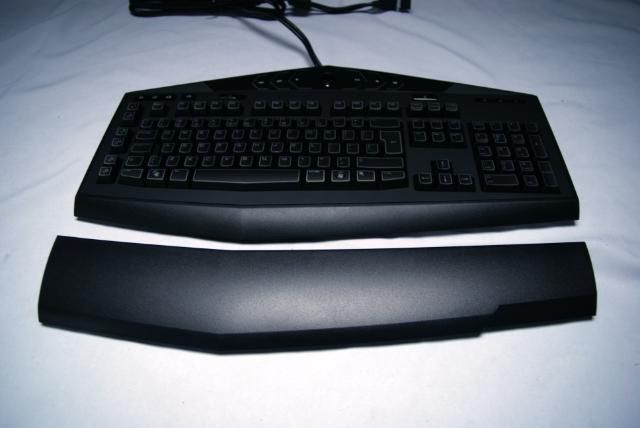
Next box. With keyboard and other accessories
The Alienware tactx keyboard with two-zone lighting setup
10-27-2012, 02:29 PM
kier
Re: Alienware Aurora ALX-XL
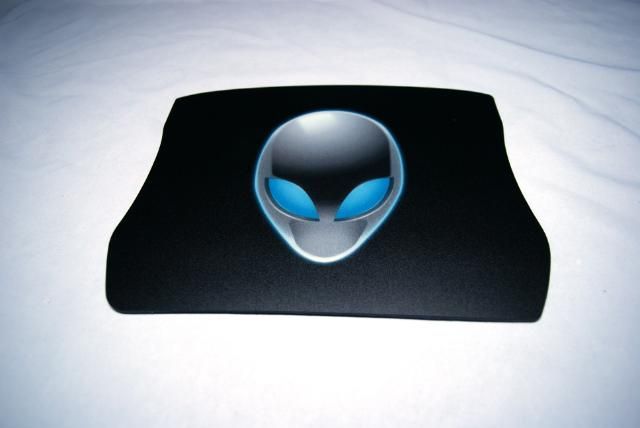
The Alienware mousepad
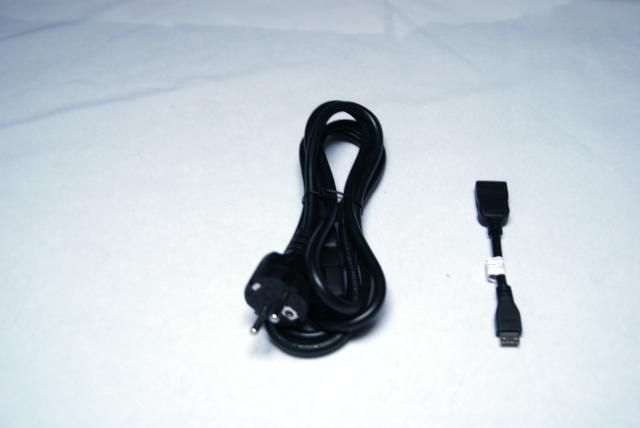
Some documents
Drivers and utilities
Cables
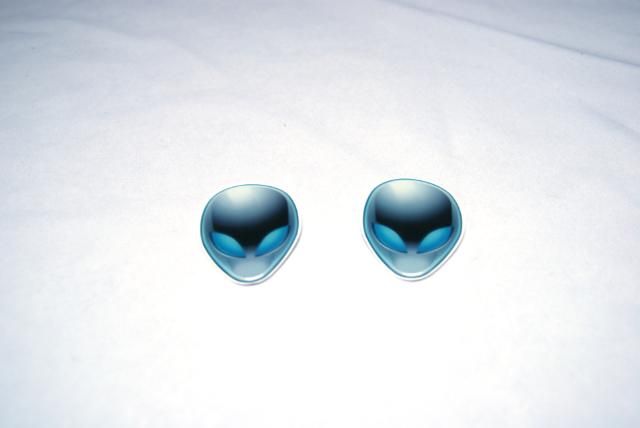
And two Alienware 3D avatars
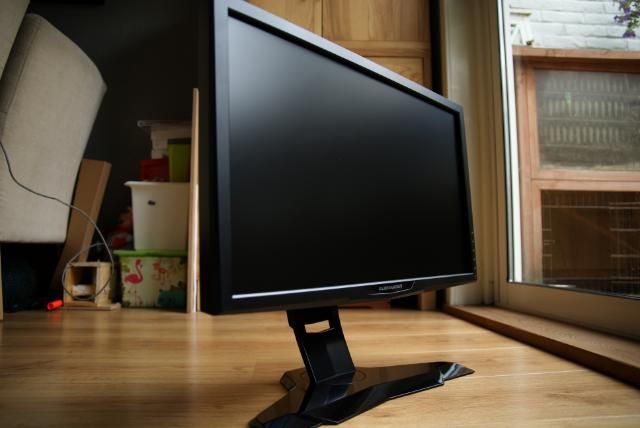
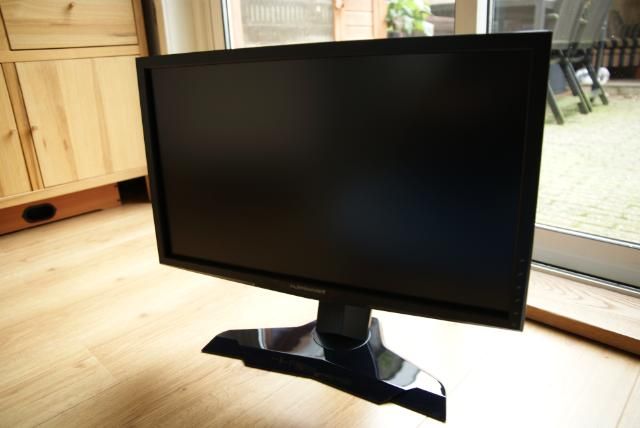
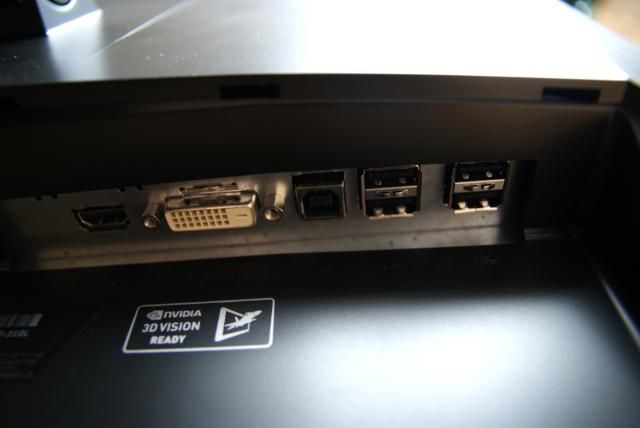
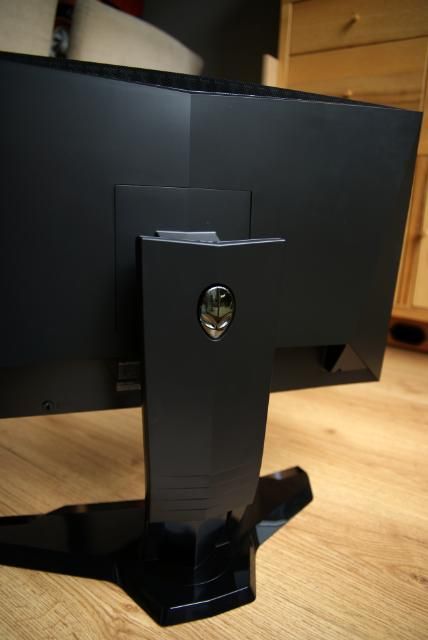
Not finished yet ..... a monitor, the beautiful Alienware OPTX AW2310
Specs:
•Connections Dual-link DVI (with HDCP), HDMI, 4 x USB
•Viewable Screen Size 23.5in
•Maximum Resolution 1,920 x 1,080
•Contrast ratio 80,000:1 (dynamic), static not quoted
•Brightness 400cd/m2
•Response time 3ms (grey-to-grey)
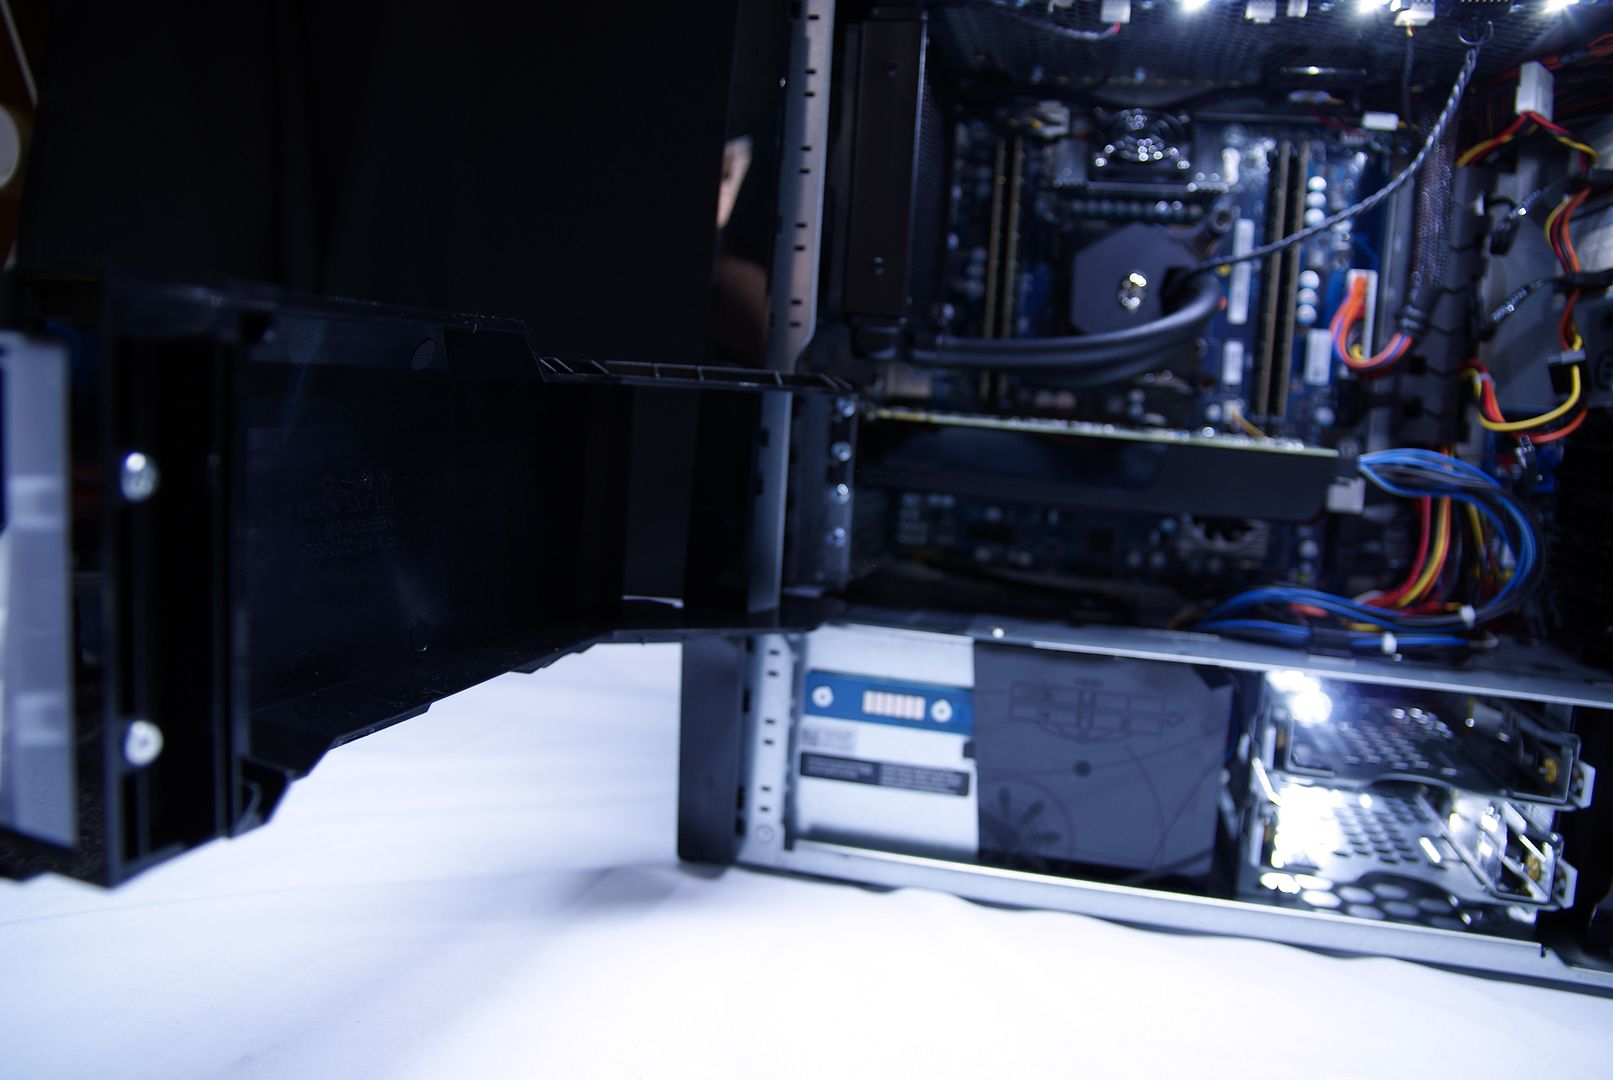
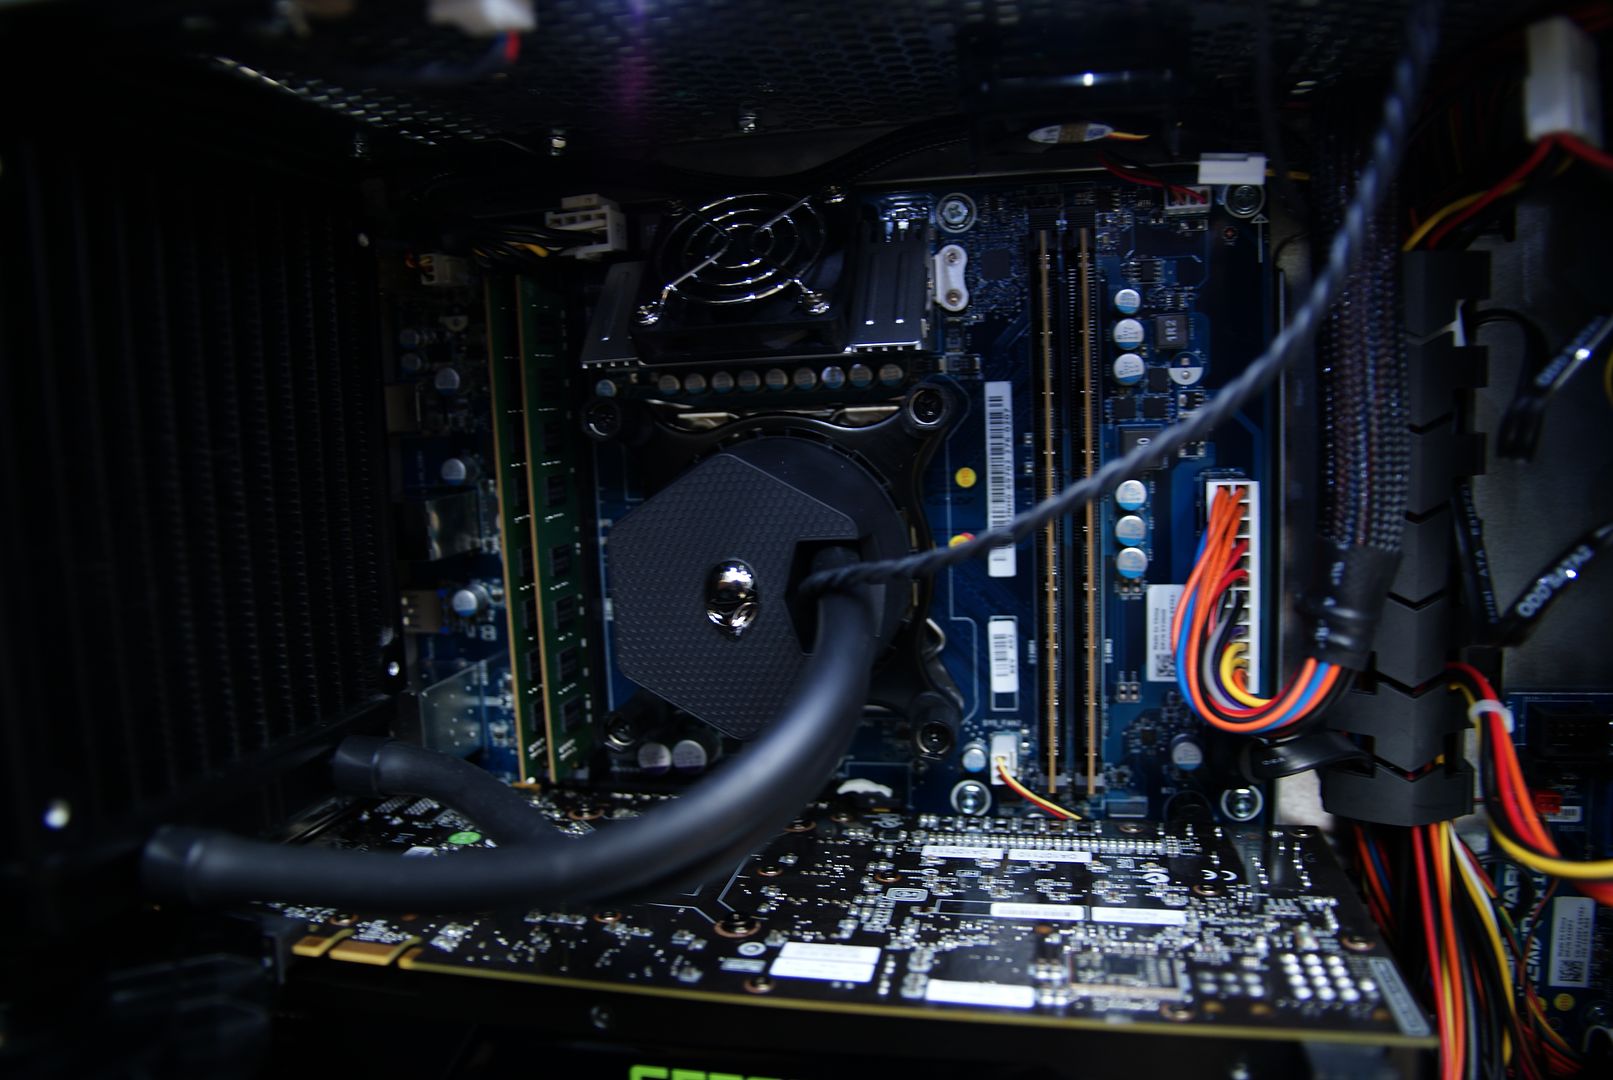
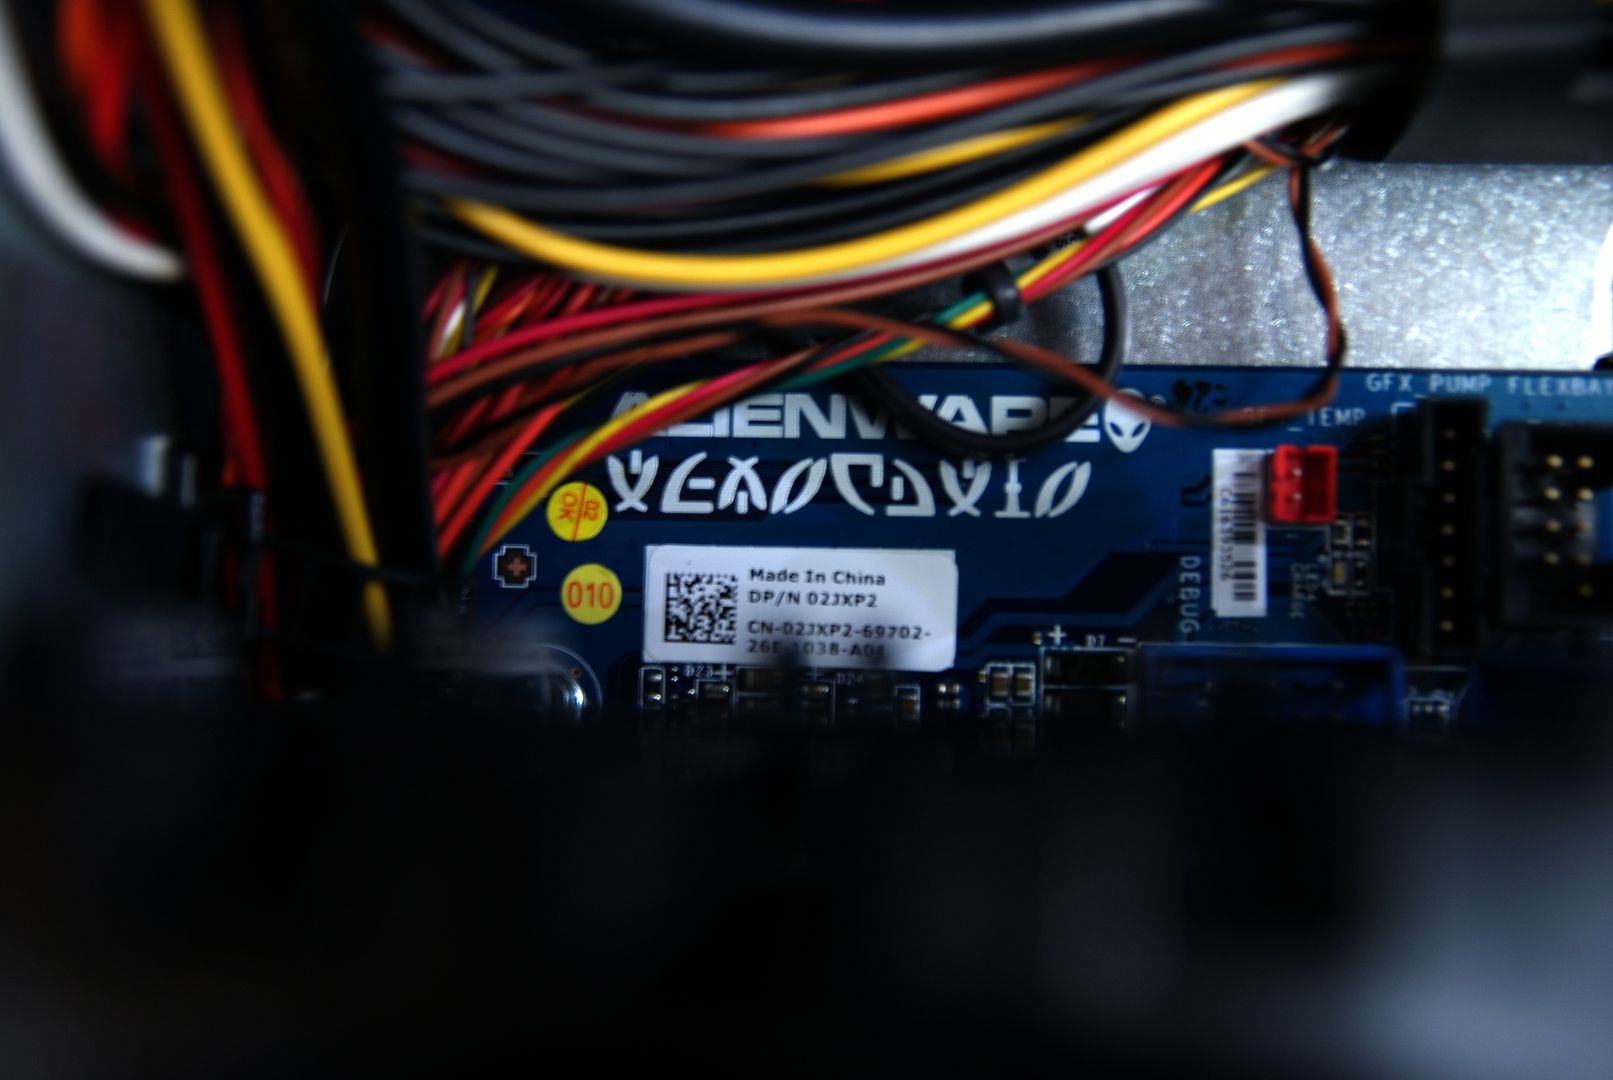
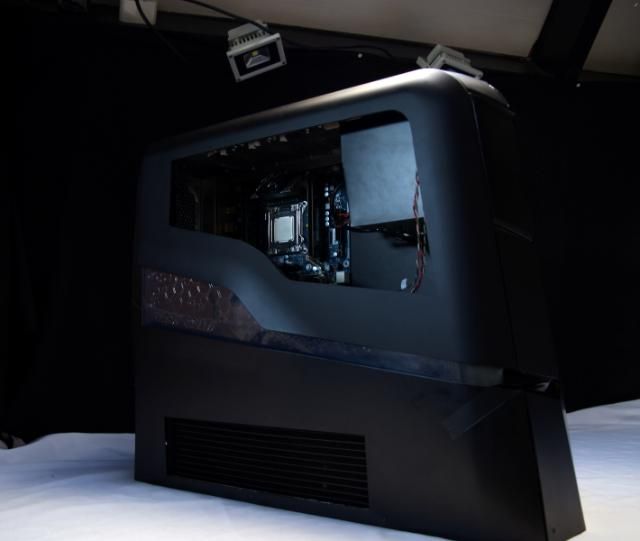
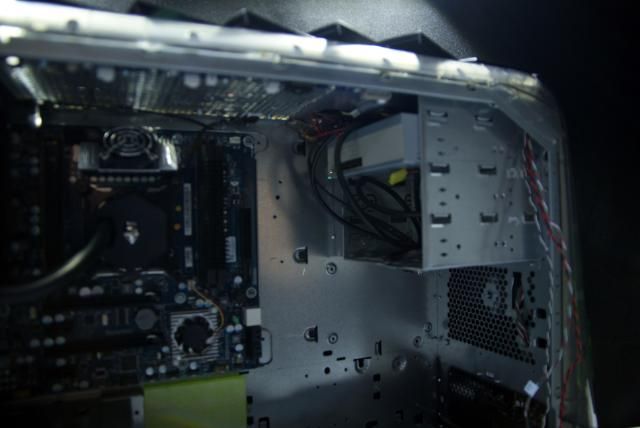
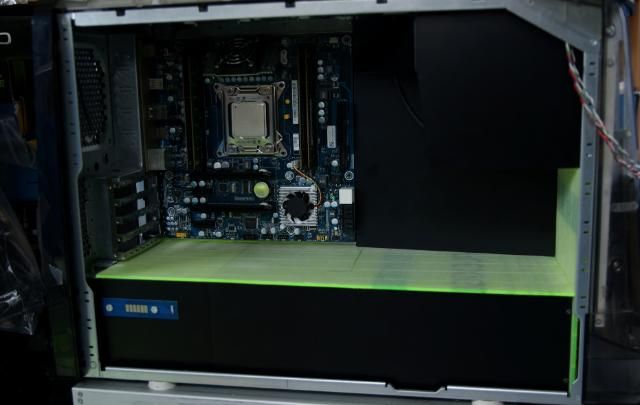
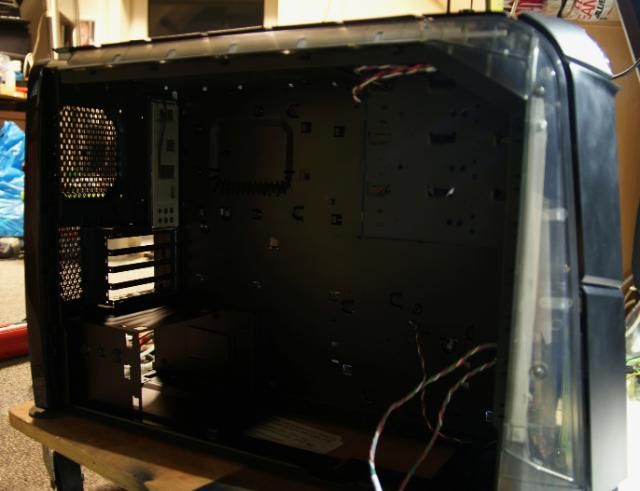
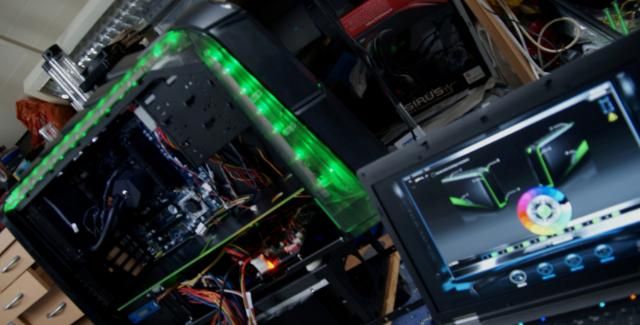
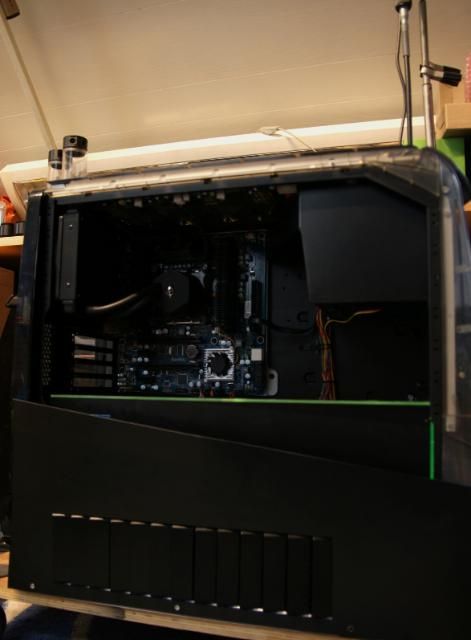
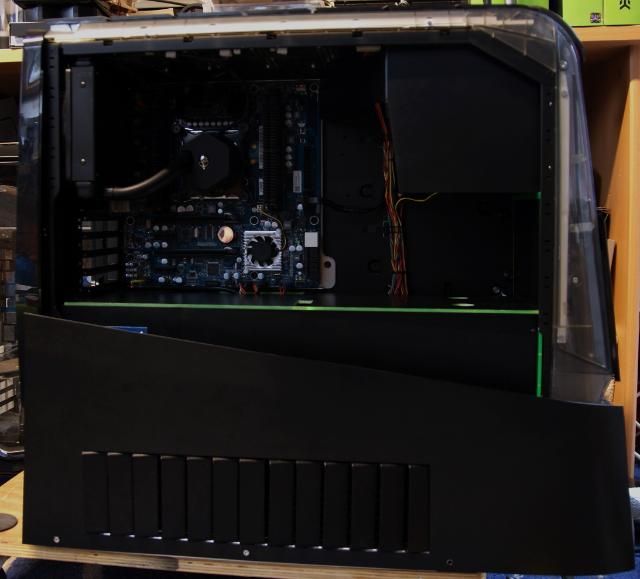
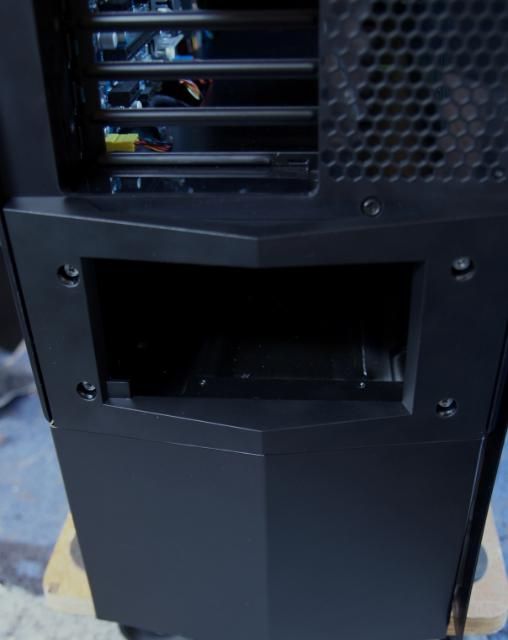
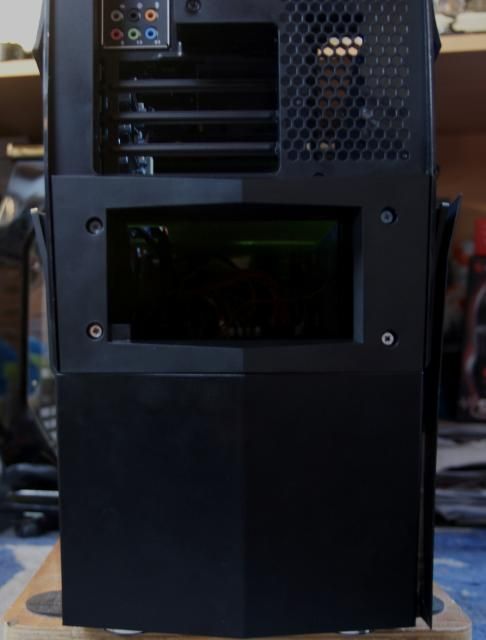
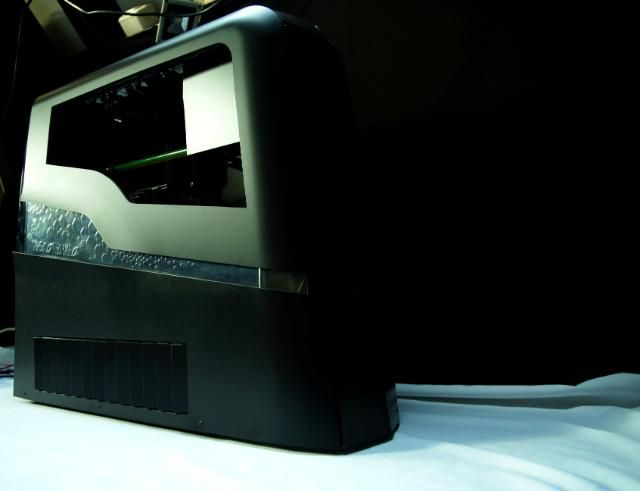
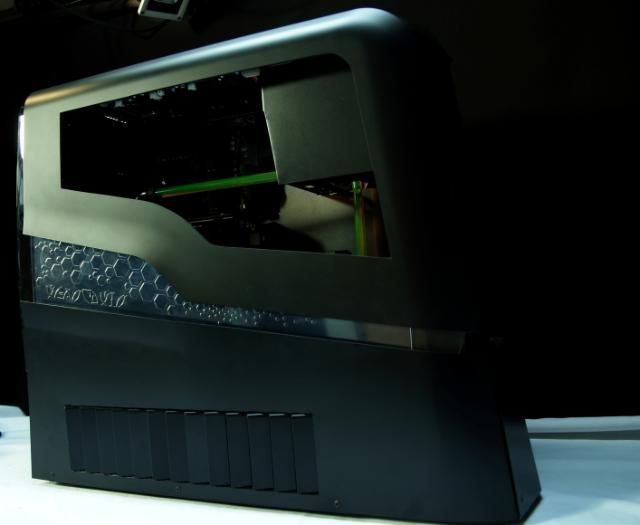
Back to the Alienware Aurora .... the inside
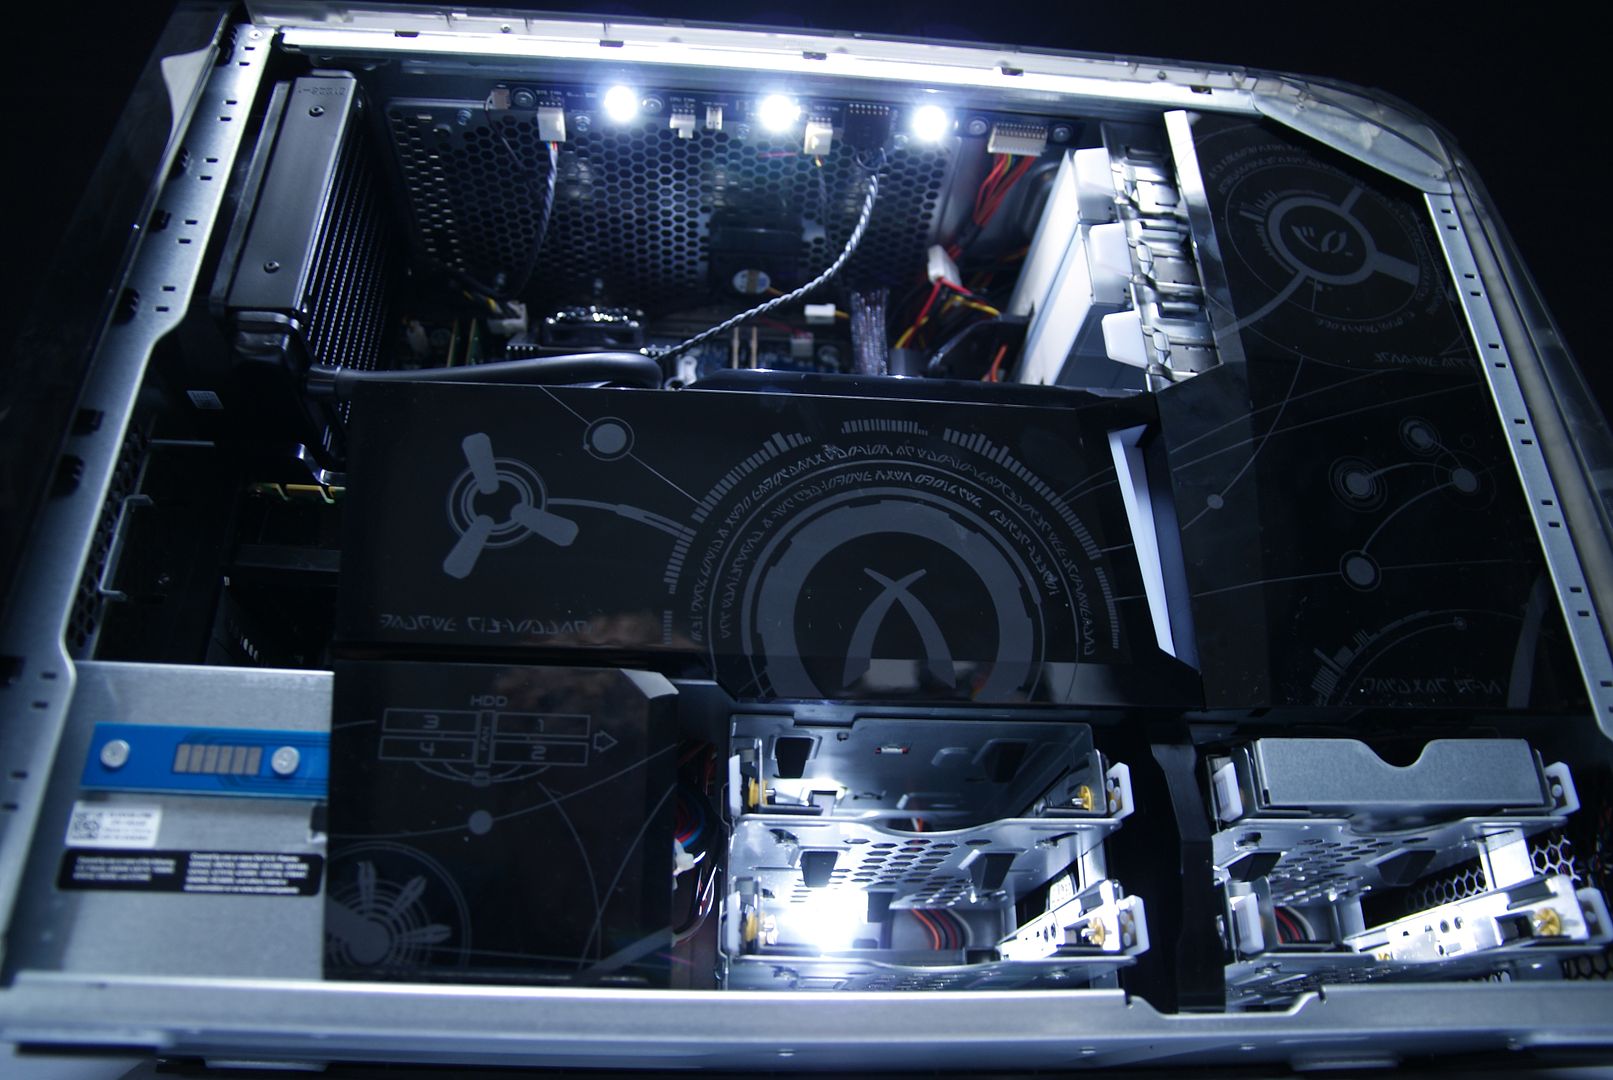
First looks without sidepanel
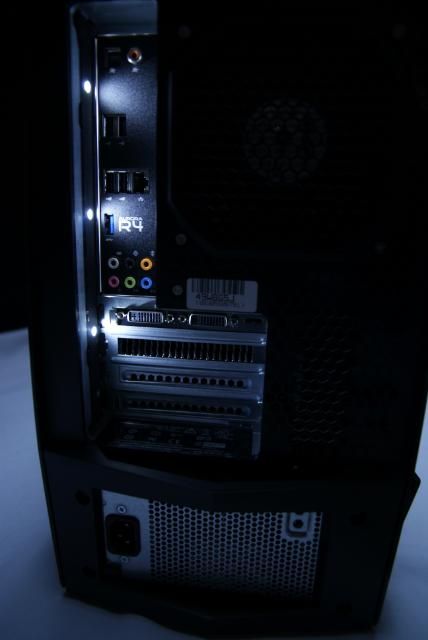
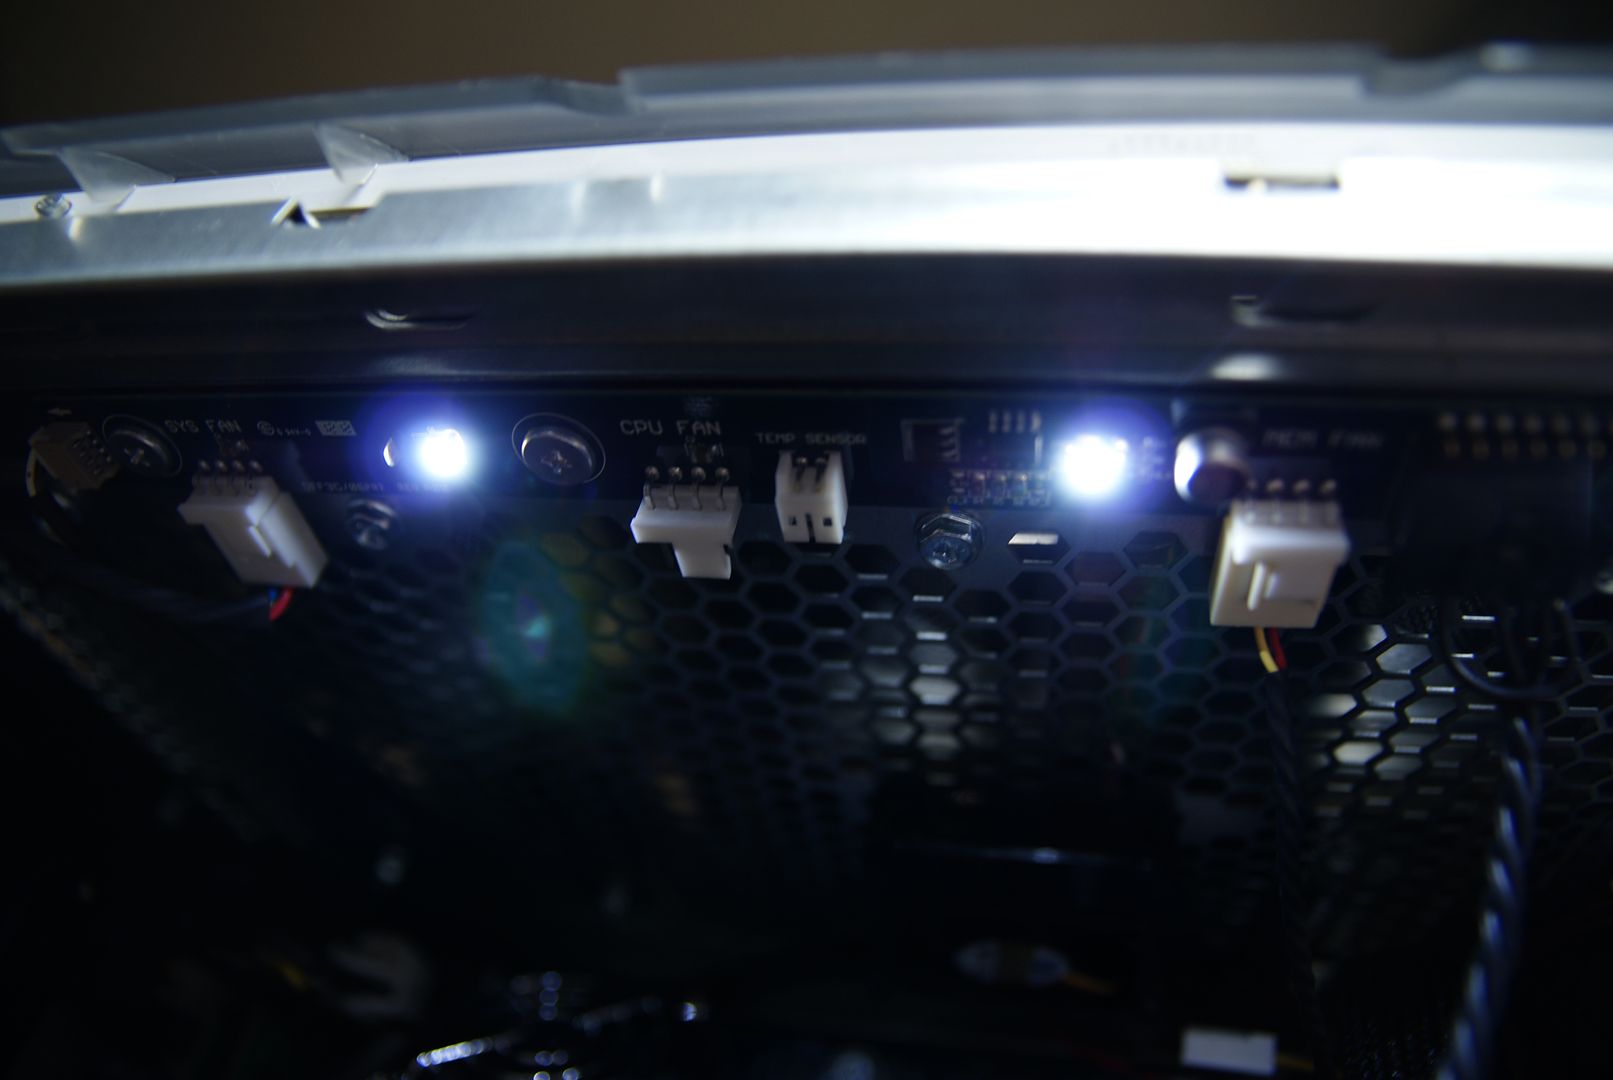
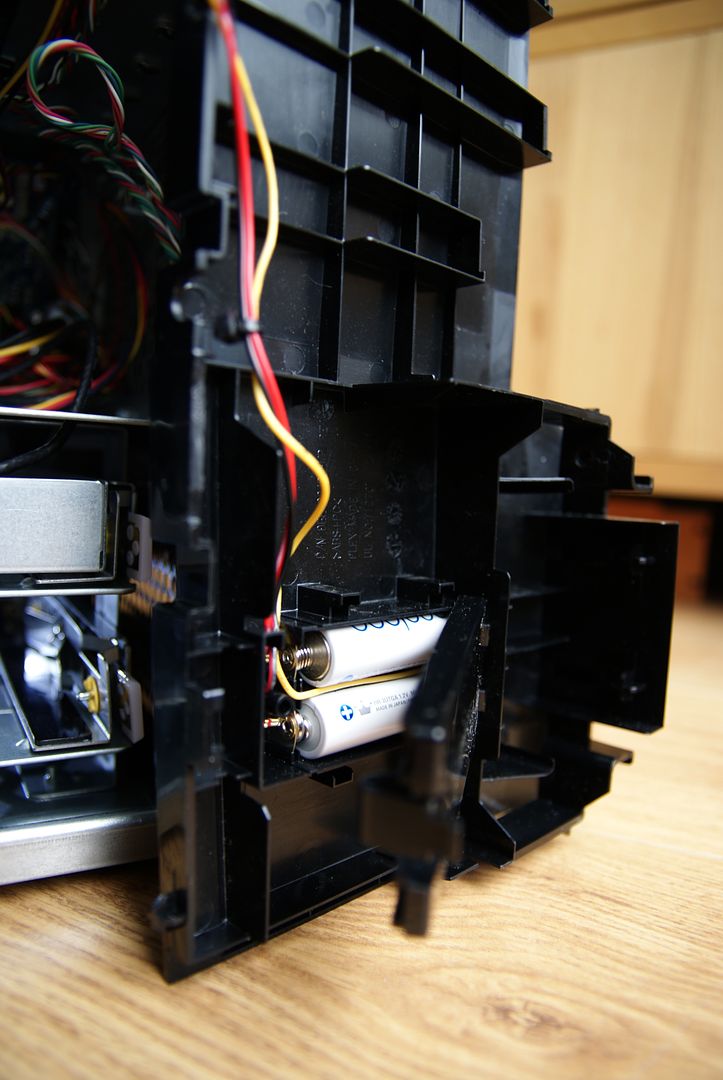
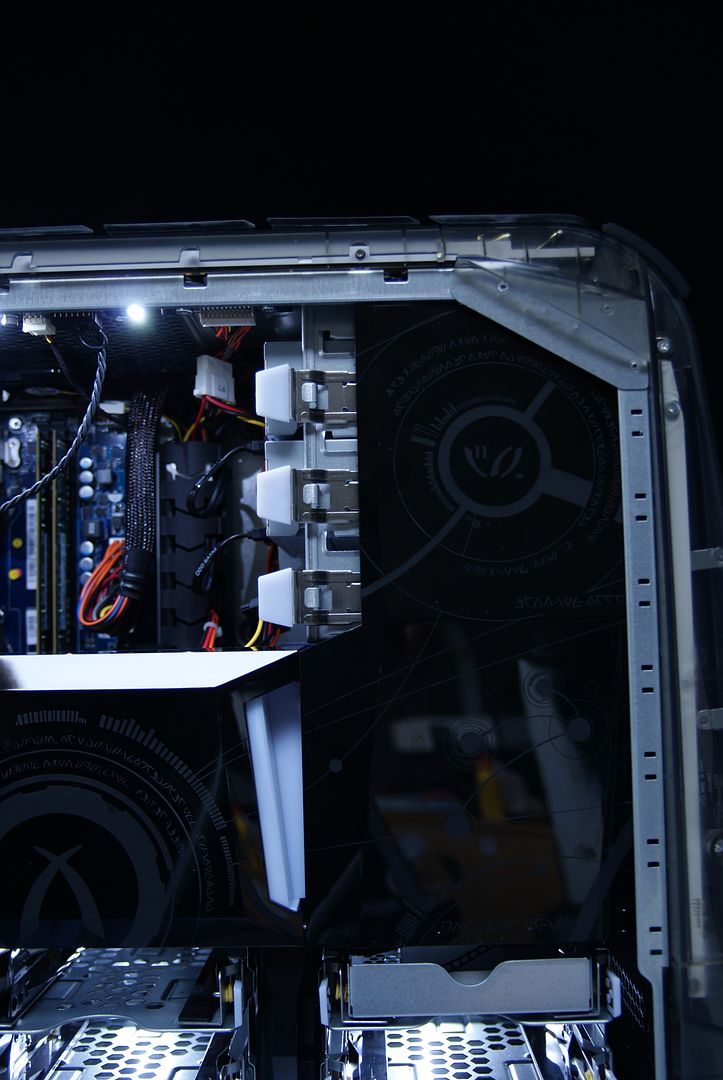
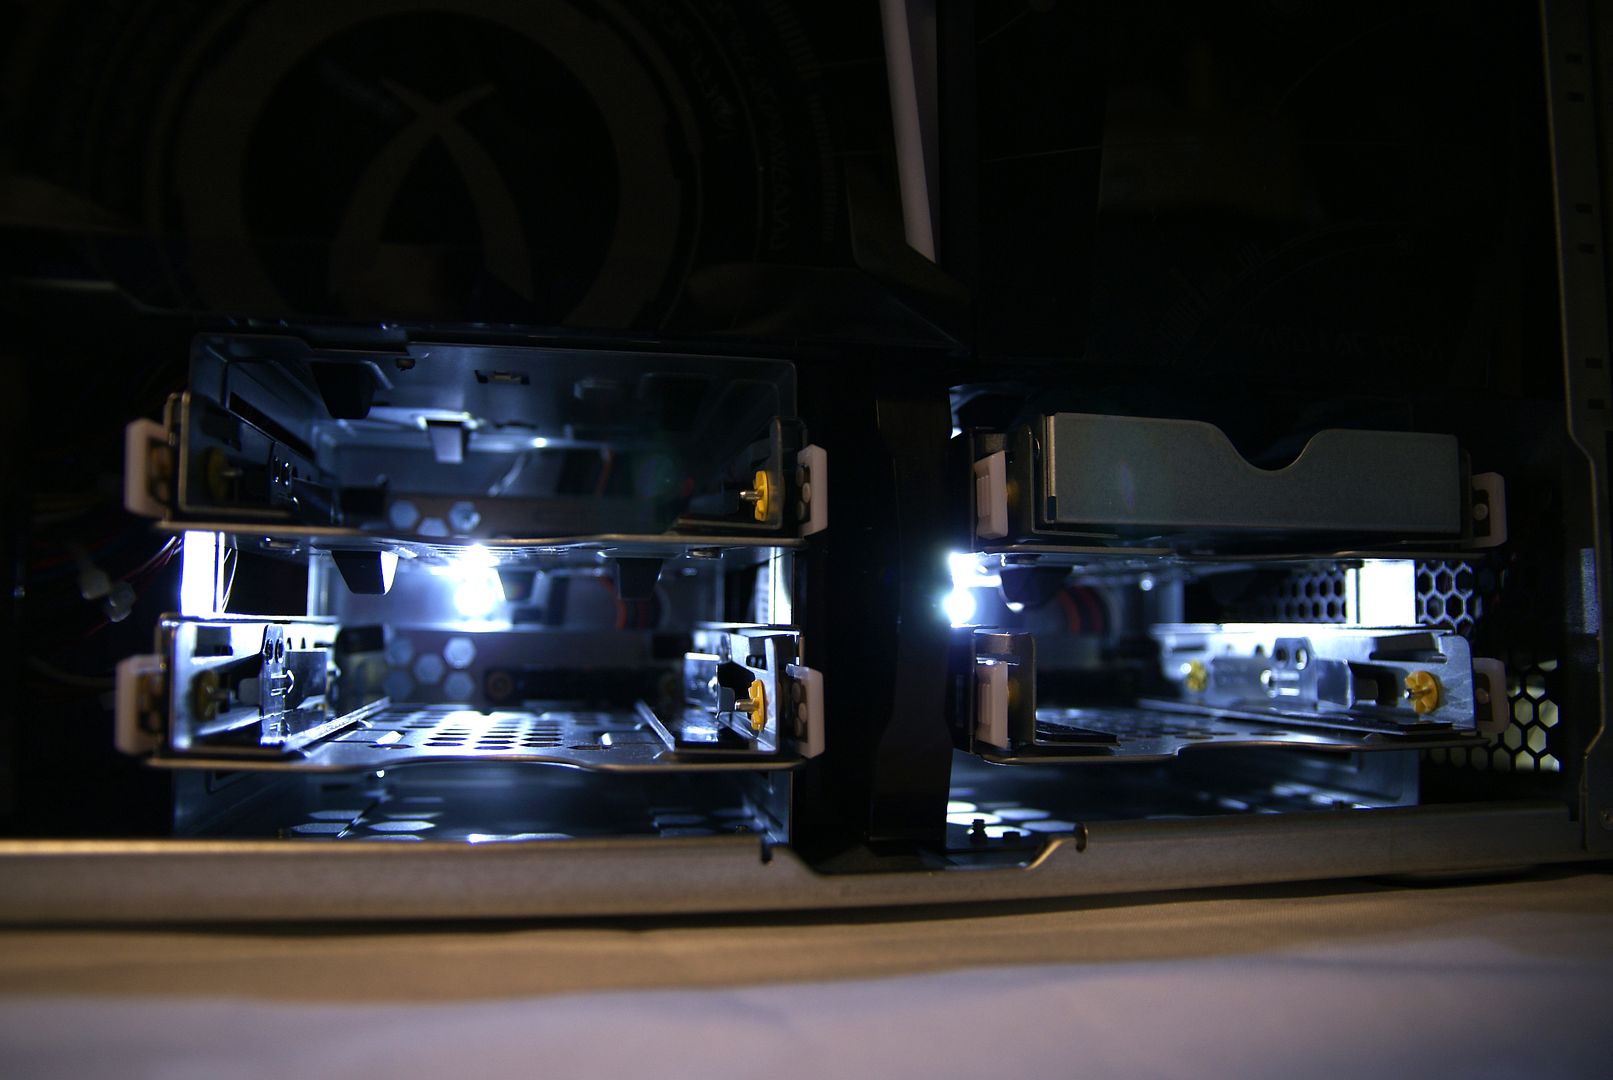
And again a nice gadget: when the sidepanel is removed, the inside is illuminated without the power on.
Powered by rechargeable batteries
Very handy!!!
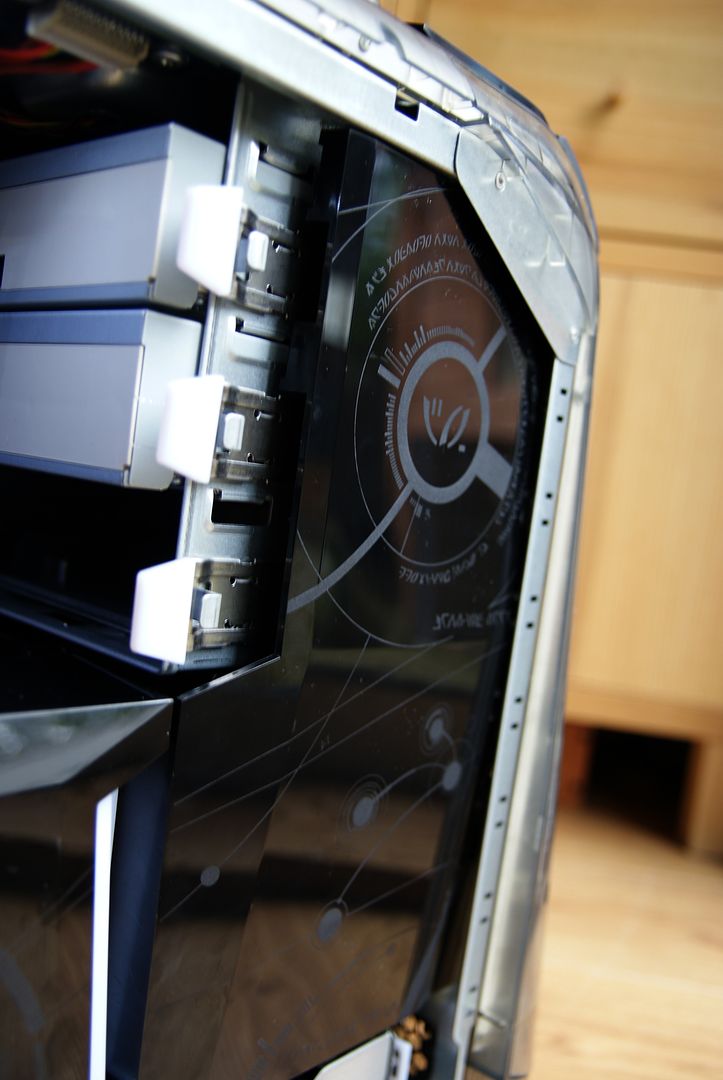
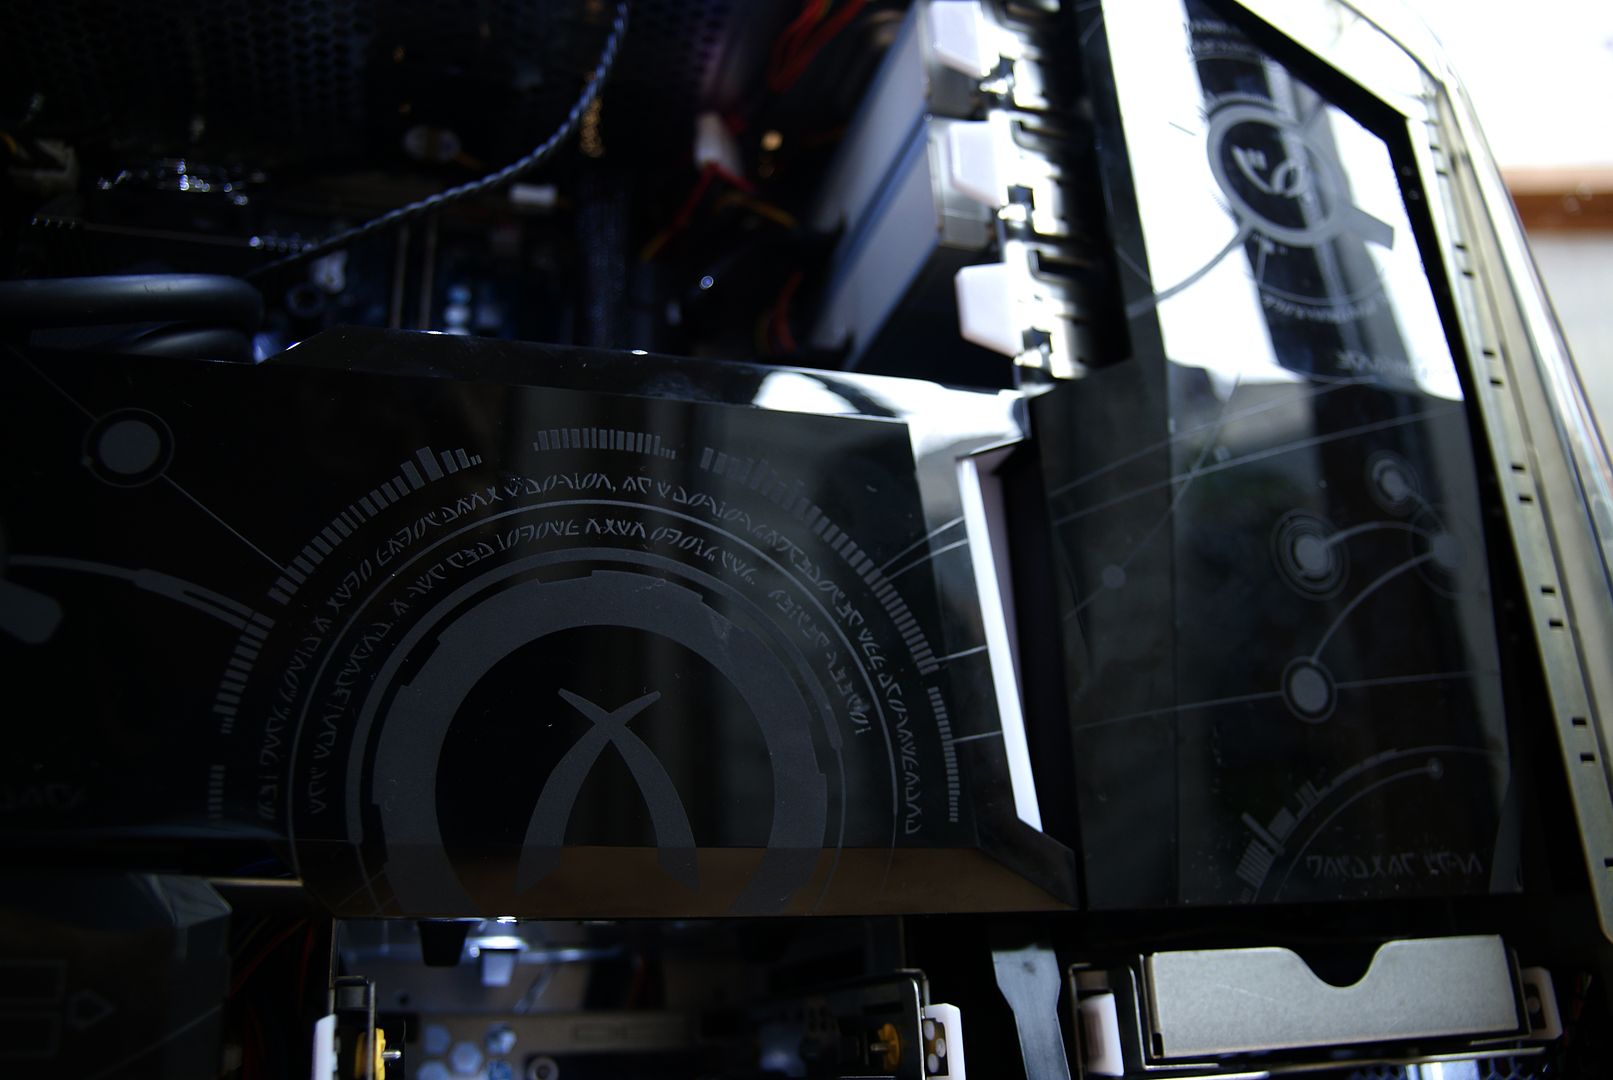
The caps for the airflow and coverup are very nicely designed and printed
Cap for the GPUs is rotatable and removable
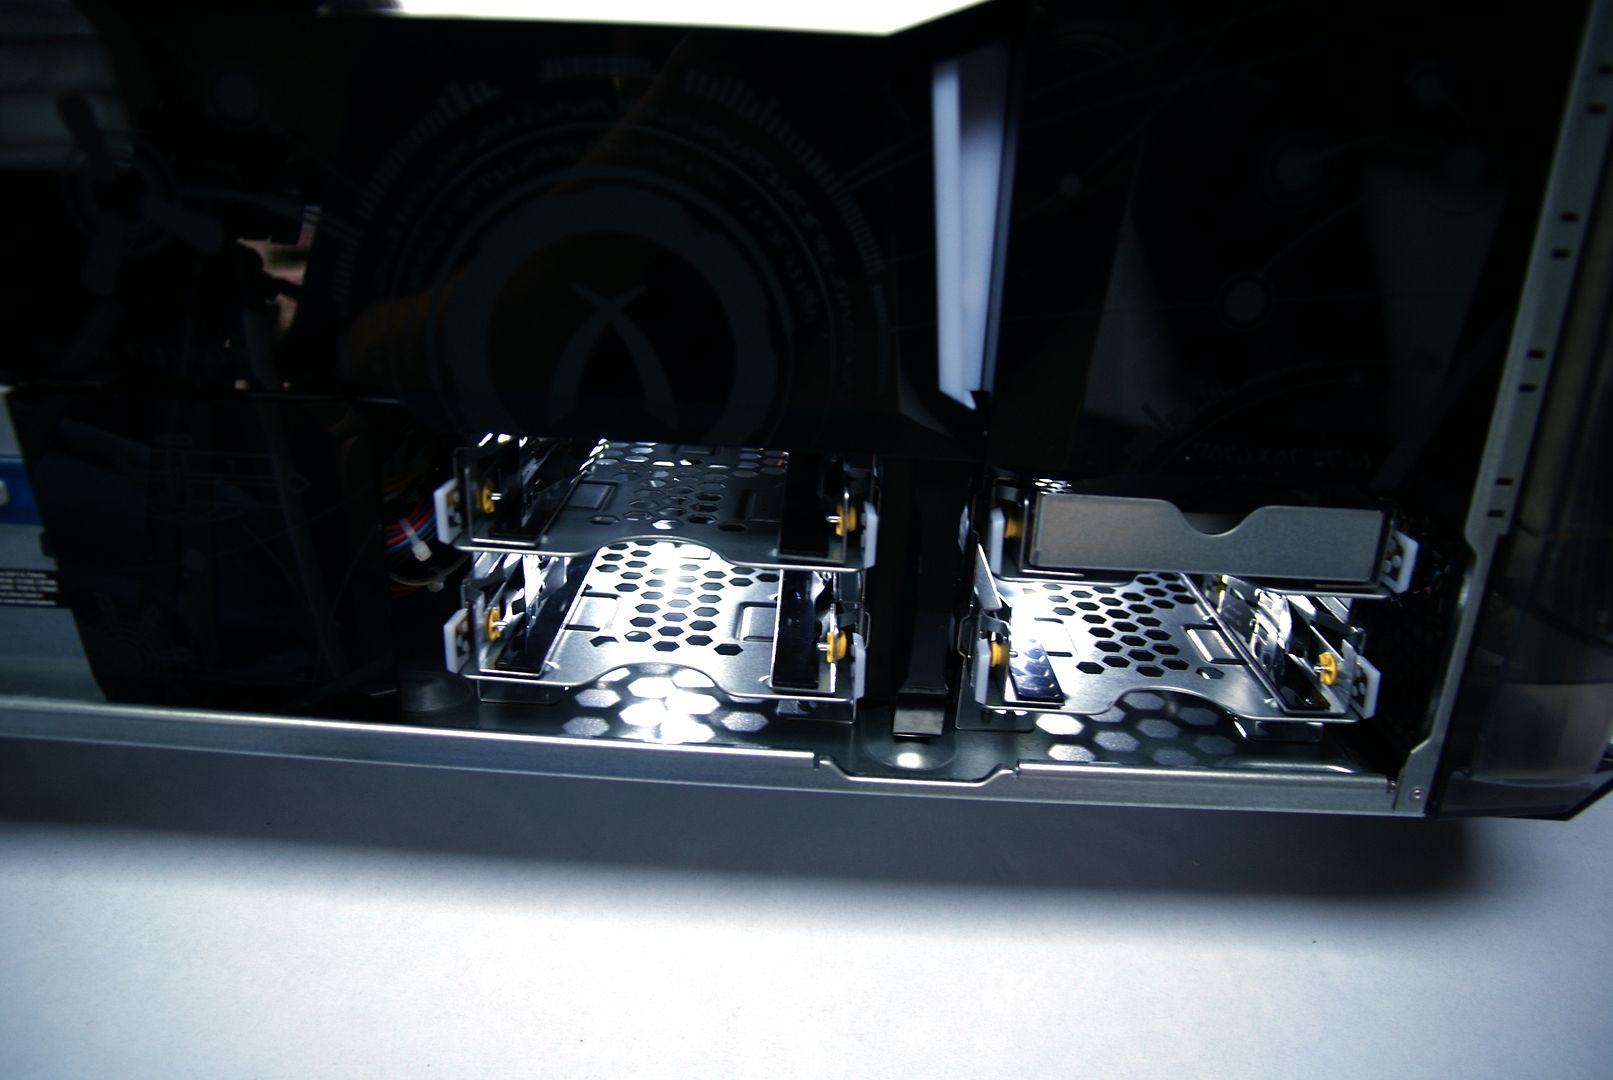
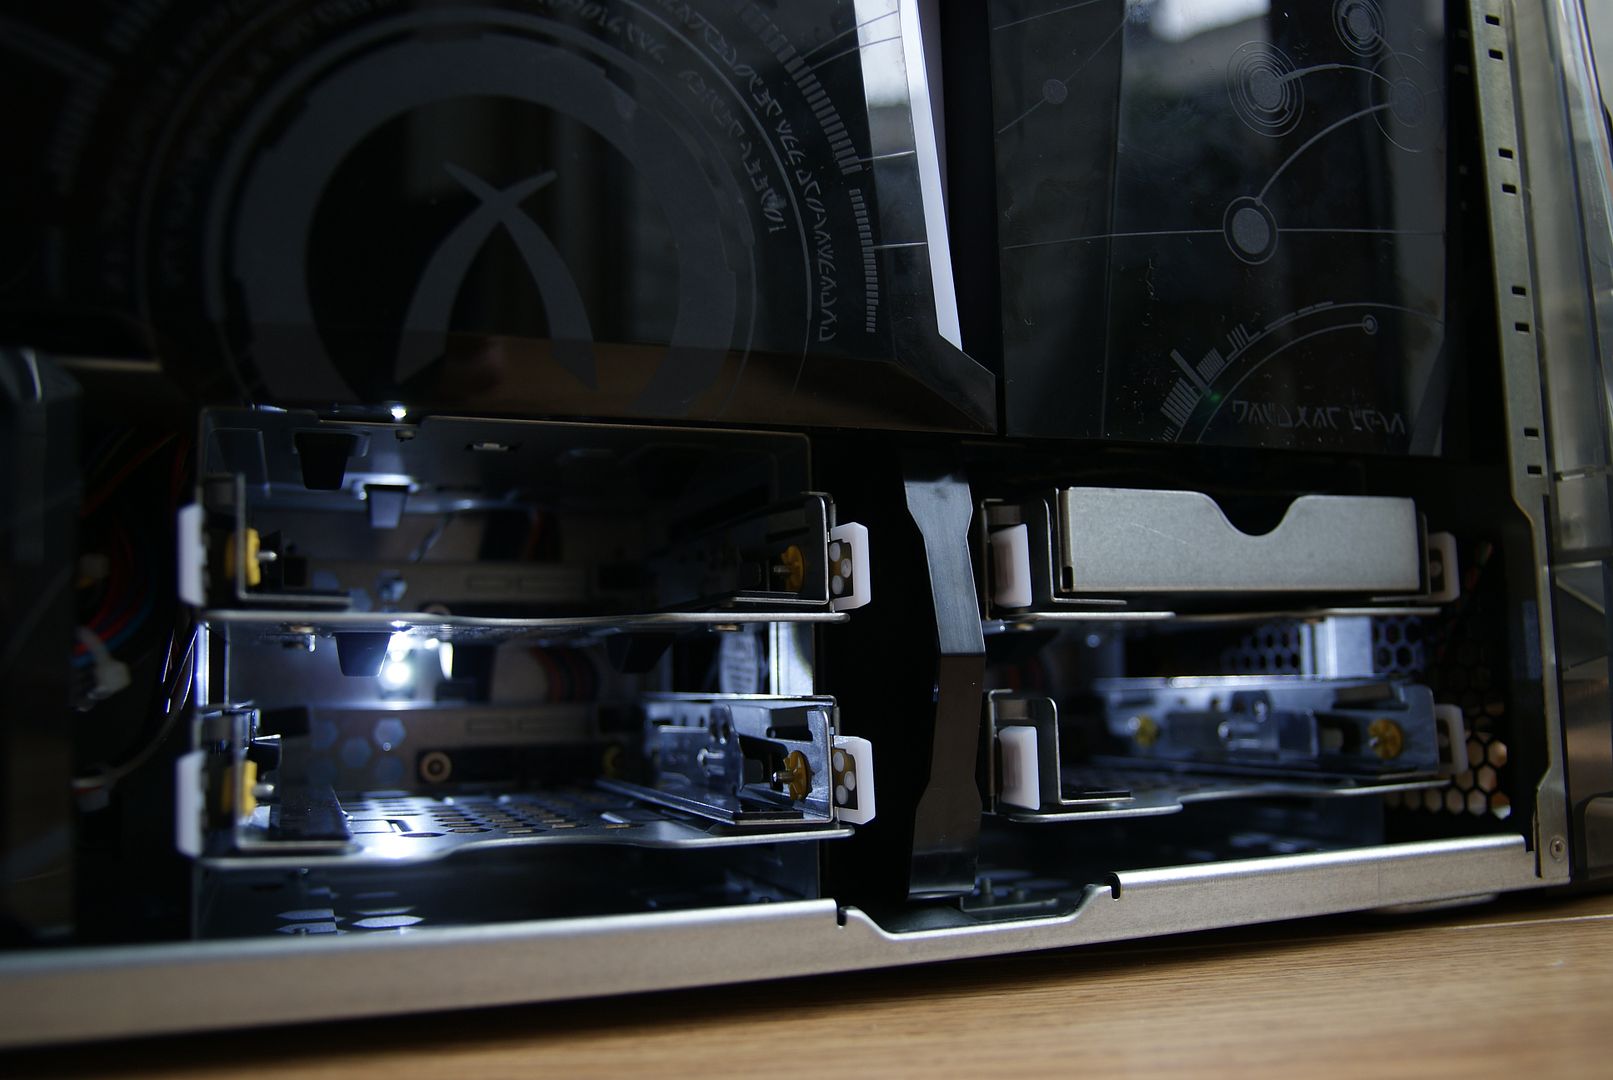
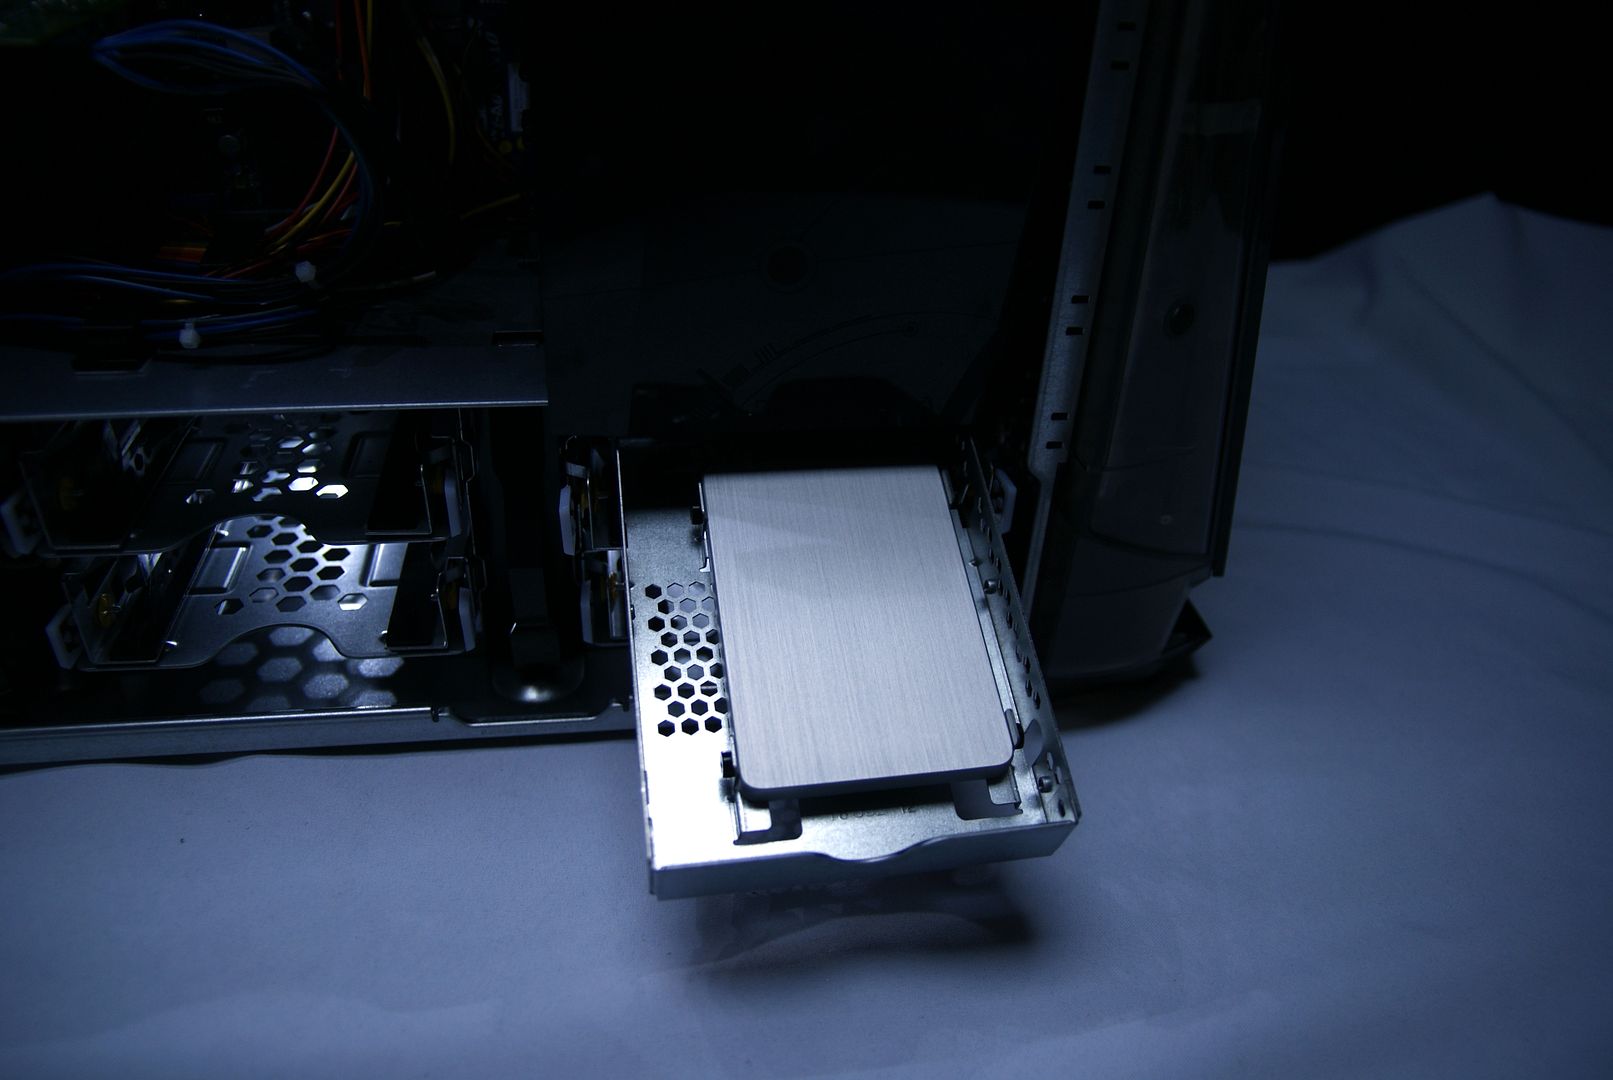
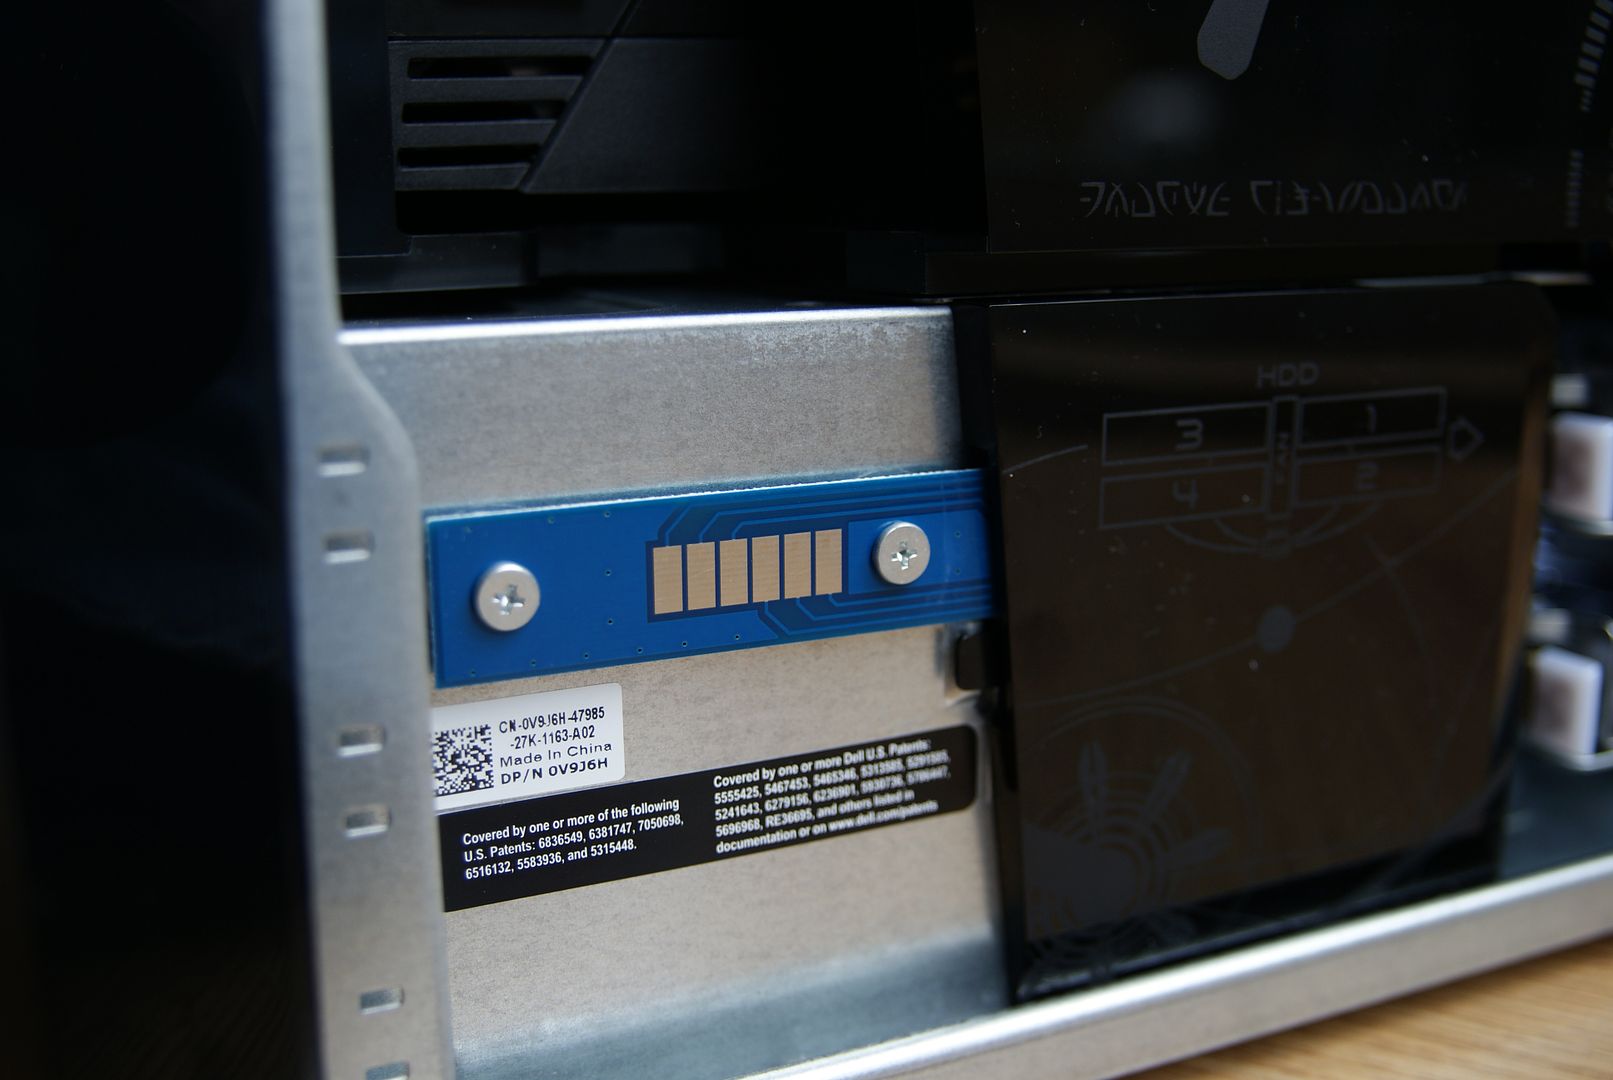
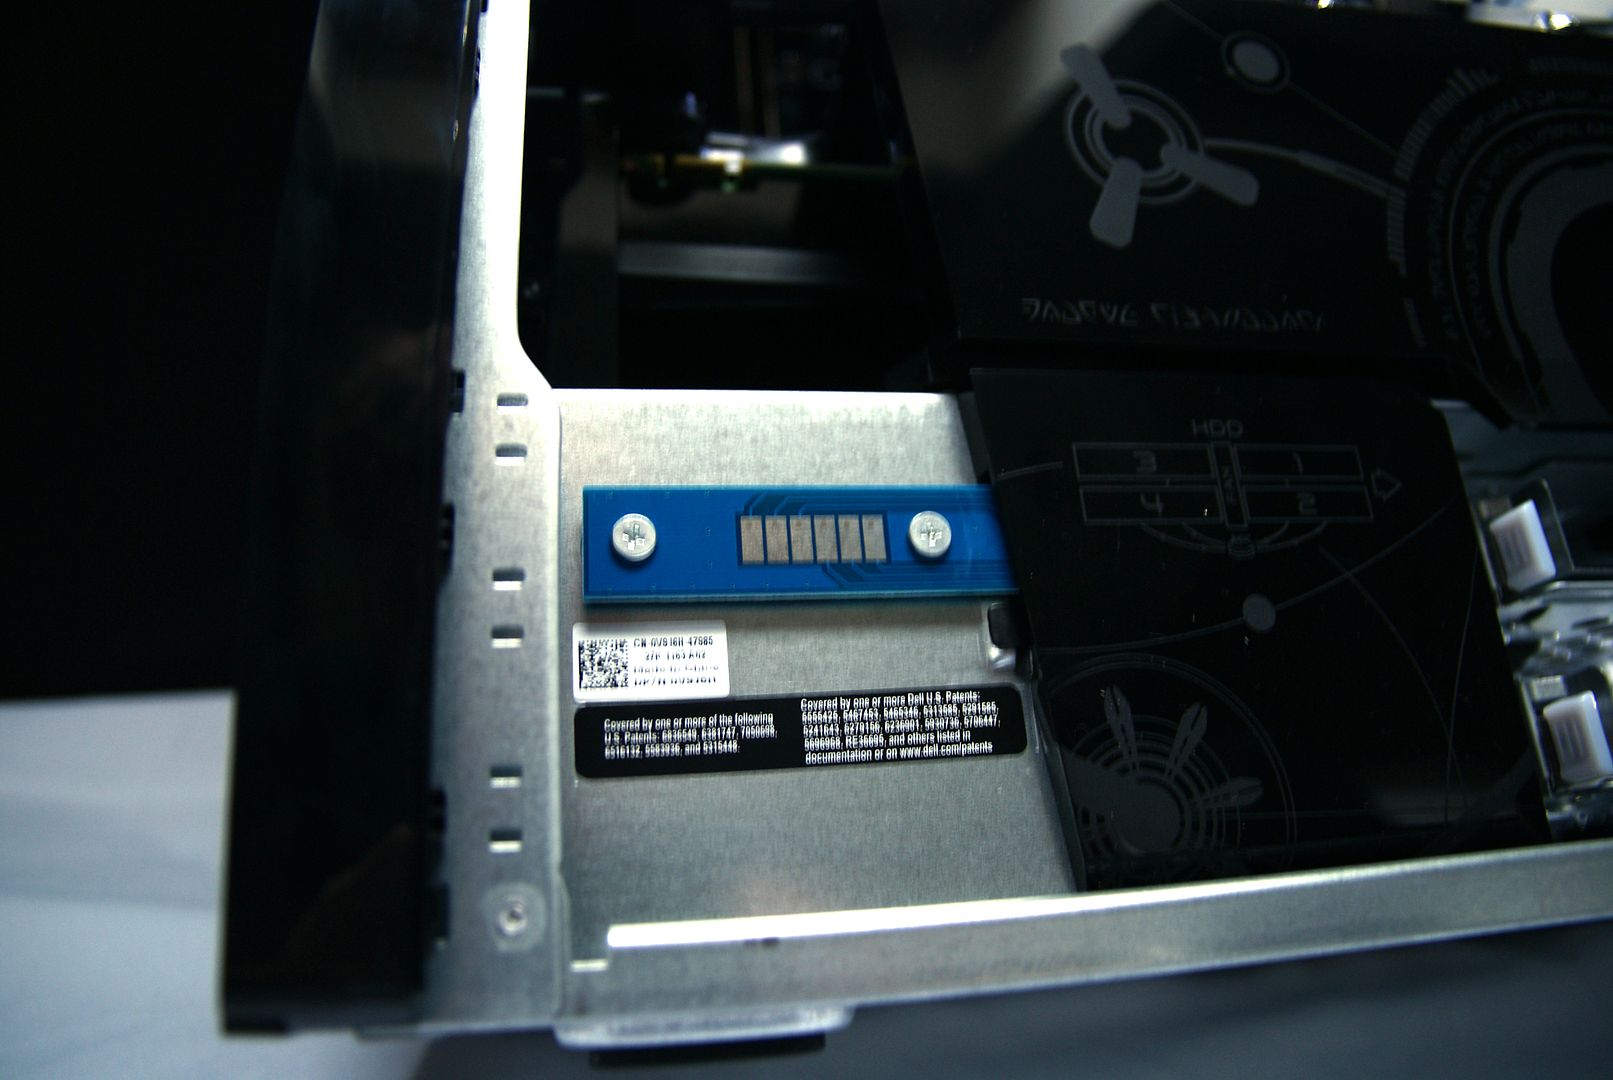
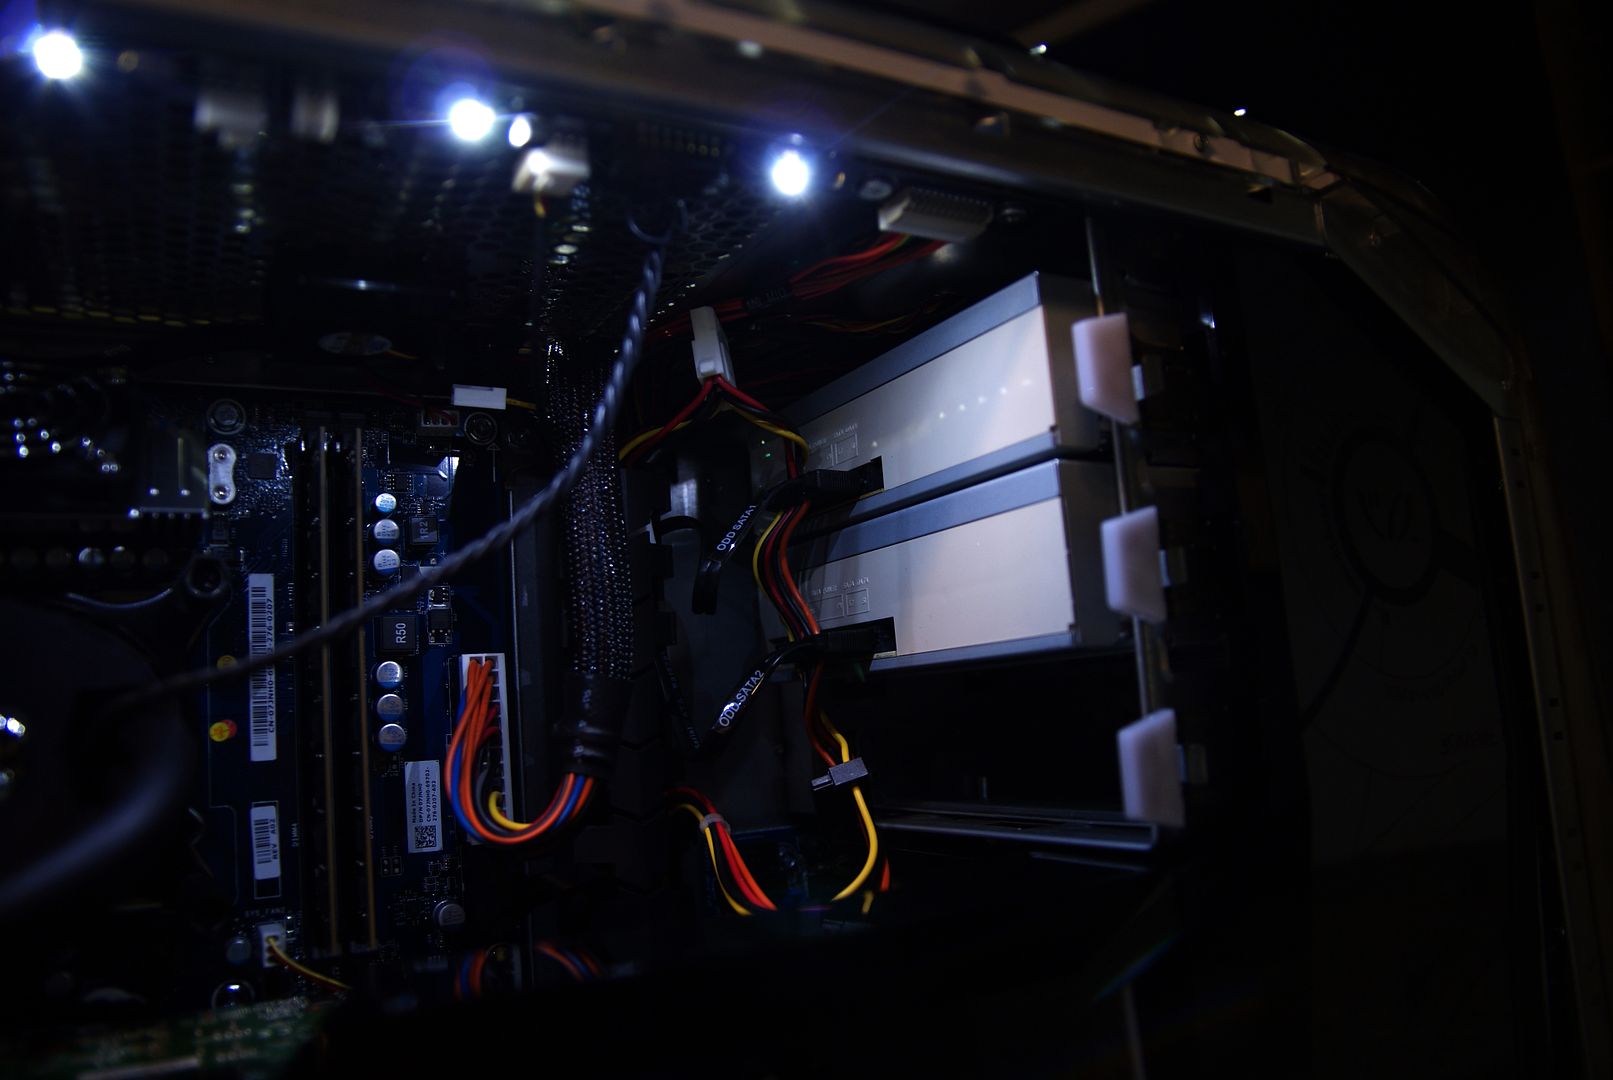
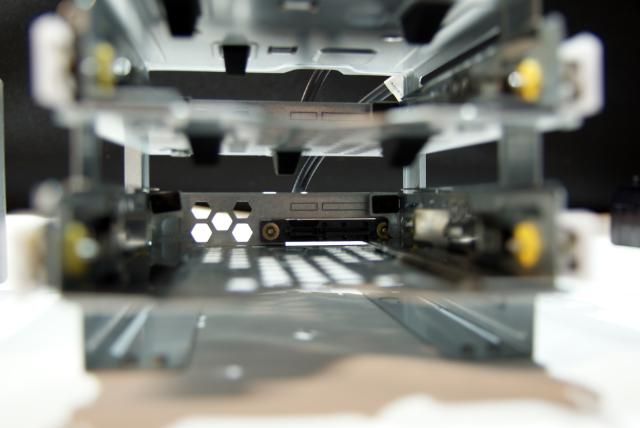
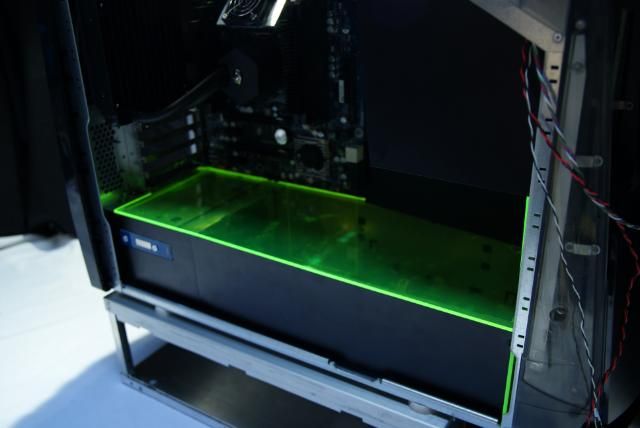
Beautiful swappable, tool-less and cable-free hard drive bays
Also well thought about is the power suply for the side panel (Lights)
On the side of the powersupply are contact points which provide this
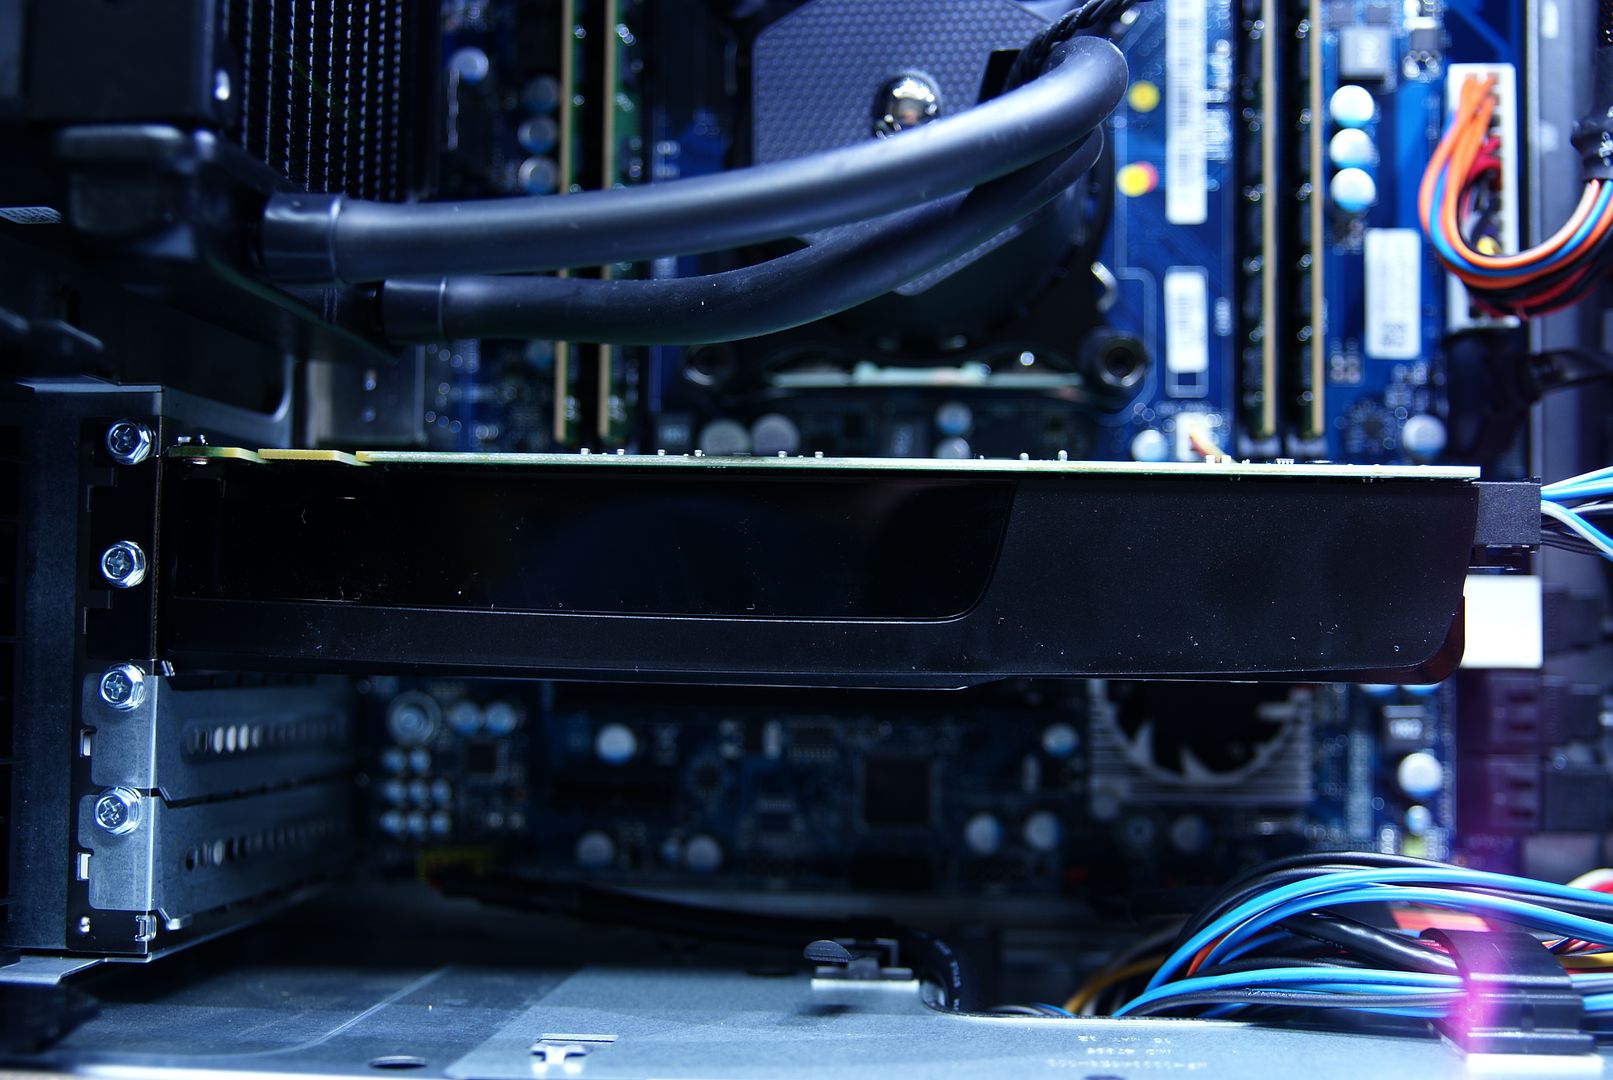
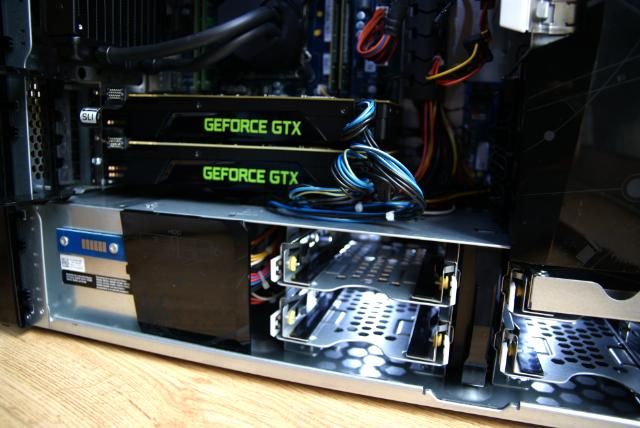
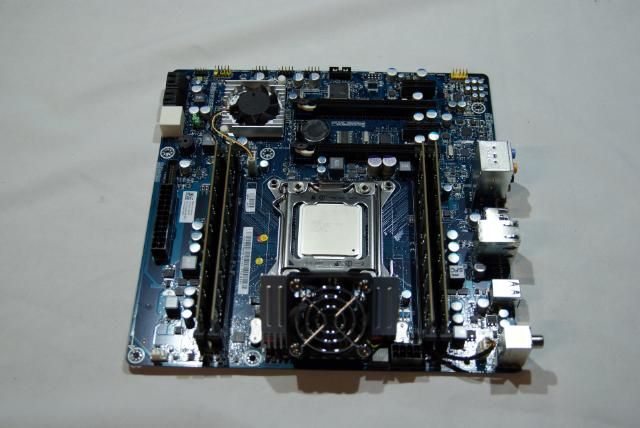
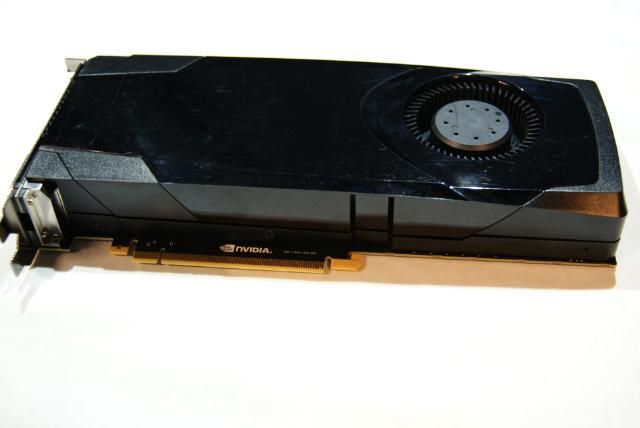
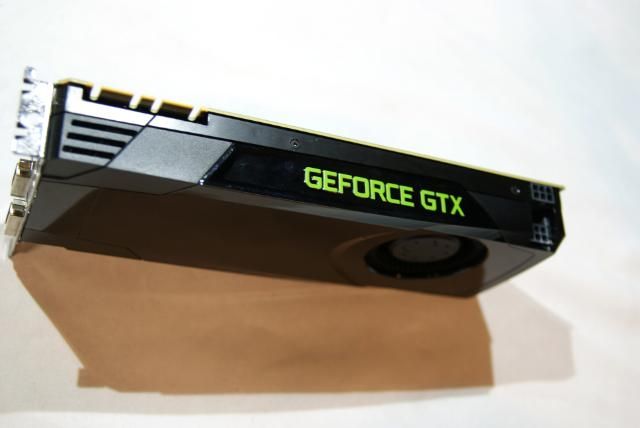
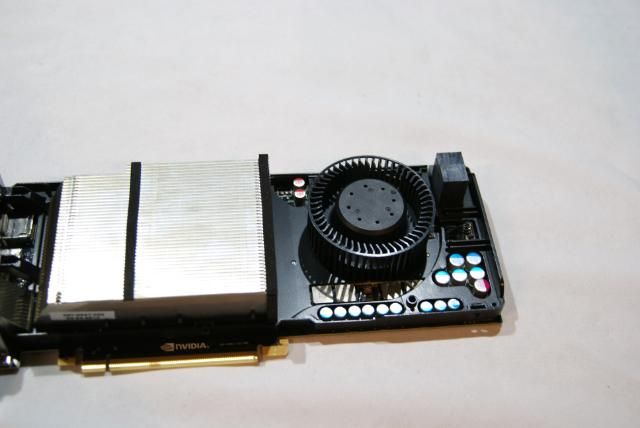
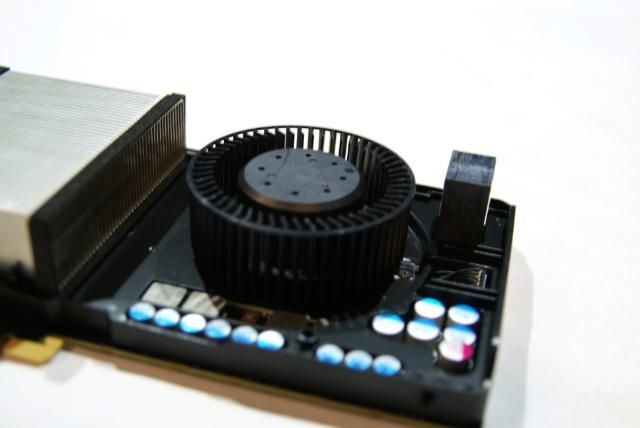
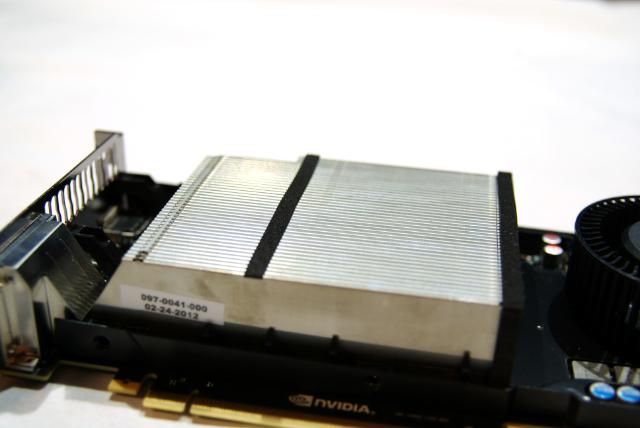
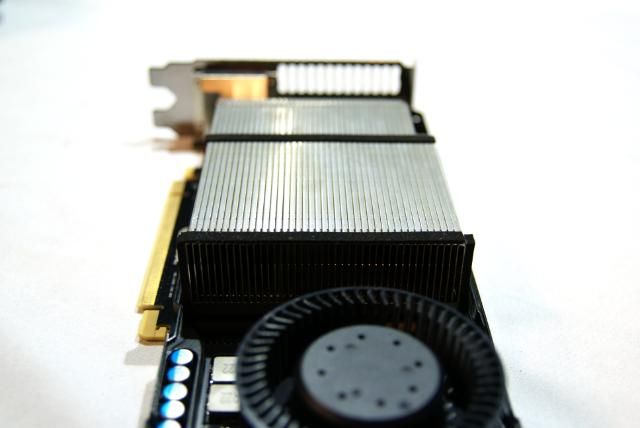
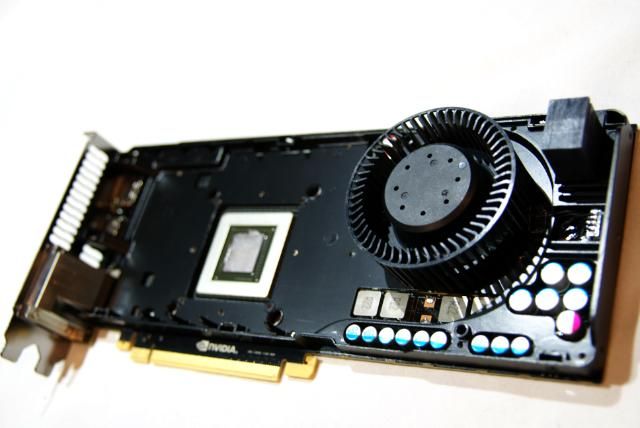
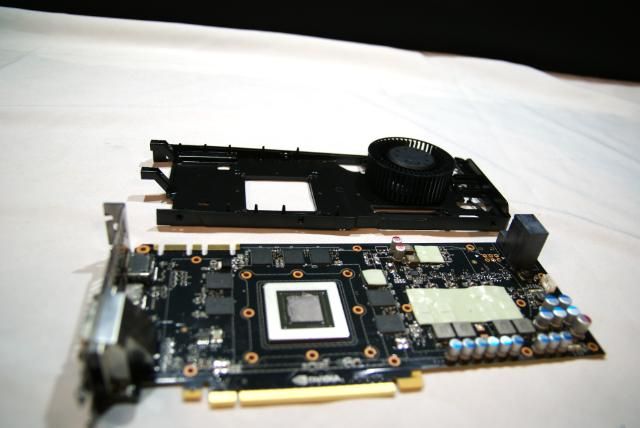
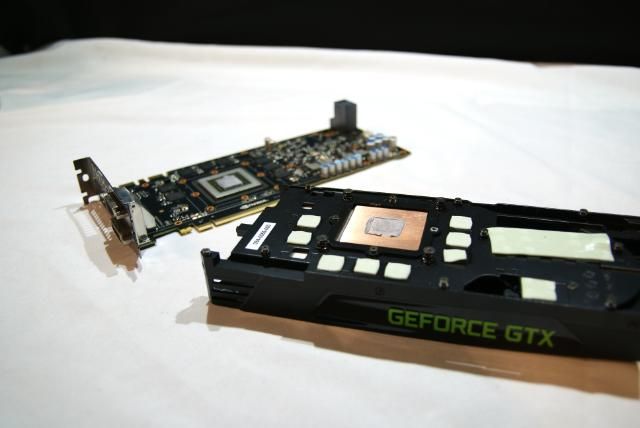
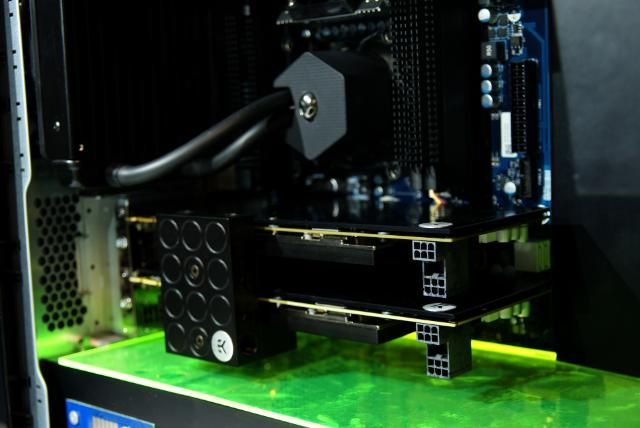
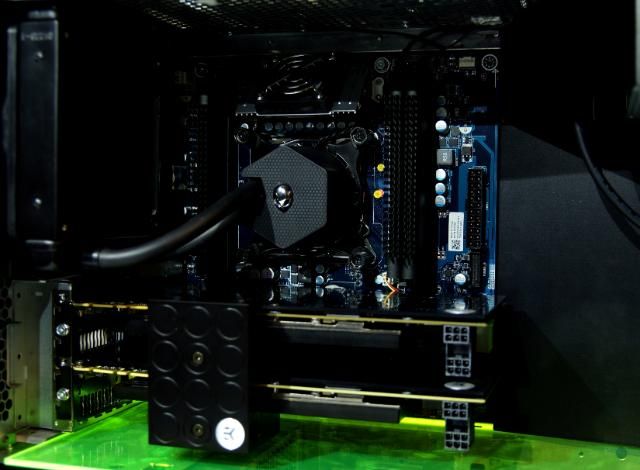
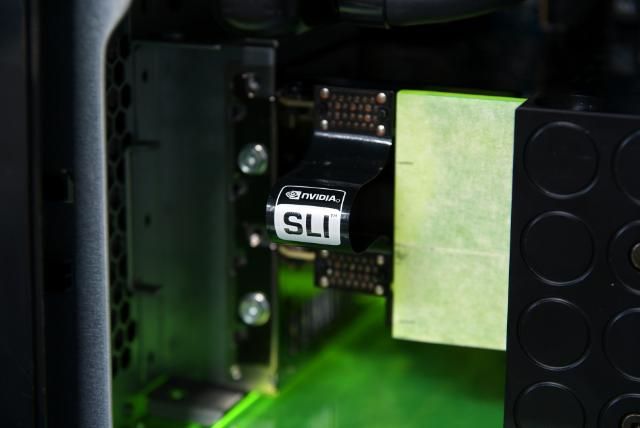
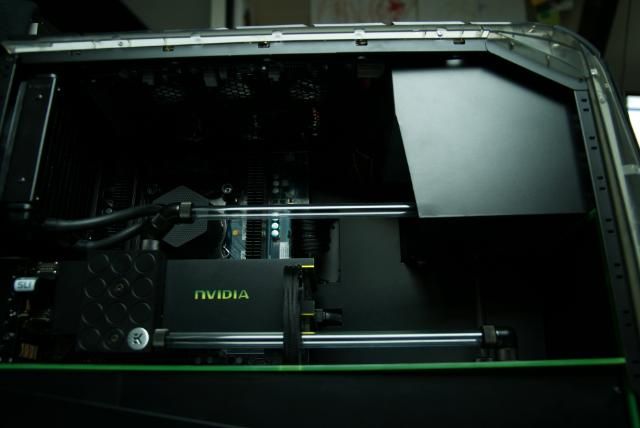
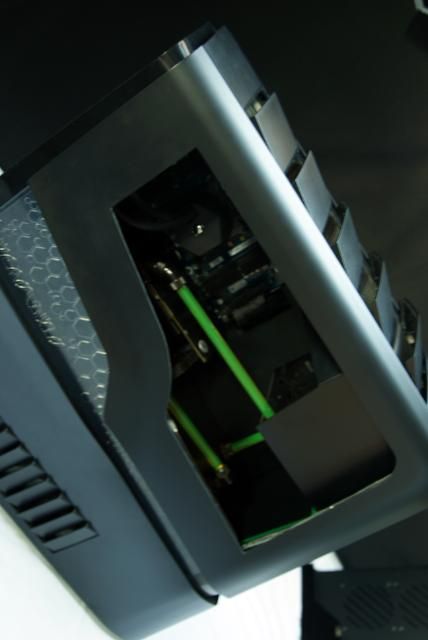
For now a Nvidia GTX555 is installed, but this will be exchanged for two Nvidia GTX680
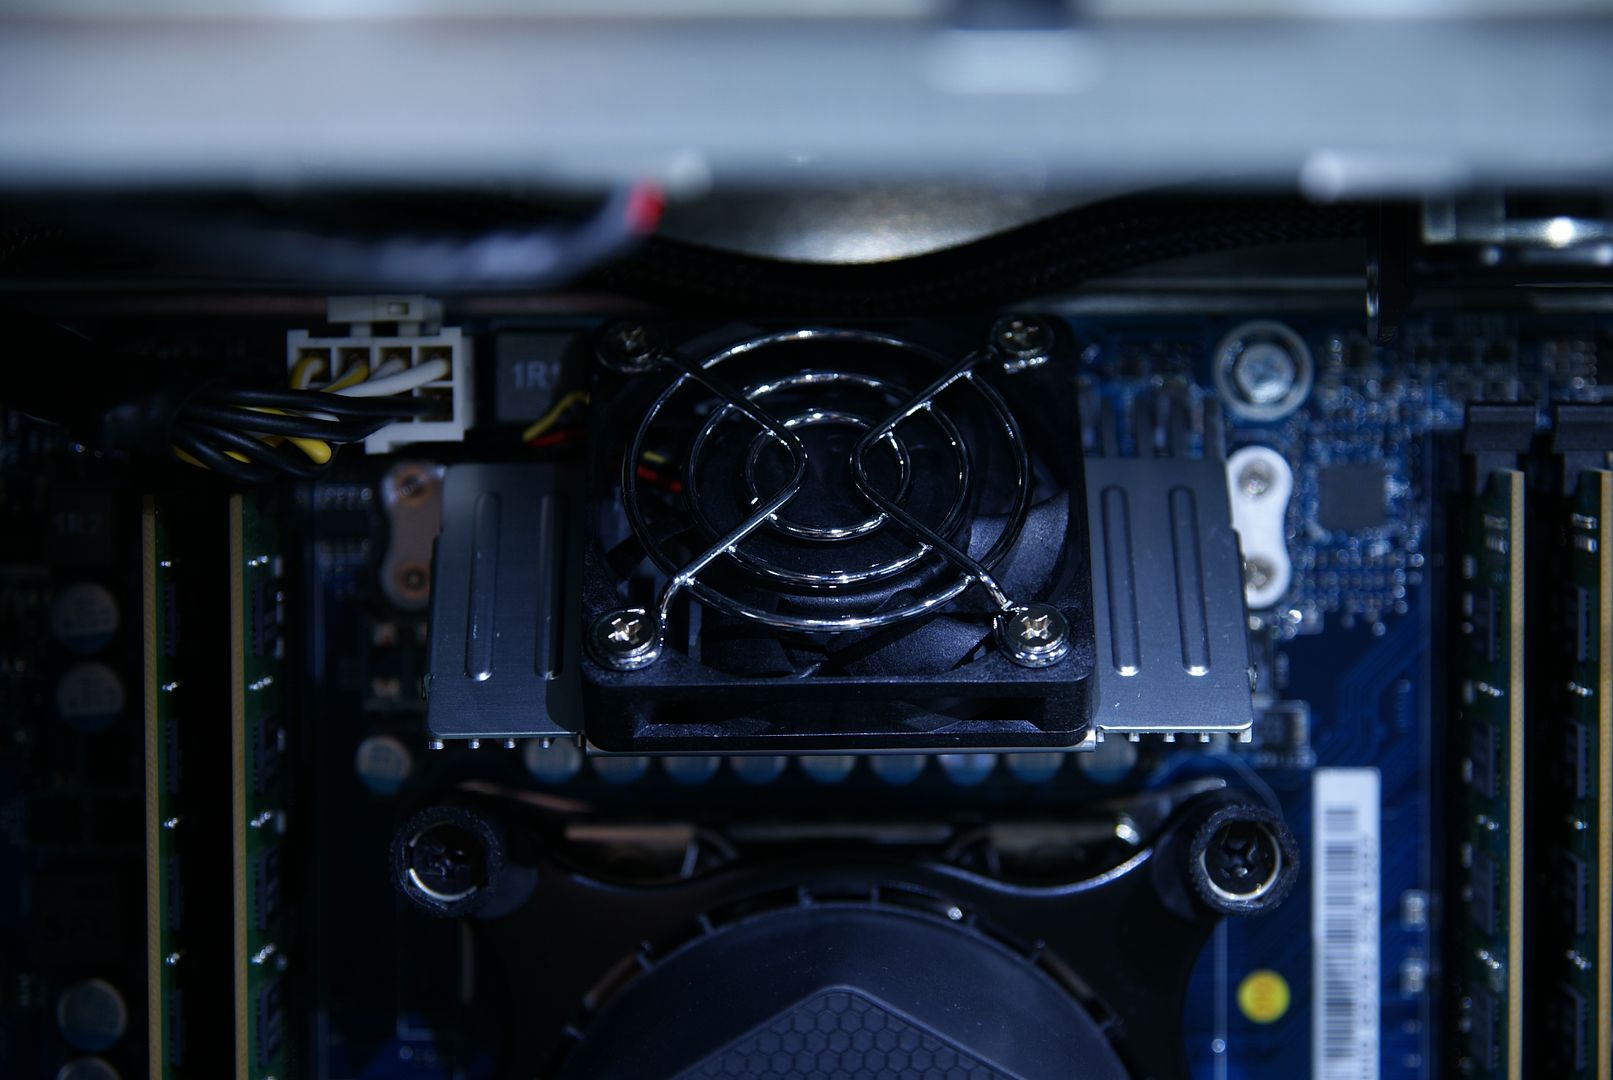
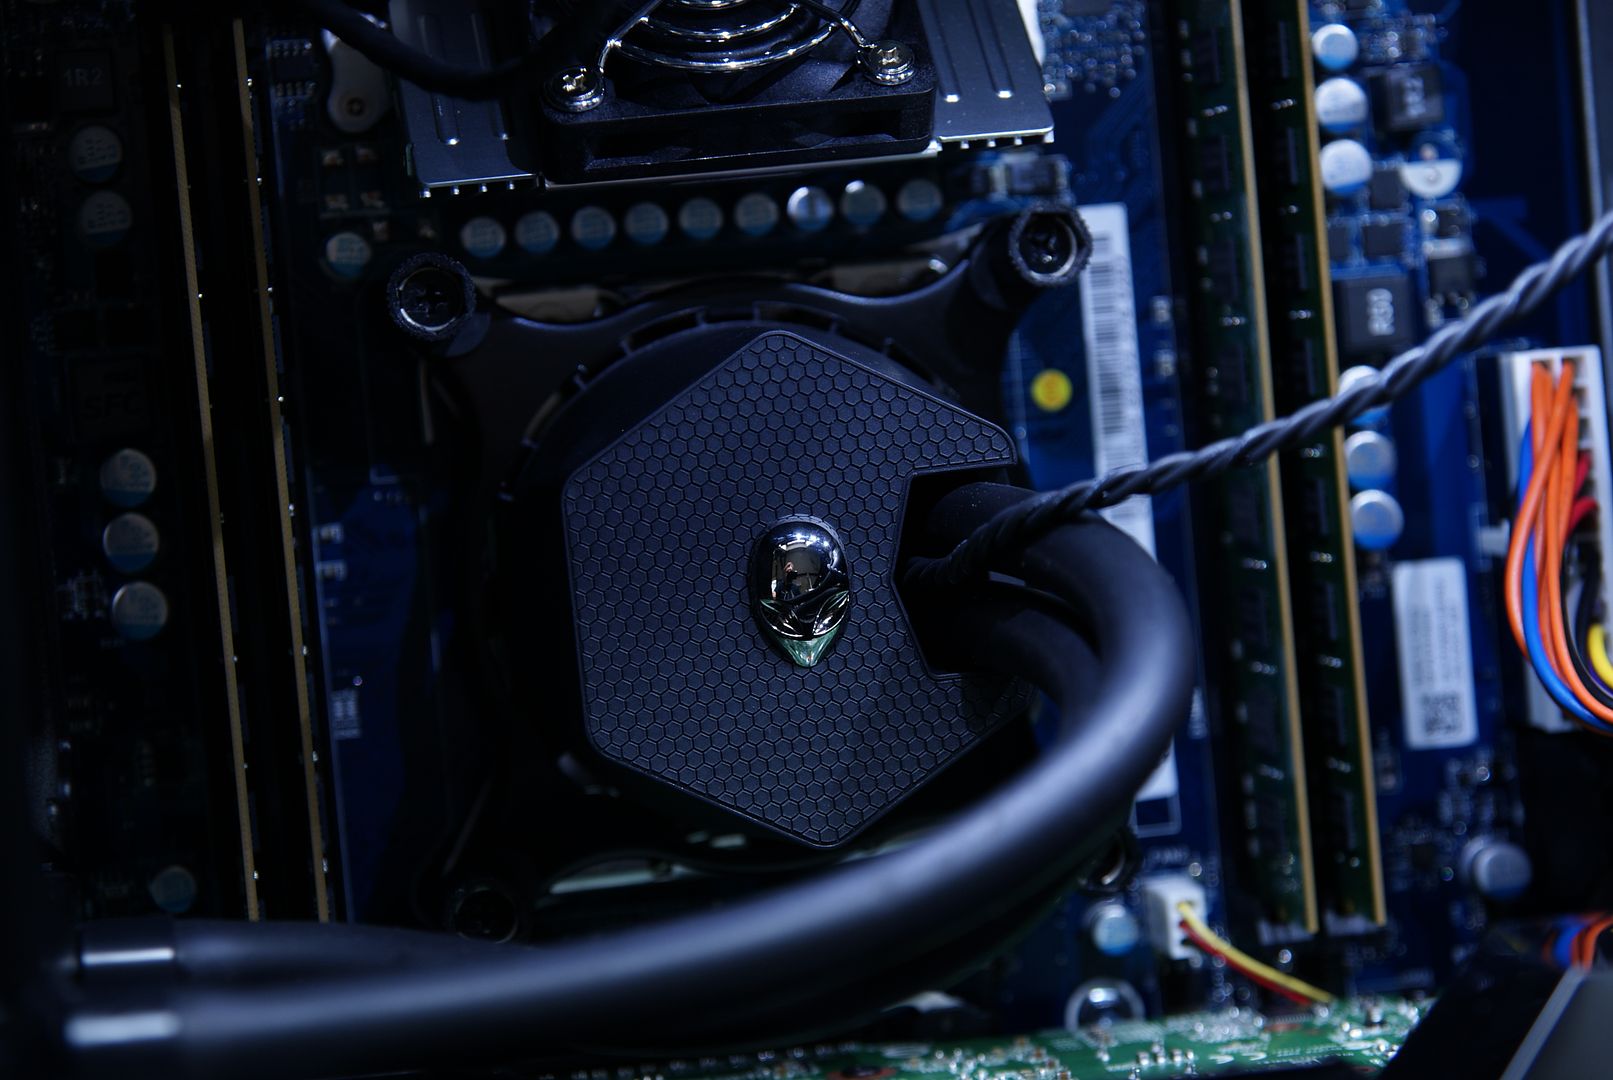
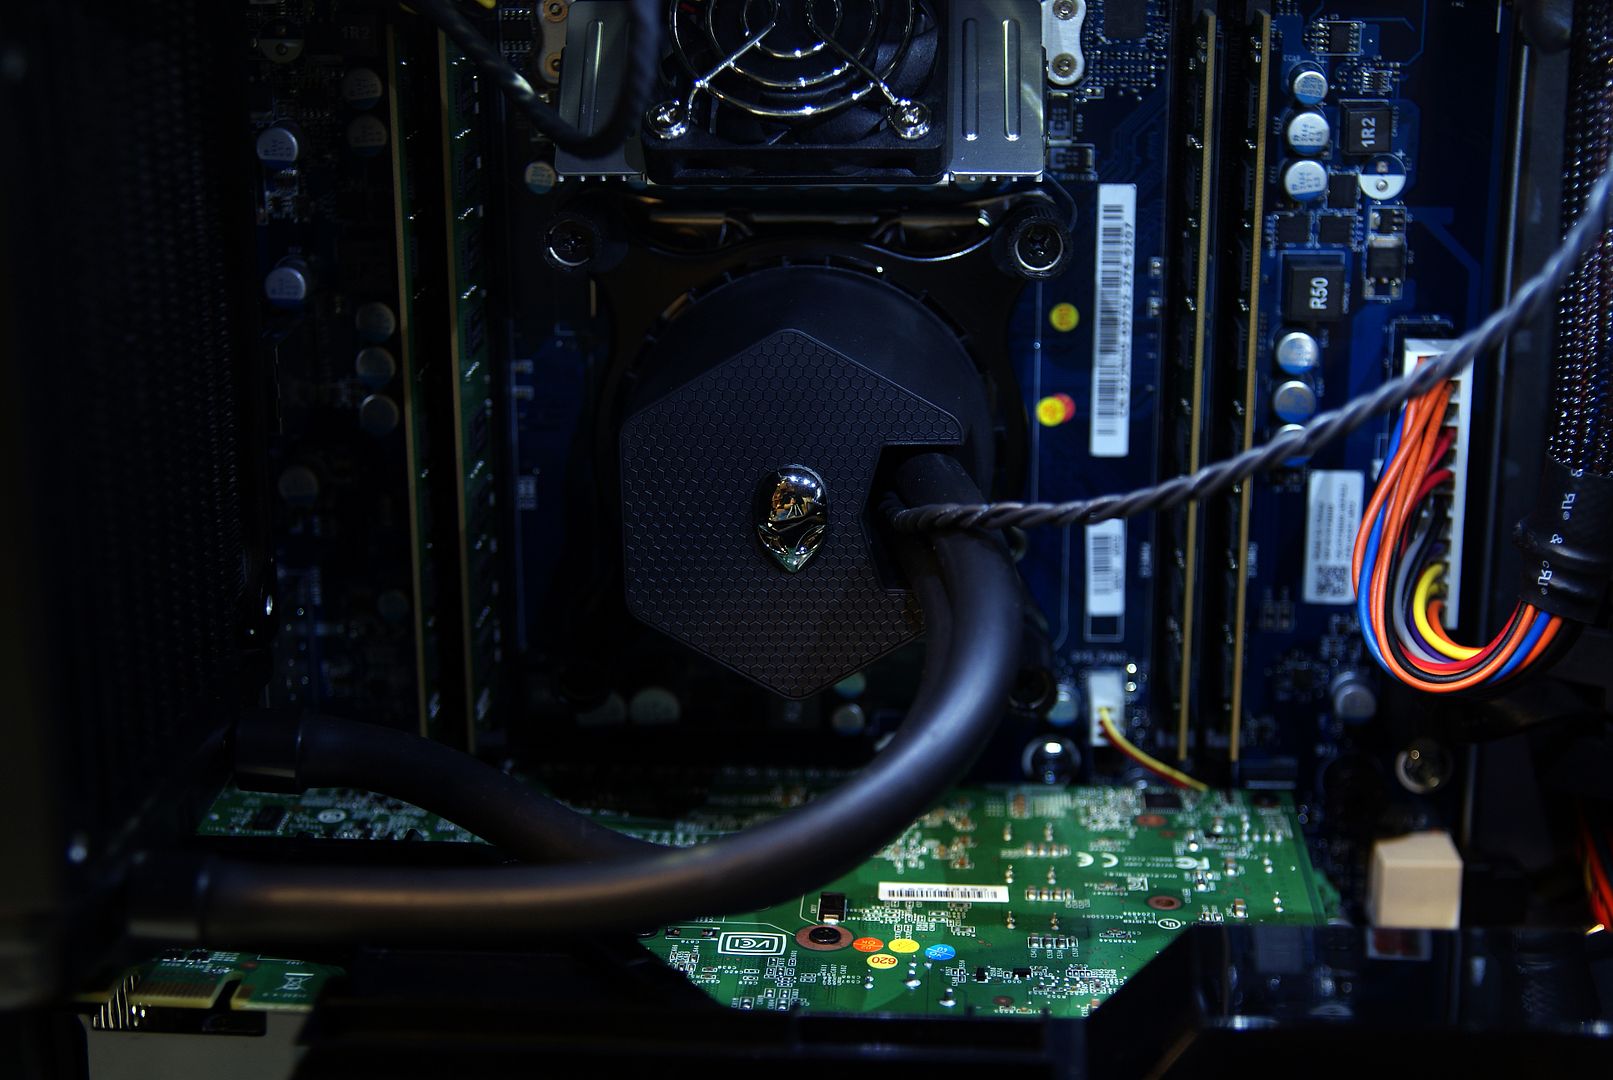
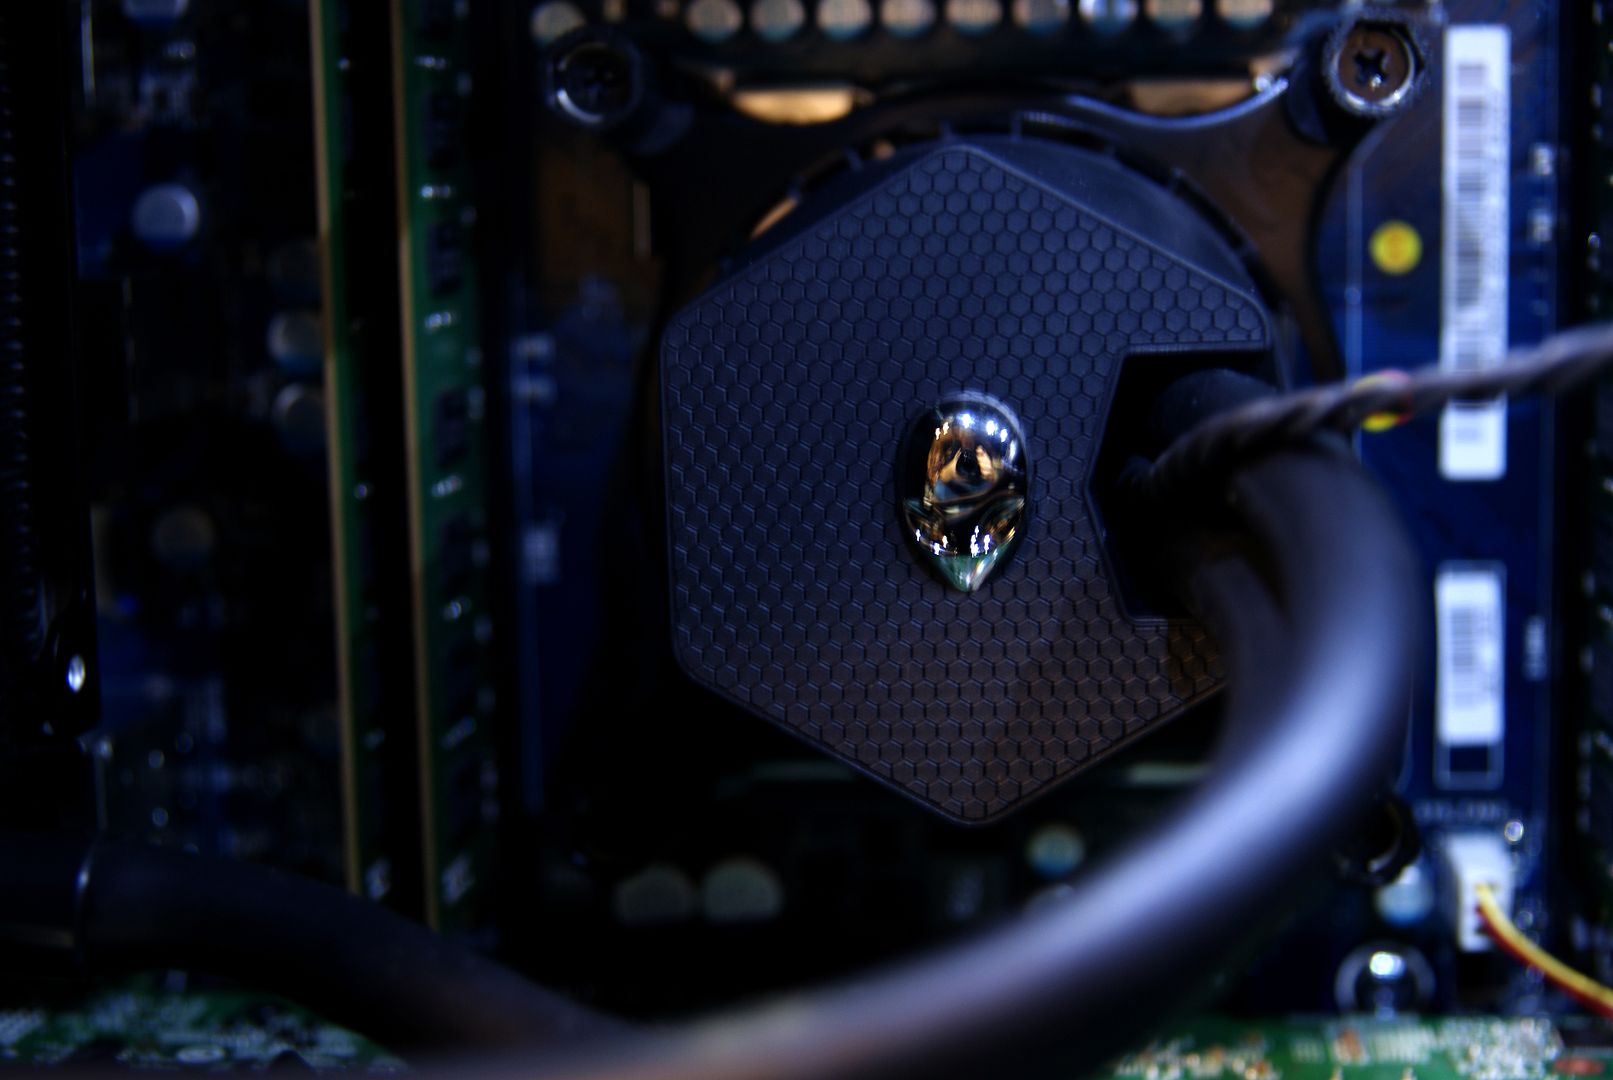
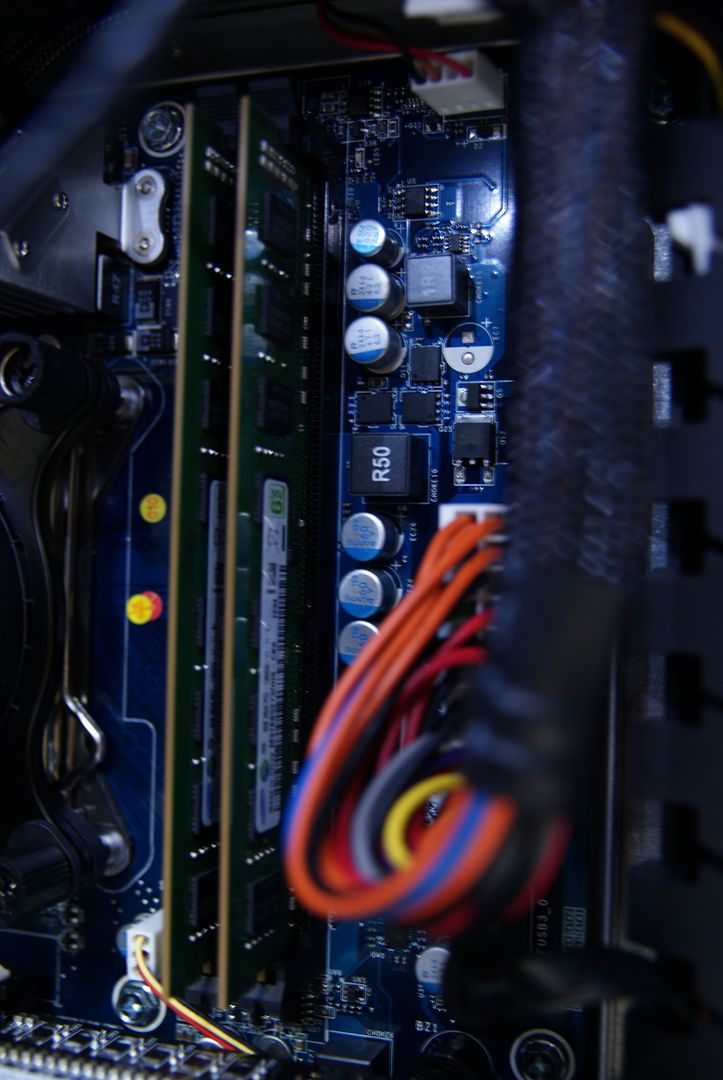
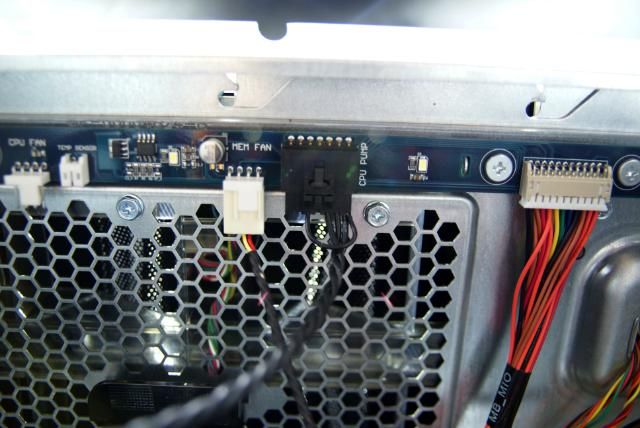
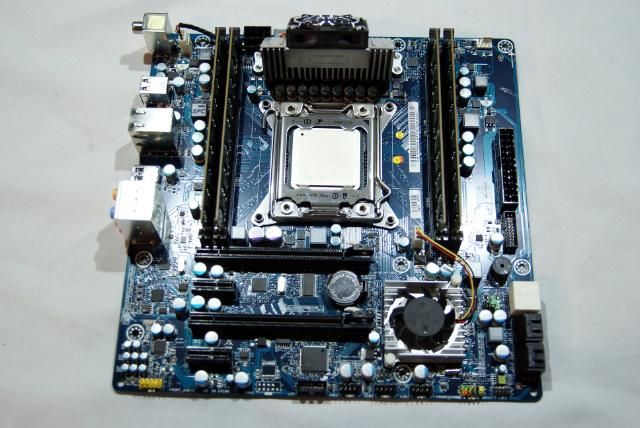
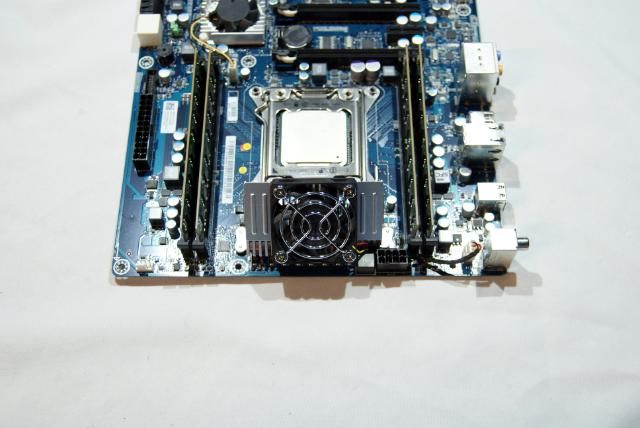
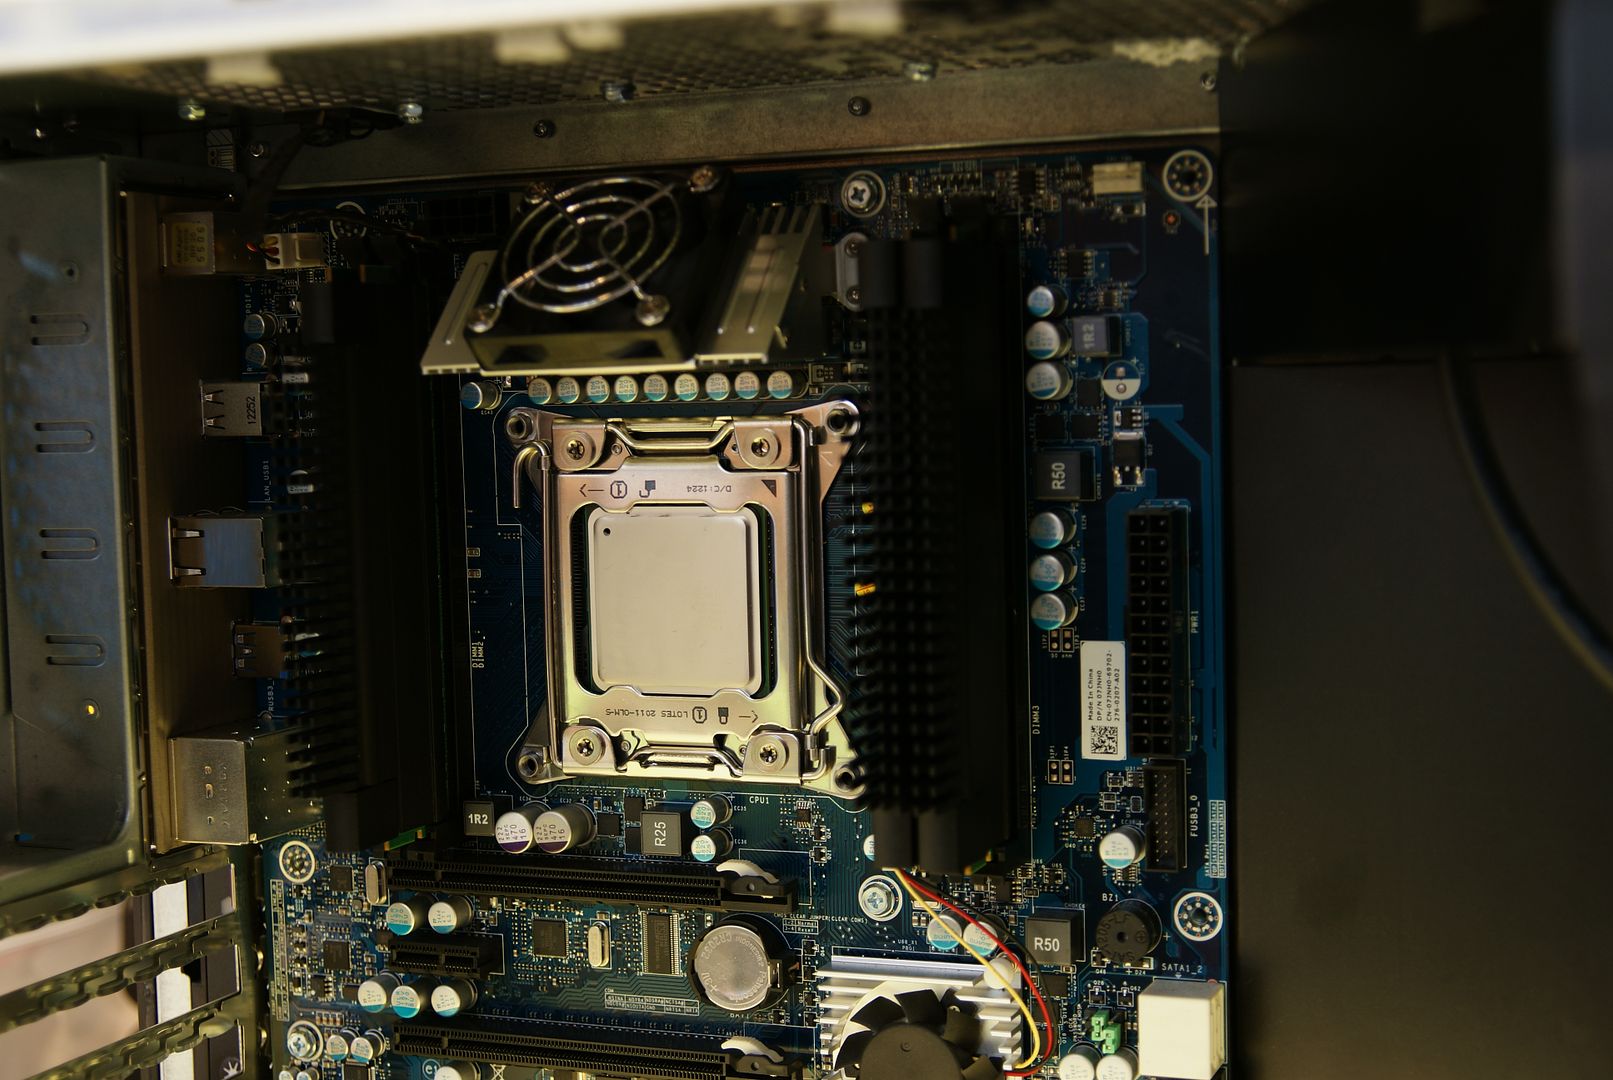
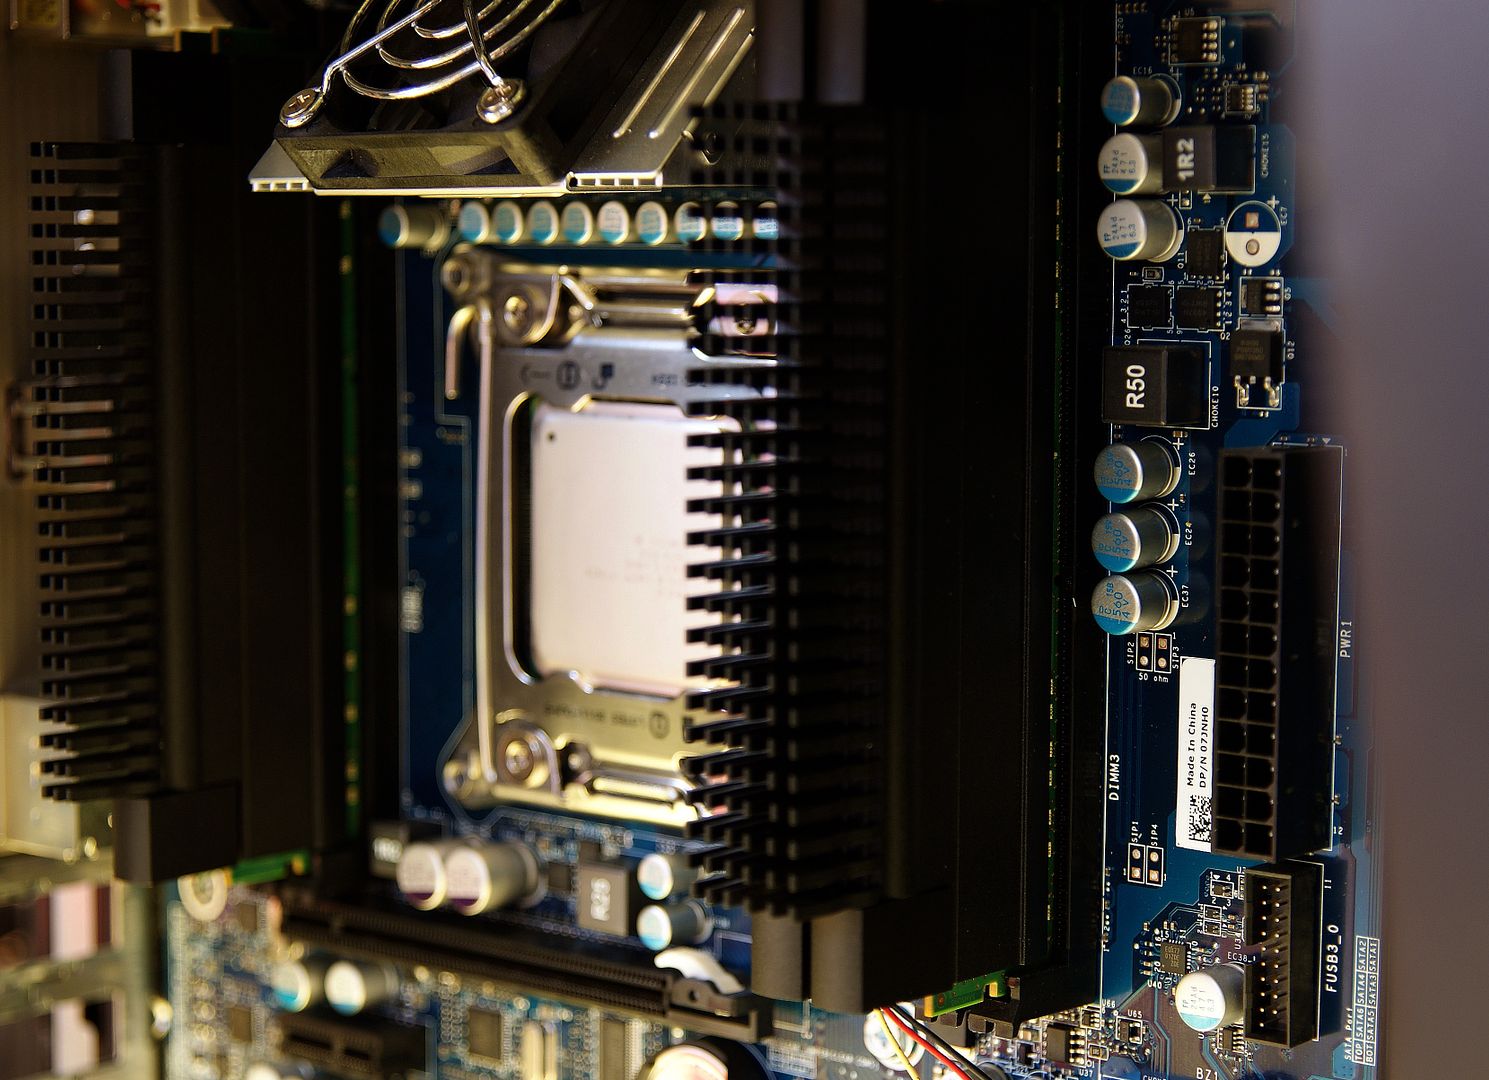
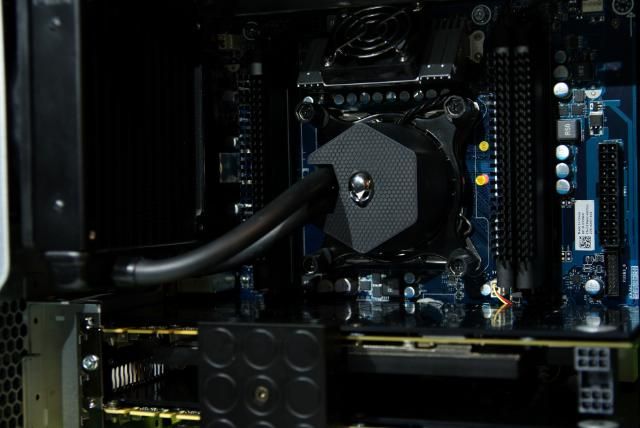
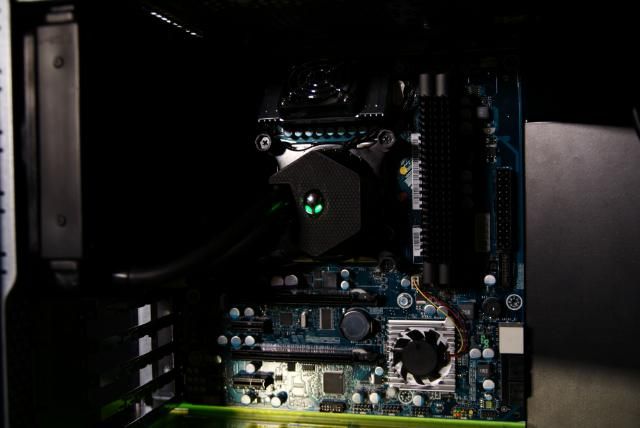
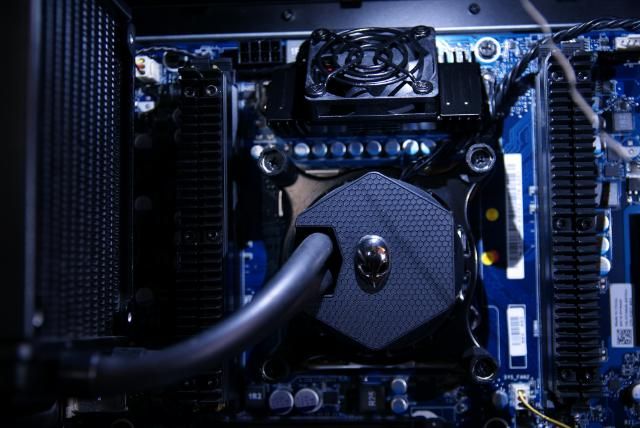
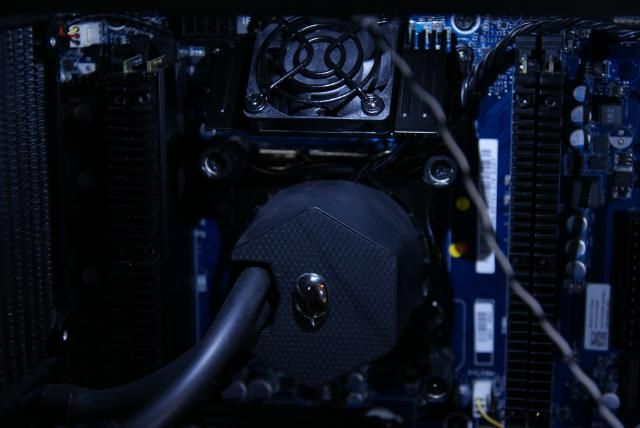
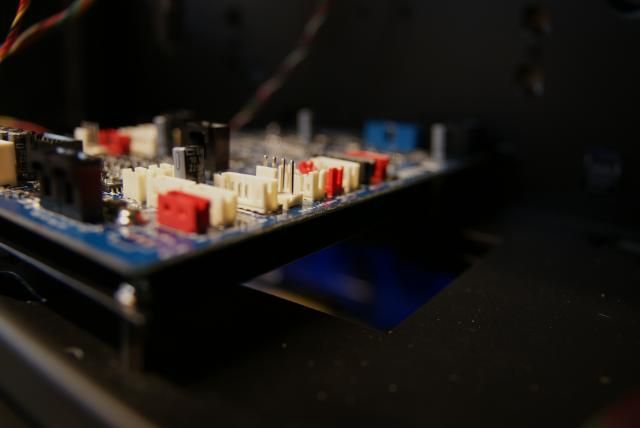
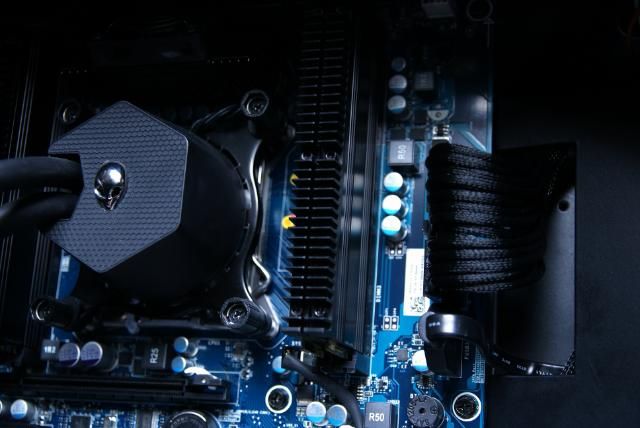
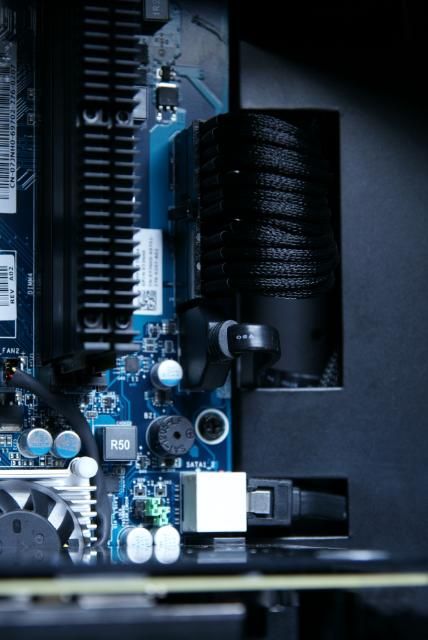
Cooler motherboard
And the beautiful Alienware CPU cooler
Personally I really like this one, so it stays in this build (perhaps modify)
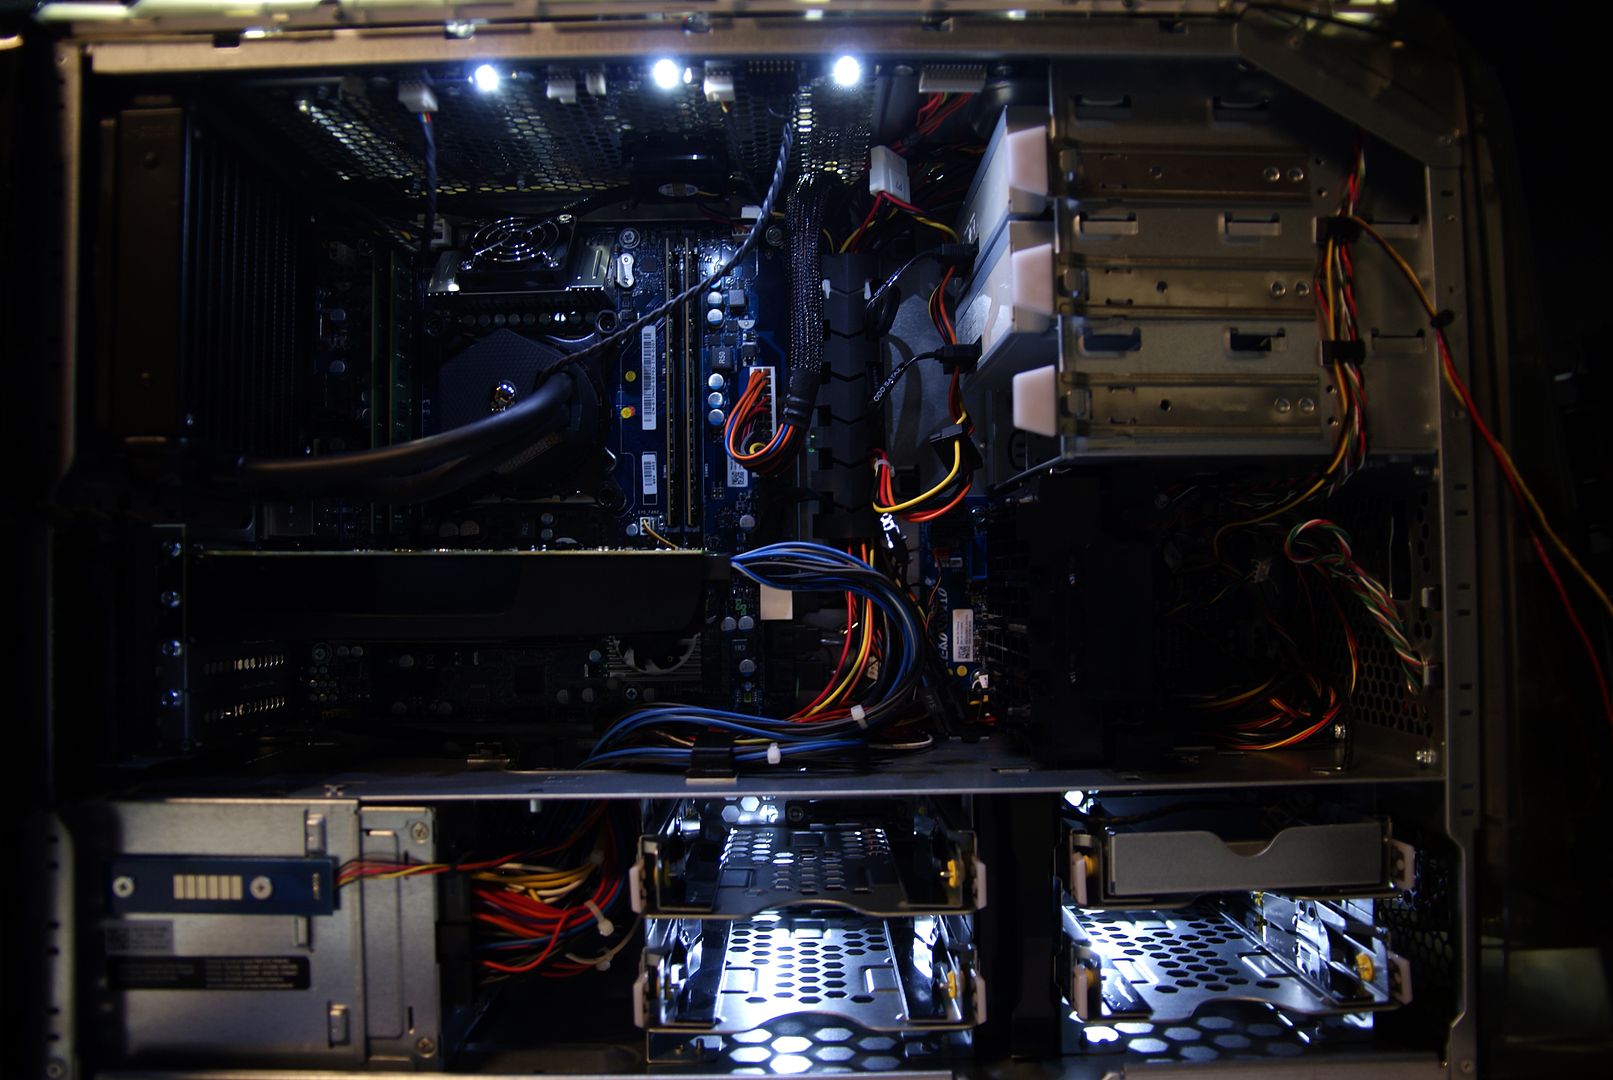
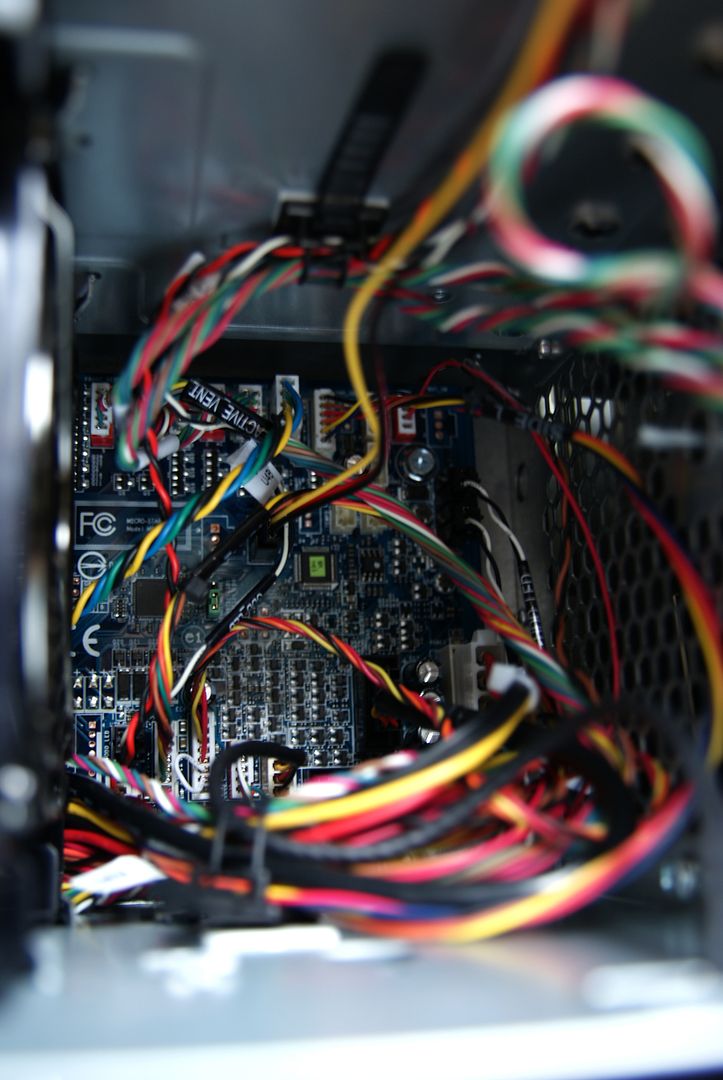
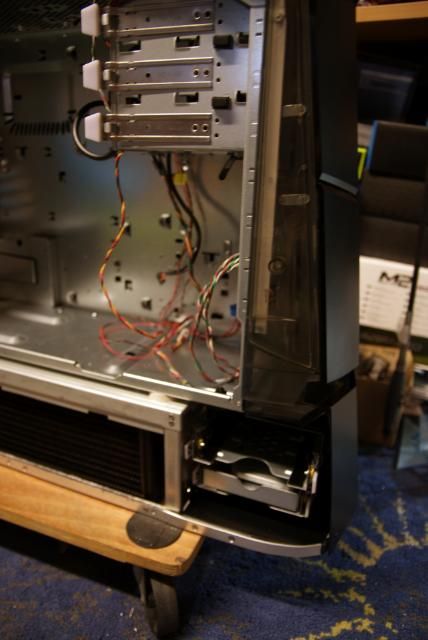
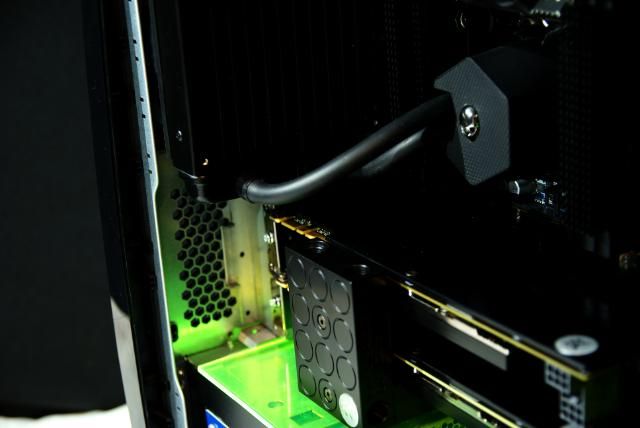
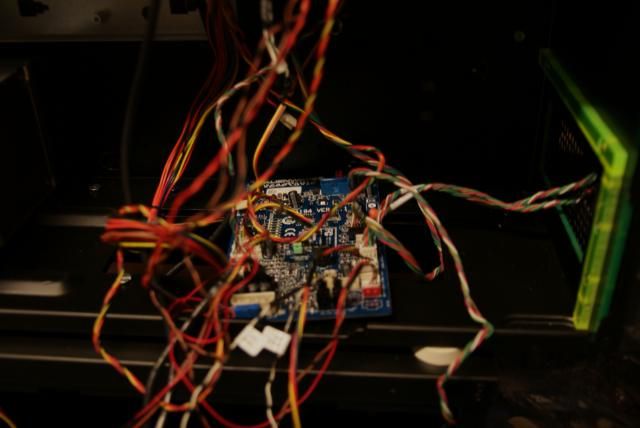
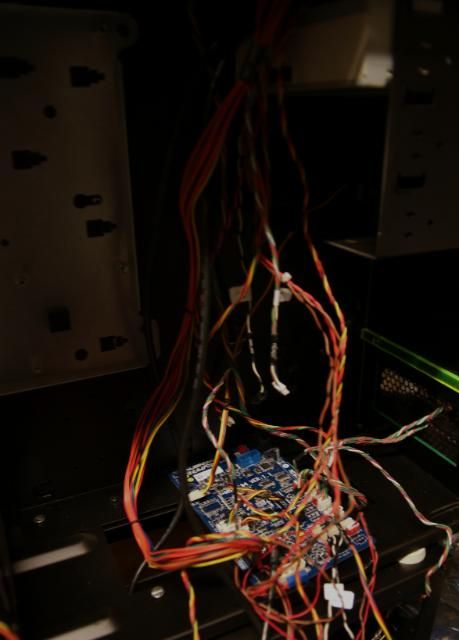
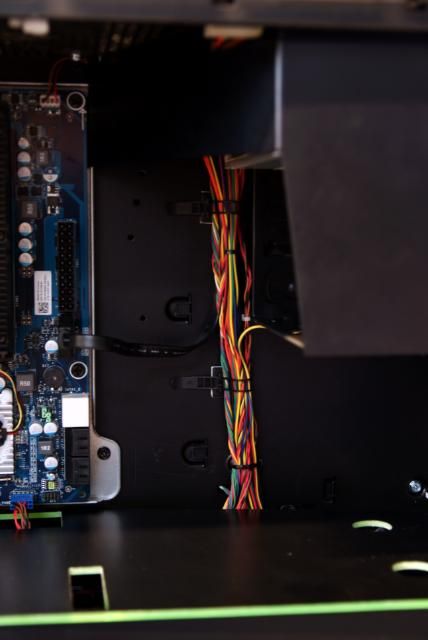
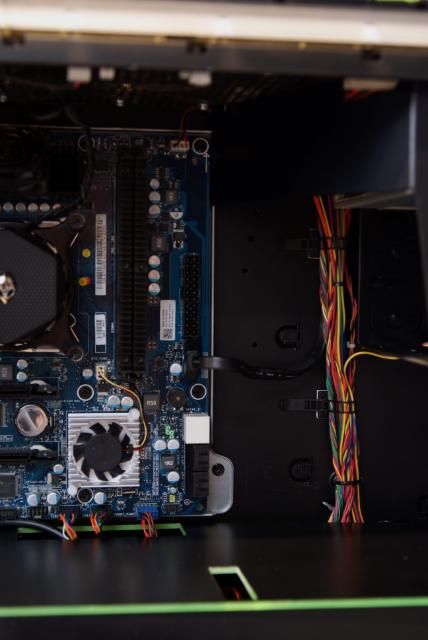
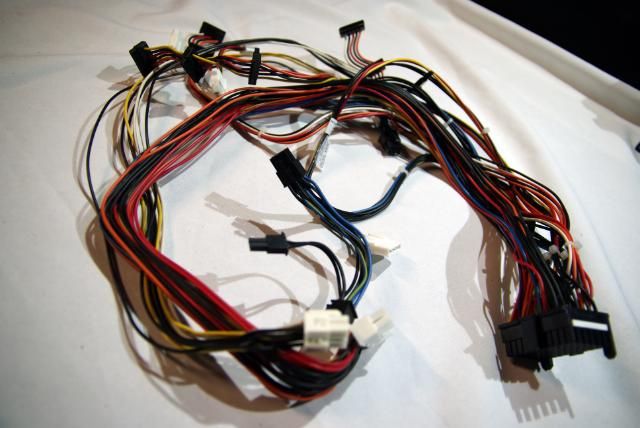
What cable management is concerned, everything is provided. But it looks a bit messy.
This will be better ;)
Module for lighting, fans and other applications
This will be a lot of work, but a very exciting thing to do.
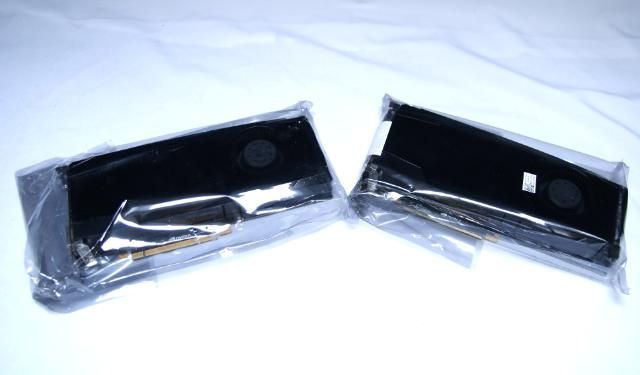
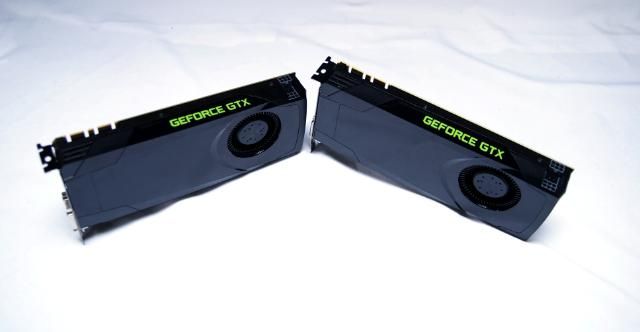
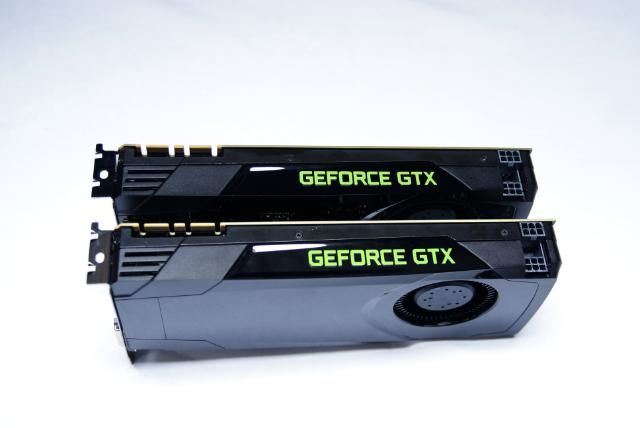
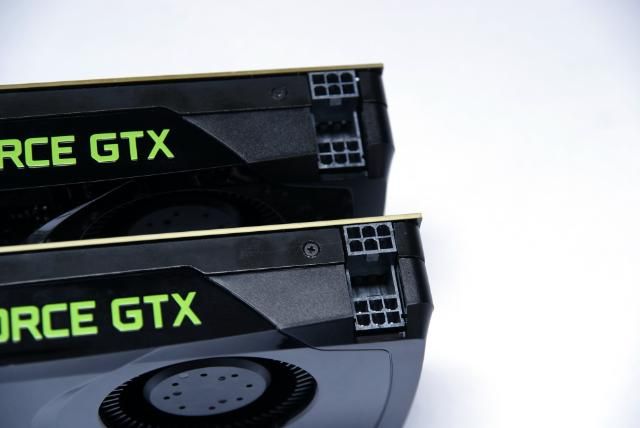
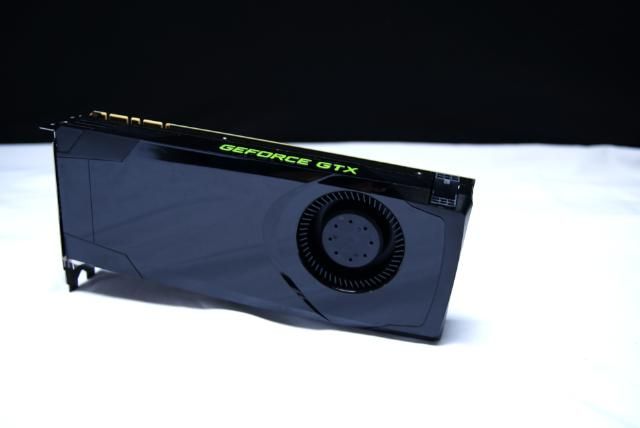
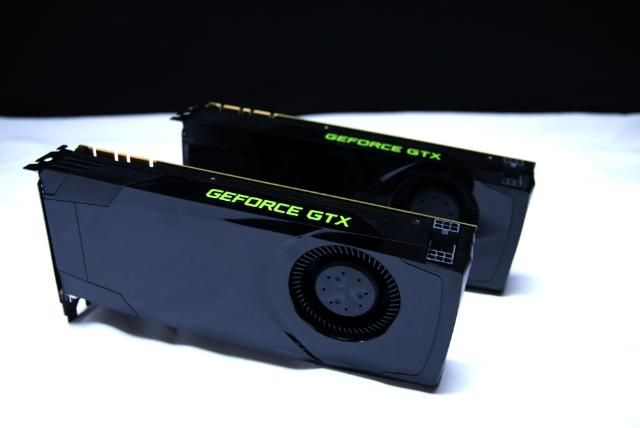
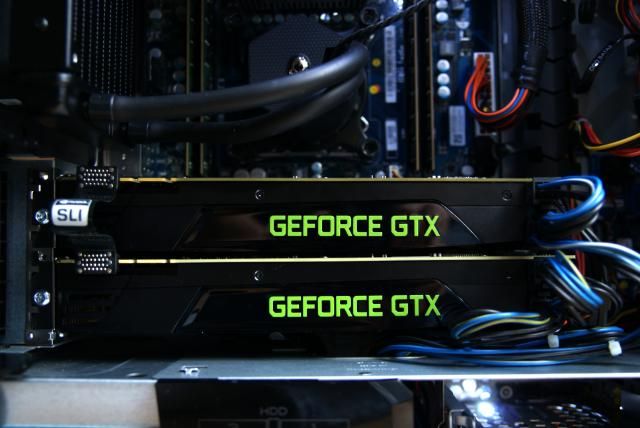
The first change that I'm going to do is swap the Nvidia GTX555 for two GPUs Nvidia has sent me.
Again thank you Nvidia
For sending me two Nvidia GTX680's
Engine Specs:
- CUDA Cores: 1536
- Base Clock: 1006
- Boost Clock: 1058
- Texture Fill Rate: 128.8
- Memory Speed: 6.0 Gbps
- Standard Memory Config: 2048MB
- Memory Interface Width: 256-bit GDDR5
- Memory Bandwidth (GB/sec): 192.2
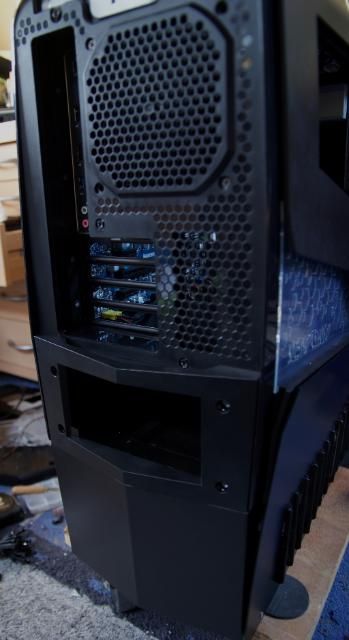
Unboxing again
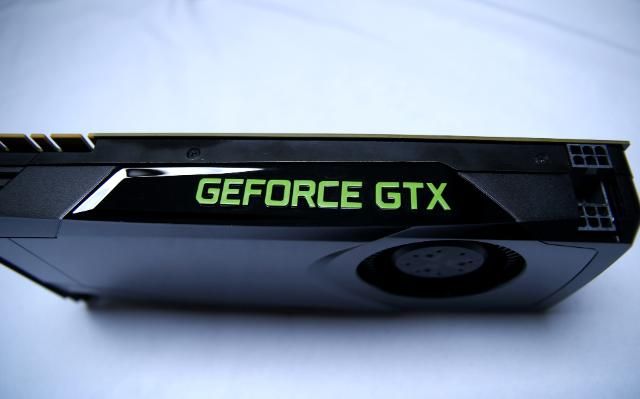
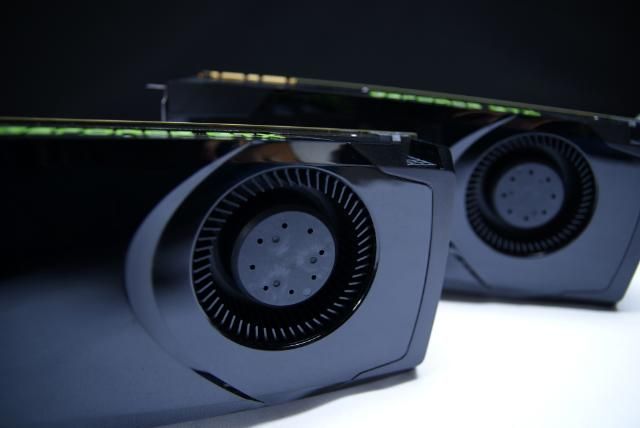
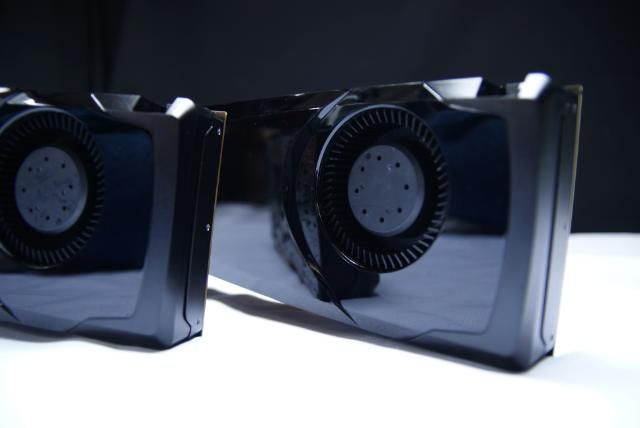
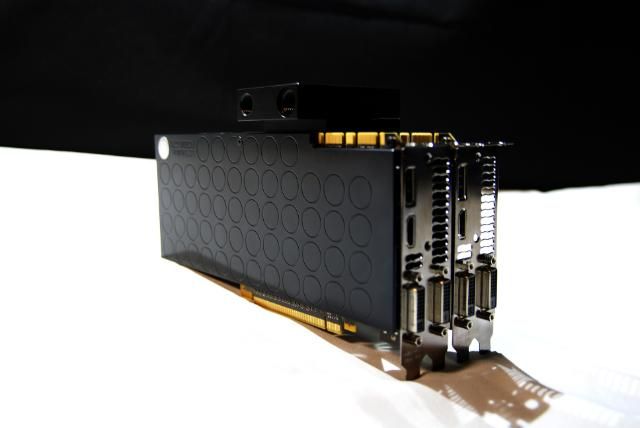
The beautiful GPU's
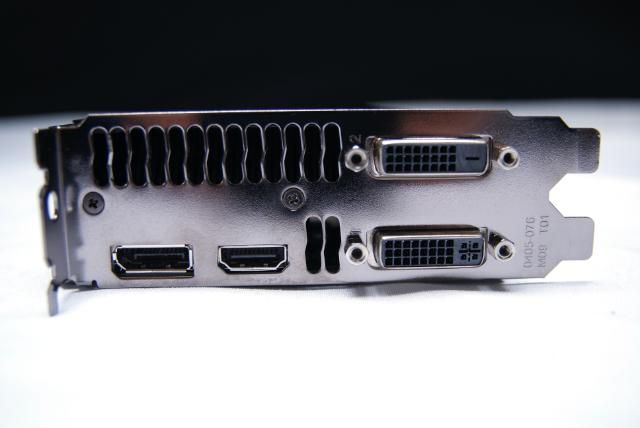
with one Dual Link DVI-I, one Dual Link DVI-D, one HDMI and one DisplayPort
And installed the new GPU's
10-27-2012, 02:30 PM
kier
Re: Alienware Aurora ALX-XL
And now it is time for some modding :)
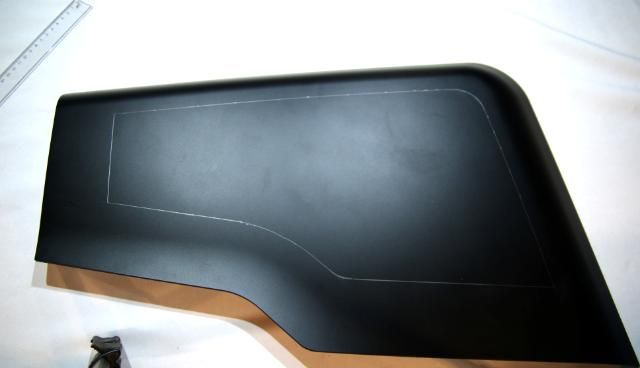
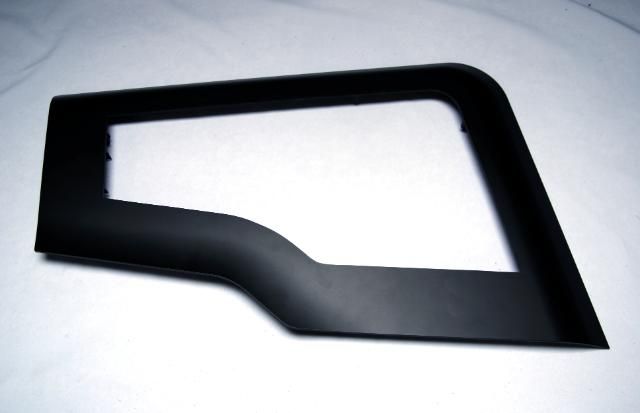
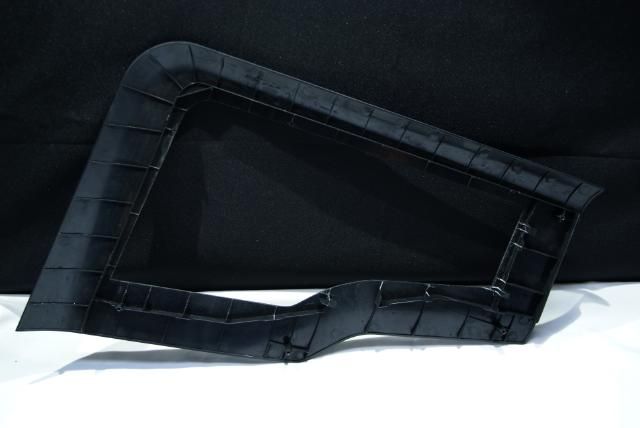
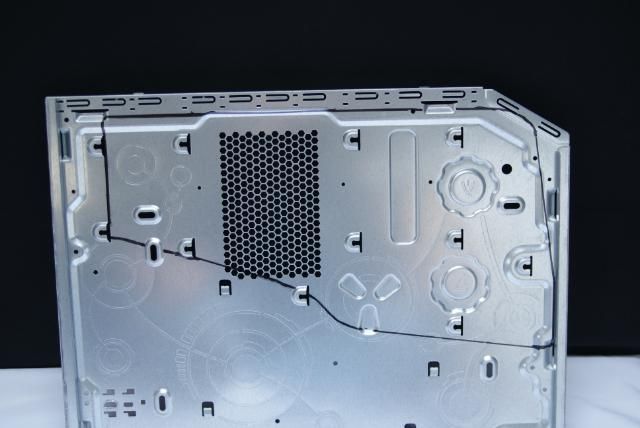
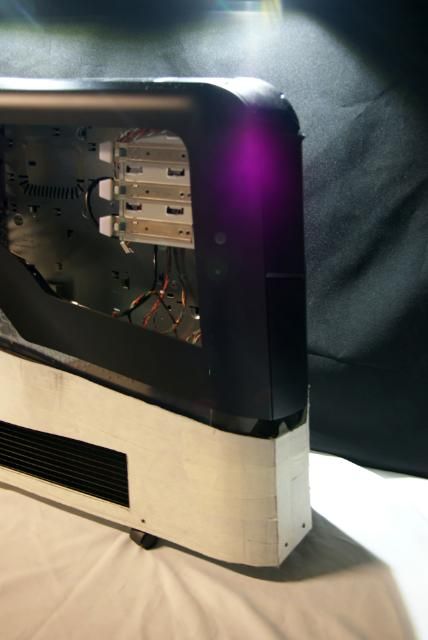
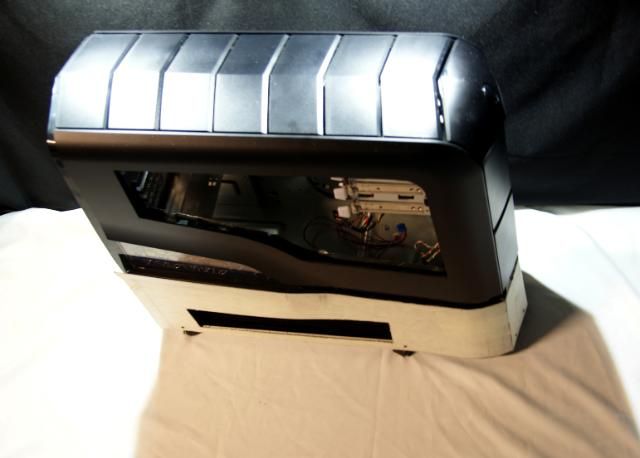
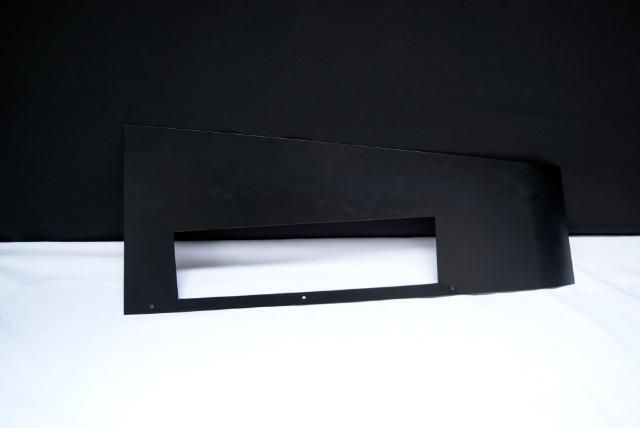
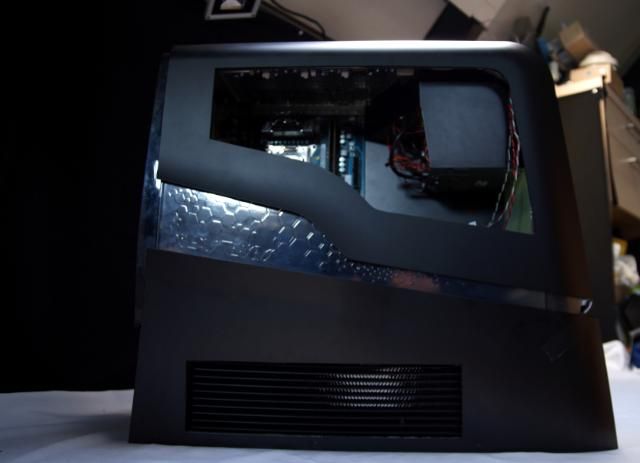
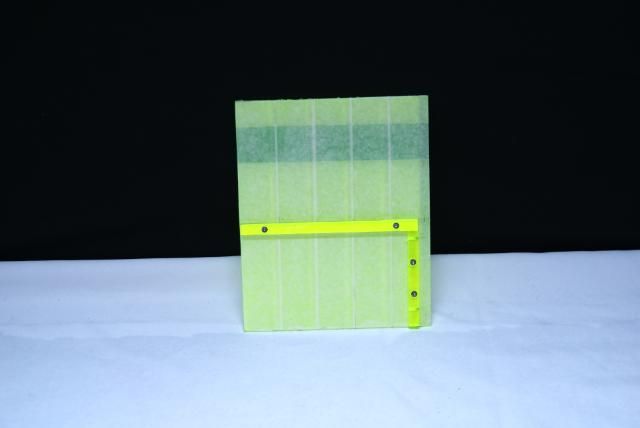
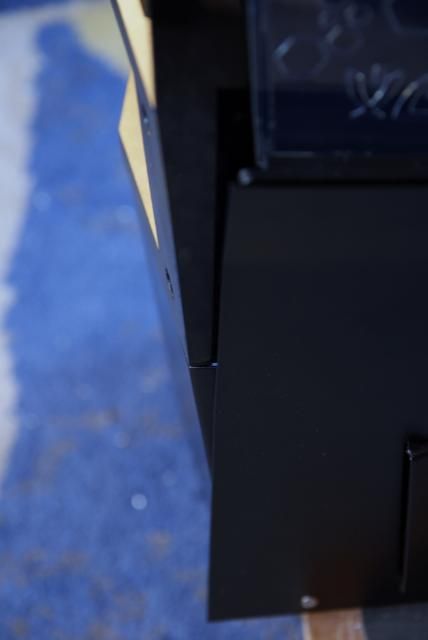
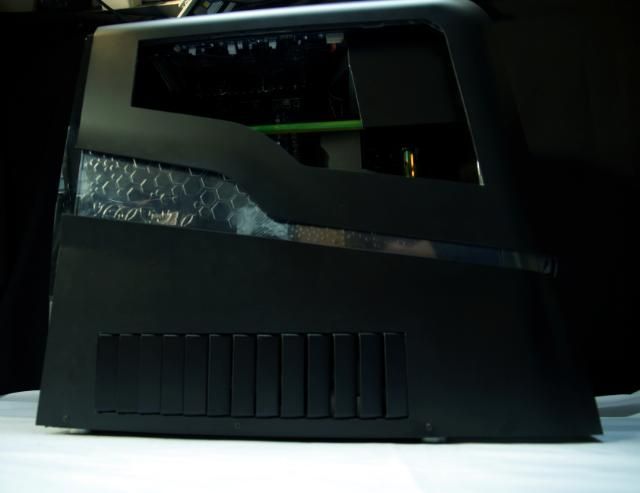
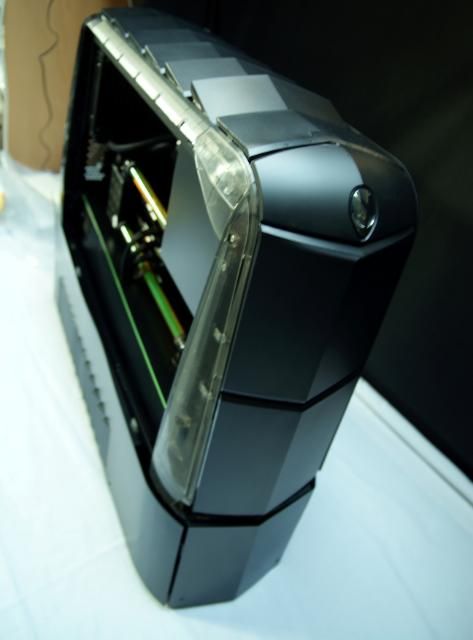
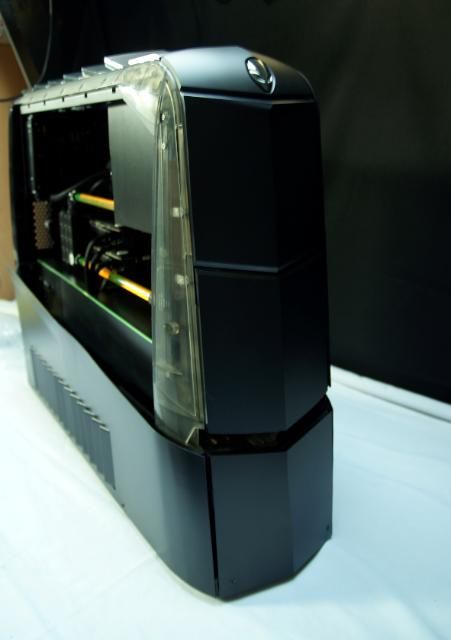
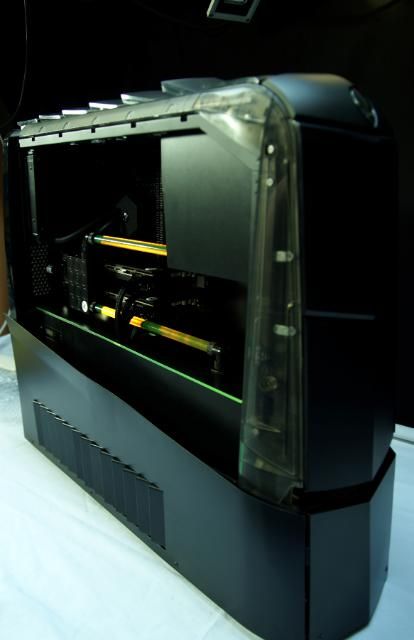
First a window in the Alienware Aurora. And maybe two, one on both sides.
But this is for later... first one.
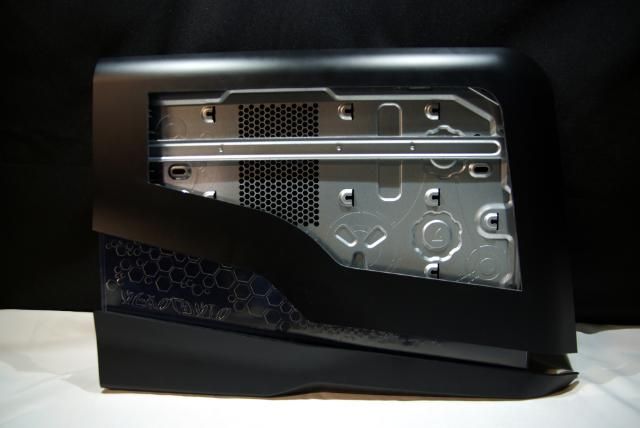
The sidepanel
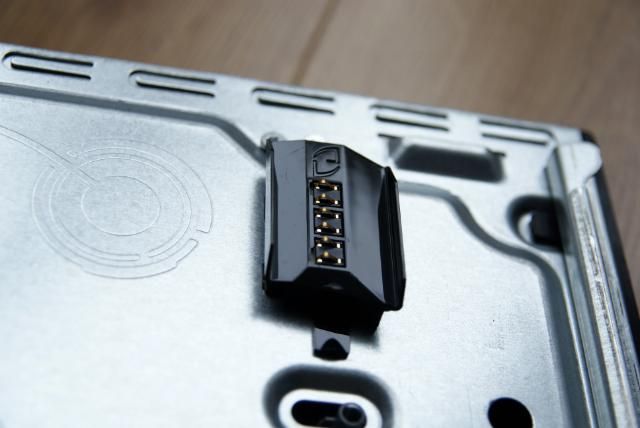
Contacts for lighting has to be kept in mind
And the shapes / curves must be maintained
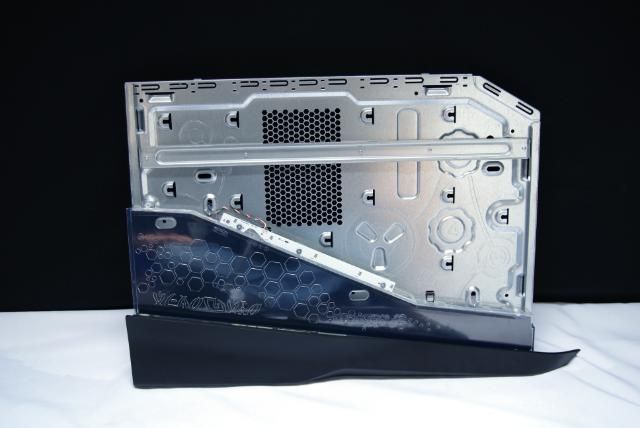
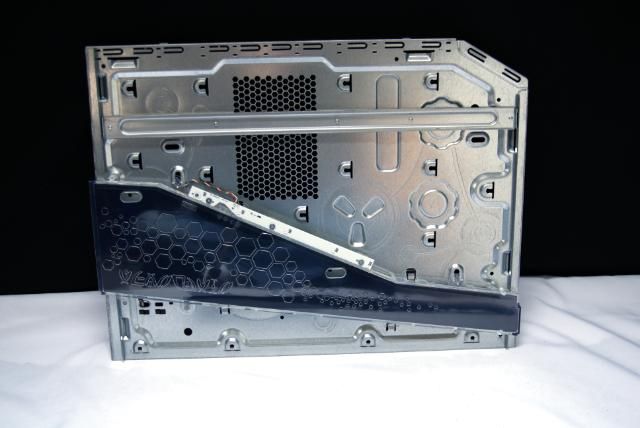
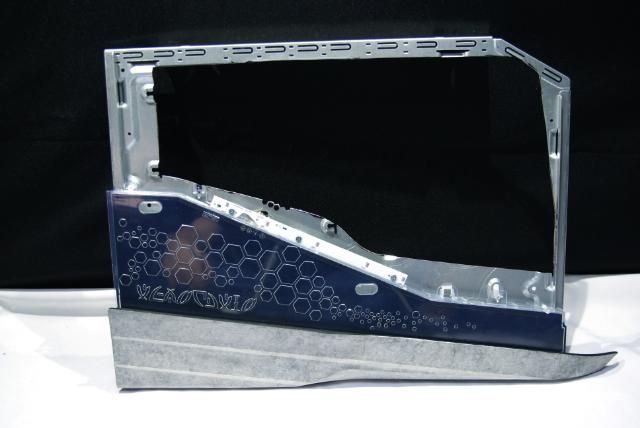
Everything is pretty easy to disassemble. Black panel removed and drawn the line for cutting
Disassambled the remaining parts
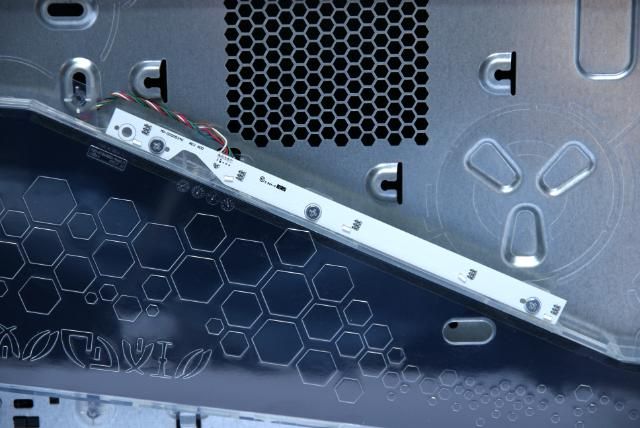
RGB strip for color effects
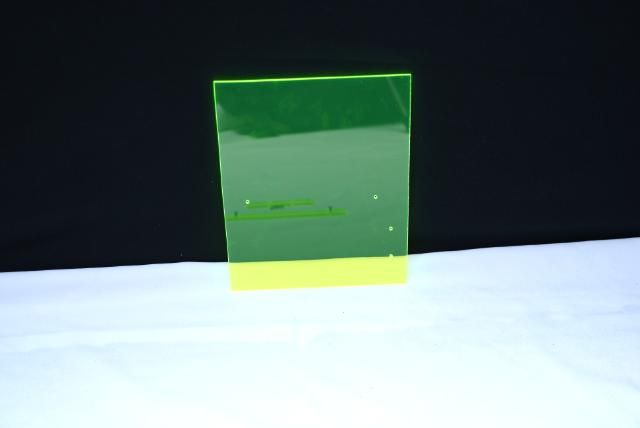
Detached the Acrylic carefully
What's left...a piece of iron
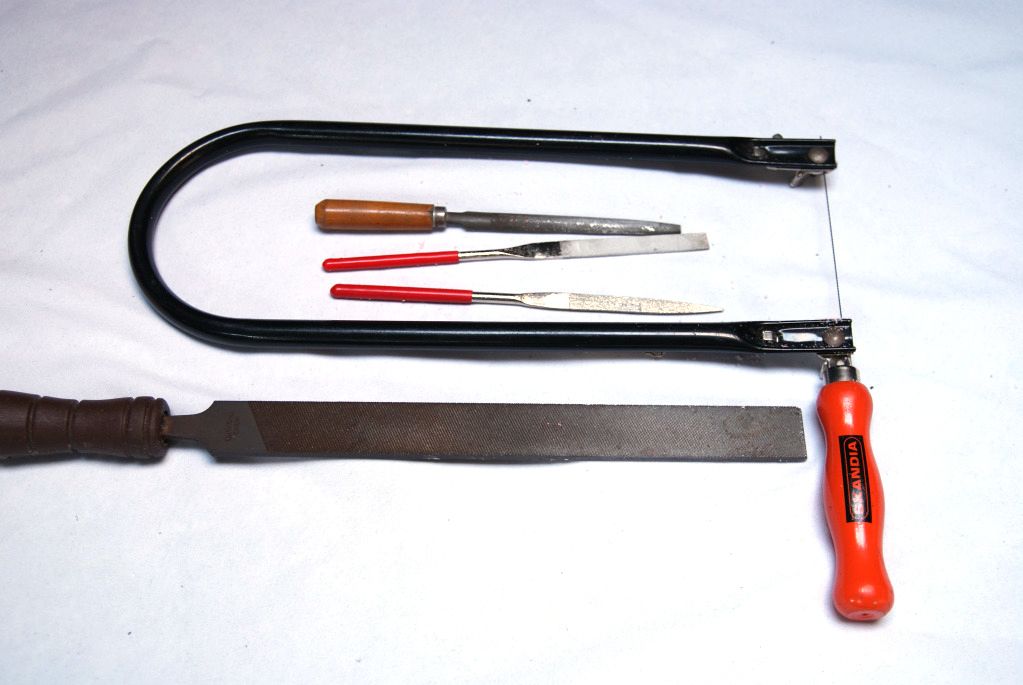
This is what we gonna use for cutting the window in the plastic panel
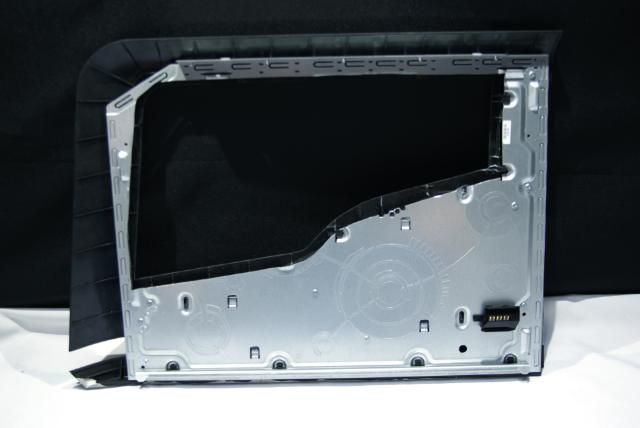
After some sawing and filing
Excess plastic also removed with my dremel to place the window (later)
first fit
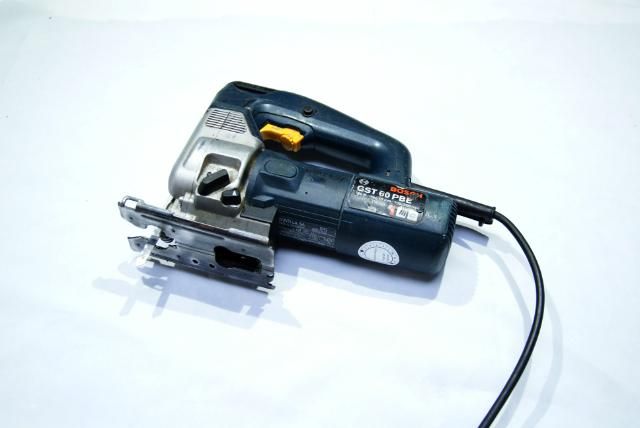
Next step. We use the jigsaw
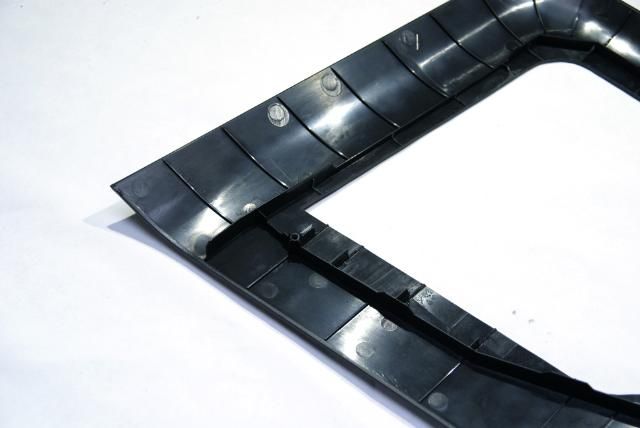
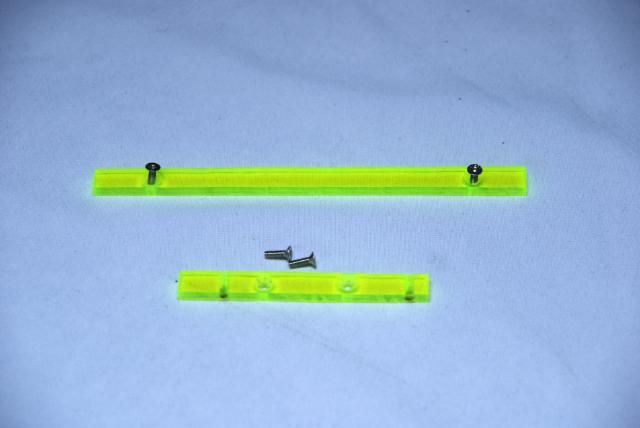
Removed the reinforcement strip and drawned the hole slightly larger than the window in the plastic panel
And saw it (and some filling of course)
The points which seem to be thin will be reinforced
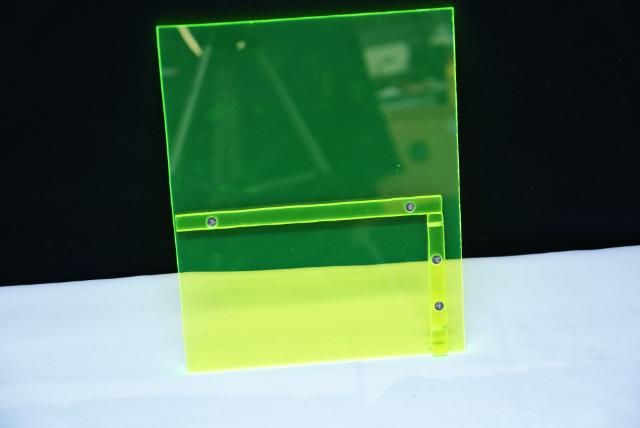
Furthermore, it's still a strong frame
And placed everything back. The gap inside between the plastic and iron needs to be filled
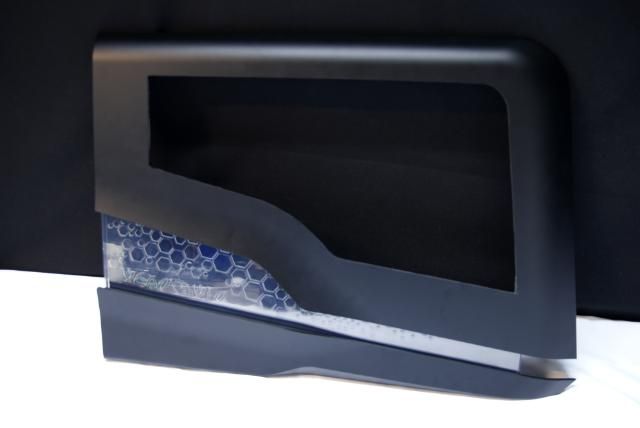
And the window is almost finished
A big start topic with a lot of pics and vids, but hope you like it.
Until the next update!!!
Grtz.
Kier
10-27-2012, 10:02 PM
d_stilgar
Re: Alienware Aurora ALX-XL
Great start, and a great case to start with. Sure wish I had the Aurora ALX. The fins may have been proven to be more gimmick than performance booster, but I still love them.
10-28-2012, 03:48 AM
Fuganater
Re: Alienware Aurora ALX-XL
Nice start. I'll deff be watching this. Never saw someone mod a prebuilt system before. Epically not an Alienware.
10-29-2012, 02:09 PM
_ferry_
Re: Alienware Aurora ALX-XL
http://youtu.be/RaA1851L8ug
Were you listening to this song during the search for a new project :P
Oh well, at least the computer is a lot better then the song...
10-29-2012, 05:08 PM
kier
Re: Alienware Aurora ALX-XL
Quote:
Originally Posted by d_stilgar
Great start, and a great case to start with. Sure wish I had the Aurora ALX. The fins may have been proven to be more gimmick than performance booster, but I still love them.
Thanks, the vents are nice gadgets and look great. Nothing more :D
Quote:
Originally Posted by Fuganater
Nice start. I'll deff be watching this. Never saw someone mod a prebuilt system before. Epically not an Alienware.
Needs to stay original ;) thanks bro
Quote:
Originally Posted by _ferry_
http://youtu.be/RaA1851L8ug
Were you listening to this song during the search for a new project :P
Oh well, at least the computer is a lot better then the song...
Lol you dont like my music :) was a random choise. next song will be better
11-03-2012, 04:28 PM
kier
Re: Alienware Aurora ALX-XL
Update!!!
After playing some games and testing it was time to strip the case.
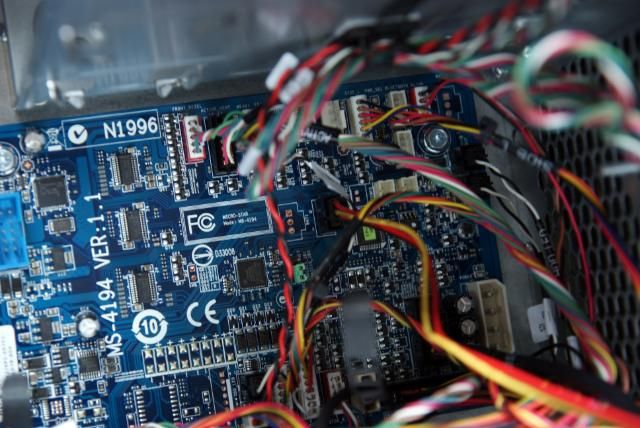
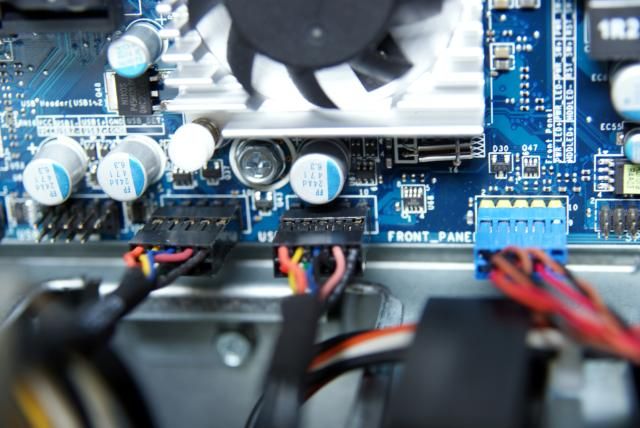
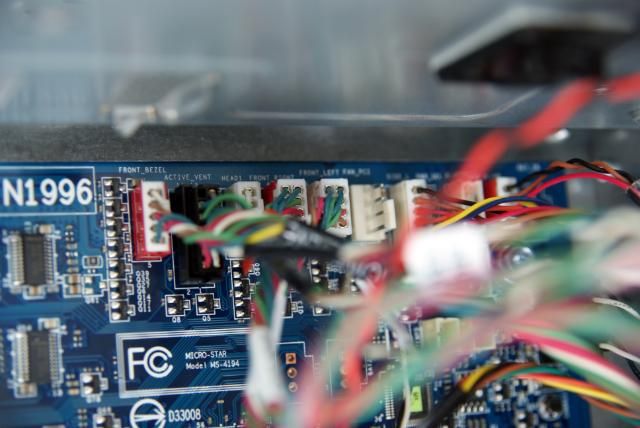
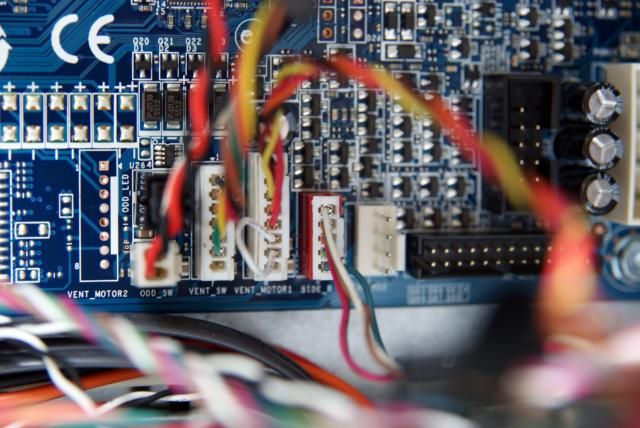
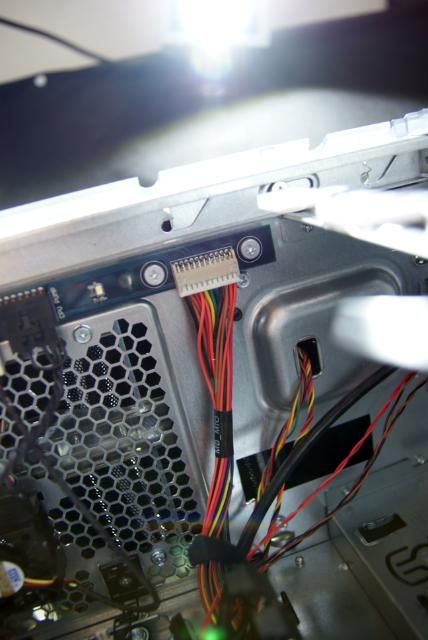
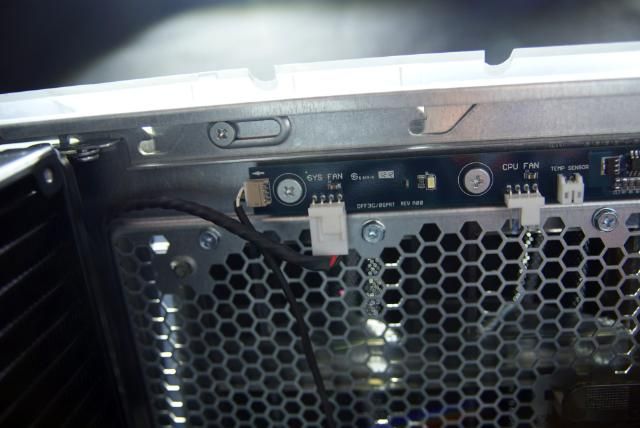
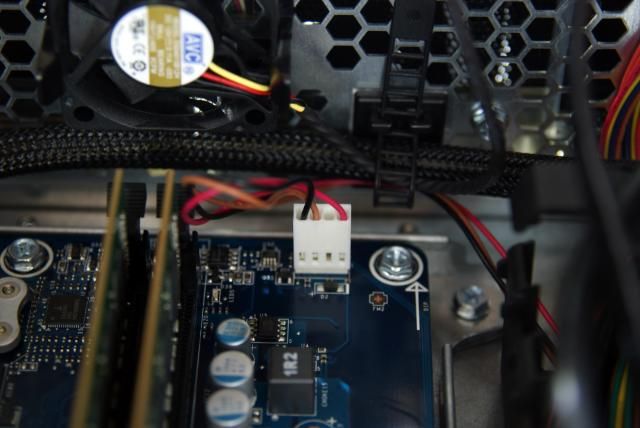
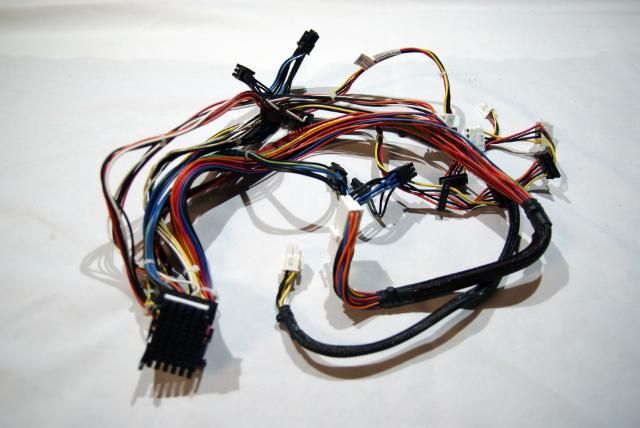
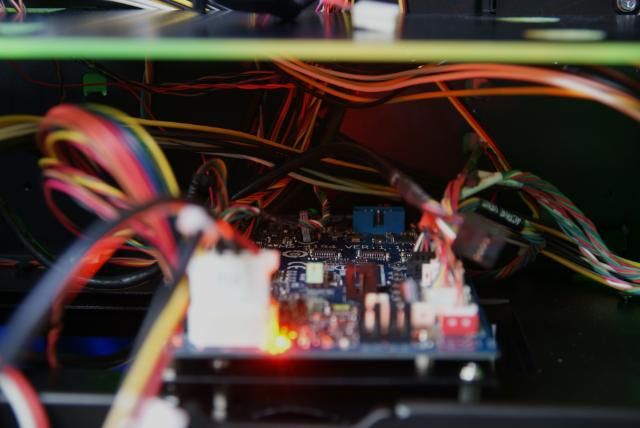
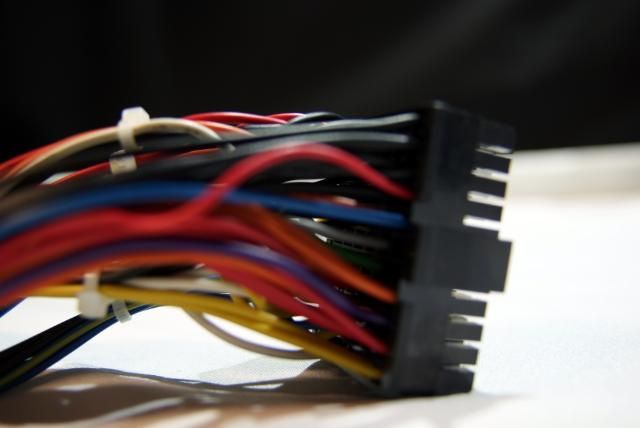
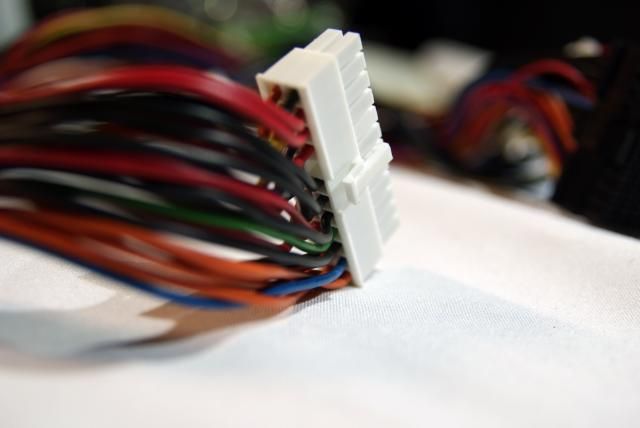
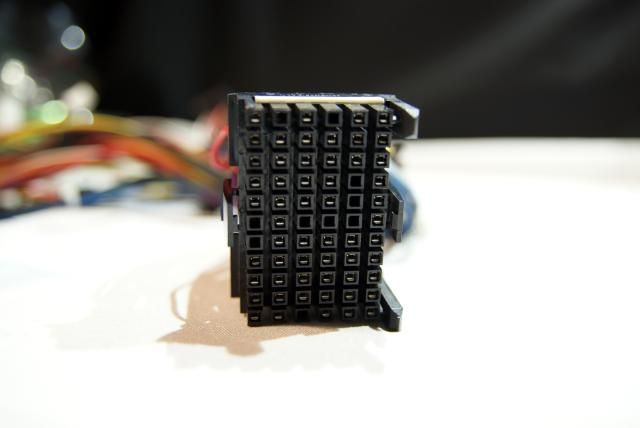
First the wiring, which is quite a lot in this case. But quite logical because all the gadgets.
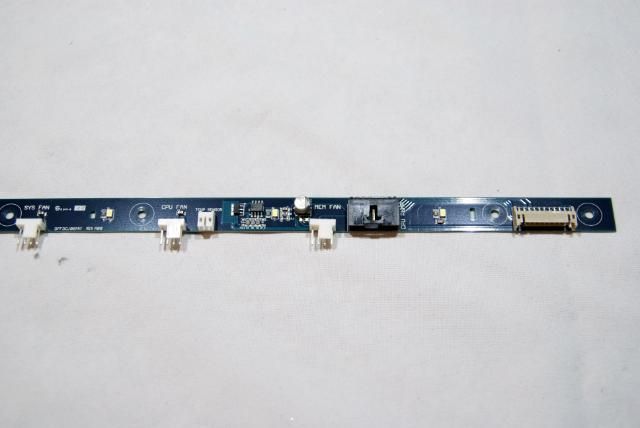
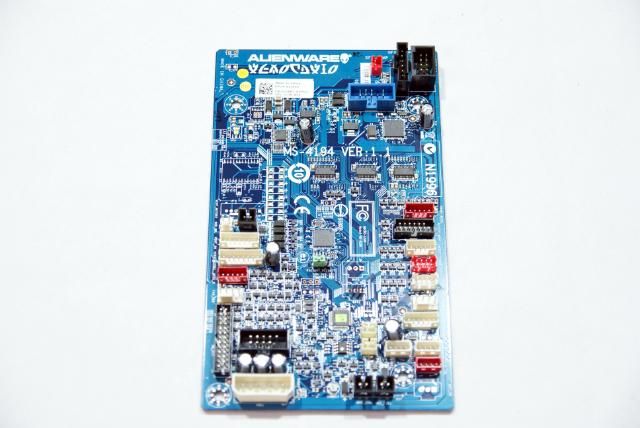
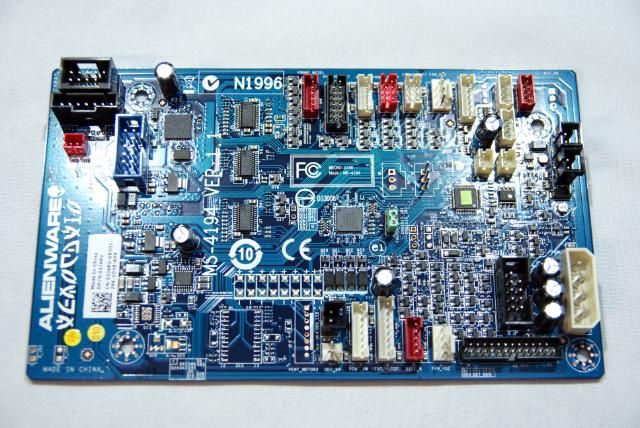
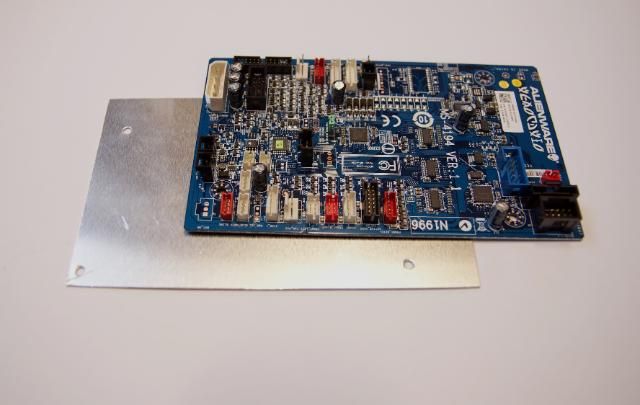
PCB and a lot of cables for the lights
The PCB strip at the top for lighting and power pump
2 of these for the lighting behind the HDD bays
And some more cables
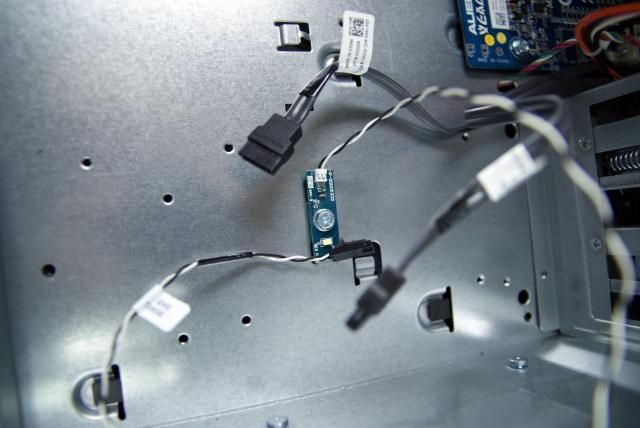
After all cables are removed, This is what's left ... for illumination
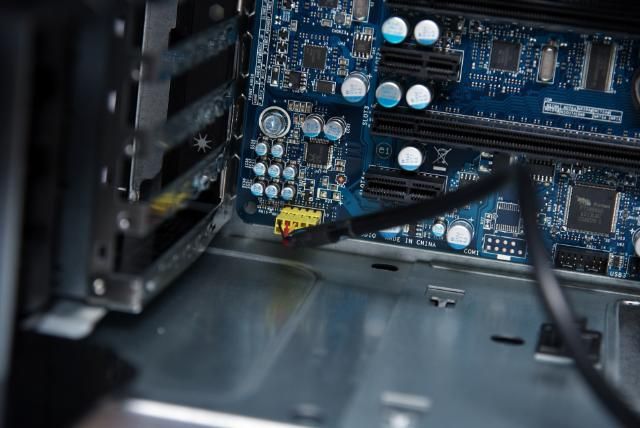
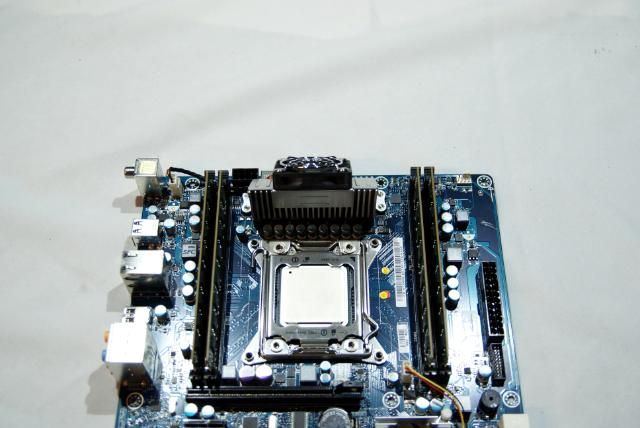
Also removed the Alienware mobo. Rams will by provided with black ram coolers later on.
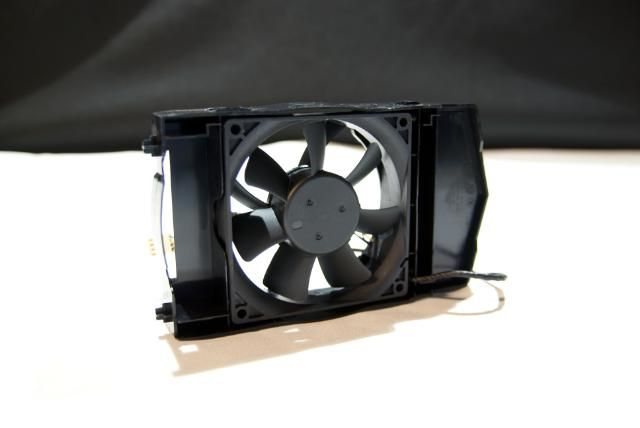
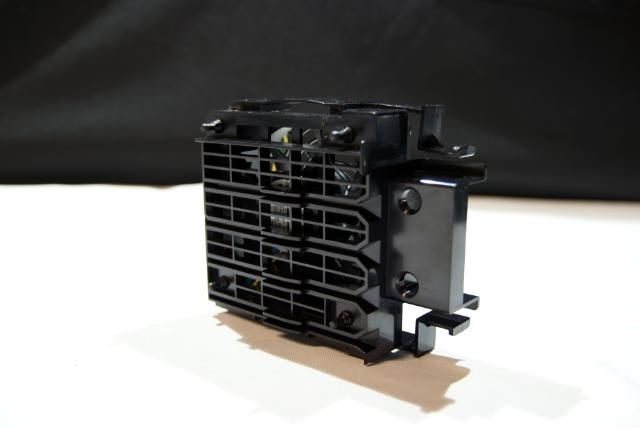
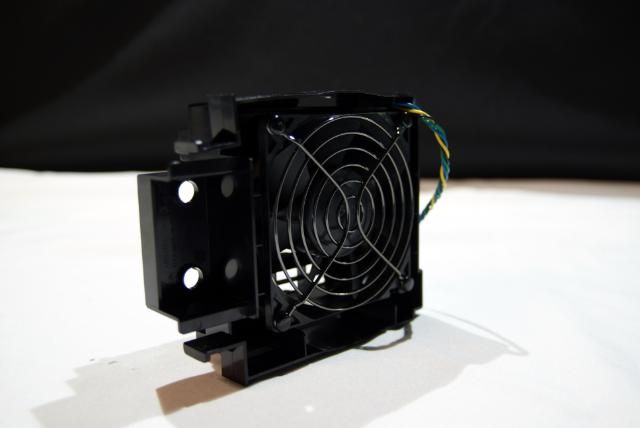
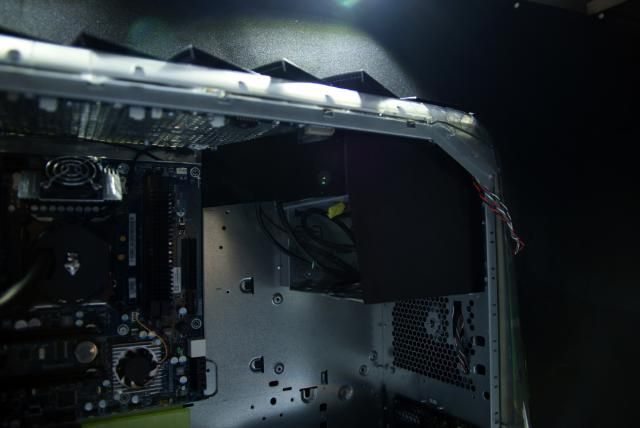
Fan bracket for the swap bay
And the fanbracket for the GPU's
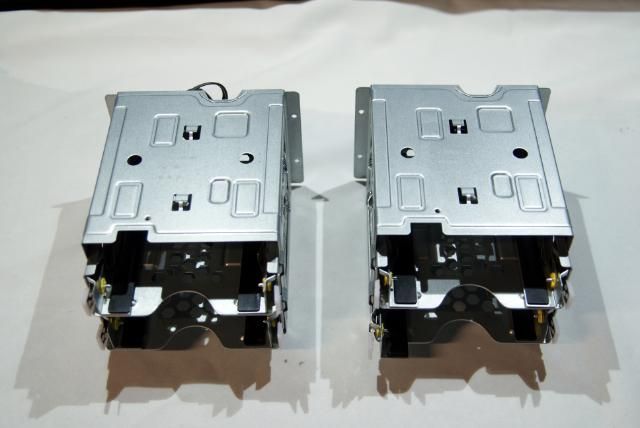
The HDD bays are easy to disassemble with screwdriver
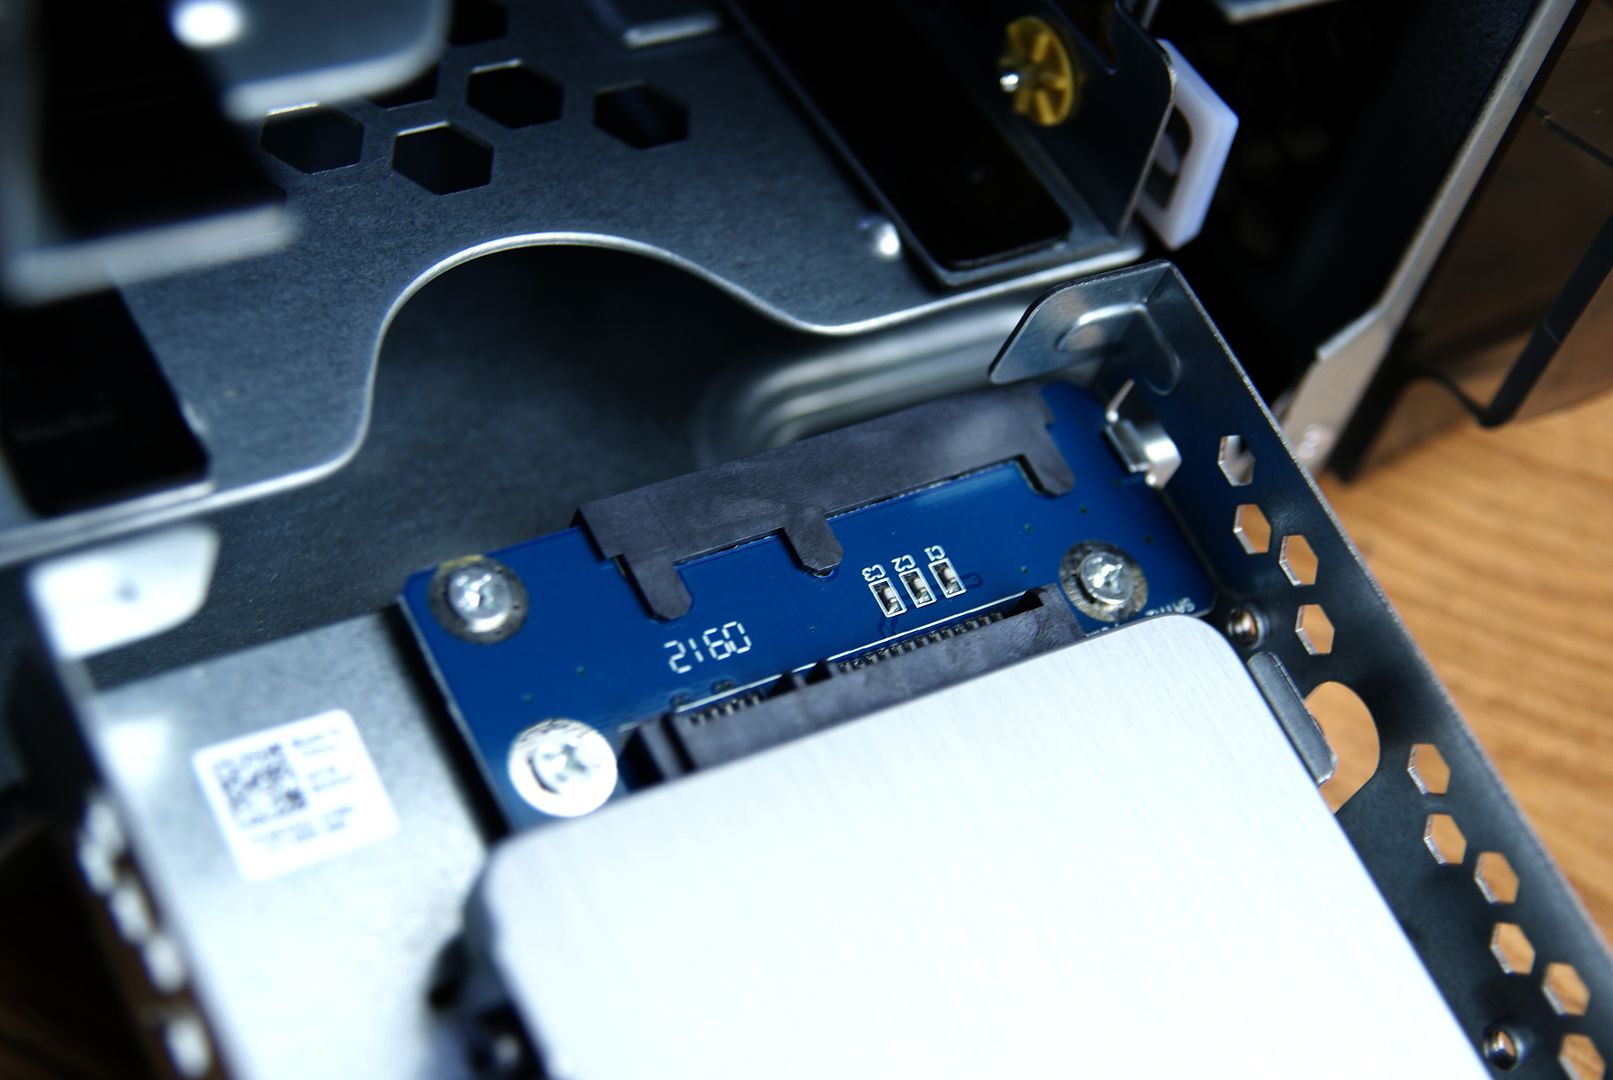
Putting the SSD away for later
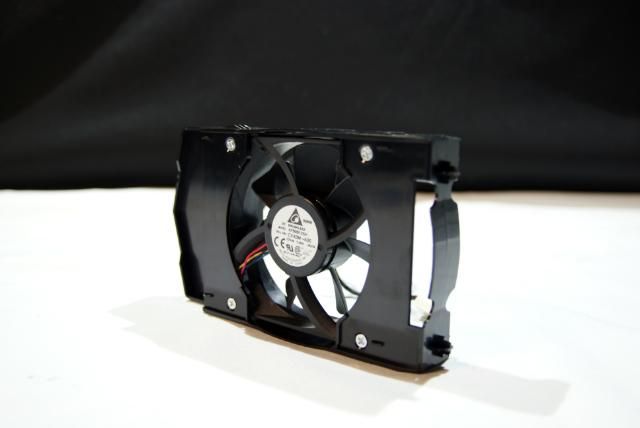
CPU cooler remains a beautiful item, so as previously mentioned this will be used again in this build later
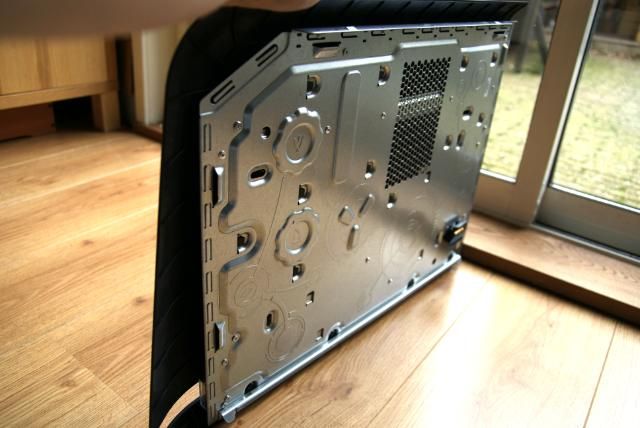
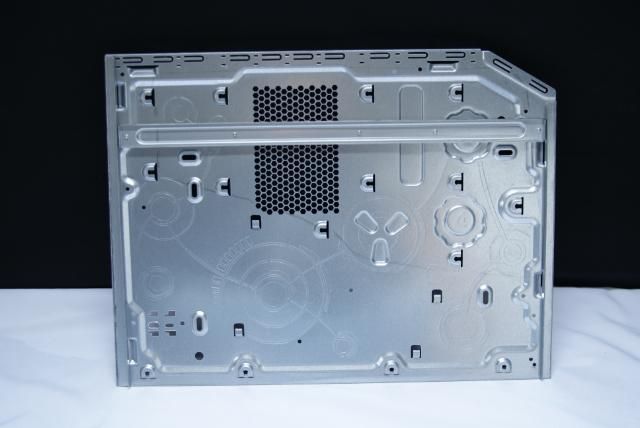
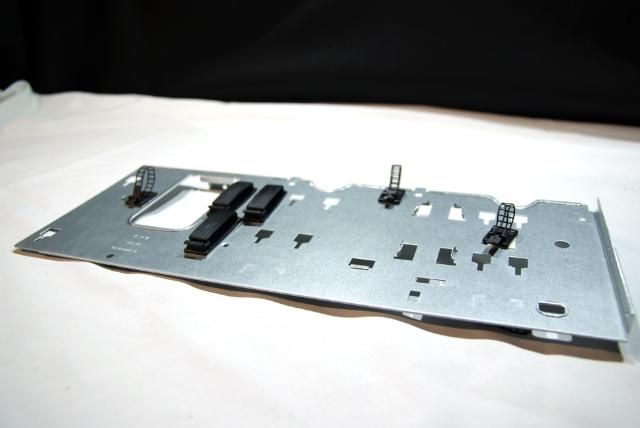
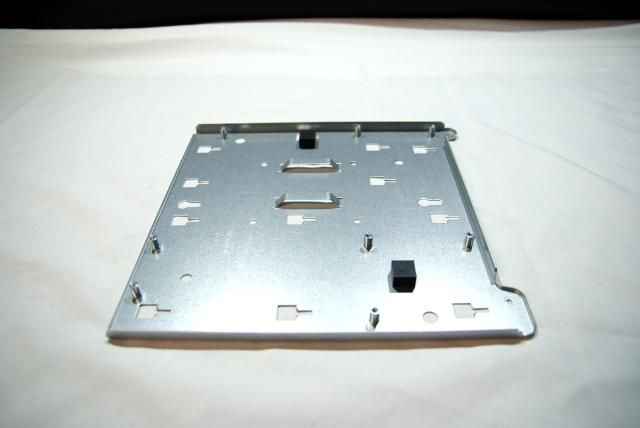
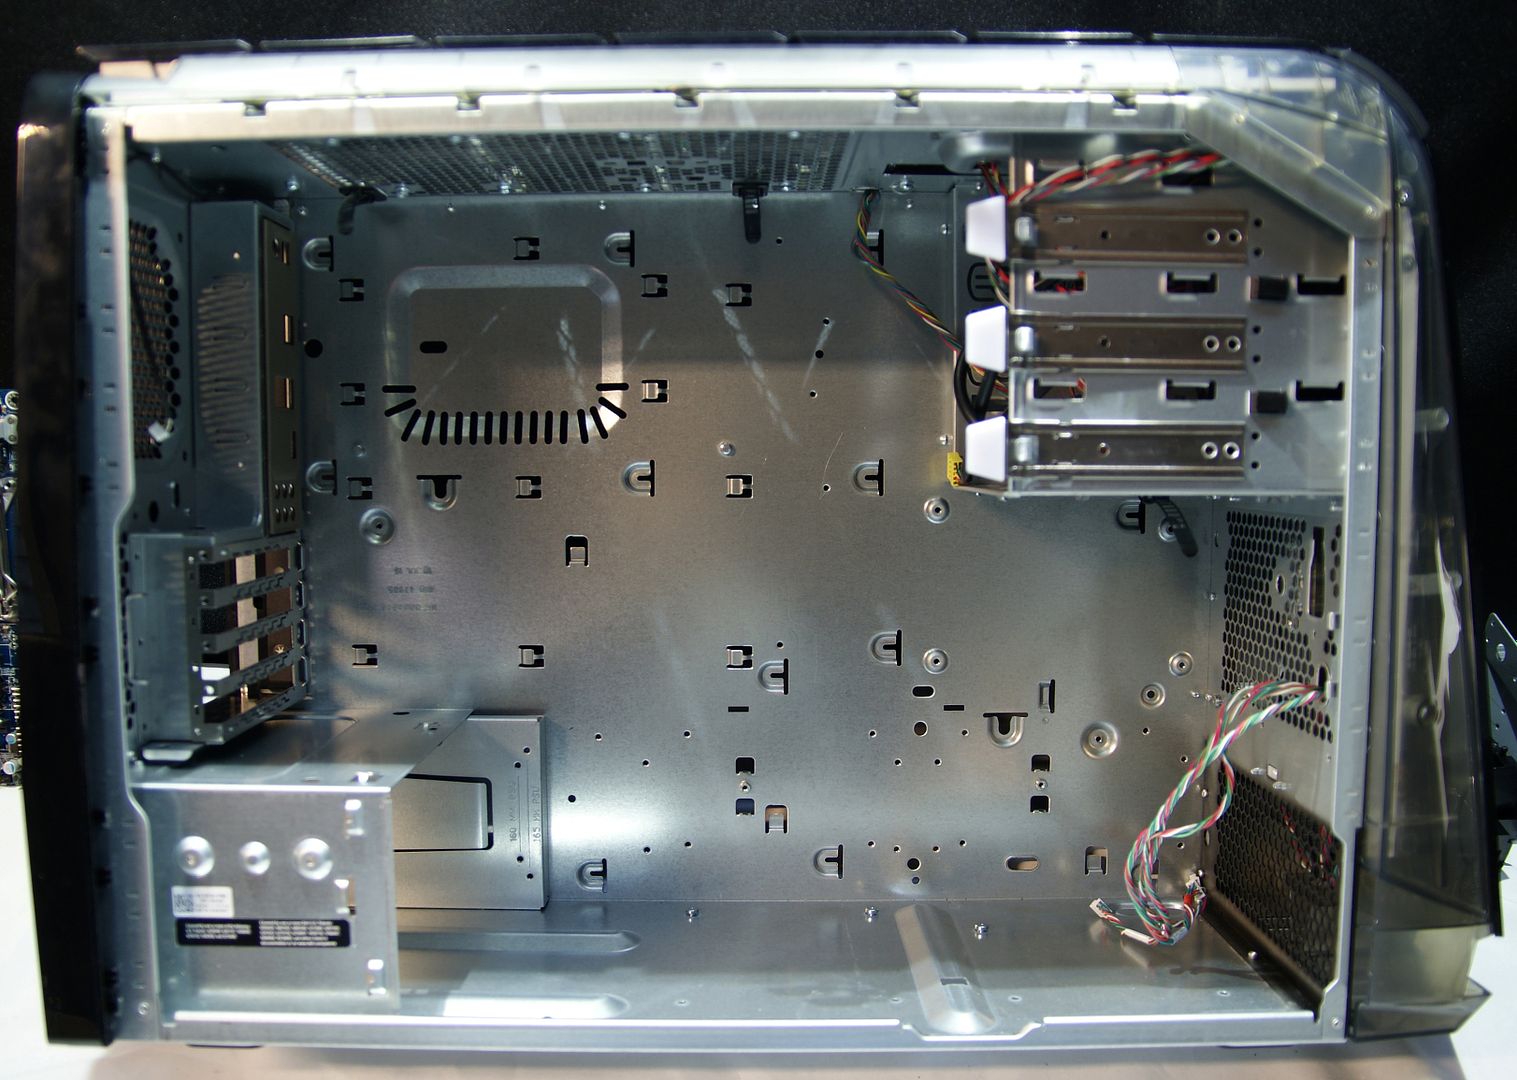
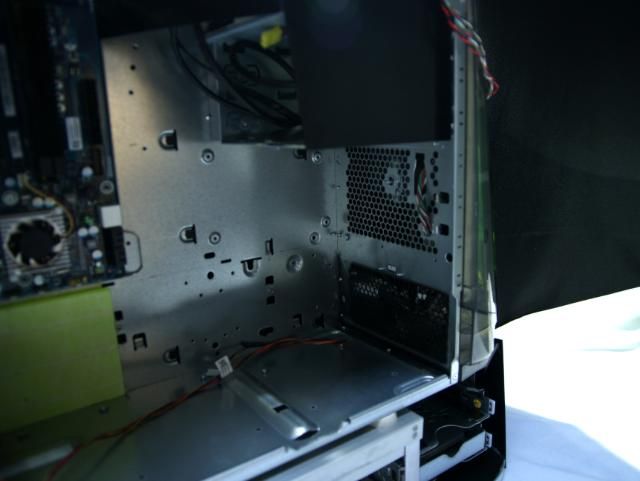
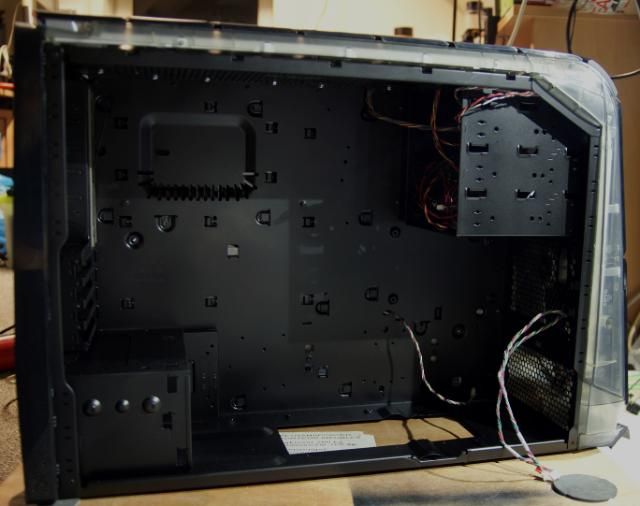
Removed the midplate.
And mobo tray
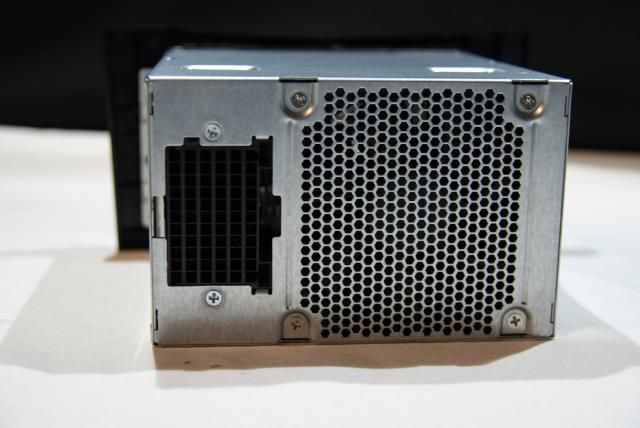
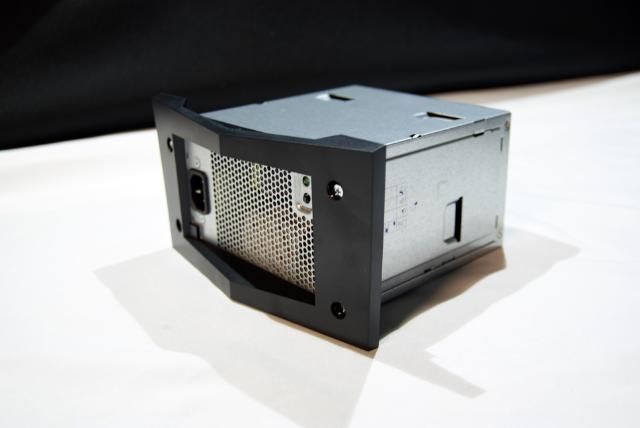
Still dismanteling with only a screwdriver ;) Also removed the PSU
Later on this will be black
And the cables which will be a challenge regarding the sleeve job
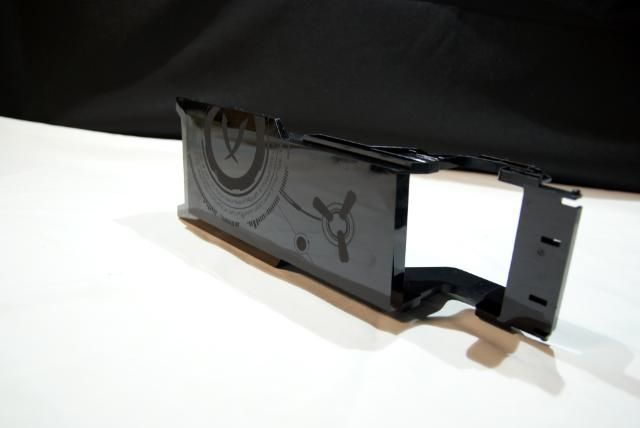
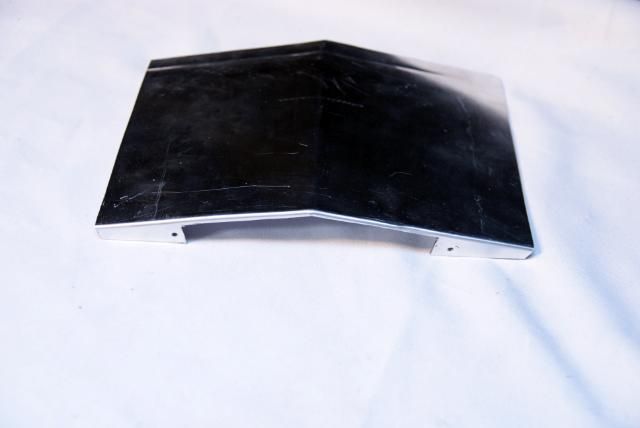
And removed the covers
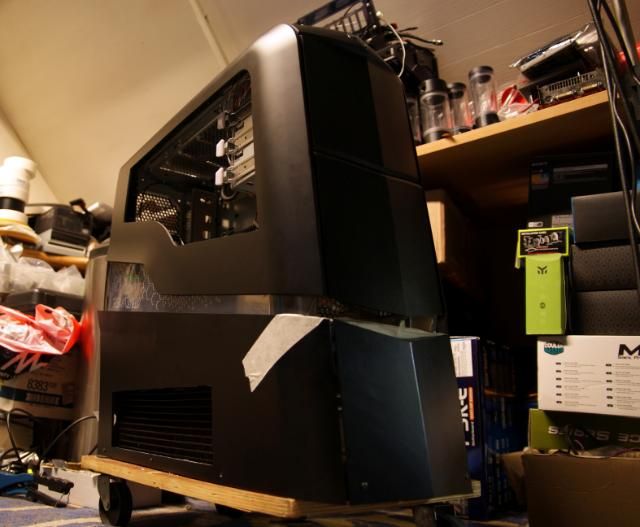
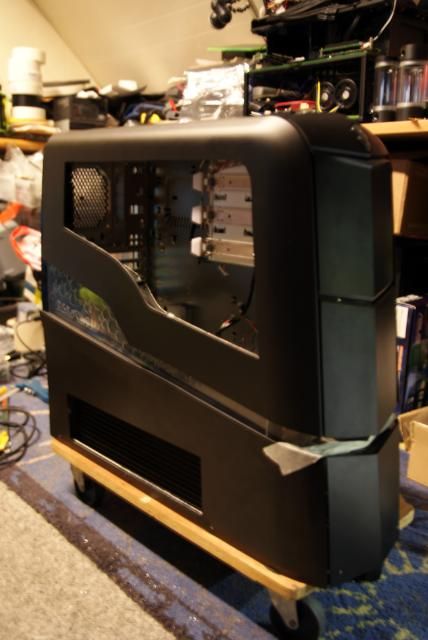
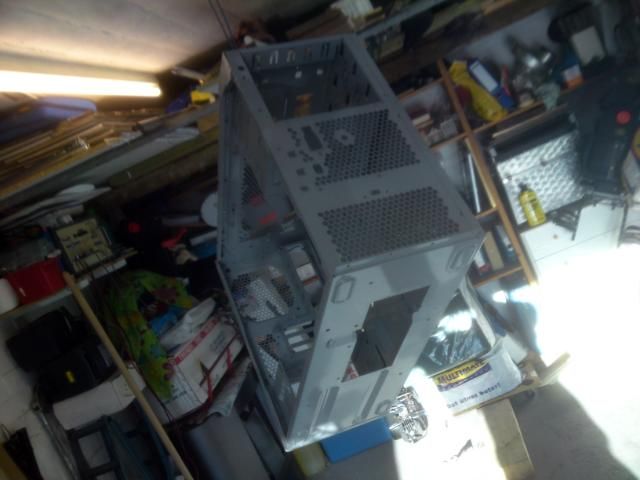
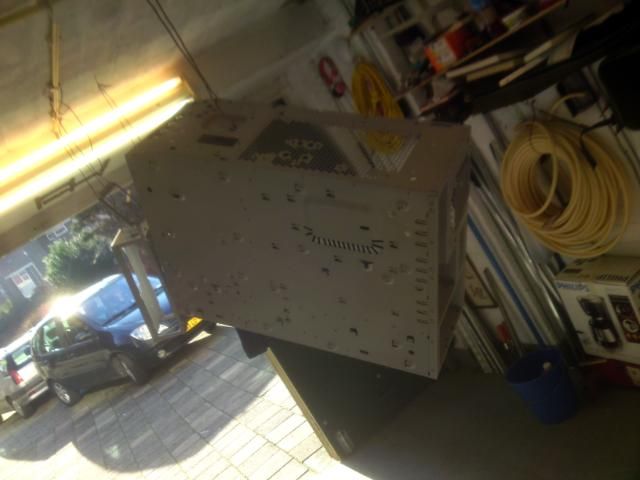
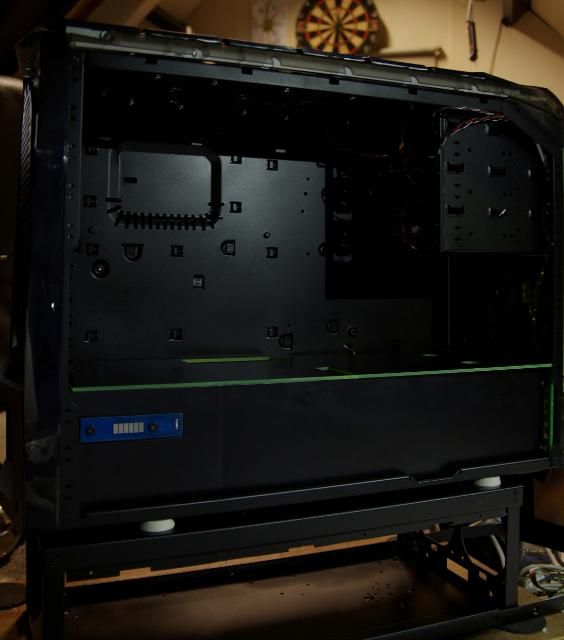
Everything is stripped, so this is what's left
Time to think and mod. The idea is to put 2x 360 rads for the GPUs
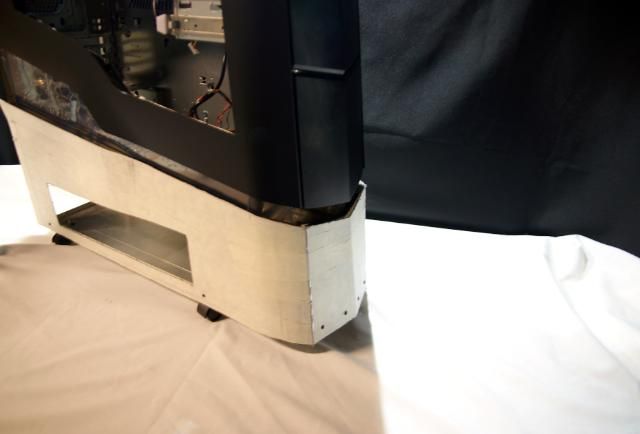
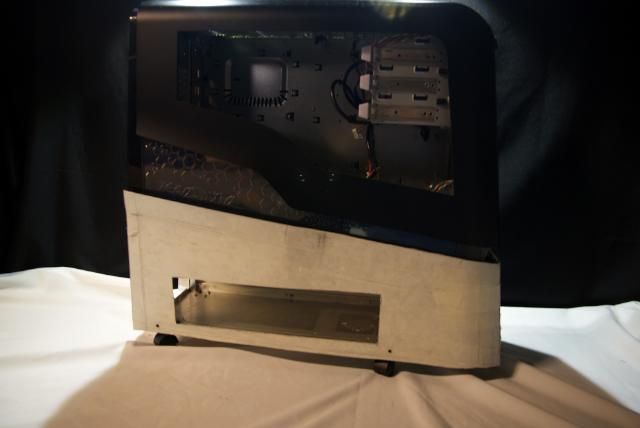
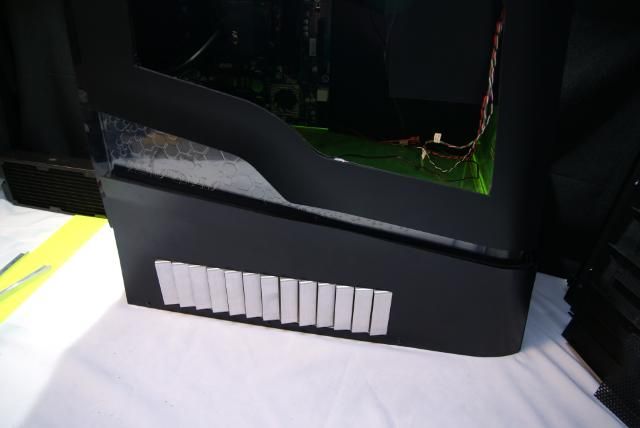
This is not possible in the original case. Therefore I'am gonna raise the case using an old LL case where I have shortened the vertical bars and put it back together.
Mounted the Alienware Aurora on top and made a bracket around the lower part. Because the lower case is smaller I had some space for the HDD cage to place it in the empty space.
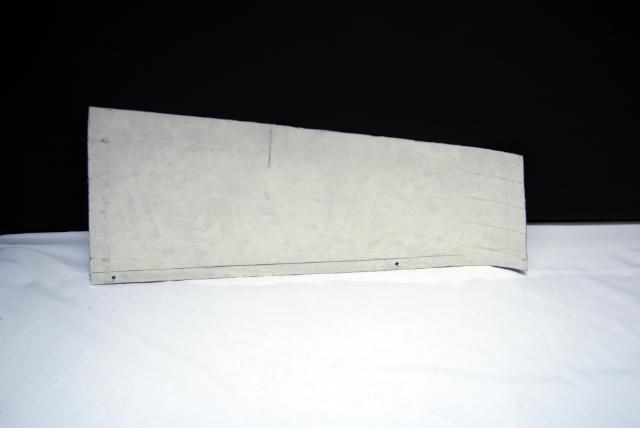
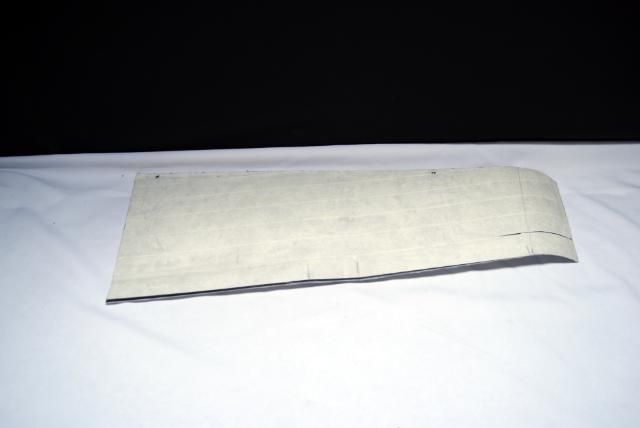
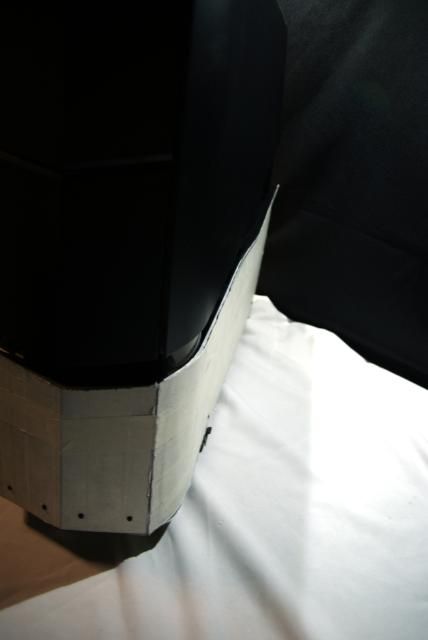
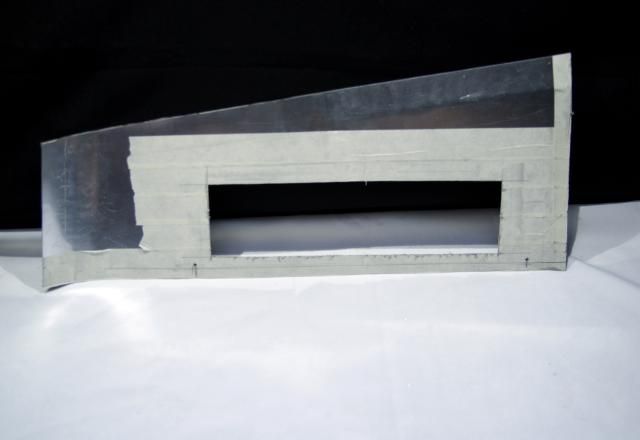
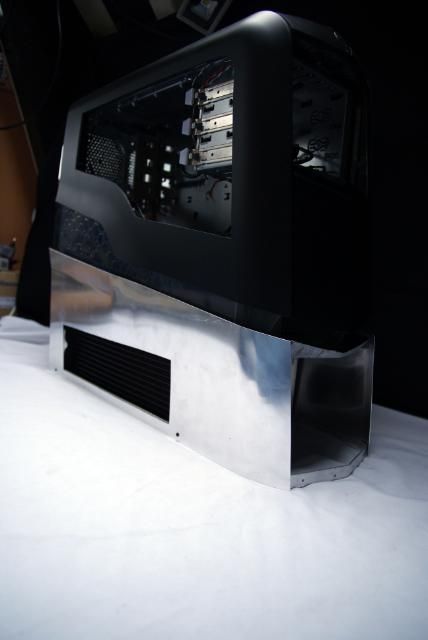
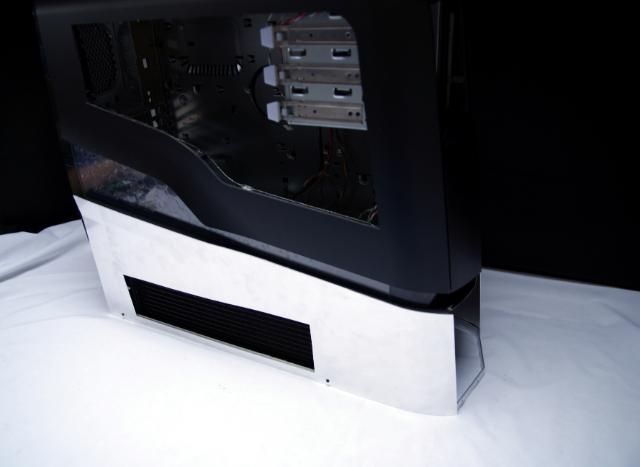
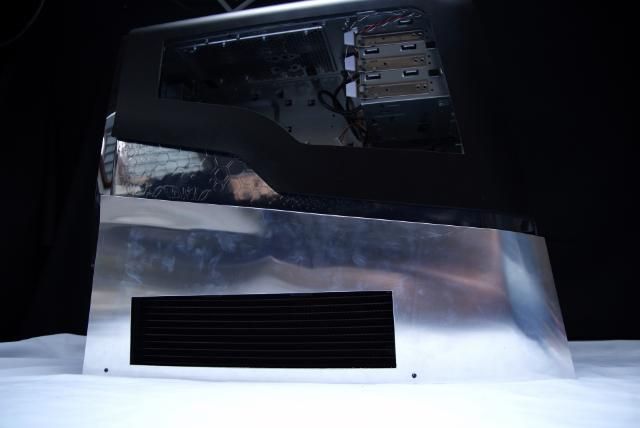
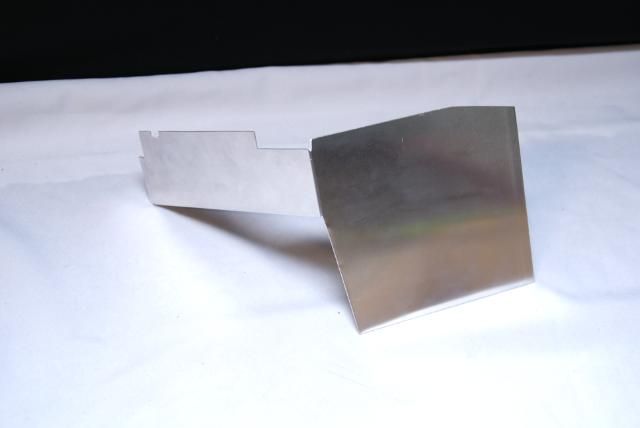
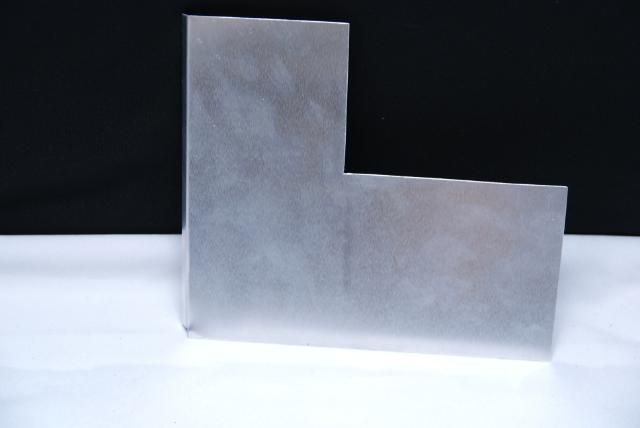
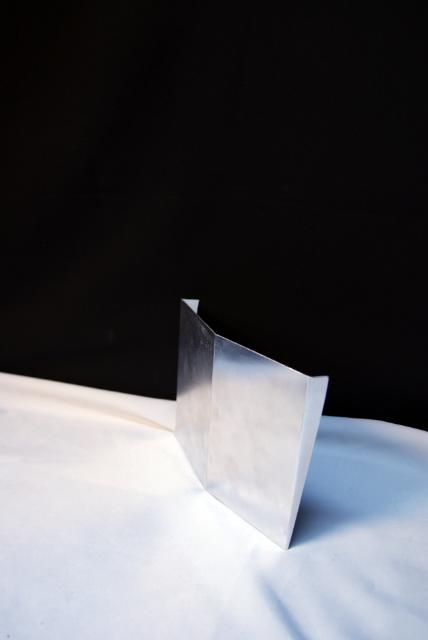
For the sides I have cut a piece of aluminum and bent the curves in it.
Bent everything in the shapes of the lower strip on the existing side panel. This strip is where the new cover is going to be mounted on.
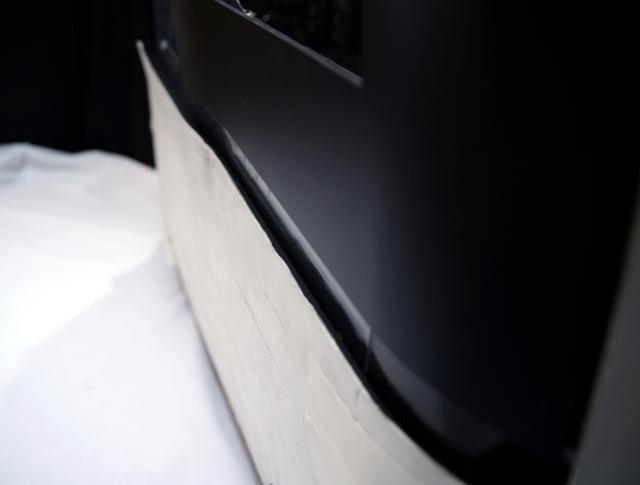
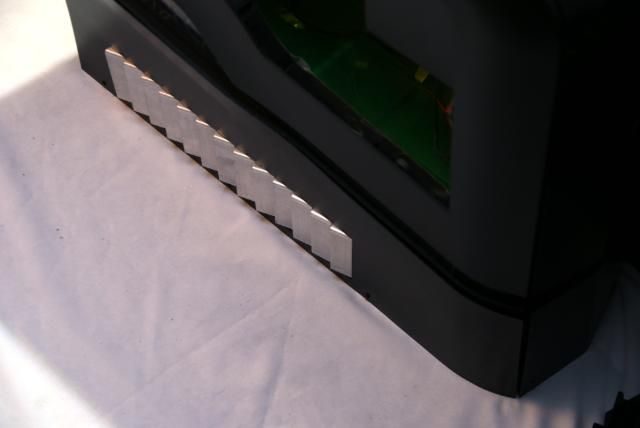
Done both sides and front.
After this cut out the radiators
All assembled and stick together with tape
Shiny :)
Made the covers black
And the end result after some sawing, filing, drilling, bending and pasting.
11-03-2012, 04:29 PM
kier
Re: Alienware Aurora ALX-XL
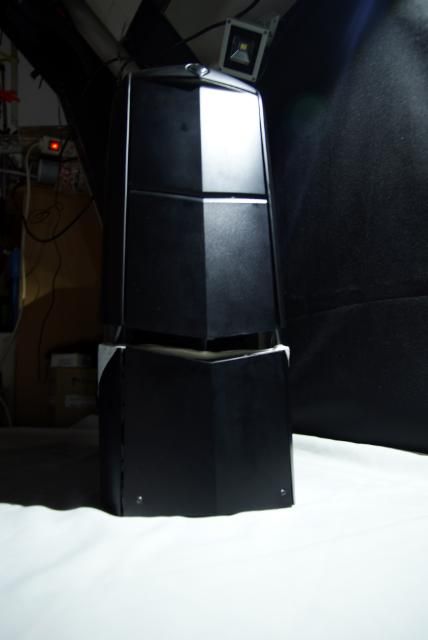
The Alienware Aurora XL version
11-04-2012, 01:06 AM
TLHarrell
Re: Alienware Aurora ALX-XL
Interesting how this is taking shape. I definitely like this. Also, good to see an Alienware rig gutted out.
11-04-2012, 01:33 AM
Fuganater
Re: Alienware Aurora ALX-XL
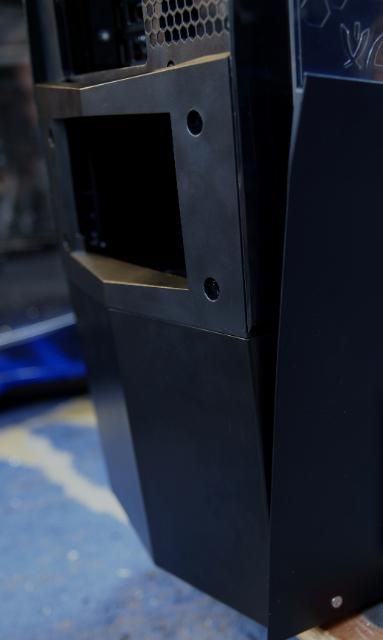
The mobo tray and back panel make me shudder lol. All those mounting points...
11-04-2012, 03:19 AM
kier
Re: Alienware Aurora ALX-XL
Quote:
Originally Posted by TLHarrell
Interesting how this is taking shape. I definitely like this. Also, good to see an Alienware rig gutted out.
Alien autopsy :D
Quote:
Originally Posted by Fuganater
The mobo tray and back panel make me shudder lol. All those mounting points...
It al will be covered ;)
11-19-2012, 02:09 PM
kier
Re: Alienware Aurora ALX-XL
Update!!!
Hi Y'all,
I had a nice update in mind about the internal and the beautiful water blocks. Unfortunately GLS did it again... destroyed my package and send it back to Slovenie.... Thanks again GLS!
So this time only an update about the internal parts.
First I have some RAM coolers mounted on the Dell RAMs
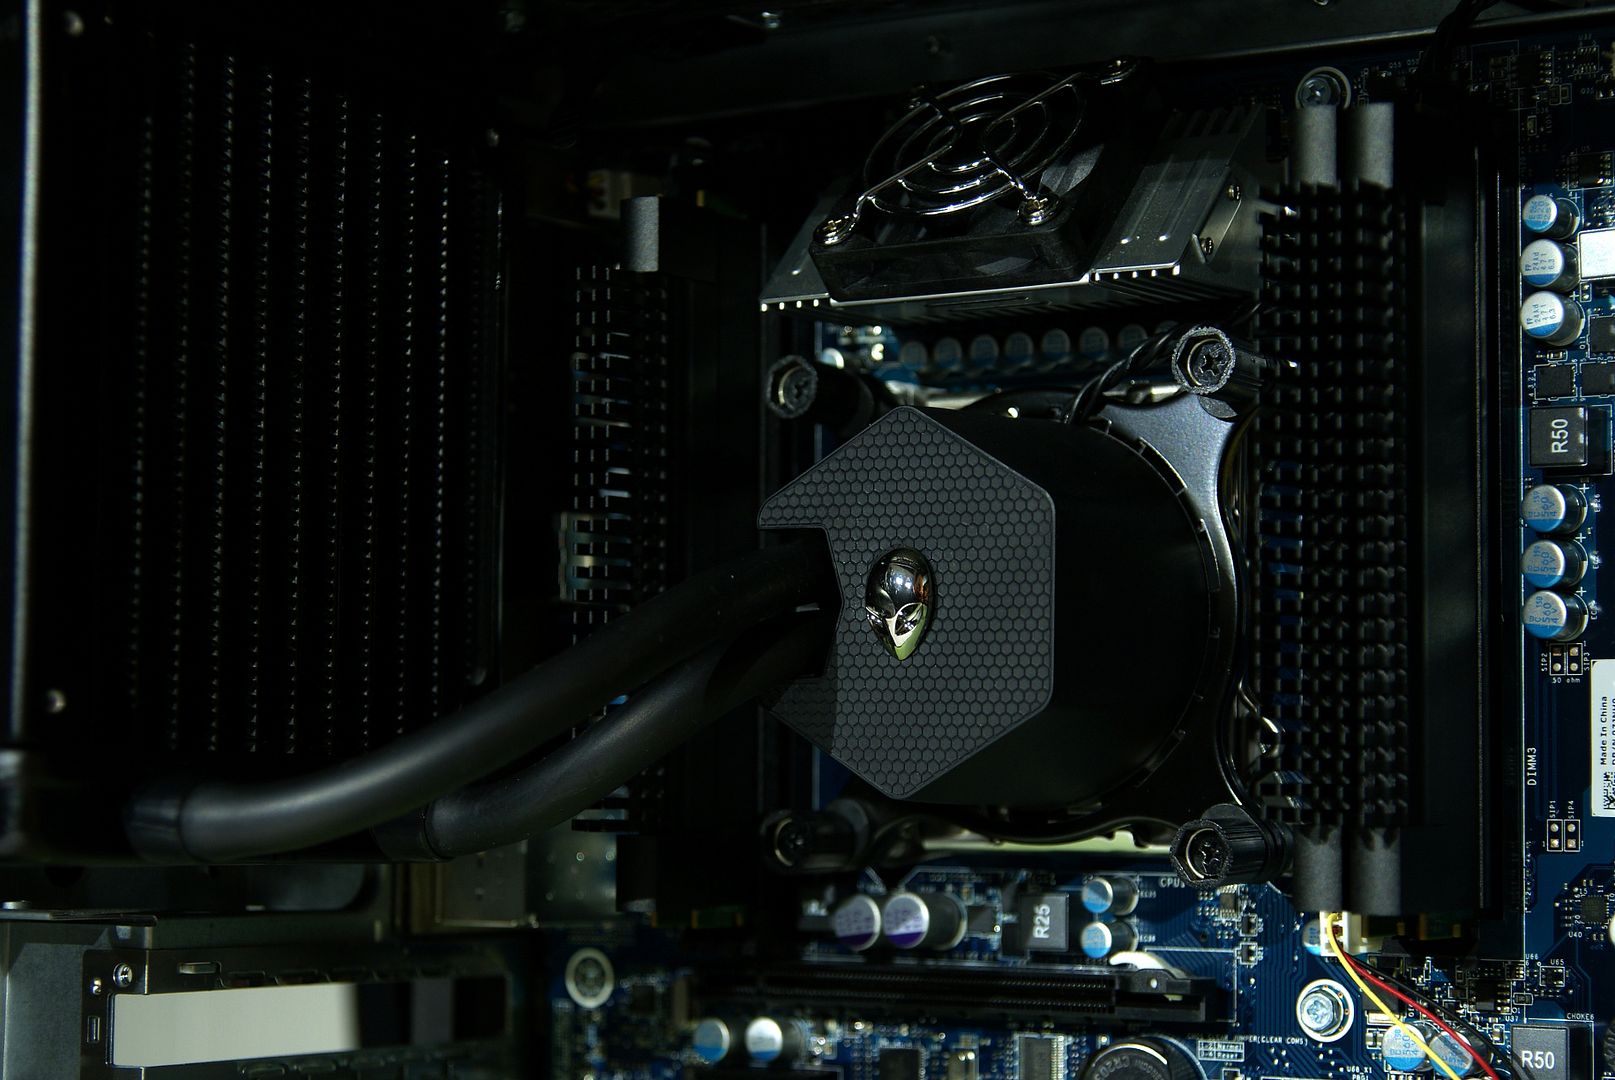
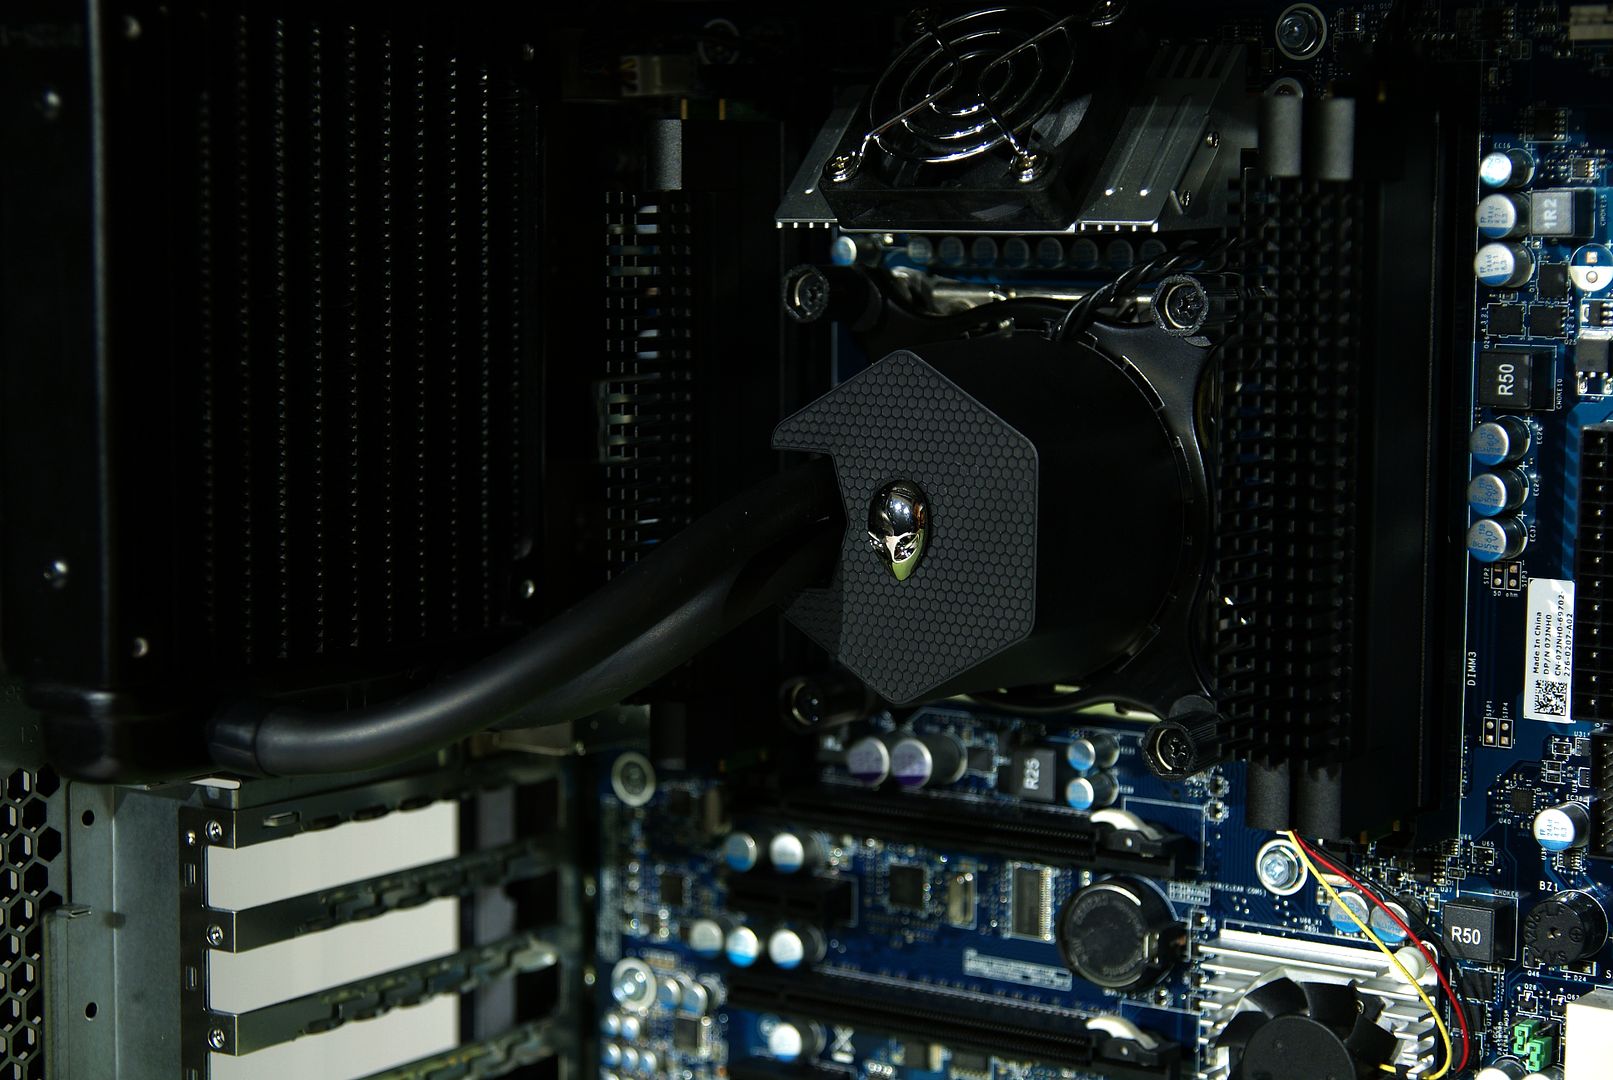
I also changed the CPU cooler.
Before:
Shorten the tubes, turn the cover, turn the alien and re-route the cable
Internal: First cut and bent a custom cover
What hides the 5.25 bay
Made it black
Placed it
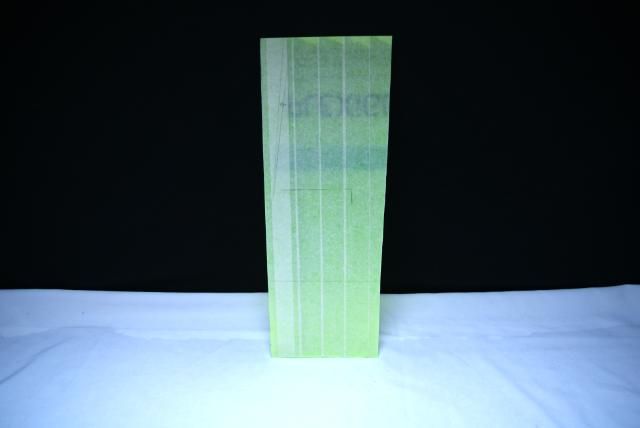
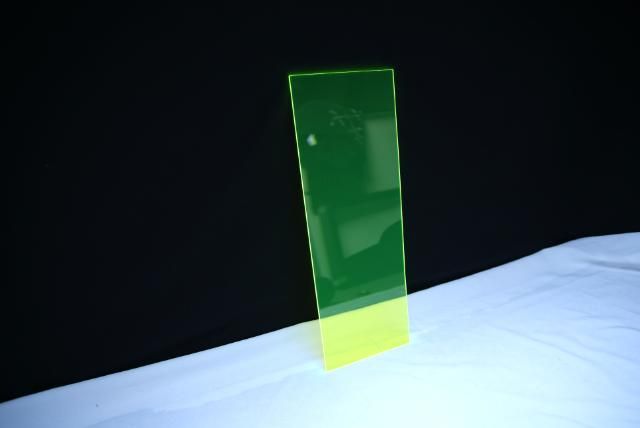
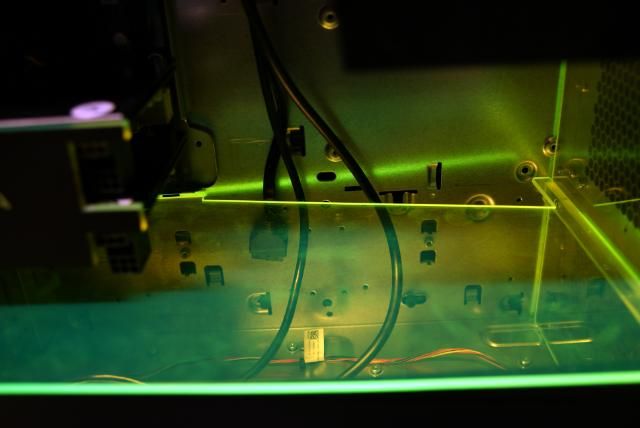
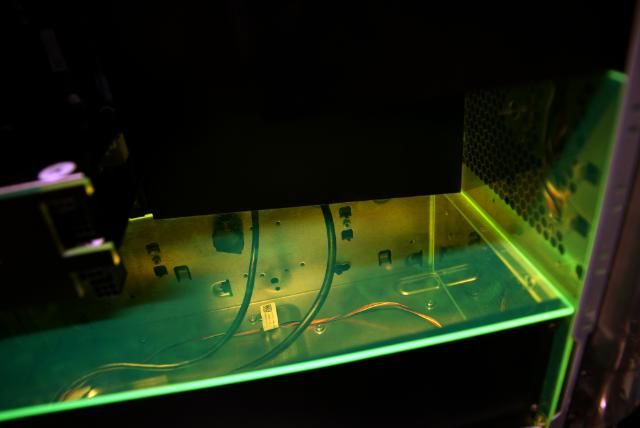
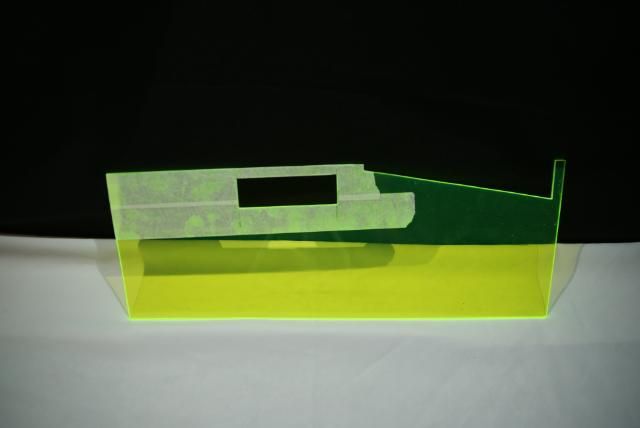
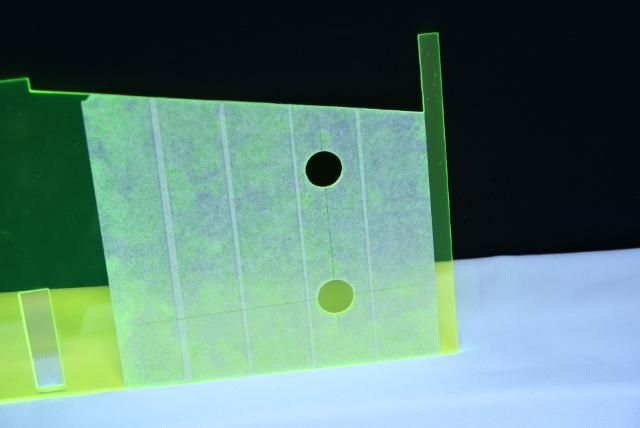
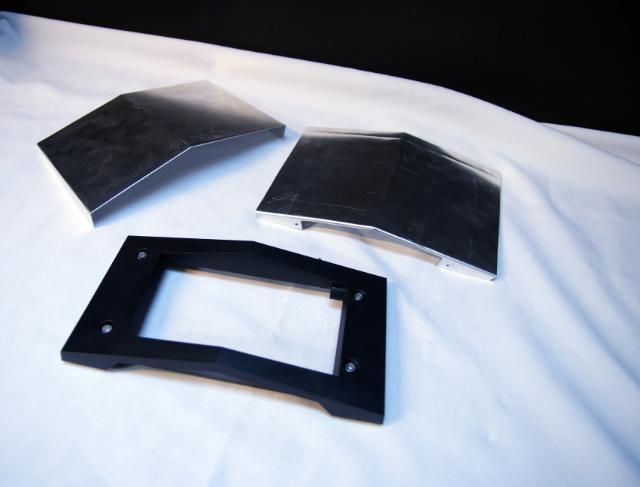
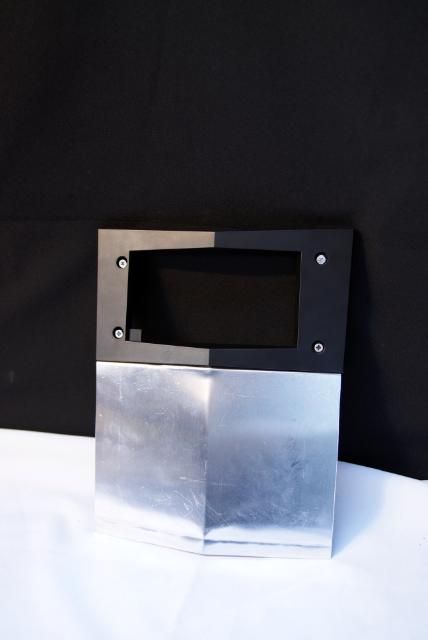
Next cut a piece of green acrylic to the right size with two small pieces for mounting the midplate and side cover
Which will be like this
The midplate. Later on there will be holes in it and a vinyl cover with the brand names which will be illuminated from below
The side cover is also made of aluminum with recess for the power for the side panel
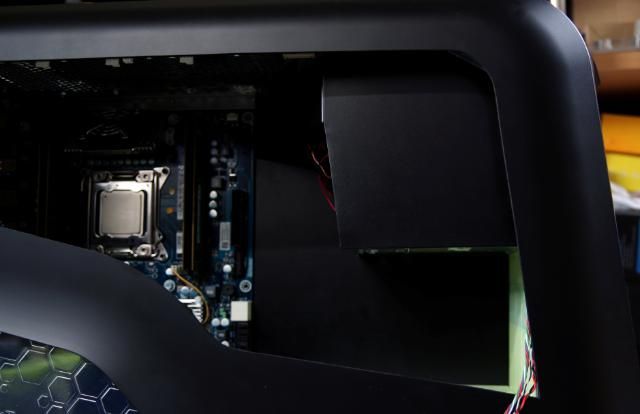
And last... made a cover next to the motherboard tray,which will hide all cables
Next week after the waterblocks are in, the case will go to the coater and turns completely black.
11-20-2012, 01:49 AM
msmrx57
Re: Alienware Aurora ALX-XL
Nice work so far! :up:
11-20-2012, 03:36 AM
Fuganater
Re: Alienware Aurora ALX-XL
Gonna be a clean one!
11-20-2012, 11:23 AM
kier
Re: Alienware Aurora ALX-XL
Quote:
Originally Posted by msmrx57
Nice work so far! :up:
Thanks :up:
Quote:
Originally Posted by Fuganater
Gonna be a clean one!
Hope so...trying to hide most of the cables ;)
11-26-2012, 04:17 PM
kier
Re: Alienware Aurora ALX-XL
Update!!!
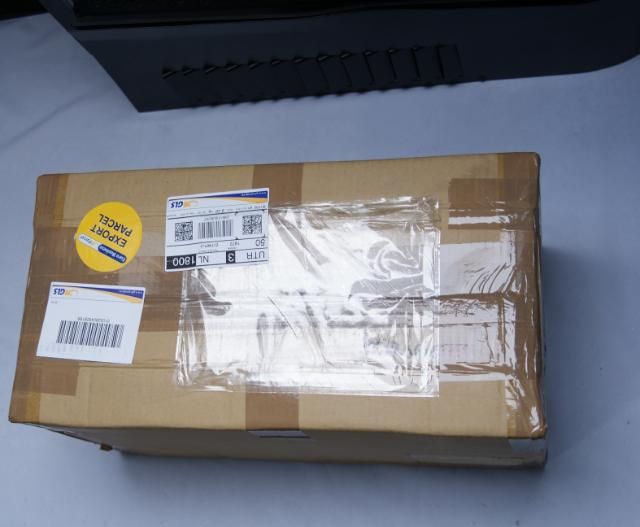
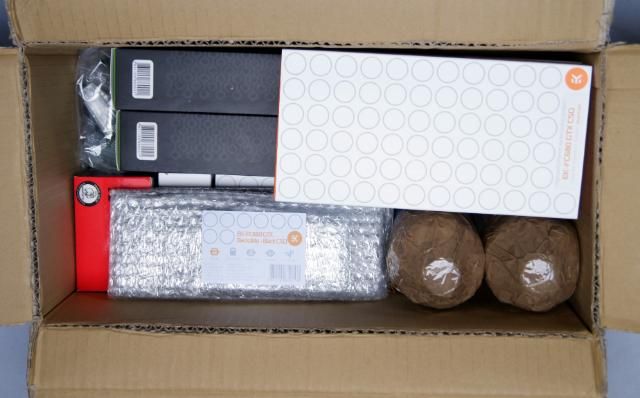
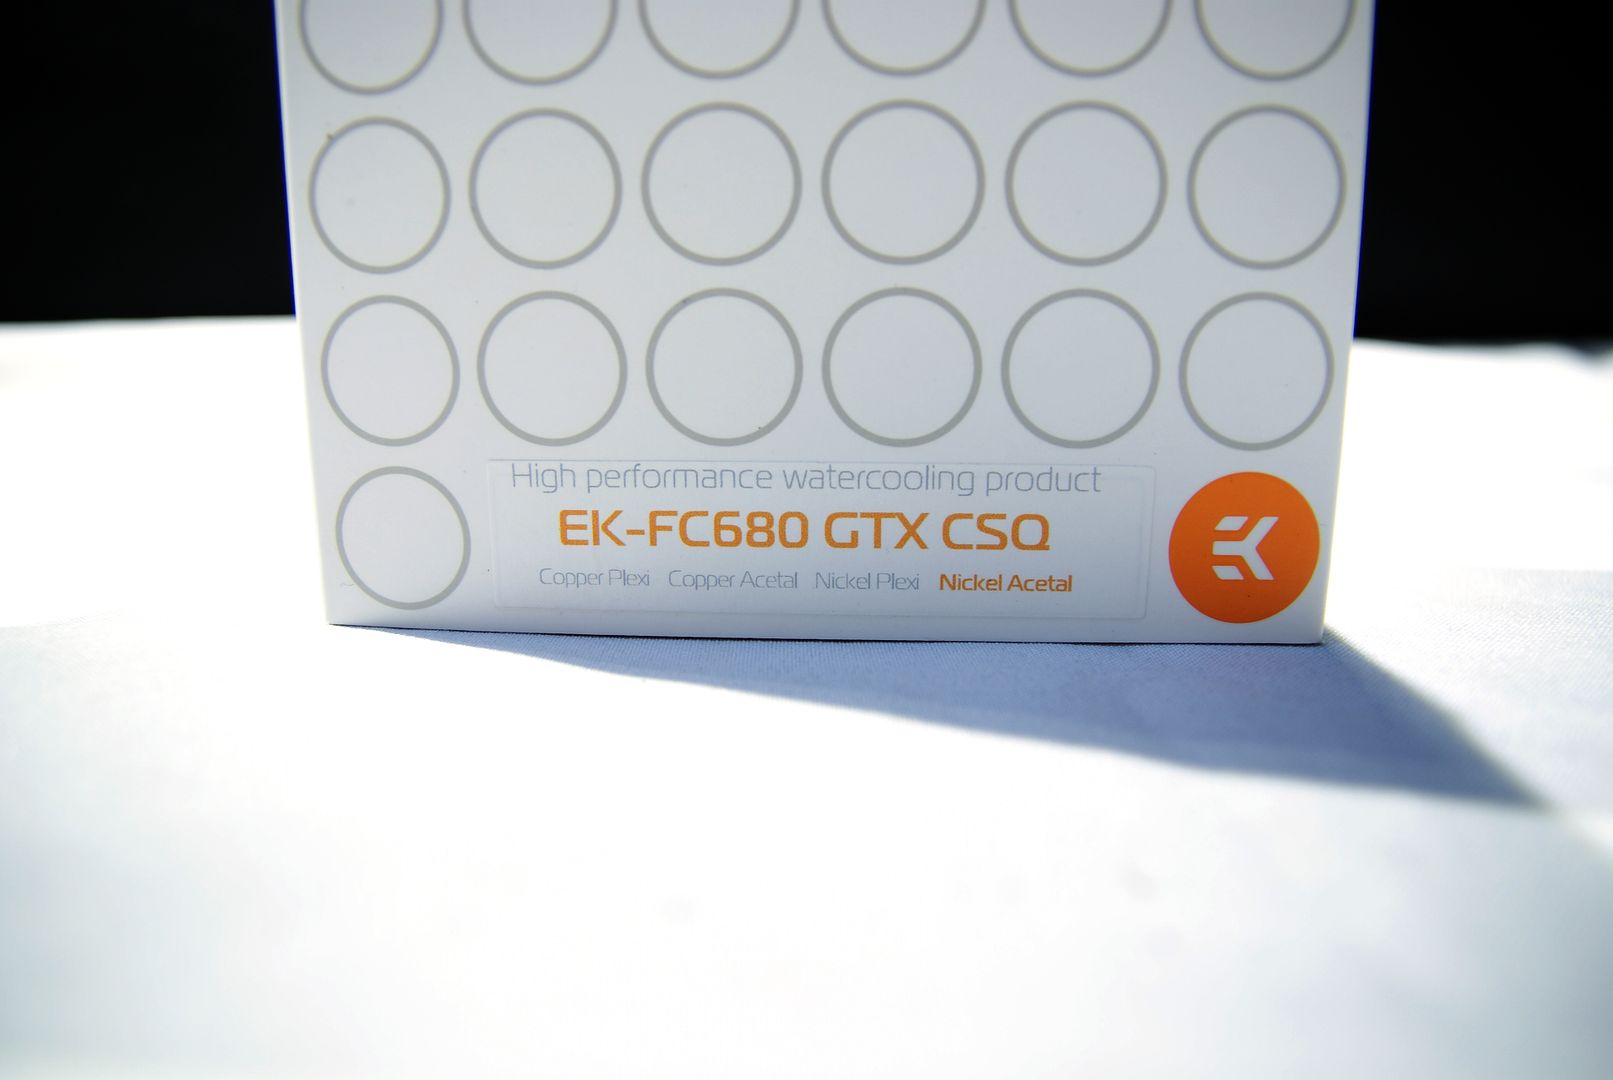
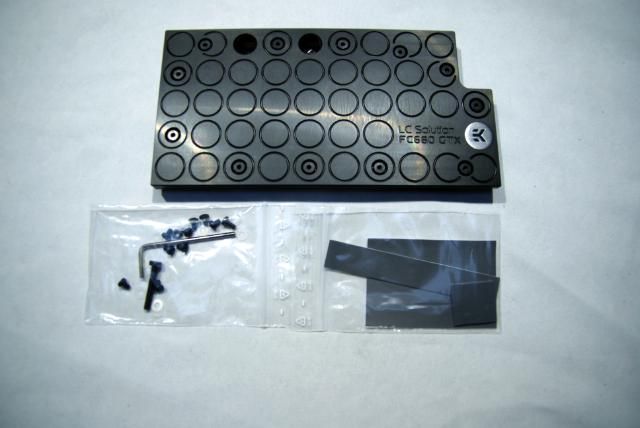
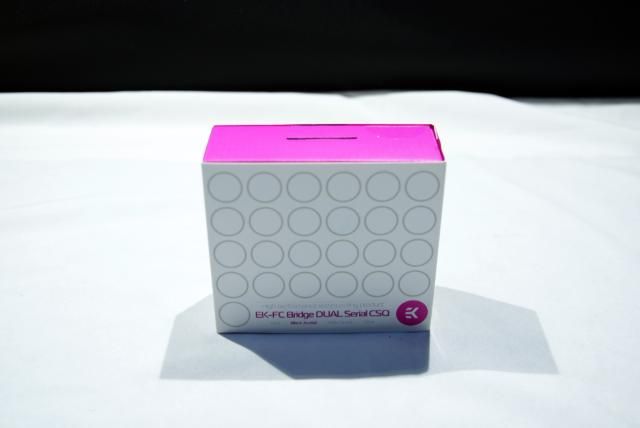
Received a beautiful package today. This time GLS did a good job ;)
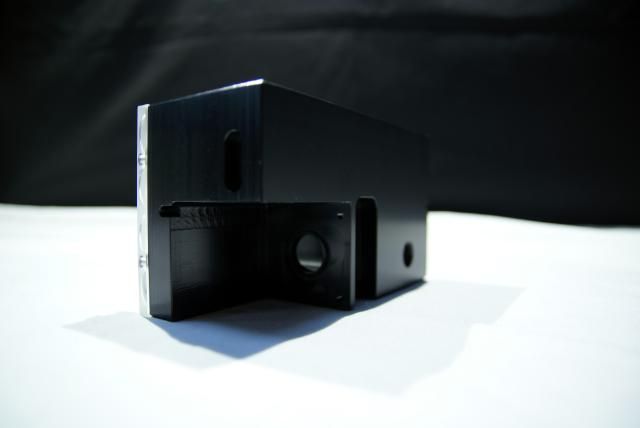
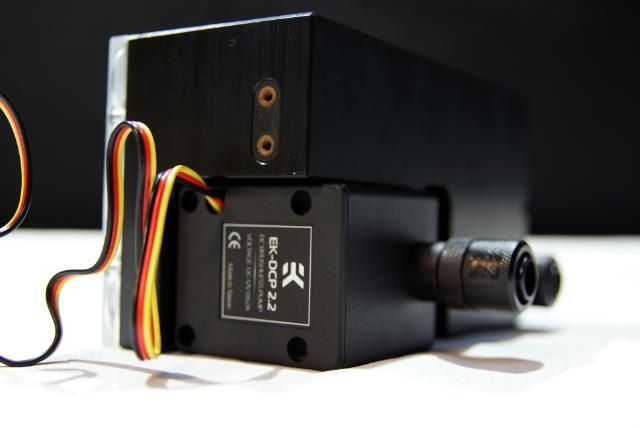
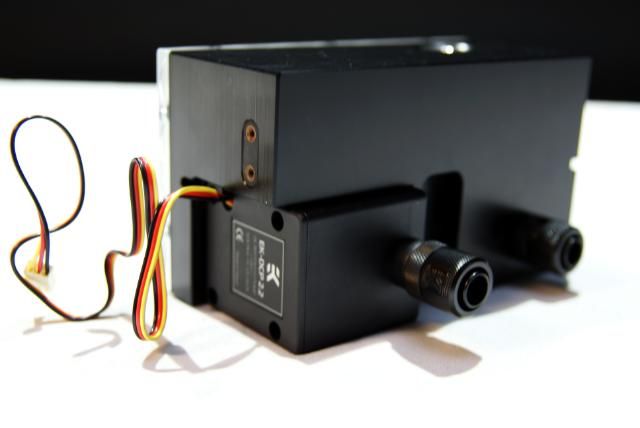
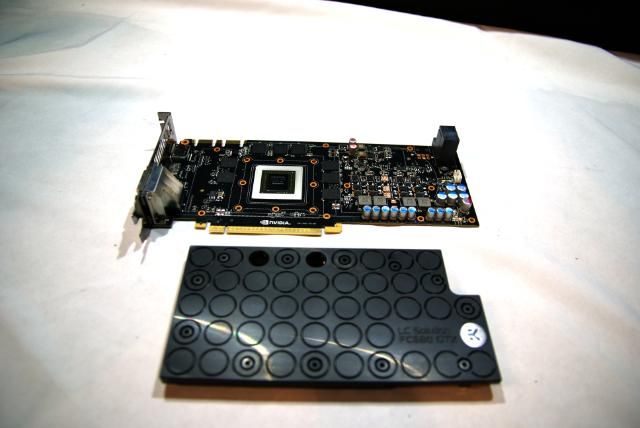
Also made a tut for placing the EK-FC680 onto the Nvidia GTX680
Don't wanna see the vid!!! Thank god we still have pictures ;)
Removed the plastic
Also removed the block
Dismantled the bracket
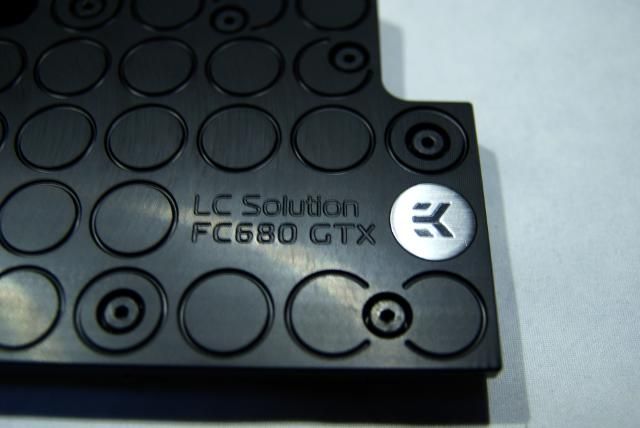
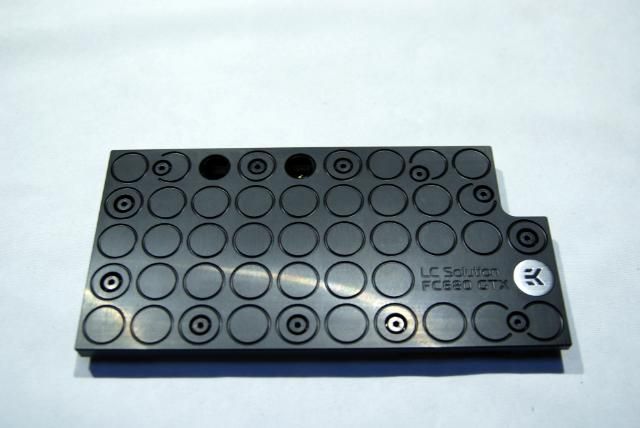
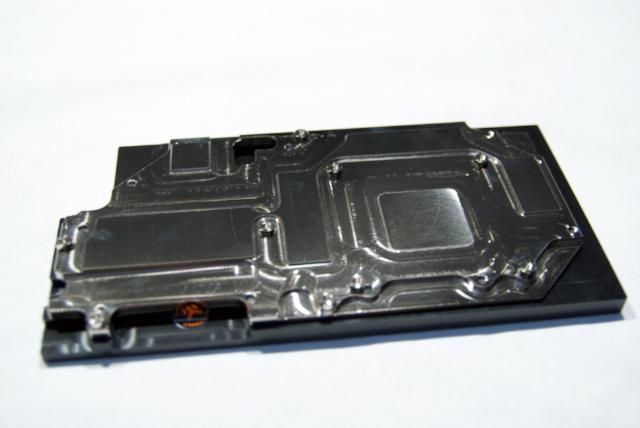
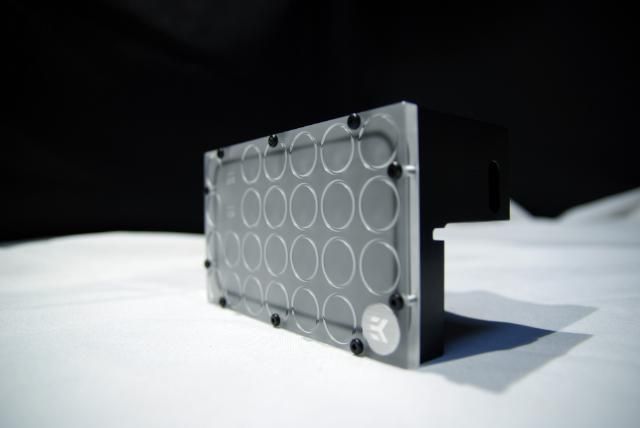
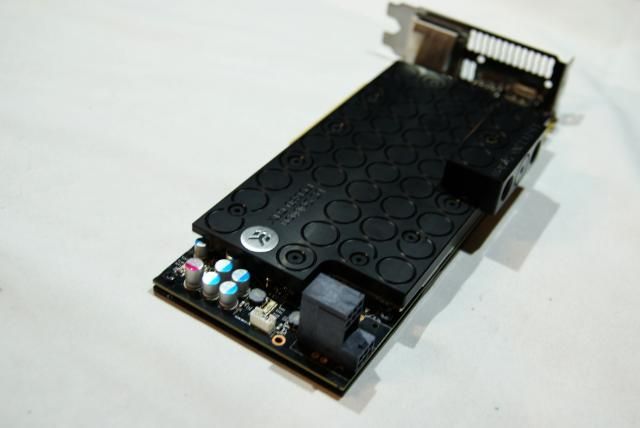
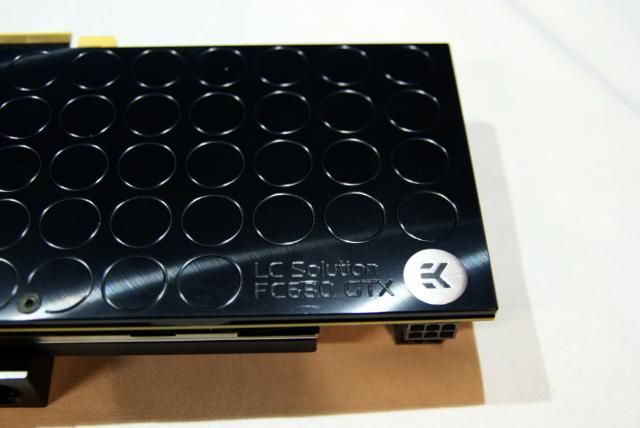
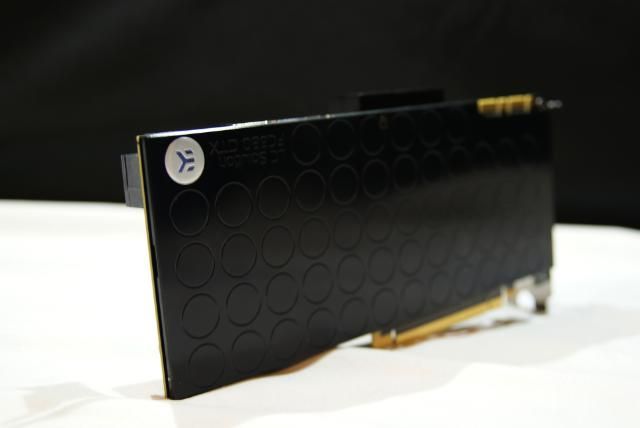
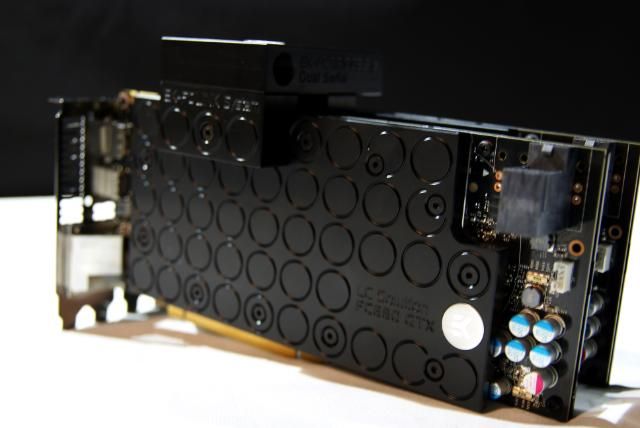
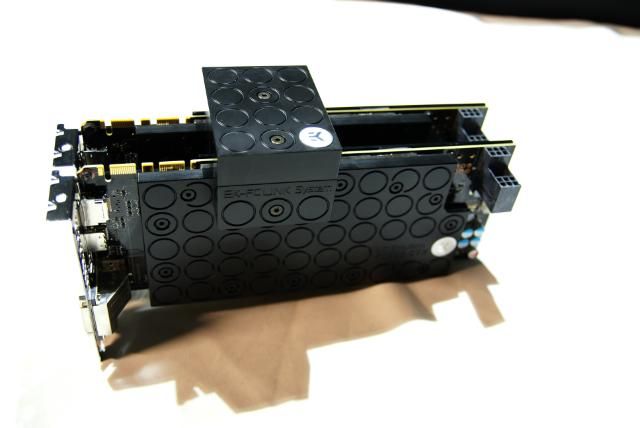
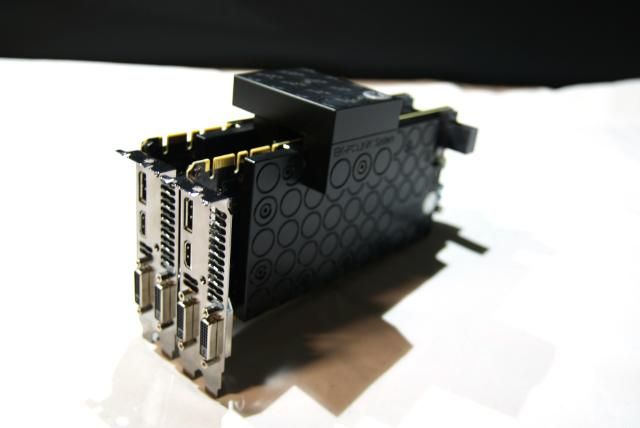
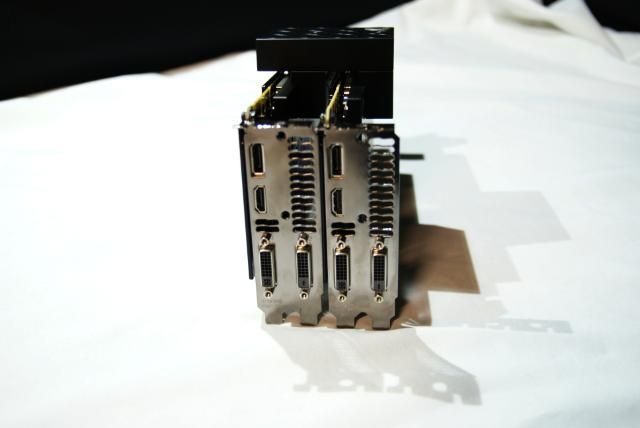
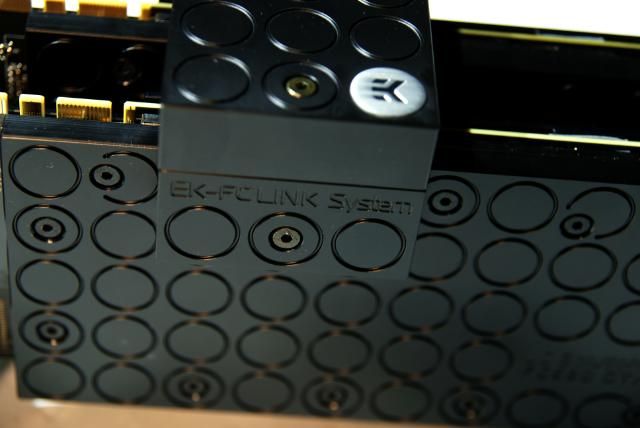
The EK block
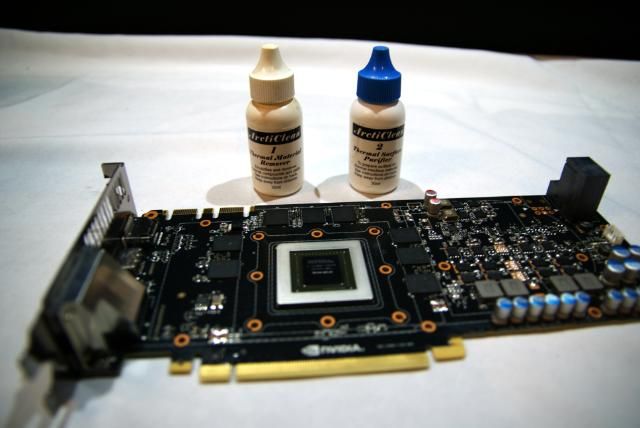
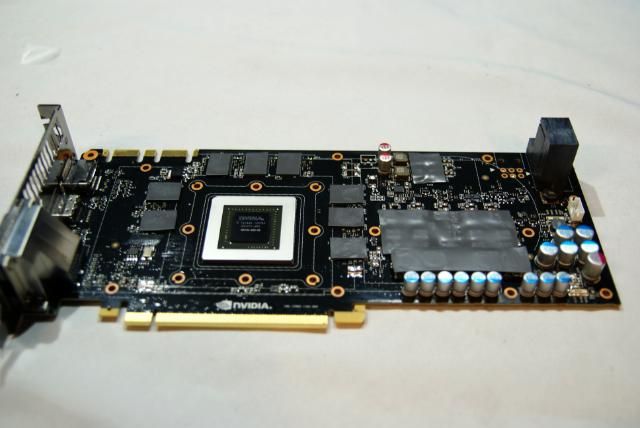
First cleaning up the GPU
Placed pads and compound
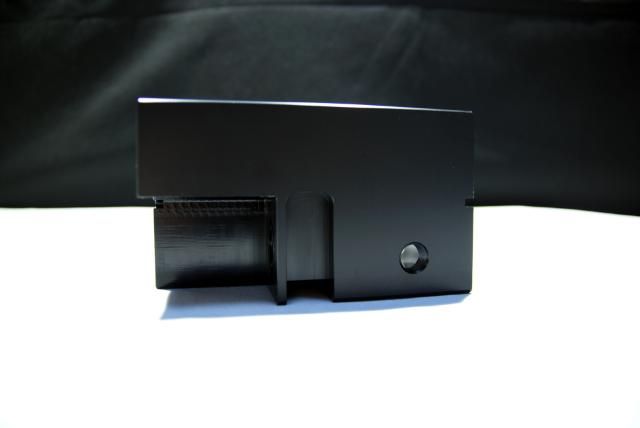
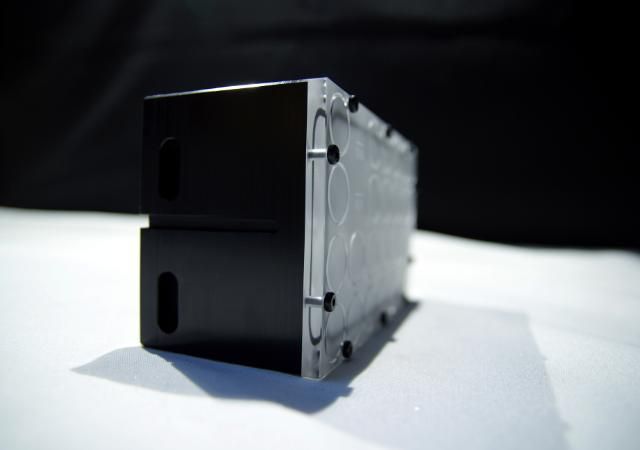
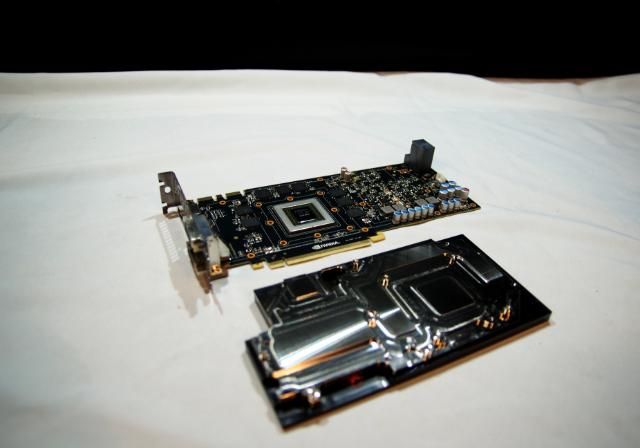
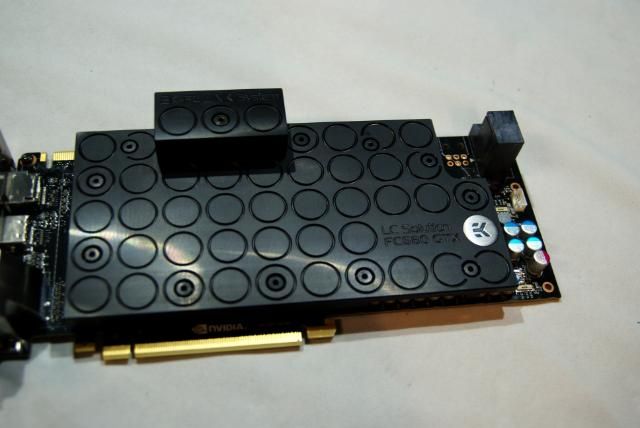
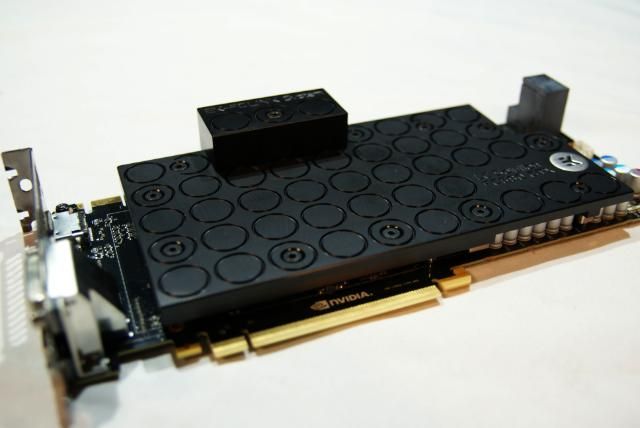
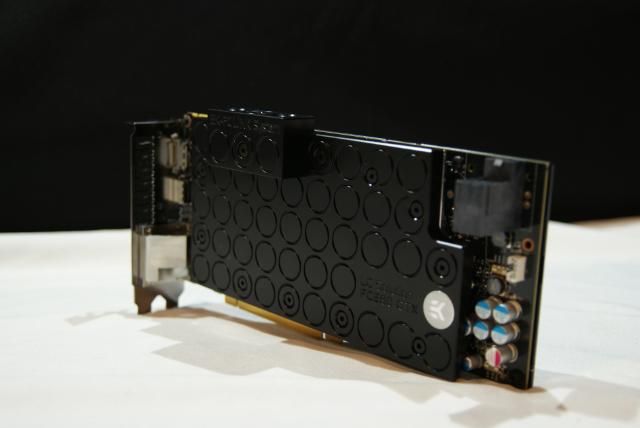
Mounted the EK block
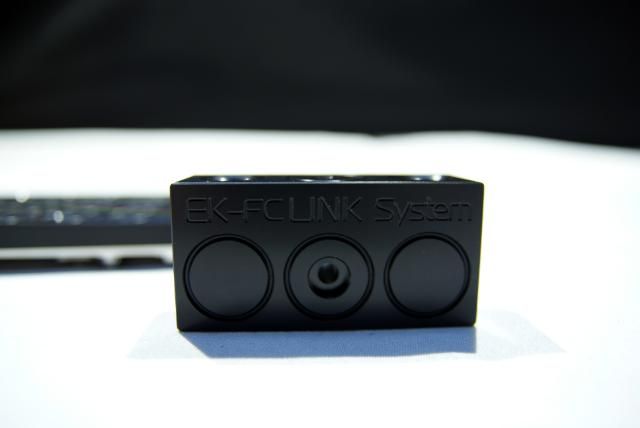
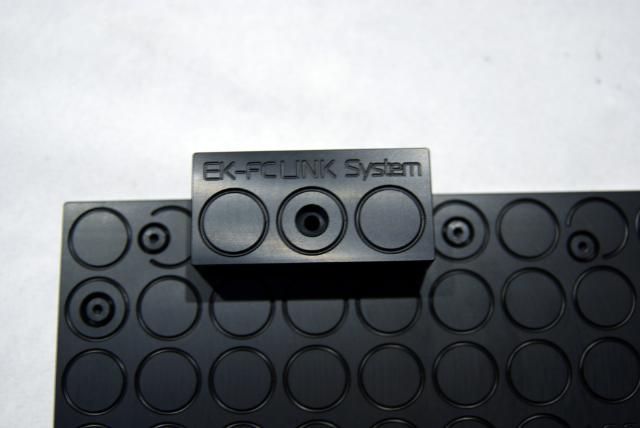
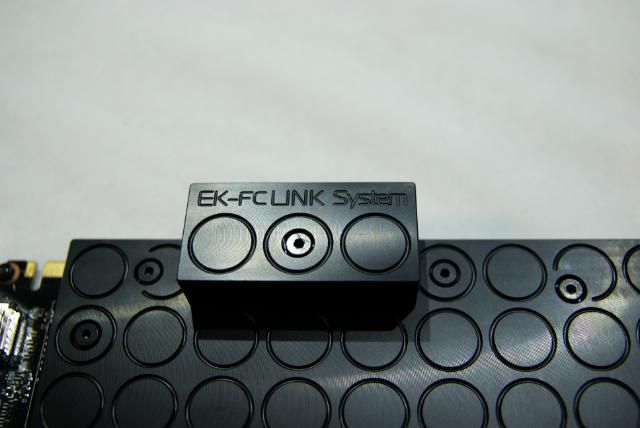
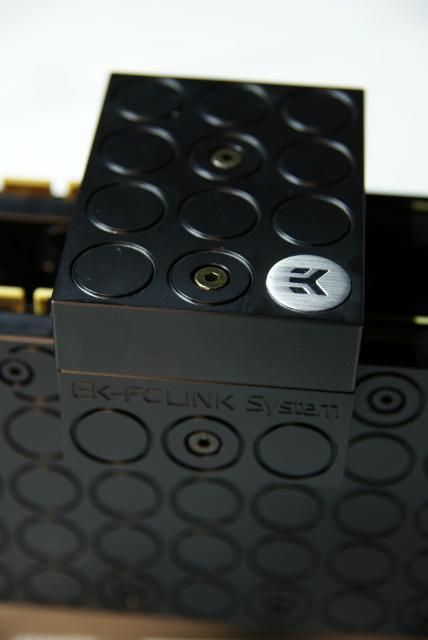
Also installed the EK-FC link
And backplate
Second GPU finished
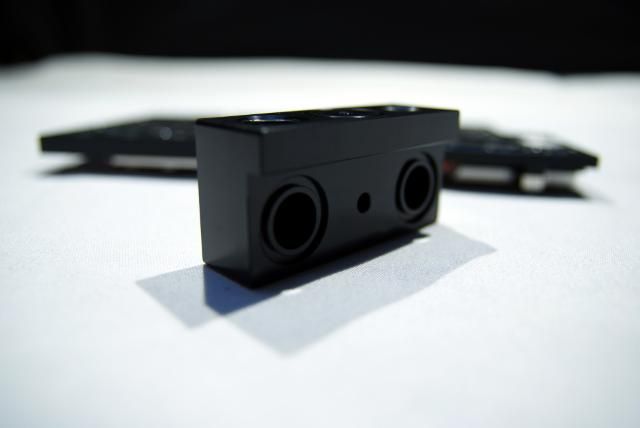
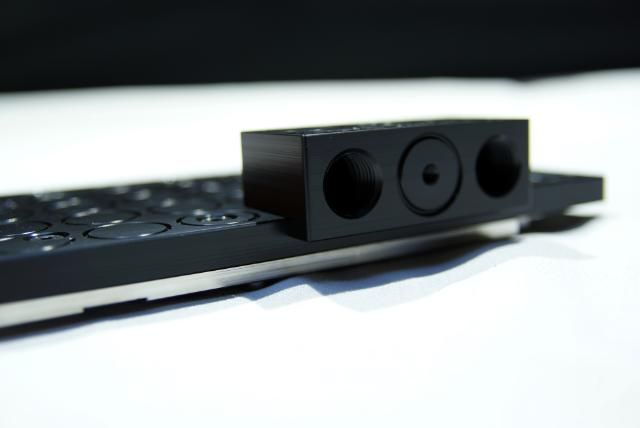
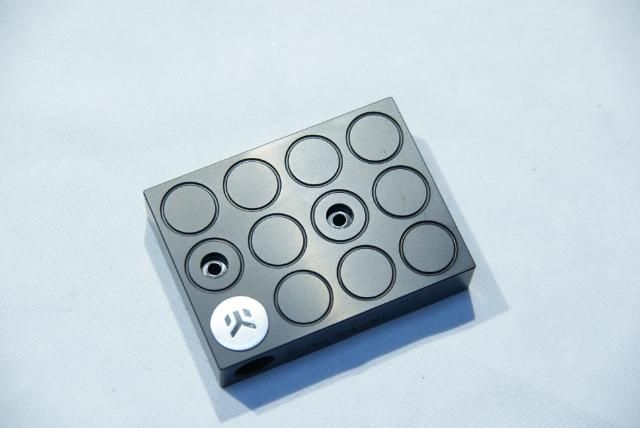
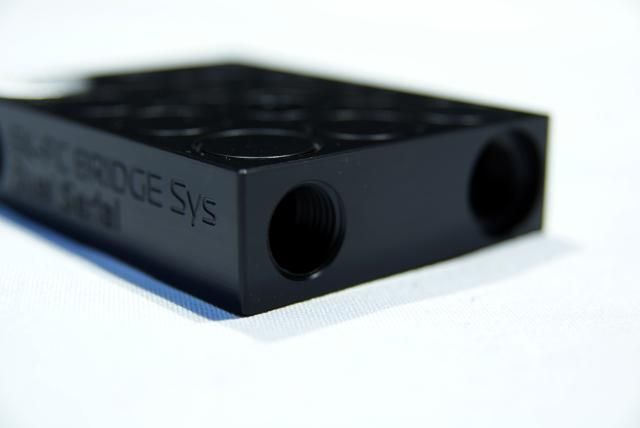
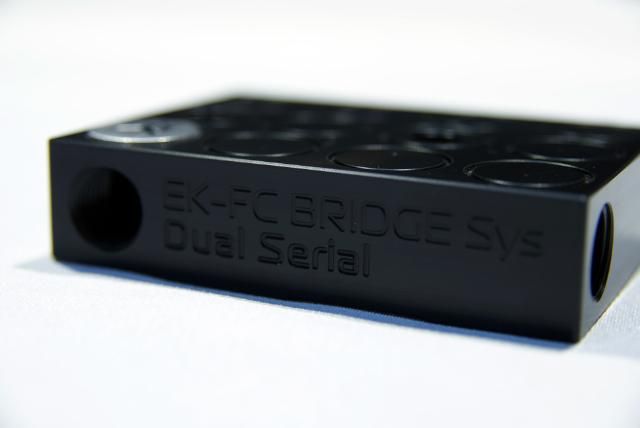
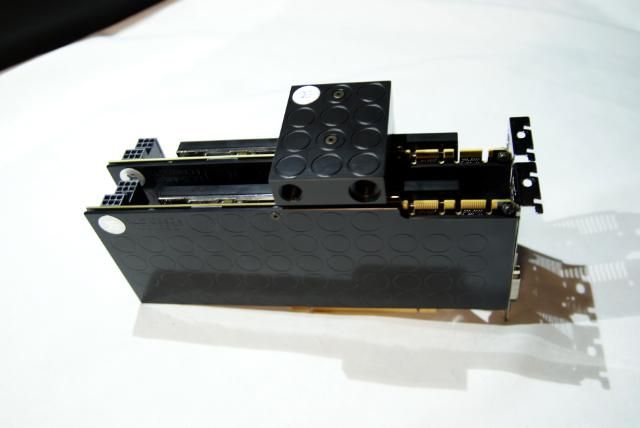
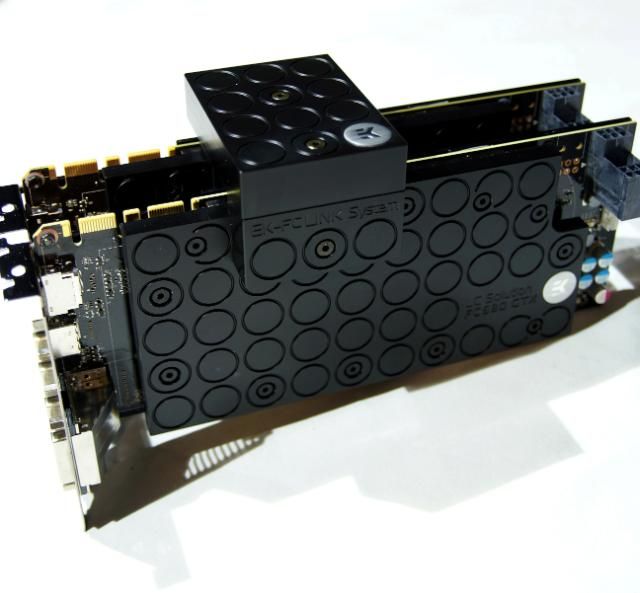
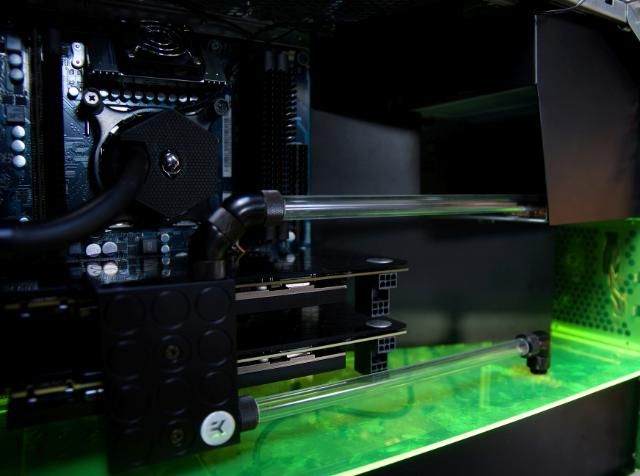
Connected all together with the EK-FC Bridge Dual Serial
And offcourse....placed it right away
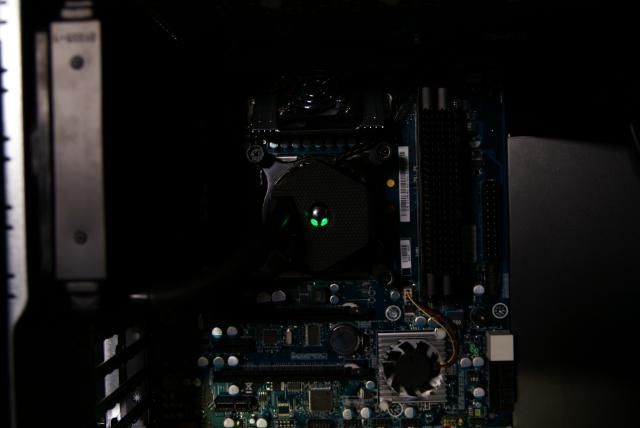
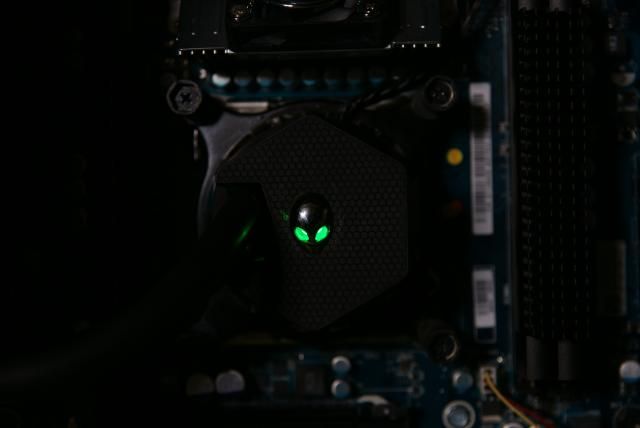
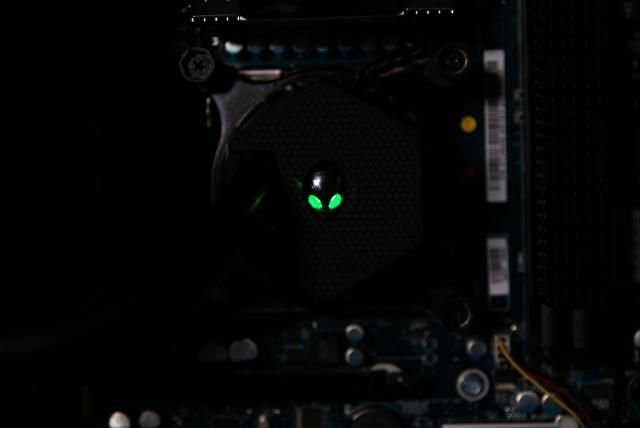
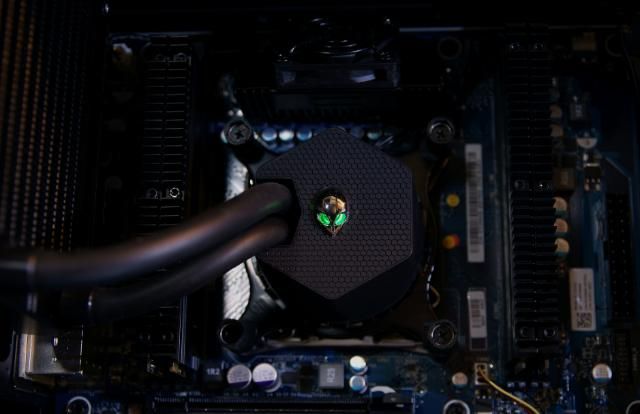
Made a minor adjustment into the CPU cooler. Placed LEDs for a nice effect, bright Alien eyes
I was still searching regards the radiator recesses on both sides. Here's the first idea.
Playing with some mesh and air outlets
12-16-2012, 01:24 PM
kier
Re: Alienware Aurora ALX-XL
But no...didn't like this.
So cut an aluminium strip, bended a lot of vents and assembled
Made it black
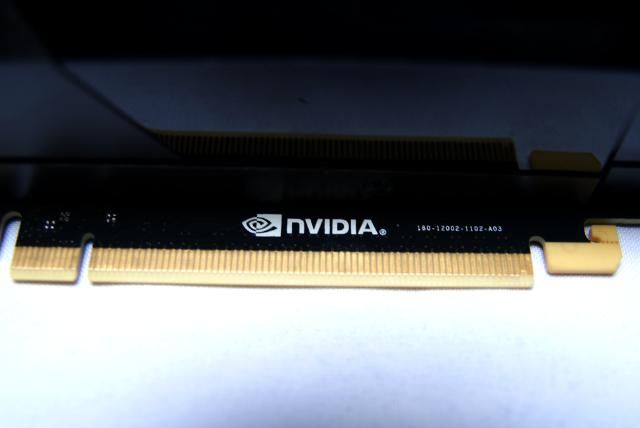
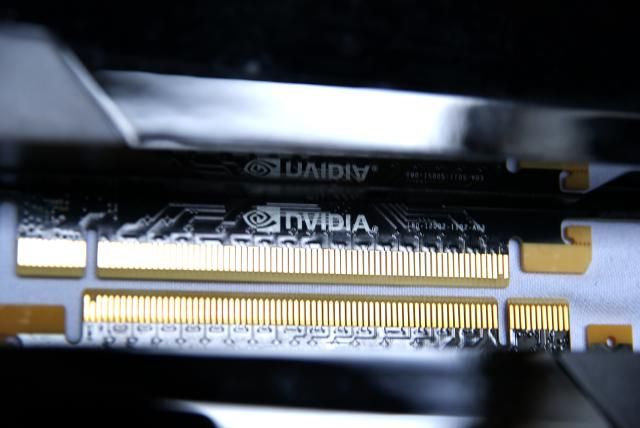
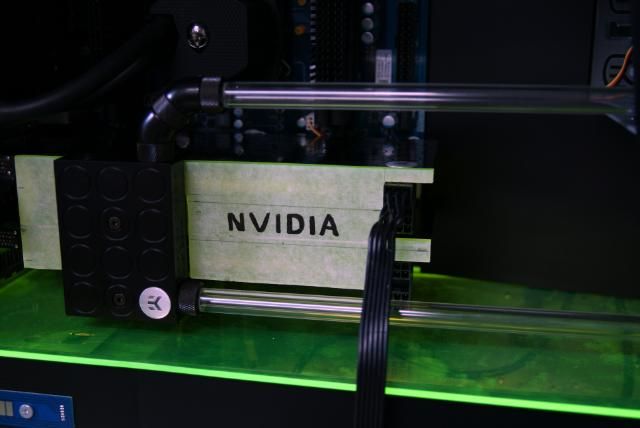
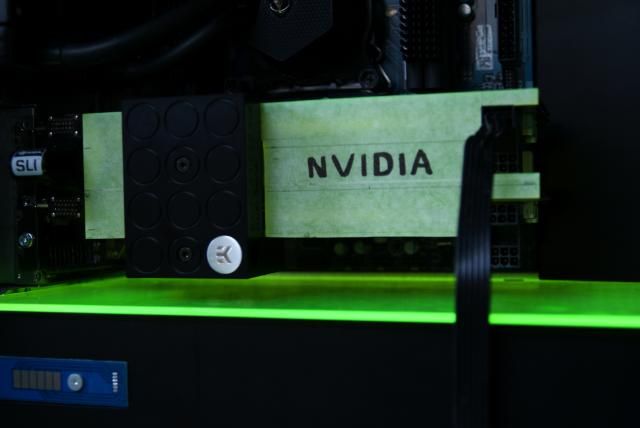
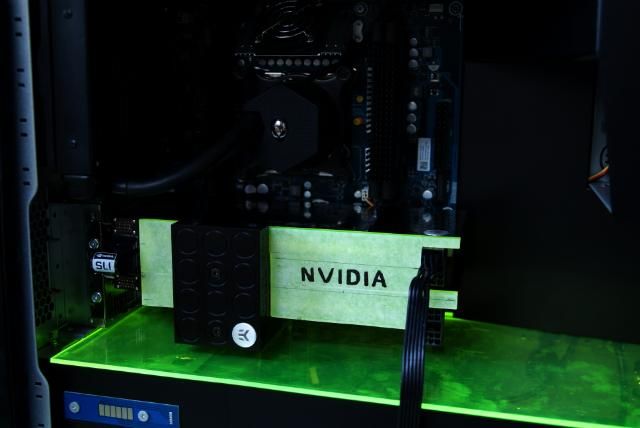
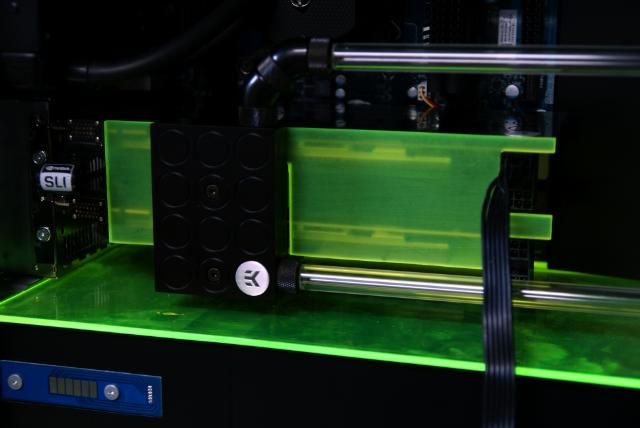
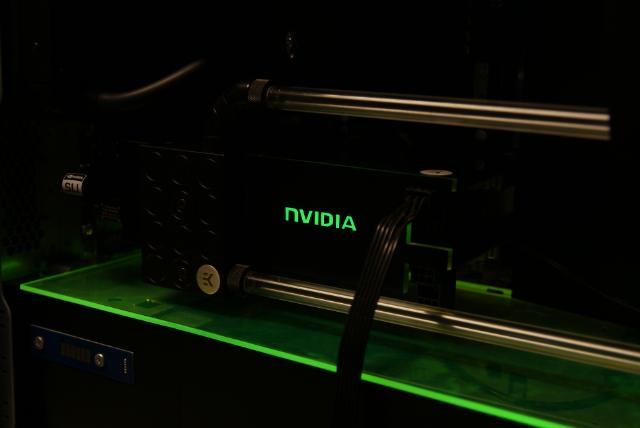
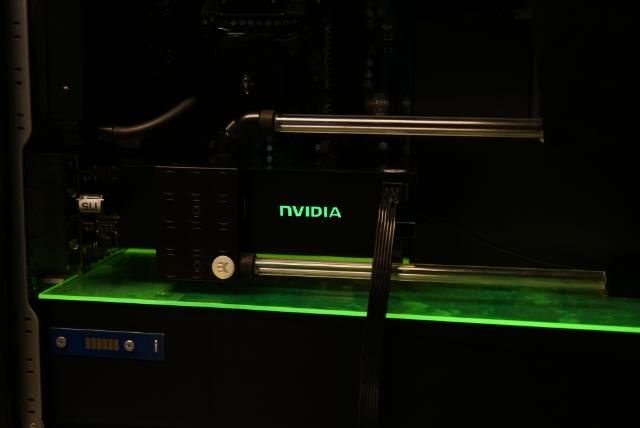
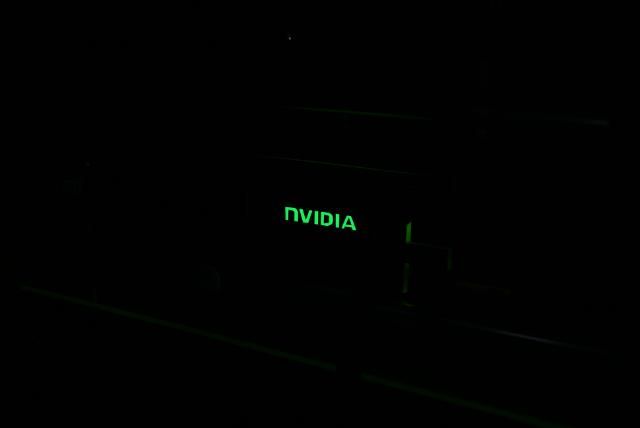
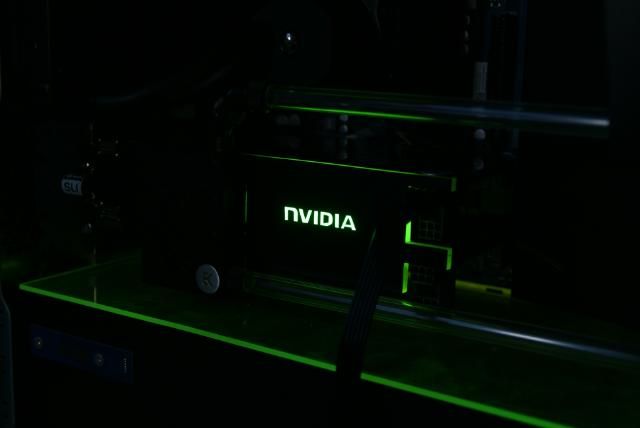
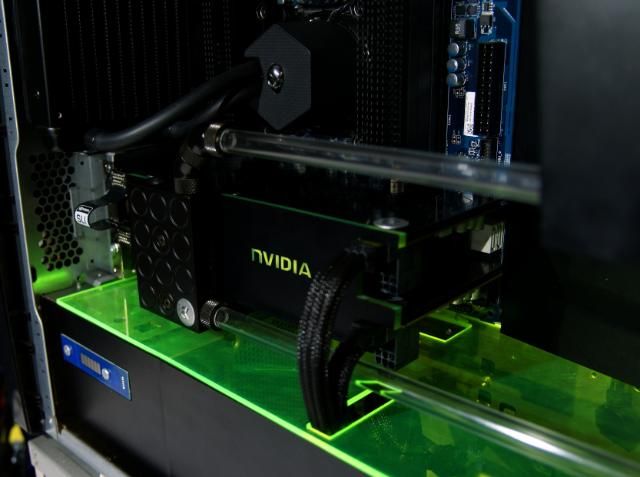
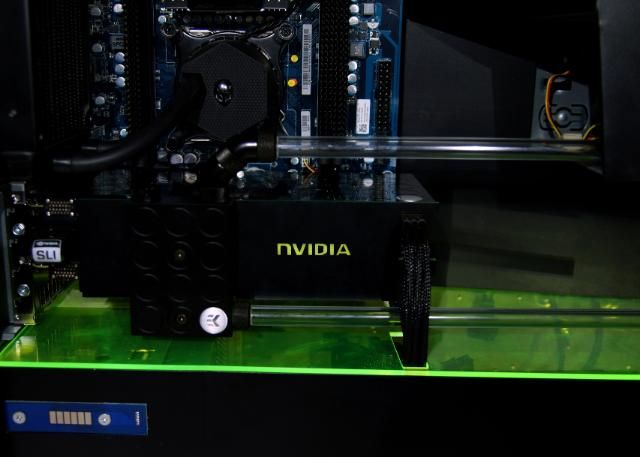
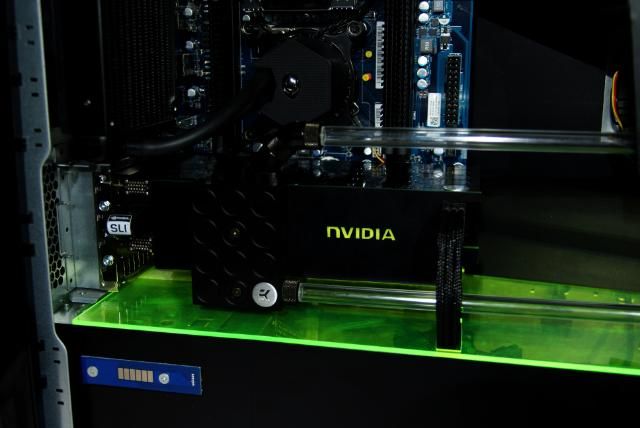
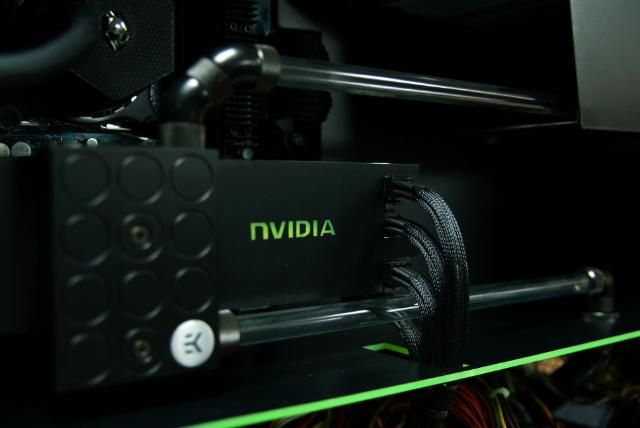
Next ..... The Nvidia Logo should come back. Therefore I made a little cover where the Nvidia logo is displayed.
Like this
Frosted the piece
Just to see how it will look I cut out the name by hand.
This is NOT the final logo, soon there will be a better one (with Nvidia claw)
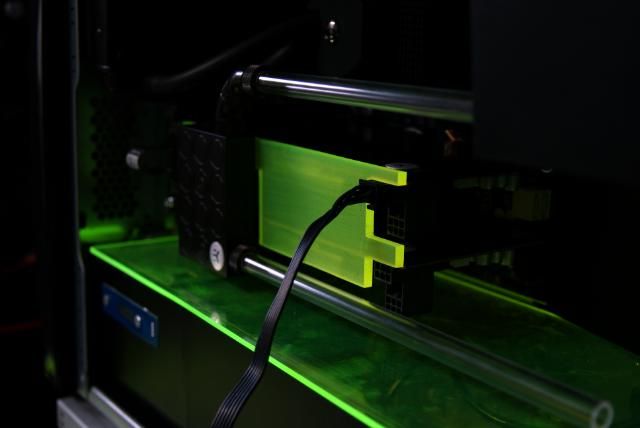
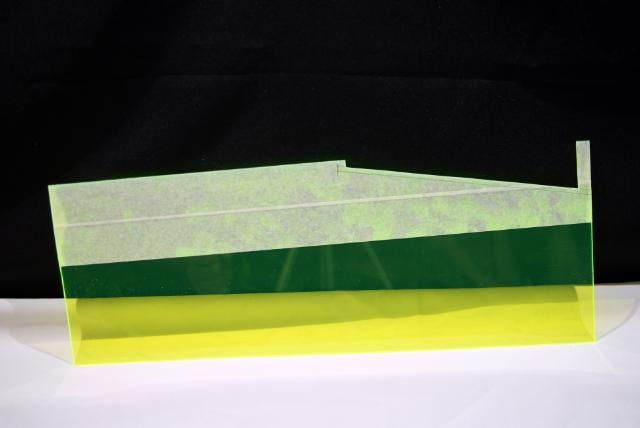
To give this a bright shine, I have used a piece of glowpad
Placed a small piece
For the cables, I cut out a recess
This will no longer be seen through the cover
And another recess for the remaining connections mobo
And a recess for the GPU power. Bottom PCI-e power is tight, but possible
And last... Busy again with acrylic tube
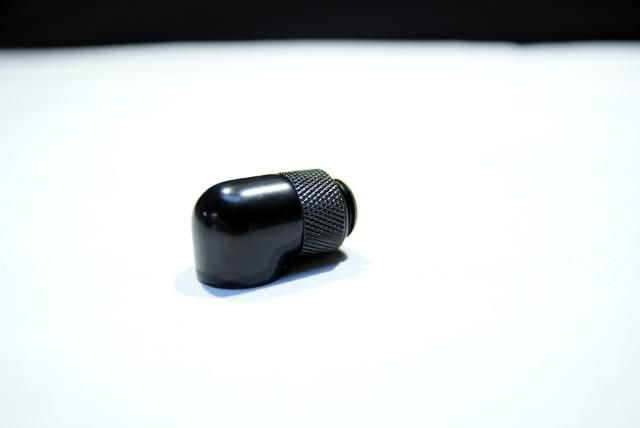
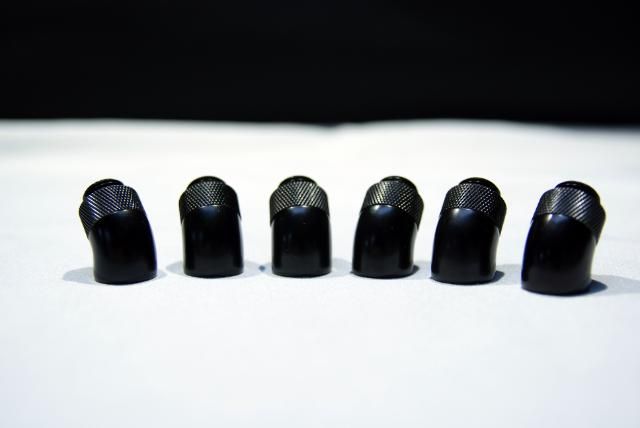
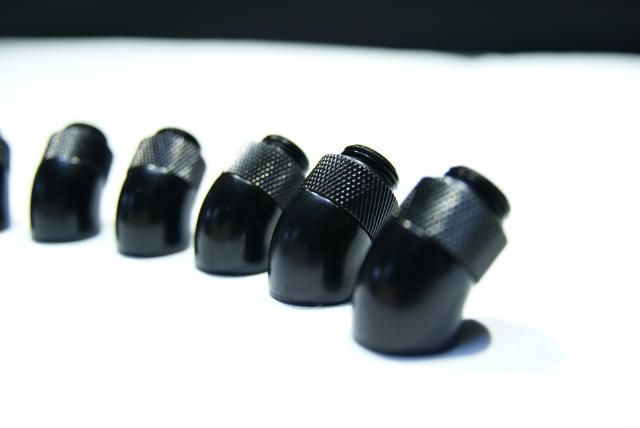
After some measuring, Made 2 holes for the fill ports
That's it for this weekend ;) To be continued!
01-27-2013, 03:47 PM
kier
Re: Alienware Aurora ALX-XL
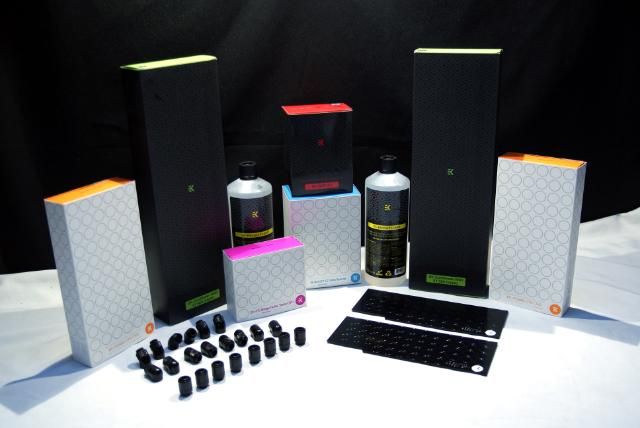
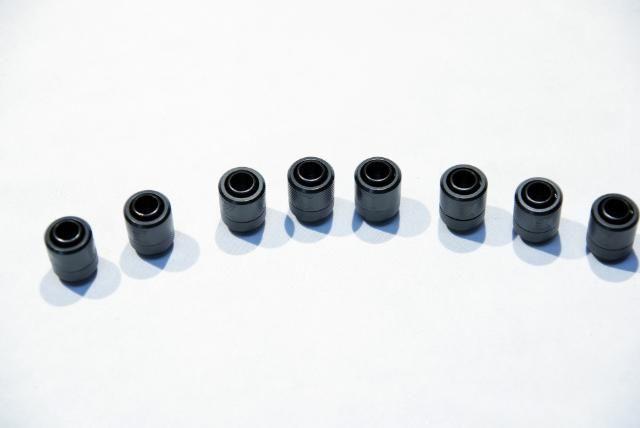
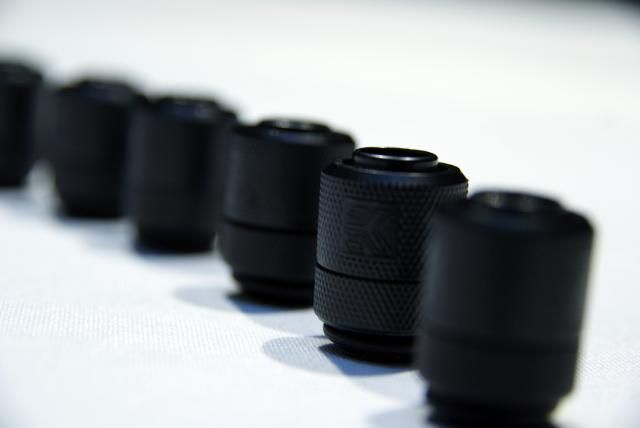
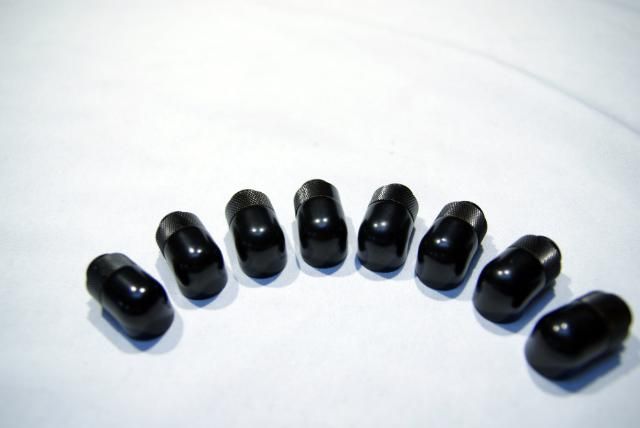
Alienware Aurora ALX-XL is sponsored by:
Update!!!
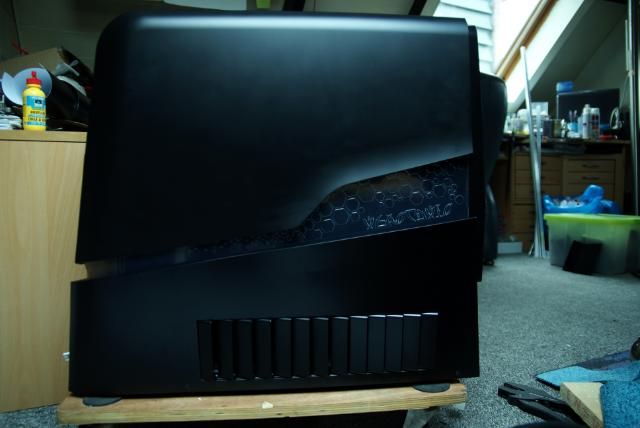
It took a while but here is a new update of the Alienware Aurora. After some doubt what I would do, paint or powder coating I decided to do it myself.
purchased a number of cans primer and Black.
Put the primer on
Let it dry for a night and then applied several layers of black
And again, hung to dry. Looks good i think :)
Internal also used some black for the heatsink and other small stuff ... still need to exchange the connectors
Always fun to play with Alien eyes;)
I also gave the midplate a black layer. This to get a illuminated green border using a CCFL. I first made the top white, after that a black layer
Placed the CCFL
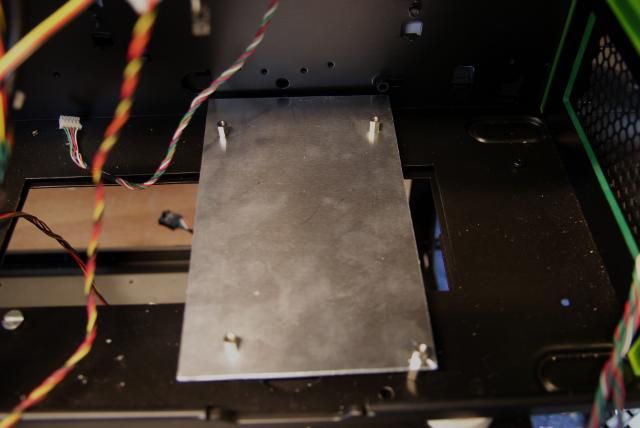
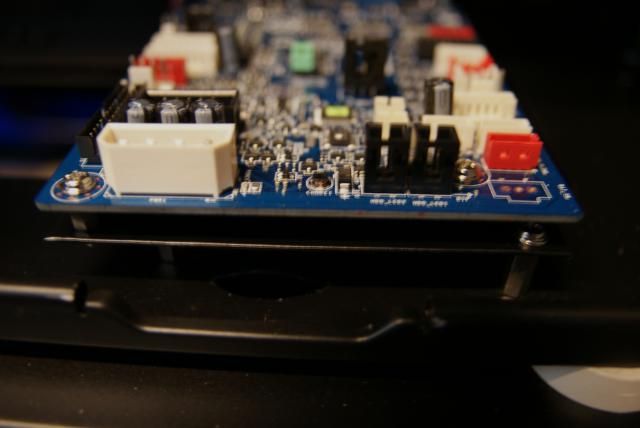
Time to place the PCB for the lighting etc. For this I have cut a aluminum plate
Placed like this
After extending some cables
Power on for testing
And it's working again
Always good to know before the cable management begins
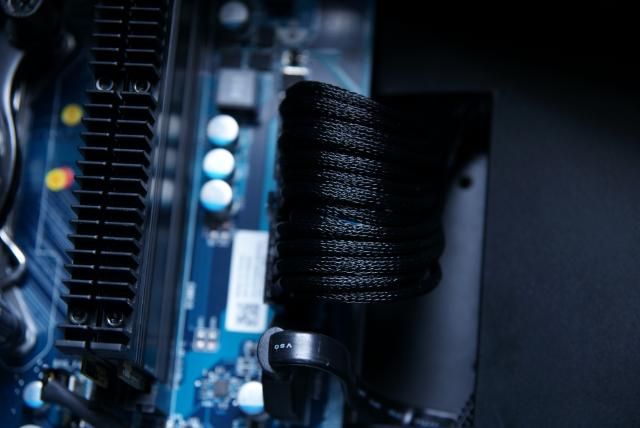
Searched and found my sleeve stuff again :) for sleeving the big bundle
I discovered that the pins of the big block are not so easily to remove. 've Tried al kind of tools, but it isnt possible without demolishing. I just miss the slots for the pin remover.
So change of plans ... going to use sleeved extenions now. Sorry no sleeve update this time ;)
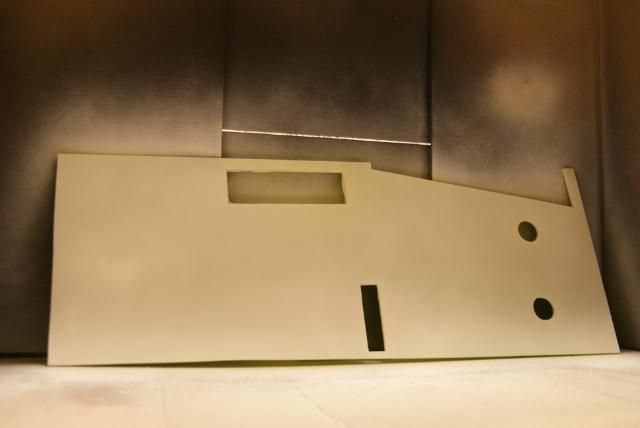
I also did the lower back. Because I made the Aurora a bit higher, I also need to extend the back.
For this cut, bent and drilled an aluminum plate
Cut and bent another aluminum plate
First plate mounted on the existing PSU cover
And made the other plate black and mounted it. Must still bend it a bit and still make some openings with mesh in it..I think, but this is how it fits.
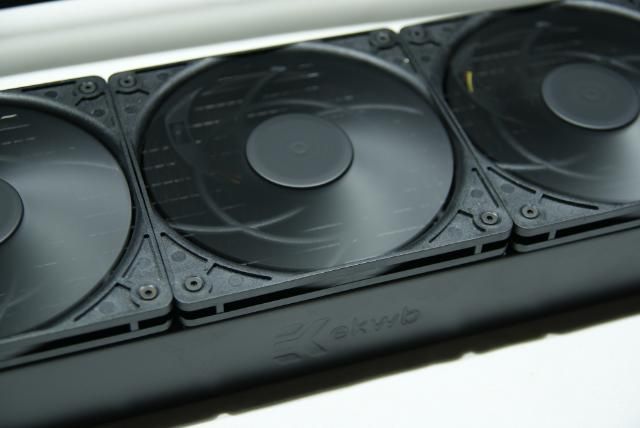
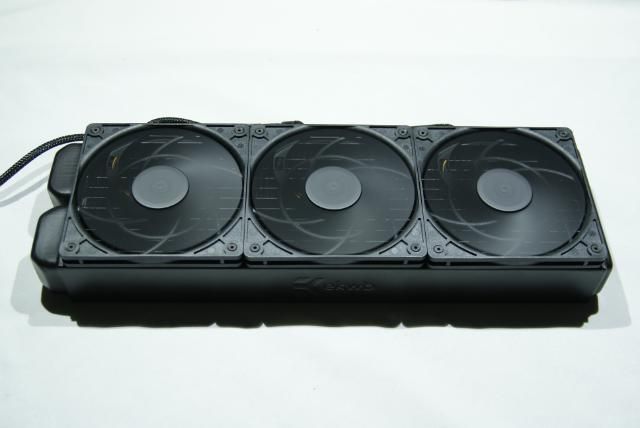
Finally the choice of the fans for the rads. The Scythe SY1212SL12H ... pretty thin fans but very noisy.
definitely need some adjusments ;)
More coming up!!!
02-17-2013, 04:59 PM
kier
Re: Alienware Aurora ALX-XL
Alienware Aurora ALX-XL is sponsored by:
Update!!!
The end is almost in sight. Recent weeks i've done a lot on the Alienware Aurora R4
Because the sleeving didnt go easy with the large connector I used extensions. It is certainly not MDPC sleeve, but it's not too bad
Lower GPU power connected
And another
One more
And the last one
Some straightening and pulling
Looks nice
24 pins also some shapening
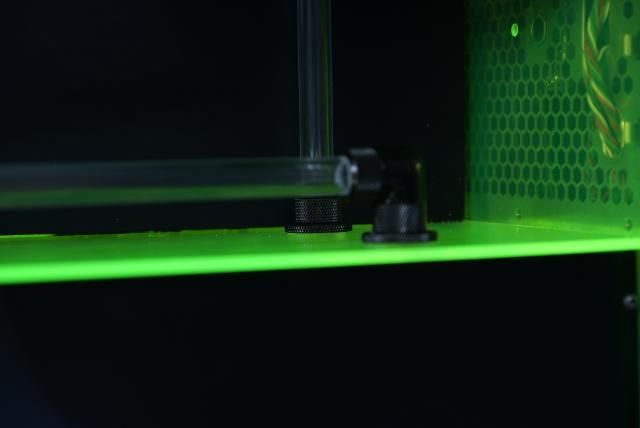
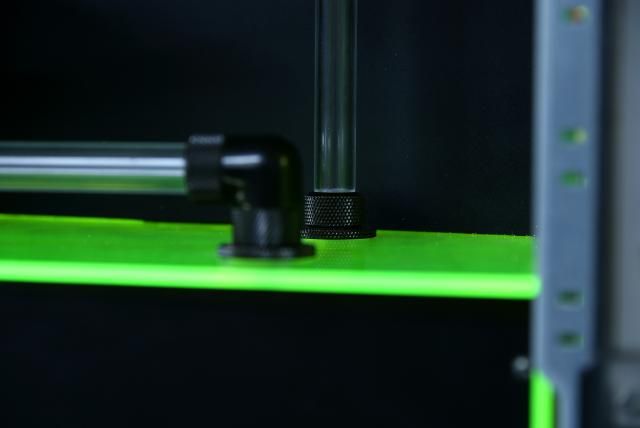
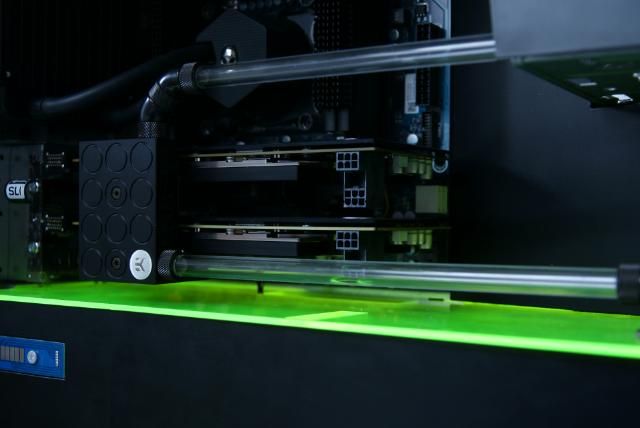
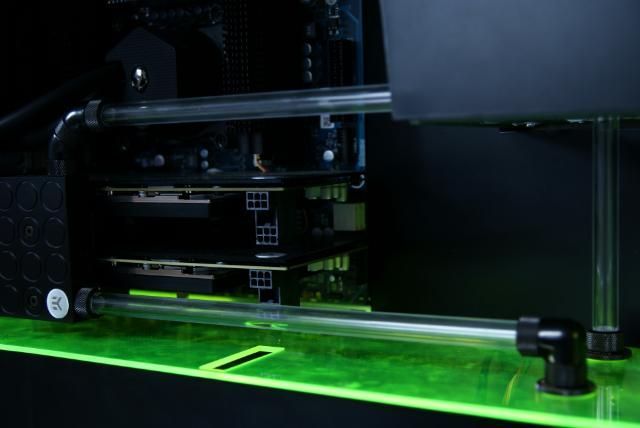
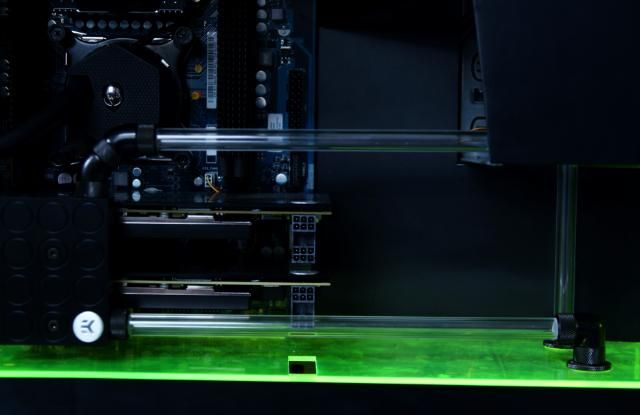
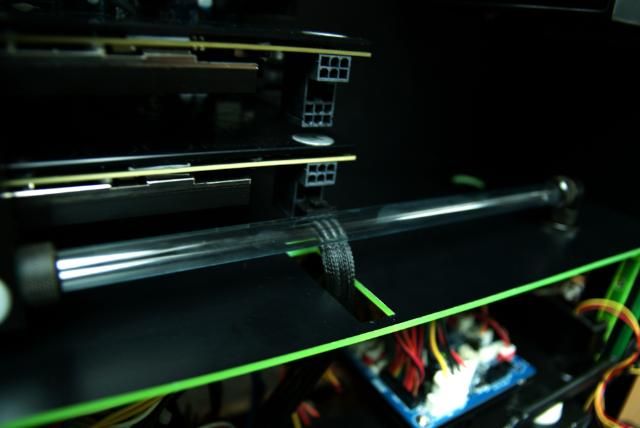
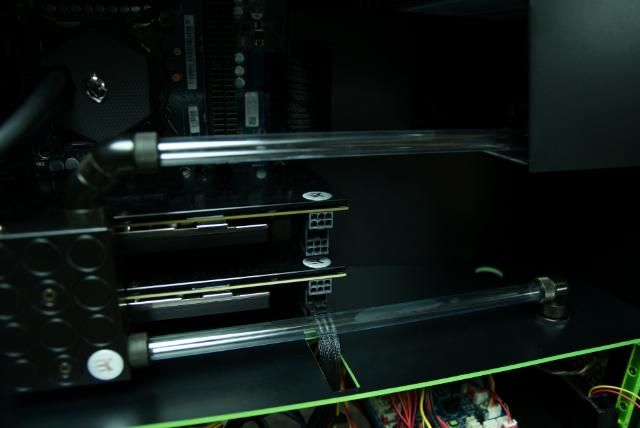
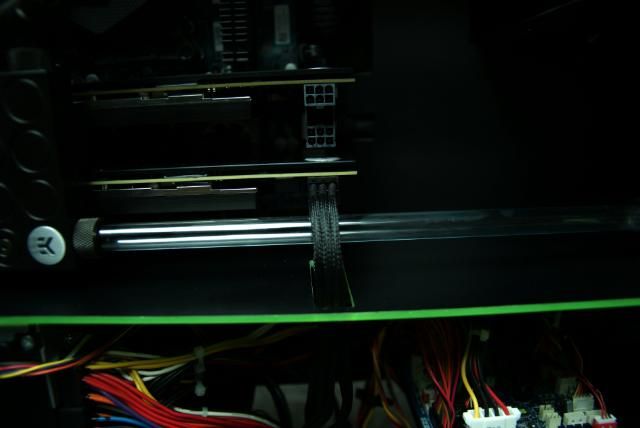
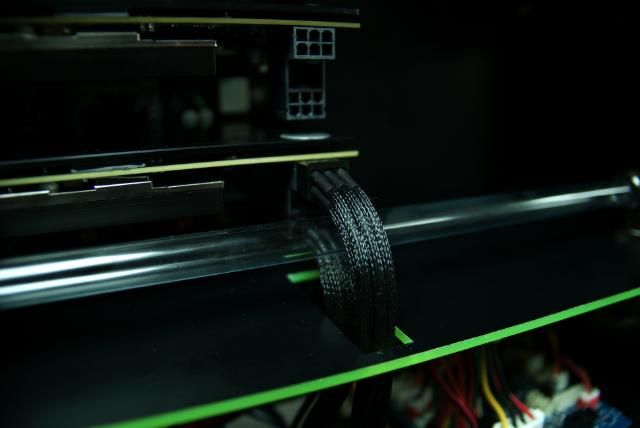
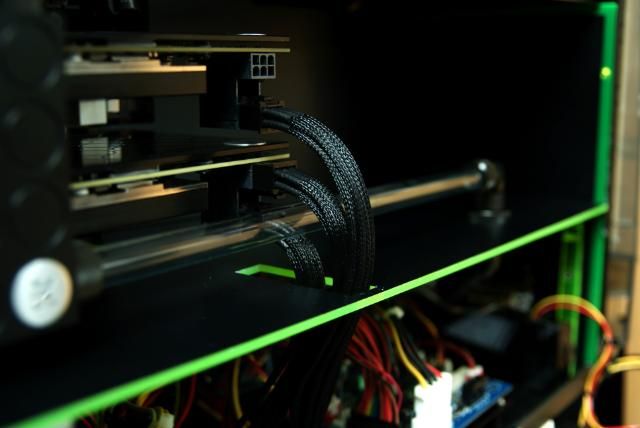
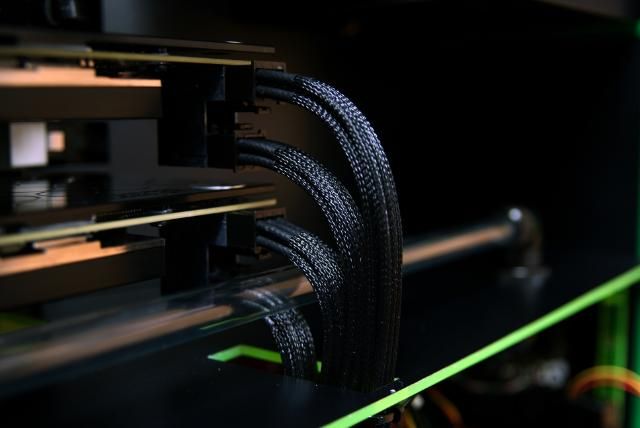
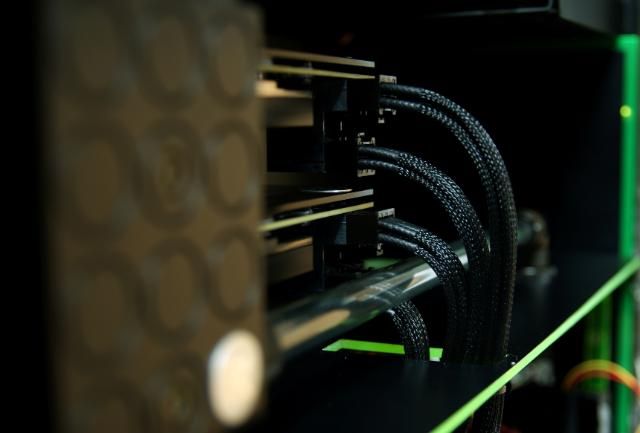
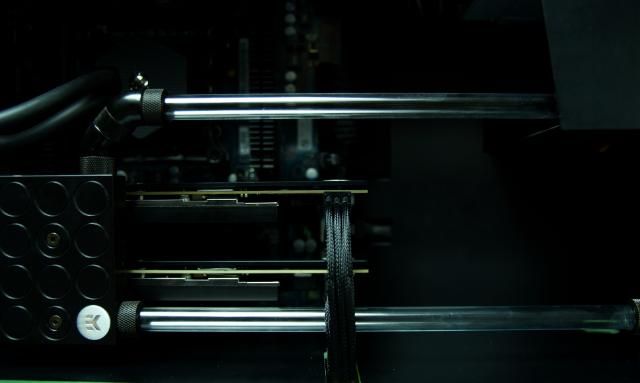
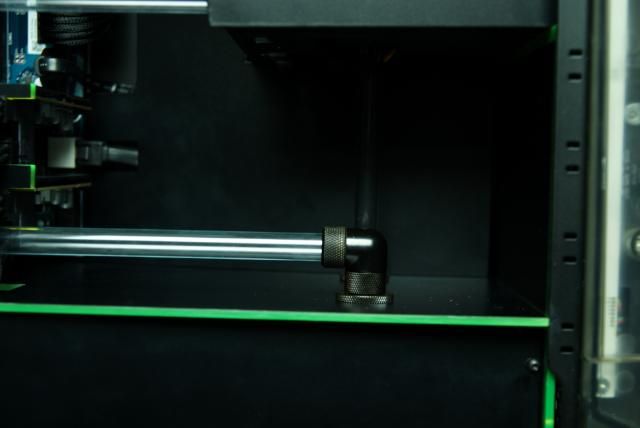
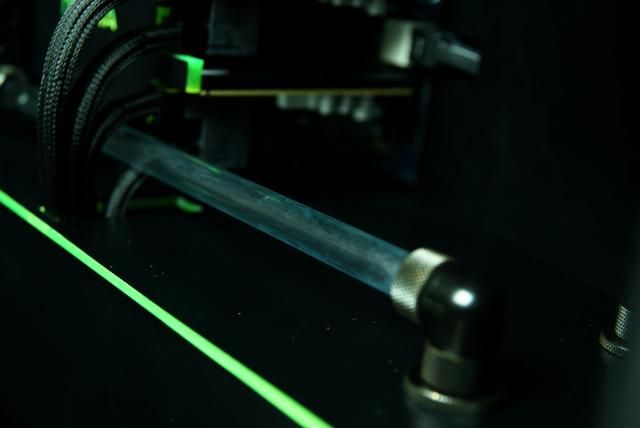
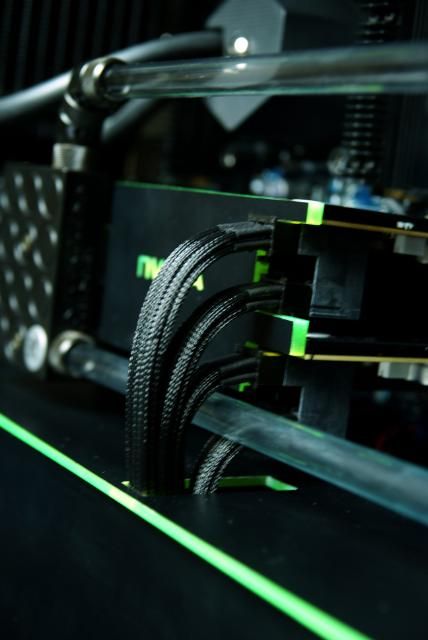
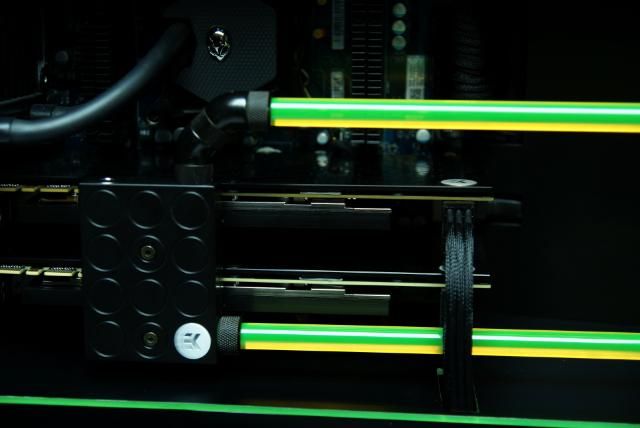
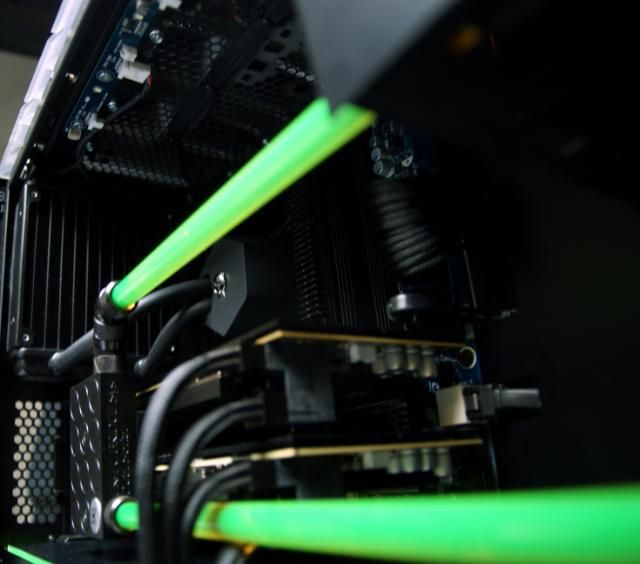
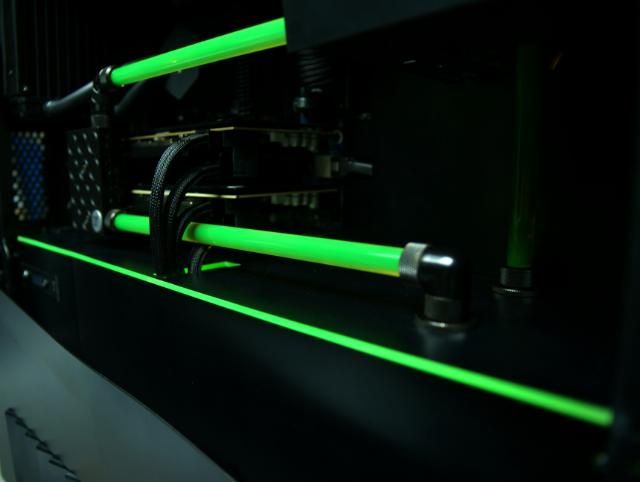
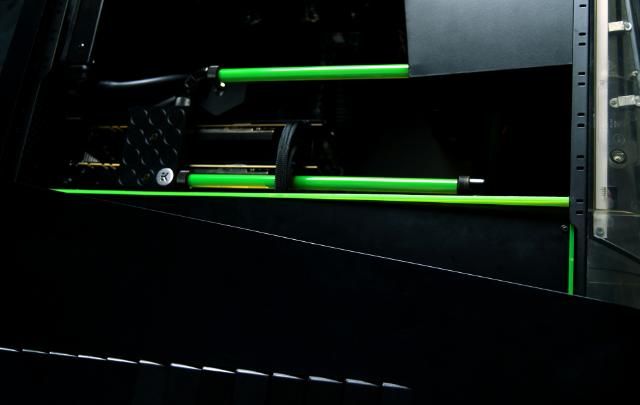
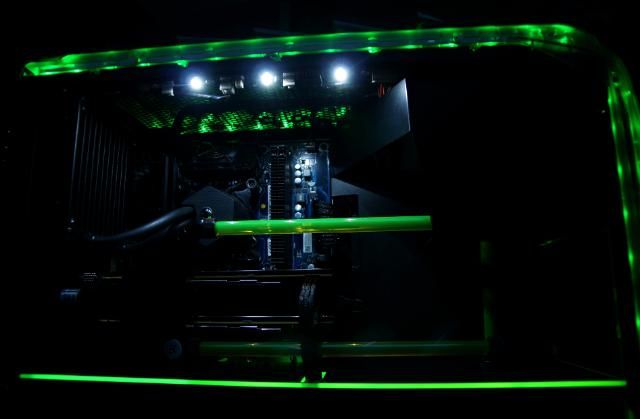
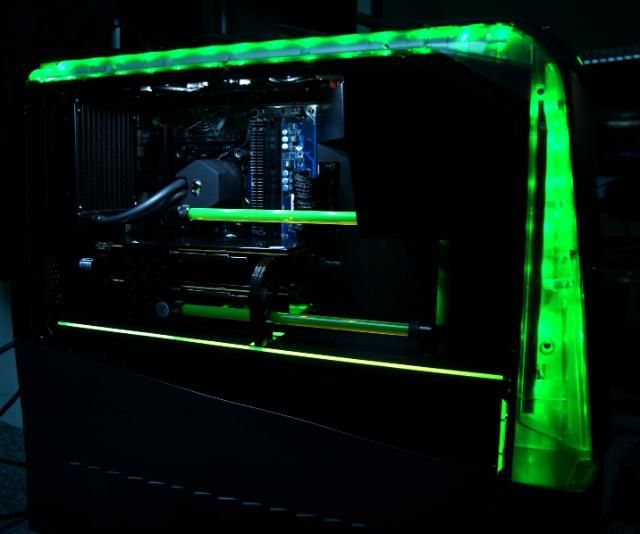
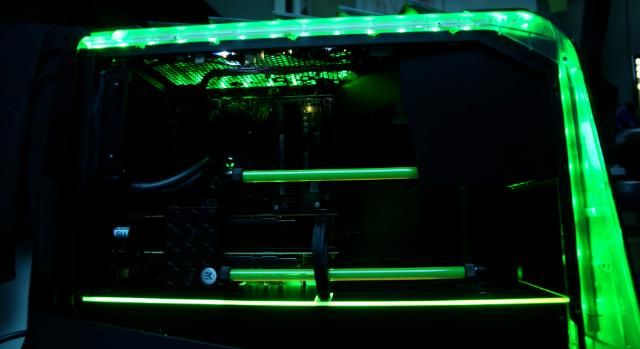
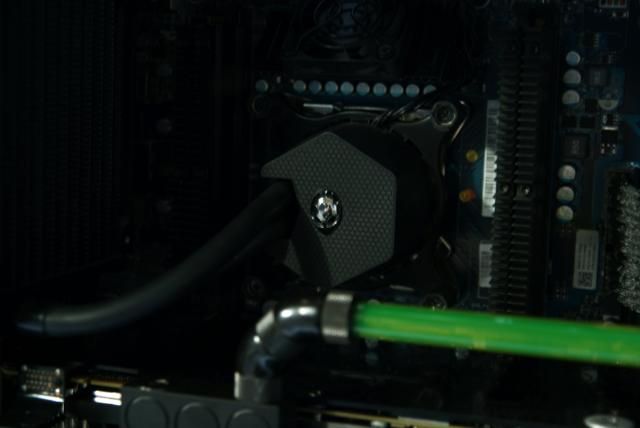
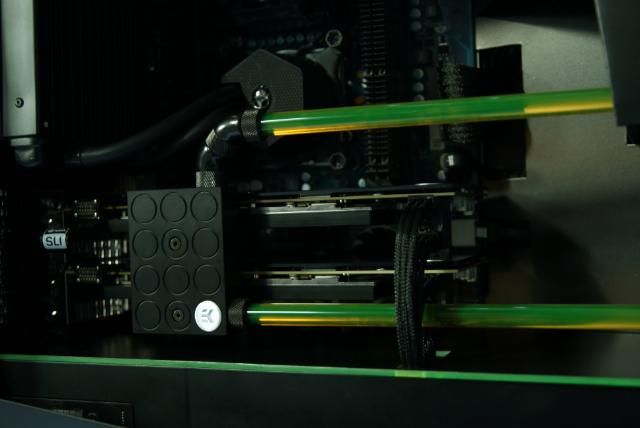
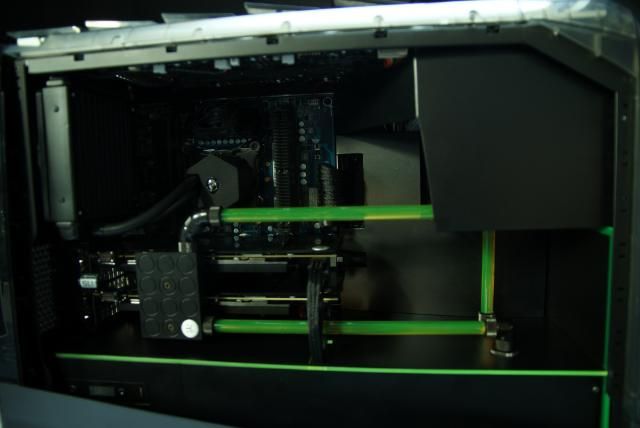
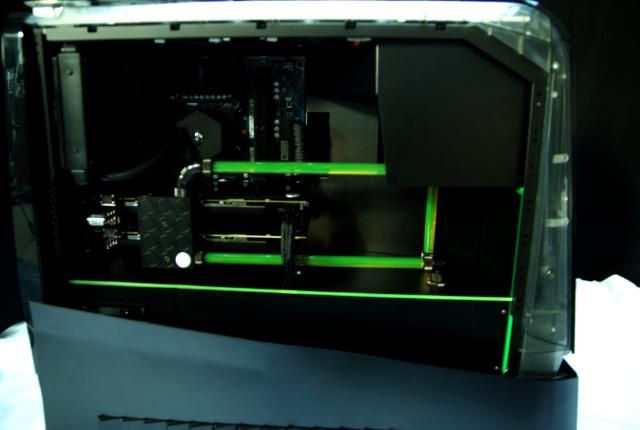
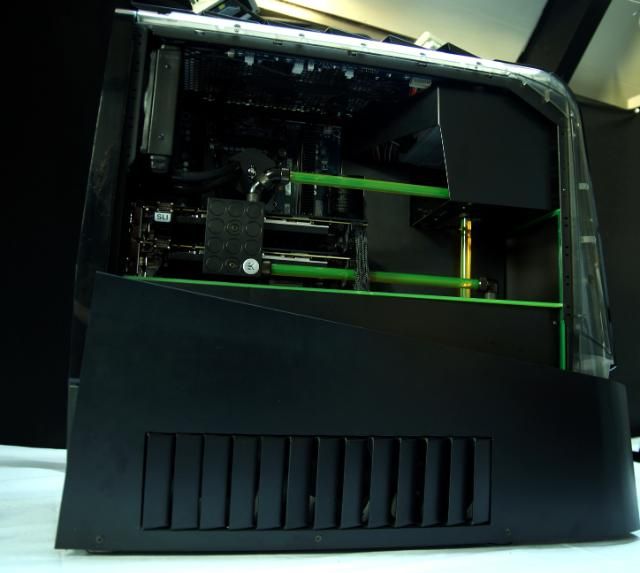
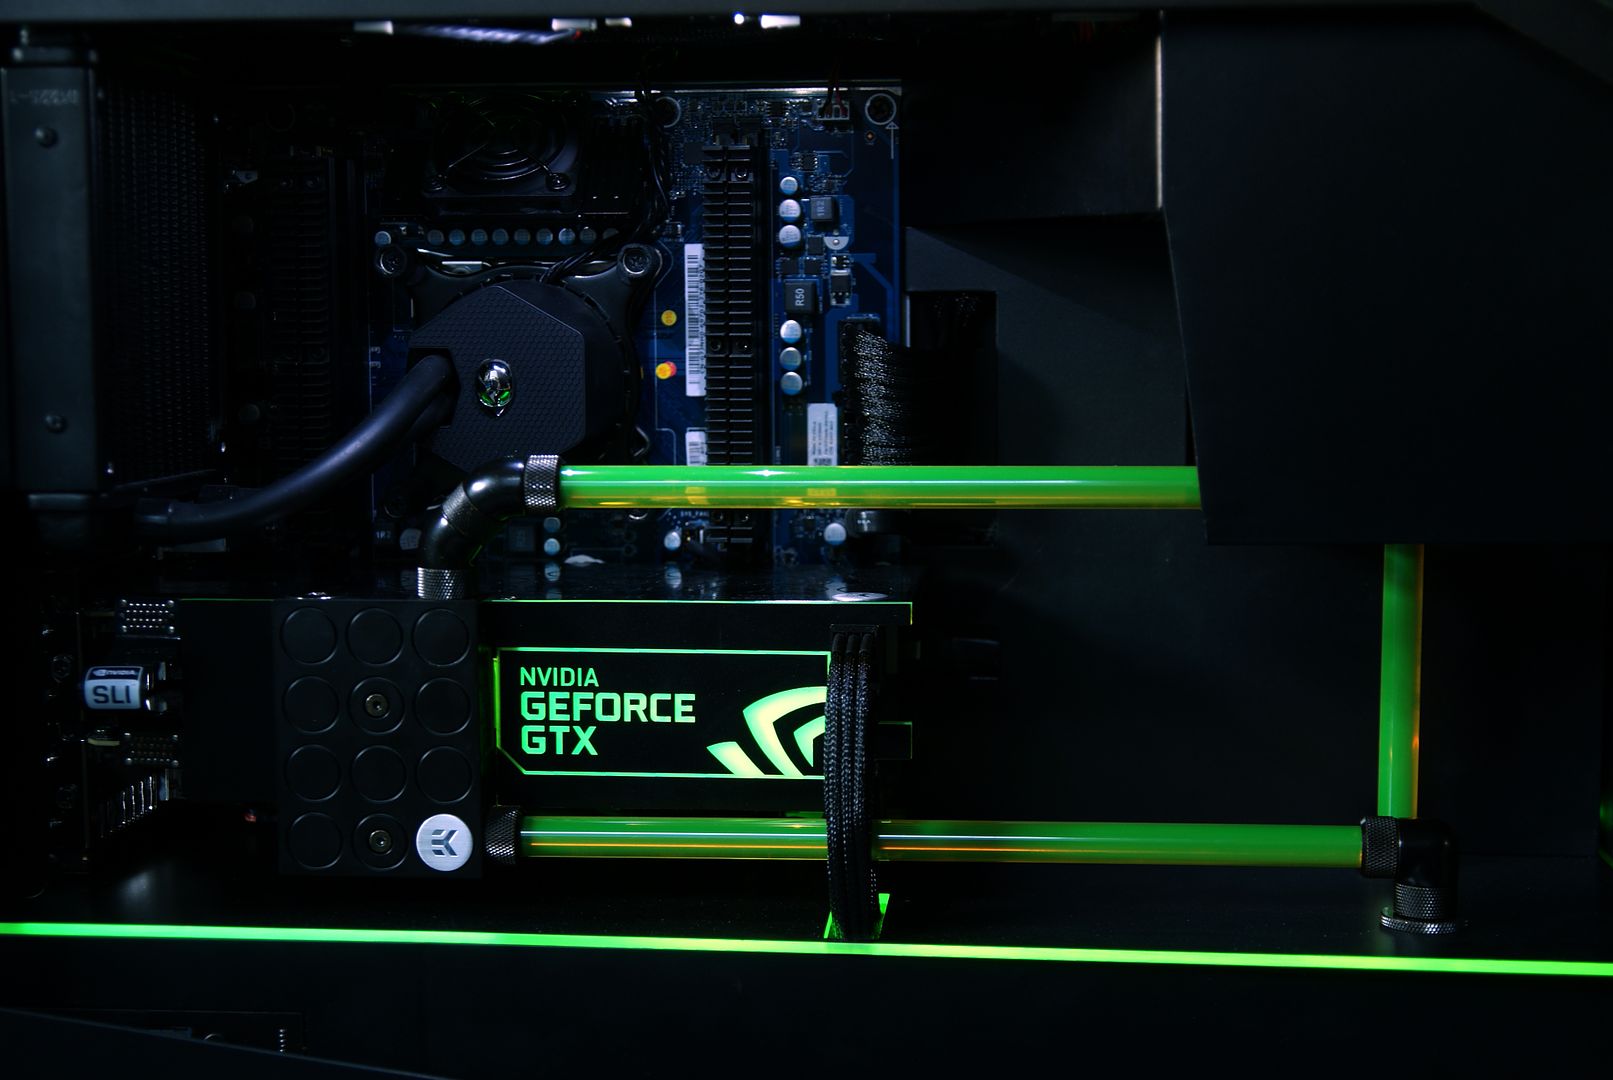
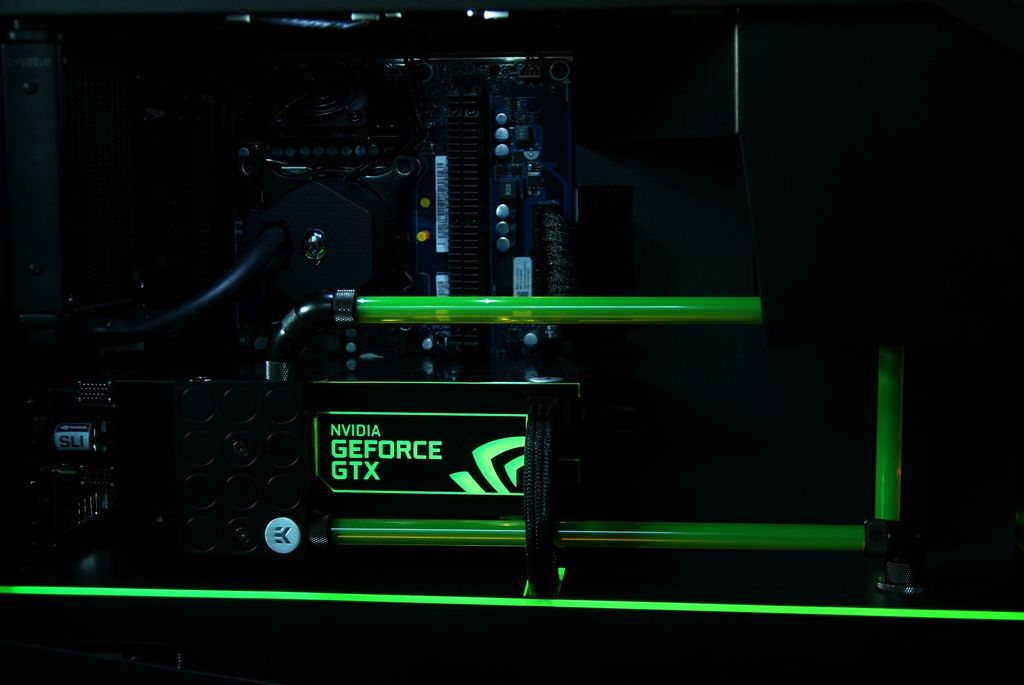
You've probably saw some pictures pass by with the the tubes, but here everything is connected. This time with 12/10mm tubing
Finally I found them with the perfect size (thanks E22 Nate). Only thing to do is to file a little edge off the tubes just like the crystal links.
Was a lot of work, but here one pic of the other side finished lol
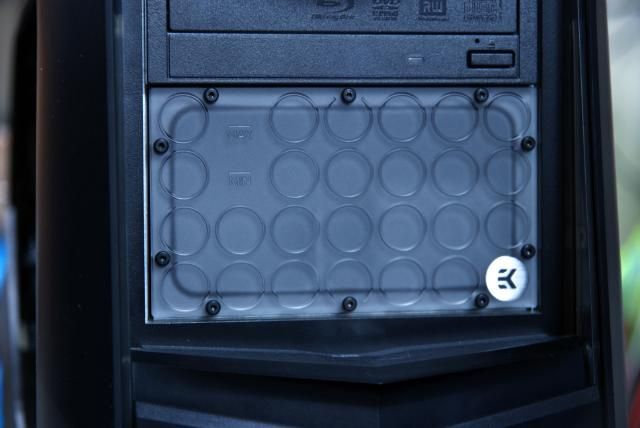
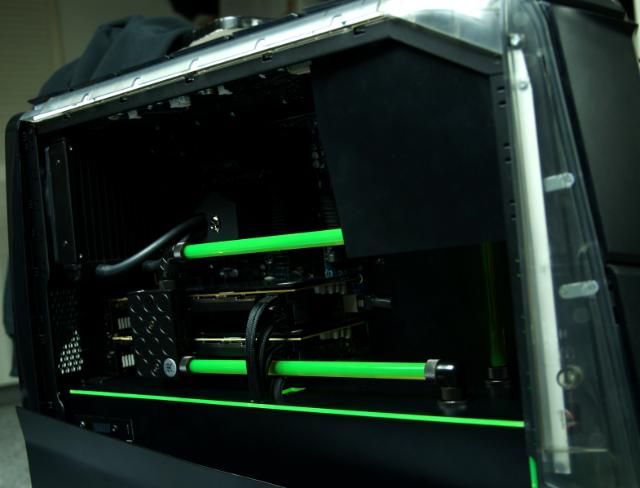
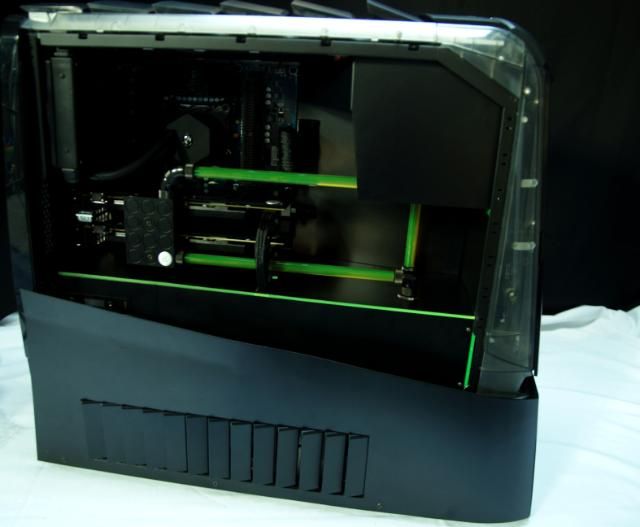
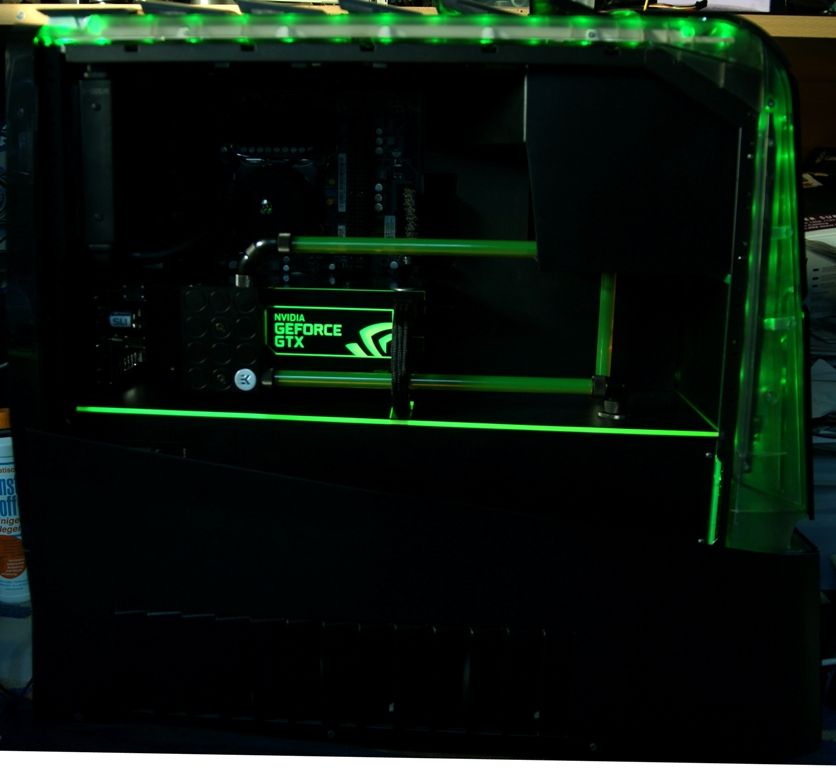
Time to fill her up and leak testing. Optical drive removed and fill the bayres.
After some noise...it became quit ;)
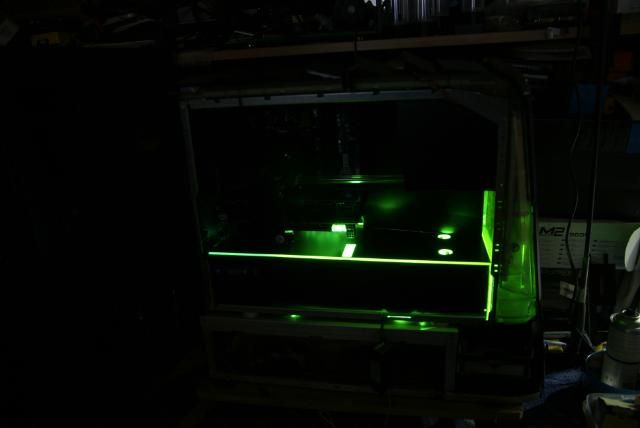
And then it was dark ...
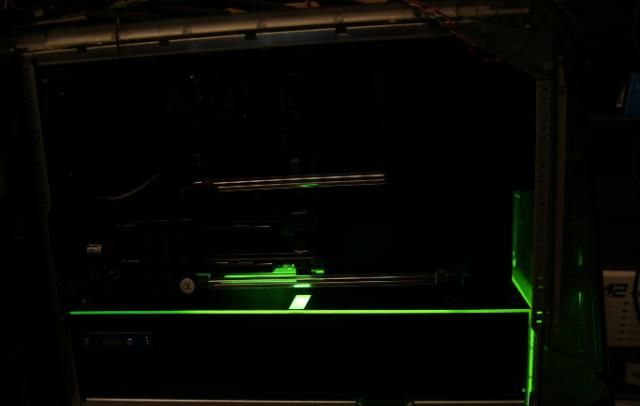
Lights on please!!!
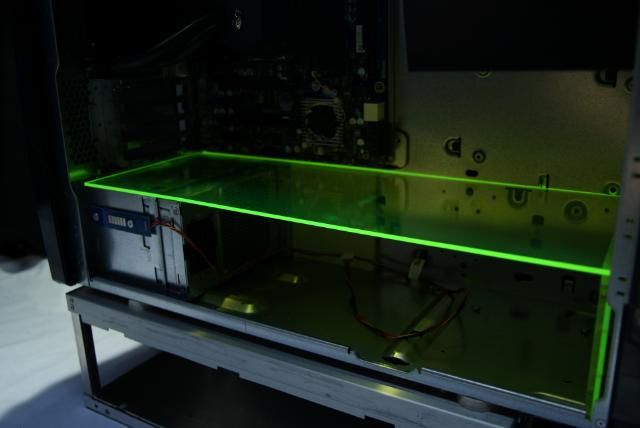
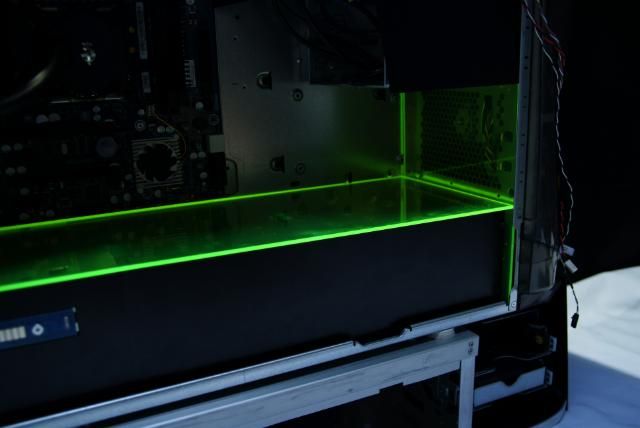
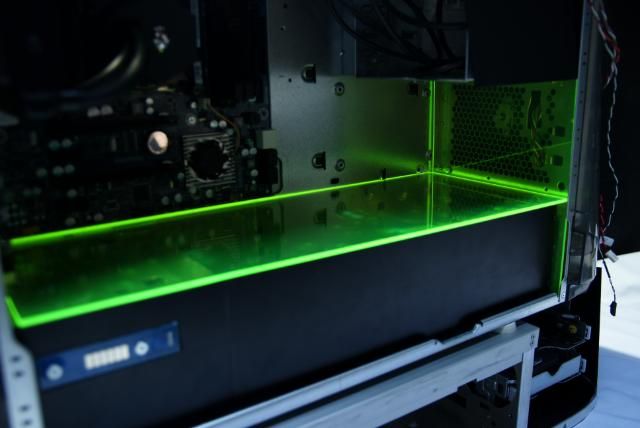
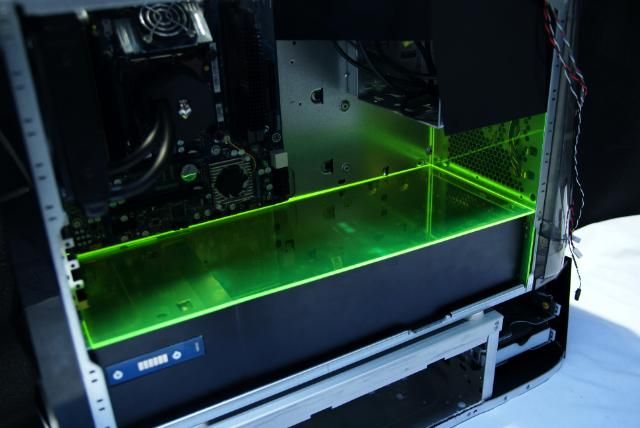
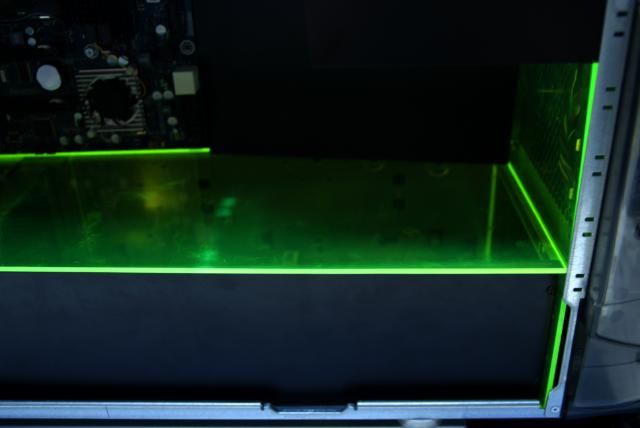
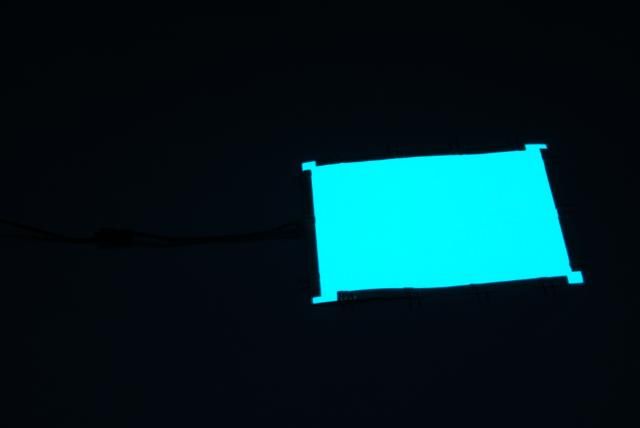
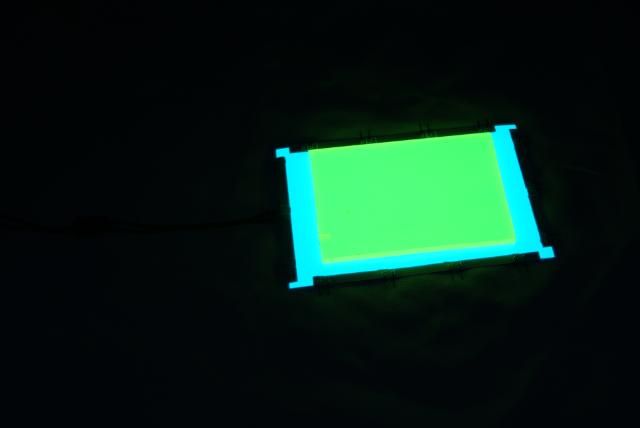
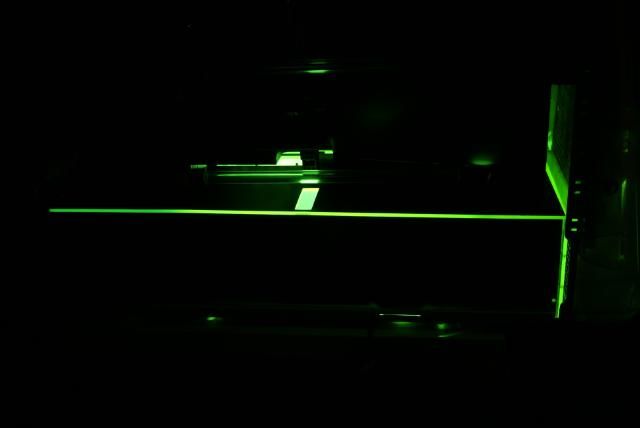
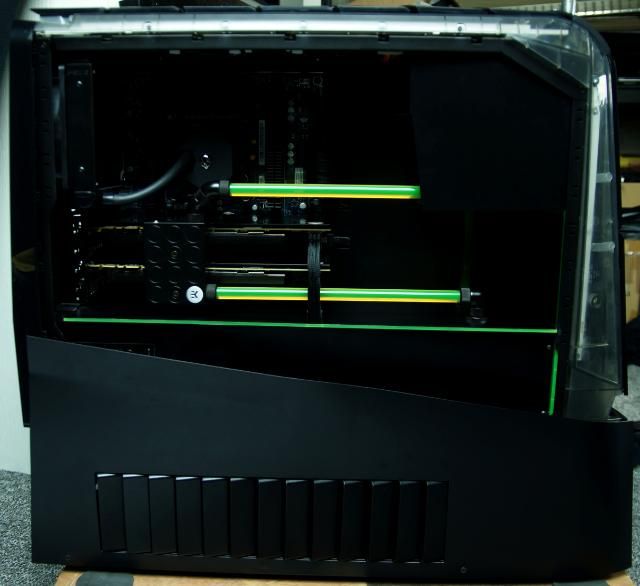
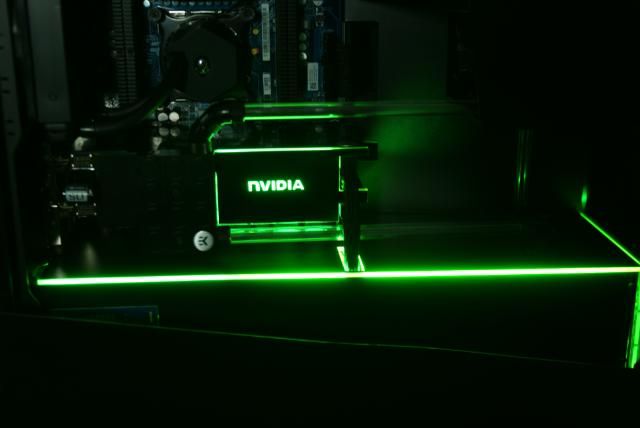
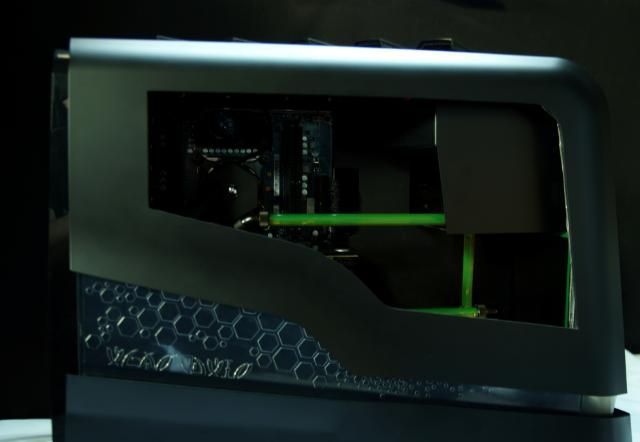
Oww almost forgot, the midplate: I've got the whole plate illuminated using a green ccfl bar for one half.
And the other half (left) I've used a glowpad. The PSU cage would otherwise cause a dark spot ... not now :)
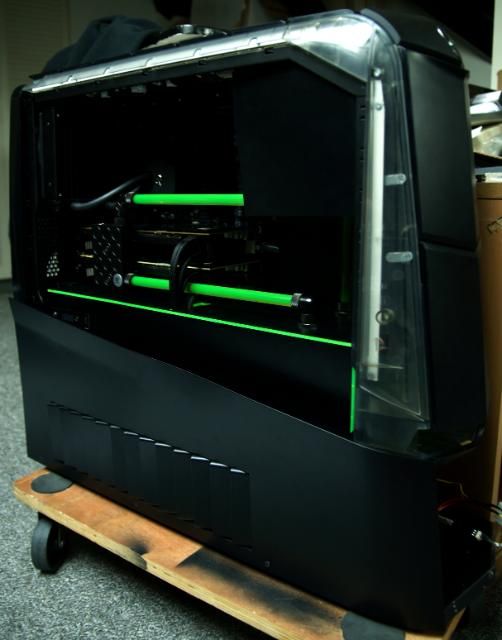
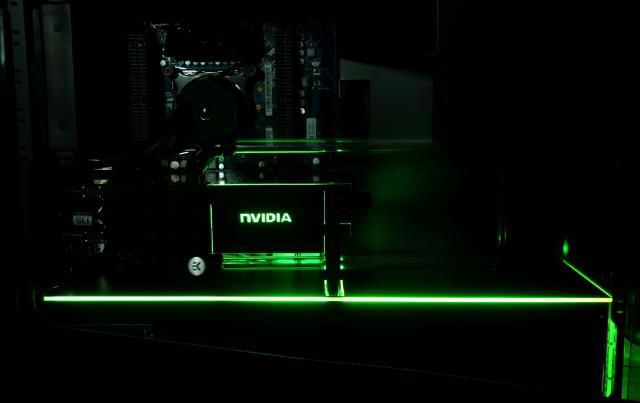
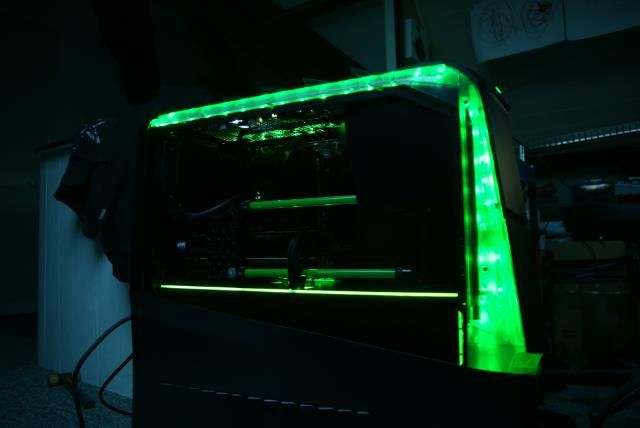
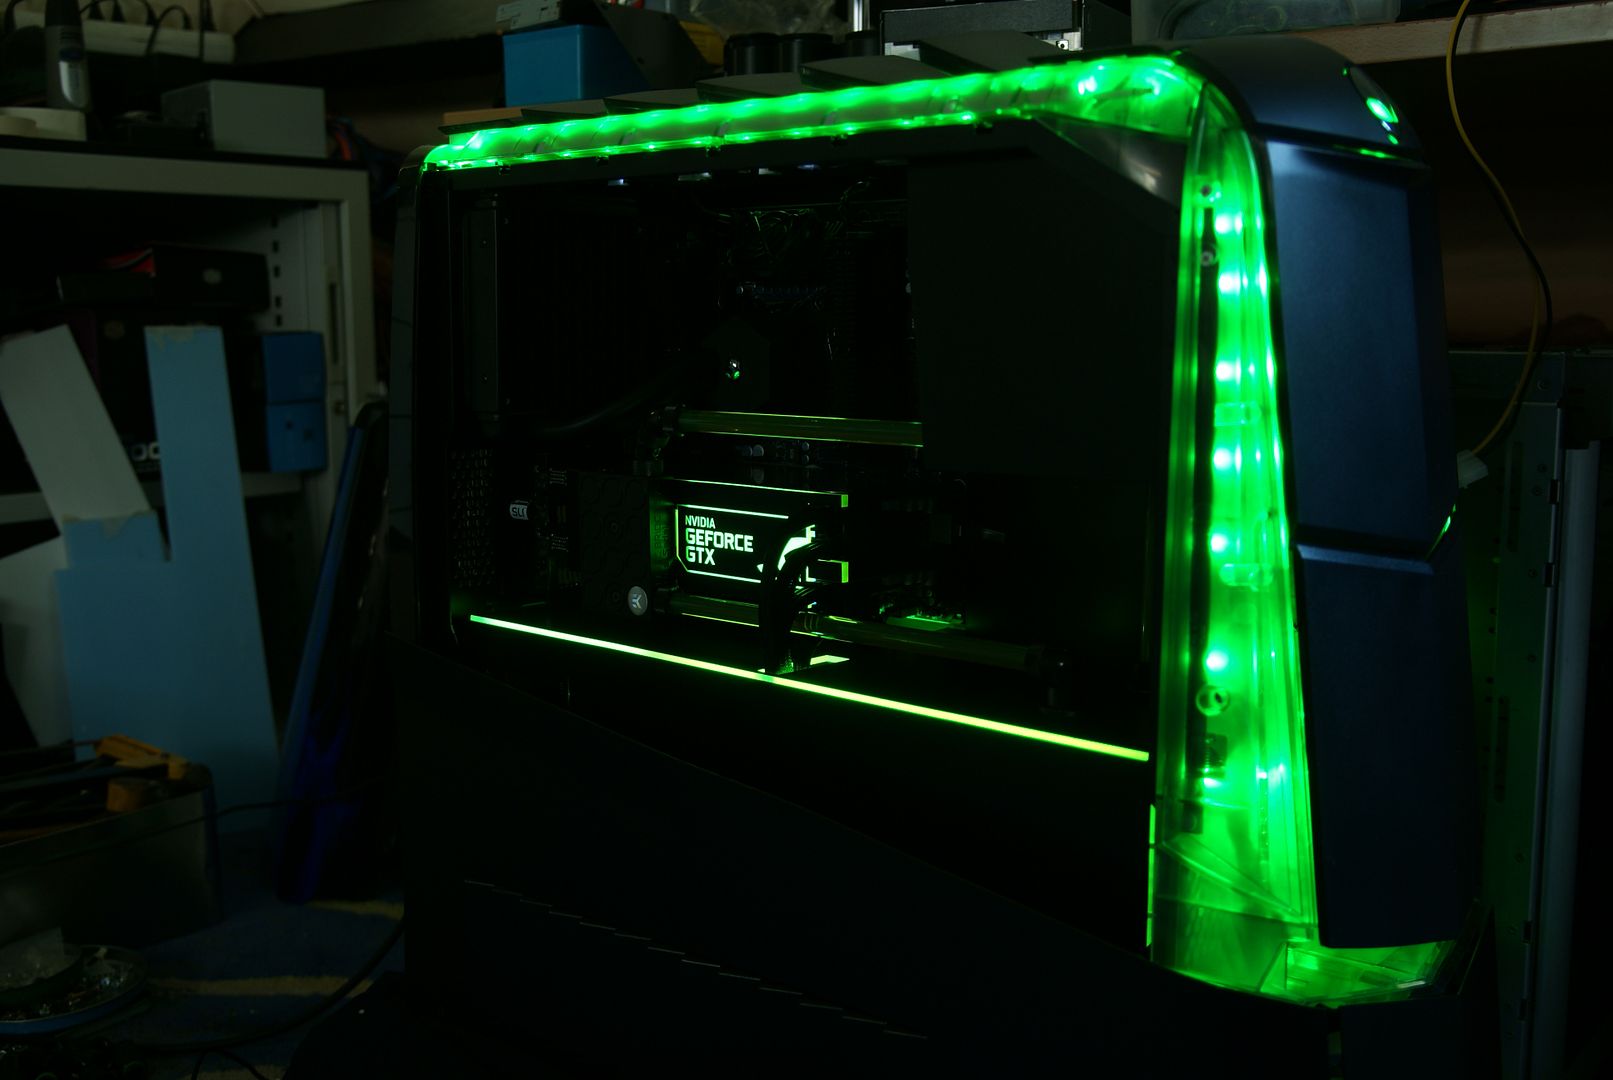
And power on!!!. Because the side panel is off, 3 white LEDs are shining at the top, which shows the internal
Leds off
Default color is green, but all original color options are possible
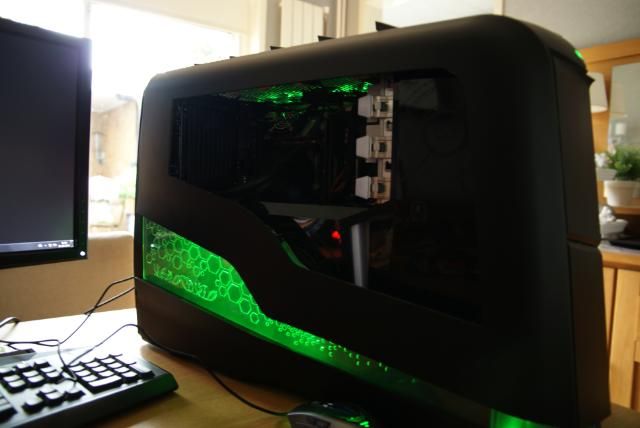
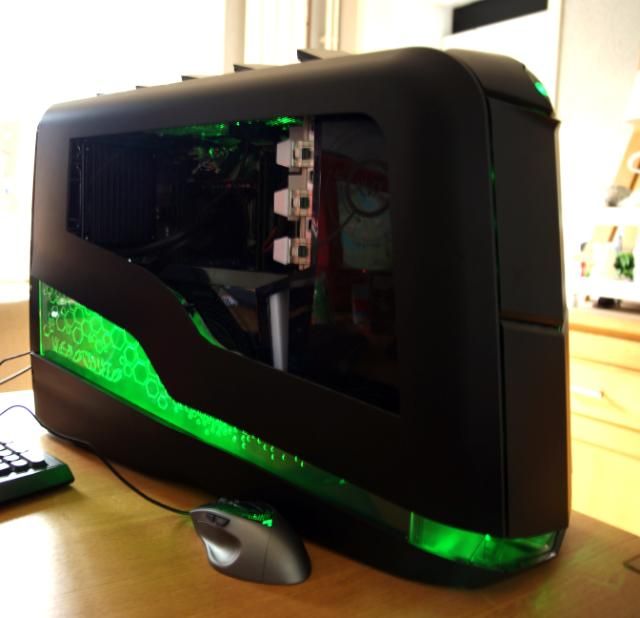
Front is looking very nice
And lights back on. Some pictures with daylight and the panels installed
Still some minor work to be done, such as the Nvidia GPU sticker on the cover, acrylic window and so on. Next time;) Cheers!
02-22-2013, 02:57 PM
TLHarrell
Re: Alienware Aurora ALX-XL
Very very clean and understated mod. I like it very much.
03-16-2013, 07:00 AM
kier
Re: Alienware Aurora ALX-XL
Alienware Aurora ALX-XL is sponsored by:
Update!!!
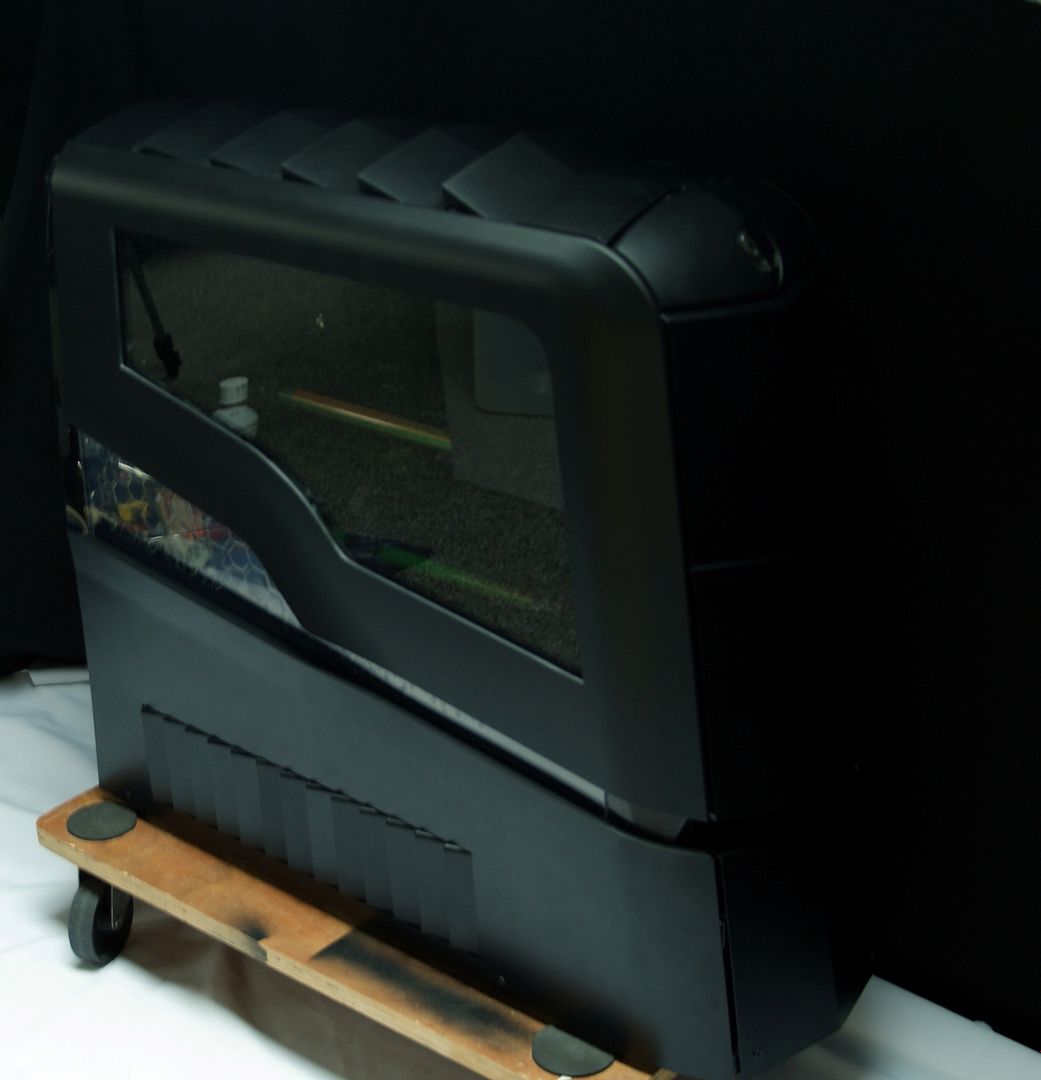
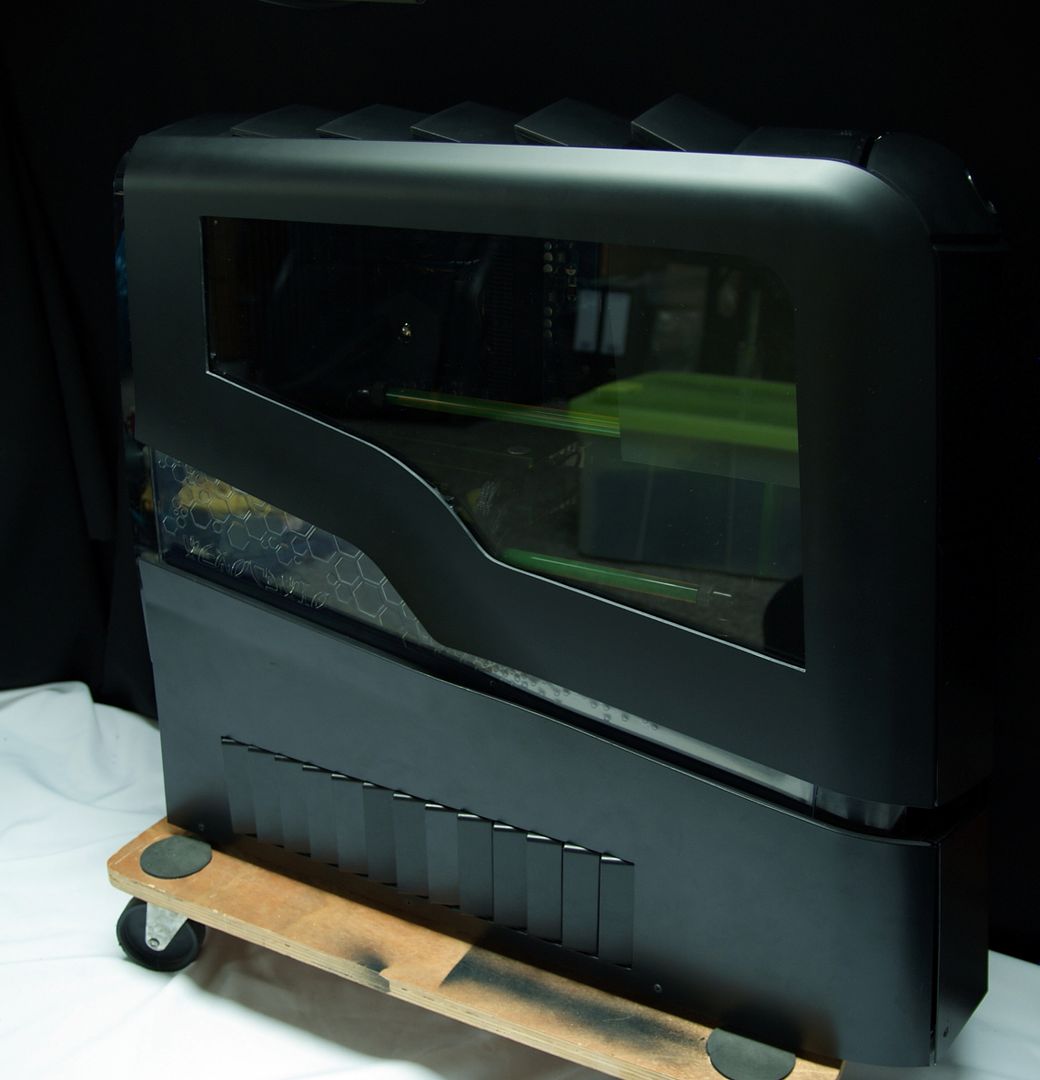
This is it ... he's finished.
Last work is done and now only the final photo shoot. Then he (temporarily) returns to Alienware.
For the demo room and events ... so maybe you'll see it again live somewhere
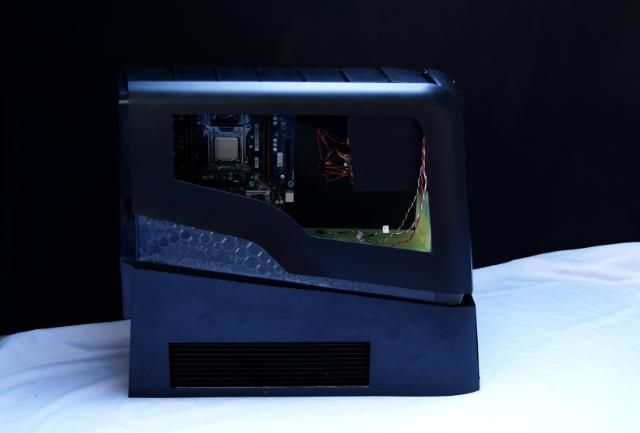
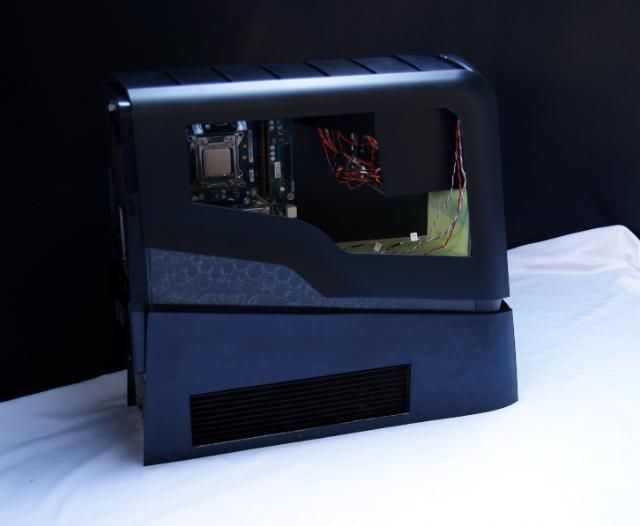
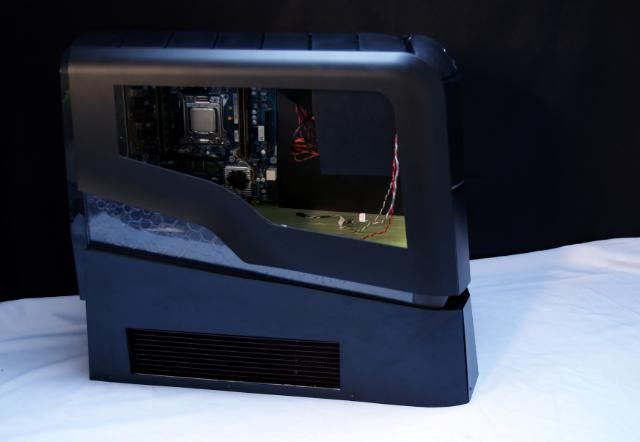
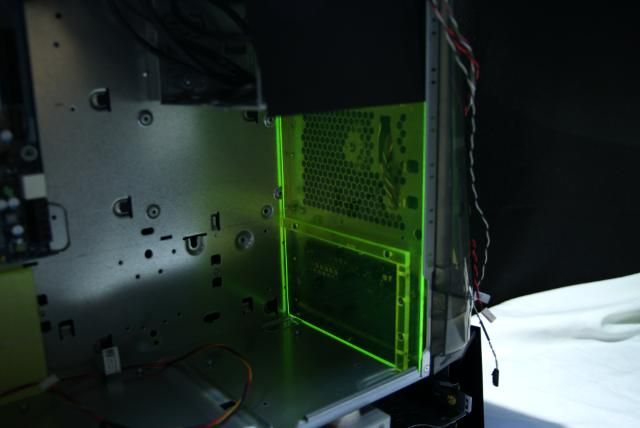
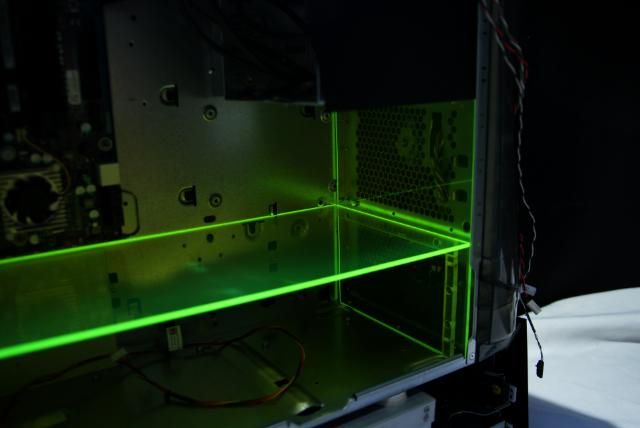
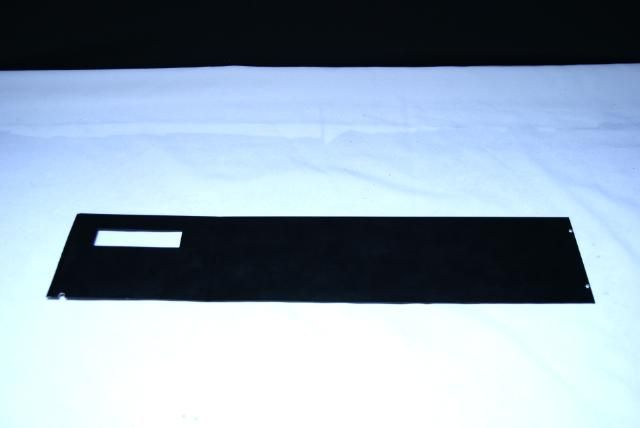
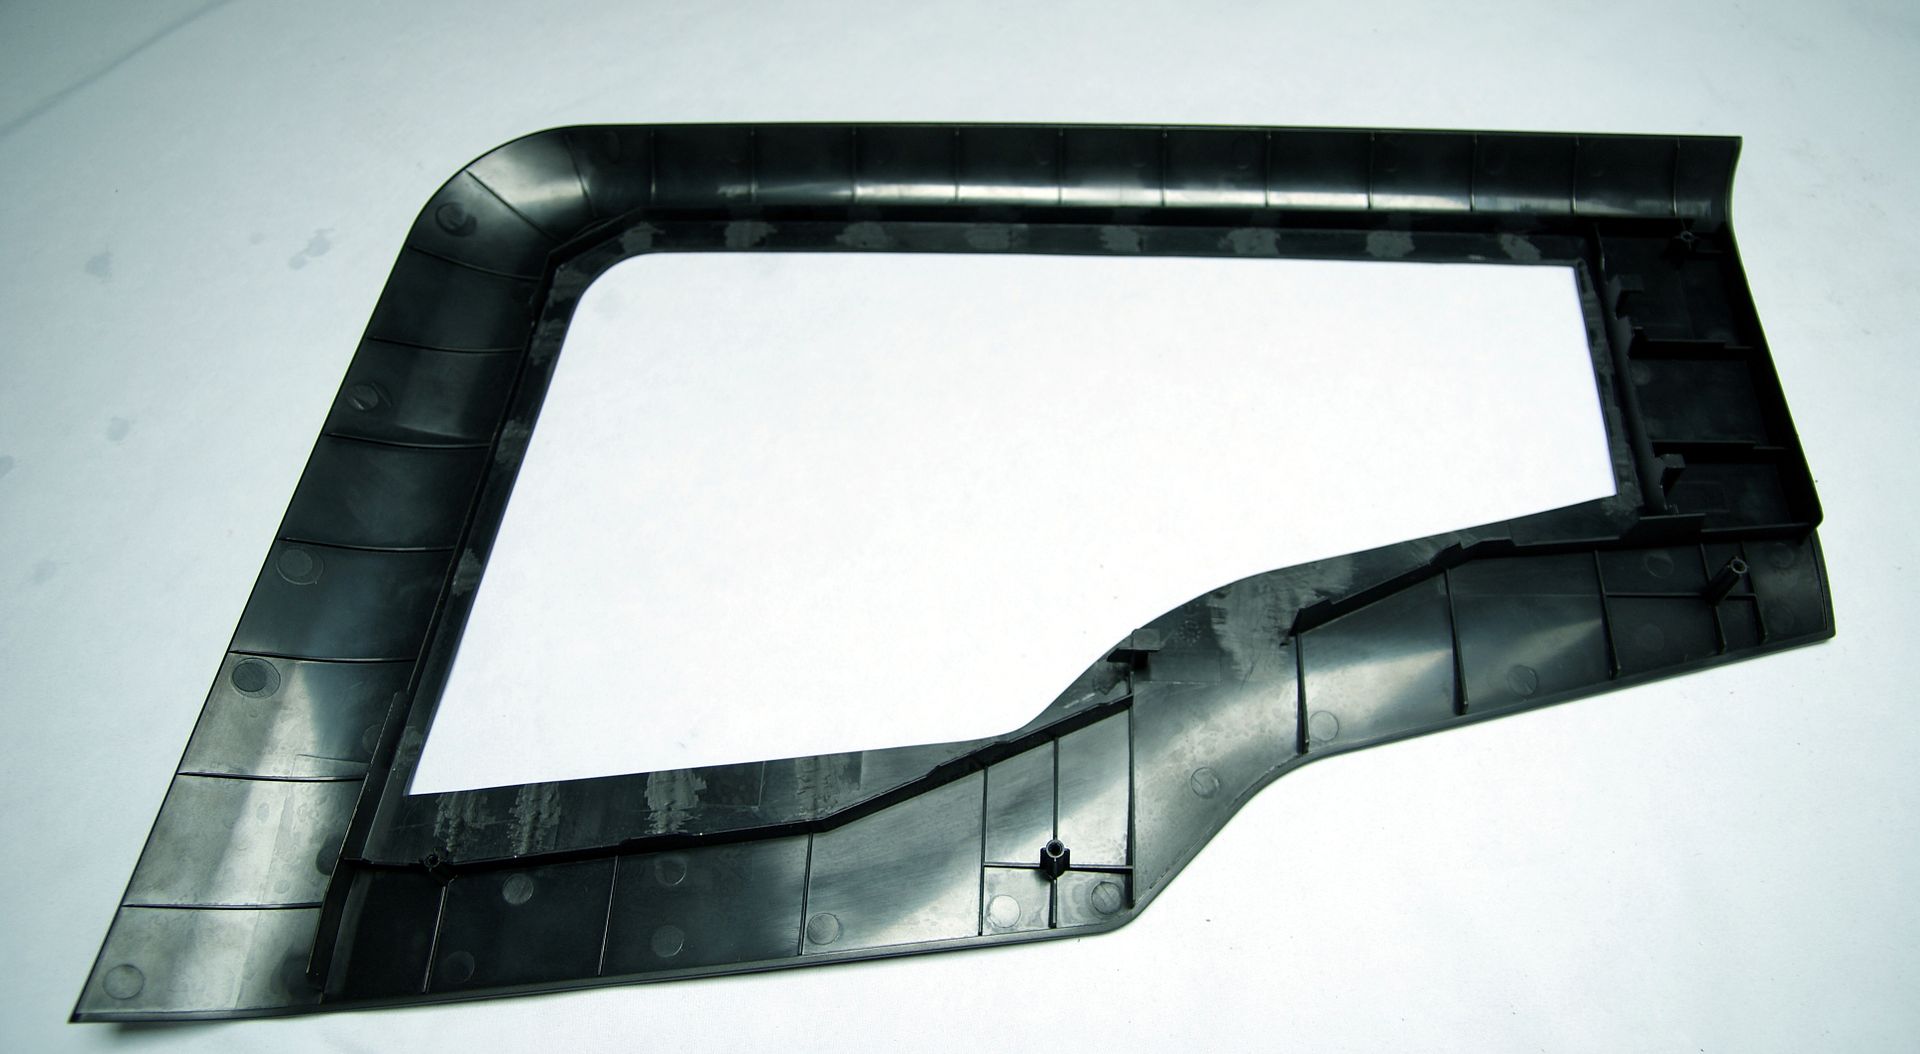
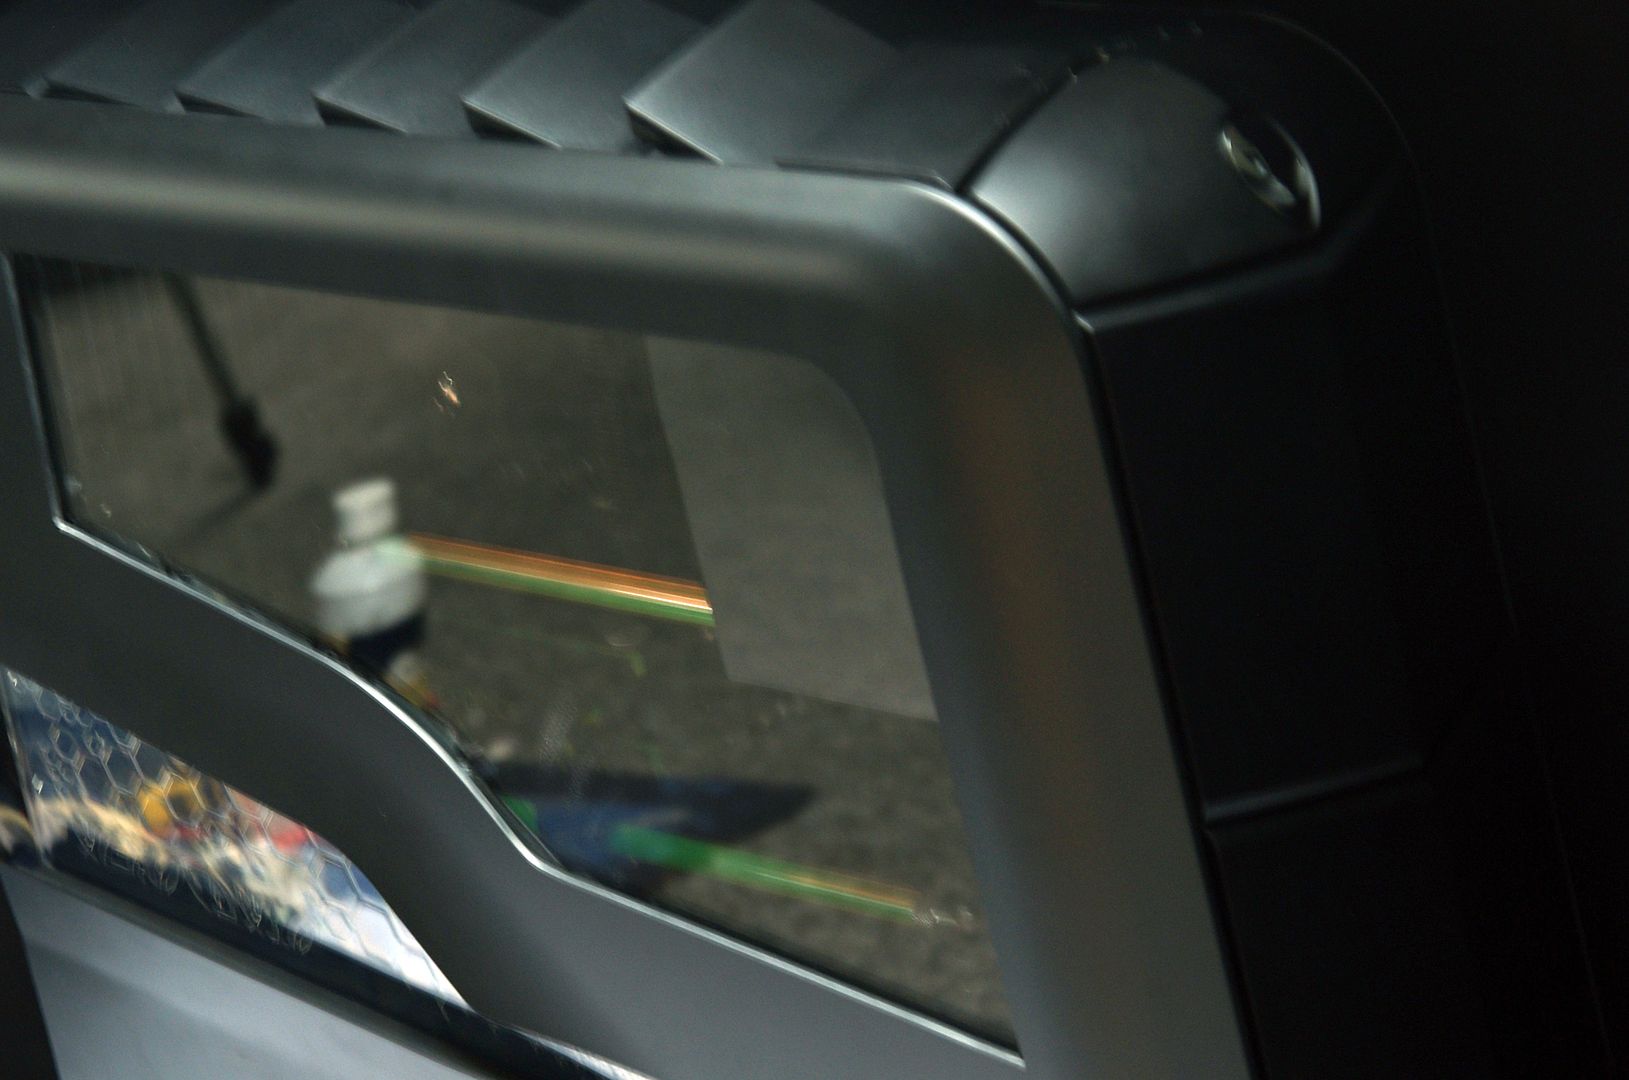
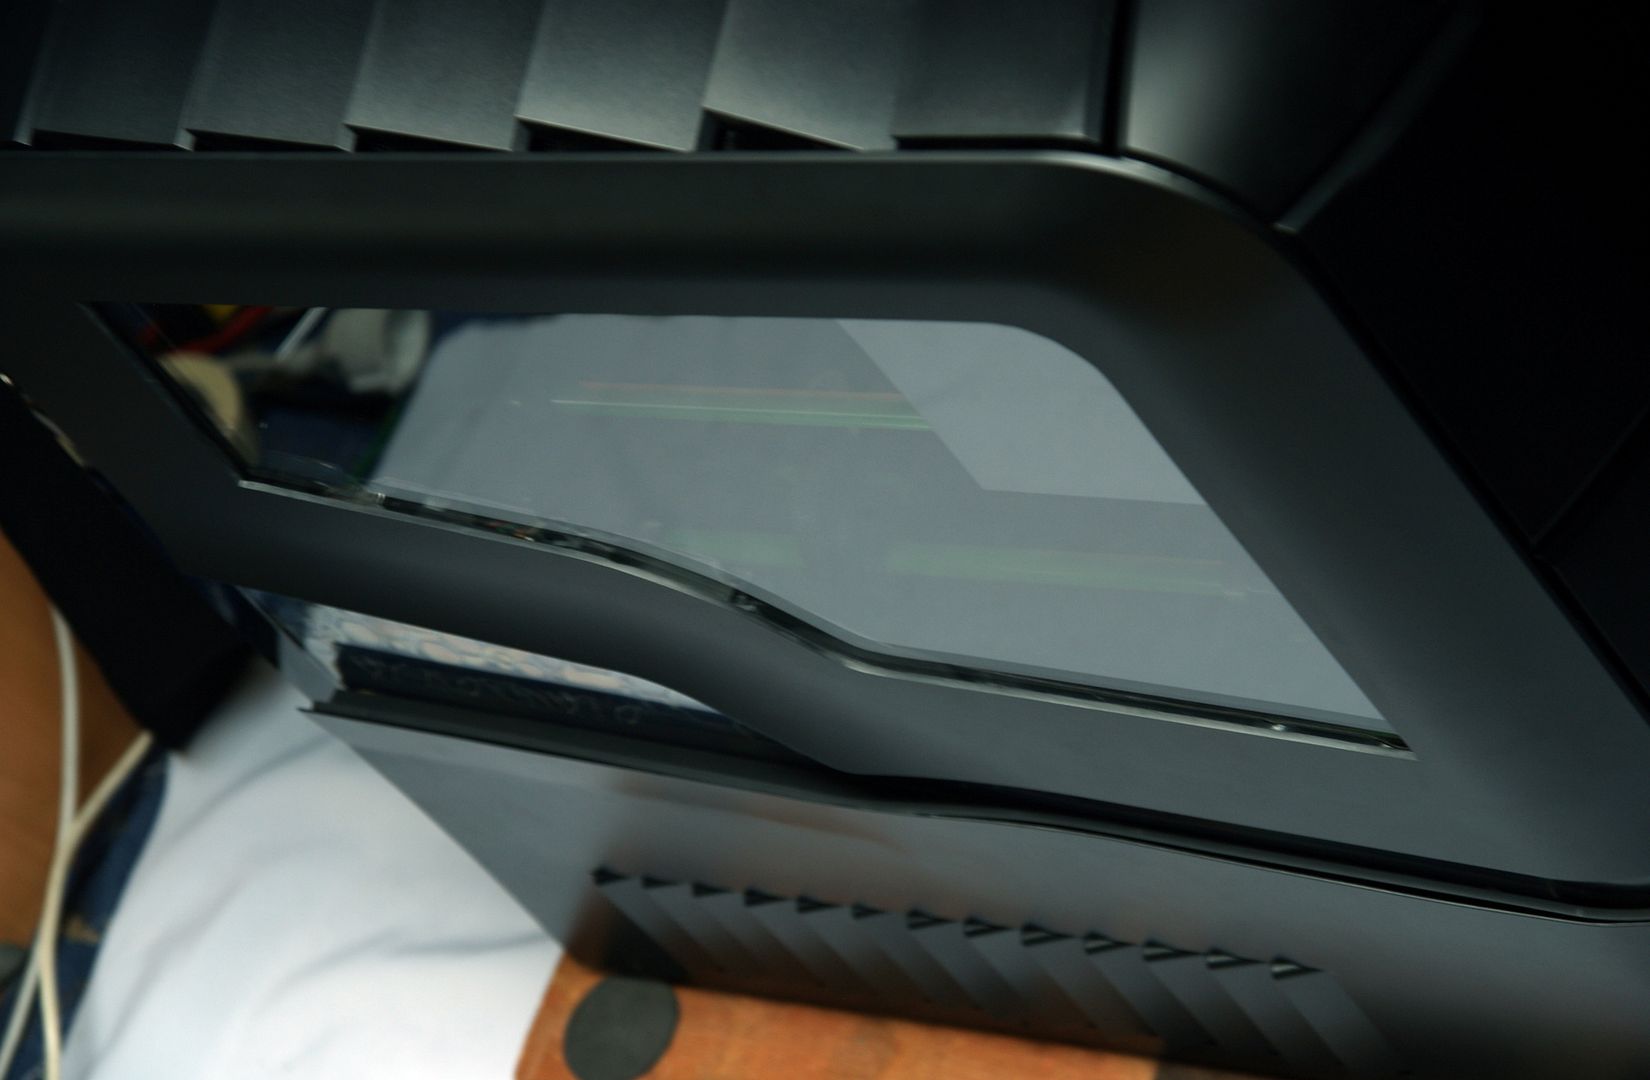
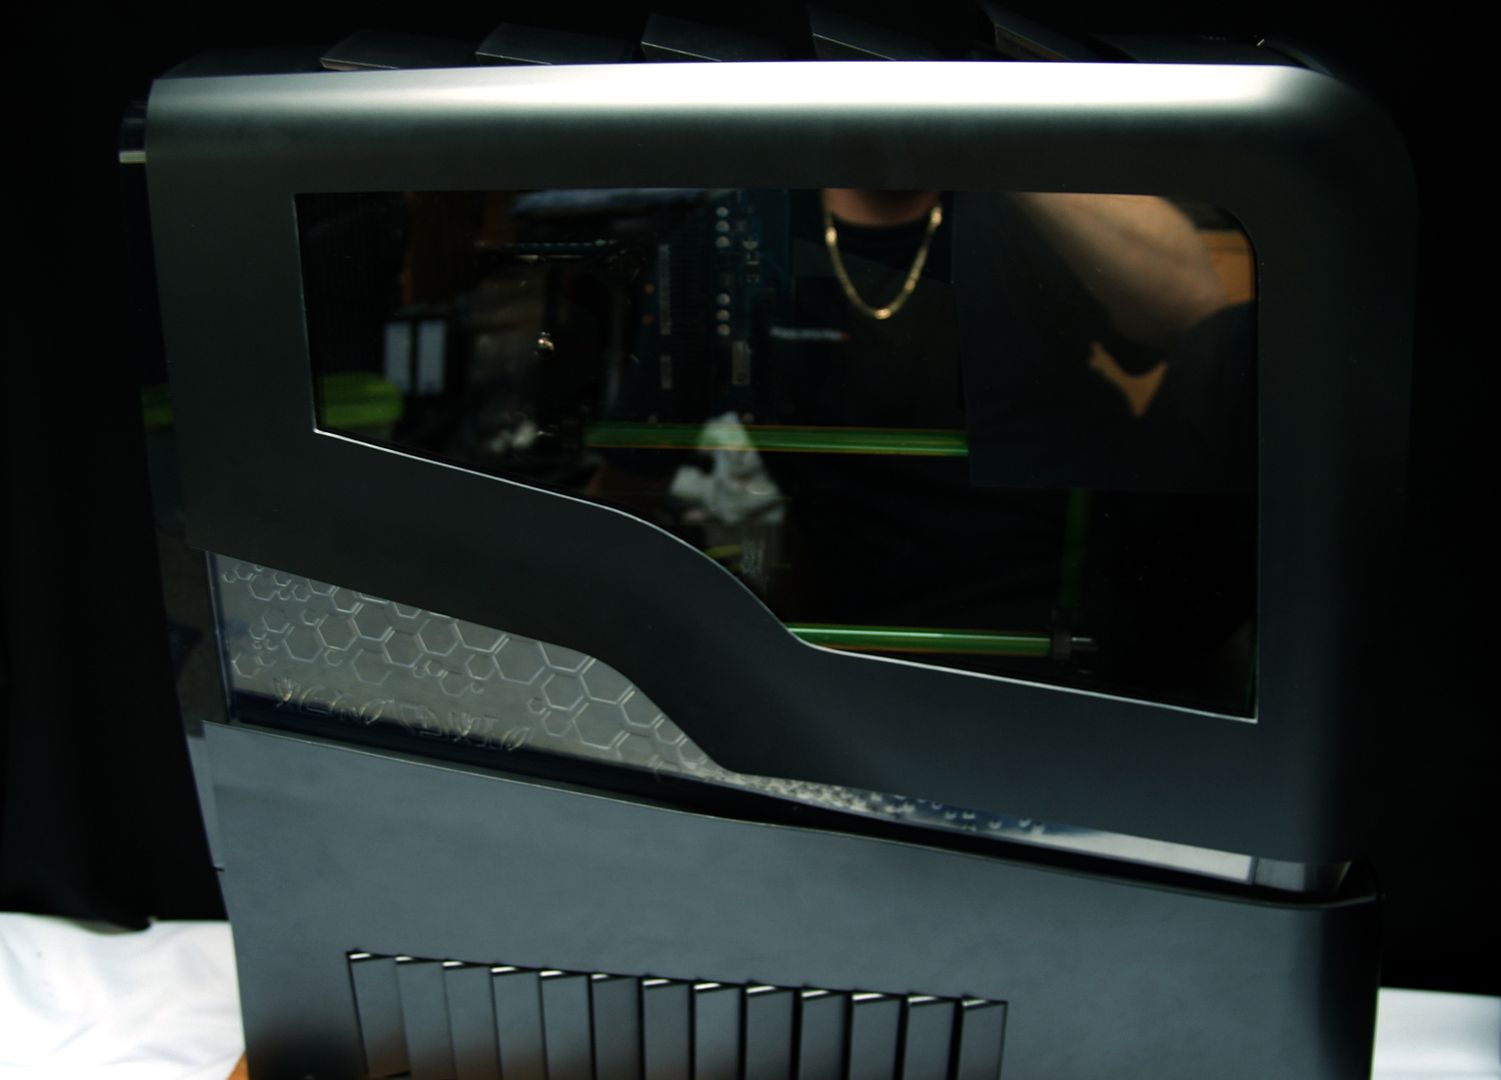
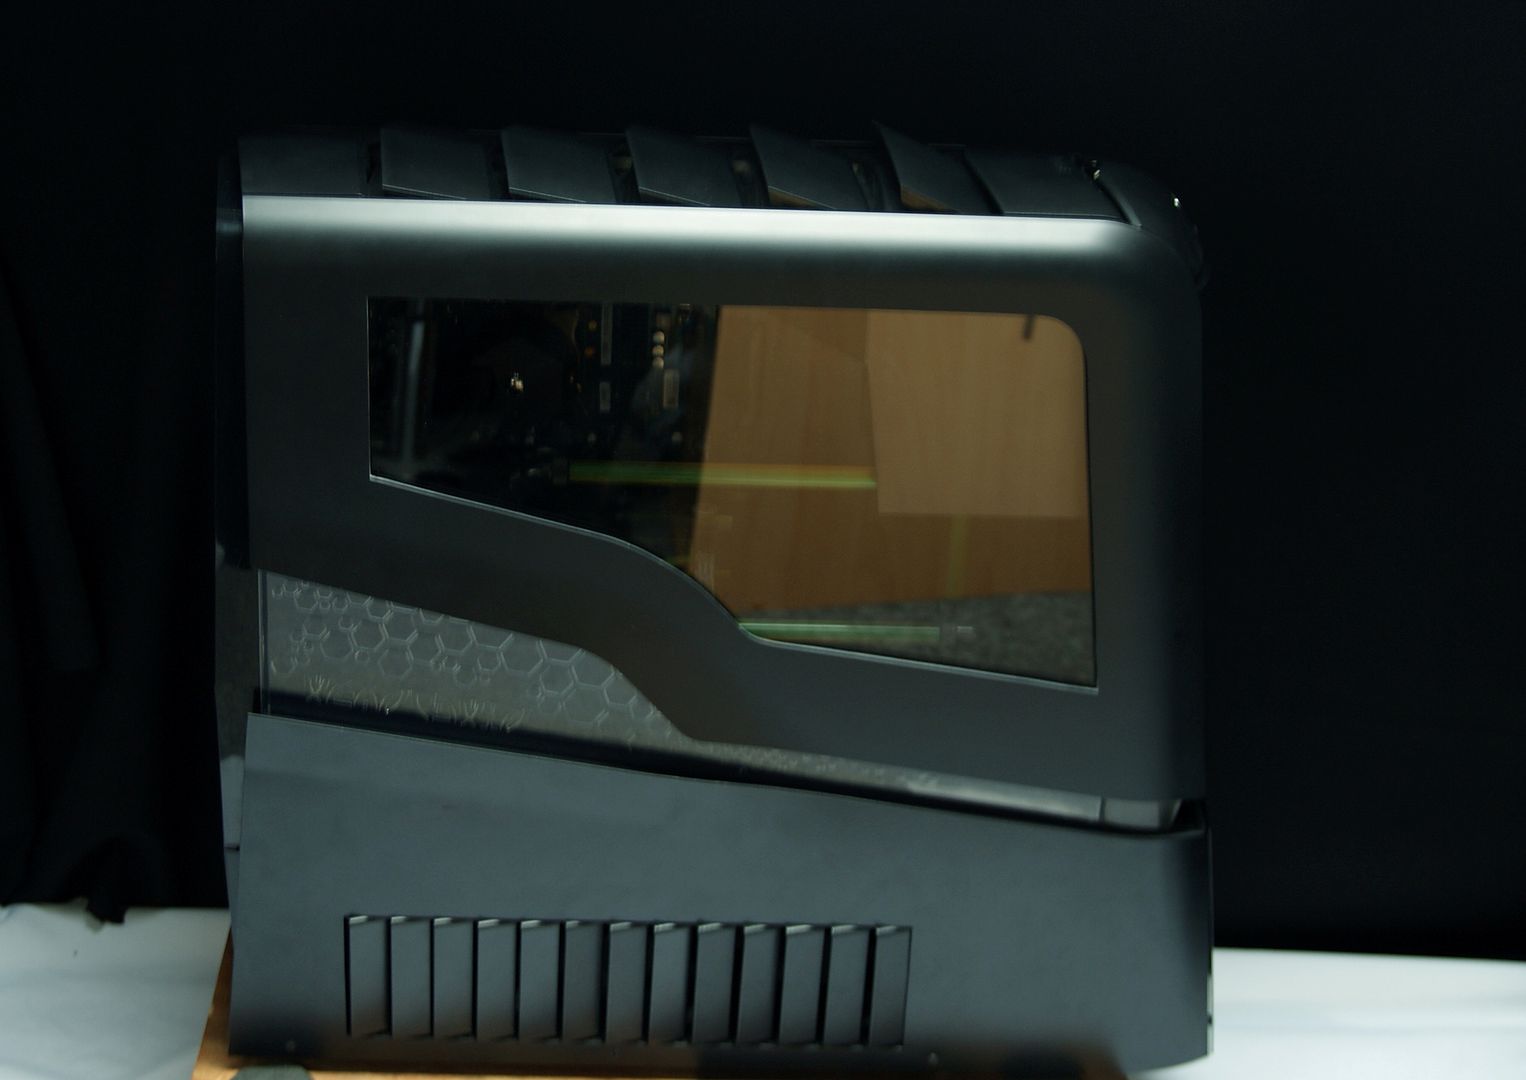
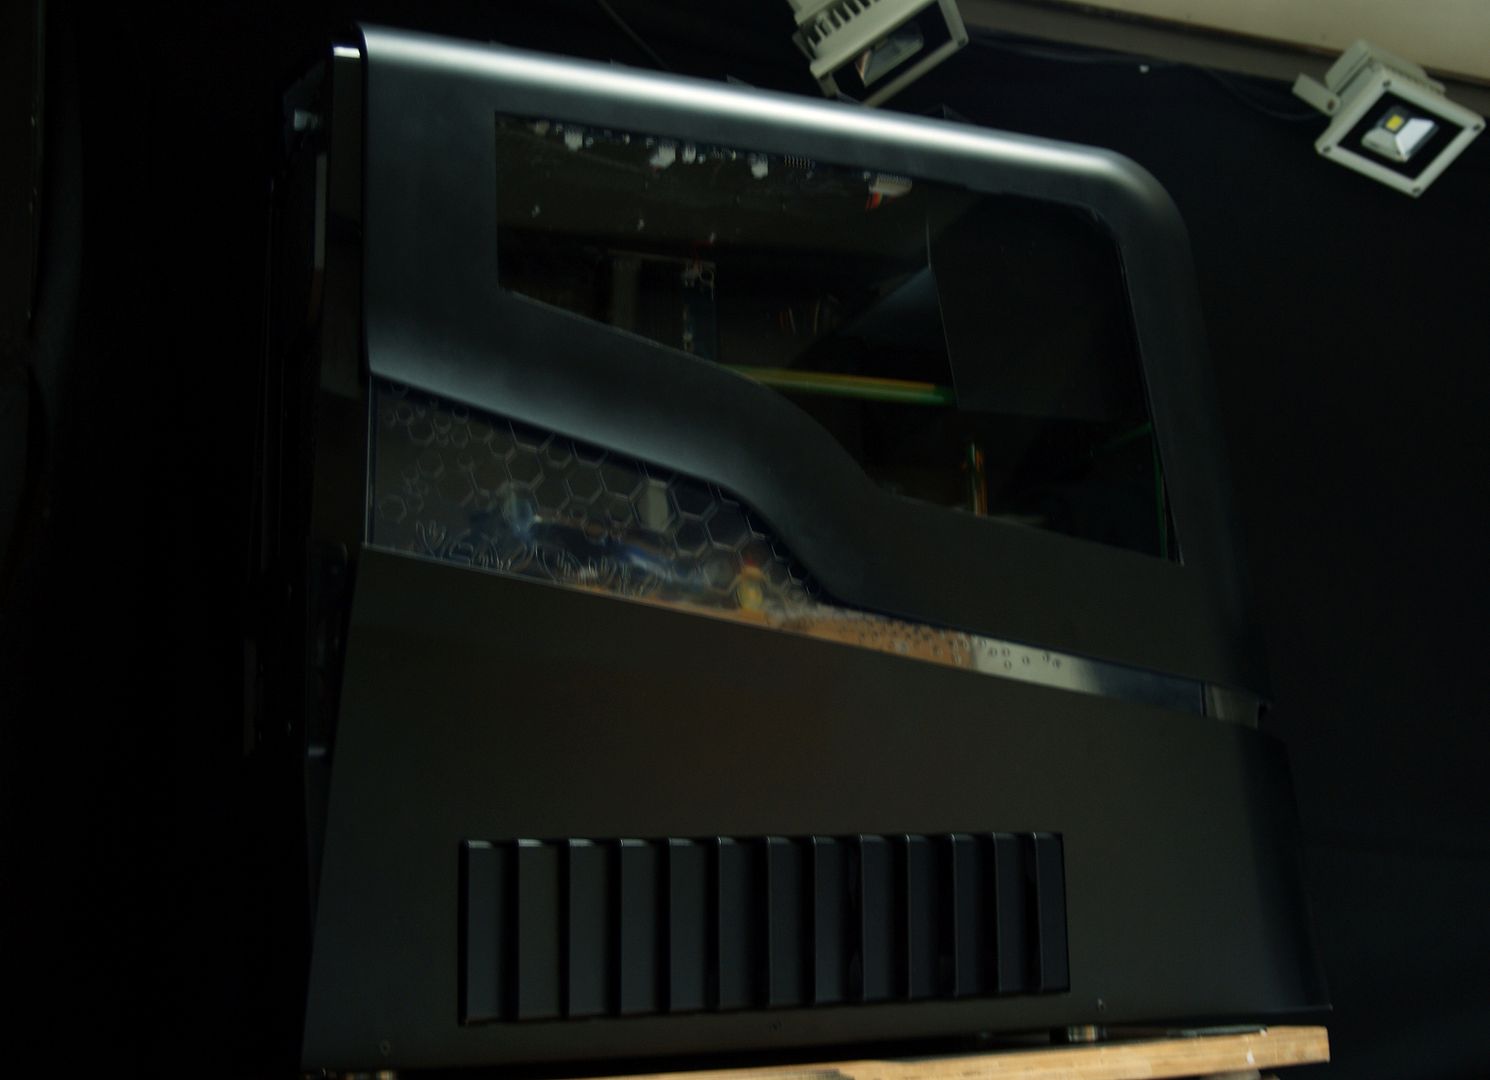
Window was one of the last things that must be done, so I have adjusted the original cover a bit more unnecessary plastic removed
Cut a piece of acrylic.
And installed
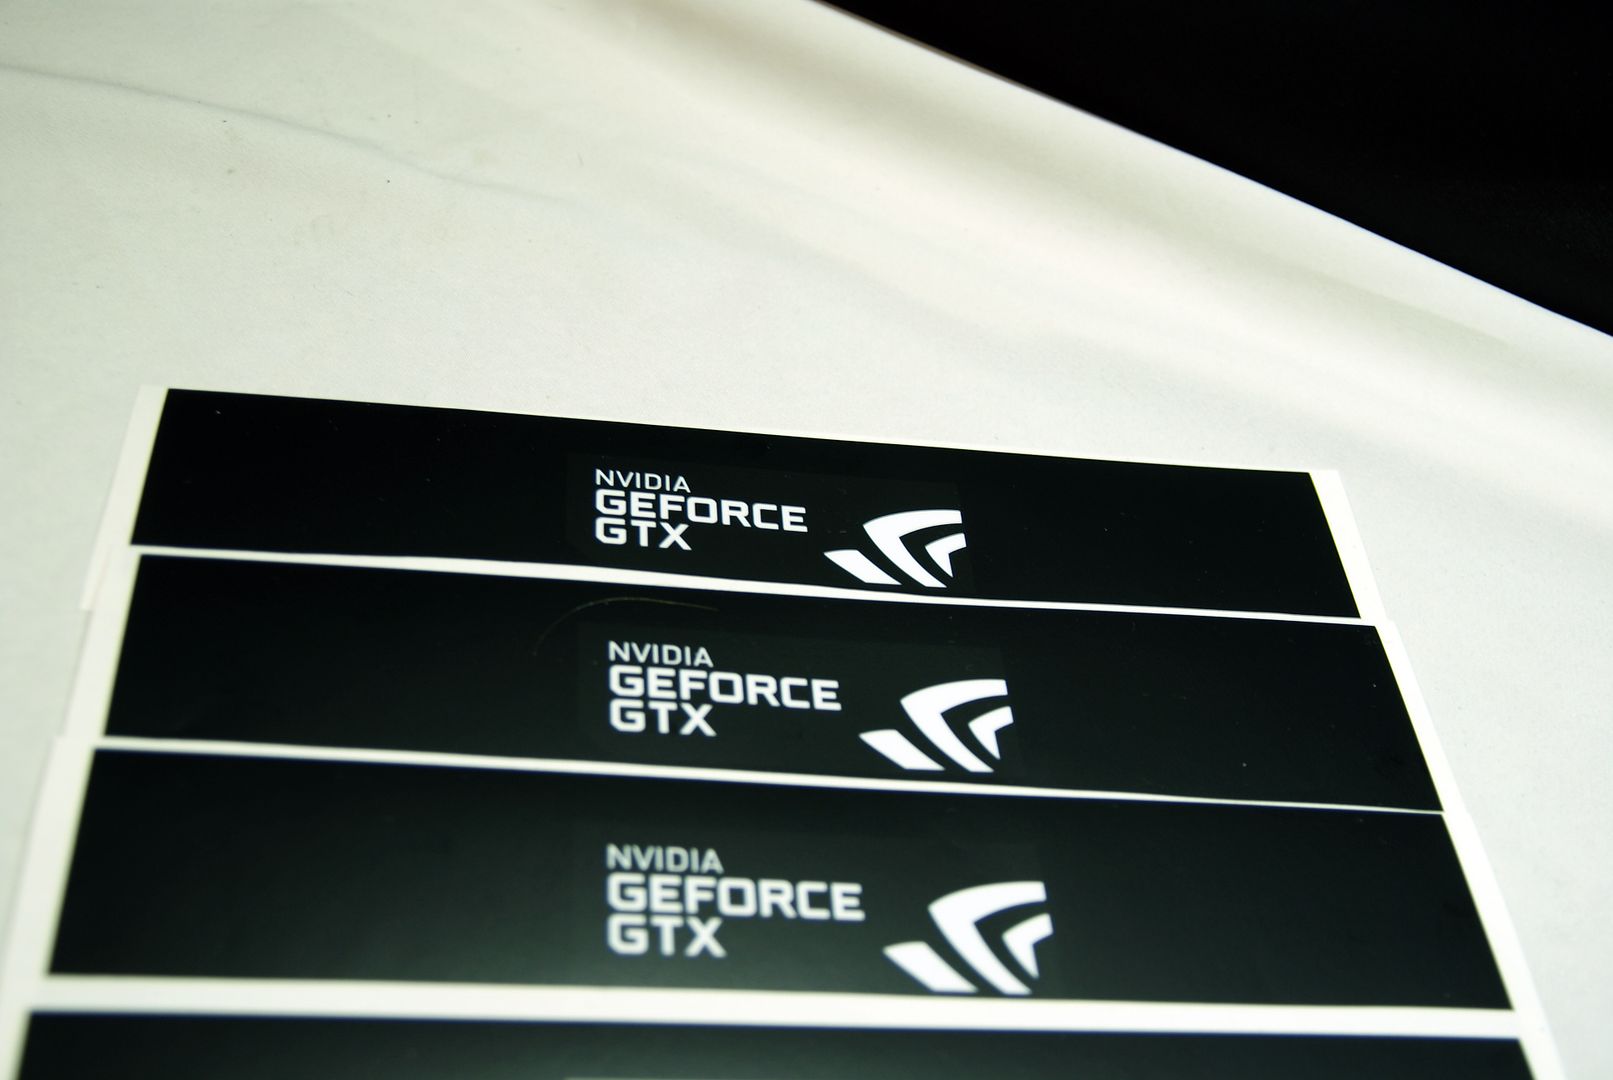
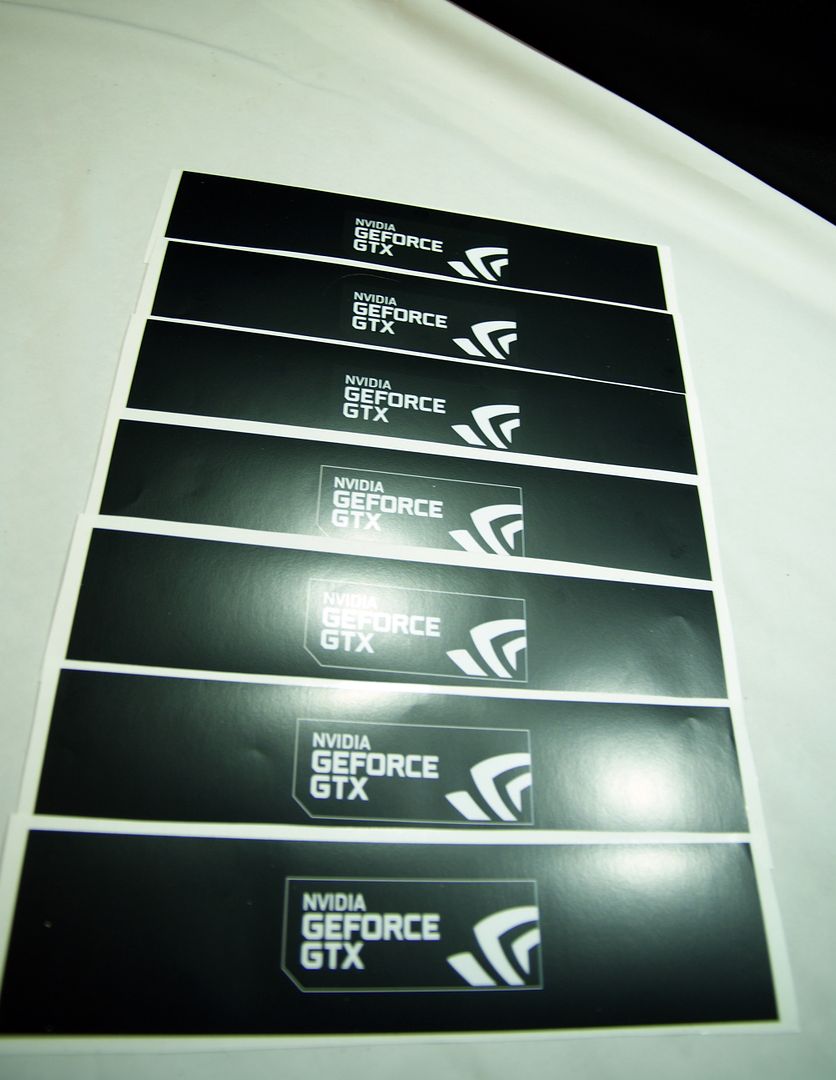
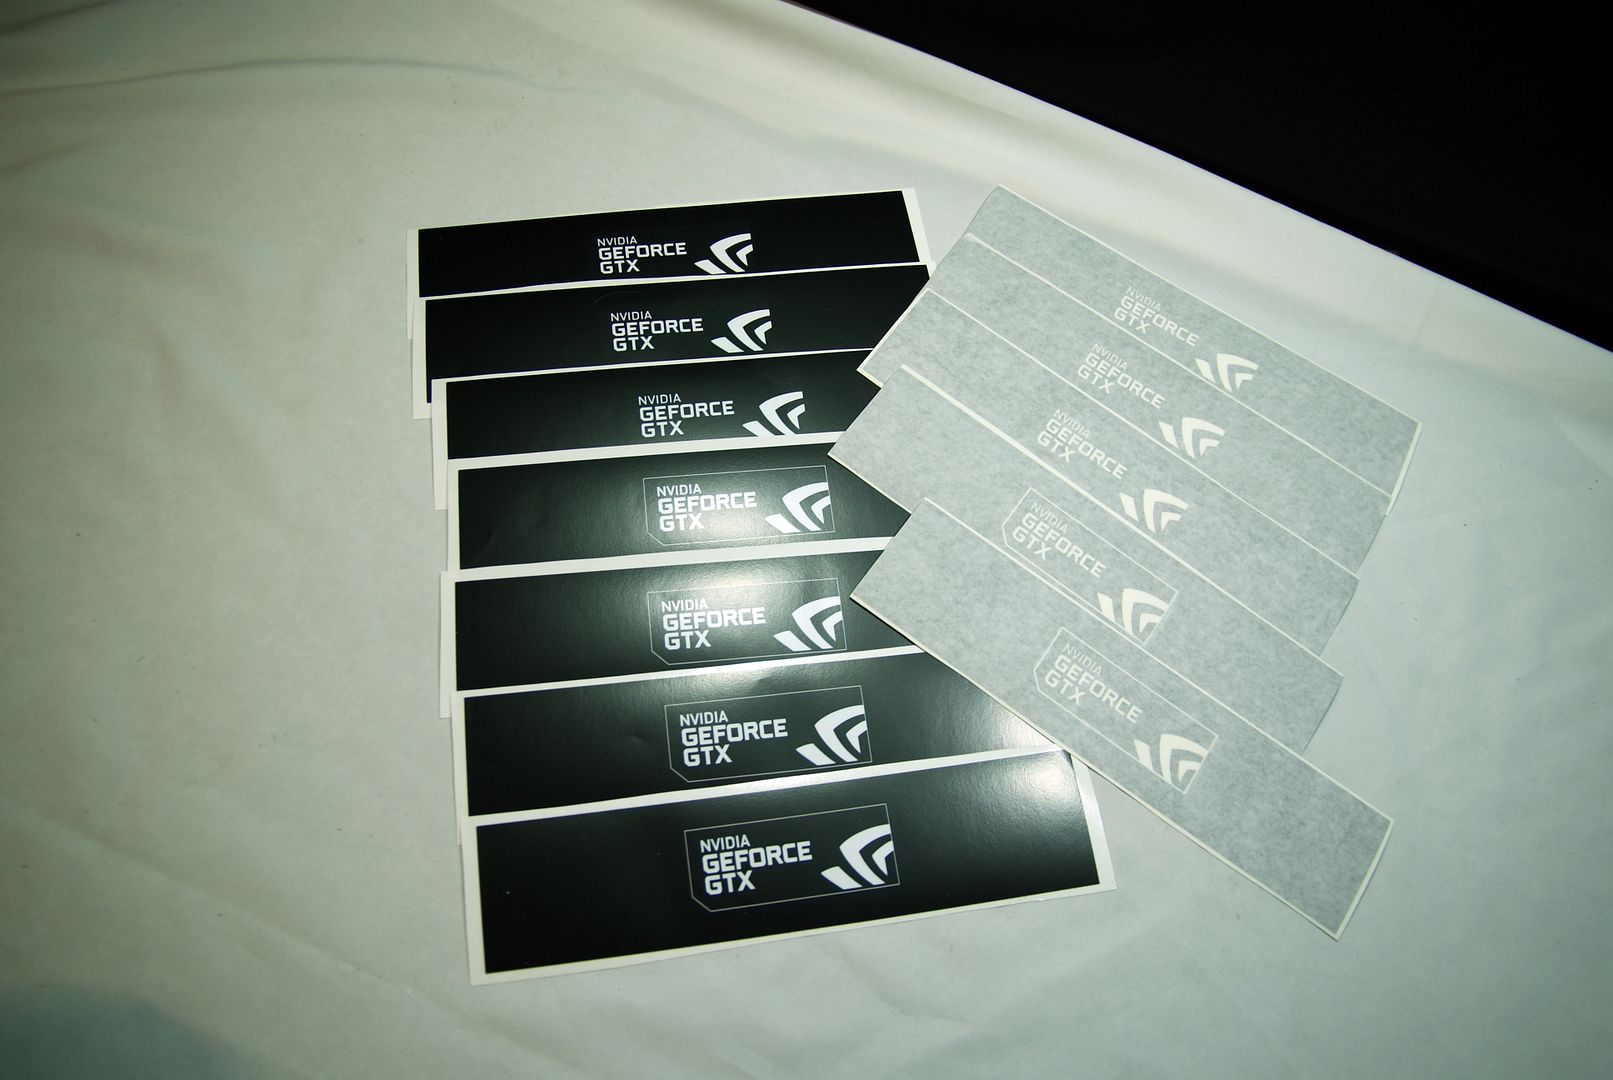
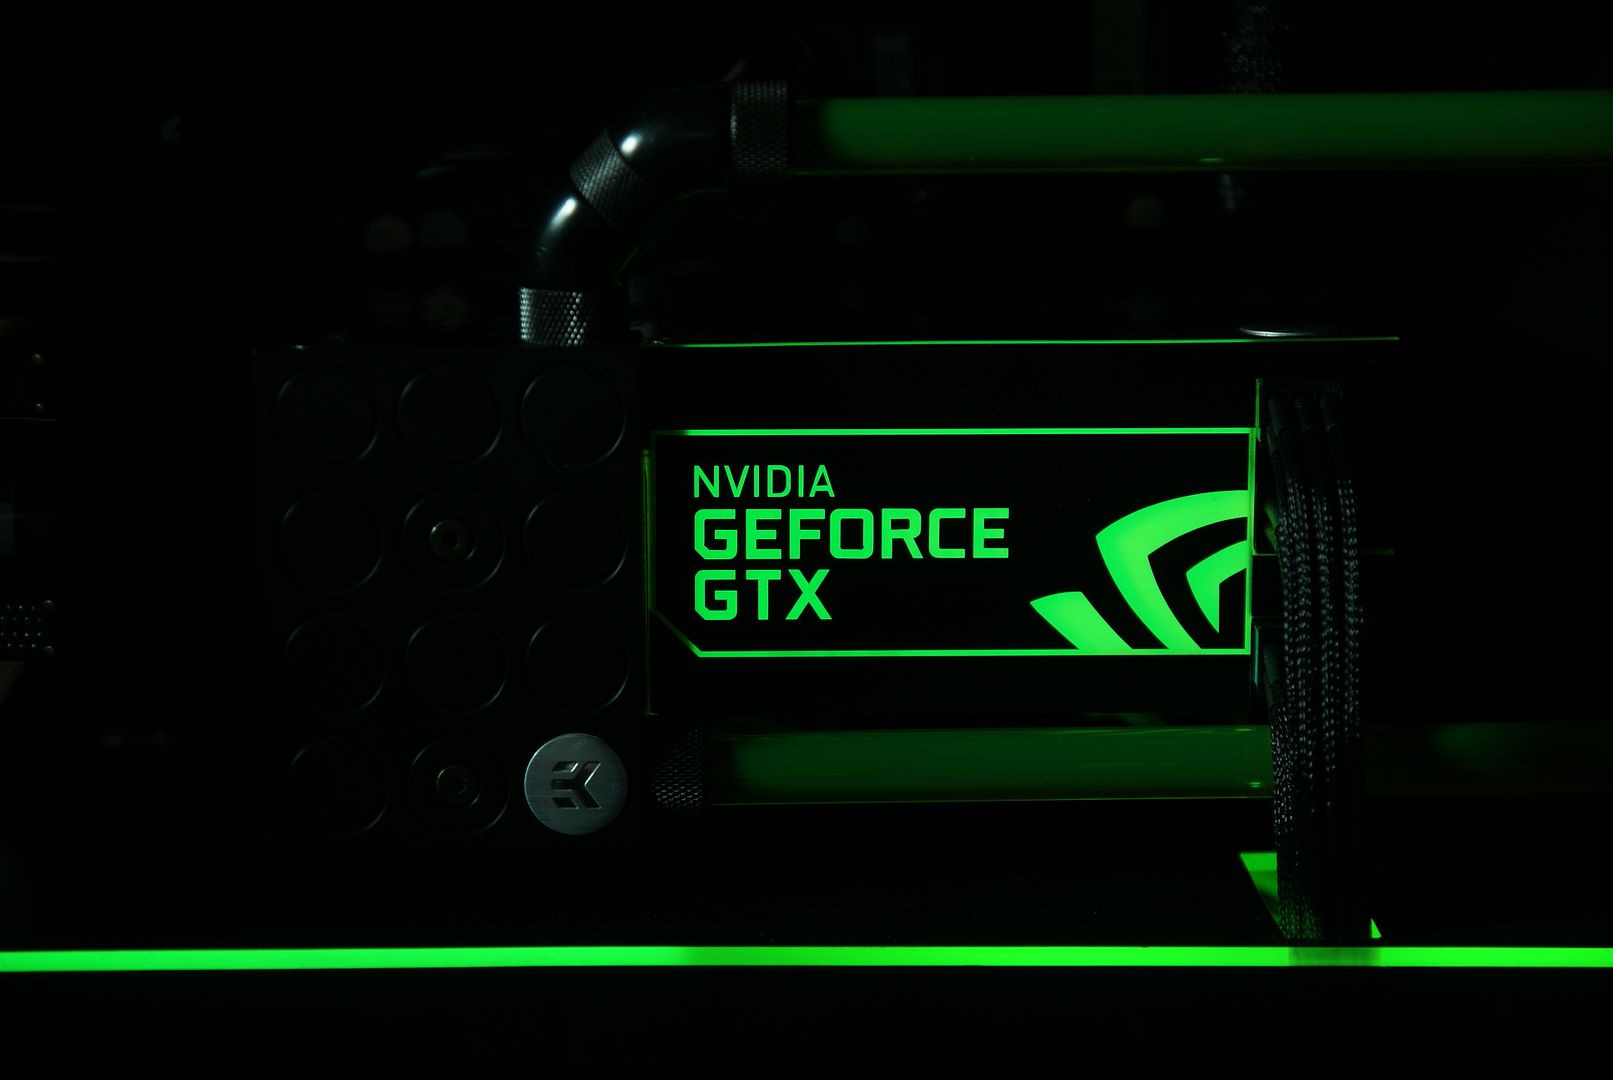
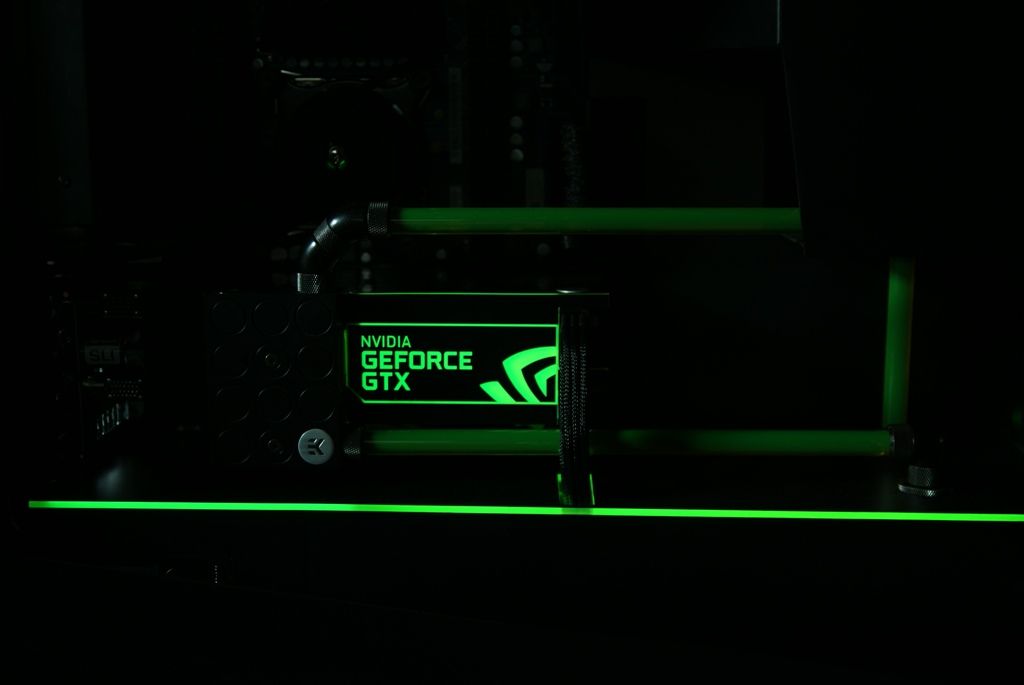
The vinyl stickers were in and looks very nice. They gave my some more pieces to try it out. Letterop Advertising thank you very much for this.
Applied and tested the light
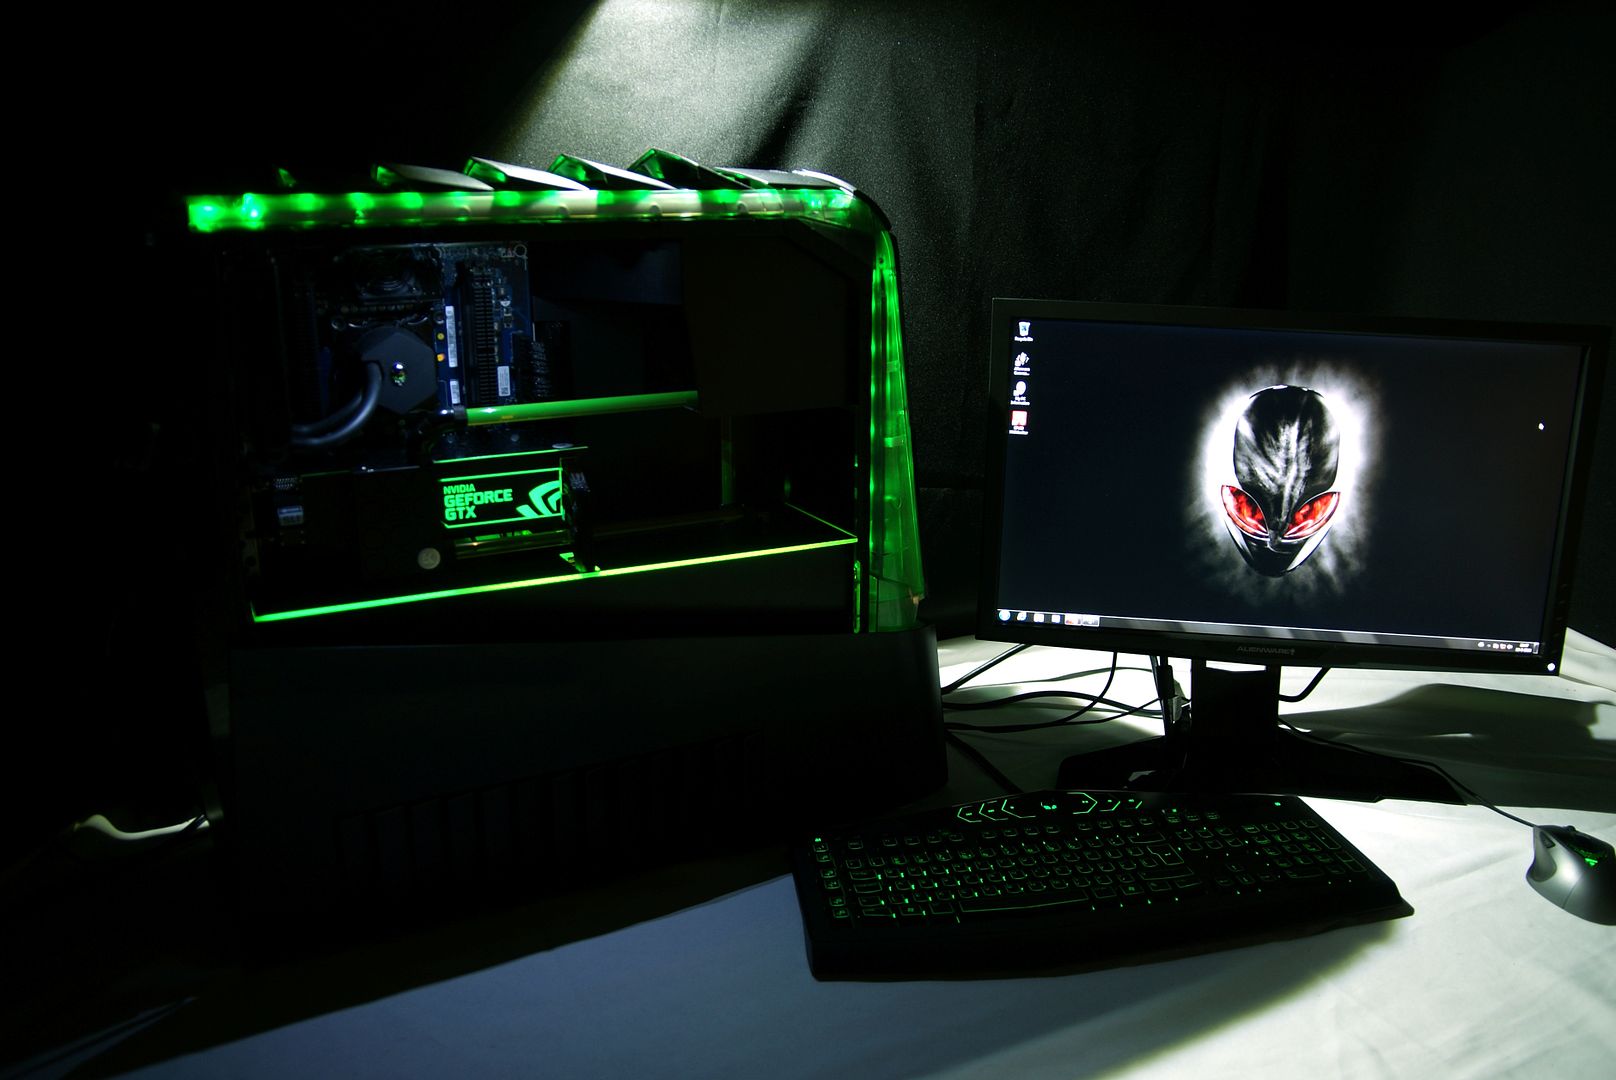
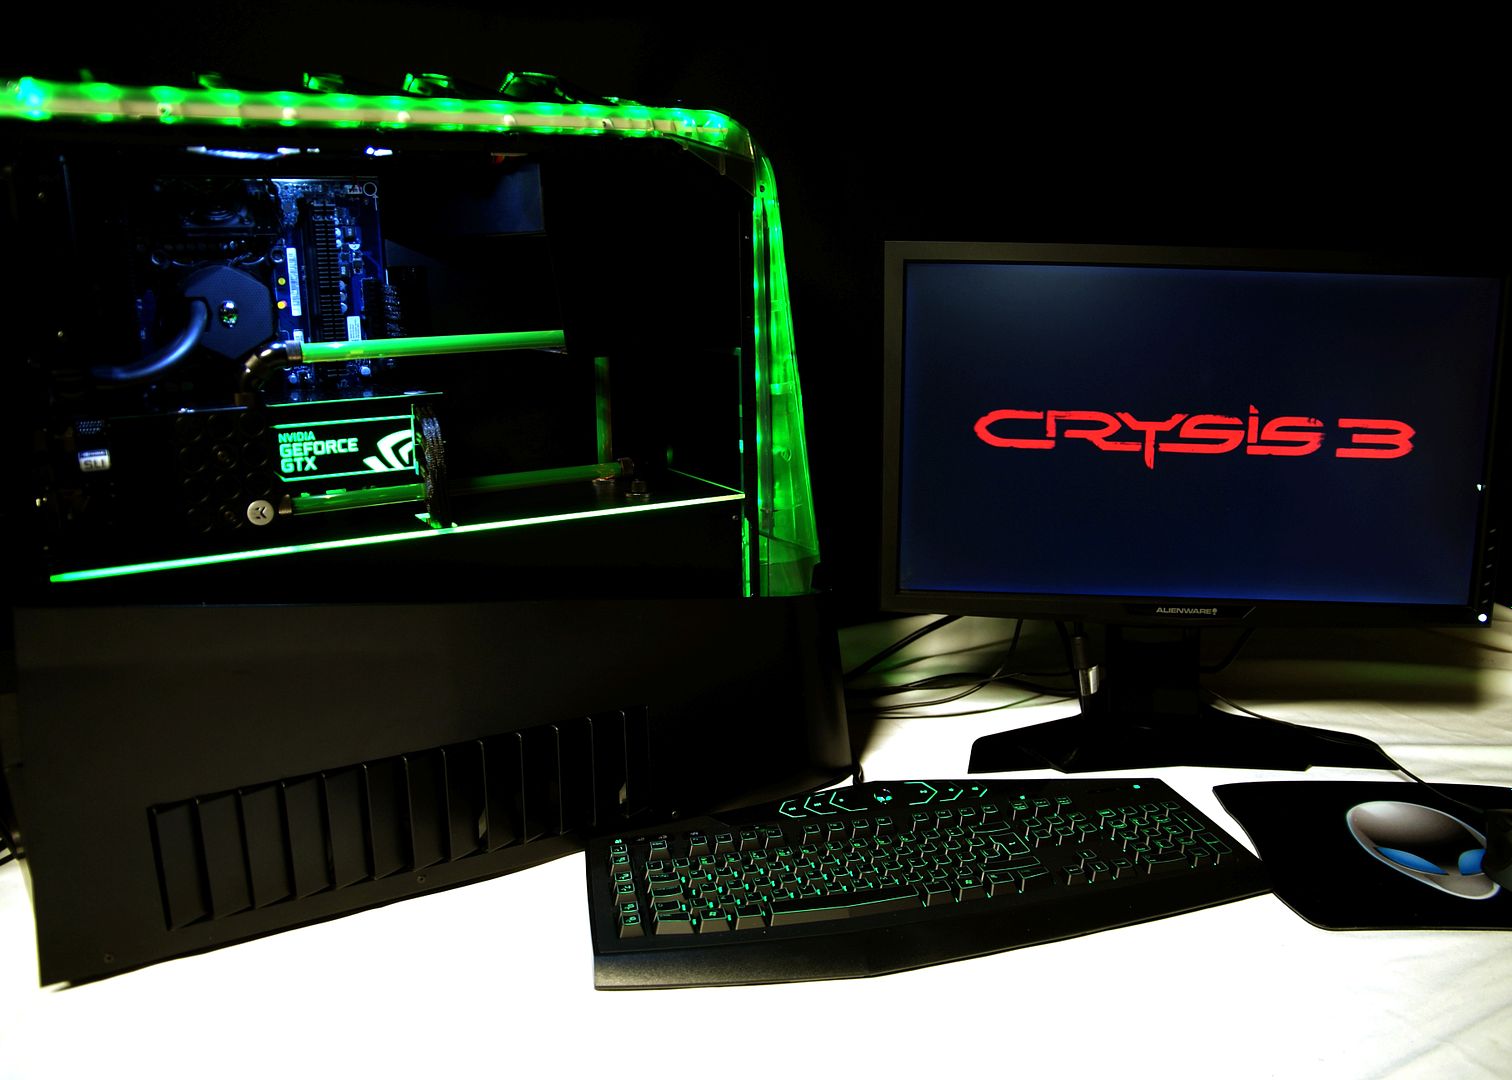
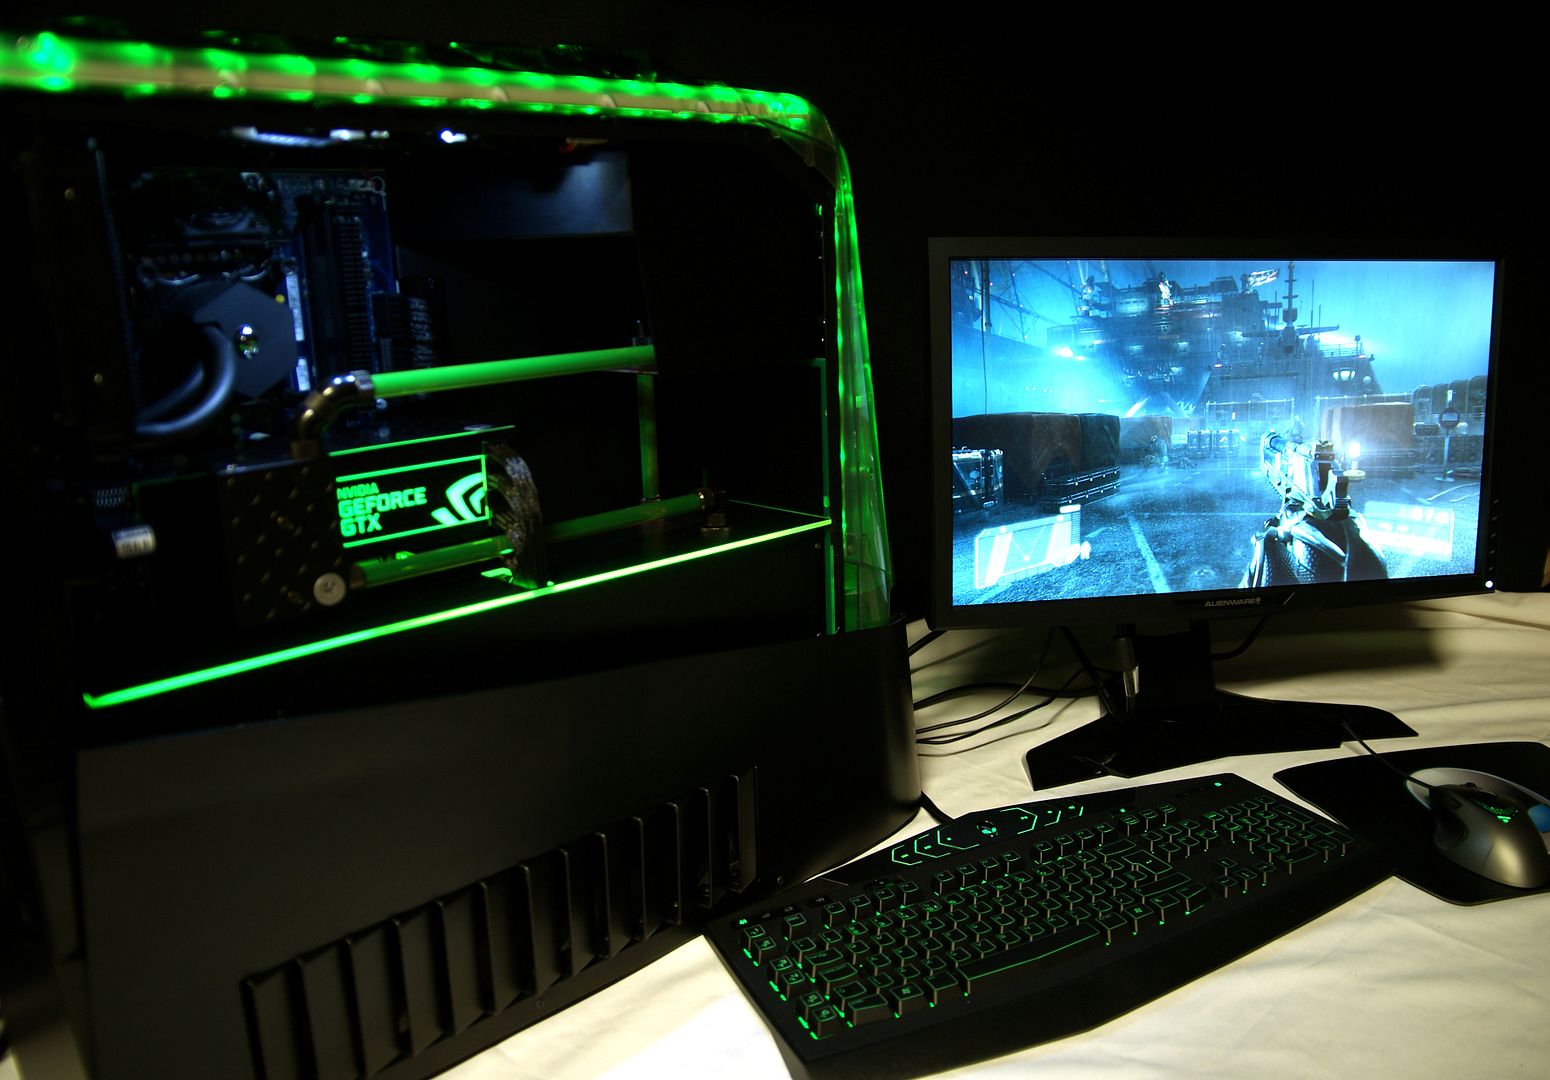
And the Alienware Aurora ALX-XL connected
Crysis 3 installed ;)
Last update will be the final photo shoot and maybe a nice vid ... until then!