Project Log: Cynical Home Theater Personal Computer
[RANT] This is going to be known as the poor man's HTPC. the case is going to be scavenged from a previous mod, "Death before Dishonnor". I stopped halfway in that
mod because i was building a case for a gaming rig and i realized that i only play video games 1 hour a week at most. So i decided instead to make a machine I would
benefit more from, a HTPC. so here is my log, hopefully you will see something that will intrest you and maybe even inspire you. [/RANT]
so i basically modified my Antec Sonata. im planning to mod the case so it sits on its side. i have to completly redo the front. Ill put up some sketches up later.
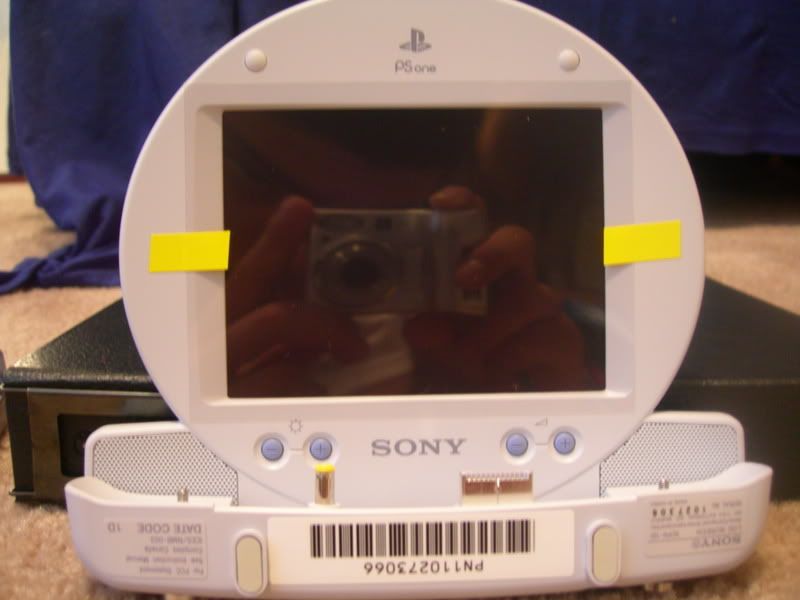
the front is going to feature the famous PSone 5inch screen, power and reset button, and a couple of switches for fans and LEDs. i plan on making the power and reset
switches. they are going to look like a Bulgin and Infiniti's power on switch had a baby :D
the left side of the PC is going to have a custom paintjob done by yours truly featuring the case's name. The entire case is going to have a new paint job for top to
bottom. I aquired the case a couple months ago from a friend of a friend for $20. the paint was chipped and scratched away but most of the case parts came with it so i
was happy.
lets get to it....
FRONT PANEL SUPPORTS:
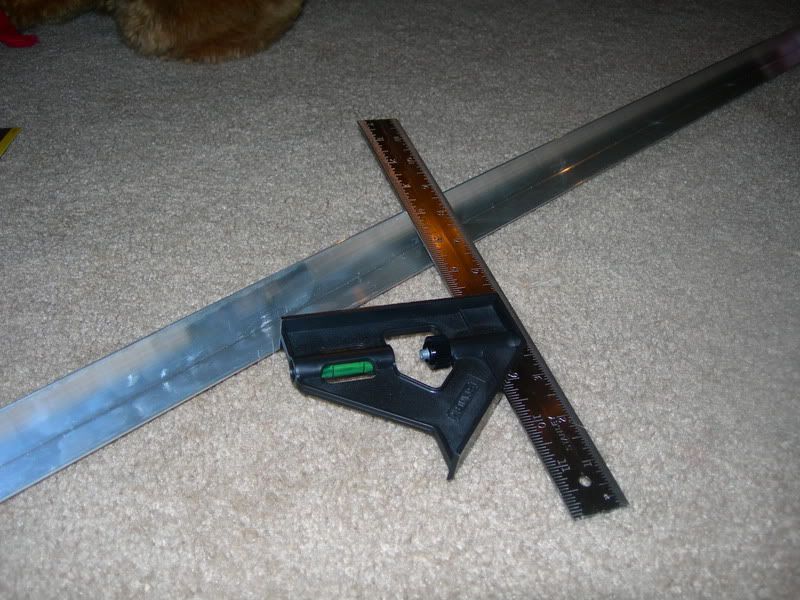
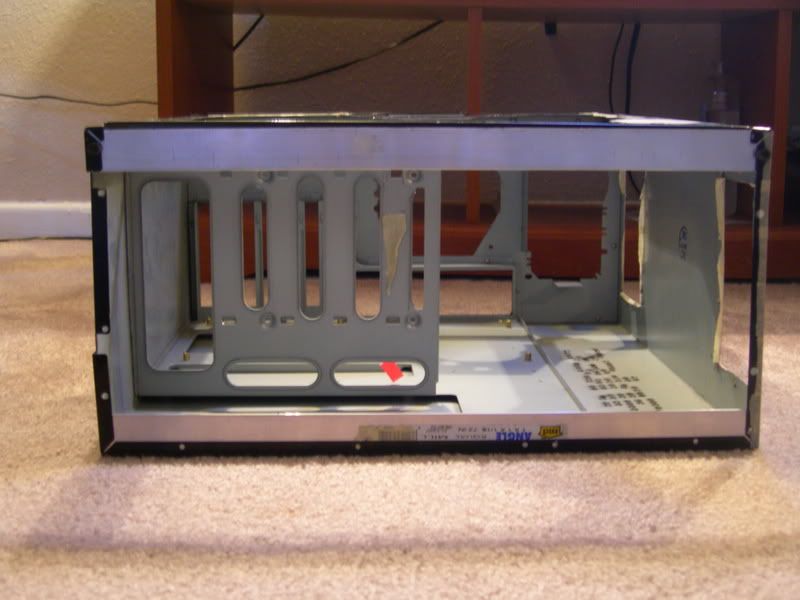
i removed all of the front and scrapped it. I bought angle aluminum and a ruler/T-square for those all important 90 deg lines.
i cut two pieces and placed them on top and bottom of the front to support the panel that is going to be placed. measured, cut, drilled, tapped, and mounted.
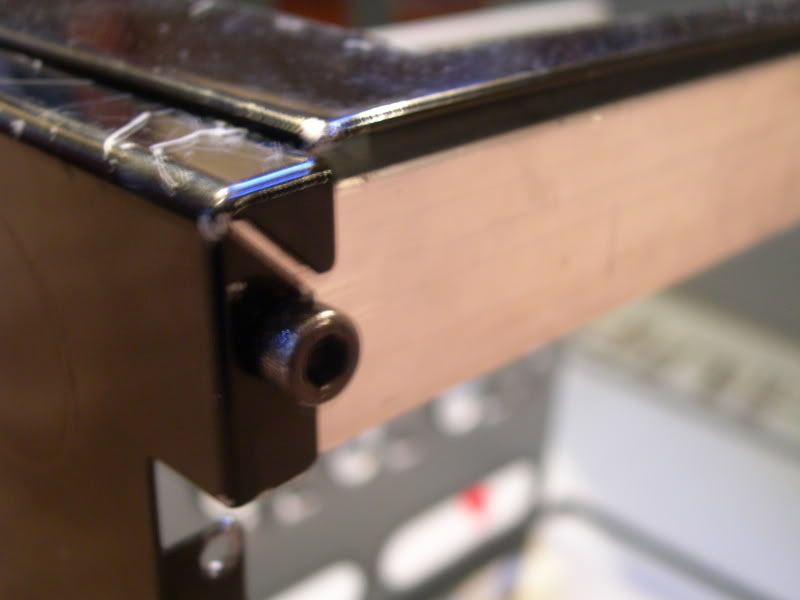
here is a close up of the bolts that hold the angle to the frame...
here are the bolts which are going to be used through out the entire case, some might be longer depending on the task.
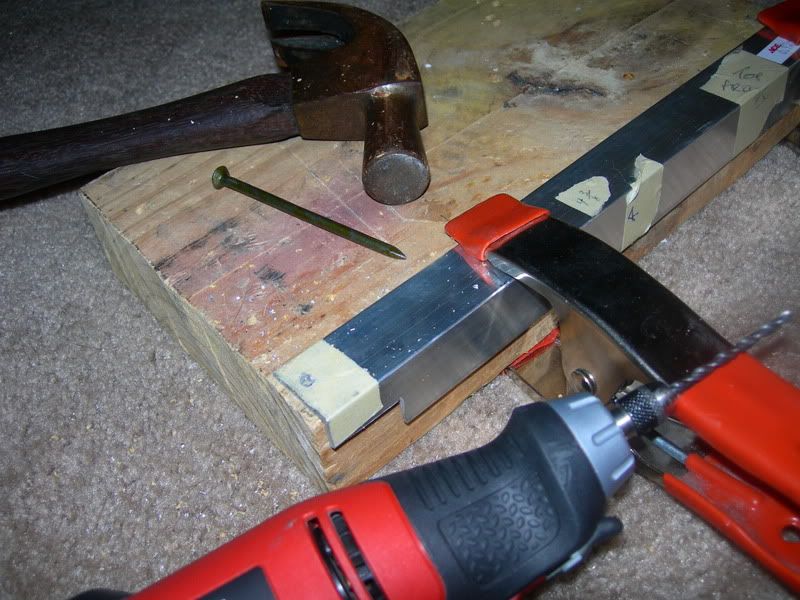
Here`s a little tip for the cheap-o`s out there! if you really want a well centered hole from drilling there are either two ways: but a center punch or do it the CHEAP
WAY! grab a hammer and....
A NAIL!
the rest is pretty self-explanitory. use the nail to centerpunch the hole and then drill through, you will see the difference and notice the lack of skidding from the drill.
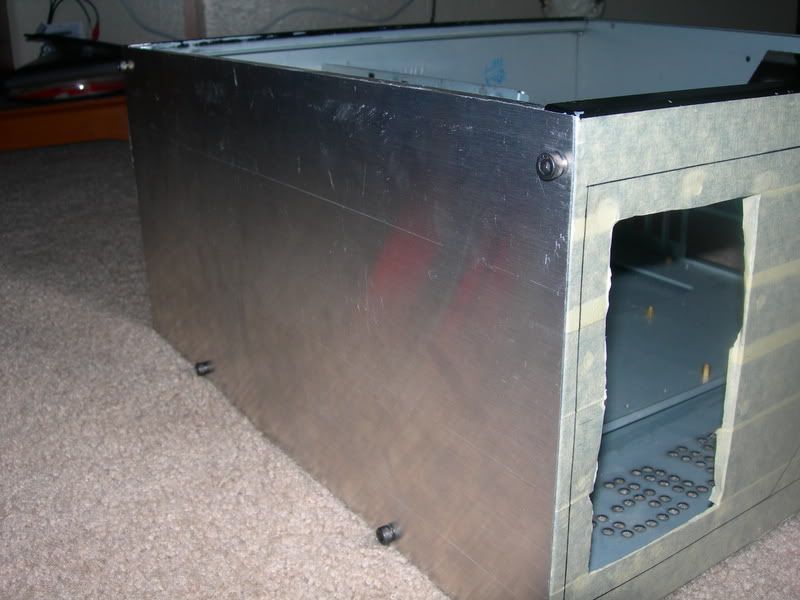
FRONT PANEL:
ill save everyone the grief and summurize. we dont need pictures of tapped panels with lines on em :D
measured, cut, filed, drilled, tapped, and mounted
ignore the taped side with the bad cuts, will all be gone next time you see it.
the front panel still isnt done and needs to be measured for future cuts.
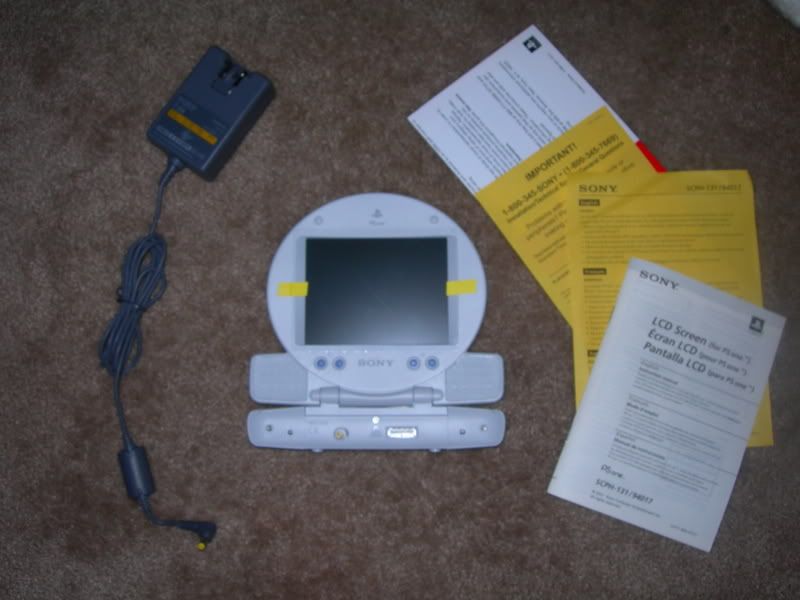
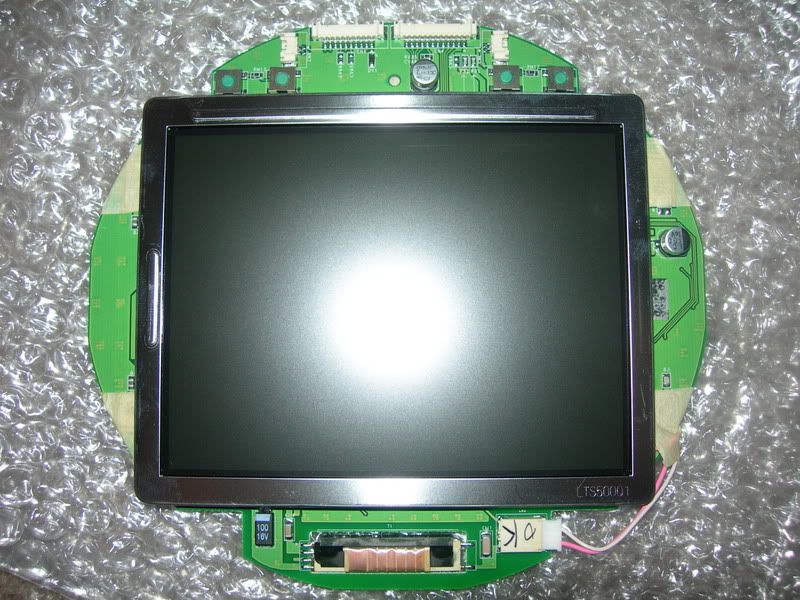
thats all for tonight, tired and going to try to grab some shuteye. update tomorrow and expecting my PSone LCD from fedEX :D
feel free to leave comments and critizism :D i promise i wont cry :P
-elbarto241