Those are turning out AWESOME!!! Don't know what else to say. You keep building we'll keep complimenting. :up:

Printable View
Those are turning out AWESOME!!! Don't know what else to say. You keep building we'll keep complimenting. :up:
wow... love the plastic mold work! very cool! I am loving this project and will watch it to the end!
Thanks for the comments! Here's more:
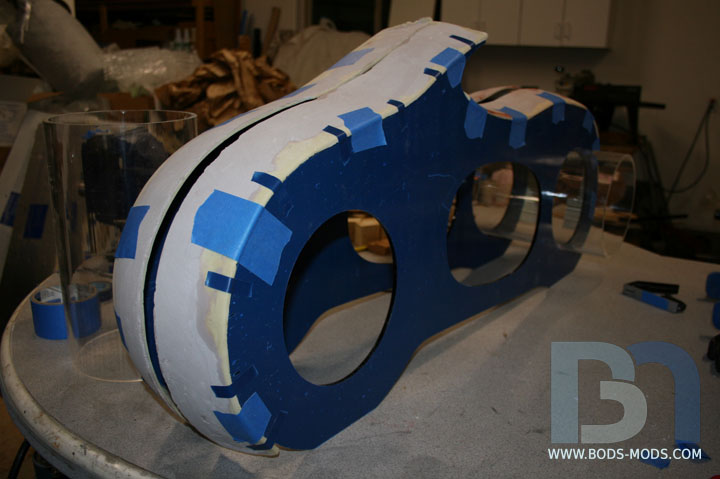
Started working on the rear fairlings. I measured and cut them just as I did the front ones, except it's just a straight cut on these, no patterns.
Cleaned up the cuts and set them on the bike for a test fit.
I didn't really fancy sanding and filling tonight, so I'll tackle that probably this weekend. What I really wanted to do was make the tail part that will cover the tip of the edge where the light wall comes out of the bike. This cover will be molded into the rear fairing, and as such, both halves will then become one part.
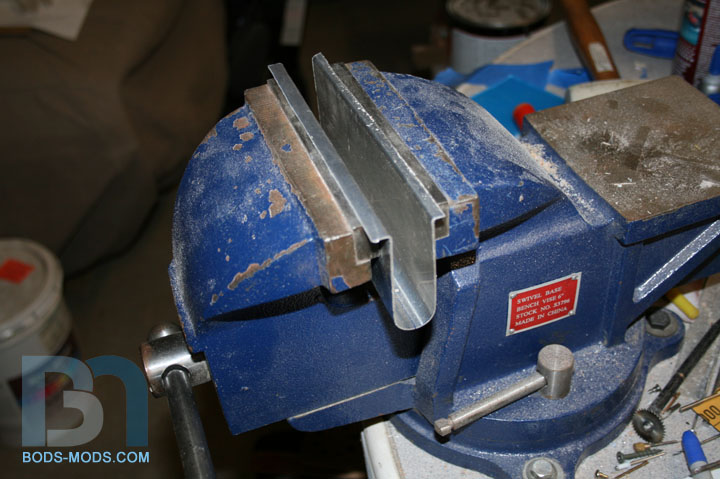
To make this piece, I will be bending a small piece of 1/8" acrylic into a U shape. So the first thing I had to do was make a metal pocket for the acrylic to fold into. I found a 3/4" dia. pipe and bent some sheet metal around it, then flared the ends so it sat in the vice like so.
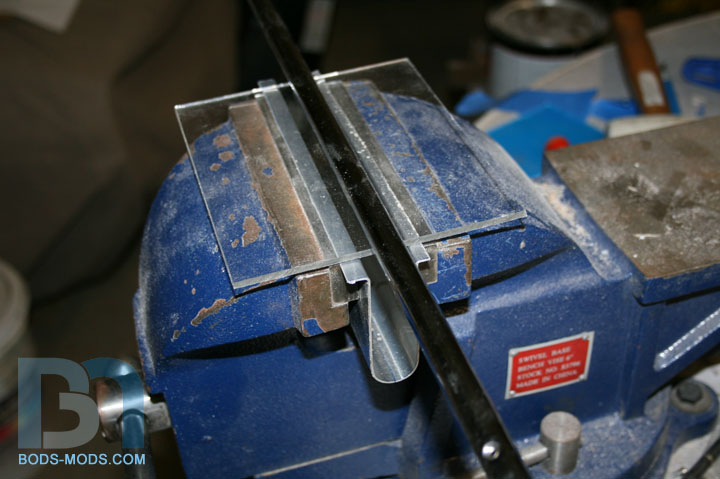
Then I cut my piece of acrylic down to size and found another smaller 1/2" pipe to push it into the pocket when heated up.
I first heated up the pipe with a torch, then heated the acrylic with my heat gun until I could push it down into the pocket with the pipe. I immediately stuck some wood scraps in there to keep the sides straight while it cooled.
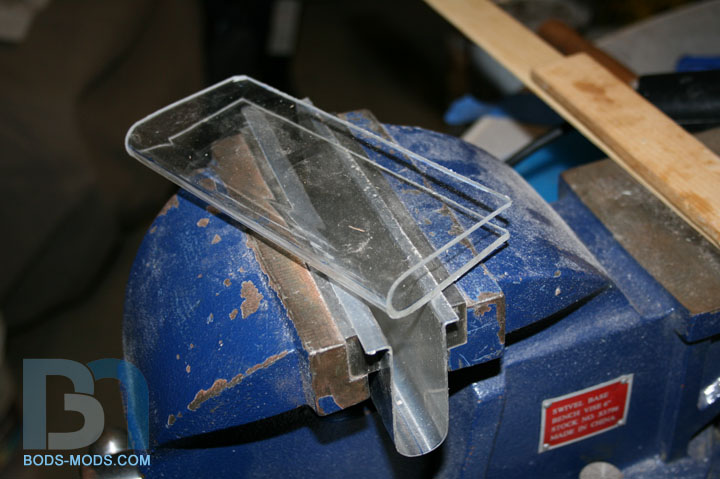
After a few minutes here is the result... a perfect U shape!
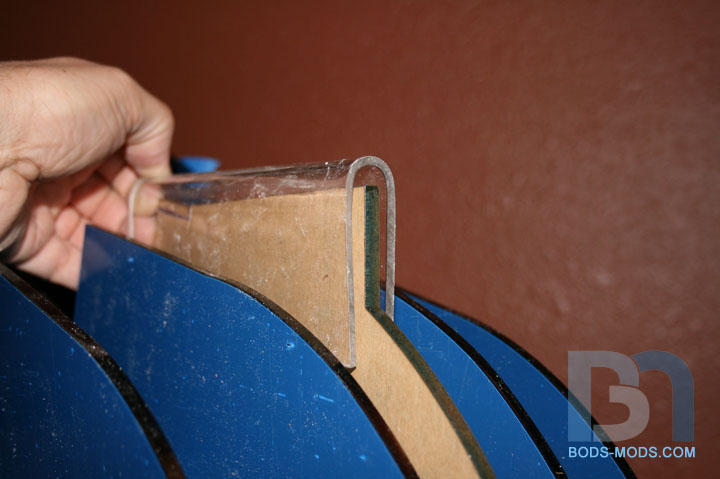
Here is where it will go on the bike. I will round the top of that center rib, and paint the sides and top edge black, leaving the trailing edge for the glowy light to show through. Should look pretty slick!
This concludes the Mid-week Modding "Bodcast". Thanks for tuning in!
"bodcast" haha lol clever.
Nice work bro really nice
looking good!
Thanks guys!
Time for another Midweek Bodcast!
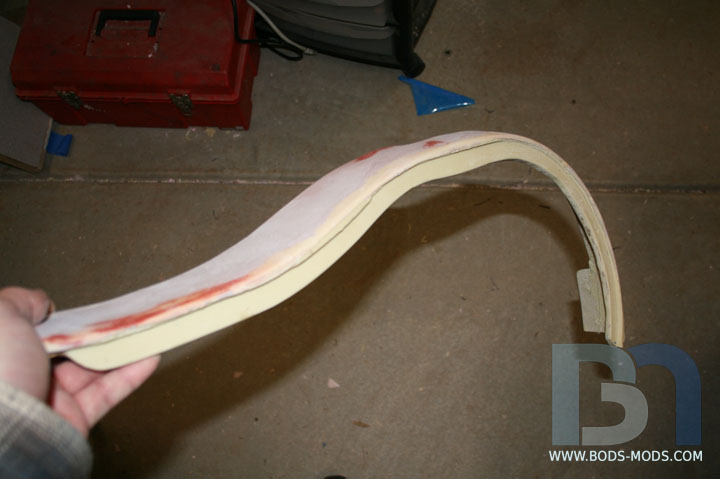
Nearing the end of the fairing fabrication. As I mentioned before, I was able to add much more strength to the pieces via a mounting edge on the under side. I was going to use acrylic, but was worried the adhesive wouldn't stick to the formed plastic. I knew that plasti-paste does stick to itself quite nicely, so I decided to make the mounting rails simply by throwing more paste at it!
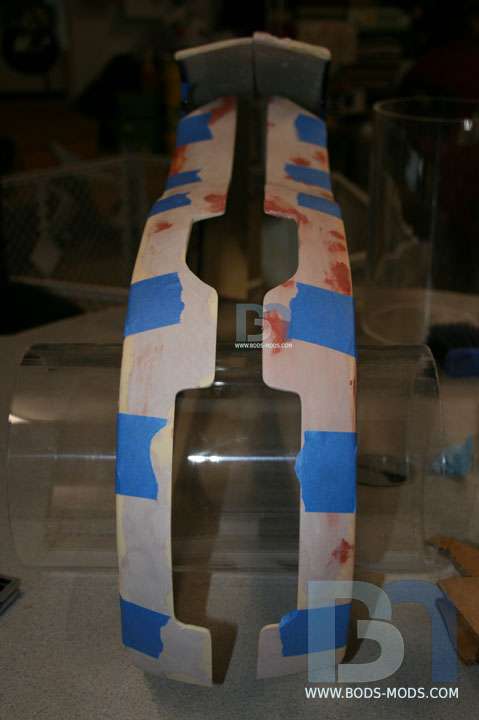
So first thing was to tape the fairings onto the ribs, making sure they were placed correctly.
Also checking for symmetry.
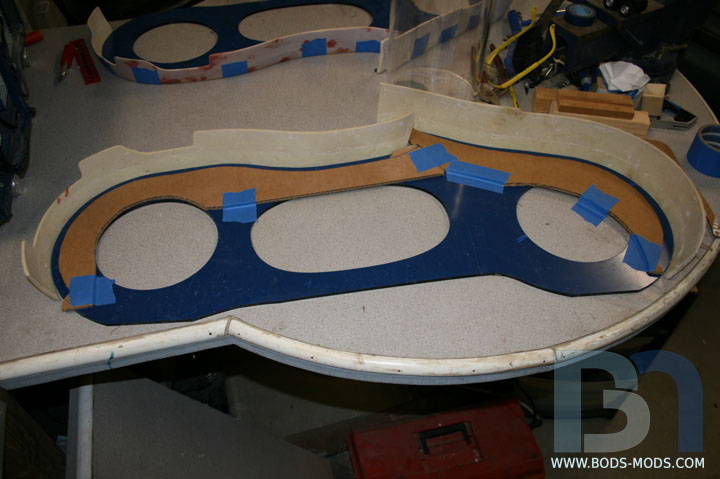
Then I cut some cardboard pieces and taped them to the inside, to enclose the area where the plasti-paste will go.
Added the goop...
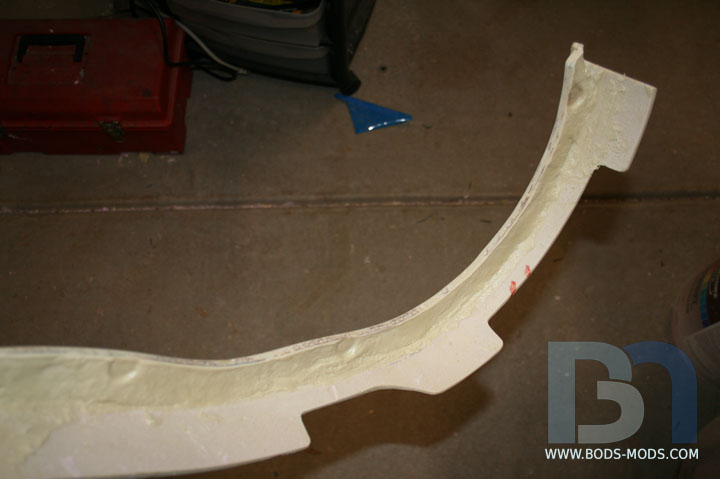
A couple hours later, I could pull the fairings off with ease, thanks to the plastic coating on the acrylic. I had also taped the acrylic edges with electrical tape, so the plasti-paste wouldn't stick there either.
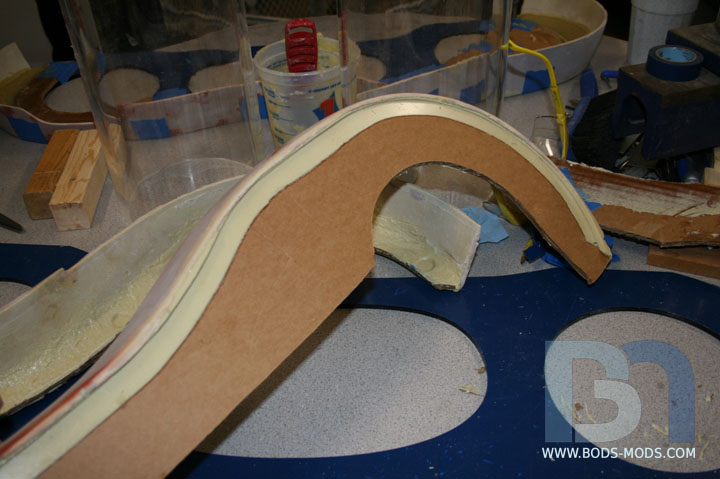
Removed the cardboard with a utility knife, and smoothed out the edges.
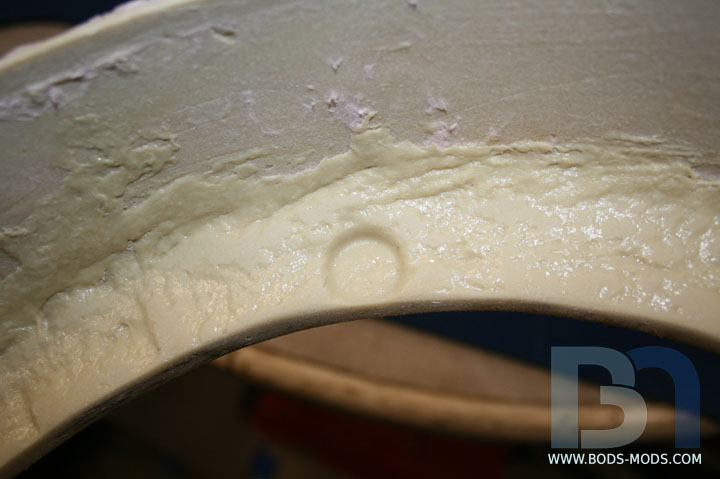
A closeup of the edge shows that the plasti-paste actually filled in the gaps between the fairing and the rib, resulting in a much better fit (once cleaned up and smoothed of course).
A shot from the underside. The rail and fairing are now one!
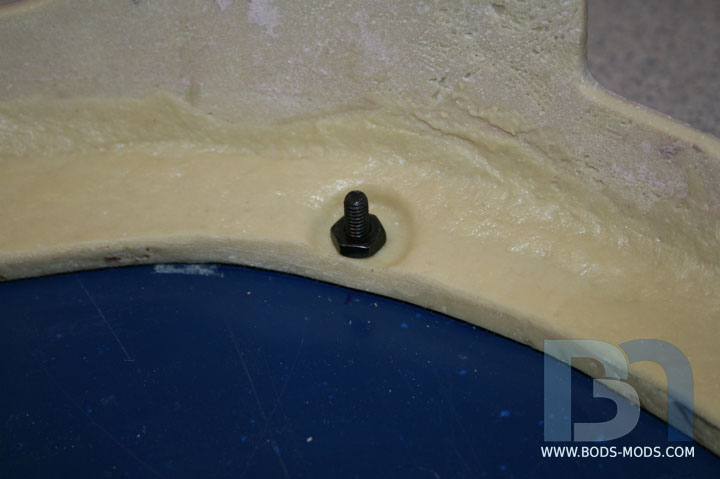
As the plasti-paste was setting up, I took the liberty of adding depressions where the mounting screws will go.
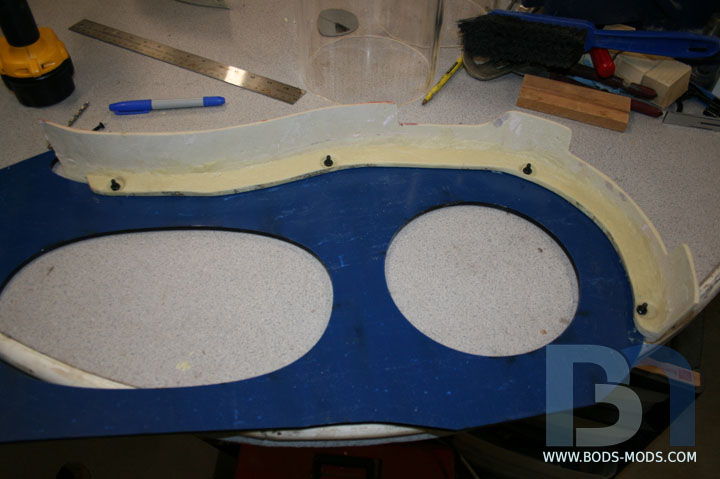
Got one piece mounted, using 8-32 socket head screws.
A closeup of one of the mounting points.
And that about wraps up this edition of the Midweek Bodcast. Next on the weekend installment, I should have the rest of the fairings mounted, and the two rear fairings fused together along with the U-shaped piece I made earlier. Thanks for watching!
So, which kid is this going to?
Or is it a personal rig?
Have to say I really love this and it is something that I am enjoying watching, especially with the delay with some of my parts, keep up the excellent work...
Nice work. I like how you were able to just blend the two parts together. :D:up: