iTouch Box Coil Gun (Updated 4-28-09)
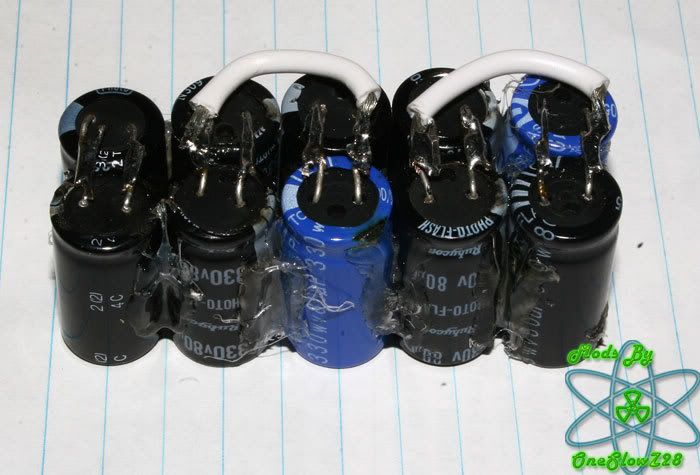
I have always wanted to make one of these. We made crude liner actuator motors in high school electronics class but they had a fixed level of travel. Then about a year ago I was googling random things and came across a coil gun site. So I started researching and came up with a prototype that utilized 15 330v 80uF photo flash capacitors. This new Capacitor bank will contain 30 of those same capacitors. This will give me a stored energy value of 330v 2400uf. That's 100 Joules of stored energy if I got my maths right. Its no where near the energy that some people push through a coil to launch a projectile but I should be able to send an 8p nail with the head cut off through a soda can. That will be fine by me as I am not looking for something deadly , but rather a novelty to show off to other geeky friends.
This is where the warnings come into play. This capacitor bank stores enough electrical energy to kill you. If you short the leads from the capacitor bank with a screw driver the result will be a huge plasma spark , loud pop, and the wires welded to the screw driver. The flash is just as dangerous as the arch from a welding electrode so do no look at it with bare eyes. Unless you have experience with high voltage you should avoid trying this at home. I take no responsibility for you causing injury or death to your self.
So now its time for some photos..
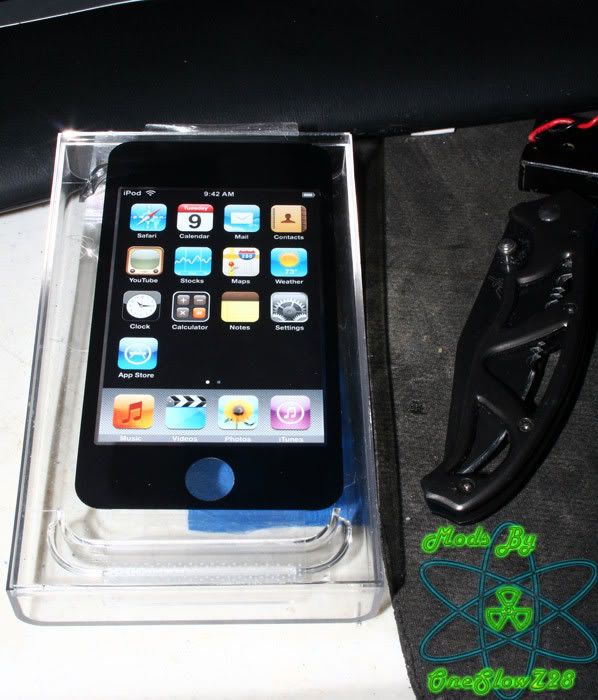
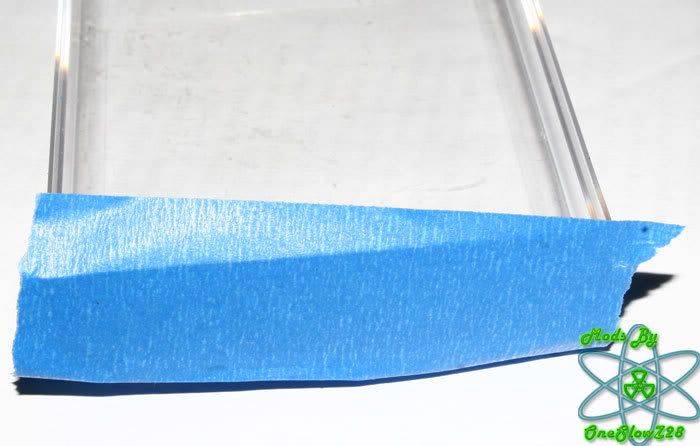
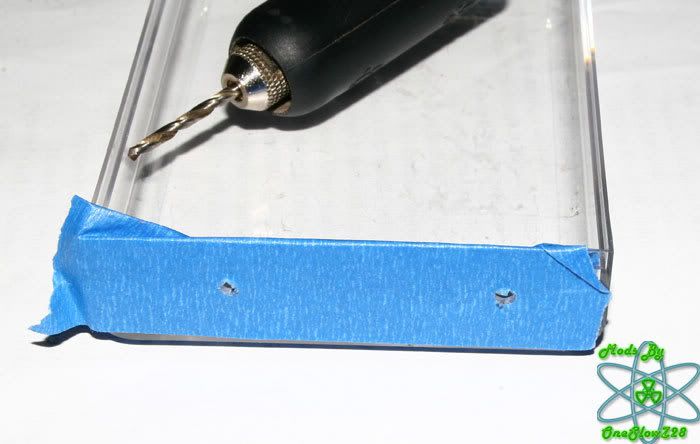
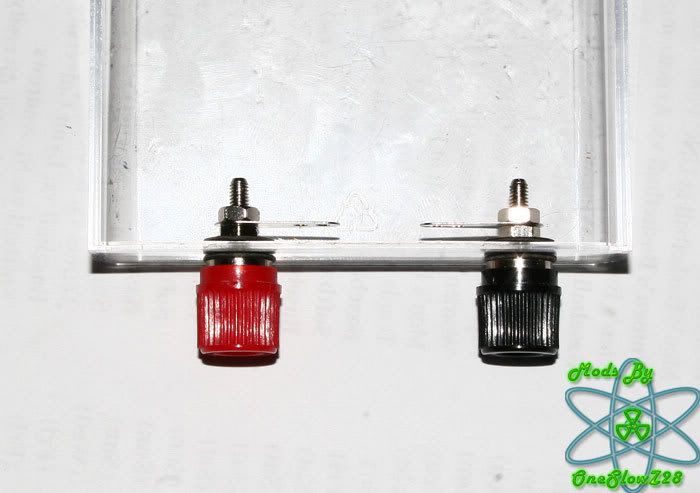
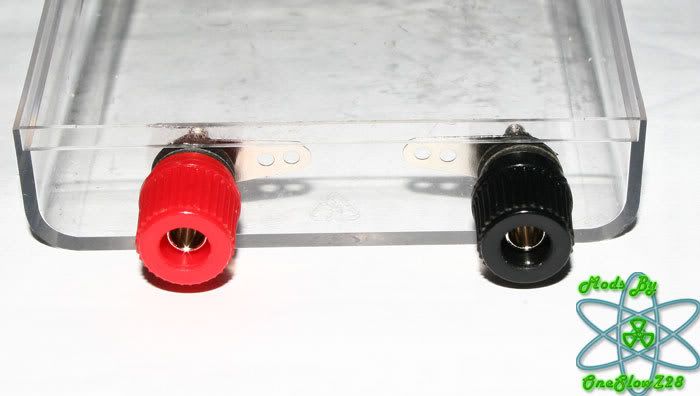
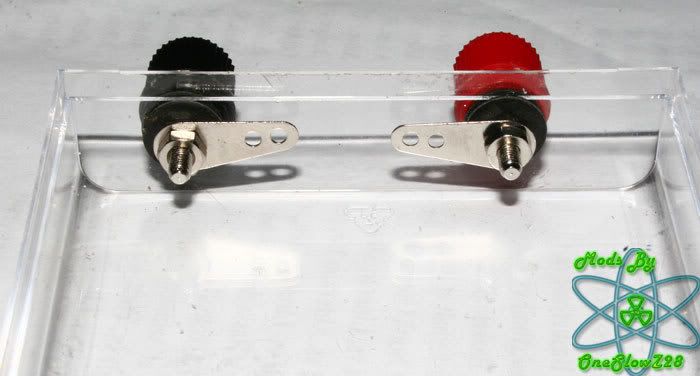
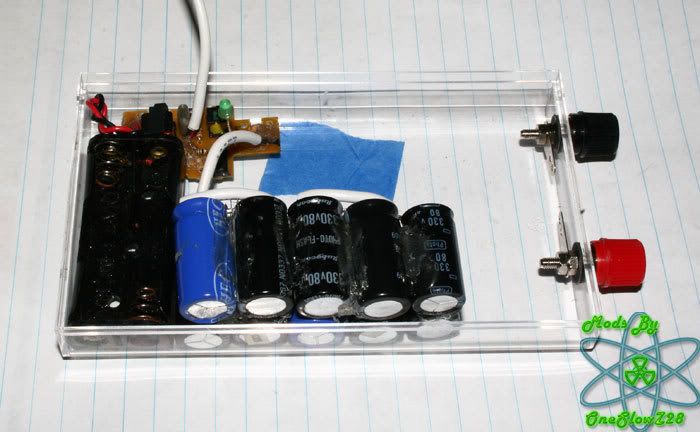
The box my iTouch came in. The top is covered in blue tape and put to the side to prevent scratching.
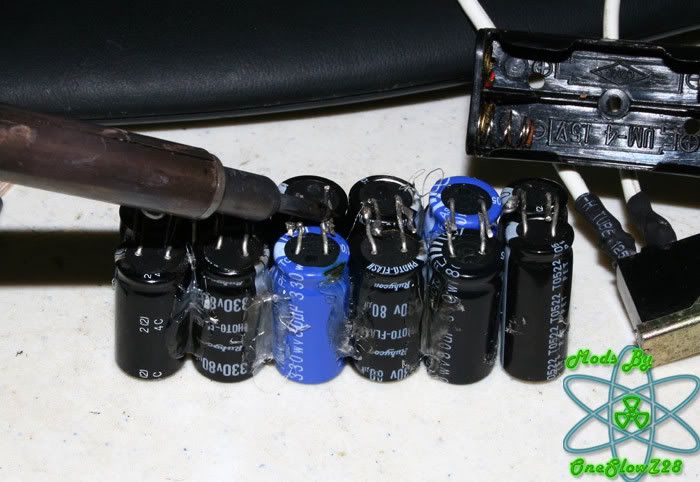
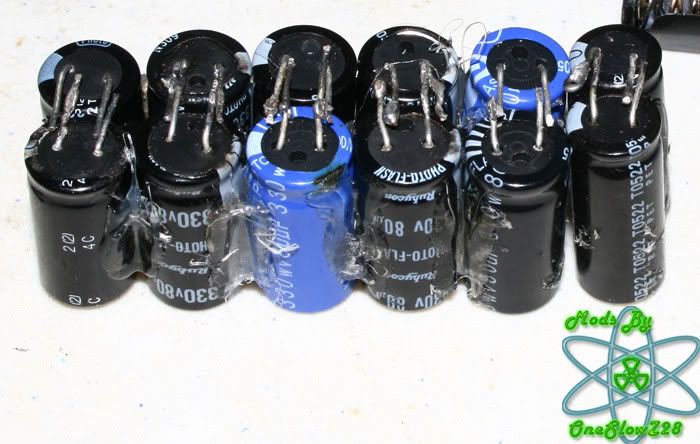
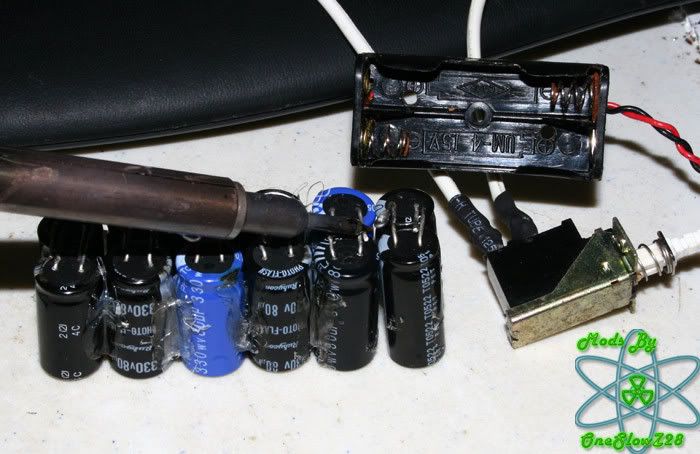
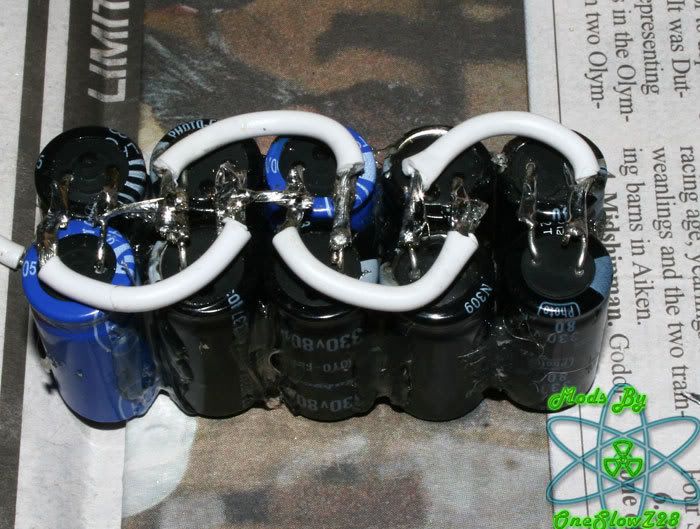
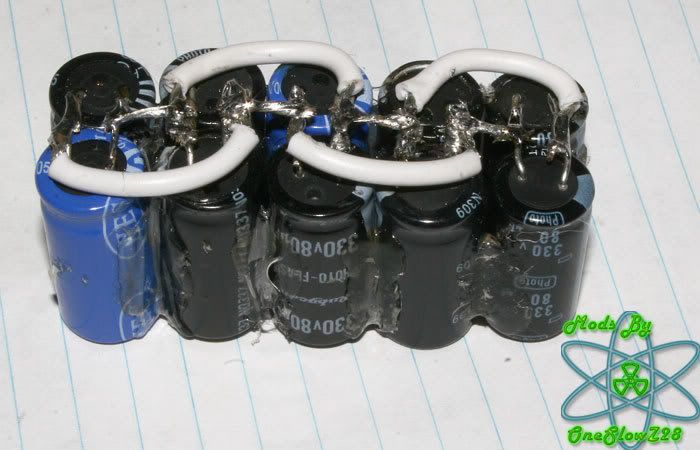
1/3 of my capacitor bank. Its made from 330v 80uf photo flash capacitors I salvaged from used disposable cameras. For a working voltage ofXXXX
A close up of 1/3 of the bank.
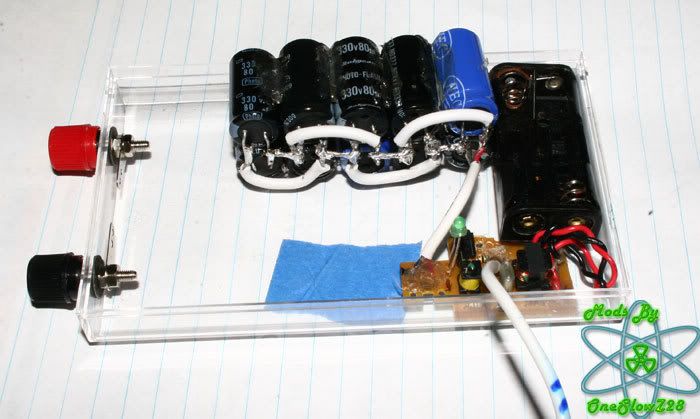
I will be using the power switch out of an old HP case that was at least 10 years old. Its rated for 15 amps and will not be welded shut from the high voltage surge that will flow through it during firing. I will be powering the charging circuit with 2AAA batteries.
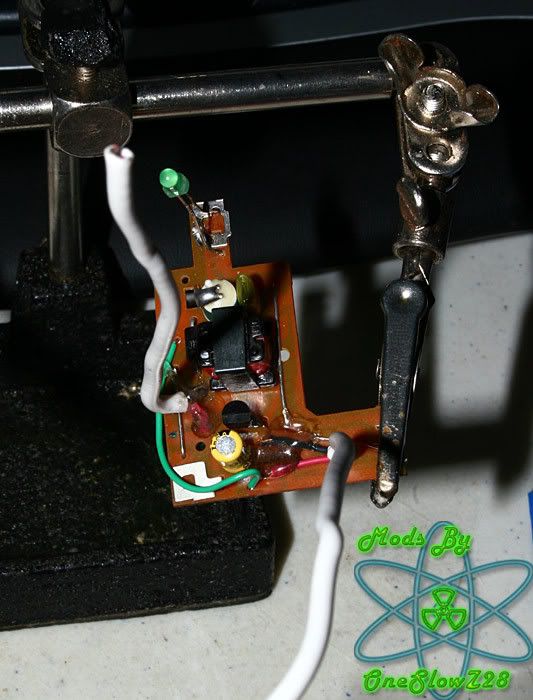
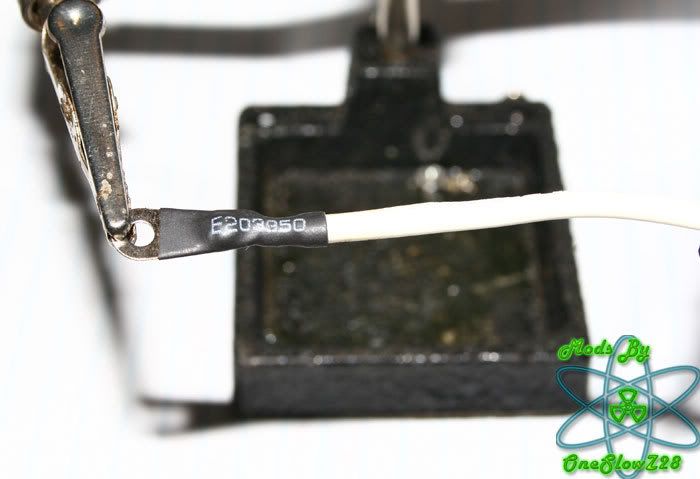
Top of the charging circuit. Also salvaged from a disposable camera. The LED will light up with the bank is fully charged. Notice that I removed the xeon flash tube as well as the capacitor. The 2 white wires are: 1 is for the switch to make the bank charge. The other will be the lead wires that will actually feed the capacitors.
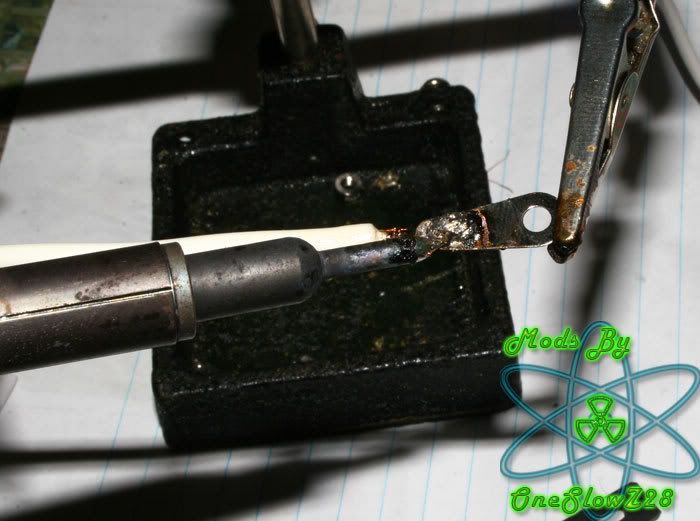
The bottom of the charging circuit. The soldering looks a tad crappy but I will make it look better when I get a new tip for my Iron.
That's it for today. I will try to have more posted tomorrow. Thanks for looking and please comment.