Lookin good Will!

Printable View
Lookin good Will!
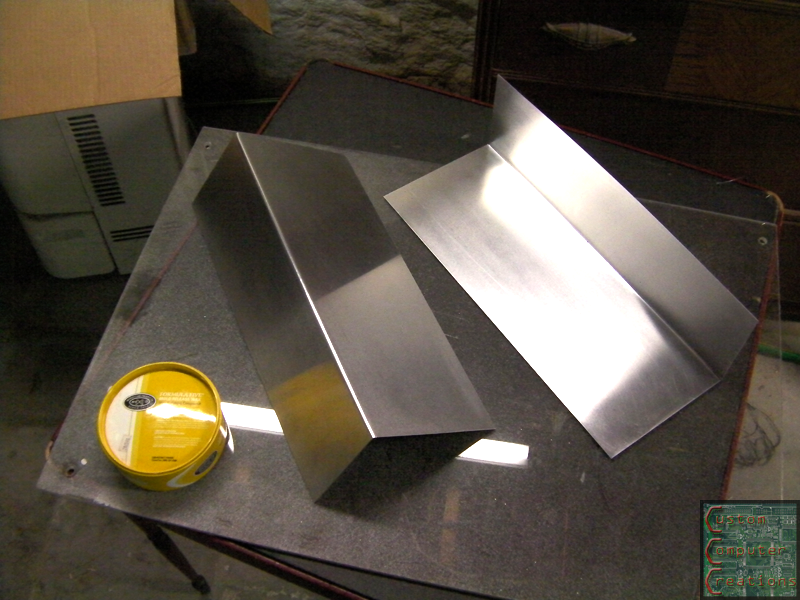
Update time!
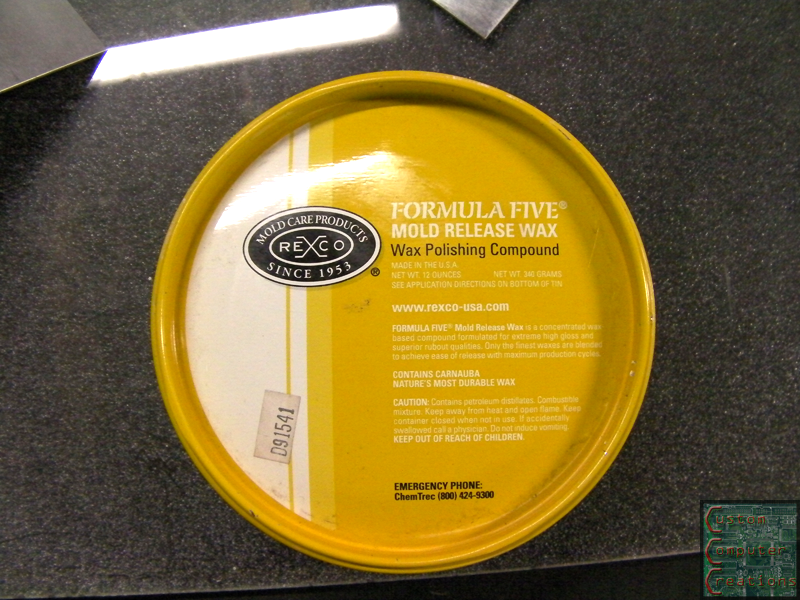
Here is the mold release and PVA I used:
It says to put 3 coats of wax on a new mold, so I put on 5 just for good measure :D
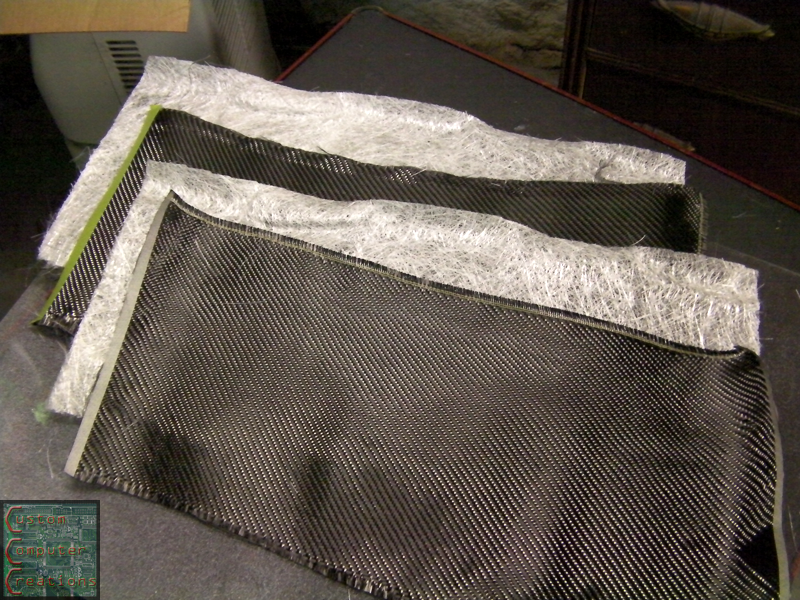
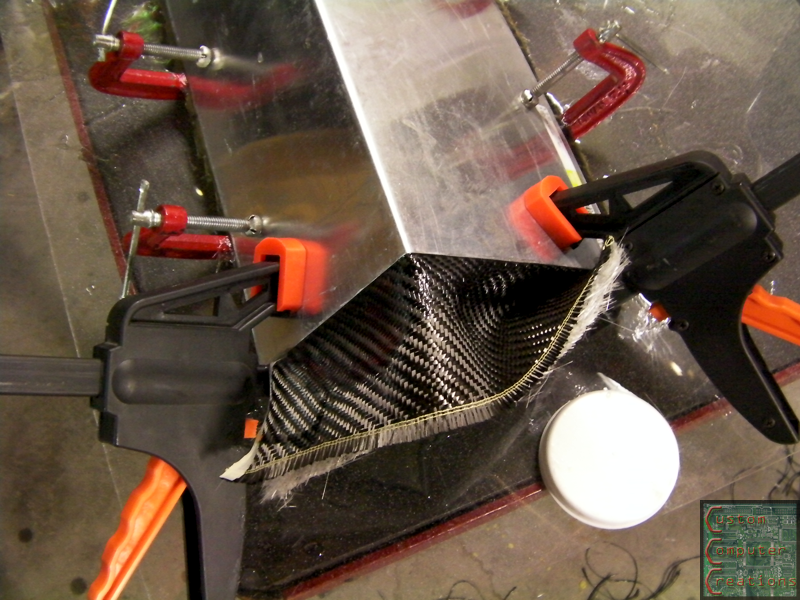
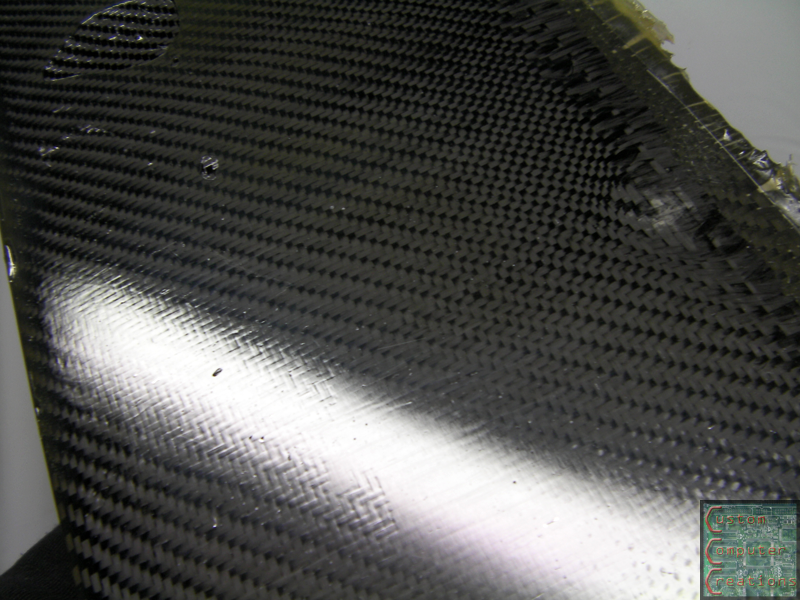
I then did 2 brushed on coats of PVA onto each mold. I've got 2 layers of carbon and 2 layers of fiberglass matting for the middle. The fiberglass will add stiffness since it is not a directional weave.
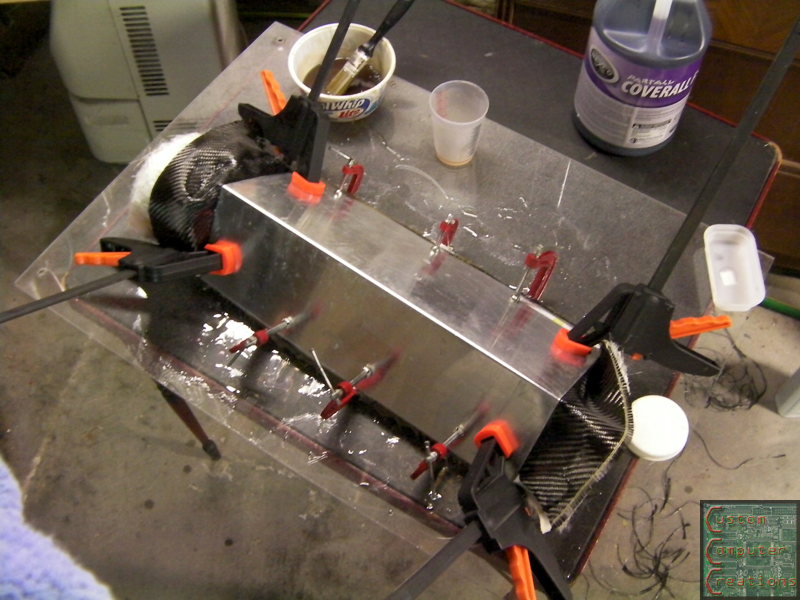
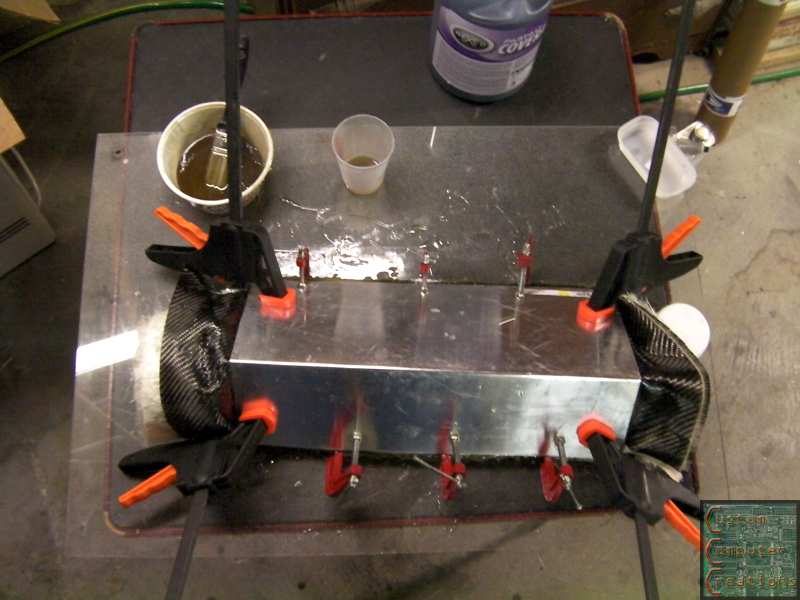
I worked up some resin and got it all laid out and clamped the mold halves together.
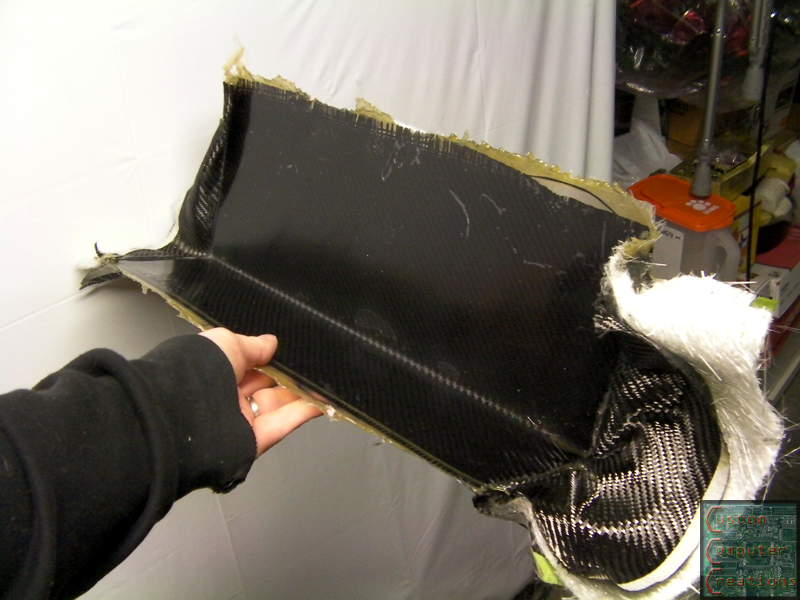
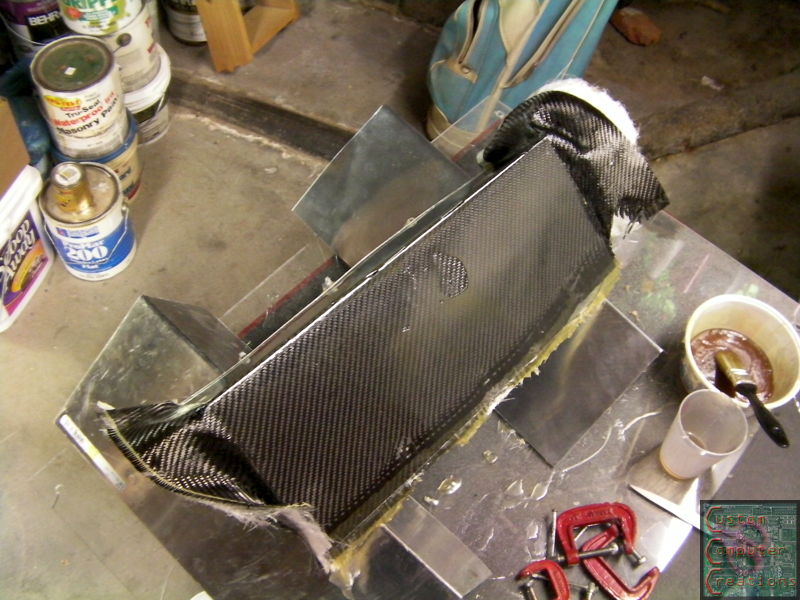
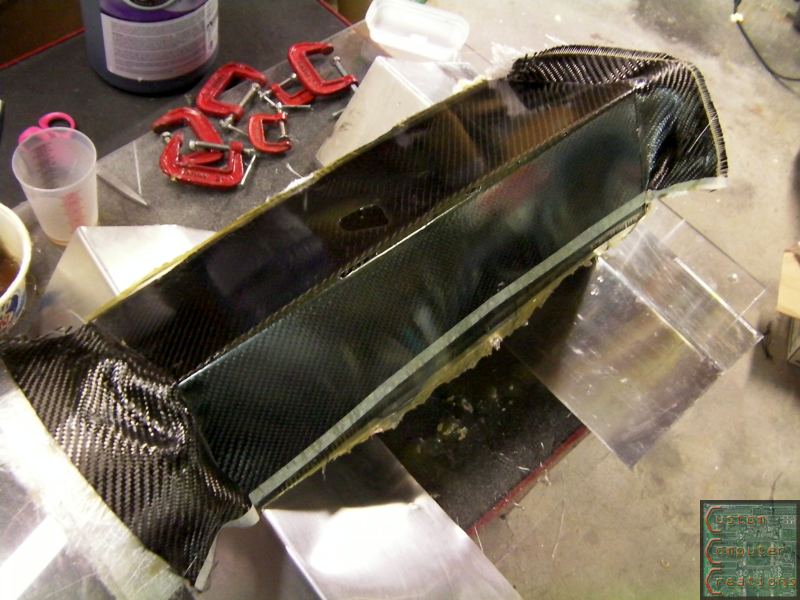
About 2 hours later I popped the mold halves off the part. Thanks to the wax and PVA, it came off effortlessly. :D The PVA is still on the part in the following few pics, which is why the finish is a little dull.
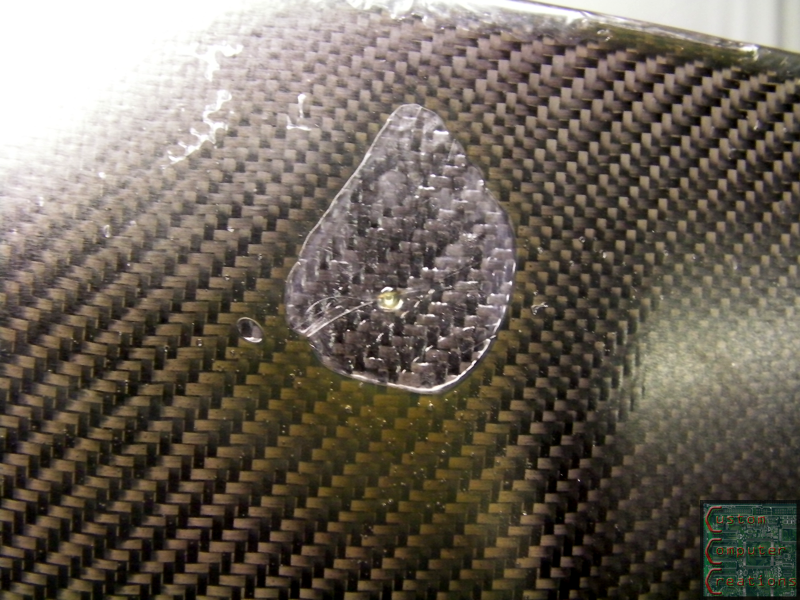
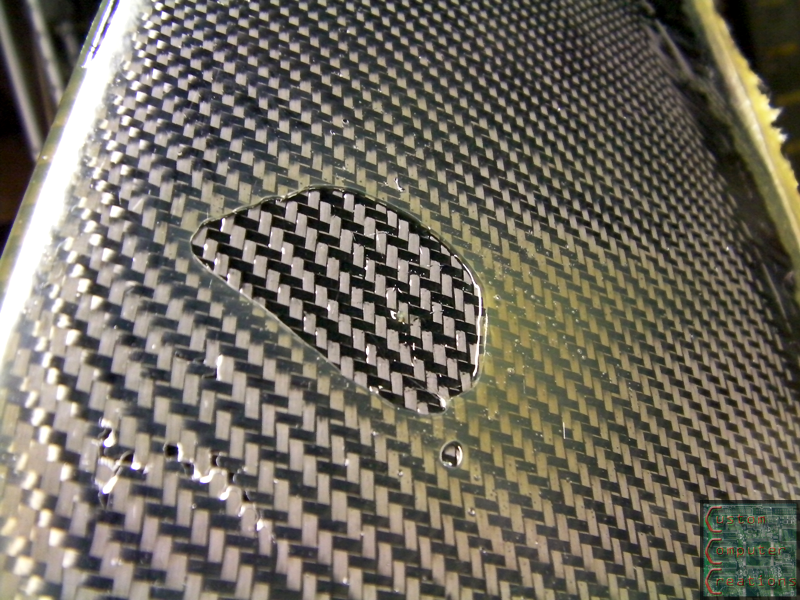
Uh oh! I must not have clamped the parts together good enough, and ended up with a big air bubble! :facepalm: The purple over the bubble is the PVA film.
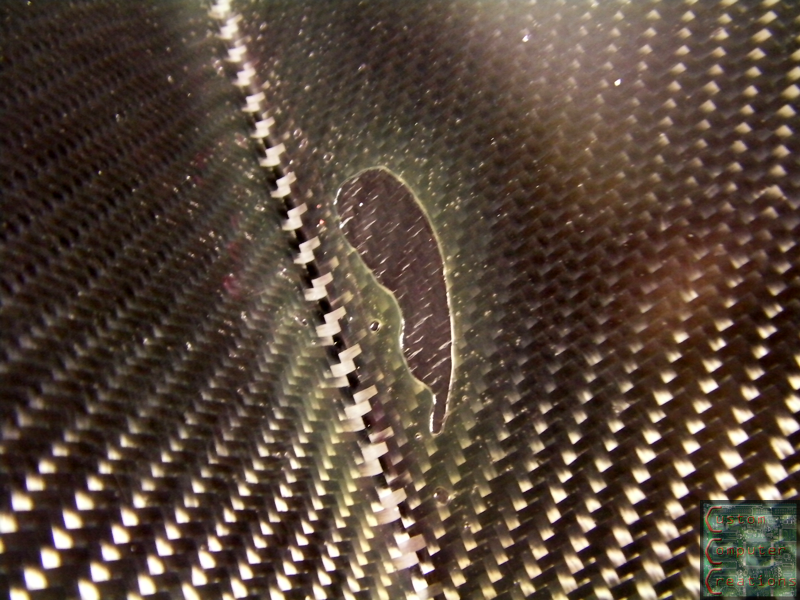
There was also an excess of resin at the corner, but that can always be sanded down.
An air bubble on the inside, which isn't as big of a deal because it won't be noticeable.
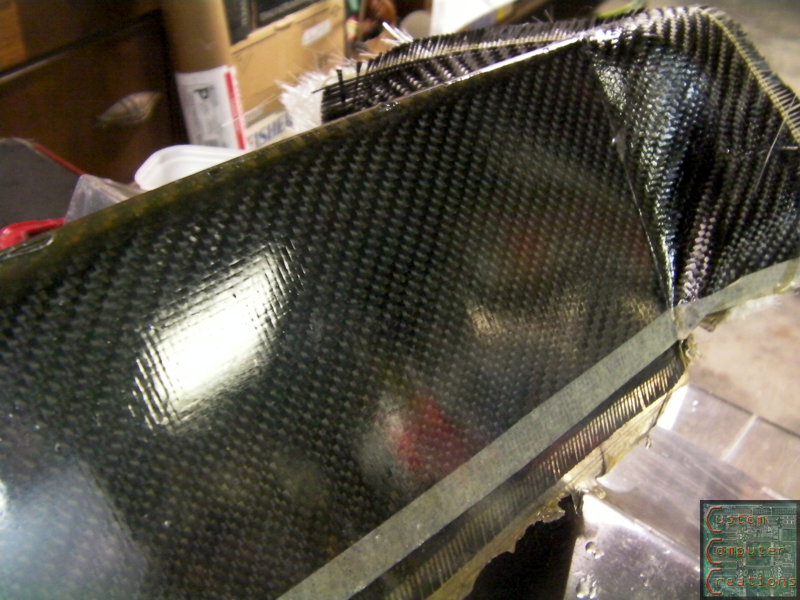
A shot of the air bubble with the PVA film removed
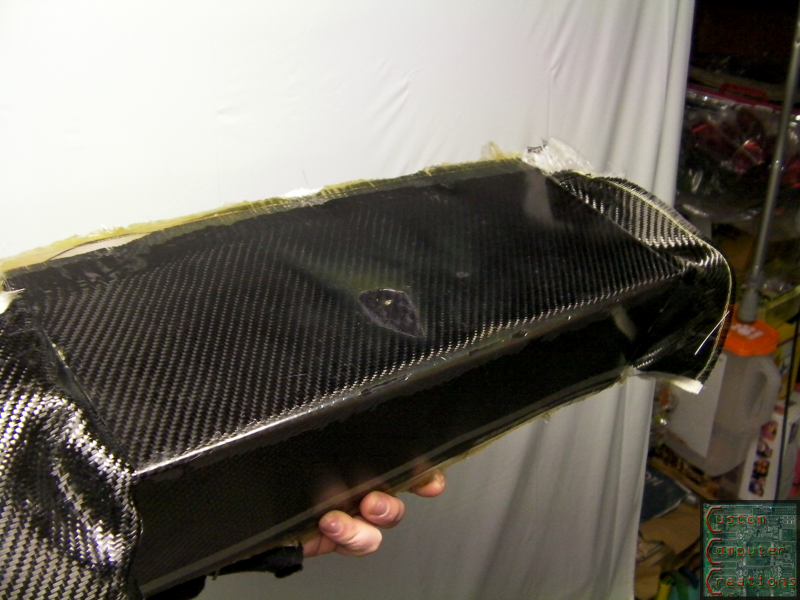
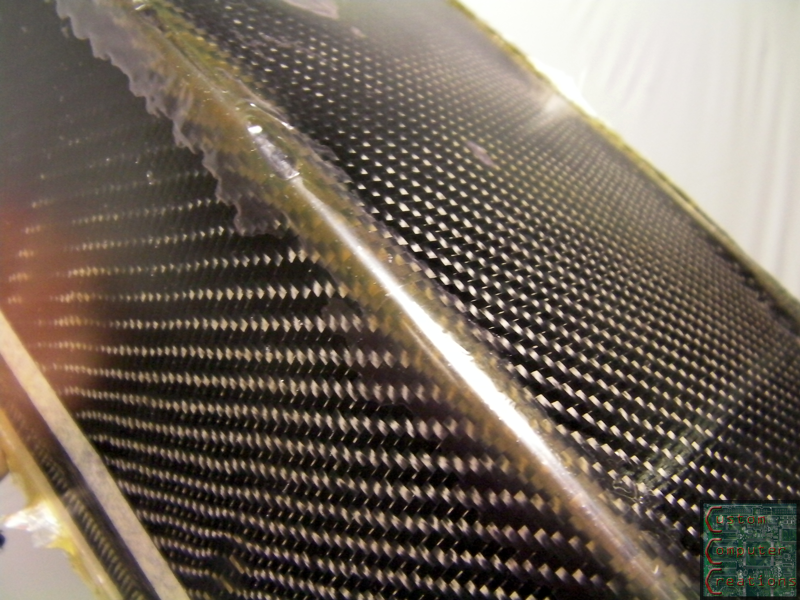
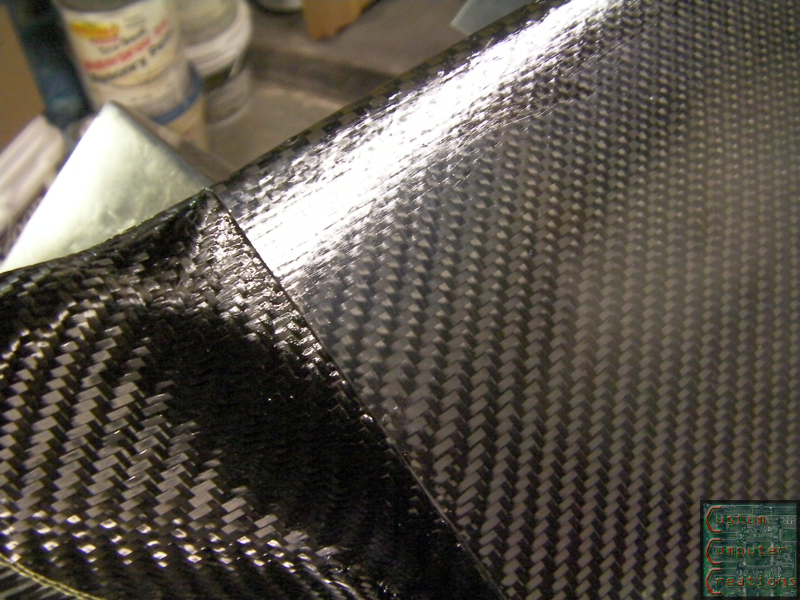
And a few shots of the part with all the PVA removed. The finish is a lot nicer, and once I wet sand, clear and buff it'll be nice.
I'm going to try to mix up a little resin and fill in the hole, then sand it down and see how it comes out. If it doesn't come out nice, I've already been brainstorming a few ideas to keep the halves stiff and supported, and to be able to clamp them more evenly.
Too bad about the bubble D:
Looks cool, though. :D
Agreed, to bad about the bubble. If you the fix doesn't work and you need to redo it use a couple pieces of wood across the flat areas for support.
well I was thinking of making wood supports for the metal halves. One pice would be in a /\ shape and the other in a \/ shape, and that will uniformly spread the pressure, and allow me to clamp it in the center "V" area and get it nice. This is only if the bubble can't be fixed, or can be fixed but still looks horrible :D
I found a few things here at the shop that I may be able to use to hide that bubble...stay tuned :D
:banana: Good news :).Quote:
Originally Posted by SXRguyinMA
Looks really tricky stuff doing real carbon fiber.
It's not too tricky, there's just a lot of setup and preparation to get done and done right to make it all work out, as well as some trial and error. :D
I've got just the thing to cover up that bubble too, which is nice :D I'm going to fill it in with a little resin just to level it off, but I've got a really nice part to cover that with :D
Ok it's been a while but I've got an update! I've discared that first CF part, and I'm going to make a proper mold support and make another piece. I wasn't at all happy with the first one, as the sides were all wavy and yucky, so I tossed it.
On a happier note, UPS will be taking the case out to Rick Primeau, then on to Rick Maines for the paint and airbrushing! Stay tuned, I'll see if I can get Primeau to post some pics, or email them. He'll have it on the 28th, so until then!
Pictures only? I'm sure he'll be working on it while he's broadcasting on blogtv. Check out his page at blogtv.com/people/primocustoms.