-
Re: Project: Tempest SXR
Alright so I got most of the rest glued up tonight. All except the angled panel where the switches will sit. Sorry I didn't get any pics as I didn't plan on working on it tonight, just happened to be down there and said "Eh I'll mess with it a bit" lol.
Now I've got a crazy idea for that switch panel - assuming everything will fit the way I want it to. I'll know probably tomorrow if it will all fit. Then I will let you guys know :D
-
Re: Project: Tempest SXR
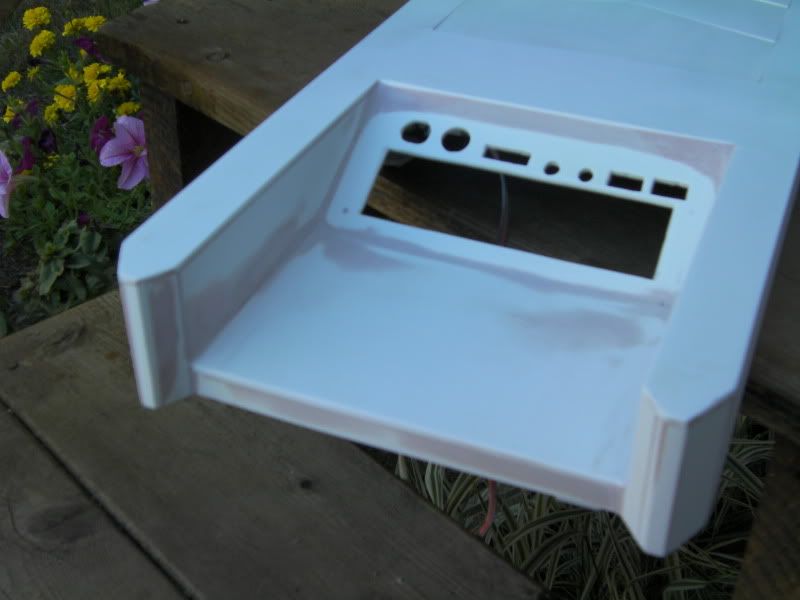
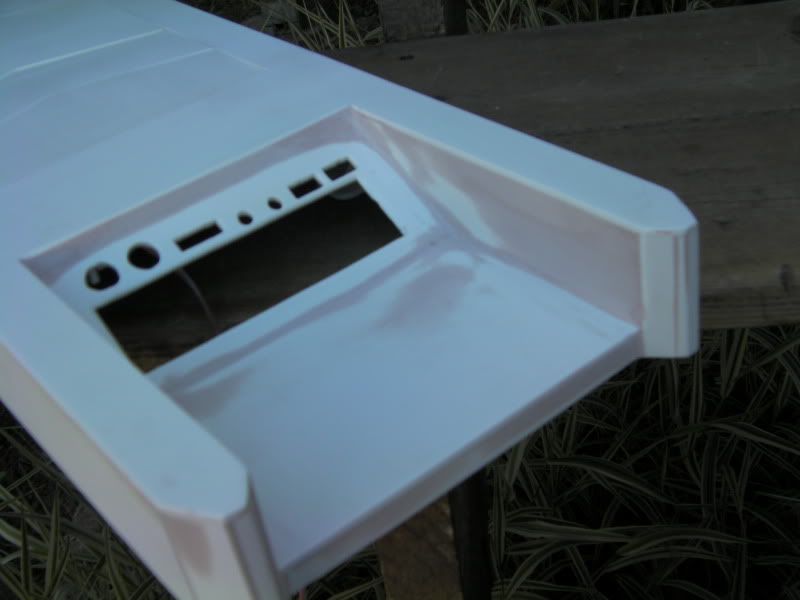
Smallish update! I managed to get some modding done tonight in between spats of watching Trace try to blow up his CPU :D
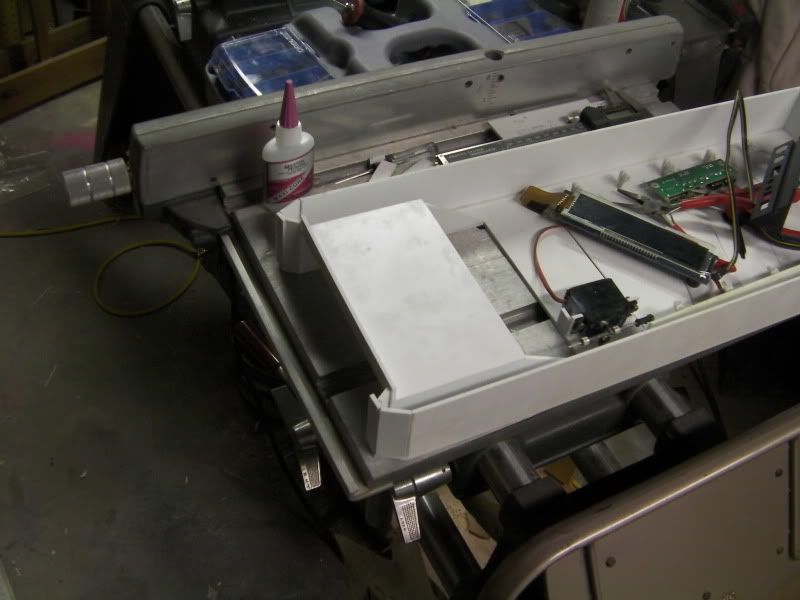
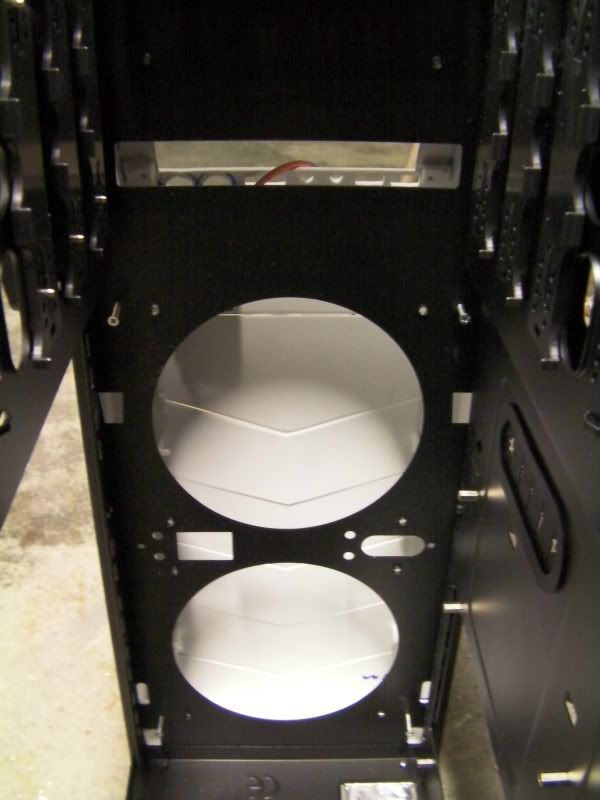
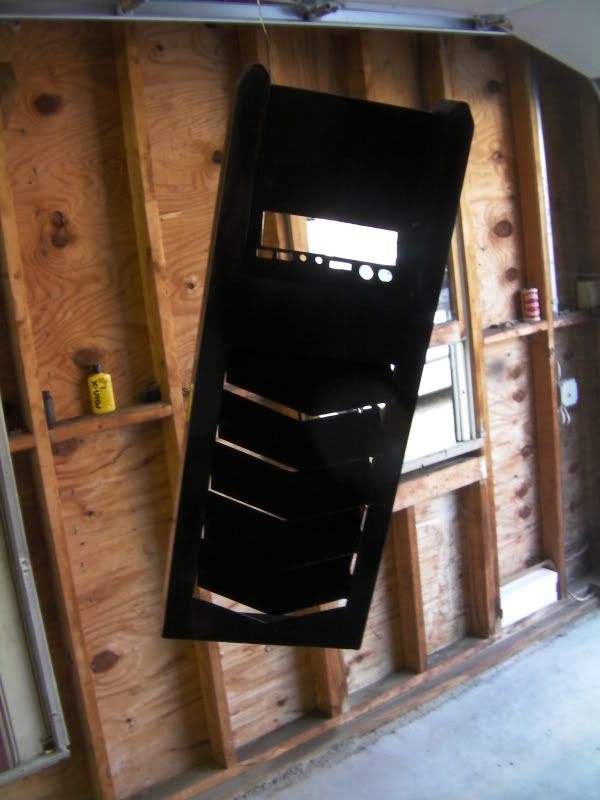
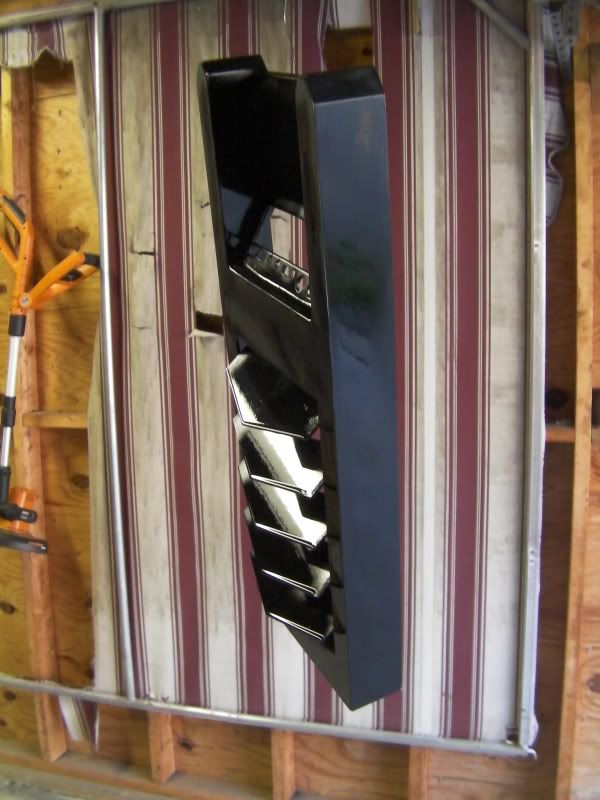
Here's a shot of the main body glued together. There's going to be a lot of sanding/grinding going on here. Mostly because I screwed up when I made the parts in sketchup....I didn't account for the thickness of the styrene :mad: Ah well, just a little more elbow grease on my end that's all :D
And as for that crazy idea I had with the switch panel....well here it is :D
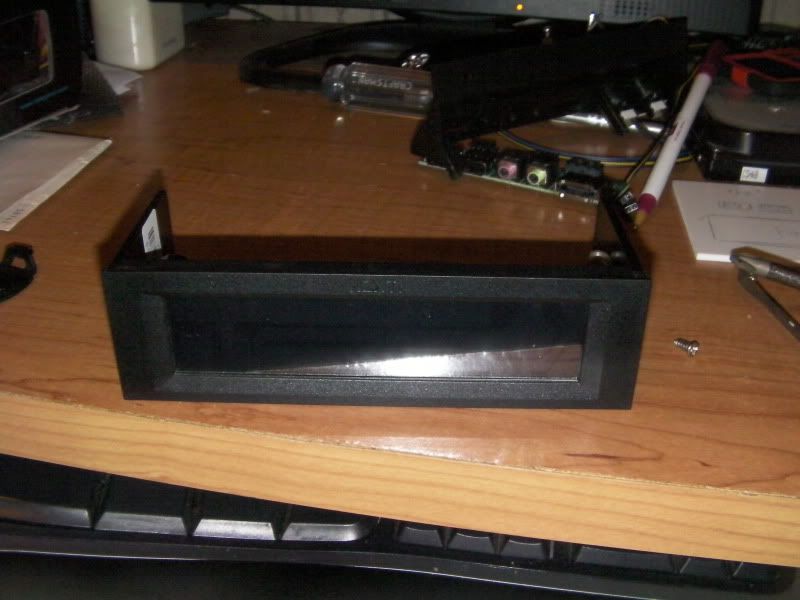
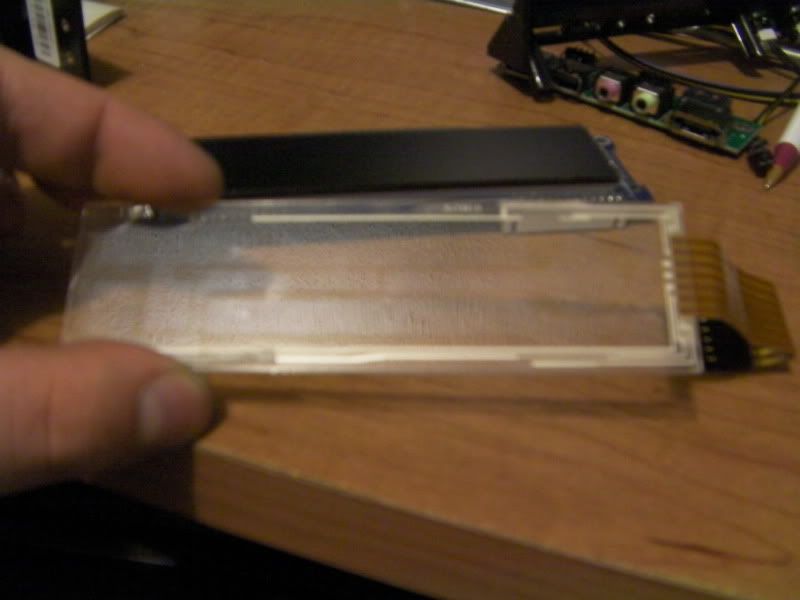
Here we have the NZXT Sentry 2 fan controller. Looks great, works great, but takes up a 5.25" drive bay that I don't have to spare on the Tempest (it's got 9 bays, my armor has 10).
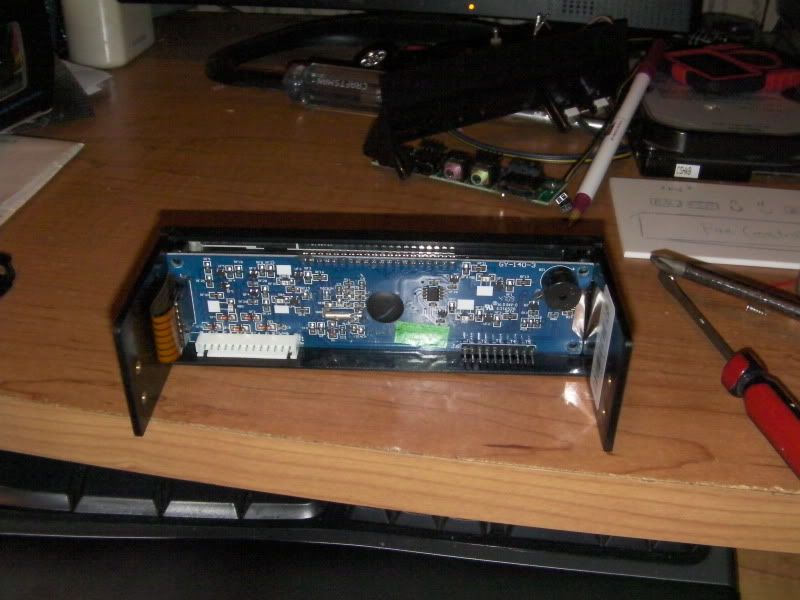
4 screws later and the LCD panel is off.
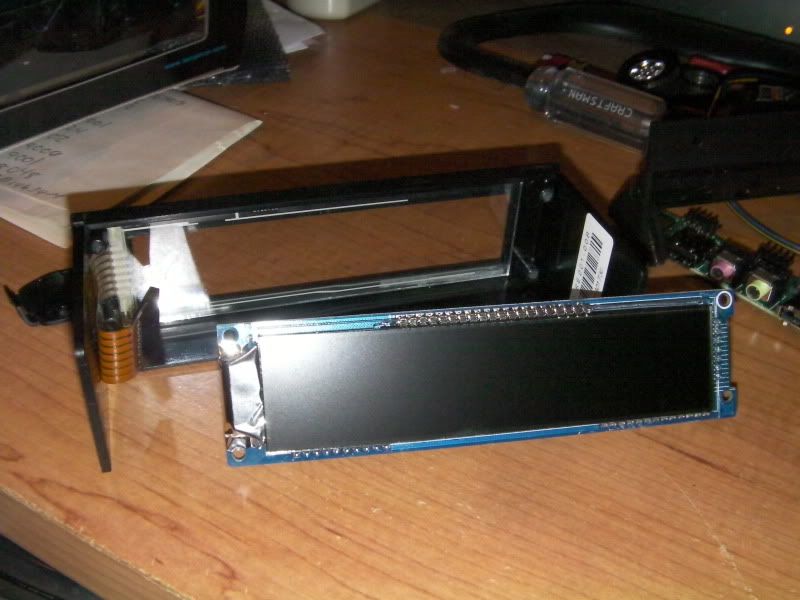
Some VERY gently prying and manipulating later and the touch screen sensor is off.
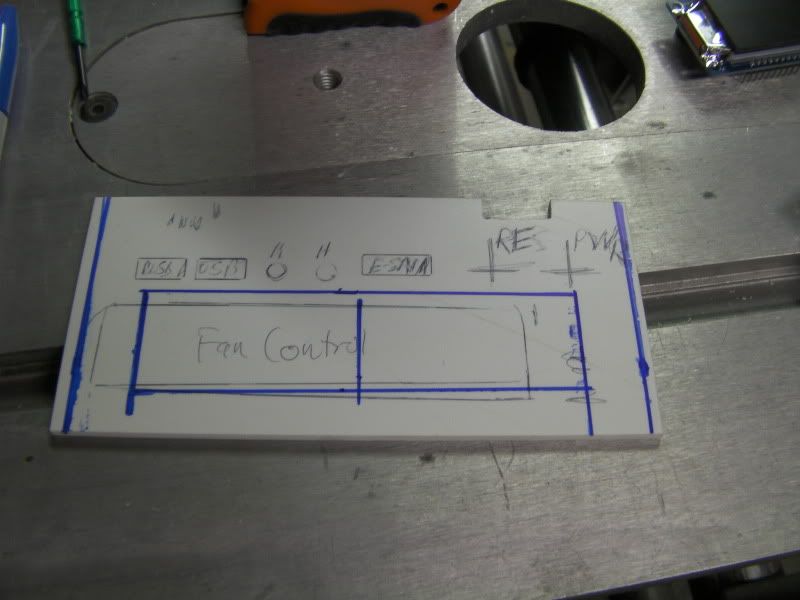
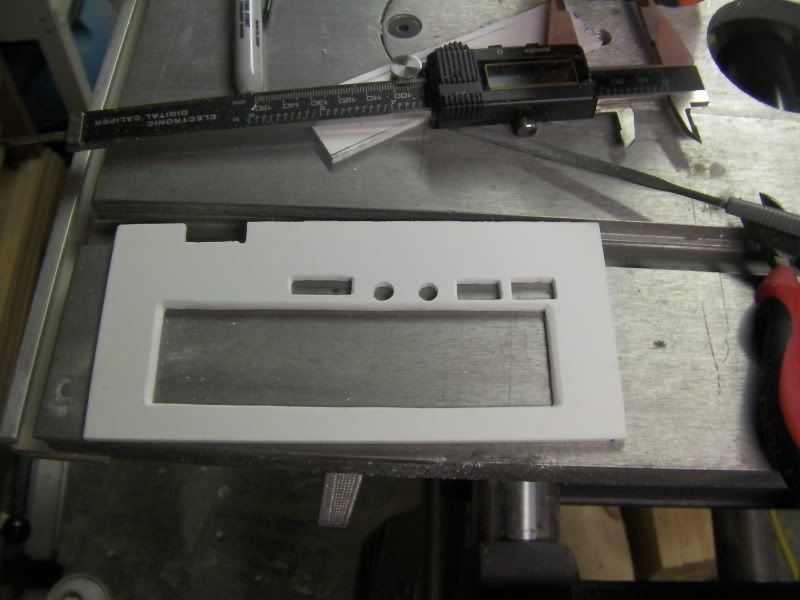
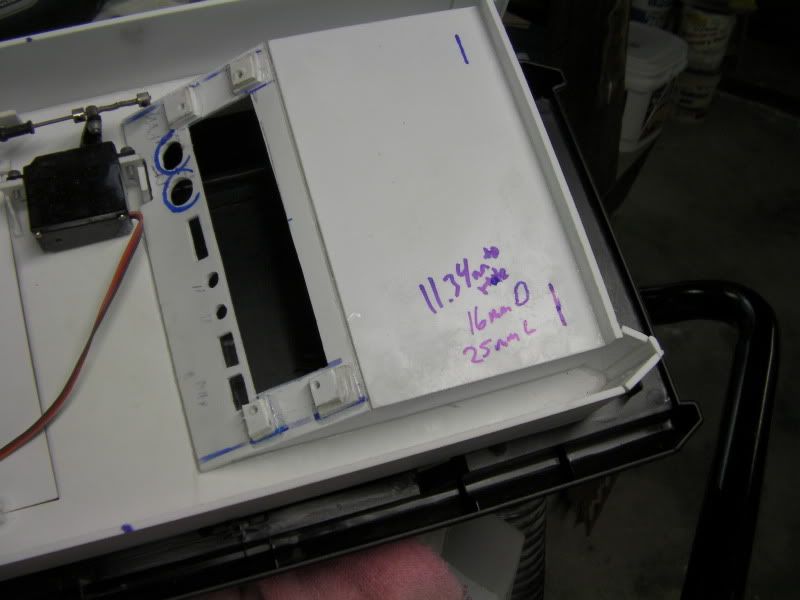
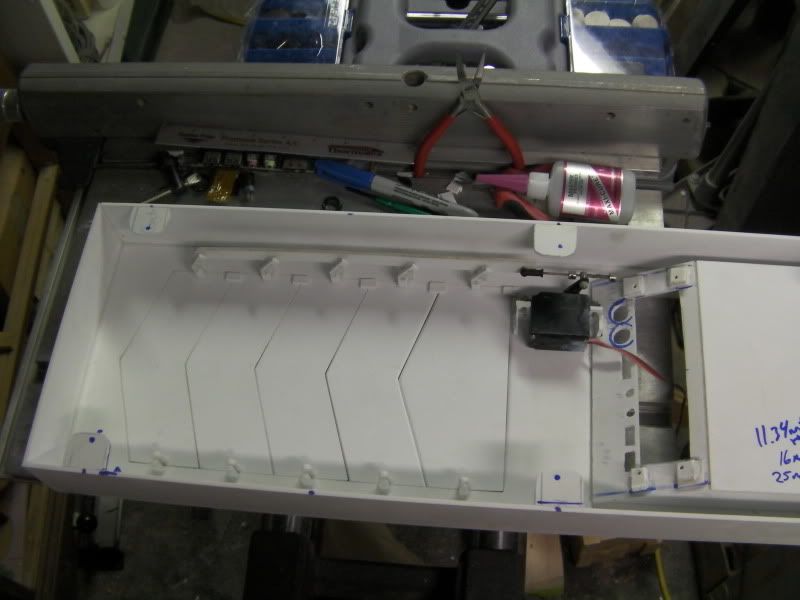
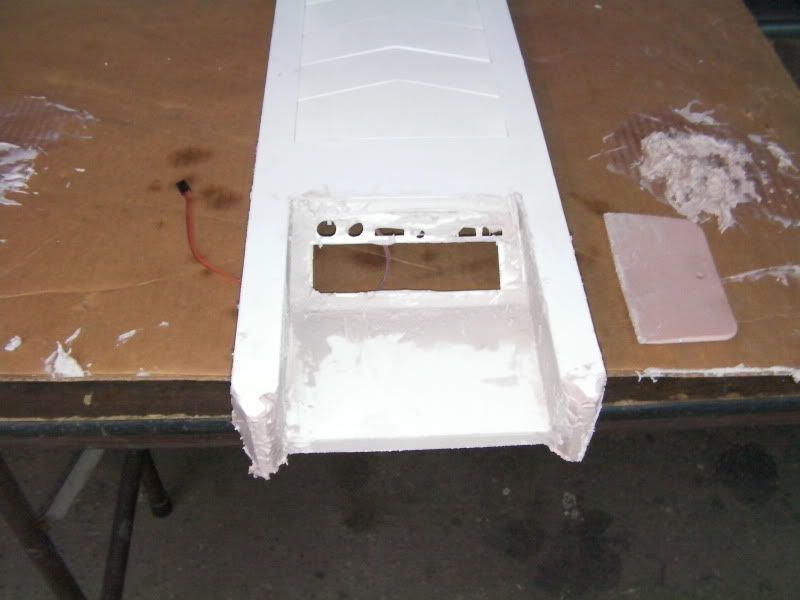
Here is the piece where the switches will go. I've got it marked for cutting.
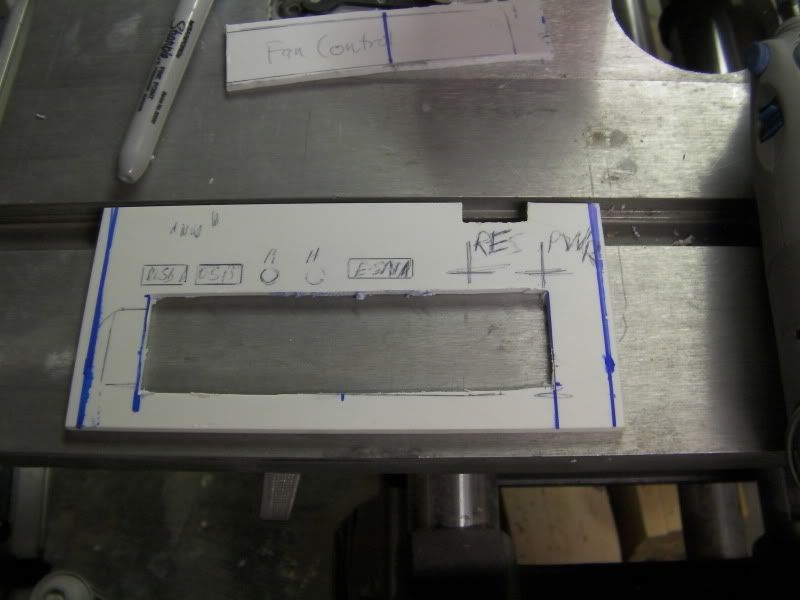
And fan controller chunk is out.
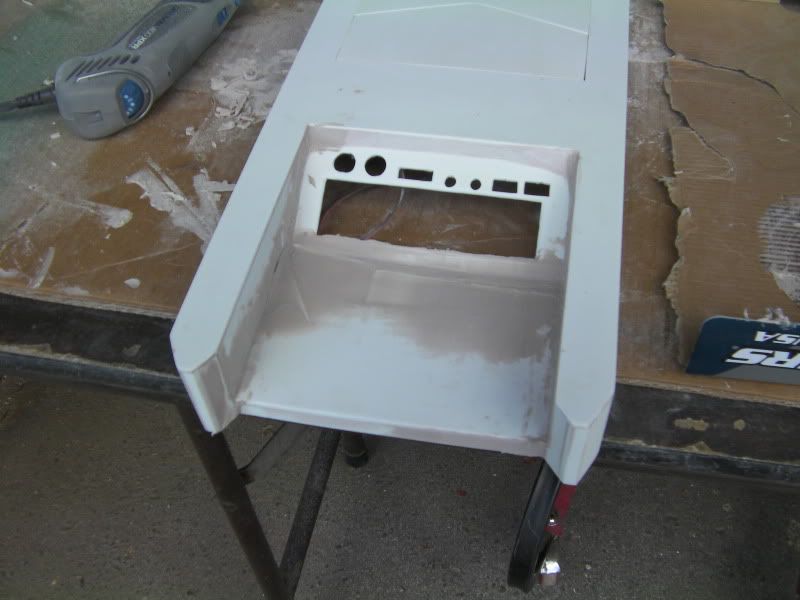
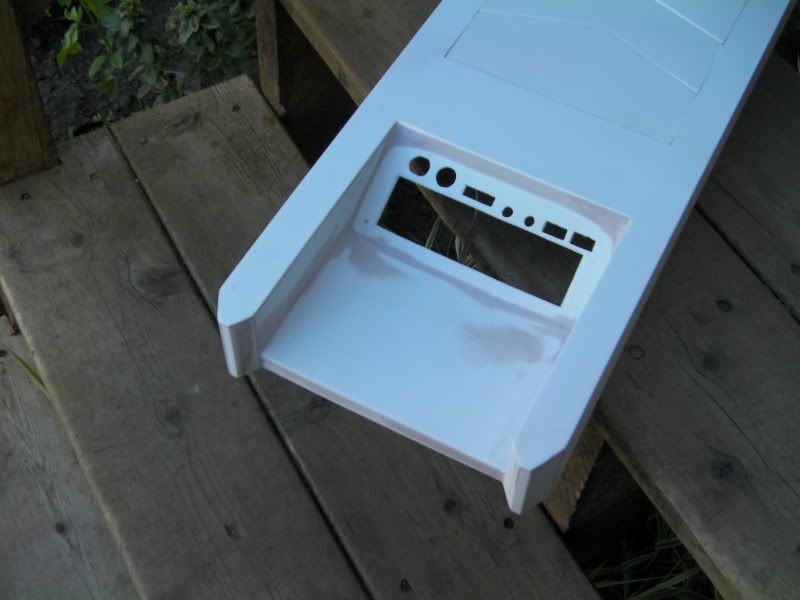
Rough holes made for the front panel setup that came with the Tempest EVO.
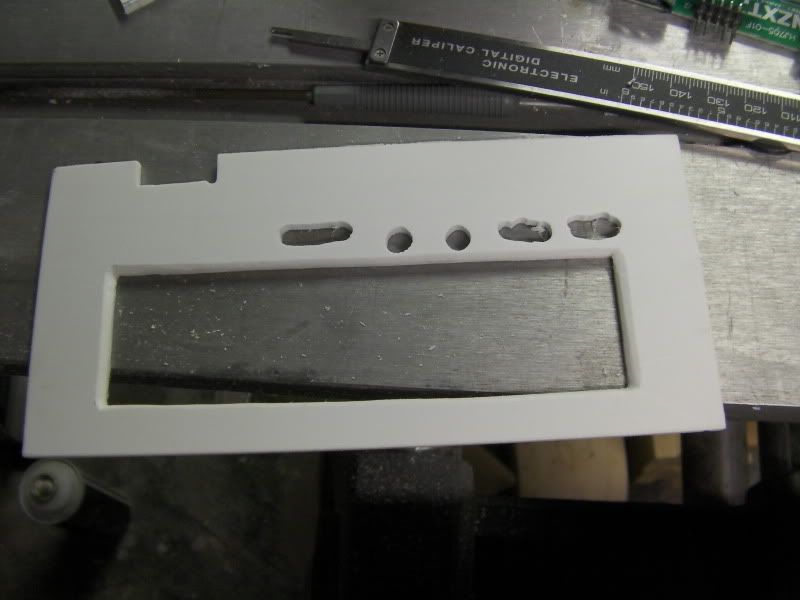
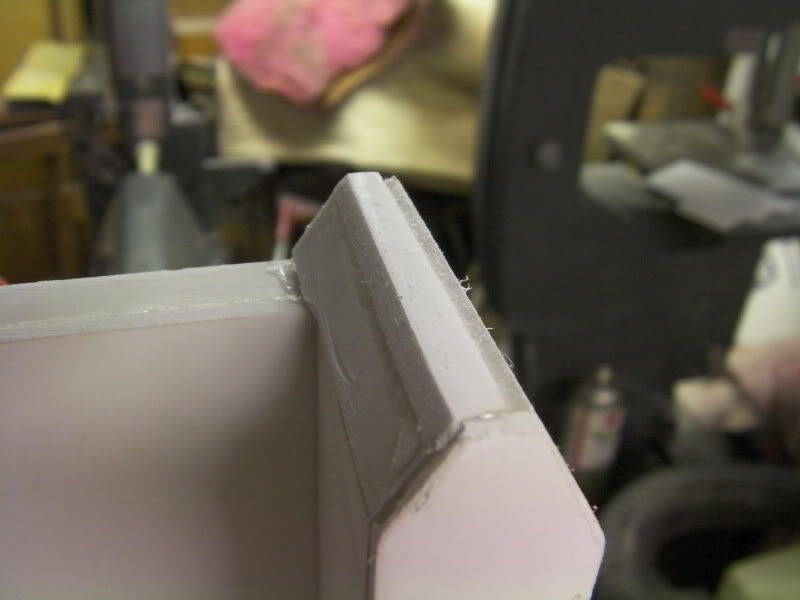
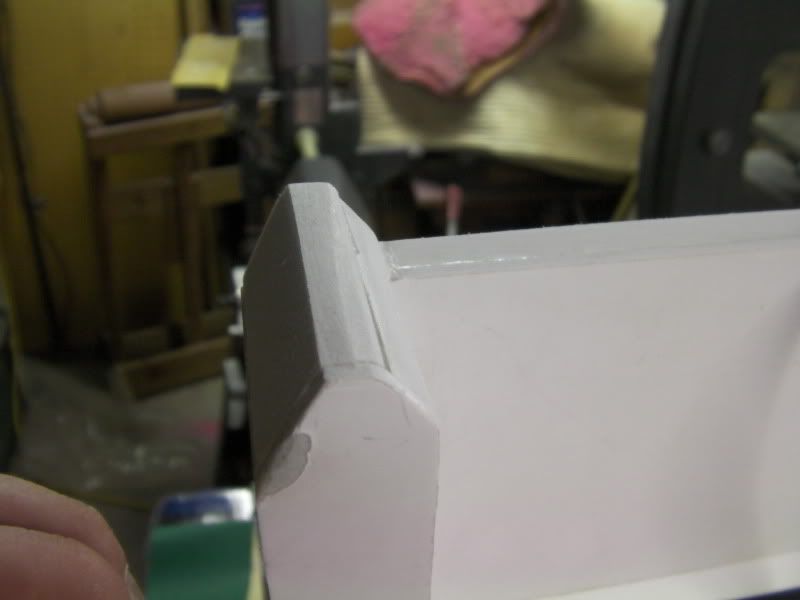
And after about an hour of sanding and filing we have this :D
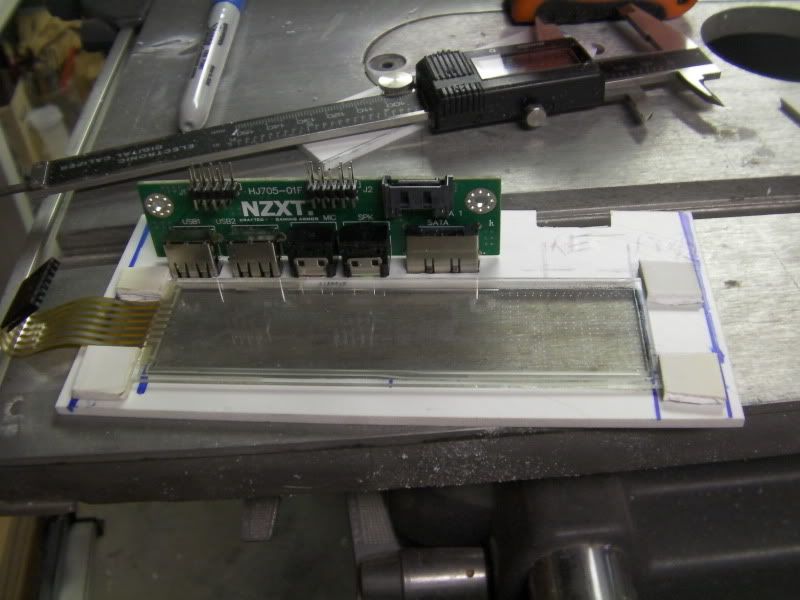
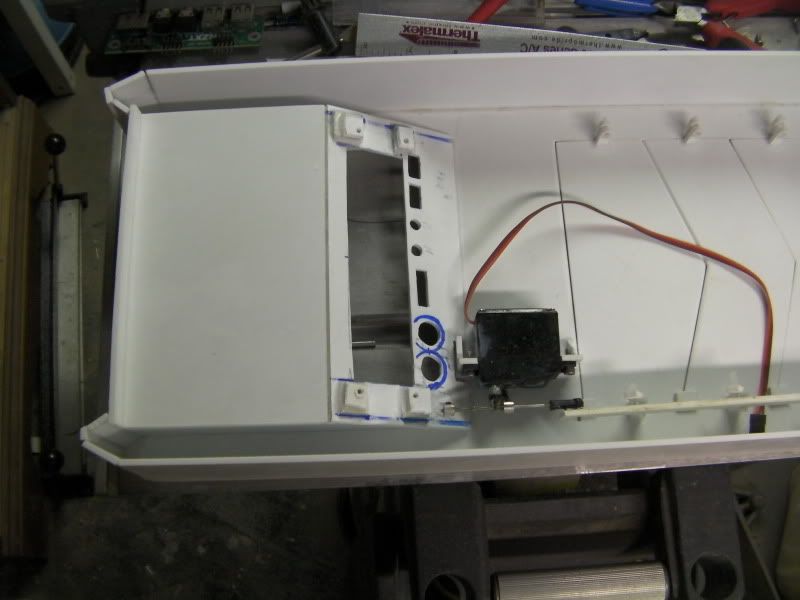
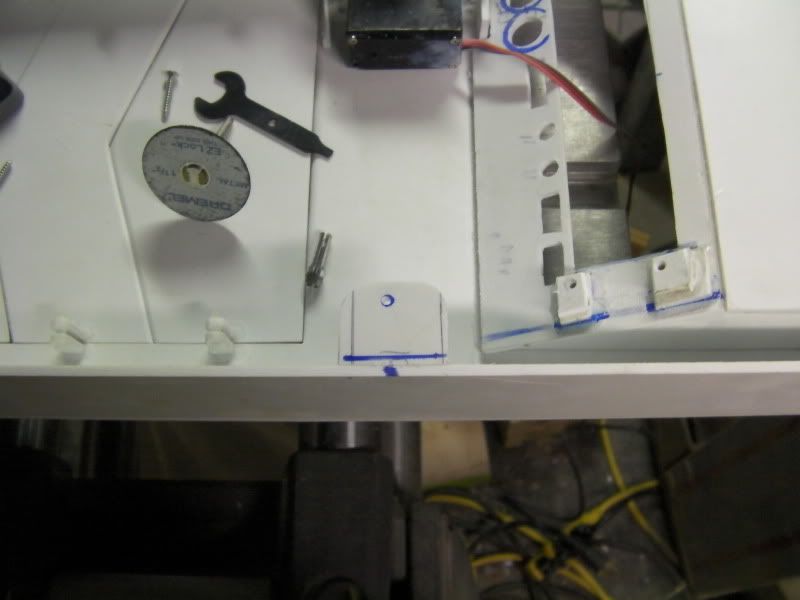
Here is how the NZXT front panel setup sits. I'm going to just use a few dabs of hot glue to hold this panel in place. You can also see the touch panel sitting in place. I cut out some small square mounts and glued them in place 2 pieces tall. These will get drilled and be used to secure the PCB in place with the original screws.
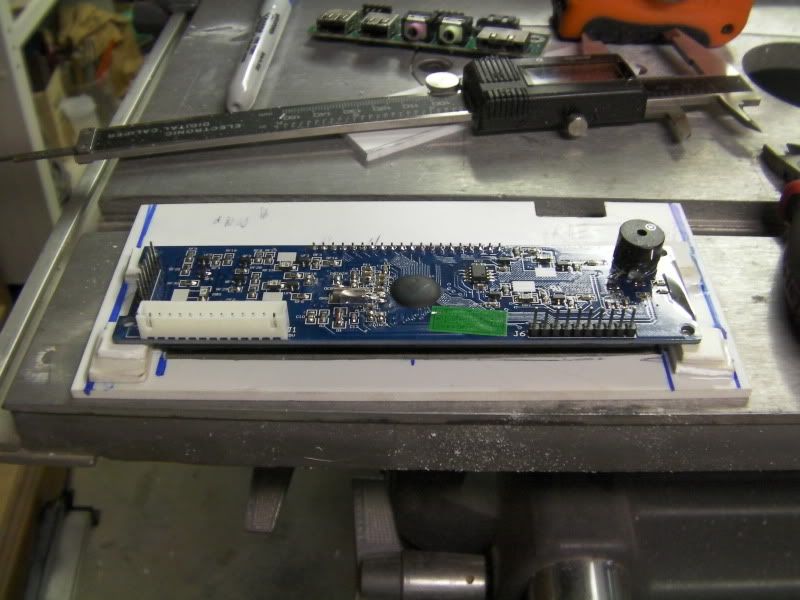
And a shot with the PCB in place. The touch panel will more or less be sandwiched in by the PCB and LCD screen. There is a small amount of adhesive that was holding it to the OEM plastic housing that will help keep it secure.
That's all for tonight as the glue needs to set up. I still need to figure out what to do as far as power and reset buttons go. I wanted to use the original ones, but I don't want to cut the housing that's holding them in place. I may just end up doing that anyways so I can use the buttons :D
Hopefully after work tomorrow I can get some more work done!
-
Re: Project: Tempest SXR
Sweet adaptation for the fan controller.
-
Re: Project: Tempest SXR
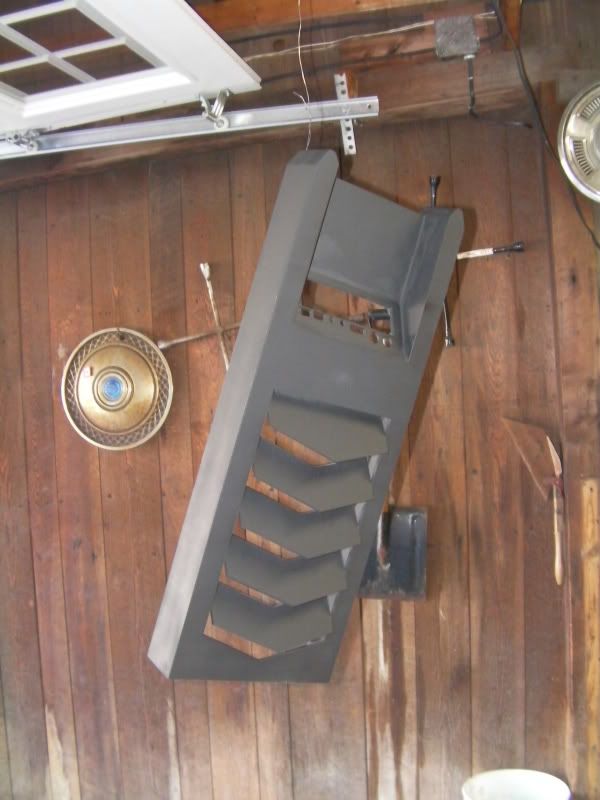
Update time!
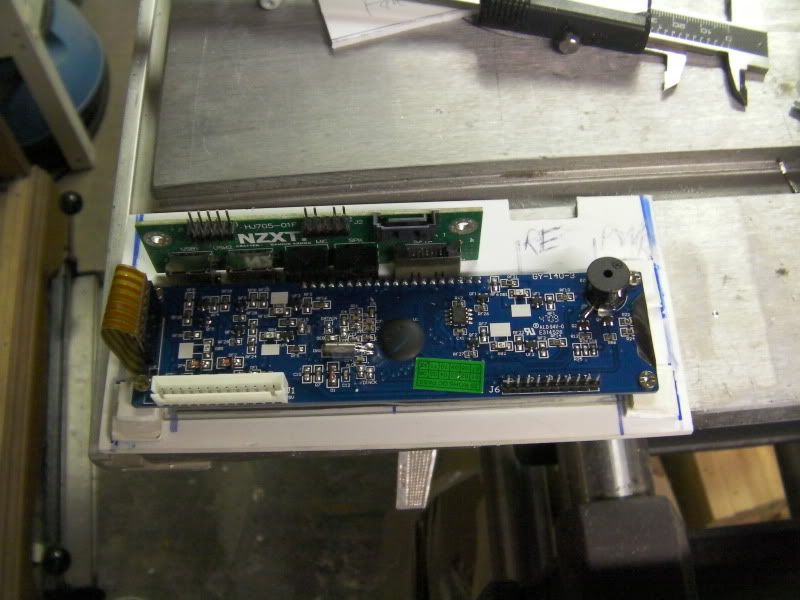
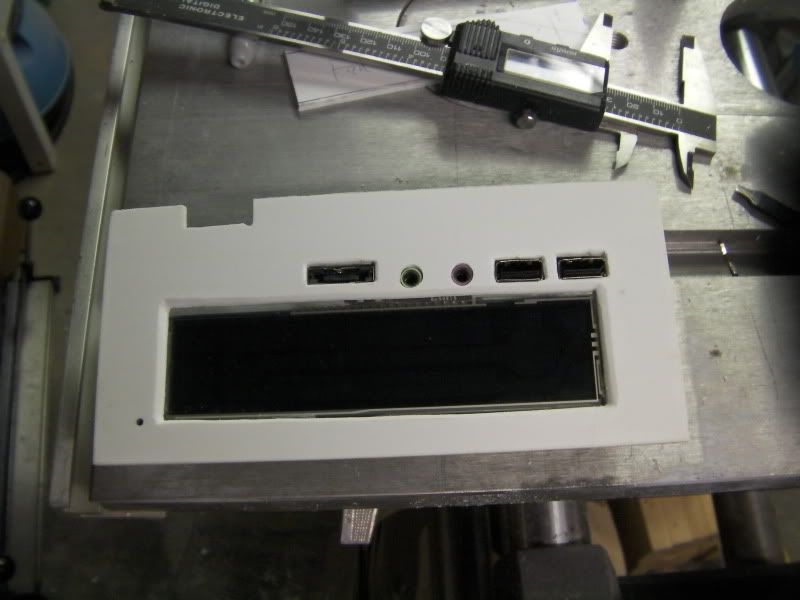
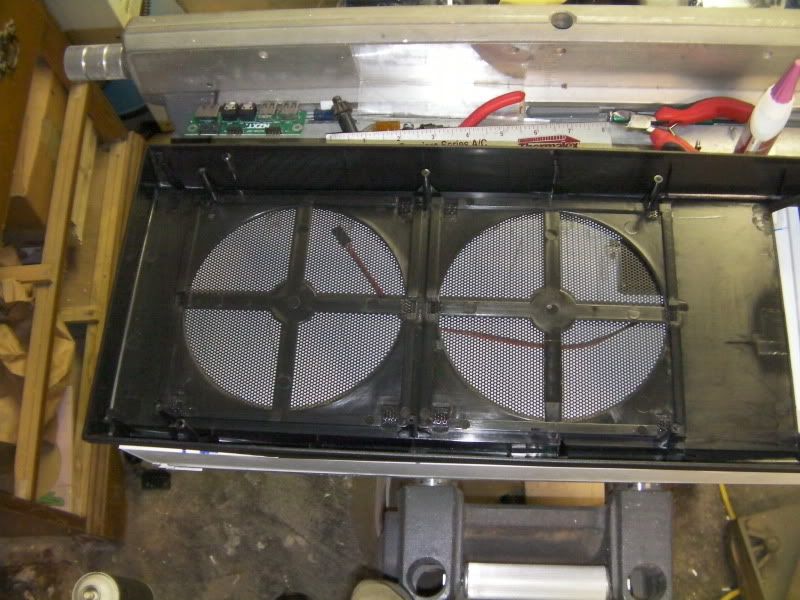
Here's a shot of the fan controller with the i/o panel installed
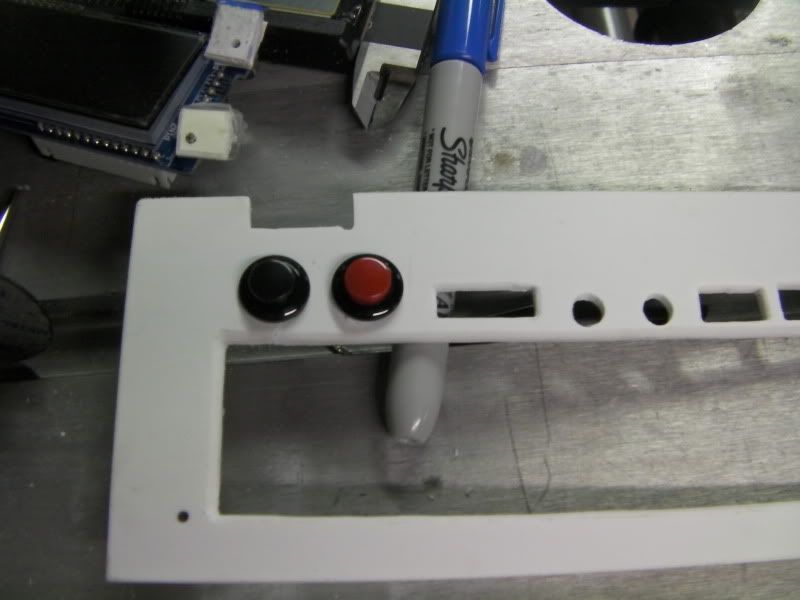
Then I drilled 2 holes for switches. One for power and one for reset.
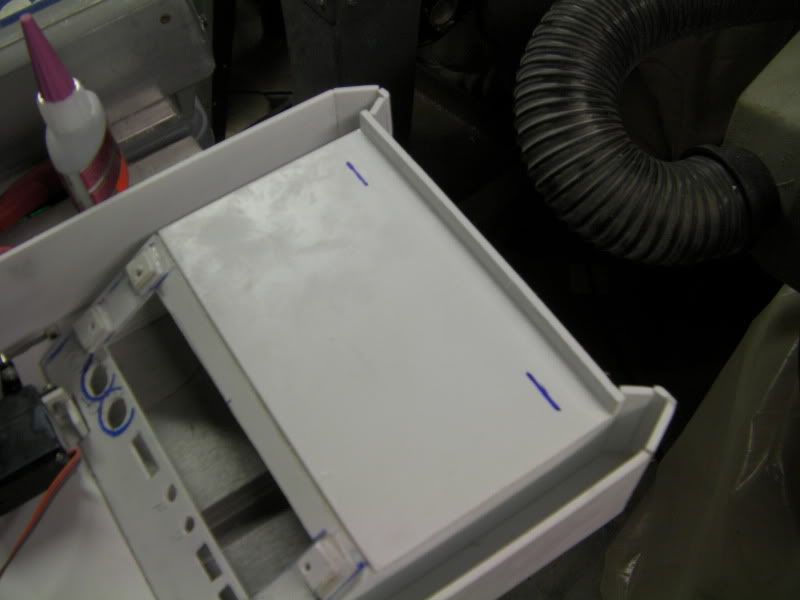
Then the i/o panel was glued to the rest of the top panel
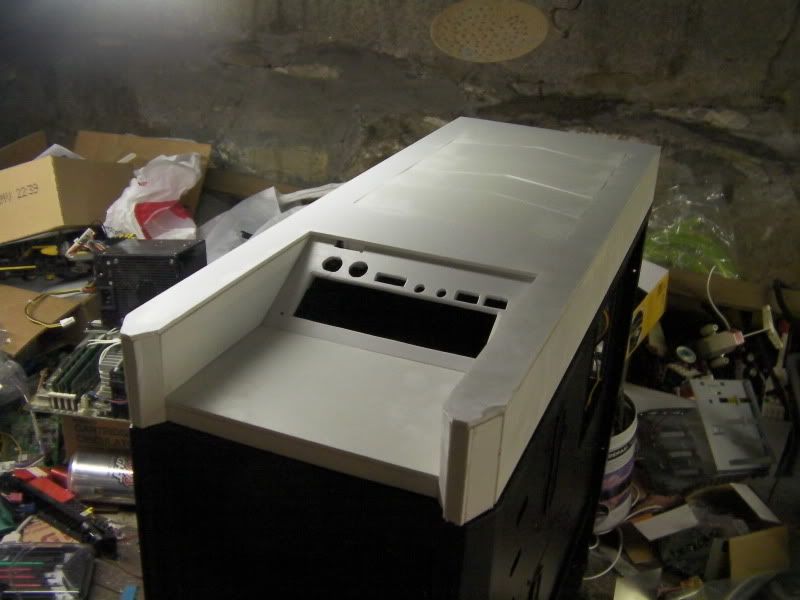
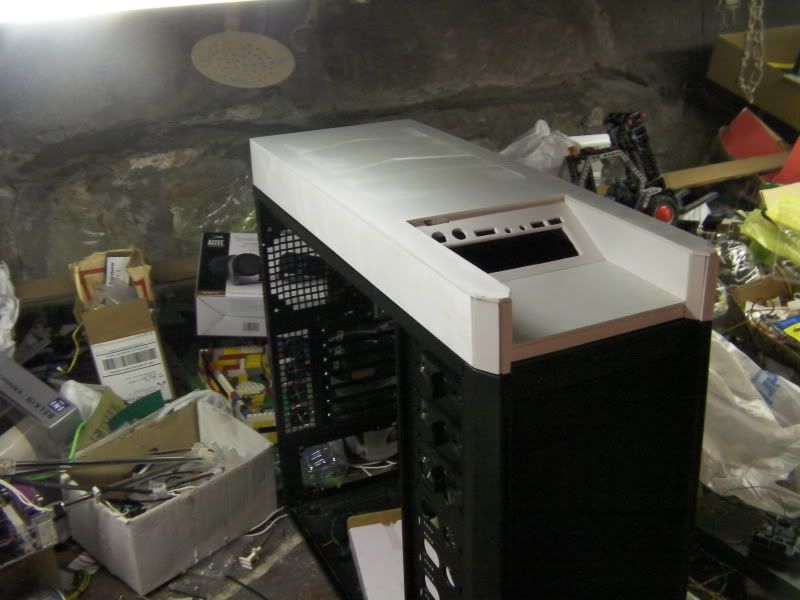
And a couple shots of the completed top panel sitting on the case
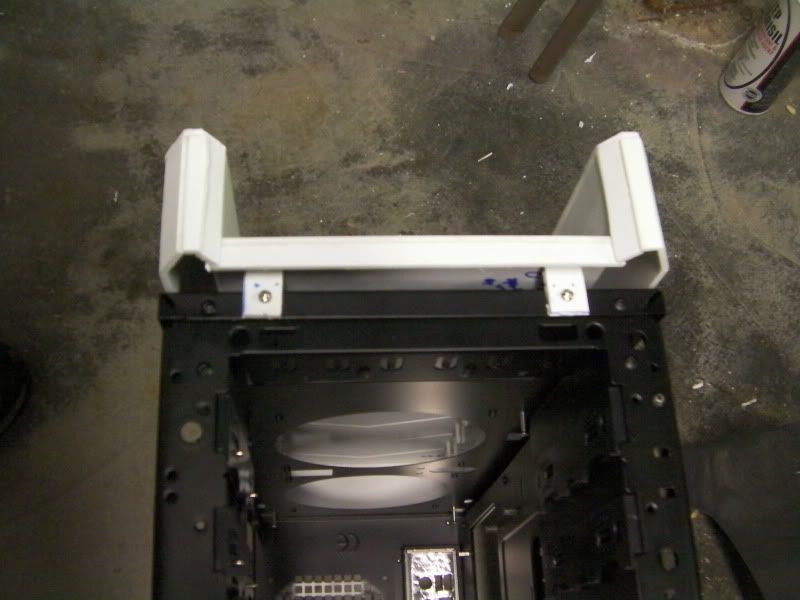
Next up was to make the mounts to hold the top panel to the case. The stock setup is 2 tabs in front, and 6 holes through the top with screws to hold it down. I figure if I use the 2 front tabs and 4 of the 6 screws for the top it should be plenty secure.
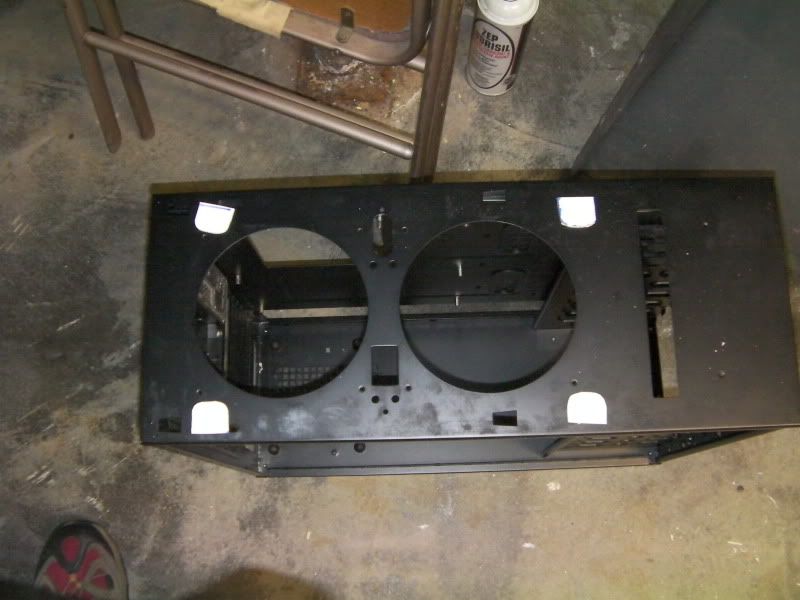
Here's a shot of the 2 front tabs on the NZXT top
and the 6 screw bosses
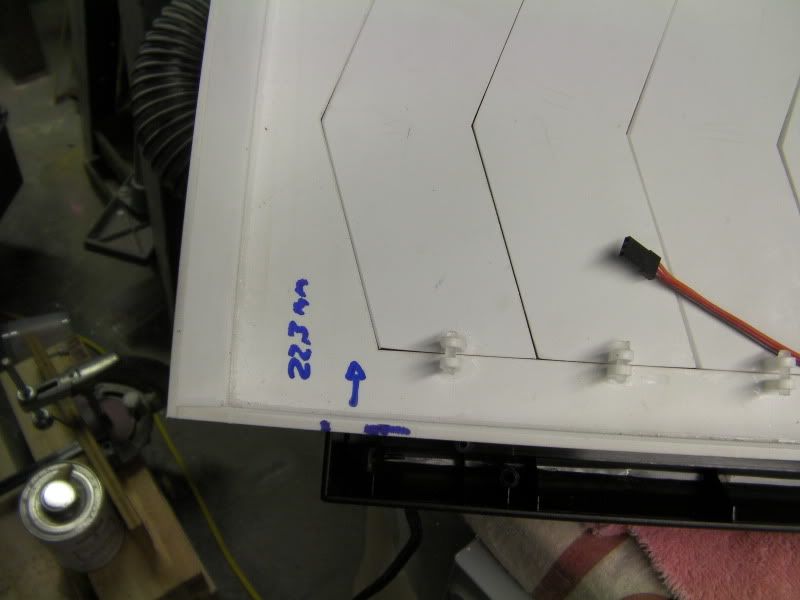
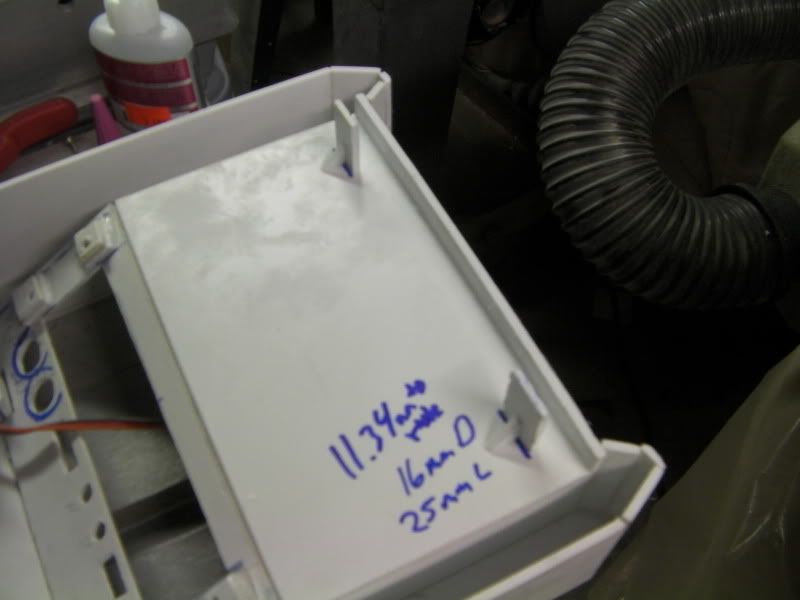
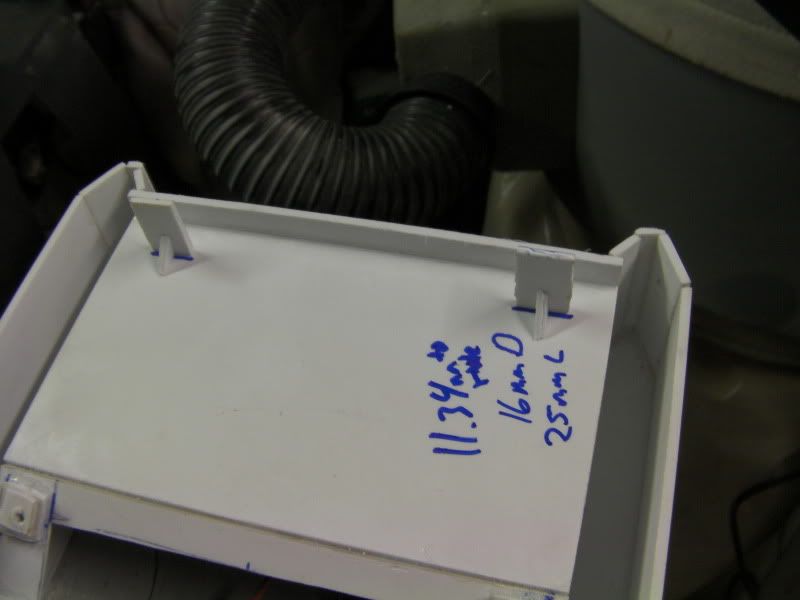
I then measured and transferred the locations to my top panel
I jotted down some measurements for the tabs
and the 4 screw brackets
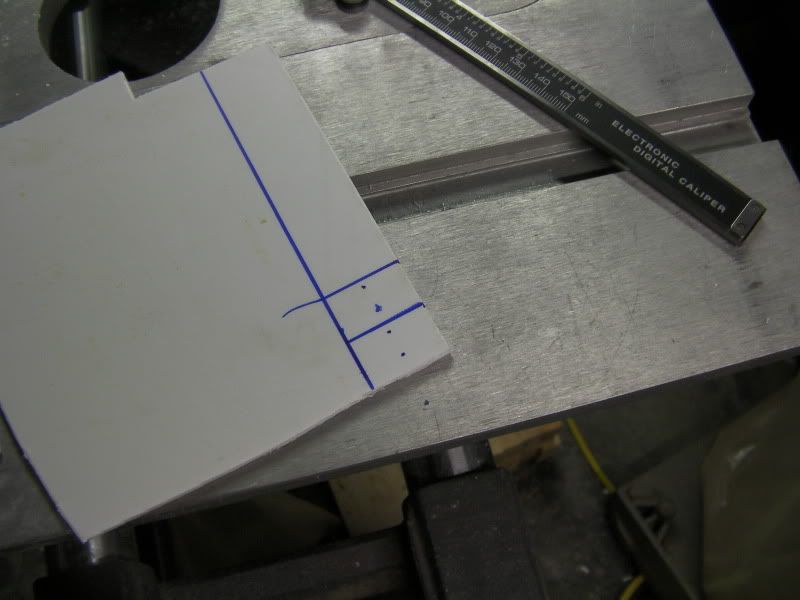
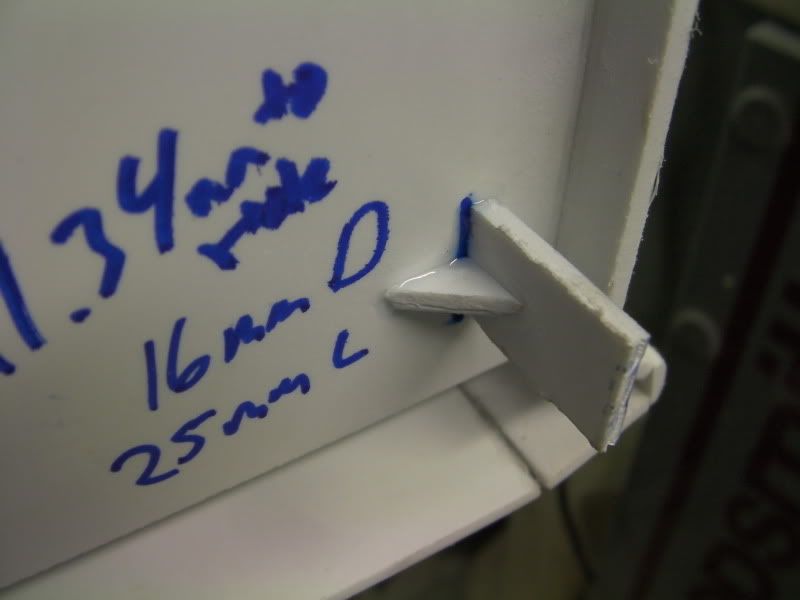
The next step was to mark and cut out the 2 pieces that will become the front mounting tabs
I then used painter's tape to hold the top panel in the proper position on the case and glued the tabs to the panel. I also cut some small triangle braces to stiffen the tabs.
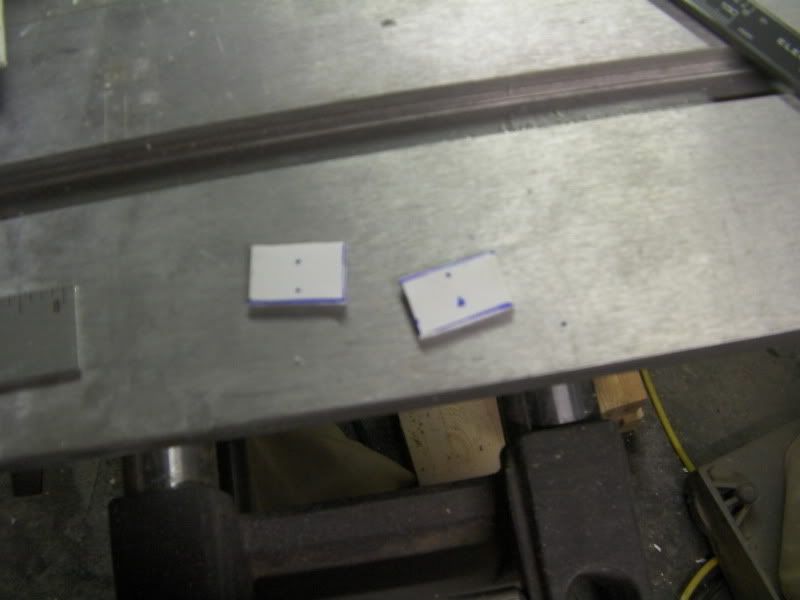
Next up was to cut out the 4 top mounts.
Then glue them in position
with stiffeners as well
That's it for now as the glue is drying. I also did some sanding to the body to smooth out and overhangs and sharp edges. The next step once the glue is dry will be to set the top panel in position and mark the holes from inside the case, then drill them.
After that it'll be finish sanding followed by bondo and paint!
-
Re: Project: Tempest SXR
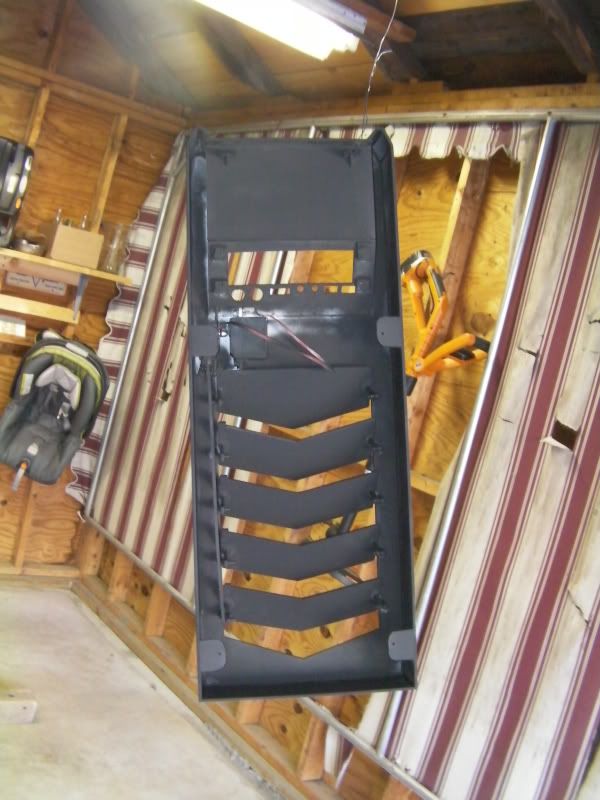
Time for another update!
I set the top on the case and marked the holes with a sharpie
then drilled them out
then did the same with the 2 front ones
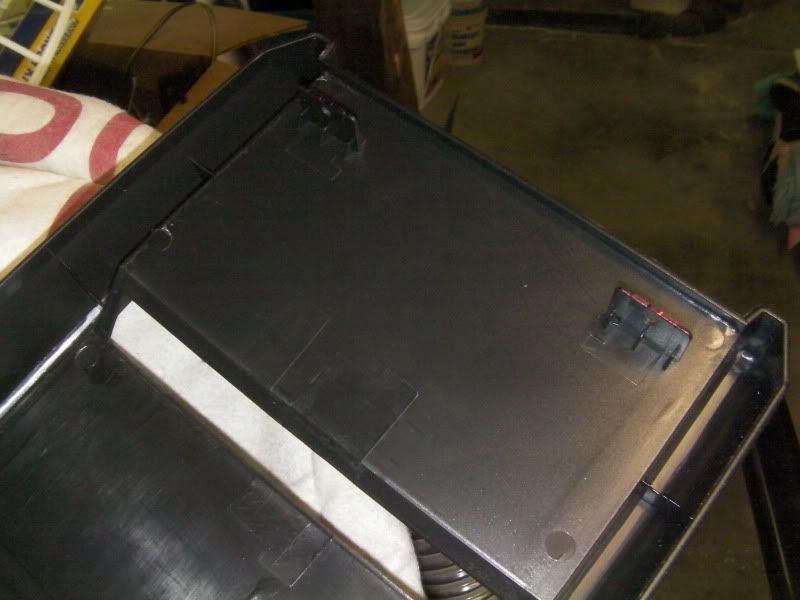
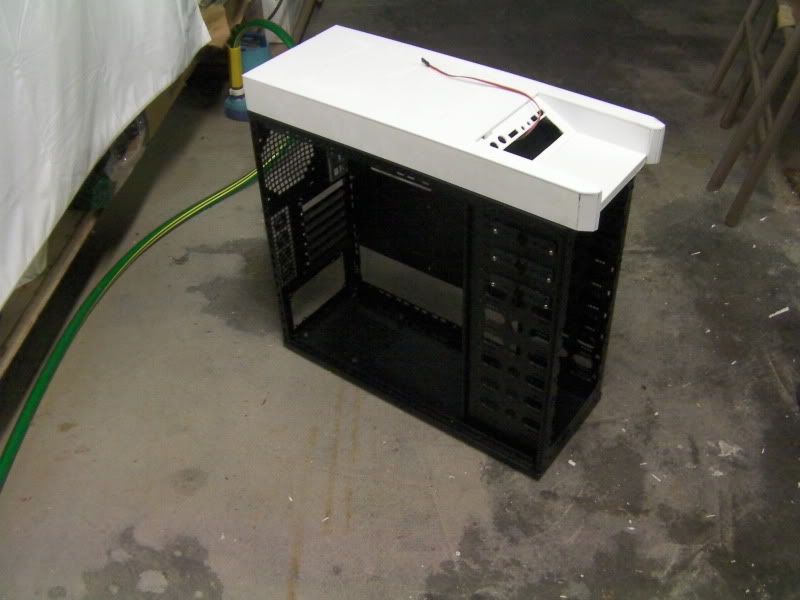
Here it is temporarily secured to the case. It's strong no doubt, I lifted the entire case off the floor by holding only the styrene section I made
here you can see the 4 inner screws
Then I went to town with the sanding block. Then to the next town lol. All ready for bondo! I'm off to wally world right now actually to pick some up
-
Re: Project: Tempest SXR
Last update for today. Hopefully more to come tomorrow!
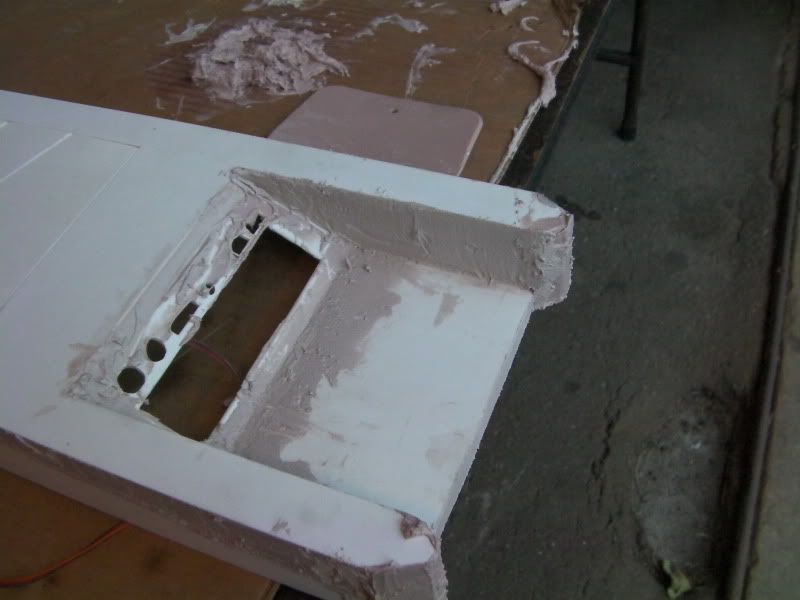
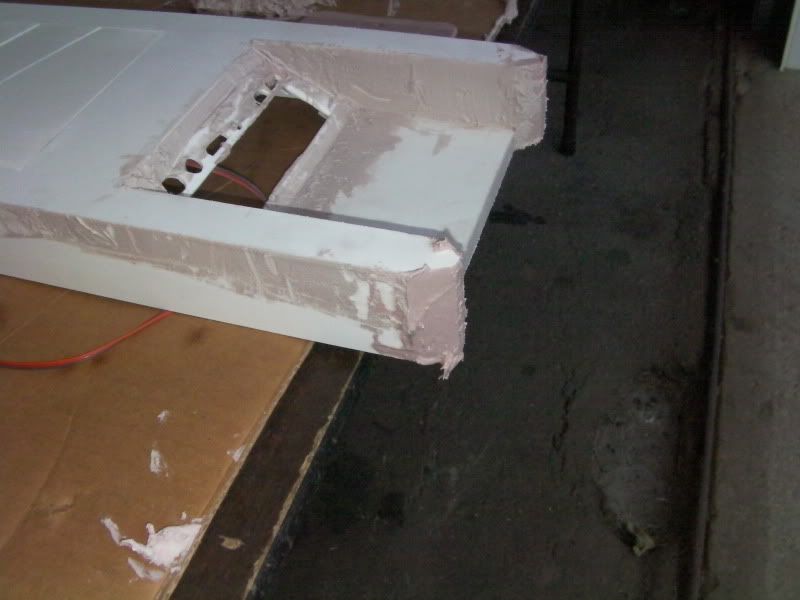
I got some bondo on it and let it set up for a while, then did some basic sanding on it. I've still got a lot of sanding to do, but it'll be worth it in the end
-
Re: Project: Tempest SXR
And after a LOT of sanding, I had to put on a little more bondo
And then a LOT more sanding, but it's ready for paint! Should get the first coat on in a day or two!!
-
Re: Project: Tempest SXR
Looking good!!! Looking damn good!
-
Re: Project: Tempest SXR
Got the first 2 coats of flat black on yesterday!
And got it wet sanded with 1000 grit today. It's currently drying and if it's dry in a few hours I'll spray the next coat.
-
Re: Project: Tempest SXR
Looking great. Are you going to paint the underside of the louvers a different color?