Re: der_george - awsm htpc
Re: der_george - awsm htpc
HTPC? Snow? Sounds dangerous
Re: der_george - awsm htpc
Re: der_george - awsm htpc
that's a cool case. completely fanless.
this is one of my favorite sites for ideas on making completely fanless pcs.
http://www.silentmods.com/
Re: der_george - awsm htpc
Quote:
Originally Posted by
jdbnsn

I'll be good :D
:0)
Quote:
Originally Posted by
TheGreatSatan
HTPC? Snow? Sounds dangerous
HTPC -Check! Snow - well it was for the photo. So not really. ;) Dangerous? Hope not! :0)
Quote:
Originally Posted by
billygoat333
A snowboard mod?
xD. ahaha. Cool idea. i'm going for a sleek HTPC.
Quote:
Originally Posted by
xr4man
that's a cool case. completely fanless.
this is one of my favorite sites for ideas on making completely fanless pcs.
http://www.silentmods.com/
Correct. I like it too! Thanks for the link. Will check it out!
Okay lets go. Im going to show you what I did in the meantime.
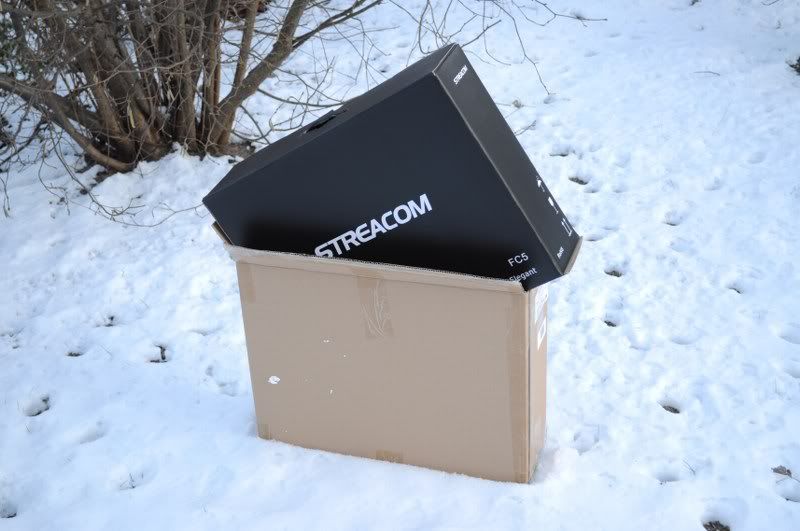
First of all I would like to thank Christian from Streacom for getting a Streacom FC5 out to Germany for me before becomes officially available over here. Sadly I wont be the only one to hold it in my hands for very long as they are coming to the German market soon if I understood it correctly that is. ;)
I unpacked it straight away of course. Sadly the feel of the Case doesnt come across on the pictures.
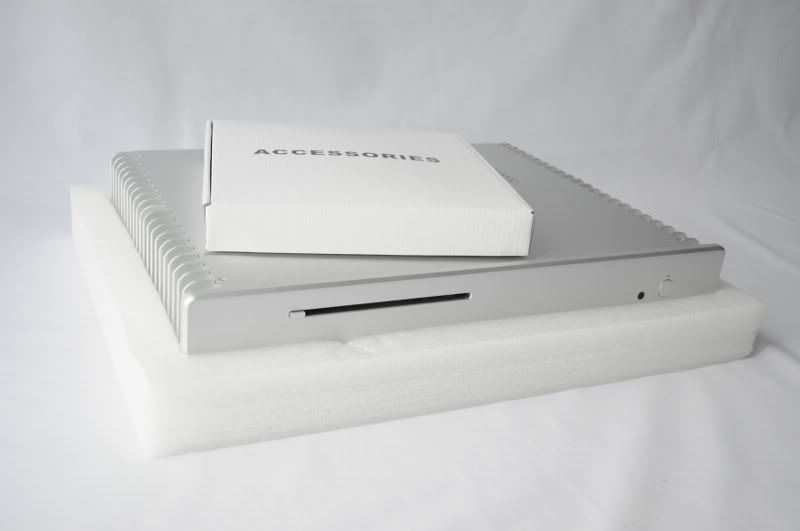
This was in the big black box: The Streacom FC5 Case and a little accessories box.
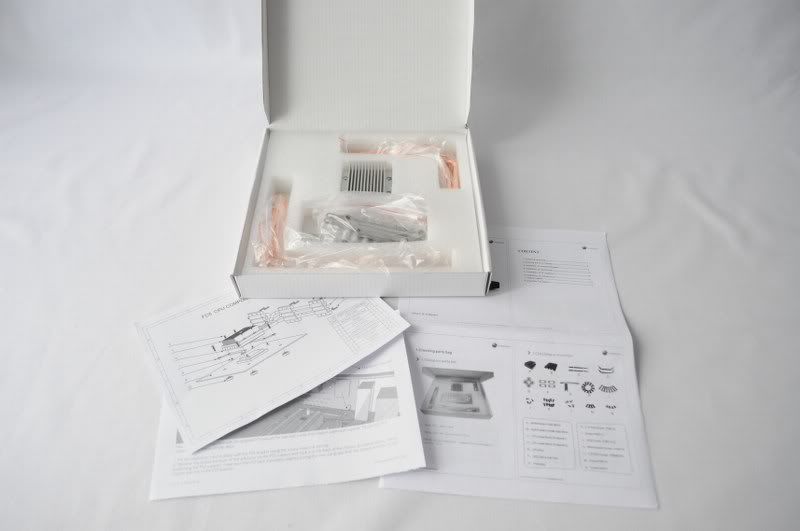
Lets have a look in the accessories box.
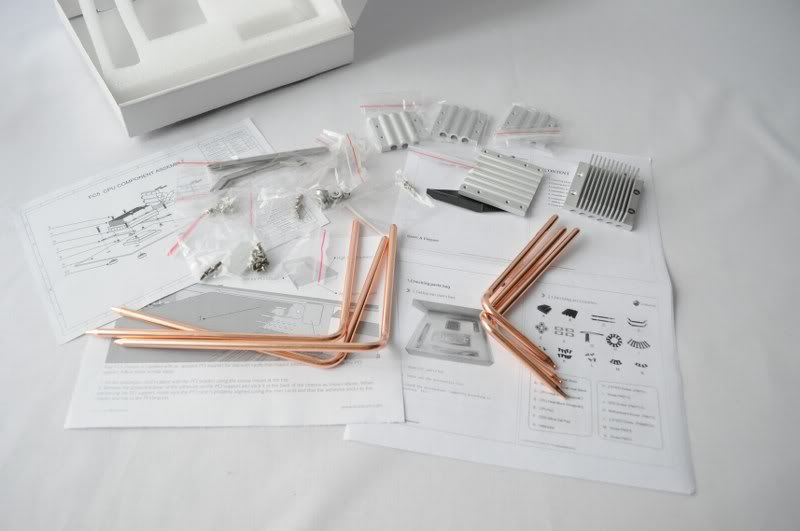
Heatpipes, heatsinks and installation material.
The heatpipes are very well made. No solder discolorations and very clean tips. Now lets see how good the case is.
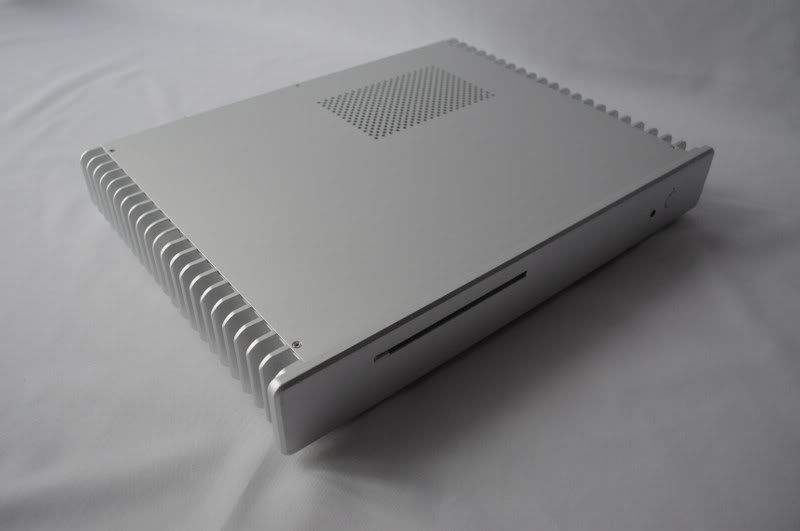
Heres the beauty:
Ive got the silver one there is also a black one. It has a great feal to it. The silky matte blasted finish looks really nice. Everything that you can touch is made of metal, even all of the buttons. Not what you see very often.
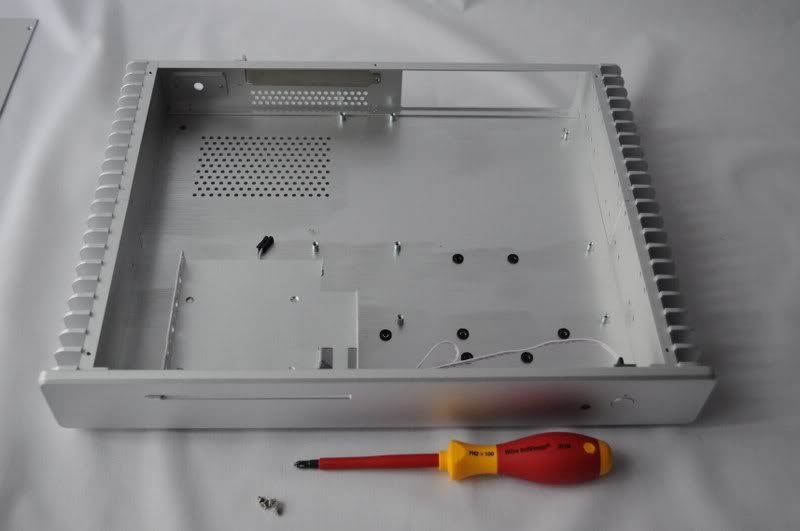
Lets see if everything on the inside is as nice as on the outside. Five little screws later and you can take off the lid (made of 2.5 mm thick aluminium!)
First thing you notice is that apart from a few rubber-decouplings, a PCB and a Cable, its all made of metal on the inside too. It has enough room for a mATX Motherboard. The huge cooling fins really stand out too.
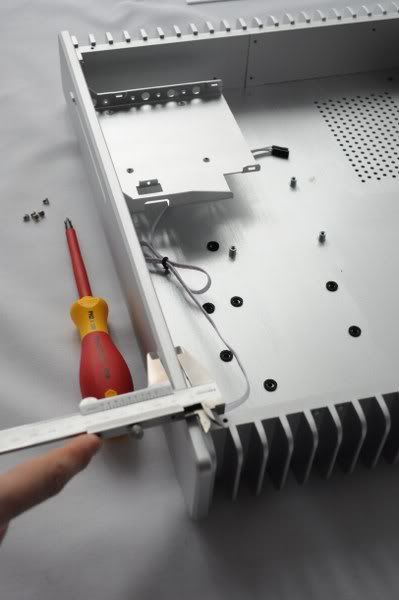
Yeah. Thats right 10 mm pure Aluminium. No plastics, no bent aluminium, 10 mm pure aluminium. :0)
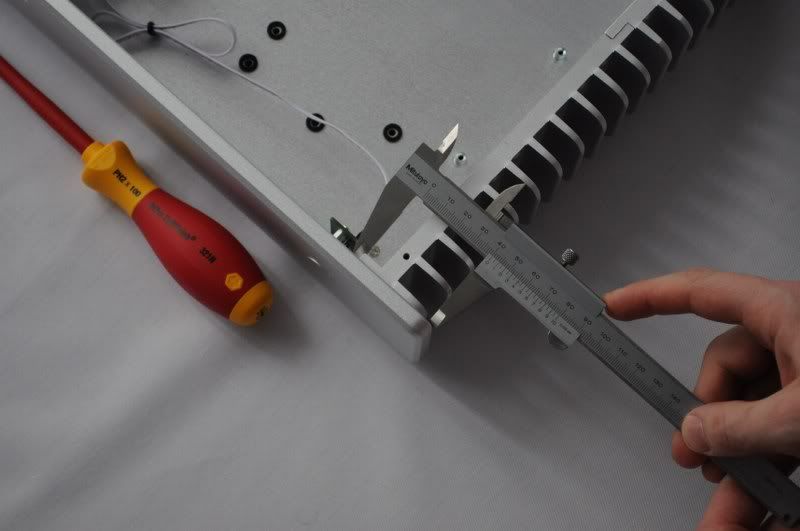
The sides with the cooling fins are over 40 mm thick on the widest area of the slimmest side. Pure aluminium here again. Thats what I call quality. :D
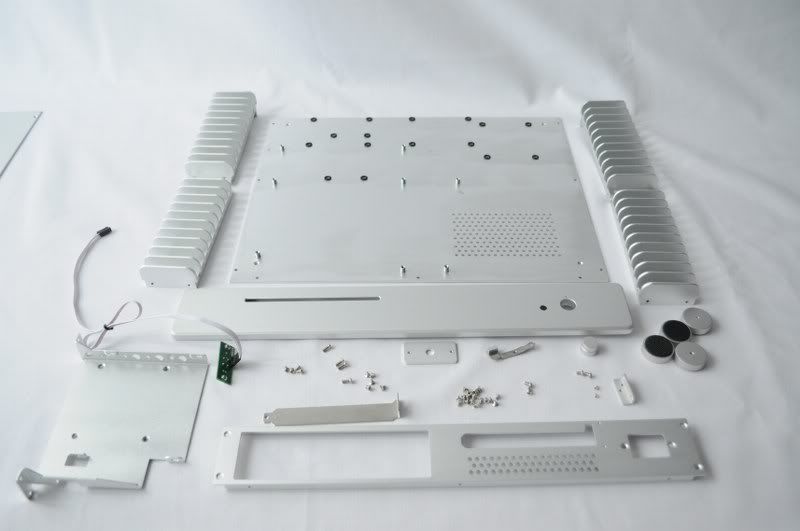
So lets take it all apart. The ODD-Tray first.
There we have all the parts. And I found something thats not made of metal. The rubber on the feet. :D Well the rest of the foot is made of pure aluminium. ;)
Okay taken it all apart now. Lets get on to the rest.
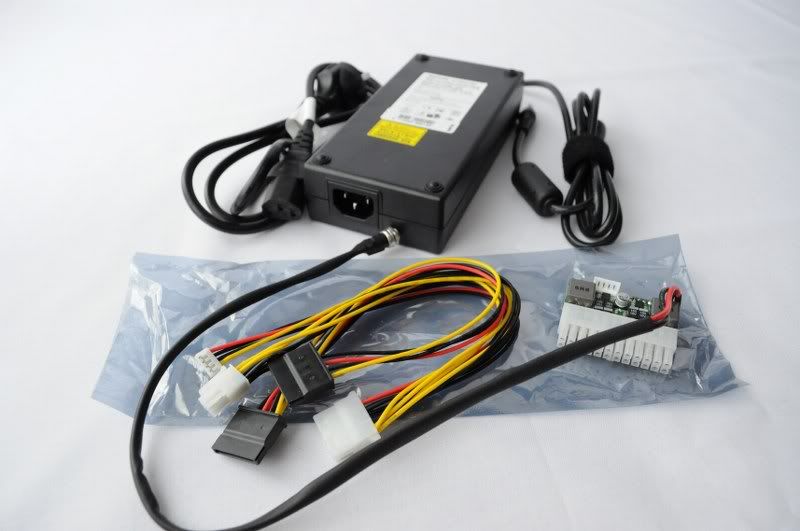
I orderd this stuf fas well
what could it be?... well the name says it all really.
Jep! A PicoPSU + and an external Power Supply. Passiv Power Supply CHECK!
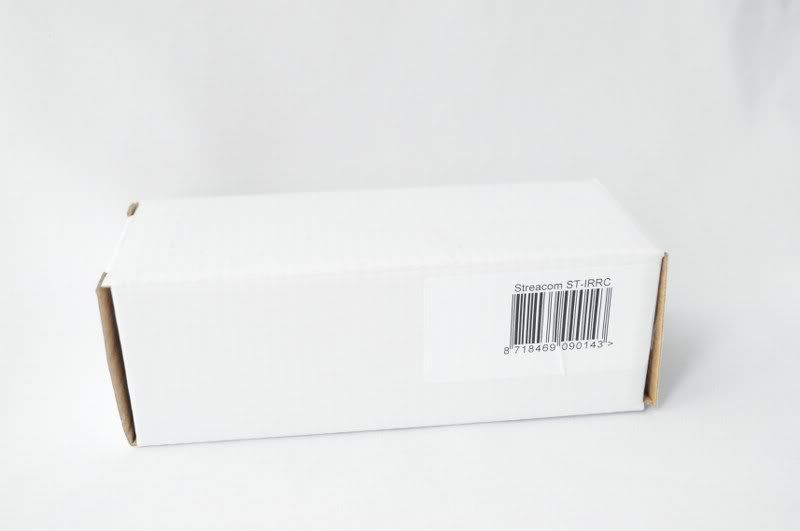
What could that be? Well, what could still be missing?
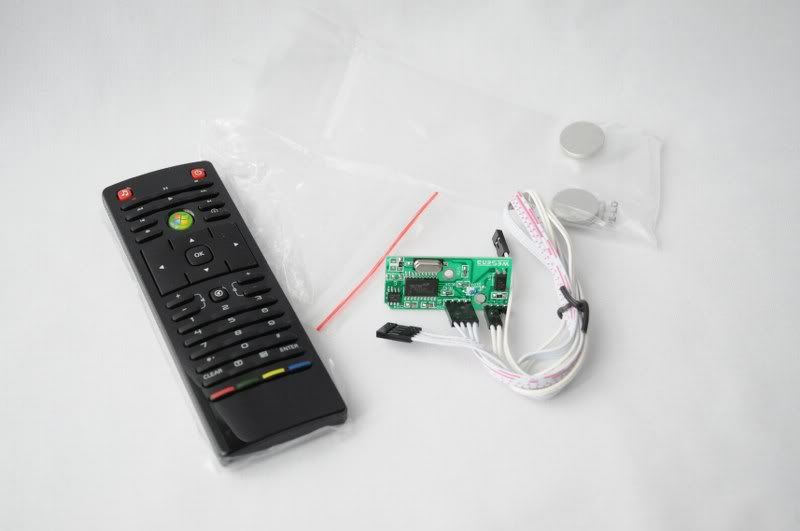
A remote-controller!
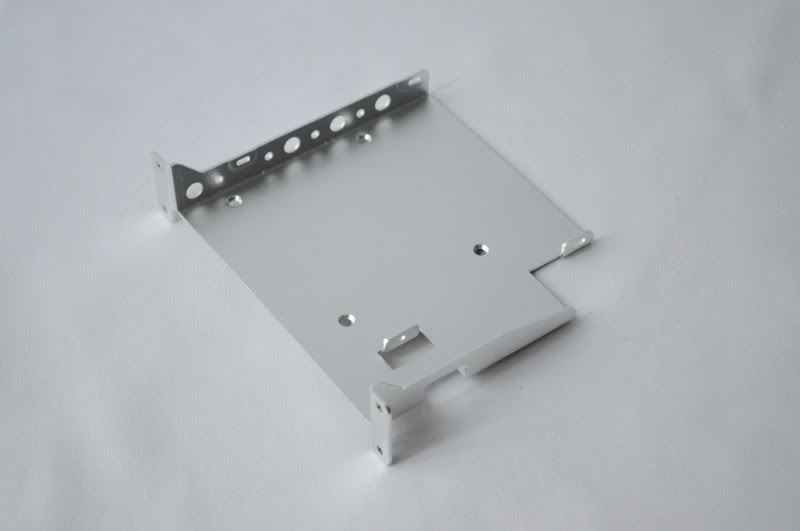
And this is where the first proper work began reverse engineering
And the result:
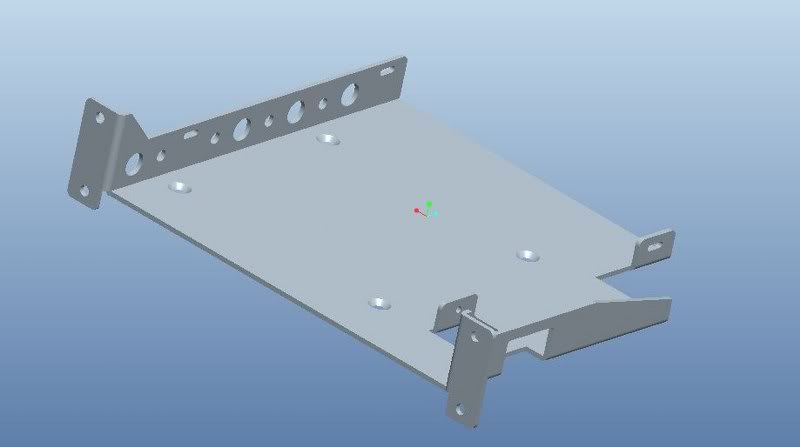
My - well for me at least new idea is to rebuild the FC5 completely in CAD. Then I want to show you what I want to do in CAD first and then try to do it in real.
Status CAD today: ca. 80%
Still has a bit of time though as all of the rest of my hardware still has not arrived still waiting for quite a few things. :0(
Could also be that I cant solely see to this project in the near future as I have applied to take part in the den we-mod-it casemoding contest. So it could be that I have to do two projects at the same time shouldnt be too bad as Ive done it before.
Thanks for reading if you got this far!
So long :0)
Re: der_george - awsm htpc
That is one beautiful case!
Re: der_george - awsm htpc
So true. ;)
The painfully long wait for my new hardware carries on, but I will still give you a little Update to kill time.
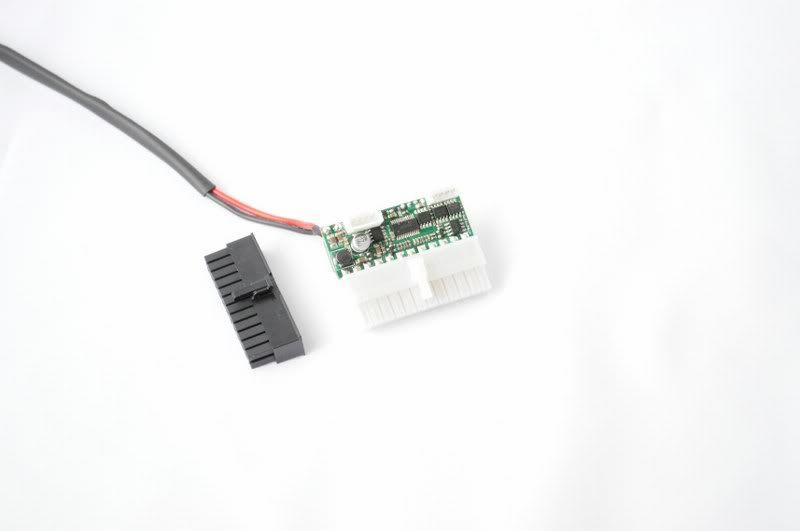
picoPSU-Modding Part 1:
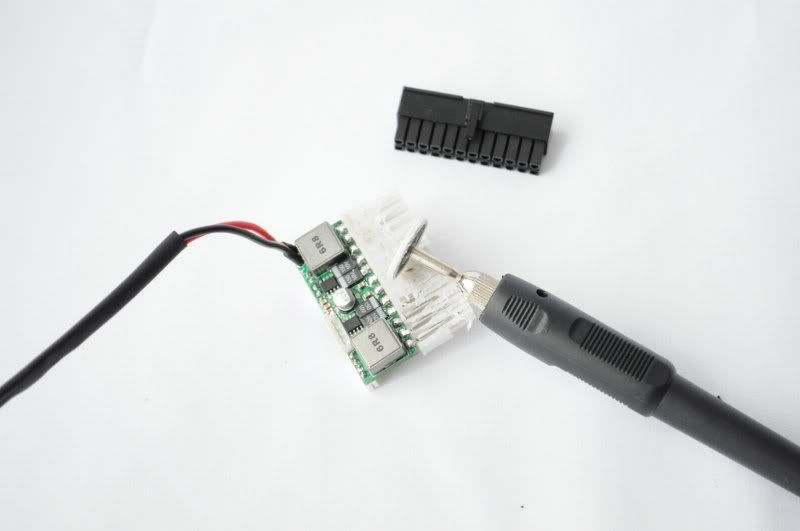
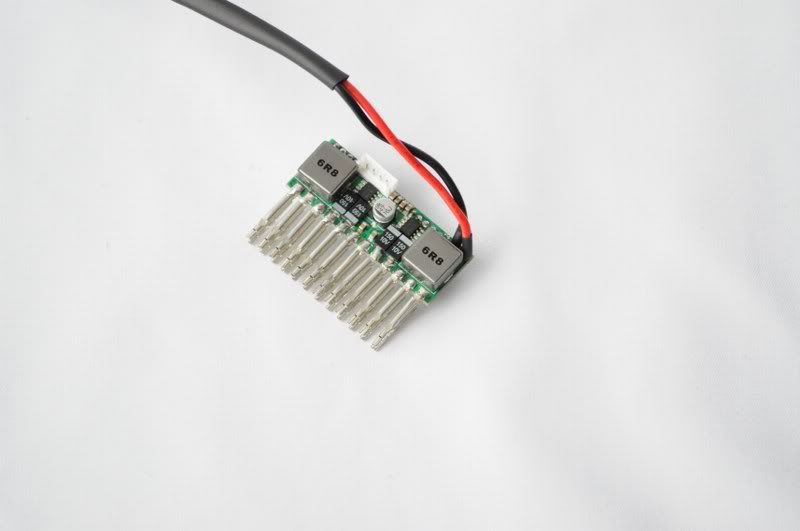
White connectors are ugly and thats why I want to have a nice little black one on it.
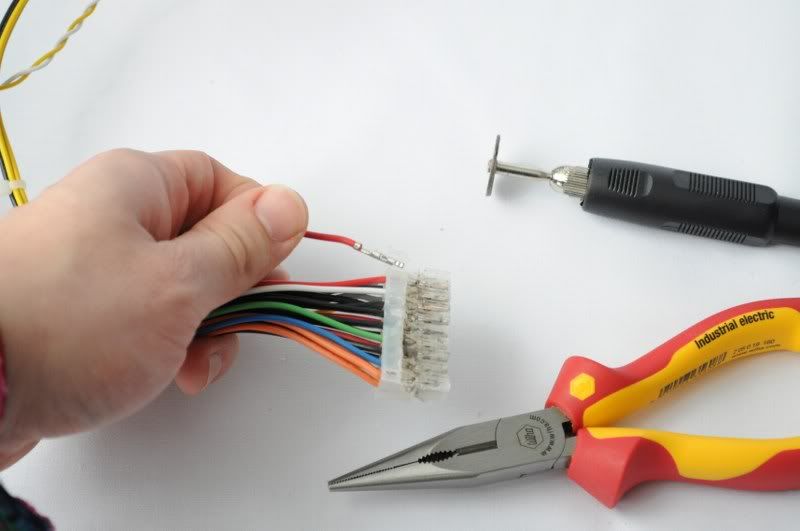
Using a Pin remover is not going to help because 24 Pins in one go is impossible. And I dont want to ram it in there with such a force that the hooks bend in, because I want to keep on using the pins. Desoldering the Pins doesnt work either (because of the little hooks) All thats left is to get rid of the plastic.
First I practiced on an old connector:
After trying out all different methods, I worked out that the best way to do it was to use a Dremel with a grinding disk and very carefully cut away the plastic. It wont be as easy as with the old connector, because on the picoPSU the pins arent separate but soldered together onto the PCB.
I knew I had to be very, very careful because if I slipped once it would instantly cut through the fragile little pins and I have no clue where to get pins like that which you can solder from quickly..
Slowly but surely starting on the first side
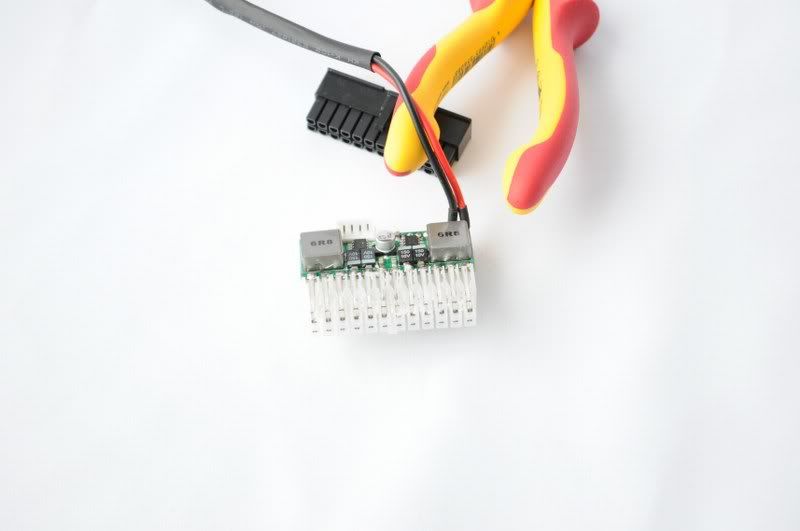
The first side completed
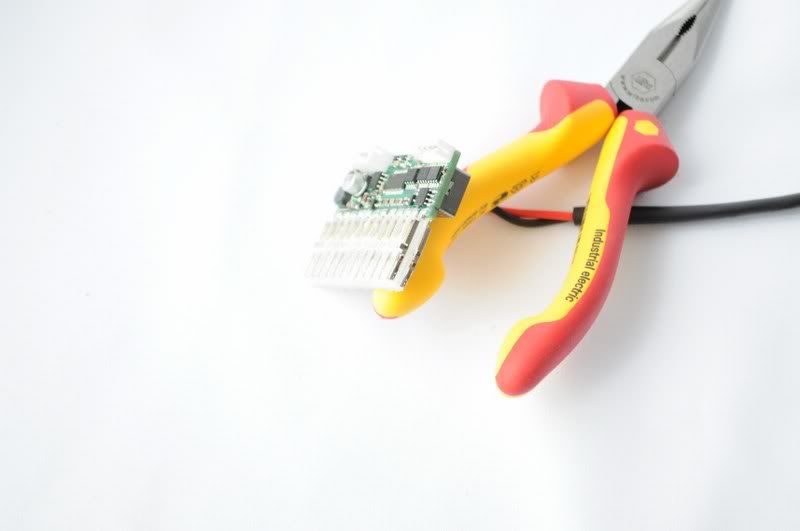
Carefully starting the second side
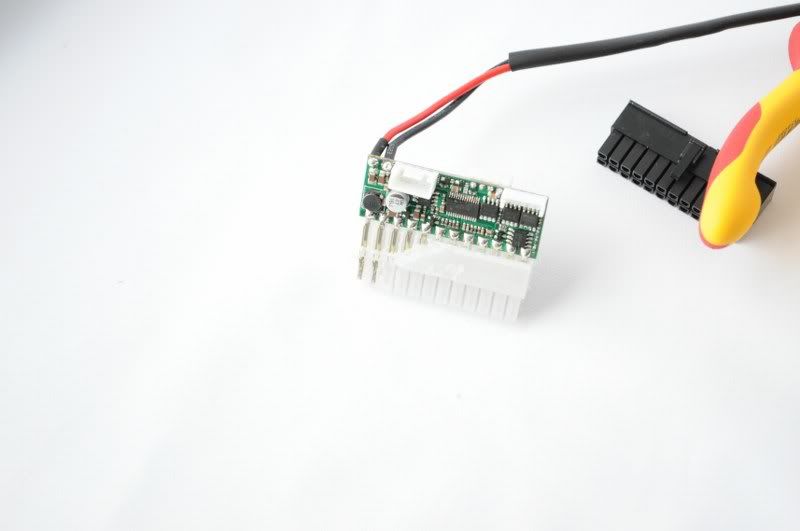
And just finished the second side. Now I just have to get rid of the plastic in-between. After quite a bit of trying and swearing I carefully got it out.
Thats what it looked like:
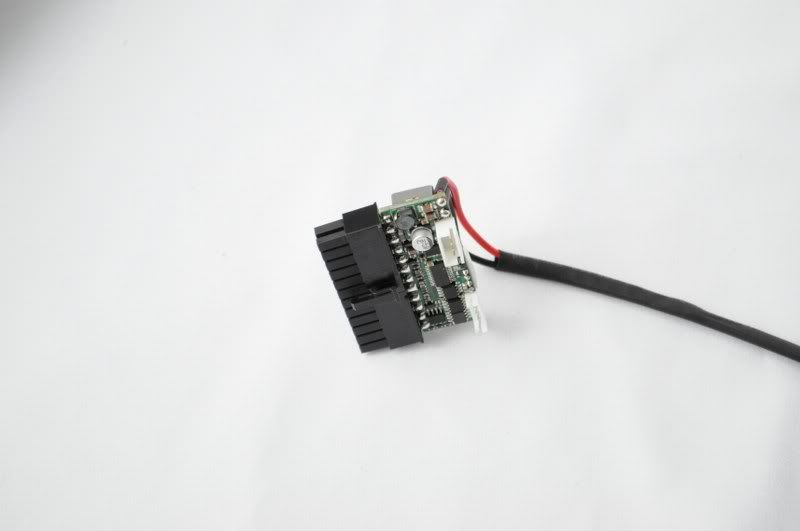
Getting the new connector on wasnt too difficult. ;)
And this is what it looks like now.
Im really hoping the hardware I ordered will arrive soon, so I can start properly at last.
Hopefully see you very soon.
So long :0)
Re: der_george - awsm htpc
nice job! the black looks much better :D
Re: der_george - awsm htpc
to make a pin like that to be soldered to the board, you can always take a regular pin and crimp it to a bare wire and then cut the wire to the right length.