Don't worry mate, I knew what you meant.

Printable View
Don't worry mate, I knew what you meant.
Update 9 - The Side Panel
It has been a little while since I last spoke, and that was because I had a few minor set backs. I was originally planning on having this update ready 2 days ago, but I accidentally measured and cut the panel wrong, and lost a day work.
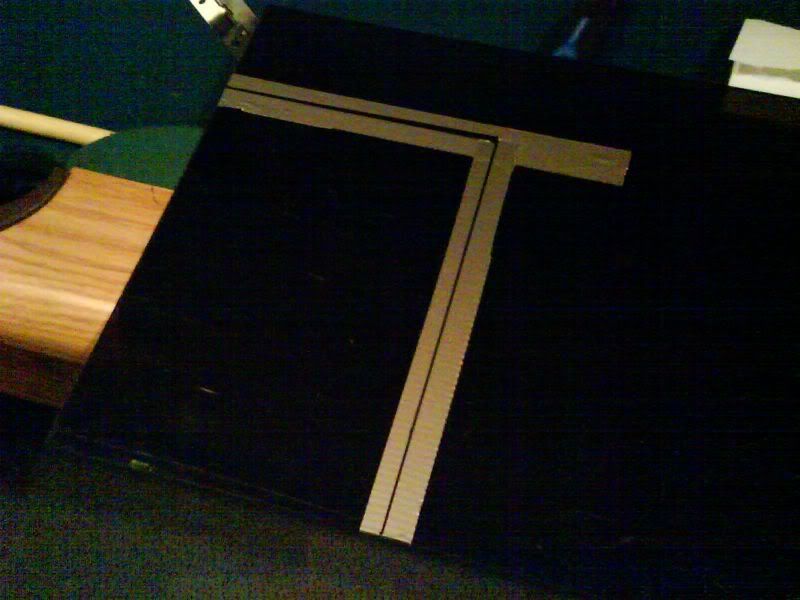
So I have this sheet of 5mm thick smoked black plexi:
It's the same width as the hole I need the side panel to fill.
So what are my plans for this plexi. Well that should be obvious now. I shall use it to make my side panel, and since it's so thick I won't need to border it with metal, or reinforce it.
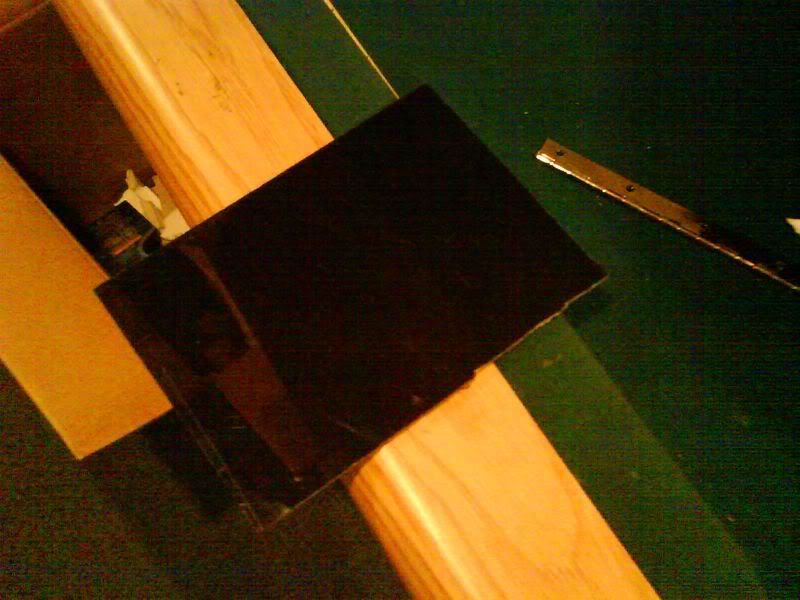
I mentioned that I botched my first attempt at making this panel. Well you know the saying, measure twice cut once. I didn't follow it, and one of my sides ended up being 1 cm too short. So I'll use that piece to make all my future windows, and I'll make a new panel entirely.
So this time I marked and measured several times:
See the cut from my previous attempt?
And I used a small hack saw to cut it out:
It's a little too big.
So I proceeded to file and sand the edges of this panel for 2 hours. I started with a heavy file, moved to a fine file, then 150 grit, 220 grit, 600, and finally 1500. I did not take any pictures of this long arduous process, but here is the result:
It still doesn't quite fit.
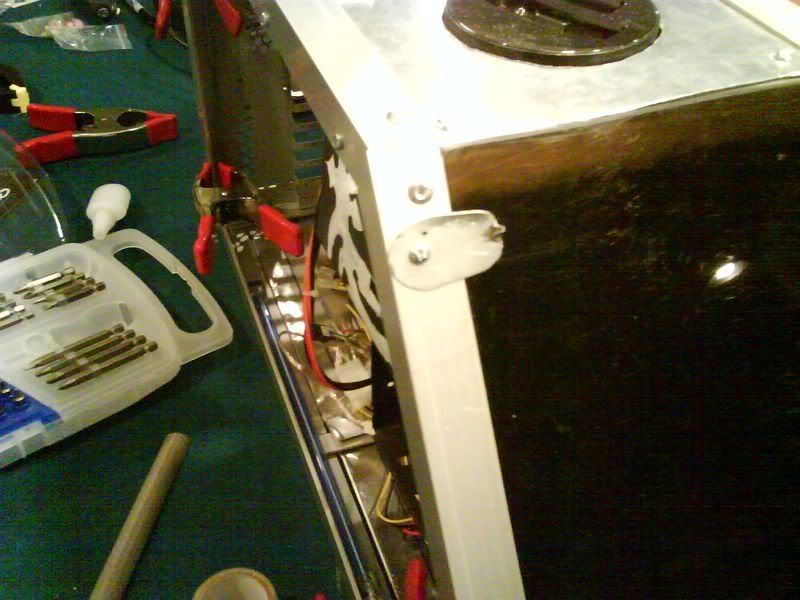
Before I proceeded with more filing and sanding, I decided to make the supports tht will keep this panel from falling inward:
There will be one in each corner. The long strip will bridge the corner, and the small squares will be a spacer between the frame and support, since the panel is 1 mm wider then the frame.
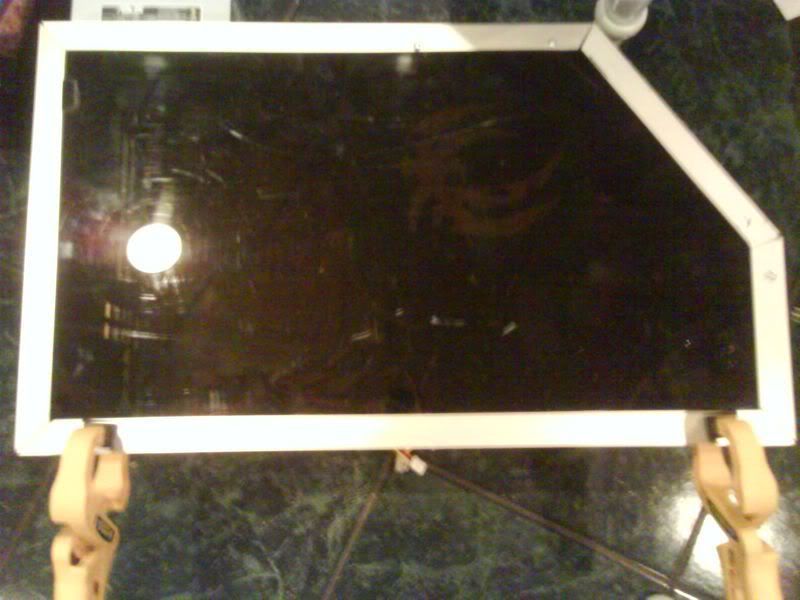
And here they are being glued into place:
Turns out the drive bays are in the way of the top right corner support. Bu the bays themselves act as a support, so it won't be a problem.
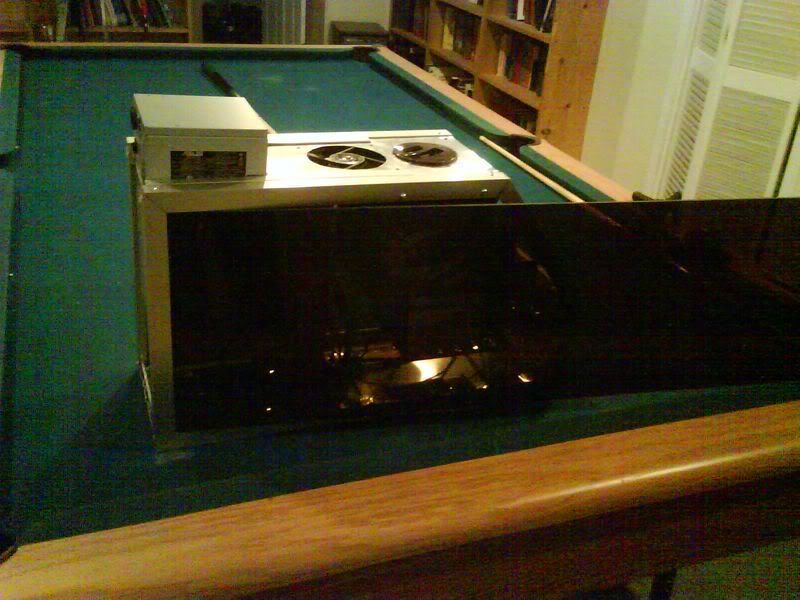
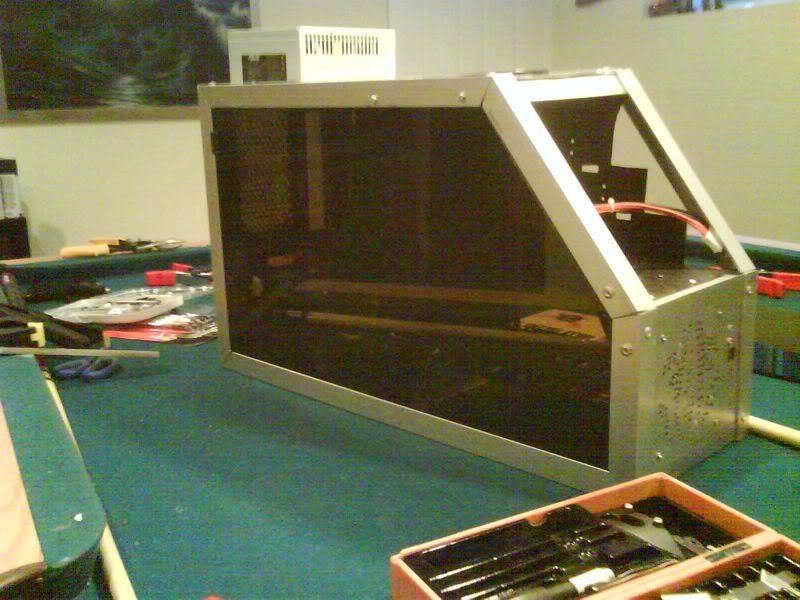
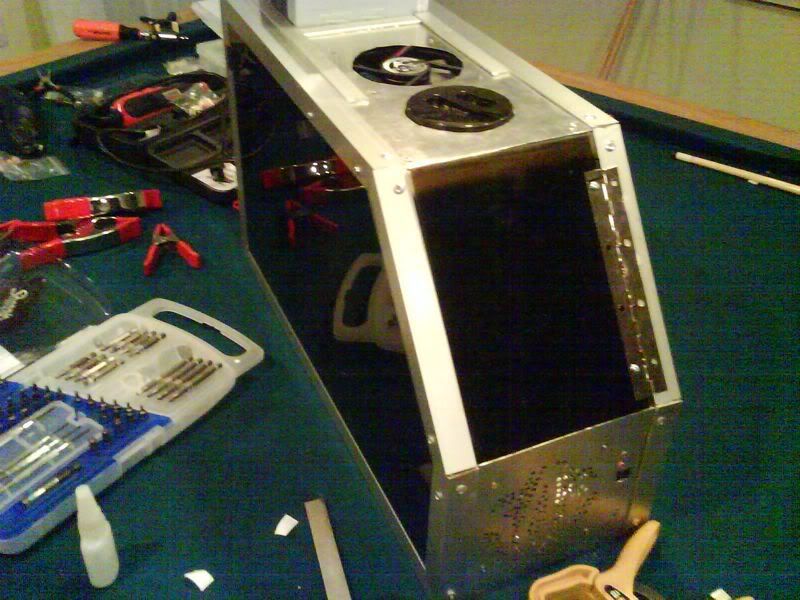
And then after another hour of filing and sanding the side panel fit:
It's almost flush with the frame, which is exactly how I want it.
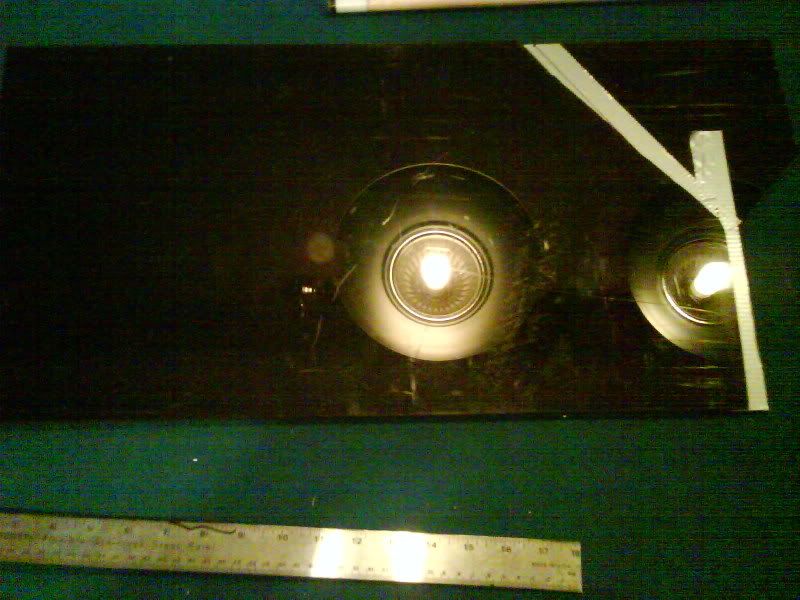
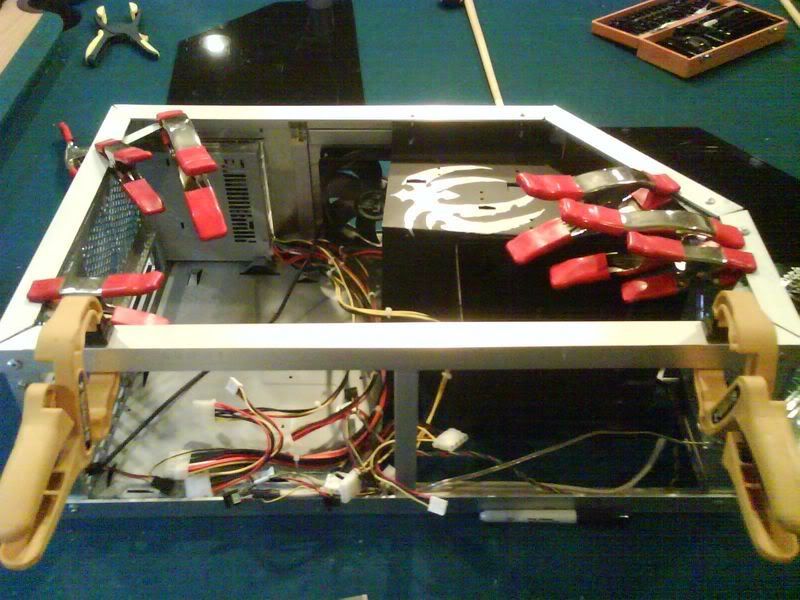
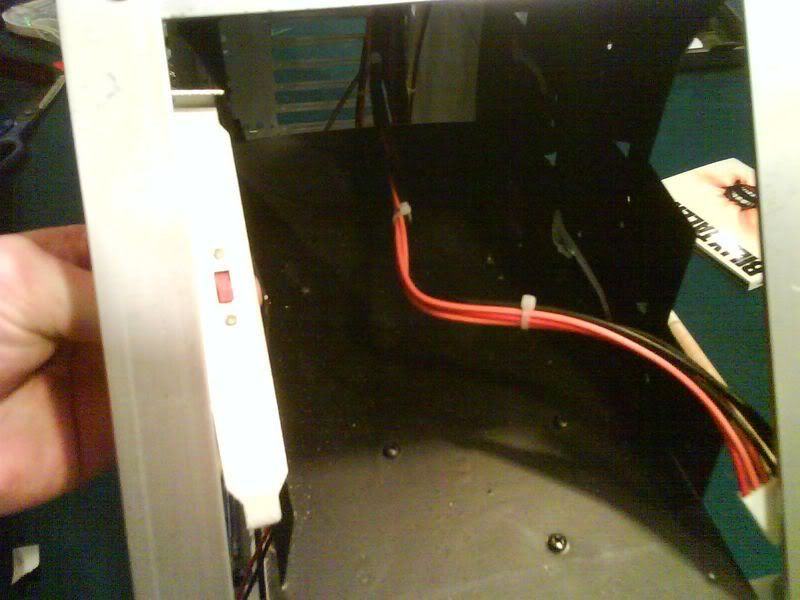
I also wanted to show everyone my plans for the cold cathode tube.
Here is where it will be located in the frame:
And here is where I'll probably mount the switch (beside where I plan to put the power and reset buttons):
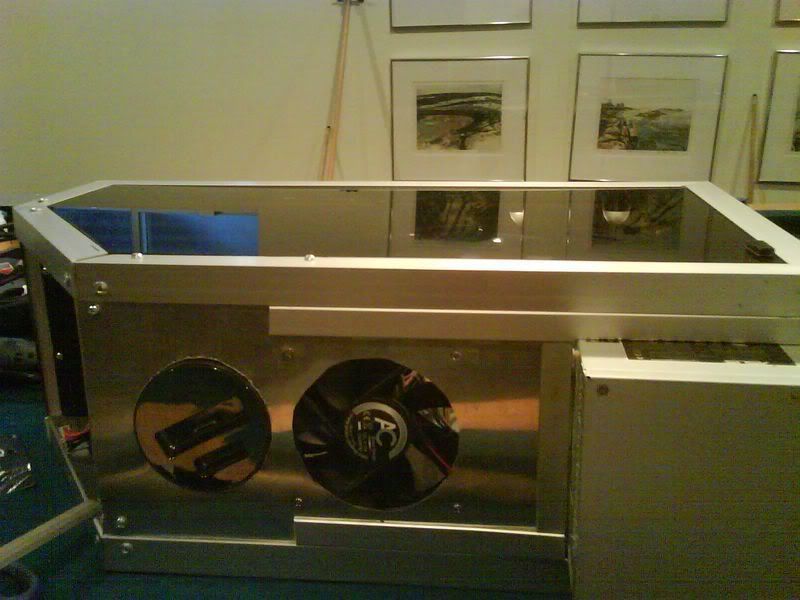
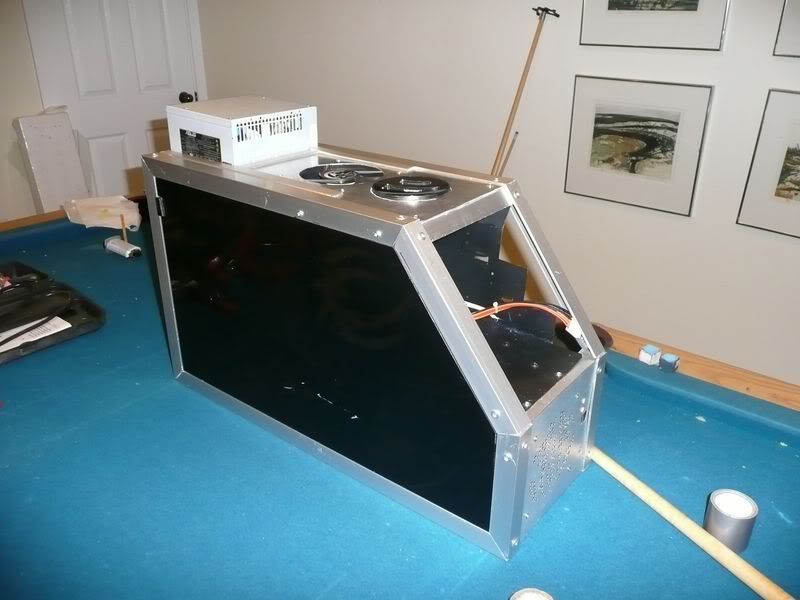
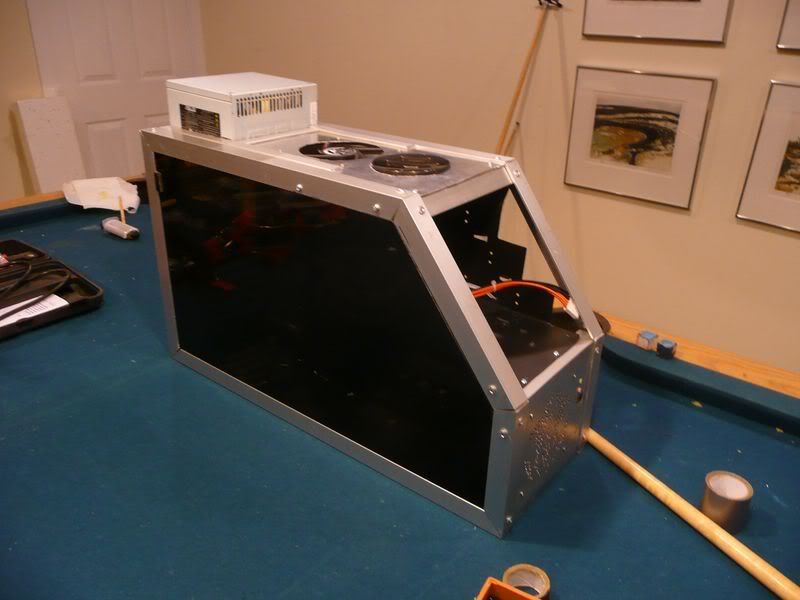
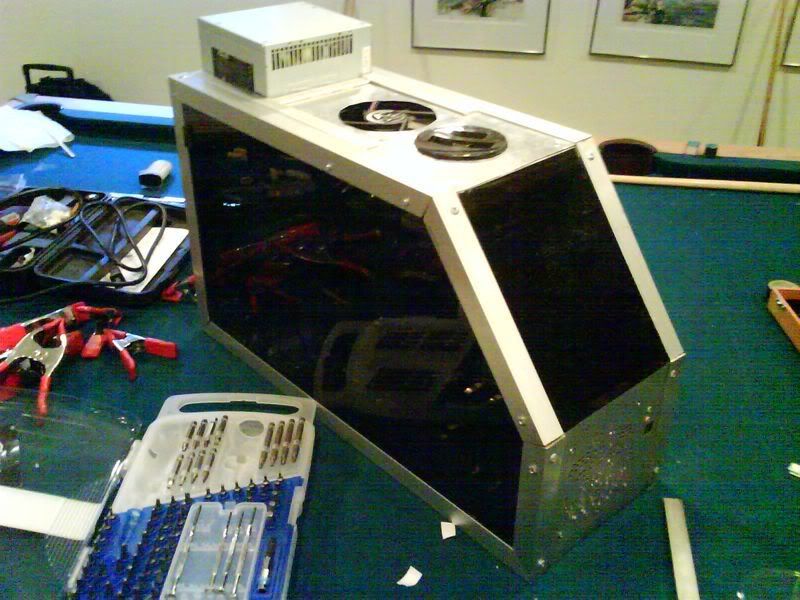
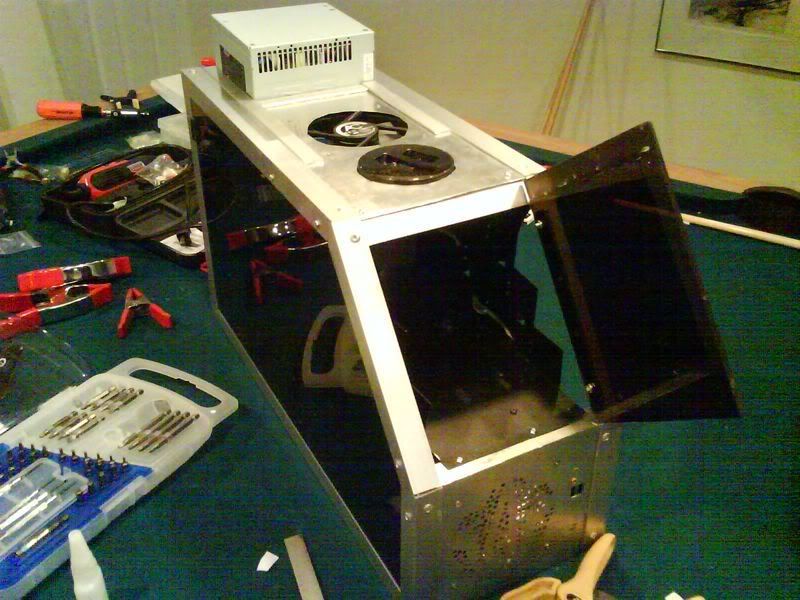
And now some shots of the case taken with a decent camera:
With flash.
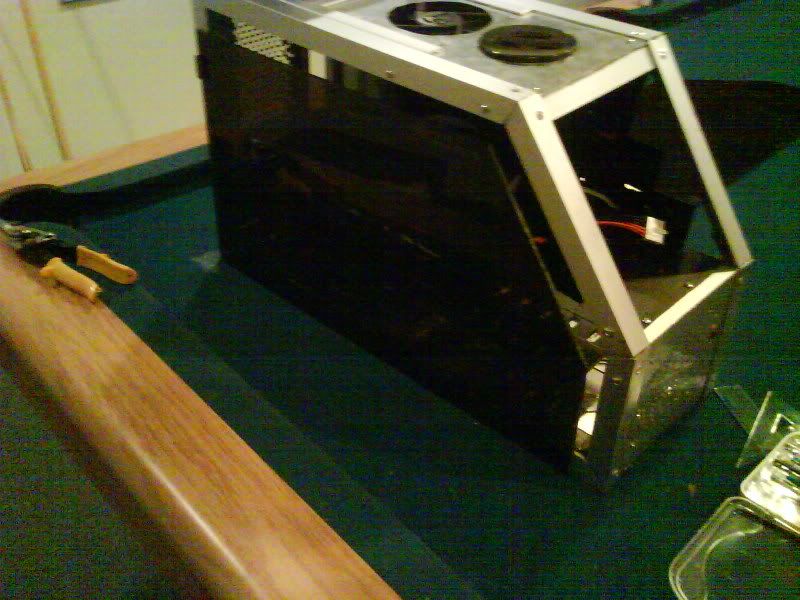
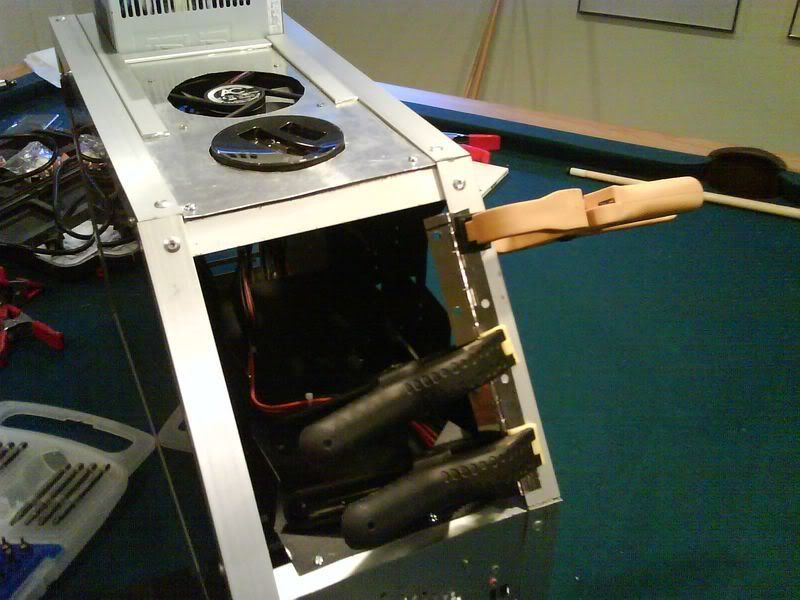
Without Flash. I really need to polish out that surface blemish on the panel.
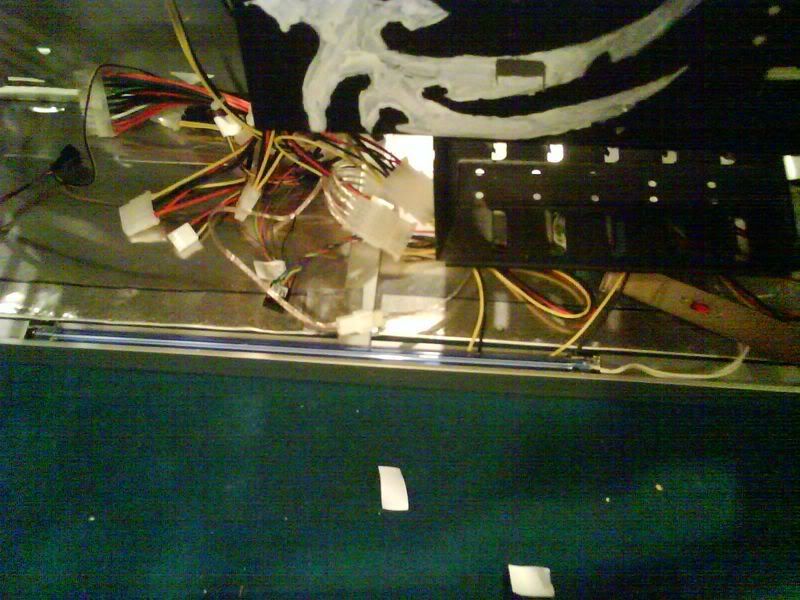
I have yet to figure out a simple system to hold the panel in place at the back, while still making it very easy to remove the panel (ie. no screws). Any suggestions?
Now you can see all the imperfections I see. Which brings me to ask, will bondo stick to metal? And if so, where can I purchase said bondo? I want to fill all the small corner gaps with the stuff, and then paint the frame a matte black.
Well that's my update for today, so as always, my to do list.
To Do
- Make power and reset buttons
- Make the rest of the paneling (reverse side)
- Make easy open holding system for side panel
- Make front door system
- Paint frame and panels
- hinge front door system
- Make fan holes wherever needed
- Make windows
- Install lighting system
Augh, my to do list is getting longer.
That's all for today, I hope to have another update soon.
Cheers.
Looking good.
Bondo was made for metal. Its orignal use was to fill in holes created by rust in cars. It'll work just fine.
Here you go all things Bondo. enjoy!
http://www.3m.com/US/auto_marine_aero/Bondo/
Now that's what I call a window!:up:
+rep for your small, understated window.:D
Thanks for the compliments.
And I did not know all that about bondo, I had only heard of it from this site before. I'll probably pick some up on my next trip to the hardware store.
Update 10 - Front Door
So one thing that this case needed was a front door. I decided to make it similar to the side panel, in that it would be one piece of black plexi.
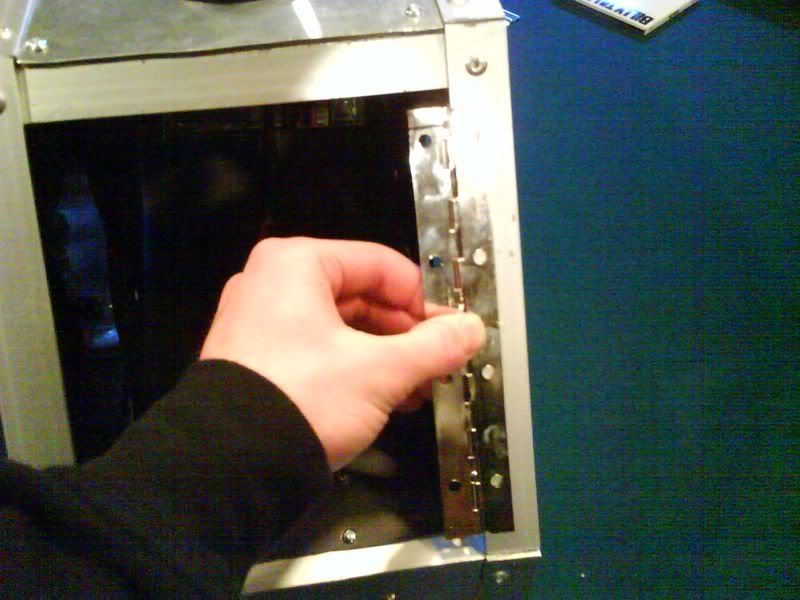
So I cut an appropriately sized hinge:
It's so very shiny.
Then I measured and marked out the piece of plexi:
I ran out of masking tape.
And cut it out:
Those are some ugly cuts. I made them with a hacksaw that had 5" clearance, since i have no power saws to my name. So the cuts are really bad.
Which of course meant a lot of filing and sanding. But file and sand I did.
And here's how it fitted after all that sanding:
So I glued the hinge in place:
this will be to hold it until I put in rivets.
And bolted the plexi through the hinge:
Closed.
Open.
This door will be spring loaded once I find a spring of the correct size. I'm thinking of using one out of a mouse trap.
So with the spring loading in mind I made a quick little door latch:
This just turns to hold the door closed, and open it quickly.
So to finish off this door I need to find a spring for it. Then I can move on to making the last of the panels, and painting the rig.
To Do
- Make power and reset buttons
- Make the rest of the paneling (reverse side)
- Make easy open holding system for side panel
- Paint frame and panels
- Make fan holes wherever needed
Woohoo, knocked a bunch off the list.
Cheers
That door looks cool, keep it up.
Looks good man thats a true case mod right there
The window/side panel came out really nice, keep it up!