-
Re: Project : Redemption
Some cool stuff today.
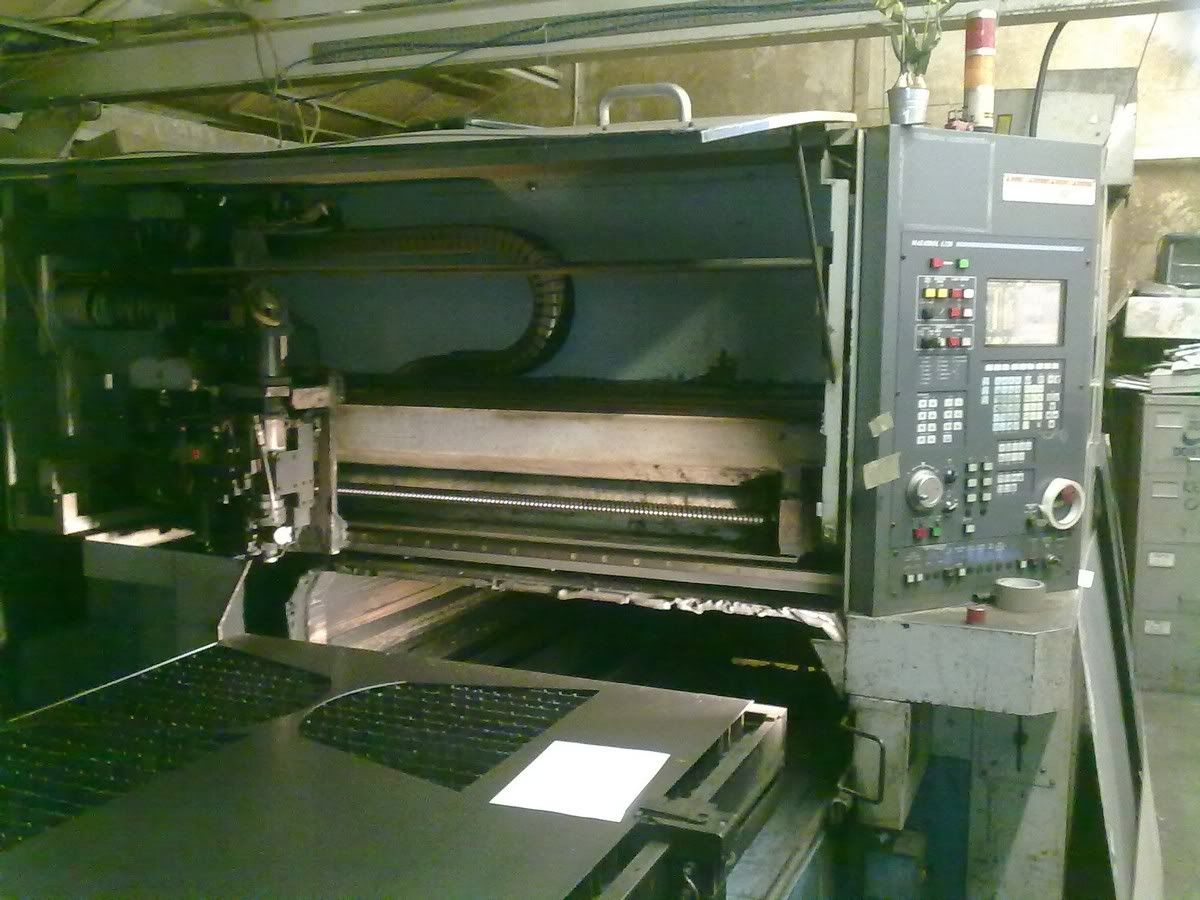
Popped in to my local laser cutting co to pick up my black perspex, while I was there I took a couple of shots with my camera phone (hides).
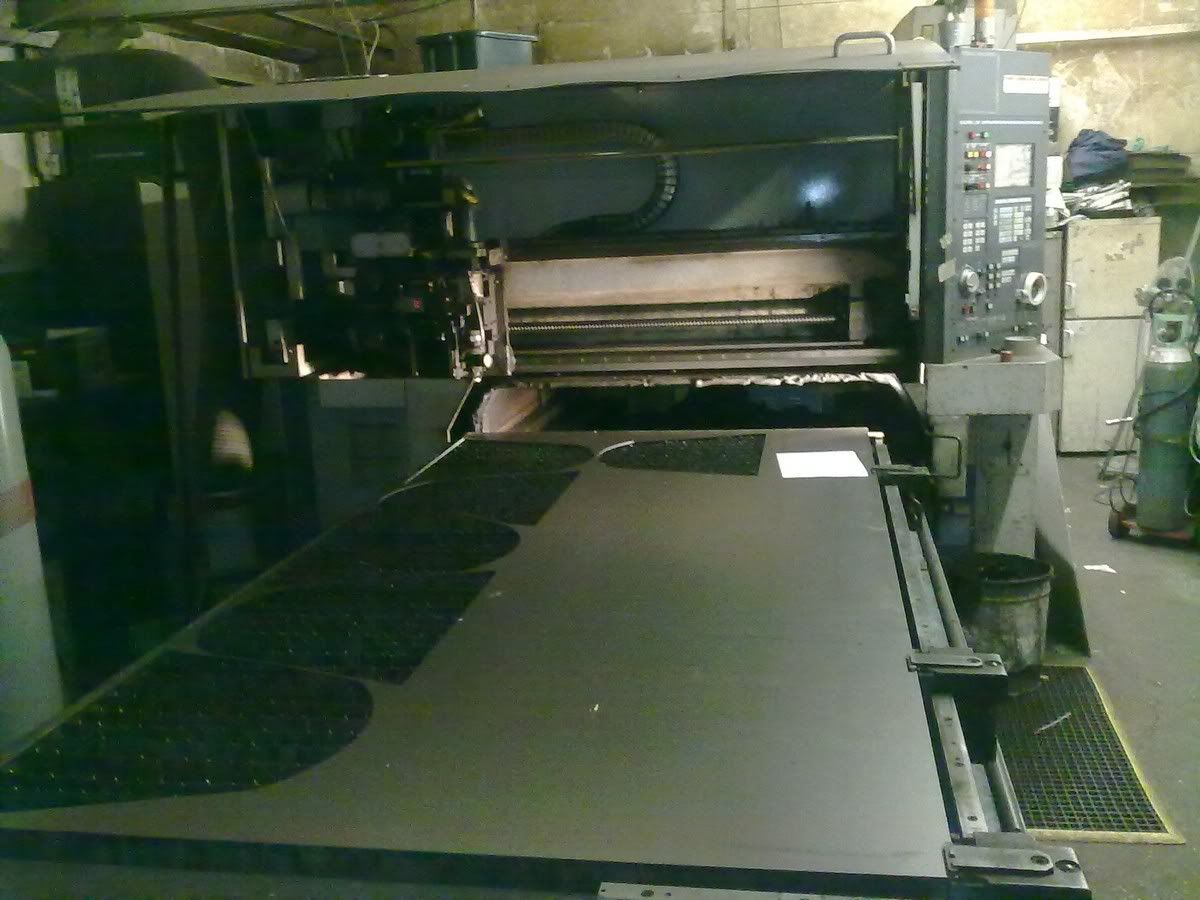
As you can see it's a bit of a beast, here are some specs for those of you who are interested.
Max Machining Dimensions: 1250 x 2500 mm (49.21 x 94.43)
Height of work table: 900 mm (35.43)
Max Load capacity: 220 kg (485.1 lbs)
Table stroke of X-axis: 2630 mm (103.54)
Table stroke of Y-axis: 1270 mm (50)
Table stroke of Z-axis: 100 mm (3.94)
Rapid feedrate: X, Y axes: 24 m/min (944.88 ipm)
Z axis: 20 m/min (787.4 ipm)
Max machining feedrate: 10 m/min (393.7 ipm)
Continuous rated output: 1000 W
Output adjustment range: 200 to 1000 W
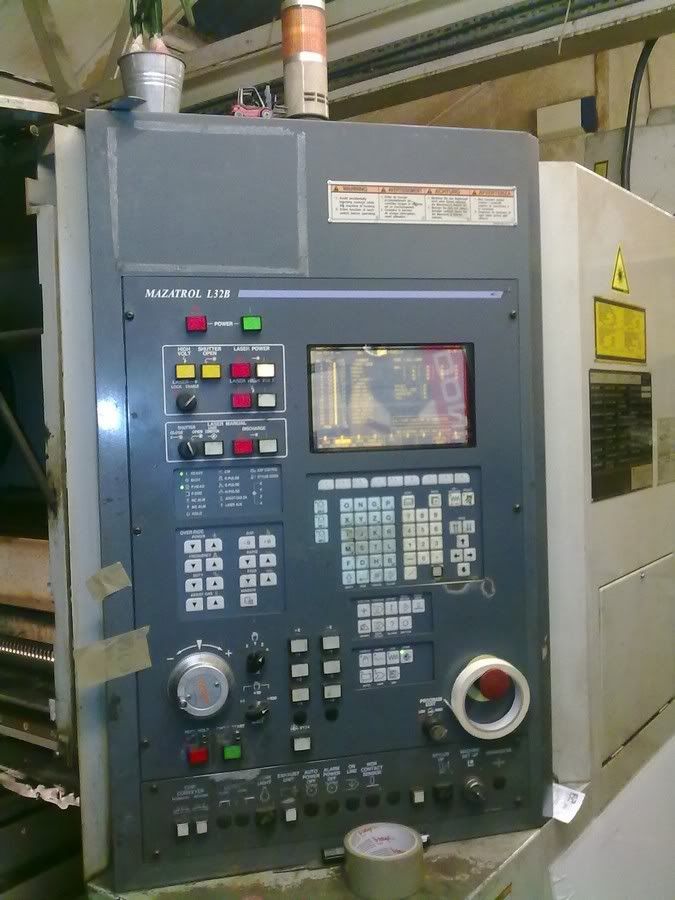
Mazatrol L32B CNC 3 axis Controller
Approx weight:
8000 kg (17,640 lbs)
Approx dimensions:
2600 mm (102.36) lr x 5555 mm (218.70) fb x 2000 mm (78.74) high
He also thought I might like to see it in action cutting out my last piece. So I video'd it (again with my camera phone sorry guys) :(
All my perspex is cut now, and I'll be taking photos of it tomorrow.
There is light at the end of the tunnel, and it isn't a train :)
-
Re: Project : Redemption
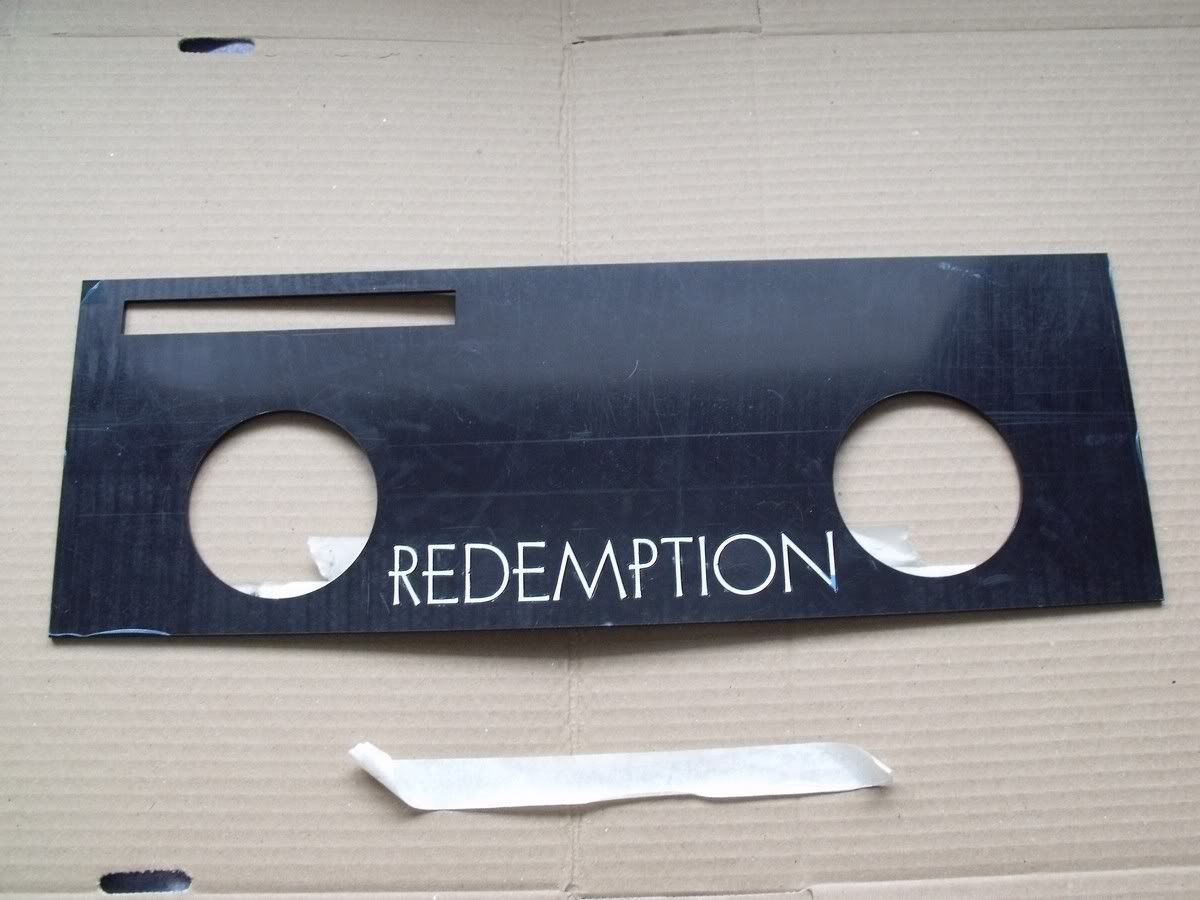
So here's a couple of shots to keep you guys occupied while I do some work :)
Front Piece
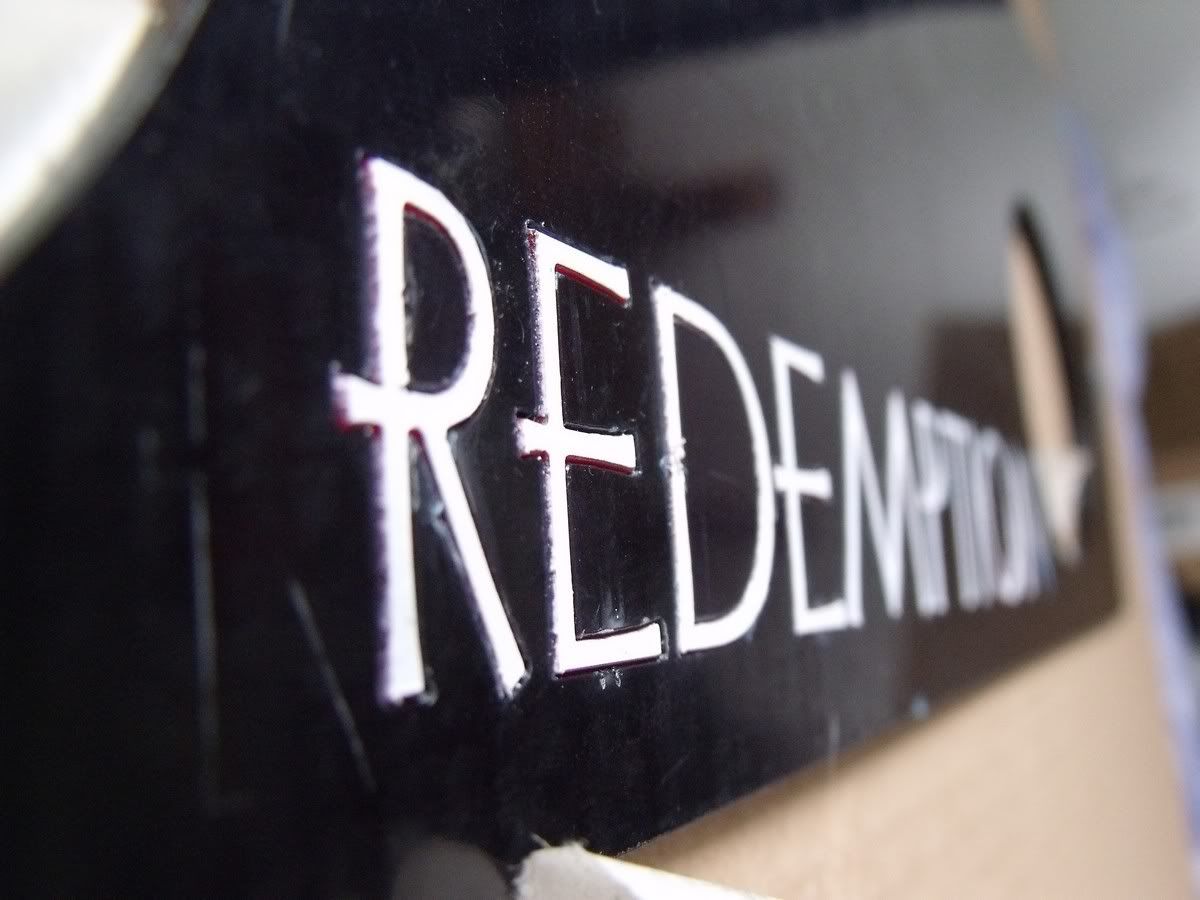
Close Up
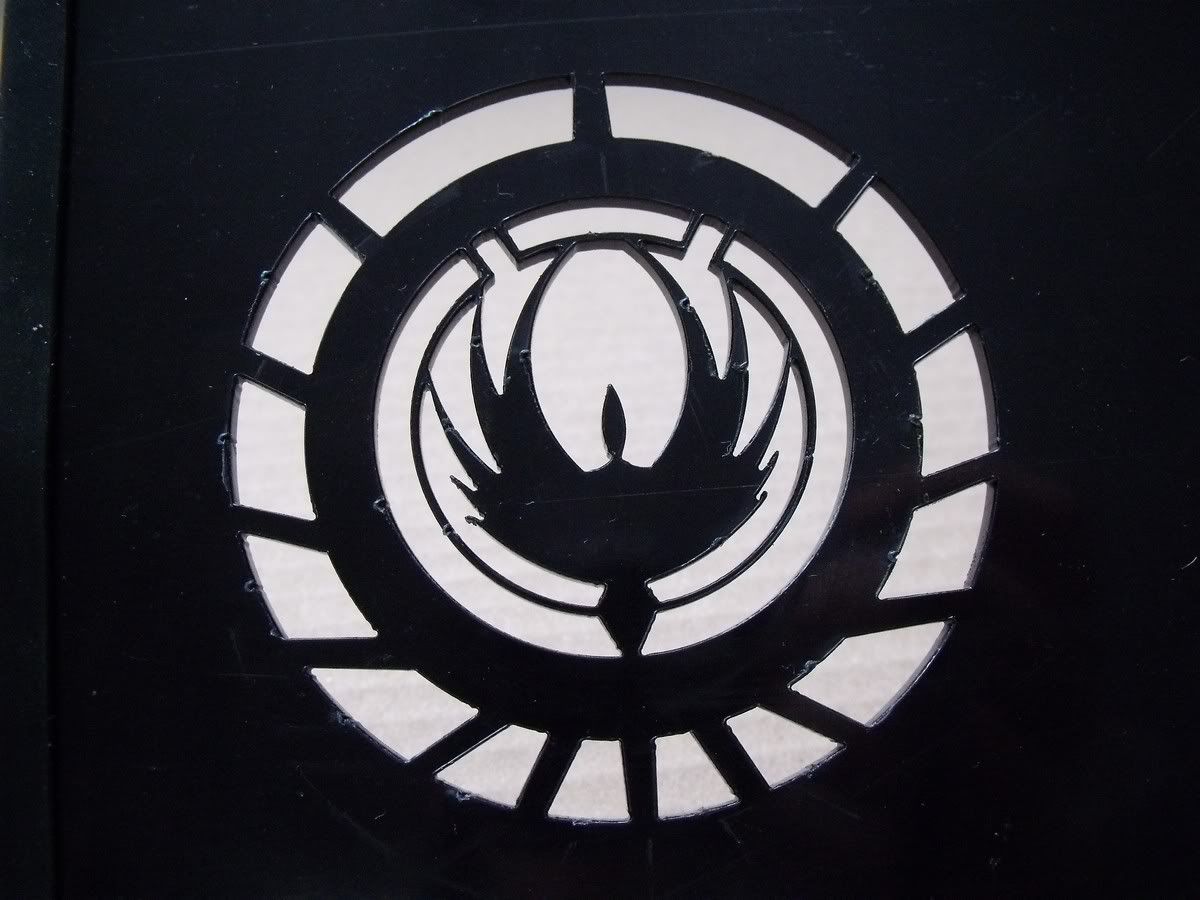
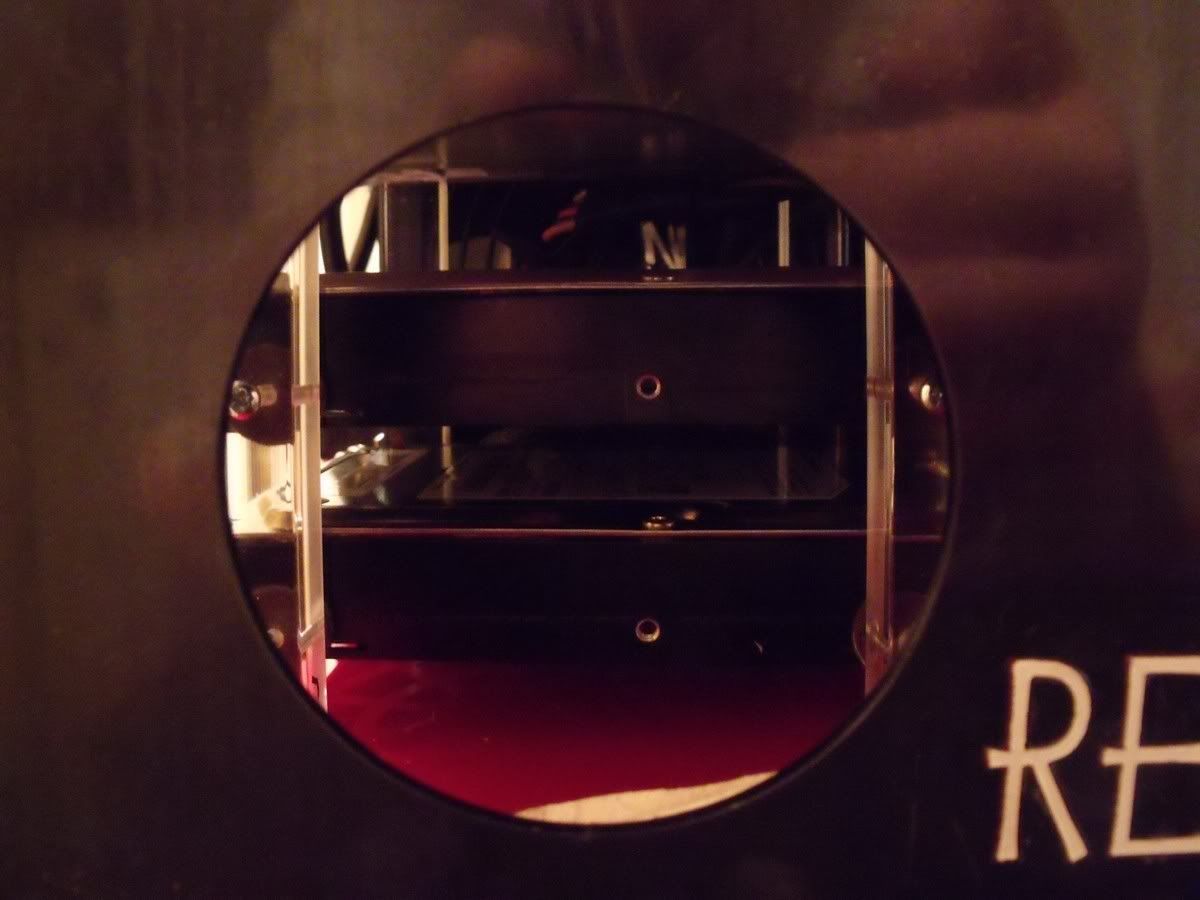
Logo / Vent
Note : All the perspex still has it's protective covering on as I still have work to do.
-
Re: Project : Redemption
-
Re: Project : Redemption
Cheers Billygoat333 :)
Boy have I got an update or have I got an update....
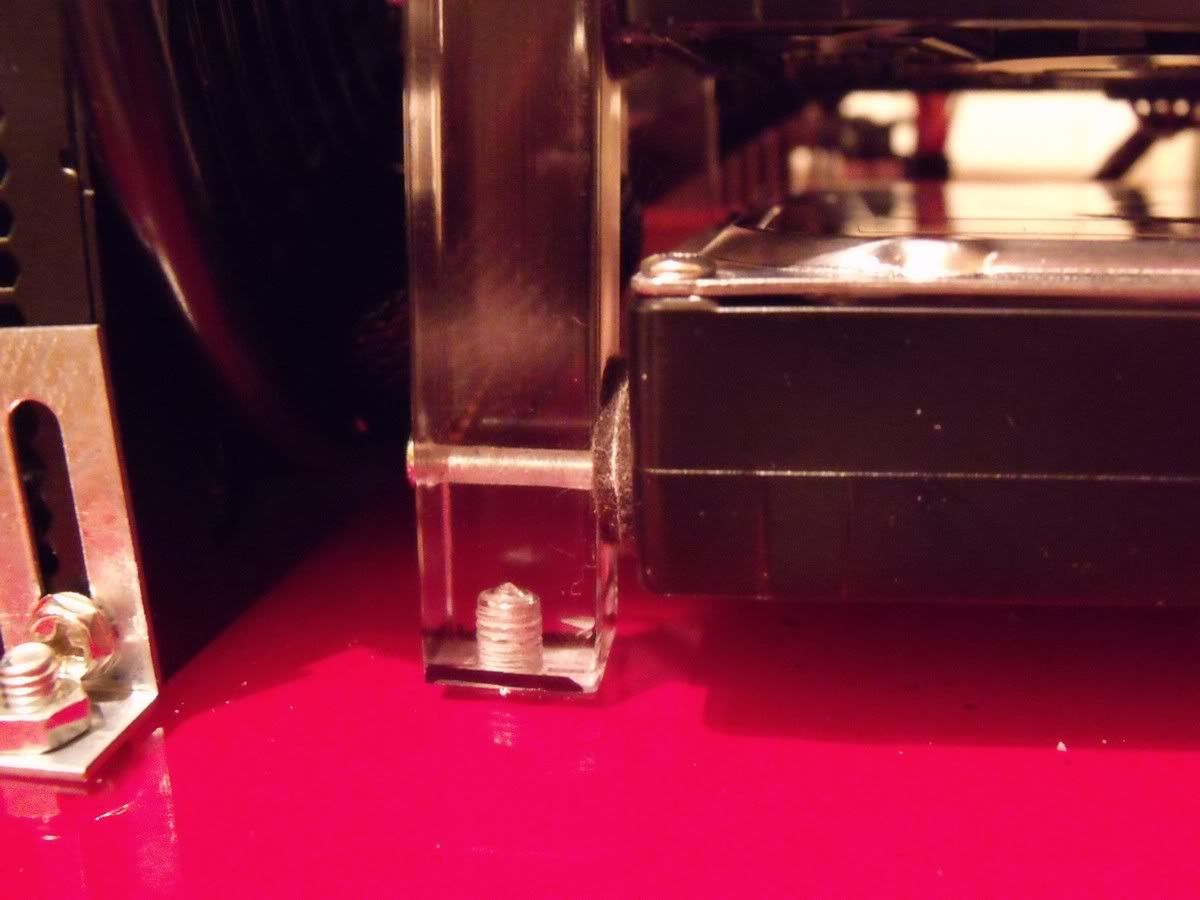
I've admitted defeat with the bowing of the base panel from a few pages back so I've added another foot in the centre.
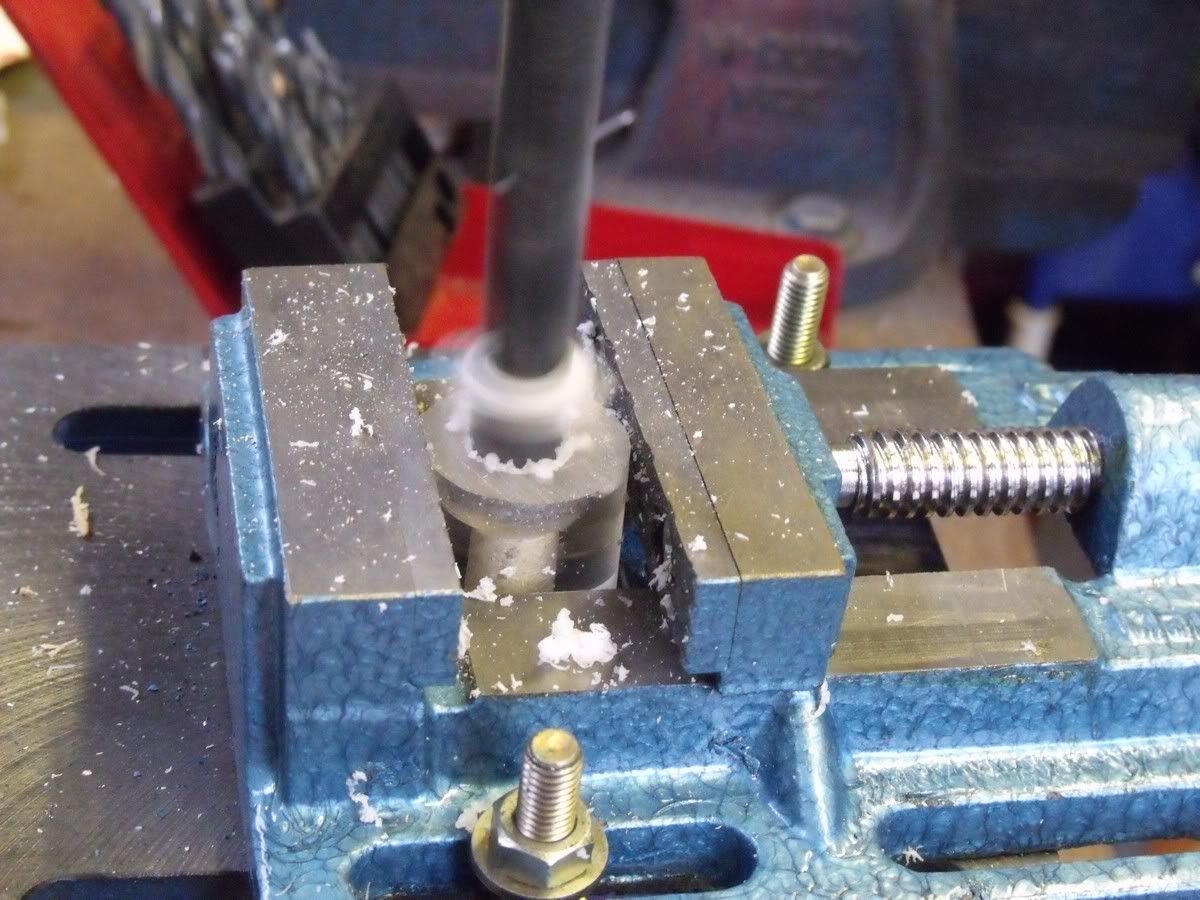
First up, an 8mm drill
Then a huge matha hubbard for my countersunk bolt.
Action shot :) How I love self timer and a gorilla-pod tripod.
I have decided not to frost it as it will never be seen, so it's as is now.
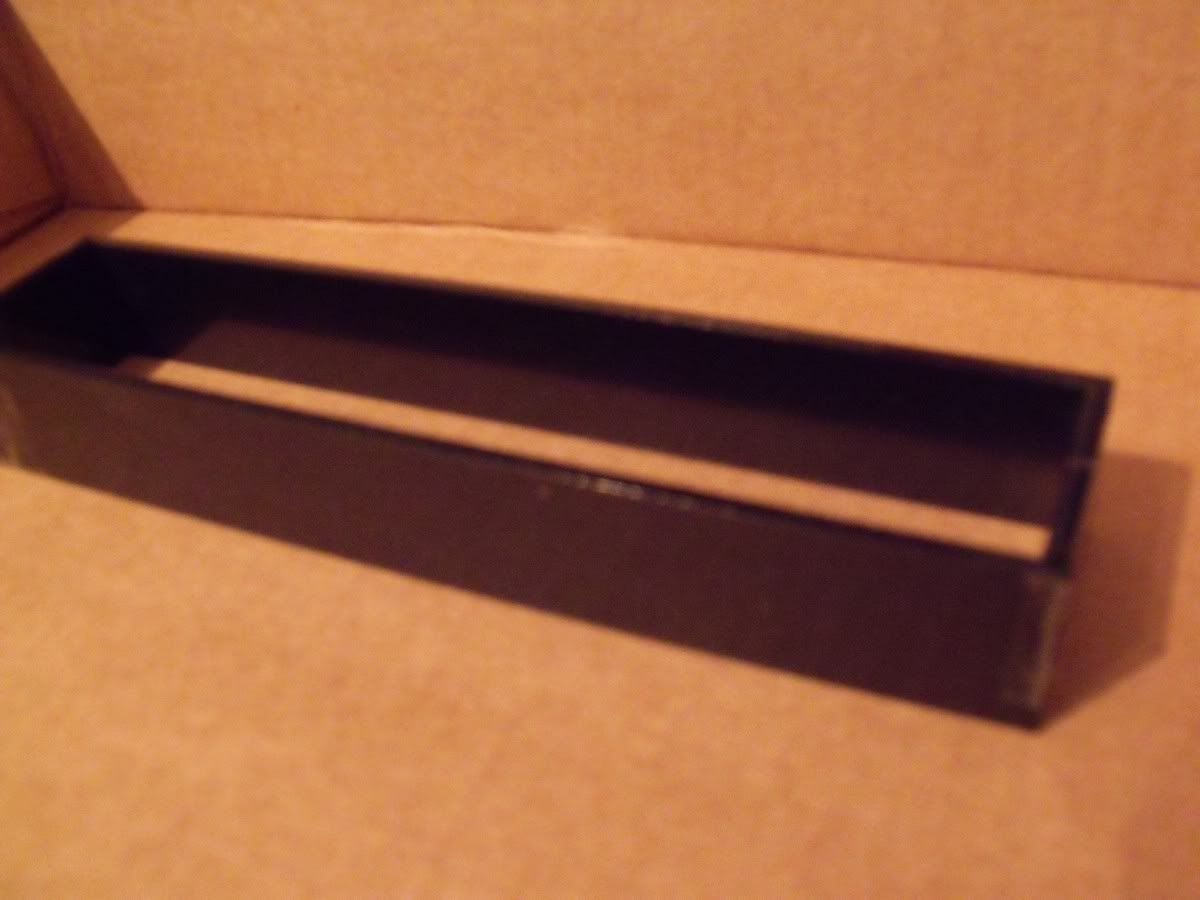
Now on to more illuminating matters. A lightbox.
I spent some time cutting some spare perspex the other day with the slitting disc on my dremel clone, much easier than using a jigsaw or my hacksaw. Today was the day to put it all together.
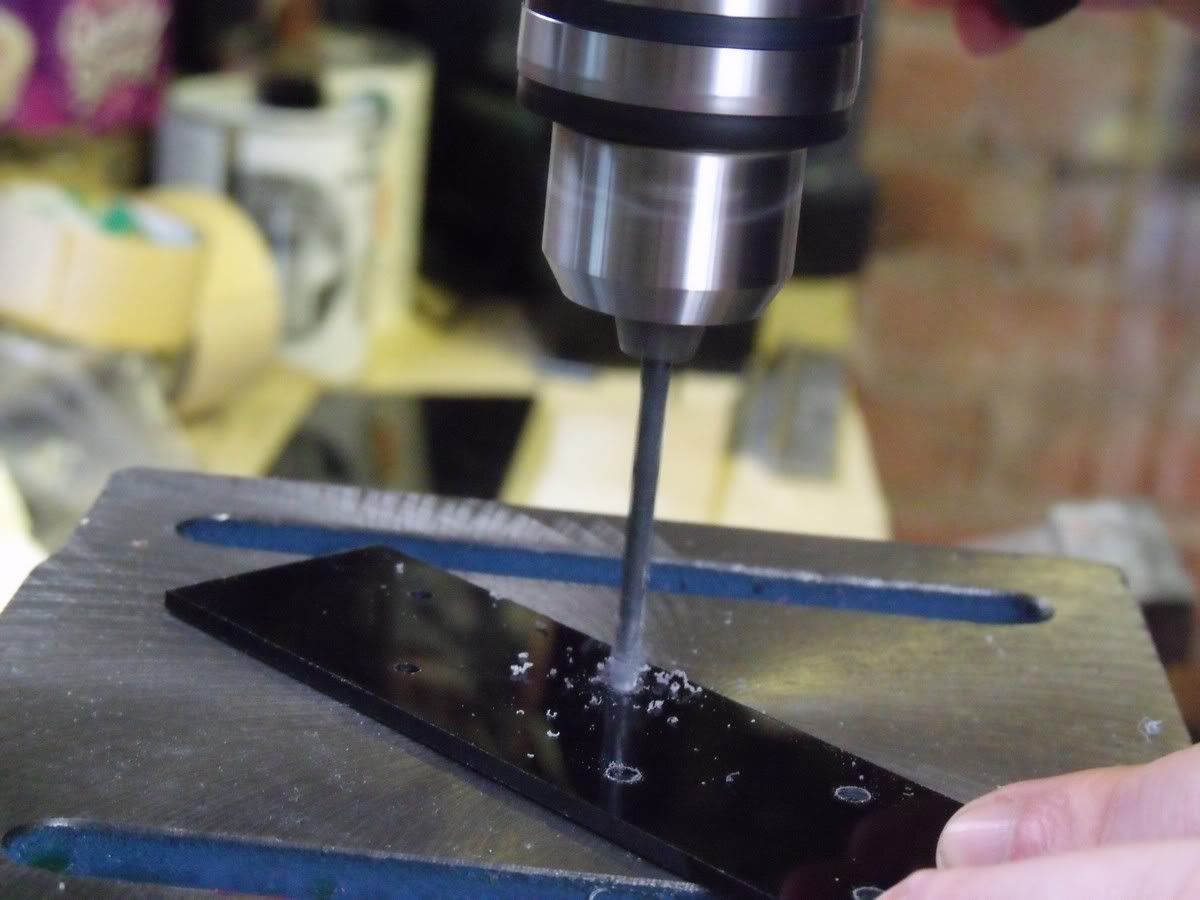
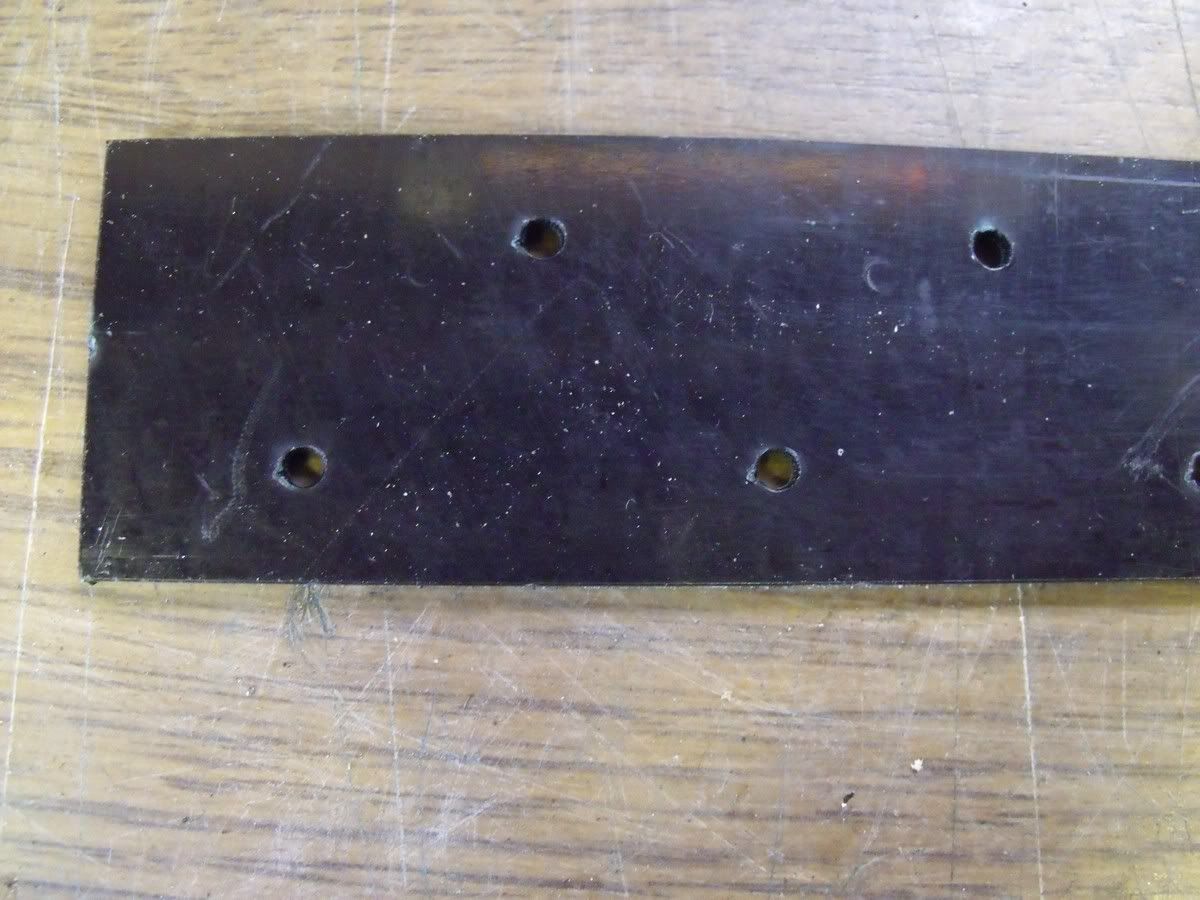
Need some holes for light to shine through.
Now I have quite a few holes :)
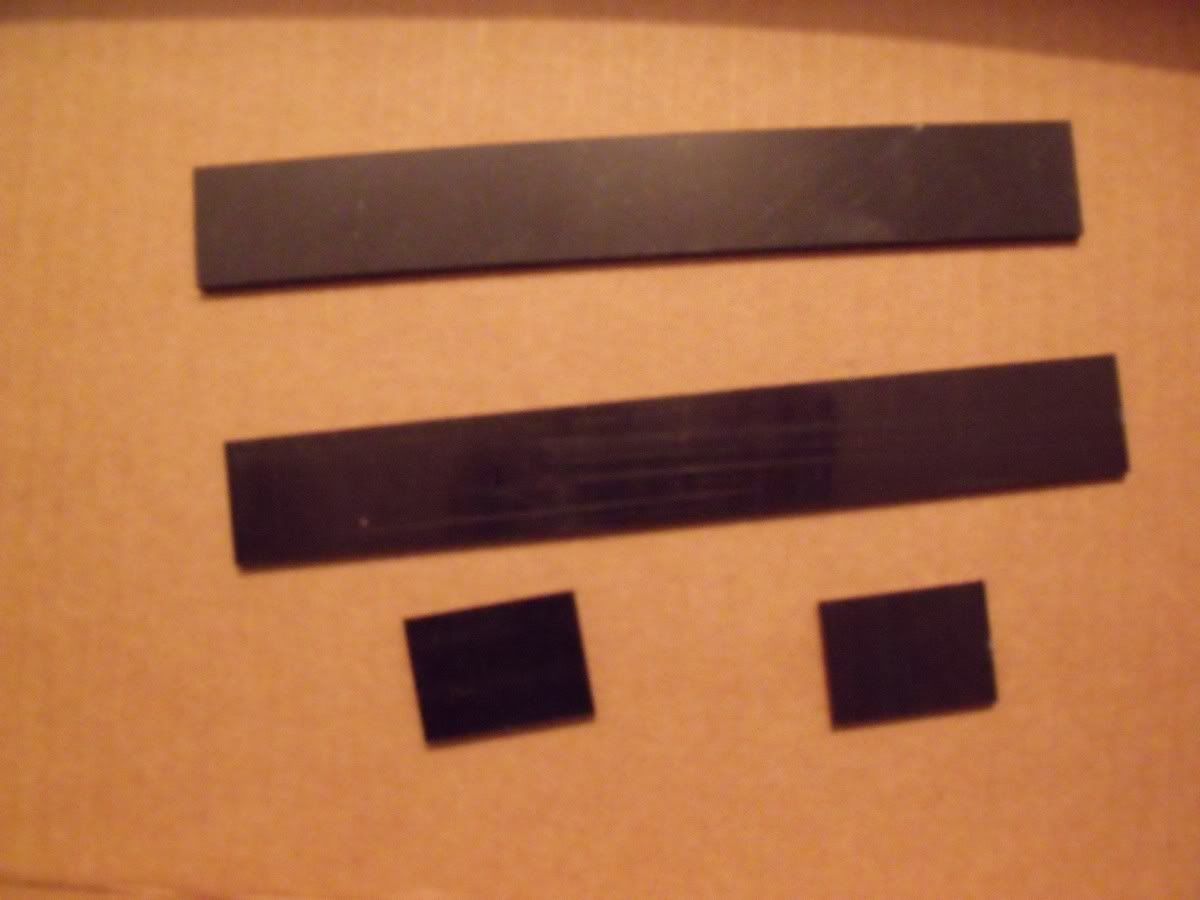
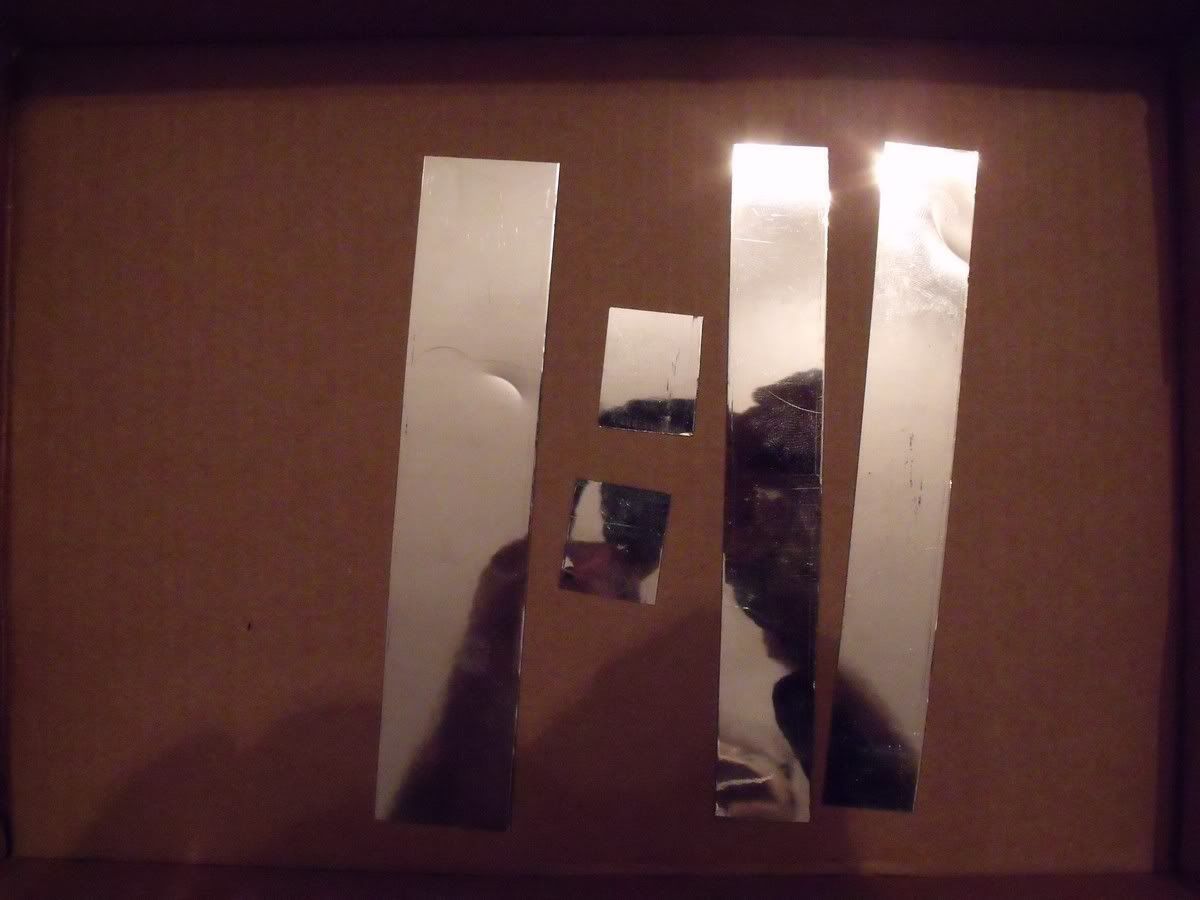
And some "other" pieces...can you guess what they are for?
Had a play at soldering too, I must admit I'm not very good, in fact I'm bloody awful but that didn't stop me.
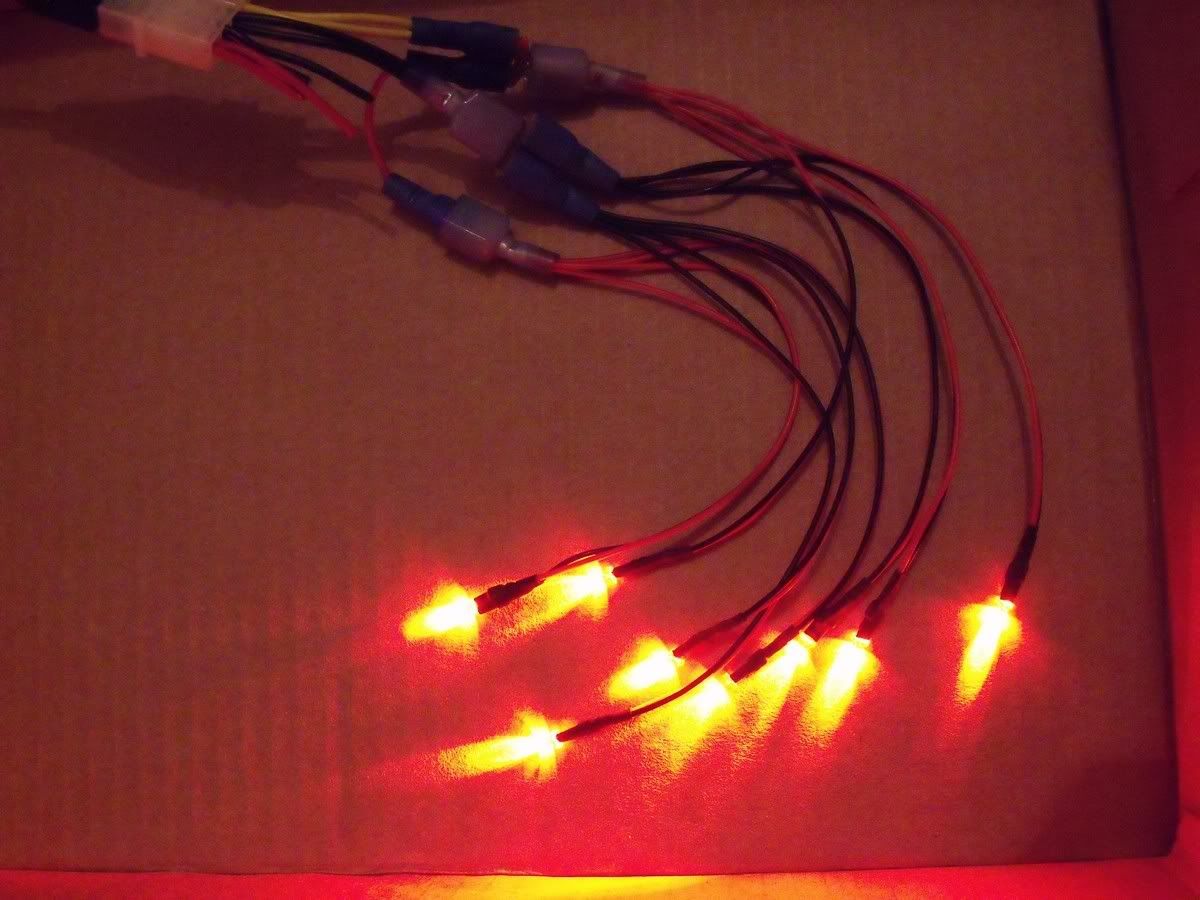
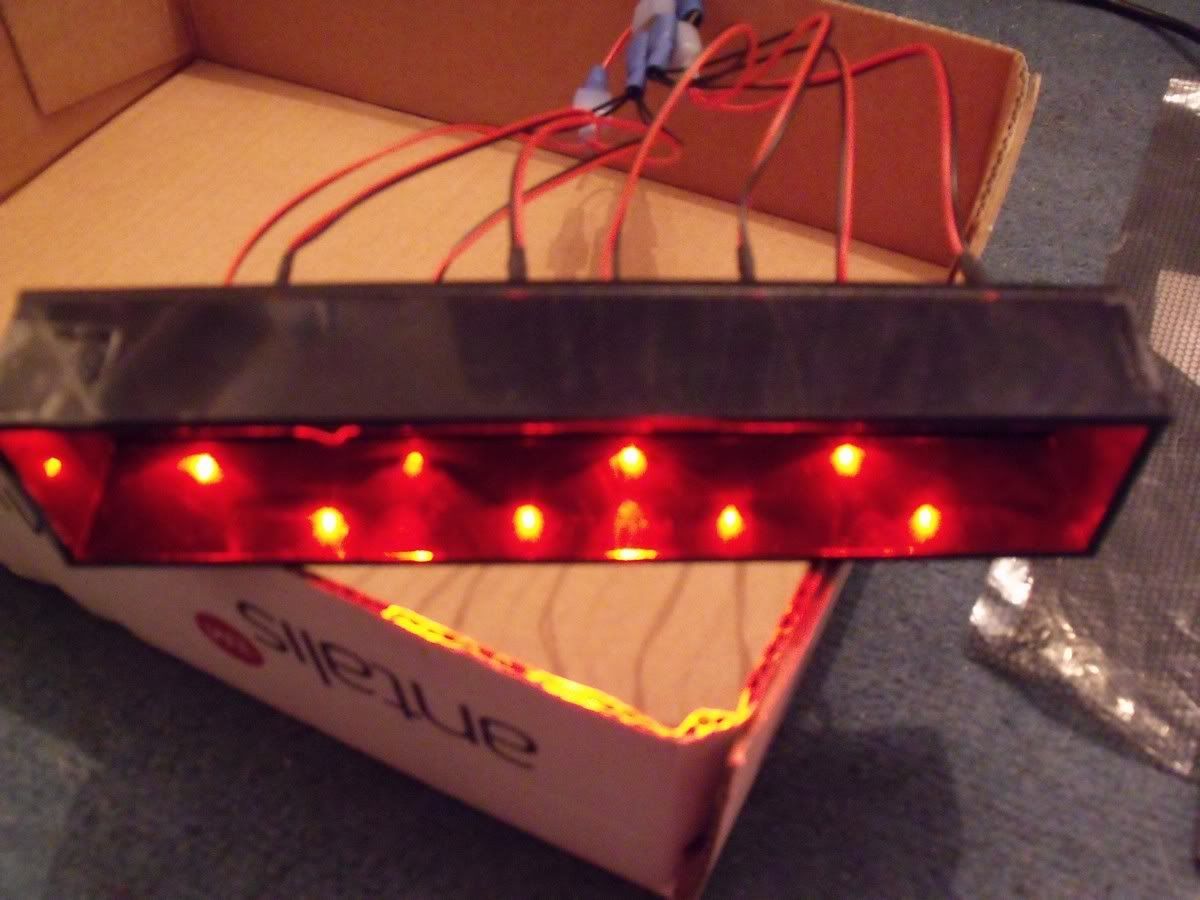
8x LED's all wired up.
The big question on everybody's lips (well mine really). Do they work?
-
Re: Project : Redemption
Update...continued
That'll be a yes then :)
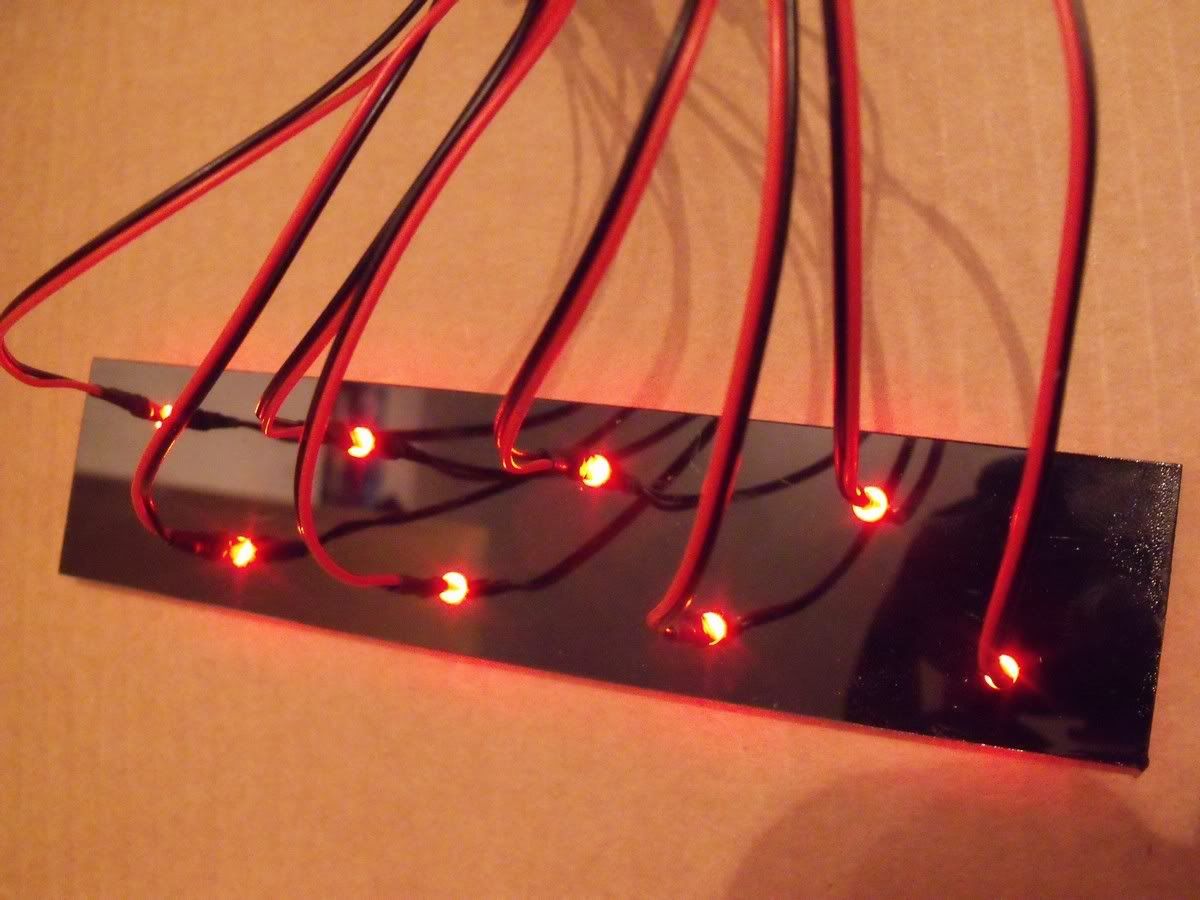
I need to play with my camera settings some more as every picture I've taken of the Red LED's in place are off colour. Any ideas what settings I should use anyone? I have a Fuji S1500 camera.
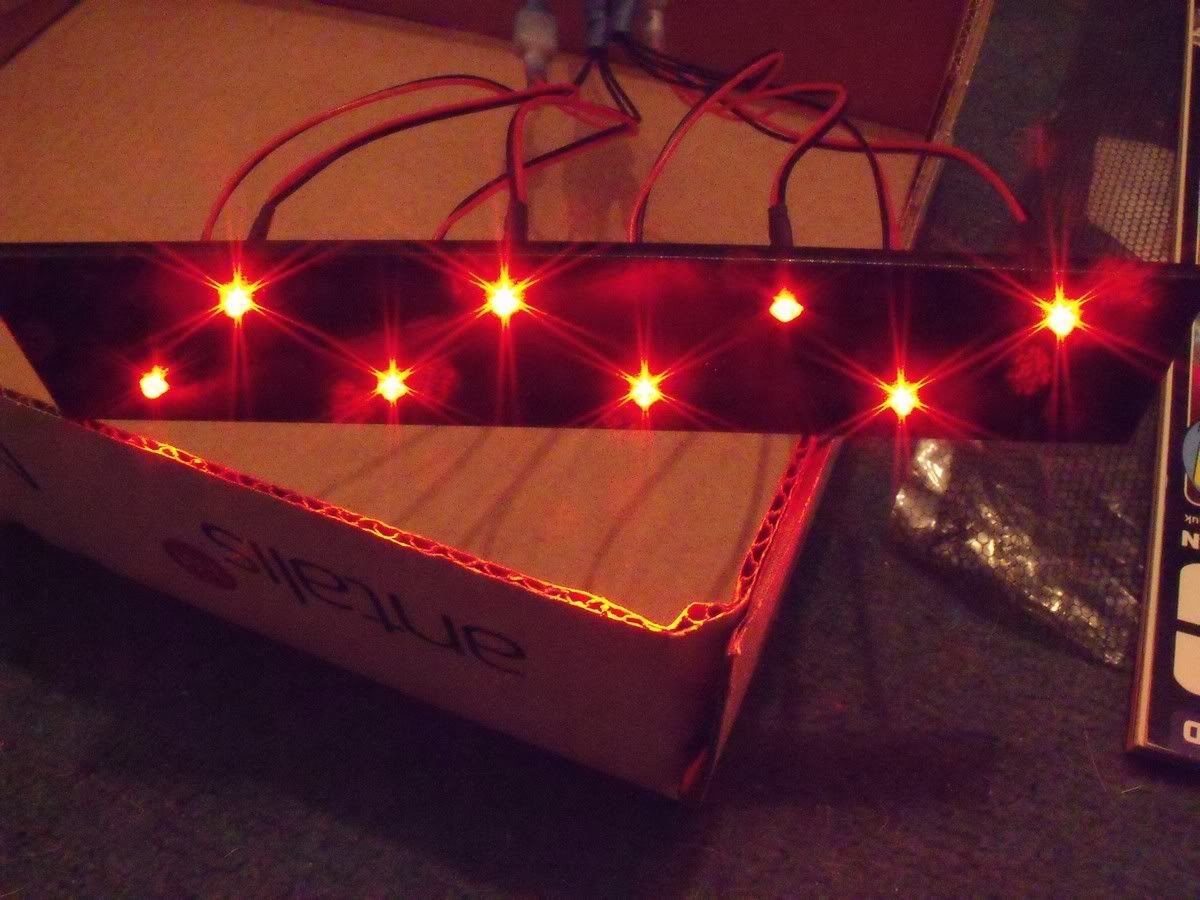
Remember those pieces I showed you..did you work it out?
Yep, its a box full of light :)
Unfortunately not quite as much light as I hoped so I found some mirrored sheeting, more like mirror paper than anything else.
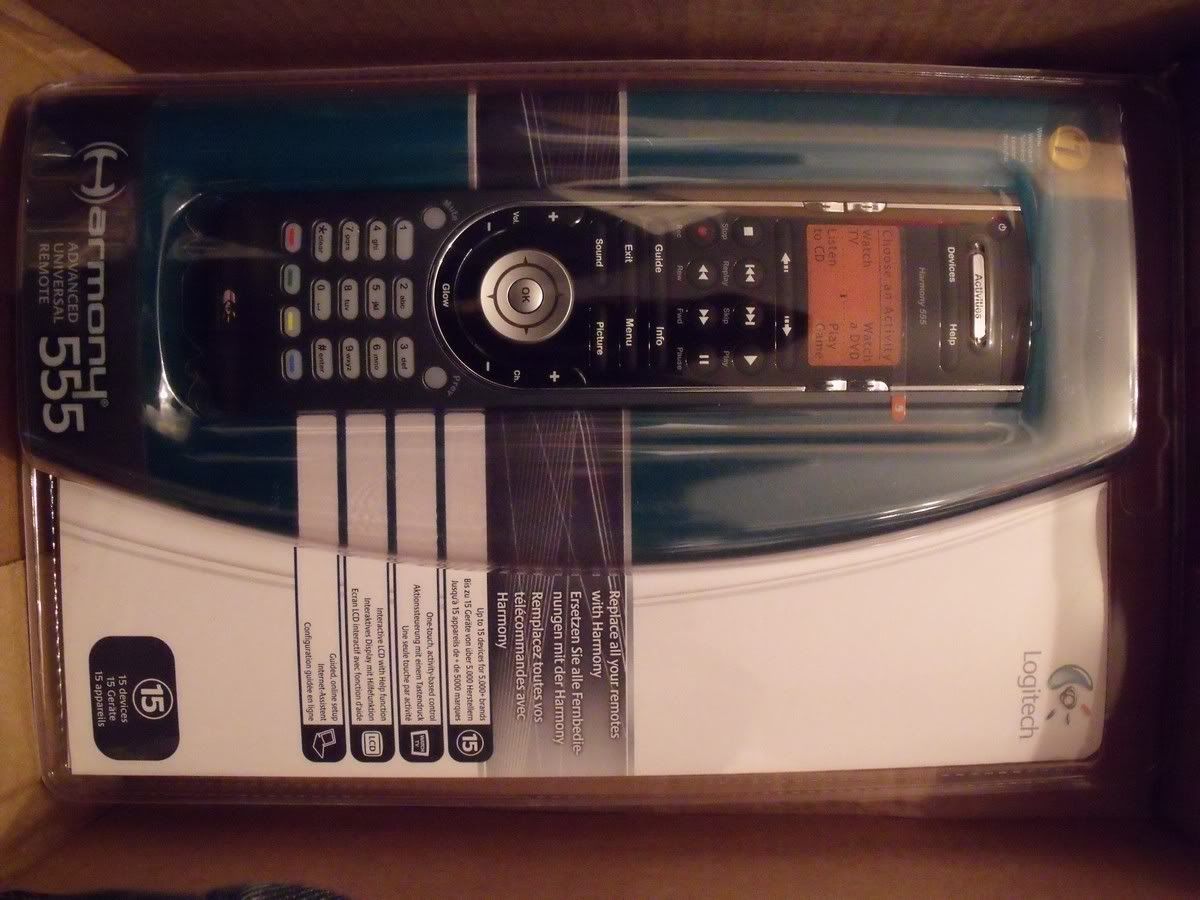
I also took delivery of this which will probably drive me insane programming it, but it's all part of the fun so they tell me :P
-
Re: Project : Redemption
You ever had one of those days where you planned so much and it took so long?
Today I've been working in the kitchen mostly as it's too damn cold outside, made a hell of a mess, swarf and god knows what else everywhere but so what :P
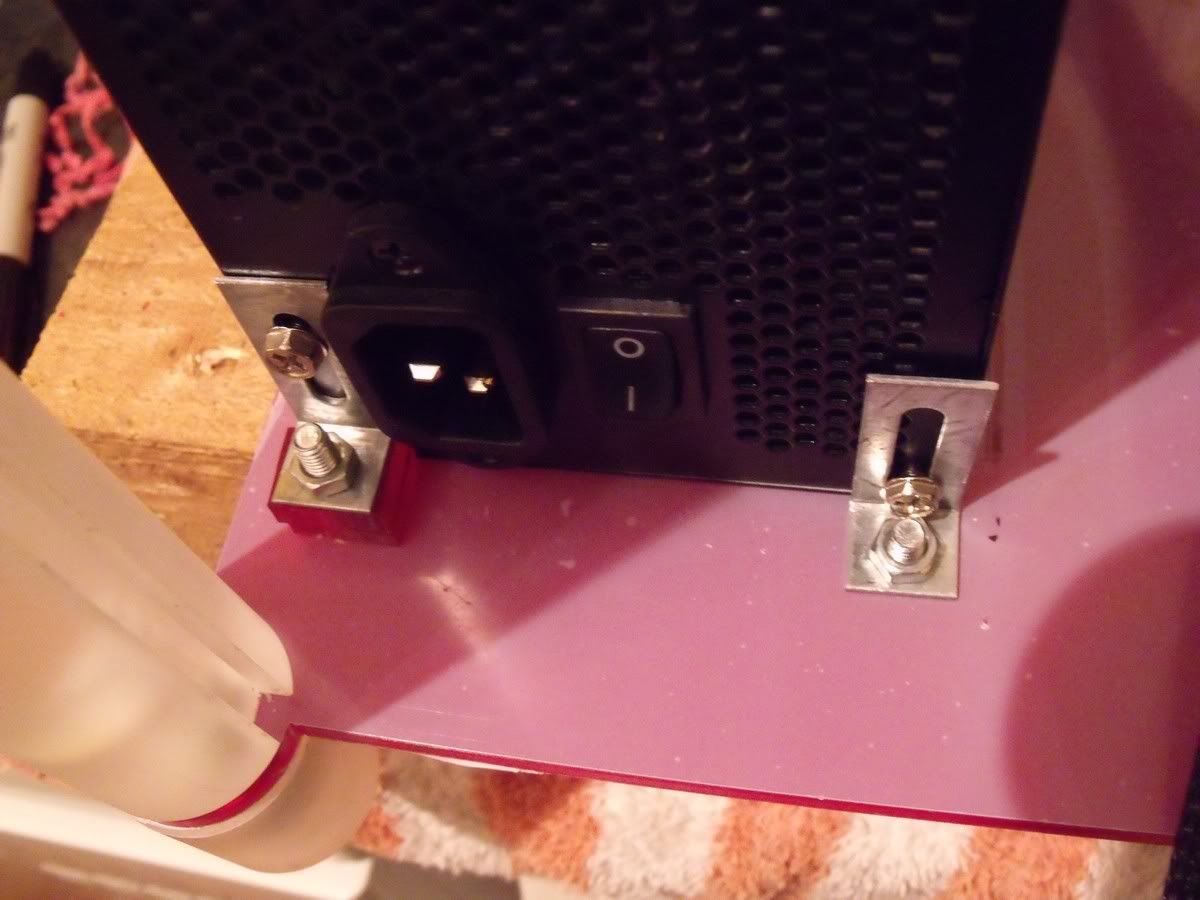
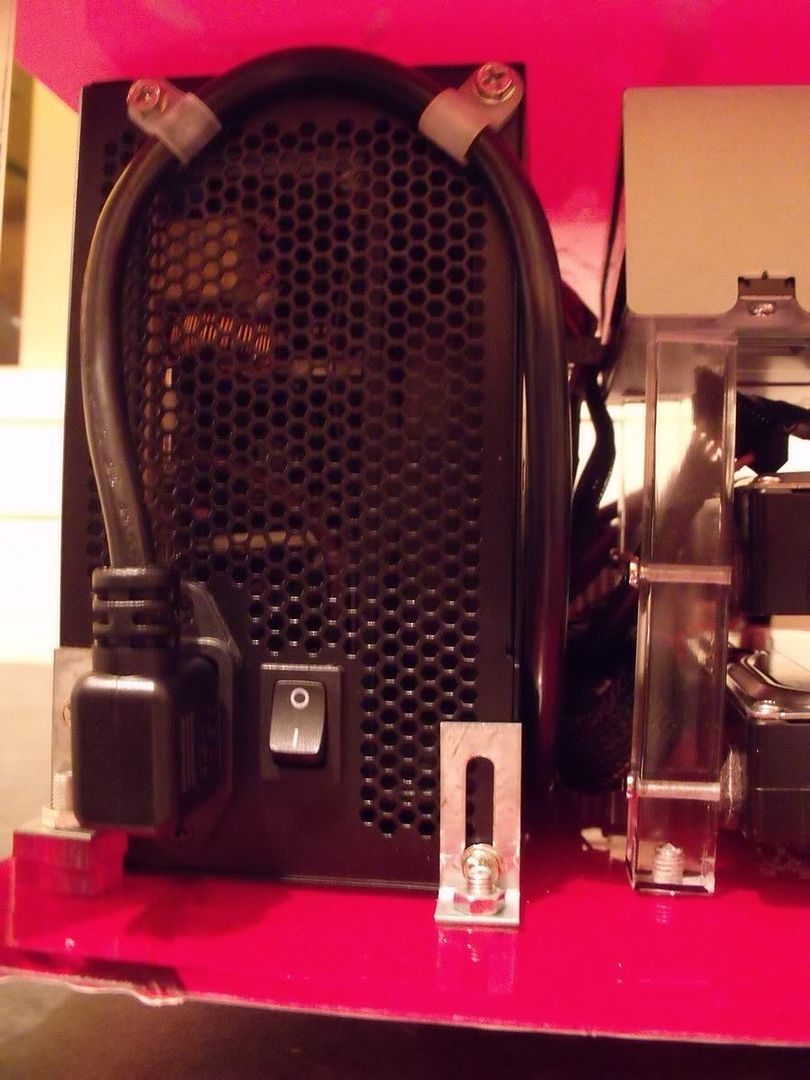
Picked up a right angled Power Lead and a socket for my PSU, I'll be using this internally due to the placement of the PSU within the case, placing a socket on the rear of the case.
Drilled some holes into the base for the PSU mounts and got it attached. No bother :)
As you can see I've started on the cable management already :)
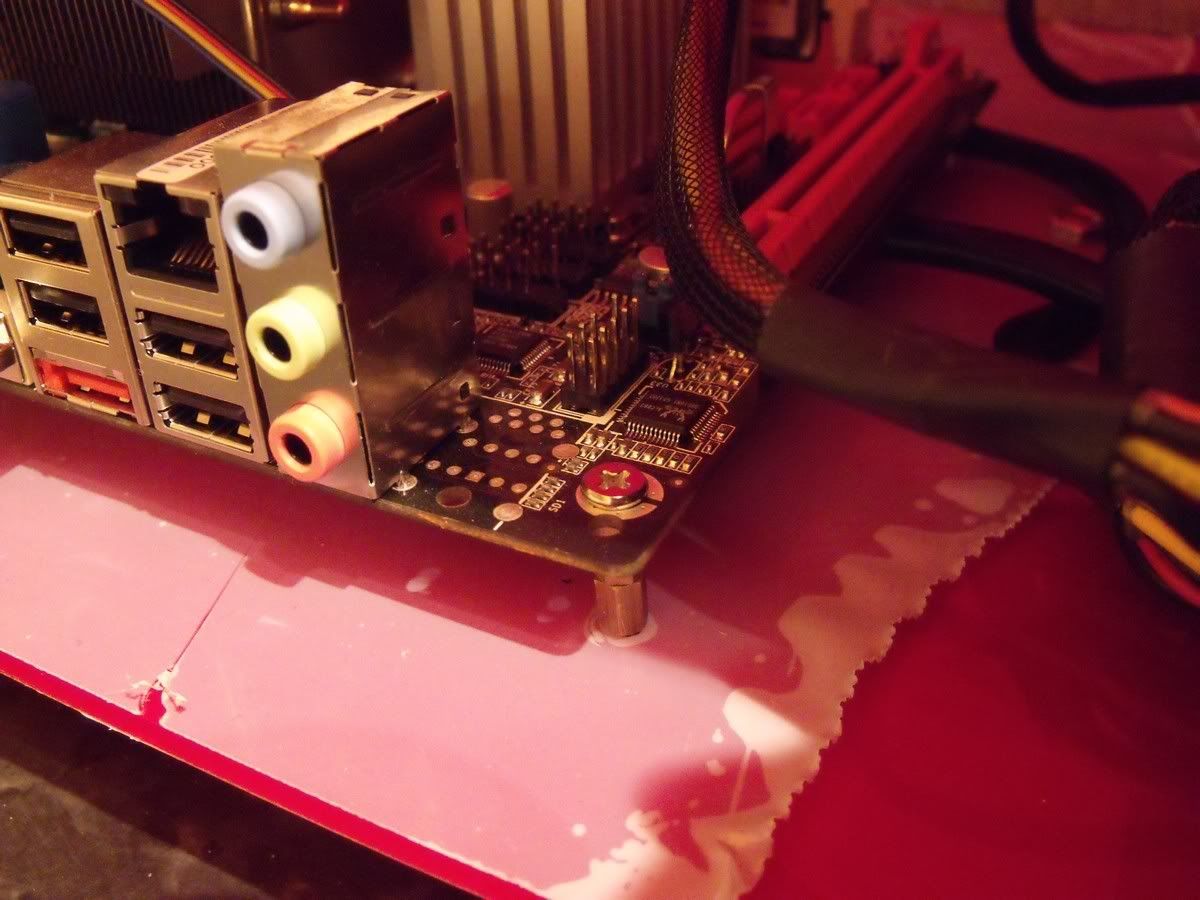
Then came the mounting of the Mobo, four pilot holes and then screwed some standoffs into the base. Had to double them up for the height tho.
Next up...the hard drive mounts. Now referred to as the hard drive non-mounts. GRRRRR.
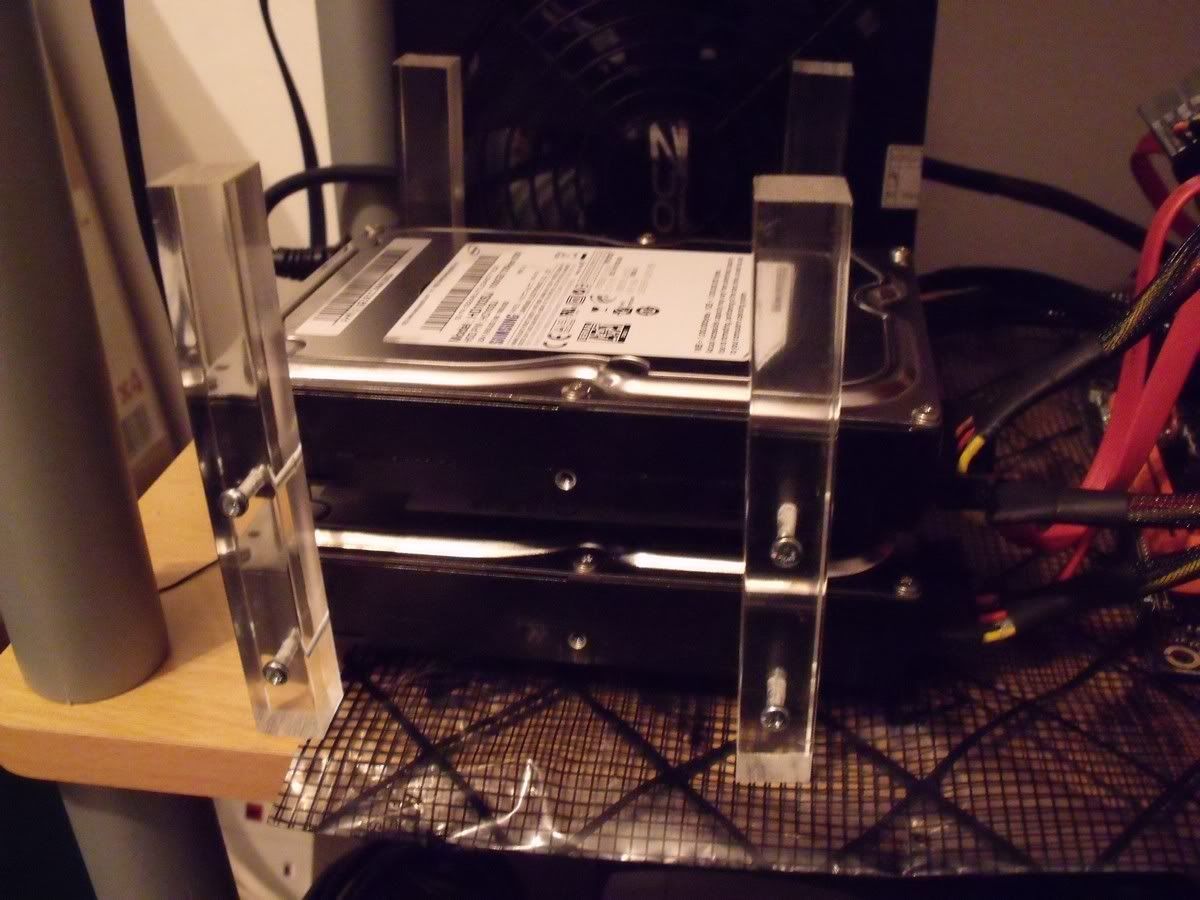
The drives were attached to 4 perspex rods, two at each end as you can see in this old picture.
They were screwed in through some felt to aid in noise / vibration dampening. Unfortunately the threads on hard drives aren't up to much to begin with and now they are stripped, leaving nothing to hold on to. This meant that I couldn't build or attach the hard drives to the base as all the mounts (which should have been firm), were shaky and made measuring / drilling impossible.
So I had to move to plan B, which at the time didn't exist :(
I could've rebored the holes in the drives to a bigger size and use a bigger screw, but that would mean re-drilling all the perspex rods. Nuts to that...and there was the answer.
Rummaging around in my bit box I managed to find some nuts small enough to fit into the retaining holes, with a little persuasion in the form of a grinding wheel ;)
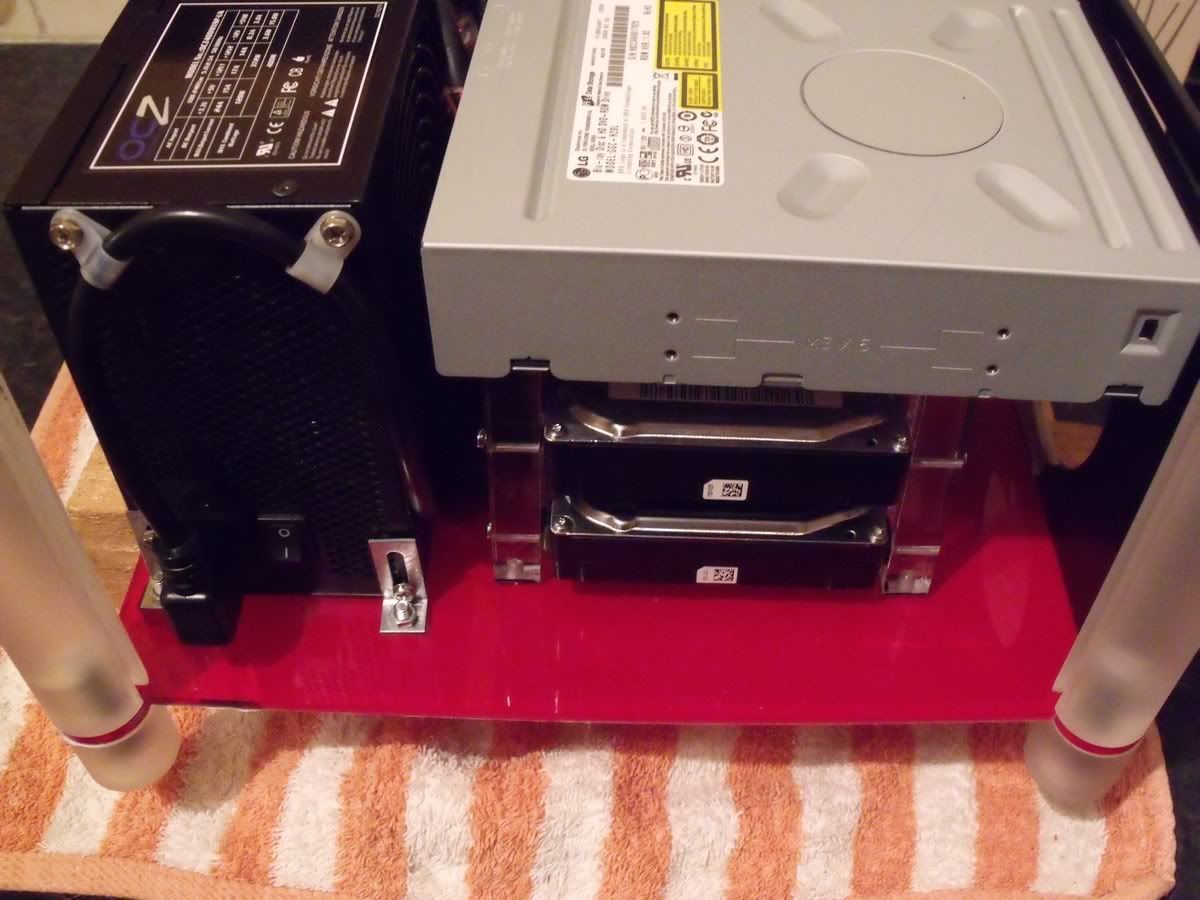
Now the mounts were back to being solid I was able to drill the holes in the base plate and continue.
As you can see I've tapped the perspex rods.
Drives are in place (although the Blu-Ray drive is currently only "resting" in place).
There will be plenty of airflow to the drives thanks to an 80mm fan (not shown) at the front and the PSU fan at the rear.
Now I'm sat with a glass of ouzo, chilling out. I think I deserve it, at least until tomorrow when I continue.
-
Re: Project : Redemption
-
Re: Project : Redemption
Well today has been a little annoying.
Pros
* Last delivery for the build arrived. :D Some IR switches for lights and power. :D
* Sussed some of the Harmony settings out with the TV and Hi-Fi. :D
* Got the IR switch controlling the lights via the Harmony :D
Cons
* The glue holding my lightbox together is crap, leaving it in pieces. Most annoying :(
* My expert sleeving of the power switch needs to be ripped apart to be added into the IR power switch and then re-sleeved.. :(
* My soldering of the LED's has to be redone, for the IR switch :(
-
Re: Project : Redemption
I am a HUGE fan of Acrylic builds. Keeping my eye on this one. Keep up the good work man.
-
Re: Project : Redemption
Oneslowz28 - Glad you like it.
Ok, so lets see where I left off..Ah yes rubbish glue and lead's that arrived to mess up my wiring.
I've thrown away my glue (which has a date of 1990 on it :P , no wonder it doesn't work anymore), and using some Bostik Hard Plastic glue to rebuild the lightbox. Pointless taking another photo as you've seen it before. On to the good stuff.
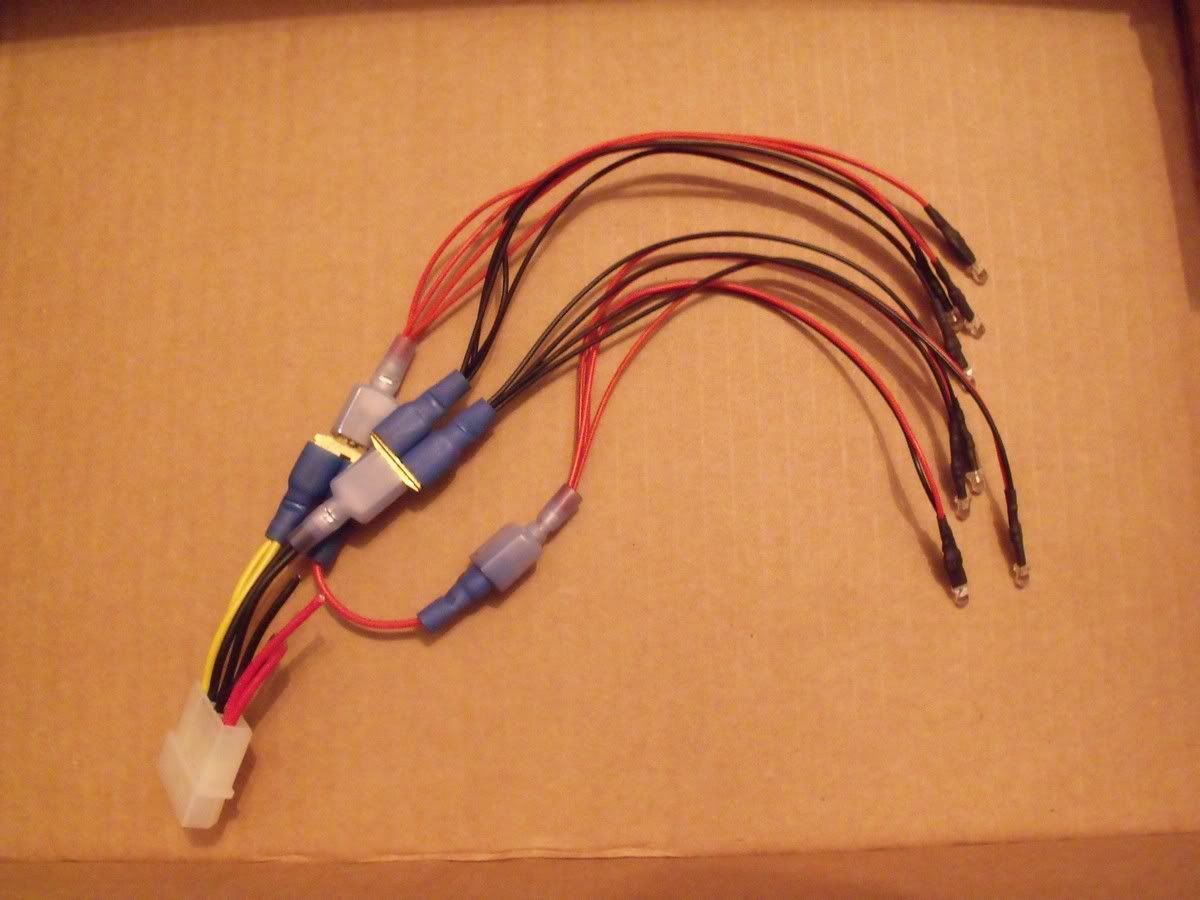
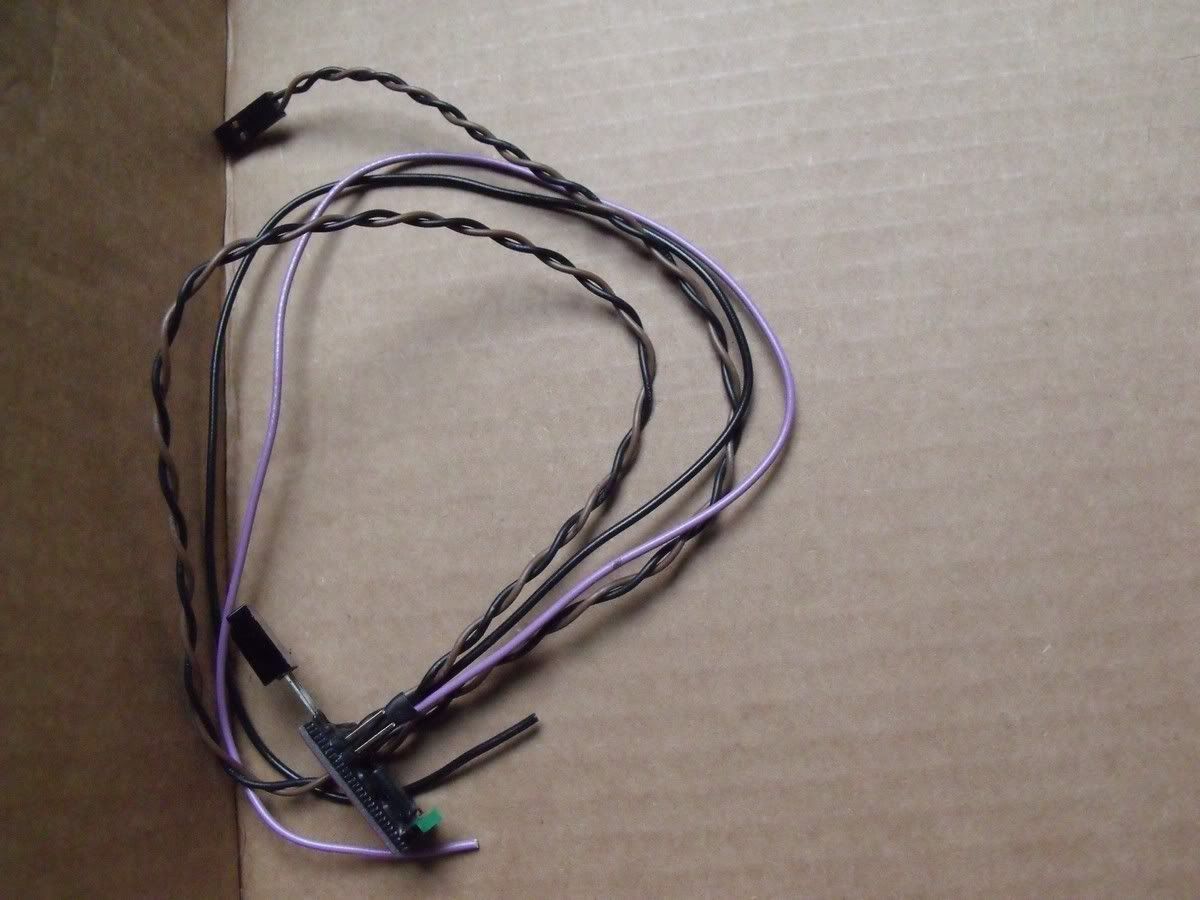
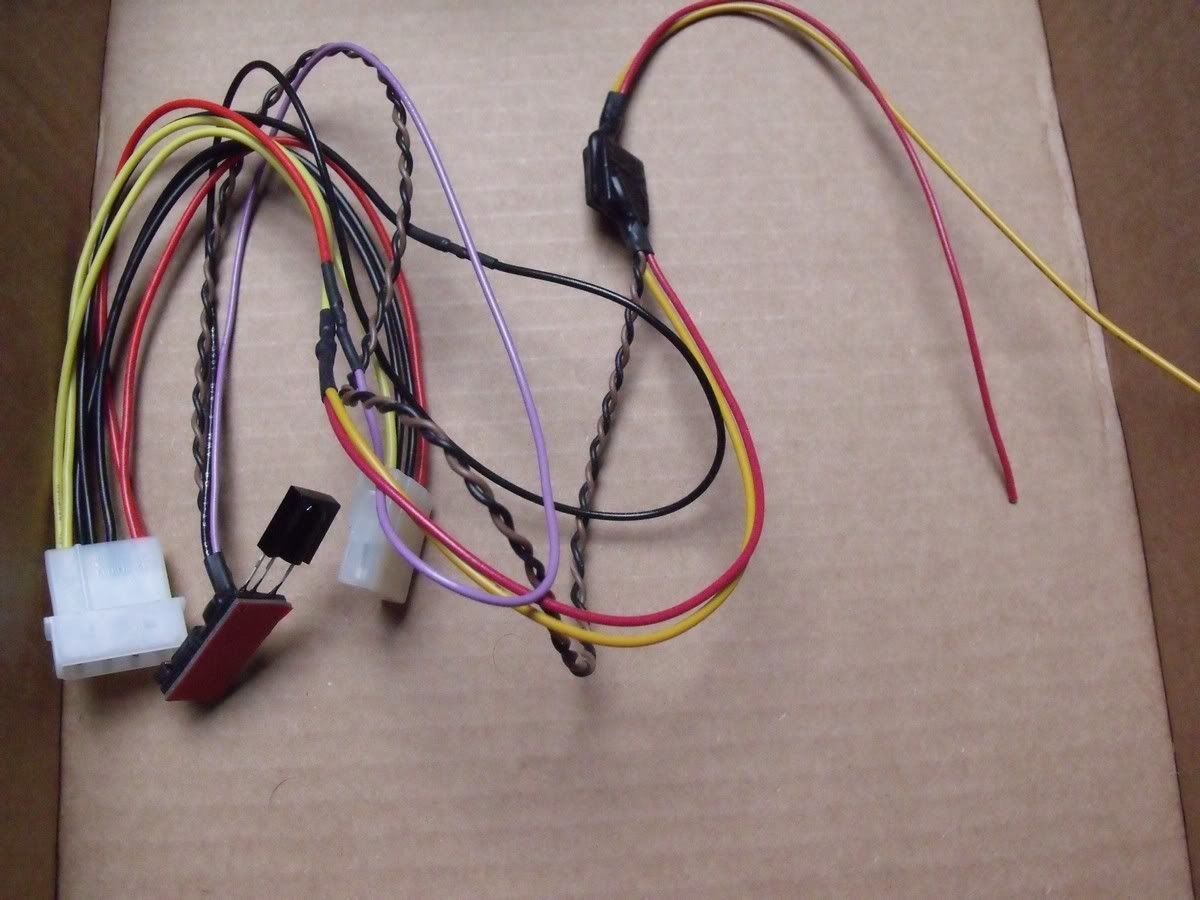
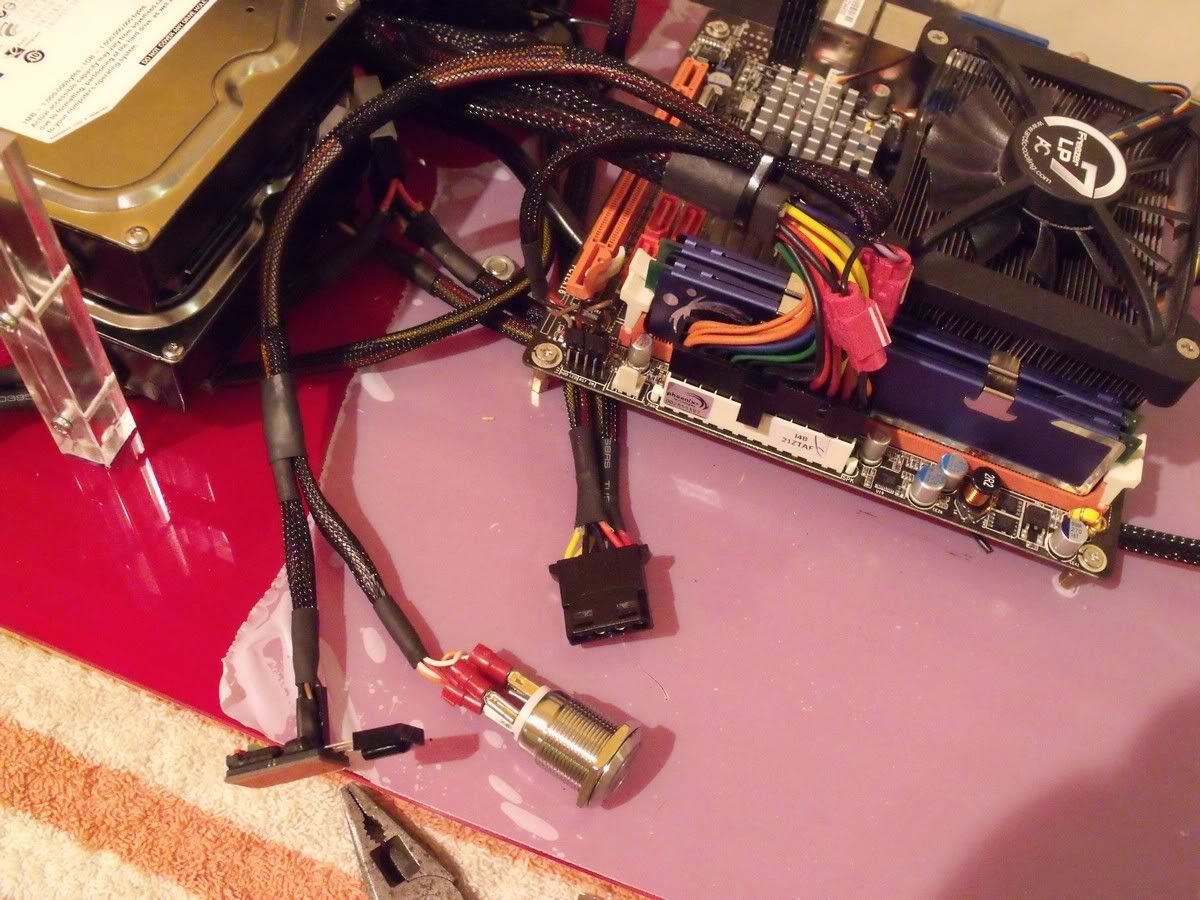
A power switch with an IR receiver
And a mess of cabling which will allow remote control of my lights
Here you can see I've re-sleeved the Power Button with the IR Receiver, I've also spliced two leads onto my ATX connector which gives the IR Receiver power all the time.
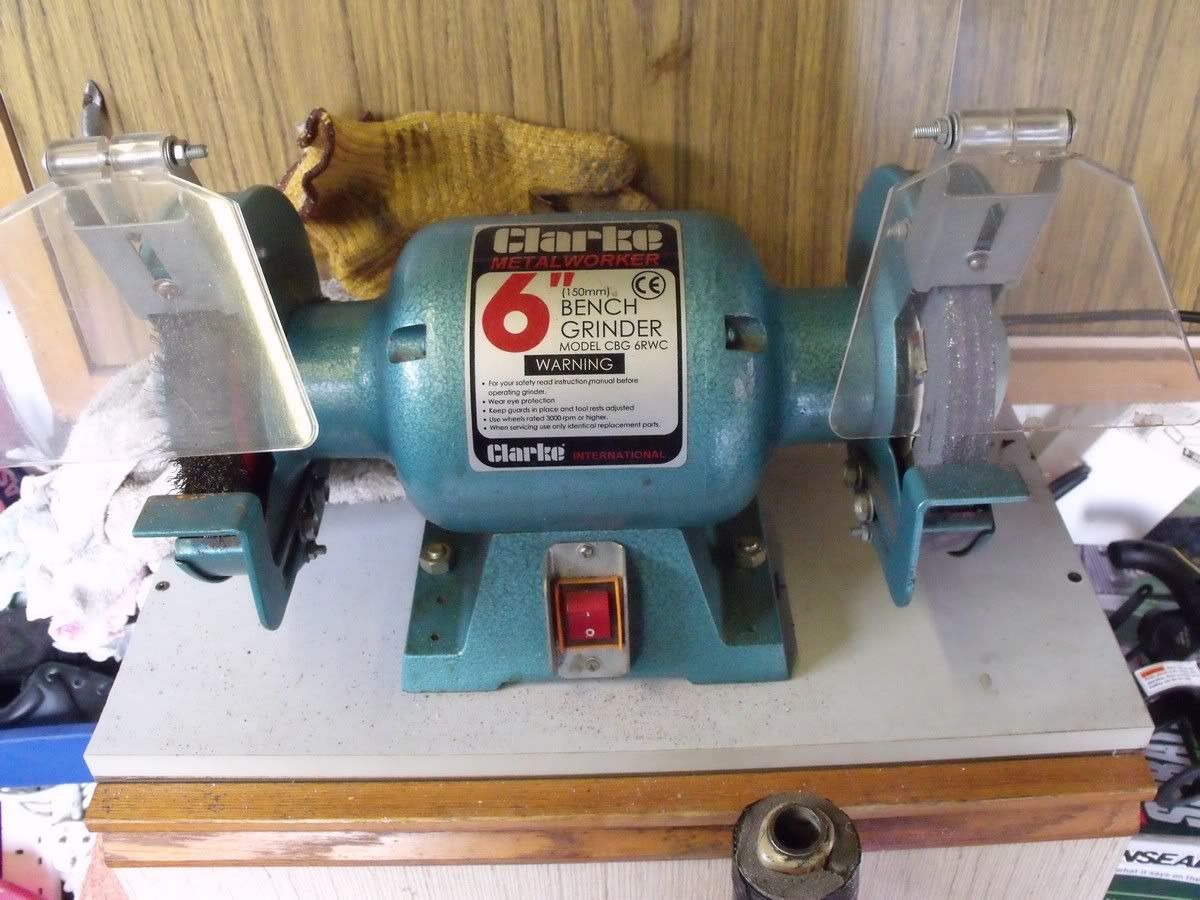
Also took a photo of another toy in the garage, a little underpowered but it does the job.
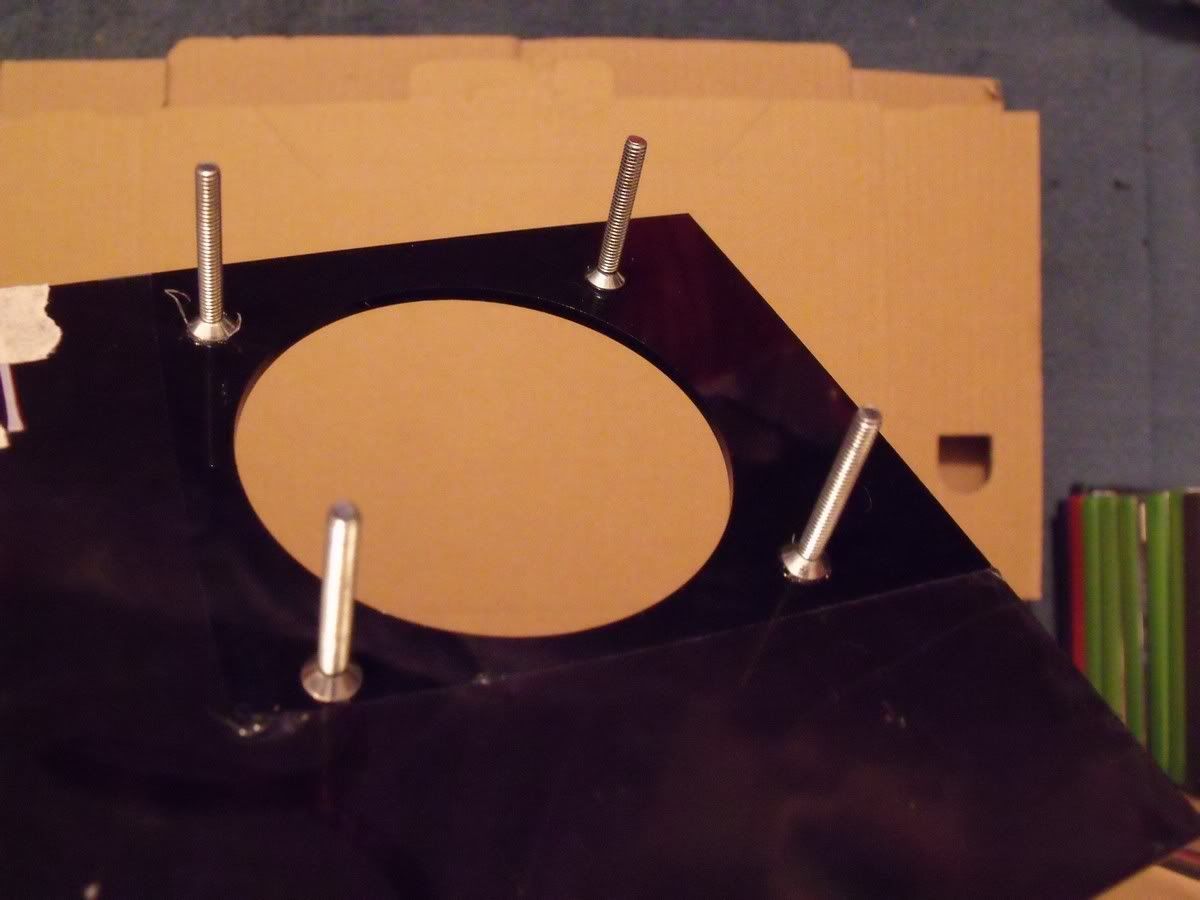
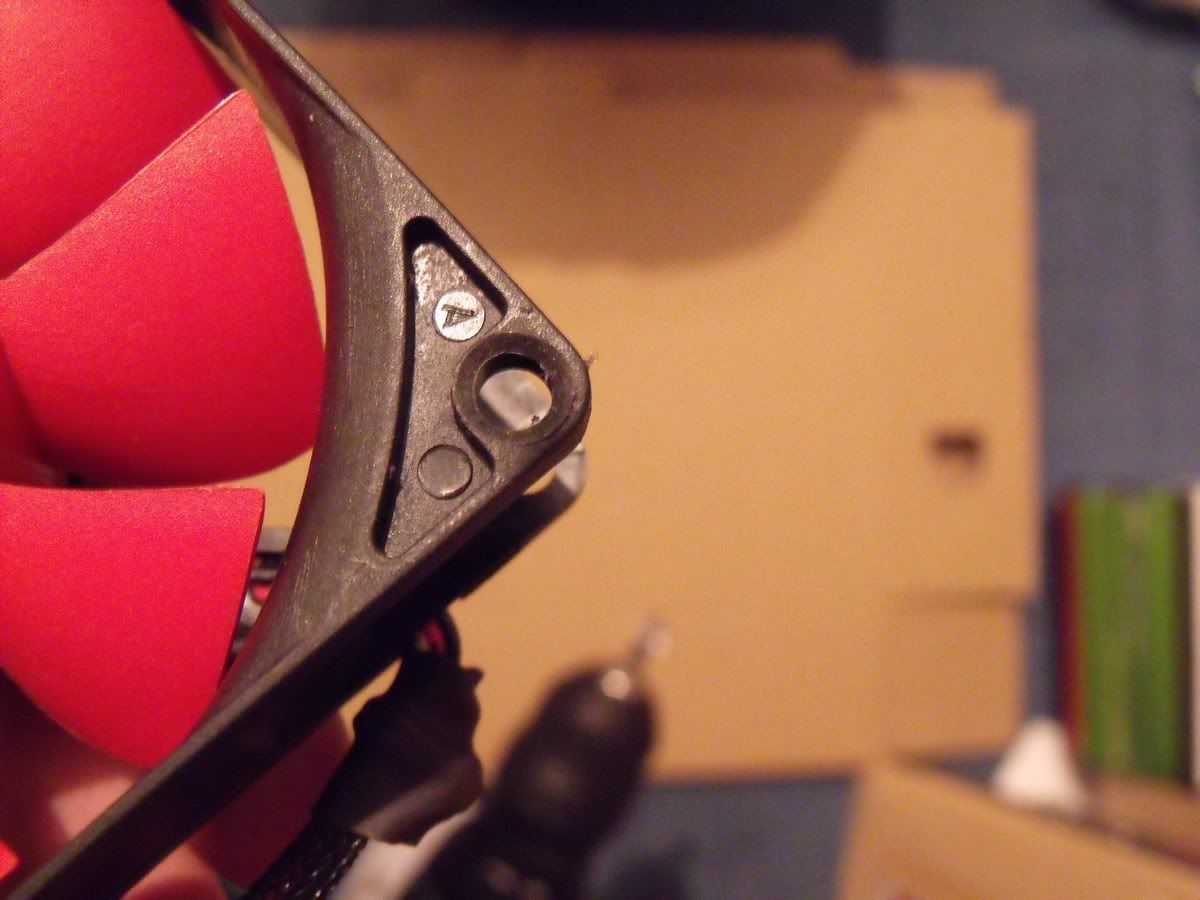
I've been wondering for some time now how to mount the fans without spoiling the look of the front panel. Velcro, double sided tape and mud all came to mind but I've finally settled on this.
That's right, I've glued countersink screws to the panel which I can then bolt the fans on with.
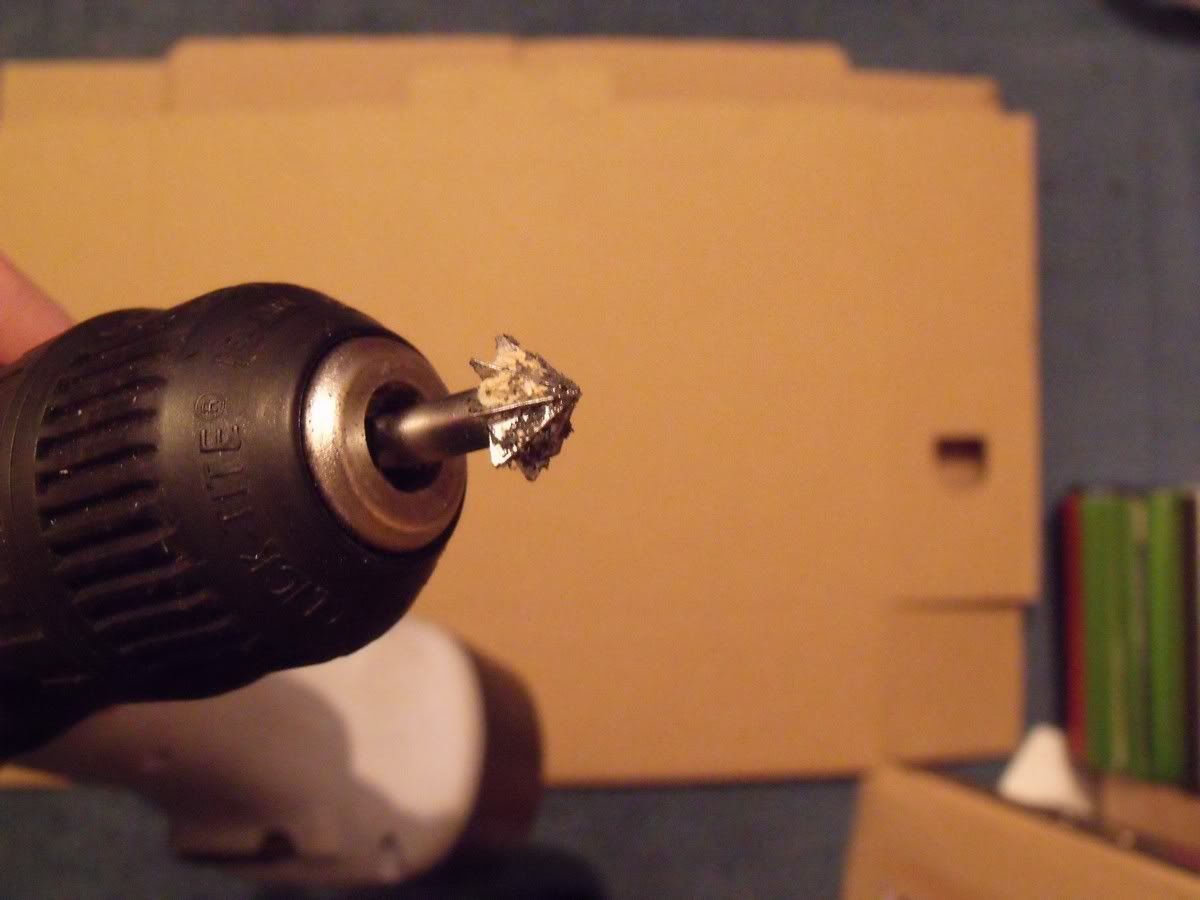
Now all I need to do is countersink my fan mounts. That's made easier with this handy fellow.
All bolted on