-
Maximum Security
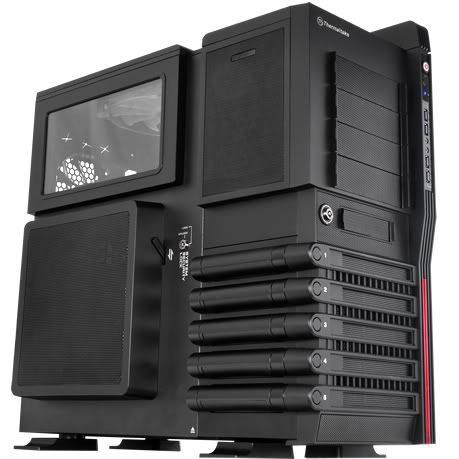
I was asked if I'd be interested in modding Thermaltake's new Level 10 GT chassis. Of course I had to say yes. A case like that may be hard to mod, but I've got some crazy plans for this thing. It involves liquid cooling and LOTS of electronics.
First off, a HUGE THANKS to the current sponsors!!
-
Re: Maximum Security
Thanks :D
And here's those teaser vids for those who haven't seen them :whistler:
The issue I'm having now is porting everything from the Arduino (which doesn't have enough i/o for everything I need) to the chipKIT. The issue with that is the Arduino runs an AVR and the chipKIT runs a PIC, so they handle the code differently. I've been working closely with the guys who designed the board to get this sorted, and right now they're redoing the servo code (was never done originally to work with the PIC) and trying to figure out the addressable RGB LED strip issues.
-
Re: Maximum Security
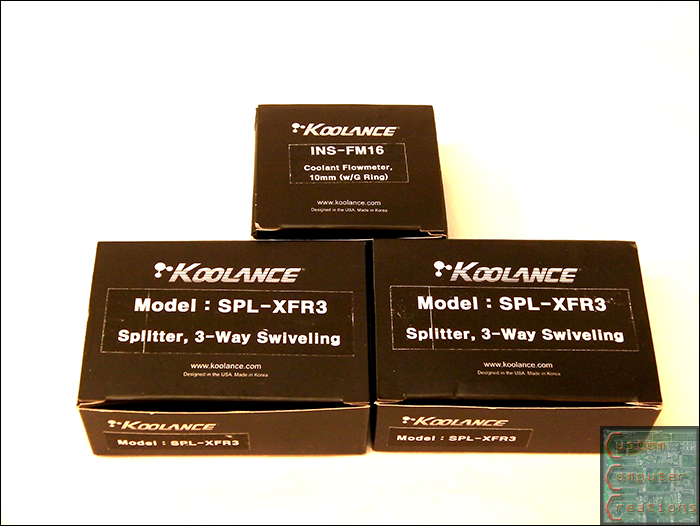
Got this coming from Performance-PC's:
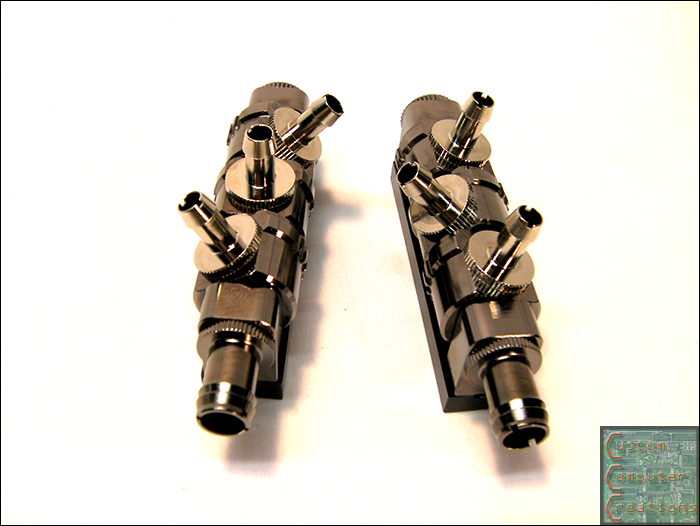
- 2 x *** HOT *** Koolance Tubing Splitter/Manifold, 5-Way Swiveling [no nozzles] (SPL-XFR3)
- 4 x Koolance Nozzle Single, G1/4 Barb [10mm, 3/8"] (NZL-V10B)
- 6 x Koolance Nozzle Single, G1/4 Barb [6mm, 1/4"] (NZL-V06B)
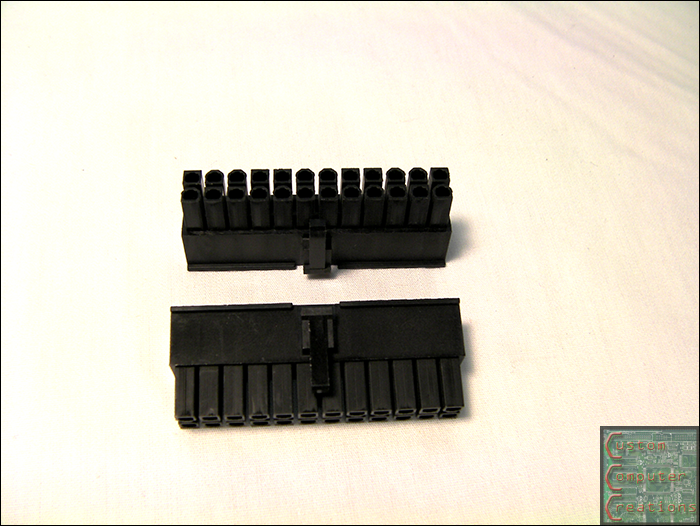
- 2 x mod/smart 24-Pin Female ATX Power Connector- Black (M-MB-24M-BK)
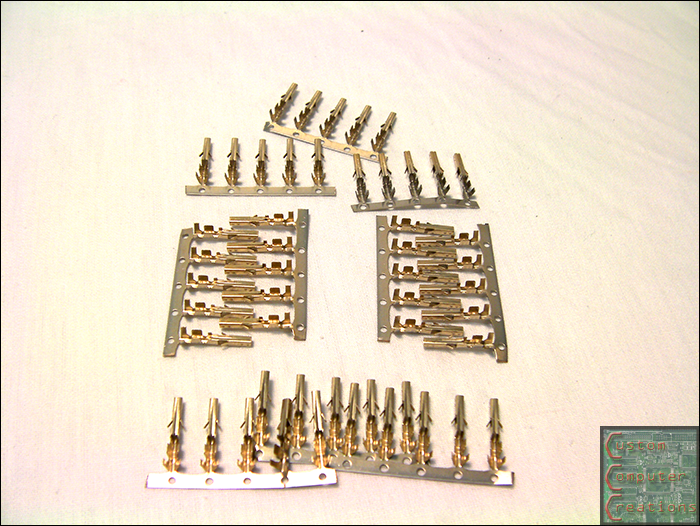
- 2 x Connectx™ ATX 24 pin Female Pins, GOLD-plated - 24 Pack (ACR-CB8133)
- 5 x Connectx™ Female 3-Pin Fan Housing Black (ACR-CB9031)
Molex Pins Add 3 Molex Pins - 5 x Connectx™ Male 3-Pin Fan Housing Black (ACR-CB9079)
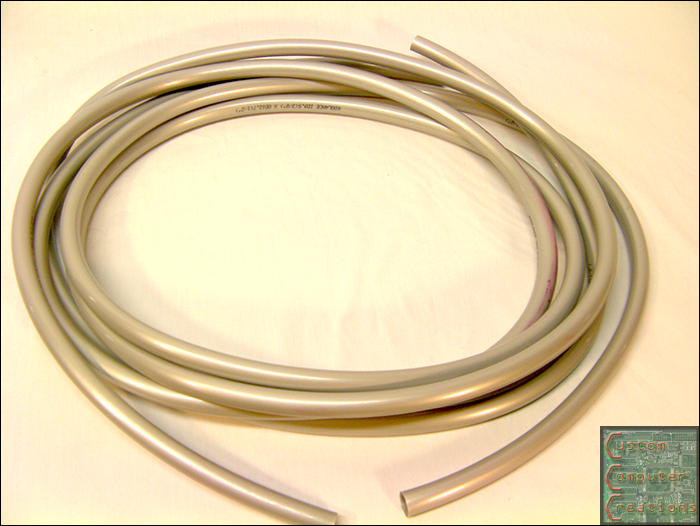
- 10 x Koolance Tubing, Silver PVC, 1ft/30.5cm [ID: 10mm (3/8"); OD: 13mm (1/2")] (HOS-10SL)
- 1 x IandH Silver KillCoils - Antimicrobial .999 Fine Silver Tubing / Reservoir Strip (IANDH-KILLCOIL)
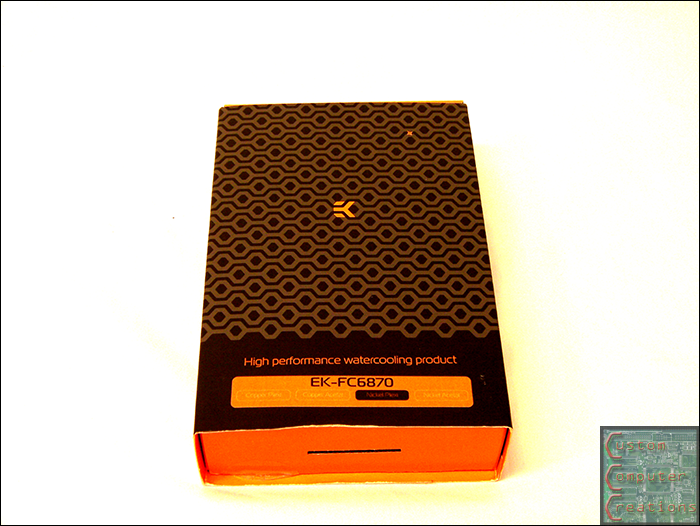
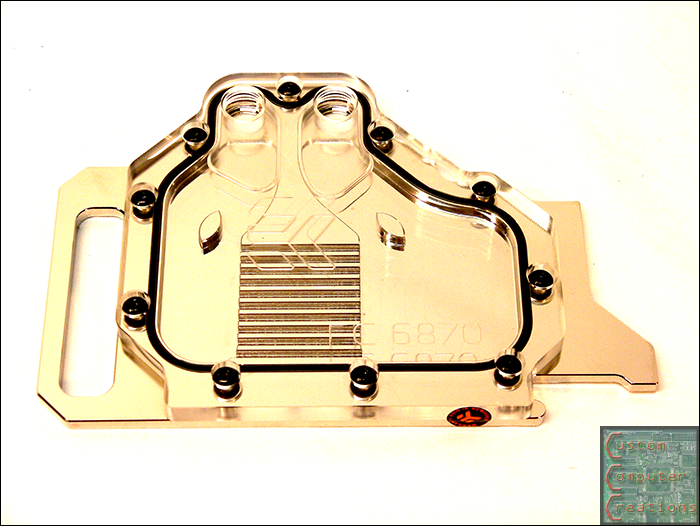
- 1 x *** NEW *** EK-FC6870 for AMD/ATI Radeon HD 6870 Series - Nickel (EK-FC6870-NK)
Optional SLI Fitting No fitting
Fitting Size 3/8" Barb for 3/8" ID tube - 1 x Black Ice® GTX Gen Two Xtreme 140 Highest Performance Radiator (GTX140)
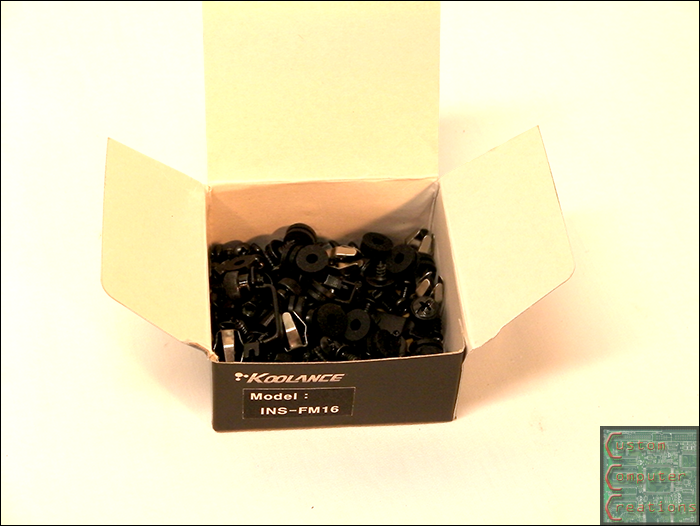
Fitting Size 3/8" Barb for 3/8" ID tube - 1 x Koolance INS-FM16 Coolant Flow Meter (INS-FM16)
- 1 x Koolance Coolant Temperature Sensor, Brass [no nozzles] (SEN-AP005PB)
Nozzles Add Nozzle Pair, G1/4 Barb [10mm, 3/8"] NZL-V10KGB - 1 x A.C. Ryan AcrylPanel™ 3mm - 480x480mm Clear (ACR-AP3404)
- 8 x Solid Wall Polyethylene Grommet Edging with Adhesive - Black (GES-BK05)
And this coming from Sparkfun:
- 3x PRT-00115 Female Breakaway Headers
- 3x PRT-00116 Male Breakaway Headers
- 5x PRT-08095 Polarized Connectors - Housing (2-pin)
- 2x PRT-08100 Polarized Connectors - Crimp Pins
- 5x PRT-08233 Polarized Connectors - Header (2-pin)
- 2x PRT-09497 ATX Power Supply Connector - Straight
- 2x PRT-09498 ATX Power Supply Connector - Right Angle
- 2x PRT-10698 Light Pipe - Clear Core (3mm, 5' Long)
Deets when the goods arrive :D
-
Re: Maximum Security
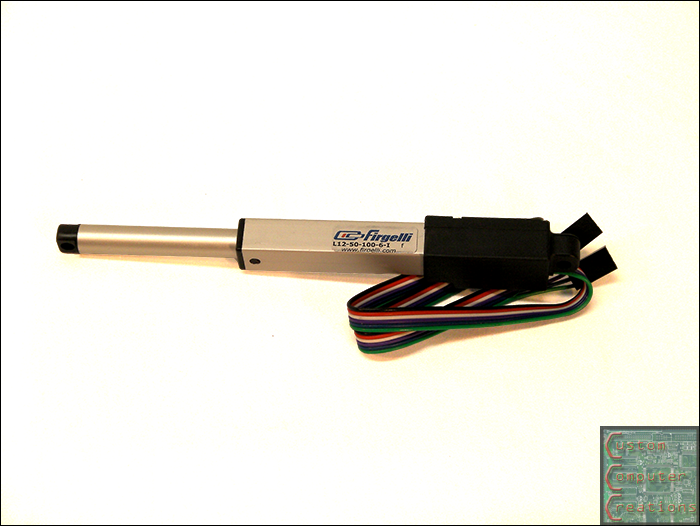
Well no fingerprint reader, but I will have an RFID card controlling the side panel lock and opening mechanism :D The Level 10 GT has a button to press to unlock the side panel, then you can pull it open. I plan on using a servo to control the latch mechanism, and I picked up a small (but effing expensive) Firgelli linear actuator to open and close the door.
Speaking of that, I got the actuator and my performance-pcs order in today, will post pics tonight :D
-
Re: Maximum Security
Update time!
First some pics of some of the goods:
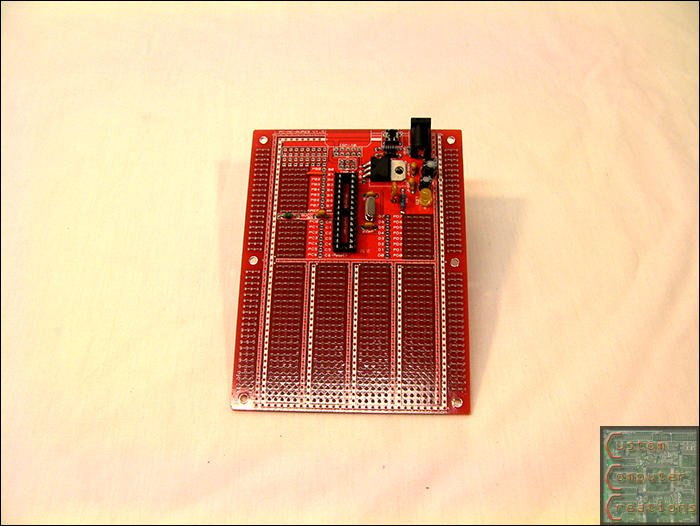
ATMega8A dev kit from Protostack
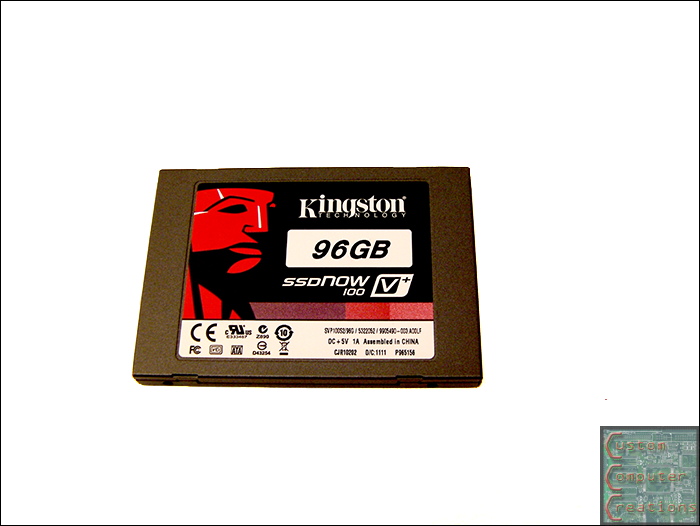
96GB SSD from Kingston
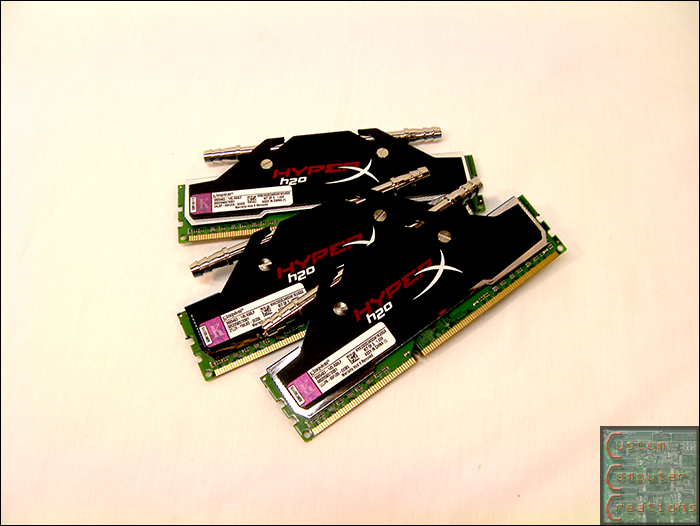
6GB DDR3-2000 H2O RAM also from Kingston
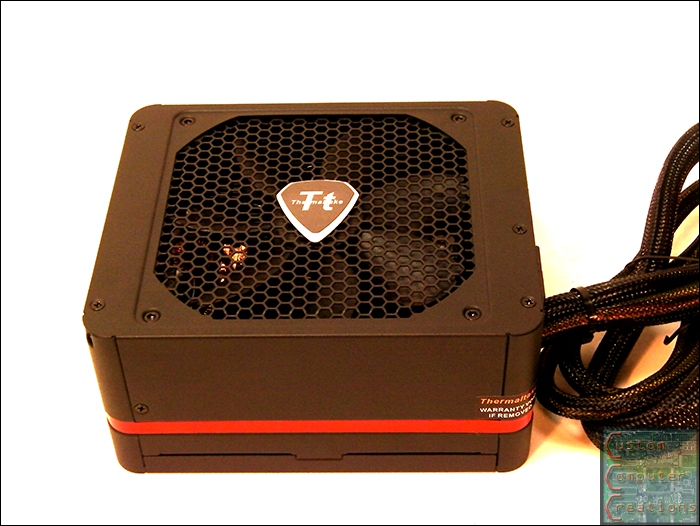
Toughpower 1050W PSU from Thermaltake
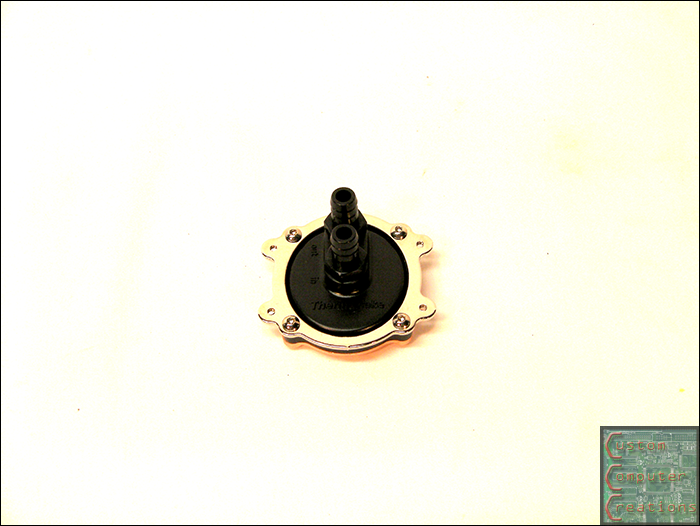
PWB100 Waterblock also from Thermaltake
Firgelli L12 Linear actuator (50mm stroke, 100:1 gearing) from Trossen Robotics
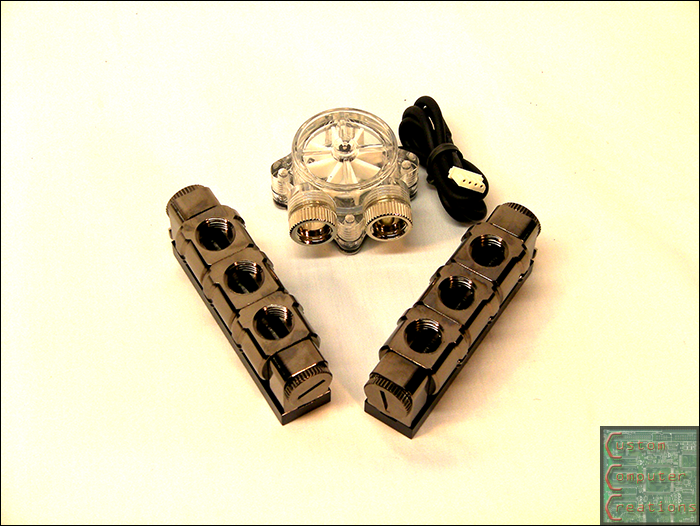
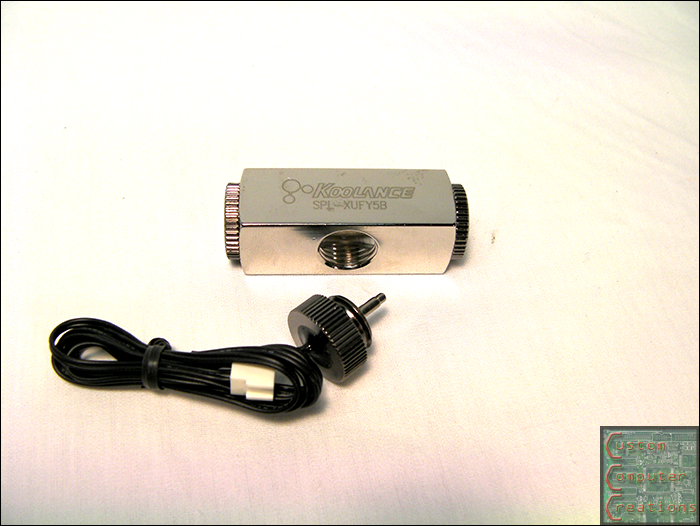
Koolance 3-way splitters and flow meter
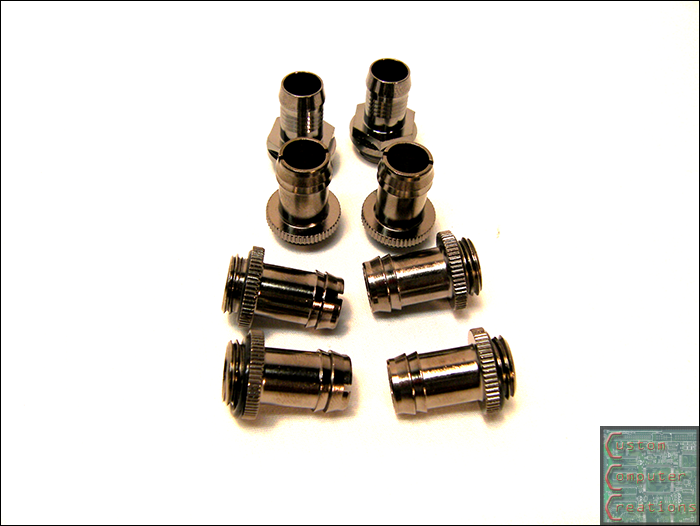
Koolance 3/8" and 1/4" G1/4 fittings
Here you can see a 3/8" fitting and 3 1/4" fittings in each splitter. What this will do is allow me to hook the main 3/8" tubing to the splitter, and have 1/4" lines run to each stick of RAM, then back out into the second splitter, and back into the loop.
Koolance Adapter block with temp sensor
EK waterblock for my XFX 6870
10' Koolance silver 3/8" PVC tubing
U-Channel edge molding
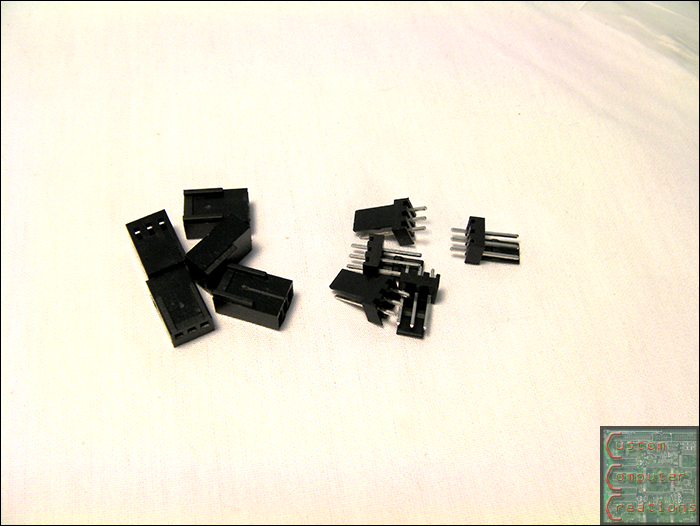
2 black 24-pin connectors and pins
5 3-pin connector sets
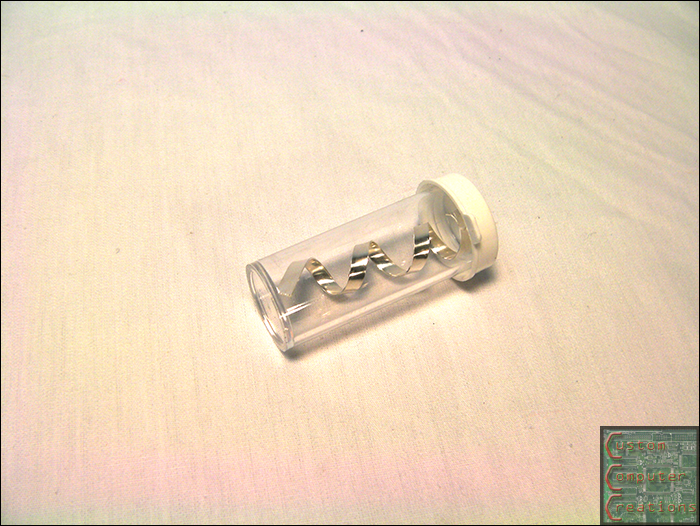
Silver Kill Coil
I also got a Black Ice 140mm Radiator, but I need to swap it for a 120mm one as it's too big to fit in the case in the rear 140mm fan spot. I may get creative and try to mount it elsewhere though, we'll see.
I'm still waiting on a 2x120mm radiator and a pump/res combo from Thermaltake as well.
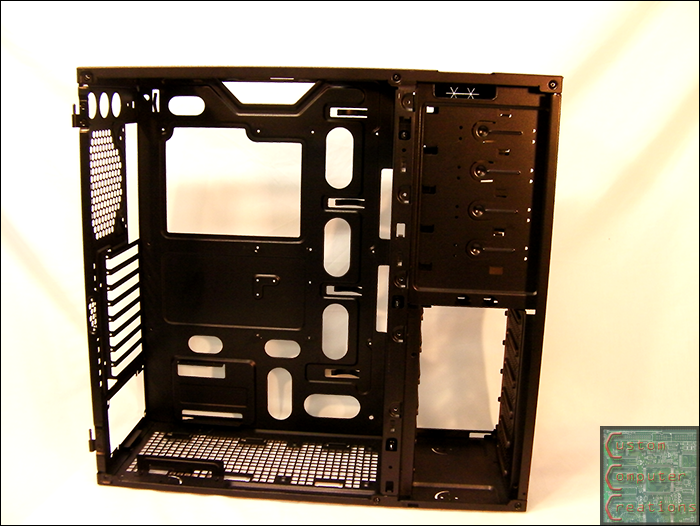
I also got some work done on the case.
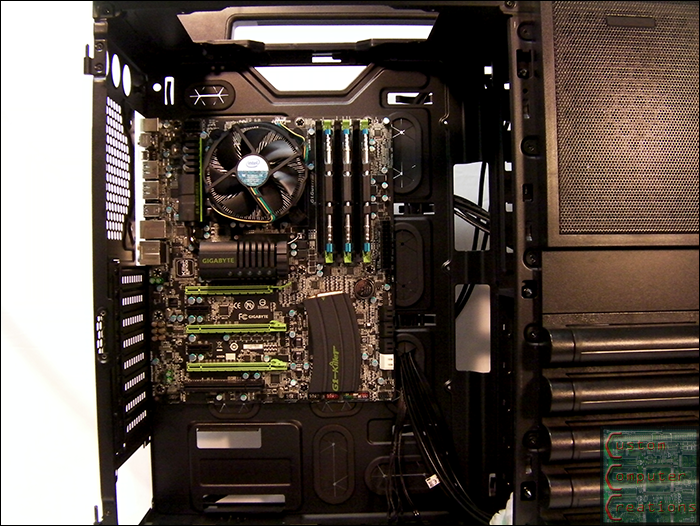
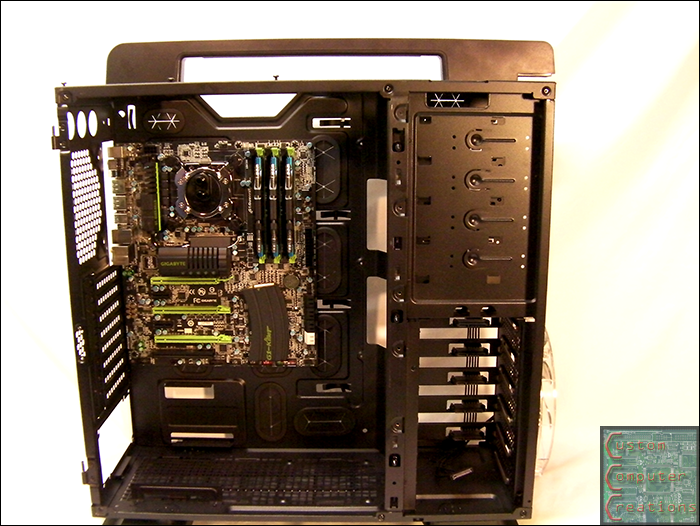
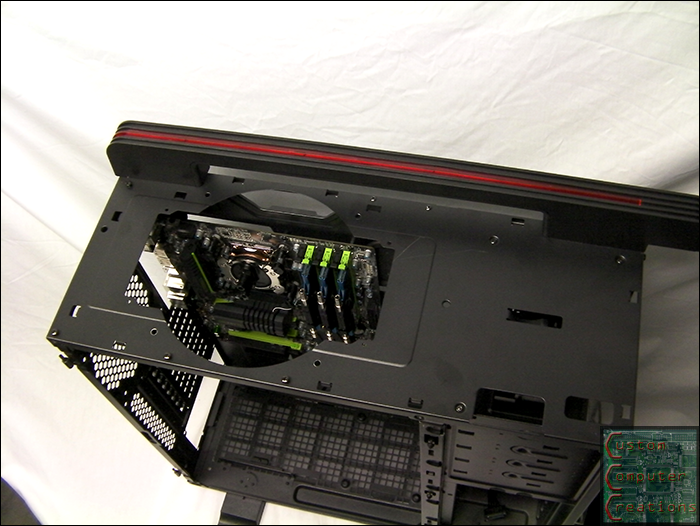
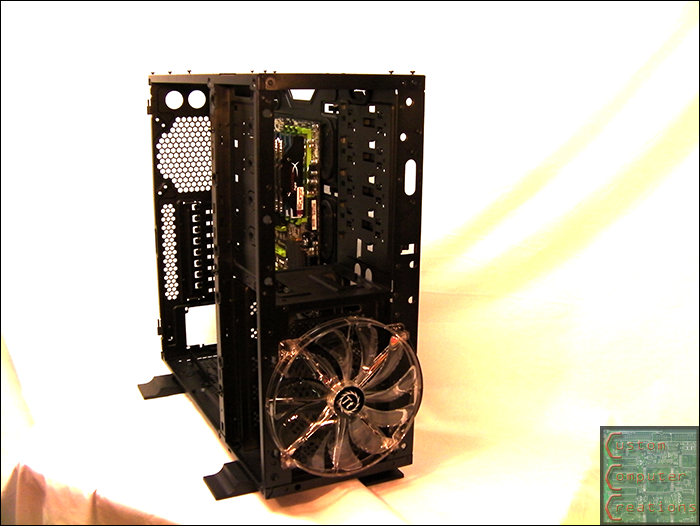
I test-fit the motherboard into the case to get an idea of the layout for some of the various components. This is when I found out that the bit 140mm rad I got won't fit.
I also got the lower intake cover, louvers and fan removed. The plan is to put a window in where the fan grill used to be.
-
Re: Maximum Security
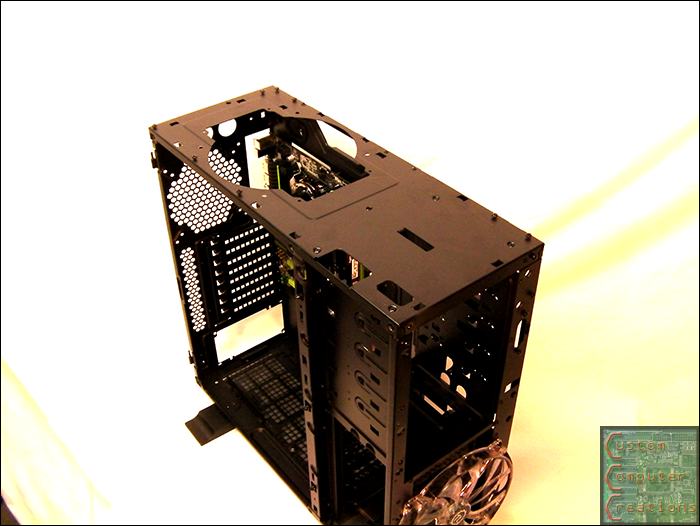
Minor update. I got the case pretty much all disassembled. There was a ton of little screws and clips everywhere, and it was neat to see how they held everything together. Next will be finding placement for some of the components.
-
Re: Maximum Security
More pics :D
The RFID reader from Trossen Robotics
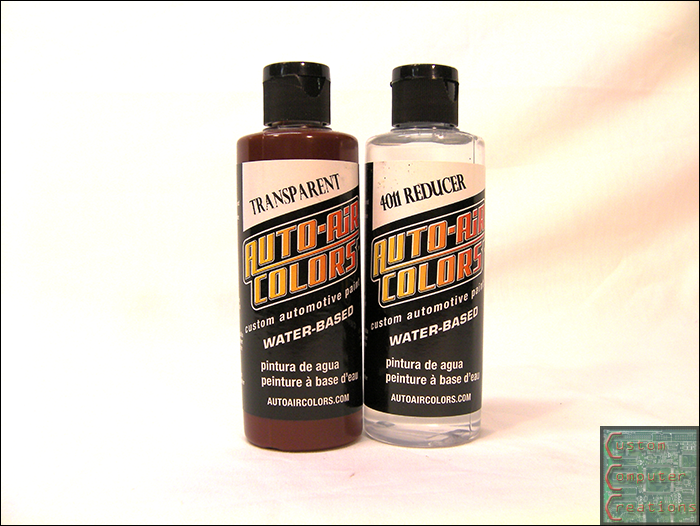
The 2 bottles of paint from Auto Air Colors.
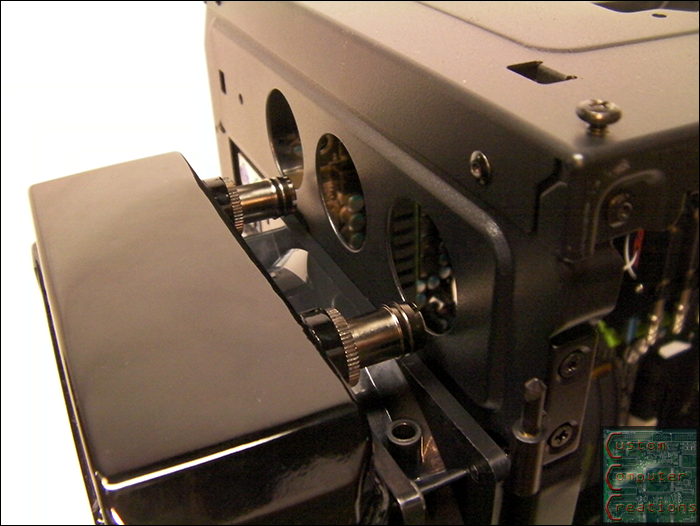
I also figured out a mounting for the 140mm rad. It was too big for the inside of the case and I thought putting it on the outside wouldn't look good. However after some trial and error I found that I can use the outer shell from an old 140mm fan as a spacer. The only other issue is that the barbs don't line up with the holes in the case, but that's a small hurdle. So the fan will be on the inside of the case with the rad and spacer on the outside. Alternatively I could just mount the fan to the rad and have them both on the outside of the case. Thoughts?
-
Re: Maximum Security
I was actually thinking about a pair of these :D
-
Re: Maximum Security
Update time :D
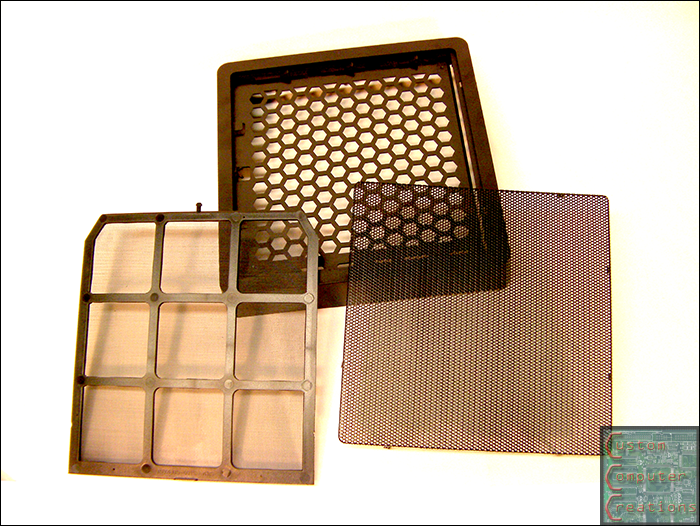
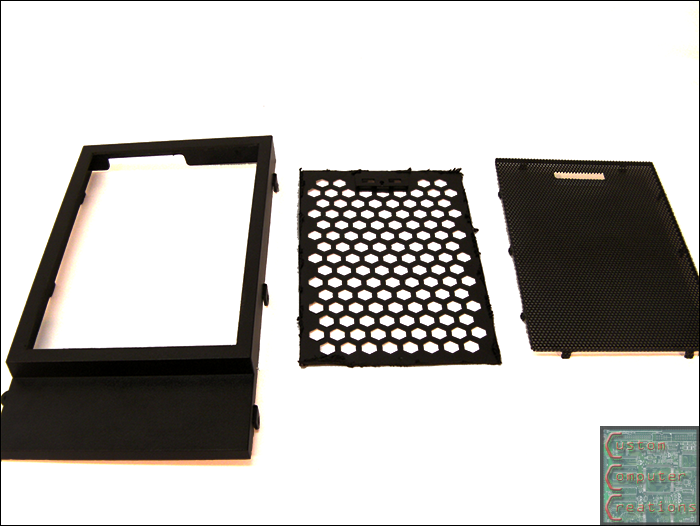
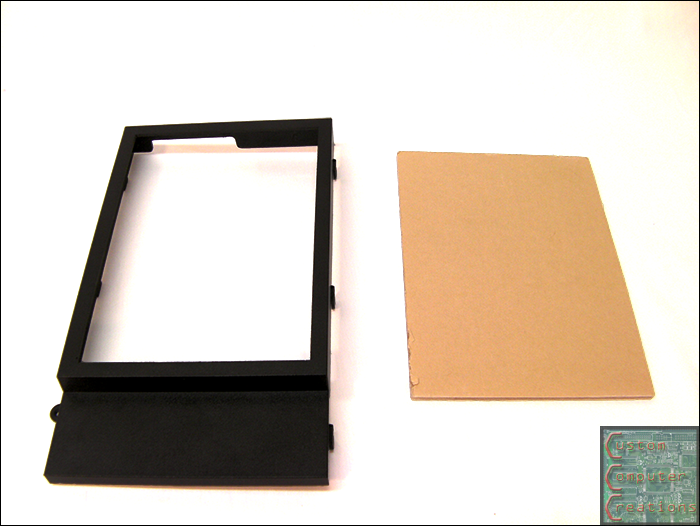
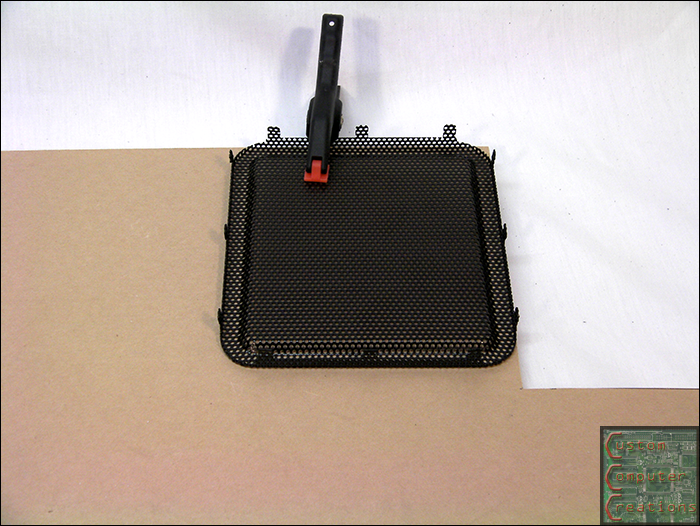
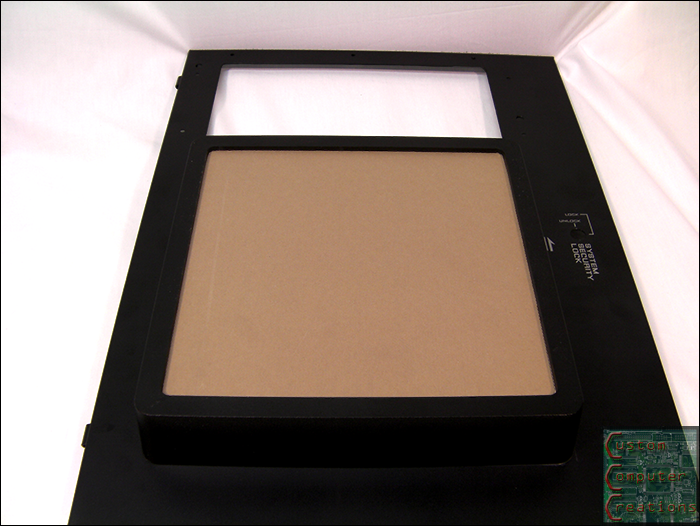
I got 2 of the 3 windows done. I started with the top mesh part on the side panel (where the headphones hang, above the hotswap bays)
I started by removing the steel mesh, then cutting out the plastic honeycomb mesh underneath with my scroll saw.
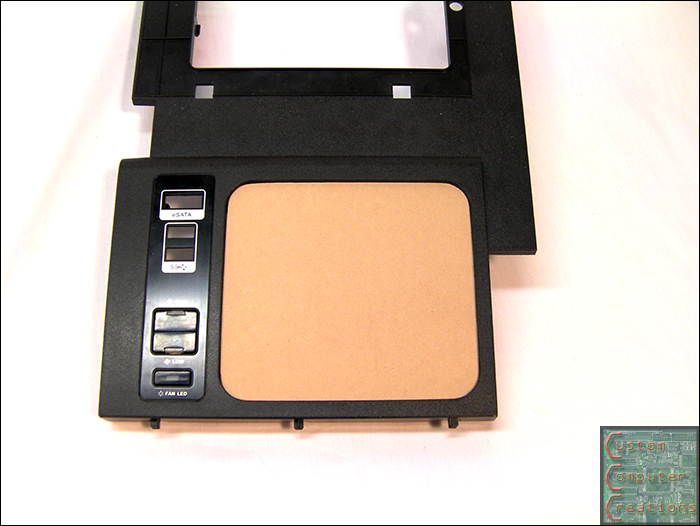
Then I cut out a piece from the AC Ryan panel I got. It took a lot of sanding and filing to get the window and the cutout nice and smooth.
MMMM nice fit :D
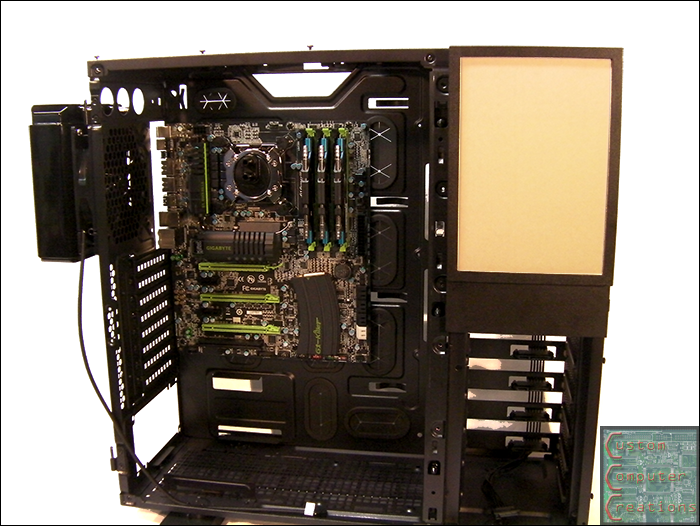
And a shot of where it goes on the case. I'm going to have a few components and some lighting behind this window, but I'm keeping the details a secret for now :D
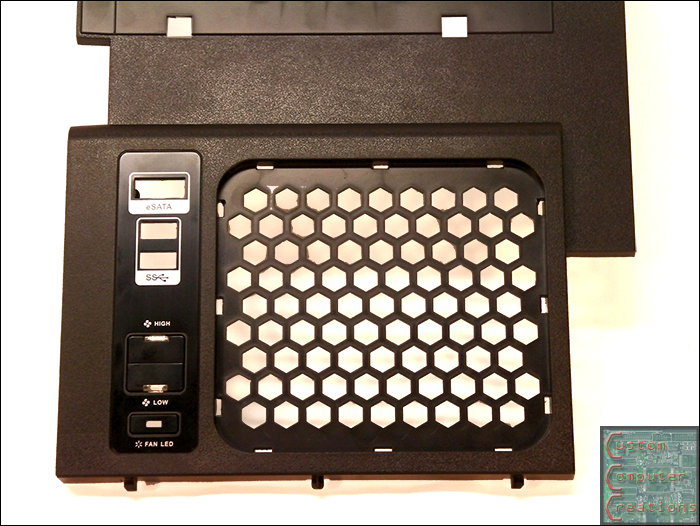
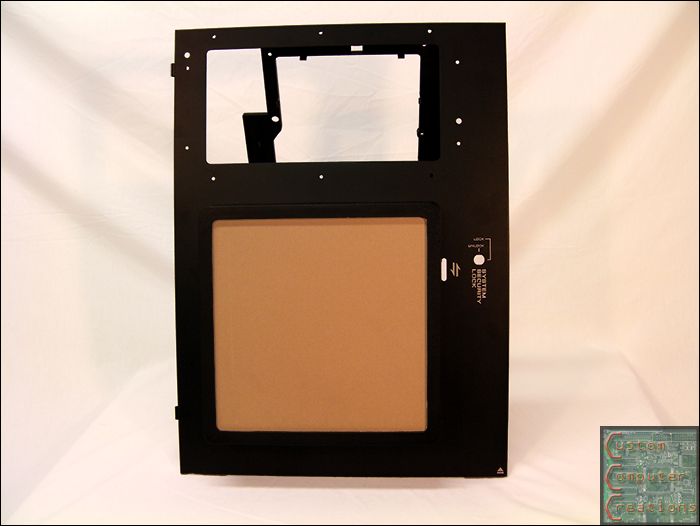
Then I started on the top panel. I removed the steel mesh like on the side panel...
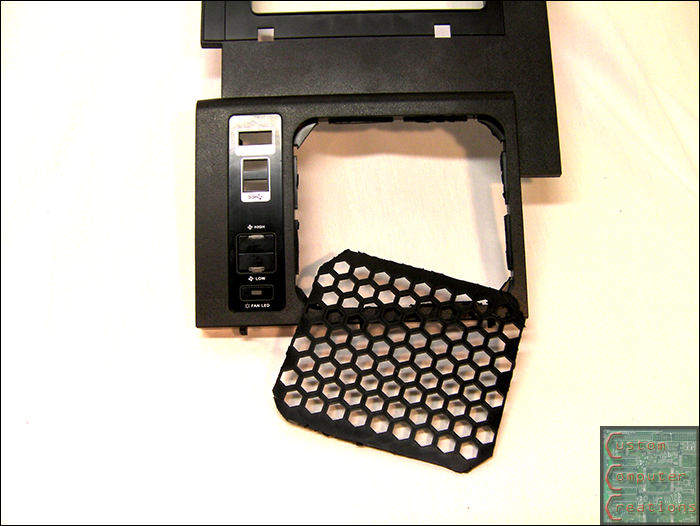
Then cut out the plastic honeycomb with the scroll saw. I had to do a lot more sanding and filing here than on the side panel. The reason for this is due to how Tt made the plastic parts. On the side I was able to install the window from underneath, so it didn't have to be 100%. Here I need to install the window on the top, and it will rest against a few small parts sticking out, so it needed to be perfect.
I used the steel mesh to trace out a rough line for the window panel.
And the window cut roughly.
And a nice fit :D This took a LOT of time as the window had to be a lot closer to perfect than the side one did. This window will also have components underneath, and both windows may have some etchings...we'll see on that later on.
-
Re: Maximum Security
Time for another update!
I finally got the case entirely stripped down, minus drilling out the rivets (that's later).
Here's all the hardware I had to remove to get all the plastic off this thing!
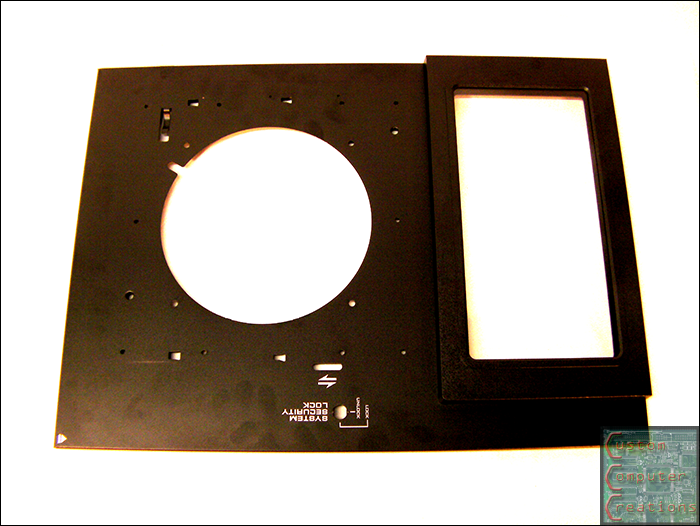
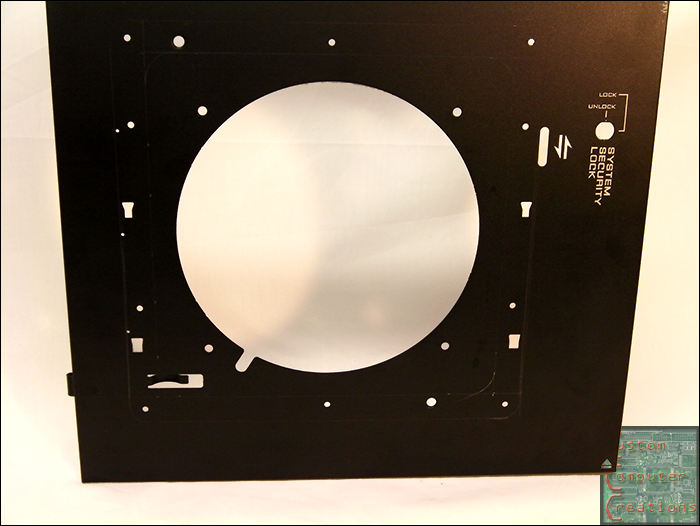
I did some measuring and marking on the side panel in preparation for cutting.
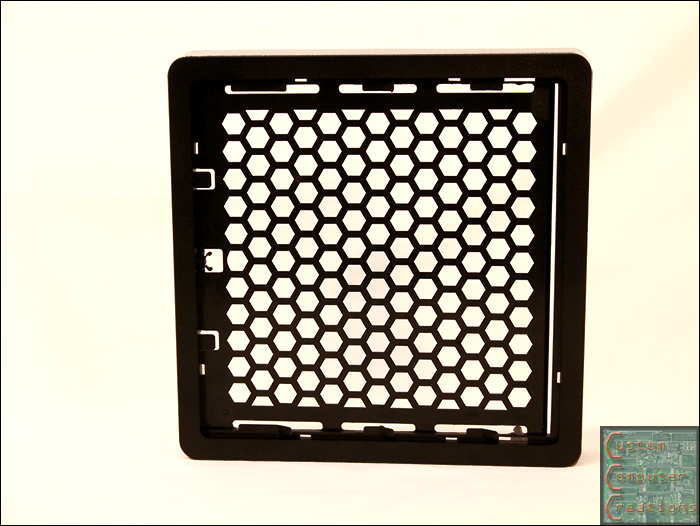
Then I tackled the plastic casing that covers that side intake hole. This will also have a window, making for 4 total windows in the case.
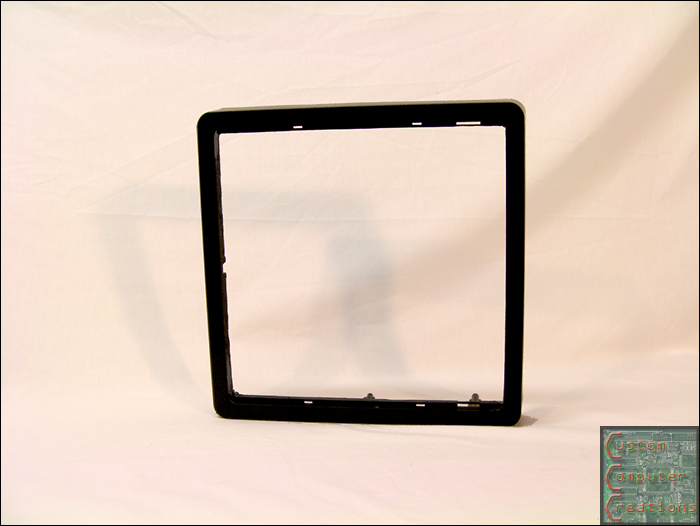
Here it is all trimmed out. This took several hours of cutting and sanding with the Dremel and final finish sanding. There were a lot of small tabs and whatnot that needed to be removed. What I'm left with is 2 small ledges on which to mount the window.
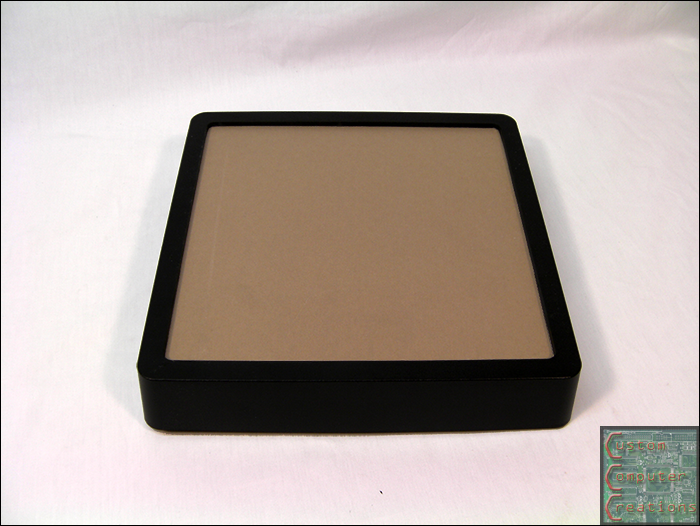
I went about making the window the same way as the others. I used the mesh I removed for an outline/guideline. Then I cut it out with the scroll saw and did the finish sanding with the Dremel and belt sander. Here it is in for a test-fit.
Here is the plastic and window sitting on the side panel.
The main thing left to do now is cut out the steel side door and work on component placement and electronics. The tough part is going to be finding the right mounting location for the linear actuator that will open and close the door.