Looking great, be interesting to see what you do with the 'void' between the top and the sides.
At the moment, you are da man.

Printable View
Looking great, be interesting to see what you do with the 'void' between the top and the sides.
At the moment, you are da man.
Outstanding work, Bod!
Definitely feature quality. rep=rep+1
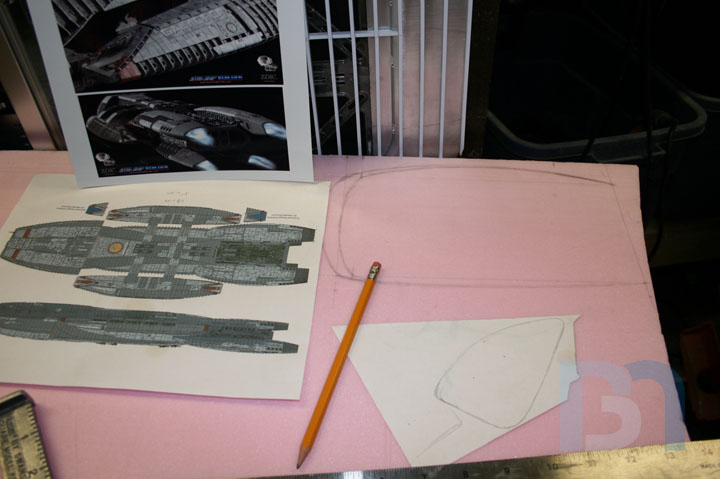
made some decent progress on the engine pods. :D
Studying the ref pics and figuring where the pods would go on the case, I determined the size & shape,
and drew the outline onto the foam.
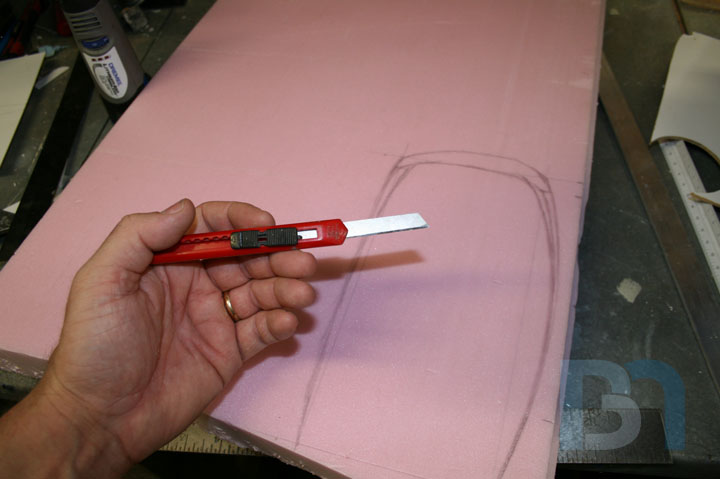
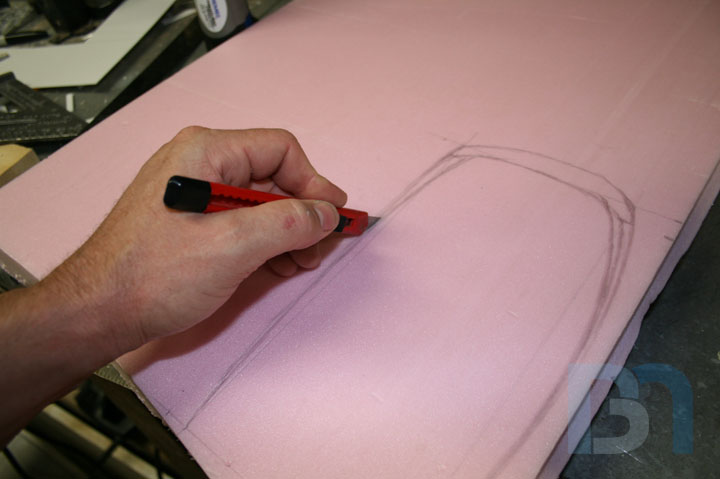
This foam is 1 1/2" thick. I use this long-bladed knife to cut through it.
Making several cuts, my last pass is utilizing the whole blade.
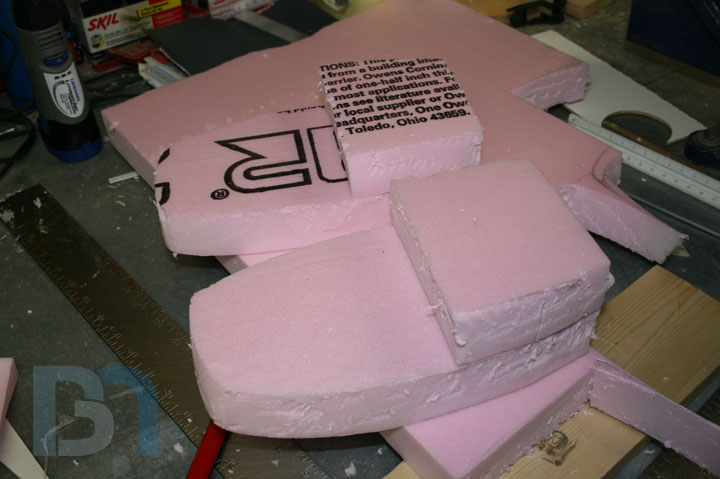
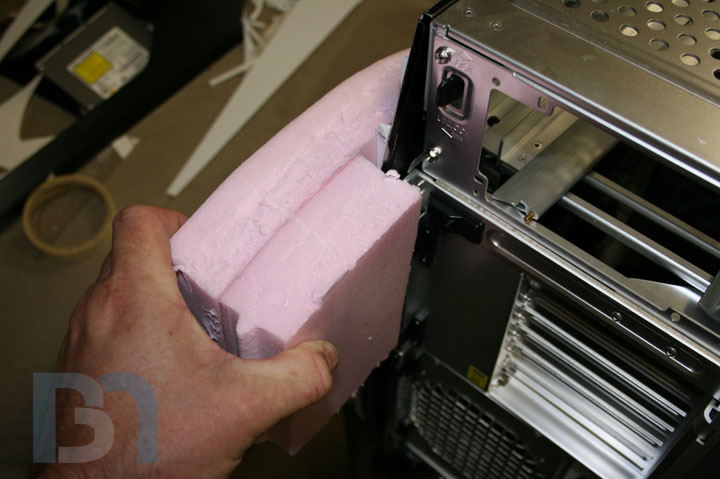
The large pods at the back are 2 1/2" wide, so I have to double up on the foam to get that thickness.
Here's roughly where they will go.
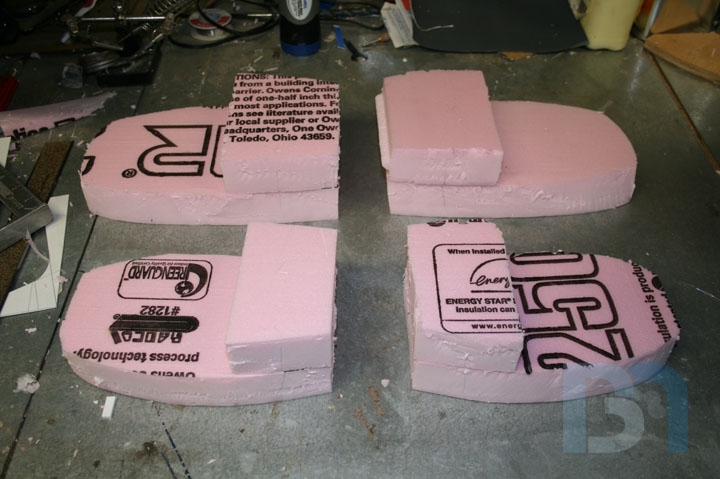
Had to make four total. Two being mirror images of the other two.
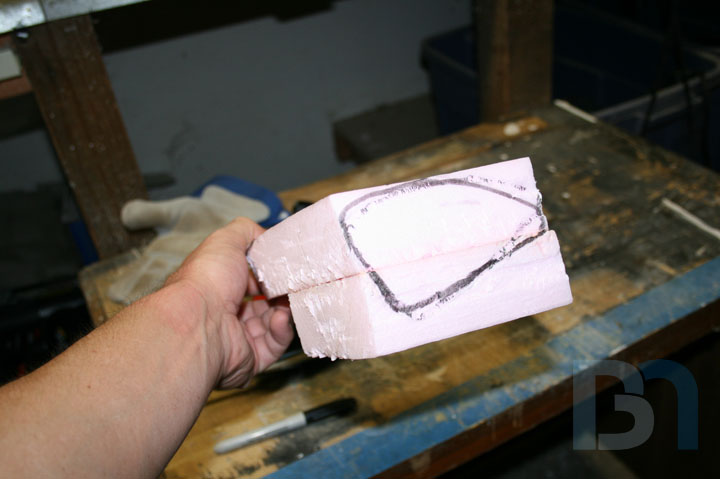
Now its time to carve the foam to the correct curvy shape. I drew the shape of the nozzle
onto the end to give me a starting point.
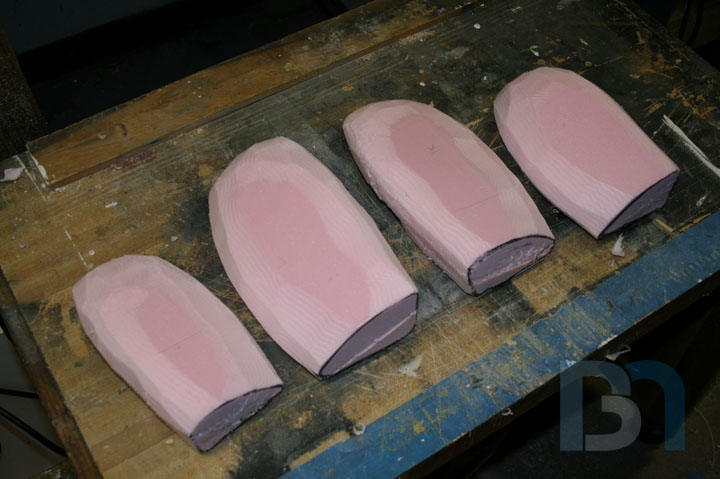
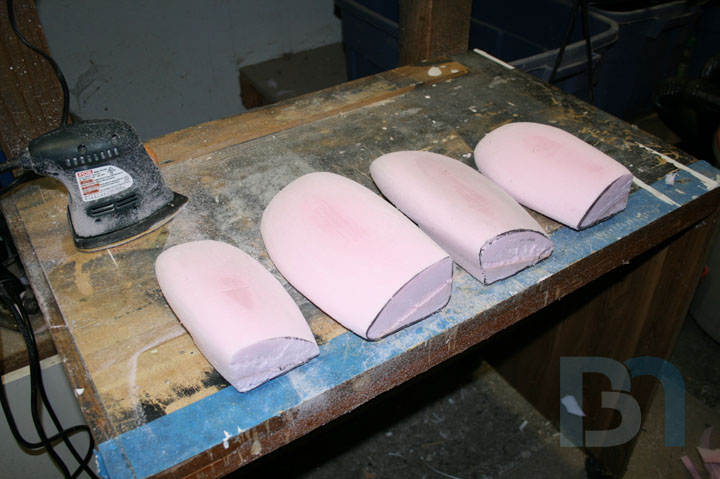
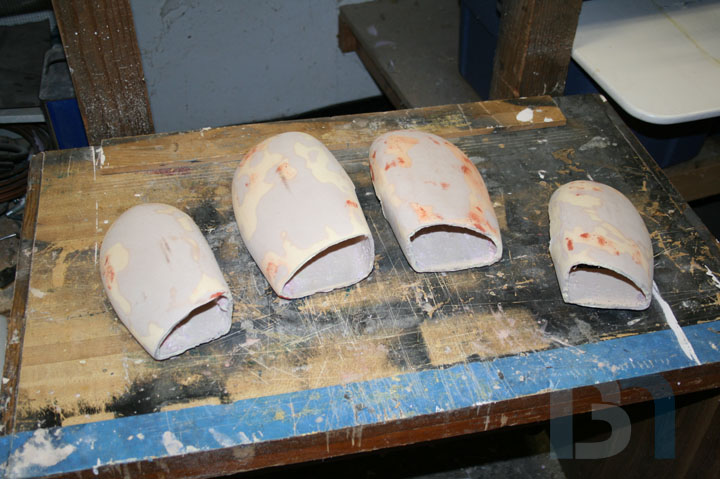
Here are all four pods after the first round of carving.
And here they are after round 2, using the orbital sander to smooth them out.
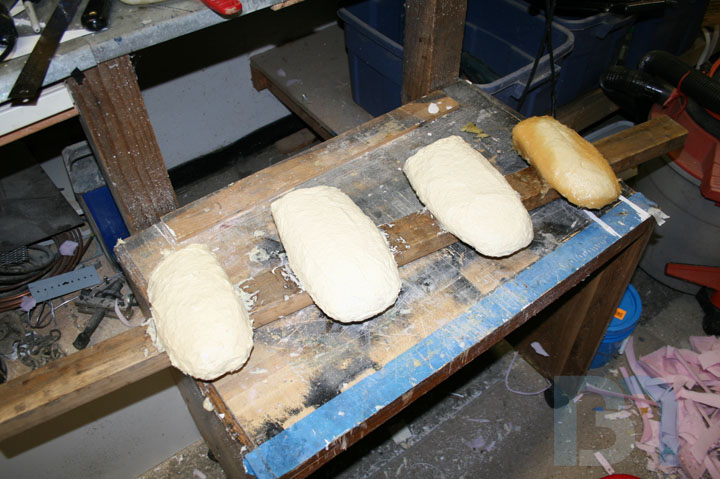
I glued the pods temporarily to a 2x4 so I could easily maneuver around them while I spread the plasti-paste.
Got the first one covered. Here you can see the stuff is already setting up. Can't do more than one at a time,
but I didn't have enough mixed up to do more than one anyway. ;-)
Thats where I'm at so far. I will try to get back in there later tonight and do the remaining 3. Once I get them all sanded down smooth, I can demold and fit them to the case.
8)
Once again, with the faom and plasti-paste. You make it look SO easy. Where do you get the foam amd the paste, and what's the cost of that stuff? Great work.
Remy
hehe I bought a gallon of the stuff from Smooth-on.com and I need to use it or else it will expire. It's $50, but you can get a trial size for like $35 or something.Quote:
Originally Posted by Remy
The foam is your basic sheet of Owens Corning insulation foam from Lowes.
Looks great so fr, keep up the good work.
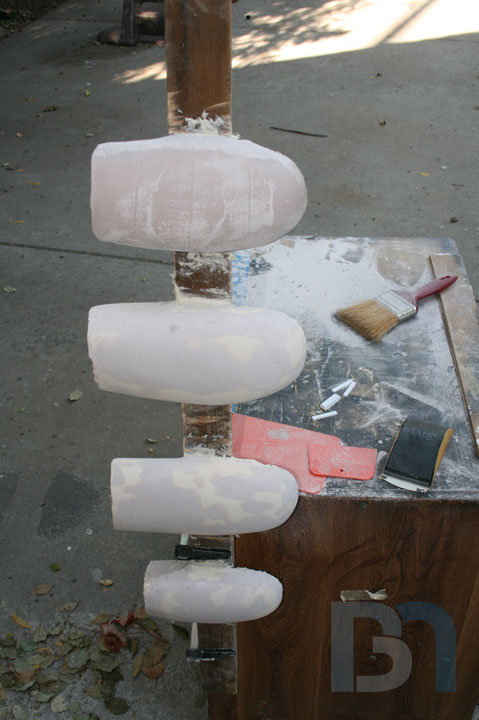
it's been a long week of sanding, filling, sanding, and more sanding, but I think all that effort
was worth it. have a look!
Here's a shot of the last pod getting coated with the resin.
big jump in the timeline here, this is after many hours of sanding, bondo filling, and more sanding.
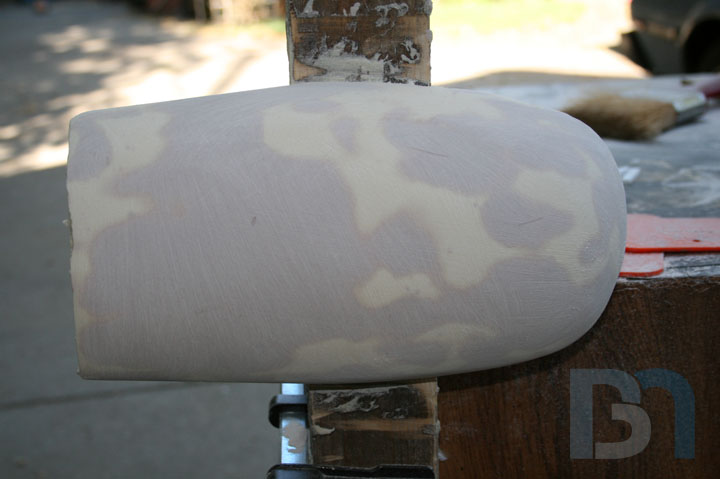
A close up of one of the larger pods. You can see the sanding scratches the 80grit sandpaper left.
I used 80grit to get the basic smooth shape down, then i went back over everything with the orbital
sander and 120grit to sand out those scratches.
Close up of the back end. Here you can see the thickness of the plastic. There are some thin areas,
but for the most part I got a pretty consistent layer all around. I will beef up any thin areas with
bondo from the inside.
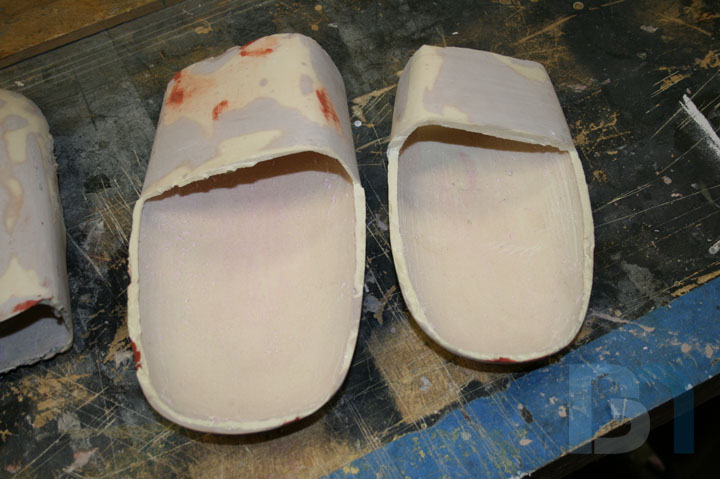
Cut off the 2x4, and foam removed.
Close up of the back end.
Close up of the under side.
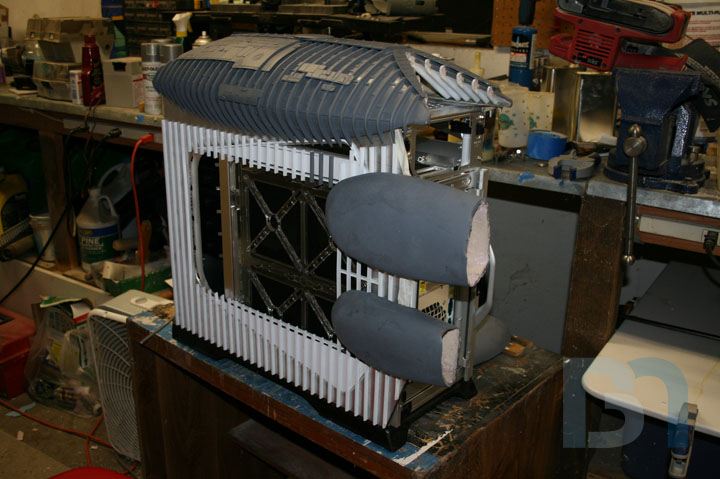
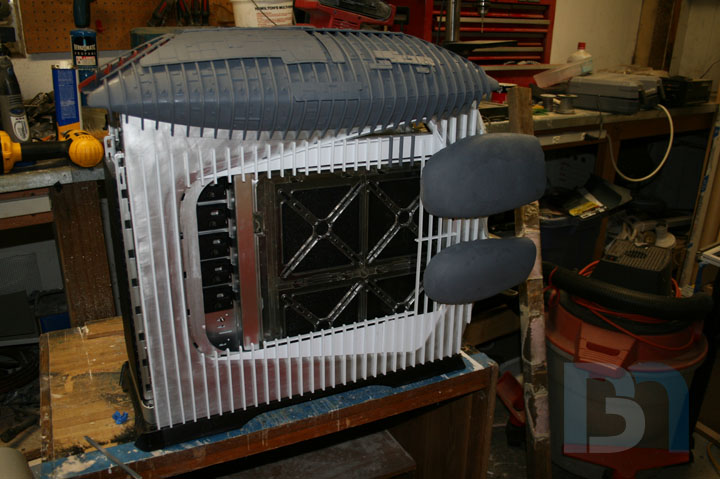
And of course I had to throw them on the case to see how they fit, after hitting them with some primer. :)
I still gotta clean them up around the edges, and notch them so they fit better around the back
of the side panels. Then they will sit better and not stick out so far out the back.
8)
Dude, that thing is looking fantastic! Great job on the ribs.
Oh yes, well done that man.
+rep, keep it up dude.
I haven't been around in a while. I was watching this case before and I have to say it is coming along great!