Page 5 of 8 FirstFirst 12345678 LastLast
Results 41 to 50 of 71

Thread: Battlefield 2 L.A.N. PC.

  1. #41
    Goobe danthegeek's Avatar
    Join Date
    Sep 2006
    Location
    Maryland, U.S.
    Posts
    592

    Default Re: Battlefield 2 L.A.N. PC.

    Quote Originally Posted by lukeisthecoolest View Post
    you should bring it anyway! i might be bringing my OPP csae without a comp inside (atleast a working one )
    Its a 2 1/2 hour drive. Its a little far just to show a work in progress. When is the next show around the baltimore and philly area?

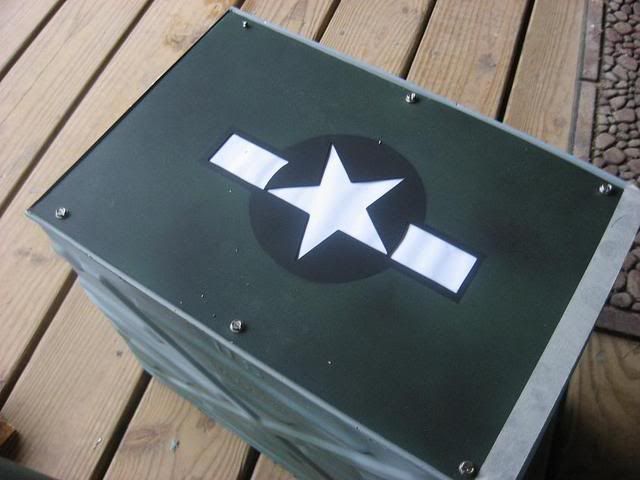
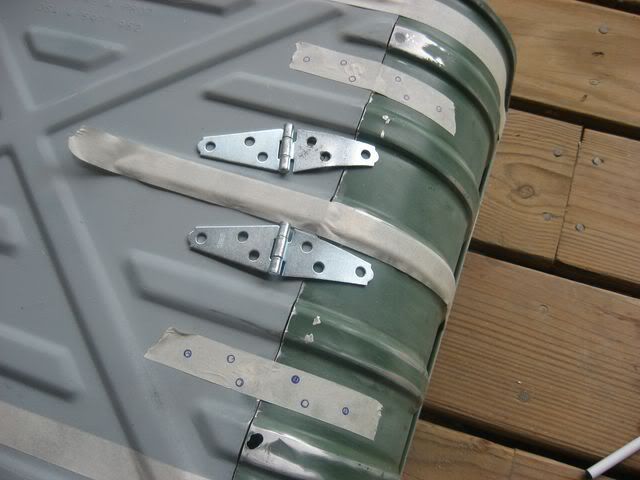
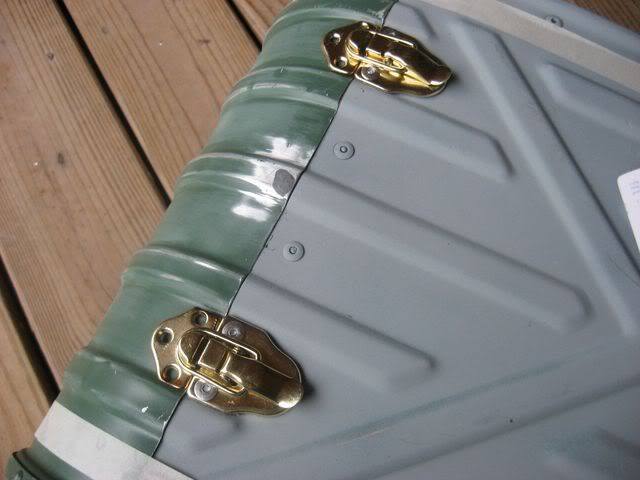
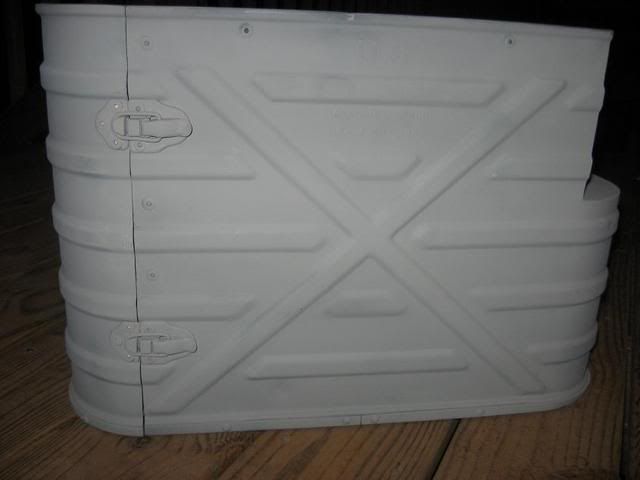
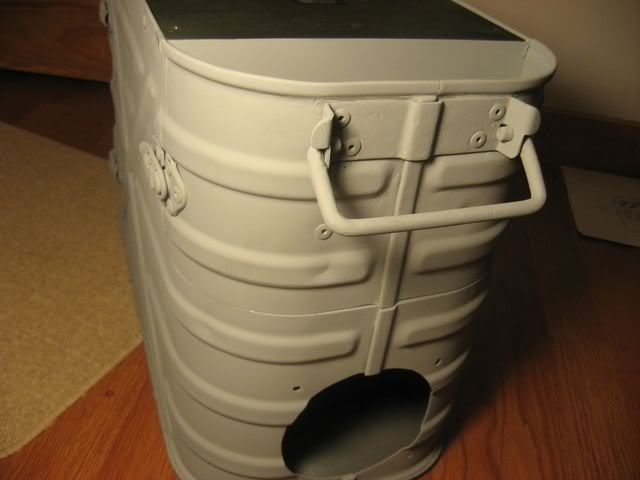
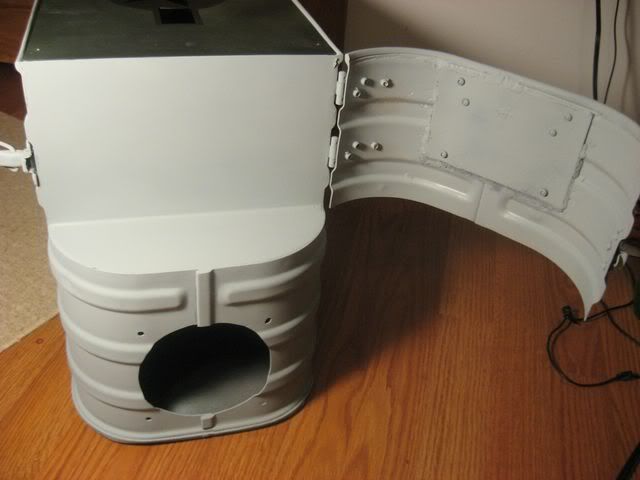
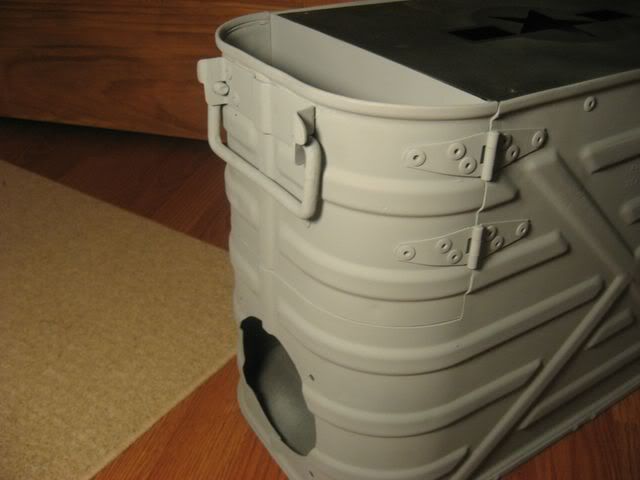
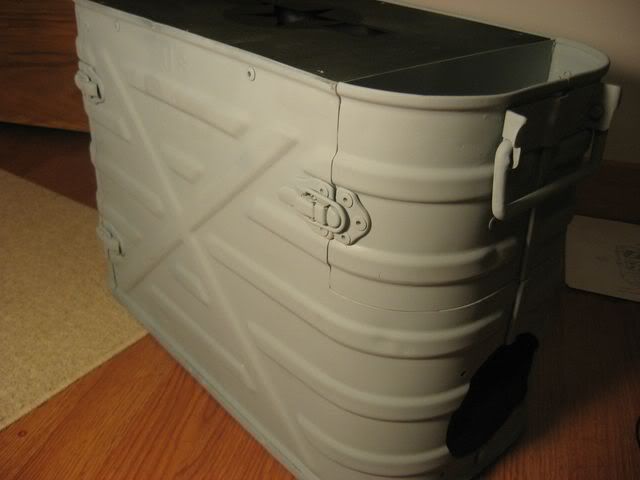
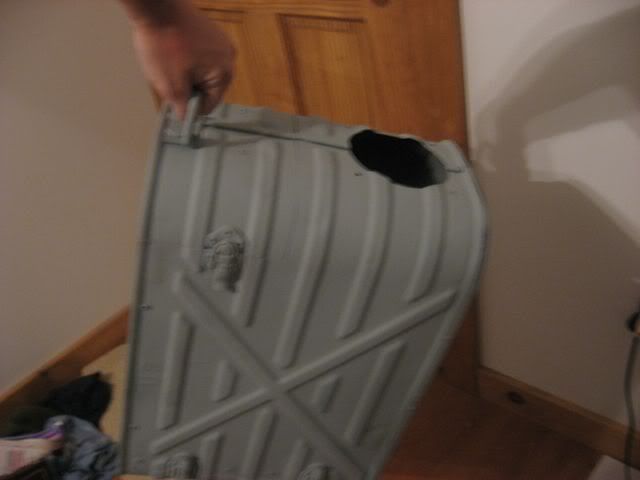
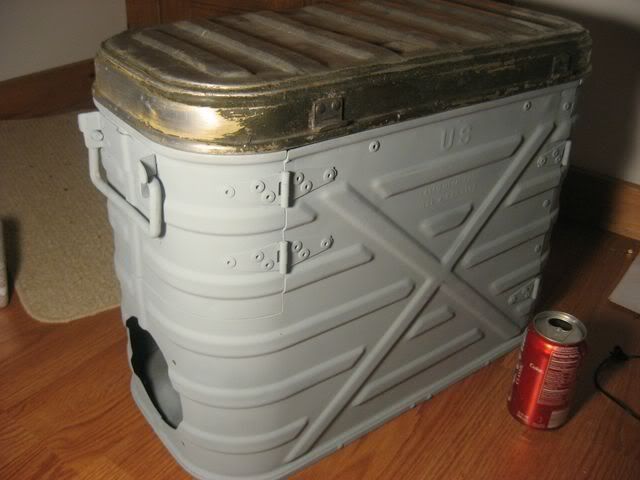
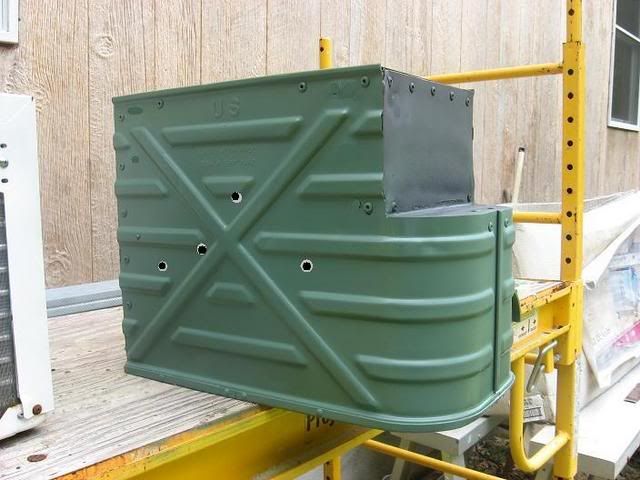
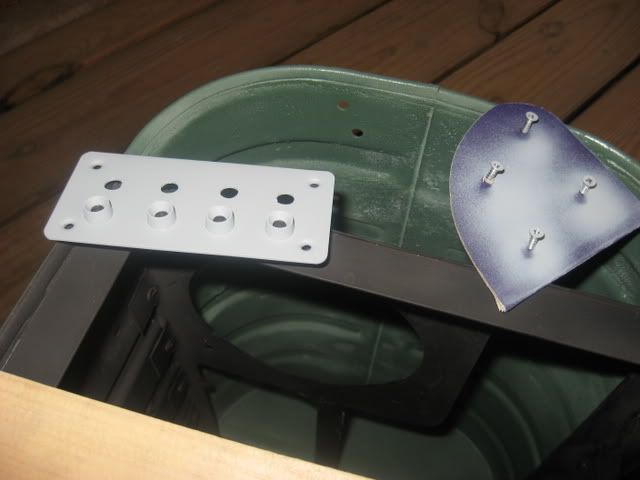
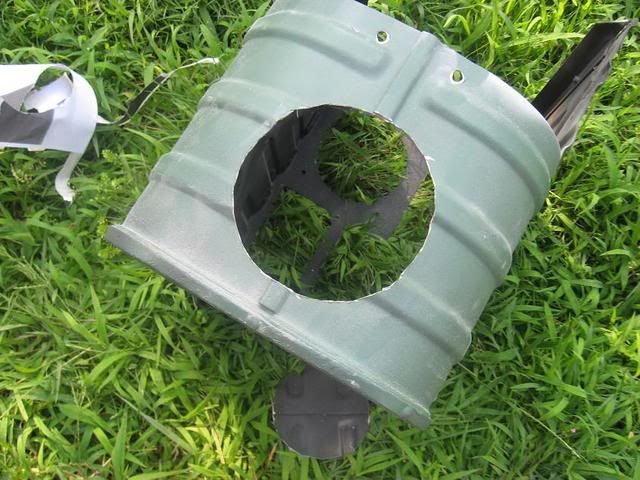
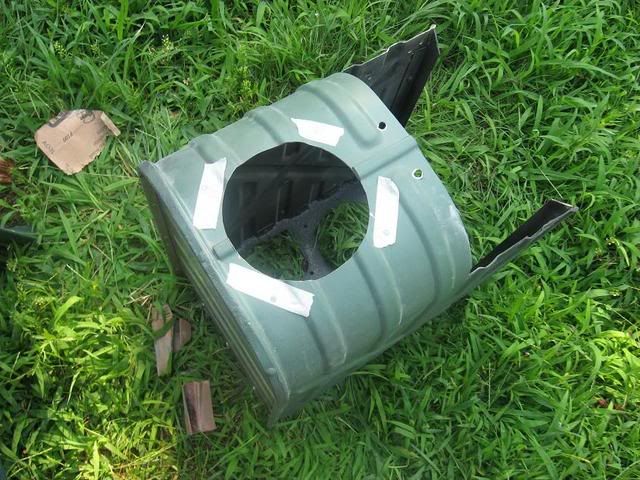
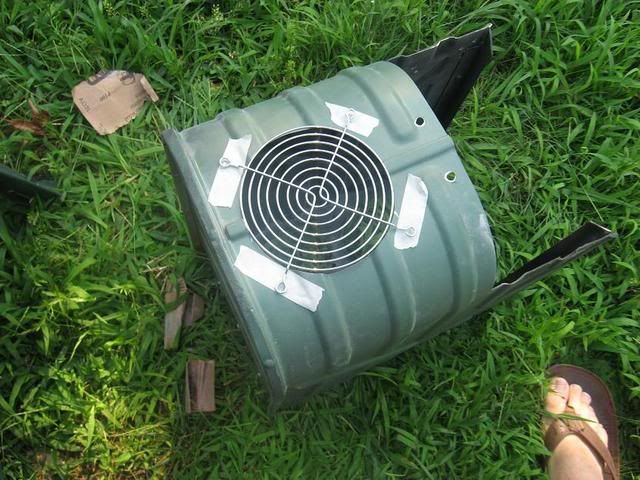
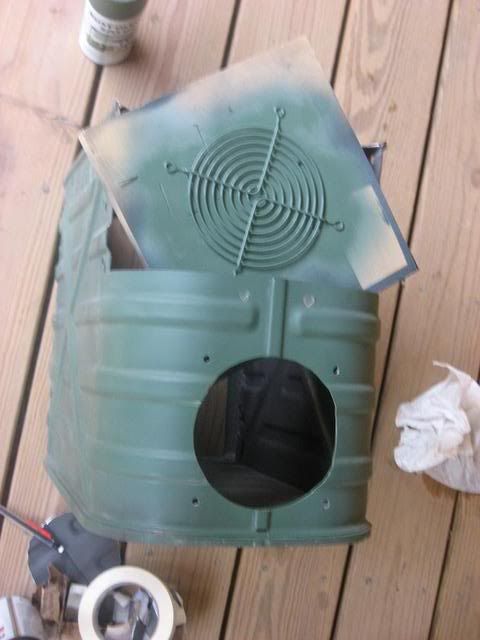
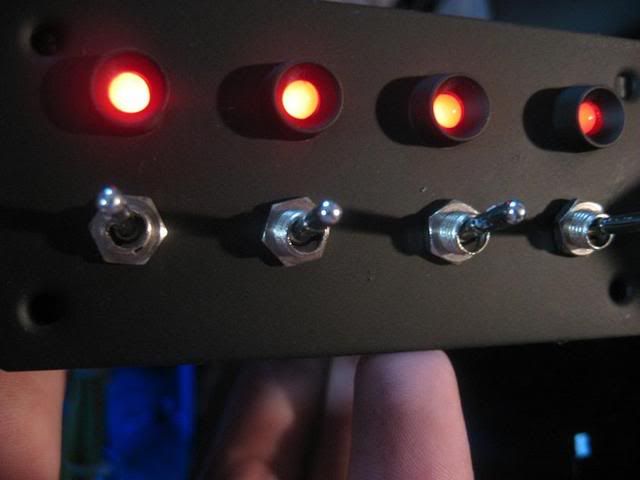
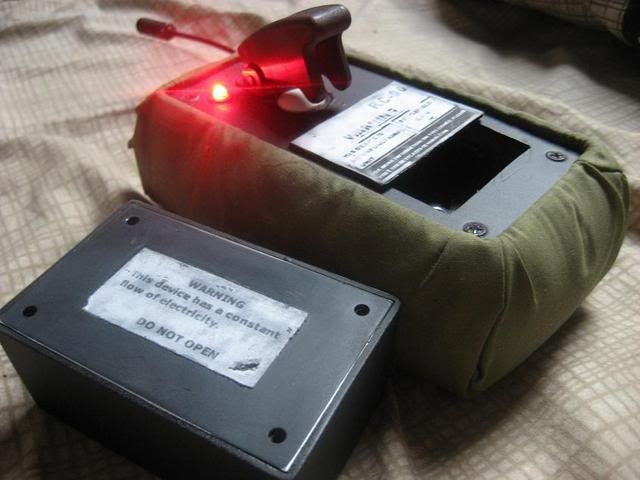
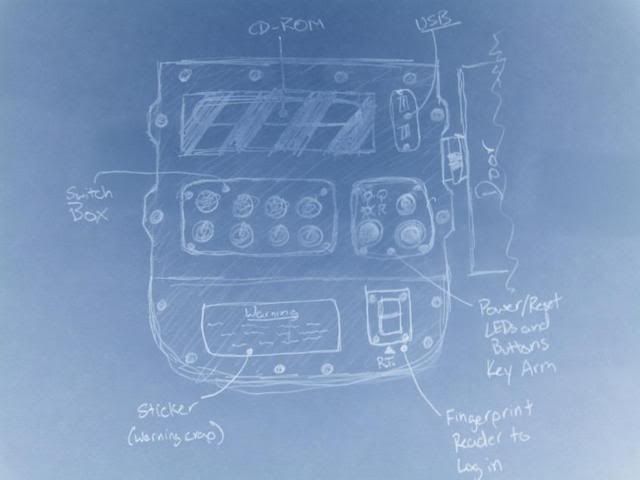
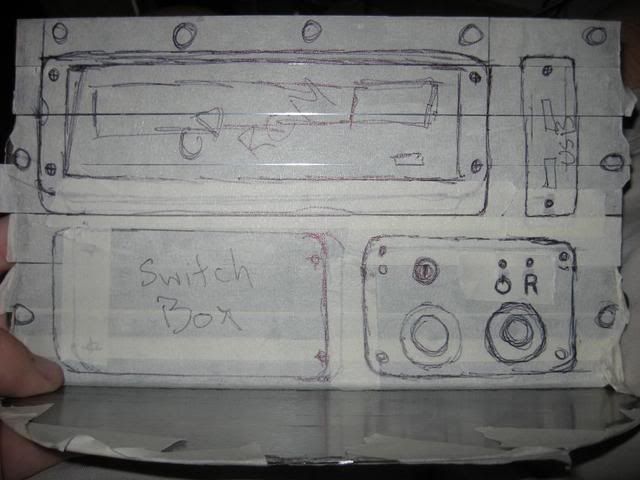
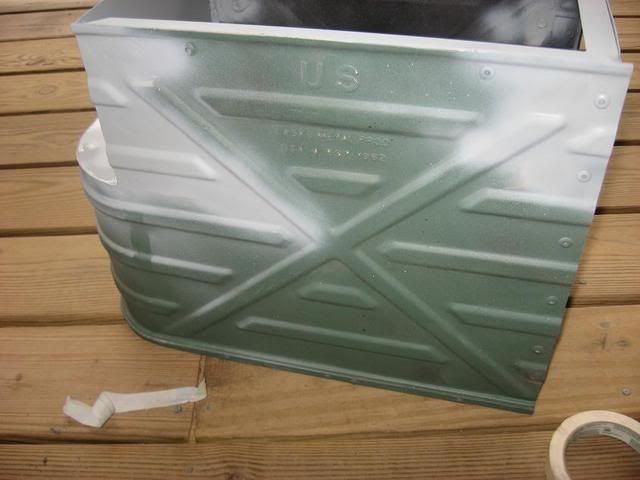
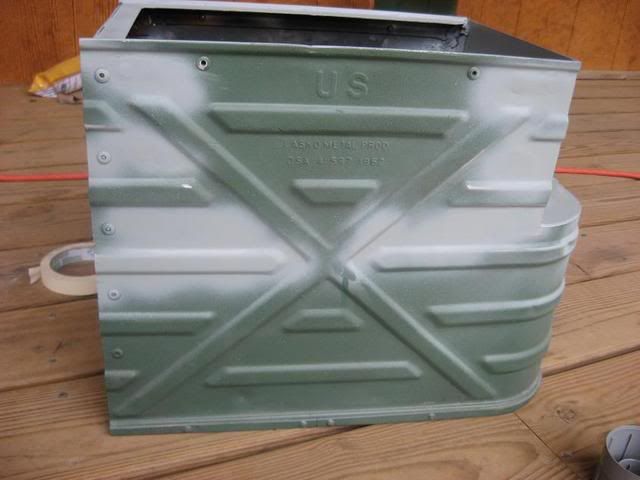
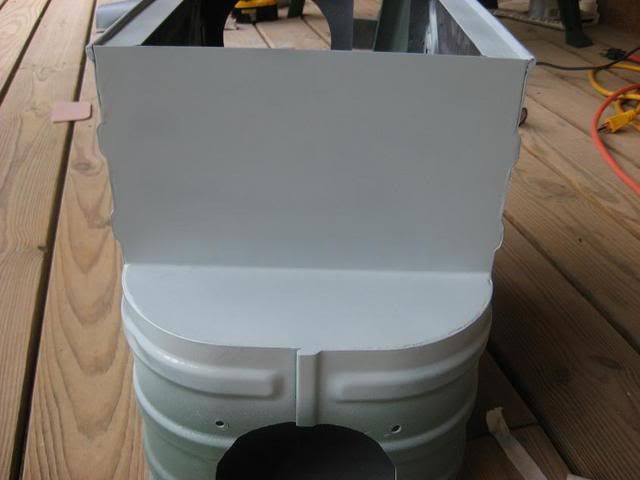
    EDIT- What do you guys think about bullet holes? Should I thow a couple in or leave it the way it is. I would cover the holes in plaxi and have the red lights shine through.

    Idea??


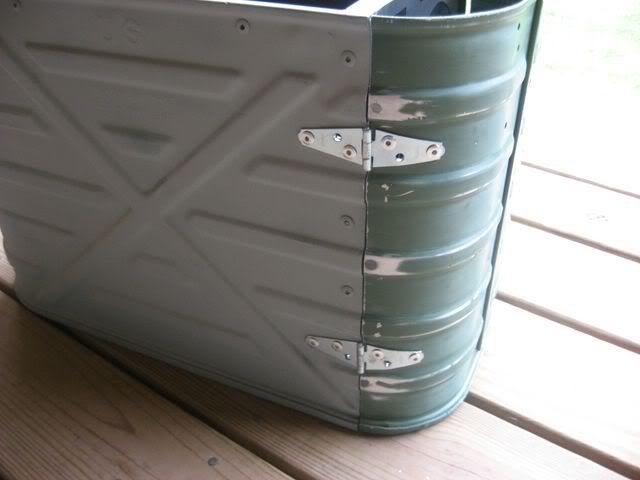
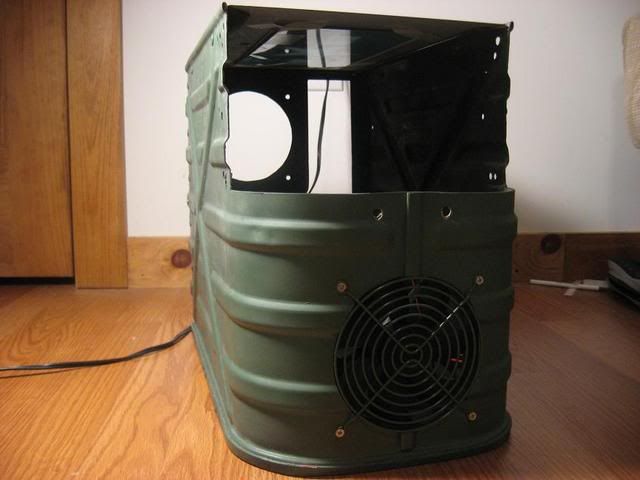
    Oh, if you have any suggestions on hole placement pm me a pic..


    Click here for the Battlefield 2 L.A.N. Pc worklog.

  2. #42
    Goobe danthegeek's Avatar
    Join Date
    Sep 2006
    Location
    Maryland, U.S.
    Posts
    592

    Default Re: Battlefield 2 L.A.N. PC.

    I continued work today on the receiver for the remote start.

    I started by taking some 3 pin connectors from old fans and wiring them to the receiver. I did this so I can easily disconnect it from the power and motherboard.


    I then started to sand, primer, and paint the receiver box and the front cover of the switch box.


    I didnt get much done today sense it was raining outside most of the day. Well, tomorrow some more interesting stuff. I start on cutting the front bezel and the front fan hole.


    Click here for the Battlefield 2 L.A.N. Pc worklog.

  3. #43
    Goobe danthegeek's Avatar
    Join Date
    Sep 2006
    Location
    Maryland, U.S.
    Posts
    592

    Default Re: Battlefield 2 L.A.N. PC.

    Today i only had time to cut the front hole for the 120mm front fan.

    I traced an outline and made my ruff cut first

    I then cleaned it up with the dremel, sandpaper, and the marked the spots to drill the holes for the screws.


    I ended by primer and painting the edges of my cut and the front fan grill. I havent decided if I will keep it green or paint it black. The green seems to blend in and make it seem like it is built in.


    Ill post a small update later of the fan installed once it has dried. And what color should I paint the fan; black or green?

    -danthegeek


    Click here for the Battlefield 2 L.A.N. Pc worklog.

  4. #44
    Goobe danthegeek's Avatar
    Join Date
    Sep 2006
    Location
    Maryland, U.S.
    Posts
    592

    Default Re: Battlefield 2 L.A.N. PC.

    Heres a few pics of the receiver box and the switch box

    The switch box with its new paint.

    The receiver

    I made a sticker and took some sand paper to it and the cover to make it look worn.

    -danthegeek


    Click here for the Battlefield 2 L.A.N. Pc worklog.

  5. #45
    Goobe danthegeek's Avatar
    Join Date
    Sep 2006
    Location
    Maryland, U.S.
    Posts
    592

    Default Re: Battlefield 2 L.A.N. PC.

    I have some progress pics.

    Not much done but at least this gives an idea of what I have been doing.

    I painted the top panel. The white area is actually paper but It gives you an idea of what the frosted plexi wil look like. I did a little bit of aging to the top and I will continue it on the rest of the case.


    The front fan finished, I just need to paint the bolts.

    EDIT-I also did a quick sketch on the front bezel setup. I think I may finally be certain on the order of things.


    Click here for the Battlefield 2 L.A.N. Pc worklog.

  6. #46
    Goobe danthegeek's Avatar
    Join Date
    Sep 2006
    Location
    Maryland, U.S.
    Posts
    592

    Default Re: Battlefield 2 L.A.N. PC.

    Anyways, I now have my front bezel cut out.

    I then bent it at a 90 degree angle as best i could with a Rubber mallet and some angled aluminum.

    I laid out the front(actual size) and I will start cutting the holes and brackets for the stuff tomorrow. I have to make metal plates that everything fits into so i can remove stuff by taking out screws. Should look good.

    Oh, and this is what I will use to attach the cd rom to the front. I just have to cut it along the bottom tape marks and then support it with something.


    EDIT- On a side note, If anyone is wondering why I went with green for the color instead of beige, well it was beige. It made it look like an old office computer. So, I went with green to give it more "flare."


    Click here for the Battlefield 2 L.A.N. Pc worklog.

  7. #47
    Goobe danthegeek's Avatar
    Join Date
    Sep 2006
    Location
    Maryland, U.S.
    Posts
    592

    Default Re: Battlefield 2 L.A.N. PC.

    OK time for an UPDATE!!!

    I needed something to fix the unneeded holes in the side of the case. So, I went to Autozone and bought some "Quick Steel." So I used this and it worked great. Its so strong, I dont have to worry about the holes anymore. If I need to drill a smaller hole in the same spot I can.

    Right Side holes fixed and primed.

    Left Side holes fixed and primed.

    For the front I used the "Quick steel" again to attach the front panel and primed. Trust me, it isnt coming off. I tested it with other scrap pieces and a hammer. I destroyed the steel before it even started to crack. I just need to fill in the gaps a bit and sand the primer smooth.

    While the primer was drying, I cut the bracket for the CD-ROM drive. Easy enough

    I went ahead and marked to screw holes for the top cover.

    The I used a small drill bit (forget the size) and made a hole for the sheet metal screws.

    The finished product. If you notice the top left screw has a brocken head. Nothing some vice-grips cant fix. .

    Once the primer was dry I sanded the entire case and primed it. A little smoother and I will need this when I paint it and blacken in some areas like I did for the top cover.

    Once that was dry I took some black paint and painted the underside of top cover and the case. Ill let them dry over night and start work again tomorrow.


    Thanx for viewing.

    -danthegeek


    Click here for the Battlefield 2 L.A.N. Pc worklog.

  8. #48
    Goobe danthegeek's Avatar
    Join Date
    Sep 2006
    Location
    Maryland, U.S.
    Posts
    592

    Default Re: Battlefield 2 L.A.N. PC.

    OH I finished the back door.

    I started by evening up the door to the case as much as possible. Its close enough. I also had to cut off two rivet heads on the left side of the case so i could attach the hinges.

    After they were cut, I taped everything up to mark the holes and then drilled.


    Before I attached the door, I wanted to cut a small hole in the bottom for air ventilation. So, I marked it off and then cut it with the handy dremel. I intend to put some mesh in the hole as well.


    After that, I attached the door with the hinges.

    I then marked the holes for the latches and attached them as well.


    I then sanded and threw on some primer to protect the metal.


    I hope to start the front tomorrow but that will be a challenge. I have to cut a piece out of another case to create a door for this one. O just hope I dont screw-up the measurements.

    Thanx for looking,
    -danthegeek


    On a side note:

    I think it looks much better then it did before the overhaul.

    Before

    After


    Click here for the Battlefield 2 L.A.N. Pc worklog.

  9. #49
    Goobe danthegeek's Avatar
    Join Date
    Sep 2006
    Location
    Maryland, U.S.
    Posts
    592

    Default Re: Battlefield 2 L.A.N. PC.

    Quote Originally Posted by h3moglobe0 View Post
    I know one thing

    Show to us your big black eyes and grey skin, now!
    Why there is no pics off you? Cuz you aint' human!

    This is creaziest shi+ ever. Ehhh.


    Plz don't seat on couch then! Ever! Just modd. Anything you want and post it.
    It's a real pleasure to look at this work.

    I wonder, why am I so Lazy ?? fsck!
    HAHA. Ill have my girlfriend take a pic of me tomorrow. Actually, I dont have a pic of me.

    Anyways, thank you for your complements


    Ok, a small update for everyone.

    I got the front door cut out and mounted, I didnt take any pic of the process because it was just like the rear door just much more complicated. Trying to take a piece of metal out of another case and make it match this was quite a task. I took about 7 hours total until i was happy with it enough to mount it. I also had to fill in a bunch of holes because it was severly corroded.

    PICS

    front with handle


    hinges

    latch

    In case you were wondering how strong this is, I picked it up by the front door. Its solid as a rock and didnt flex a bit. I think it could be fully loaded and still have the handles be functional.


    Thanx for viewing

    -danthegeek


    Click here for the Battlefield 2 L.A.N. Pc worklog.

  10. #50
    Goobe danthegeek's Avatar
    Join Date
    Sep 2006
    Location
    Maryland, U.S.
    Posts
    592

    Default Re: Battlefield 2 L.A.N. PC.

    Oh, I forgot

    I took a pic of the plexi after I frosted it. I took my desk lap and used it as the light.


    Thanks again for the complements.

    -danthegeek

    EDIT- Got some more pics

    no light on the plexi

    The lid (not attached or sanded and prepped). I put the can next to it so you get an idea of the size of the case

    This is my plan for the bottom of the lid. I will mount the speakers in the front and have a storage area for wires and crap. Maybe even a knife


    Click here for the Battlefield 2 L.A.N. Pc worklog.

Similar Threads

  1. Battlefield 2142
    By OvRiDe in forum Video Gaming
    Replies: 9
    Last Post: 04-21-2006, 03:06 PM
  2. Battlefield 1942 Mod
    By Deathscythe in forum Your Mods
    Replies: 1
    Last Post: 03-08-2006, 08:21 PM
  3. Battlefield 2...Euro Force Preview
    By globetrotter in forum The Chatterbox
    Replies: 4
    Last Post: 01-20-2006, 03:00 AM
  4. Battlefield 2
    By reddog418 in forum Video Gaming
    Replies: 42
    Last Post: 09-15-2005, 12:36 PM
  5. Battlefield
    By Rachel in forum Video Gaming
    Replies: 12
    Last Post: 06-17-2005, 07:46 PM

Posting Permissions

  • You may not post new threads
  • You may not post replies
  • You may not post attachments
  • You may not edit your posts
  •