Well, it's christmas, everything is closed, so i can't buy paint or plexi for Endorphin (the mod i'm working on at the moment), and my family is in christmas mode (i don't celebrate christmas so i need to keep myself busy). So, what do i do, i mod something ELSE!! Woohoo!!
Here are the plans so far for this specific 360:
- Case Window
- Replace the fans with nicer ones
- Some modding to the fan duct, maybe chrome it, or import a new one
- LEDs in the bottom and the top
- LEDs inside the place where the front USB ports are. These LEDs will only be visible if something is plugged into the ports
- Internalize the HDD
- Mod another HDD into the current HDD enclosure and use that as a device that i can store stuff on from my PC and then view on the 360
- LEDs in the optical drive
- Optical drive window
- HDD activity LED somewhere on the 360... still need to decide
- Ethernet activity LED
- Change the LEDs on the Ring Of Light (ROL) to blue
- Change the LEDs in the controller to blue
- Change the LED in the play & charge kit to blue
- Maybe an LED fader kit for the LEDs in the case for when the 360 is off
- Window in the HDD enclosure
- LEDs in the HDD enclosure
- Close up the memory card slots and IR view on the front. I don't want that stuff there
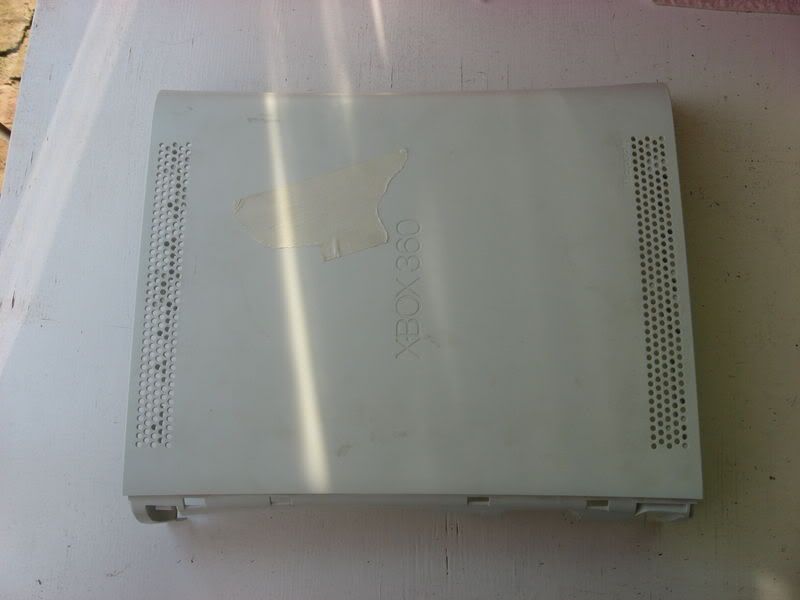
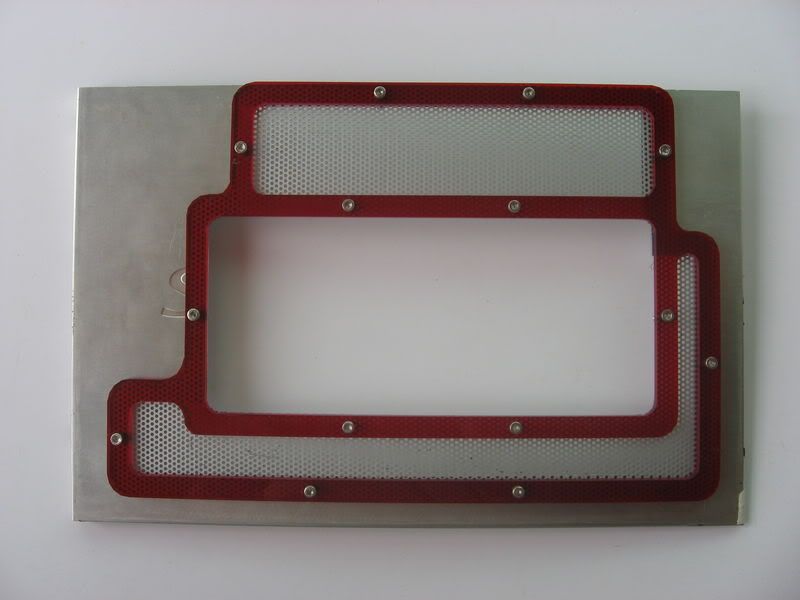
So i grabbed one of my 360s and pulled it apart. Here's the top cover:
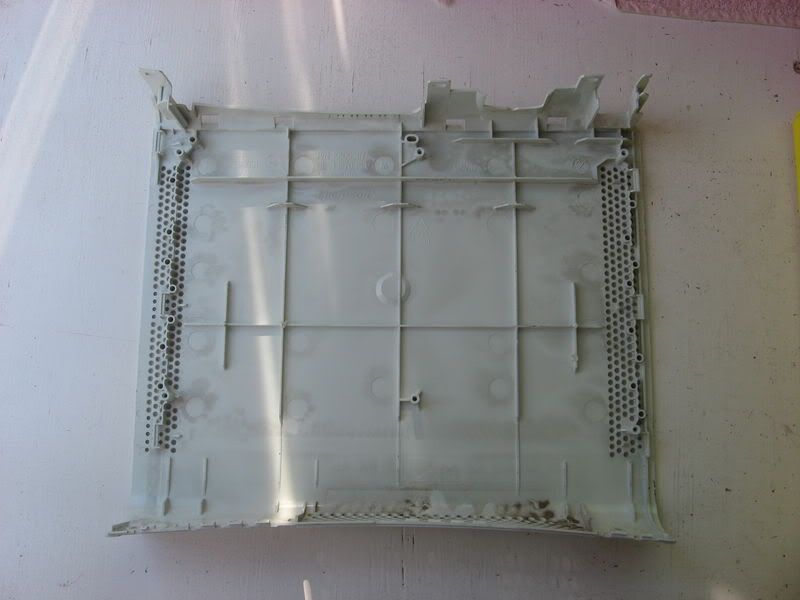
Inside:
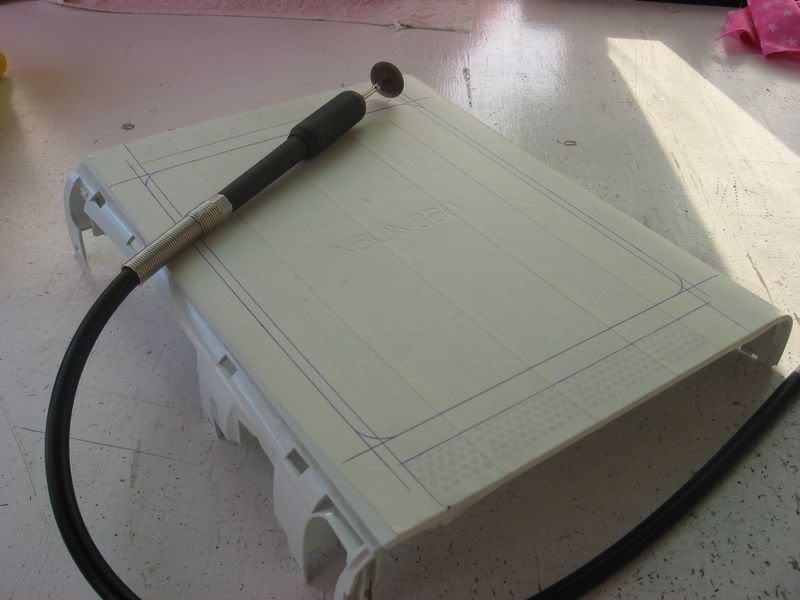
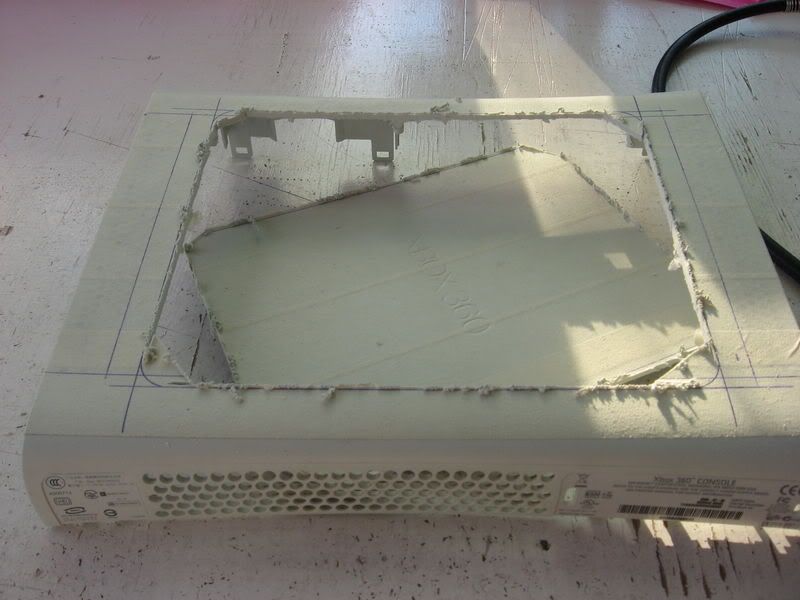
All masked up and ready for some love. Say hello to my little friend!
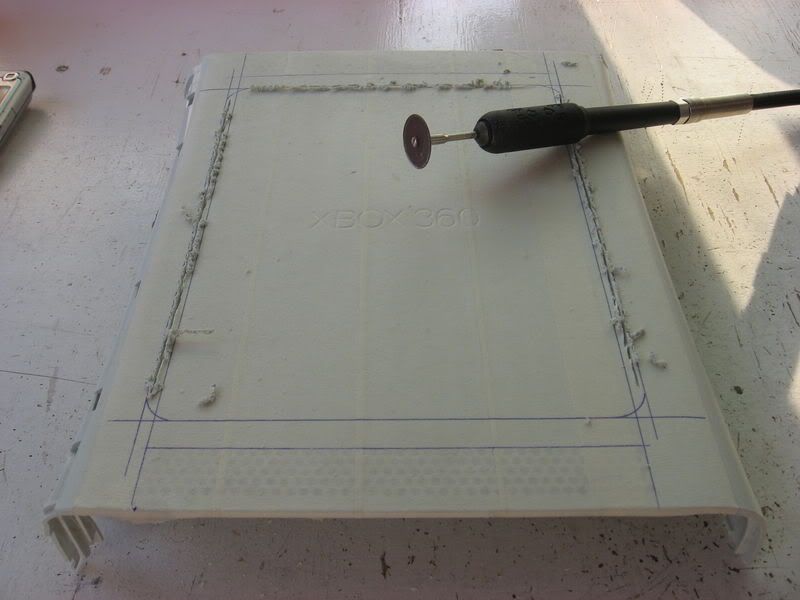
Almost done cutting:
Alrighty, panel out:
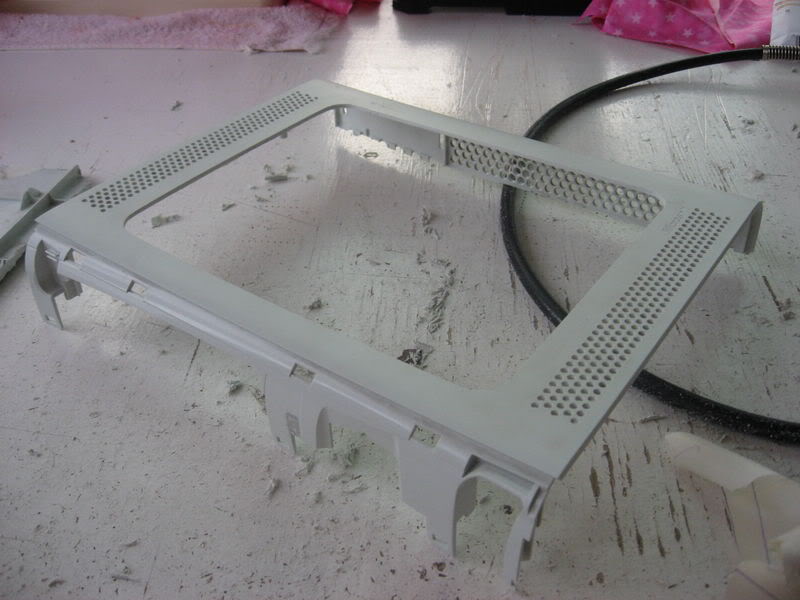
Now it's all down to lots and lots of sanding...
Sanding done:
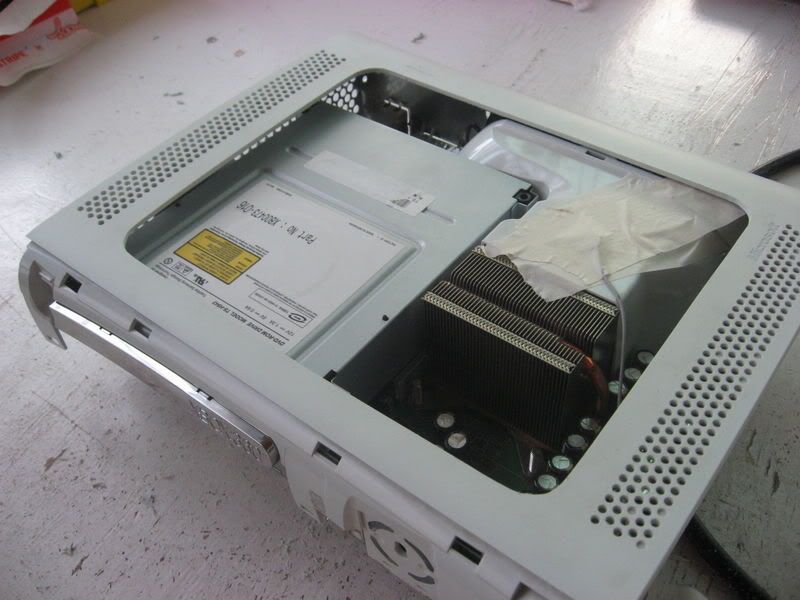
A quick test fit:
Excuse the two random wires and masking tape in the 360. Those are wires i've soldered onto the underside of the board for 5V power source.
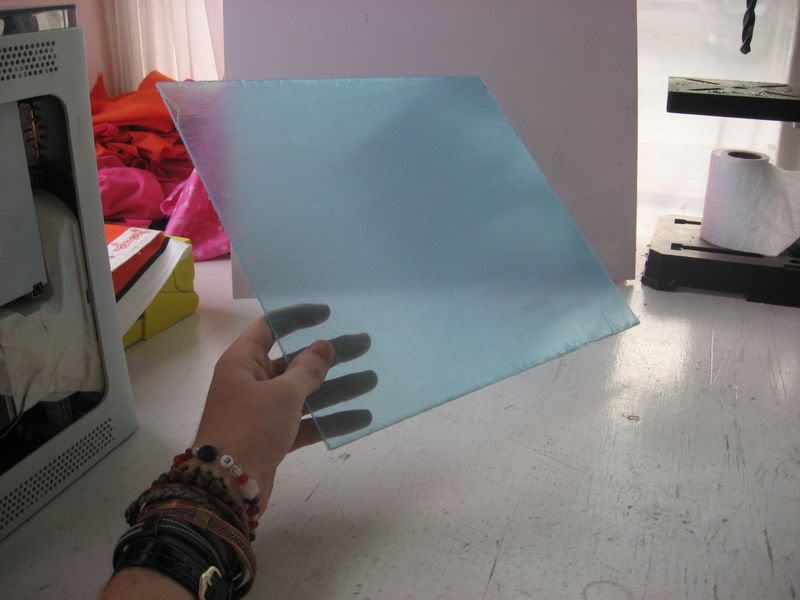
What i needed now was the window. This is the plexi i'll be using for the window.
Don't worry, it's transparent plexi, it just has a blue protective film over it. I didn't bother cutting that plexi to size just yet because i first want to cut a nice window border like i did here with Endorphin's side panel:
I'll probably only get to do that next week though when everything opens
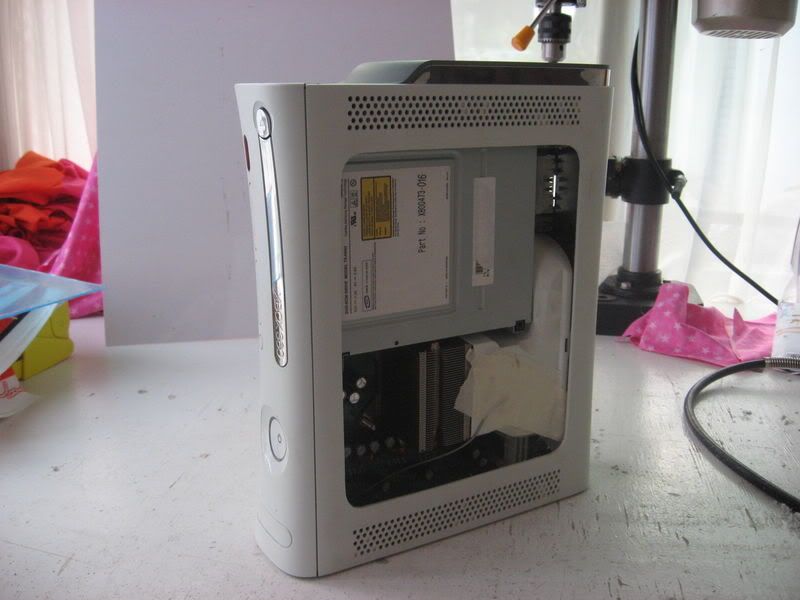
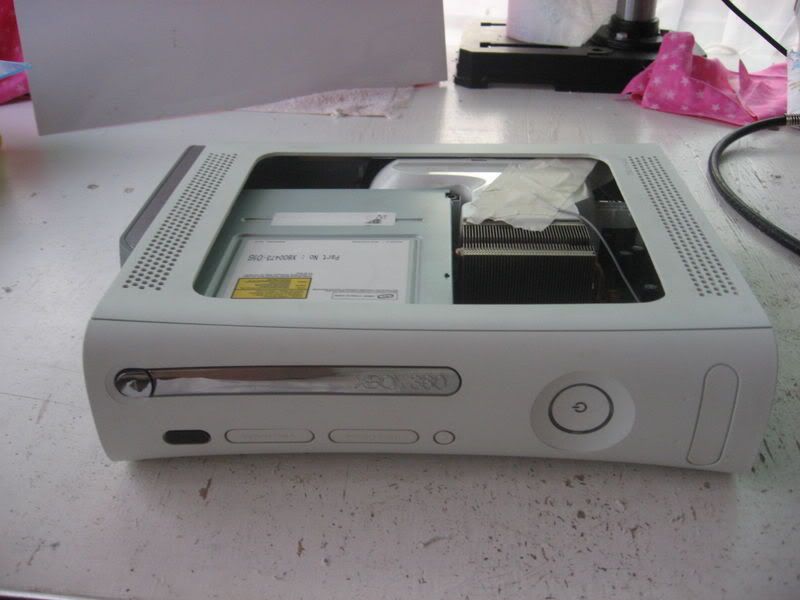
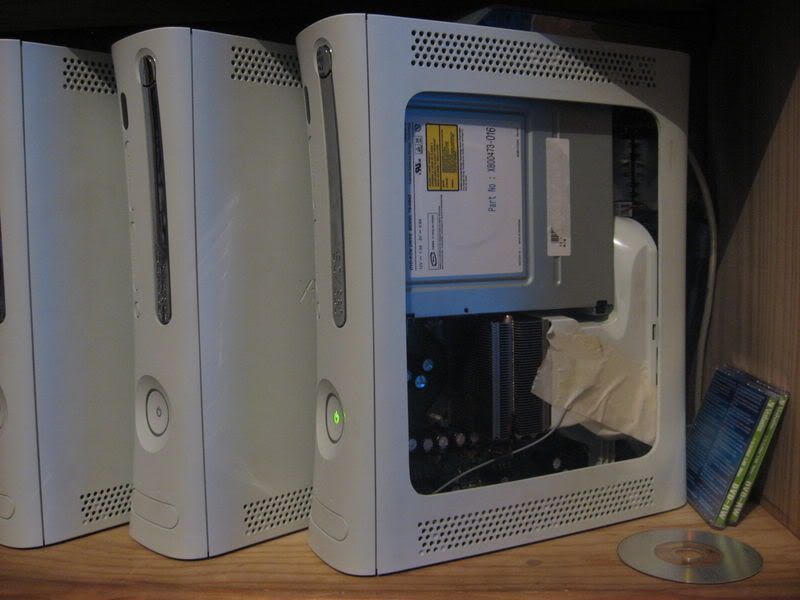
Anyway, 360 back together:
And back on it's place
I have a few goodies on their way to me from china. I ordered them just before i went on holiday, so they should be here any day now. I ordered some replacement rear fans, an LED lighting setup... err... can't remember what else :|
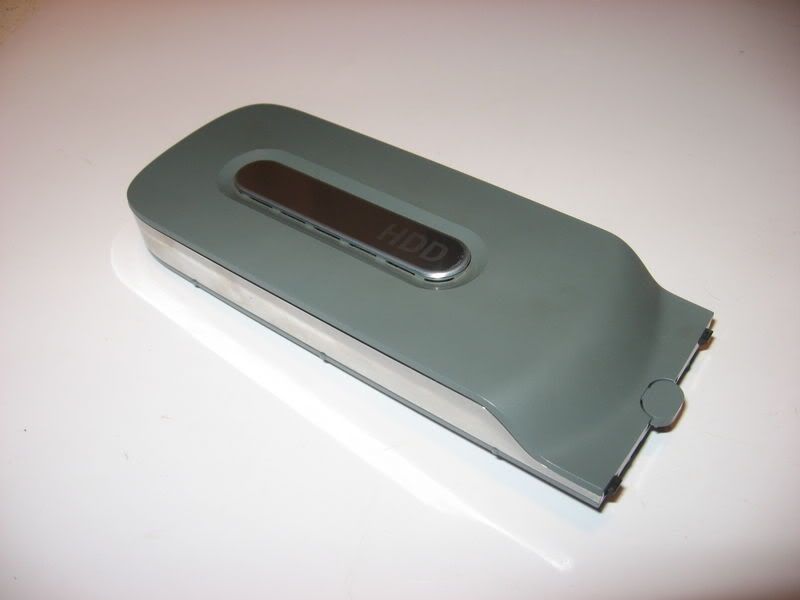
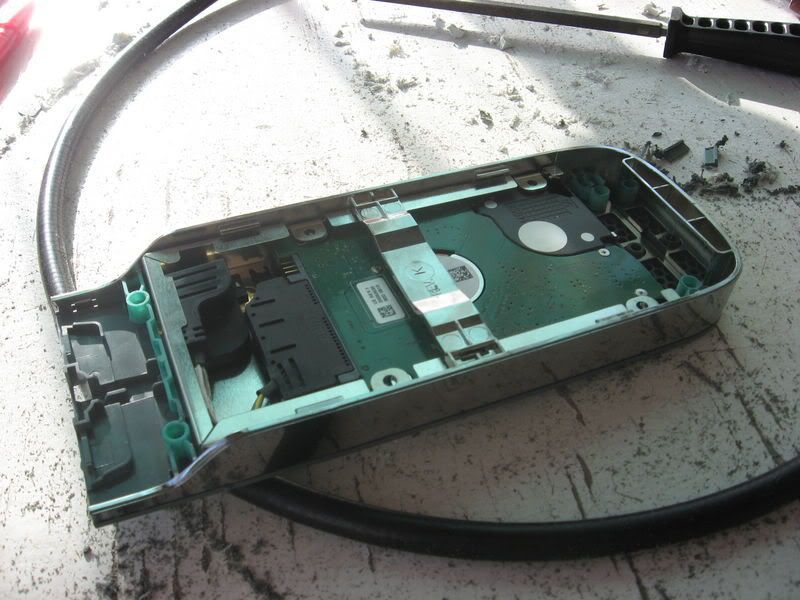
Then I started with the HDD enclosure. So, we all know what the HDD looks like in it's default form:
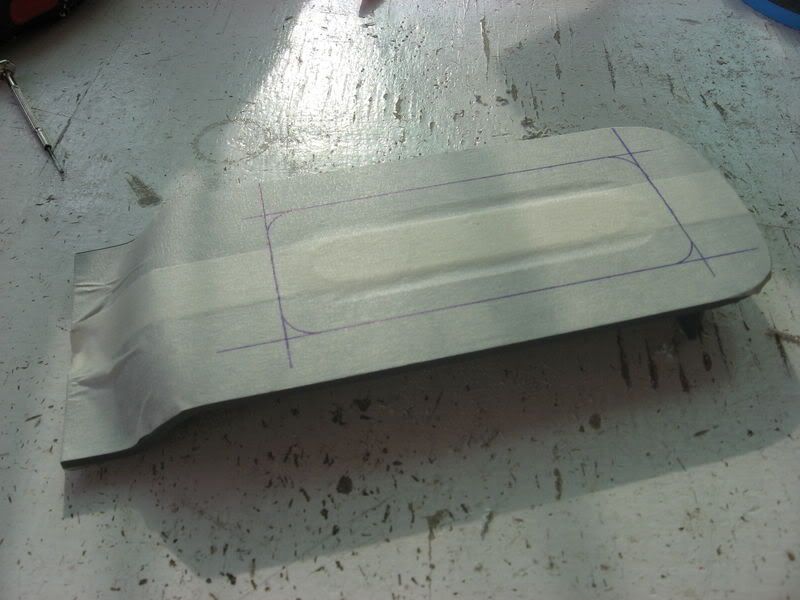
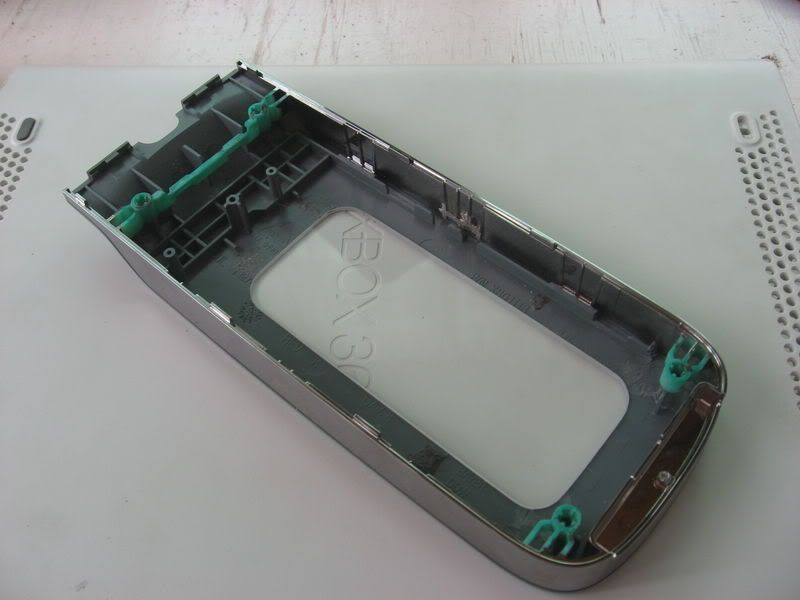
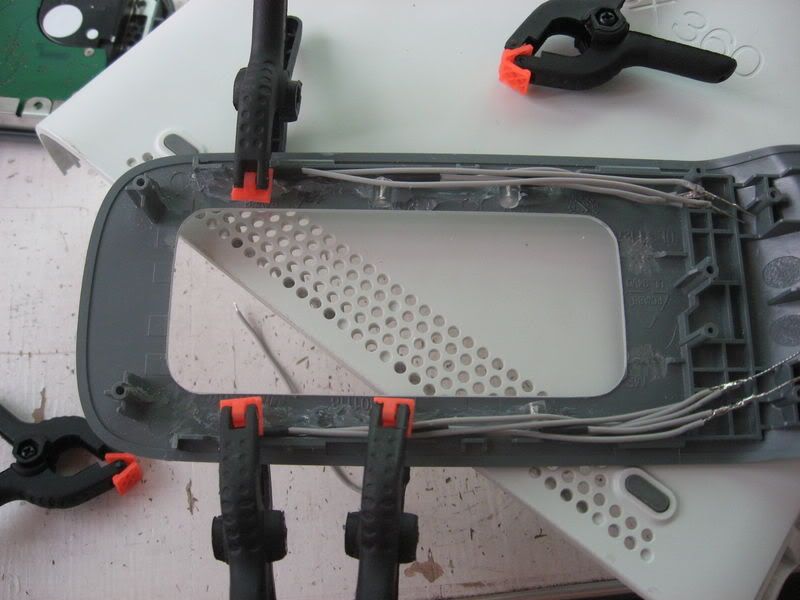
After opening it up, i pulled the top piece apart from everything else, and then I masked it up:
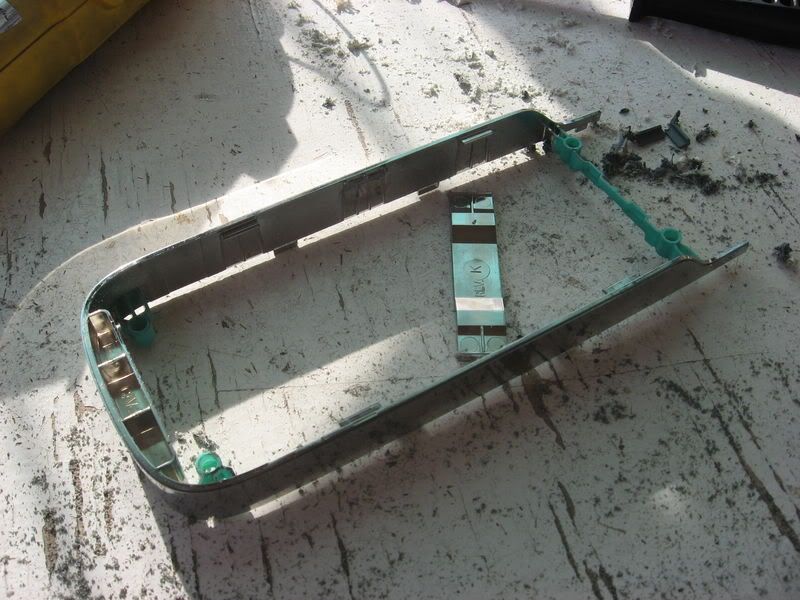
Almost done cutting:
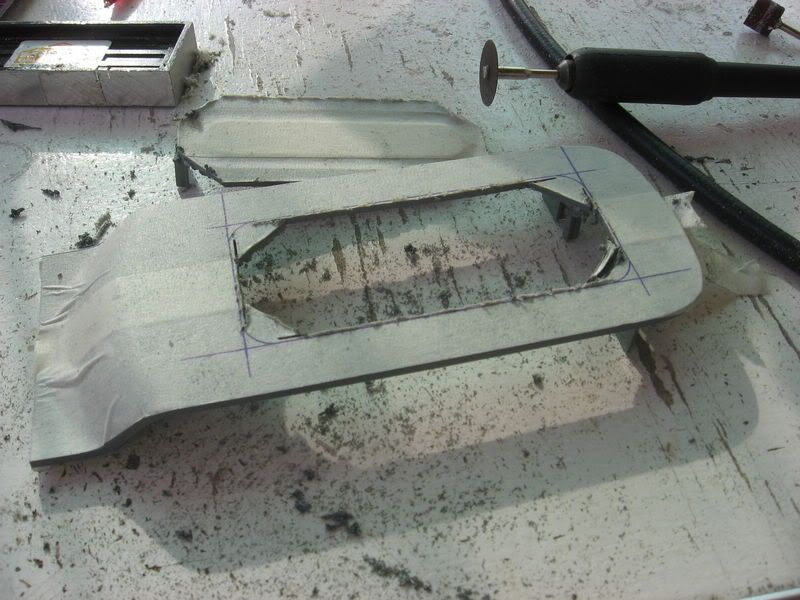
Done sanding. Just have to make the edges smoother:
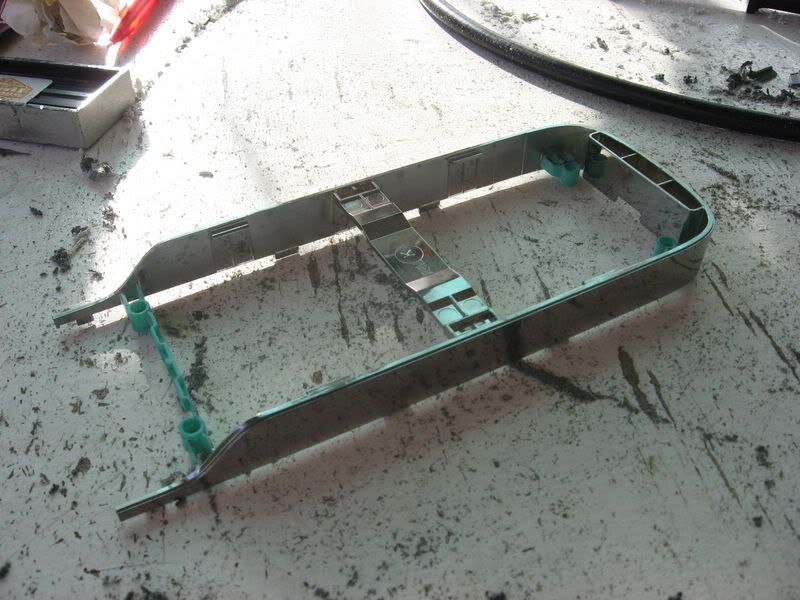
Now, the 360 HDD enclosure has a nice chrome side:
That fits like this:
But that little bridge in the middle is in the way, so it needed to go:
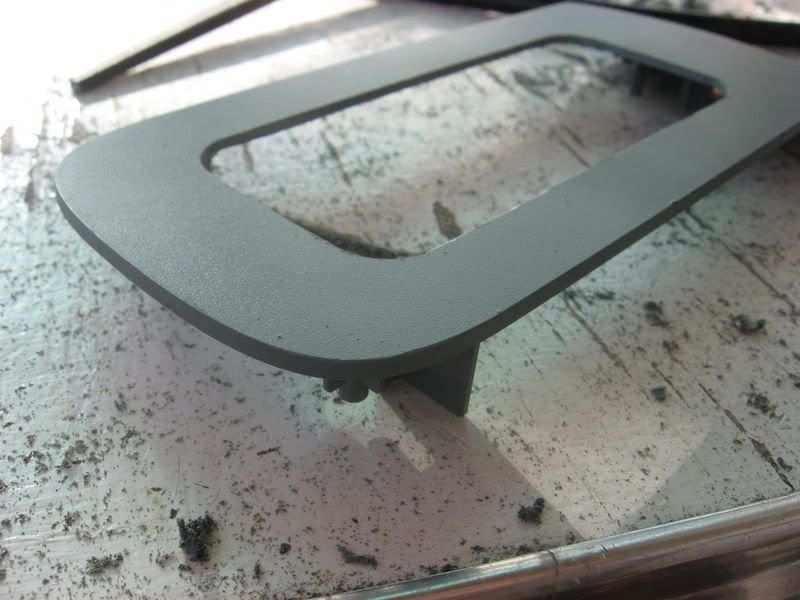
All done, no plexi yet though:
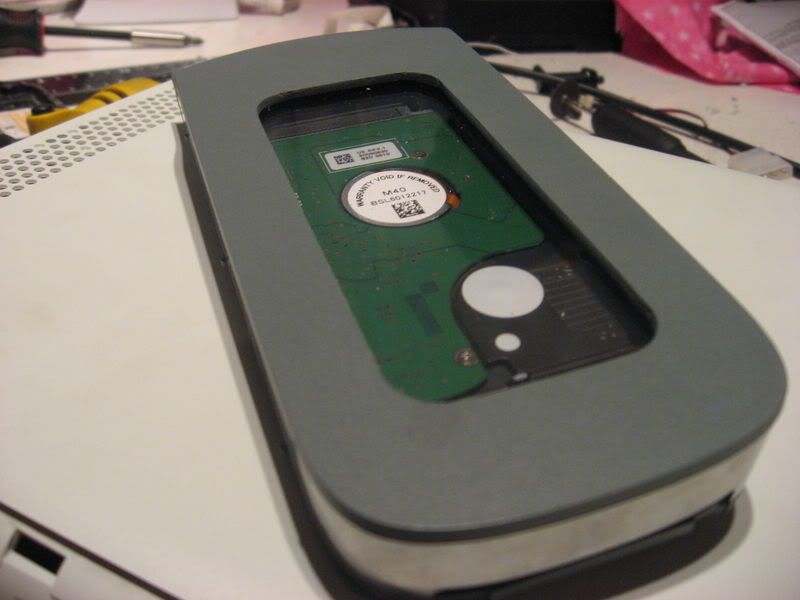
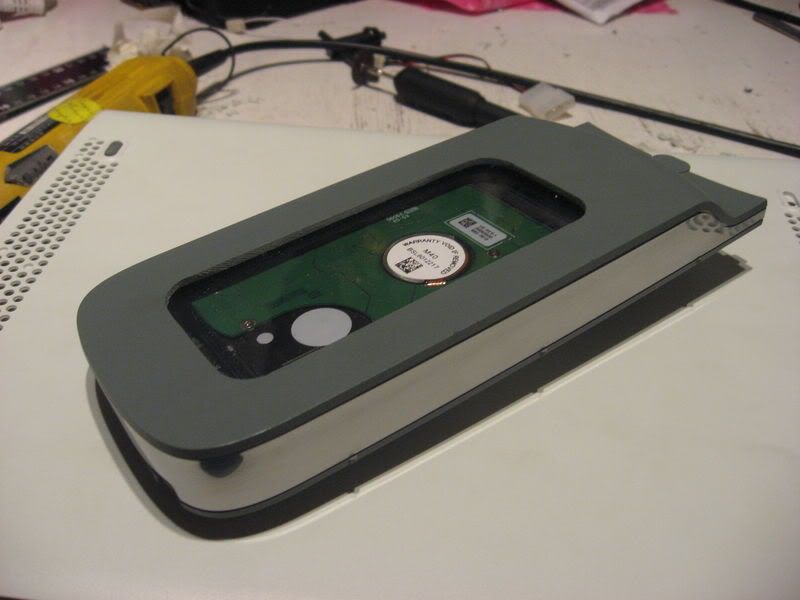
And then, finished!! All pimped out with a nice 1.5mm clear plexi window
I just need to get rid of that "Warranty" sticker on the HDD...
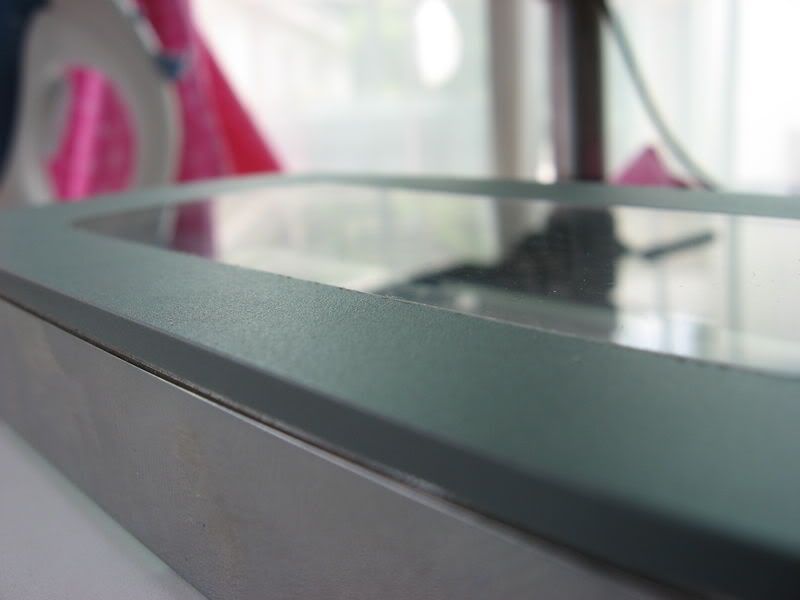
I wasn't happy with the HDD window. So i decided to make a flush mount window. This way, instead of having the hole in the cover with a piece of plexi INSIDE, you have a piece of plexi SLIGHTLY larger than the hole, which is then FORCED into the hole and the result is a window that's FLUSH with the cover. It looks a million times better:
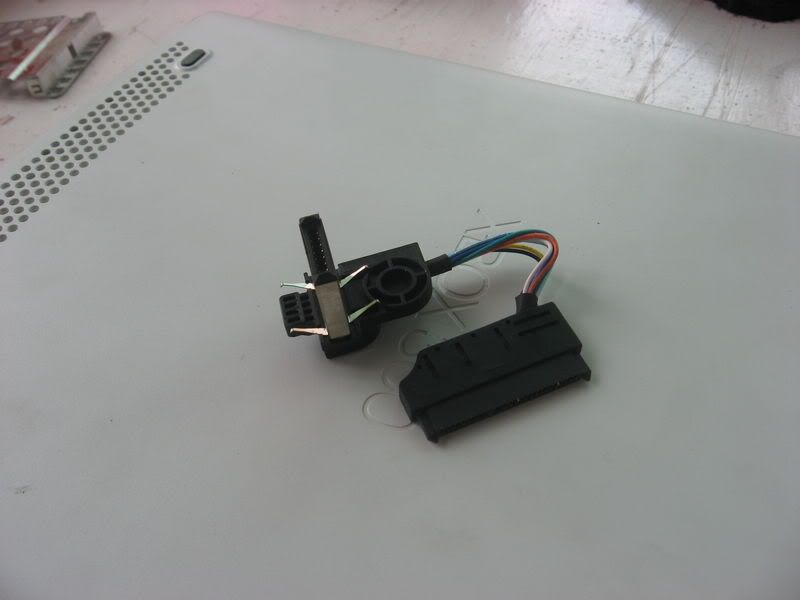
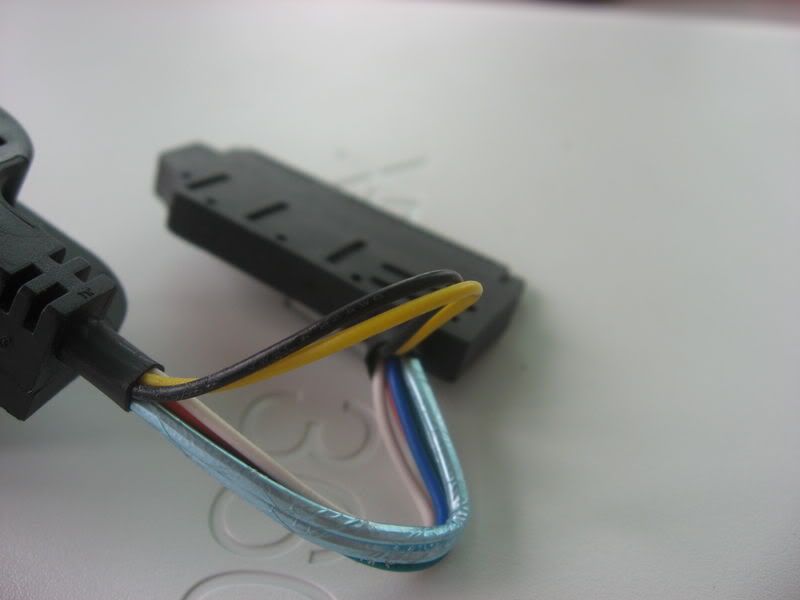
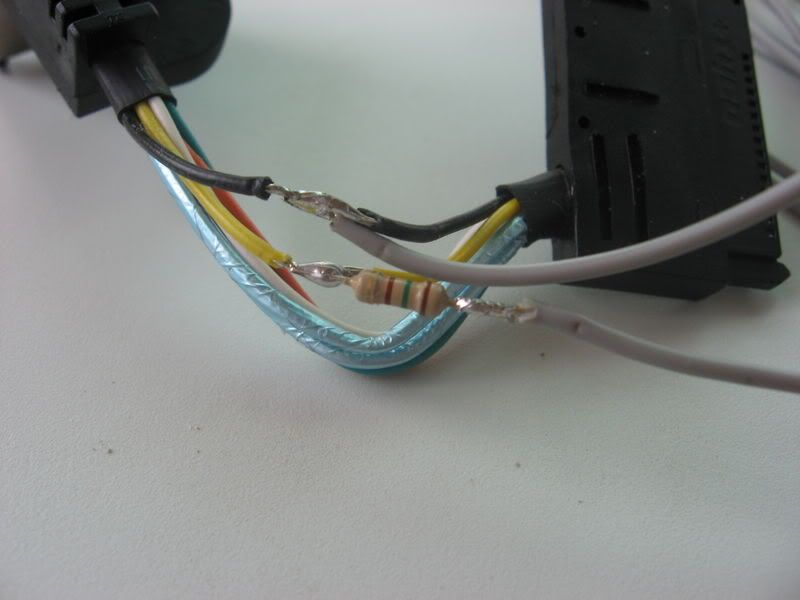
Then it was time to get some LED goodness going. So, i took out the HDDs cables:
I needed these two:
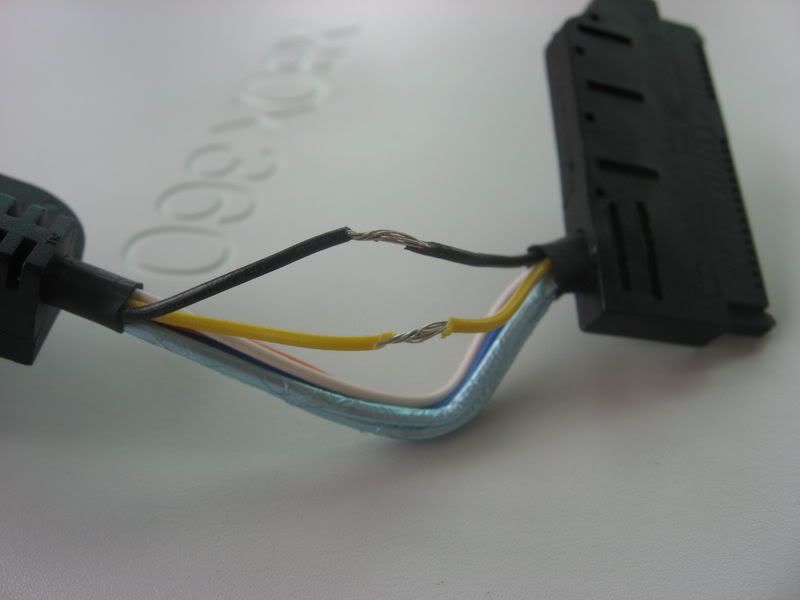
Yellow is 5V, black is ground. Wires stripped:
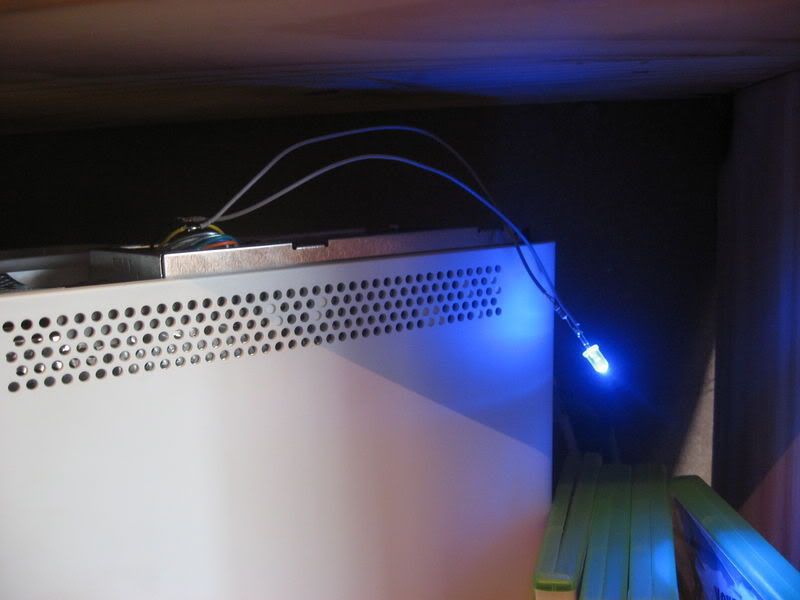
Then after testing with a multimeter, i quickly soldered on an LED just to make sure:
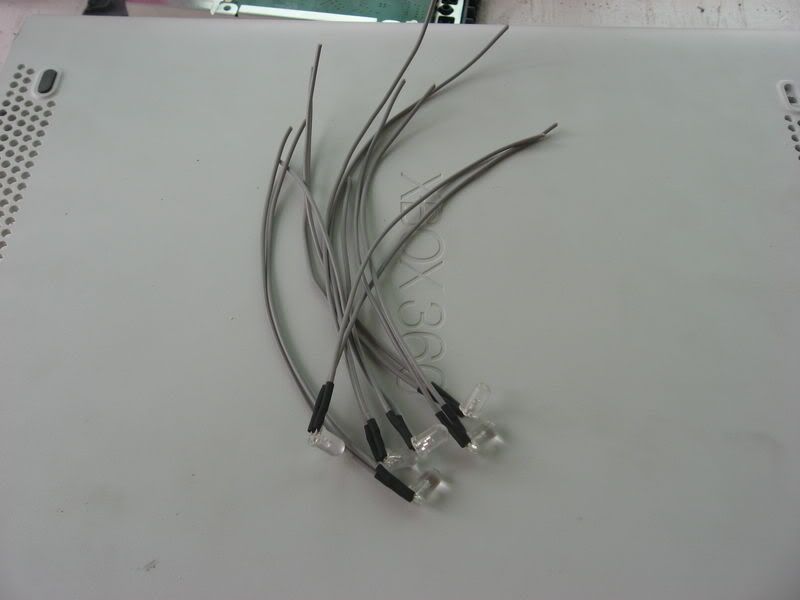
Success. So, after removing that LED, i made these:
I also soldered on a resistor:
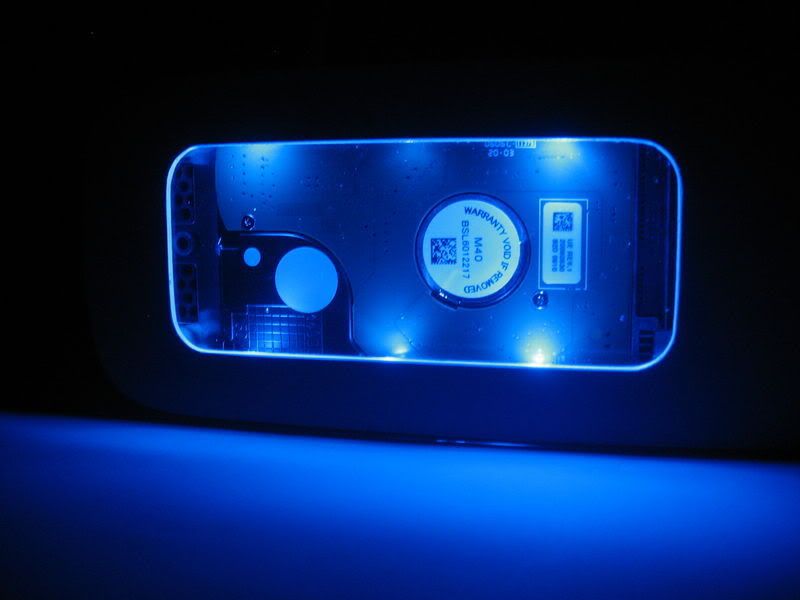
Glued the LEDs in place:
Once that was done, all i had to do was put it all together. All done:
Lights off:
Not too bad if i must say so myself!
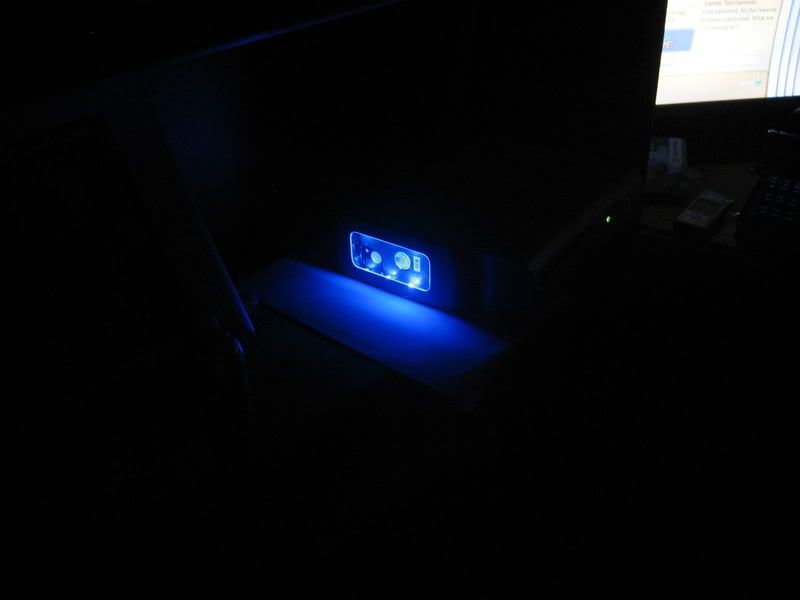
Now i need to change the LEDs on the ROL (Ring of light) ASAP. The green doesn't exactly go with the blue in the HDD.
MUCH more to come!
Let me know what you guys think.
Regards
Ett


 Reply With Quote