Well, here we go. I've decided to embark upon my first mod. I've been building systems for years now, but always bought the cheapest case available that would work for the job and hid it away somewhere. A couple of months ago I built a new one for myself and used the same old boring generic bargain-bin case I'd had the old guts in. I figured why buy anything cool since I couldn't fit it on my desk to admire anyway? Then I discovered this site, quite by accident, and it changed my whole perception. I then found the Ultra Microfly SFF case with windowed sides and thought I had my answer. I would just buy that and sleeve my cables, add lights and some UV-reactive glitter and all would be well.
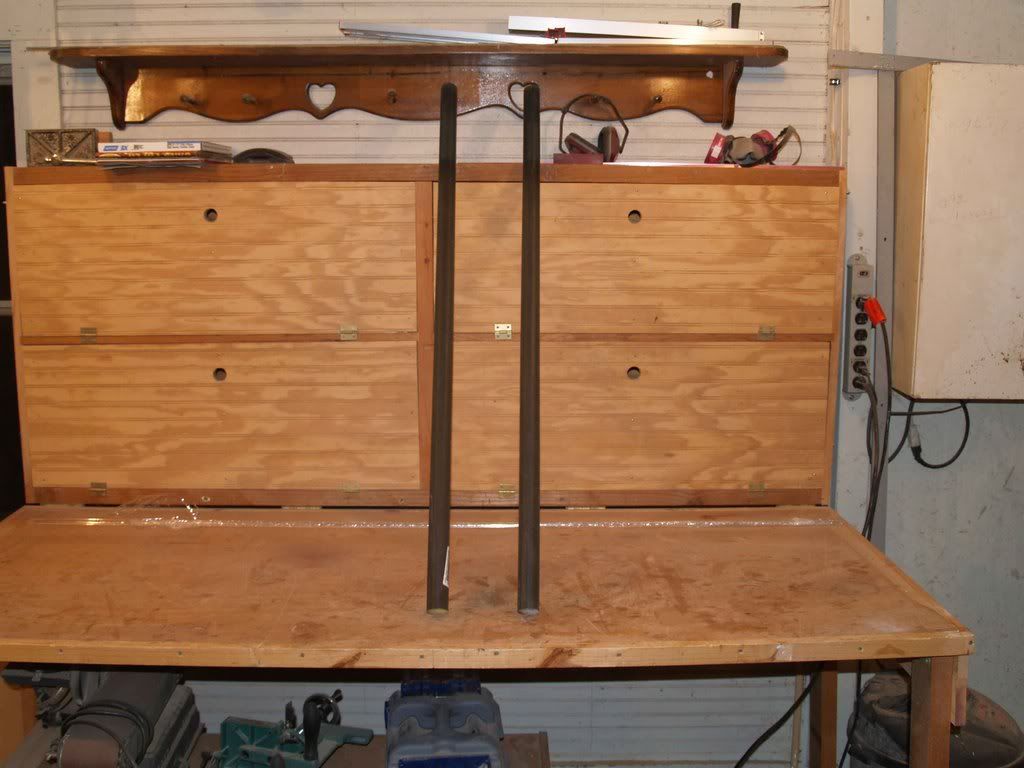
Not so. This case is extremely cool, but it is TOO SMALL. With two hard drives, two optical drives, an ATX power supply and a 20-pin to 24-pin adaptor cable (the PS came with the bargain-bin case), there is NO room to do anything cool. So....
I love the cube shape for cases. Just seems the tower is everywhere and I want something different. That's what brought me to the Microfly. But I have yet to find a cube with the space I need and a decent look to it, so I've decided to build my own, from scratch. Lots of firsts here for me: first mod, first opportunity to work with acrylic, first time sharing any work I've done in my shop while it is ongoing. This is obviously also my first worklog, so if I break any rules or violate any traditions, please feel free to let me know. I only hope I don't embarrass myself.
The case I have in mind will be a cube, as mentioned, designed to fit the available space on my desk, roughly 18 inches on a side, and made entirely of acrylic. Plenty of room, which is good because I will be able to adapt the case to hold future upgrades if needed. None of you know me, so I thought I would throw in a few pics of what I have to work with.
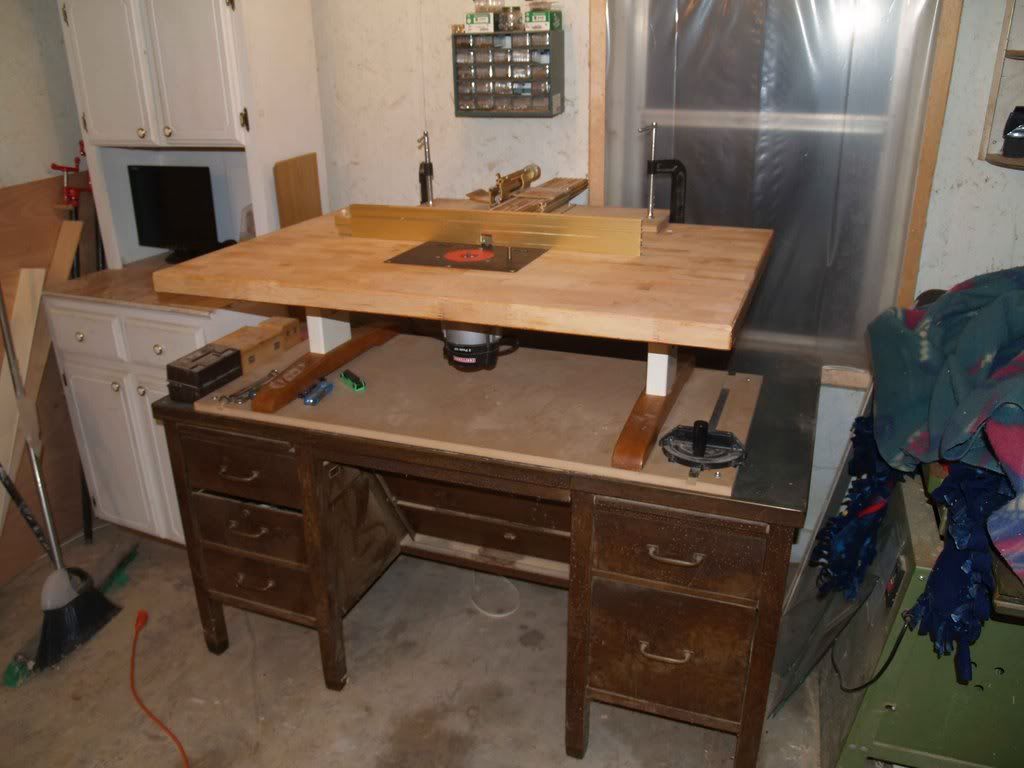
My new router table. A recent mod of an old maple-topped kitchen table and I absolutely LOVE it. Time to put it to work!
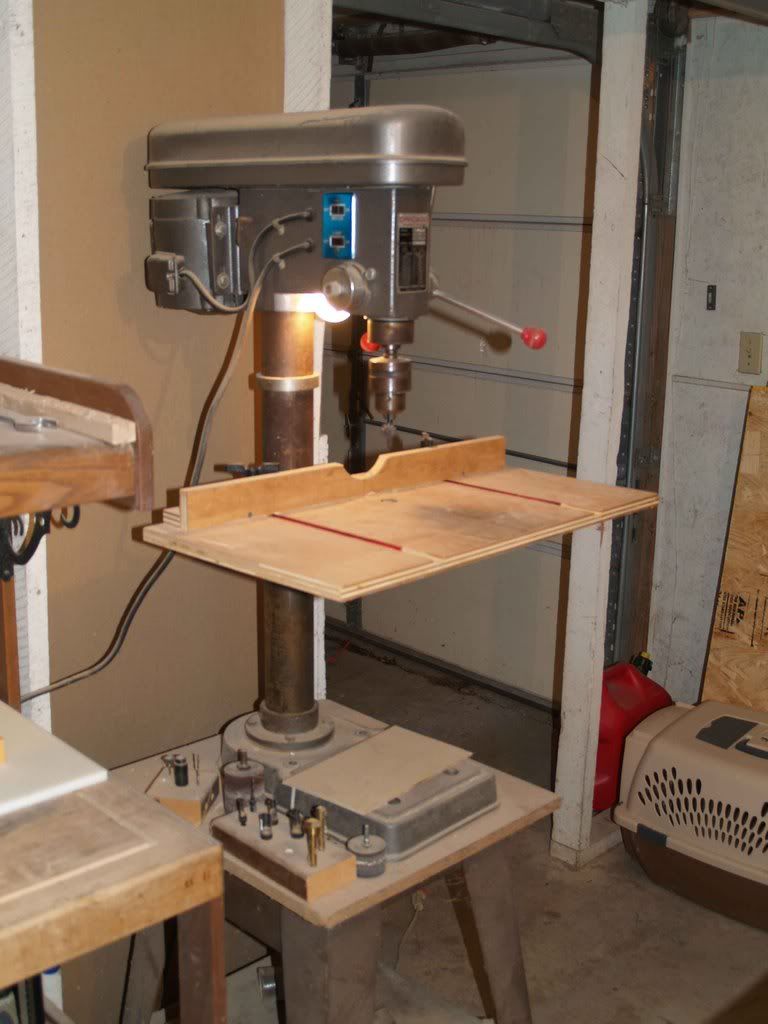
My grandfather's old Chicago drill press. At least twenty-five years old and still runs true.
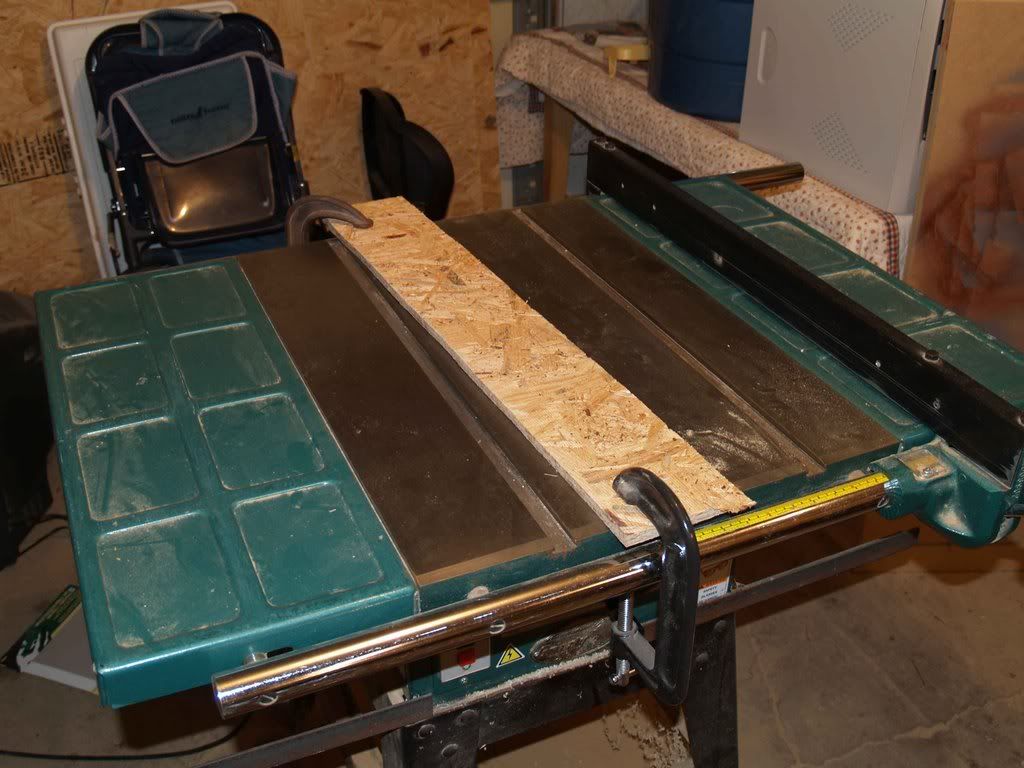
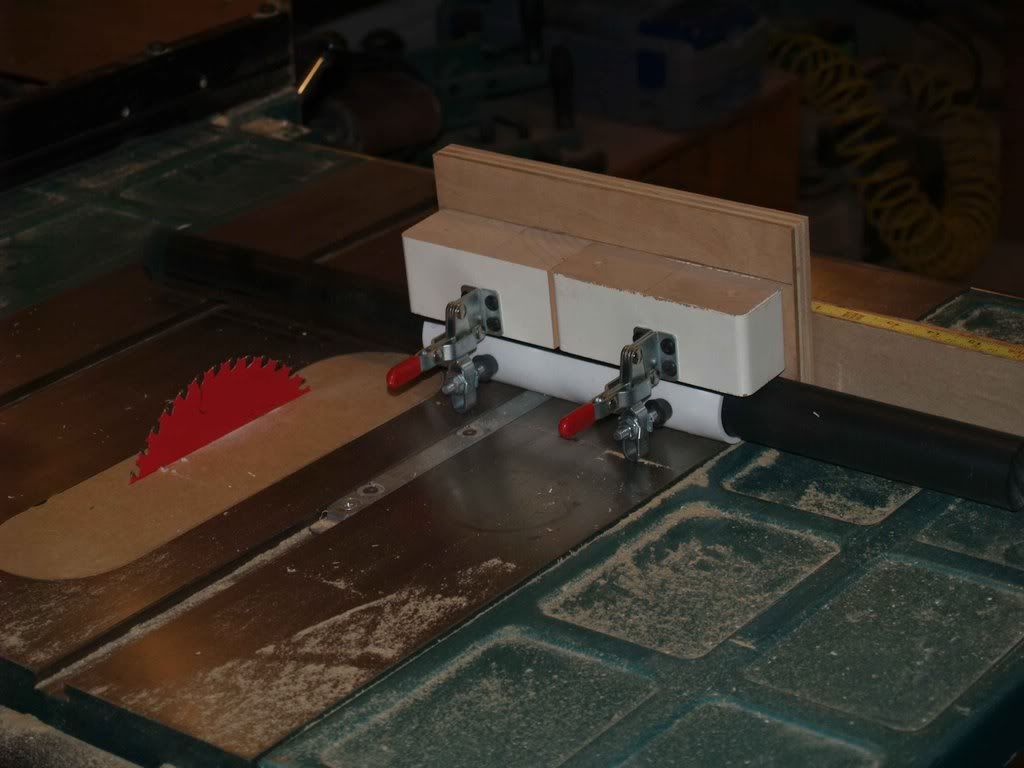
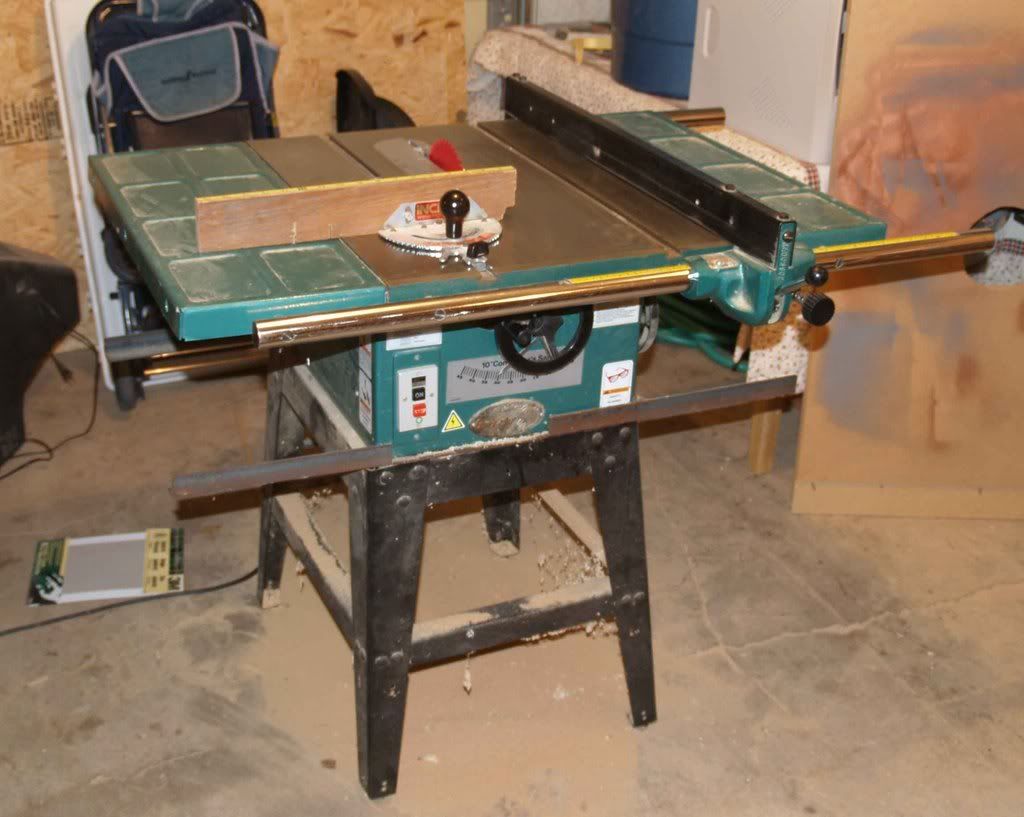
My table saw. Grizzly rocks!
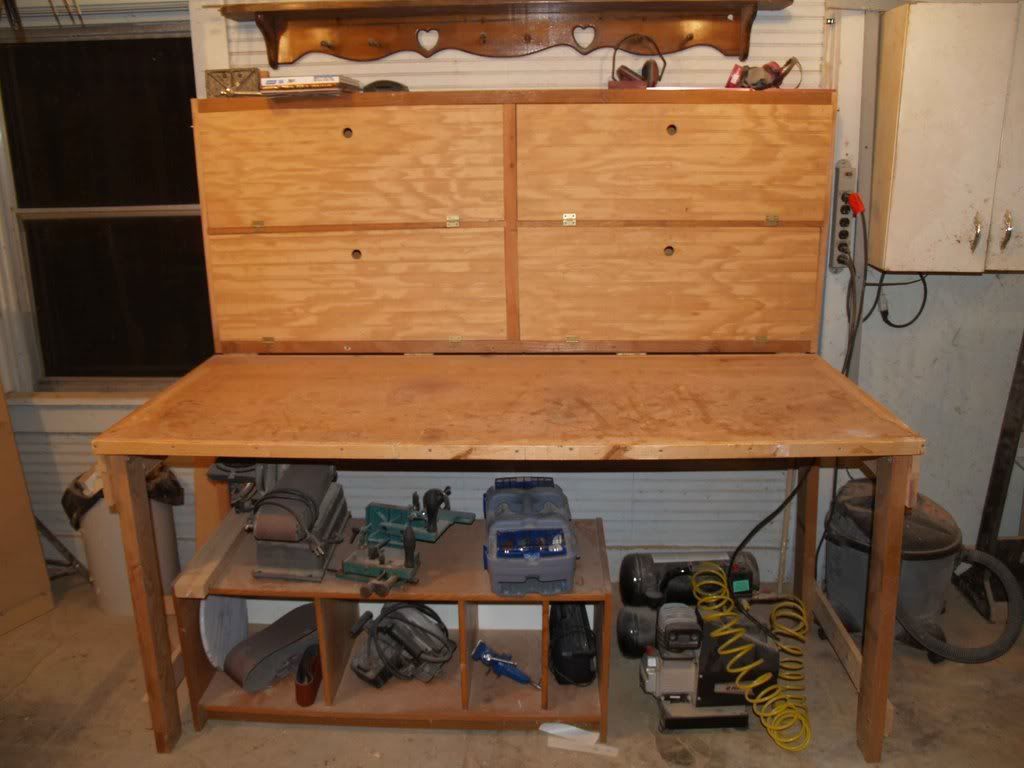
My homemade workbench, made from scraps and a solid-core door blank.
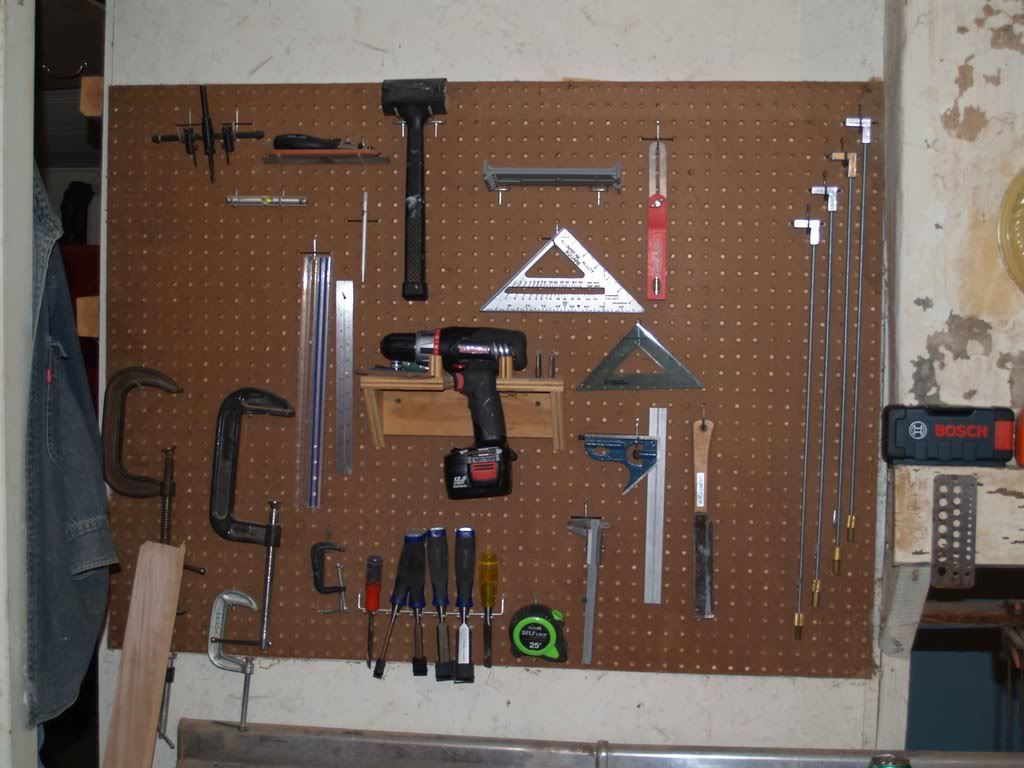
My wall of most commonly-used layout and hand tools.
Enough about my workspace, let's talk about this case. Once I decided on acrylic I started doing my homework. As most all of you know, there are 2 kinds of acrylic: cast and extruded. The difference is density, hardness, melting point and price. The design will call for extensive machining of at least five parts so those at the very least have to be cast acrylic, and four of those five are rods, and have to be at least 1 1/2" in diameter and 2 feet long. The other is for the top and needs to be 3/8" at least. Sticker shock!!!!
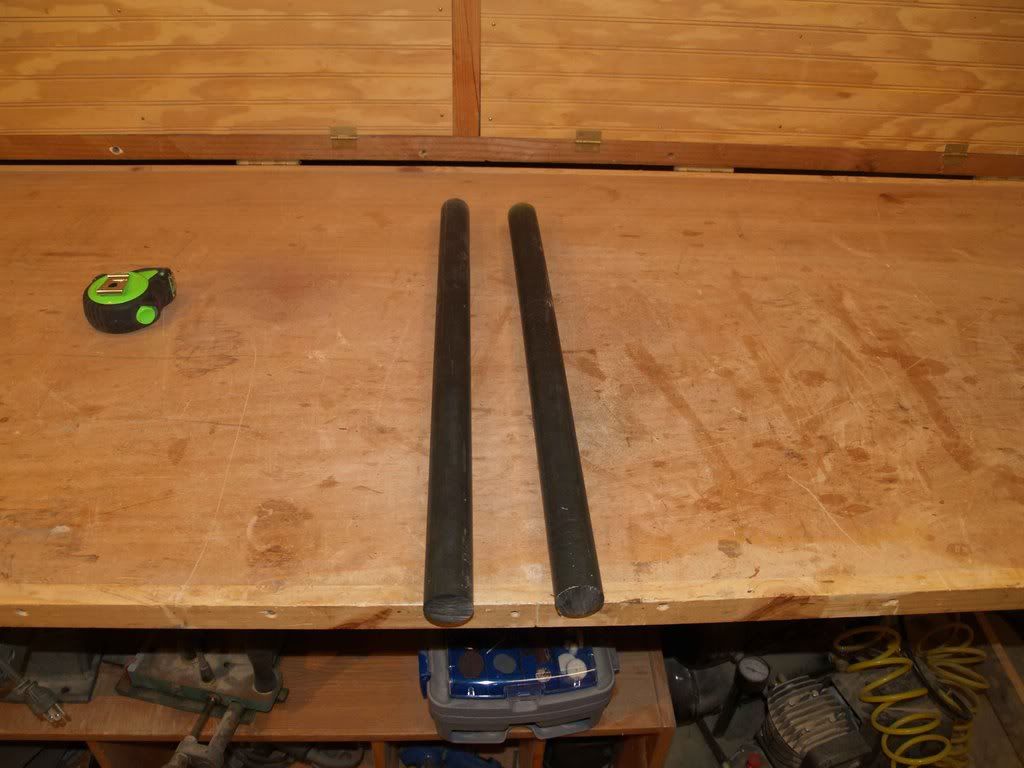
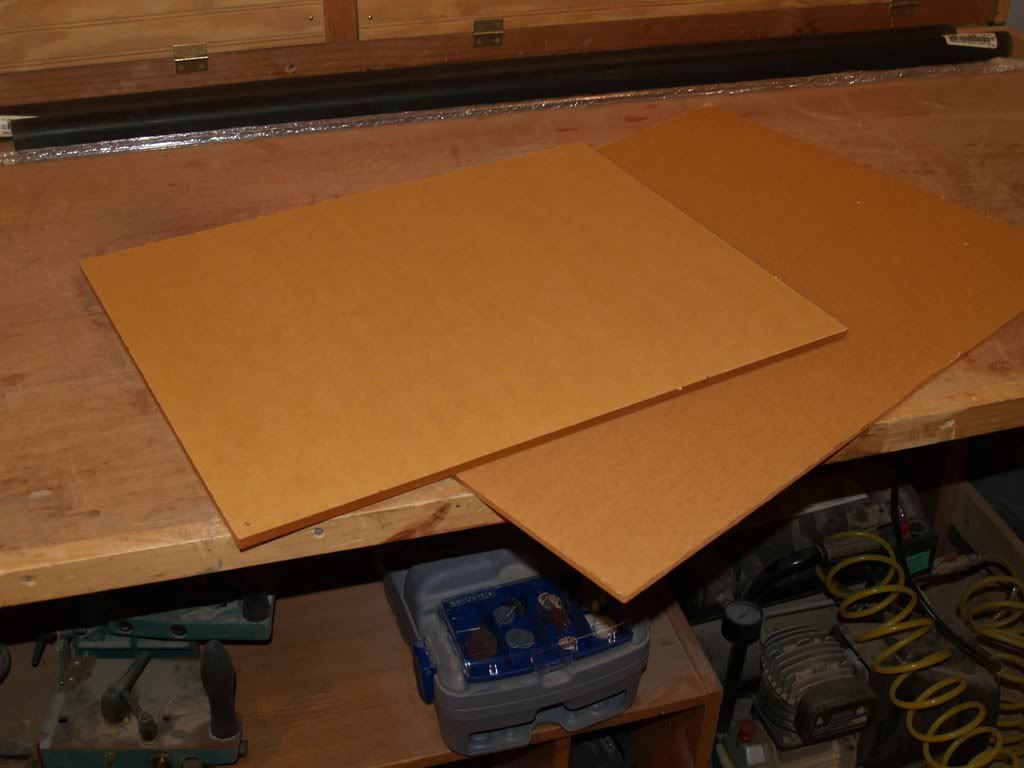
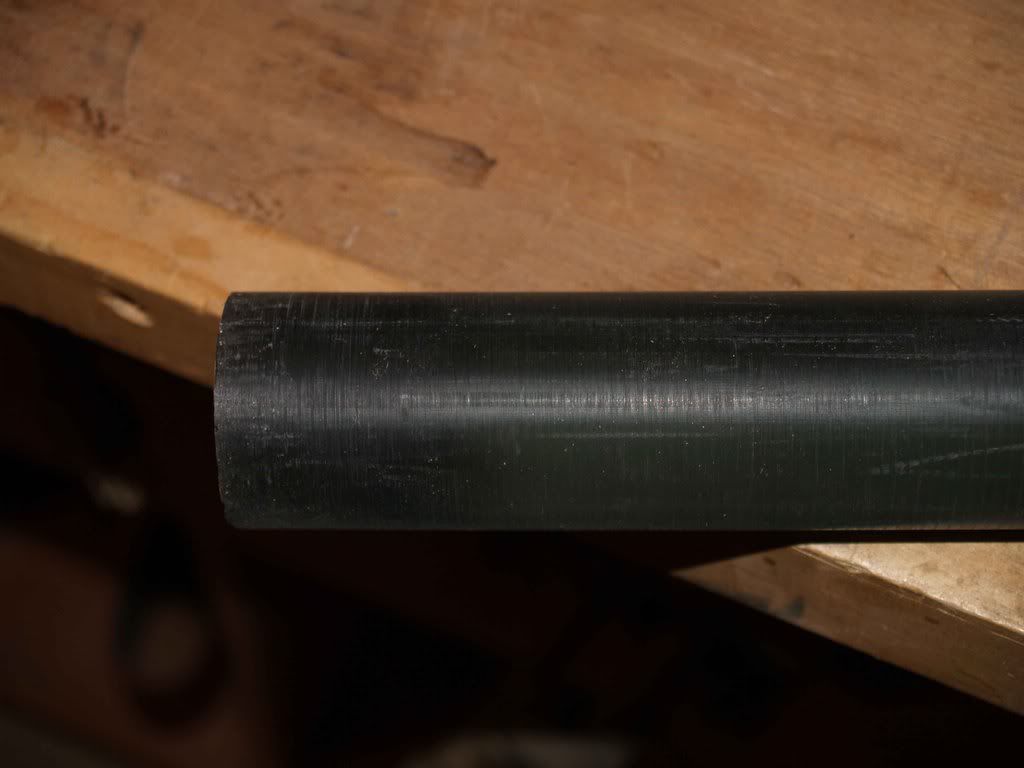
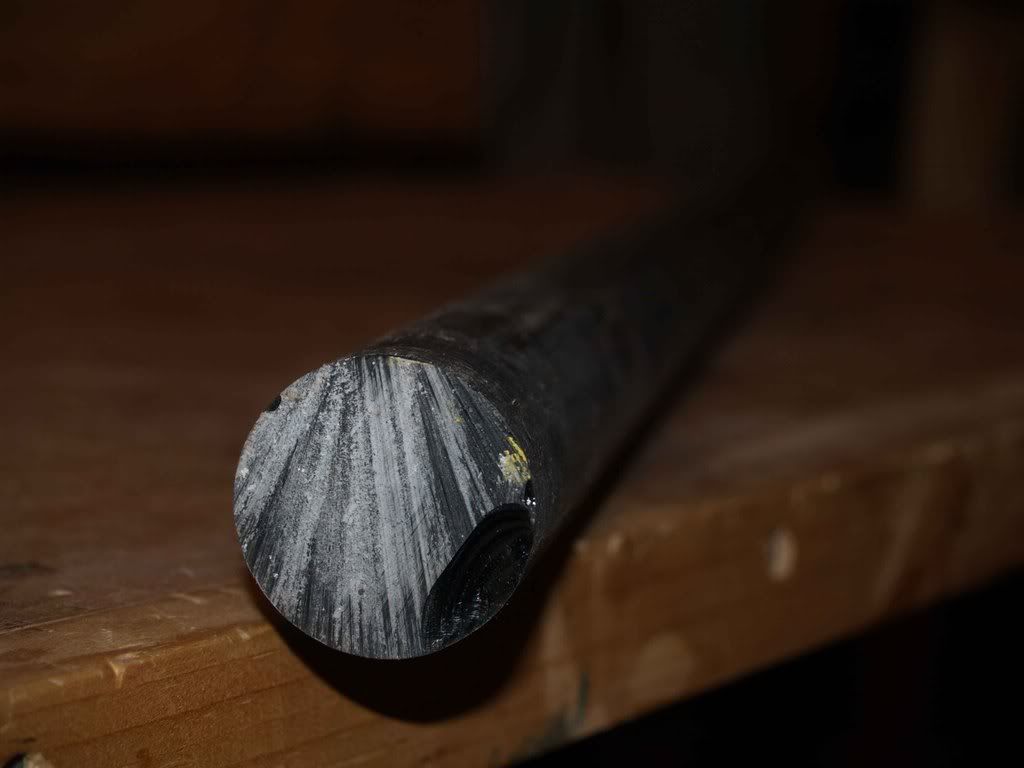
But the lords of modding were smiling on me today. I'd been kind of down thinking it woud take a LONG time to save the cash to do this thing, with the materials being so high, but I went out to the only two local plastic suppliers we have today and hit the jackpot. The first place happened to have two pieces of drop (scrap) cast sheet, one 1/4" and the other 3/8", and guess what? The 3/8" piece is big enough for my top! While I probably won't have a use for the 1/4" piece, it will be excellent for practice since I've never worked with it before. They offered to order the rod I needed for the tiny price of my left arm and the soul of my next-born child. Down the road I went. The next place didn't have any sheet or any clear cast rod, but they DID have a large bin of colored cast rod that they had ordered for a customer six years ago and was never picked up. They want to get rid of it bad. I didn't want color, but they happened to have two 4-foot pieces if 1 1/2" gray cast rod, and would sell it to me at cost. Normally $19 a foot, I got it for less than $7. Only problem being, it's machine-grade which means it's not polished. I will have to polish it myself, but at that cost I couldn't walk away from it.
My 2 new rods (smaller clear extruded rod laying on the bench behind them for internal work).
My scrap sheet, a mere $20 for both of them!
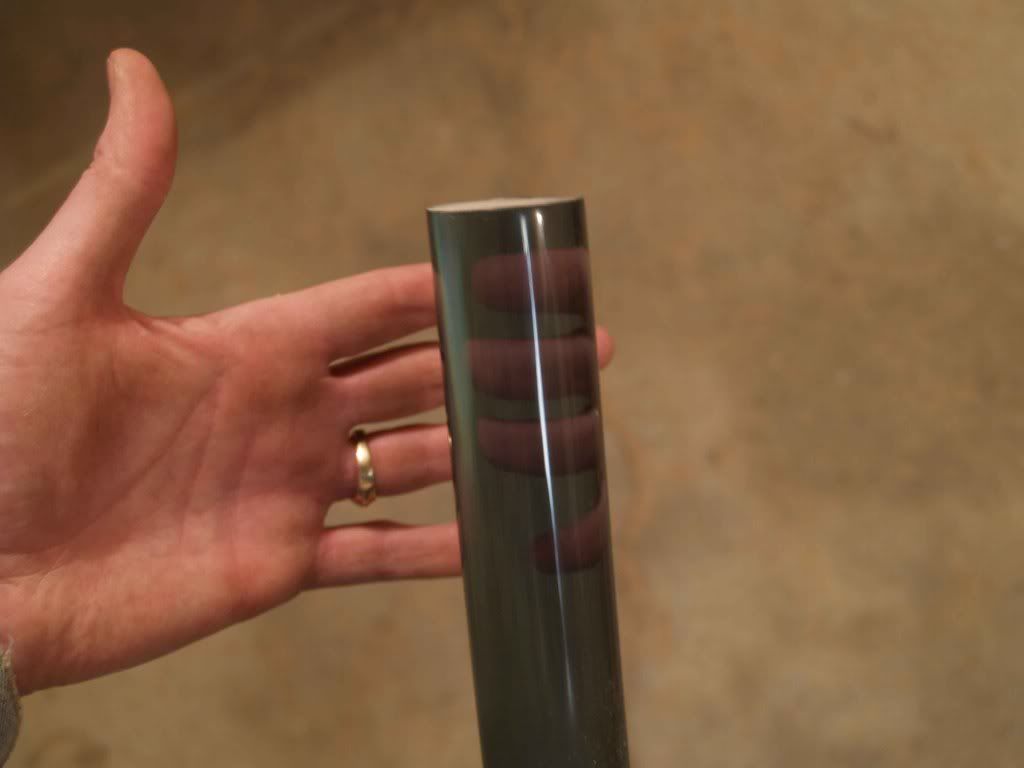
Closeup of the rod, as you can see, it is FAR from polished.
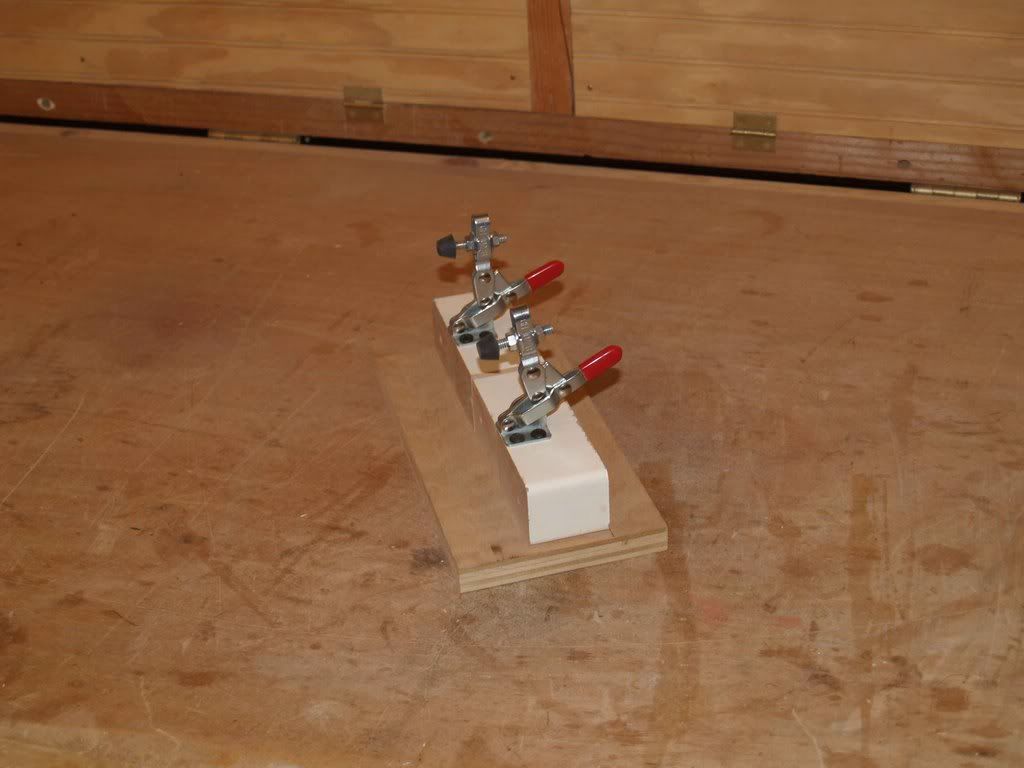
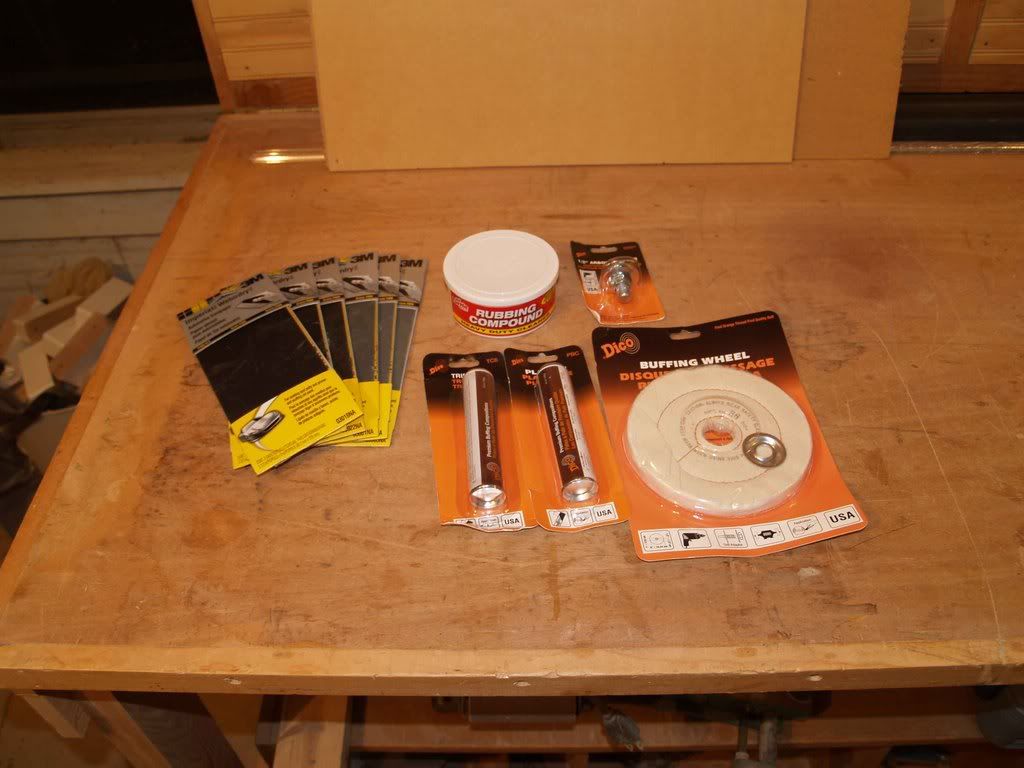
Some sanding and polishing supplies I was told I would need:
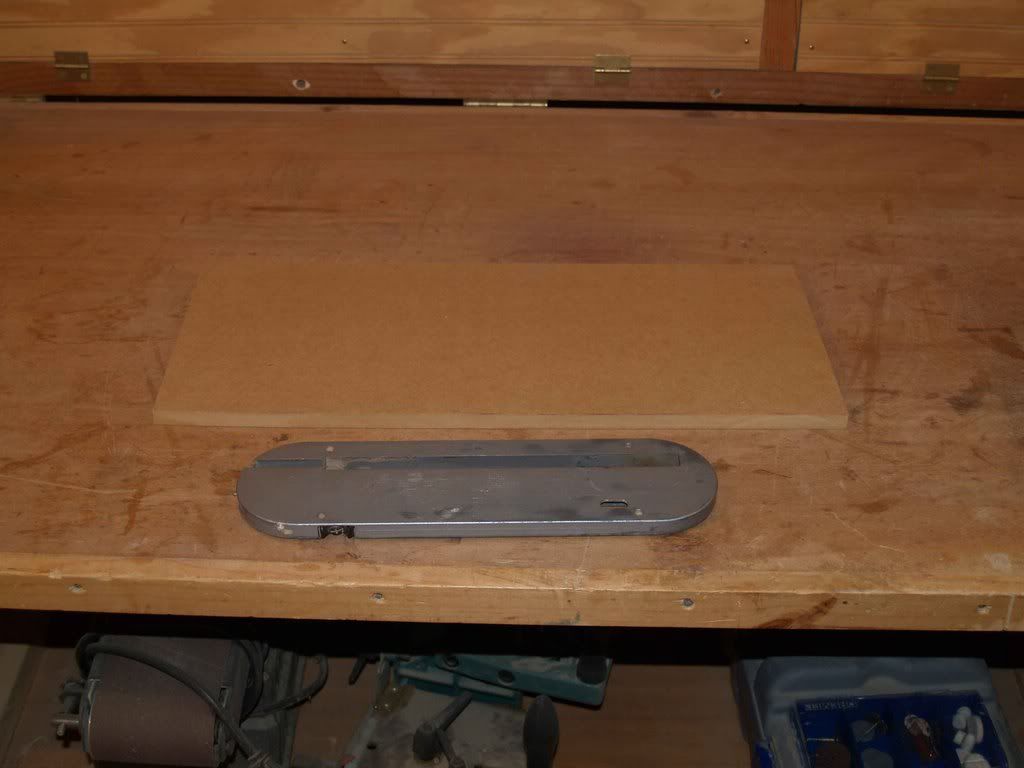
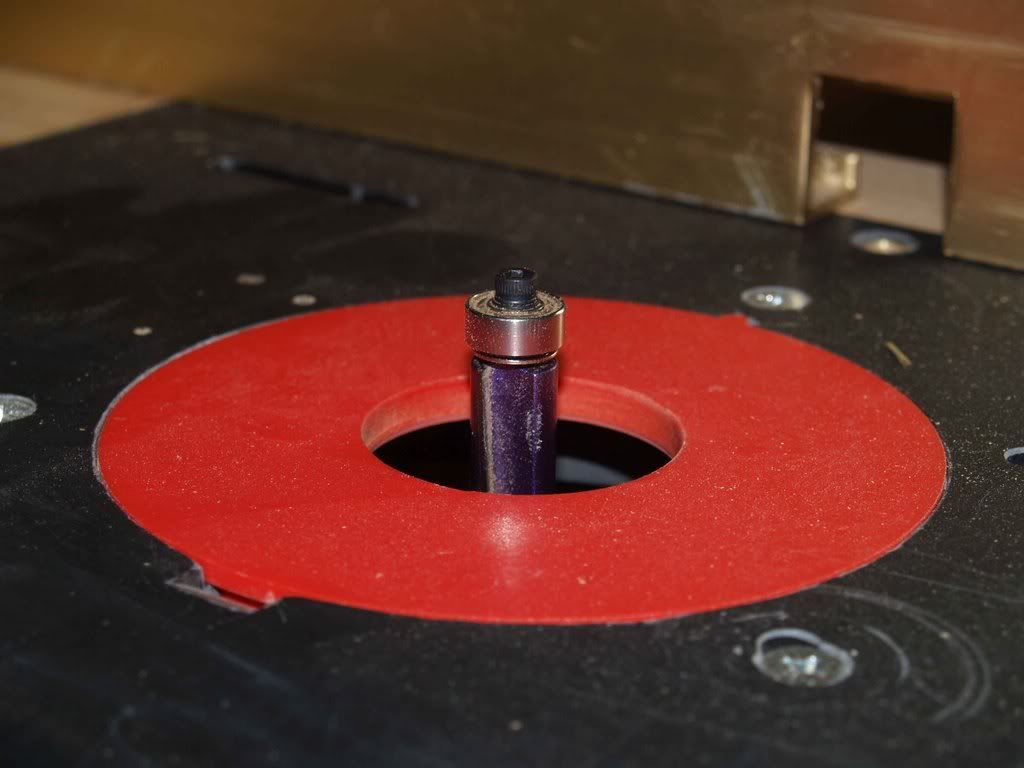
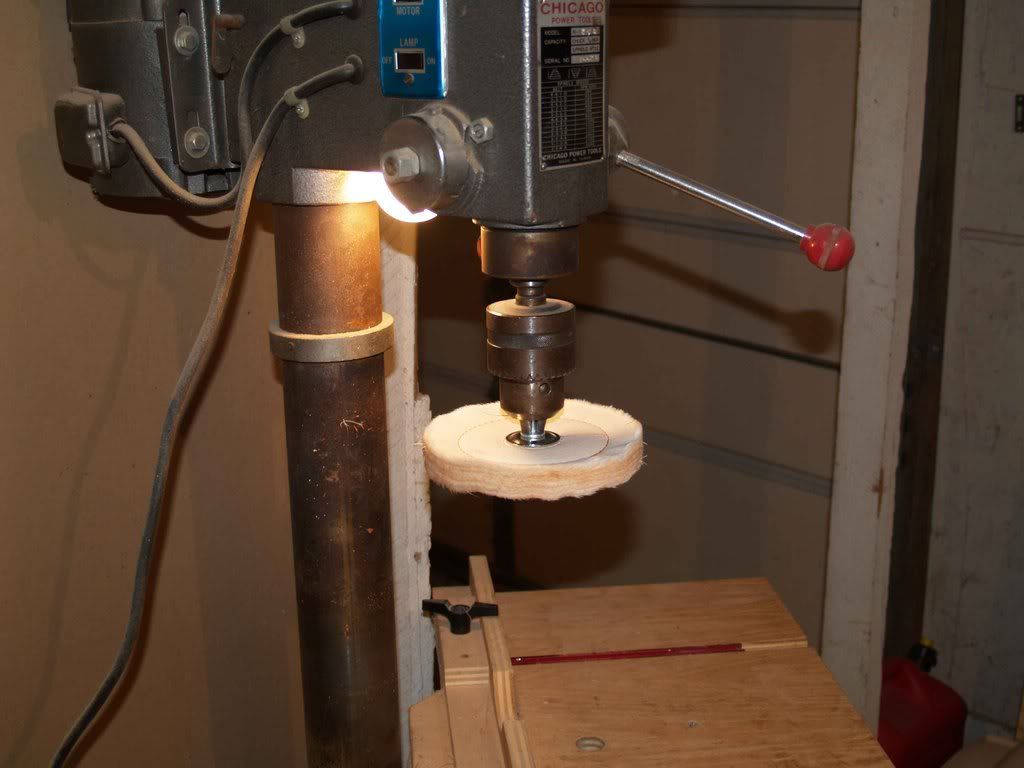
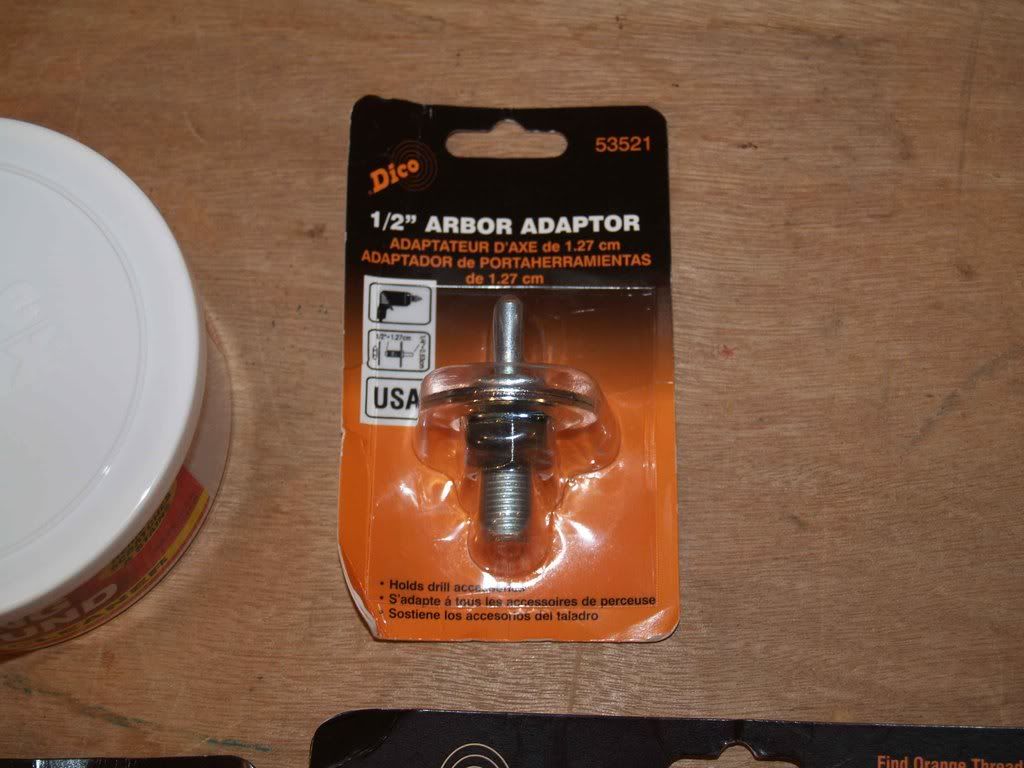
I do not have a bench grinder, but can anyone tell me why I can't use this adaptor to put buffing wheels in my drill press?
Some problems I foresee with this scratchbuild:
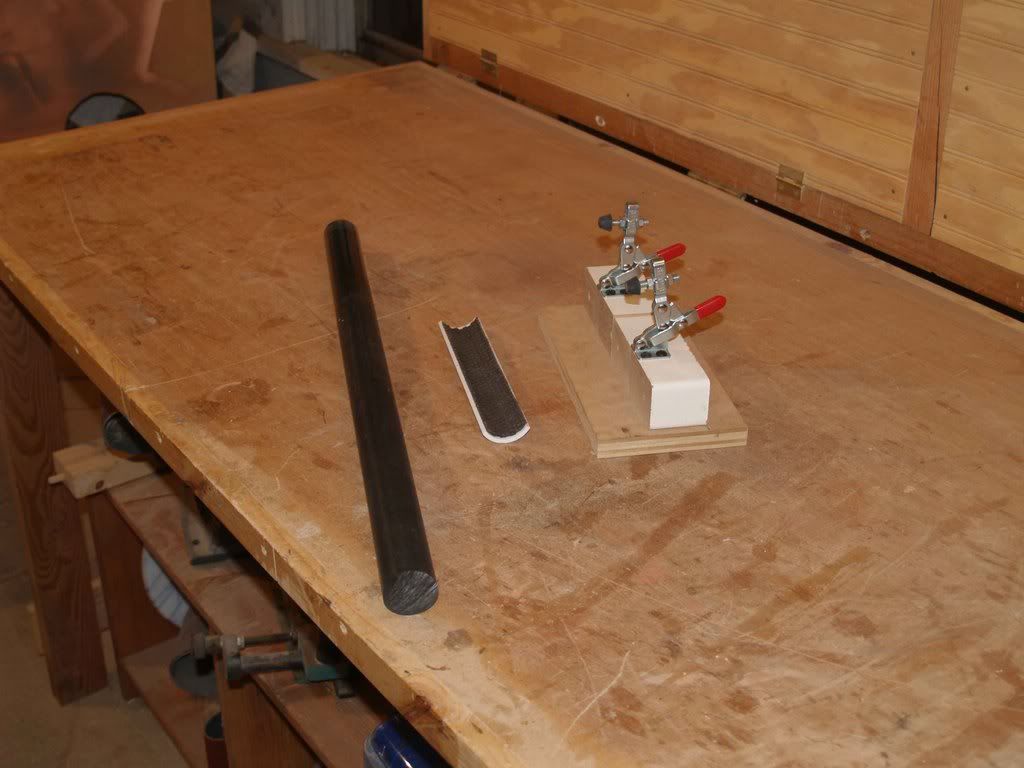
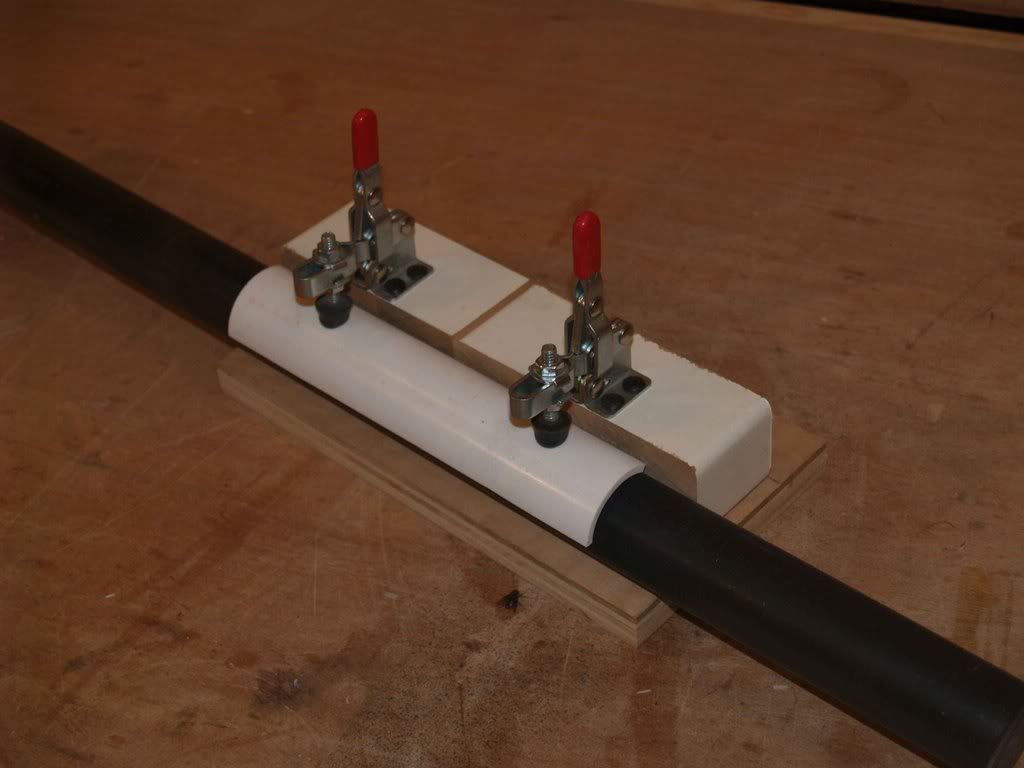
Polishing that rod. Would be easy as pie of I had a lathe, but I don't. I could probably sand/polish it laterally and have it end up nice, but it would be much easier and a LOT faster if I could get it to spin. We will see.
Machining the rod. Holding perfectly round and polished material perfectly square to a cutting blade on a flat surface while moving. Without scratching it. Will have to build at least one jig for this, likely three or more.
Edge-polishing the top. The edges of the top sheet will be rounded into a half-circle with a router and will have to be polished to a glass clarity since the viewer will be looking right at it.
Making the flat sheets match the newly-purchased gray-tinted rods. Window tinting film, perhaps?
Anyway, more news as it happens, cutting and polishing the rod are up next. Wish me luck, I won't find a bargain like this again.
________
Aprilia tuono


 Reply With Quote