Page 2 of 3 FirstFirst 123 LastLast
Results 11 to 20 of 23

Thread: Onyx

  1. #11
    Stupidity feeds my children blueonblack's Avatar
    Join Date
    Feb 2008
    Posts
    2,616

    Default Power Supplies and The Learning Curve

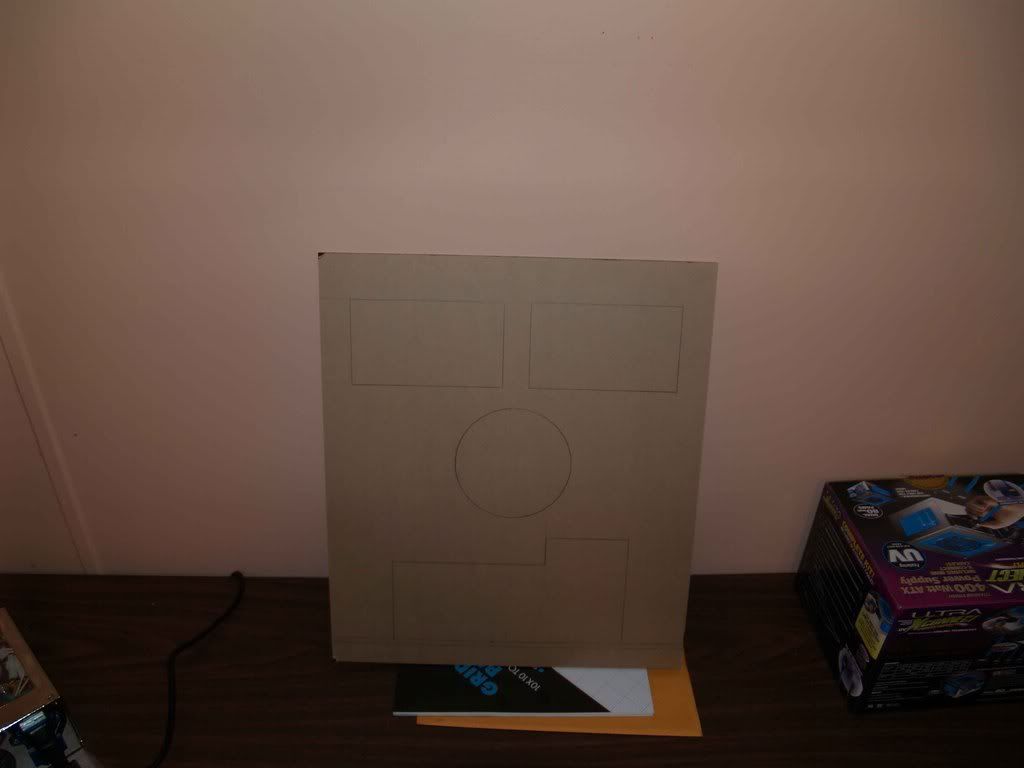
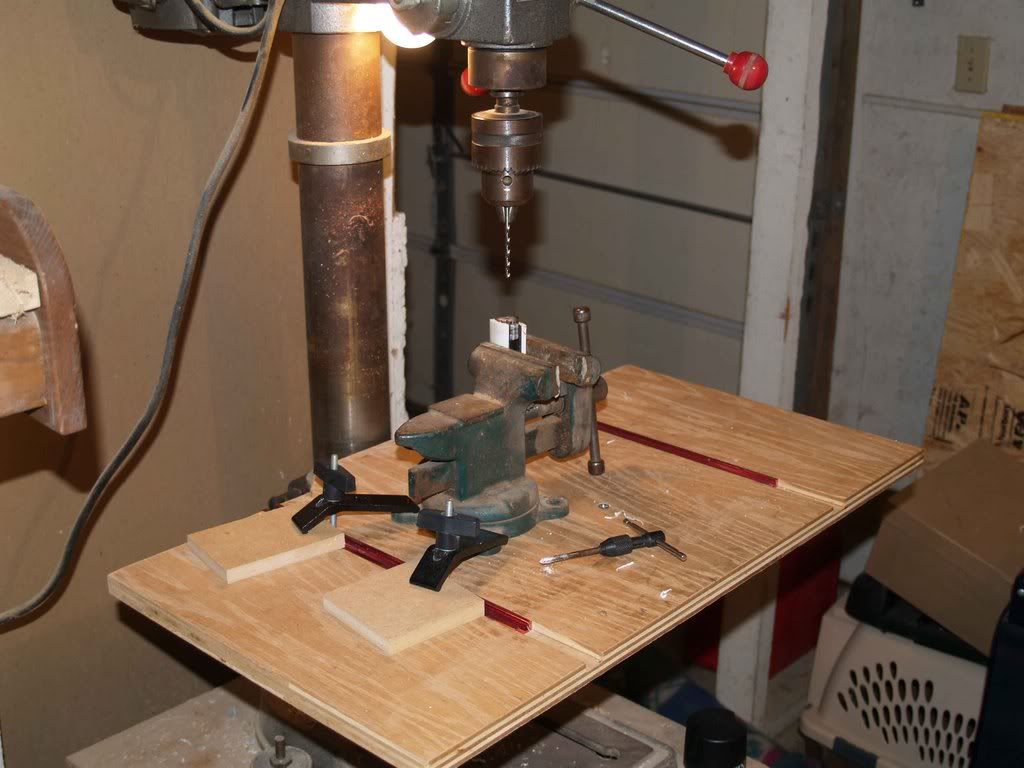
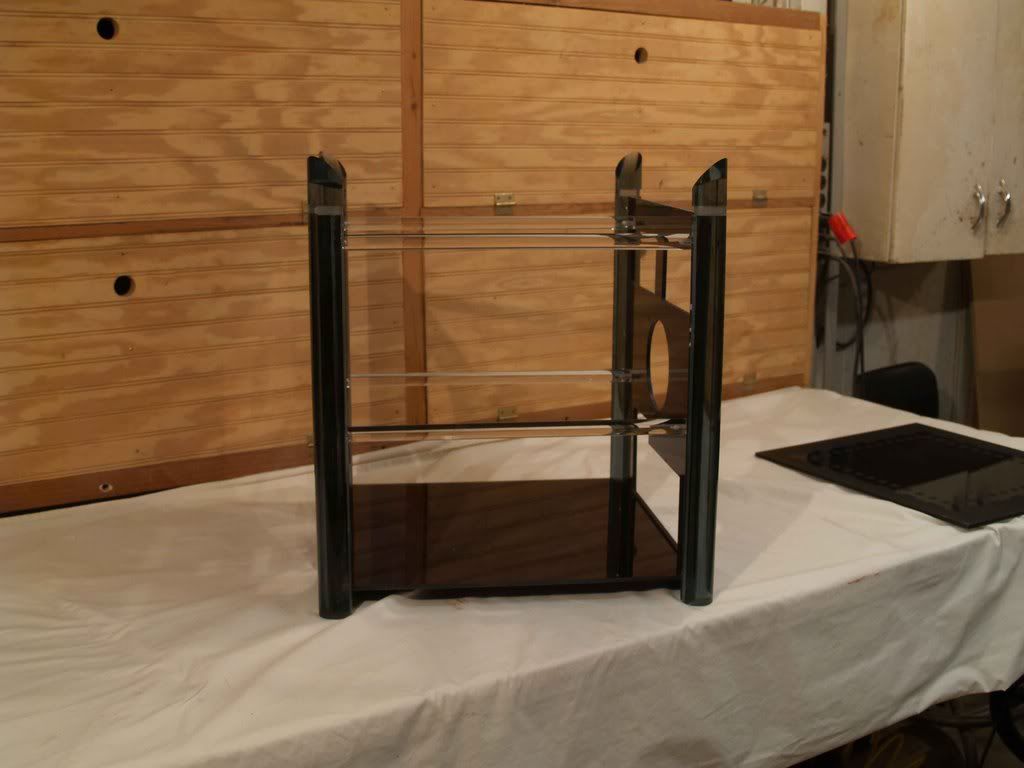
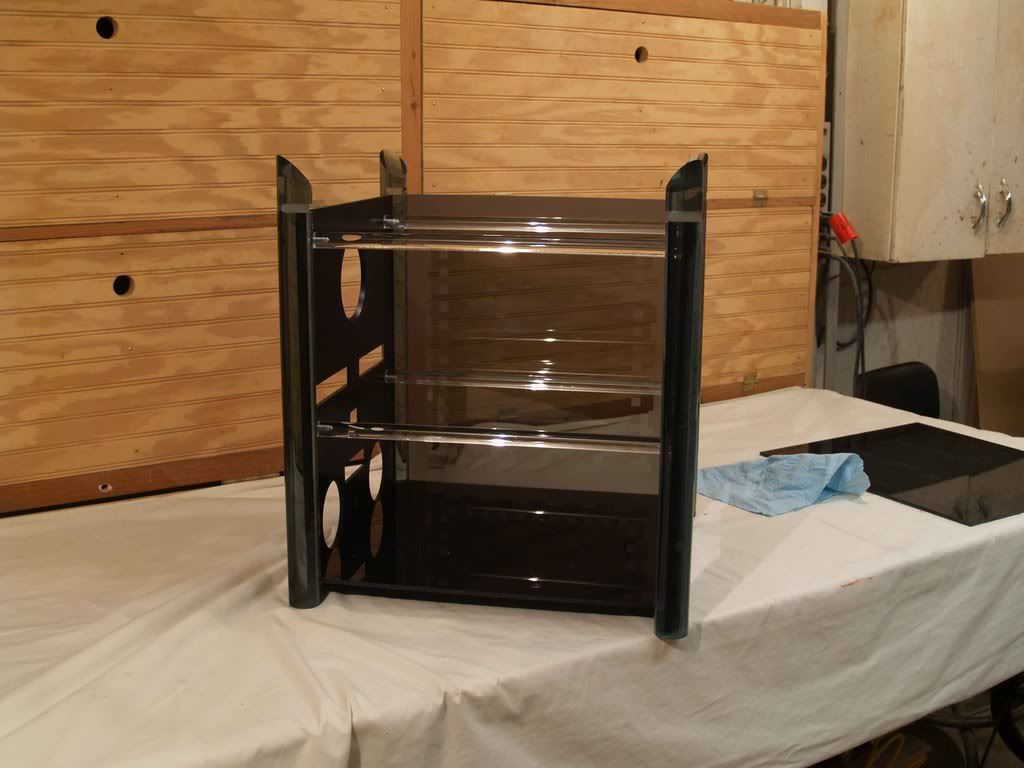
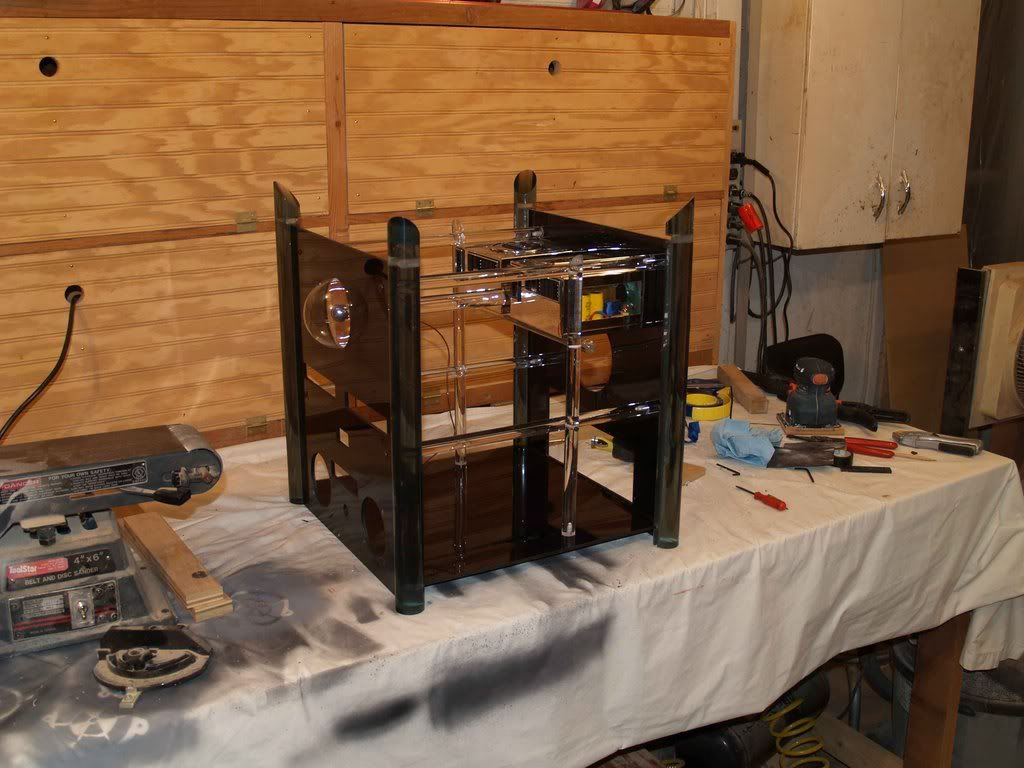
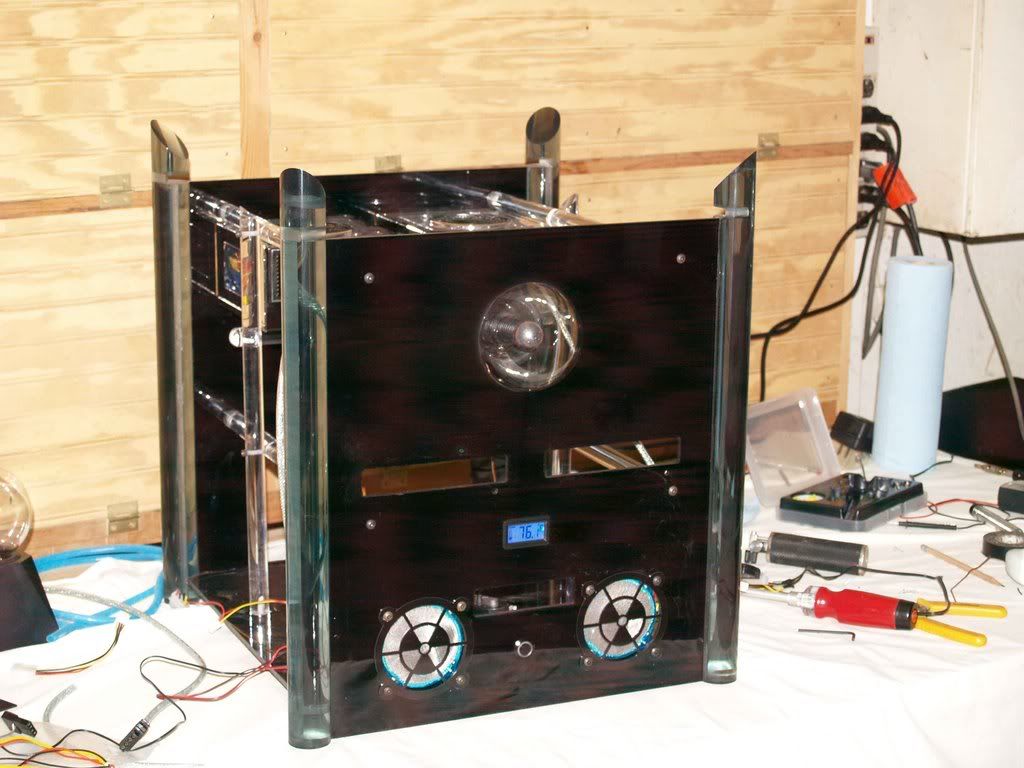
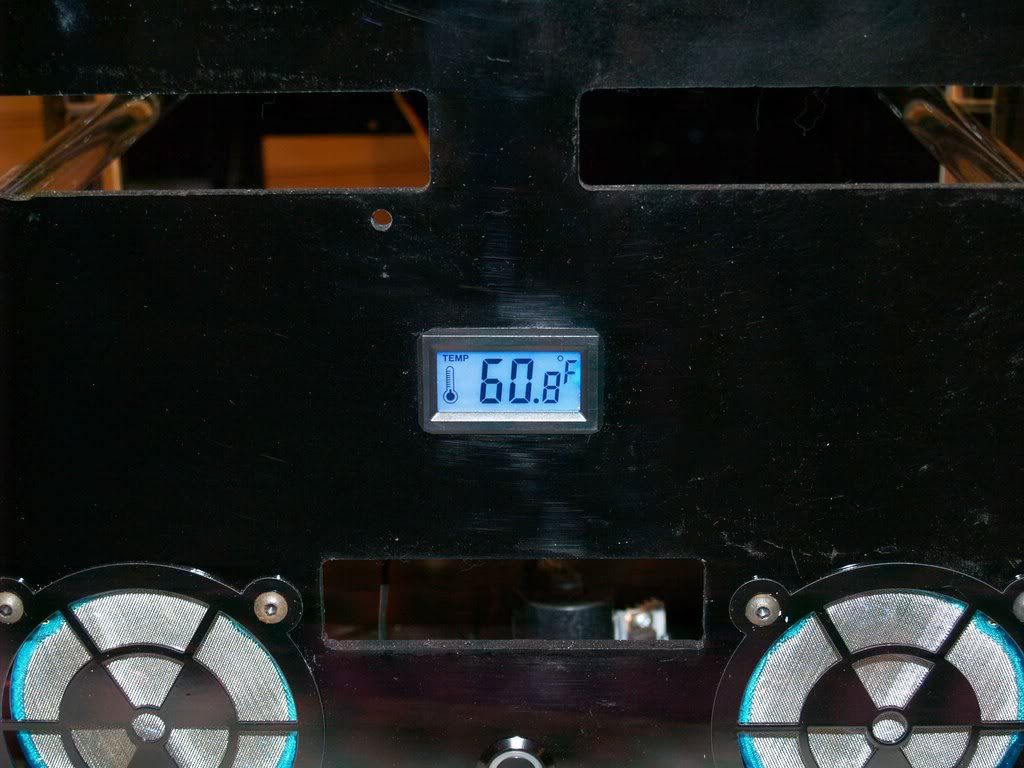
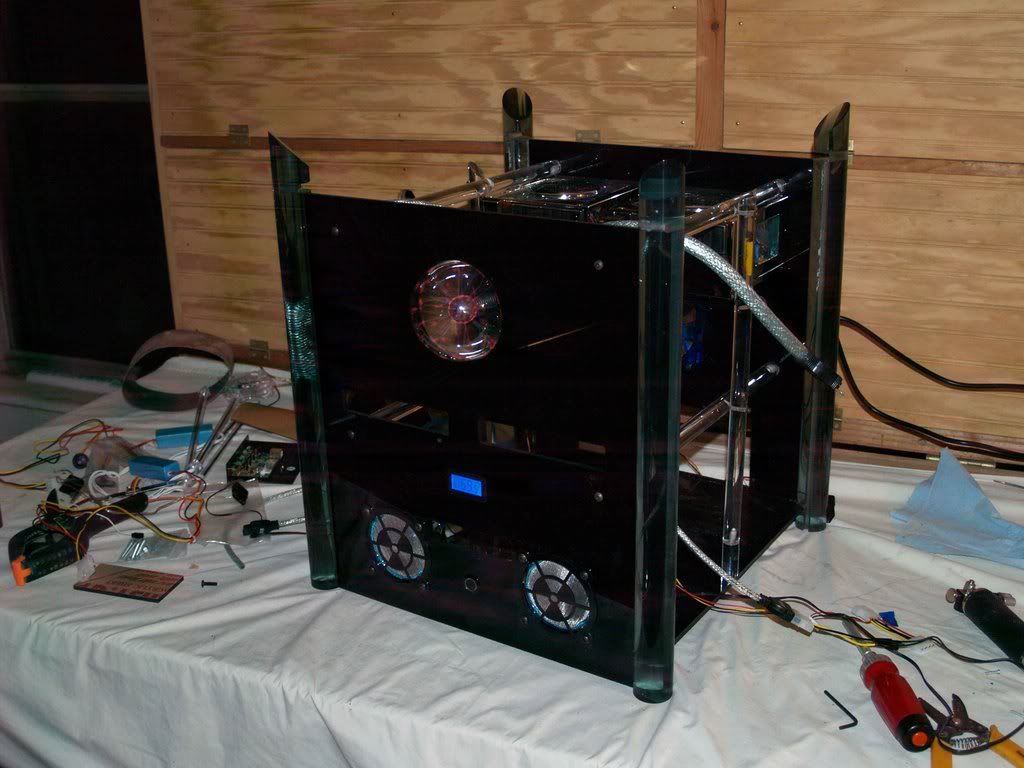
    Just a small update tonight, got the rear panel laid out...


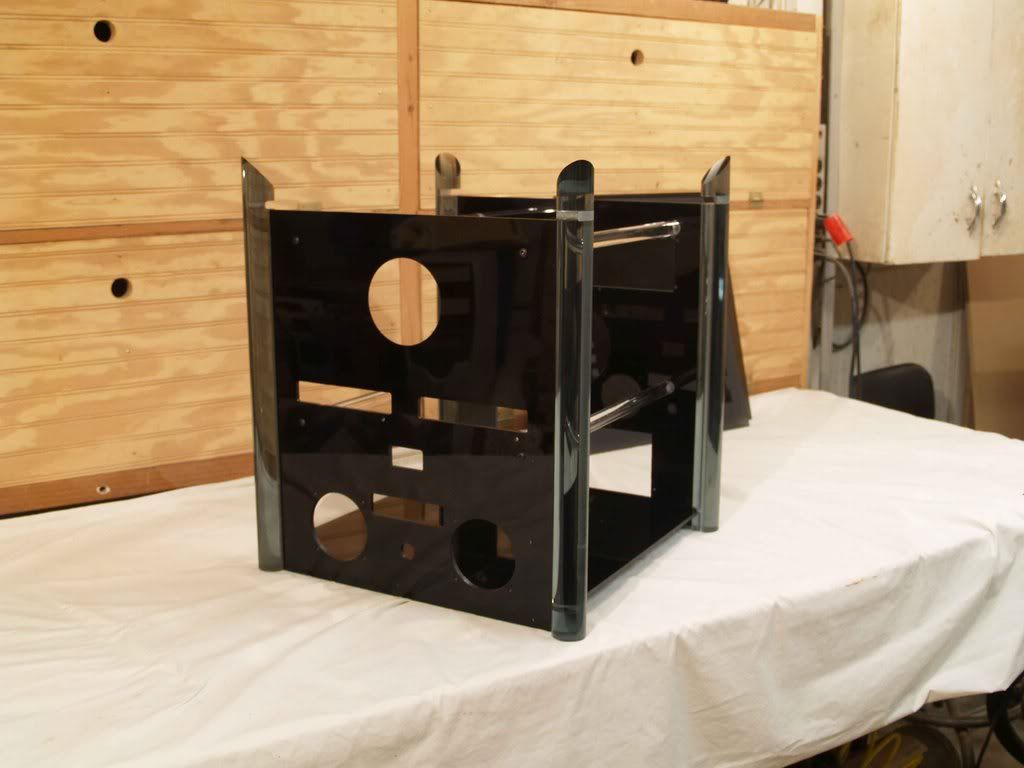
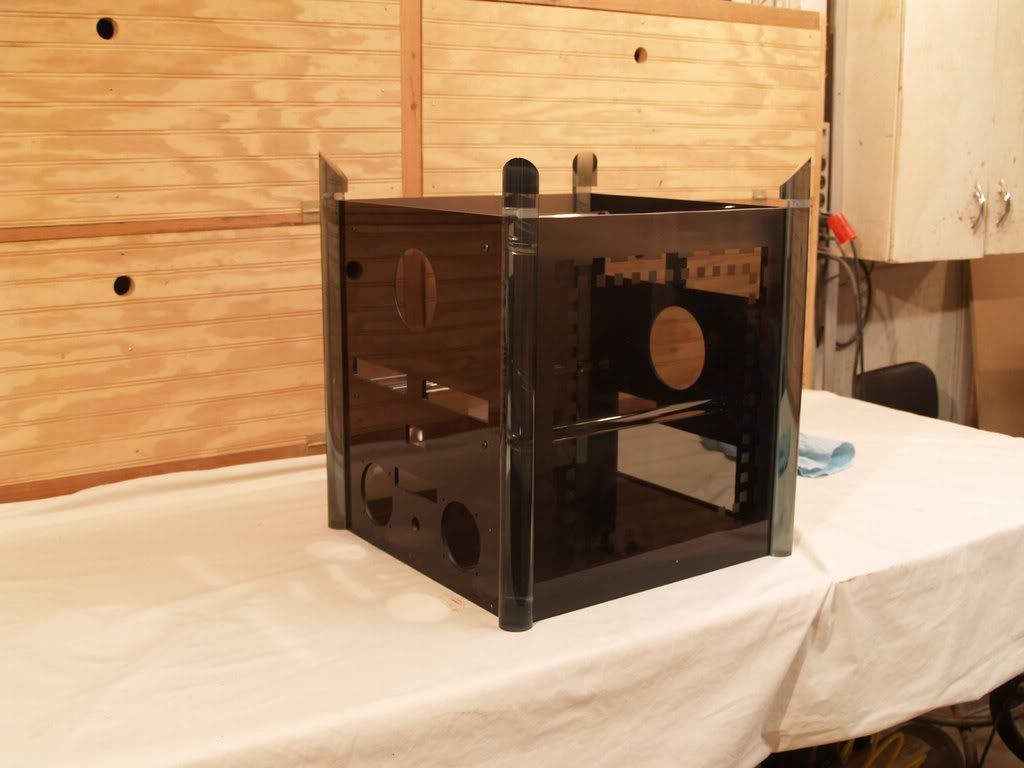
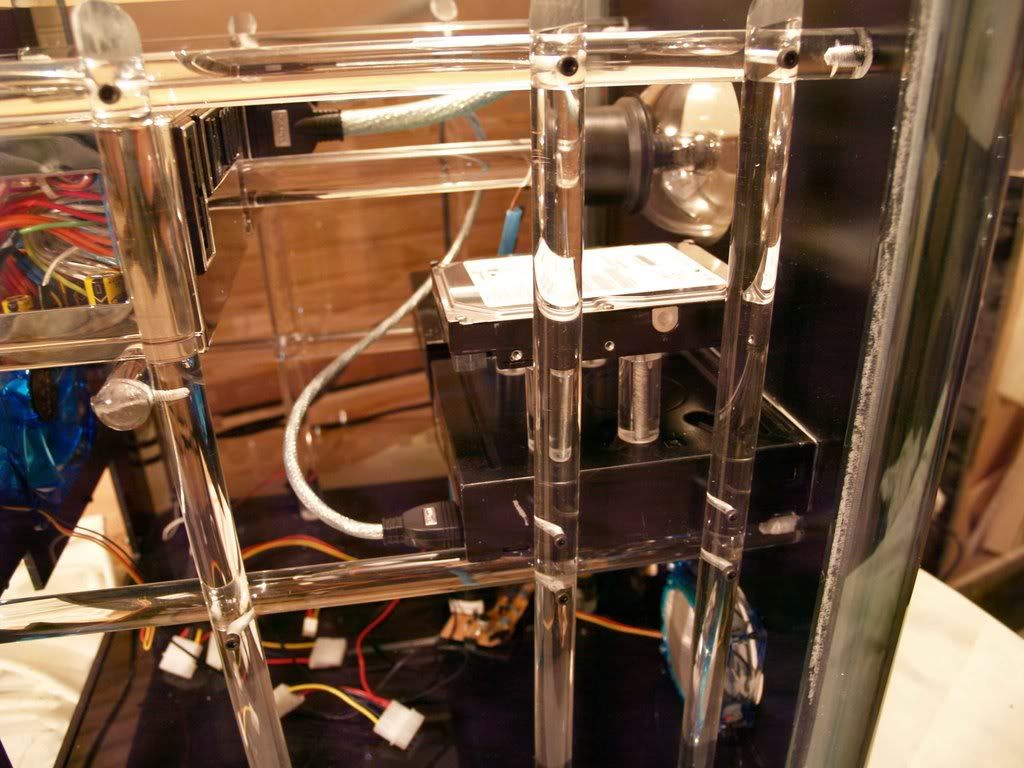
    I had to make a concession here. I wanted to build this thing with as few factory made components as I could. That included cutting i/o slots & circles in the rear panel. But I wondered how I was going to upgrade? I plan on having this thing for a LONG time, and who knows what components are going to do?

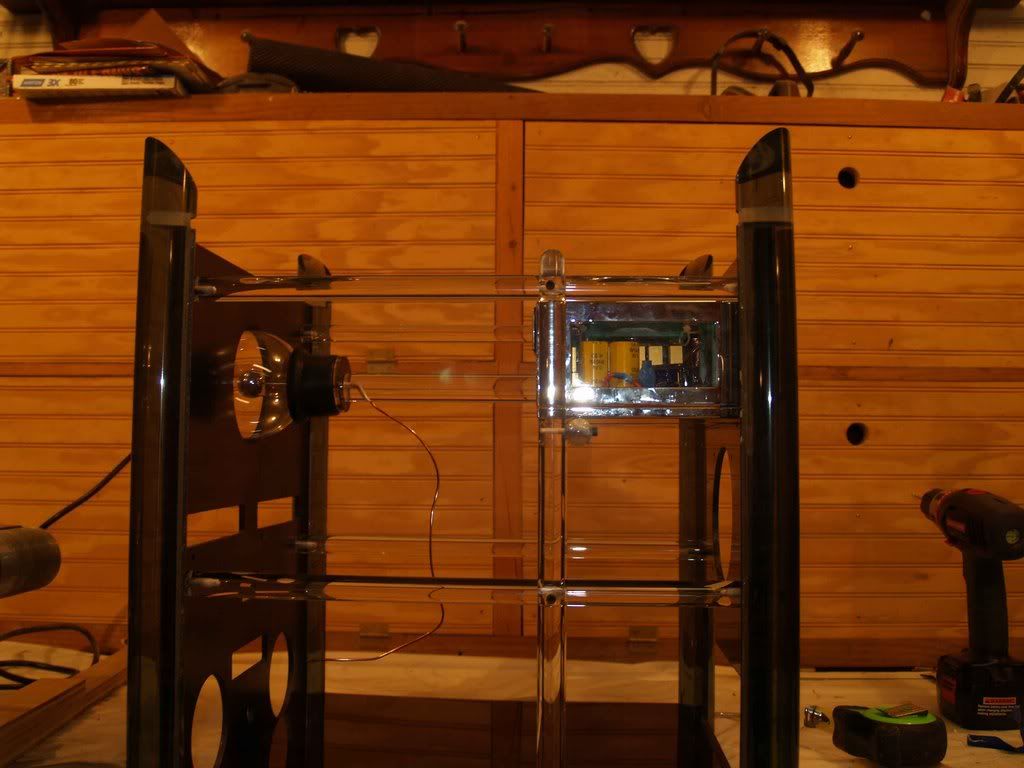
    I've decided to steal the removable motherboard tray out of my Microfly. It's metal and therefore the enemy, but it solves SO many problems. The big hole on the bottom of the layout is for the rear panel of this tray. Large expanse of metal in my beloved acrylic, but I think once I spray paint it satin black and cover it up with all the other stuff it will blend right in.

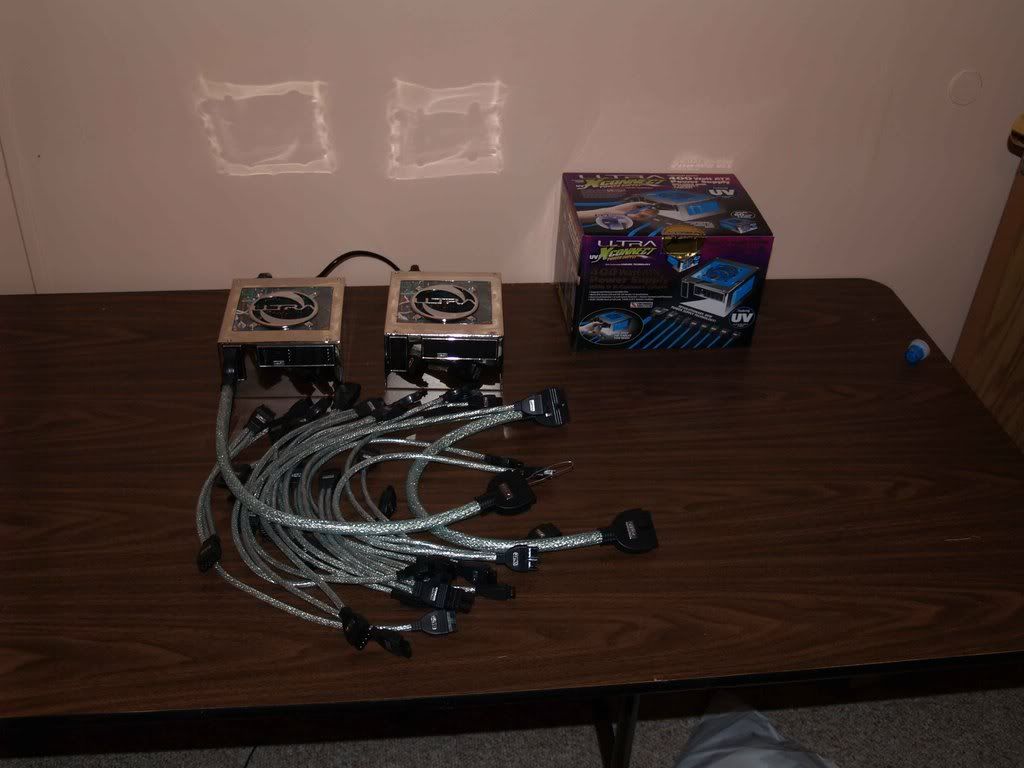
    On to the title, when I started this thing, I went dashing around frantically looking for case components. I even deluded myself that this hobby wasn't all that expensive. (yes, I actually believed that) I mean, you add a light here, $20, a window there $50, some copper heatsink shinies on your boards $10.... So I was looking for shinies. I came across these:


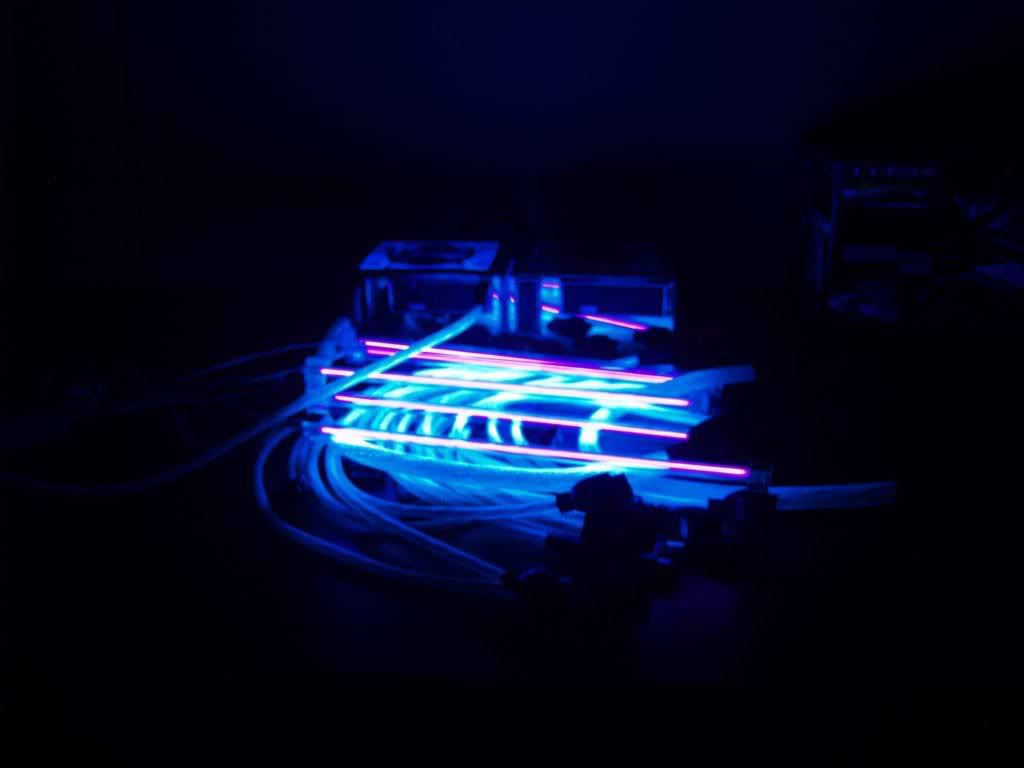
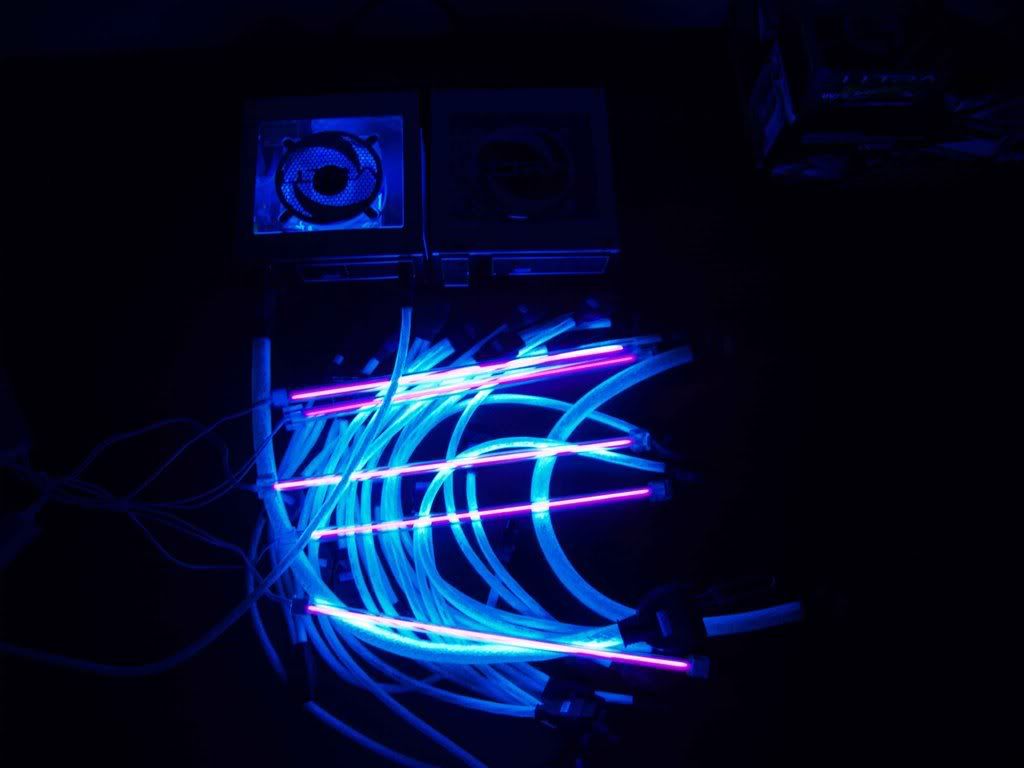
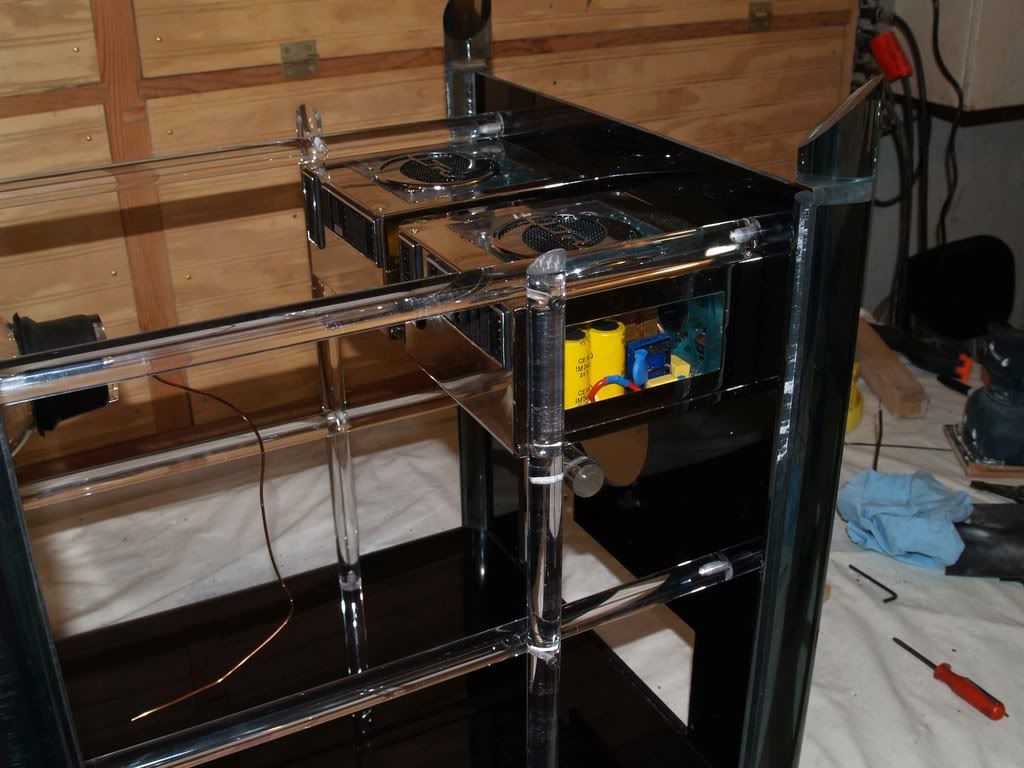
    These are 400-watt Ultra X-connect modular ATX power supplies, with the heap of cables included. I came across these at TigerDirect and ordered them. The design has always called for two power supplies, and now I'm glad. I learned a lot about wattage, amperage, number of 12-volt rails, thermal protection, oversurge protection, etc etc etc. Running both of these in tandem should give me all the juice I'll need. I've read reviews on these from every different perspective, from God himself uses them on the Divine Server to them being agents of Lucifer sent here to steal our souls. Me in the middle, I already bought them, hook 'em up! At least they glow nicely.


    Hope to get the rear panel cut tomorrow and start on the bottom shelf, have to nip the corners on it to fit the grooves in the columns. Catch you guys later!

    (Hey, that "Front Page" thing isn't anything like the piece of paper hanging in the post office with all the black and white pictures, is it?)
    ________
    Vaporizer review
    Last edited by blueonblack; 02-24-2011 at 02:39 PM.

  2. #12
    Stupidity feeds my children blueonblack's Avatar
    Join Date
    Feb 2008
    Posts
    2,616

    Default Update

    Getting some work done tonight, this is the setup I am using to bore the horizontal support rods for tapping. Never let anyone tell you that you can't tap threads into cast acrylic and expect them to hold.


    If all goes well will have the front back and bottom glued up tonight with the support rods in place.
    ________
    American idol dicussion
    Last edited by blueonblack; 02-24-2011 at 02:39 PM.

  3. #13
    Stupidity feeds my children blueonblack's Avatar
    Join Date
    Feb 2008
    Posts
    2,616

    Default Taking shape

    This thing is finally starting to look like a case. Got the front and rear panels glued into their respective support rods (the sides will not be glued but will slide out the bottom as needed for access), the bottom cut and glued in, and the horizontal support rods in place.


    With one side in place:


    And all put together (except the top):


    ________
    Honda Cb500 Cup Specifications
    Last edited by blueonblack; 02-24-2011 at 02:40 PM.

  4. #14
    Stupidity feeds my children blueonblack's Avatar
    Join Date
    Feb 2008
    Posts
    2,616

    Default Re: Project: Onyx

    I just realized that I haven't shared my cutting methods. Being new to this scene and this site, and seeing all the amazing work here, I just assume everyone knows how to do everything I've done. In case anyone cares, I used a double-carbide-tooth circle cutter on the drill press for my fan holes (had to use it in a hand-held drill for the big rear hole, ouch), cuts this stuff very well if you go slowly.


    Cut the hole for the power switch with a forstner bit. I was amazed at how well those things cut plexi. Perfectly round, no burning, no melting, and you can get a pretty decent set at Harbor Freight for $30.

    As for the straight lines, I am blessed with a large router table. I cut pilot holes in the corners of the holes I needed to cut out, then used a Rotozip spiral cutting bit chucked into my router (with an adaptor I got at Sears for $10), along with my router table fence, to cut the lines.


    Again, excellent cut and perfectly straight this way. Only drawback is you can't cut square corners, but the bit is only 1/8" in diameter so the corners are only very slightly rounded.
    ________
    EASY VAPE REVIEW
    Last edited by blueonblack; 02-24-2011 at 02:40 PM.

  5. #15
    Stupidity feeds my children blueonblack's Avatar
    Join Date
    Feb 2008
    Posts
    2,616

    Default Update 3/28

    Coming long nicely I think, got the supports for the power supplies finished, here are a couple of pics....


    Managed a couple of nice touches to the internal rods, rounded over the ends on the horizontal piece under the power supplies.


    And I'm trying to keep with the theme established by the main support rods with the vertical internal rods.


    Got the plasma ball in place, decided on a pressure mount for this. The hole is 1/8" shy of being too big for it, so the ball fits snugly. The large (admittedly ugly) base is rubber. I cut a disc of plexi to fit it, then cut the single piece of 1-inch rod I have to length and drilled a couple of holes into it that meet in the middle to feed the wire through. On the other end I drilled a shallow hole, about 1/4" deep.


    Here in the back panel is a screw that looks loose but really isn't. This controls the pressure. The hole it goes through in the rear panel is threaded, and the end slides into the shallow hole in the end of the rod. By tightening this screw I force the rod against the disc I cut and against the rubber base in turn. Seems to have turned out fairly well. The wire coming down out of the rod will of course be sleeved when all is said and done. The small coil for the plasma ball will sit on the bottom panel directly below the hole where the wire goes into the large rod. The circuit board will be hidden under the bottom panel.


    Hope to have the power supplies cross-wired and reinstalled tomorrow and start on the support rods for the drives.
    ________
    America'S Next Top Model Forums
    Last edited by blueonblack; 02-24-2011 at 02:40 PM.

  6. #16
    Stupidity feeds my children blueonblack's Avatar
    Join Date
    Feb 2008
    Posts
    2,616

    Default Upate 4/11: Oooooooo, pretty!

    Done with the work week so I get to mod a little.

    Been working on the front of this thing lately, got my intake fans/fan filters/grills installed. Bought 2 UV-reactive 80mm fans from FrozenCPU, didn't even realize that they had four UV LED's built into the fan until I plugged them in.

    Haven't decided on the fan filters, they look great with the lights out but I don't think I like seeing the metal mesh with the lights on, may flip them to the inside of the fan.

    Also undecided on the fan grilles, still looking around for something better, who knows?

    Also got my temperature probe/gauge installed.

    Quick overall look:


    Closeup of some of the newer additions:


    Finally got the plasma ball working!!!! Still have no idea what I did to let the magic smoke out of the last one, but I did. You can see it working with the lights dimmed:


    But of course I like the whole thing in the dark:


    Don't have the bulgin switch lit up yet but that will be the last light on the front.

    Did run into an interesting and unexpected problem: the temperature probe reads between 10 and 20 degrees higher with the plasma ball turned on than it does with the ball turned off. Obviously EM interference, but I have no idea what area I need to shield or how to shield it. Any input would be appreciated.
    ________
    Zetec Engine
    Last edited by blueonblack; 02-24-2011 at 02:40 PM.

  7. #17
    Stupidity feeds my children blueonblack's Avatar
    Join Date
    Feb 2008
    Posts
    2,616

    Default Update 4/13 - Almost inside!

    Thought I might get this thing out of the shop and into my office tonight but as usual there was just not enough time.

    I finally got my DVD drives mounted (working wth an ancient Memorex CD-ROM I had laying around until I get this done). Had to add four more vertical rods to make them sturdy, I love the way these rods magnify and bend the light inside the case.


    Had a real problem figuring out how to mount the hard drives, finally took the DVD drive apart, drilled four holes in the top of it to match the mounting holes on the bottom of the hard drive, drilled a hole all the way through four pieces of rod and ran four long machine screws up through the inside of the DVD ROM and into the bottom of the hard drive. Used rubber washers from a fan kit between the rod and the DVD ROM. It's very sturdy, we'll just have to see how it performs in real life.


    Got some cool interior shots with the lights on and one side in place (reflects the lights). The new rod makes it look very cool inside. I have to say that I love the cables that came with these power supplies.


    Back to work tomorrow so no mod work for four days but next weekend should see this thing in use inside!!!
    ________
    herbalaire vaporizer review
    Last edited by blueonblack; 02-24-2011 at 02:40 PM.

  8. #18
    Stupidity feeds my children blueonblack's Avatar
    Join Date
    Feb 2008
    Posts
    2,616

    Default Re: Project: Onyx

    Quote Originally Posted by |NQ|Squelsh View Post
    Wow! That Plasma ball definitely rocks! Hopefully you get those interference probs solved. Perhaps you also have to shield the high-voltage generator? Maybe first test that case with an old HDD...

    Just my opinion: Those radioacive fan-grills don't match the outstanding design of your case.

    Thanks on the plasma ball, I do like it. 
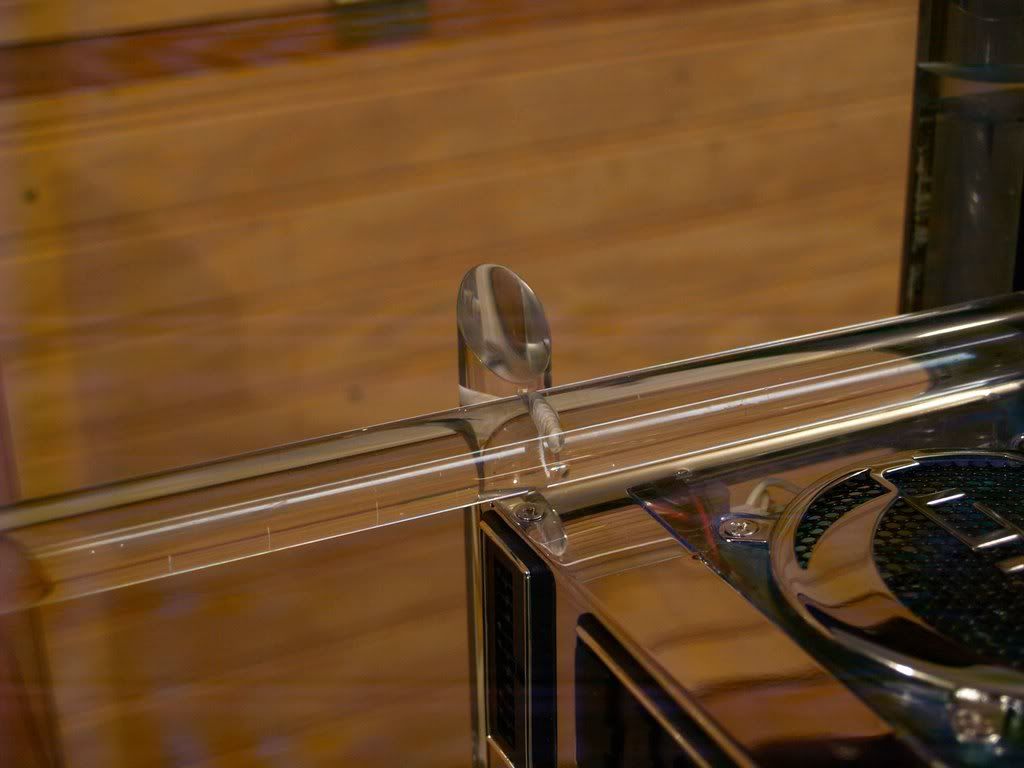
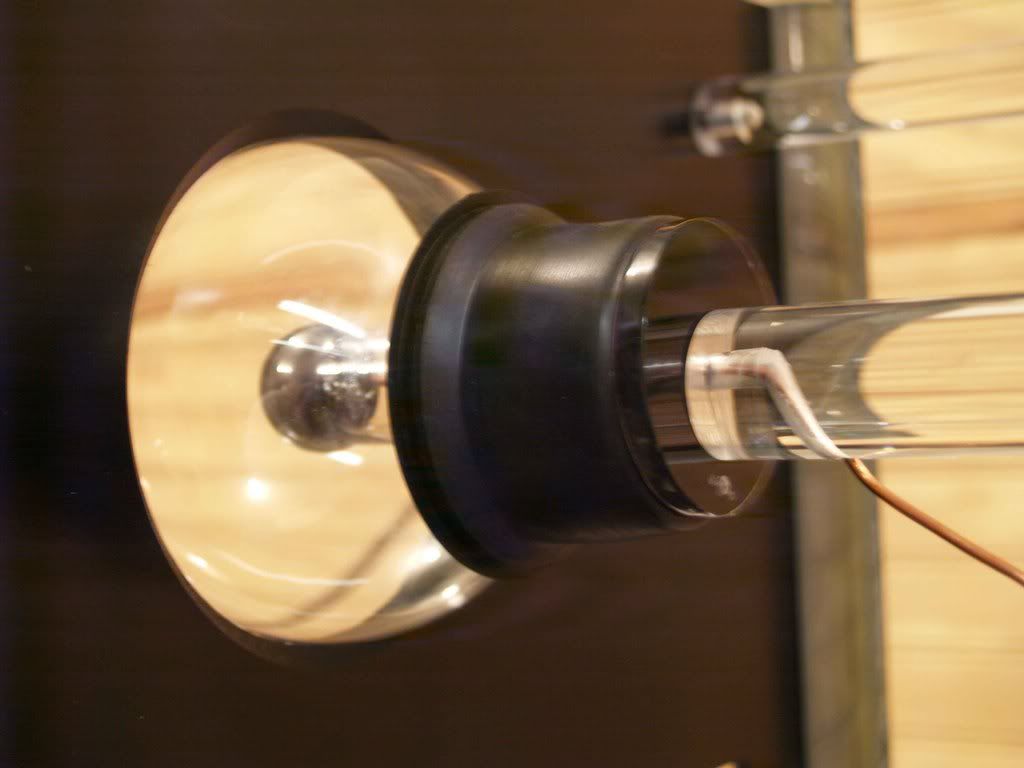
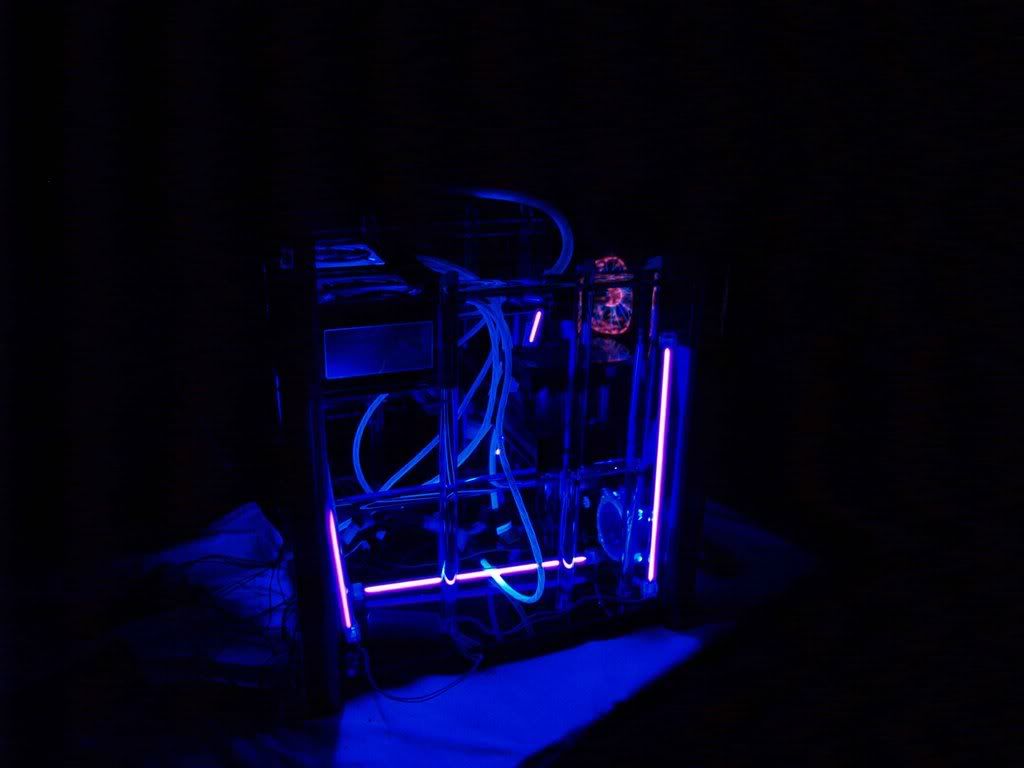
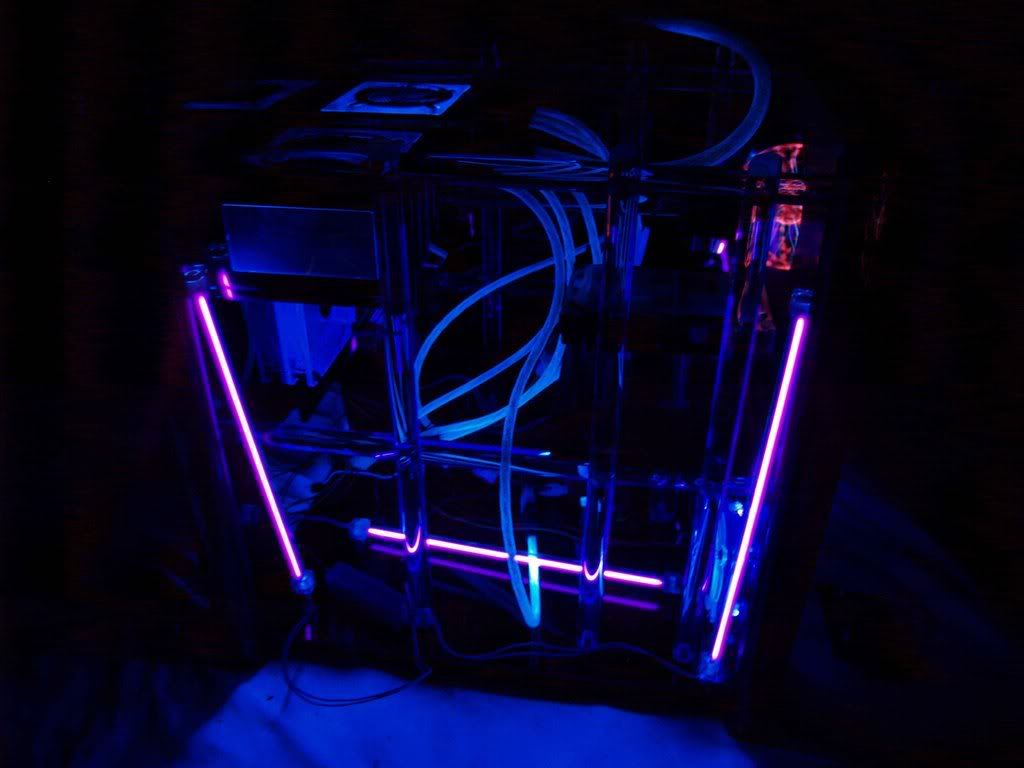
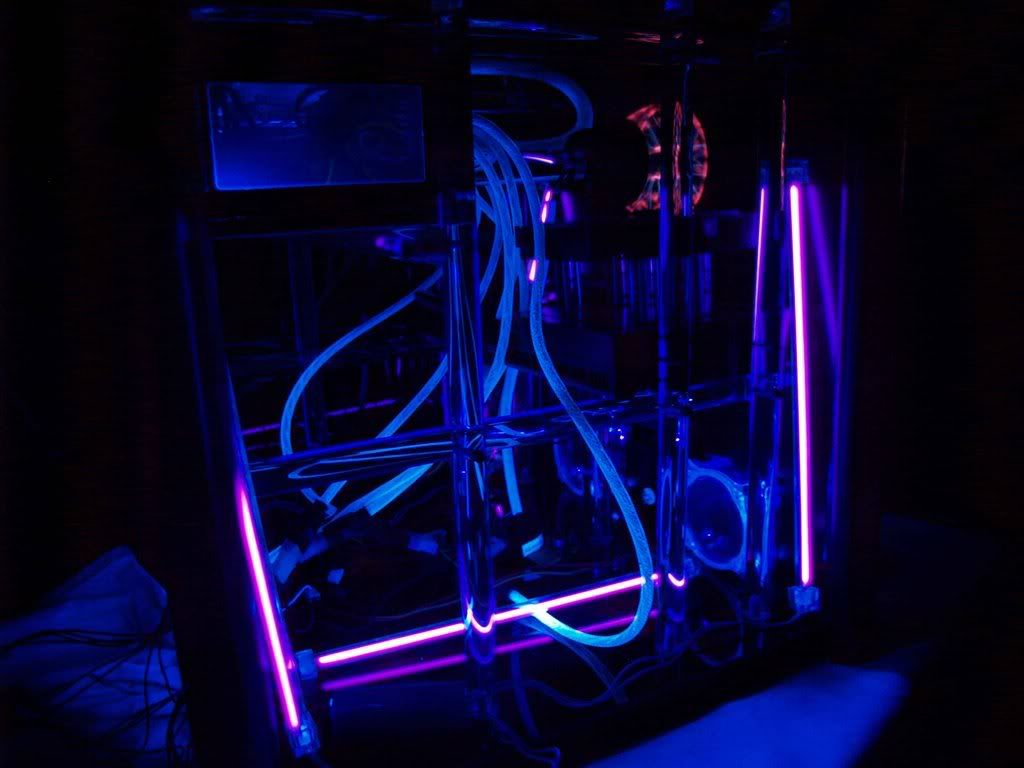
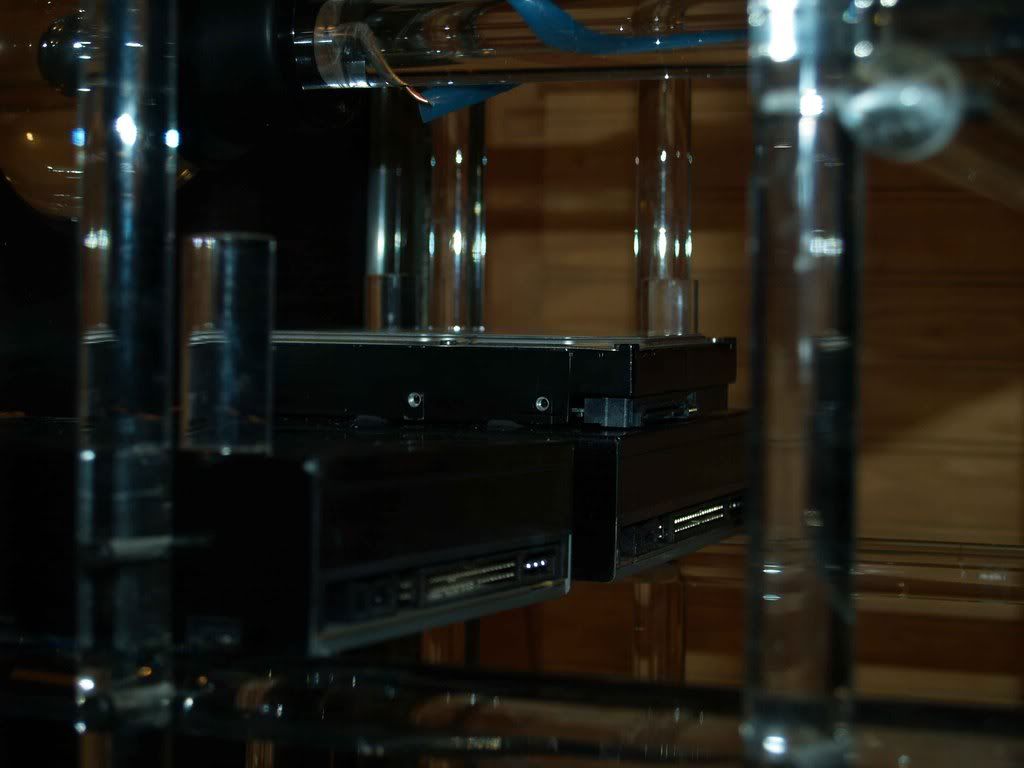
I wish that I could have found one with a little less red in it, but it comes out easily so I could replace it in the future if I find one I like better. Still experimenting on the EM interference problem, have had limited success, research continues...

    Yes, I am going to fire it up with my backup hard drive initially and try installing a few games on it to be sure it's functional.

    And on the fan grilles, I agree. They are not exactly what I want but I wanted something on there for the time being just to give it a better appearance than the bare holes and these were dirt cheap. I am still on the lookout for some better ones, any suggestions?
    ________
    CHRYSLER FLATHEAD ENGINE
    Last edited by blueonblack; 02-24-2011 at 02:40 PM.

  9. #19
    Stupidity feeds my children blueonblack's Avatar
    Join Date
    Feb 2008
    Posts
    2,616

    Default Update 4/20: Question for the masses

    After having run some tests, the EM interference I was getting on my temp display is reduced when a piece of foil-covered plywood is placed between the ball and the display, and goes away entirely when I touch the foil while its there. (The temp display is completely inoperative now, but I'm sure that had nothing to do with my taking it apart...)

    I've decided to try shielding my plasma ball with a sort of shelf (made out of plexi, of course) beneath it, running from one side of the case to the other, with one side covered in wire mesh and a ground wire soldered to it. This should shield all my components effectively, but I have a couple of questions.

    I had to lower the hard drives from the previous configuration to make room for the shelf. The test drive is now mounted directly to the shop of the DVD drive, screwed to it from inside the drive, with only four rubber washers separating them, as shown:


    Am I asking for trouble with heat here? There is plenty of ventilation on the sides, but not very much above it (due to the shielding shelf that is not in the pic) and none whatsoever on the bottom. Anyone think this will be a problem?

    Also, what should I ground my mesh to? Normally I would just ground it to the case, but obviously that won't work here. Hate to ground it to my motherboard tray, any other suggestions? Thanks!!
    ________
    Ford cd4e transmission
    Last edited by blueonblack; 02-24-2011 at 02:40 PM.

  10. #20
    Stupidity feeds my children blueonblack's Avatar
    Join Date
    Feb 2008
    Posts
    2,616

    Default Re: Project: Onyx

    Had some problems with the shelf and shielding mesh so I just removed them. Does not seem to have any adverse effect on the system, have installed and played FarCry with no problems whatsoever. Will be interested to see what happens to my new temp gauge when it gets here.
    ________
    Vaporizer benefits
    Last edited by blueonblack; 02-24-2011 at 02:40 PM.

Posting Permissions

  • You may not post new threads
  • You may not post replies
  • You may not post attachments
  • You may not edit your posts
  •