Page 7 of 9 FirstFirst ... 23456789 LastLast
Results 61 to 70 of 87

Thread: The Orb

  1. #61
    Thinks spherical |NQ|Squelsh's Avatar
    Join Date
    Nov 2006
    Location
    Baden-Würtemberg, Germany
    Posts
    341

    Default Re: The Orb

    Thanx a lot for your comments Matt & p0Pe!

    Quote Originally Posted by FrooP View Post
    ey yo i need updates.. NOW!
    As you wish. NOW!

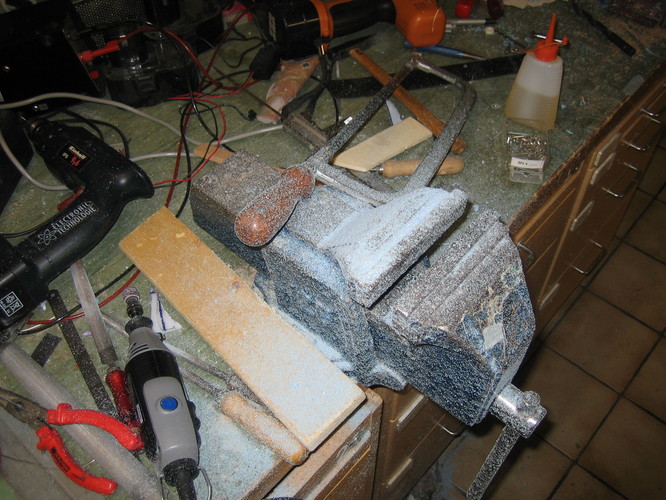
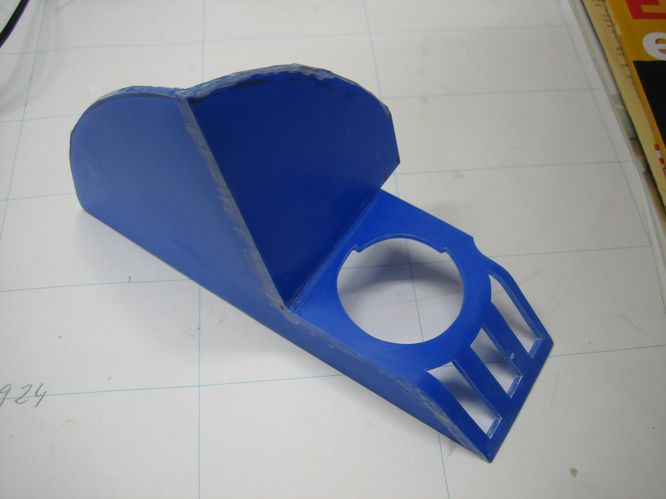
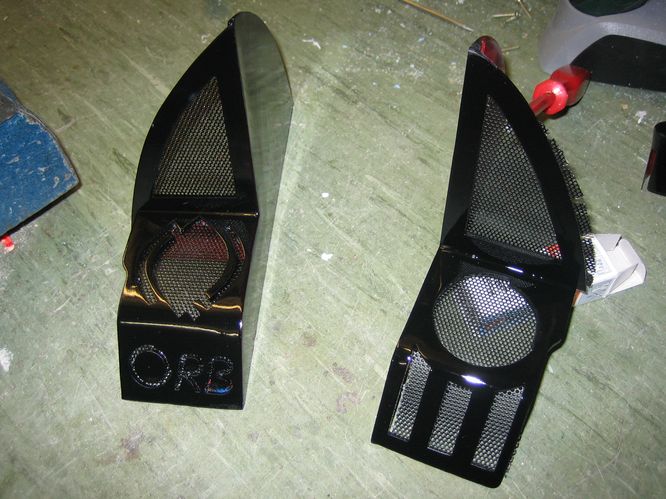
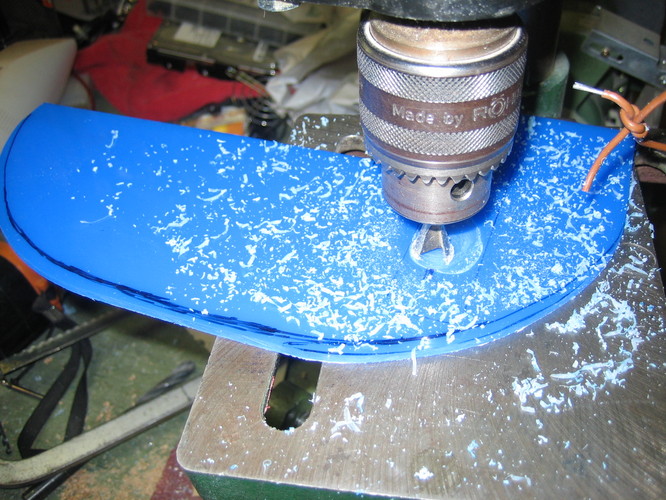
    I only had some small childish dremel-like tool, so it was time to buy a real one. With that new toy I started building the fake reservoires that will be on the back of the Orb (see the renderings on the first page).

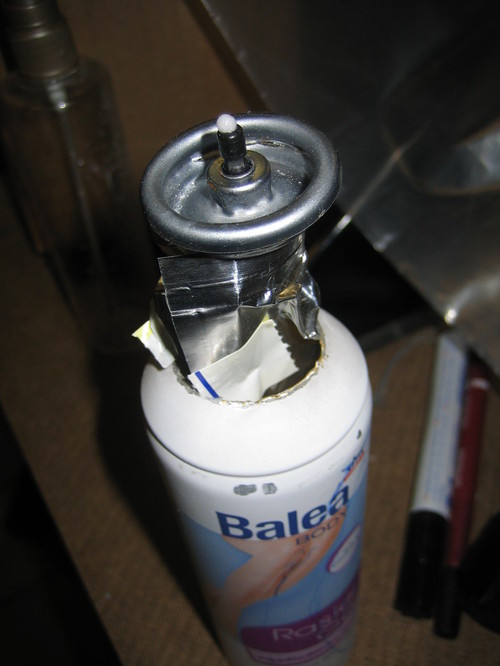
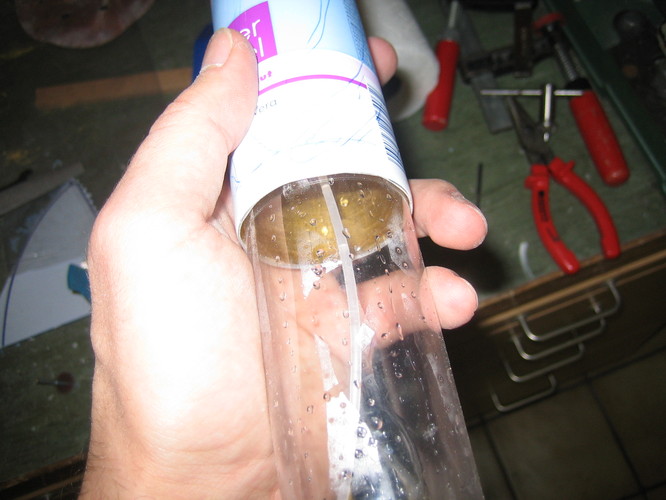
    I cut and sanded a can of shaving foam that perfectly fits the spray I mentioned some pages ago (both generously sponsored by my girlfriend )
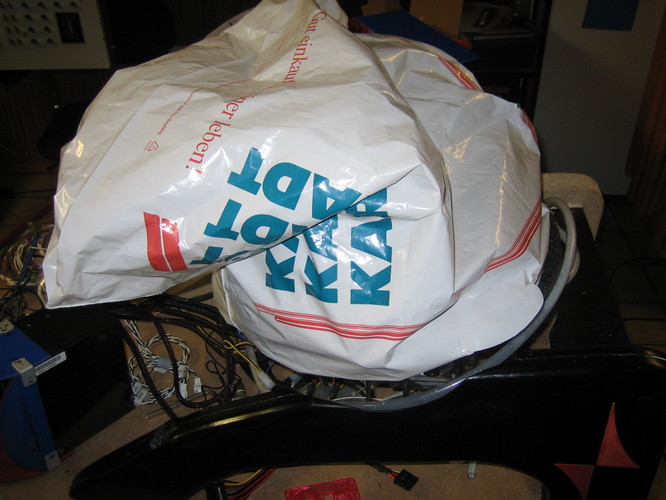
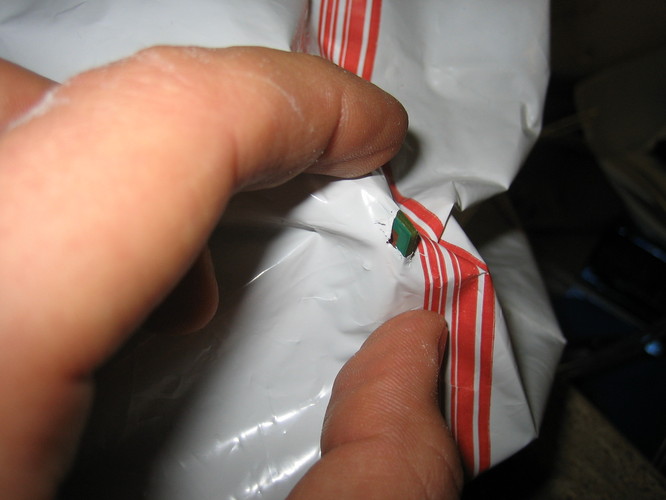
    Did you know there are bags inside these cans

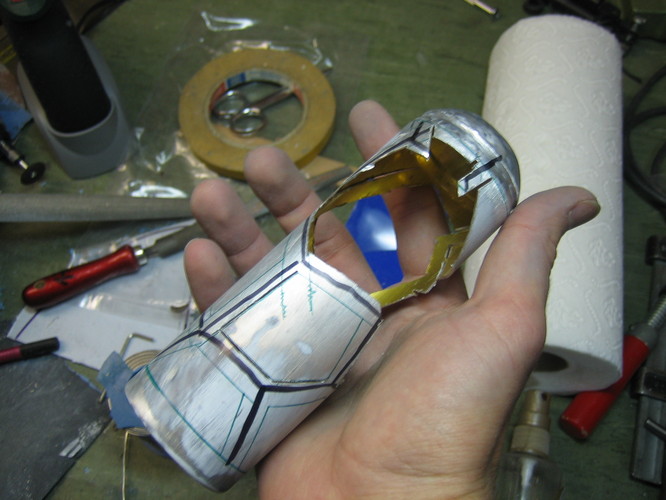
    Here you see how the spray fits inside the can:

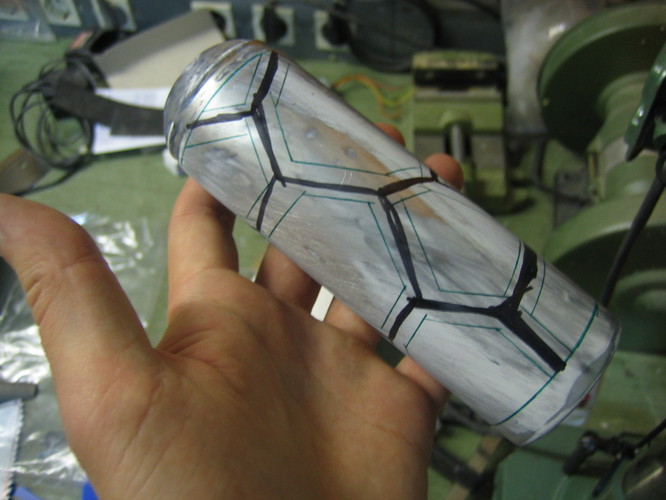
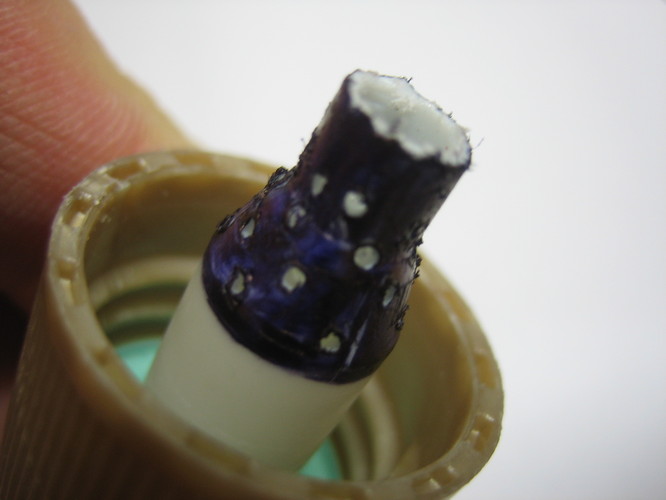
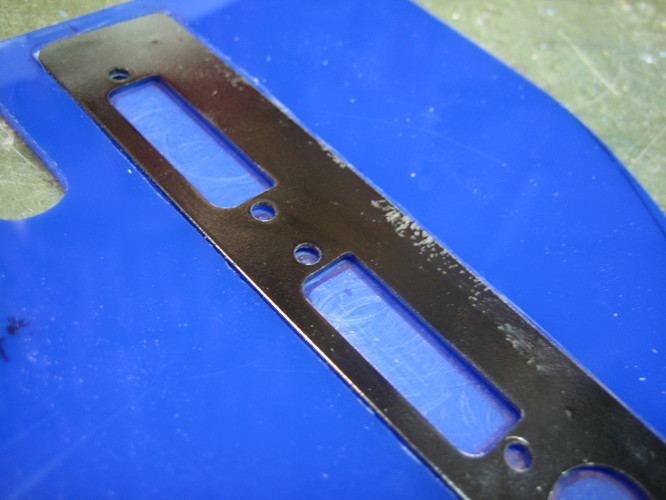
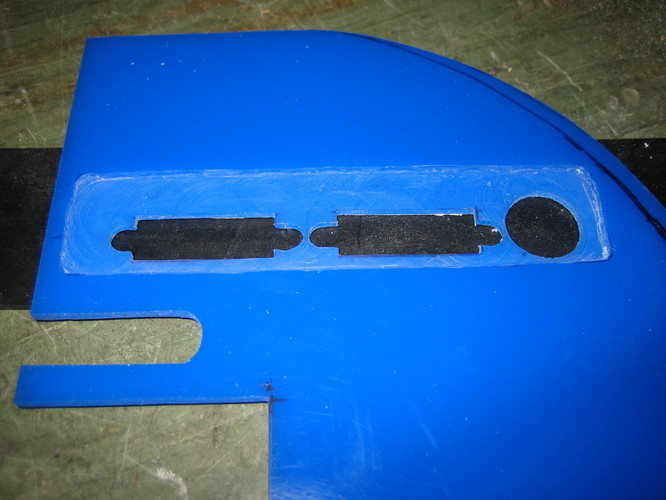
    Thats the can sanded and marked for cutting. The pattern is the same as it will be on the Orbs sphere. I cut a stripe of paper as a stencil to get all the bars in the same width.

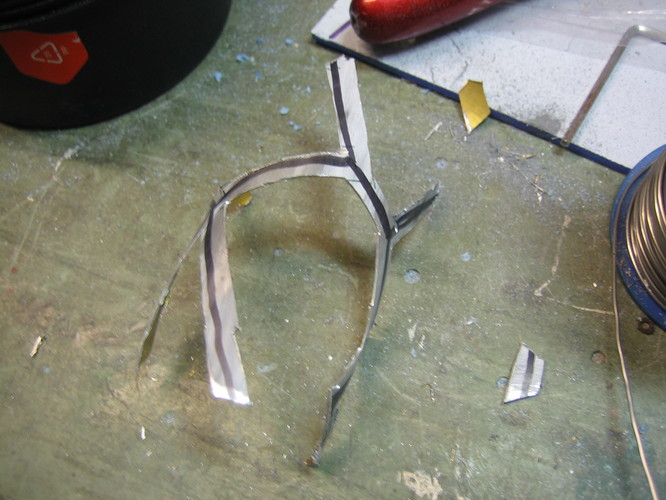
    First pieces cut out:

    Left over:

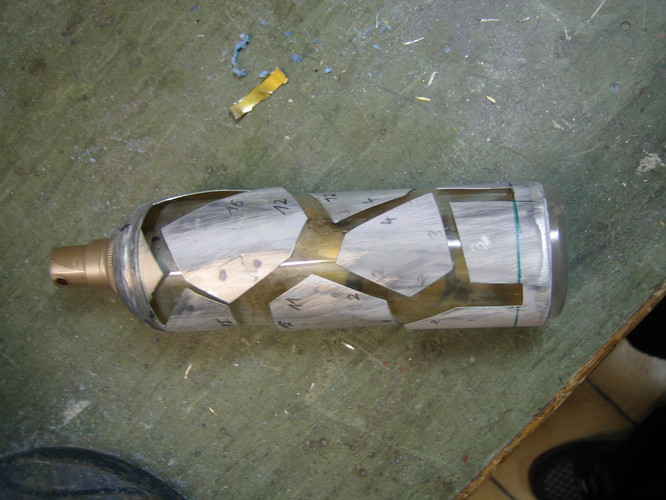
    Glued onto the spray so I don't mix up the pieces. The space between the pieces will be corrected of course.

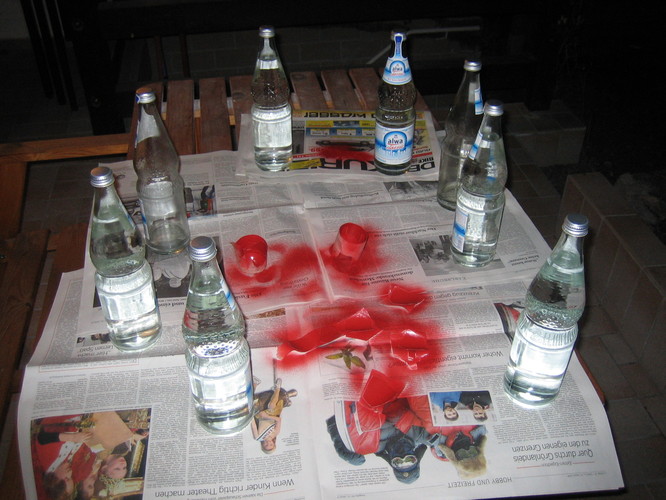
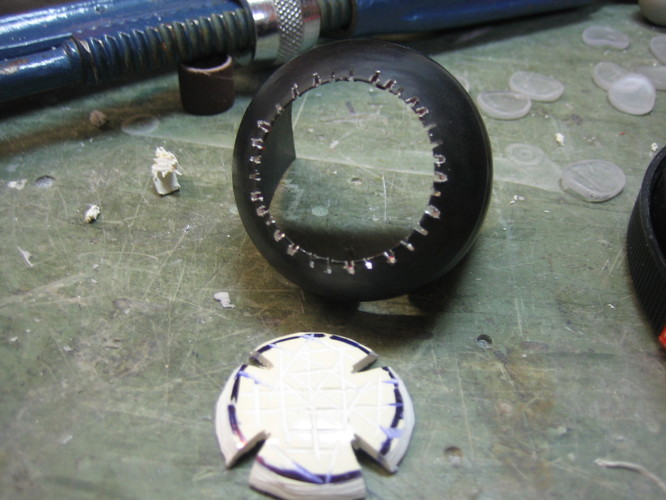
    And painting the pieces insides red. The outside will be black. It was quite windy, so I needed the bottles as weight for the paper.


    The next time I will paint the outside and glue the pieces onto the spray. I hope it will look good with one or two UV-Leds and the bubbling red glowing water. I the effect is satifying I will build a second one.
    My CaseCons:

    -=| The Orb |=- - - -=| CUBE 2 |=- - - -=| Reactor |=-

  2. #62
    Thinks spherical |NQ|Squelsh's Avatar
    Join Date
    Nov 2006
    Location
    Baden-Würtemberg, Germany
    Posts
    341

    Default Re: The Orb

    Not much, but at least a little update:

    Today I ordered my watercooling stuff. 
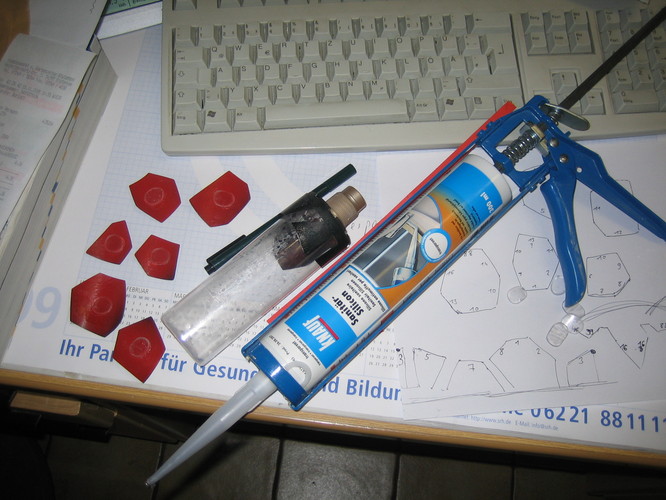
I hope it will arrive soon.
    I continued with the inner housing a little but the progress is not worth any pics

    Back to the reservoir:
    I cut out some spacers and bent them with hot air. They are needed because the inner reservoir has slightly smaller diameter than the can.

    The drawing you see are the outlines of the parts with IDs. I made a map of the layout, so I dont have to puzzle later. I need this, because I now painted both sides of the parts and so the numbers on the pieces are wiped out.


    This thing here is the modified pump from the shampoo bottle. I removed any mechanics and perforated the outlet so it will hopefully produce many small bubbles.


    I needed caps for the can. So this old MS Mouse was my dremel-victim:


    For better grip I cut the can and the cap:


    Can+Cap+Bondo:


    Those are the spacers glued onto the can pieces with some silicone:

    I will also use the silicone to glue the pieces onto the bottle.

    I still have to make the bottom with the air-inlet and the UV-LEDs. And I still haven't found some UV-active red water-additive... Links are verry welcome!

    Well, thats all for today. Hope to have some news on the weekend.
    My CaseCons:

    -=| The Orb |=- - - -=| CUBE 2 |=- - - -=| Reactor |=-

  3. #63
    Thinks spherical |NQ|Squelsh's Avatar
    Join Date
    Nov 2006
    Location
    Baden-Würtemberg, Germany
    Posts
    341

    Default Re: The Orb

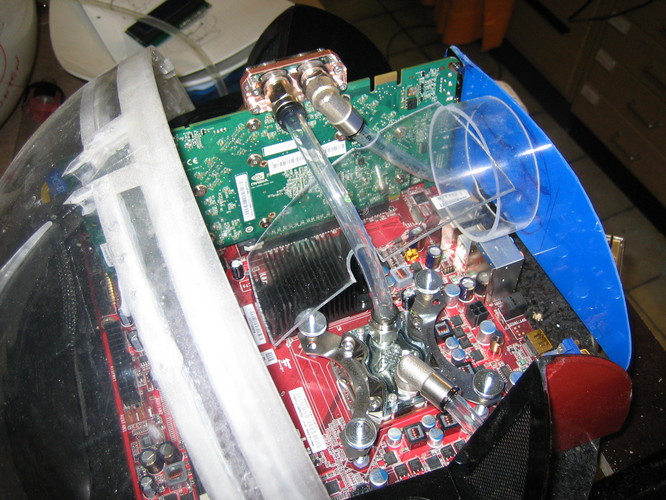
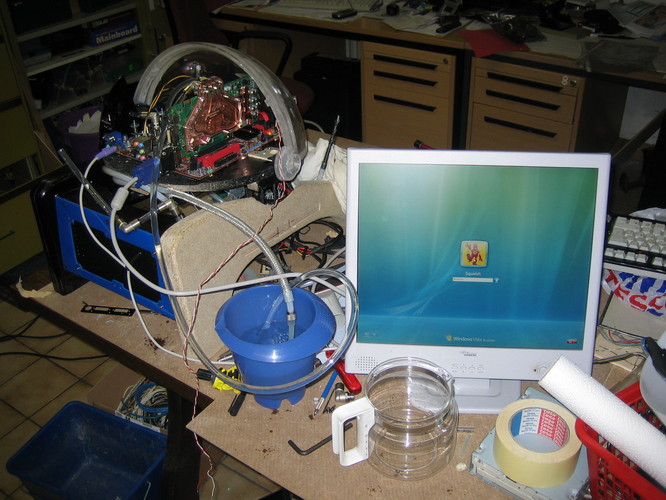
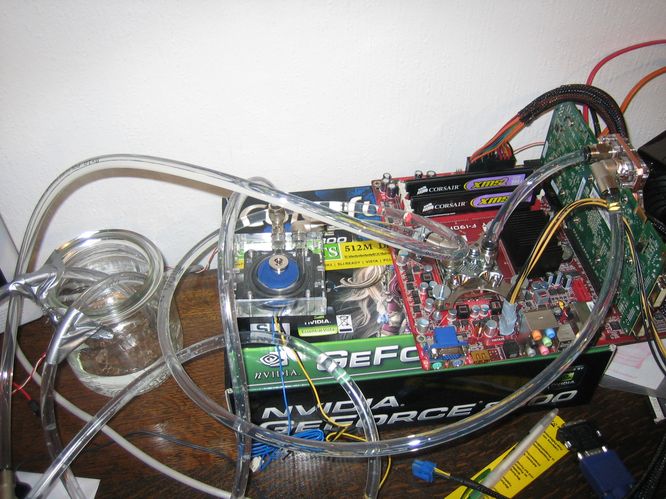
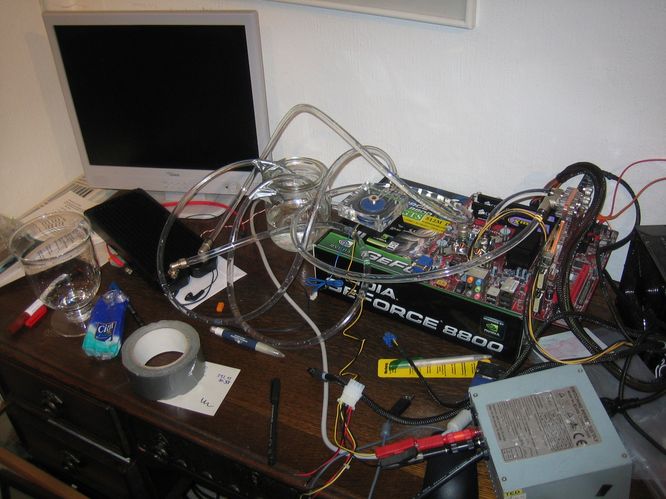
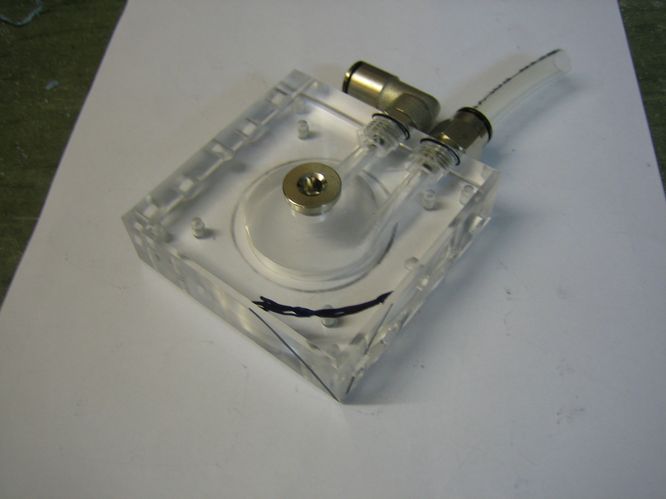
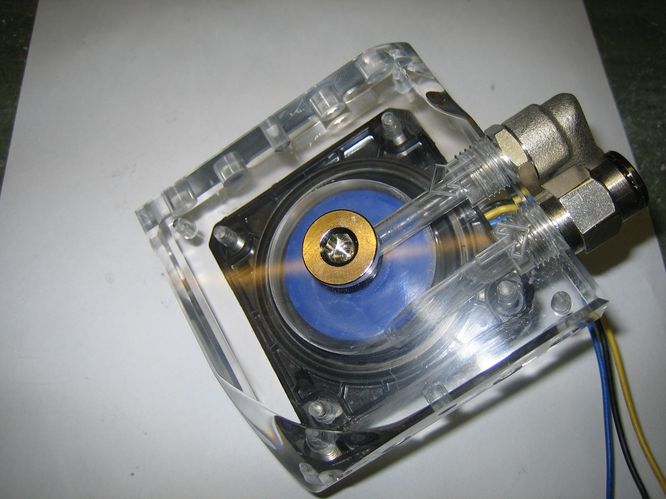
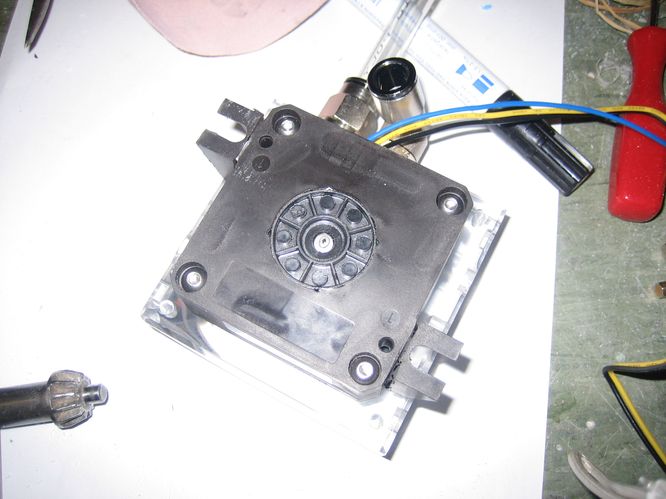
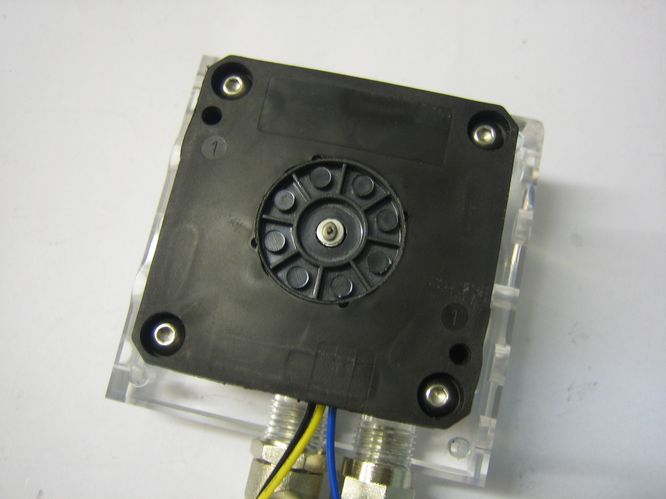
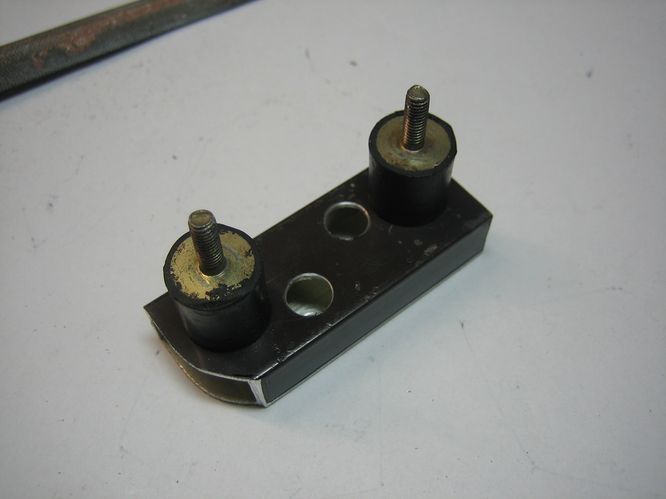
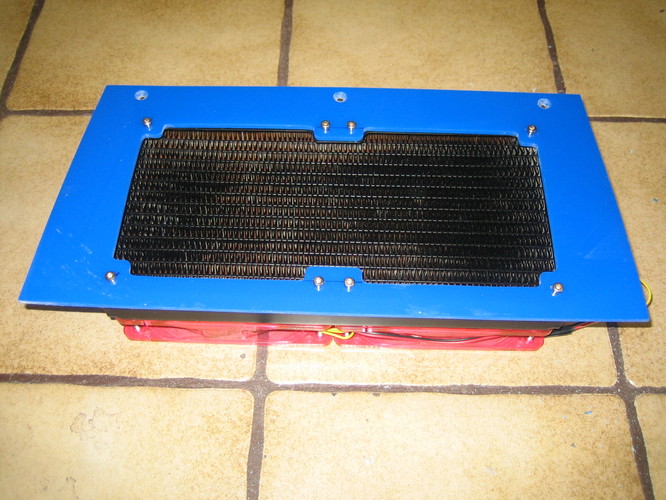
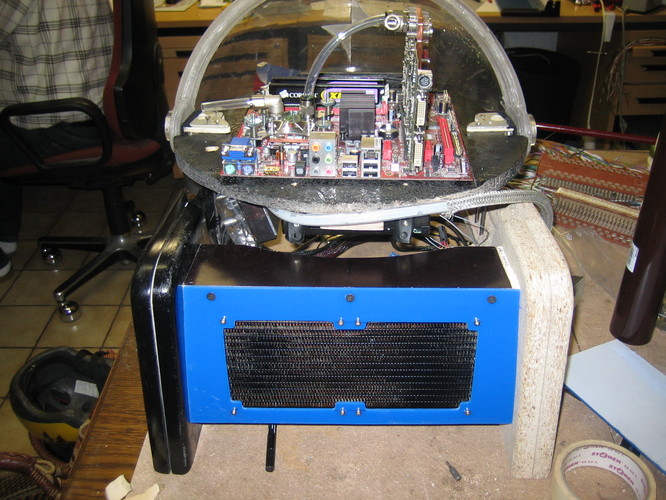
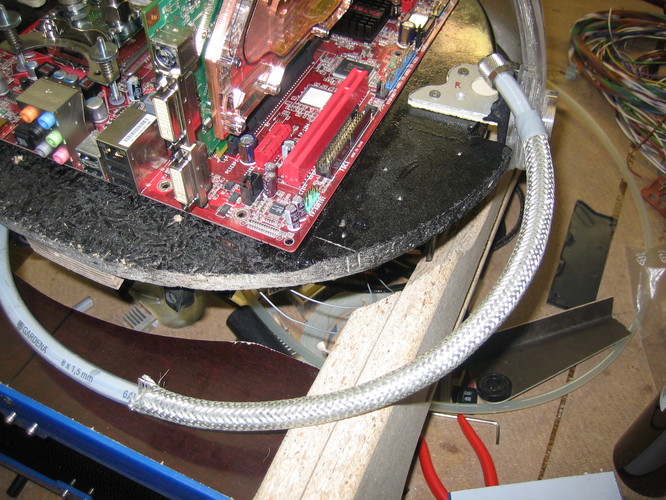
    My watercooling stuff from AquaComputer arrived!


    I had a lot of fun disassembling my 8800 GTS. I read the manual too late
    It says that one should keep the heat-conductivity-pads on the voltage regulators. I read this when the new cooler was already on the card 
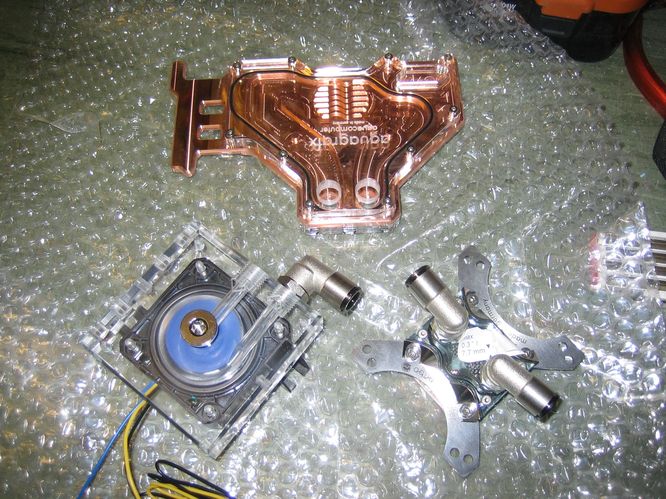
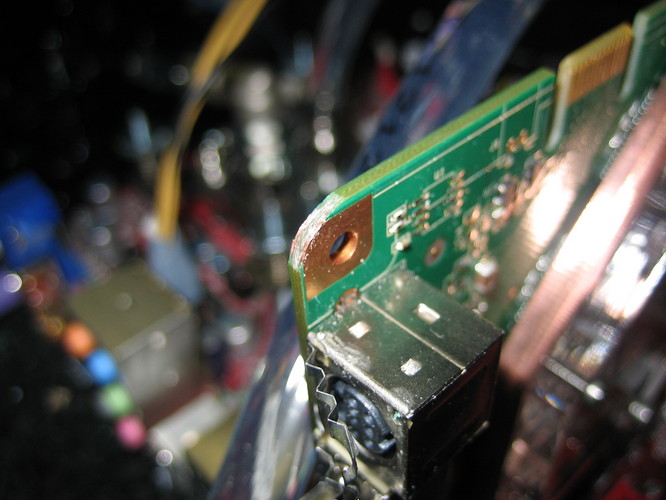
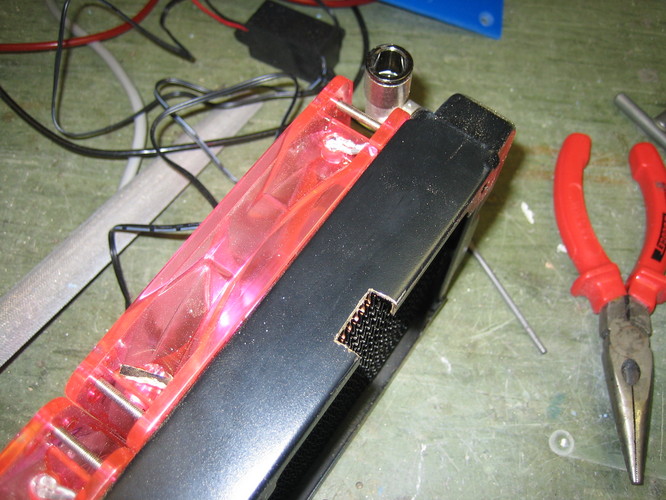
When I removed it again, I could see why: The space between cooler and transistors is too big to be filled by thermal paste.

    I removed the cooler again, put back the pads and now I have to monitor the cooling performance.

    But off course the first thing I tested, was if the cooler fits into the sphere!

    I does

    Finally two pics of my test setup:


    I wasn't sure which pump to buy. But I think I chose the right one: It's the most basic Laing pump (DDC-1T) with an Watercool DDC-Case on top. This pump is amazing! In my previous machines I used Eheim pumps. They were bigger, louder and had less throughput than this little thing. You can berely hear it and the throughput impresses me.

    I also made progress with the inner housing but I could not take pics, since the glue wans't hard enough to move the parts...

    See you soon!
    My CaseCons:

    -=| The Orb |=- - - -=| CUBE 2 |=- - - -=| Reactor |=-

  4. #64
    Thinks spherical |NQ|Squelsh's Avatar
    Join Date
    Nov 2006
    Location
    Baden-Würtemberg, Germany
    Posts
    341

    Default Re: The Orb

    What a nice weekend. I was only modding and eating (and set up a new Linux NAS)
    So, here are 12 new pictures for you:

    After some hours of intensive Crysis gaming I disasembled my rig and started to transfer the WC hardware into the Orb.

    First of all, here is the second inner housing. I already sanded the bondo and it's ready for painting.

    As you can see, I used a more simple pattern on the right side.


    But: One little detail is missing: A hole in the side for the tube.
    That is added right here:


    So far so good. I turned the base upside down and continued with the pump. I have no idea, why the DCC-Case is so much bigger than the pump itself. It needed some filing on two corners so it fitted nicely next to the harddrive.
    Before:

    After (Topmost and lowest corner vanished):

    Also the mountings had to go:

    I tapped the two holes and use them to fix the pump.


    This is the mounting for the pump. It's made of an aluminium profile and two vibration absorbers. The corners are rounded to save space.

    On top of the absorbers comes a bent sheet of aluminium that holds the pump. I had to mount the pump in an angle of about 15deg so it fits inside the sphere.


    The tube coming from above is connected directly to the outlet of the pump. The tubes are not final yet, of course the will be straighted.


    Well, thats the first part. Next step will be the mounting of the radiator.

    Again I have no pics of the fake reservoires I am working on I had to redo the paintjob because I used the wrong tape to mask the outside while painting the inside. The tape was so agressive that it destroyed the paint

    (I am not good in writing worklogs, so if I forgot things that are obvious to me but that can't be known by a reader, please leave a comment. Of course I will be happy on any commets


    So long,

    Squelsh
    My CaseCons:

    -=| The Orb |=- - - -=| CUBE 2 |=- - - -=| Reactor |=-

  5. #65
    Thinks spherical |NQ|Squelsh's Avatar
    Join Date
    Nov 2006
    Location
    Baden-Würtemberg, Germany
    Posts
    341

    Default Re: The Orb

    Thanx a lot!

    @Pope: The air will have to search its own way 
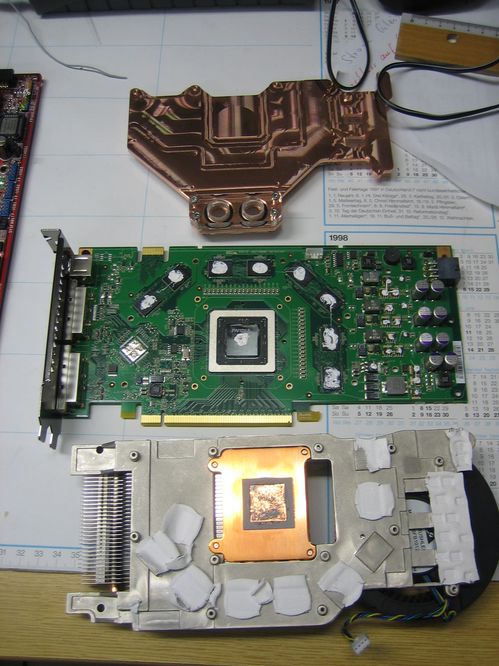
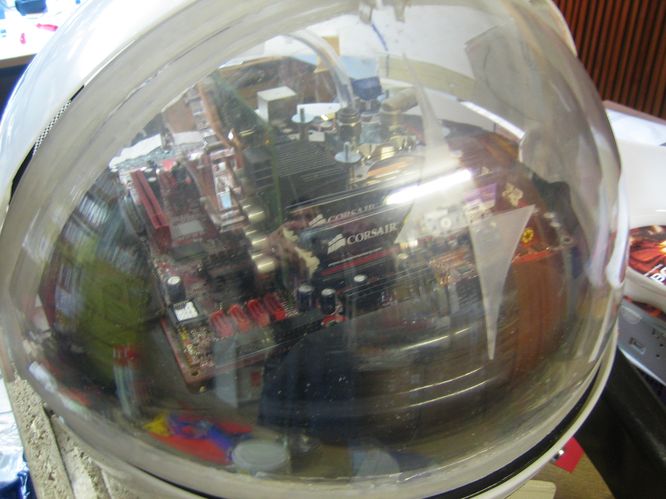
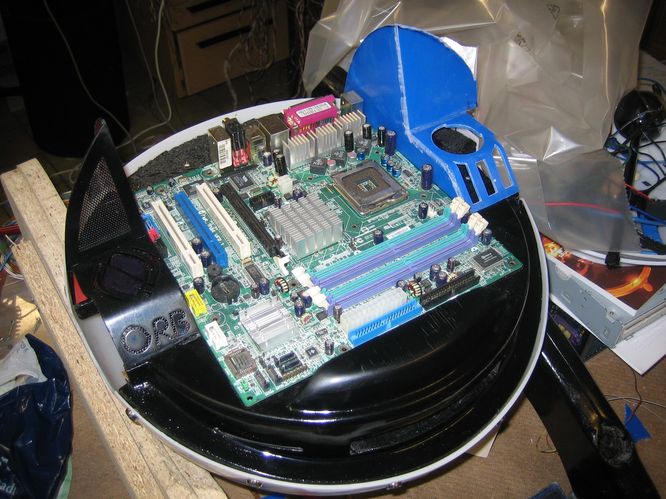
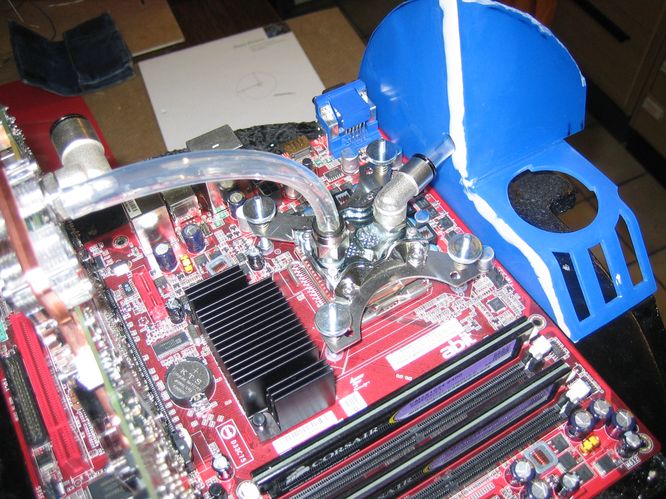
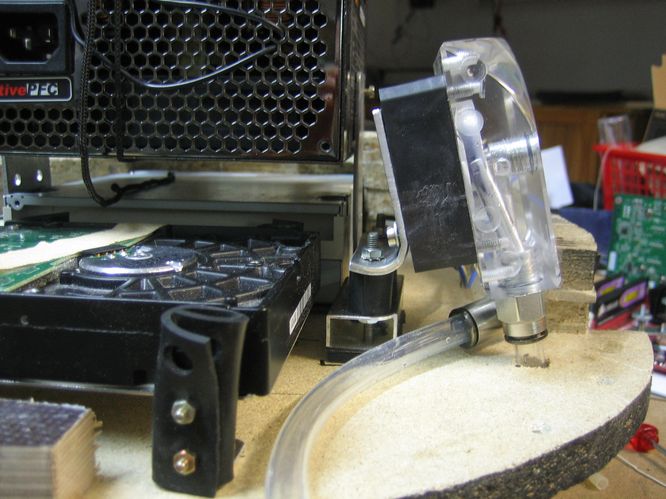
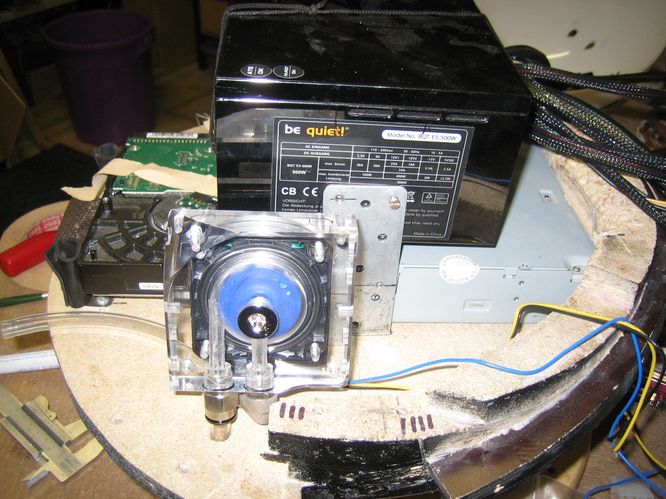
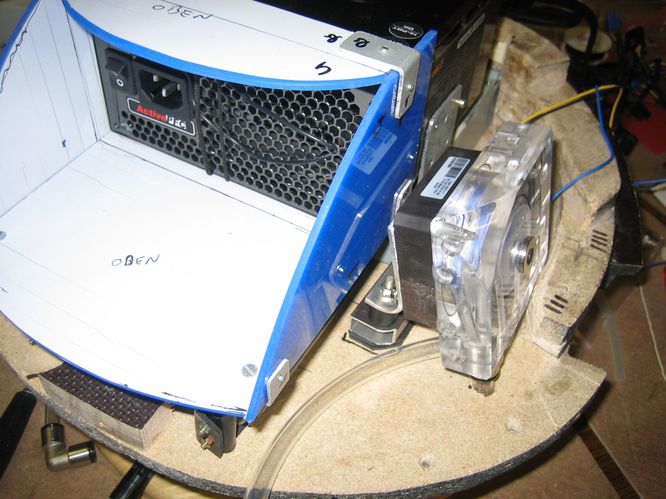
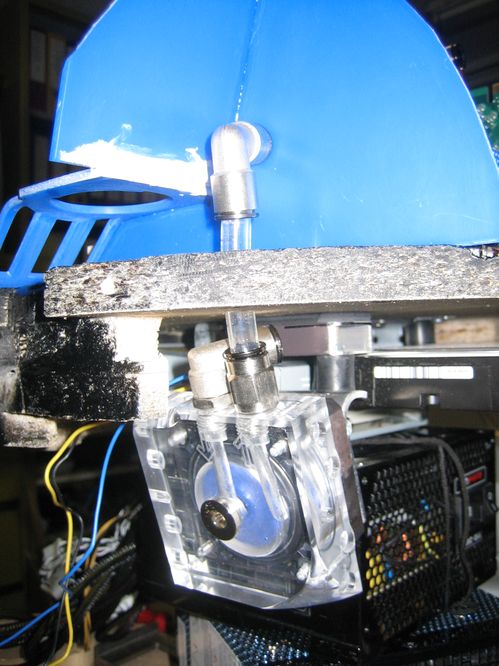
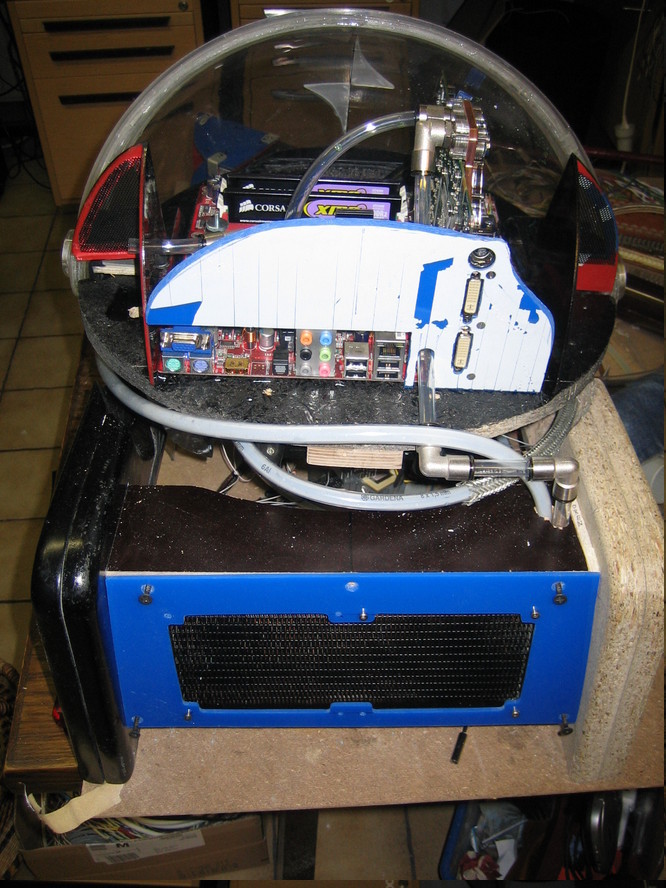
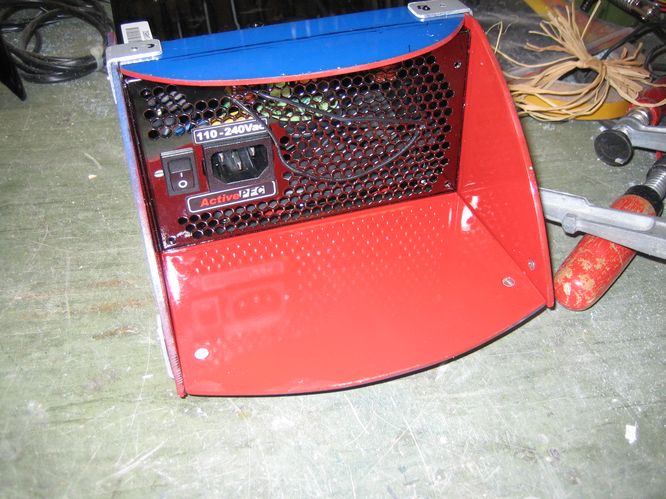
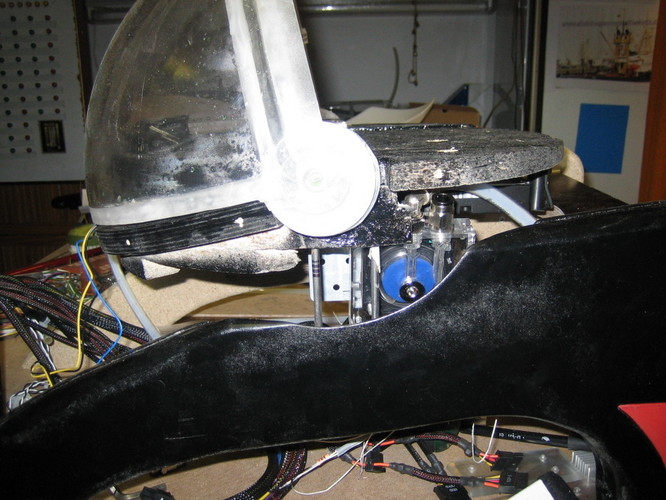
No, seriously, I hope the airflow will not be a problem because the hardware in the lower hemisphere does not produce much heat. The harddisk is rather warm then hot, the DVD-drive and the pump don't get warm. I hope its the same with the controllers for the light and motor effects...
    I visualized the airflow in my first post on the hand-drawing. But the components are now built in in a different configuration. I think I will add two sheets of plastic on the left and right of the harddrive, so the PSU sucks the air through the gap between baseplate and harddrive.
    In the upper hemisphere will be a 8cm fan in the back to cool the motherboard. I am thinking about making a special fan duct for it so it especially cooles the northbridge which gets pretty hot. The air can exit the sphere through the gap between the visor and the rest of the sphere.
    But I will have to figure all that out when the system runs, so I can find the critical spots.
    Oh, and the radiator will be cooled by 2 red glowing 12cm fans.

    @Froop: Hehe, the HDD is not upside down. On those pics the whole baseplate is upside down The HDD and all the other parts hang down from the baseplate when the Orb stands on its feet.

    BTW: I am still searching for red coolant additive and a red glowing 8cm fan Any hints?
    My CaseCons:

    -=| The Orb |=- - - -=| CUBE 2 |=- - - -=| Reactor |=-

  6. #66
    Thinks spherical |NQ|Squelsh's Avatar
    Join Date
    Nov 2006
    Location
    Baden-Würtemberg, Germany
    Posts
    341

    Default Re: The Orb

    Thanx a lot Matt! I found a German reseller who has the Revoltec fans!
    Hehe, Pope, nice one

    I dont have much time, so there are onky three pics of my progress today.

    I started to build the second foot:


    And painted the inner housing red and black and added a clear coat. Nice and shiny:


    And last but not least the air-duct for the PSU in red:


    More to come soon: It's semester break
    My CaseCons:

    -=| The Orb |=- - - -=| CUBE 2 |=- - - -=| Reactor |=-

  7. #67
    Thinks spherical |NQ|Squelsh's Avatar
    Join Date
    Nov 2006
    Location
    Baden-Würtemberg, Germany
    Posts
    341

    Default Re: The Orb

    Hey Wecrookie! Thanx for those links. Perhaps I expect too much from those chemicals (: But te stuff I am looking for is red under normal light and glows red under UV light.
    I read the article on BT and it says that the Blood Red does not do a good job as a coolant... Is it UV-active? I guess no
    The additive by Feeser glows in red under UV-light but is clear in normal ligt
    And all those manufacturers tell you not to mix the stuff with other chemicals (eg red ink) Suxx. But I still think I will try Feeser red with some red ink.


    Well, yesterday my fans arrived and I made two nice discoverys:
    1. Pink fans can really turn red, when they are illuminated.

    2. They can produce really nice wave effects:

    You may guess how I did that

    Today I worked on an enforcement to the feet which will also be the support for the radiator. It was quite annoying till I had that piece of wood fitting because the feet are tilted in two ways.


    It's simply srewed to the inner layer of the feet so the screws are not visible from outside.

    I also made this funny skeleton shot from the Orb without it's hull.


    Oh, and I did a final test of my Laing pump with all components connected. The throughput still impresses me. Here is a vid and a still from the kitchen:


    See you,
    Squelsh
    My CaseCons:

    -=| The Orb |=- - - -=| CUBE 2 |=- - - -=| Reactor |=-

  8. #68
    Thinks spherical |NQ|Squelsh's Avatar
    Join Date
    Nov 2006
    Location
    Baden-Würtemberg, Germany
    Posts
    341

    Default Re: The Orb

    Thanx a lot p0Pe!

    Here are two shots of the radiator mount I did yesterday:


    Of course I gonna paint it black.

    And here is a metal sleeve I found. I think it will be a nice addon to the tubes that come out of the visor.
    My CaseCons:

    -=| The Orb |=- - - -=| CUBE 2 |=- - - -=| Reactor |=-

  9. #69
    Thinks spherical |NQ|Squelsh's Avatar
    Join Date
    Nov 2006
    Location
    Baden-Würtemberg, Germany
    Posts
    341

    Default Re: The Orb

    The German CaseMod Competition comes closer... So here is the next update:

    I started to Dremel the radiator a little, so I can add glowire later. This was a thrilling because the ducts inside are easy to damage:


    The GF8800 bracket was resized:


    It's needed in the backplate, because the plate itself is too thick for the DVI-connectors. I would have needed to make holes as big as the connectors and not only the size of the pins.
    With a milling bit in the drill press I carved out the space:


    Perfect fit:


    With holes:


    After that, I had to fit the backplate inside the sphere. That was hell of a work. I could only do it by trial and error. Putting the plate in place, marking the material and dremeling it away. Then test-fit it again and again. That left lots of electrostatic loaded sawdust which was EVERYWHERE :


    One more critical operation: Cut of one corner of my GeForce
    I didn't want to remove the MoBo and GFX card, so I simply covered the Orb under a plastic bag and made a whole for the corner to cut of:


    I still hope I did not cut away any circuits inside the board. From outside there were no circuits to be seen

    The last thing I did was the planing for the ventilation in the upper hemisphere. For that I cut out a piece of acrylic sphere and an acrylic pipe.
    Those will be mounted over the motherboard kinda like that:

    There will be a fan behind that pipe and the pieces will lead the airflow over the northbridge.

    I also made the first mounting piece for the pipe in a way I saw somewhere on TBCS. Simply by wrapping sanding paper around the tube and using that to carv the mounting:


    Last picture: Some tubing in the back section:


    Well, I did all this two days ago. And when I now look at the backplate, I really think I will redo it. Perhaps from aluminium. Because the plastic will not be stable enough when I add the holes for the fan. It's already instable at the place where the GFX bracket sits....

    (Wow, lots of text this time )
    My CaseCons:

    -=| The Orb |=- - - -=| CUBE 2 |=- - - -=| Reactor |=-

  10. #70
    Thinks spherical |NQ|Squelsh's Avatar
    Join Date
    Nov 2006
    Location
    Baden-Würtemberg, Germany
    Posts
    341

    Default Re: The Orb

    Yesterday was the day of redoing things:

    After I messed up the air-duct for the northbridge while trying to bend it (got welled up)...


    ..., I came up with a new idea: Use the same sort of pipe I wanted to use earlier as a spacer, but this time use it also for the air duct. The result after a lot of filing and sanding looked like a cockpit window:


    As the fans mounting looked quite ugly with this new duct, I transfered the fan from its original case into the plexiglas spacer. It almost fitted on the first try. I had to shorten the blades about 1mm only. I glued it in while it was running, so I could center it easily.


    I will show you the final product of fan+duct in my next post (when the glue hardened).

    Well, I said "day of redoing". I also made a new version of the backplate. I proudly present: Backplate Version II


    It was less work than I had assumed. I could use the first version as a template and the green plastic I used is only 1,5mm thick so cutting it was a charm.

    But most important:
    This is the upper corner of my GF8800 512 after the operation from the last update:


    And, what gave me a big relief:

    It is still running fine

    Till next time,
    Squelsh
    My CaseCons:

    -=| The Orb |=- - - -=| CUBE 2 |=- - - -=| Reactor |=-

Posting Permissions

  • You may not post new threads
  • You may not post replies
  • You may not post attachments
  • You may not edit your posts
  •