


Here's a brief departure from my HTPC Project. I've run in to a bit of a problem recently - it's been so hot the last few weeks that, should I leave the AC off in my office, my server overheats and occasionally shuts down while I'm at work. Something needed to be done.
What I did was build a hard drive rack with twin 120mm fans out of scraps and spare parts. This is a project that doesn't require a lot of effort, and should be able to be accomplished in one evening (hence the title.) It technically took me two evenings, but that's mainly because of a planning "oopsie" that I made.
What you will need for this project are the following:
- Two CD drive housings
- Two 120mm Fans; one LED, one standard
- Sheet of 3mm styrene
- Aluminum angle stock
- fan screws
- Rubber fan grommets
- Gorilla glue and rivets
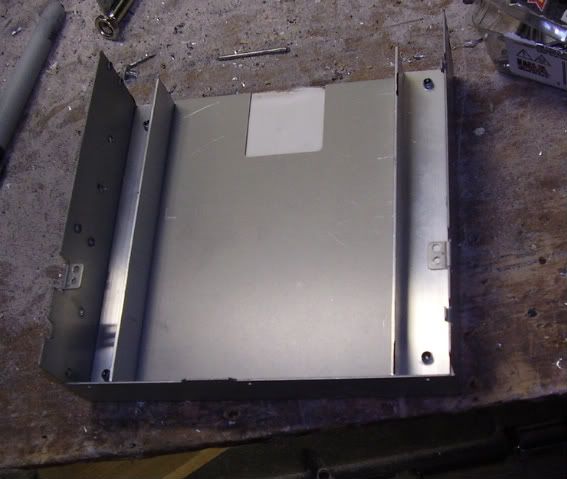
No picture, but I took apart two CD drives. I have a pile of old drives that I will never use again (since everthing is on DVDs these days anyway.) These will form the top and bottom of the cage.
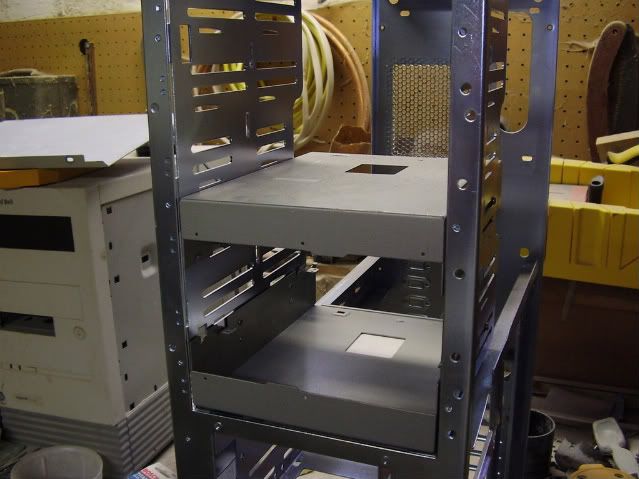
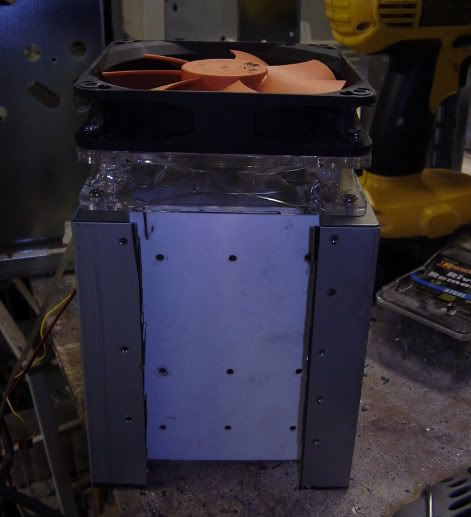
I have an old server case frame (the rest of the case is used in my HTPC mod) that I use as a test rack. It's great for making sure that test-fits work, etc. Therefore, I mounted the two housings in the frame:
This way, I could make sure that they were spaced properly to fit the three spare 5.25 bays that I have in my server case. The next step was to slide the two pieces back on their rails until I could fit the two fans in front, but still be flush with the front, like so:
A quick check to make sure that we're square and on I go...
...to the part where I screwed up and wasted time.
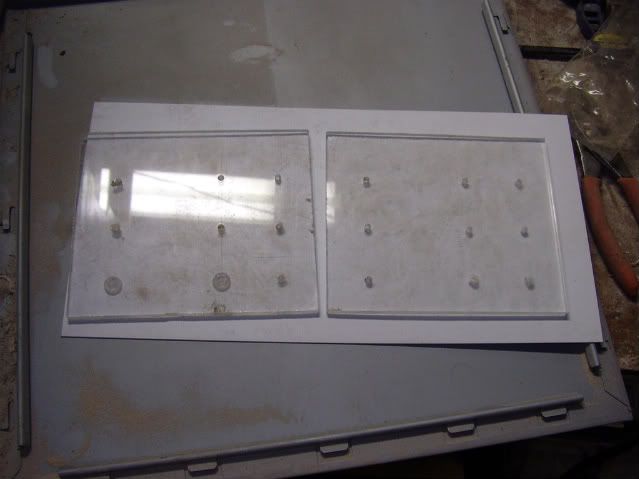
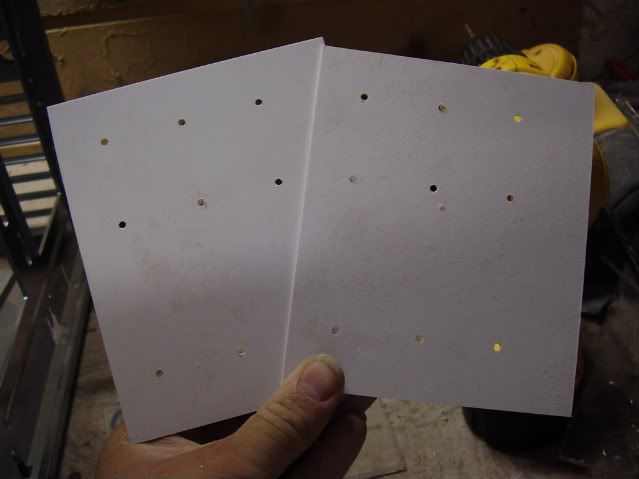
My brilliant plan was to cut the vertical pieces out of some plexi and mark out the holes for the mounting screws.
Here I used another cage to mark it out, and here it is:
Well, once I drilled them out and started working with it, I realized that i didn't have any screws long enough to make it through the plexi to the drives. Doh.
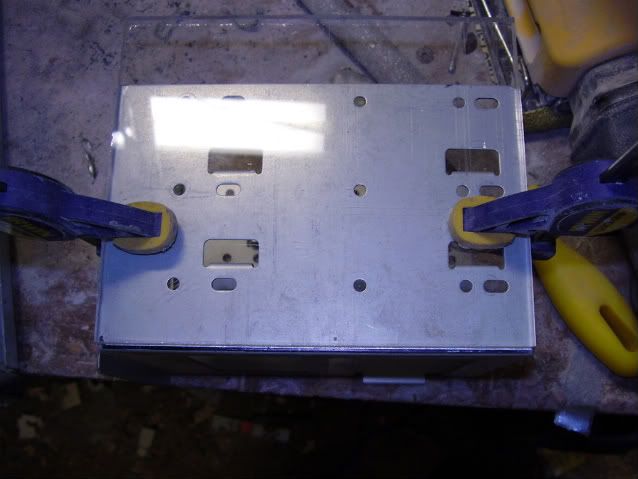
Thankfully, I had some 3mm styrene handy...so I pretty much just copied the pieces over. (Unfortunately, this wasted a lot of time.)
Test fit with the drives to make sure that the holes lined up:
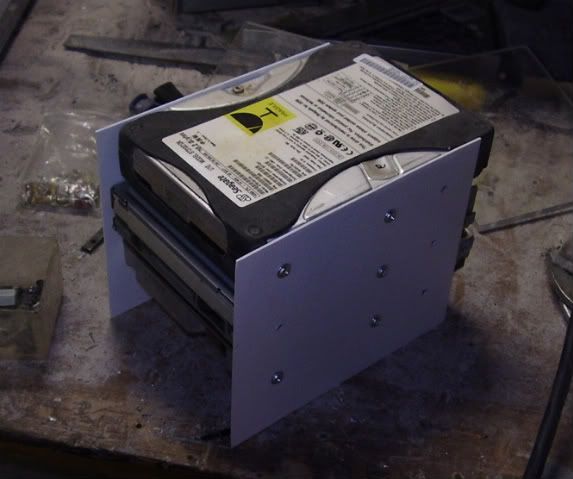
The next step was to cut some aluminum angle stock. I swear, next to pop rivets, this stuff is my favorite supply for modding. I love it.
This was attached to the styrene and the housings with a combination of gorilla glue and pop-rivets. Please note that G-glue does a passable job with metal, but is not very load-bearing.
Afterwards, I needed to trim down the housing pieces so that I can access the screws when the drives come in and out. That was a simple matter of trimming it with my trusty Dremmel.
Here, I appologize, but my camera went wonky and I lost a few pics. Thankfully, it was just a matter of drilling holes for the fans, widening them to a 1/4" and popping in the rubber grommets. That accomplished, and we have this:
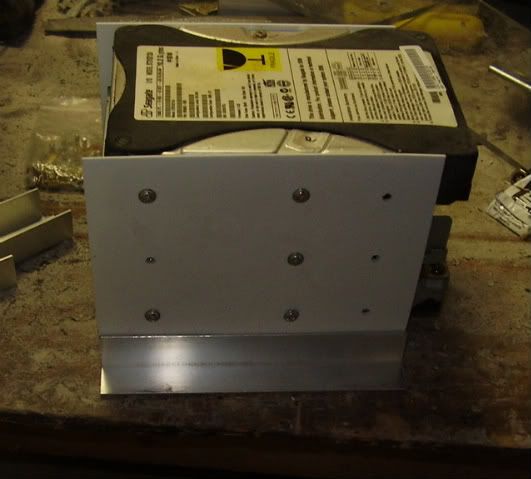
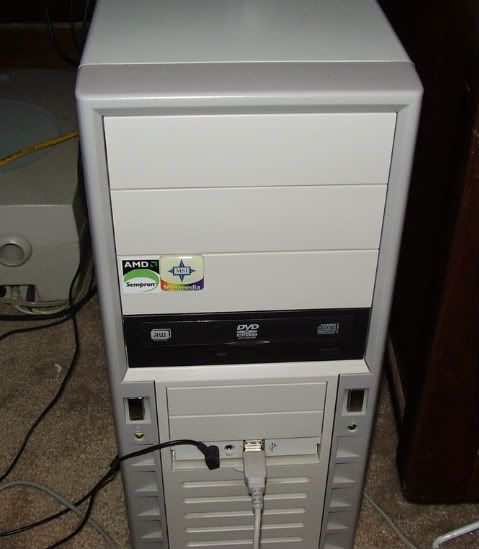
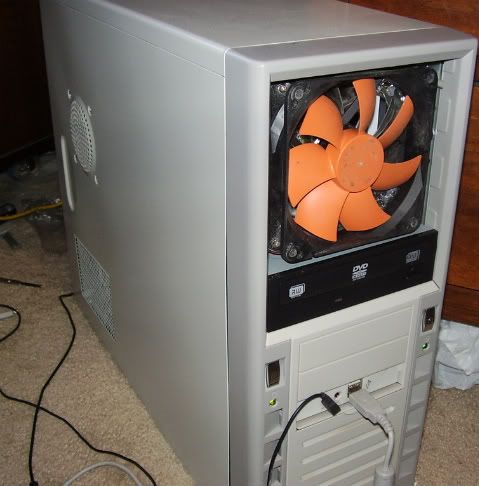
Okay, we're cranking now. Here is the patient:
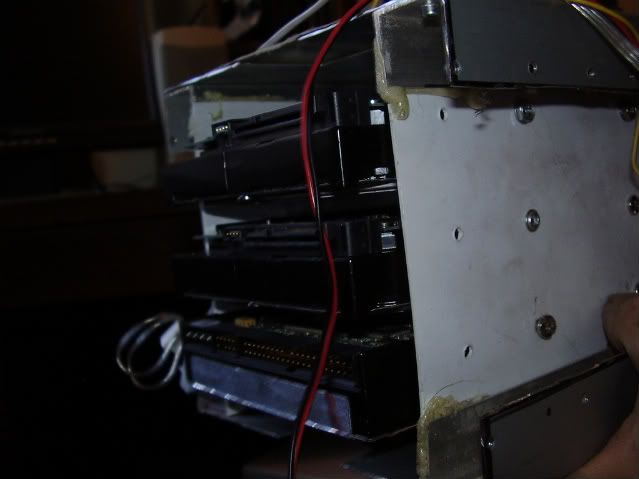
Drives in, and a test fit:
Everything fits, everything seems ready to go.
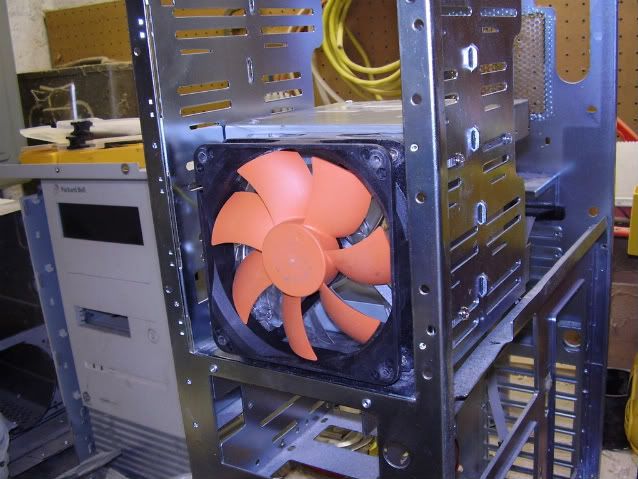
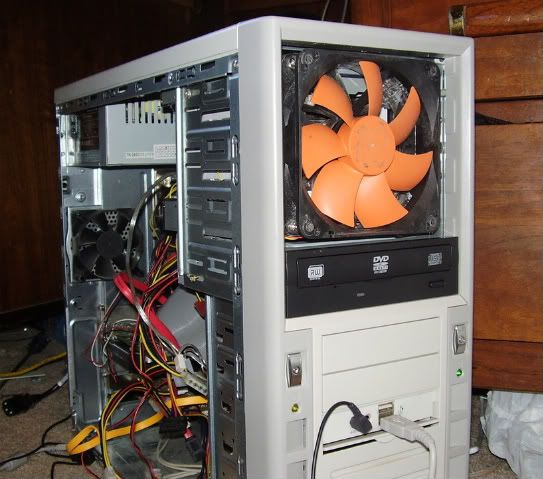
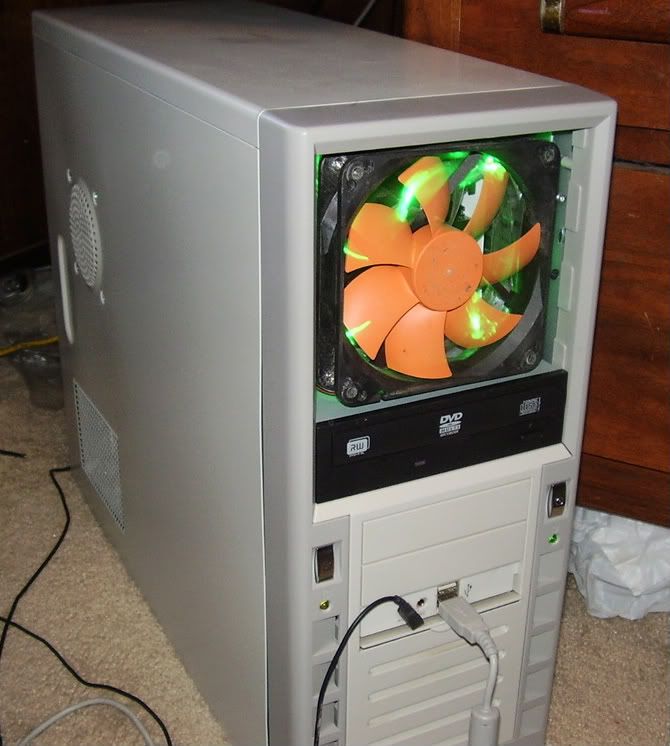
Here's the big test: The power button. Here, it's either going to work, or everything is going to go FZZZZT.
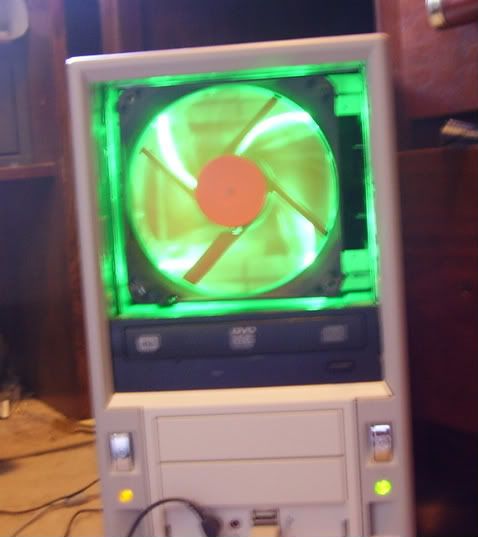
Guess what - it works. Here's another shot with the flash off. Again, I appologize - it appears that without the flash, my camera doesn't like to focus on moving objects like fans. I took four pics. They all looked like this:
So there you have it: Quick and dirty, and one evening of work. The main differences with mine over the commercial version are that A.) It fits two fans flush with the case so that it's ready for the popular turbine mod, and B.) I built it. (The second one is the important one, because it's why we do what we do.)
At some point I will do the cosmetic work on the outside, but that may wait until my planned server case build that I probably won't get to until the winter.
Thanks for stopping by!


 Reply With Quote


