Thanks mate. Not really, just a small part of it is brittle lol. There's no "neat" for Paperazzi haha.
I just filed 4 small curves at the sides to make way for the rivets on the chasis. Sprayed black + brown on the back and didn't go all in on it to give it a semi-translucent look to isolate the fan's lights or the shapes won't show well if its transparent.
Not too shiny
So thats it. Paperazzi's officially done. Pix of the final build tomorrow. Too dark to take any pix right now. TIME TO CLEAN DA ROOOOOOOOOOM... meh..
Hahaha.. I'll be back real soon. But how soon depends on when I get a new job cos I can't afford even a new casing to cut right now.
Btw. Still remember this guy in AA?
He's got a not-so-new friend next door
Alrite mates. Final pictures of all the angles (except the backpanel cos there's nothing to see at all heheh.
Right:
Left:
Top
Front:
My custom 120mm fan grill
Not good at tidying cables at all
My boss says hi, with his ass
One thing left to do
Thats all. Hope you enjoy the show
Link To Original Worklog
Last edited by jdbnsn; 07-25-2008 at 11:19 PM.
So far..
Someone suggested owl claws which i think will do.. will do...
p/s: i voted for Deuce on BTN
Some minor updates on the keyboard. This has definitely got to be the most fragile and hardest thing to work with for this project. Not really done with them claws yet, just need them to harden first. Need to get another one up.
Some 1/2 mold for the top of the keyboard
I take a look into the small bucket next to it and... GOD.. THE KEYS!!! @_@ Basically gonna cover all the keys as I don't have to look at them eheheh. Estimate completion should be by next Friday plus the paintjob. Just an estimate if nothing came up that requires me to run around town.
Finished layering the whole thing. 1 key is missing. The "\" key, gonna have to mod the sides of the keyboard by the looks of it. I've never used the Pause/Break key before so I'm gonna take that key.
This is scary
I feel like making sushi or something while working on them
Blurry. The bottom-left corner
Not goin to disclose any pix of the frame right now as its still in progress.
Here we go again...
How it looks like after finalizing every side, about 4 hours ago. I keep the right side kinda plain as I'm a right hander (mouse?). Its not really as fun as the case itself as the thing have like "Handle With Care" stamped all over it. And not a big space for me to explore and turn it into a freak.
After a heavy dose of gripping glue on the keys and the board itself, prep it for paint. Masking tape.
I just did a dual layer black+brown like 2 hours ago. Brown's not so obvious now but its dual-tone just like the case itself. First batch of buttons go first. Then one layer of black for the board. And after that another layer to give it the gloss, and immediately brown highlights for dual tone effect.
Thats it for the whole week + today. Imma highlight it further with brown tomorrow or the next day. And then some slime time (another slow moving process due to the keys =_= ) before 2 final layers of clear spray just like the case.
Now... I have been thinking will I ever finish with the full set. I feel like making a custom mouse pad for it now. Someone please enrol me in Paper-mache Anonymous.
Thanks mates. Its finally done.Originally Posted by DonT-FeaR
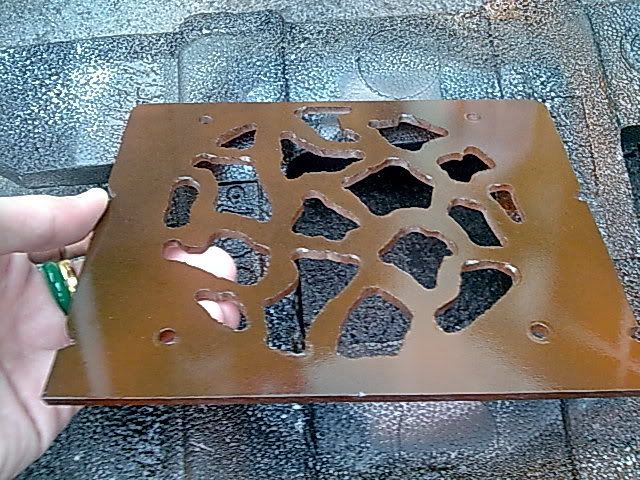
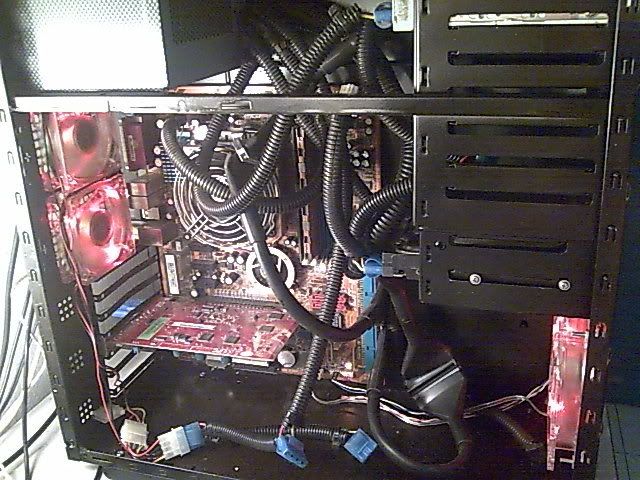
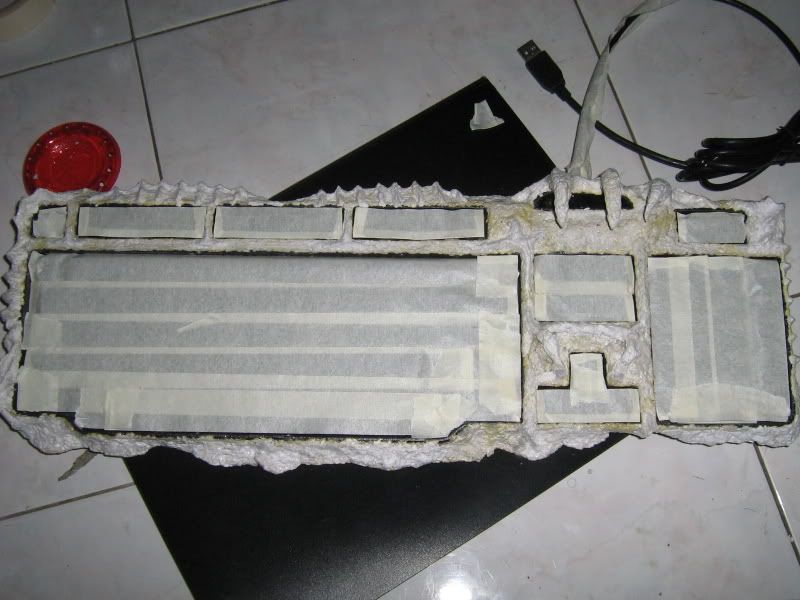
Got em ready early in the morning. I guess I beat the birdies to it. And then after couple of layers and clear coat...
Finds the purple to be extremely shiny. Although I thought of darkening the whole keyboard and touch up part of it with darker colors, decided not to. Instead of using brown this time, I tried red oxide and it stood out better as a "sticky mod". Then the more I look at it, the more I got used to it so heck, no redo for my "cute" barney keyboard.
I can probably rest my ciggs on the gaps :p
The home-del section.
What matters the most is.. it still works
From this
Into this
Nuh uh, not done yet. Now to move on to the mousepad. Yeah, this post is fully typed with my "new" letterless keyboard. Mwehehehehe.
I have no idea why I did this sketch of the mousepad for. I'll call it the M-oozepad for now. I have problems with conveying what is in my head onto paper and don't really wanna do any shadings or detailing for it. 
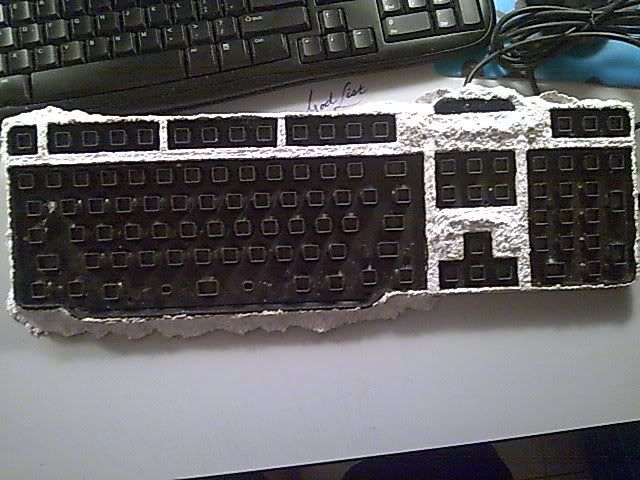
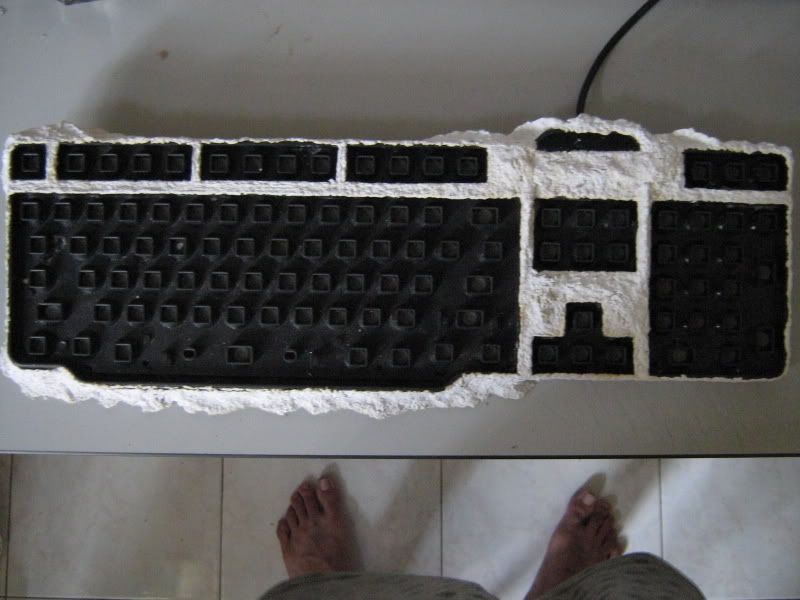
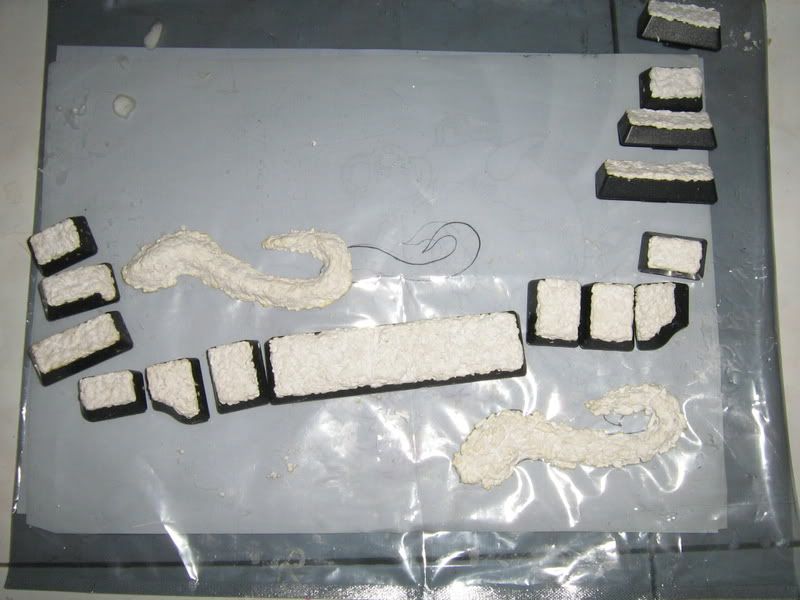
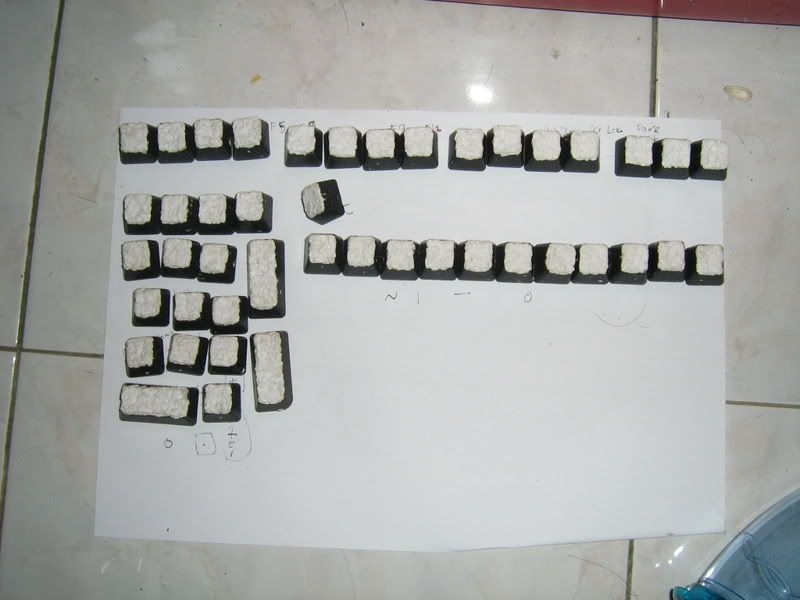
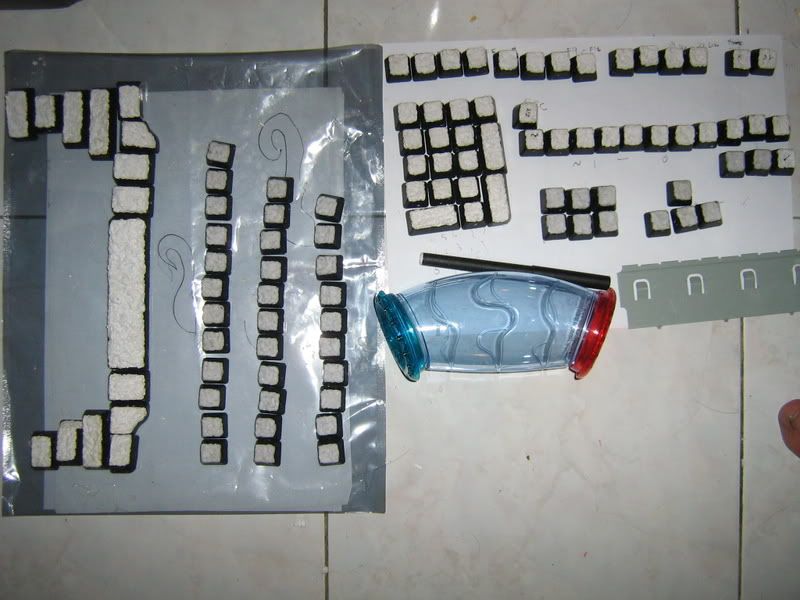
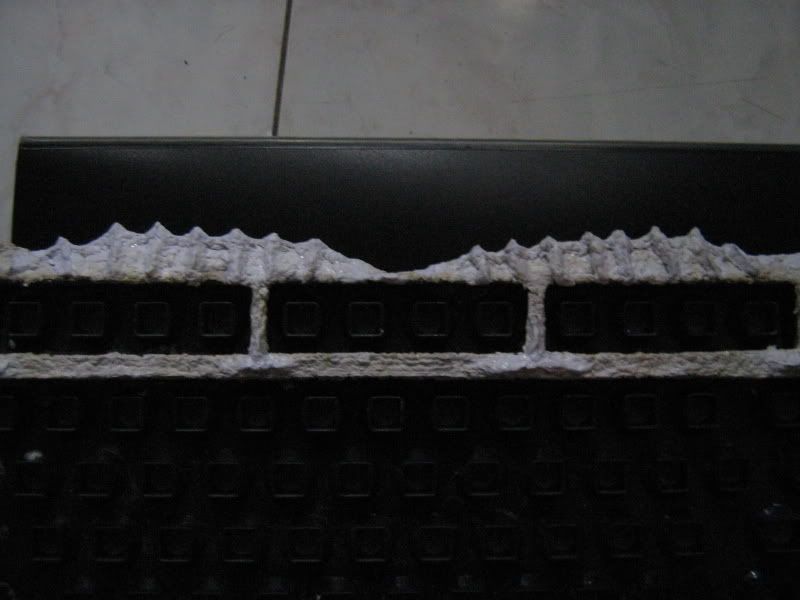
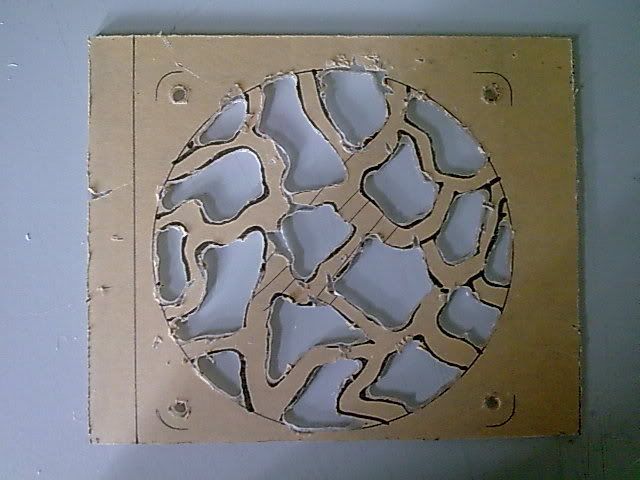
Cos I know it'll turn out absolutely different when I'm done. Just got too damn bored this noon. Hmm I'll use it as a guide to mold the base
Well, after the mousepad I still got some base for the speakers to mold