Page 3 of 6 FirstFirst 123456 LastLast
Results 21 to 30 of 51

Thread: Paperazzi

  1. #21
    Caffeined Acey's Avatar
    Join Date
    Sep 2006
    Location
    Malaysia
    Posts
    588

    Default Re: Project: Paperazzi

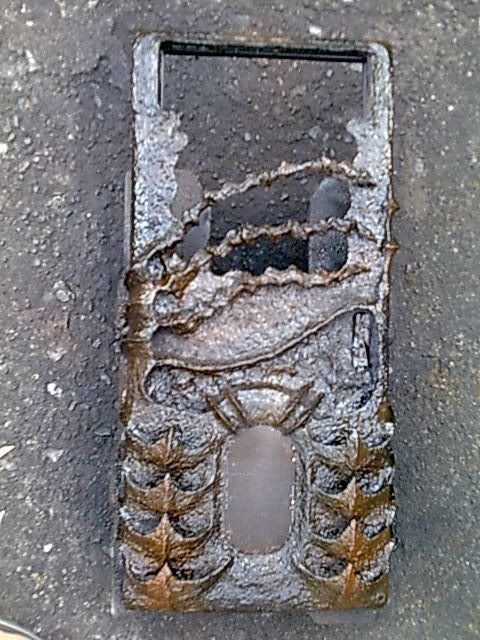
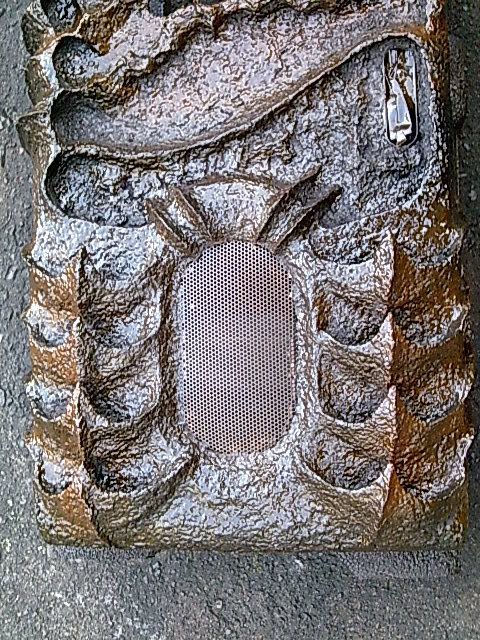
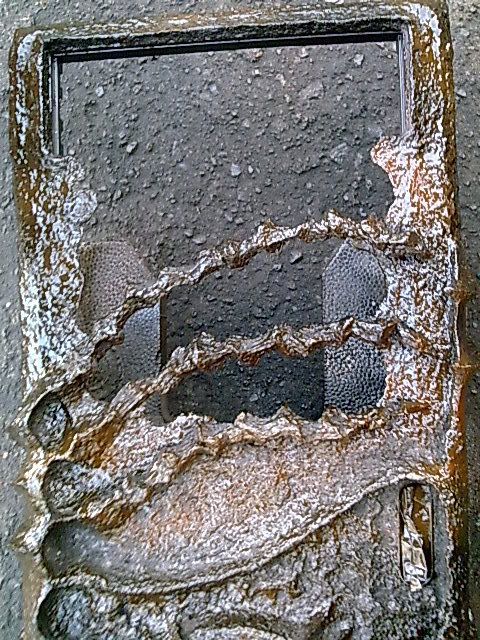
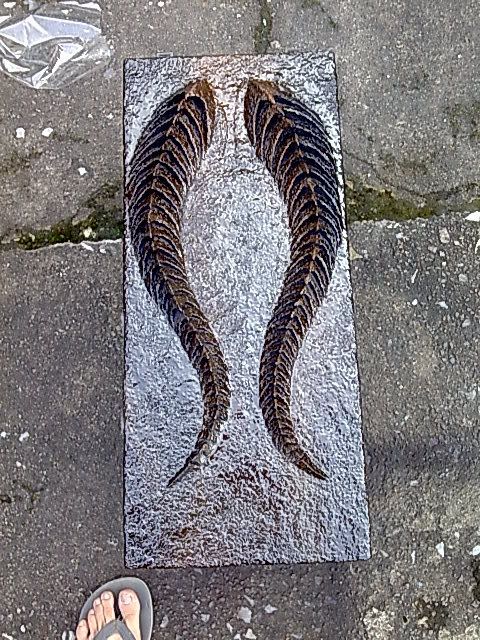
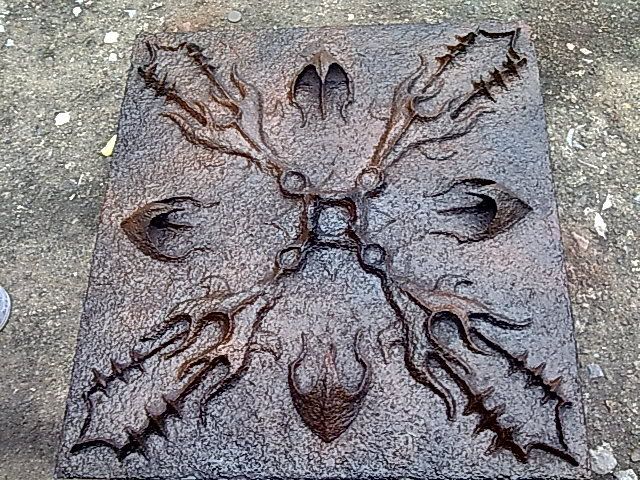
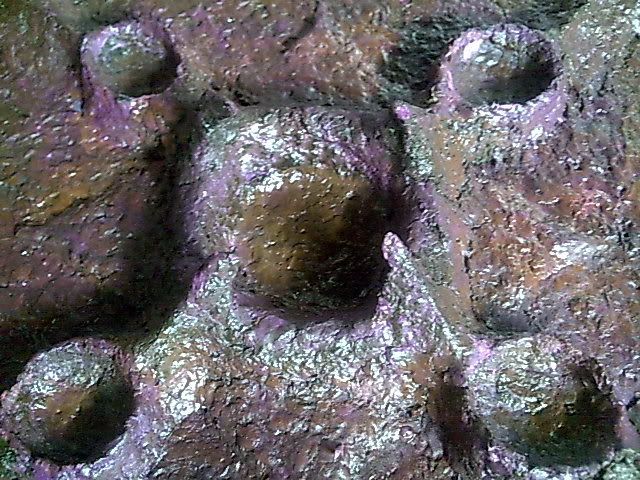
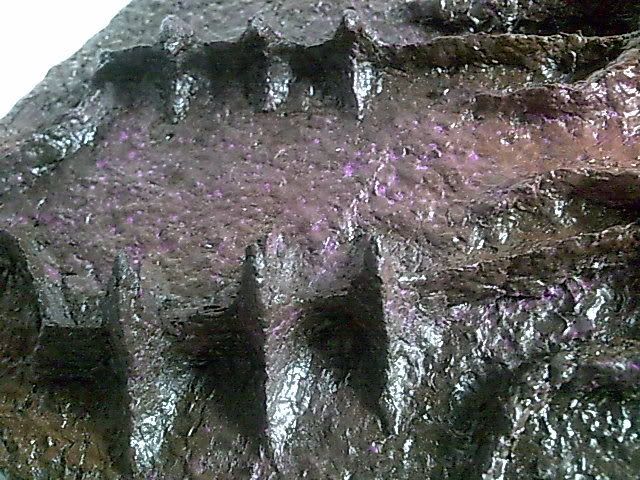
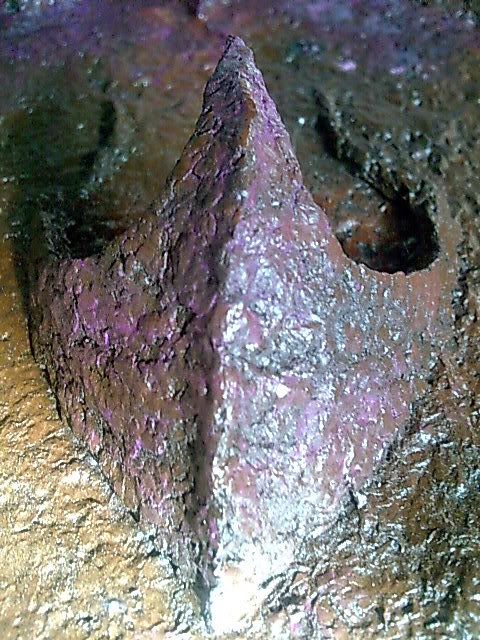
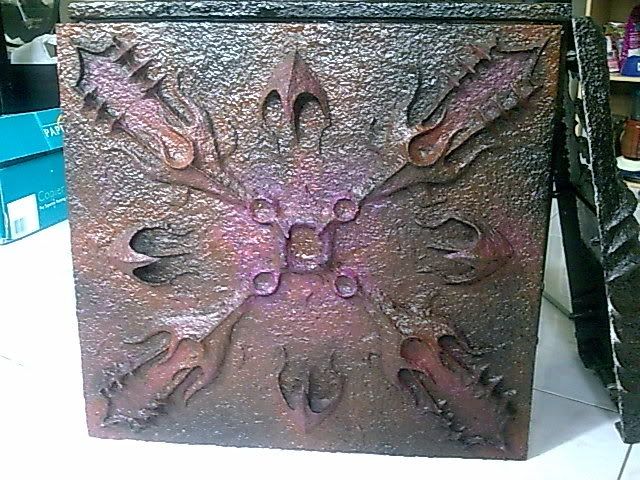
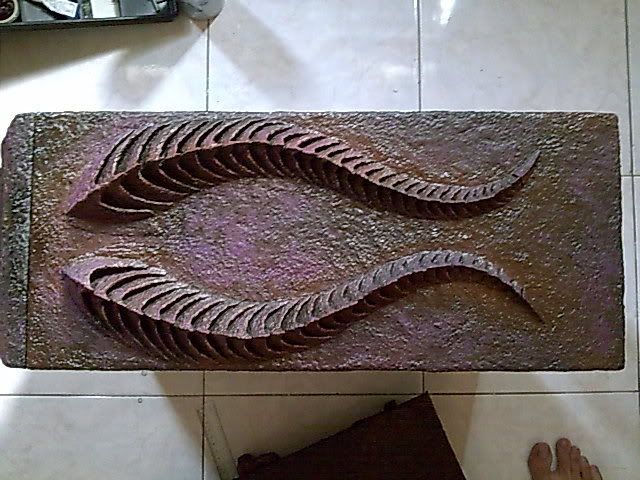
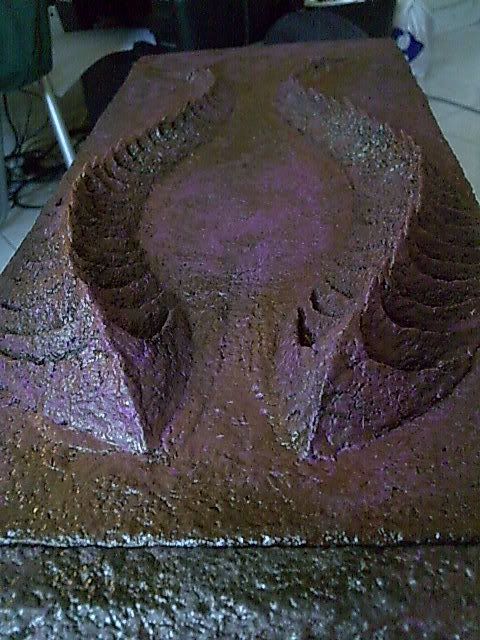
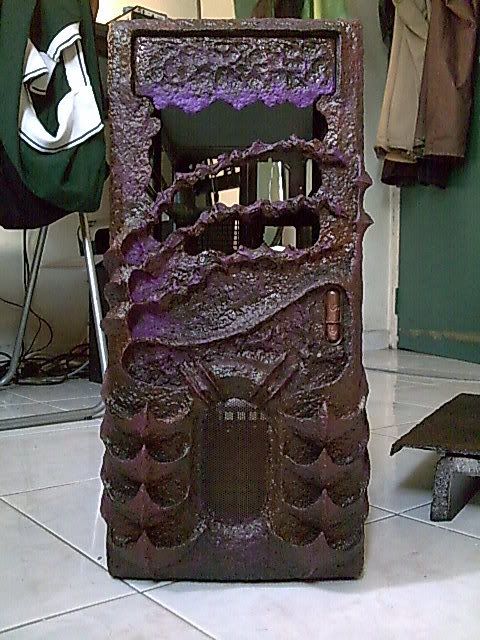
    Paper alone it might not stand even a mid-strength knock with the knuckles. So I sorta do my own recipe on it

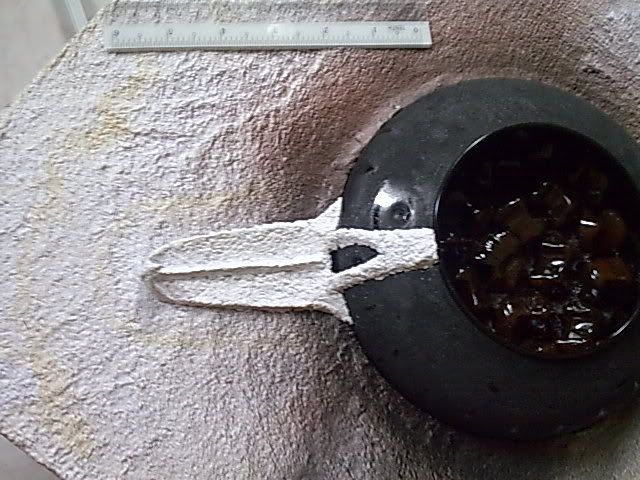
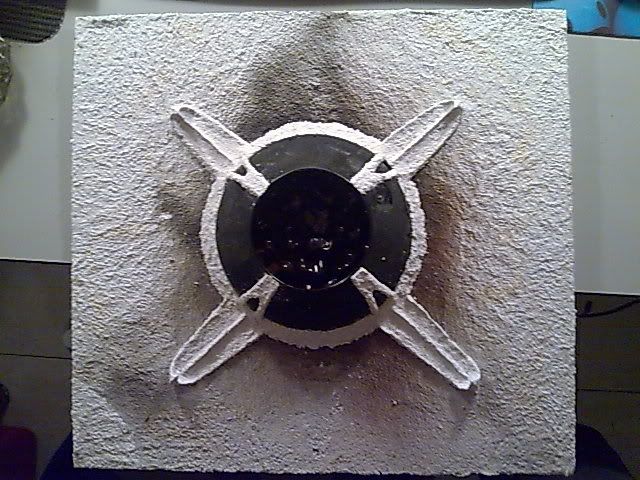
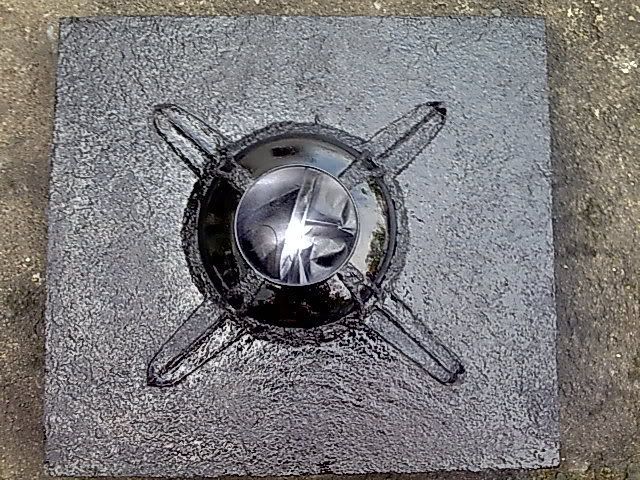
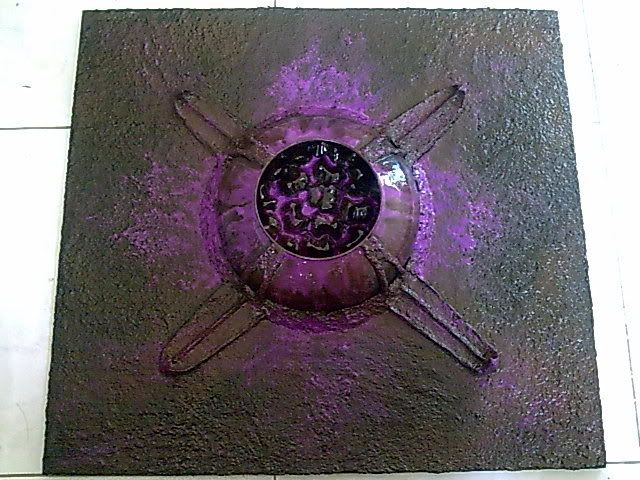
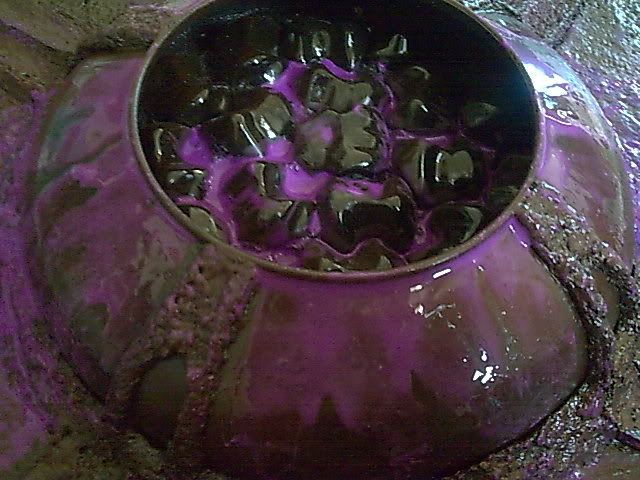
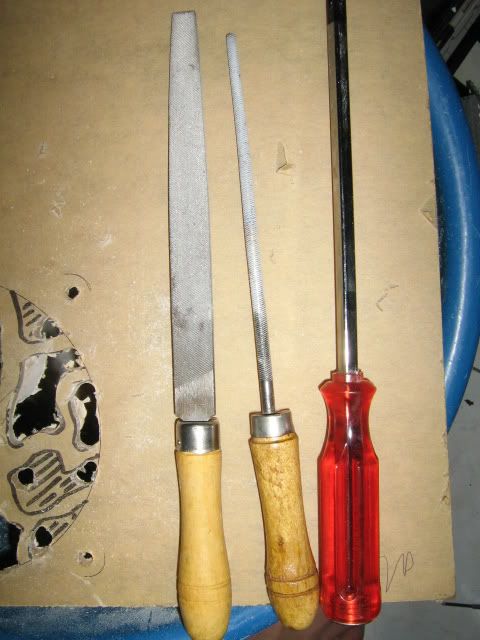
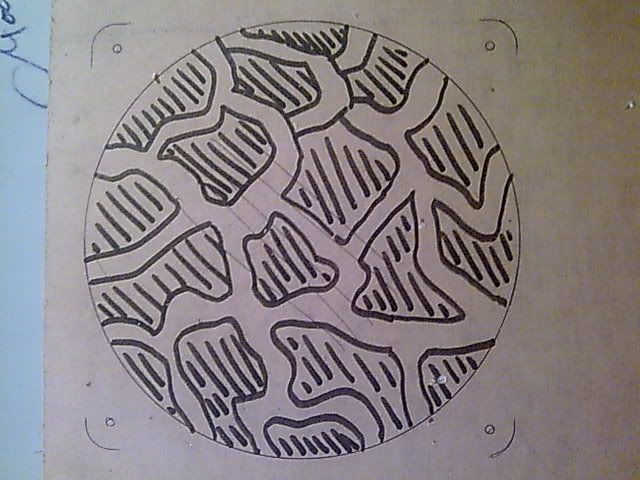
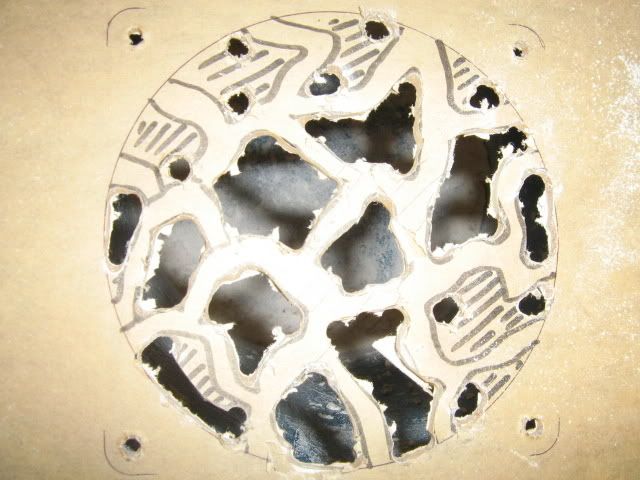
    1. Usual process: layer > dry > mold > refine with pulp > dry

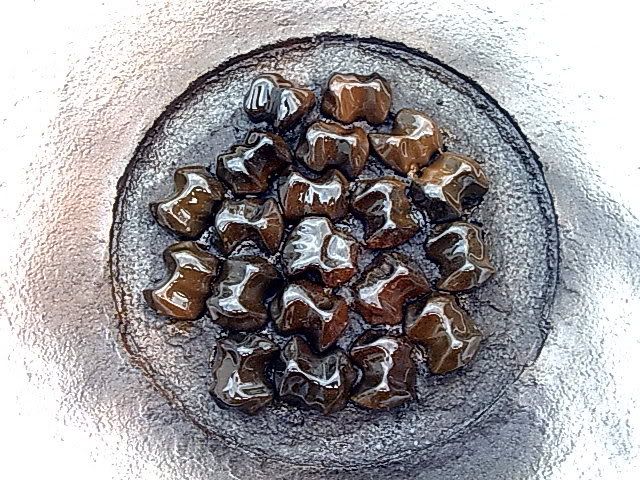
    2. Glue layer: gripping glue fully covering the whole panel till its shiny or specks of shine. I saw 2 types of glue, 1 is called bonding glue. I thought I need to hold a big piece of crumbles together so I went for gripping. Not sure what bonding one does. *shrug*

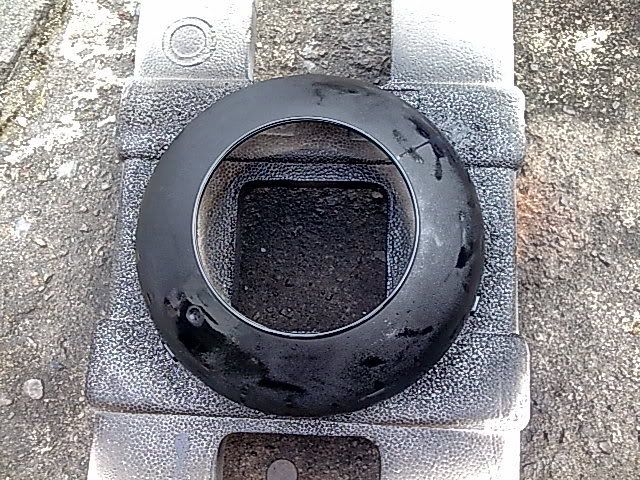
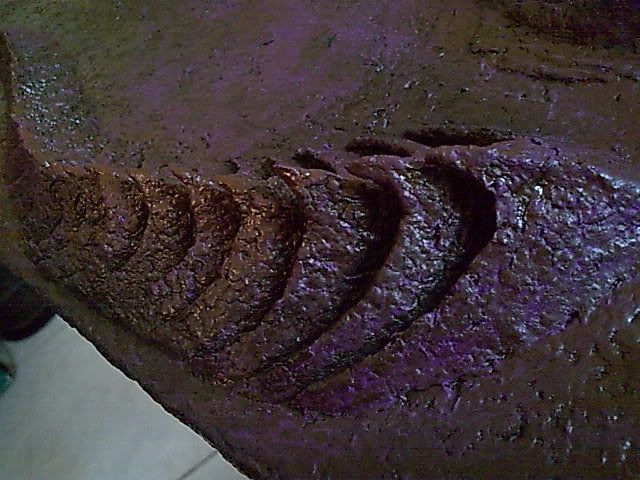
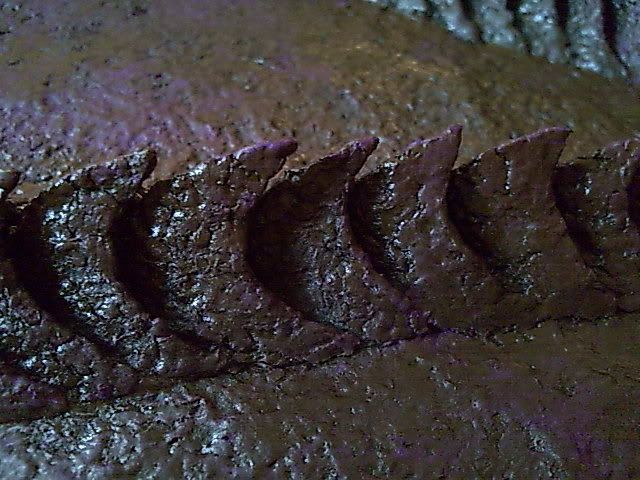
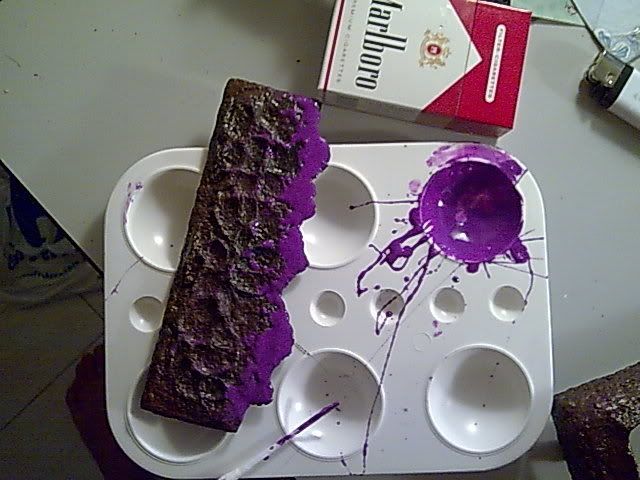
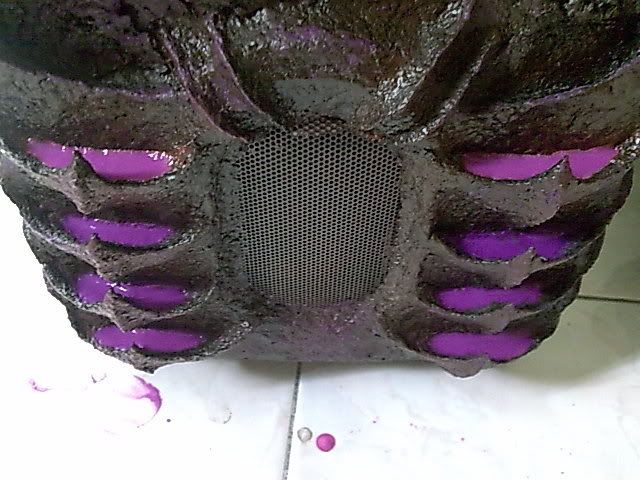
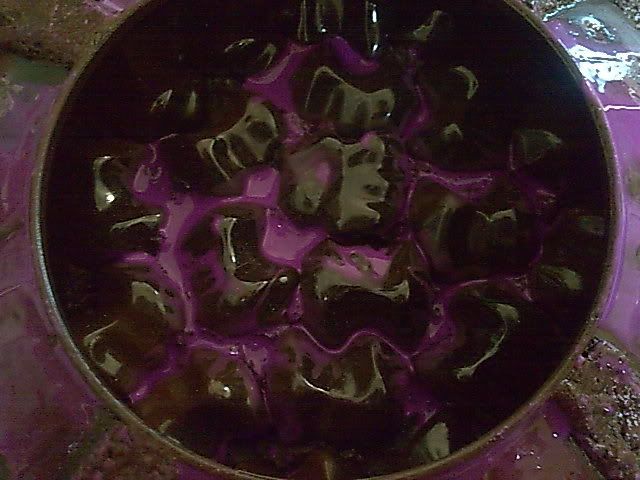
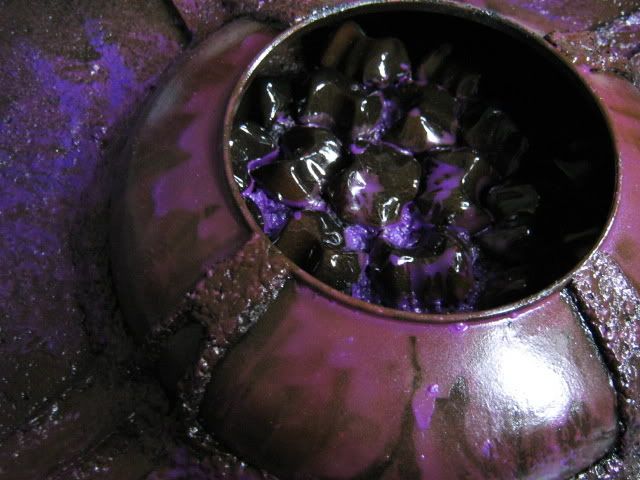
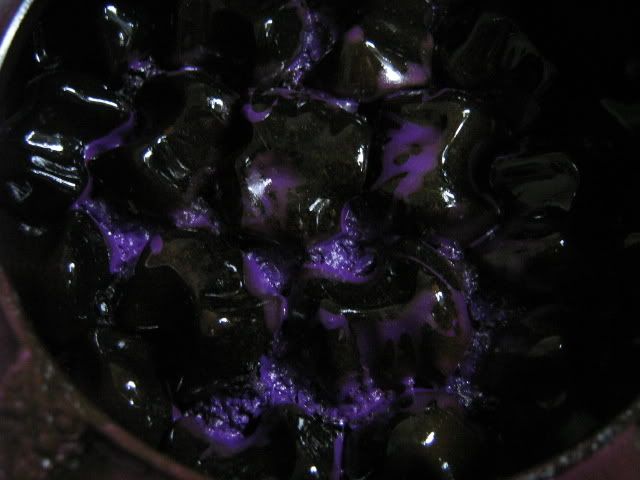
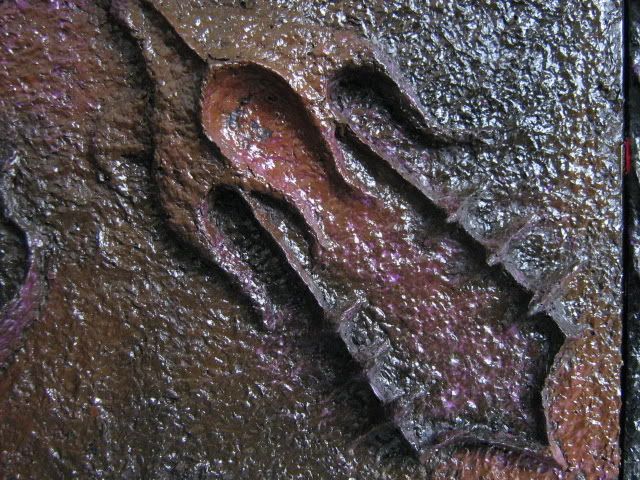
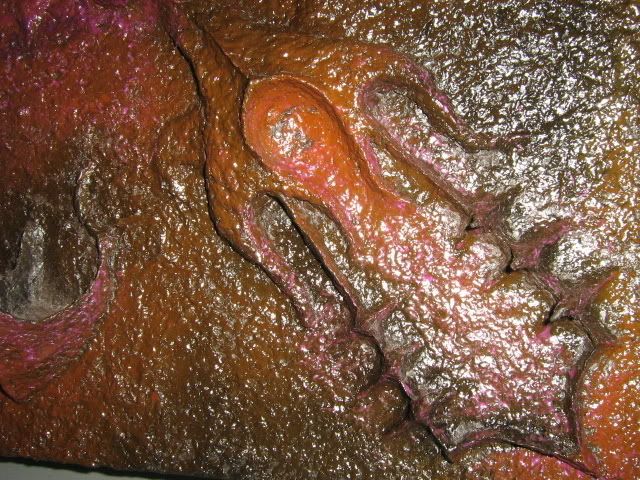
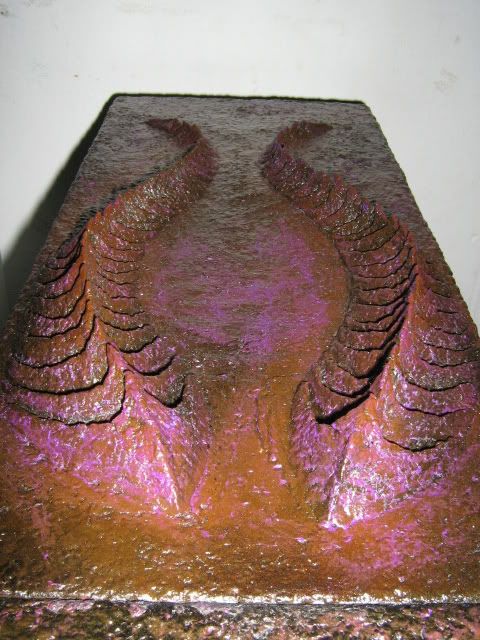
    3. Paint layer: this i think it should be "clear > color > clear", i think. The first panel is holding on fine and took a few knocks and the two-finger hook up.

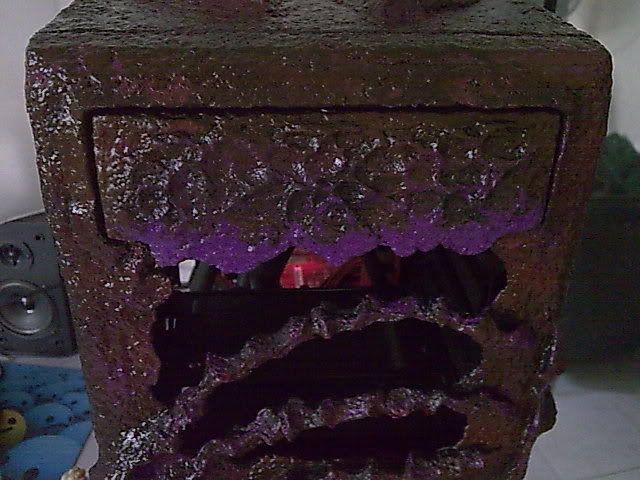
    Not really bothered by how-to for this mod anymore cos the remaining parts are basically in my head, just the paint job n mounting the intake fan to teh 3 empty 5.25 bay. More of rolling around in bed for 3-4 hours figuring the next mod paper too.

  2. #22
    Caffeined Acey's Avatar
    Join Date
    Sep 2006
    Location
    Malaysia
    Posts
    588

    Default Re: Project: Paperazzi

    Resin.. hmm.. nice idea, will try that out on the next mod. Thanks for the idea mate.

    Be free tmrw but need to linger around for the phone guy to come and install my line. Tis my last day helping out at the shop so I probably got more time to do the spray job after Sunday. I'll need to recharge my digicam's batts, had been taking photos using my 6500 slider since the beginning of the mod and photos are getting worst.

  3. #23
    Caffeined Acey's Avatar
    Join Date
    Sep 2006
    Location
    Malaysia
    Posts
    588

    Default Re: Project: Paperazzi

    Mwehehehehe. I've recovered... mwehehehehe. 
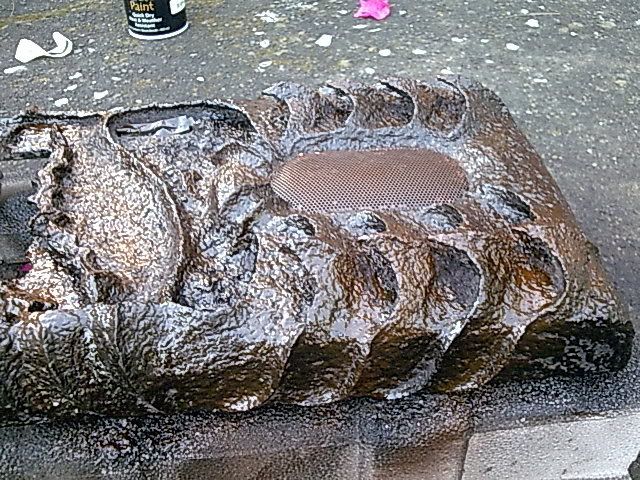
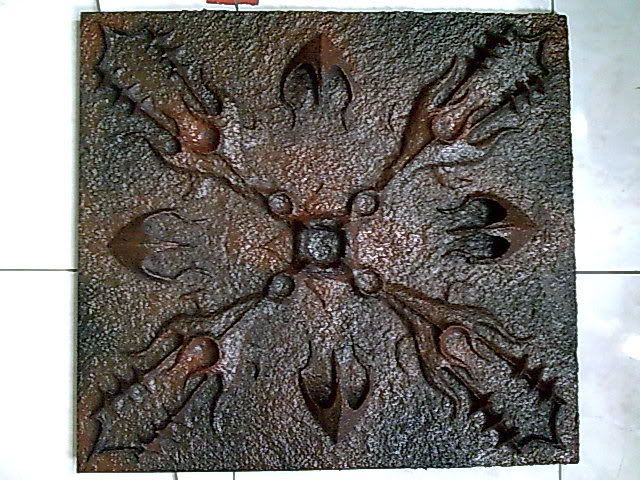
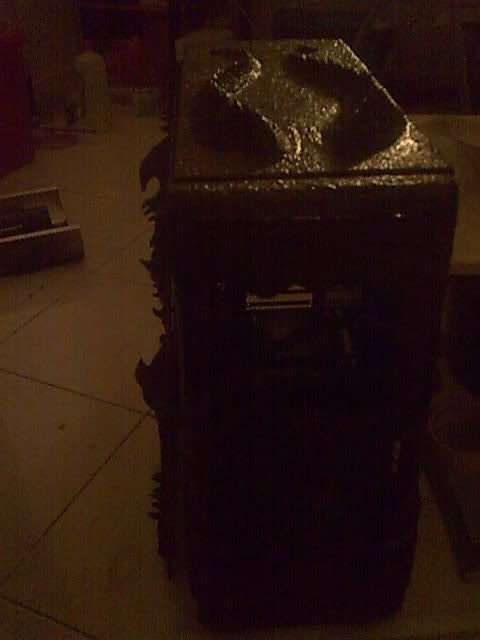
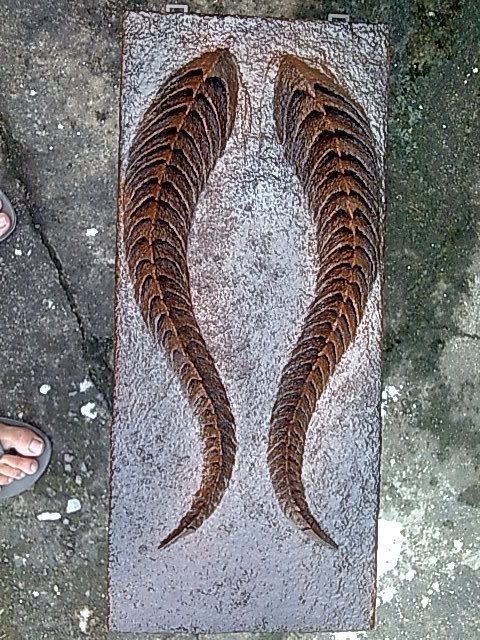
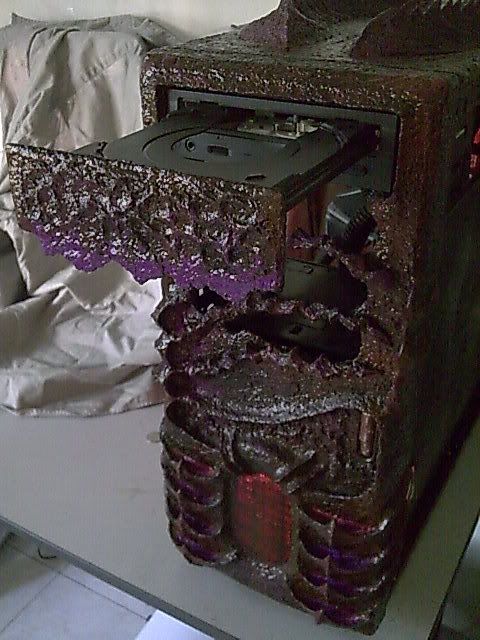
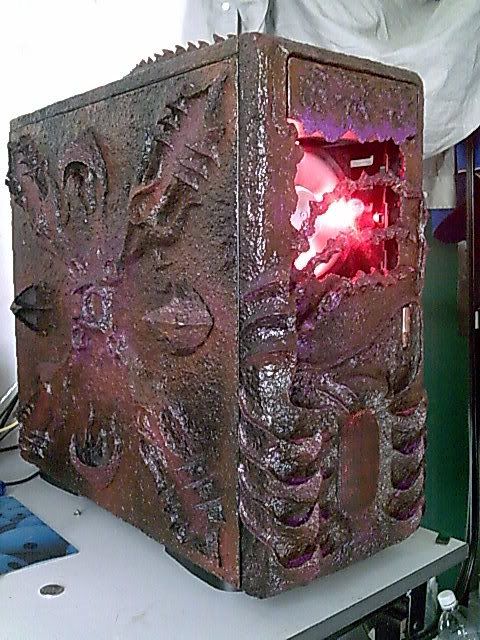
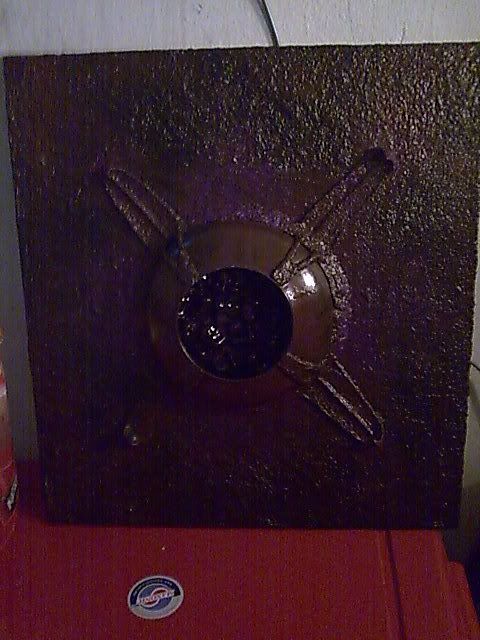
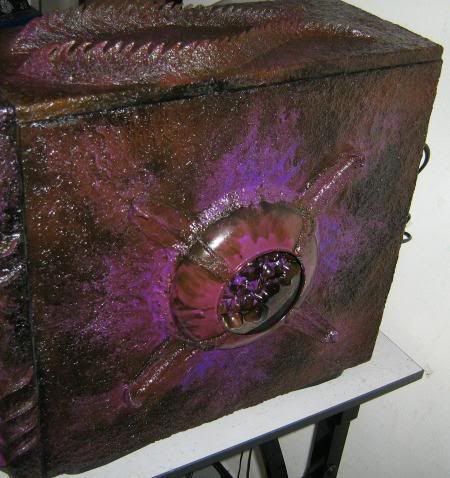
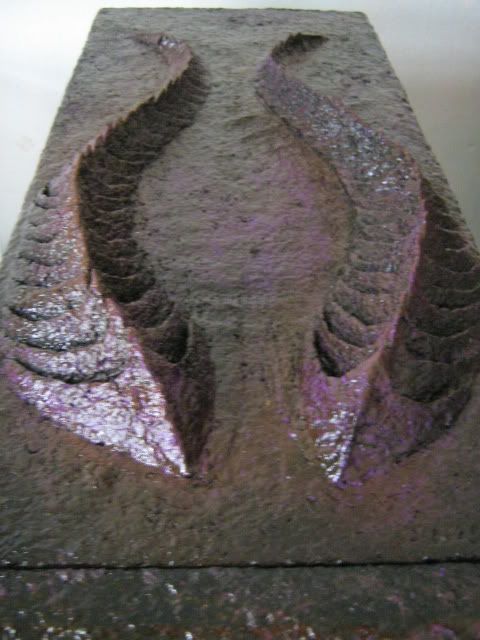
Didn't go anywhere on Saturday just trying to get the spray job done. Did a few parts on Friday. First the right, last, remaining panel that is still not progressing due to paint job on the left panel. Not much of a looker cos I wanna keep it as plain as possible just in case I need to haul the case somewhere else (I move around a lot)


    Right Panel Part 2

    Ripped out the running ball from the mold and sprayed it black first. Then I moved to the "stones" in it. A layer of black and straight away another highlight layer of brown back to back so the colors mix and the brown goes darker. After it dried, a bit of swinging of the arm to highlight it a lil with the brown.


    Done and done, time to mold the sides of the bowl. First a simple template for the bowl itself. Then extending it to half of the remaining length at 45 degrees. Thats all for the panel now, want to finish the spray job for the top and front panel first, which is already grip glue-layered and cleaned for Saturday morning. And then more of the left panel, slime time


    Front Panel Part 7

    Had been laying around for a couple of days untouched so time to move my lazy ass and get it colored. As usual, one layer of black, dried and crappy purplish looking. Then another black layer to get it all shiny, and immediately a brown layer for highlight of darker brown shades.


    One more last job to do for it is to highlight it with brighter brown and then some slime-work (read Left Panel Final Part below) on it and basically the mod will be about 90% done by then


    Top Panel Part 7

    Another spray job for this part. Usual layers of spray, except that this time it turned tad too dark for the brown =\ One more highlight layer and it'll be done.


    Left Panel Final Part

    The last time you saw it its meta-black with dark brown highlights. Now its fully done for the spray job, except the one last layer of clear spray which I plan to do for all 4 panels at the same time.


    Its basically done. Woke up after the slime work and got the shock of my life lol, not to say its good or bad. First thing's first. Some might have played these things earlier; mix poster/water color with glue and it'll eventually harden into a shiny, smooth colored pulp. Thats Happy Tree Friends at the back lol


    Pour it onto the center part of the panel. Here I accidentally rubbed my finger against one of the molds, and while trying to wipe the stain away I noticed some of the colored glue sipped in between teh cracks and highlighted the cracks. I thought it looked nice with those lines highlighted so eventually rubbed the remaining into the panel to highlight the cracks produced by paper


    Honestly, I didn't like how the centre turned out, so when I woke up I discovered something I'm very pleased with... ...the paper soaked up all the glue, leaving only streaks of dark purple on it. Phew. So well yeah, just imagine the panel for now from the picture above minus the purple thing in the middle No pix, its dark in here.

    K, tats all for now, been out of town for the past 2 days so I guess I'll do the rest tomorrow morning when I wake up. Oh yeah, a sneak peek of the thing in the dark.


    Man this got the be the longest post I've ever done for this thread.

    Later.

  4. #24
    Caffeined Acey's Avatar
    Join Date
    Sep 2006
    Location
    Malaysia
    Posts
    588

    Default Re: Project: Paperazzi

    Almost there... give and take another 48-72 hours to completion (if I don't oversleep everyday) Right panel remaining. Only 1 clear coat away for 3 panels, highlight-clear-slime for right panel, and a 120mm bracket for the 3 empty 5.25' slot


    Left Panel Pre-Finale


    Top Panel Pre-Finale


    Posterglue-ised


    Front Panel Pre-Finale


    Right Panel 2 Episodes to Finale


  5. #25
    Caffeined Acey's Avatar
    Join Date
    Sep 2006
    Location
    Malaysia
    Posts
    588

    Default Re: Project: Paperazzi

    Thanks Ec... oops left out something on page 8...


    Dell entry keyboard, gives a lot of space at the sides to work with.

  6. #26
    Caffeined Acey's Avatar
    Join Date
    Sep 2006
    Location
    Malaysia
    Posts
    588

    Default Re: Project: Paperazzi

    Mwehehehehe... it works


  7. #27
    Caffeined Acey's Avatar
    Join Date
    Sep 2006
    Location
    Malaysia
    Posts
    588

    Default Re: Project: Paperazzi

    In a minute

    Edit: here DF, but just one for now although I got a few shots mwehehehehe


    Rechargin my cam's batts... uber slow.. gonna use it for end pix

  8. #28
    Caffeined Acey's Avatar
    Join Date
    Sep 2006
    Location
    Malaysia
    Posts
    588

    Default Re: Project: Paperazzi

    Right Panel Finale

    Still remember the remaining dark side? Time to tie up the loose end of the remaining 1/4 to completion.


    Savor the moment before it dries (Cos I know fairly well what its gonna look like once its dried )


    After clear spray and black on the back, chilling against the wall (yeah, bad pics but its 7pm so I guess only more pix tomorrow will do)


    Refraining from showing the rest of the photo for the 3/4 that was hooked up with the old wares 2 days ago (except for teh one DF asked for)

    Moar photos in about 15 hours or so. Time to BURN some plexi.

  9. #29
    Caffeined Acey's Avatar
    Join Date
    Sep 2006
    Location
    Malaysia
    Posts
    588

    Default Re: Project: Paperazzi

    Quote Originally Posted by b4i7 View Post
    ive been watching this silently for a while now...VERY COOL!
    Thanks man.

    Um... I accidentally and without knowingly did a dual-tone / candy look for the case actually. Was letting it have some cam-whoring session since its pretty much done minus the fan bracket which is killing my arms, and was pretty shocked that when there's flash the thing's colour looks absolutely different than what the eyes usually see.

    So kinda rushed out of the house with one panel to see if its the camera or if its for real. Well, the experiment outside proved its an accidental dual-tone. I guess when I did the back-to-back spray with black n brown. But honestly it looks like crap under the sun

  10. #30
    Caffeined Acey's Avatar
    Join Date
    Sep 2006
    Location
    Malaysia
    Posts
    588

    Default Re: Project: Paperazzi

    Right Panel Finale


    ]Dual Tone

    What our eyes see:


    Whats under the sun/flash:


    What our eyes see:


    Whats under the sun/flash:


    Brown betrayed me


    120mm Fan Bracket

    No dremel yet so had to do with these tools. My arms are falling off.


    Bullet holes :


    So far...


    Since I'm getting my dremel back today I'll continue the work later. Sore arms from turning all the shaded areas into plexi dust.

Posting Permissions

  • You may not post new threads
  • You may not post replies
  • You may not post attachments
  • You may not edit your posts
  •