-
Anodized

 Cookie Monster
So the first thing I did was get on NewEgg and put together a wish list of all the components I needed and make sure they were all compatible. I came up with the following.
GIGABYTE AM2+/AM2 AMD 740G Micro ATX AMD Motherboard - $59.99
AMD Athlon 64 X2 5000+ Brisbane 2.6GHz Dual-Core Processor - $66.00
WINTEC AMPX 2GB (2 x 1GB) 240-Pin SDRAM DDR2 800 Dual Channel Memory - $39.99
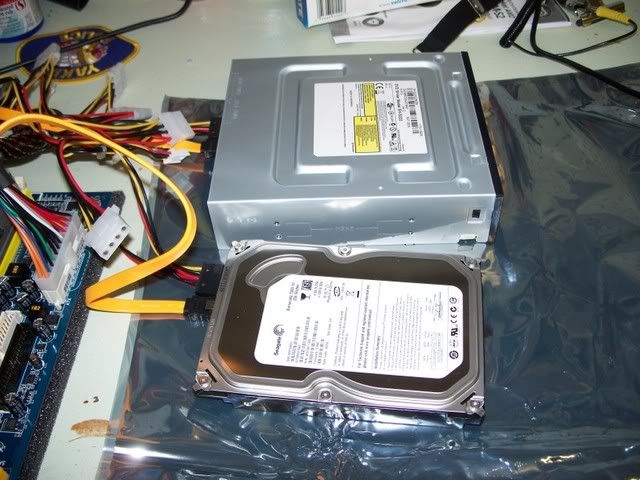
Seagate Barracuda 7200.10 250GB 7200 RPM SATA 3.0Gb/s Hard Drive - $54.99
SAMSUNG 22X DVD±R DVD Burner with LightScribe SATA - $28.99
Rosewill RV300 300W ATX12V Power Supply - $12.99
Microsoft Wireless Keyboard/Mouse - $29.99
Gigaware PC Camera - $24.99
Speakers - $2.99
22" LG Monitor (Referbished on Woot) - $199.99
Total w/ S&H - $583.00
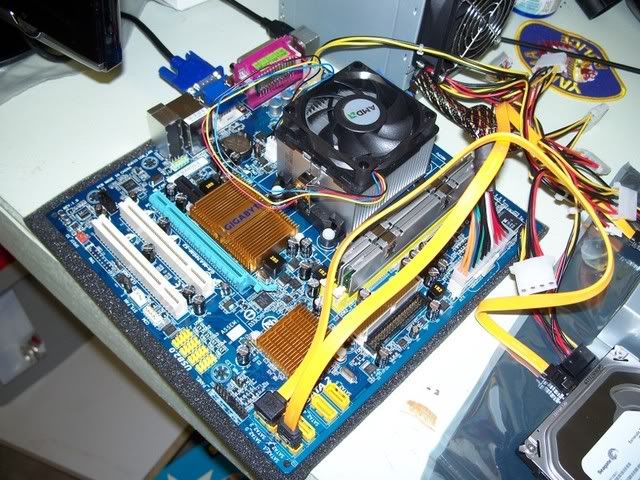
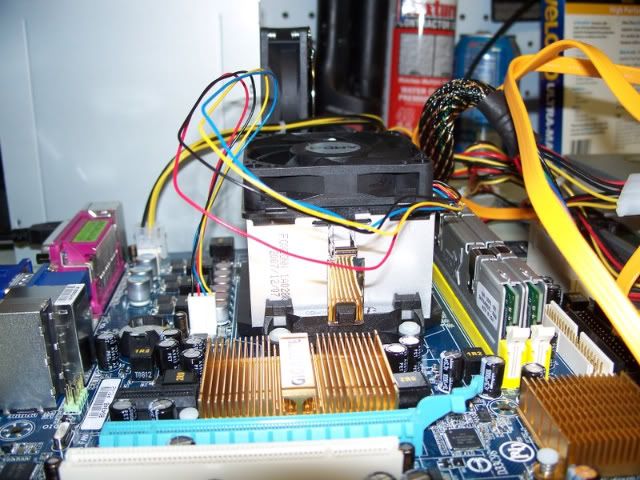
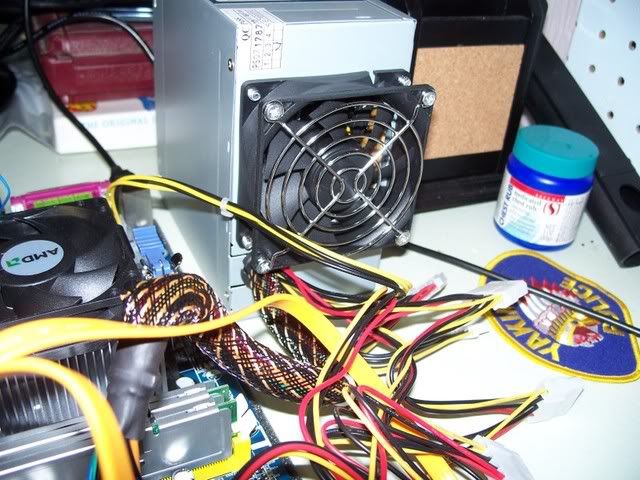
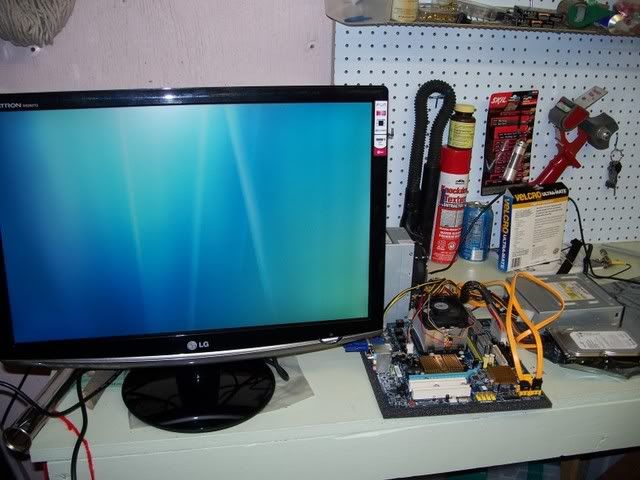
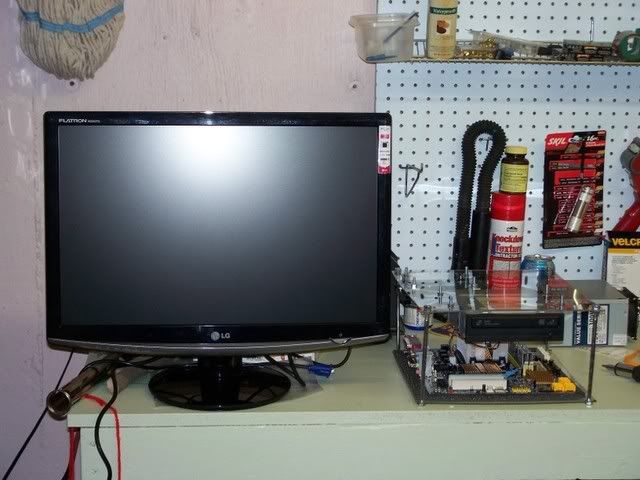
So not to bad price wise for the amount of hardware I'm getting. Next I need to make sure all the hardware is working and compatible. So I hook it all up and install Windows Vista.
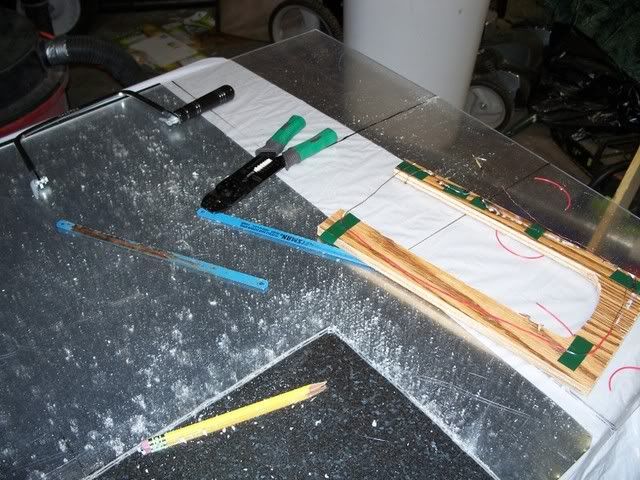
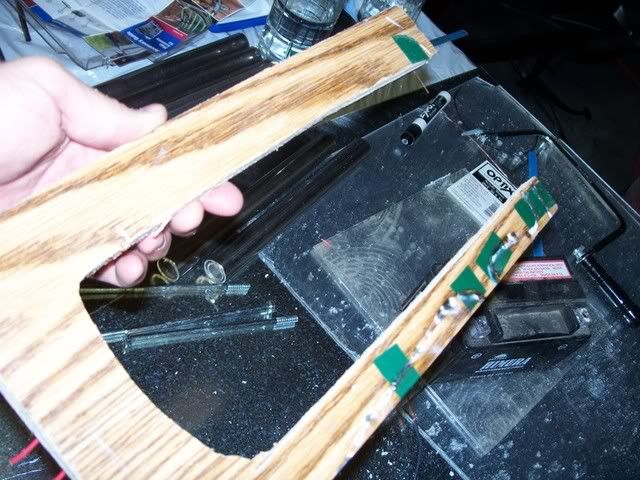
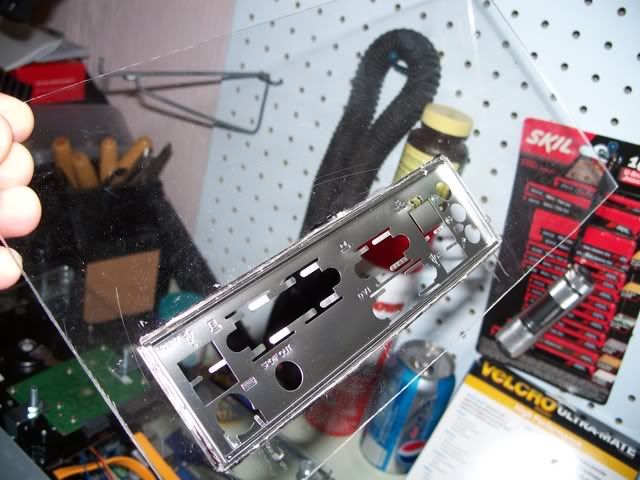
Ok! So far so good! Now I start on the main housing for the system board and components keeping in mind I'd like to keep it small as I'll be building a Cookie Monster around it.
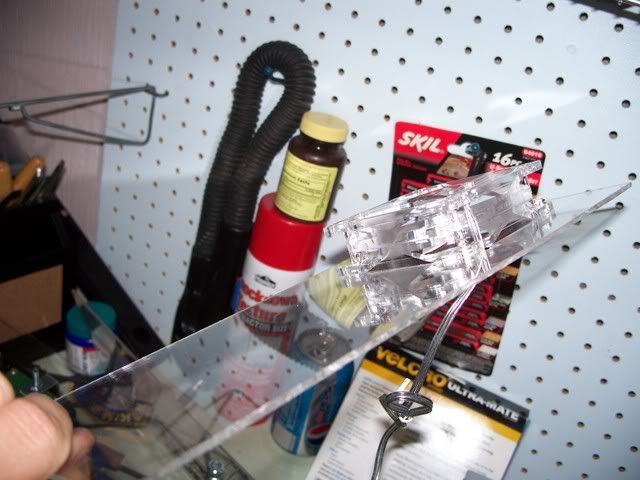
Phew! That plexi-glass is tough stuff to work with. Actually I'm starting to figure out its not if you follow the rules. At least 14+ Teeth per Inch on your blades and don't take it to slow of it sticks and rips it to shreds. Also putting water on your blade or running it in reverse works well. The water reduces friction while running the blade backwards cuts through it with the heat build up rather then the actual blades.
One thing I did try was making my own Hot Wire to slice through the plexi-glass like cheese. Great Idea! Except I don't think to often before I act. The first time I made a rookie mistake (and i've been working with electronics for YEARS) and I shorted the wire, so when I plugged into the wall it flipped the breaker. My parents loved that. So I fixed that little problem and plugged it into the wall again. Just for those uneducated few reading this, the wall puts out 120 volts AC. The wire I was using was 18 gauge with no resistance what-so-ever.....Now you see the brilliance of it all. I've never seen something catch fire so FAST. Like a miniature explosion. It was actually worth destroying my hot wire to see this. Needless to say, I build it one more time, hooked it up to a 12 volt battery and it worked somewhat. If any of you want to try this I suggest getting a voltage knob that allows you to turn it up, down, or off. This way you can get just the right heat without burning everything.
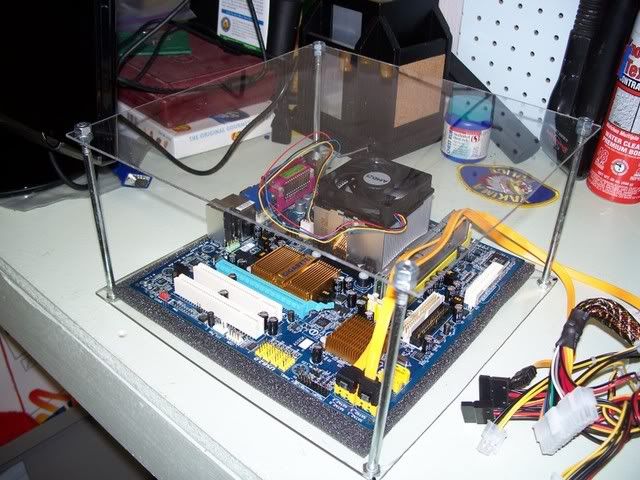
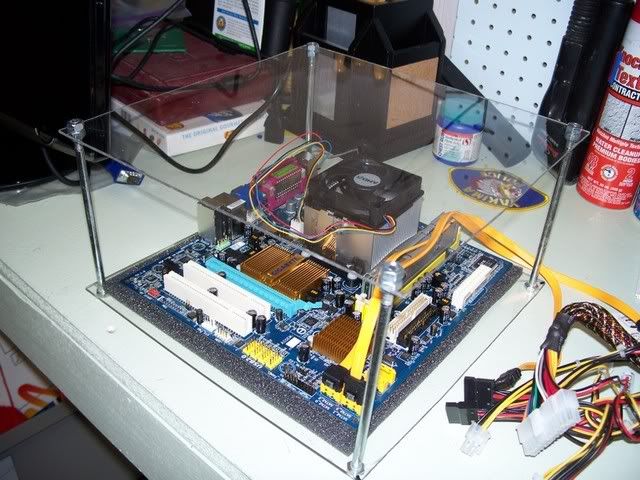
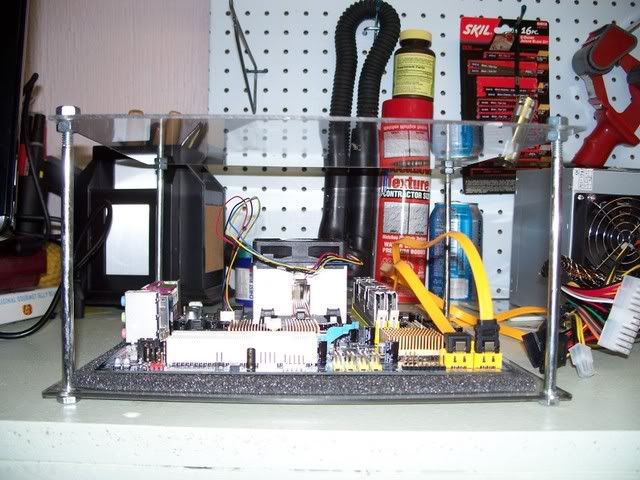
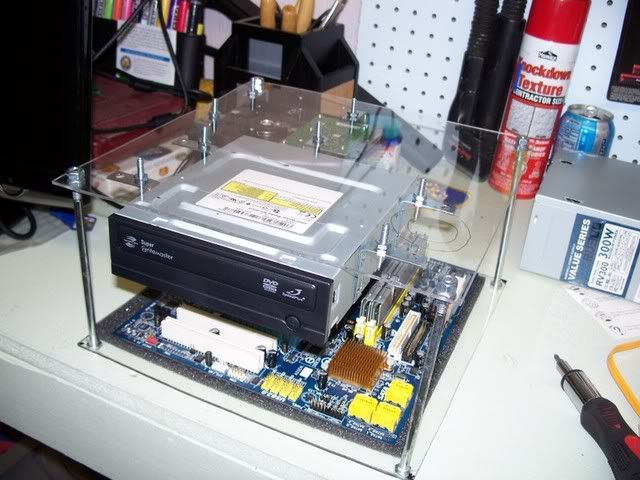
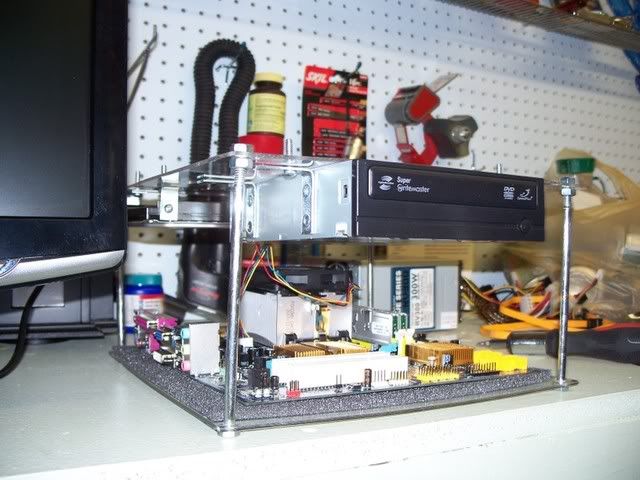
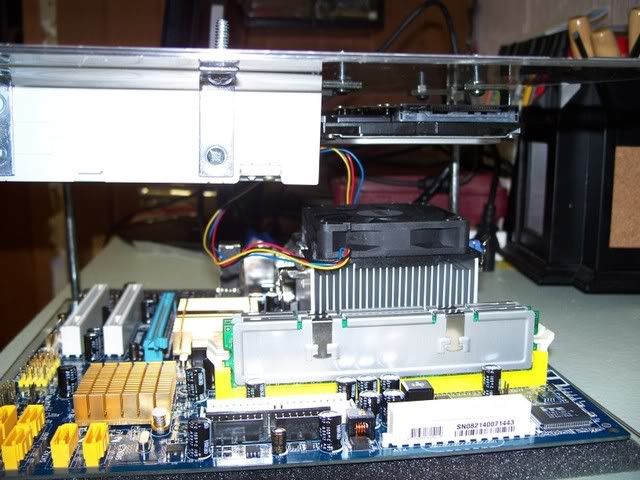
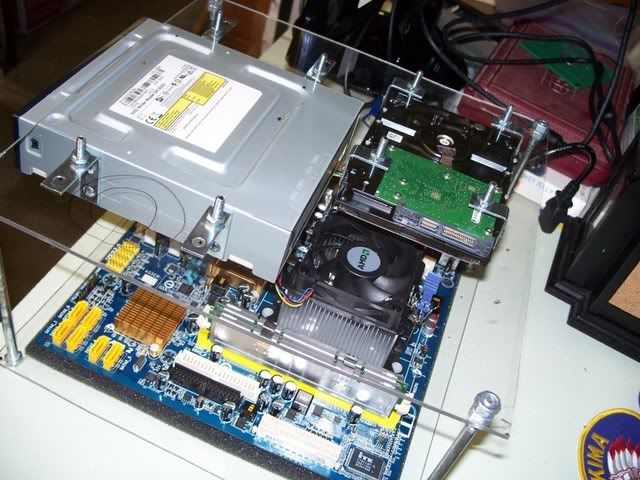
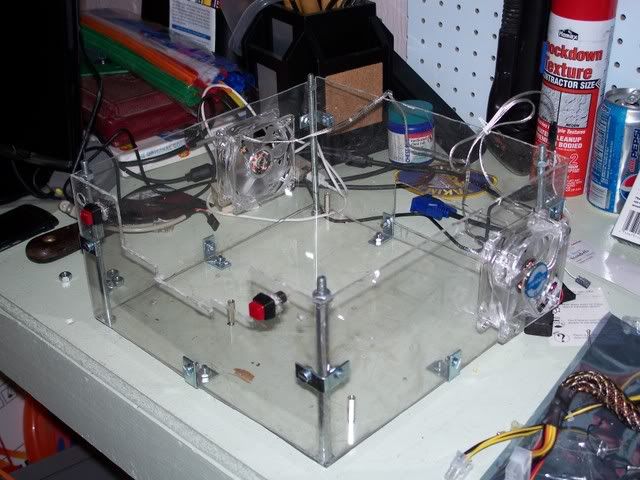
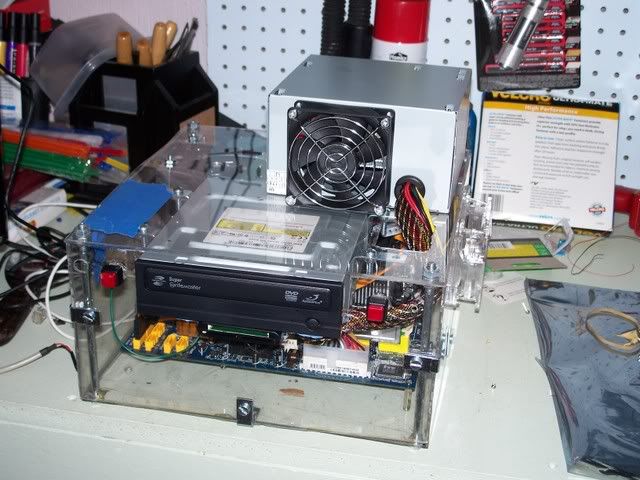
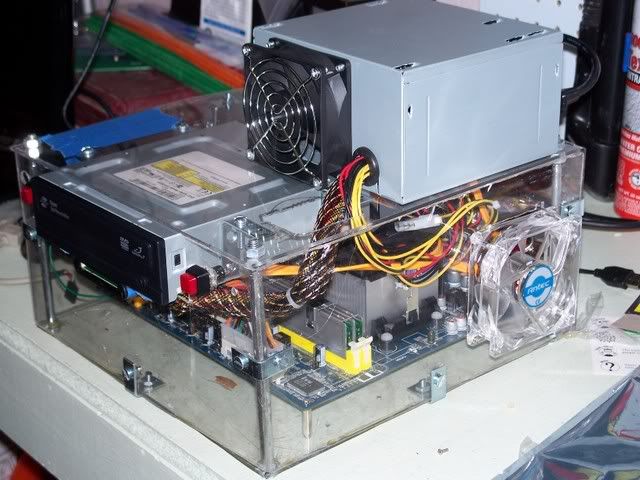
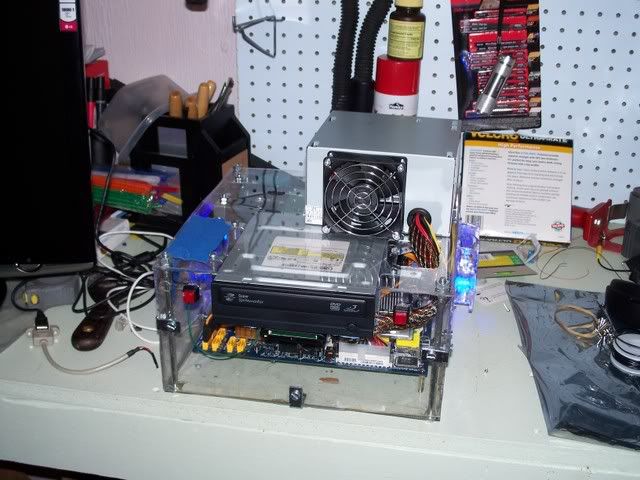
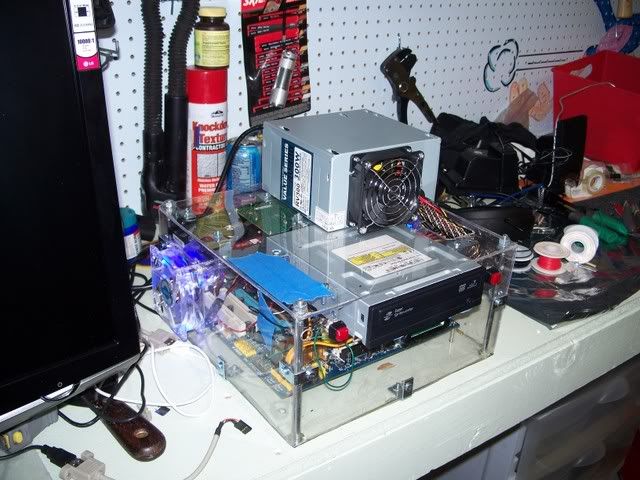
So now that my housing is build, I drill the holes for mounting my hard drive and dvd drive and put it all together. This is what we get!
My next and almost last step is to now build the cookie monster around it with tape and sticks, apply the plaster, and then cut it open, detail it, insert the housing and on/off/reset switches, and finally customize the interface. Hoping to get this all done this weekend. We'll see how that goes. I'll keep you posted!
***EDIT***
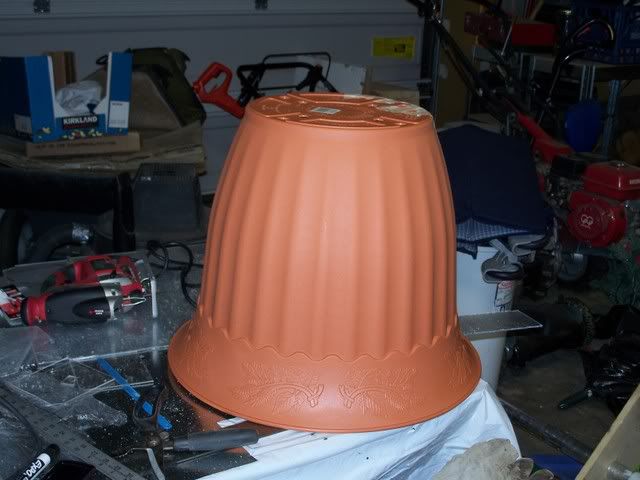
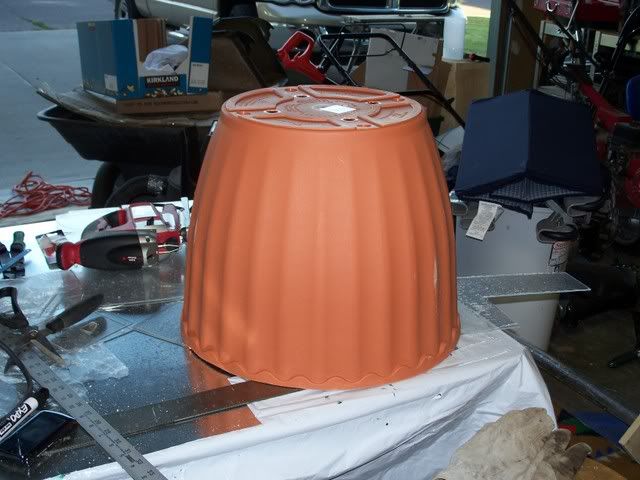
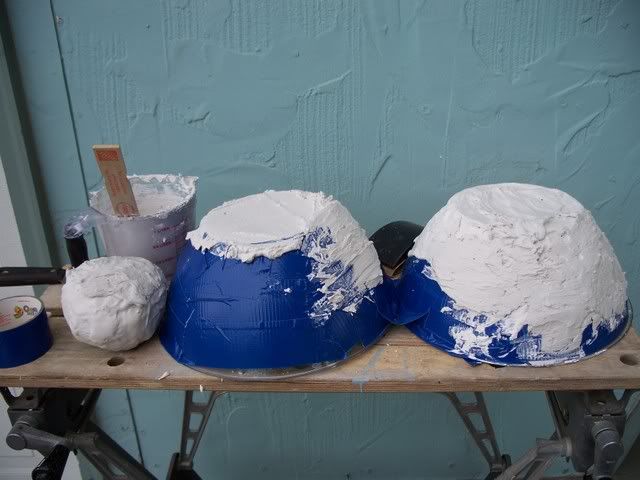
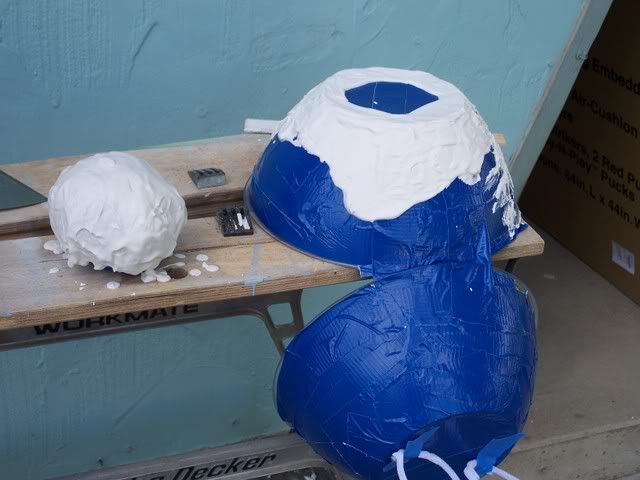
So I started on the actual case today, but didn't get far as EVERYONE is in need of my attention. I got most of the case cut, with a very basic look to the outcome. One of the eyes will be a webcam, their will be a 19 in 1 card reader and ipod dock in the mouth, with the possibility of secret storage (i hate seeing a big case waste space). What you see in the pictures is a giant flower pot from walmart and two plastic bowls from the dollar store. I have Plaster of Paris that I'll apply to it when I'm done, and the plaster will be harder and more durable then the materials i'm using now. That will be the final case with some painting and touch ups. Also the hole you see will be on the backside with the panel attached. That way when anything needs to be modified or fixed, i flip up or take off the panel, slide out frame with everything on it, fix it, slide it back, and we're golden!
-
Anodized
Re: Project: Cookie Monster
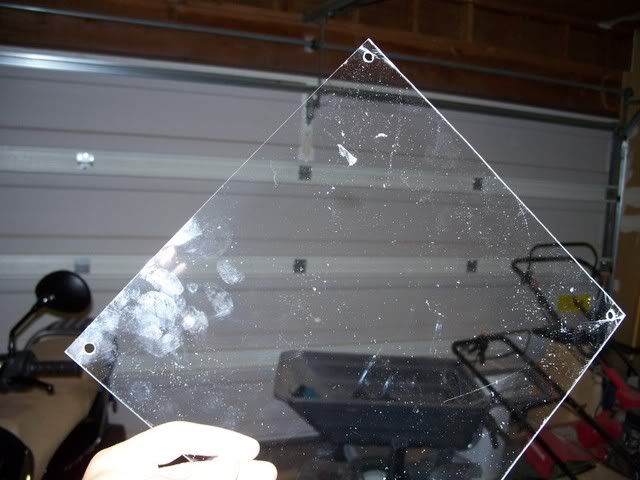
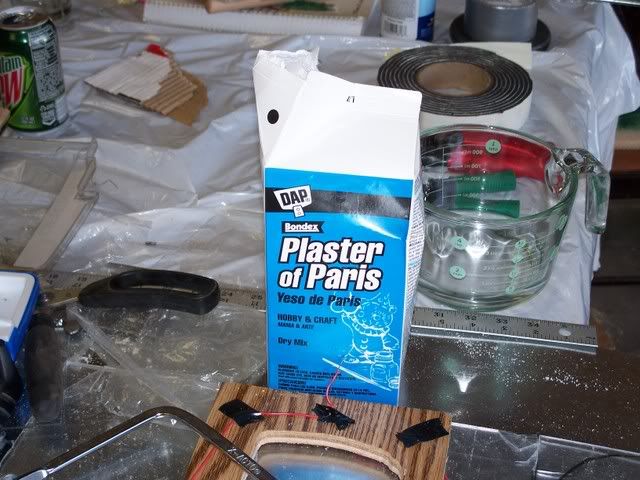
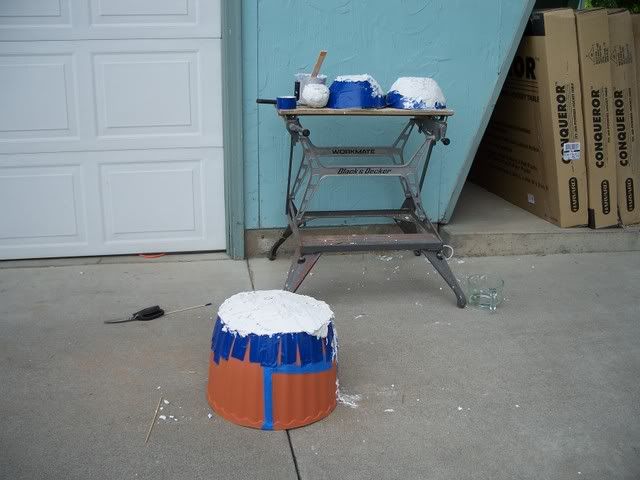
Alright here's my most recent log. The Plaster of Paris is a giant liar and was a complete failure. The material shattered very easily. I'm kinda disappointed because everything was going pretty smooth. I did however learn that fiberglass would be a better material to use (however somewhat costly). In the end, I decided I didn't want to put any more money into building this case because my job is only giving me 14 hours a week, hardly the funding I need to furnish a sweet case for my g/f. Here's the pictures of my failure.
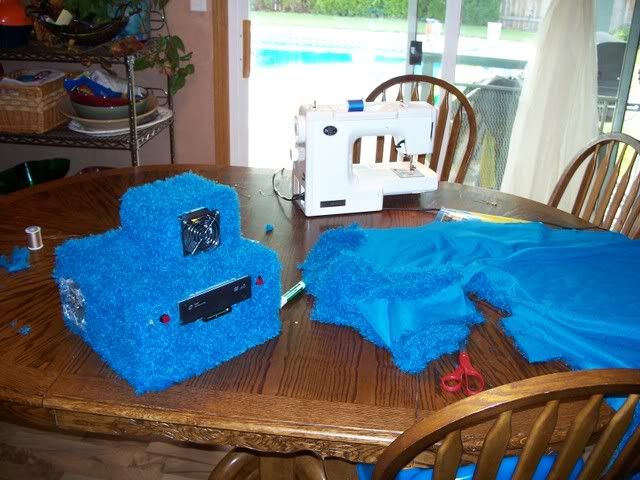
So I pondered what my next step would be and decided I'd use fabric for the case. The plexiglass alone could be the case but I am still looking for the cookie monster look and feel. This jogged my memory of a previous birthday present for my girlfriend and gave me new inspiration.
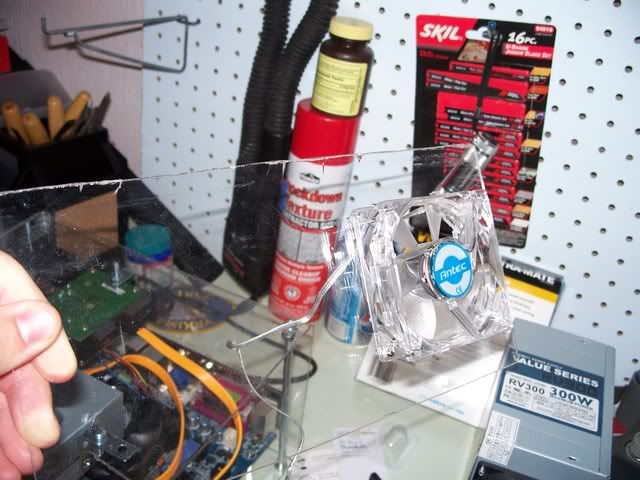
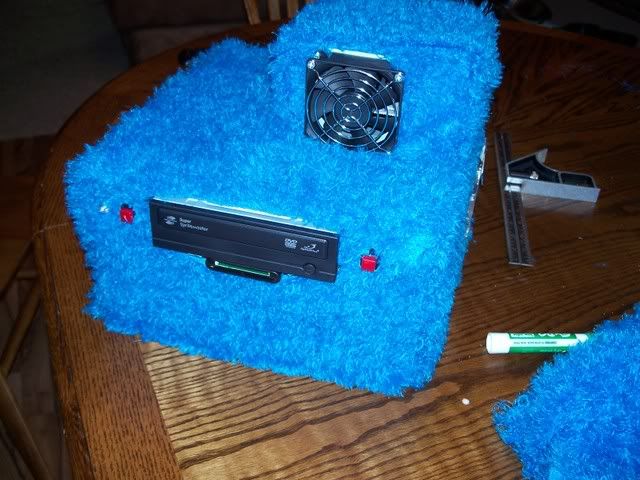
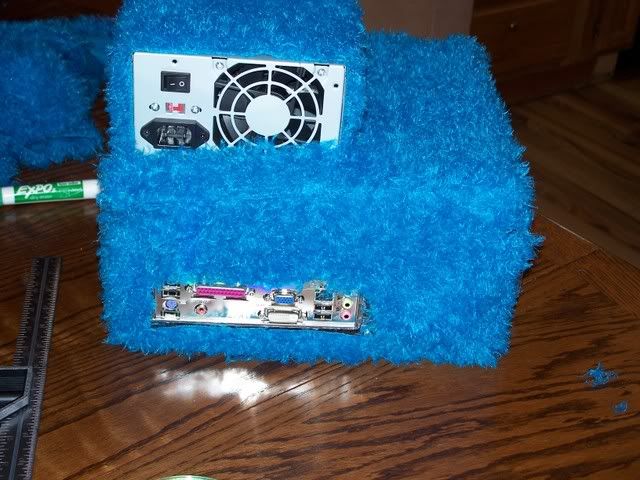
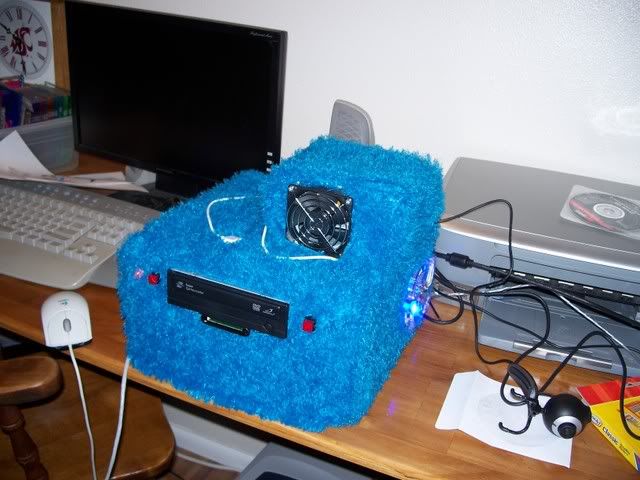
Since I'm gonna be using fabric I want my case completely enclosed to keep the fabric and other crap out of the components. I cut them with a dremel which turns out to be a TON easier then a hacksaw. I mounted the blue glowing fans and back piece.
Then I added the front buttons and finally used corner joints to hold the entire case together. Unfortunately I was making an adjustment cut with the buttons already in and melted one of the buttons....that did not make me happy. Easily fixable though!
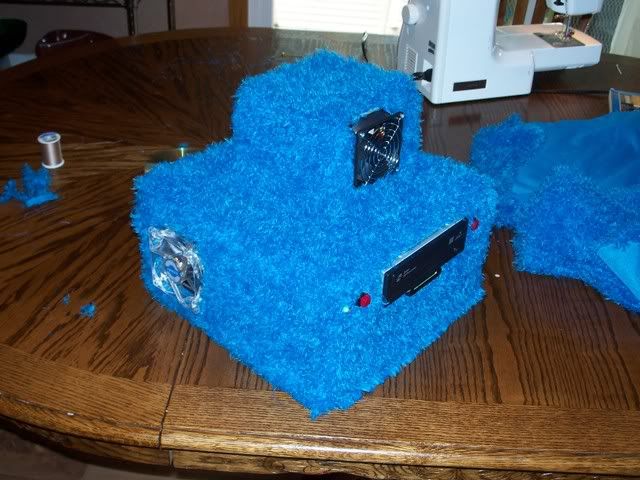
Added all the components back together, and turned it back on to make sure everything was still working. And it was! Fans were good, HDD, CPU, etc...
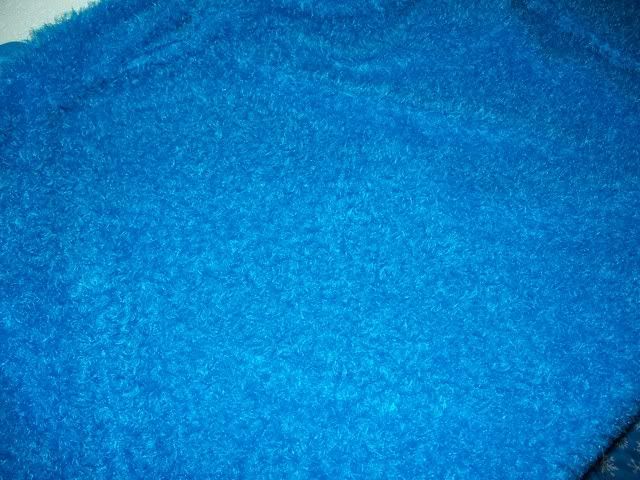
The last step for this project I think will be to add the blue fur fabric with a cookie monster doll (that i'll sew myself) sitting over the power supply. Other then that I should be pretty much done. Anyone see a flaw to my plan or a better way to handle something I've done? Such as power supply position? Let me know what you think. This project turned out NOTHING like I originally planned but that's how it usually goes for me. Always turns out to my liking though.
-
Anodized
Re: Project: Cookie Monster
Ok! My project is finally done. I sewed the cover for the case and it slides on and off, letting you change its look when you feel the need. The last thing I needed to do was use my usb brackets to have extra usb ports........HORRIBLE IDEA. for some reason i had 5 pin connectors but needed 4 pin. figured, not a big deal. the extra one is an extra ground....wrong. totally F-ed up my operating system and caused me extreme angst. Do a roll-back from a cd boot and fixed it but now i need to figure out where the hell to get the brackets. i don't forsee me doing ANYTHING more to this case. I've lost all interest with all the crap that keeps going wrong. it works, she likes it, end of story. hope you guys like it. maybe towards christmas i'll add her name or eyes or something more then just a fur cover.
Link To Original Worklog
Last edited by jdbnsn; 08-28-2008 at 08:15 PM.
 Posting Permissions
- You may not post new threads
- You may not post replies
- You may not post attachments
- You may not edit your posts
-
Forum Rules