Page 1 of 8 123456 ... LastLast
Results 1 to 10 of 75

Thread: Project Anima Mundi Redux

  1. #1

    Default Project Anima Mundi Redux

    So I started building Anima Mundi, a mATX cube built almost entirely out of acrylic over a year ago (the old project log is here, pictures are down). Life got in the way, as did having all my acrylic breaking during the painting process.

    Well I found a pile of acrylic that I had cut for my second attempt and decided to give it another go! Please forgive the pictures, they came off my HTC Mogul. I'm condensing this from multiple posts on other forums, so please forgive any mistakes I made transposing all this.


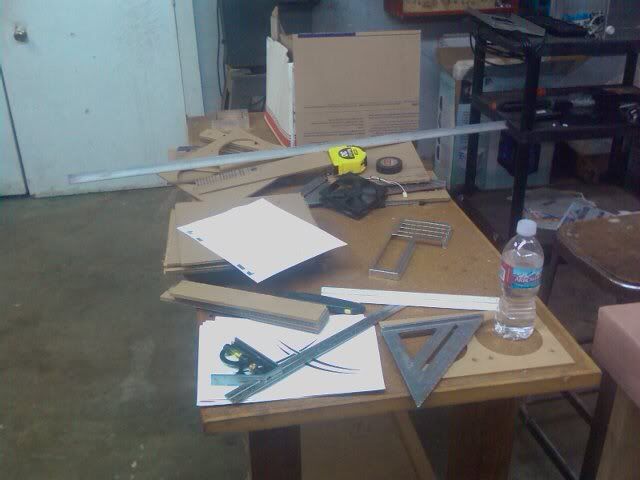
    New work bench I picked up from my neighbor for...NOTHING. Plus a whole pile of random acrylic pieces.


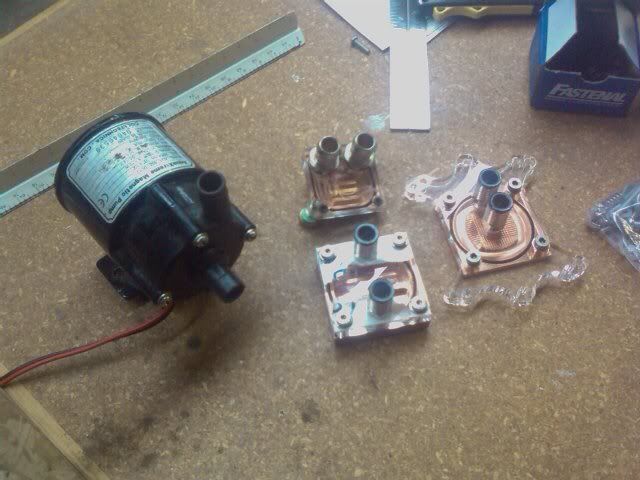
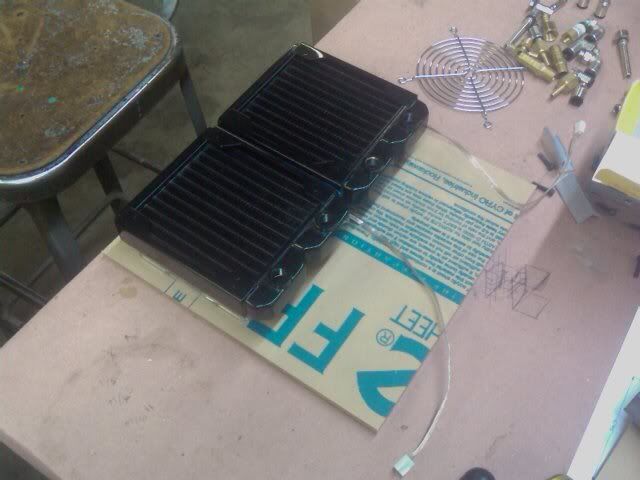
    Spare watercooling gear that's been kicking around. Some of it will be used in Anima Mundi.


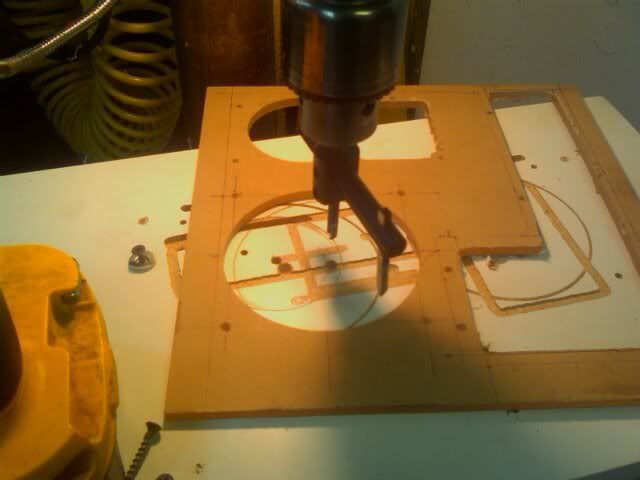
    First cut completed. Drill press with a mill table and a bit from a Dremel. It's not the most...accurate...solution ever, but it does a damn good job considering the whole setup cost me less than $100.


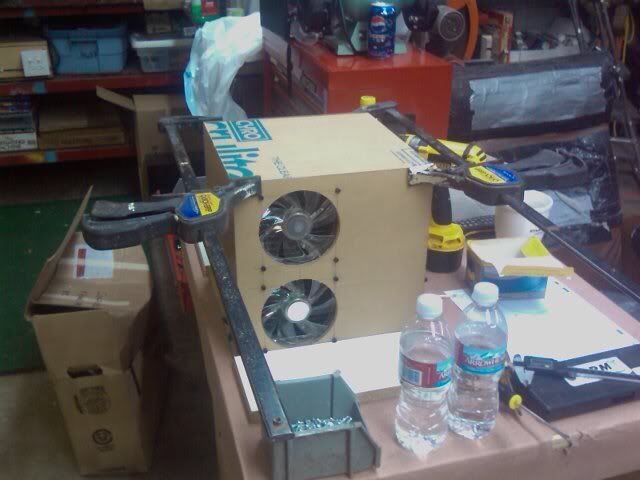
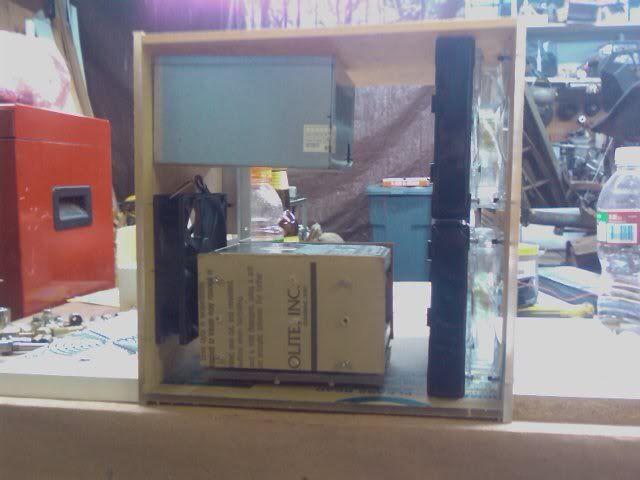
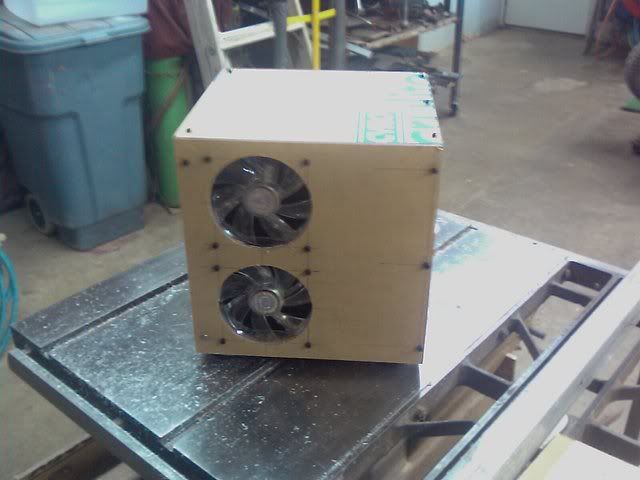
    Radiators mounted. Because this will come up, a 2x120MM radiator wont fit, but 2 separate 120mm Black Ice pros fit just fine.


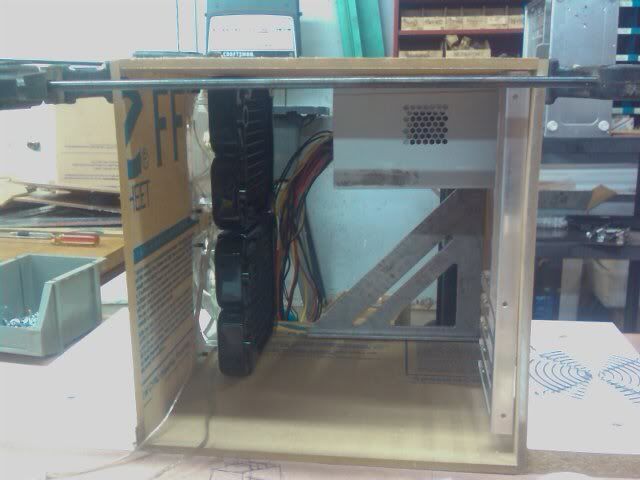
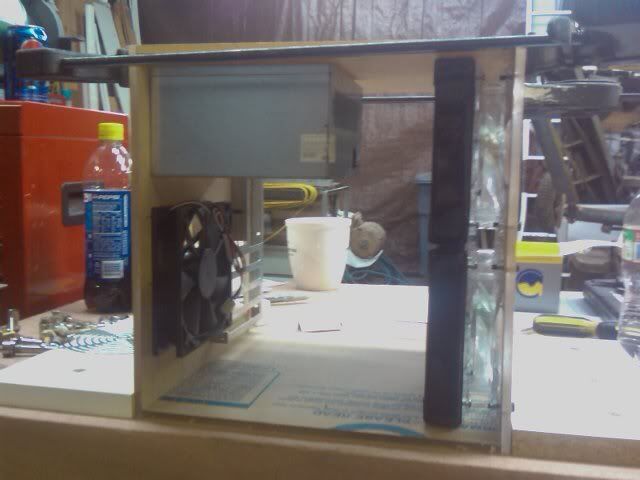
    From the back! Not a whole lot of extra space.


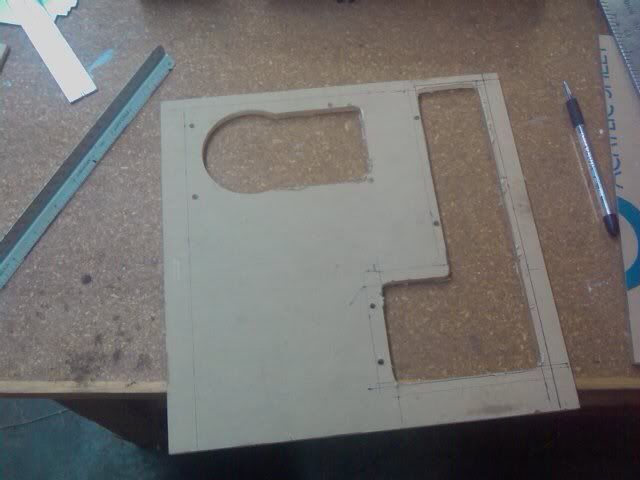
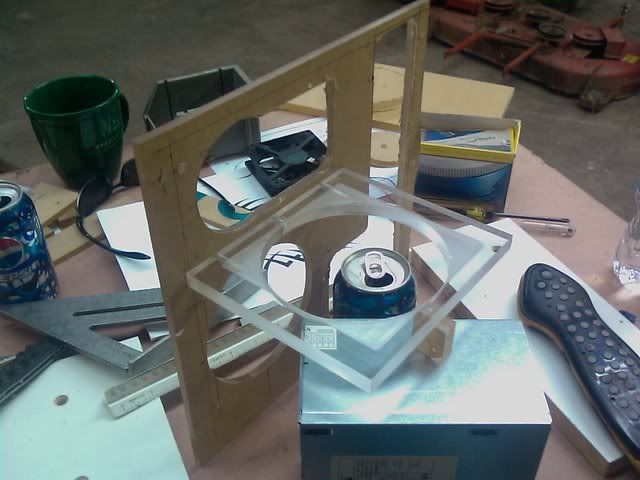
    Cut the PSU mount out. Combination of a circle cutter that will be pictured later and the earlier mentioned drill press + mill table + dremel bit combo.


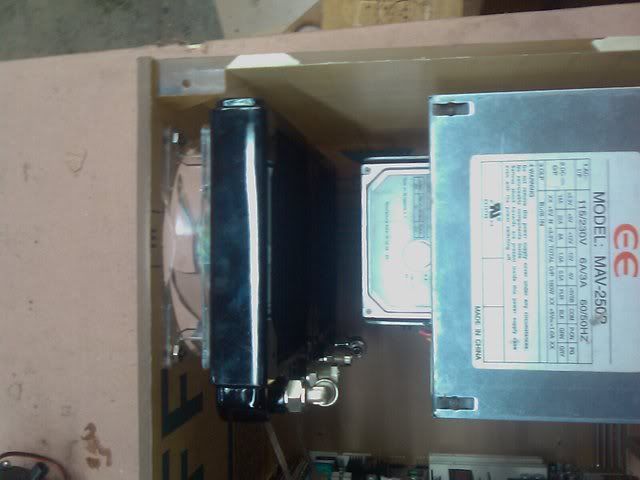
    PSU mounted just to make sure everything fits. One screw hole is off, so I'm going to have to enlarge it slightly to make everything mesh.


    The PSU is a bit on the heavy side, so I'm thinking it needs a support shelf or something, I'll work on that tomorrow. That's an old Antec True Blue 480 that will probably find a new home in Anima Mundi. If that's the case, each and every wire will be a custom run, so no extraneous wires.


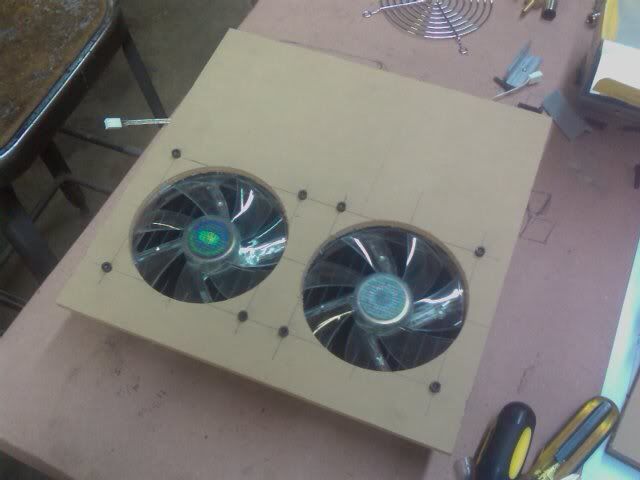
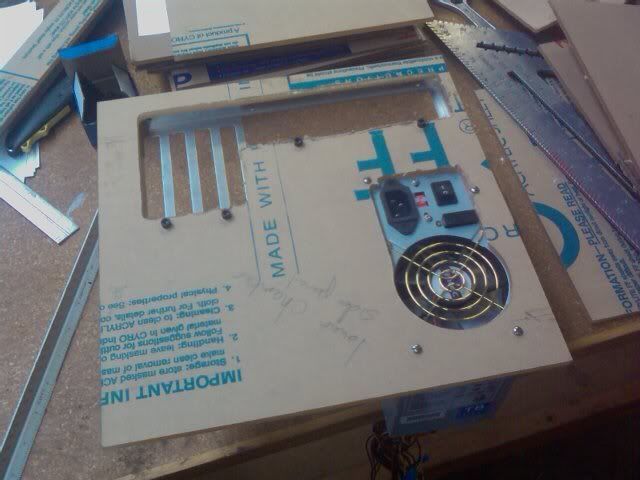
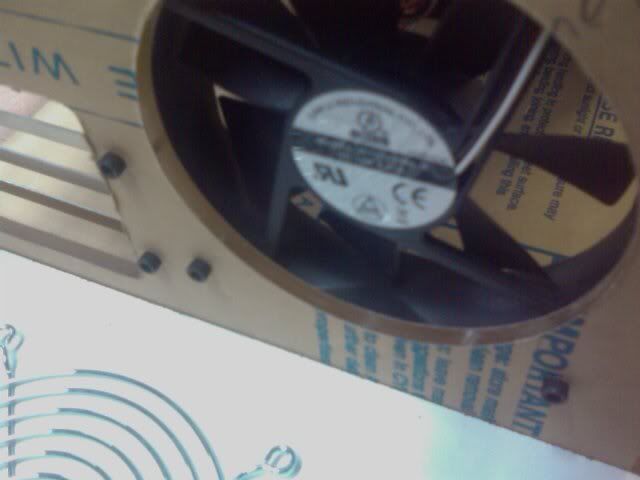
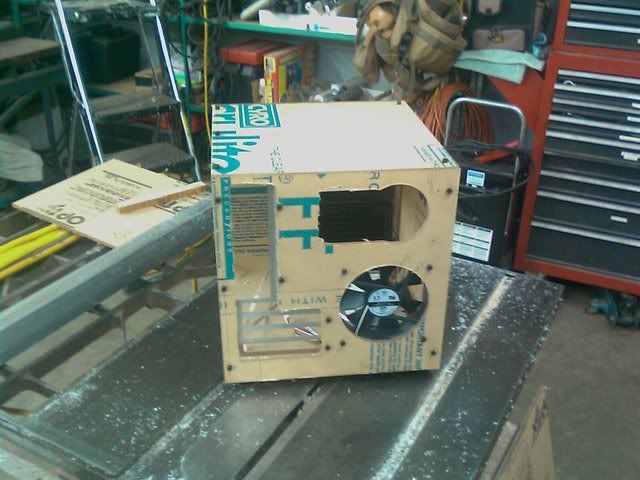
    Yeah for circle cutters! Adding a 120MM exhaust fan to the rear panel.


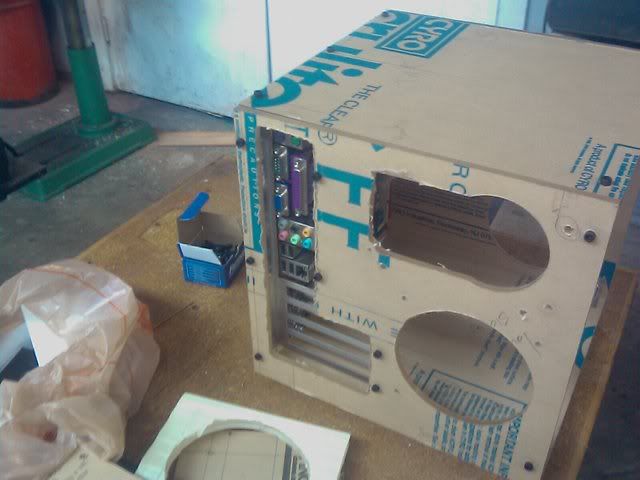
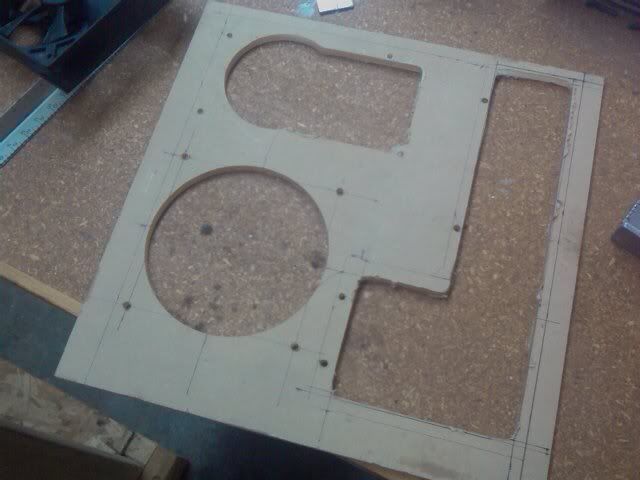
    The completed back panel. I still need to countersink some screw holes and clean up the acrylic edges. There is a slim chance that I'll need to toss a couple more holes in there for the motherboard tray, but we'll get to that later.


    And that's all I got done for the night. Not bad for only a few hours haha.


    The results of the circle cutter. Will only need a bit of polishing, nothing major.


    Straight off the drill press + mill table + dremel bit combo. Needs a little filing and sanding, maybe some flame polishing, but I haven't decided on that.


    This is off the good side of the table saw, and will need the most work. Lots of filing to be done!


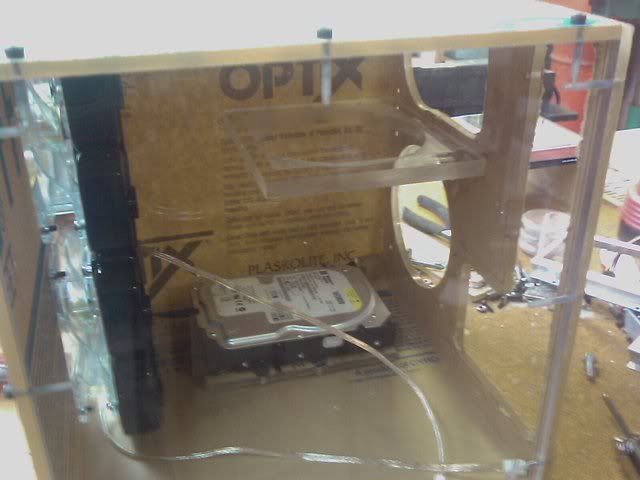
    From the motherboad side of things.


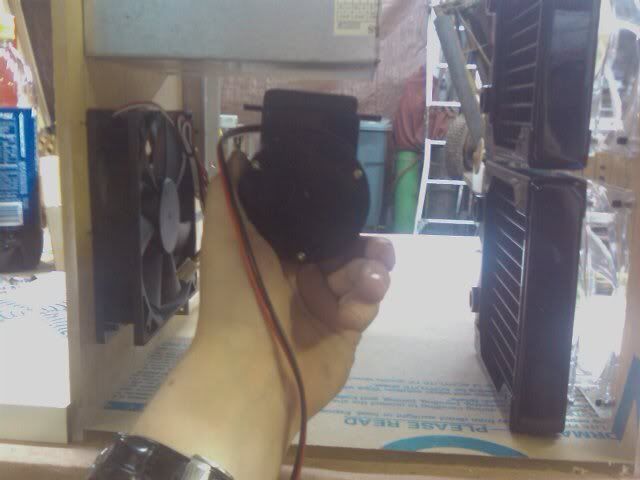
    Possible pump location. Assuming I add a support shelf for the PSU, I would just slap the pump on the bottom and call it a day.


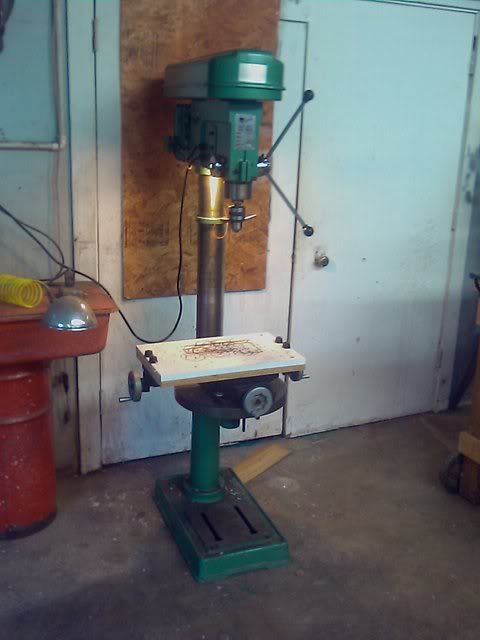
    NEW TOY! My neighbor is an 85 year old man who never works in his shop anymore and is slowly giving away all his tools. He gave me that little work bench I posted earlier for nothing. I went over to mow his yard for him (its small and I was doing mine anyway), and he came out and said he had a couple tools that he wants out of his shop. The drill press just happened to be one of them. The best part, it was free. 3/4 HP Grizzly. Almost brand new.


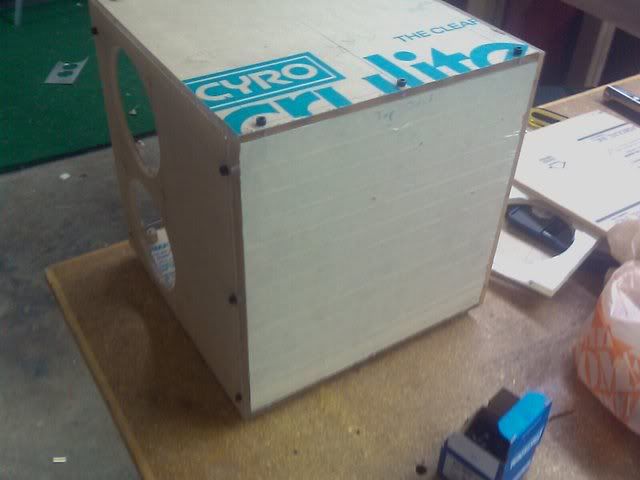
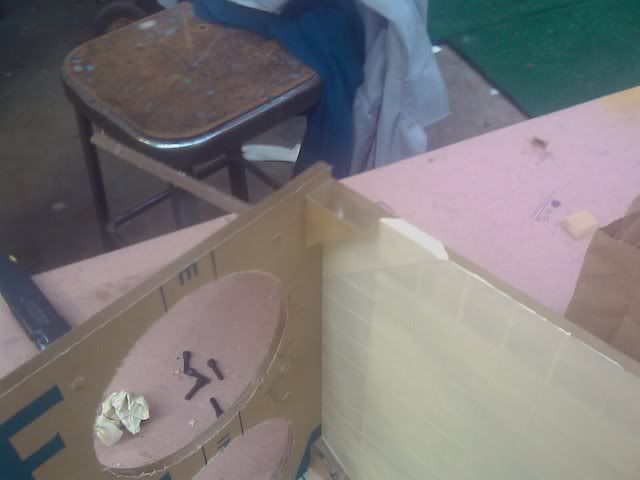
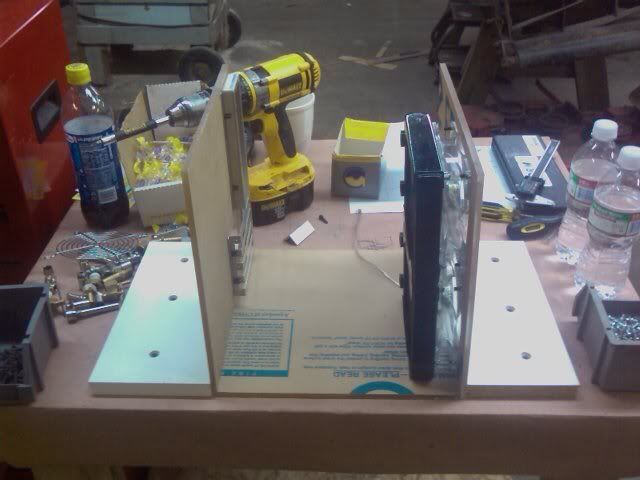
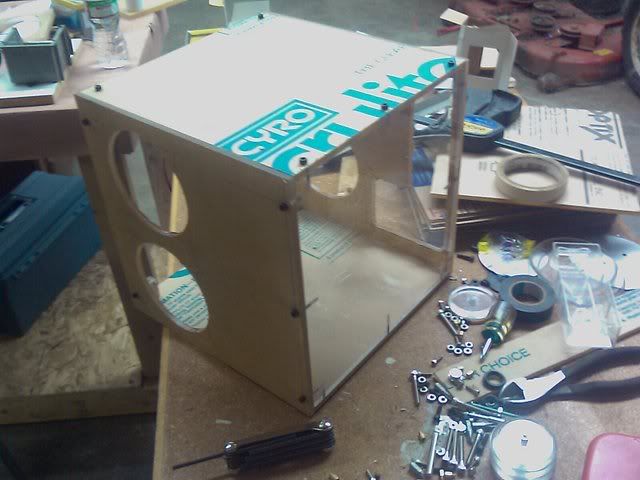
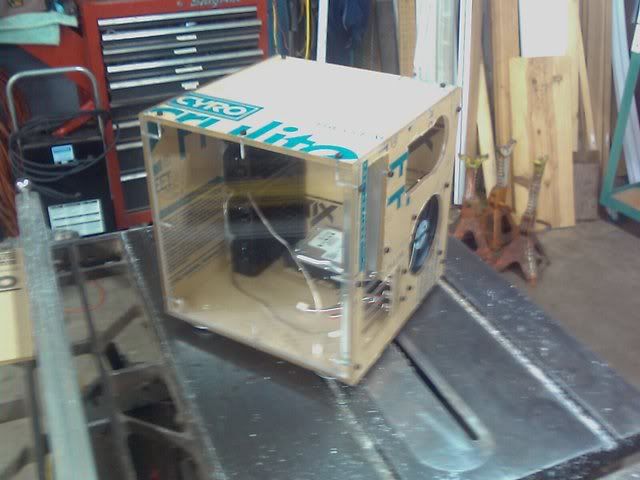
    I decided that I wanted to screw this thing together instead of gluing it, mostly because I hate plexi glue, but that's besides the point. Sorry about the pictures, for whatever reason they didn't come out very sharp at all. This is the non motherboard tray side of things.


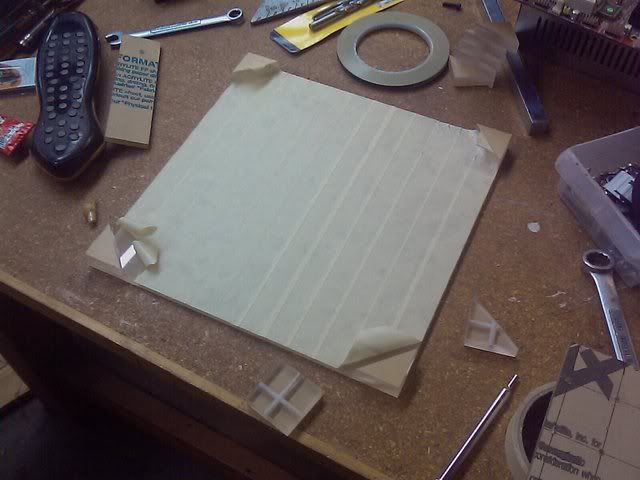
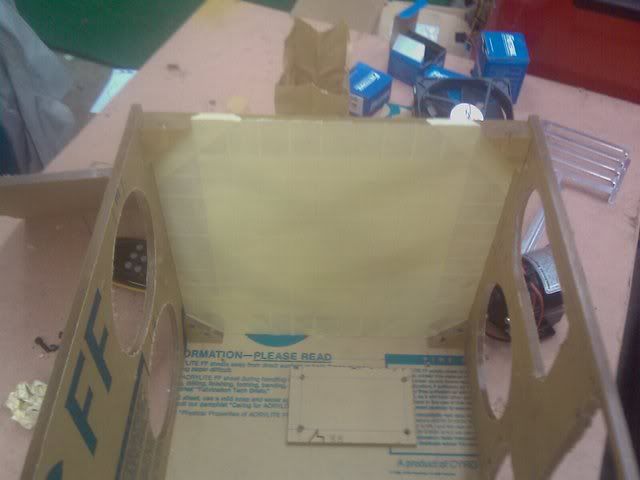
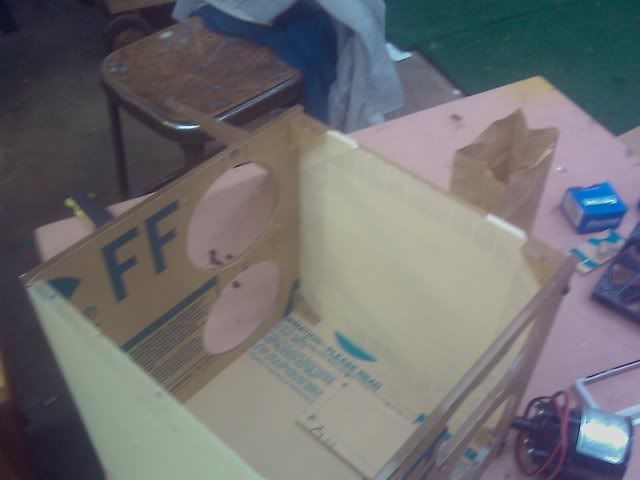
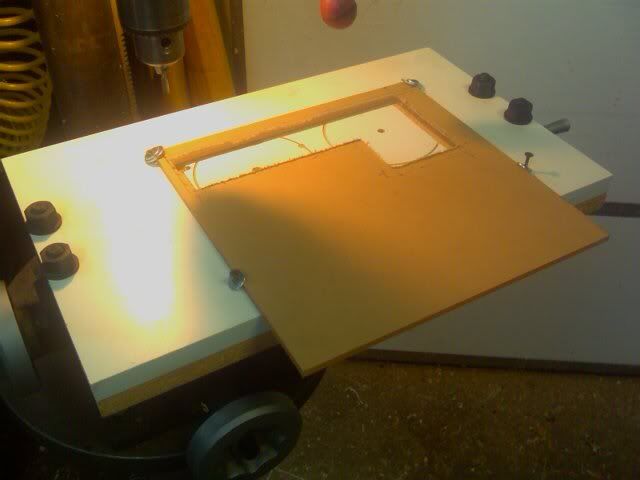
    That would be the 1/2 inch acrylic I've been waiting for. This is the motherboard tray side of the case. I had to remove the paper to get everything lined up right. It's now covered in masking tape to keep it scratch free.


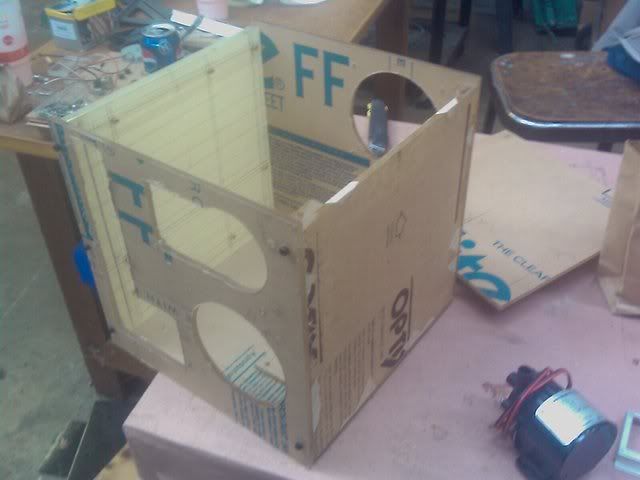
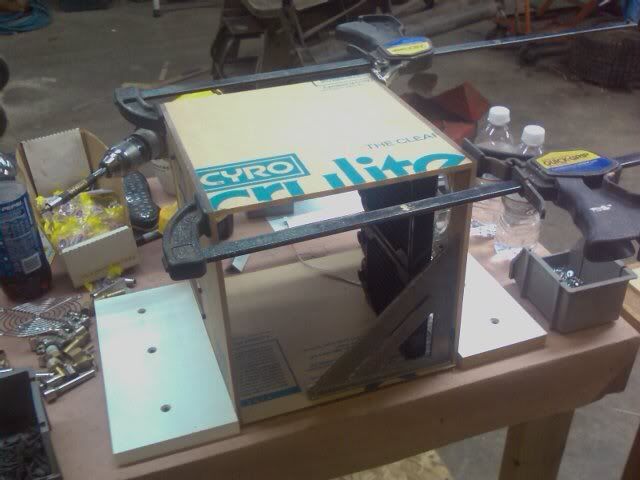
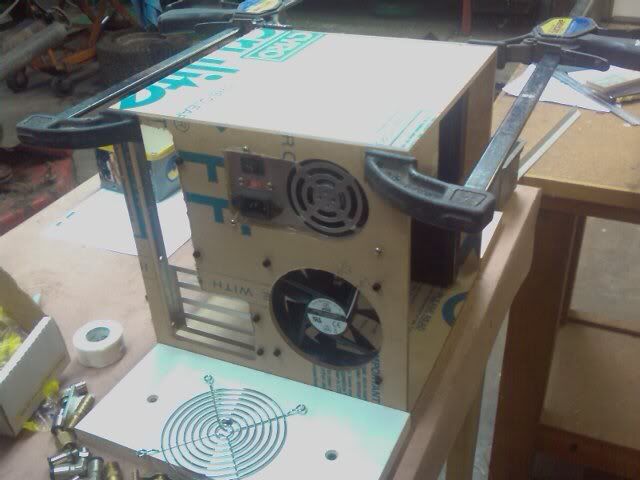
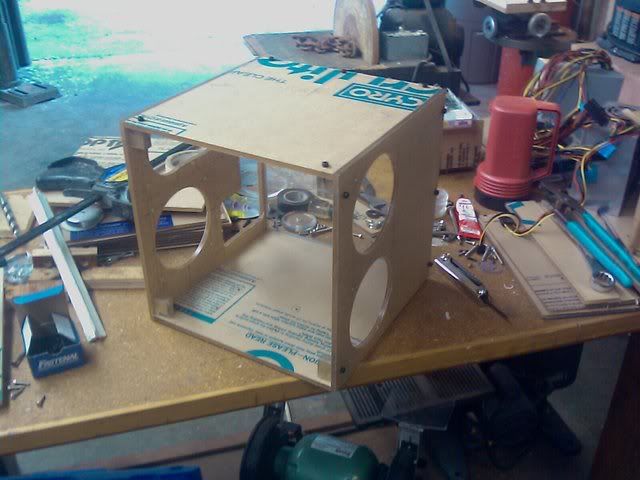
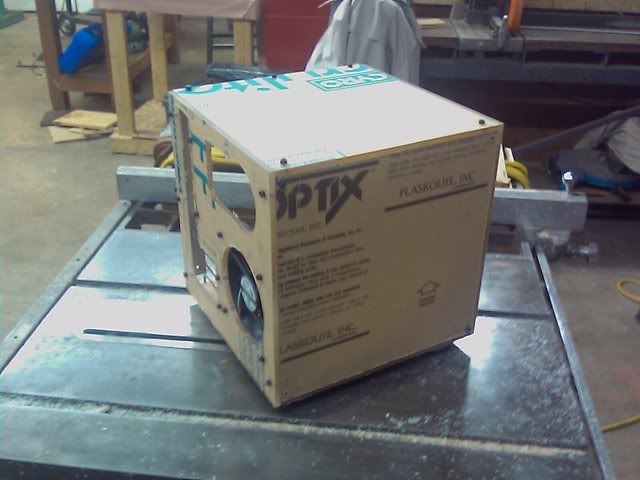
    The new front view. Note the lack of clamps holding things together.


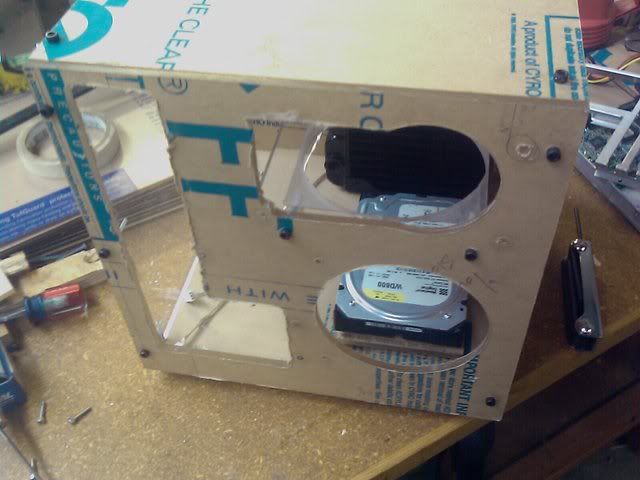
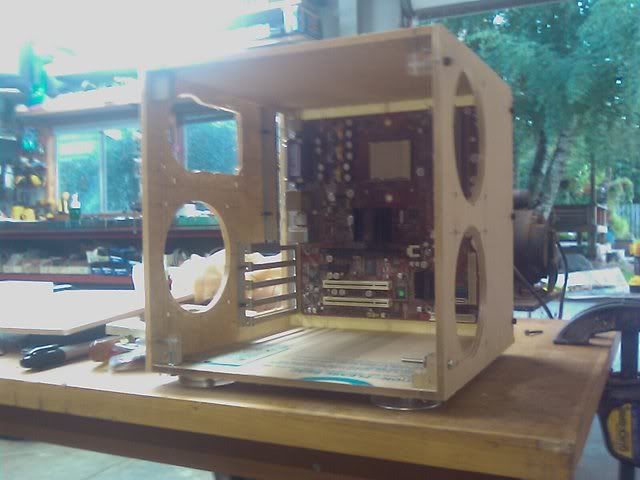
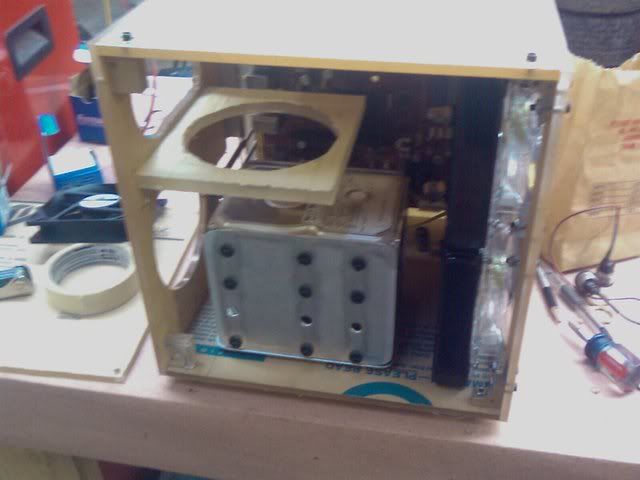
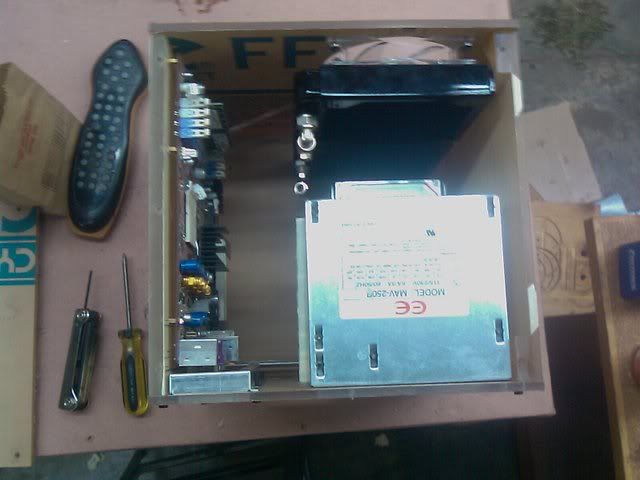
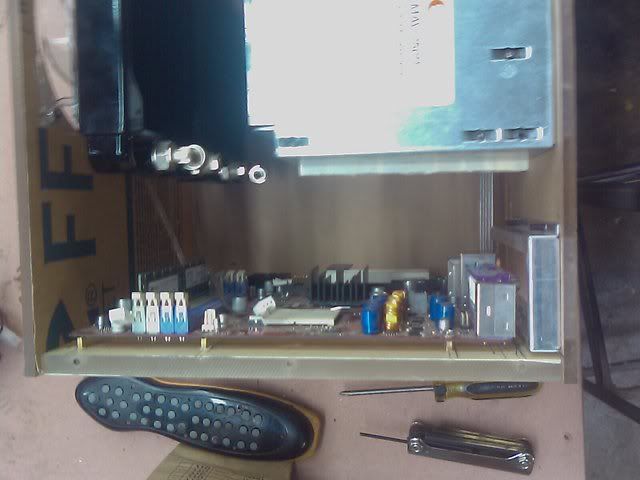
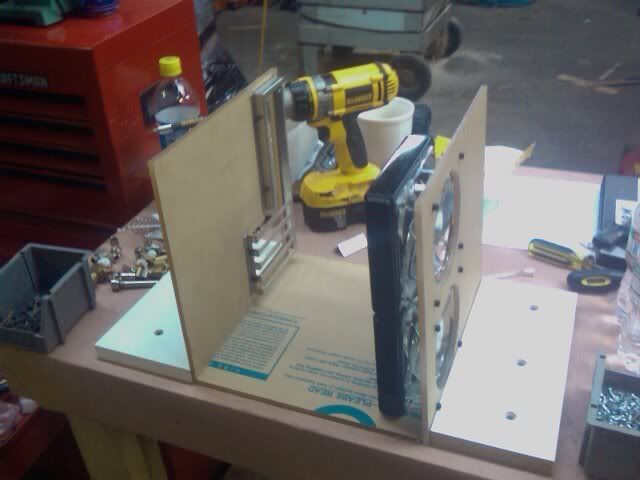
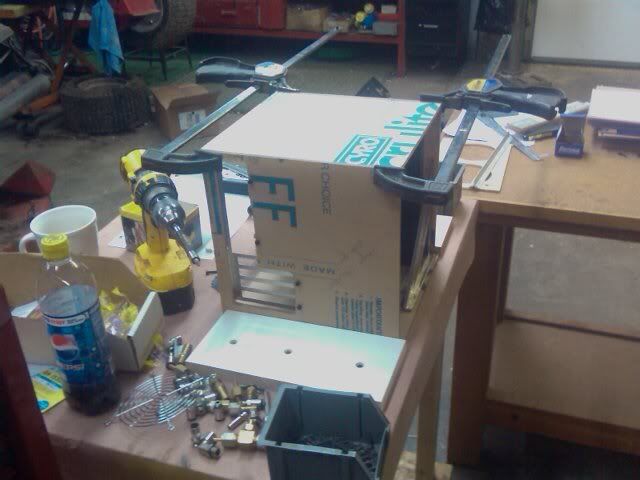
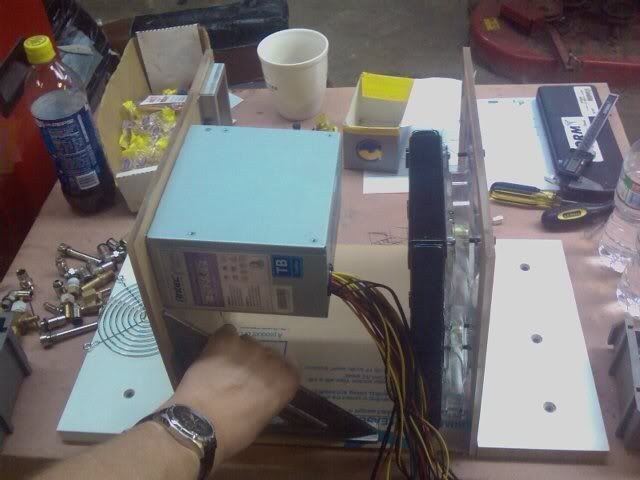
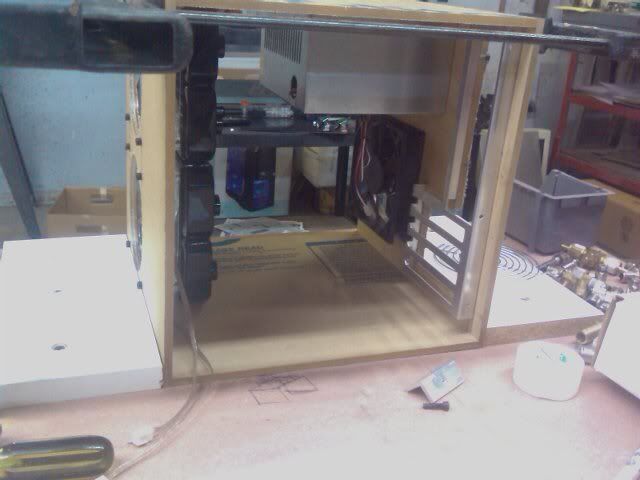
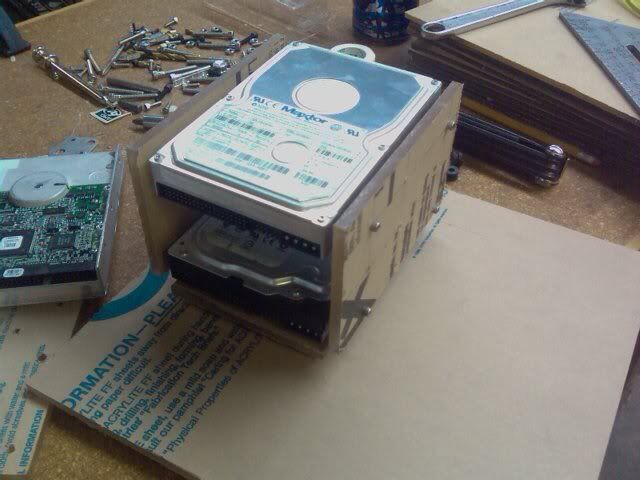
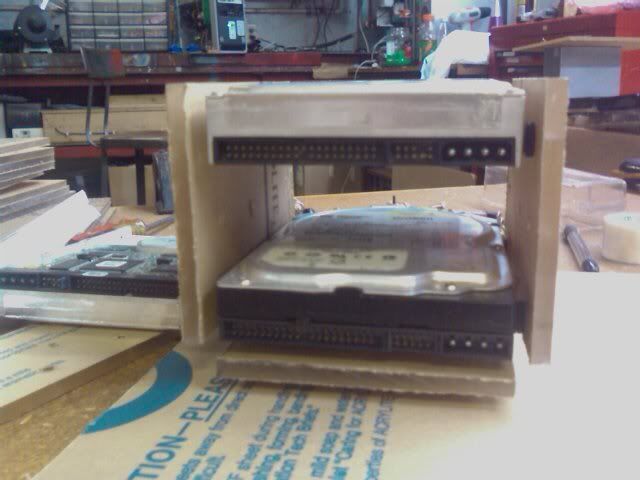
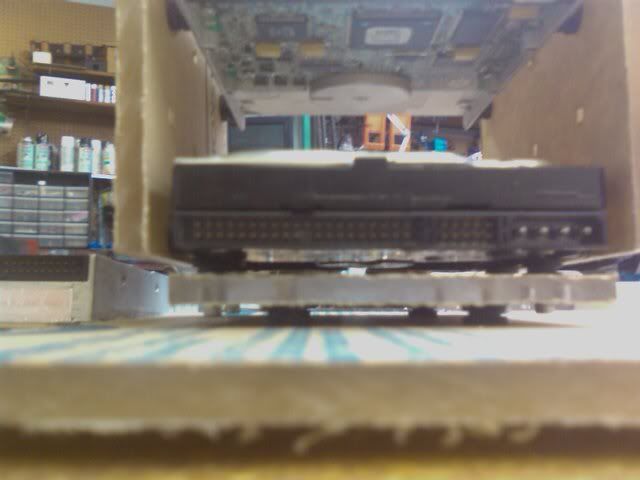
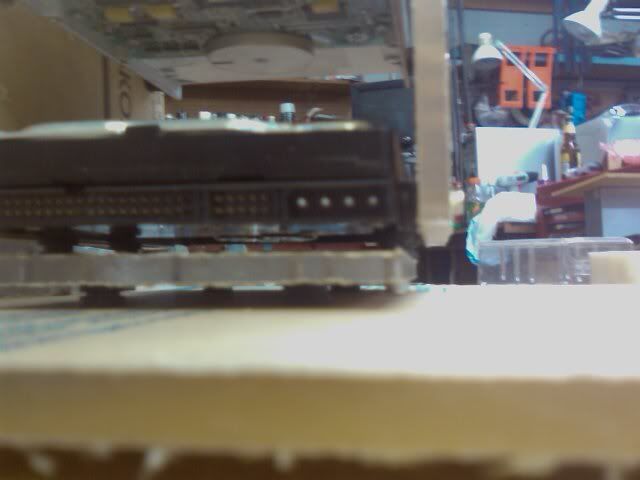
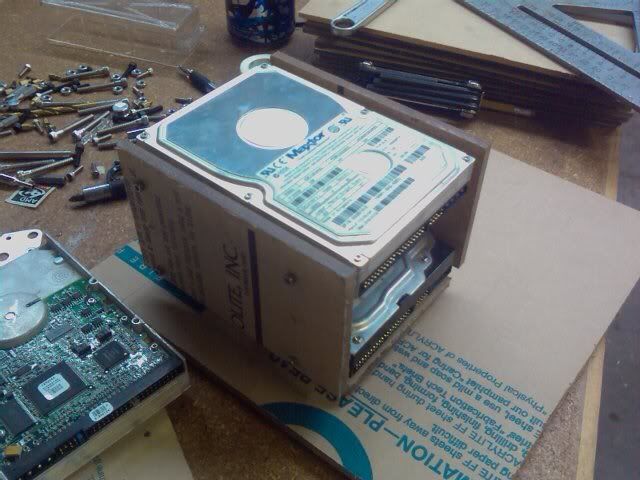
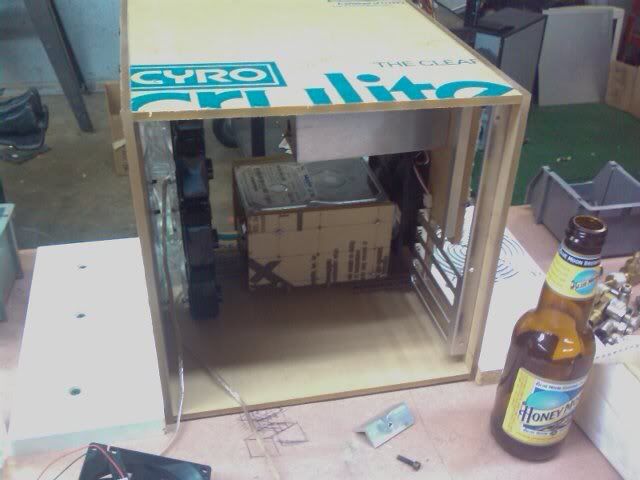
    Motherboard side with some of the internals shoved back in. I ran into a little problem with the hard drive rack, I'll detail that tomorrow when I post my solution.


    Rear motherboard side corner. Not really that interesting...


    The back end, only thing new is the 3 screws on the left and the two on the right.


    The removable side of things. I didn't measure two of the hole locations right, so I either have to fix the bottom left and top right holes or cut a new side panel.


    Front left corner!


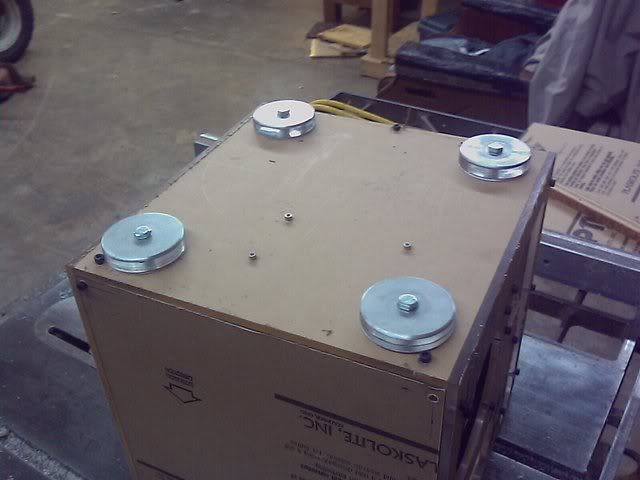
    The sort of completed feet. Those aren't the final bolts, and they still need to be lit and the aluminum painted, but that's the general idea. 1/16 inch aluminum, two pieces of 3/16 acrylic, and another piece of aluminum all turned and smoothed on the drill press.


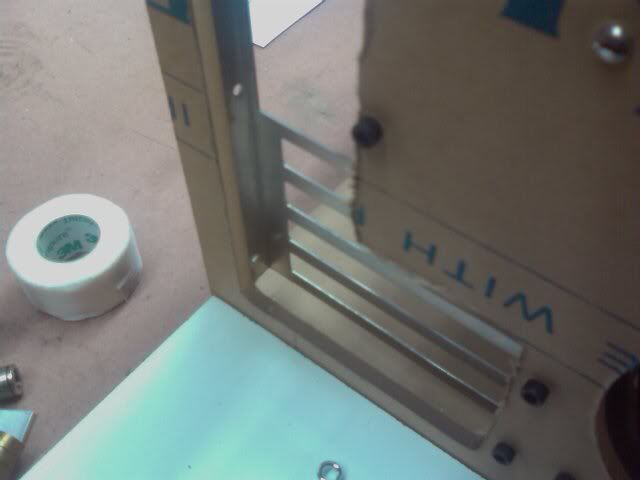
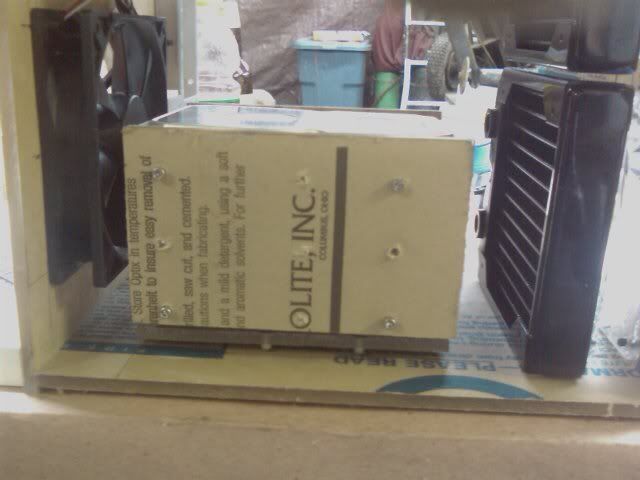
    The PSU support. Note the hole in the middle that I screwed up. It cracked the acrylic, so when I go to do the polishing I'm going to fill it. The cloudy section has been cut down about 1/16 of an inch to allow for any fan grills that the PSU might have. I'm not quite done with the PSU support bracket, but I'll post about that tomorrow.

  2. #2

    Default Re: Project Anima Mundi Redux


    PSU bracket mounted in the case


    Another angle


    From the motherboard side of things before I taped up the MB tray.

    So 99% of the structural stuff is done. I just have a few more odds and ends to tie up before I start the lighting. After lighting comes edge cleanup and hole countersinking (only a few holes need it), then comes paint and *secret step to be named later*.


    Counter sunk the feet. Next step on these things is lighting, which is a way off. The top aluminum disc will be painted to match the case, the bottom disc will be rubber coated.


    Got the motherboard mounted. It needs a little work still, but it fits together almost perfectly. The last picture is just there to show that I didn't drill all the way through to mount the standoffs.


    Rebuilt the hard drive rack. This one will isolate the vibrations coming off the hard drive better, and holds 4 drives vs the old 3 drive rack. Metal still needs a little cleanup. The discoloration you see is just from me running a wire wheel over it to remove some imperfections.

    I've been battling the blocks on the hard drive side of things for three iterations now. I dont want to waste anymore half inch acrylic, so I have a new plan! Four corner pieces glued to the side panel. I'll clamp it into the case tomorrow and drill and tap the holes exactly where I want them. I will win!


    I have a design decision to make. I figured out where I can fit a laptop sized optical drive without compromising any of the other design elements. It fits like a freaking glove I'm impressed. I'm just debating whether I want to spend the $80 or whatever a slot loading DVD-RW would cost me.

    Thoughts?

  3. #3
    A big old Tease Apparently DonT-FeaR's Avatar
    Join Date
    Sep 2006
    Location
    Australia, south australia, Gawler
    Posts
    2,939

    Default Re: Project Anima Mundi Redux

    very nice

    i love it

    welcome to tbcs this is great man well done
    Quote Originally Posted by Drum Thumper View Post
    you tease!

  4. #4
    Project: Elegant-Li The boy 4rm oz's Avatar
    Join Date
    Mar 2006
    Location
    Balhannah, South Australia
    Posts
    6,411

    Default Re: Project Anima Mundi Redux

    I love this mod ninja. It's awesome that you decided to bring it over from Bit-Tech.
    Project: Elegant-Li *NEW*
    Project: Alpha FINISHED
    Project: LEXA Revival FINISHED
    Project: LEXA FINISHED Bit-Tech MOTM Nominee October 08

  5. #5
    Undead Pirate d_stilgar's Avatar
    Join Date
    Mar 2005
    Location
    Philadelphia, PA
    Posts
    2,987

    Default Re: Project Anima Mundi Redux

    Welcome! Great work and +Rep.

  6. #6

    Default Re: Project Anima Mundi Redux

    Quote Originally Posted by DonT-FeaR View Post
    very nice

    i love it

    welcome to tbcs this is great man well done
    Quote Originally Posted by The boy 4rm oz View Post
    I love this mod ninja. It's awesome that you decided to bring it over from Bit-Tech.
    Quote Originally Posted by d_stilgar View Post
    Welcome! Great work and +Rep.
    Thanks for the compliments everyone!

    Another minor update.

    I got the sidepanel screwed on. The case is 100% structurally finished minus the pump situation. Next up is lighting and electronics. After that comes edge finishing, then paint and any exterior modifications that I may or may not have planned...


  7. #7
    A big old Tease Apparently DonT-FeaR's Avatar
    Join Date
    Sep 2006
    Location
    Australia, south australia, Gawler
    Posts
    2,939

    Default Re: Project Anima Mundi Redux

    nice work mate;... trust me its the details that kill ya
    Quote Originally Posted by Drum Thumper View Post
    you tease!

  8. #8

    Default Re: Project Anima Mundi Redux

    So here's a top down view with most of the components screwed in. I need to add a couple of spacers under the motherboard to make things rack right.


    Anybody see the issue? Yeah, space for the pump. It's a toss up between a Liang DDC and a Danger Den CPX1. I think I have to give up having a video card, but either one should fit. Perhaps some fancy plumping will let me fit a video card in there, but that has yet to be seen.

    The pumps:
    Liang DDC with Plexi top
    Dangerden CPX1

  9. #9
    Project: Elegant-Li The boy 4rm oz's Avatar
    Join Date
    Mar 2006
    Location
    Balhannah, South Australia
    Posts
    6,411

    Default Re: Project Anima Mundi Redux

    Fabricate yourself a plexi pump mount so you can mount the pump on one of the case sides, next to the radiators looks good. That way you can have the GPU as well.
    Project: Elegant-Li *NEW*
    Project: Alpha FINISHED
    Project: LEXA Revival FINISHED
    Project: LEXA FINISHED Bit-Tech MOTM Nominee October 08

  10. #10
    A big old Tease Apparently DonT-FeaR's Avatar
    Join Date
    Sep 2006
    Location
    Australia, south australia, Gawler
    Posts
    2,939

    Default Re: Project Anima Mundi Redux

    yeah agreed..
    Quote Originally Posted by Drum Thumper View Post
    you tease!

Posting Permissions

  • You may not post new threads
  • You may not post replies
  • You may not post attachments
  • You may not edit your posts
  •