Wow, looking very cool


Wow, looking very cool
The Cutting edge of modding, is on the end of your Dremmel


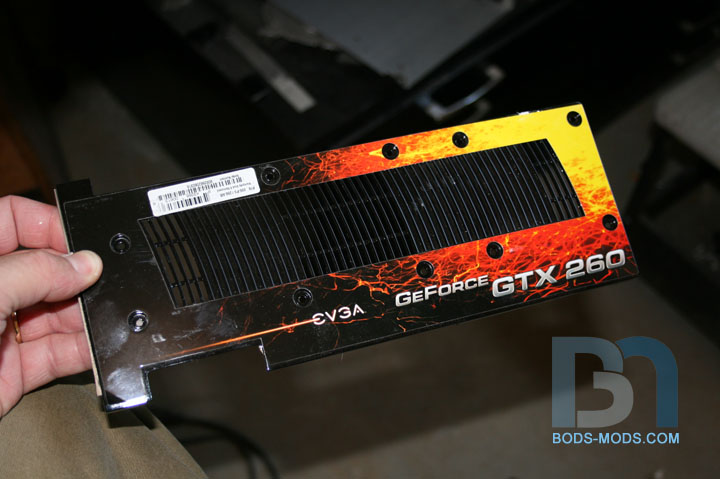
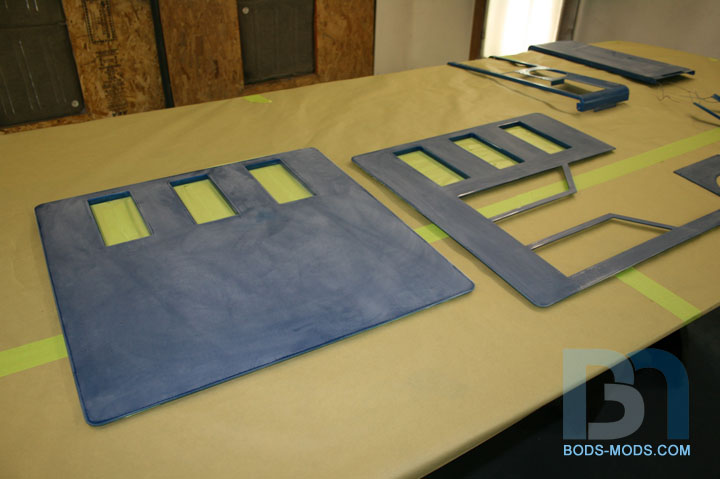
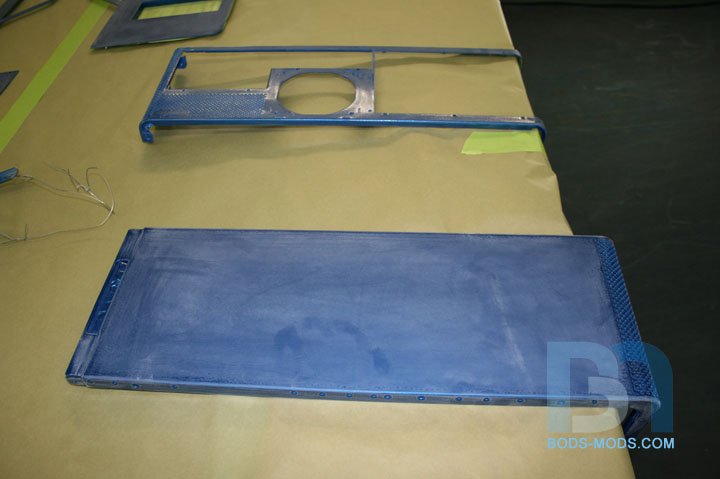
I finished up the video card bottom plates tonight. Get ready for some more UV glowy goodness!
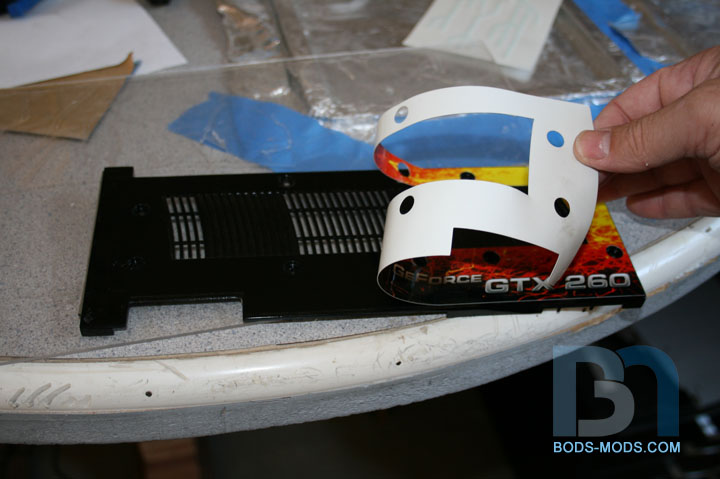
One of my 260 cards already has an aluminum bottom plate, but it has this factory decal on it.
...which was easily removed.
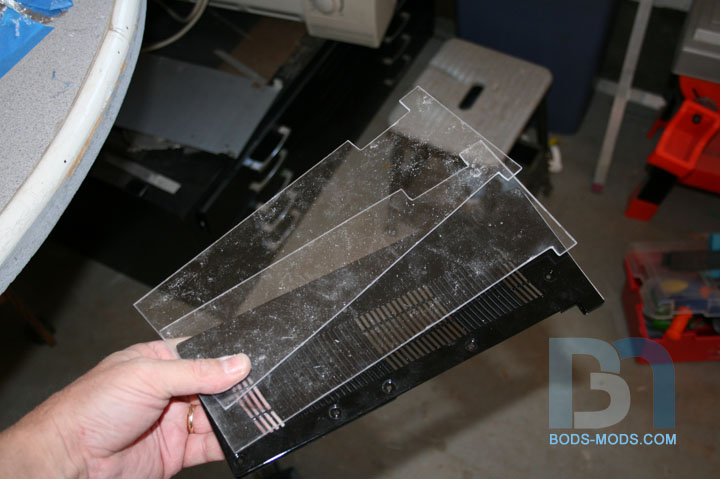
My other two cards do not have a bottom plate. But that's no problem, I just made two more from acrylic using the
existing one as a template.
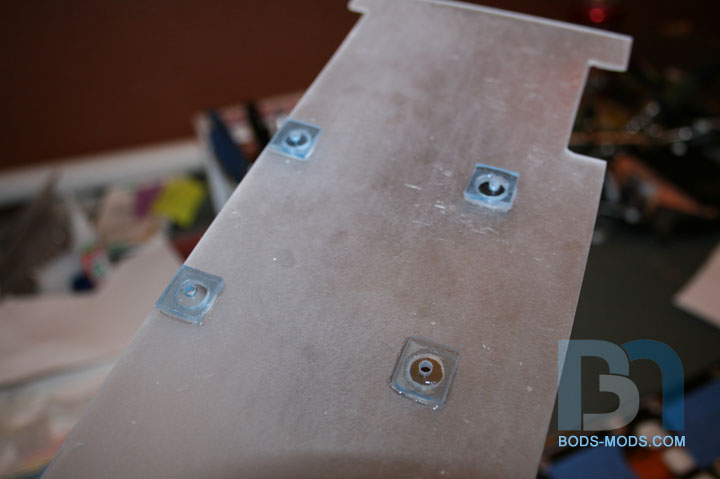
The stock plate has raised mounting posts where it's screwed to the card, to clear certain parts on the pcb.
so I had to replicate that on the acrylic copies. I basically cut a bunch of squares from 1/8" acrylic and glued
them on the back of the plates after drilling the large diameter holes. Then I went back and drilled the smaller
holes through the squares.
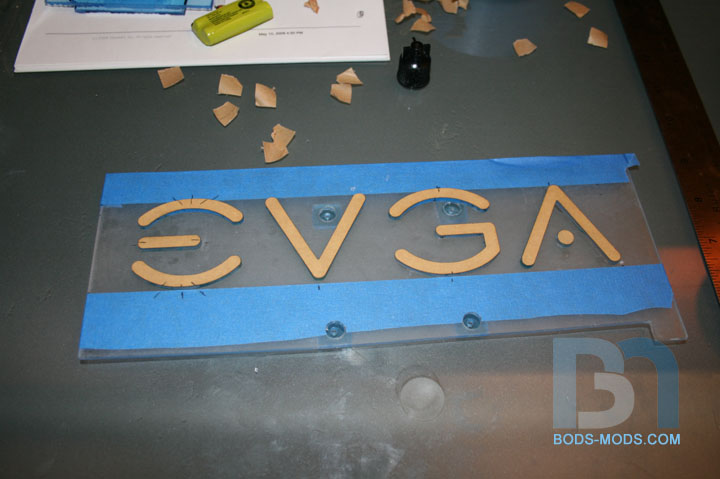
Since I pretty much stripped these cards of all their identity, I wanted to put some of that back on, so I had Moddersmart
cut me a few EVGA logos out of 1/8" blue transparent acrylic. I could have just made all three plates out of the blue
acrylic and masked off the EVGA lettering, but I thought the raised logos would stand out a bit more, giving them a
more 3-dimensional look.
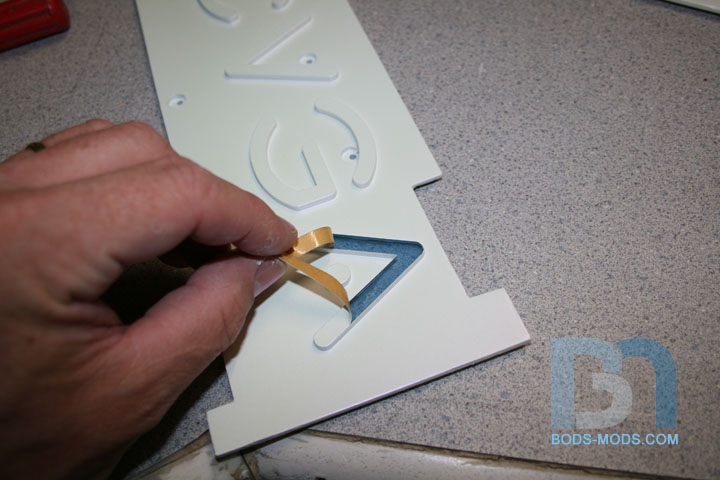
I laid the letters out on the plates, lining them up with pieces of tape as guides. After marking each piece's position,
I removed the paper backing on one side and glued them down.
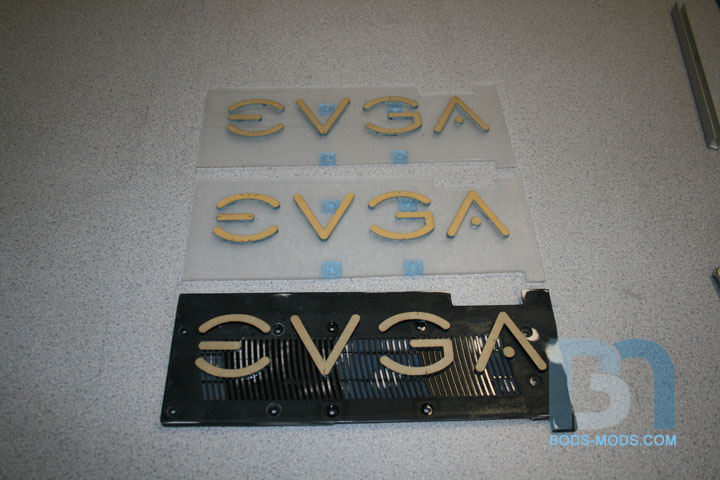
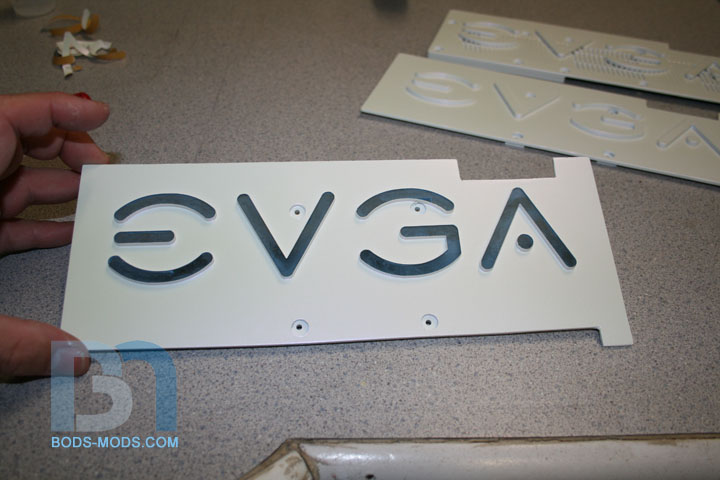
Here are all the plates with the logos glued on and ready for paint. Notice I left the paper backing on the lettering.
Makes a perfect mask!
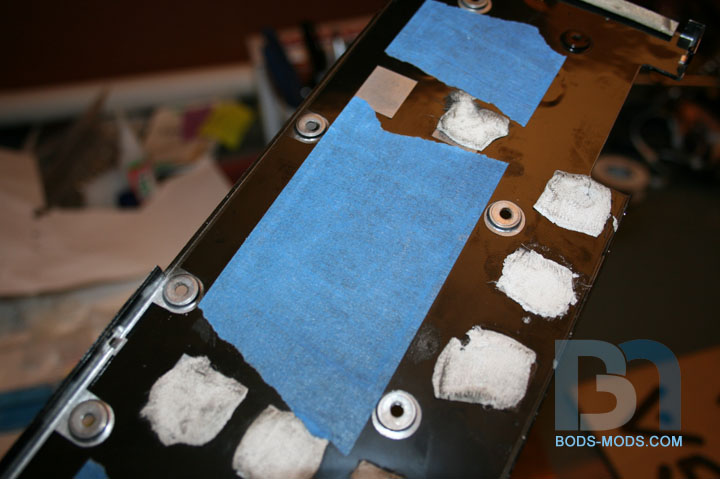
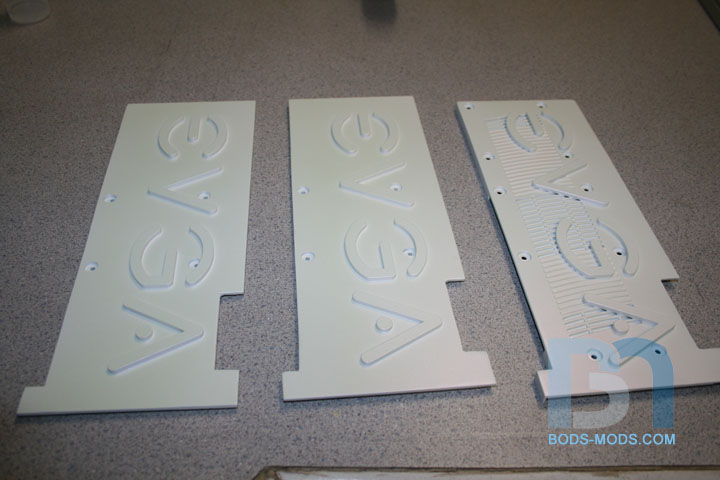
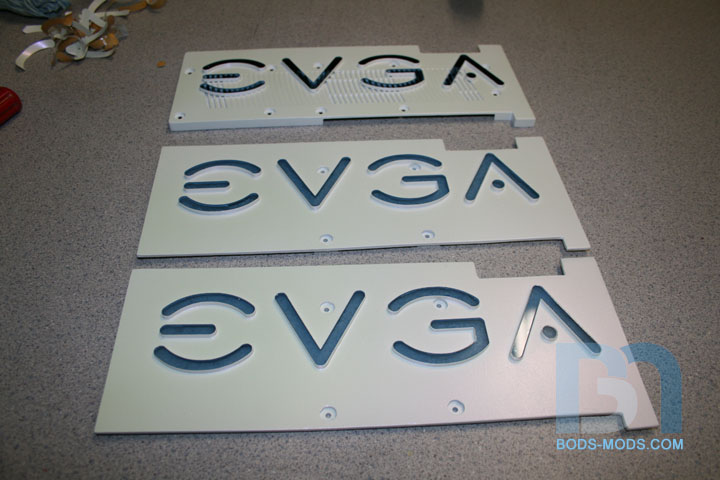
Primed, painted, pearled. lol
Time to take the masking off!
Me like, iz goood!
All the plates de-masked:
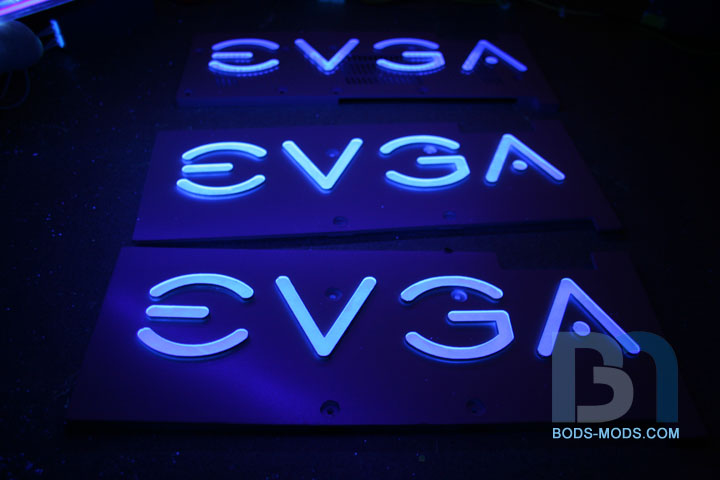
They looked so good, I got out the UV cathodes for some glowy pimpage...
Lights on:
Lights off:
Of course with the flash off, the camera lets in way more light than normal, causing an exaggerated effect, but it's still cool!
I was going to get a shot of the plates on the cards, but I ran out of time. I'll see if I can do that after work. 'Til then!
Honey Roasted Peanuts Ingredients: Salt; Artificial honey roasting agents; Pressed peanut sweepings.

Bod, you don't need me to tell you how awesome those back plates look lol.
Project: Elegant-Li *NEW*
Project: Alpha FINISHED
Project: LEXA Revival FINISHED
Project: LEXA FINISHED Bit-Tech MOTM Nominee October 08


looks amazing!

Arctic Cat * Maximum Security * Cribbage Board * Rockin Case * Armor Redux
Tempest SXR * Power House * Red Comet * ICHIWZ * Acrylic Headphone Hook
Continuing sponsorship support from PCBoard.ca

daym... quit your job, and finish this thing! im dying to see the end result Ó_ò
is that a 120.9 raddy on your case, or are you just happy to see me?
METO V.1
METO V.2
METO V.3
PC-Beto
Project M8 [WIP]
Thanks guys!
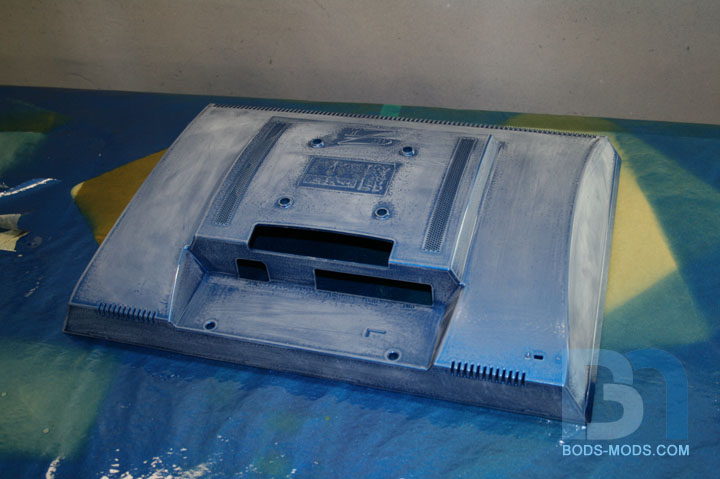
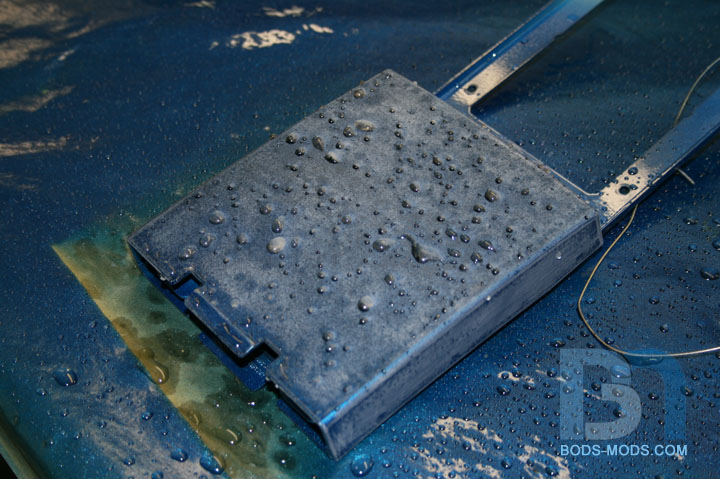
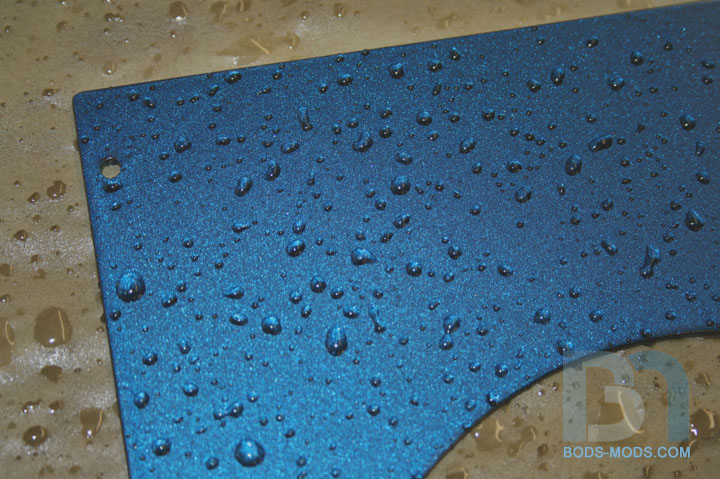
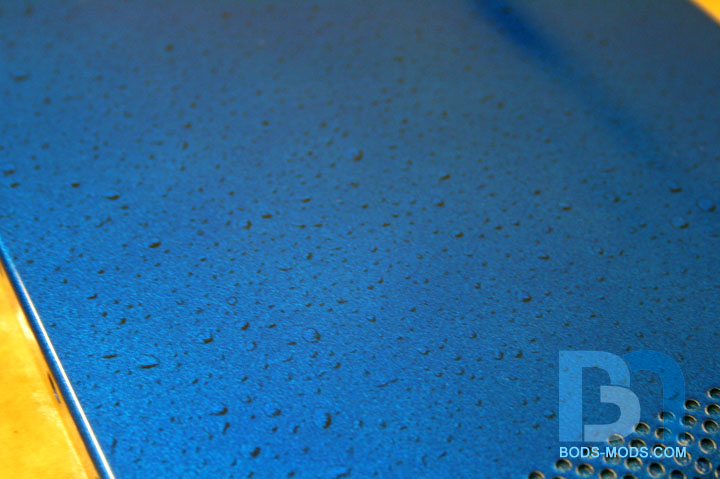
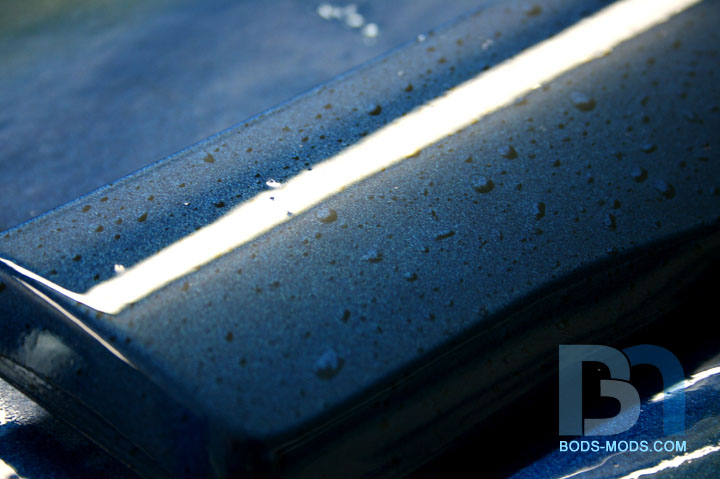
PAINT PHASE III: Water Droplets
Got the water droplets on all the parts today!
methods before we got the water to bead properly, but I think we succeeded. First we scuffed up the parts, getting them
ready to accept the next layer of paint.
However, the scuffed surface didn't yield satisfactory results, because the water didn't bead at all on the scuffed surface,
because it was too rough. So we tried leaving a bit of dust to help with the beading, but that didn't work to well either.
Then we noticed the water beading up perfectly on the table (look next to the part) and realized we needed to re-clear
everything and not scuff them at all.
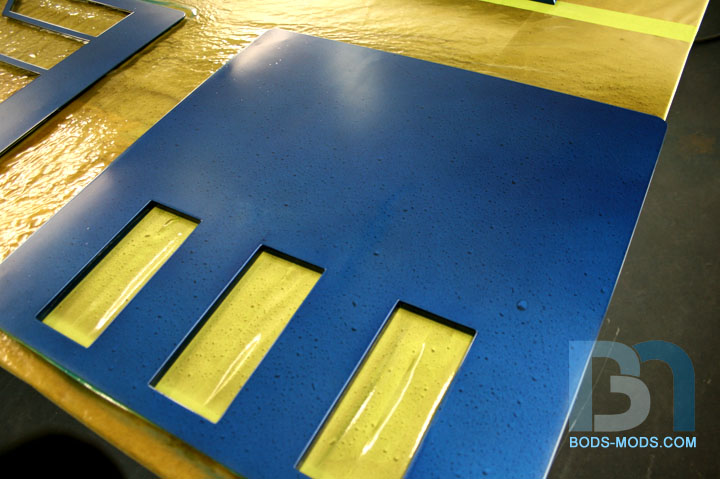
After clearing everything again, we waited about :30 minutes to let it tack up, then went in with the water bottle and the black paint.
Here you can see how well the water beads up on a freshly cleared part:
A close up shot. This is what we are aiming for the final look:
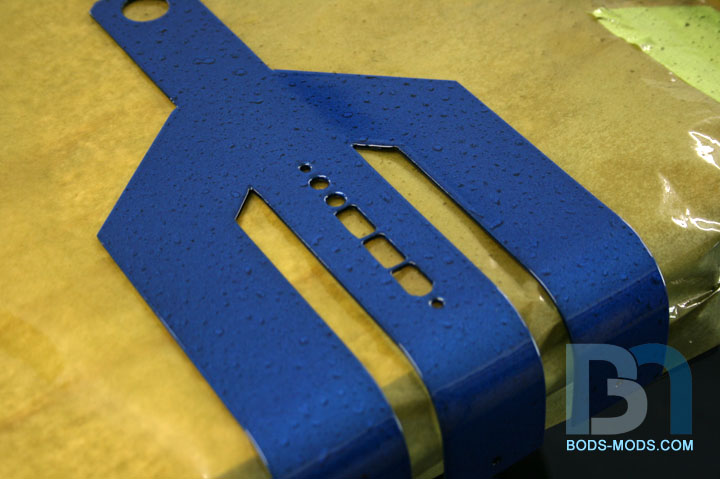
So after we laid down the black over the water drops, we just let the water evaporate away, then went back in for
one last wet coat of clear. And here are the results:
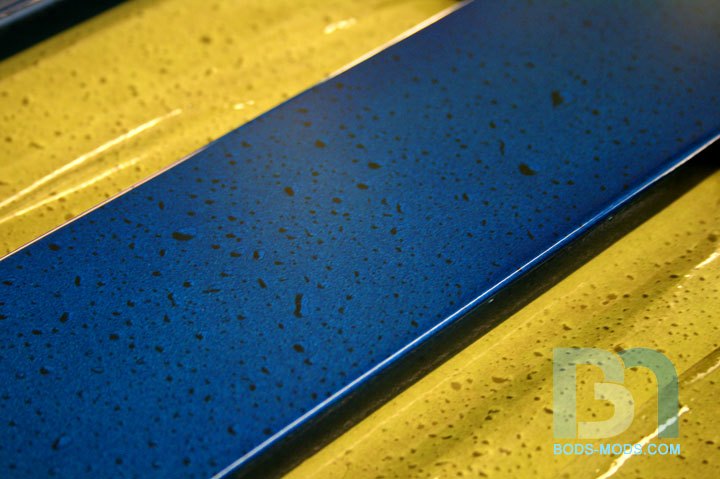
Side panel:
Close up:
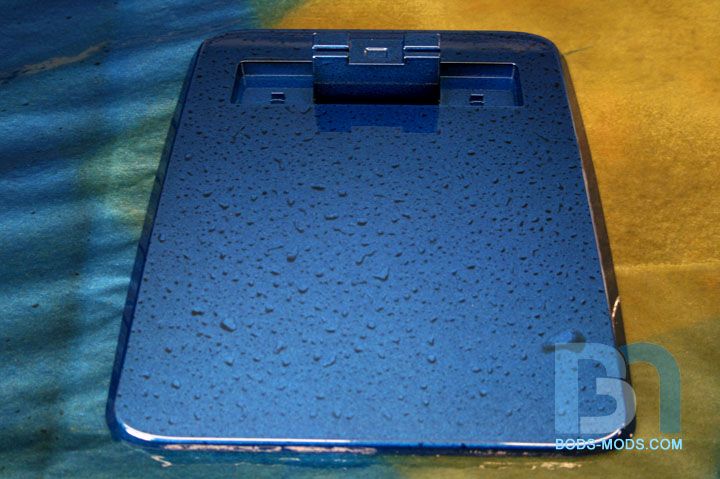
Case top:
Close up:
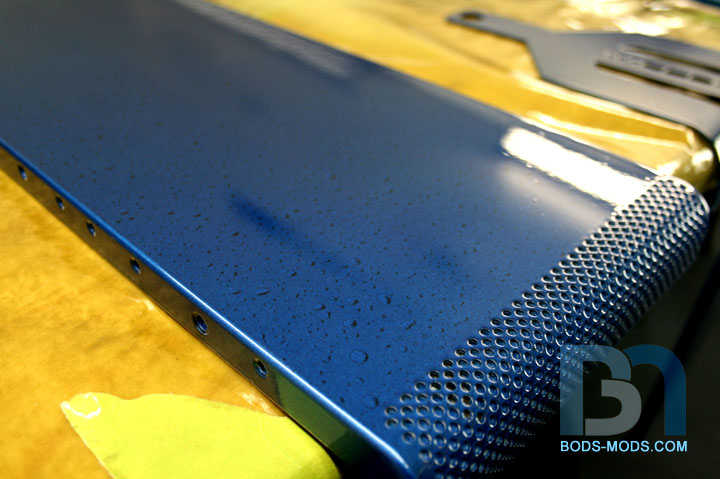
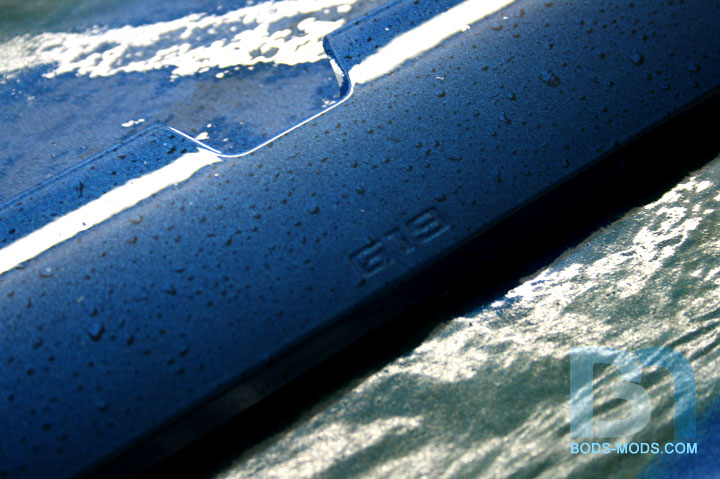
Front I/O trident:
Monitor Base:
Keyboard palm rest:
Close up:
So after some trial and error, I think we got it pretty close to what we were looking for. I have to leave the parts in the
booth for a few days for the clear to cure, then I can re-assemble the case.

Honey Roasted Peanuts Ingredients: Salt; Artificial honey roasting agents; Pressed peanut sweepings.
Man the paint effect turned out very well, well done.
Project: Elegant-Li *NEW*
Project: Alpha FINISHED
Project: LEXA Revival FINISHED
Project: LEXA FINISHED Bit-Tech MOTM Nominee October 08
indeed, looks great!
Arctic Cat * Maximum Security * Cribbage Board * Rockin Case * Armor Redux
Tempest SXR * Power House * Red Comet * ICHIWZ * Acrylic Headphone Hook
Continuing sponsorship support from PCBoard.ca
dude... this is one of my fav mods atm! keep it up
is that a 120.9 raddy on your case, or are you just happy to see me?
METO V.1
METO V.2
METO V.3
PC-Beto
Project M8 [WIP]

Awesome Paint!!!
Originally Posted by SXRguyinMA

so far left of center i'm in right field
 Posting Permissions

 Reply With Quote