Page 5 of 9 FirstFirst 123456789 LastLast
Results 41 to 50 of 83

Thread: Project: Elements of Fortune

  1. #41
    Anodized tomcatt's Avatar
    Join Date
    Feb 2009
    Location
    Belgium
    Posts
    56

    Default Re: Project: Elements of Fortune

    Thank you very much all !!
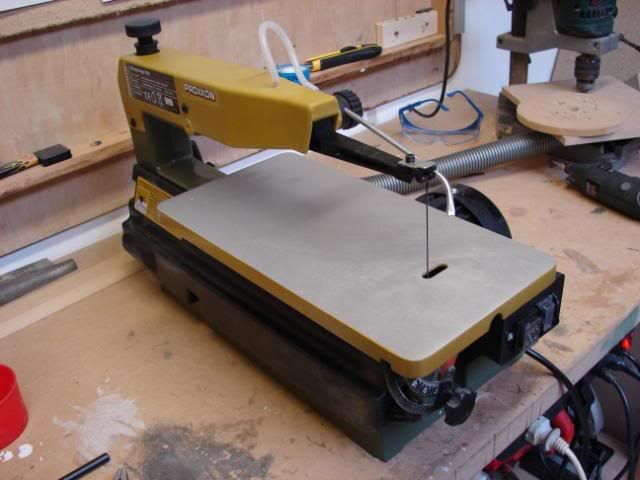
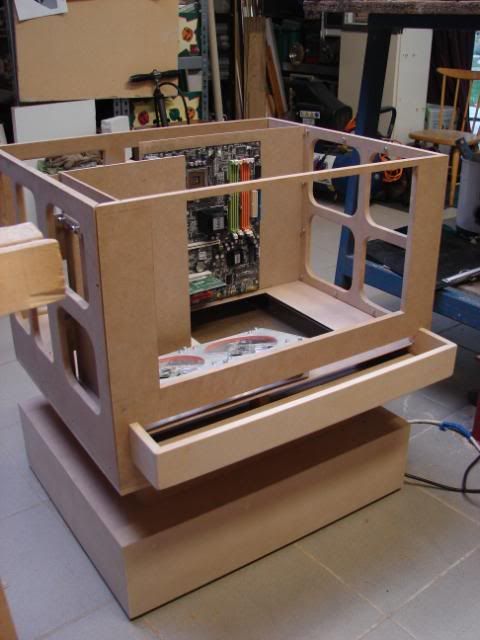
    I’m going to begin on the intake, because my saw machine is still not available in store.


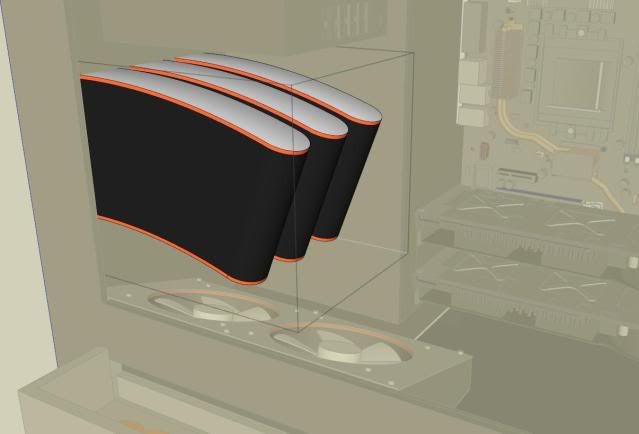
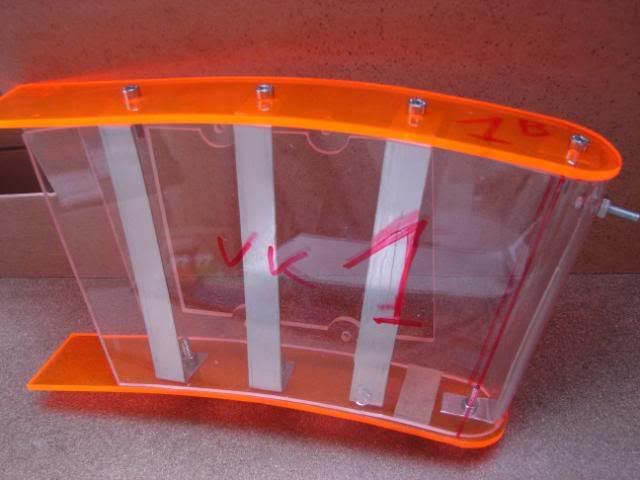
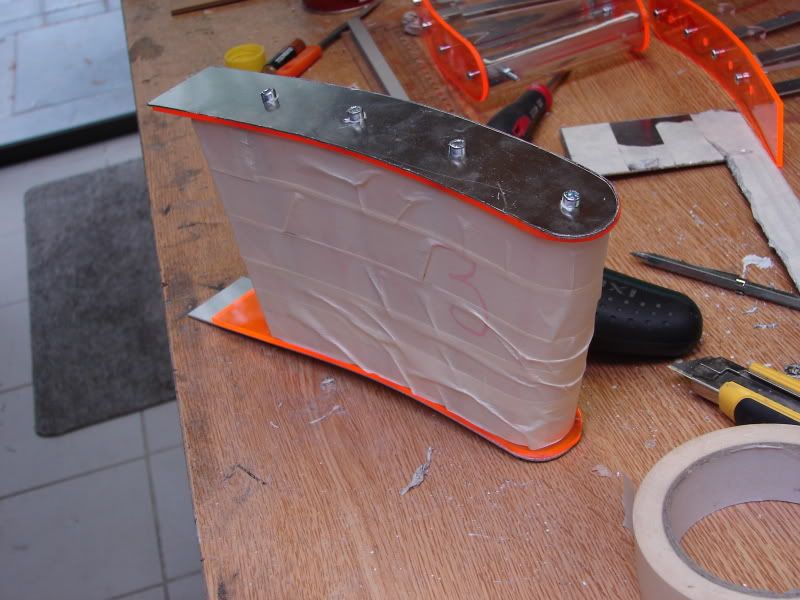
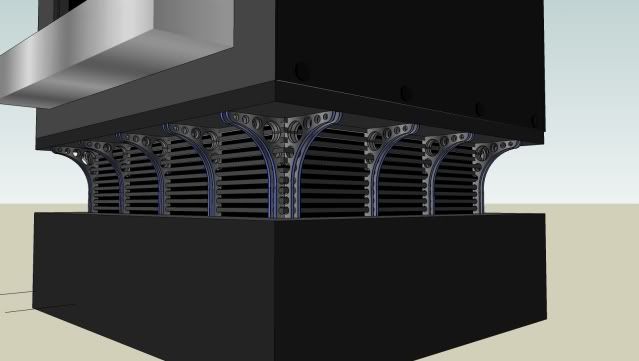
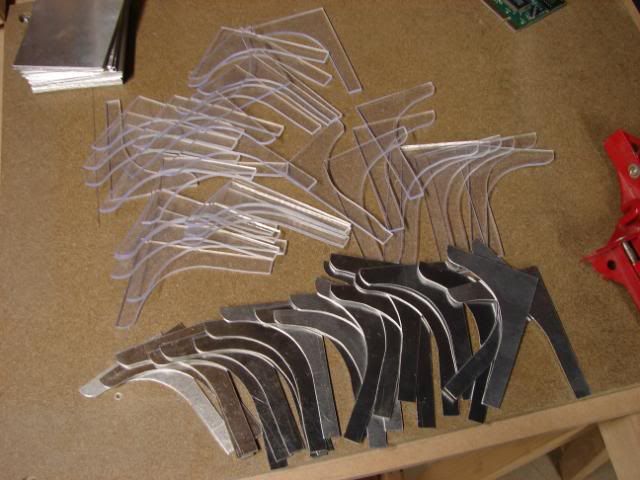
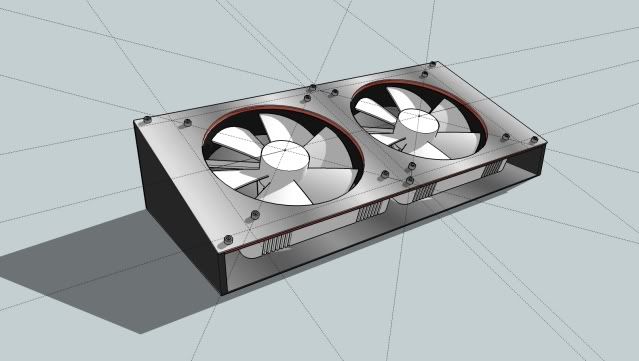
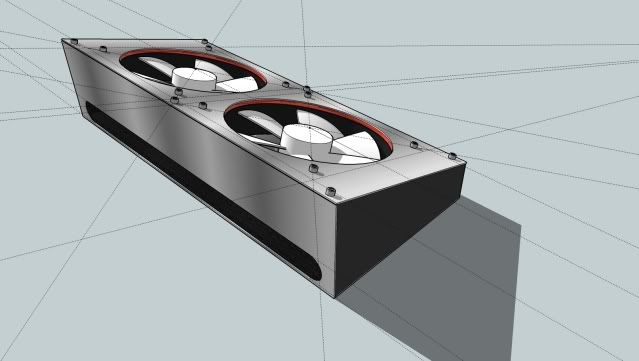
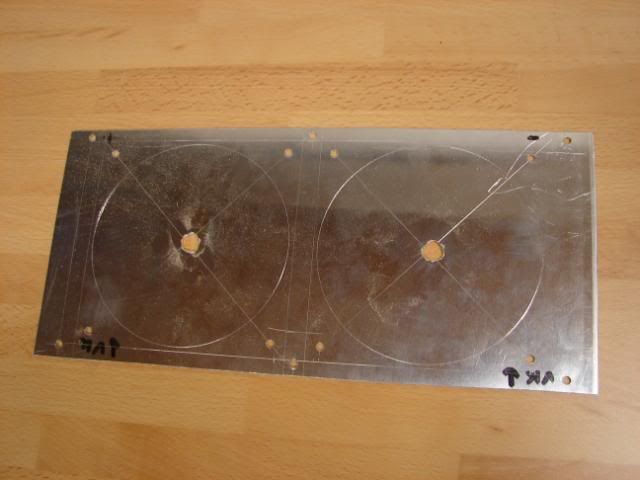
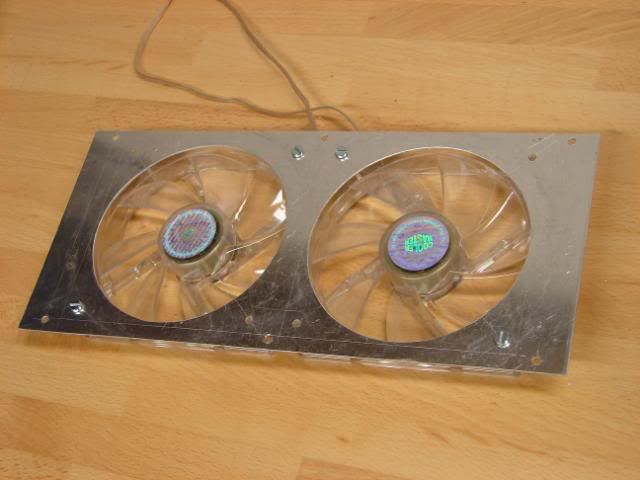
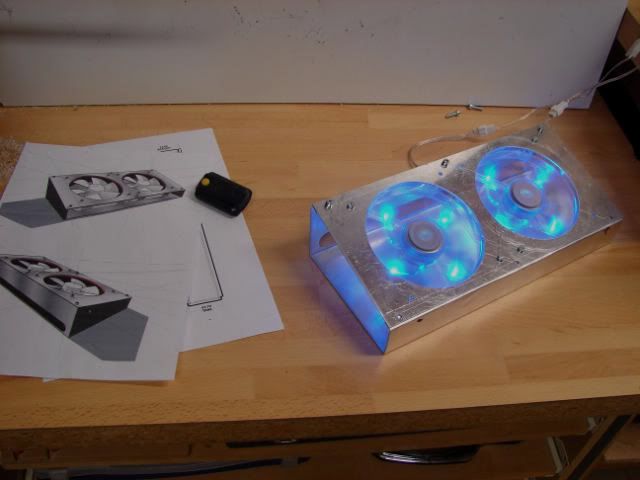
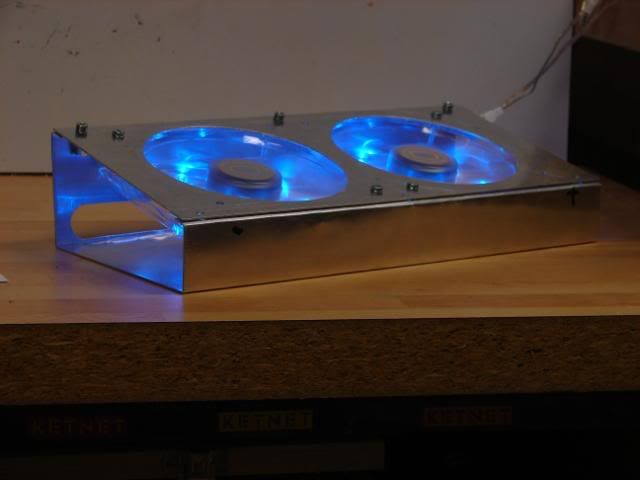
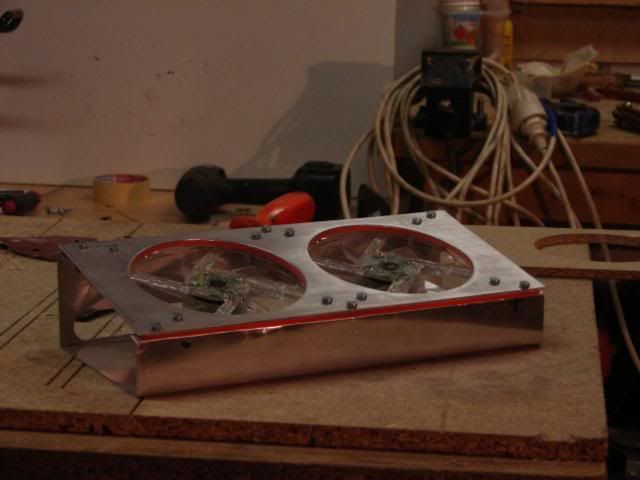
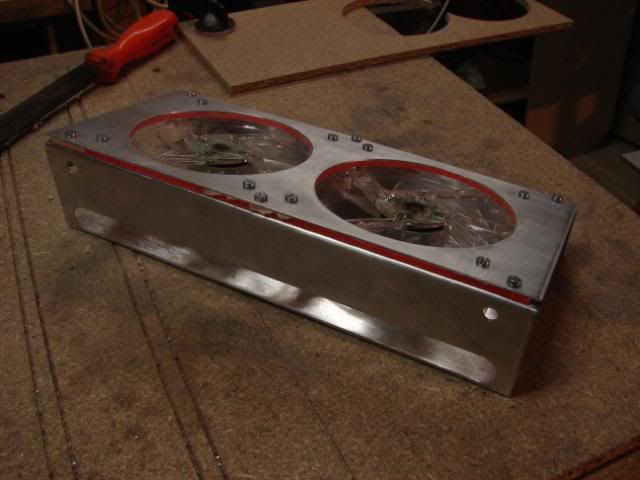
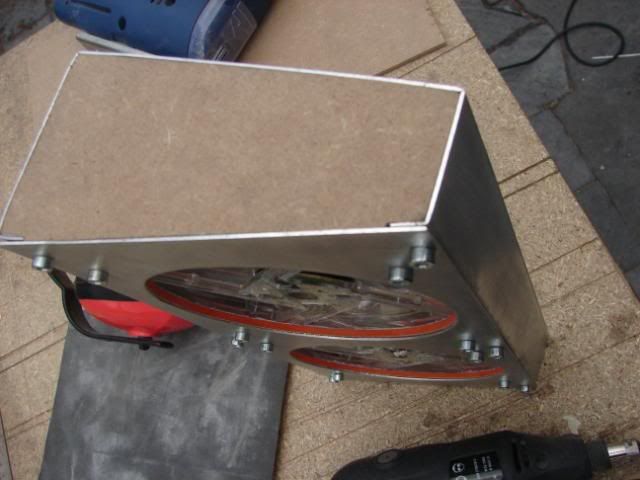
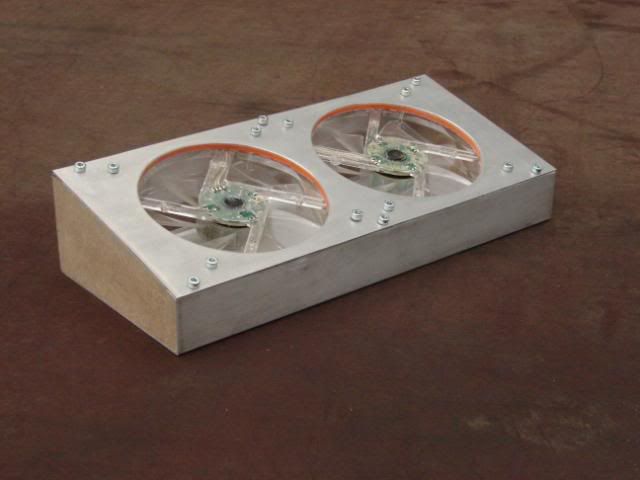
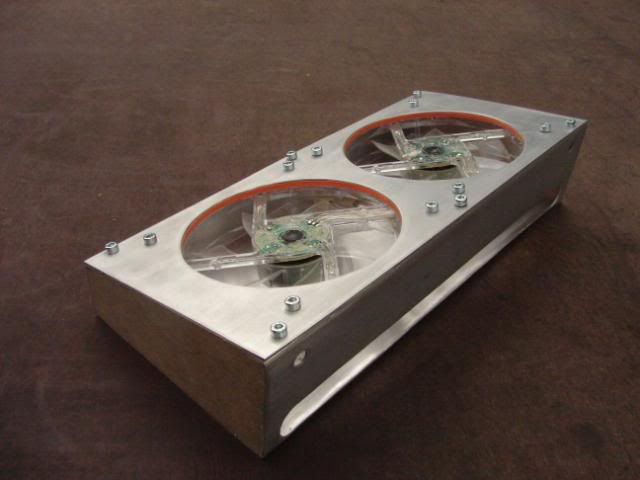
    Two 120mm FANs (white) with orange plexi and shiny aluminum to finish it.


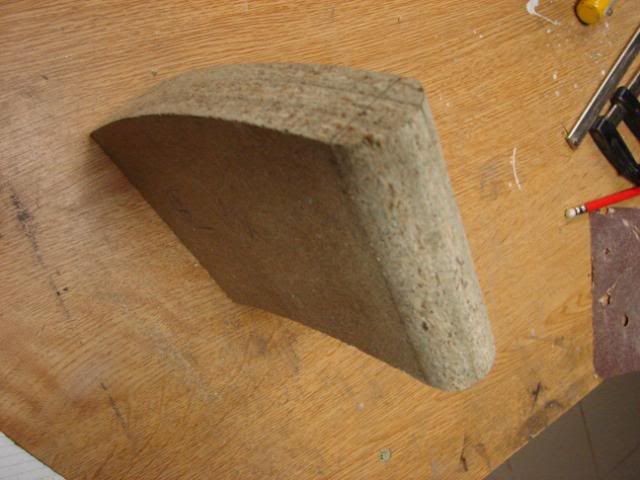
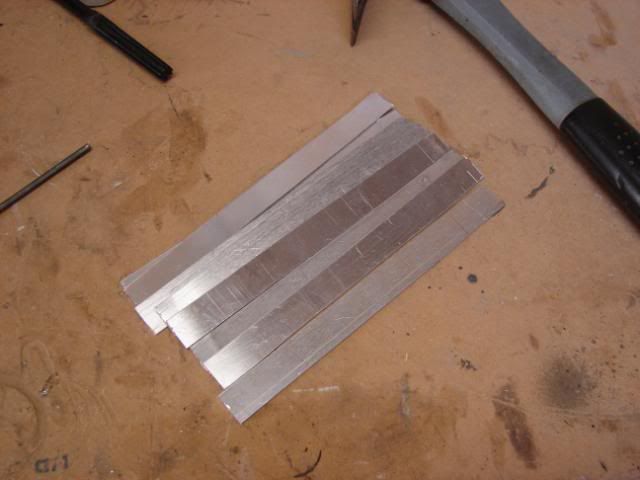
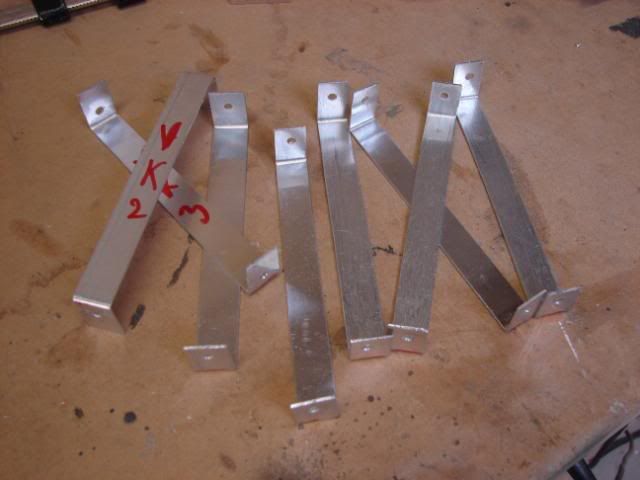
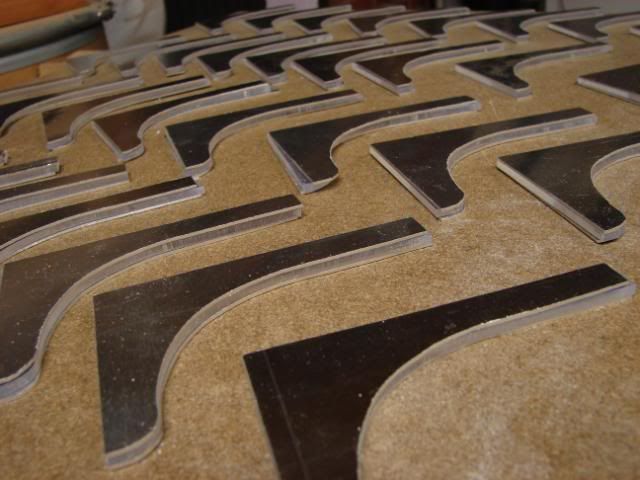
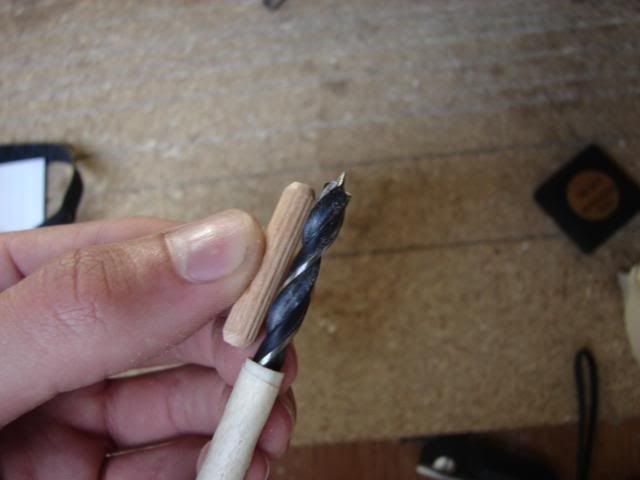
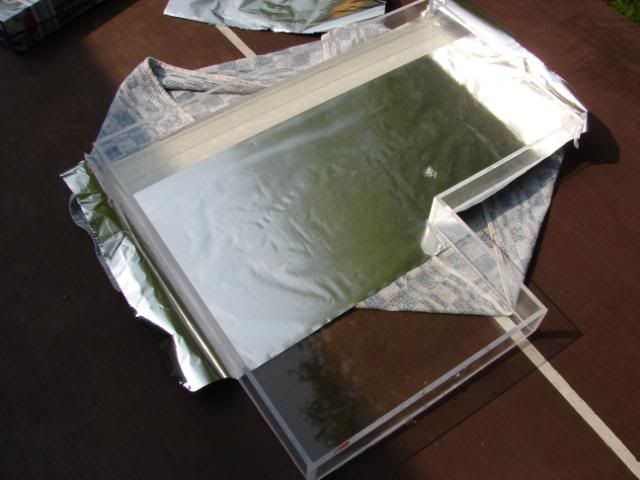
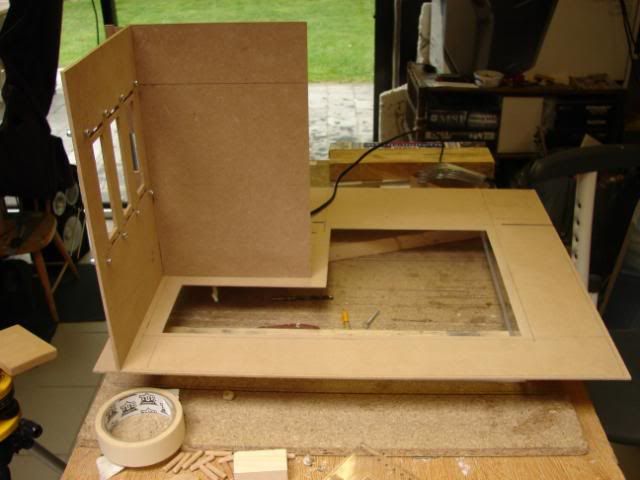
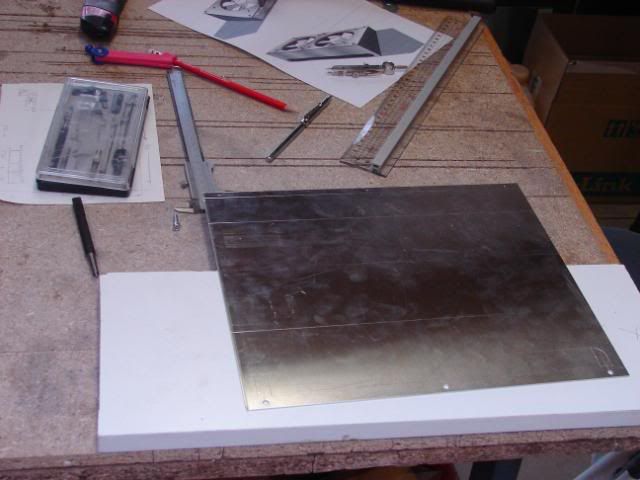
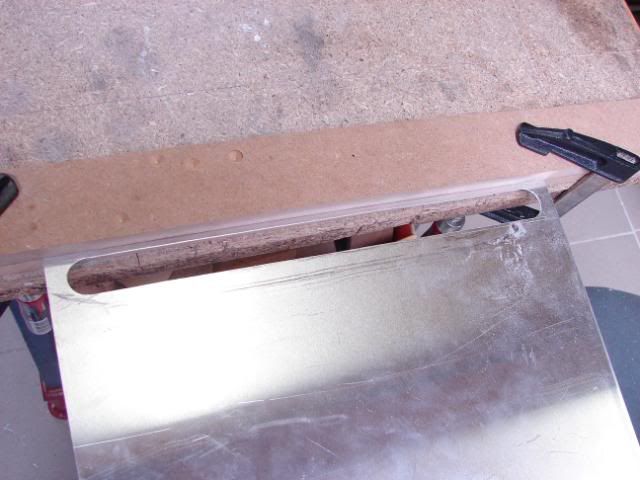
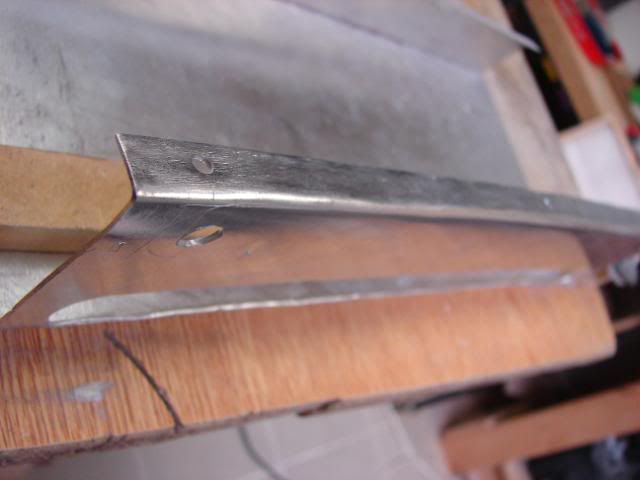
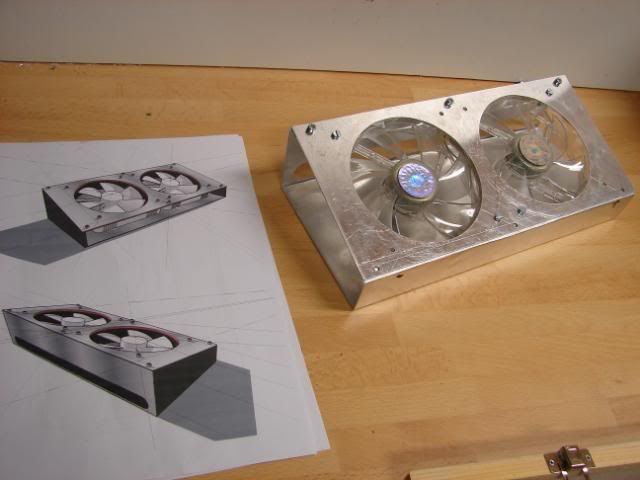
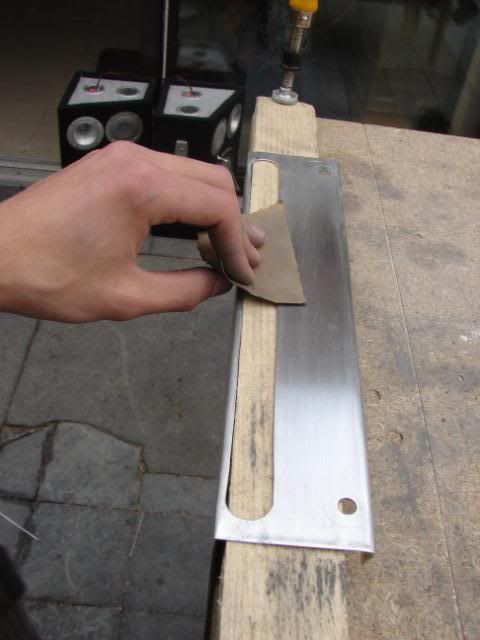
    I have used a hammer and some grips to bend the aluminum.
    The result is not that great but it’s ok

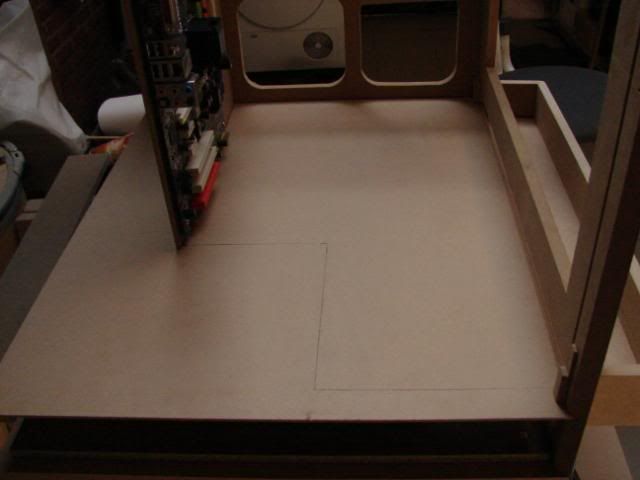
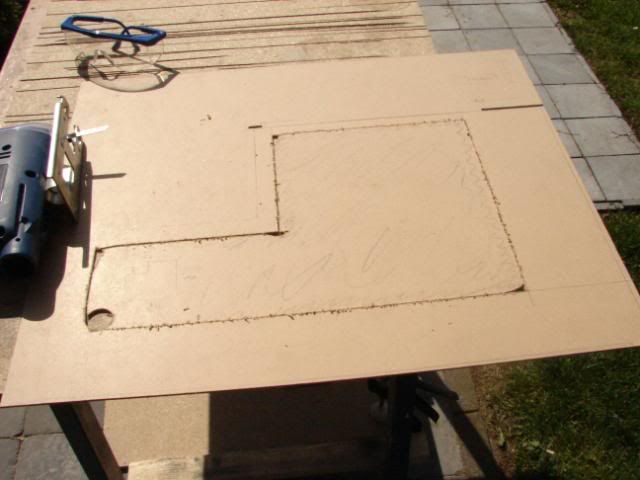
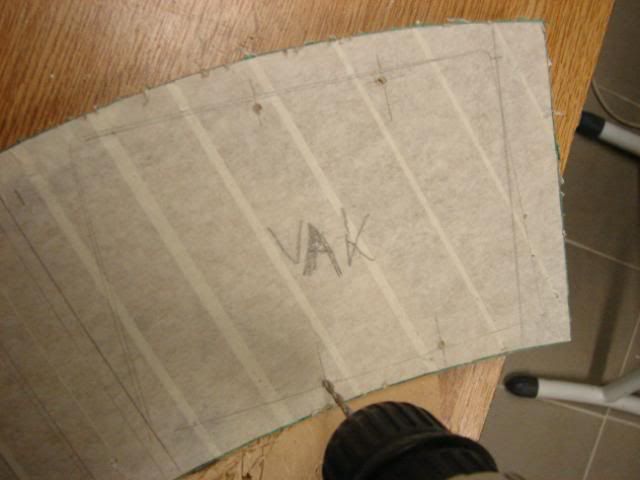
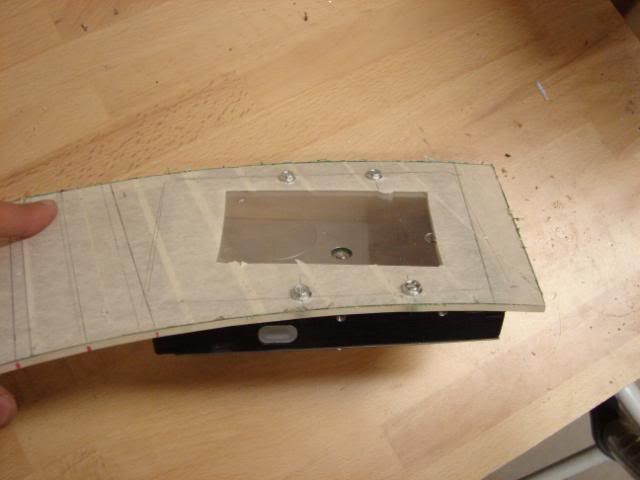
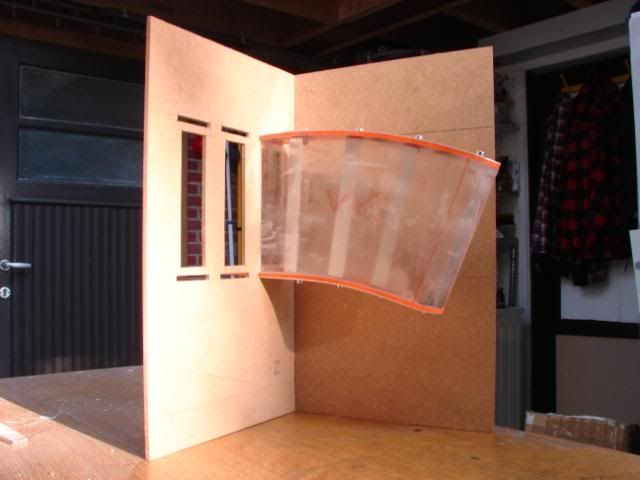
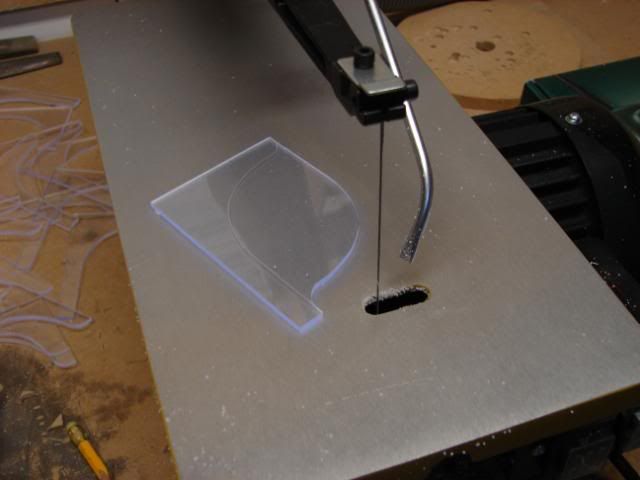
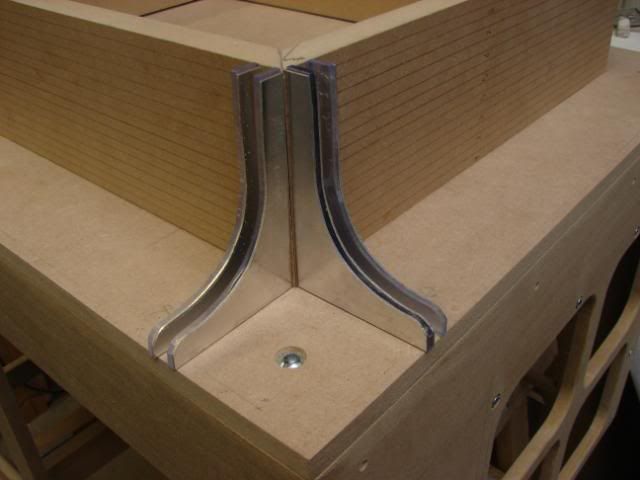
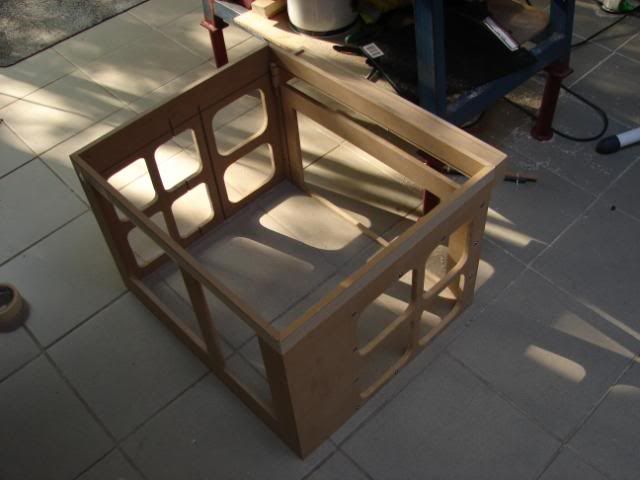
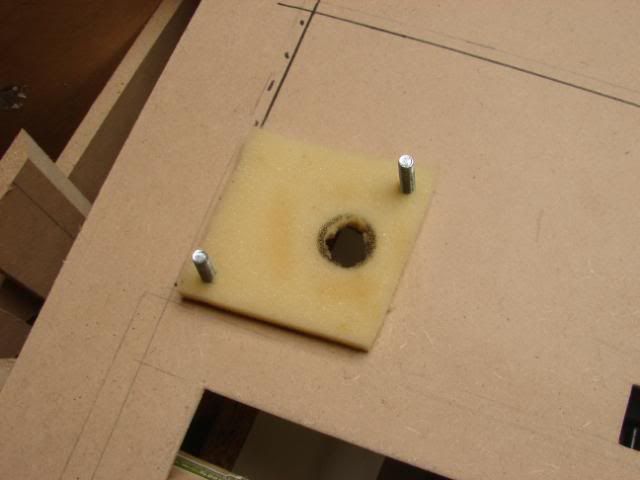
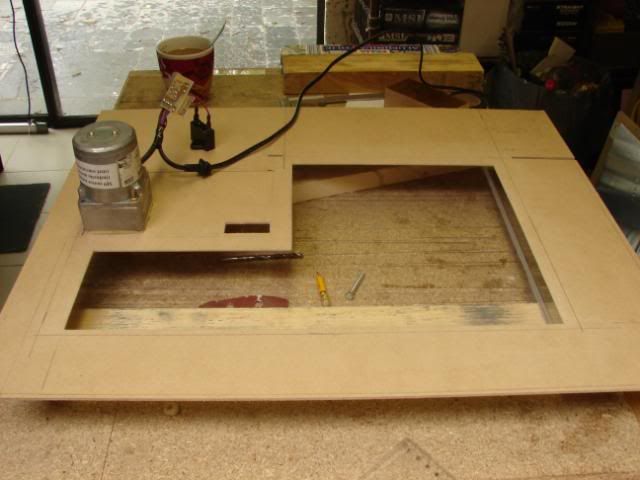
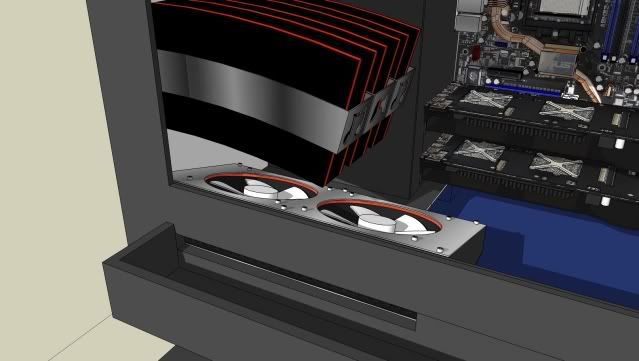
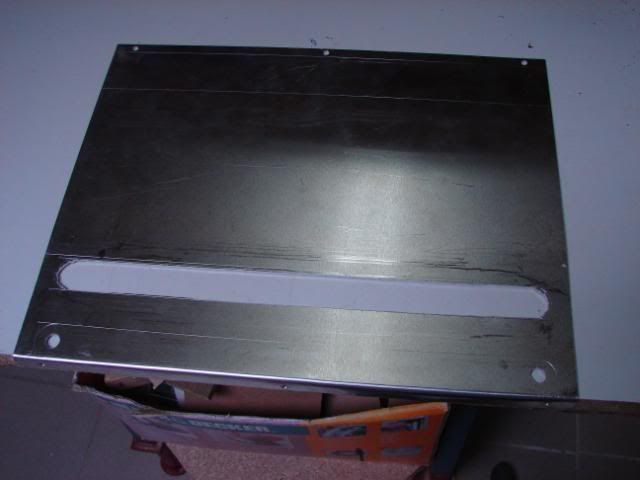
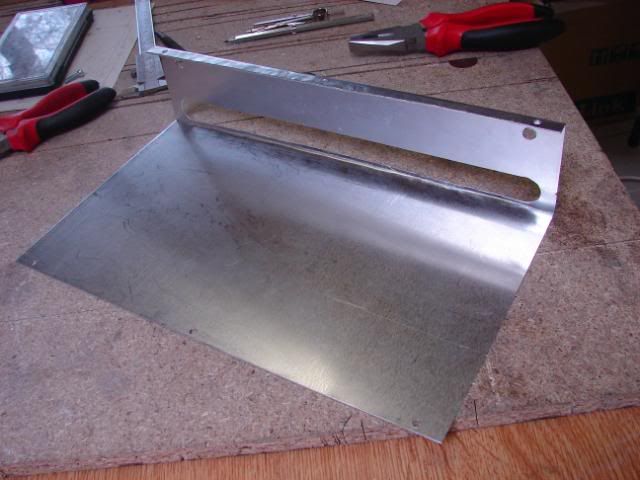
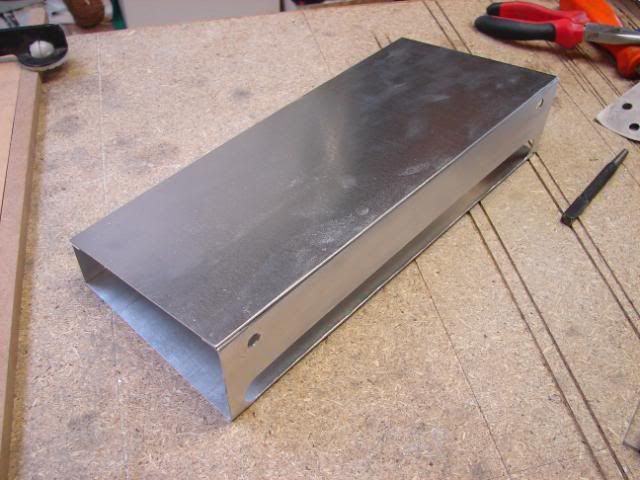
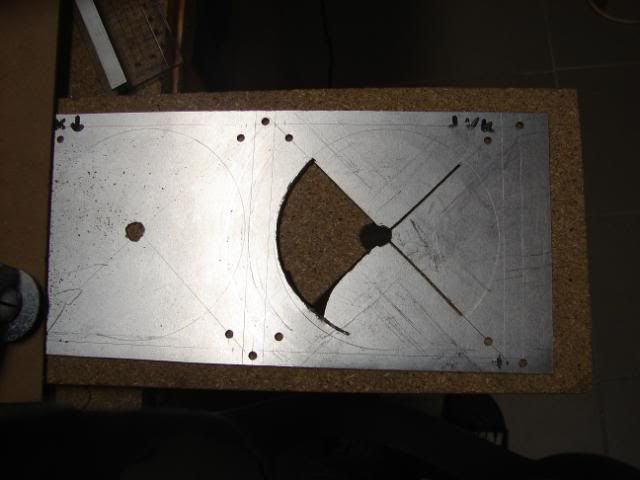
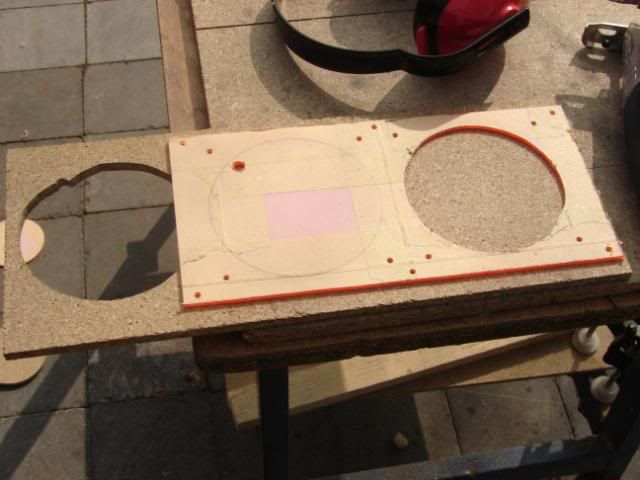
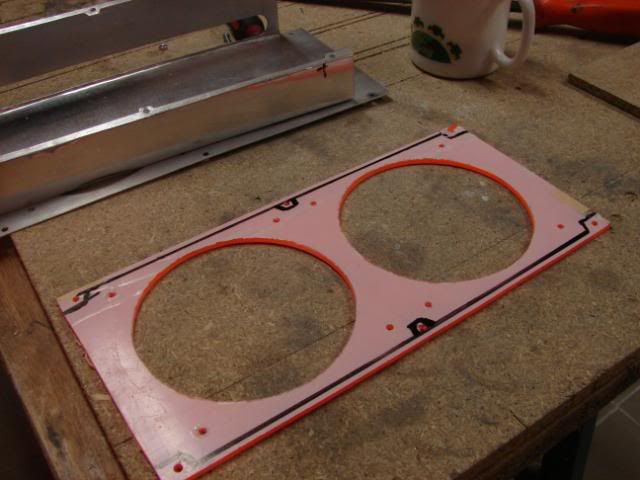
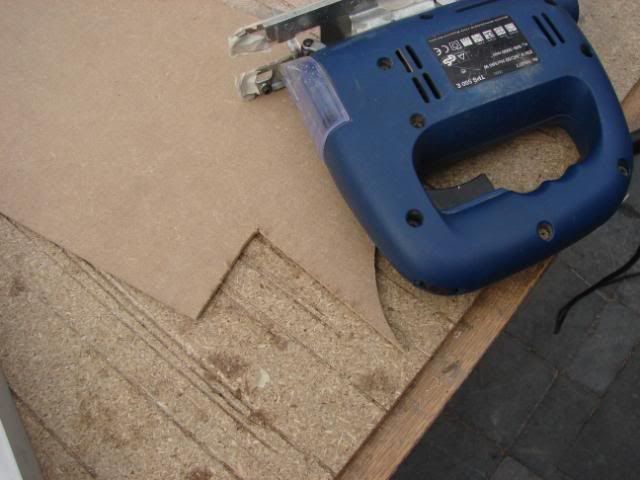
    The hole for the intake
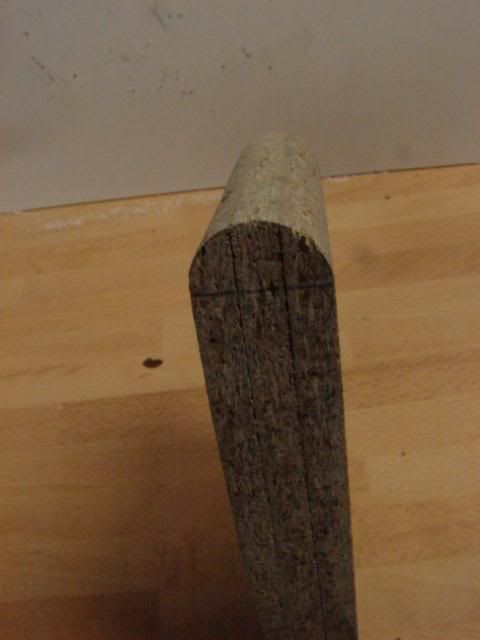
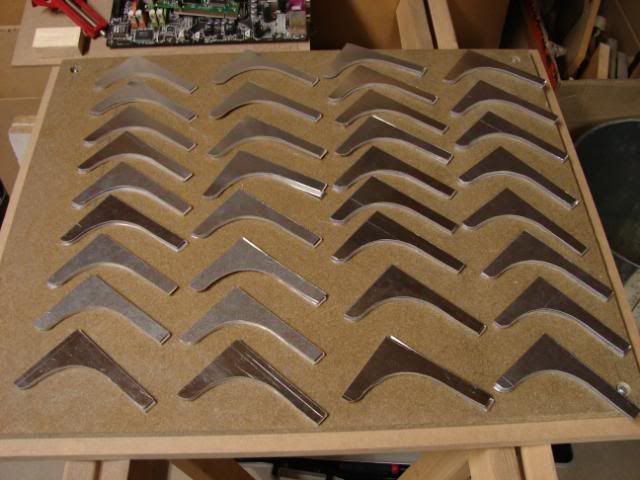
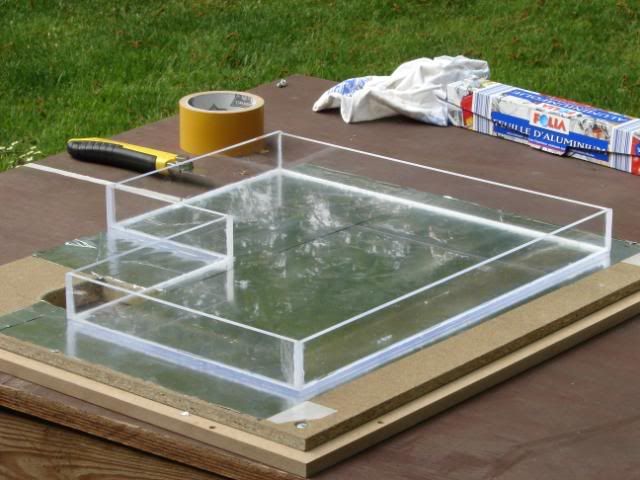
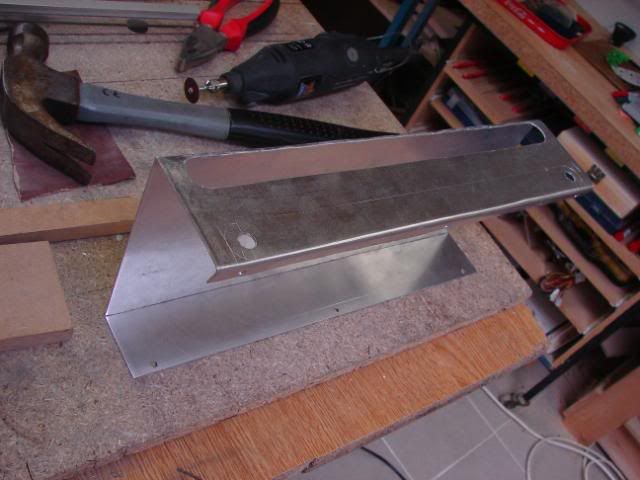
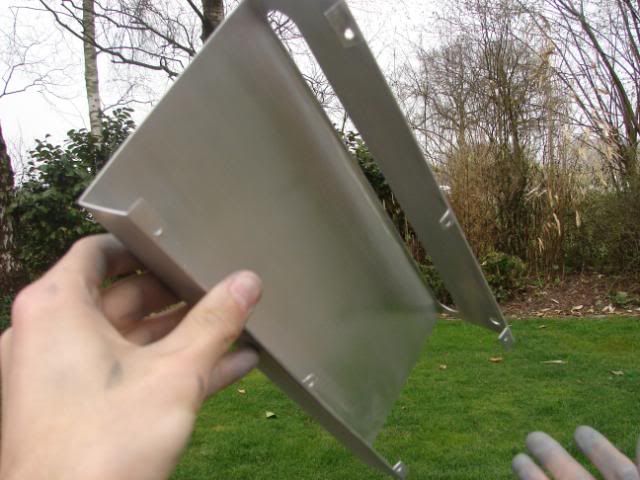


    More bending


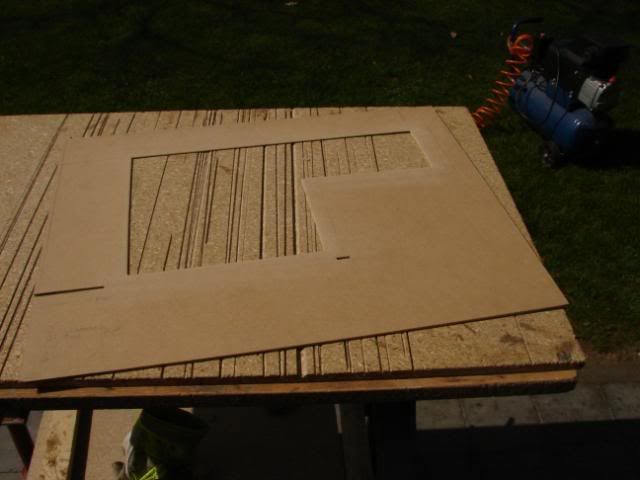
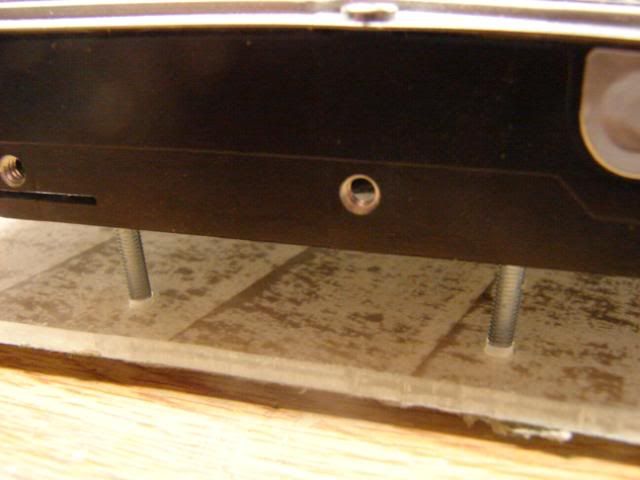
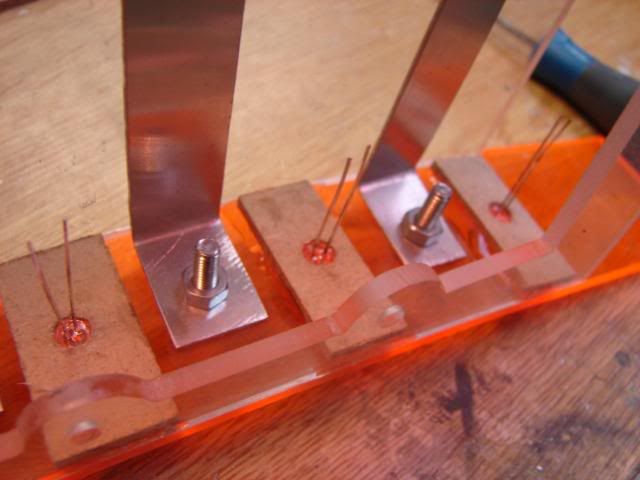
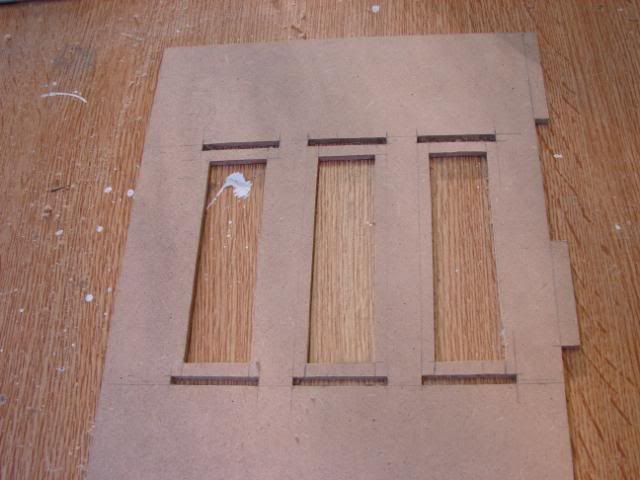
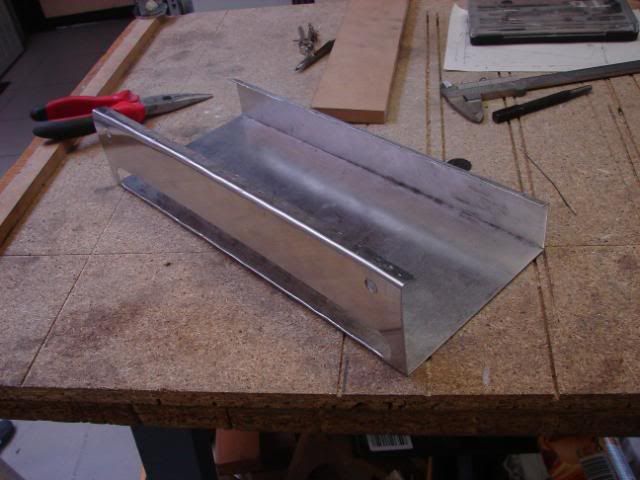
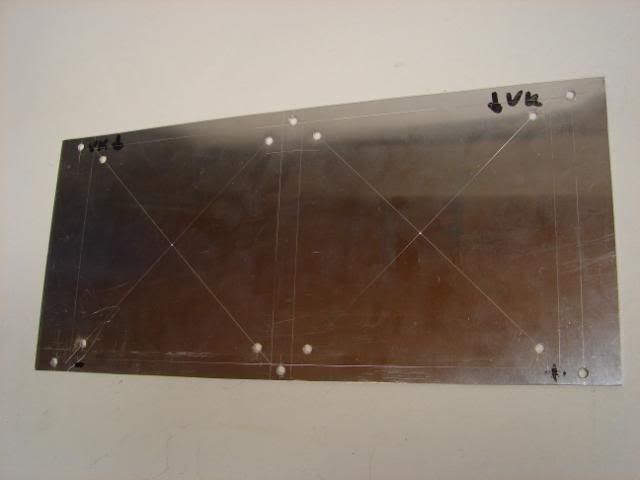
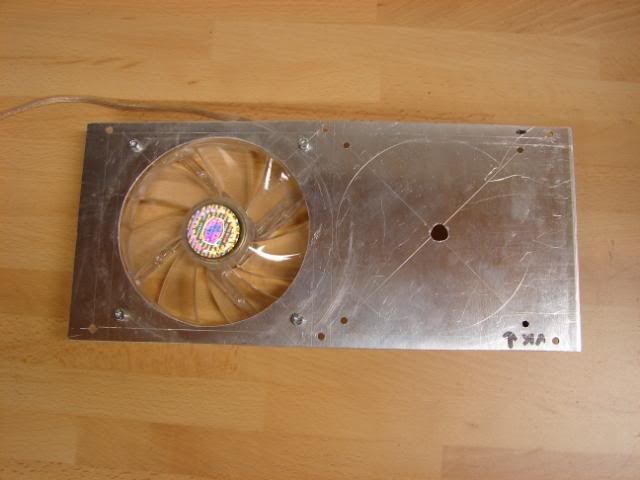
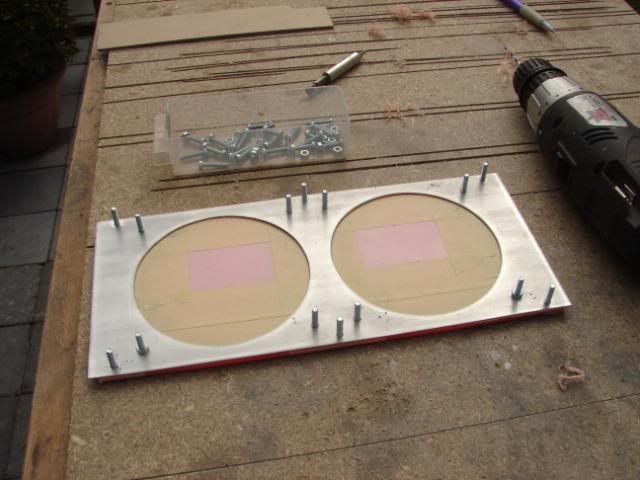
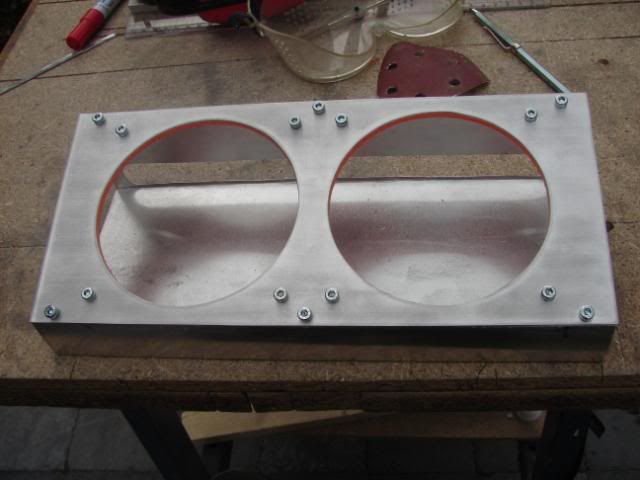
    I made holes for the two 120mm FANs


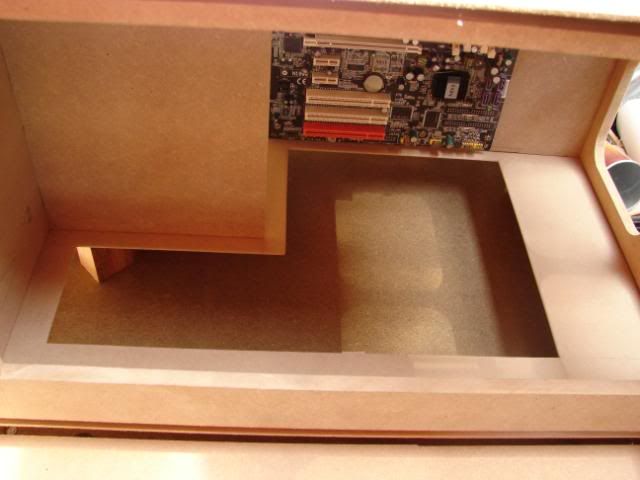
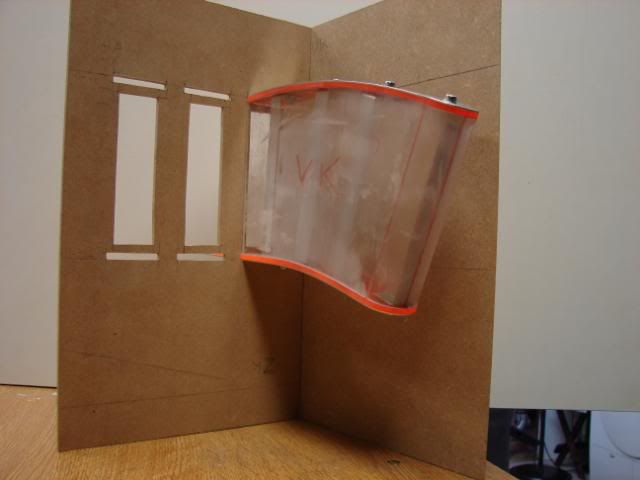
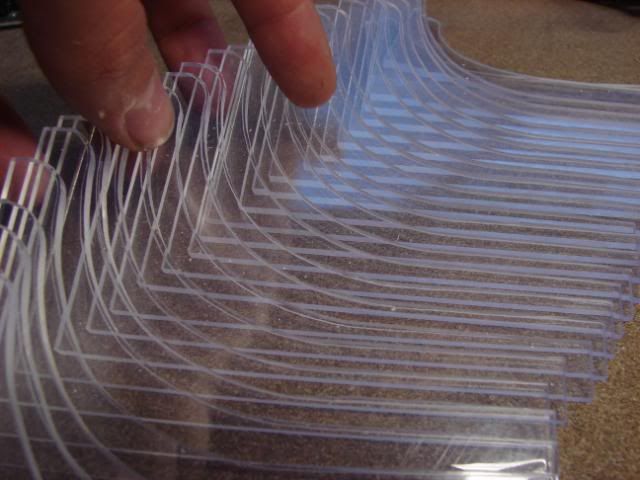
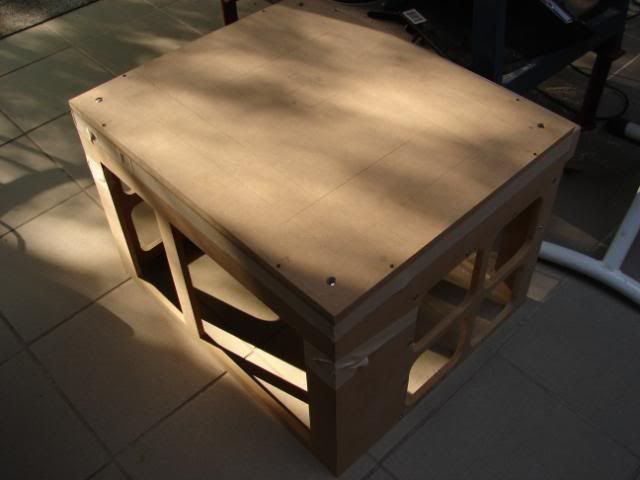
    This is not the final result, but I got a lot of screens to share

  2. #42
    A big old Tease Apparently DonT-FeaR's Avatar
    Join Date
    Sep 2006
    Location
    Australia, south australia, Gawler
    Posts
    2,939

    Default Re: Project: Elements of Fortune

    wow... what program did you use to make that cad?

    looks really really nice GW
    Quote Originally Posted by Drum Thumper View Post
    you tease!

  3. #43
    Anodized tomcatt's Avatar
    Join Date
    Feb 2009
    Location
    Belgium
    Posts
    56

    Default Re: Project: Elements of Fortune

    Quote Originally Posted by DonT-FeaR View Post
    wow... what program did you use to make that cad?

    looks really really nice GW
    I just used Sketchup from google, Although I am learning Solidworks and 3DS max ... but I kinda suck in those programs

  4. #44
    Modders block rendermandan's Avatar
    Join Date
    Mar 2007
    Location
    Nowhere near the beach :(
    Posts
    1,510

    Default Re: Project: Elements of Fortune

    Wow, just, Wow.

    You are putting a ton of effort into this. Keep it up! +rep.

  5. #45
    A big old Tease Apparently DonT-FeaR's Avatar
    Join Date
    Sep 2006
    Location
    Australia, south australia, Gawler
    Posts
    2,939

    Default Re: Project: Elements of Fortune

    wow... compared to every1 i suck at sketch up
    Quote Originally Posted by Drum Thumper View Post
    you tease!

  6. #46
    Anodized tomcatt's Avatar
    Join Date
    Feb 2009
    Location
    Belgium
    Posts
    56

    Default Re: Project: Elements of Fortune

    hmm hehe, Thanks everyone !

    I got nominated on Bit-Tech.net, normally I would be happy, but not this time
    Why? Well I don't have anything to show what is realy "WOW" ... so my chances of not getting the winner are once again not good

    anyway - update is coming !

  7. #47
    Anodized tomcatt's Avatar
    Join Date
    Feb 2009
    Location
    Belgium
    Posts
    56

    Default Re: Project: Elements of Fortune

    Okay, here is some progress on the work…

    The intake Cooling box was not entirely finished, it needed to have a plexi border.


    Not good, I only need the borders above the FANs, and I don’t want to see them on the box itself. So I made it a bit shorter…


    That is what I wanted
    After this, I sanded the box


    Using MDF 4mm wood, I made the sides of the box…


    As for now, the box is at rest… I only need to add the right orange coolers, polish the box, and use some dustfilters to complete it.

  8. #48
    Anodized tomcatt's Avatar
    Join Date
    Feb 2009
    Location
    Belgium
    Posts
    56

    Default Re: Project: Elements of Fortune

    On to the next part
    But before I began on the hard drive casings, I sanded the bottom so that I could leave it besides for a month. When I get my new figure-saw-machine, I will go on with the bottom and stuts


    In the beginning of the week, I bought some bolts that I will use in this project (of course)


    And I also made the window in the bottom.


    - the beginning of the hard drive cases !
    This is the idea:


    For sketching the right angles and round shapes, I made my own compass


    Using the paper mold on the plexi…


    And using the saw ^^


    I need to bend these 3 sheets of Plexiglas. But with the difficult angles and problems of bending, I made the inner side of the actual box (from wood).


    Using a chisel, I rounded the piece.


    To attach the hard drives, I will use screws with rubbers (rubbers are for later )


    That’s ok !
    Hard drives will be warm, to cool them, I will be using the cooling box (update before this update) But there needs to be a hole in the plexi so the fresh air can flow good.


    A lot of things need to be done, but that’s for the next update

  9. #49
    Resident 100HP water-cannon operator SXRguyinMA's Avatar
    Join Date
    Jun 2008
    Location
    MA
    Posts
    5,865

    Default Re: Project: Elements of Fortune

    lookin nice!

  10. #50
    Anodized tomcatt's Avatar
    Join Date
    Feb 2009
    Location
    Belgium
    Posts
    56

    Default Re: Project: Elements of Fortune

    An overview of what I have done.

    I used the mold to bend the acrylic


    Here you can see the Hard disks that will take place inside those hard disk casings.


    I also had to decide how much bolts I would use to connect the upper and lower side of the hard drive casings.


    I choose 4 bolts, and I used some metals to connect the sides


    There will be lights inside, so the orange acrylic will light up.


    After this, I also made the aluminum that will cover the orange acrylic


    Because my aluminum is out of stock, I began working on the assembling of the hard drives to the case construction.


    Currently, that’s it for the hard drive cases. I’m waiting for lights, aluminum and high gloss paint…

    My new machine finally arrived.


    So I could start making the stuts for the bottom.


    I spent several hours making these things.
    There are about 72 aluminum stutts and 36 acrylic.
    They all need to be glued and filed/sanded. After that, I’m making the holes and then they are finished!


    The case so far…


    For the assembling of the side panels and front/back panels.
    I’ll use these pieces of wood (don’t know how you call them in English)


    Now, I don’t have to use tape anymore to assemble the case.

    … the stuts are still being glued and they have to dry…

    So I took the bottom reservoir at hand, and worked a bit on that.


    I used some glue (or something lookalike) and now, there is no more water dropping from the sides

    With aluminum foil, the bottom of the reservoir will be something like a mirror


    This reservoir has the purpose of being eye-candy. There will be cogs in it that will flow the water around… For spinning the cogs, I’ll use a little motor.


    That’s it for now
    Feel free to comment or criticize

Posting Permissions

  • You may not post new threads
  • You may not post replies
  • You may not post attachments
  • You may not edit your posts
  •