Page 6 of 9 FirstFirst 123456789 LastLast
Results 51 to 60 of 83

Thread: Project: Elements of Fortune

  1. #51
    WWMD- What Would MacGyver Do? Mark_Hardware's Avatar
    Join Date
    Mar 2009
    Location
    Phoenix
    Posts
    906

    Default Re: Project: Elements of Fortune

    Very nice work, really nice attention to detail. This thing looks like its gonna be huge! oh yeah,

    Quote Originally Posted by tomcatt View Post
    For the assembling of the side panels and front/back panels.
    I’ll use these pieces of wood (don’t know how you call them in English)
    They are usually called "dowel rods"
    My name is Mark Hardware, and I approved this message.

    Project; Mark1
    (On hold until......)

  2. #52
    A big old Tease Apparently DonT-FeaR's Avatar
    Join Date
    Sep 2006
    Location
    Australia, south australia, Gawler
    Posts
    2,939

    Default Re: Project: Elements of Fortune

    wow,,,looking great man.. cant wait to see more.
    Quote Originally Posted by Drum Thumper View Post
    you tease!

  3. #53
    ATX Mental Case
    Join Date
    Mar 2009
    Posts
    106

    Default Re: Project: Elements of Fortune

    A few idea regarding part holding i may well pinch.
    that's a lot of work there.

  4. #54
    baaah. billygoat333's Avatar
    Join Date
    Aug 2007
    Location
    Idaho
    Posts
    3,331

    Default Re: Project: Elements of Fortune

    those HDD cases are suweeet! very nice work dude.
    Quote Originally Posted by Omega
    ber is id elicous
    Centurion 5 Mod <<--- ON HOLD FOR THE WINTER

  5. #55
    Sacrificing Unto Sebek KiLLERMAN21's Avatar
    Join Date
    Oct 2008
    Location
    Gawler, South Australia
    Posts
    363

    Default Re: Project: Elements of Fortune

    Wow... nice job on the scroll saw, that would have taken a looooong time but it was worth it!


    Quote Originally Posted by Twigsoffury View Post
    I tape my wallet to my cat.

  6. #56
    iShot the Sheriff jdbnsn's Avatar
    Join Date
    Jan 2006
    Location
    Normal
    Posts
    8,241

    Default Re: Project: Elements of Fortune

    Featured!
    "At the midpoint on the journey of life, I found myself in a dark forest, for the clear path was lost..." -Dante Alighieri

  7. #57
    Anodized tomcatt's Avatar
    Join Date
    Feb 2009
    Location
    Belgium
    Posts
    56

    Default Re: Project: Elements of Fortune

    waaaw thank you very much !! you won't regret this - This will be my best project ever !

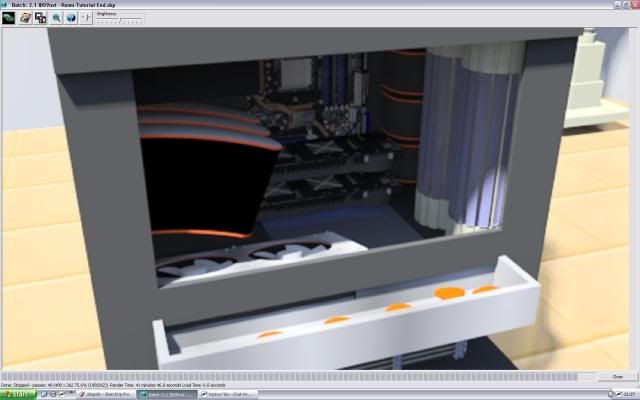
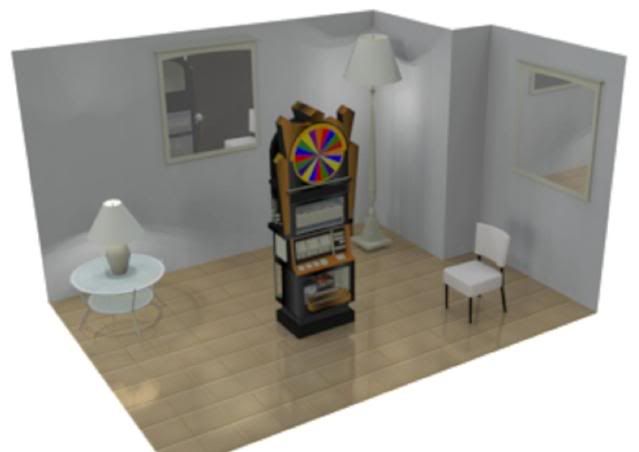
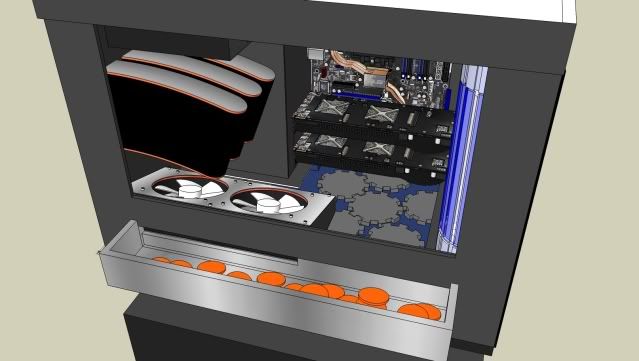
    As sketchup is a very simple program... there are some plugins that allow rendering. This is the result:


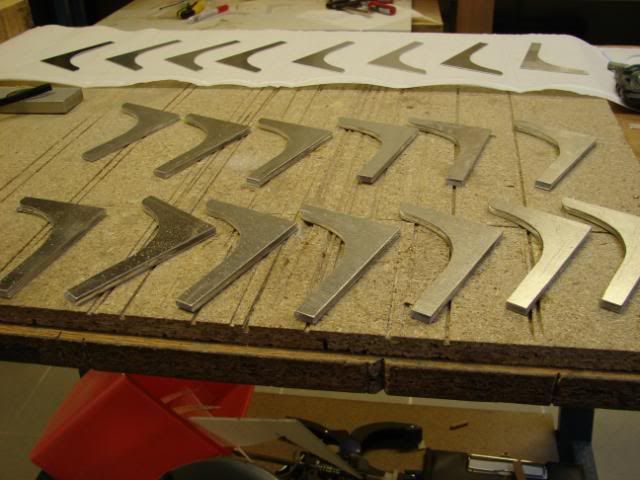
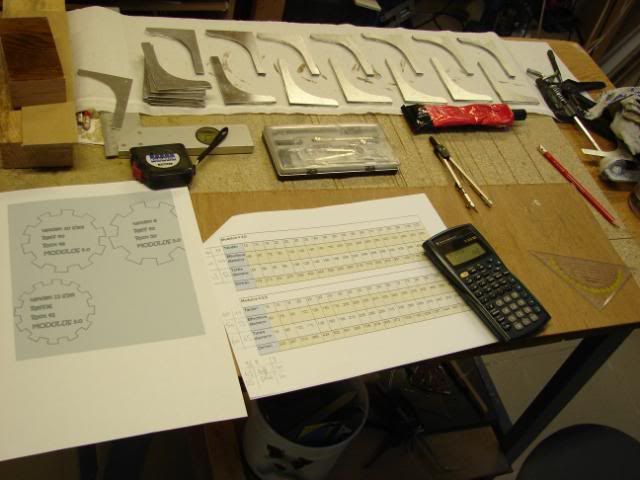
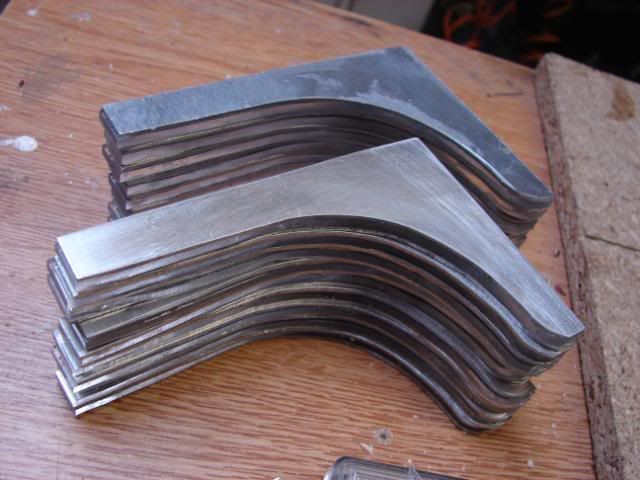
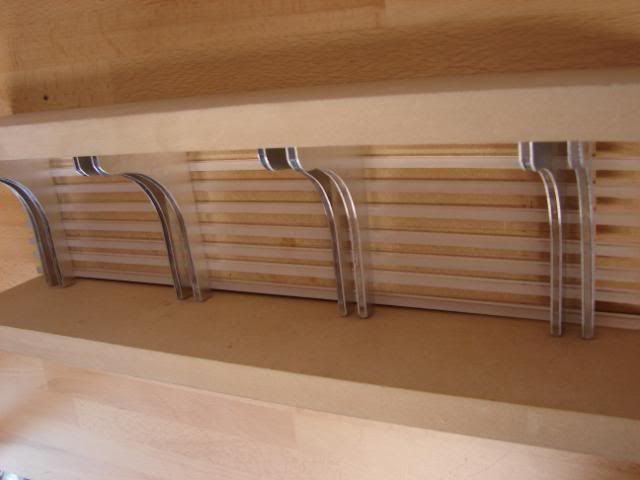
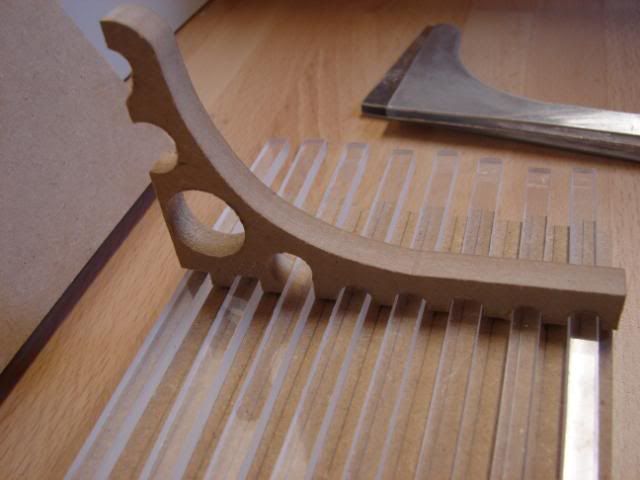
    every strut is made by hand, one by one...


    This takes much time, so I started to calculate the cogs and gears that will come inside the "eye-candy" reservoir.


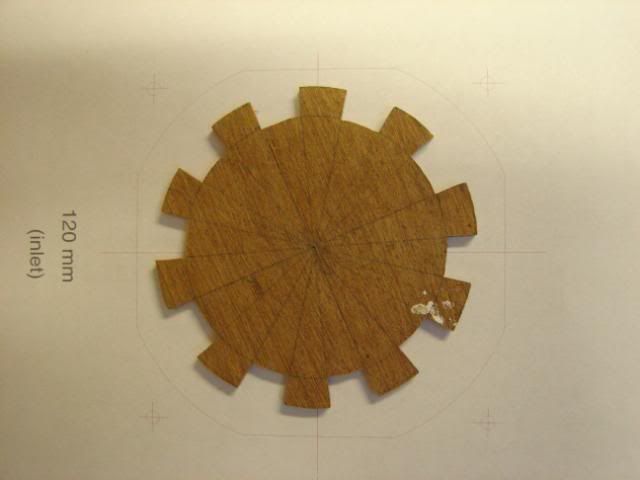
    First, I'm going to make them in wood... so that I can see if they really are working (because I don't want to throw away good plexi if my calculations are wrong)


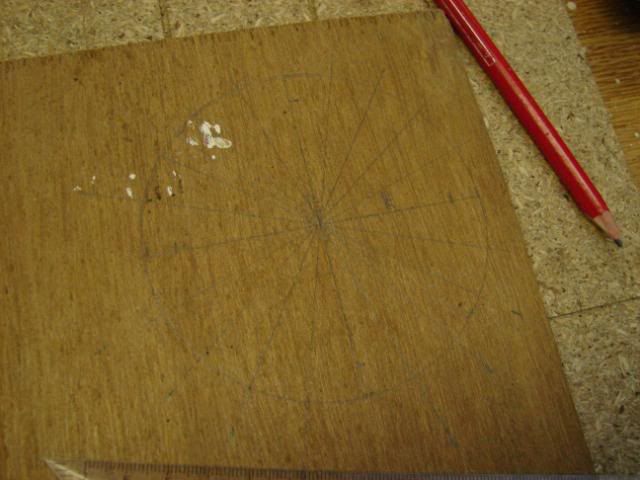
    The idea is to put several cogs in the reservoir: as shown in the sketch:


    bye
    Tom

  8. #58
    A big old Tease Apparently DonT-FeaR's Avatar
    Join Date
    Sep 2006
    Location
    Australia, south australia, Gawler
    Posts
    2,939

    Default Re: Project: Elements of Fortune

    oh thats gunna be really cool
    hope it works out
    Quote Originally Posted by Drum Thumper View Post
    you tease!

  9. #59
    Sacrificing Unto Sebek KiLLERMAN21's Avatar
    Join Date
    Oct 2008
    Location
    Gawler, South Australia
    Posts
    363

    Default Re: Project: Elements of Fortune

    Nice man, the attention to detail here is great!


    Quote Originally Posted by Twigsoffury View Post
    I tape my wallet to my cat.

  10. #60
    Anodized tomcatt's Avatar
    Join Date
    Feb 2009
    Location
    Belgium
    Posts
    56

    Default Re: Project: Elements of Fortune

    thank you killerman and dont-fear

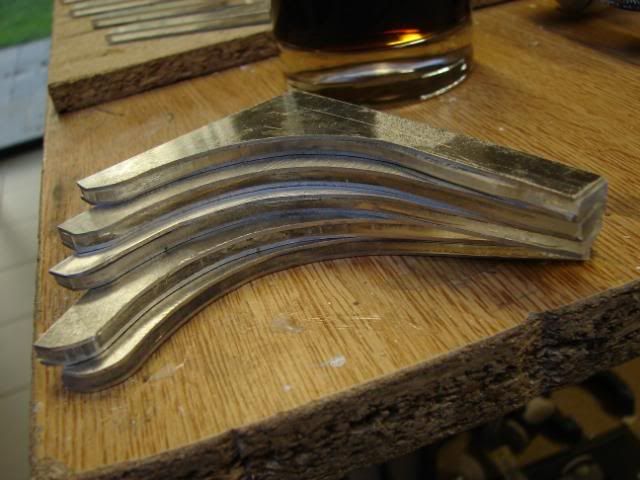
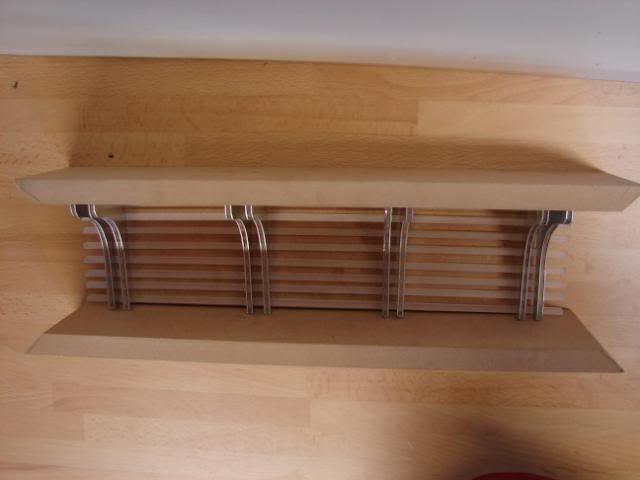
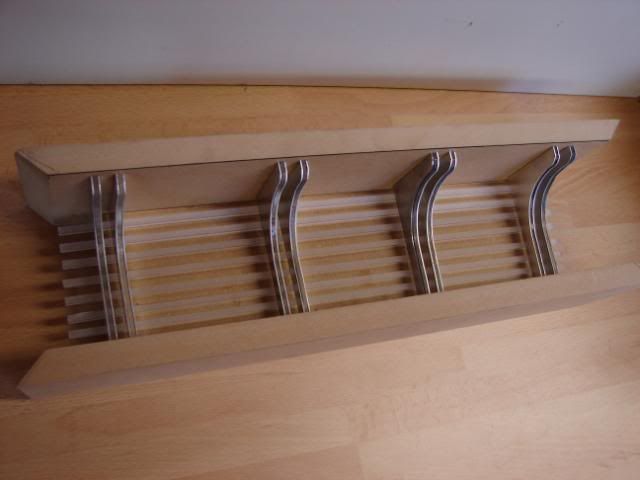
    The struts are still being glued together. A lot of work there :o


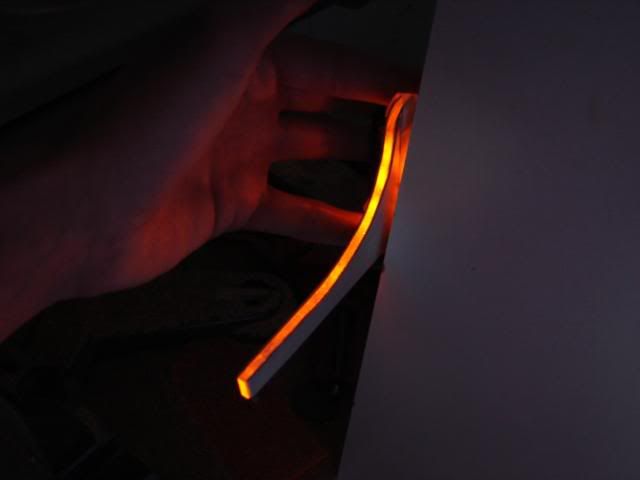
    I also tested them if they give a good look with LED light.


    Final LEDs will be blue though

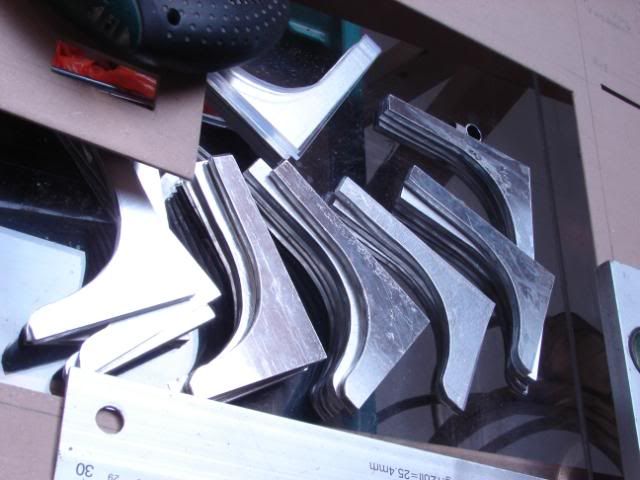
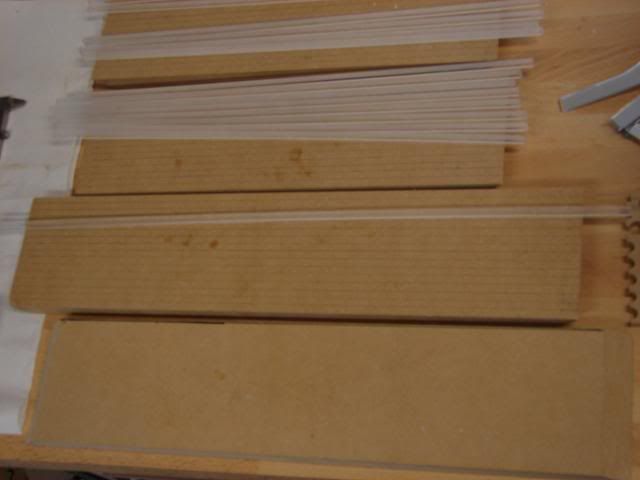
    I also made the other white rafters
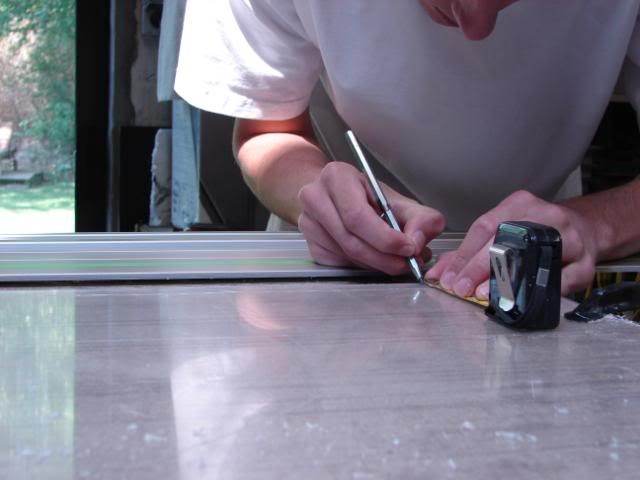


    By measuring


    Sawing


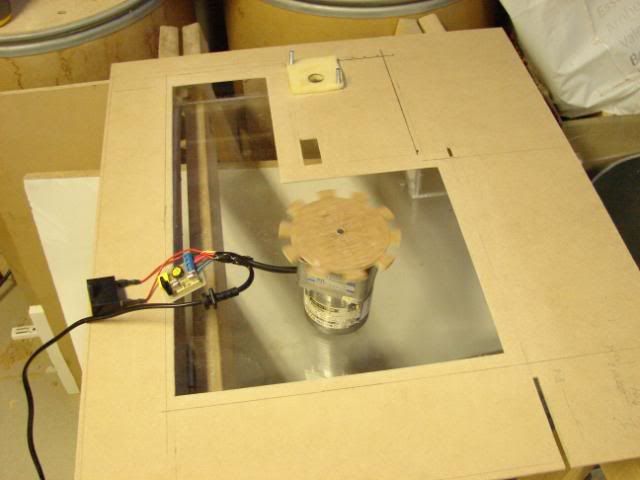
    And then it has to look like this when it is placed in the bottom.


    I also need to make holes in the struts, so that they can fit like I had in mind


    bye

Posting Permissions

  • You may not post new threads
  • You may not post replies
  • You may not post attachments
  • You may not edit your posts
  •